Main Easter Egg - Soul Key
- Updated
- Jul 2, 2026

Introduction & Important Tips
- It is highly recommended to keep your spawn pistol (Kendall 44), Pack-a-Punch it, and acquire Bombstoppers (PHD Flopper equivalent) to help with Seticom defenses.
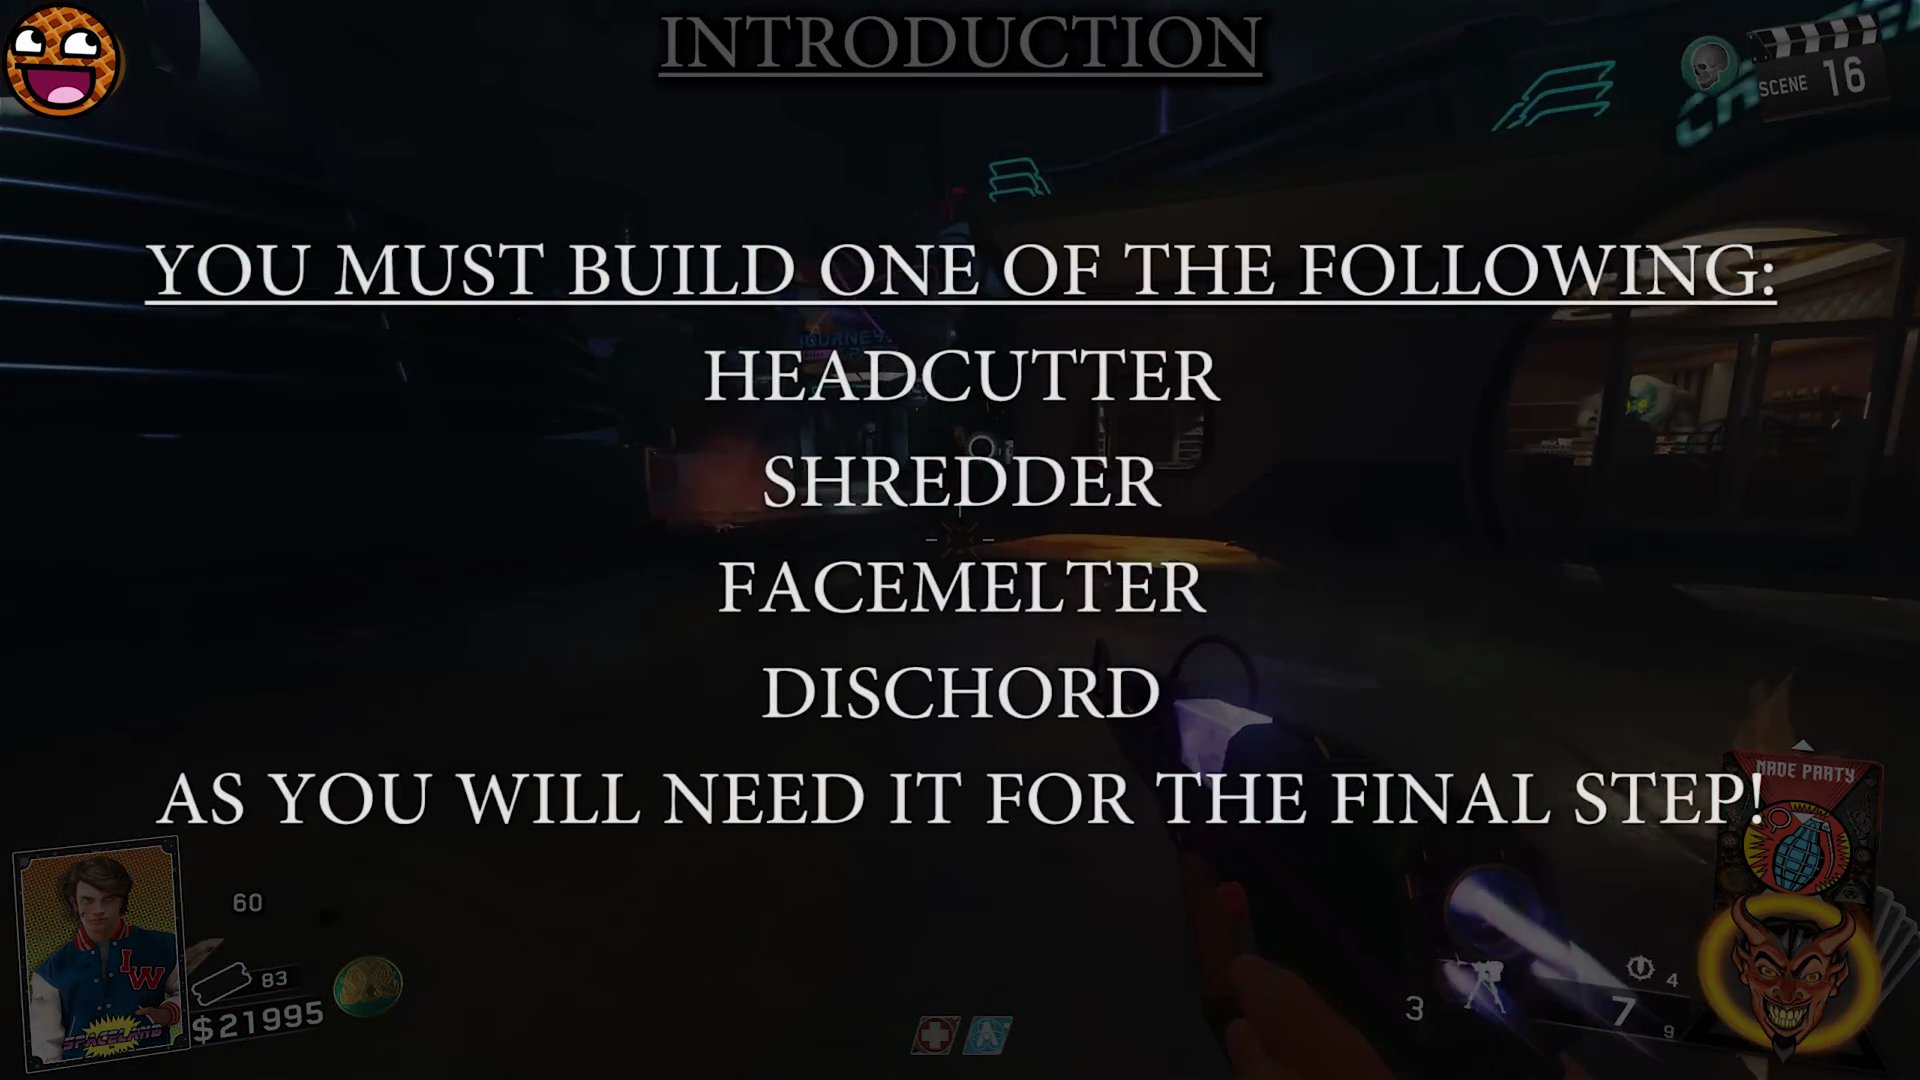
- You must build one of the four Wonder Weapon pistols: Headcutter, Shredder, Facemelter, or Dischord. The Shredder is highly recommended for the final boss fight.
- This Easter Egg is harder in co-op, with difficulty scaling with the number of players. For a smoother experience, consider playing solo or with at most two players.
- Recommended Fate & Fortune Cards:
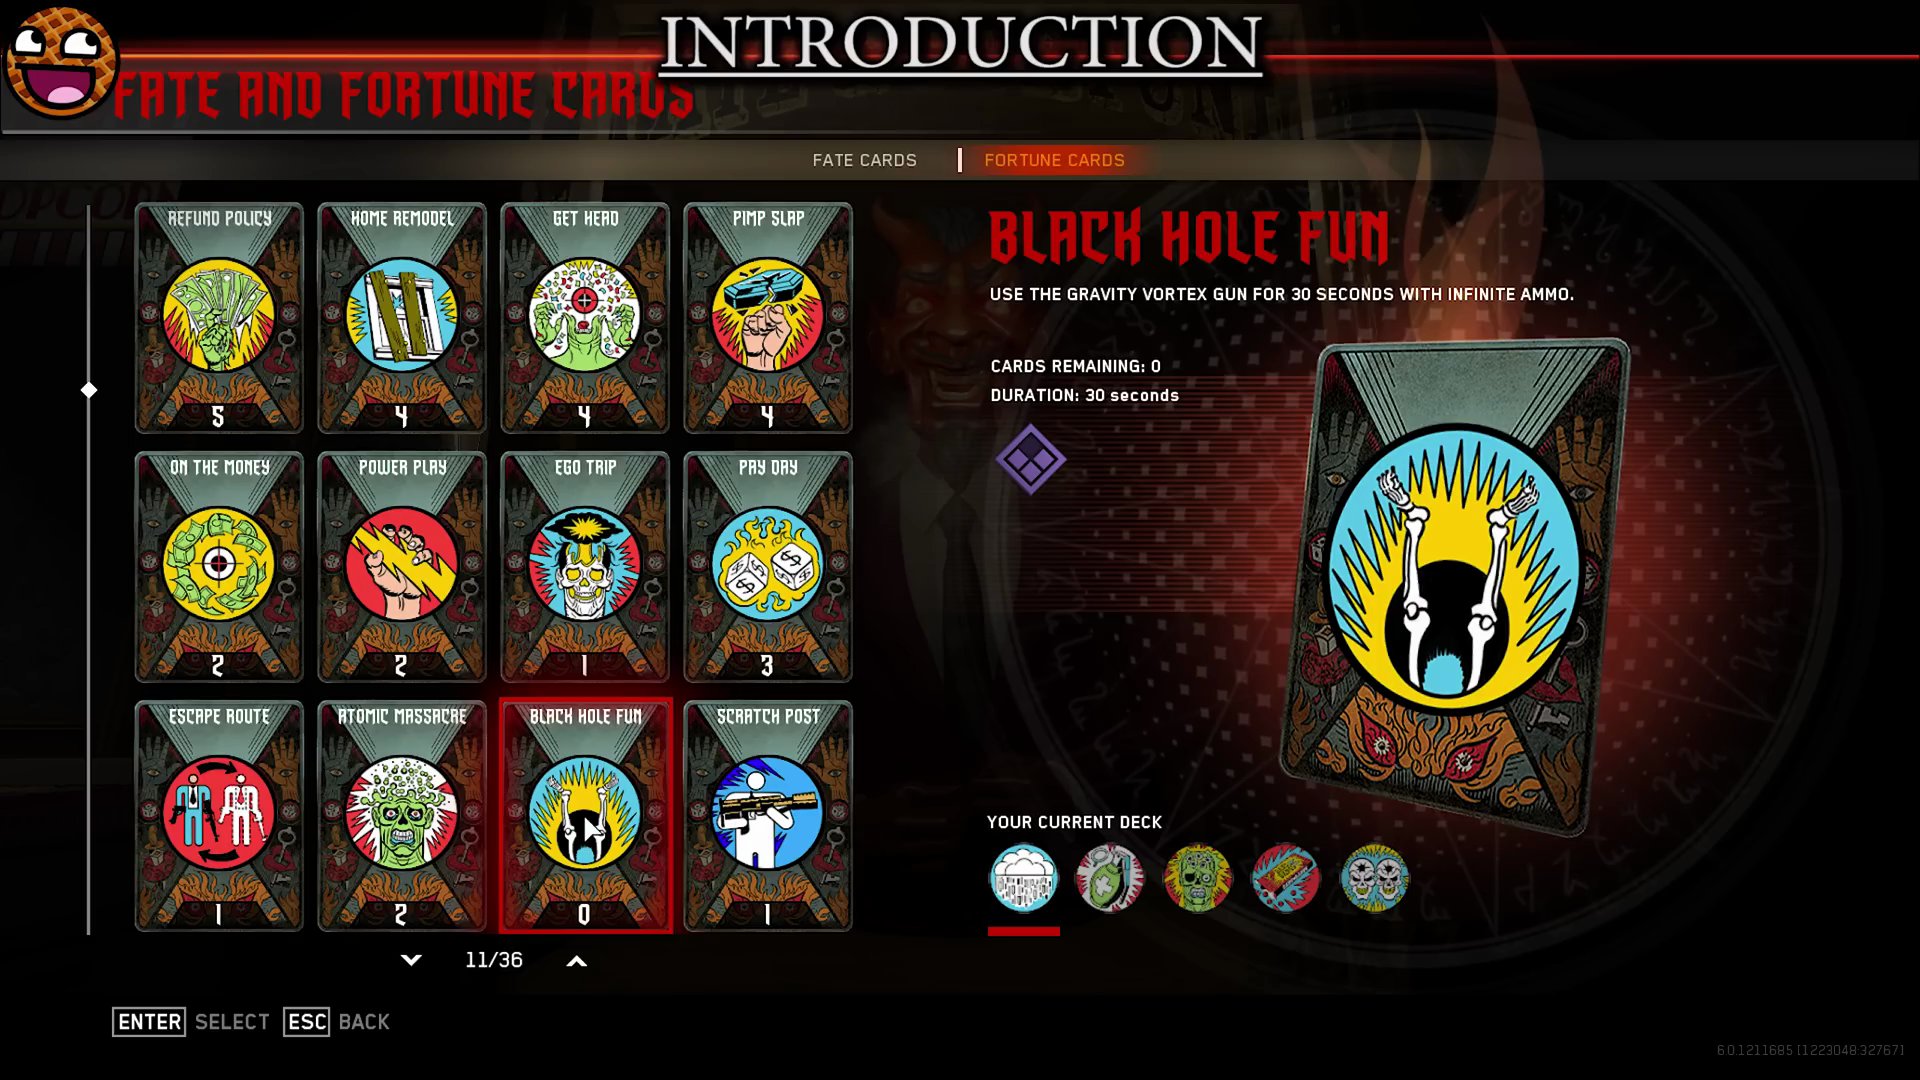
- **For Seticom Defenses:** Black Hole Fun (grants a Black Hole Grenade gun) and Raining Bullets (infinite ammo power-up).
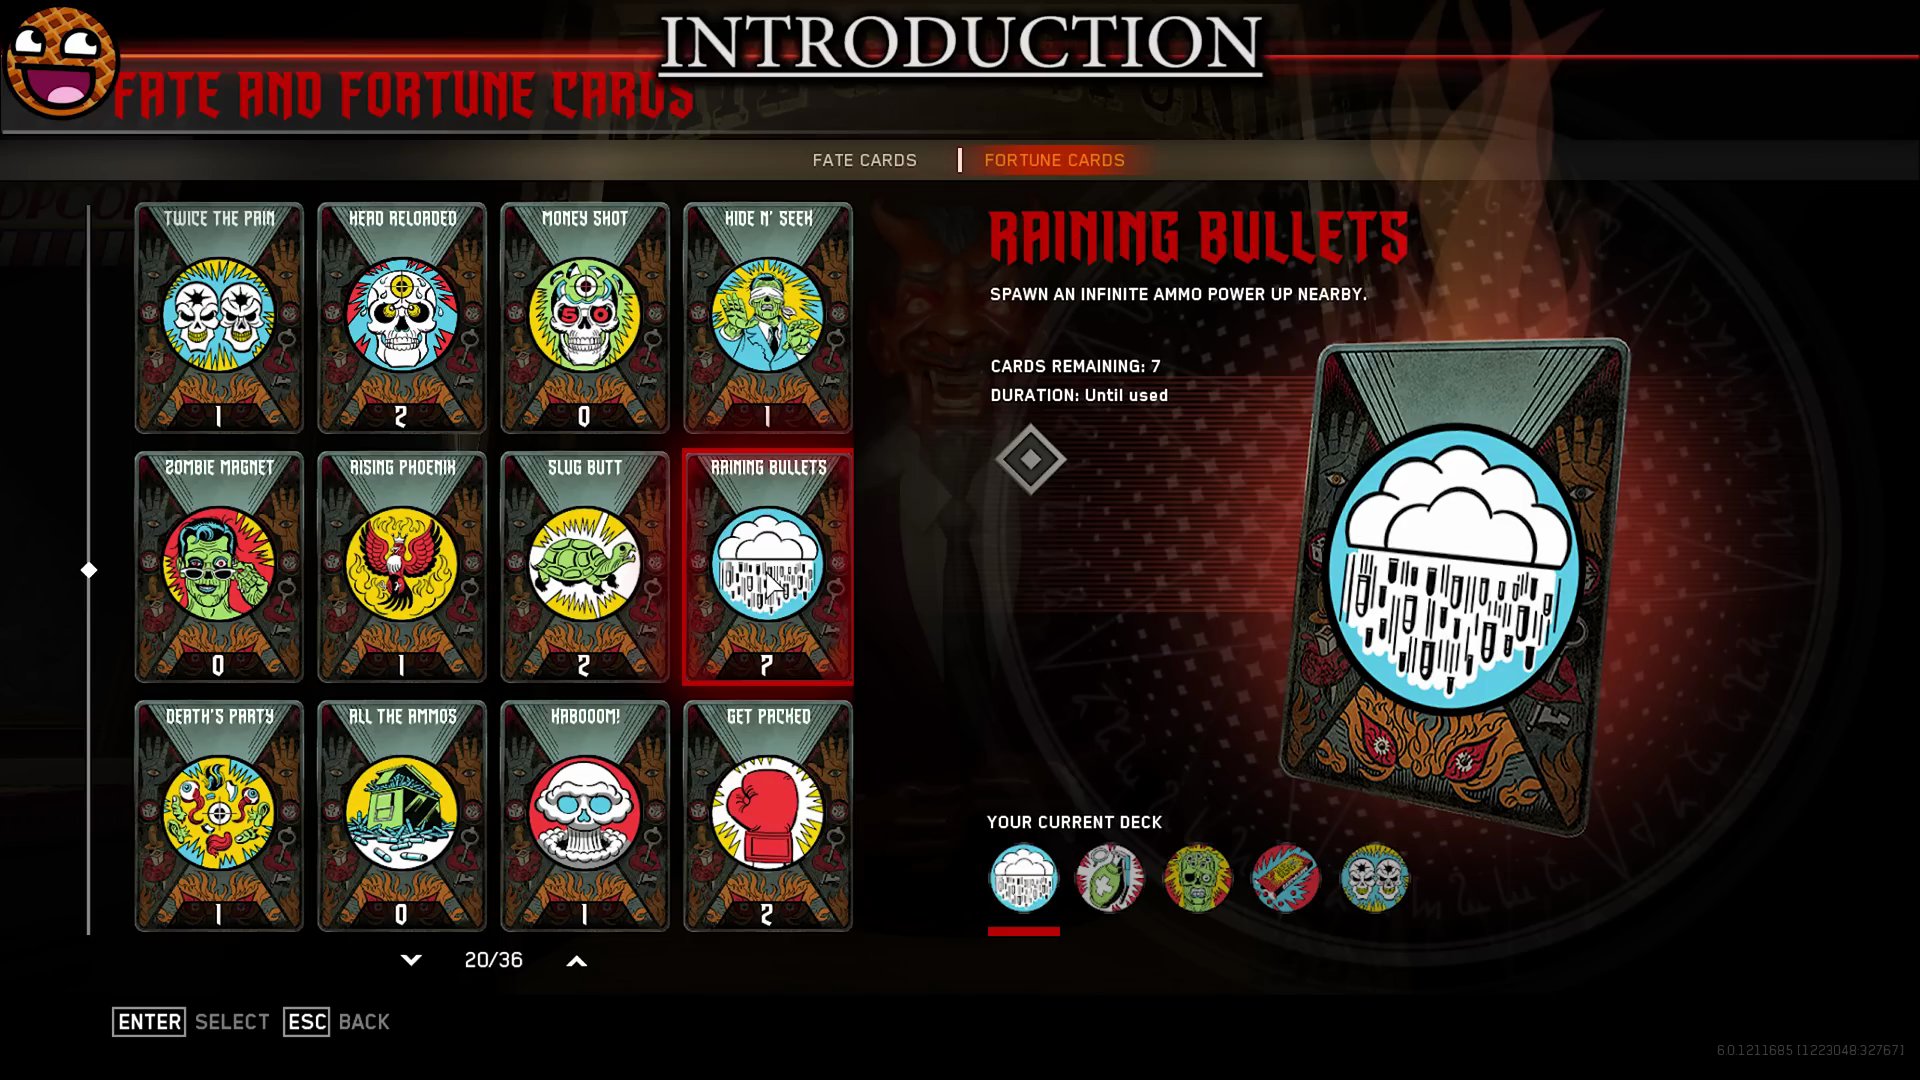
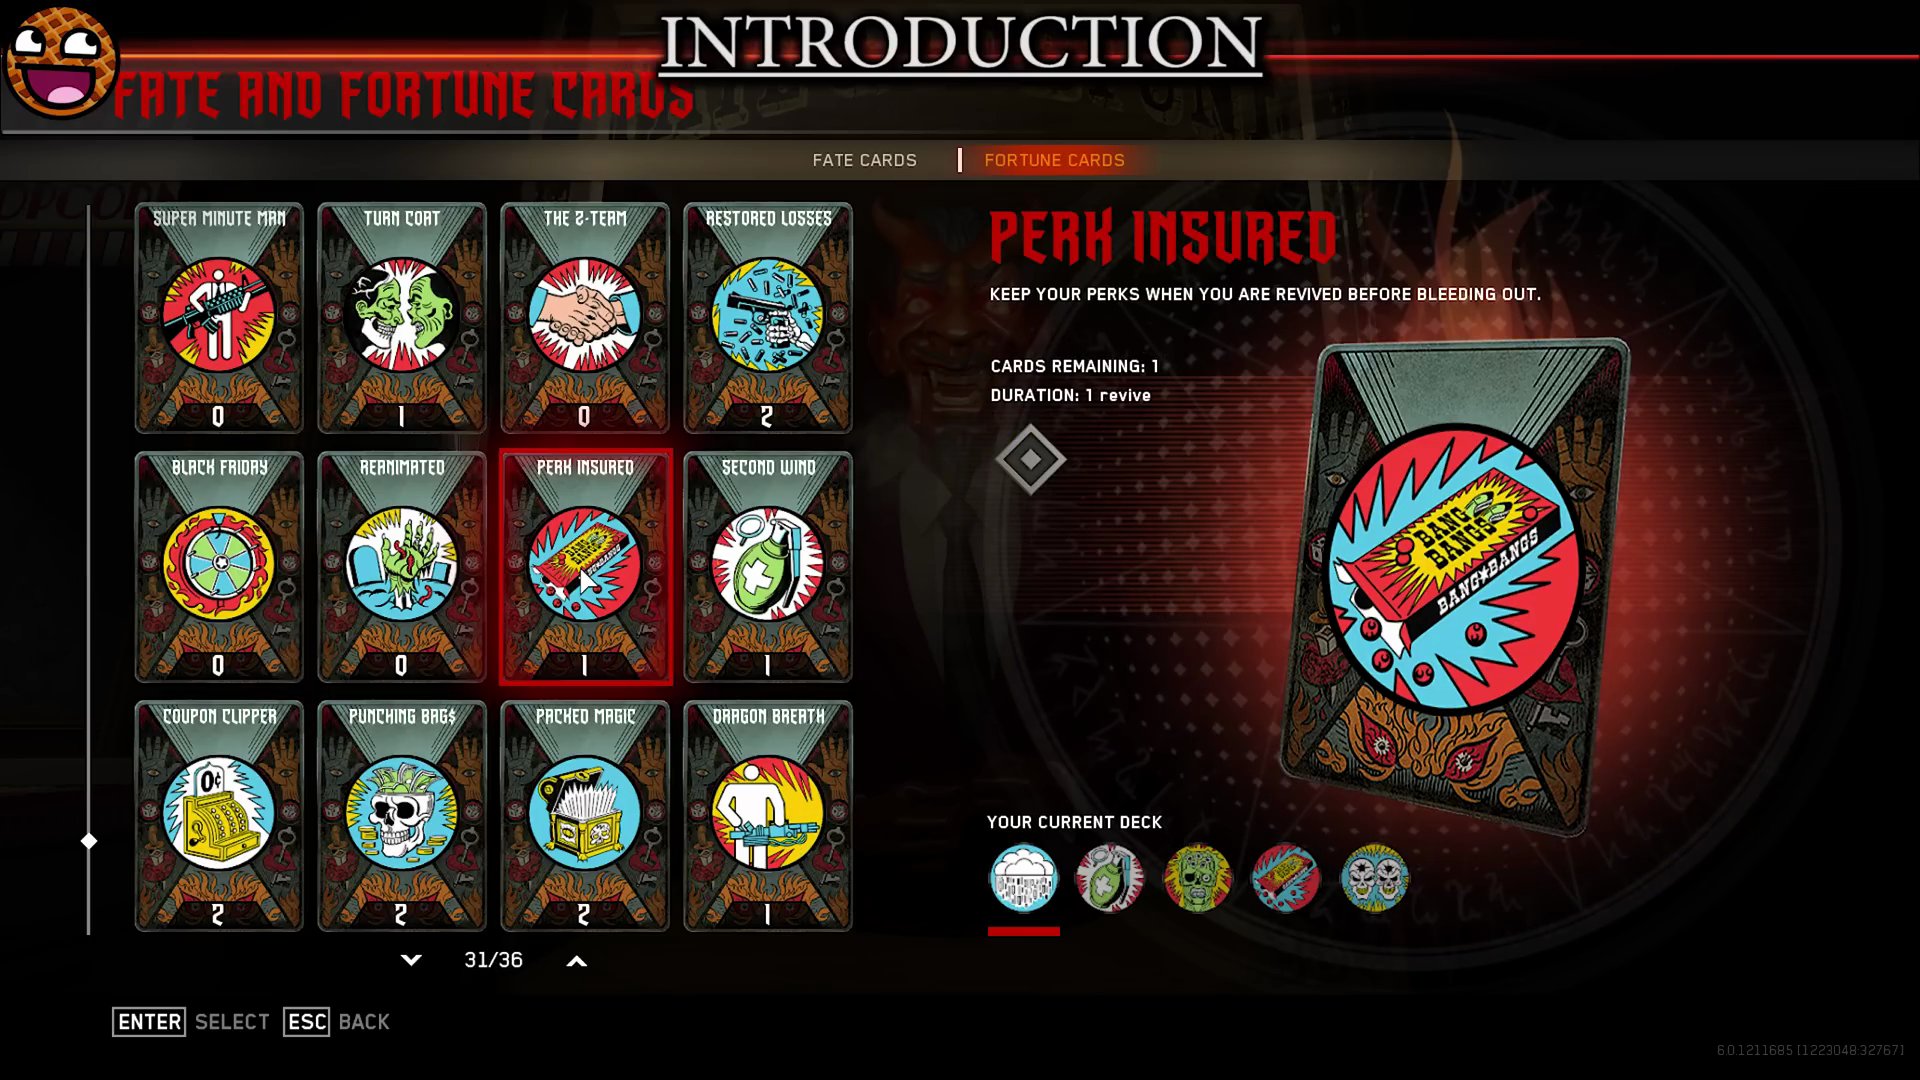
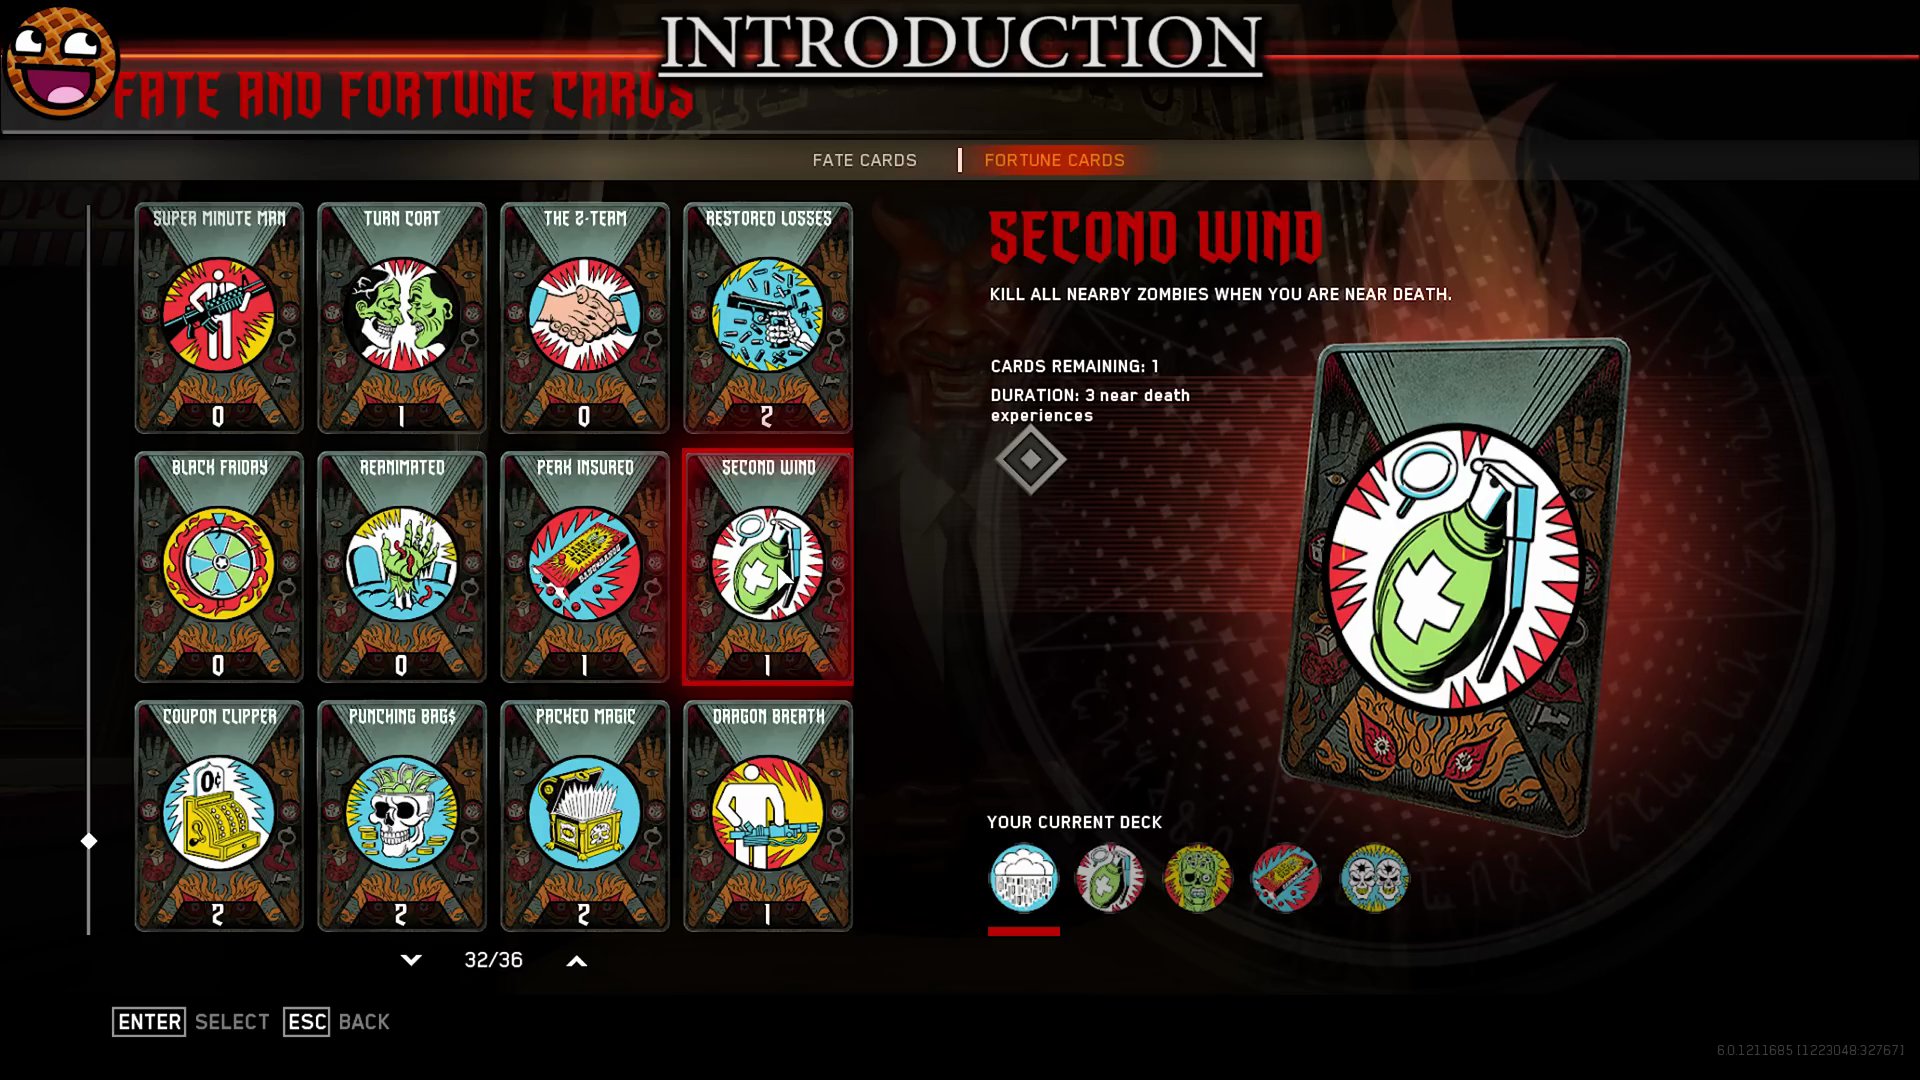
- **For Boss Fight:** Rising Phoenix (revive all downed teammates) and Perk Insured (keep perks after bleeding out) are excellent for co-op. Perk Insured is also useful in solo. Second Wind (kills nearby zombies when near death) is also recommended.
Step 1: Open Pack-a-Punch & Collect UFOs
- Travel through all four teleporters once (Polar Peak, Kepler, Arcade, Journey into Space) to activate the Pack-a-Punch portal.
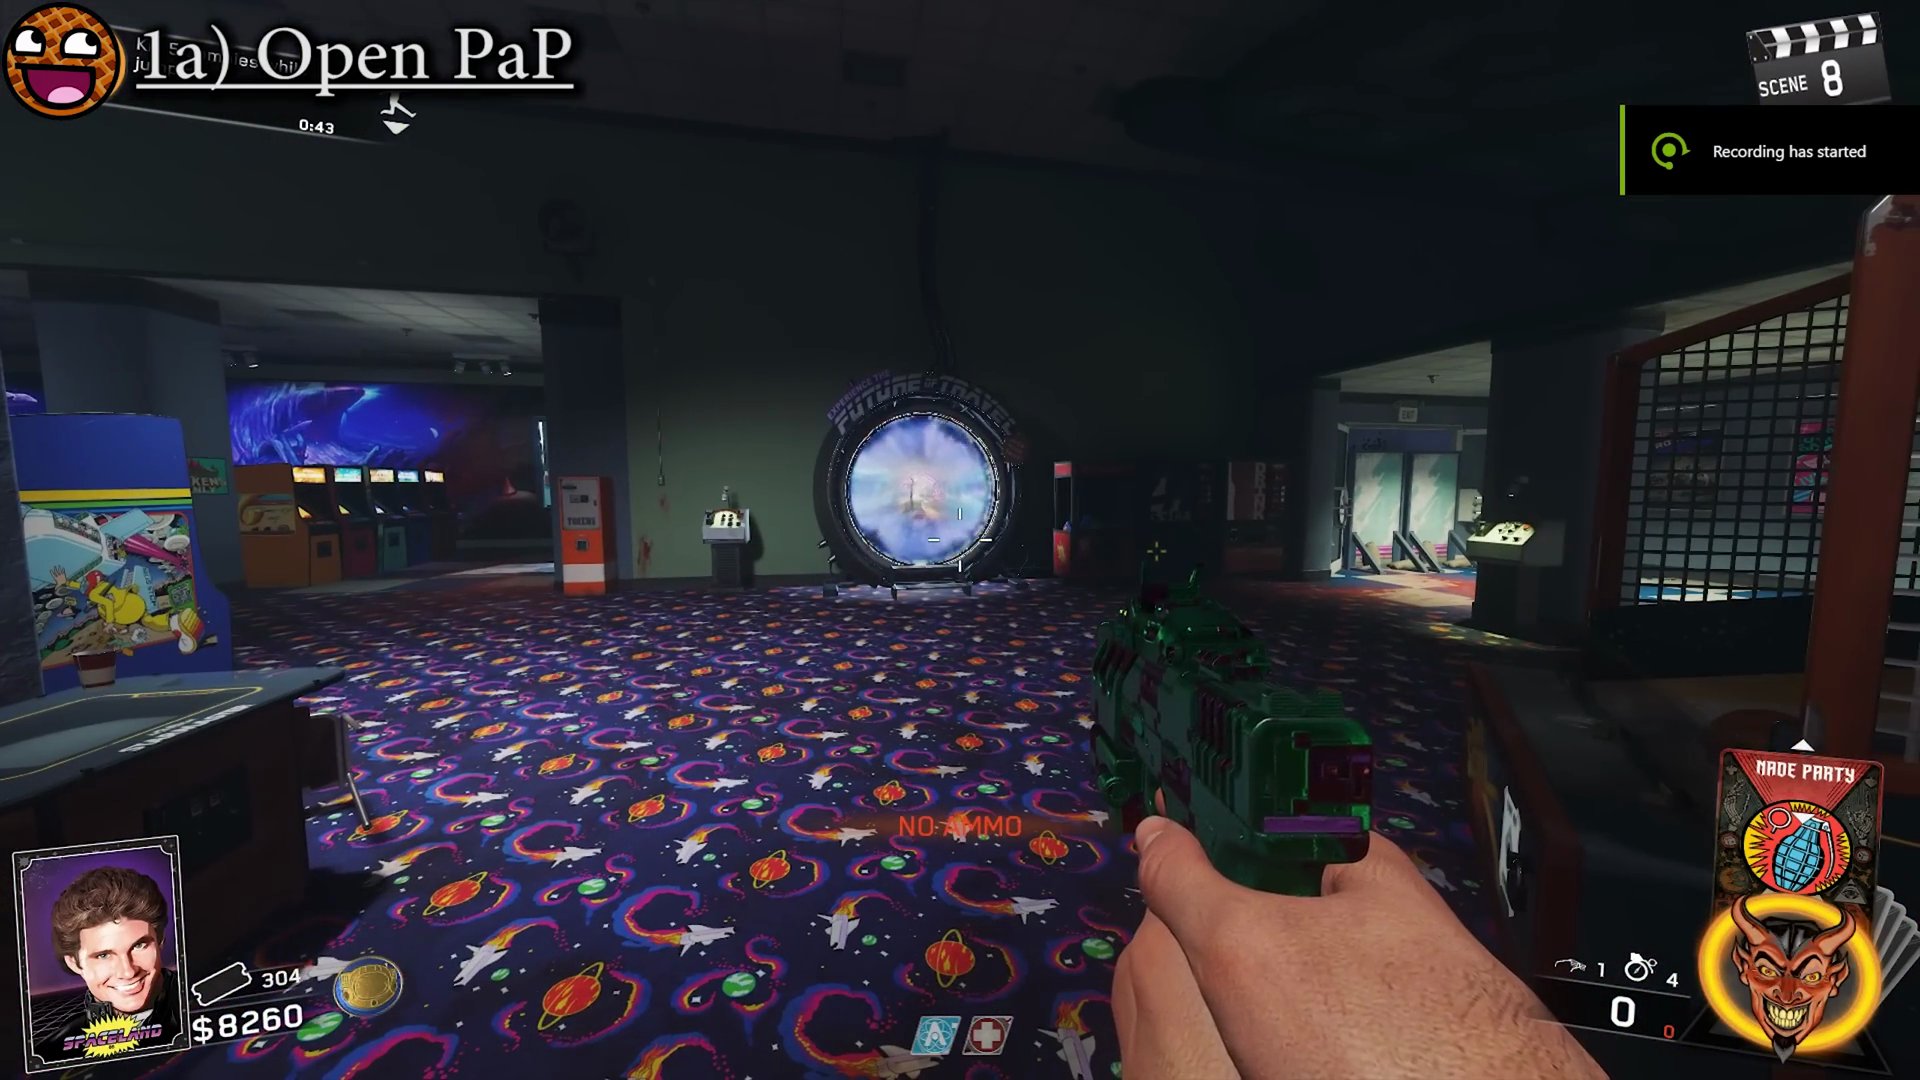
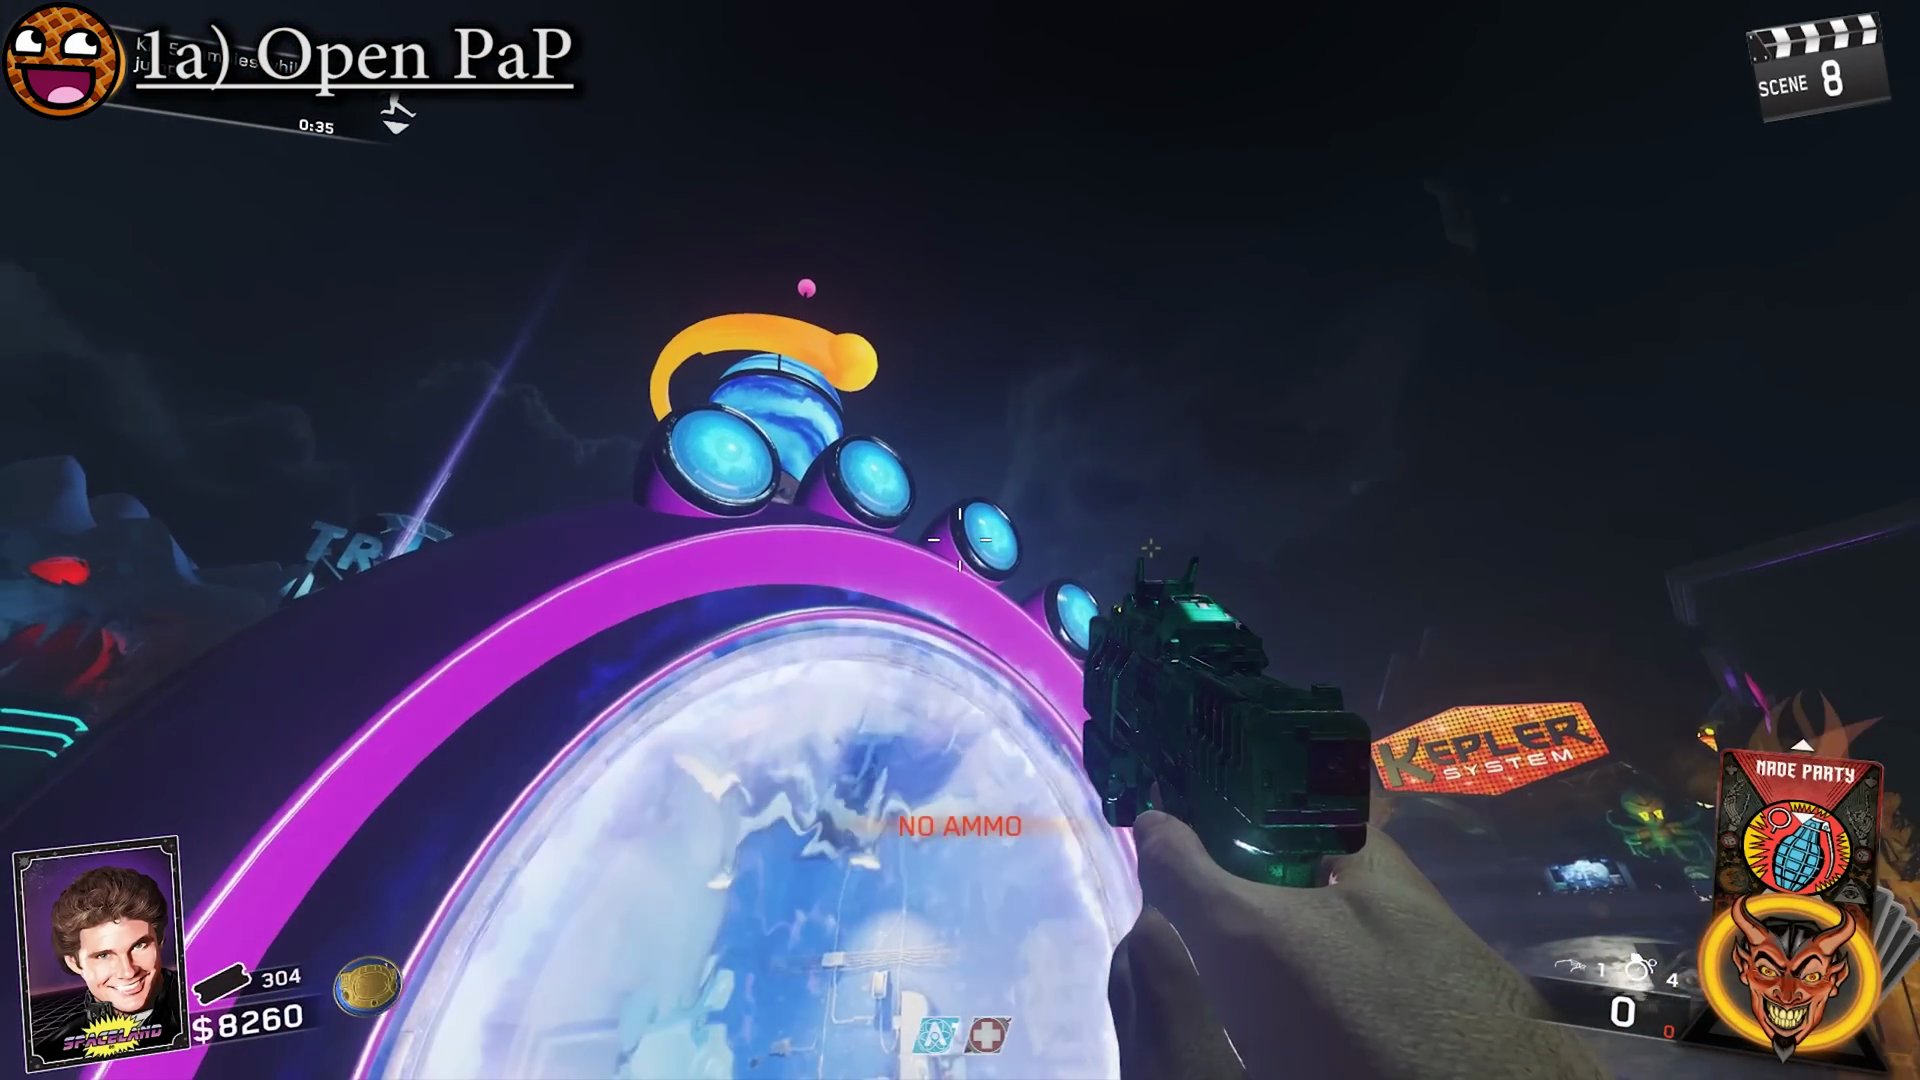
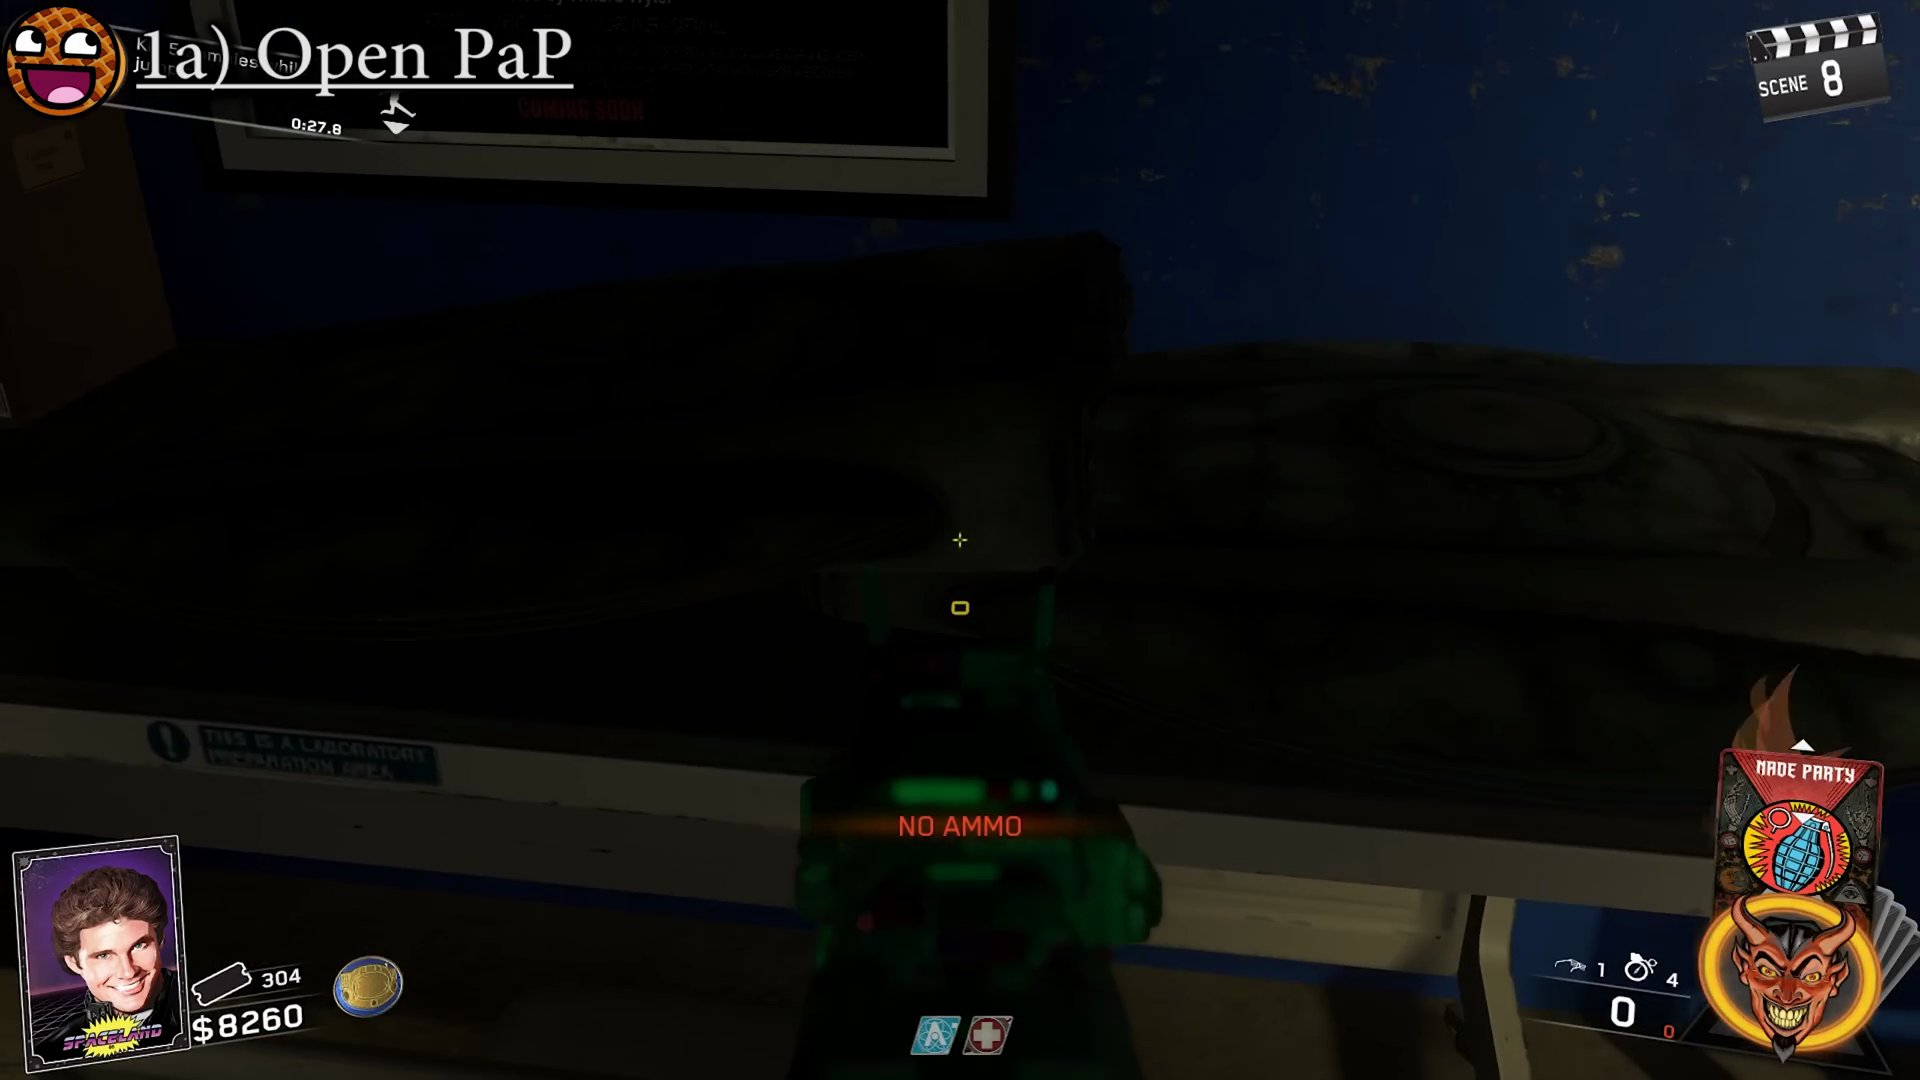
- Once the Pack-a-Punch room is accessible, enter it and interact with the three small UFOs located on the desk in the corner.
Step 2: Build the SETICOM
- Collect the three parts for the SETICOM: Umbrella, Boombox, and Calculator. There are three possible spawn locations for each part.
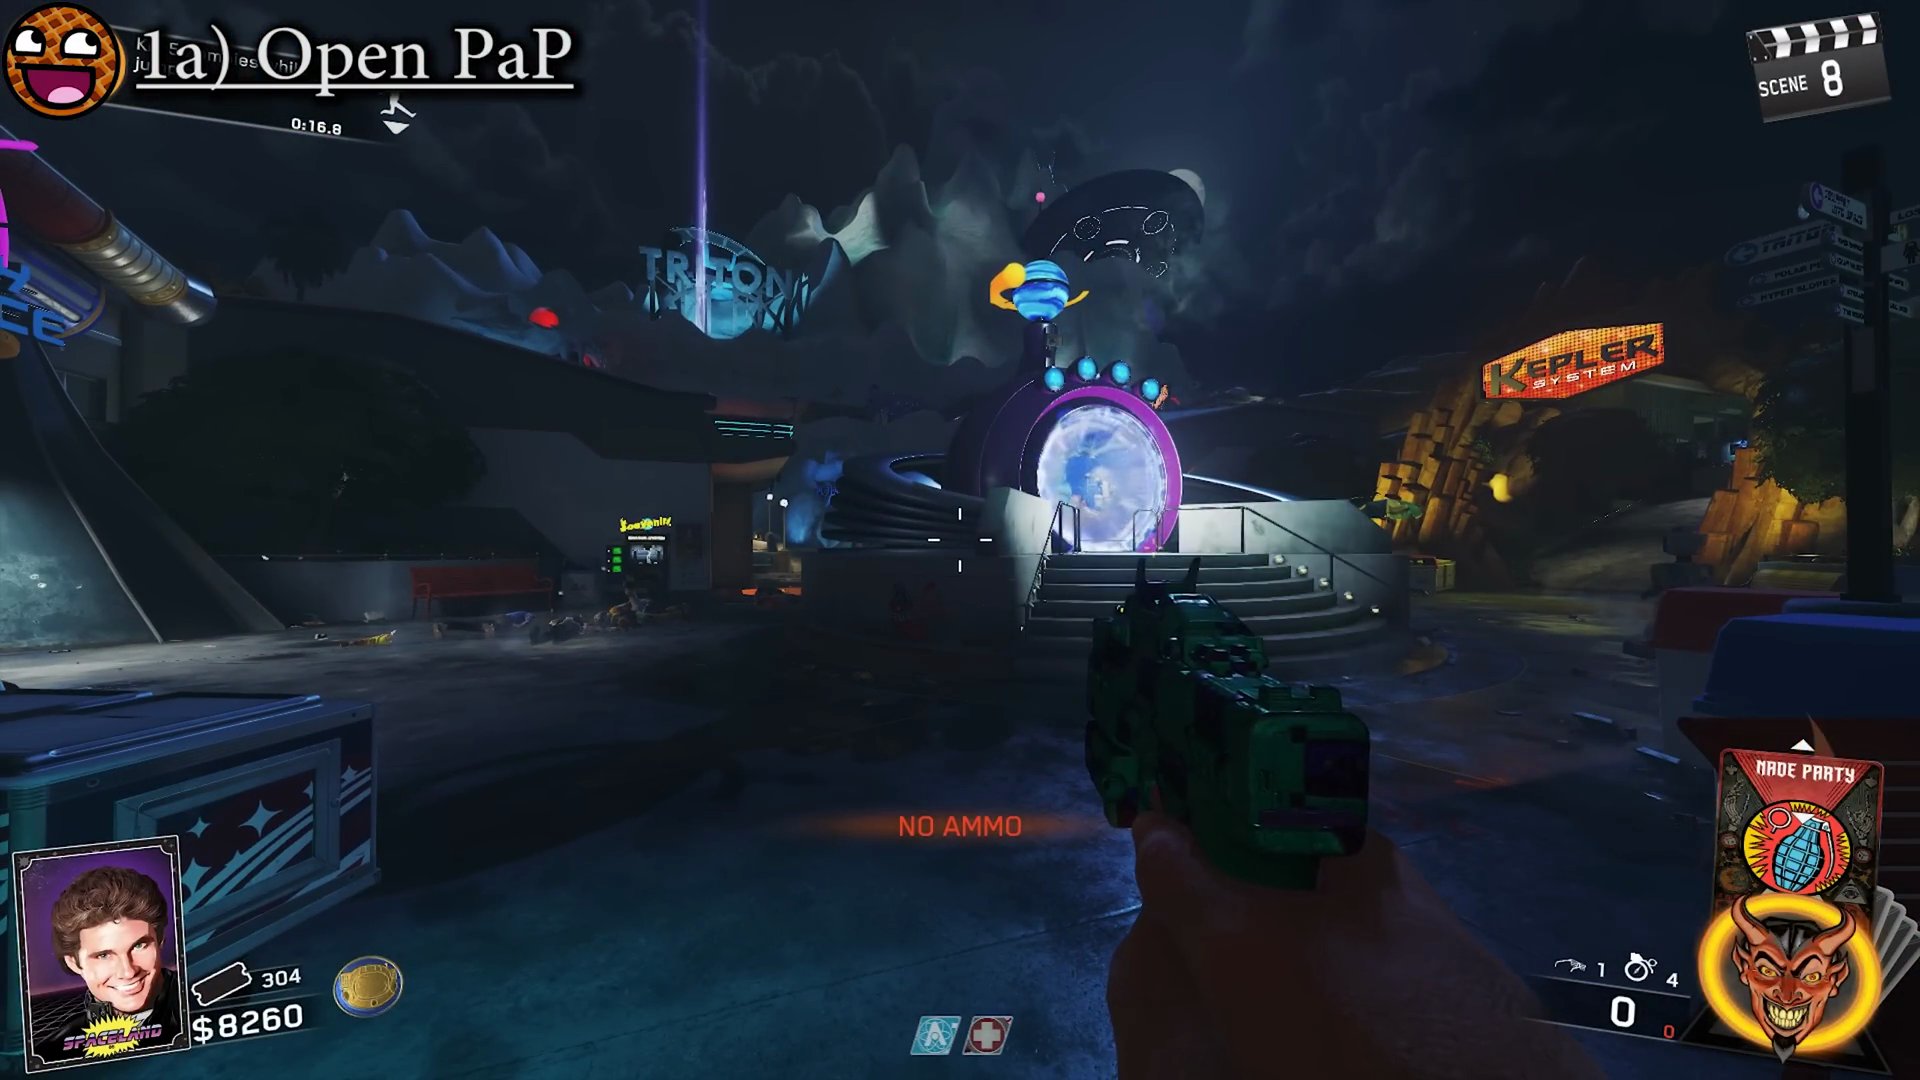
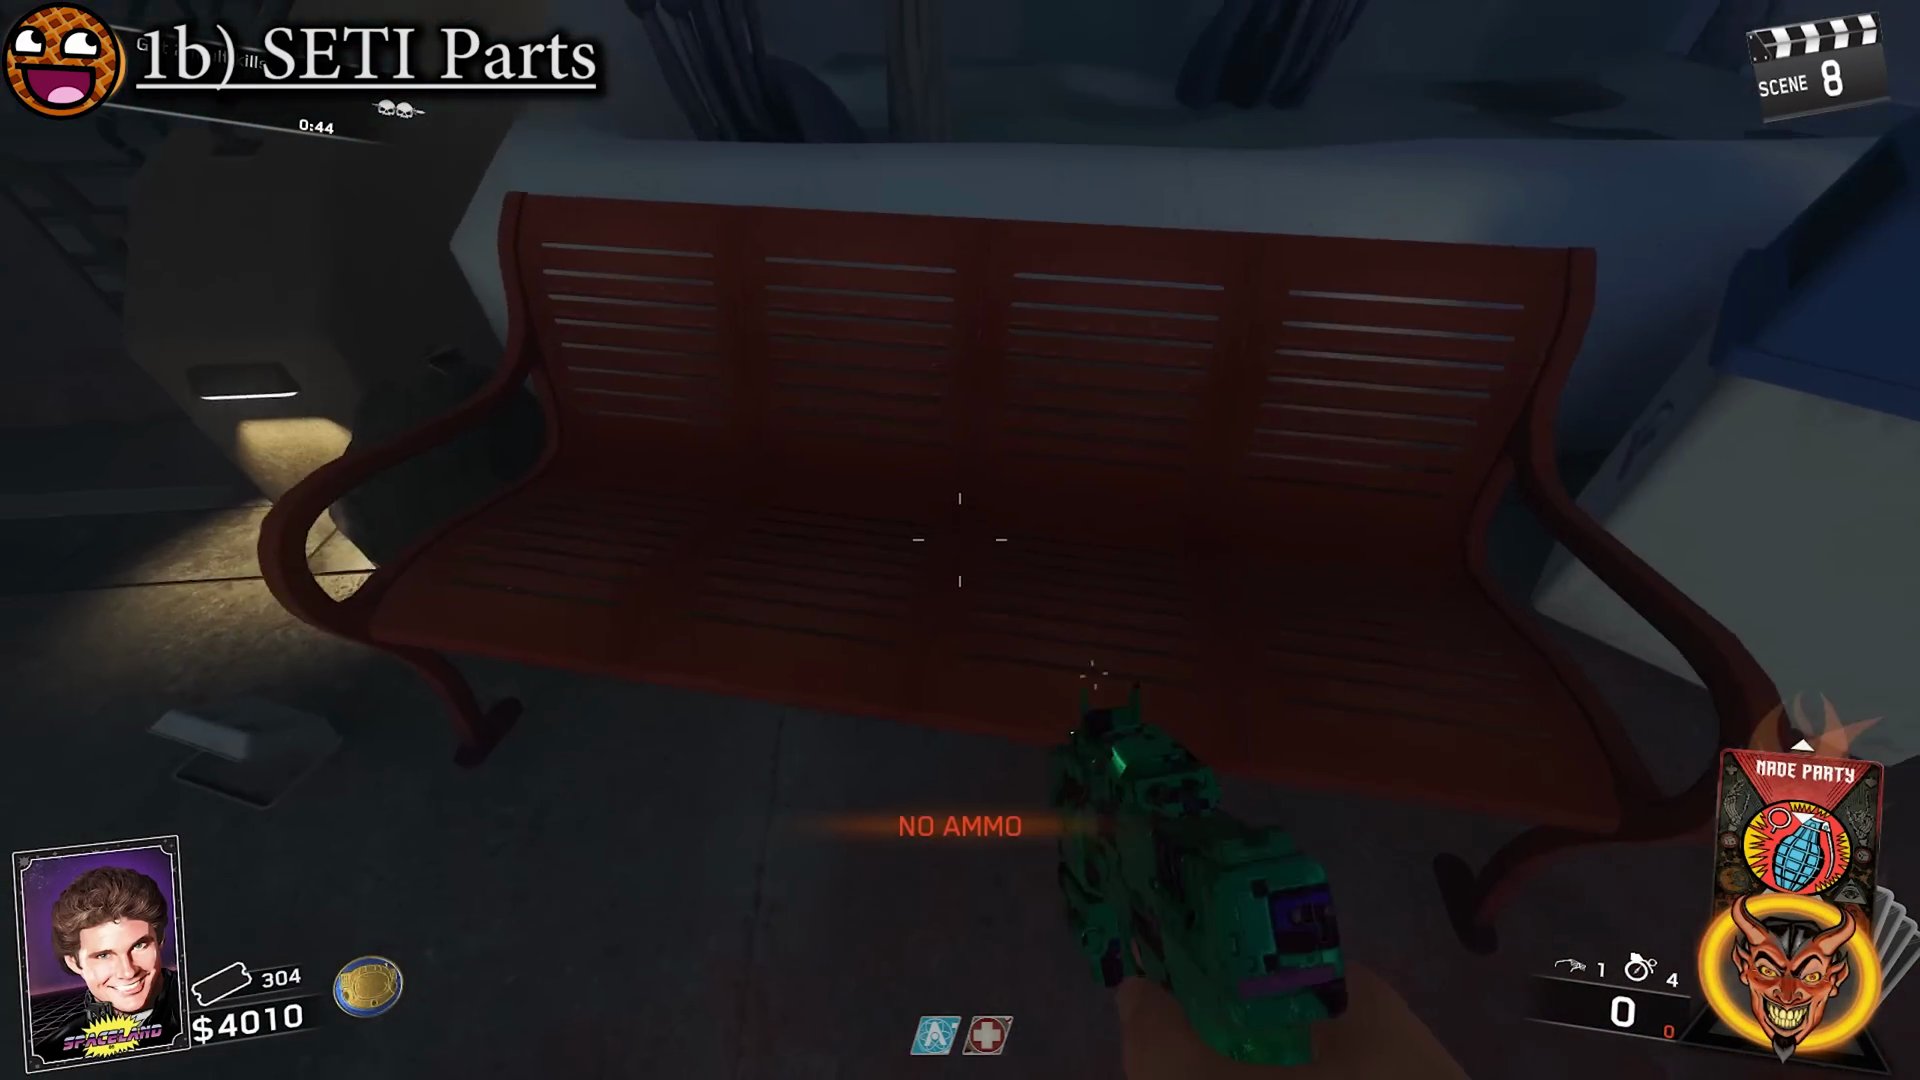
- **Umbrella Spawns:**
- Cosmic Way: On a red bench.
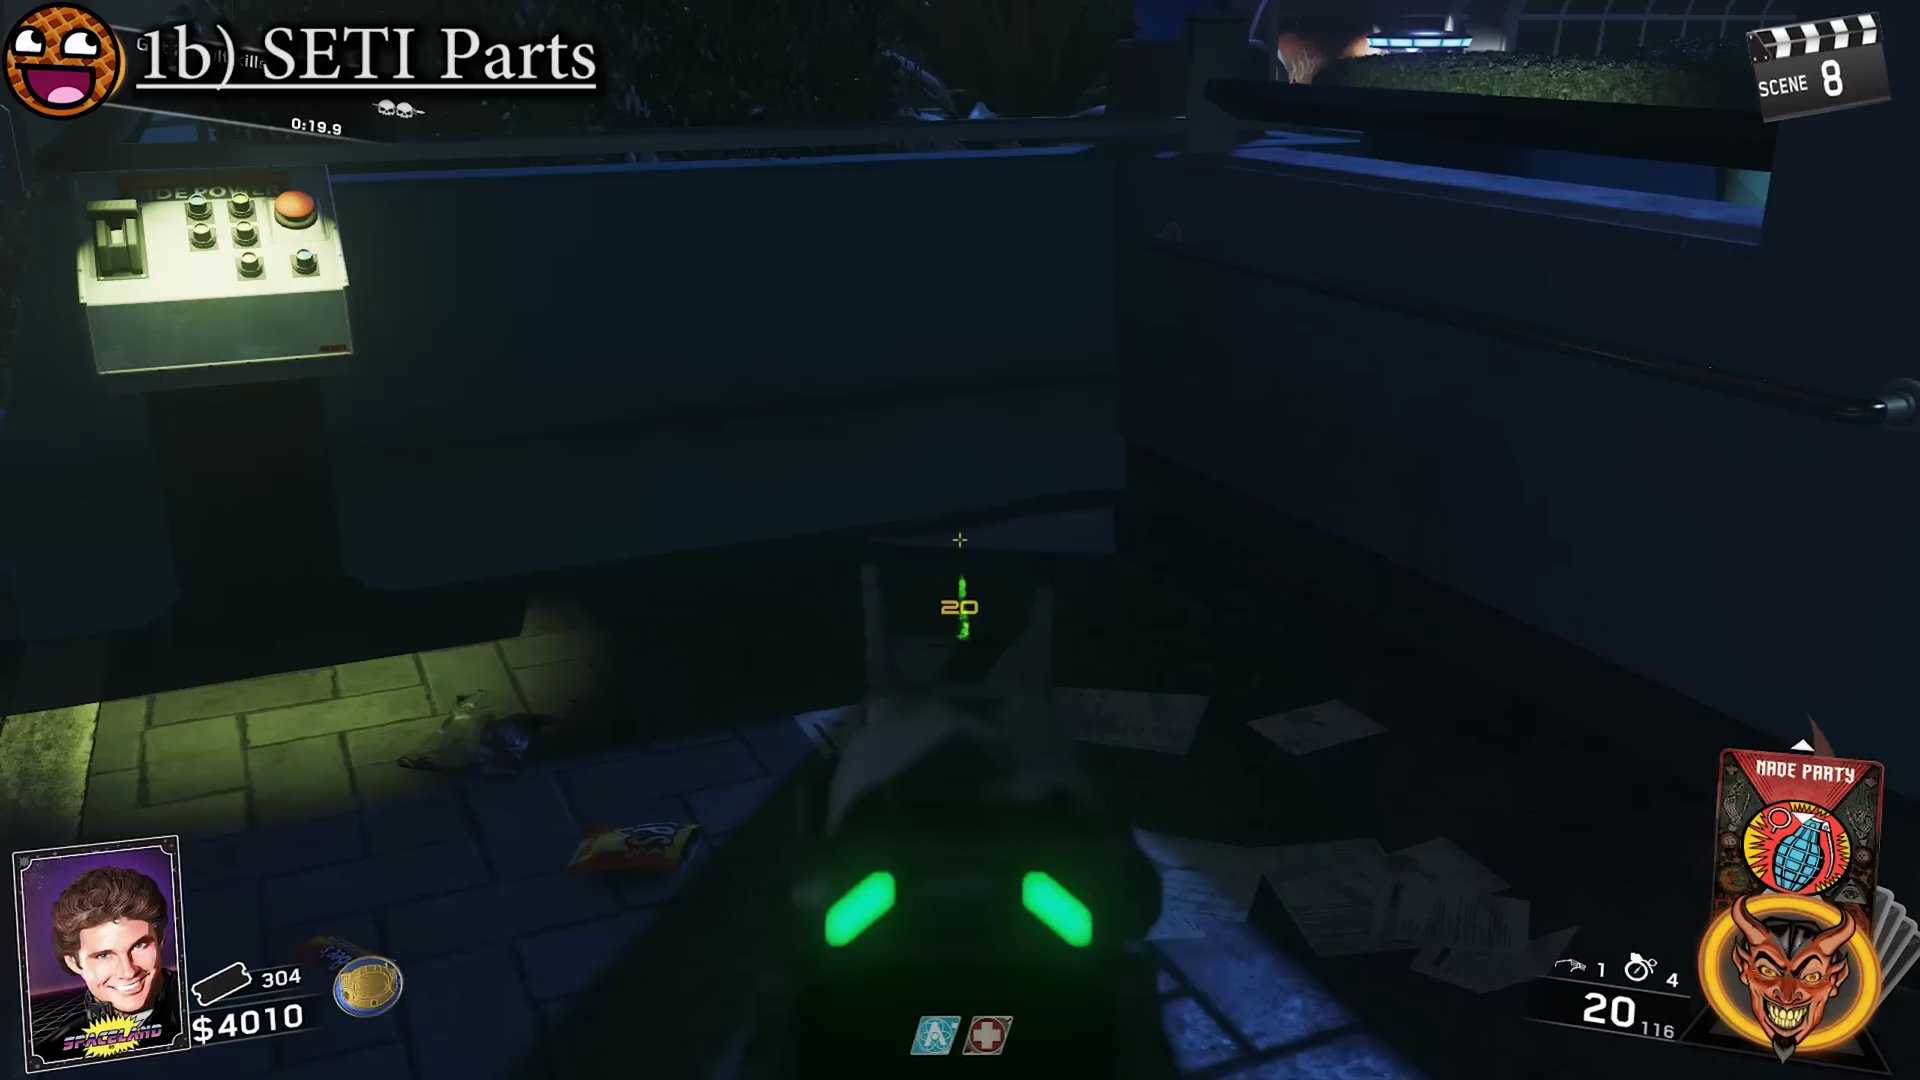
- Journey into Space: In a shadowed corner just before the rocket trap.
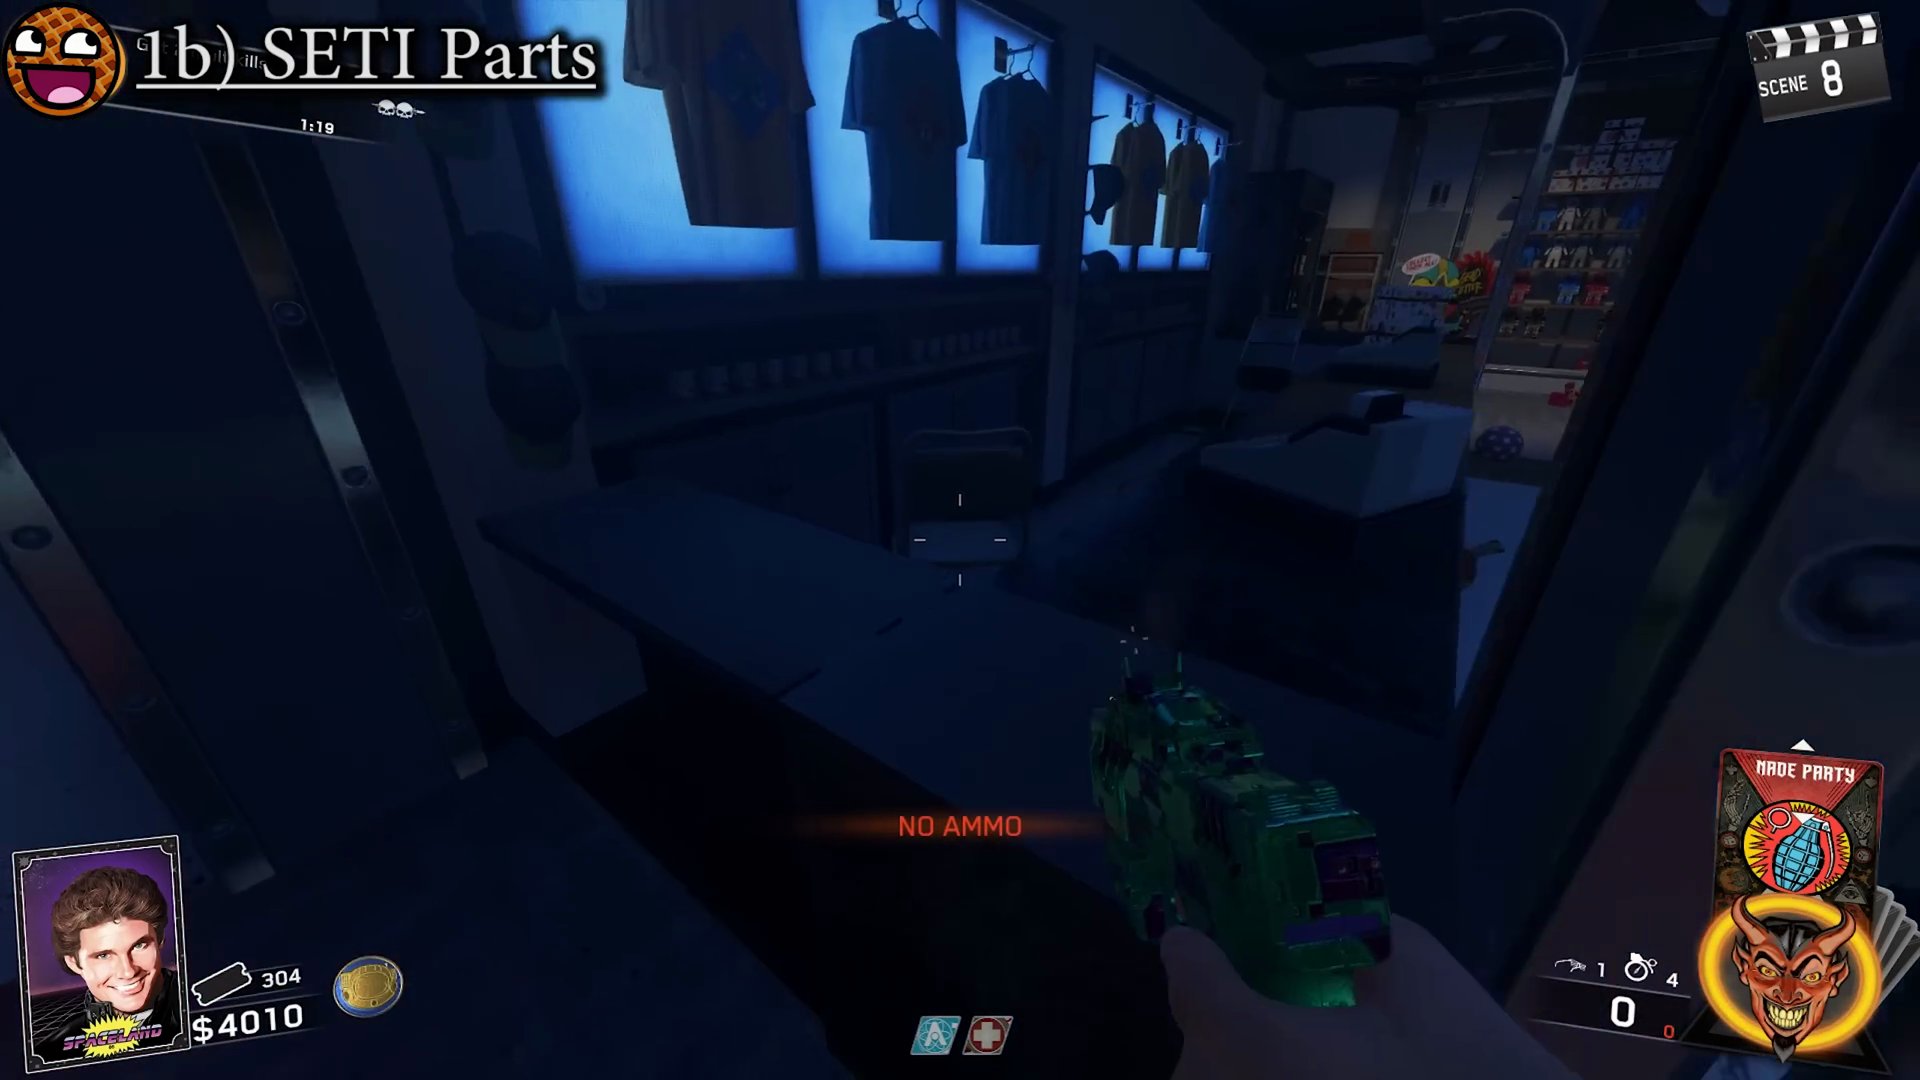
- Polar Peak Gift Shop: On the counter.
- **Boombox Spawns:**
- Cosmic Way: On the bridge leading to the map spawn.
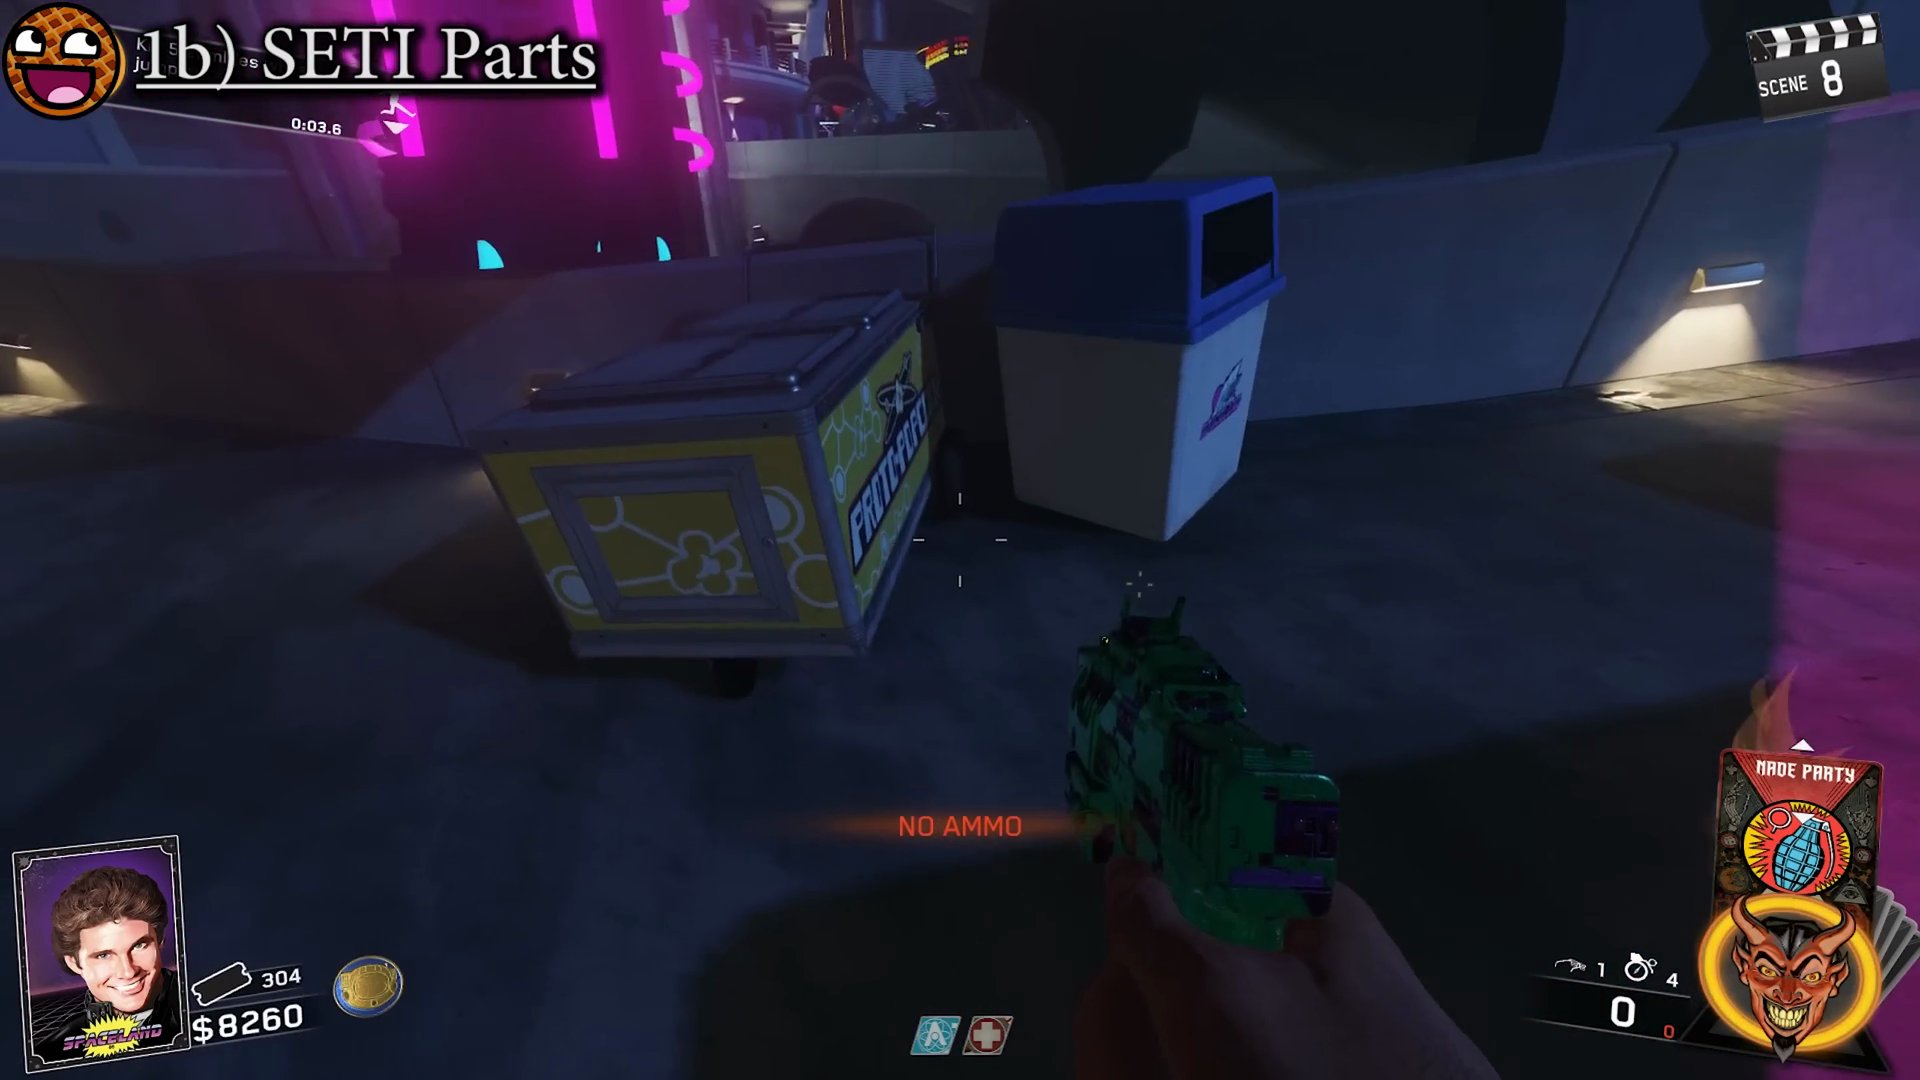
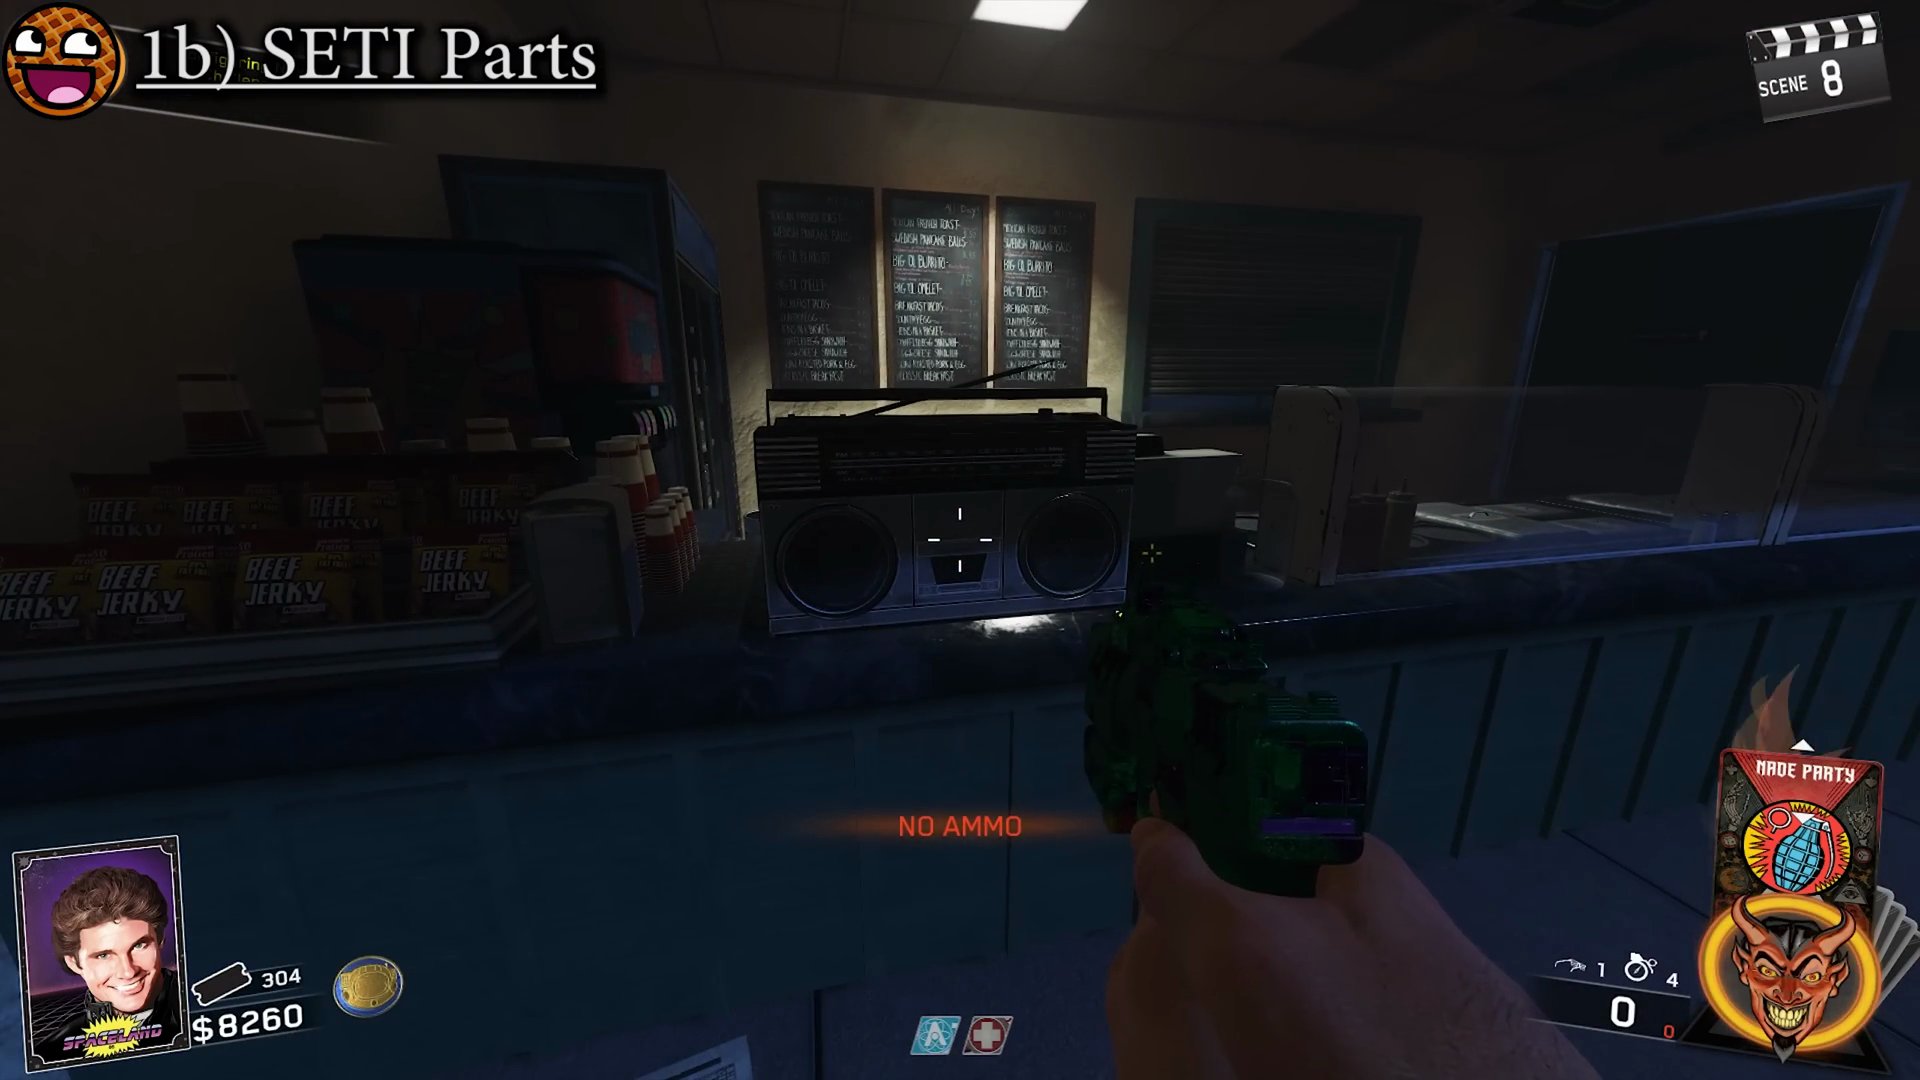
- Kepler: On the countertop by the bar.
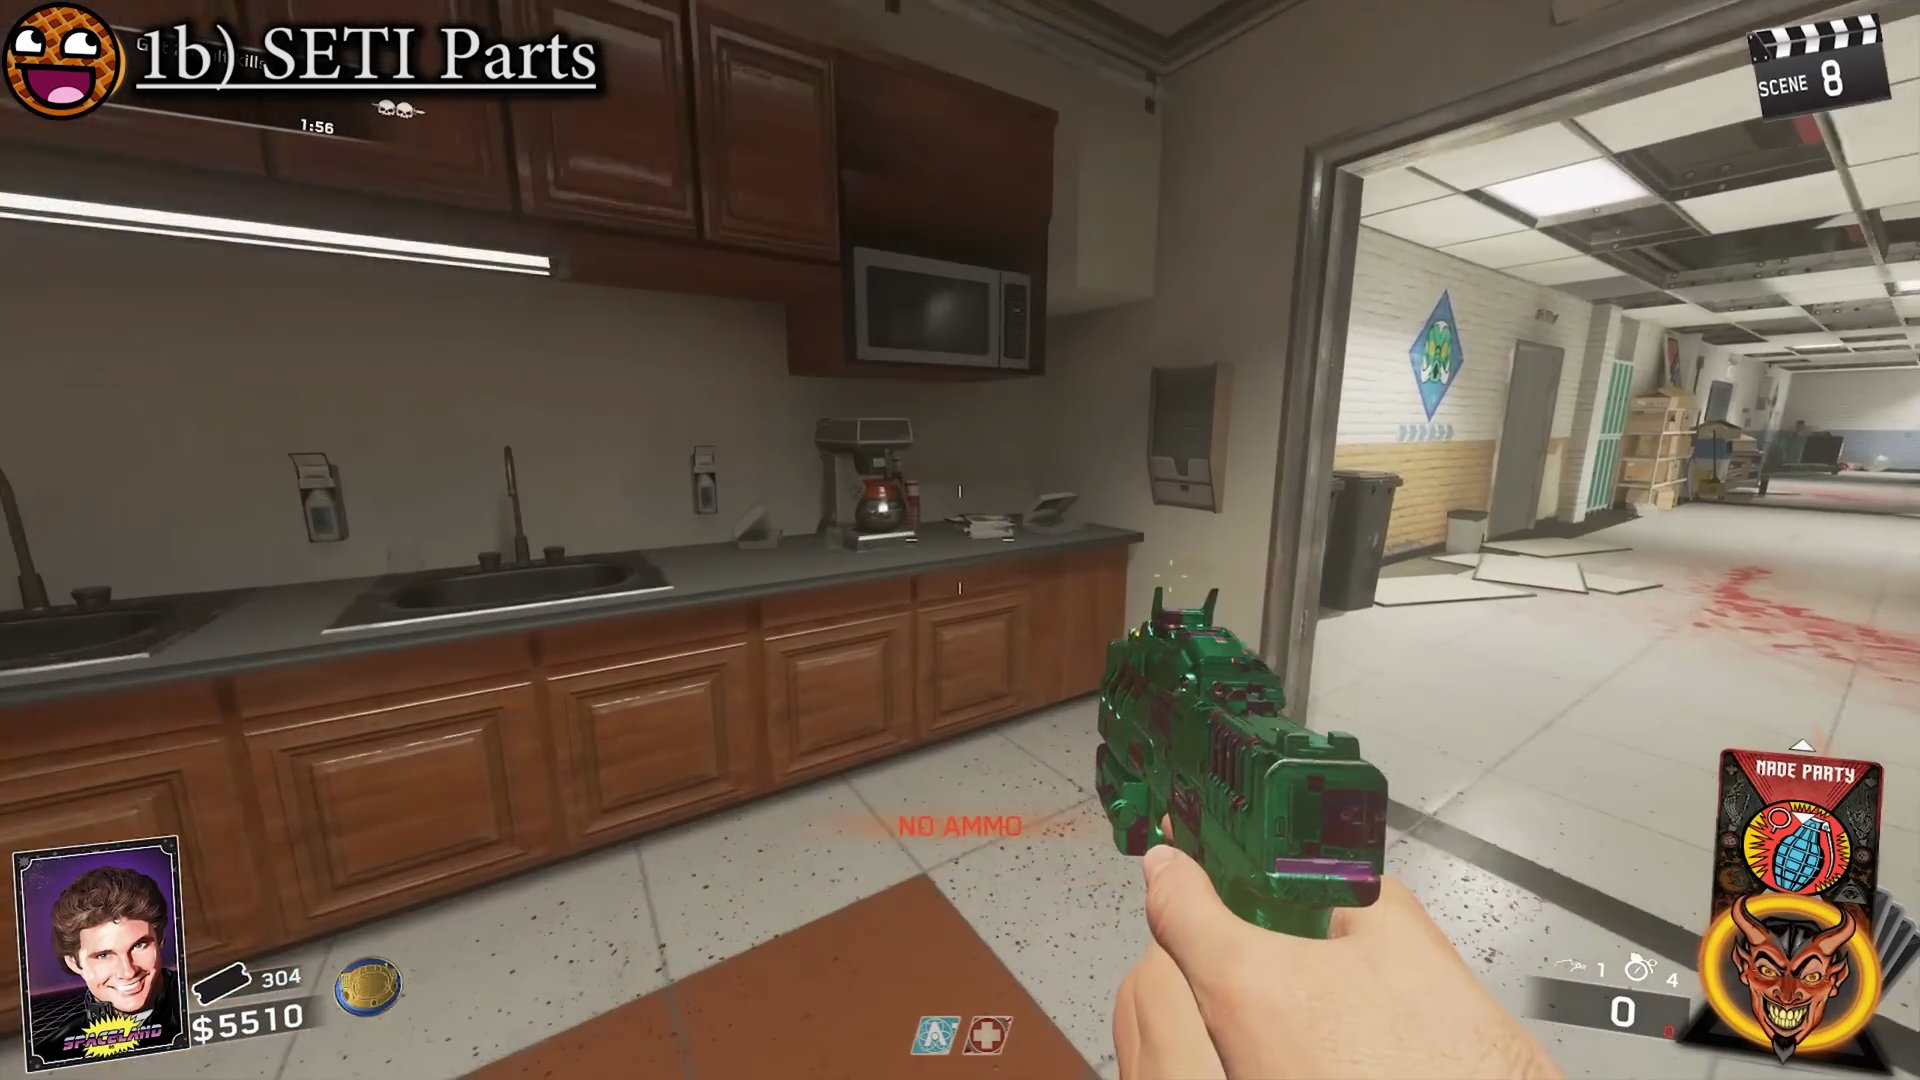
- Underground: In the coffee break room, on the counter.
- **Calculator Spawns:**
- Kepler: On one of the benches in the outdoor seating area.
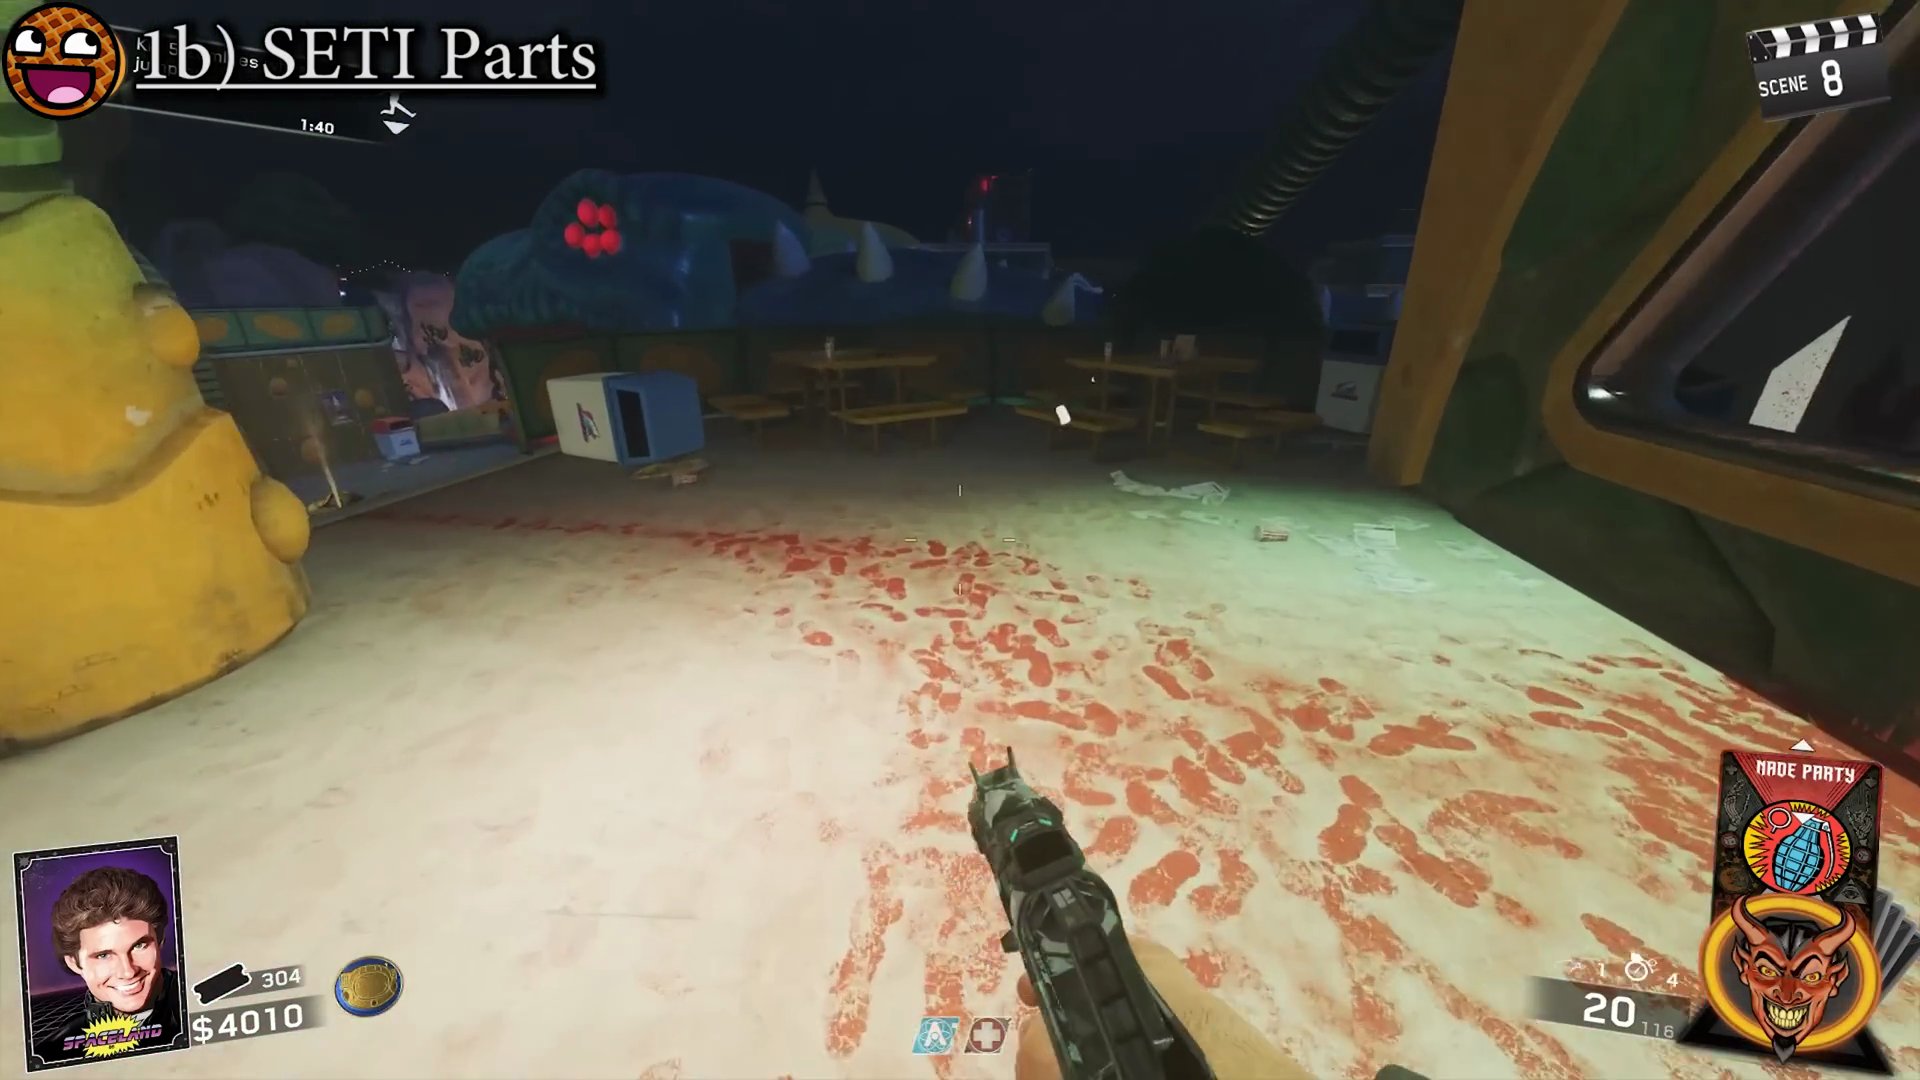
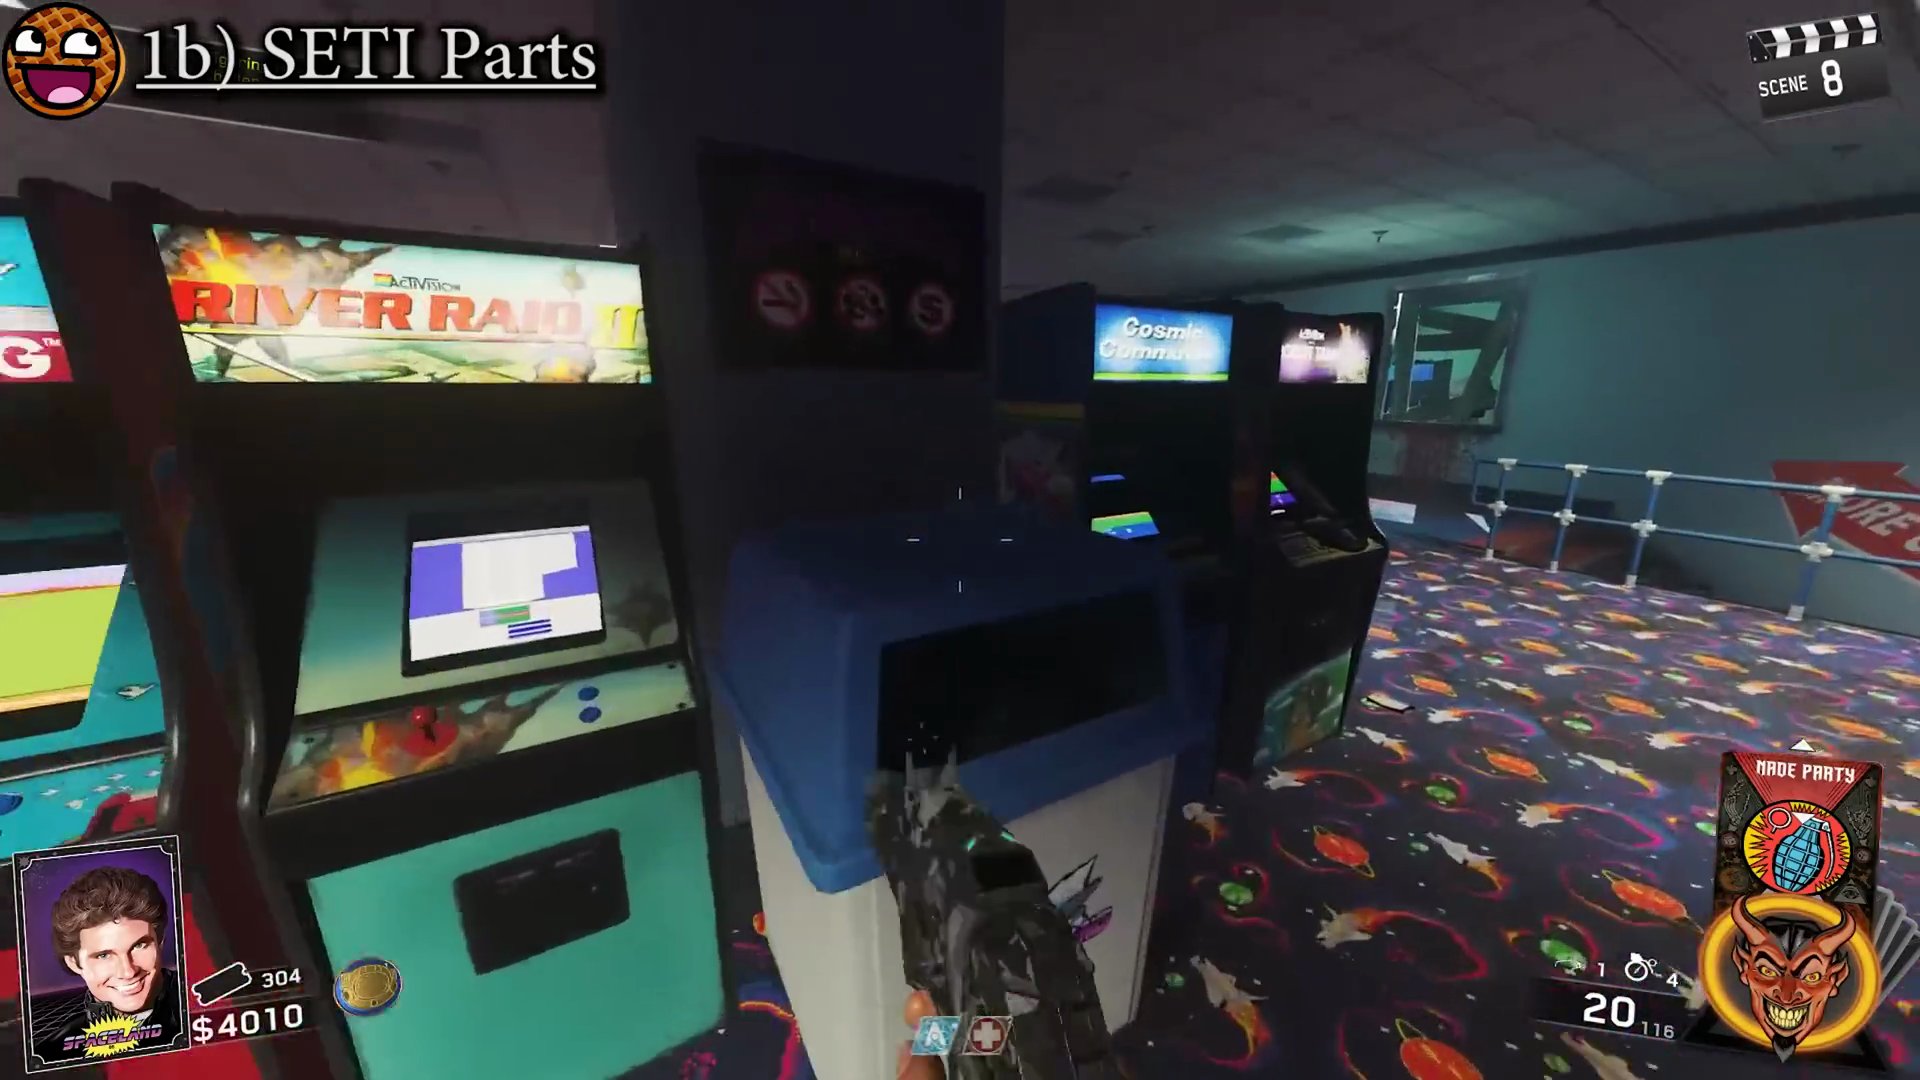
- Arcade: On top of a blue trash bin on the raised area.
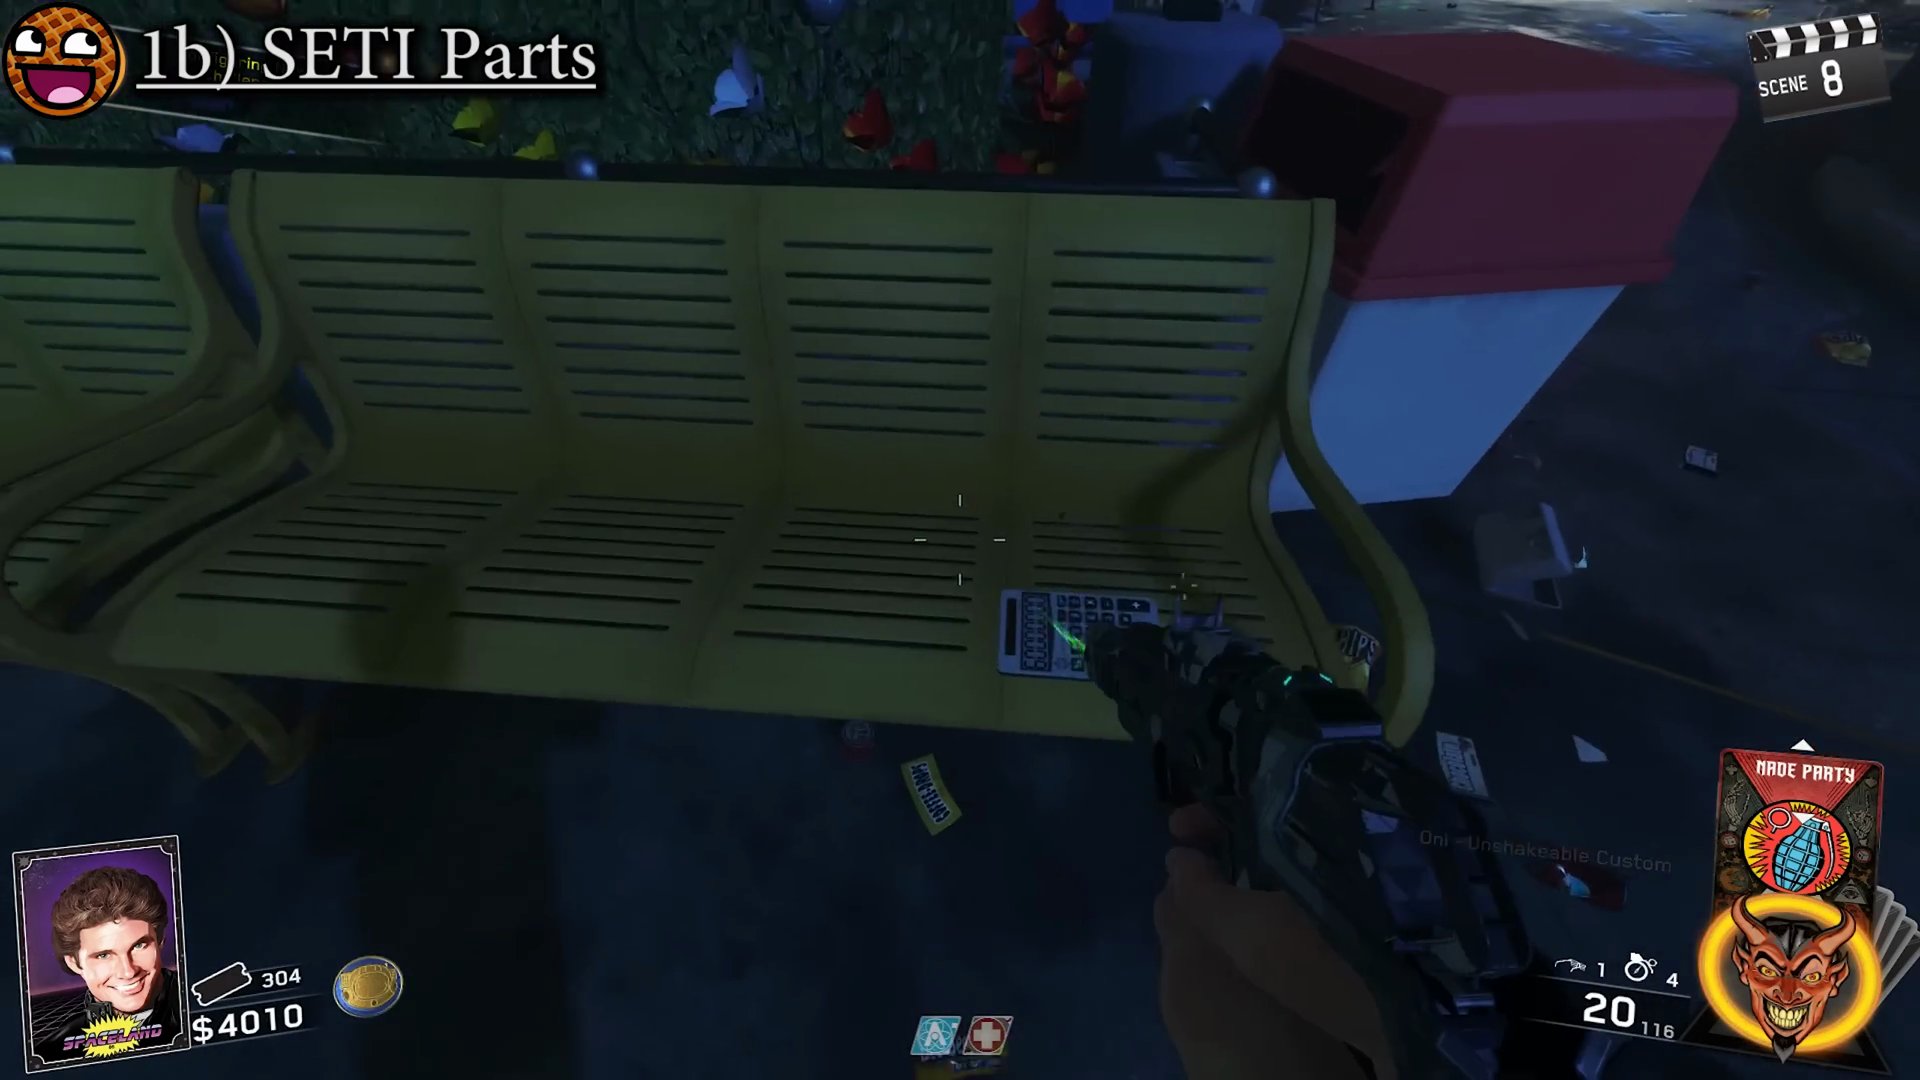
- Cosmic Way: On a yellow bench near Space Depot.
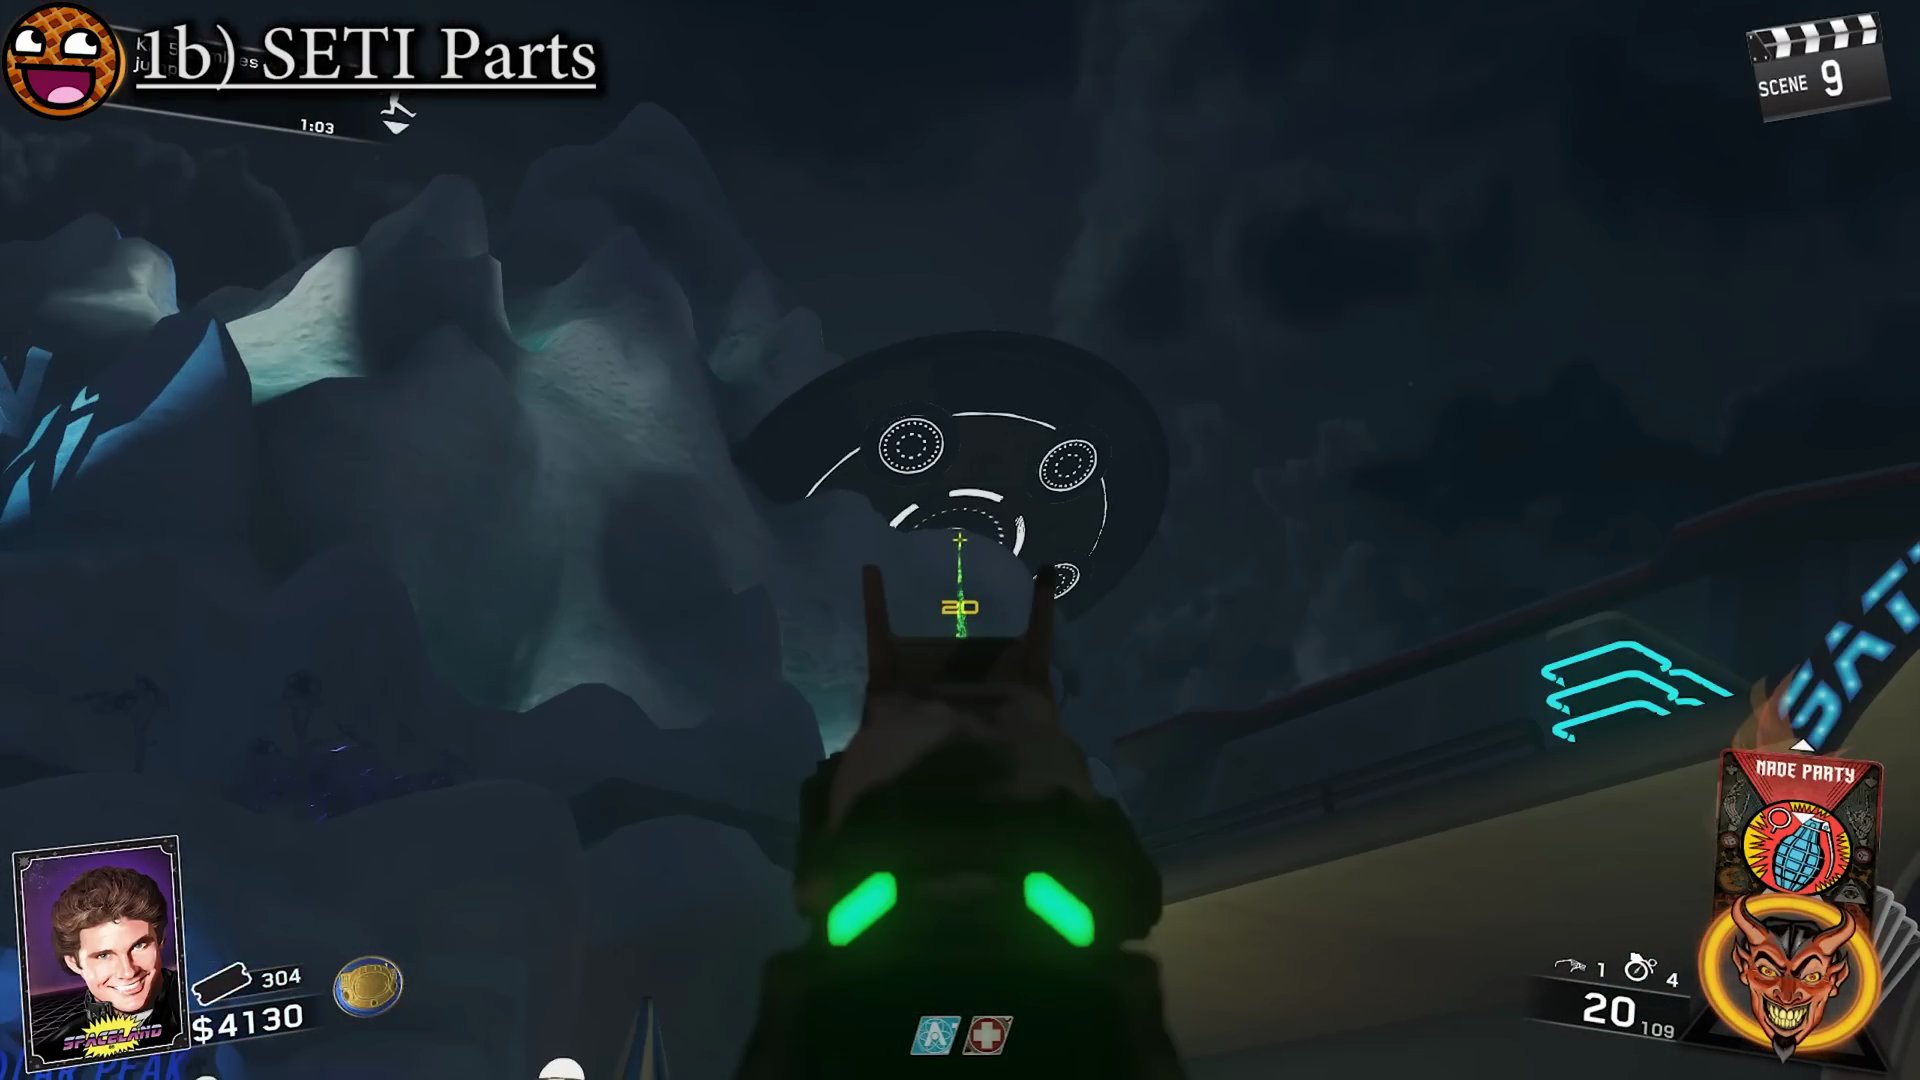
- After collecting all three SETICOM parts and activating Pack-a-Punch, advance to the next round. You will hear strange honking noises and see the UFO embedded in the Polar Peak mountain light up.
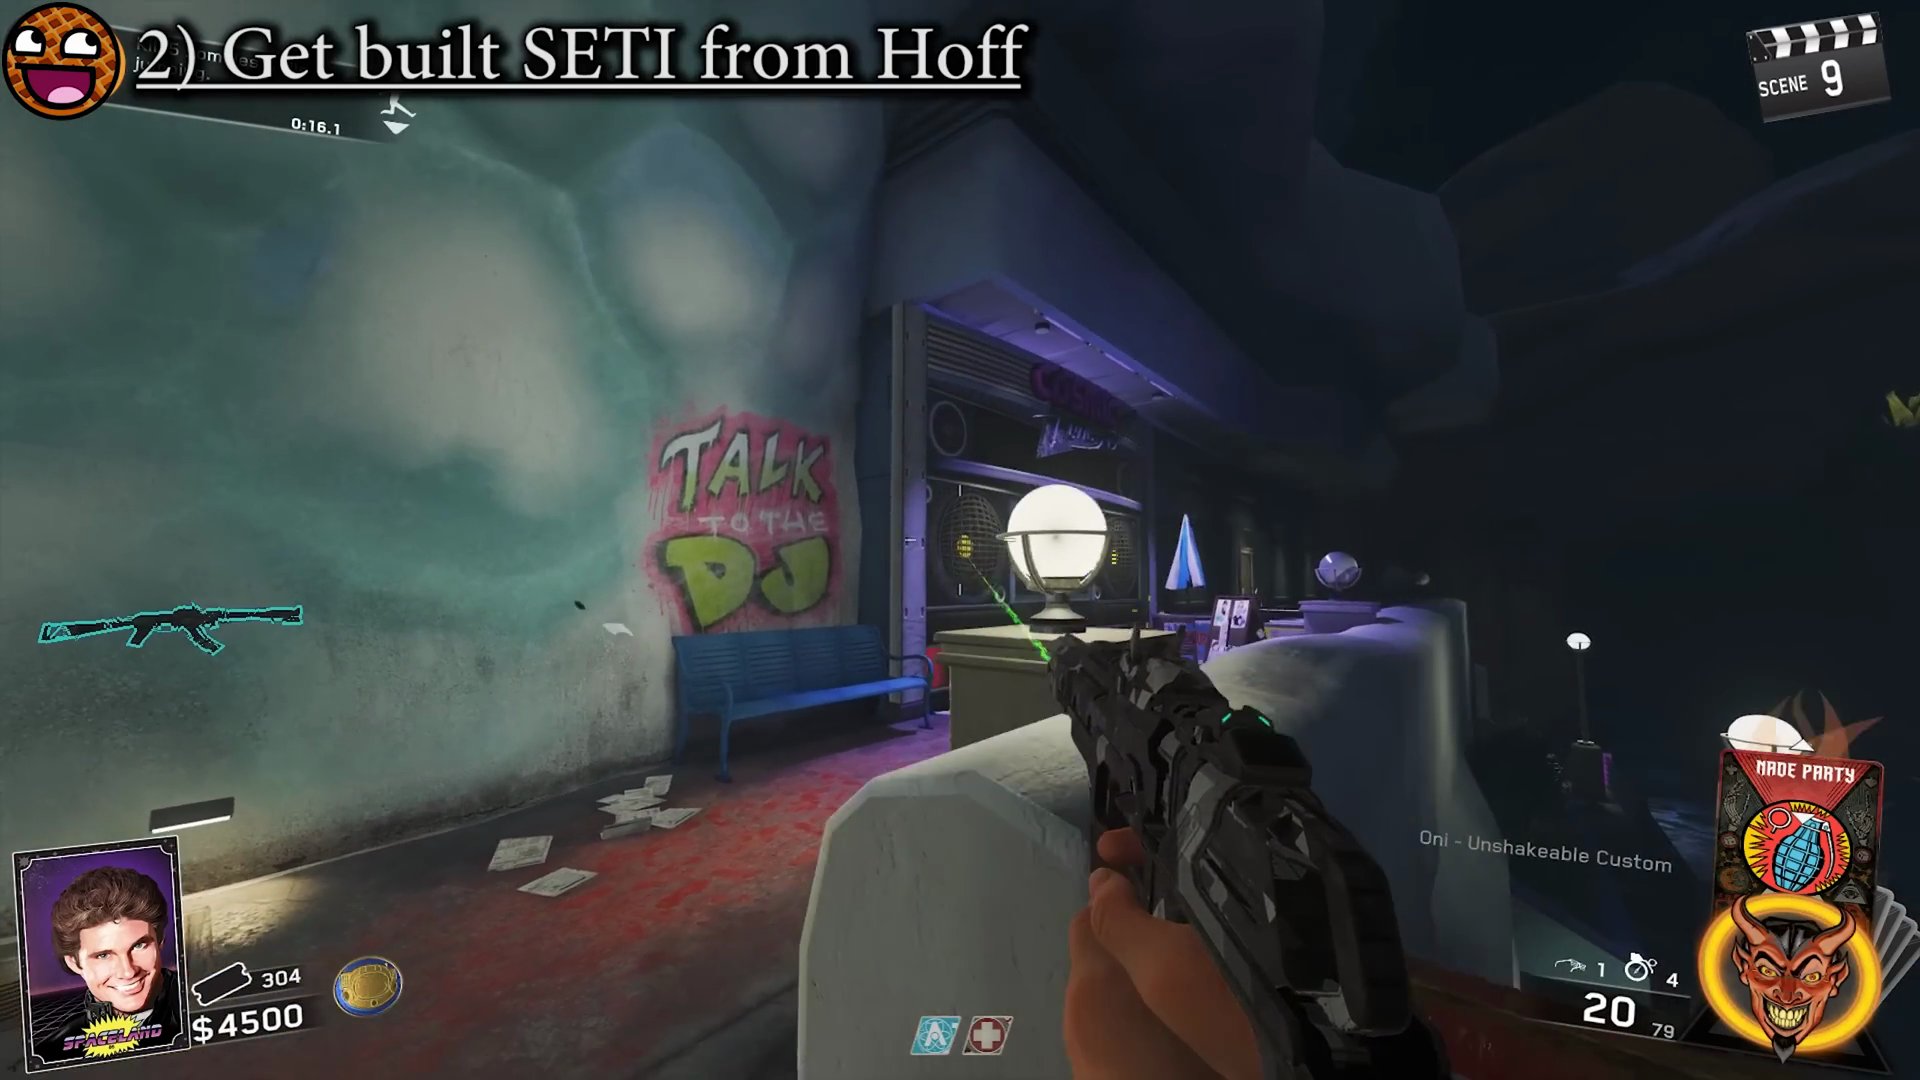
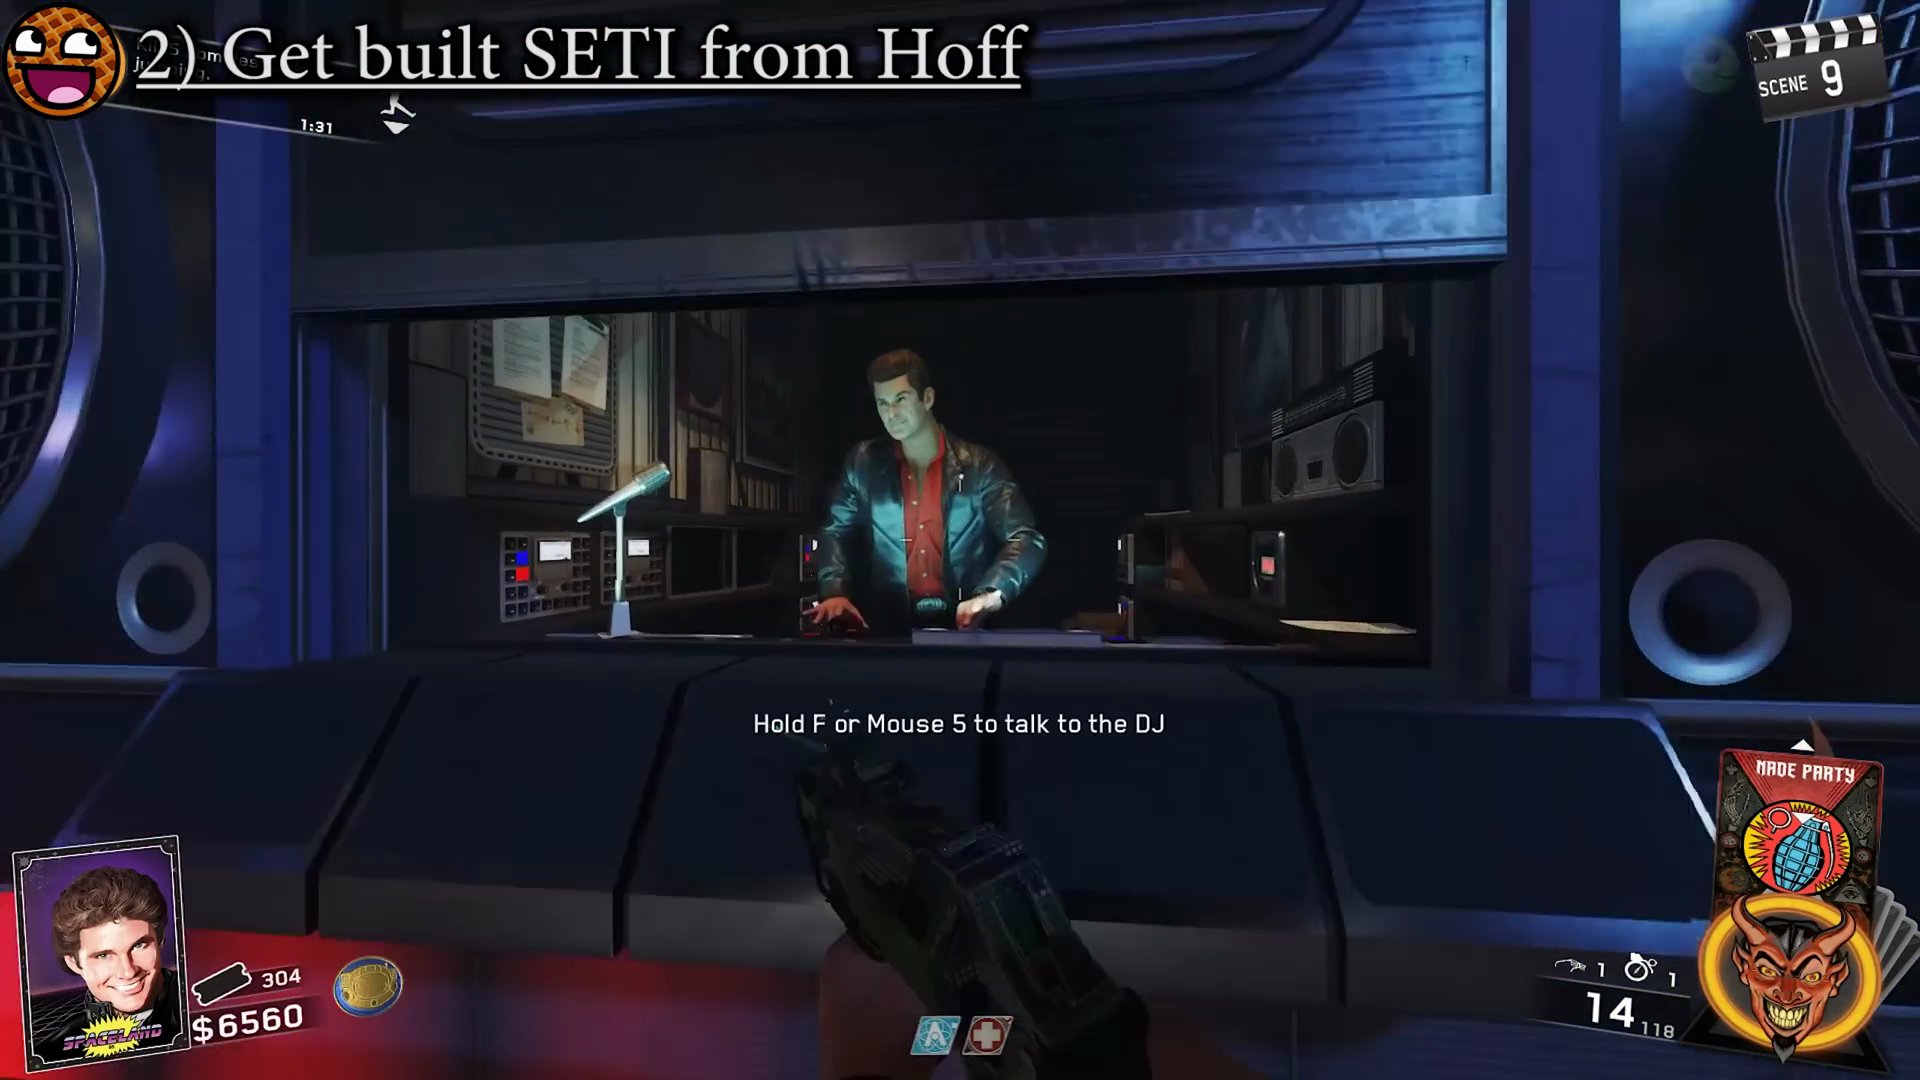
- Locate Hoff in one of his DJ booths (Journey into Space, Polar Peak, or Kepler) and interact with him. He will build the SETICOM for you and grant you a sticker.
Step 3: Complete 3 SETICOM Defenses
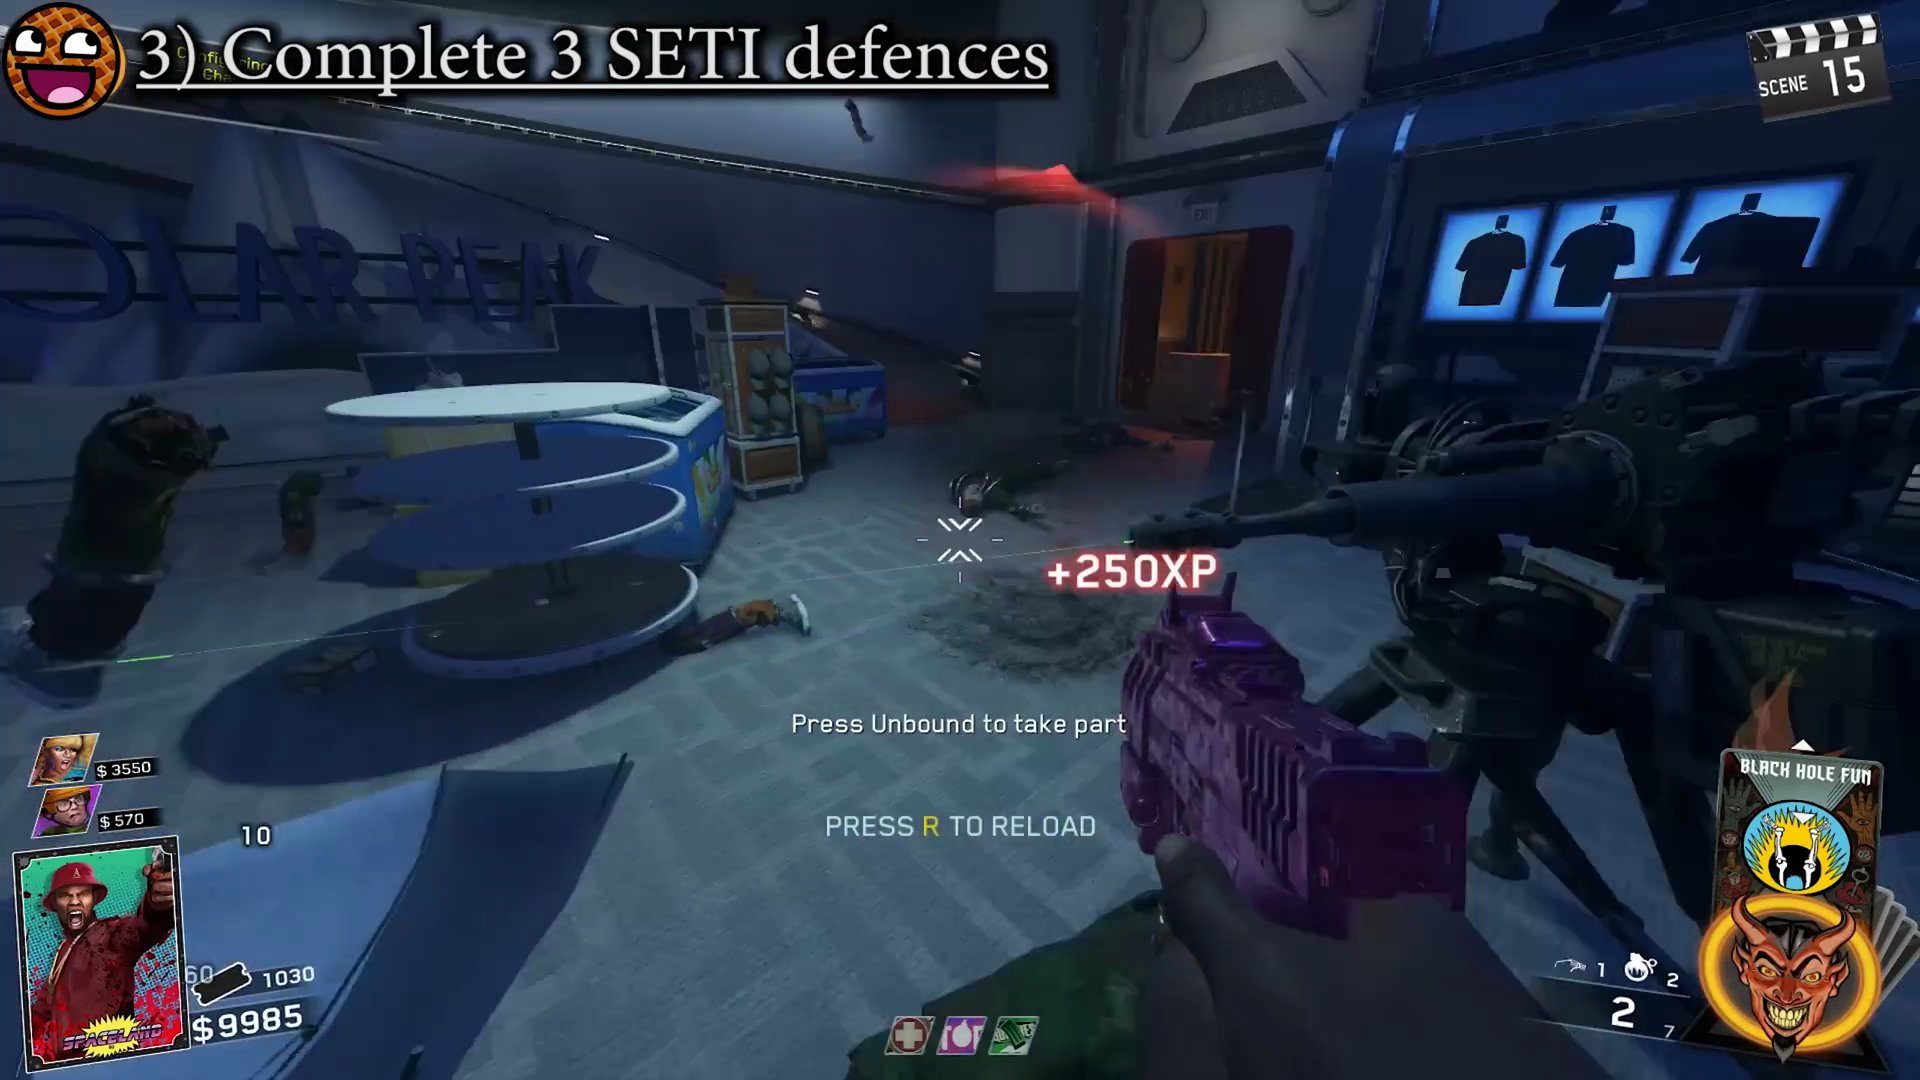
- You must successfully defend the SETICOM at three different locations. The defense time increases with each successful attempt (60s, 90s, 120s). The screen will shake and the HUD will bump around when you are near a valid placement spot.
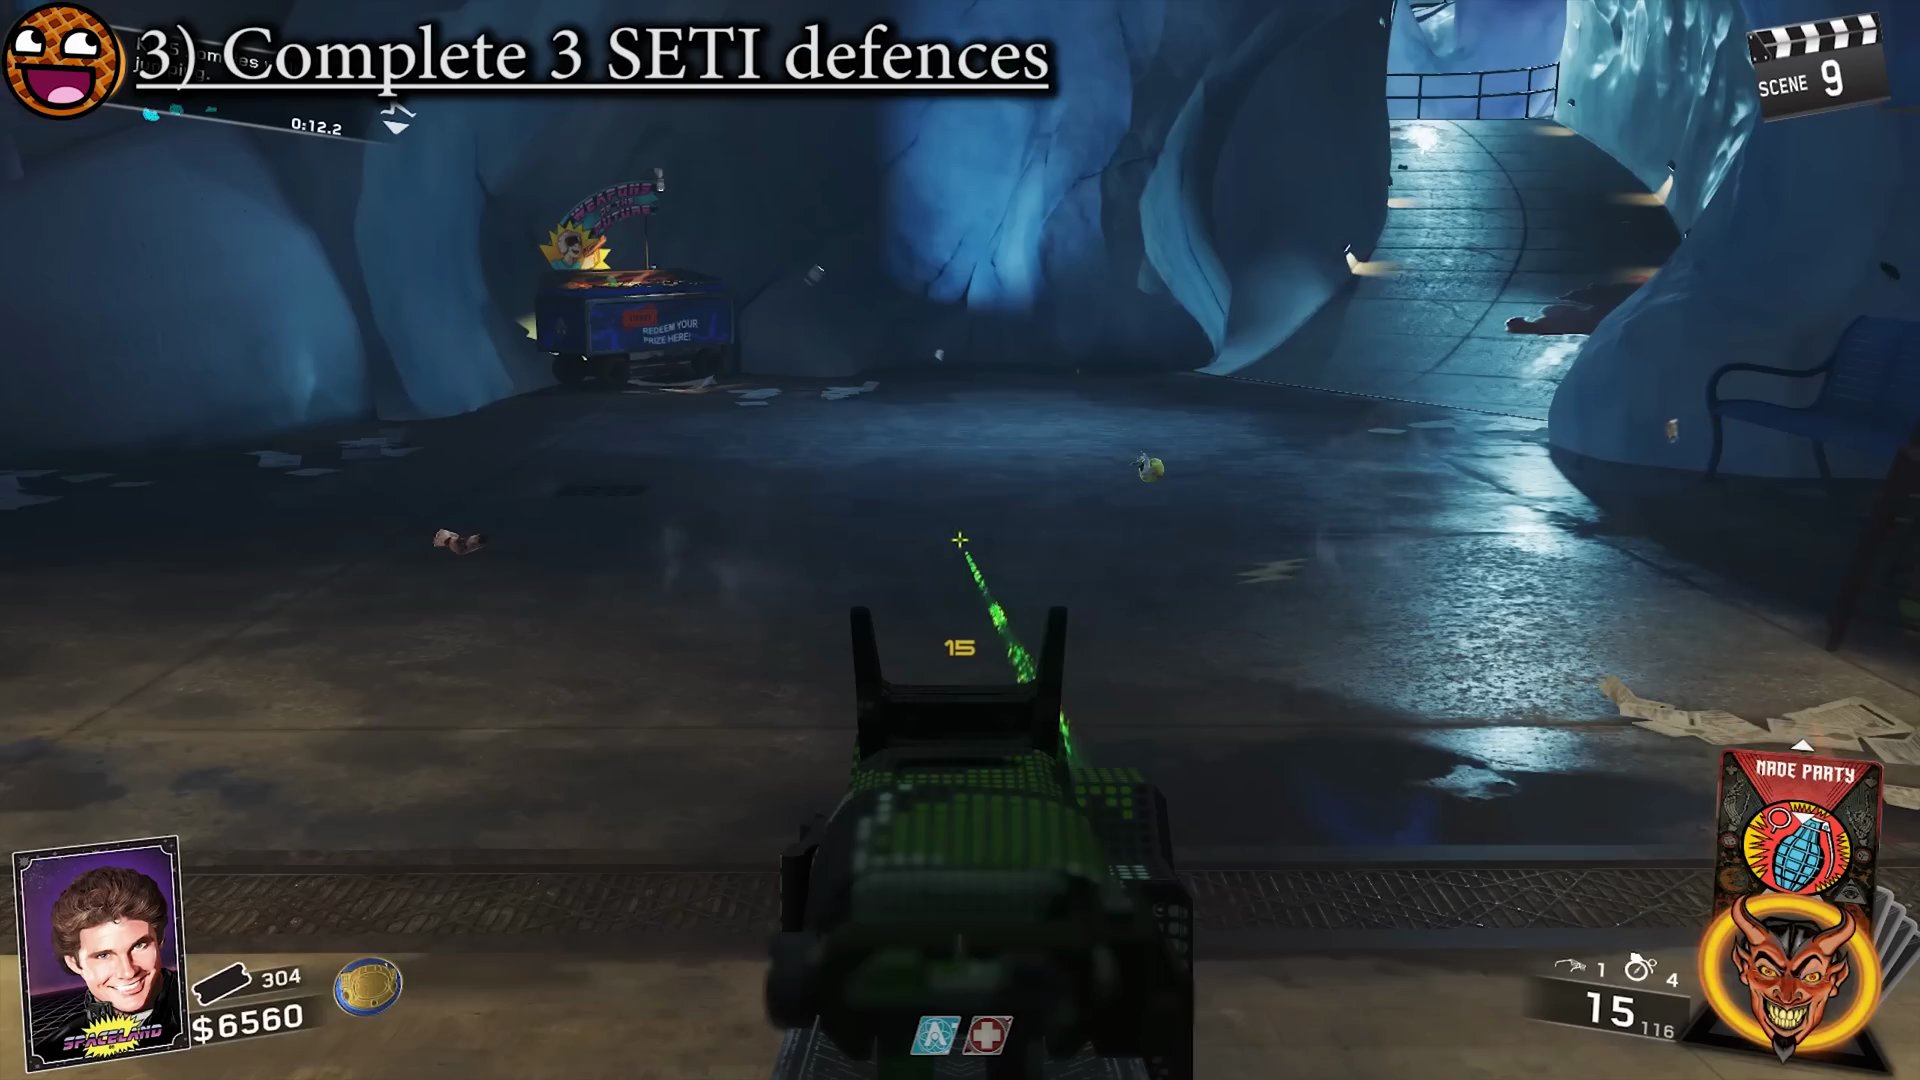
- **Easy Locations:**
- Outside Polar Peak, on the bridge.
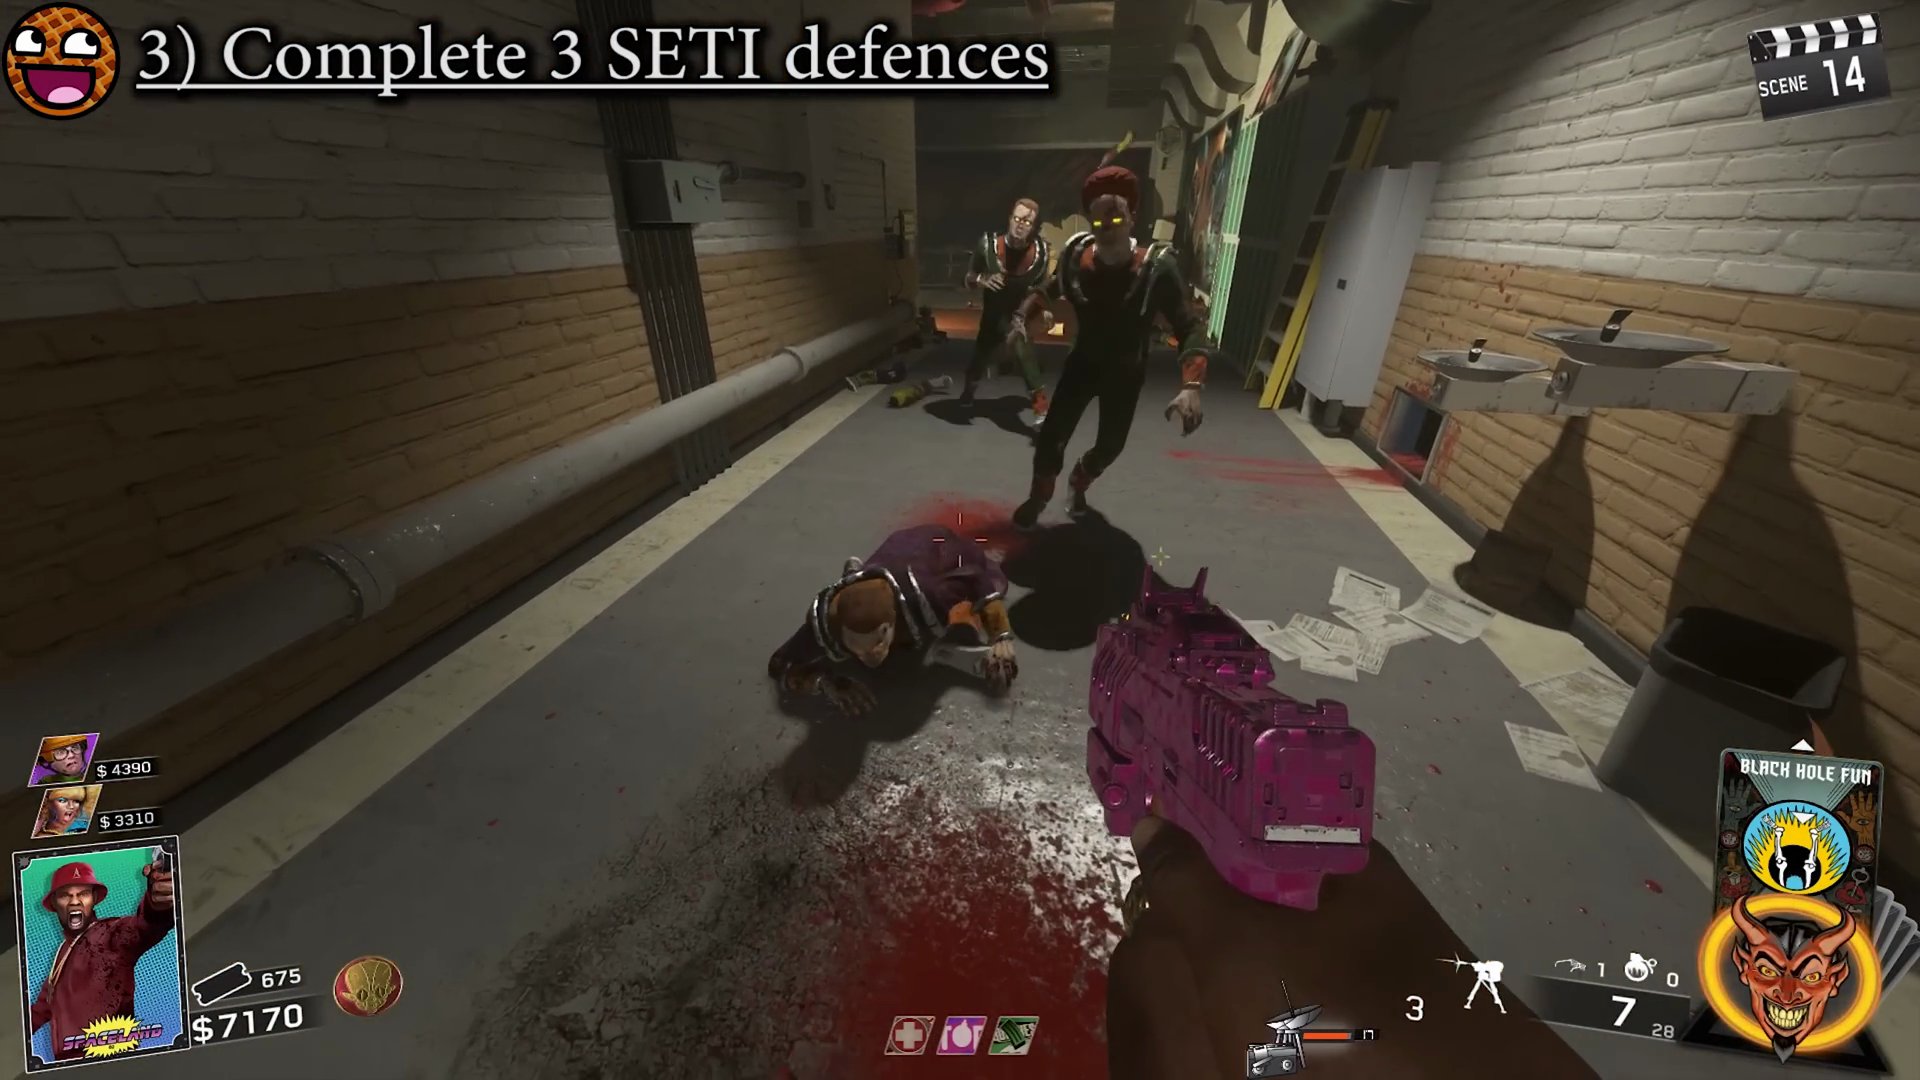
- Underground hallway.
- **Medium Locations:**
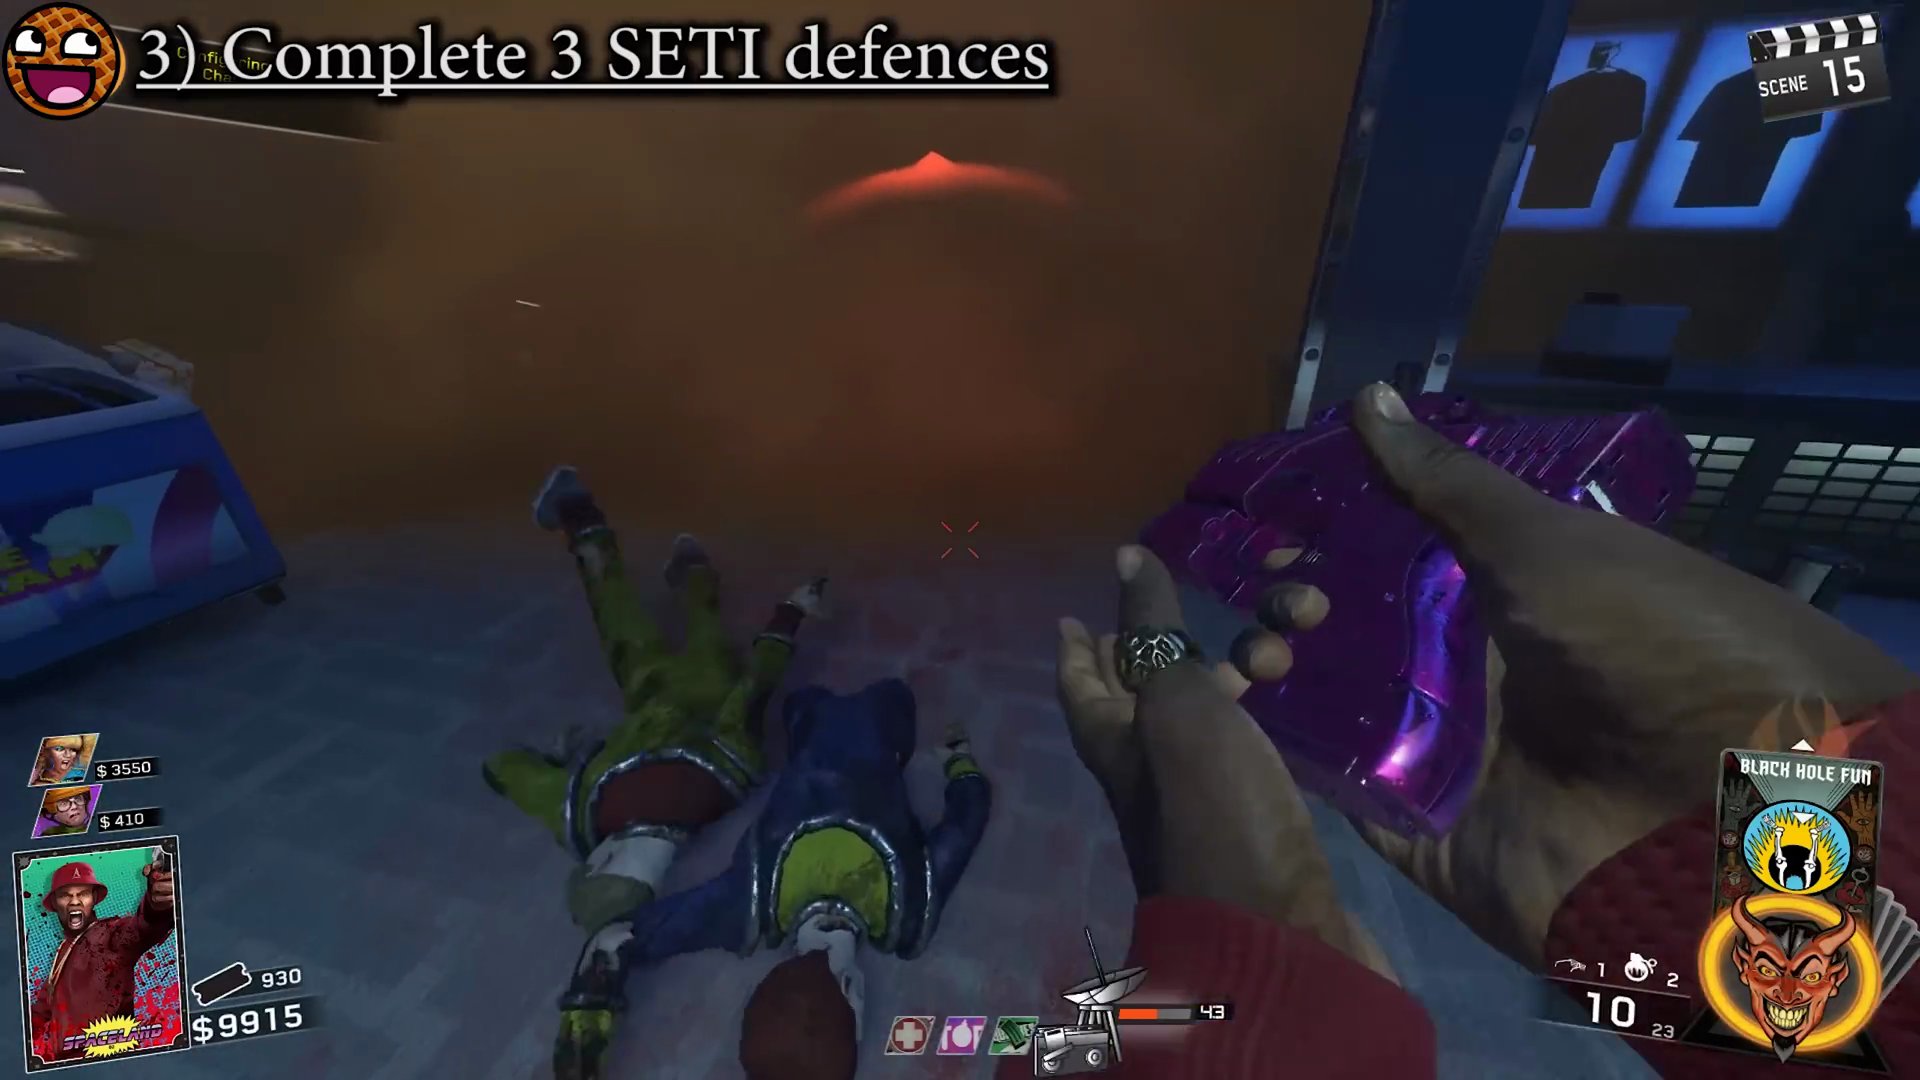
- Inside the Gift Shop at Polar Peak (use the Steel Mountain trap).
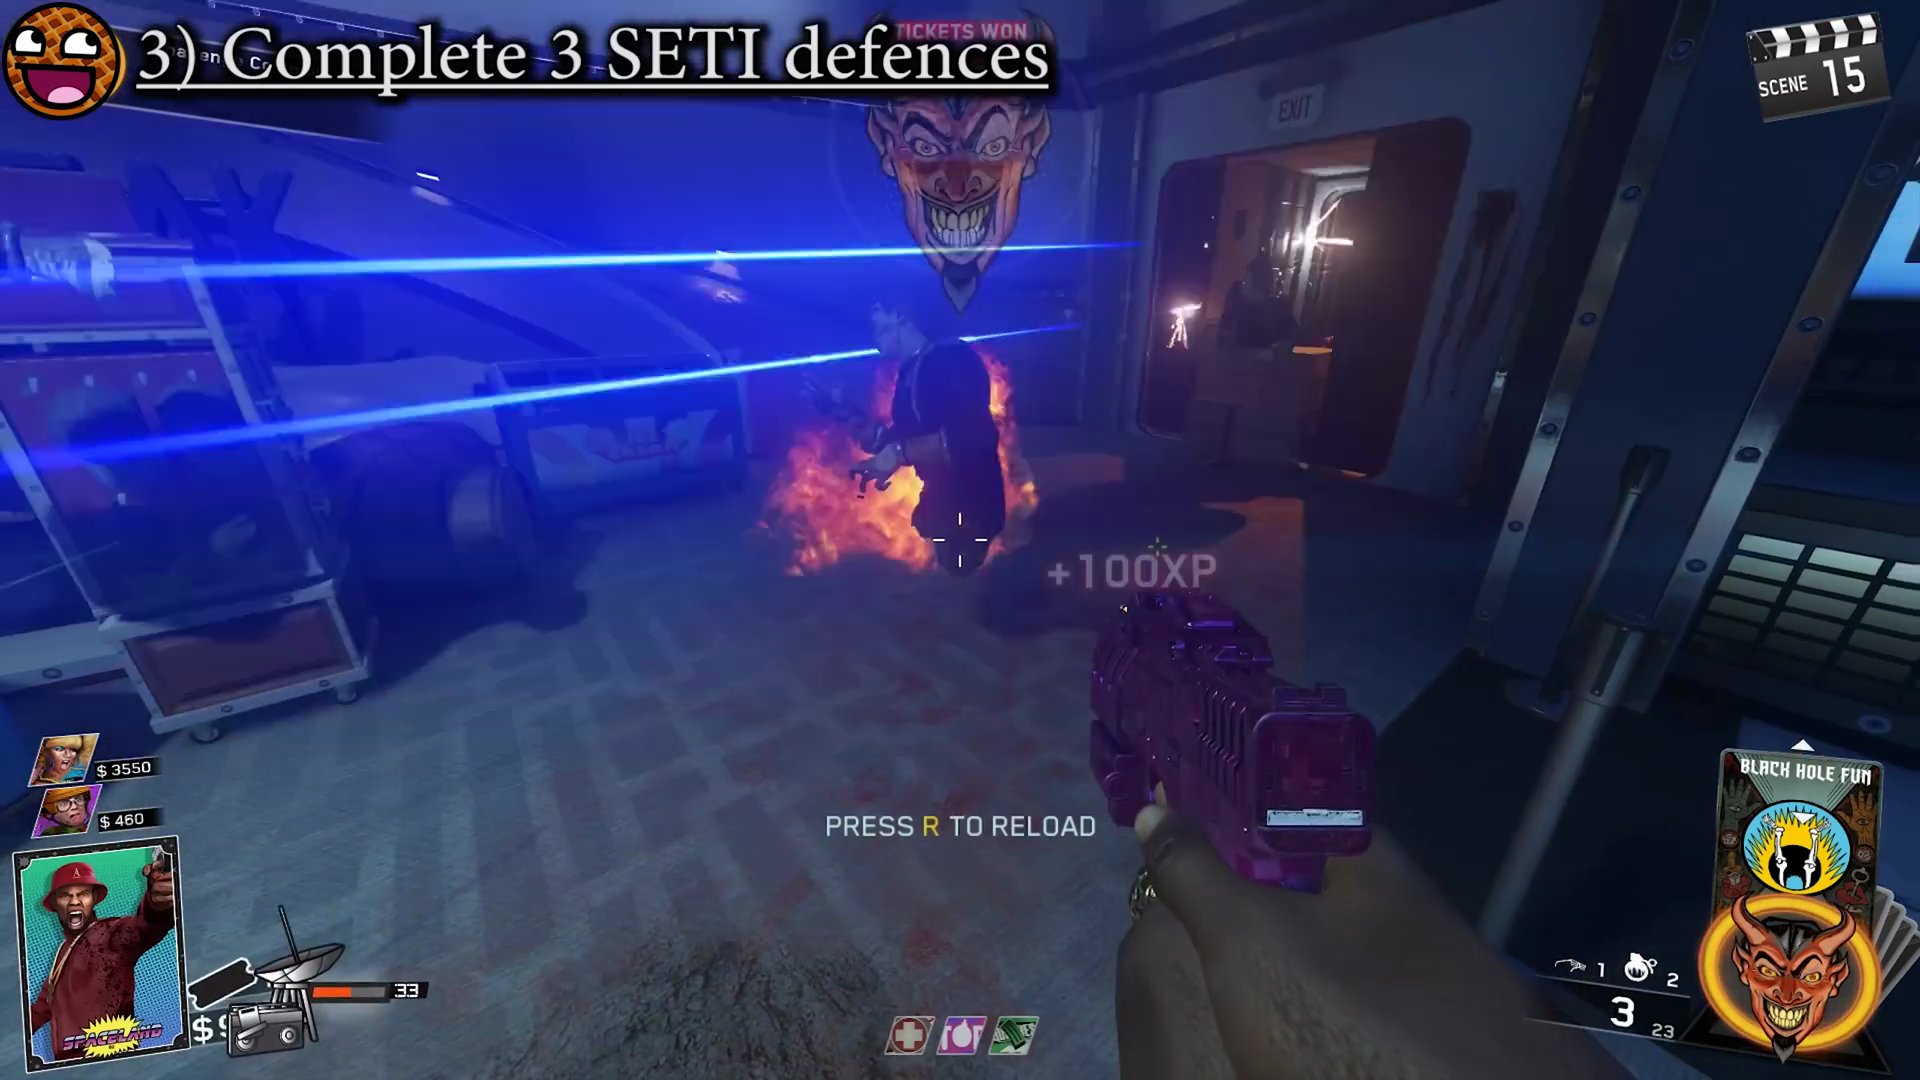
- Kepler District (can 'tickle' the alligator's mouth to activate a trap).
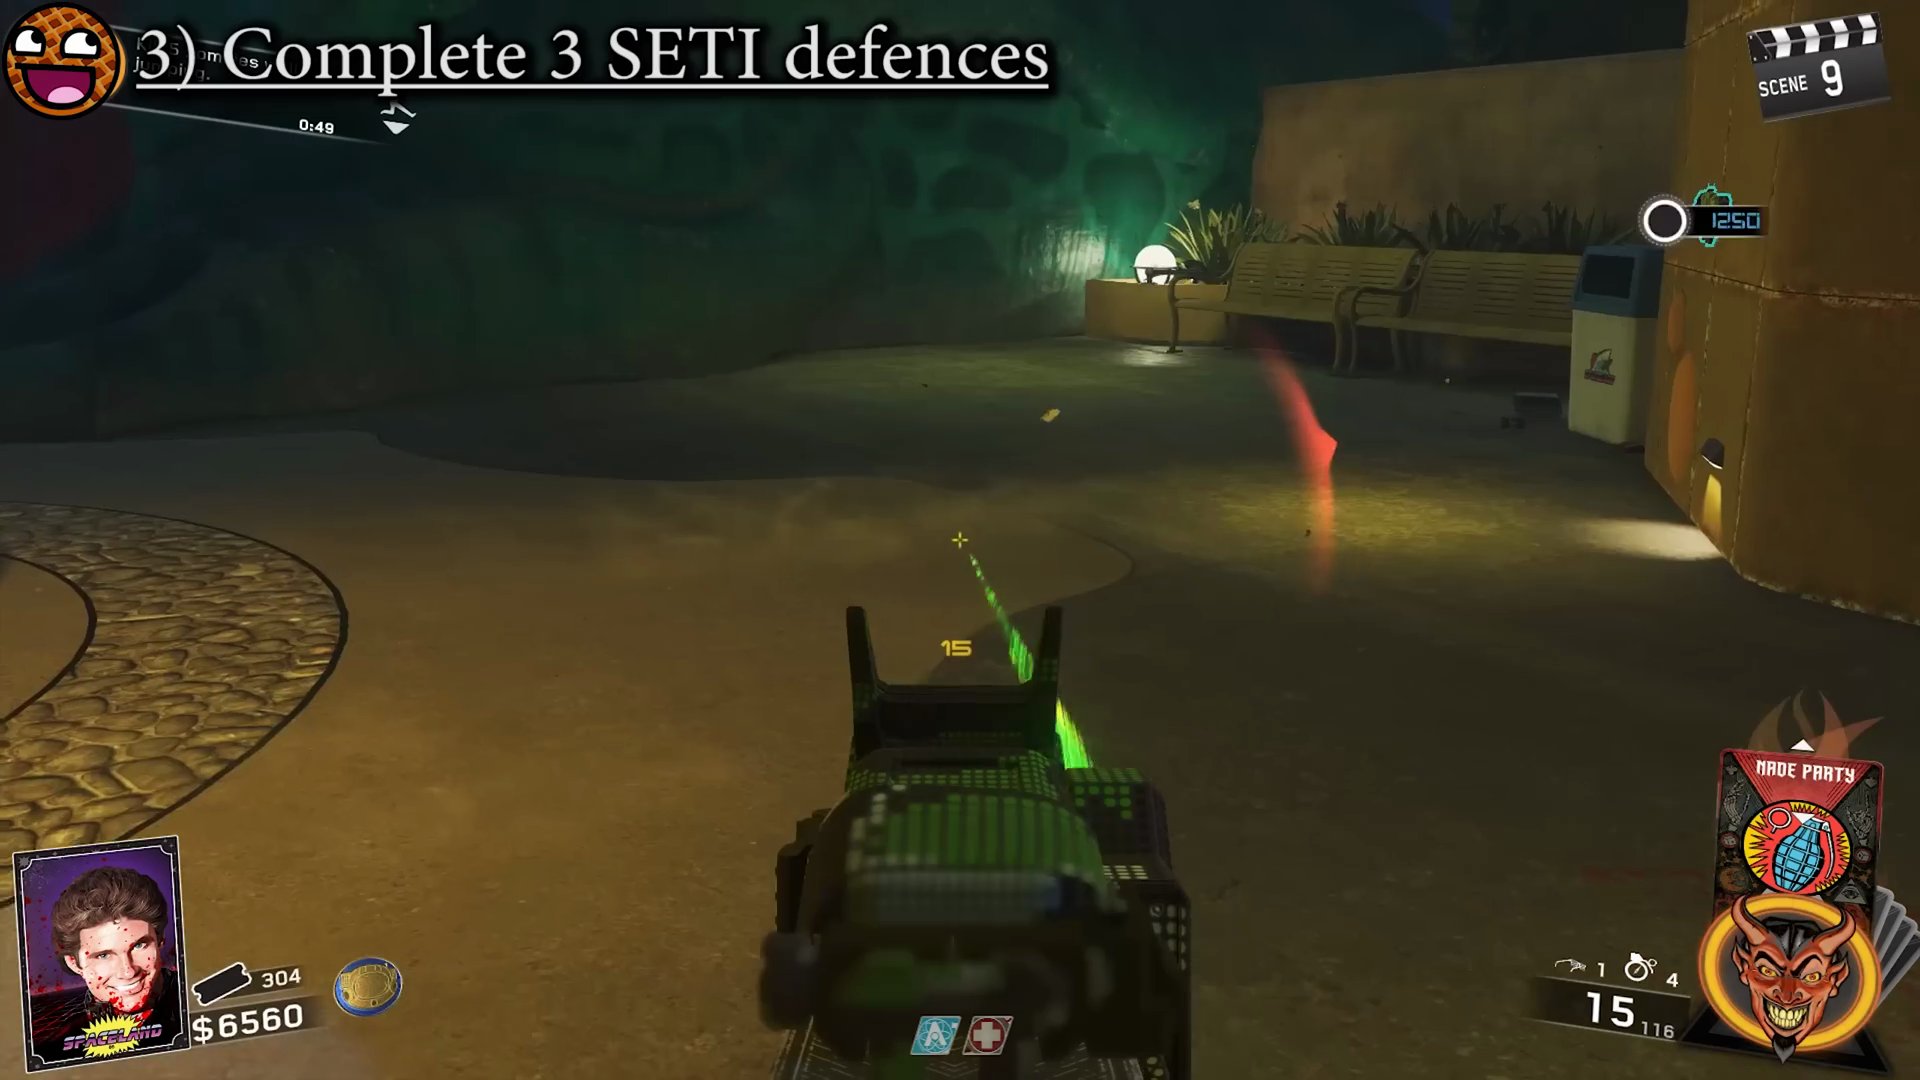
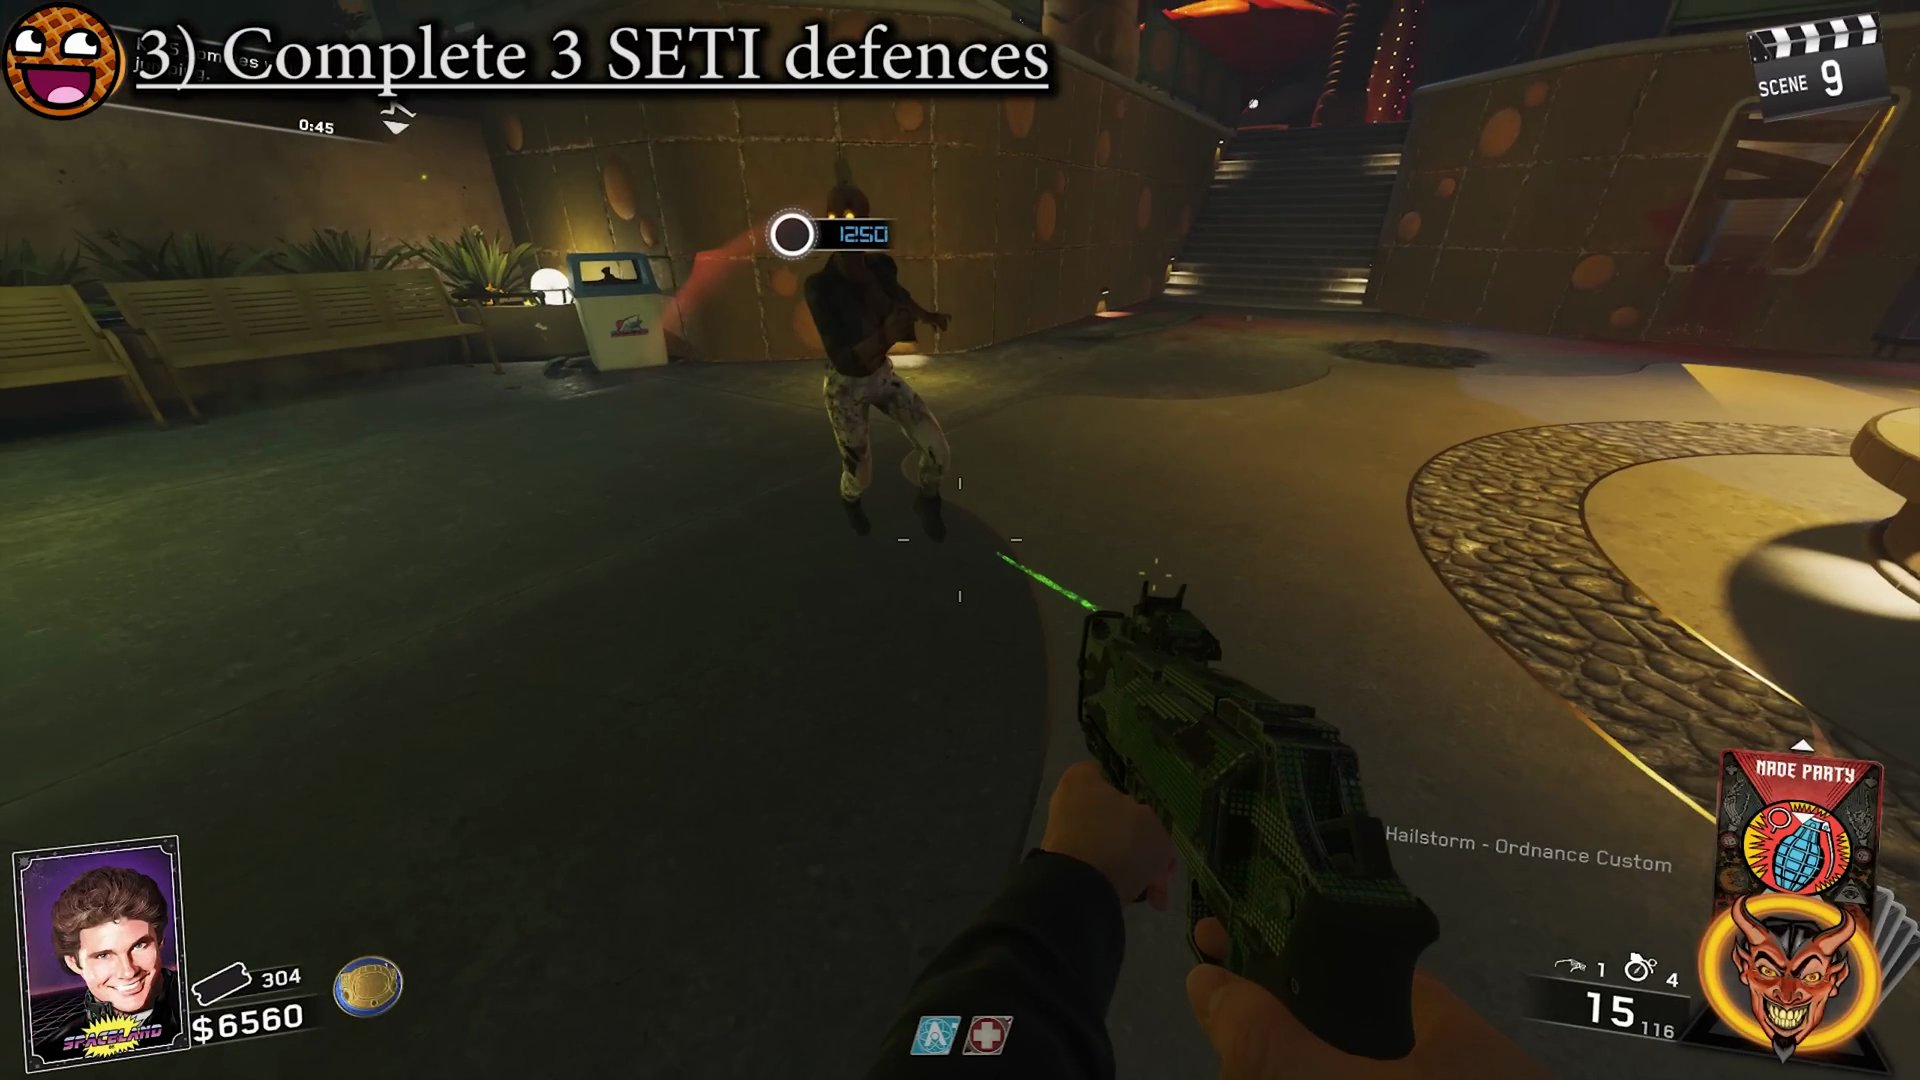
- Next to the bumper cars.
- **Hard Locations:**
- Fountain area beyond Polar Peak (place SETICOM on a water jet for extra defense; use explosive weapons).
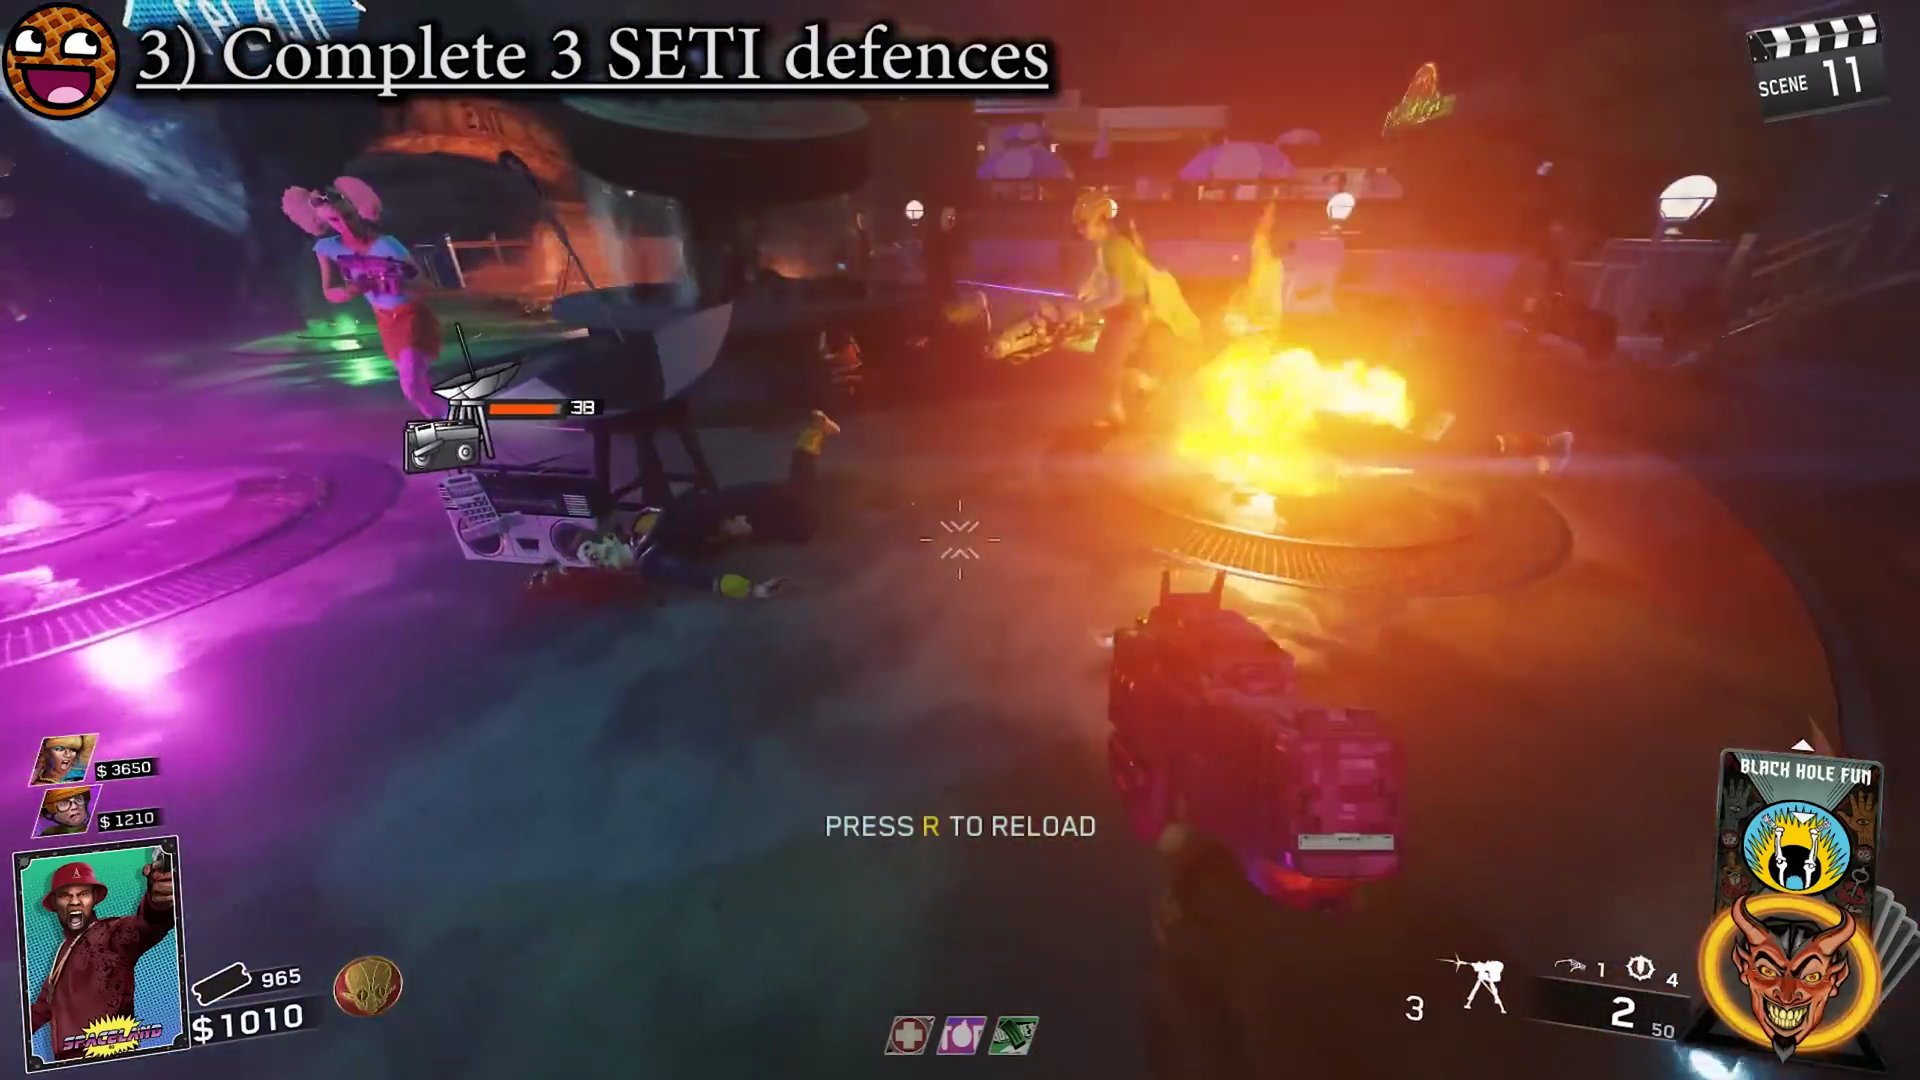
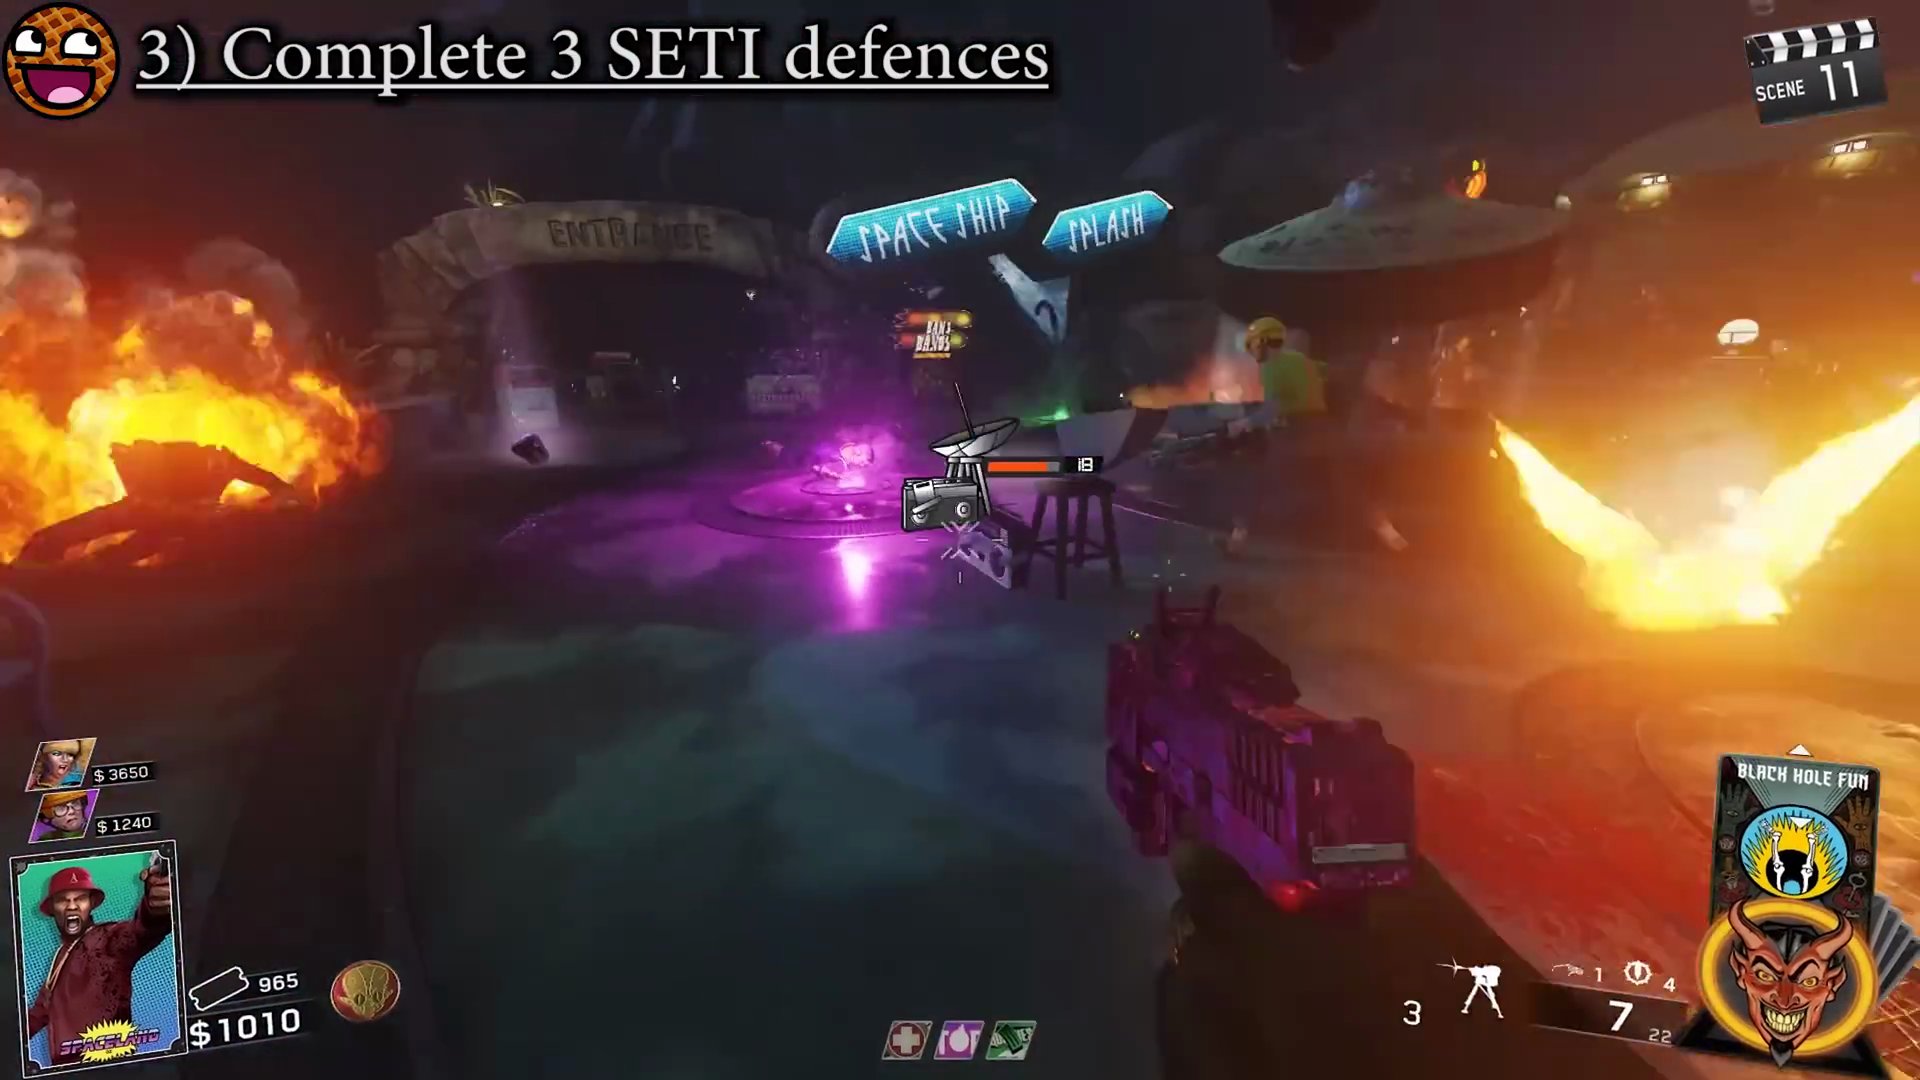
- Journey to Space.
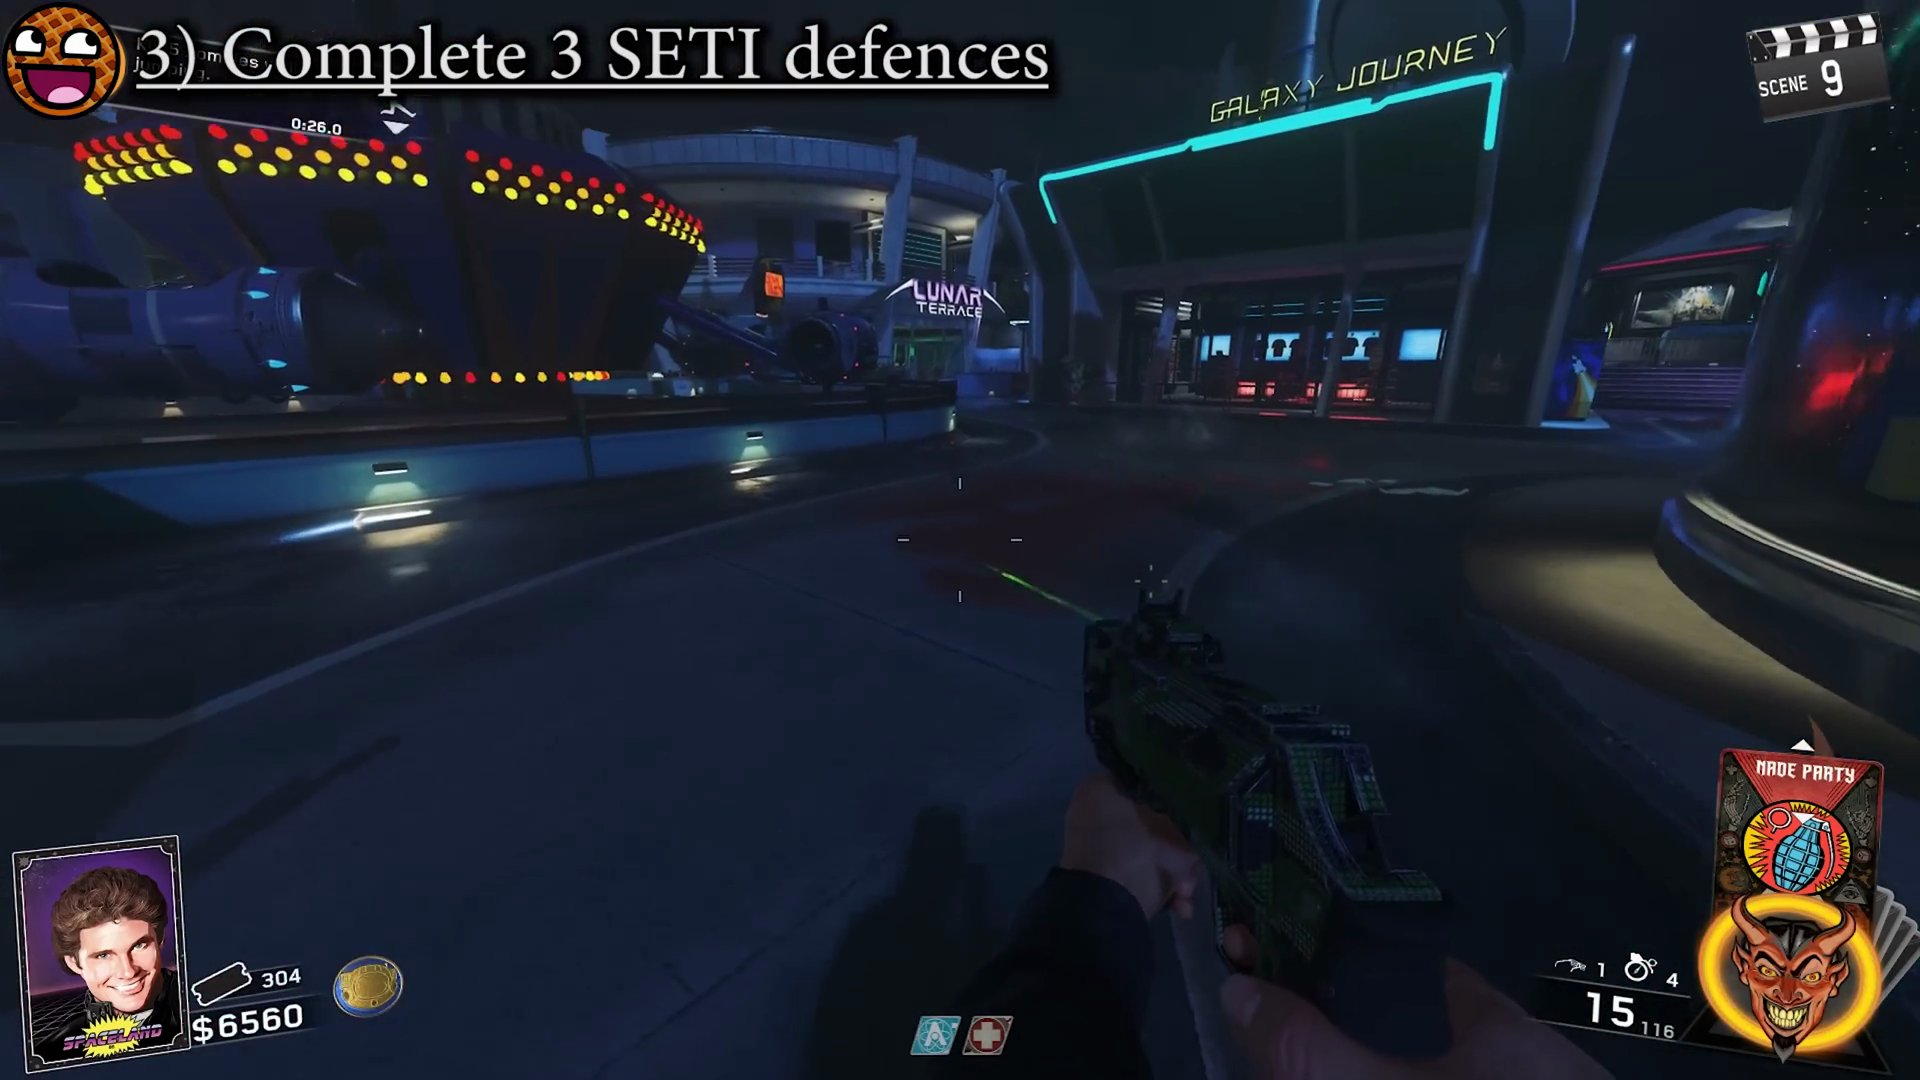
- If you fail a defense, you won't receive max ammo, a Brute will spawn, and you'll need to talk to Hoff again to get a new SETICOM. If you succeed, you get max ammo, no Brute, and can move to the next defense spot by advancing a round.
Step 4: Collect Hoff's Radios
- After completing all three SETICOM defenses, advance two more rounds. Hoff will then grant you a small radio.
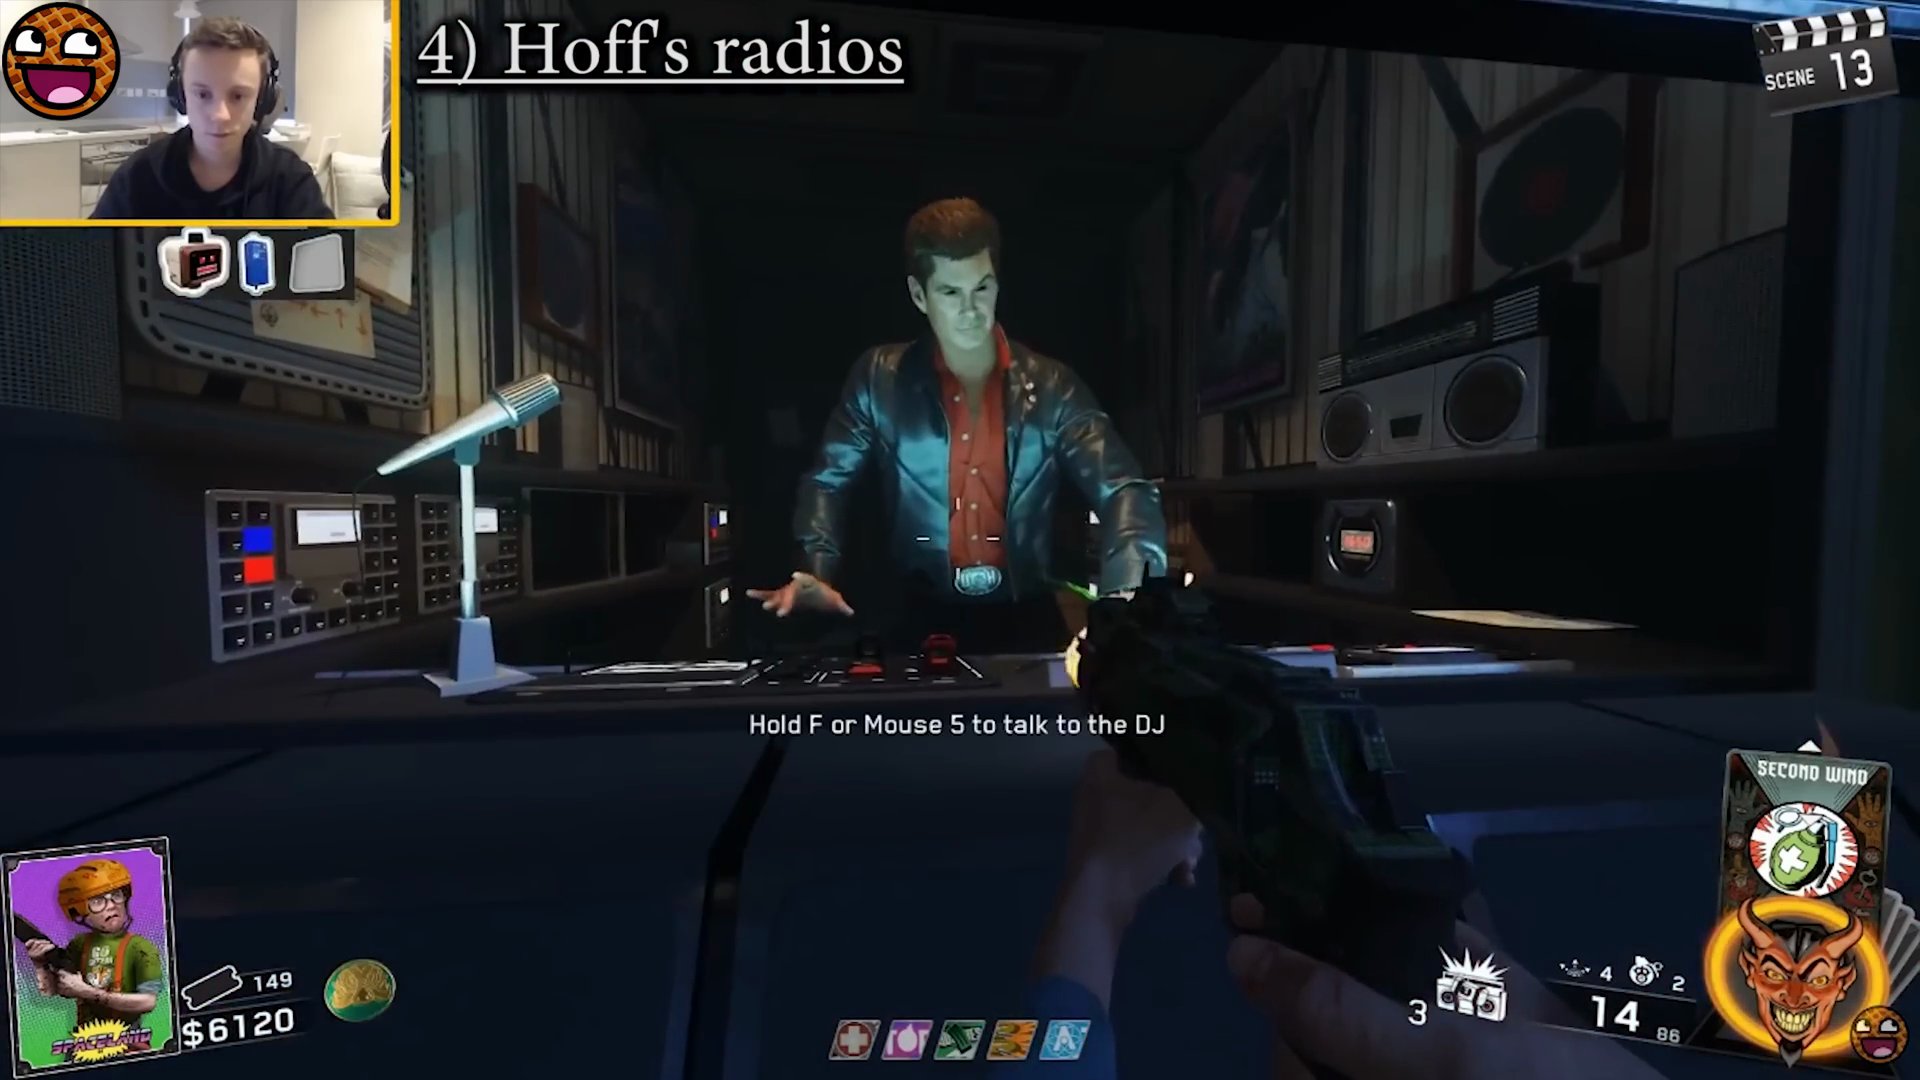
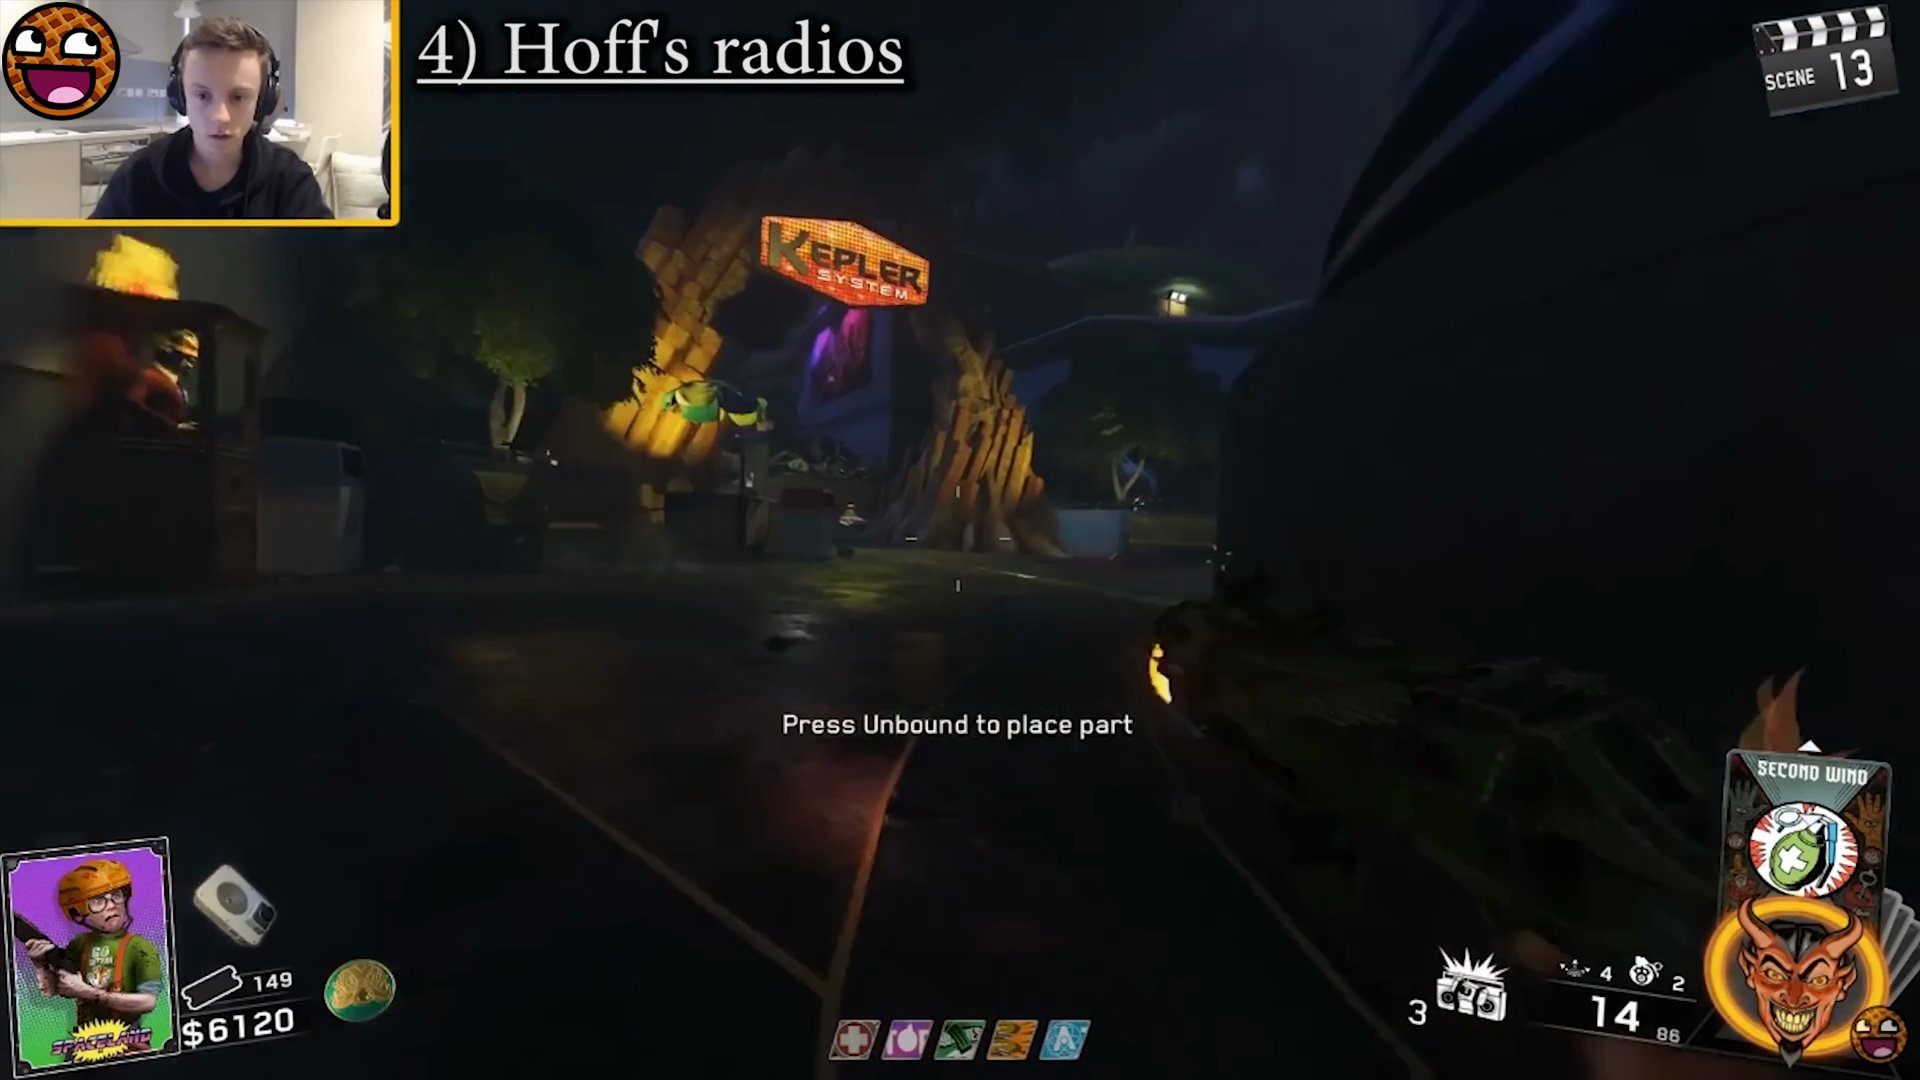
- Place these four radios on the gold coins on the floor in the Cosmic Way area, near and around the Pack-A-Punch teleporter. One radio should be placed directly in front of the teleporter.
Step 5: Simon Says Challenge
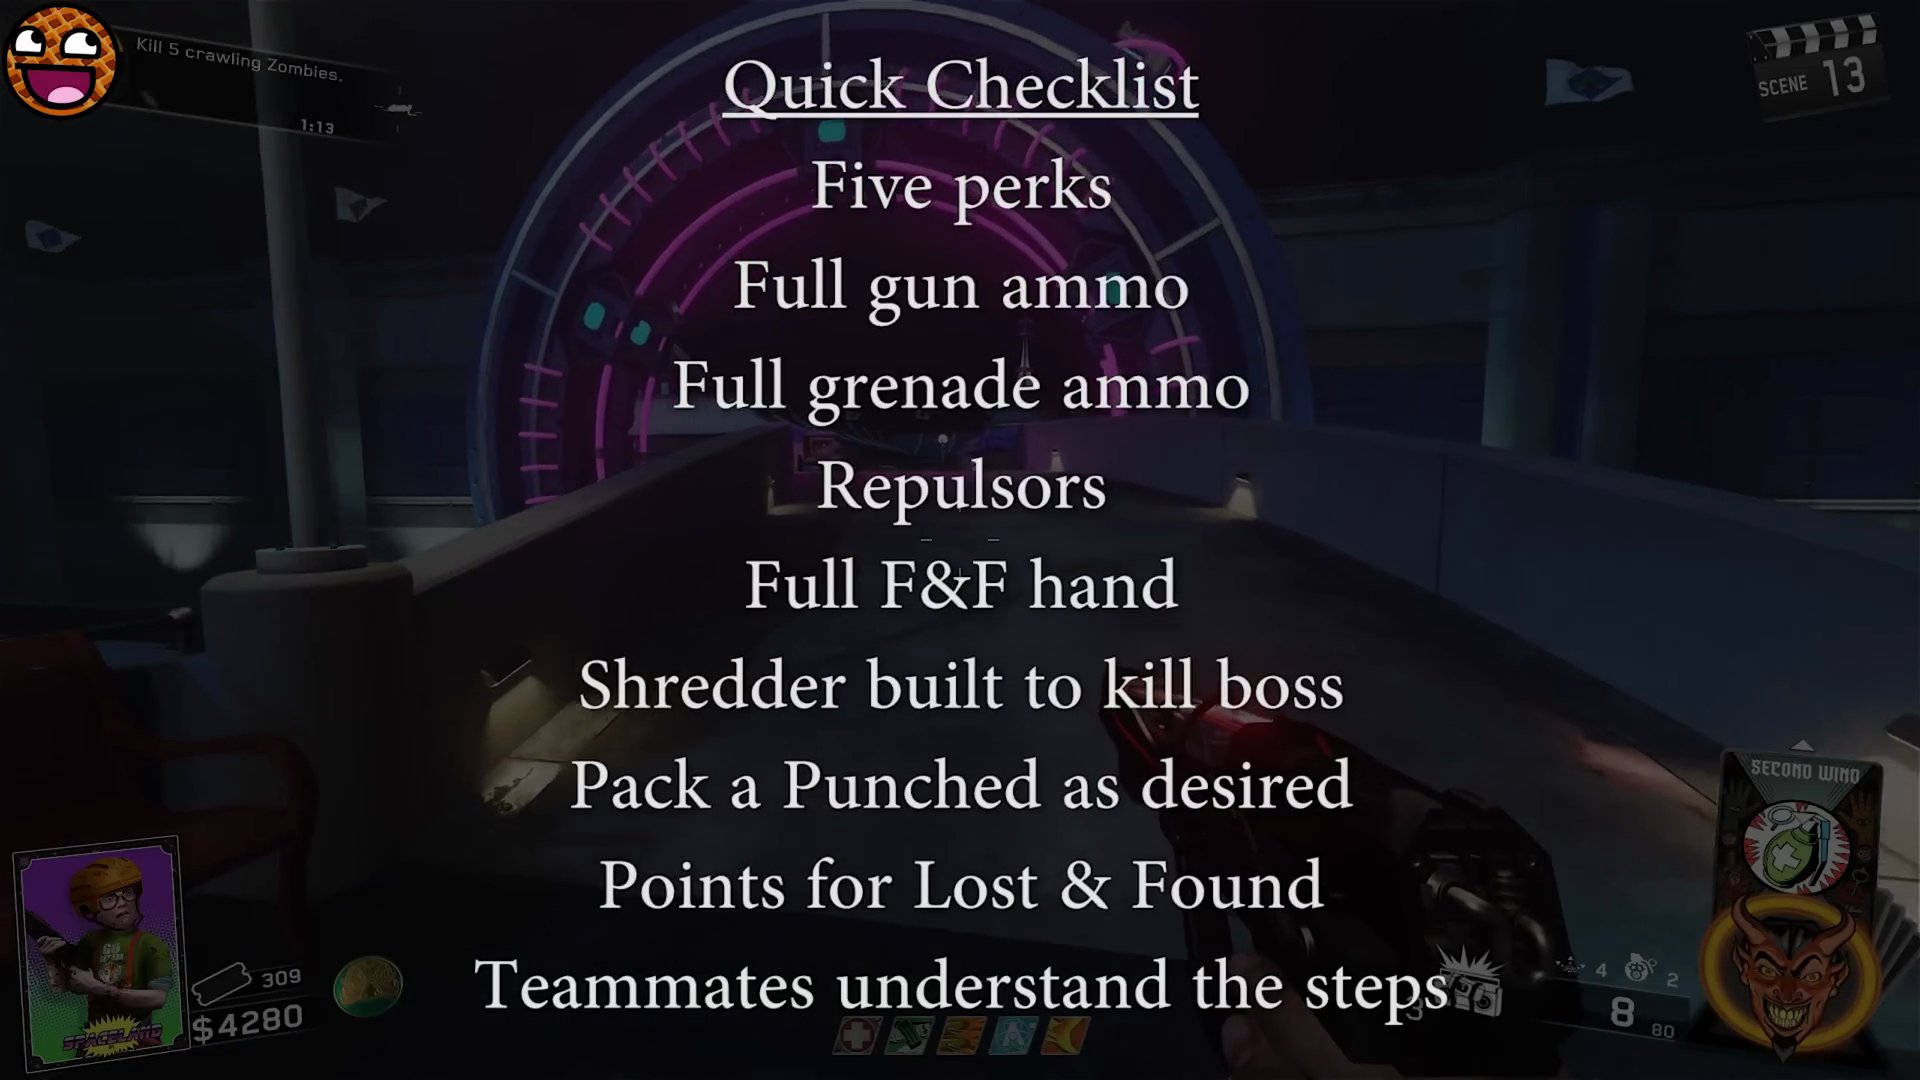
- Once the four radios are placed, go through this checklist. Prepare for the boss fight by ensuring you have perks, ammo, grenades, Repulsors, a full Fate & Fortune hand, a Shredder (or other Wonder Weapon), and enough points for Lost & Found items.
- To begin the Simon Says challenge, interact with one of the radios (solo) or have all teammates simultaneously interact with their respective radios (co-op).
- They will then all emit a color, you must remember each color's position - we oriented ourself in the front of the teleporter and did top, right, bottom, and left for our callouts
- The UFO above will display a sequence of four colored lights (Green, Blue, Yellow, Red). Remember the order.
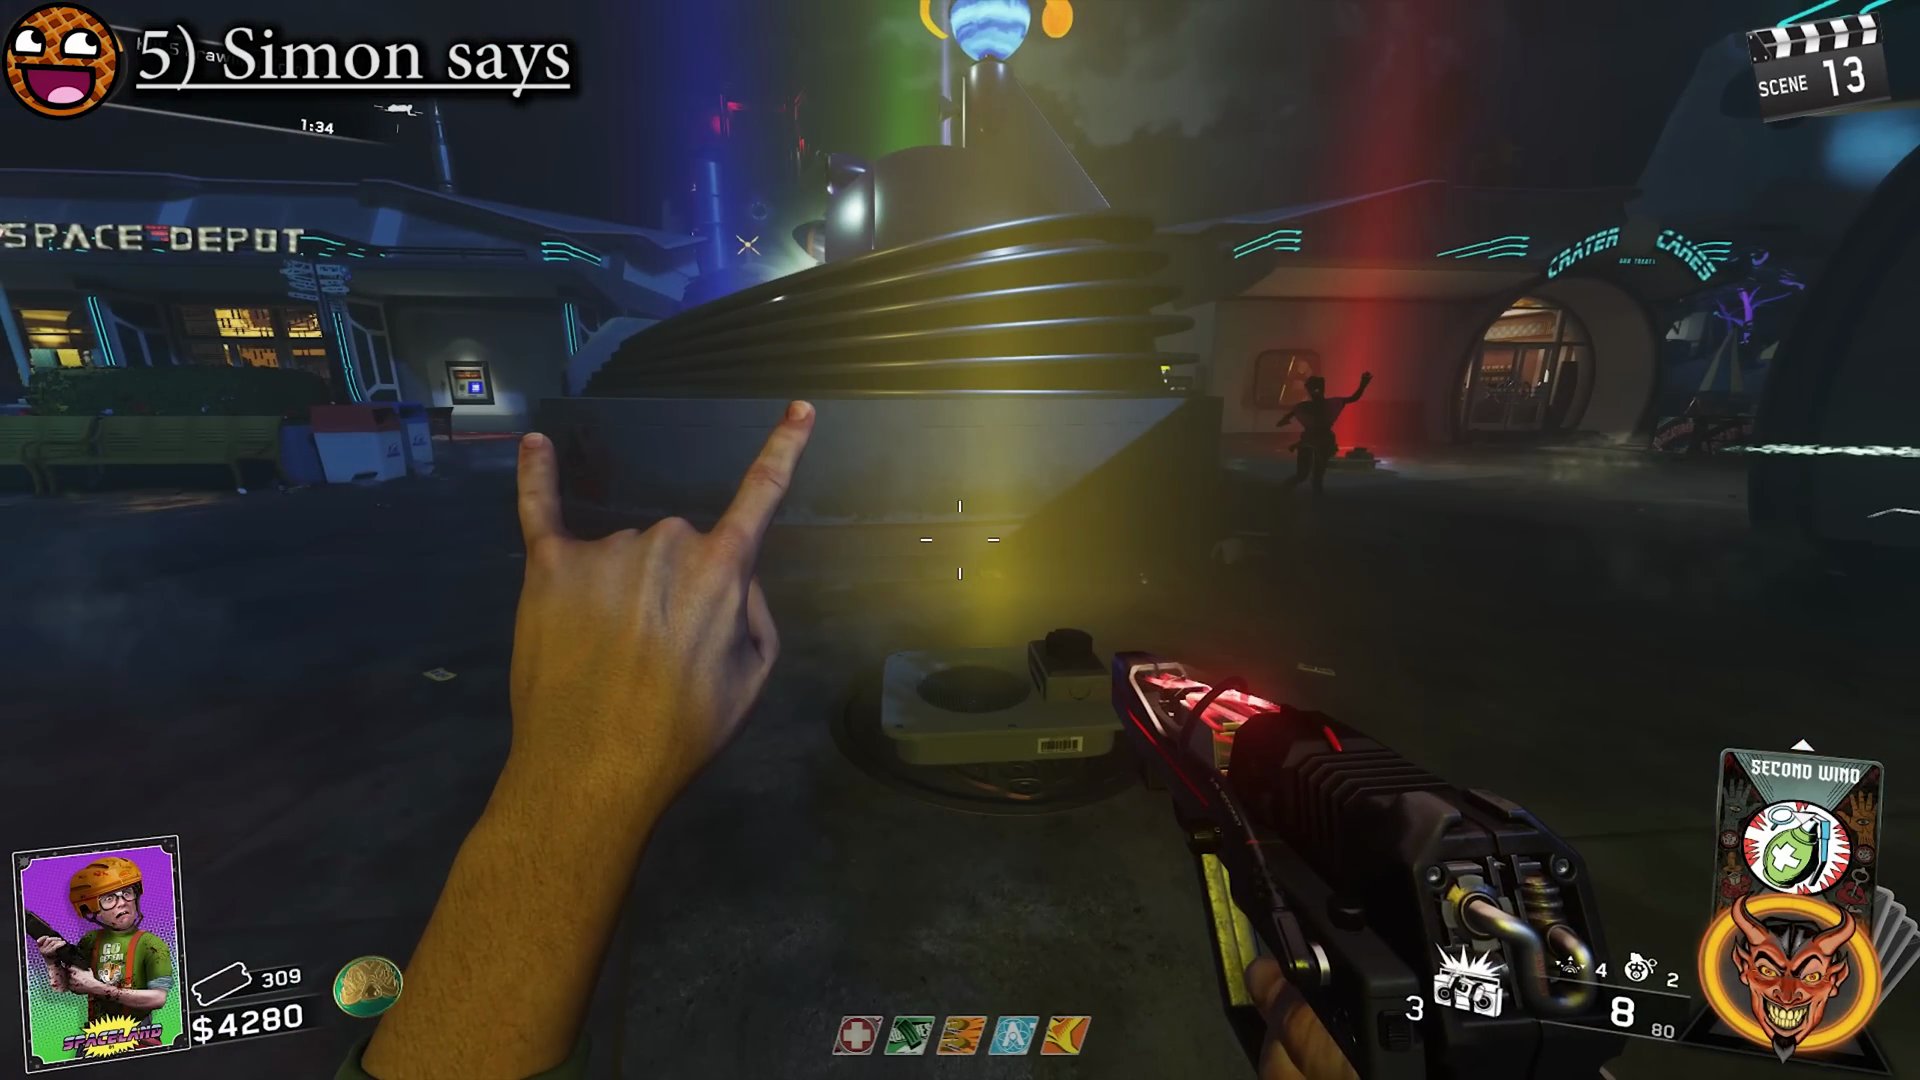
- After the UFO finishes its sequence, a white beam will appear from the first radio in the order. Quickly run to and interact with that radio. Repeat for the remaining three radios in the correct sequence. You must do the sequence as fast as possible. You have even shorter time on co-op
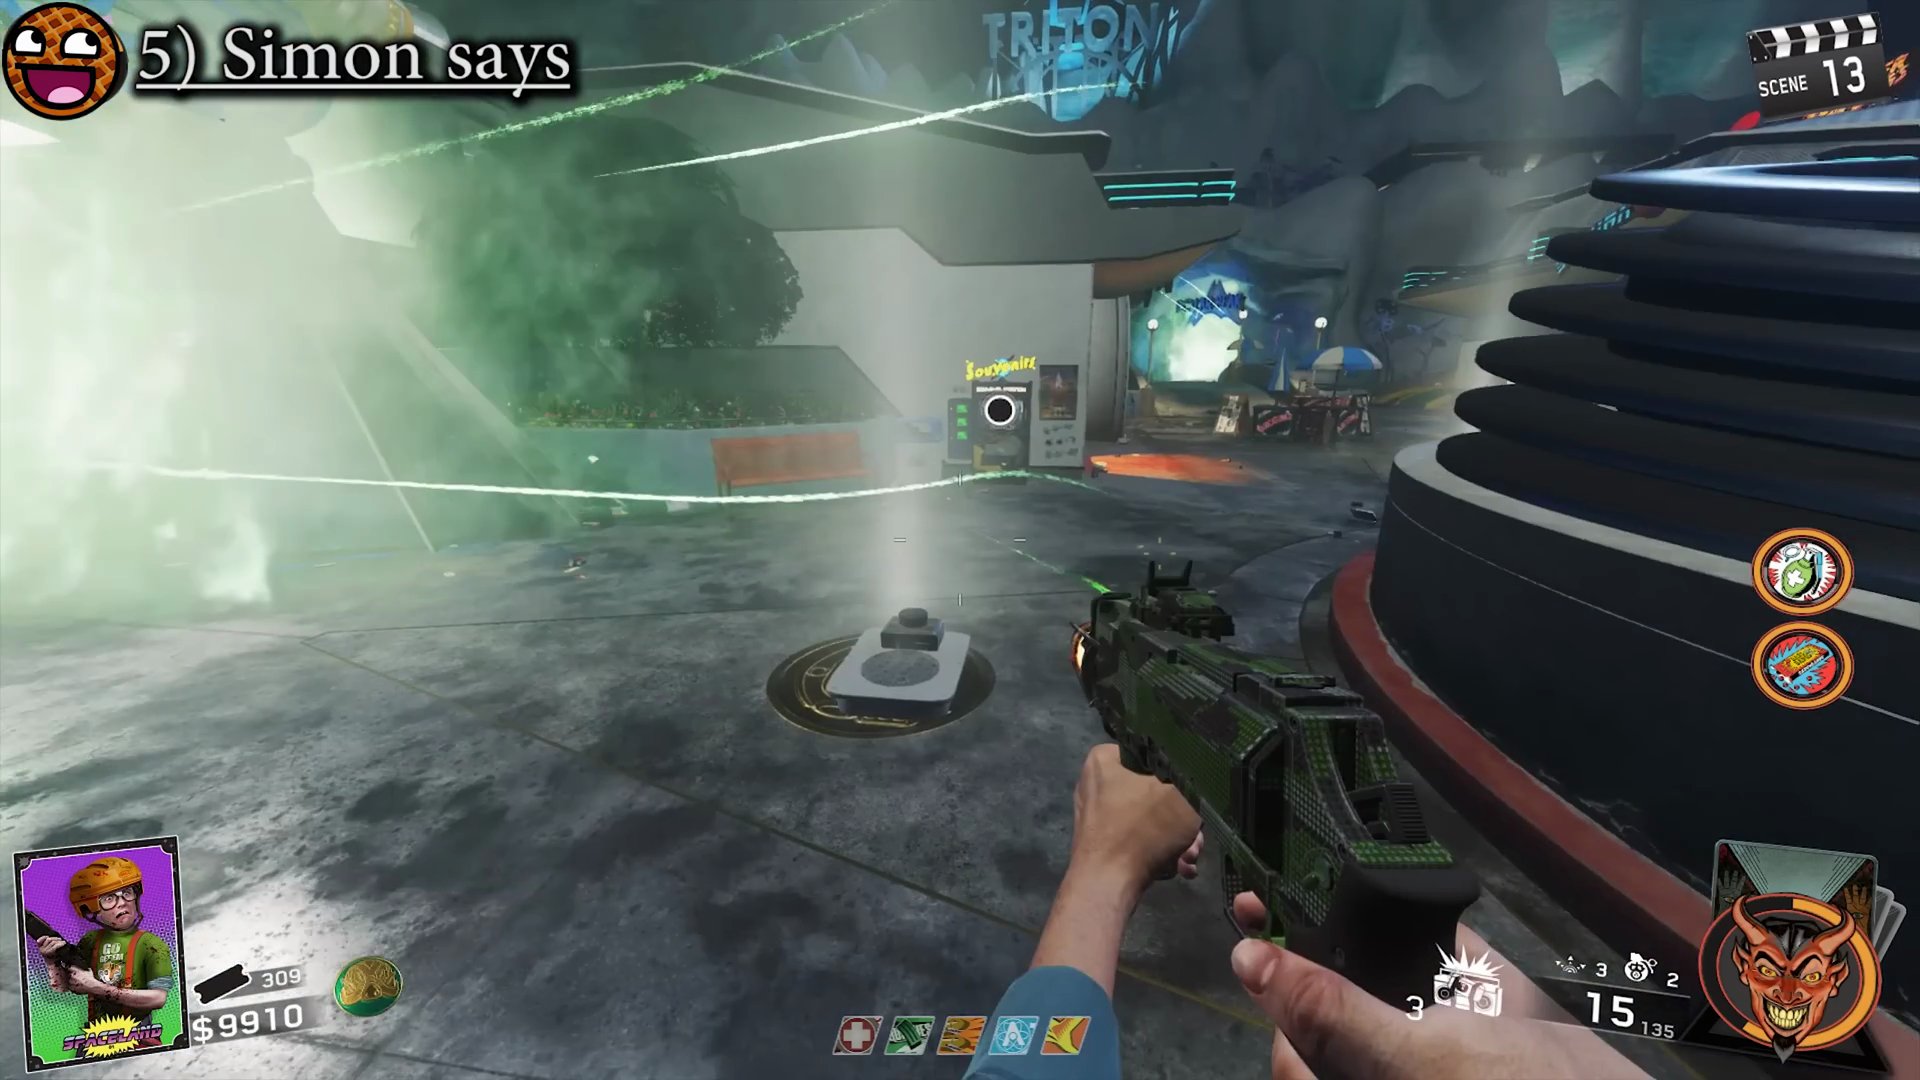
- if done correctly, the UFO will 'trip out' (blink randomly)
- If you are too slow or choose the wrong radio, a Brute will spawn, indicating failure. You must then wait for the sequence to restart. Its best to kill the brute first
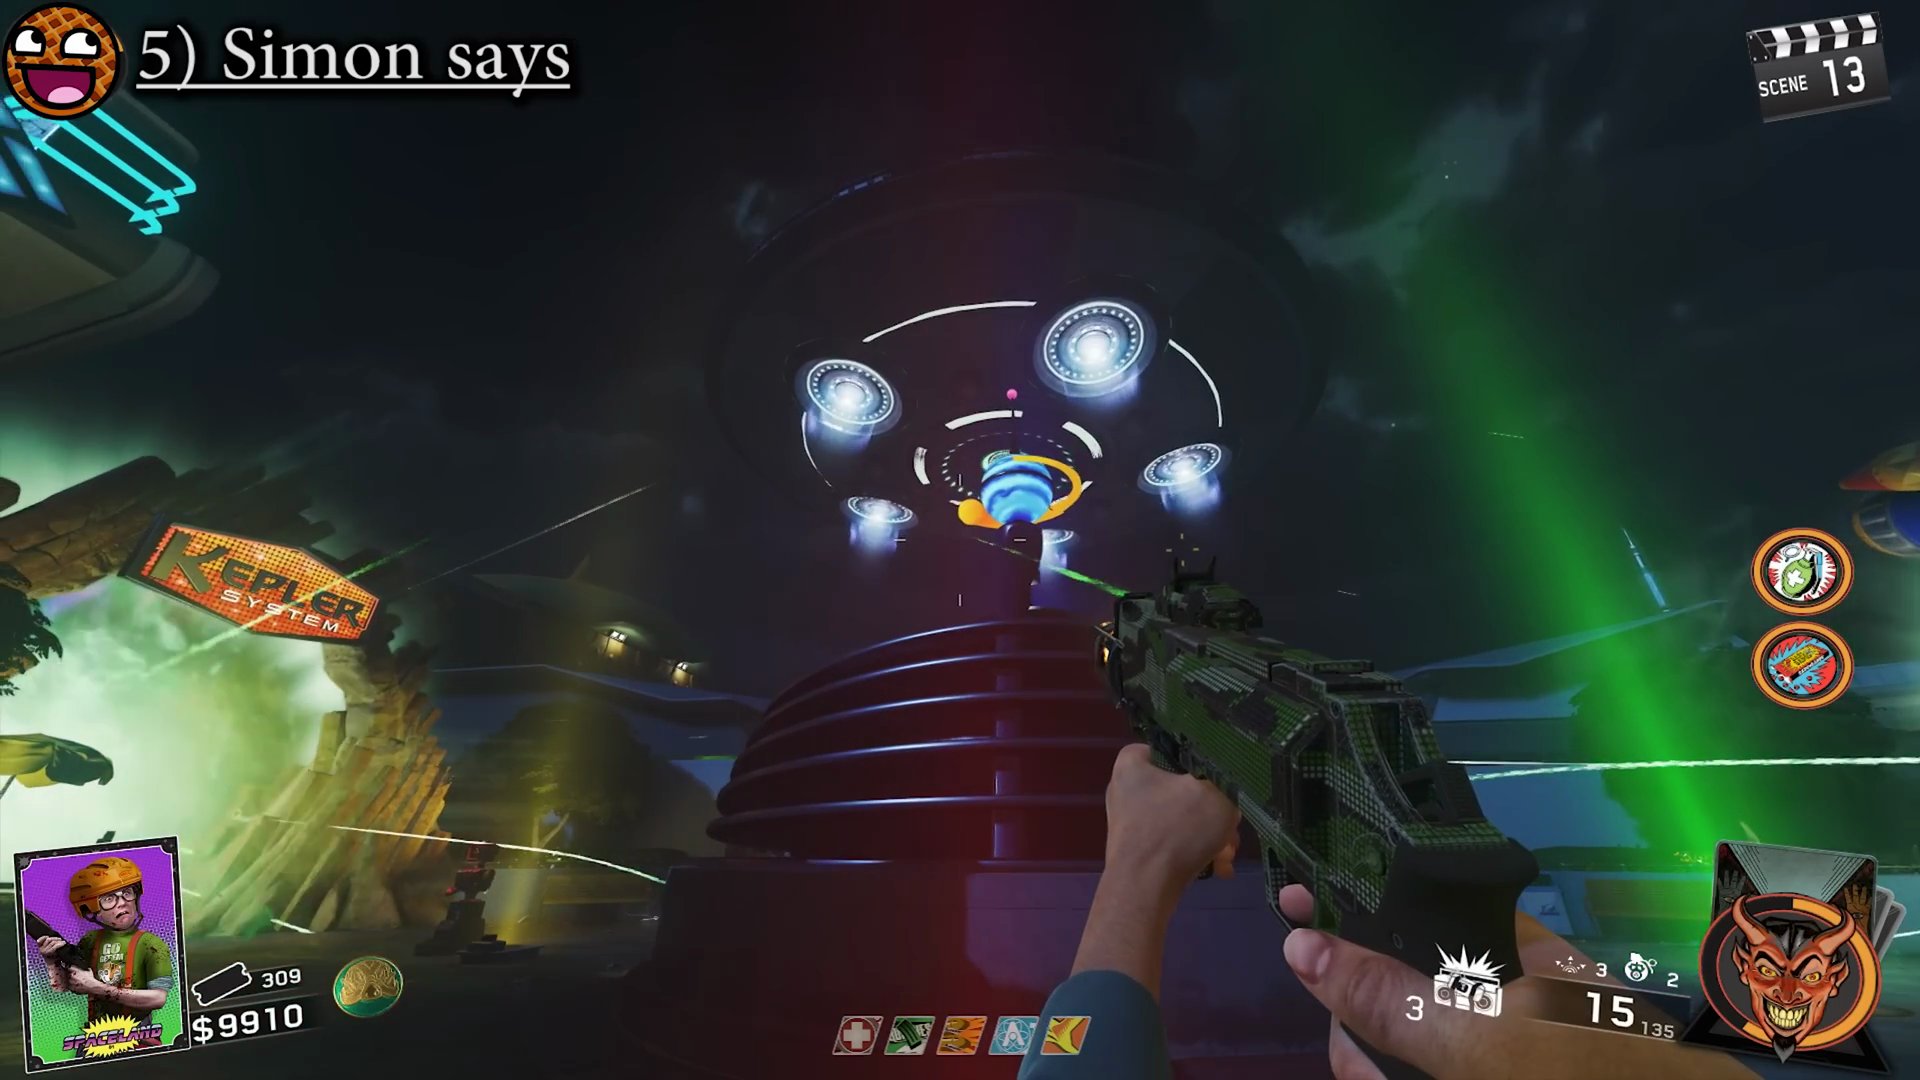
- Successfully complete three Simon Says sequences. Each successful sequence grants max ammo.
Step 6: Clown Wave
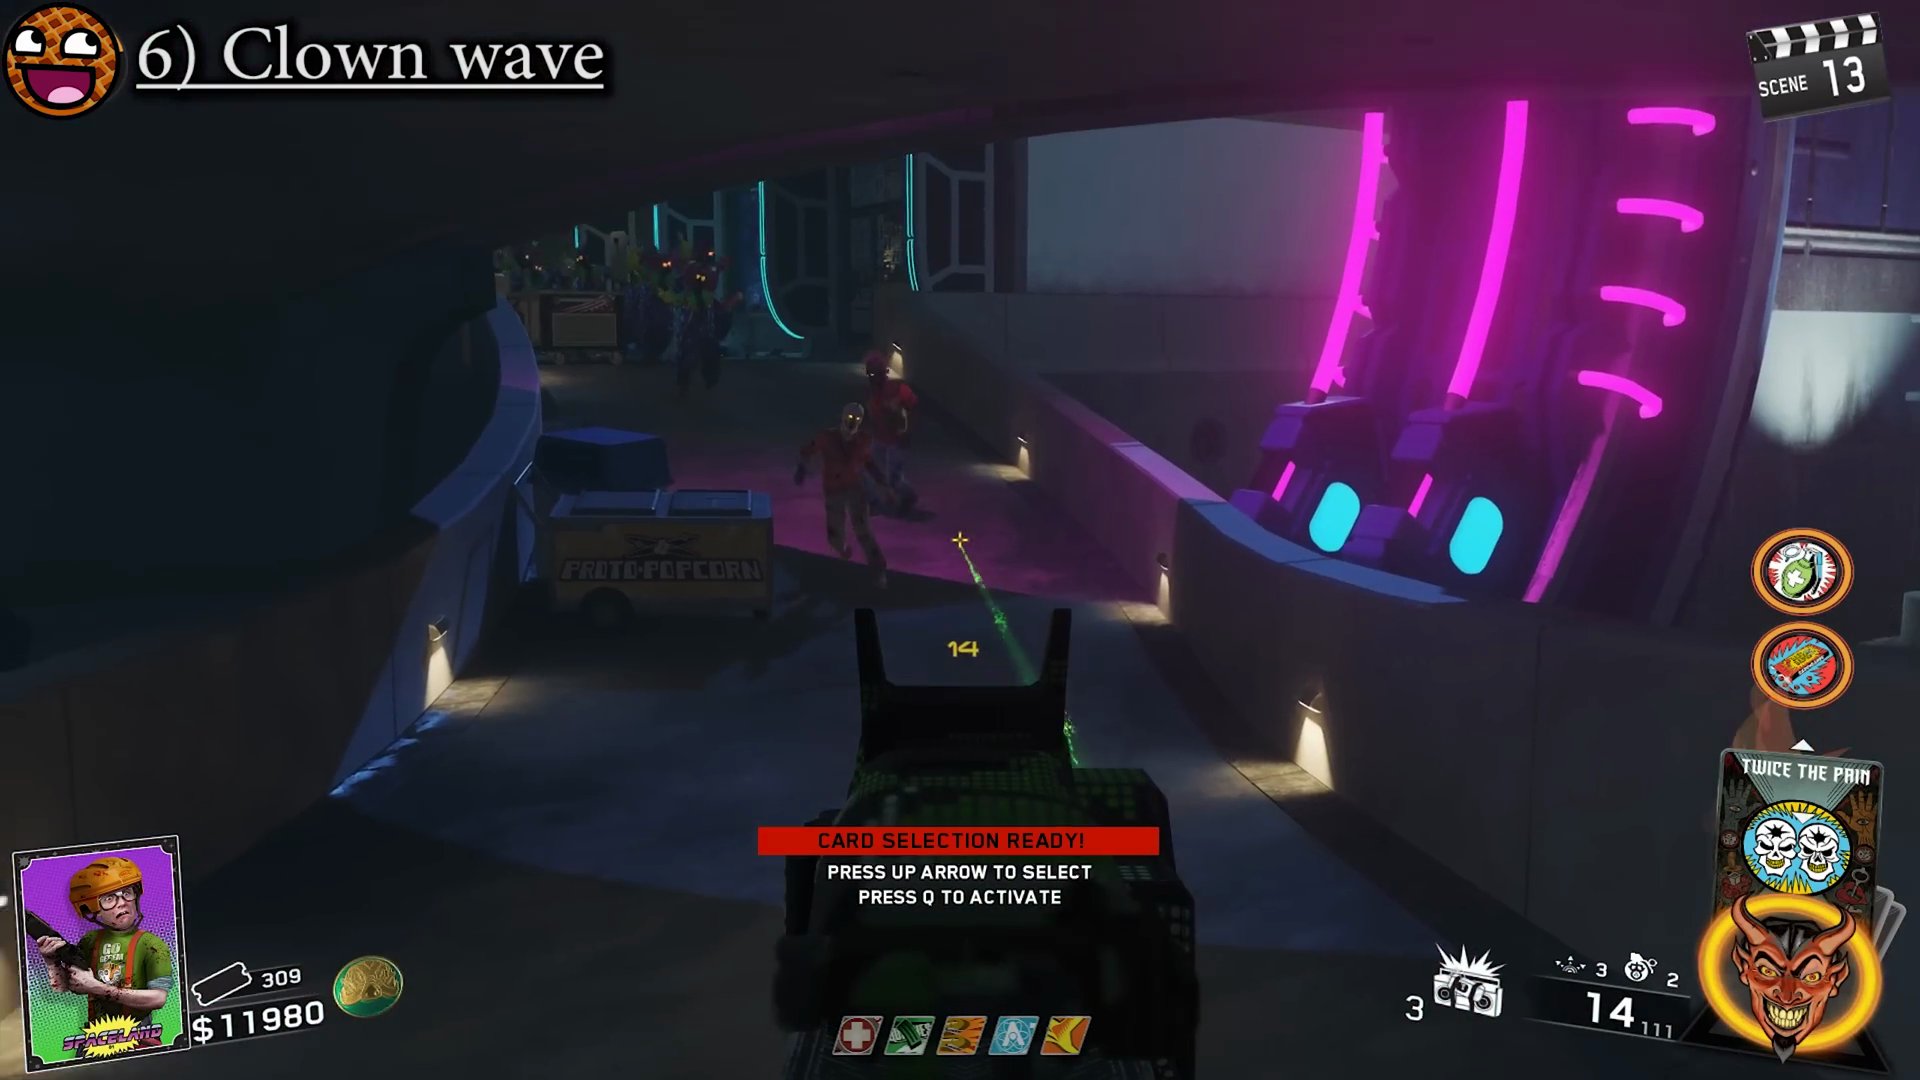
- After the third successful Simon Says sequence, a wave of clowns will spawn throughout the map. Eliminate them.
Step 7: Alien Boss Fight
- Once the clown wave is cleared, the Alien Boss(es) will spawn. There will be one Alien in solo, and one Alien per player in co-op.
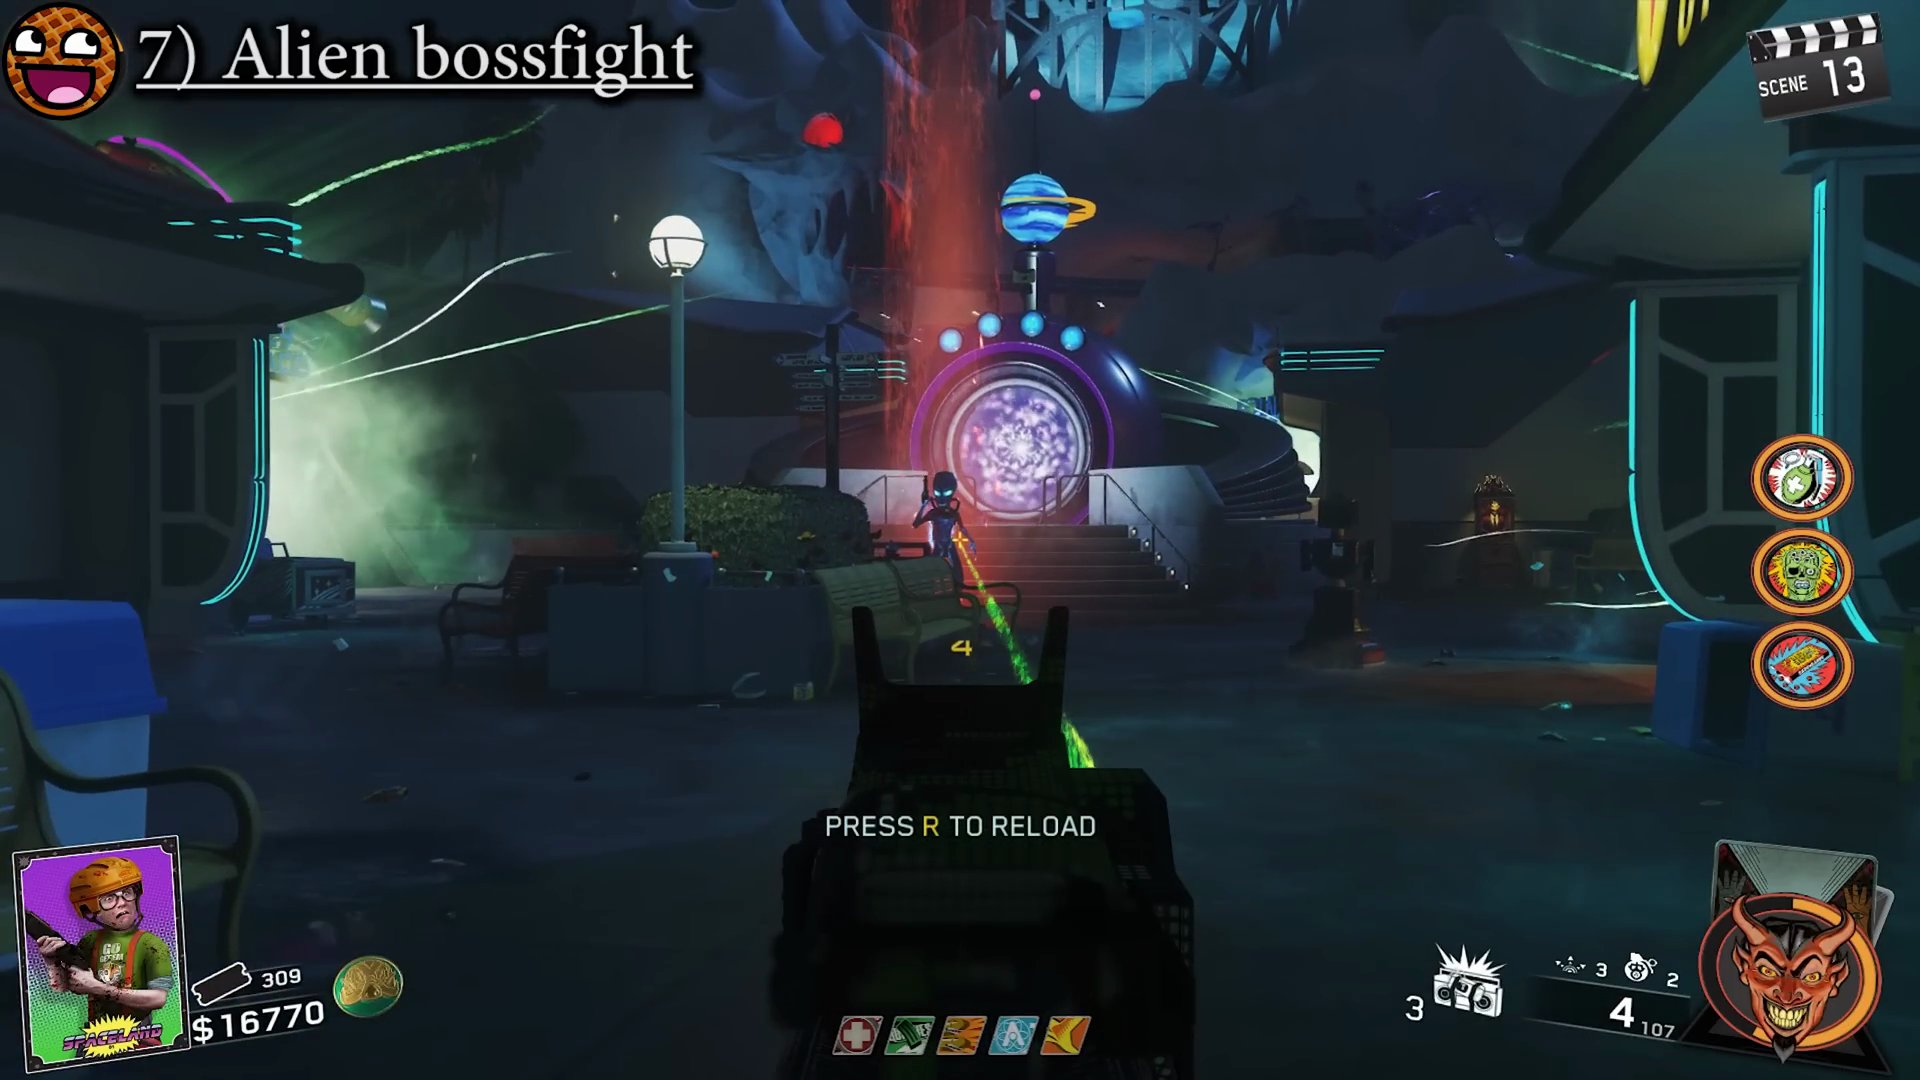
- The Alien has a colored light around its neck, indicating its health state (starts green, turns amber, then red). Shoot the Alien to deplete its health.
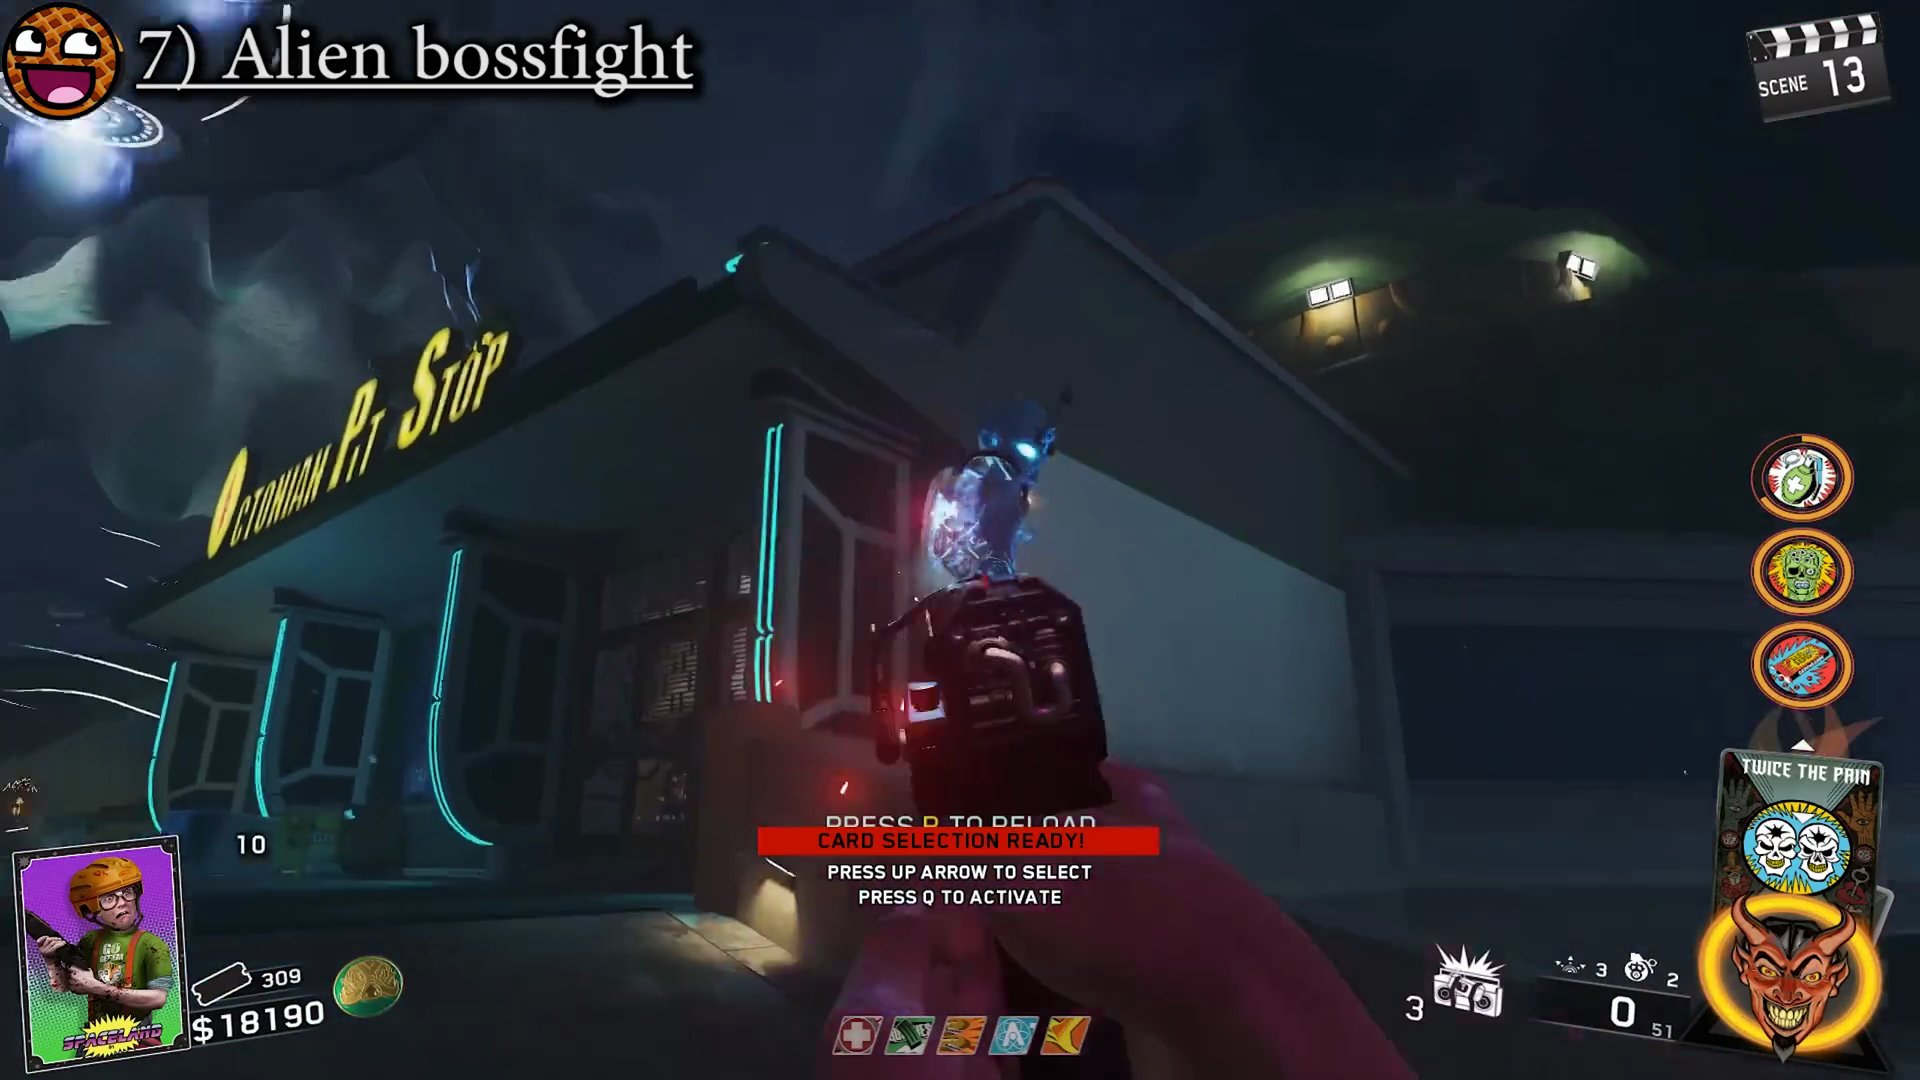
- When the Alien's light turns red, it will either kneel down or activate a yellow shield then kneel.
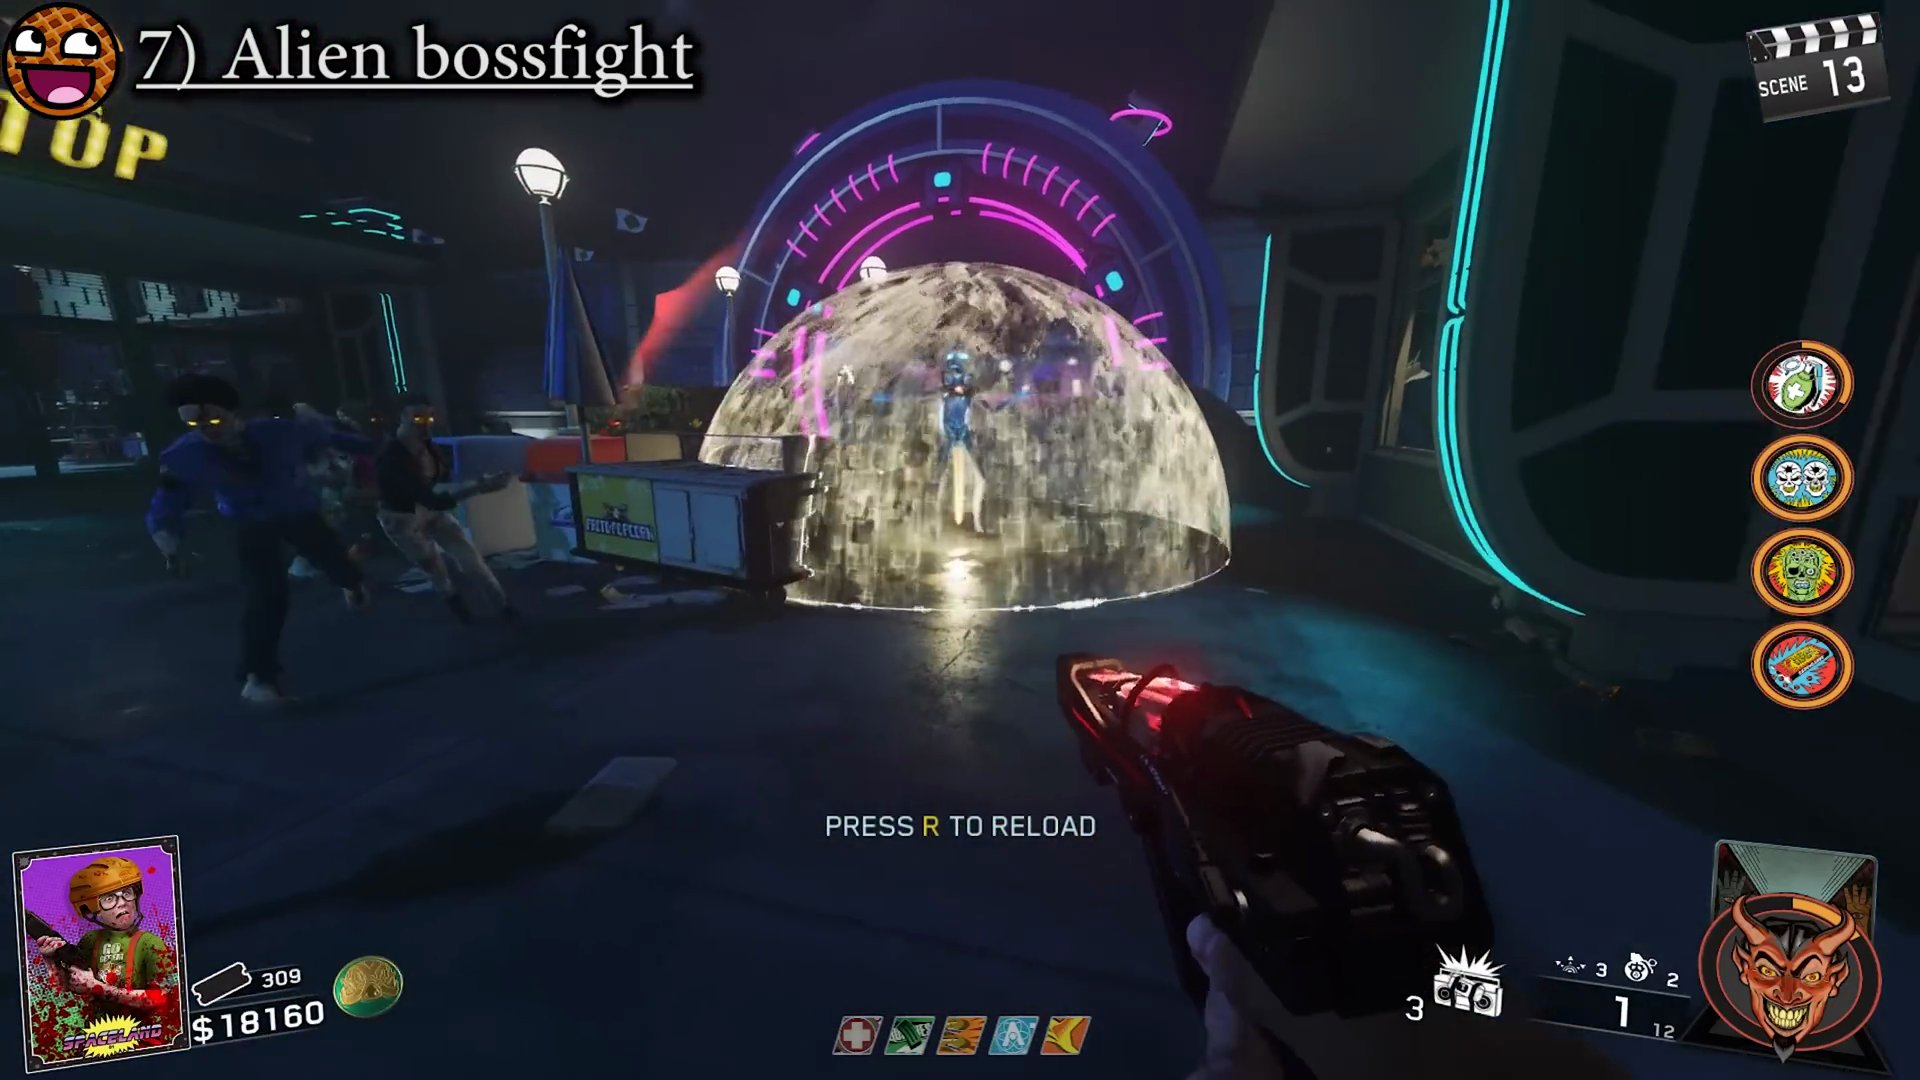
- When it kneels, quickly go behind it and knife its backpack to remove one of two Alien Fuses.
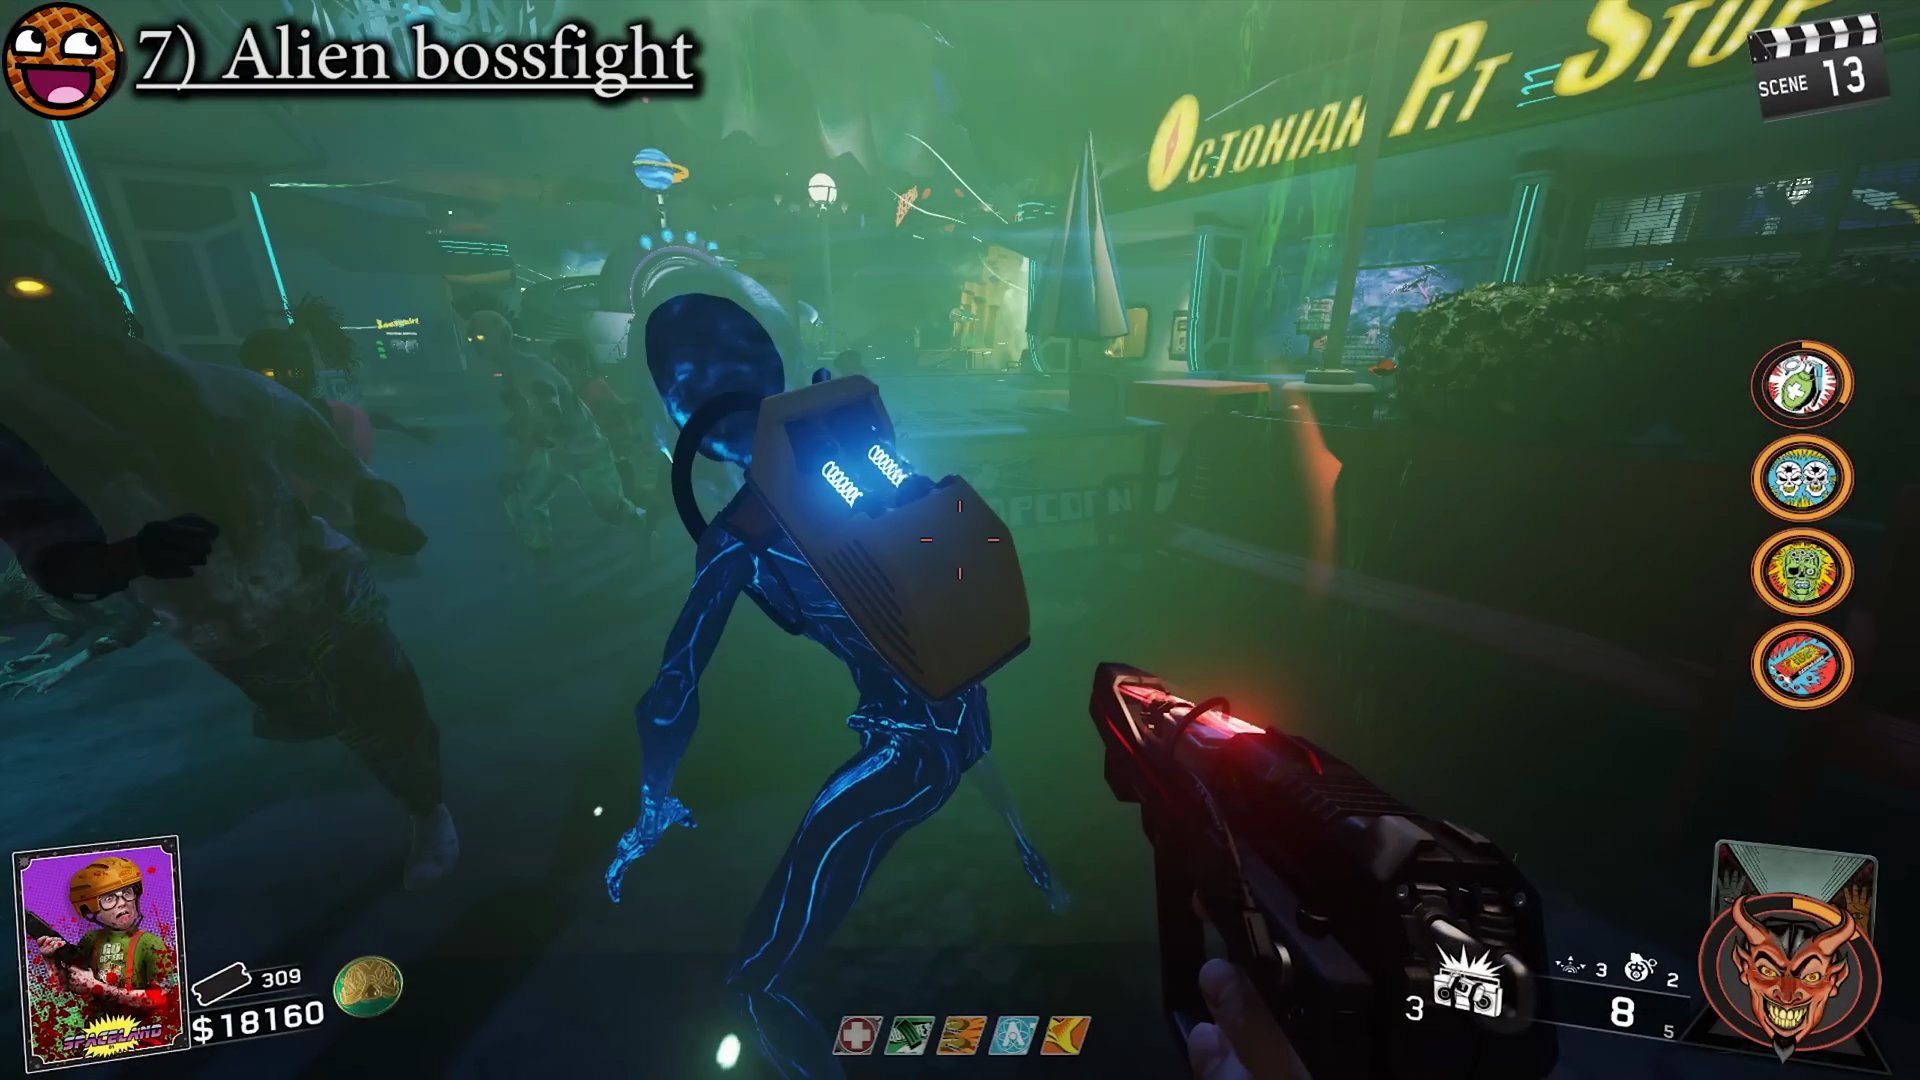
- Repeat this process. After removing both fuses and depleting its health for the final time, shoot the Alien until it dies.
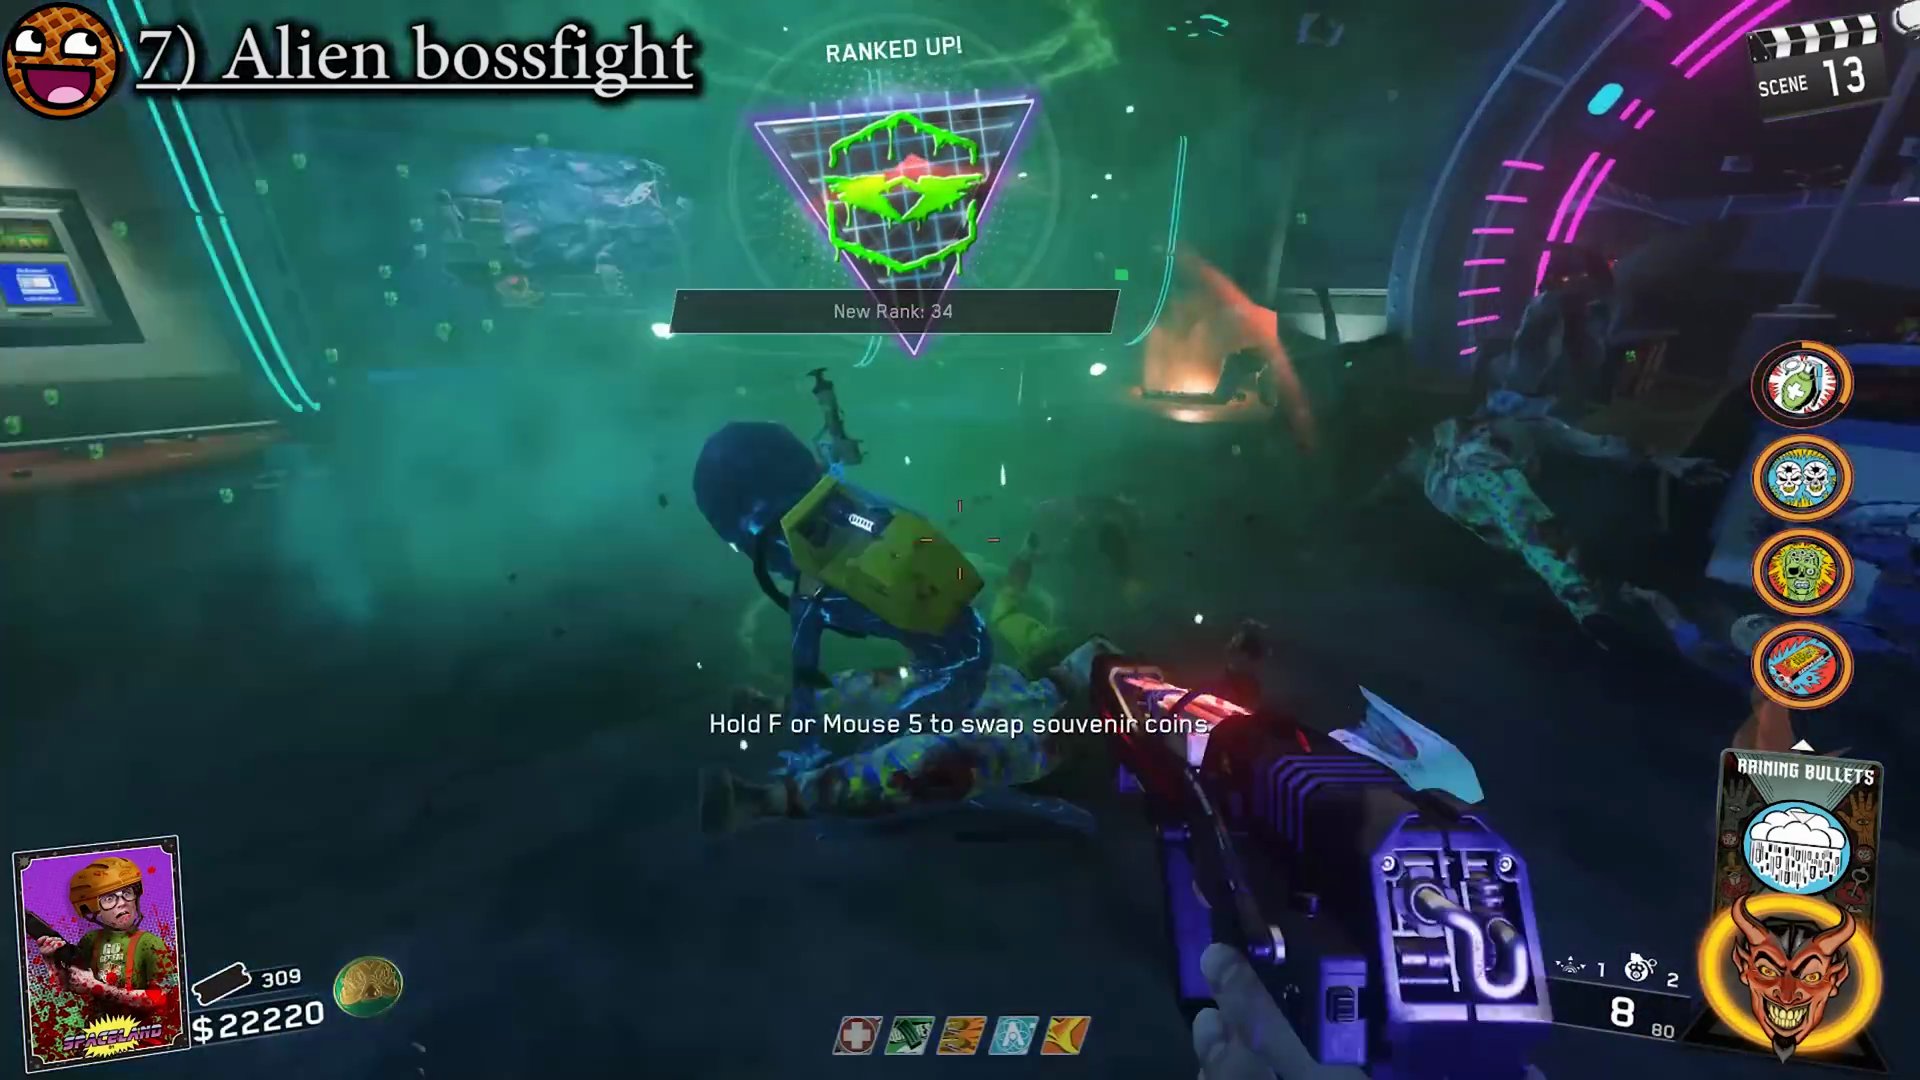
- **Boss Fight Tips:** Play slowly and prioritize survival. The Alien can kick you back into zombie hordes, stun you, and summon more zombies. If the Alien kneels in a bad spot, you may miss the oppurtunity to knife it. allow it to reposition to a safer area before trying to down it to knife the fuse again.
Step 8: Upgrade Wonder Weapon Pistol
- After defeating the Alien Boss, an Alien Fuse will drop near the Pack-A-Punch portal. Pick it up.
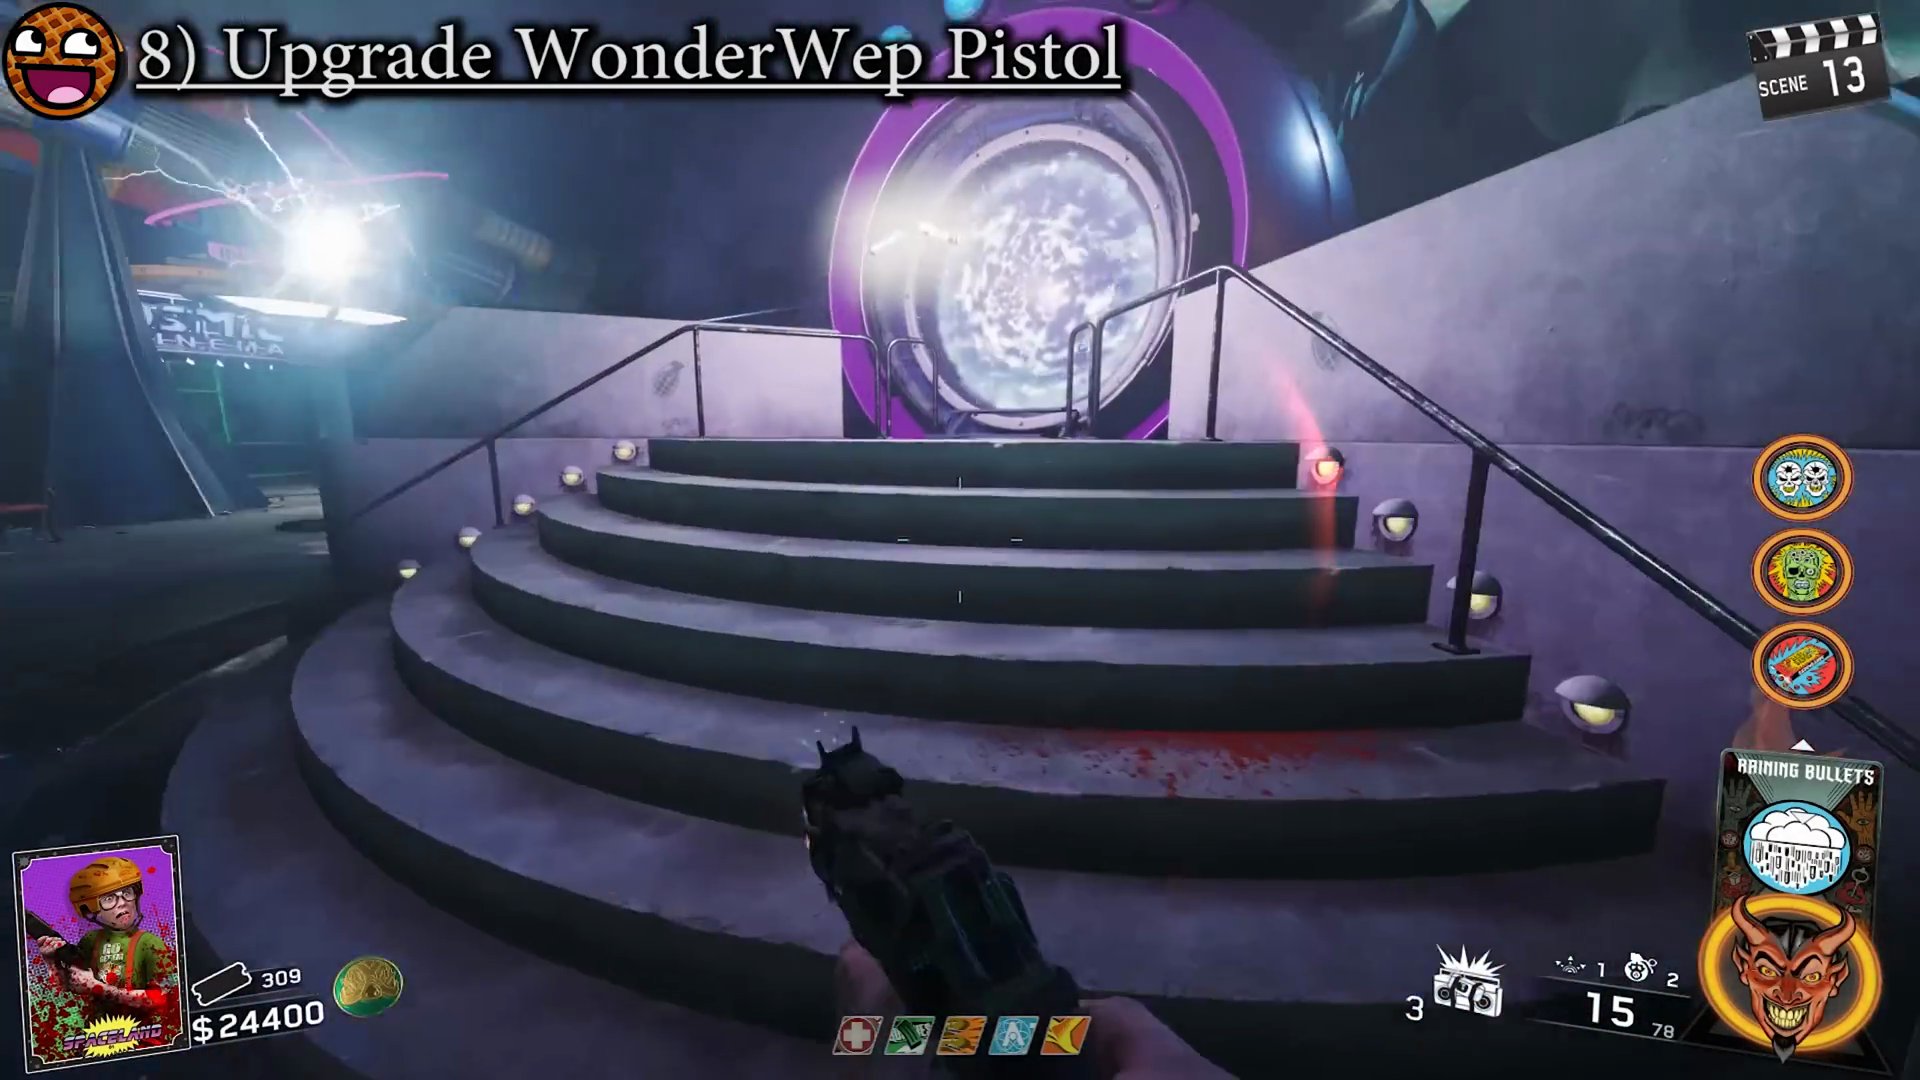
- Take the Alien Fuse to the Pack-A-Punch machine and interact with it to 'infuse' the machine. This allows you to 'double Pack-A-Punch' your Wonder Weapons.
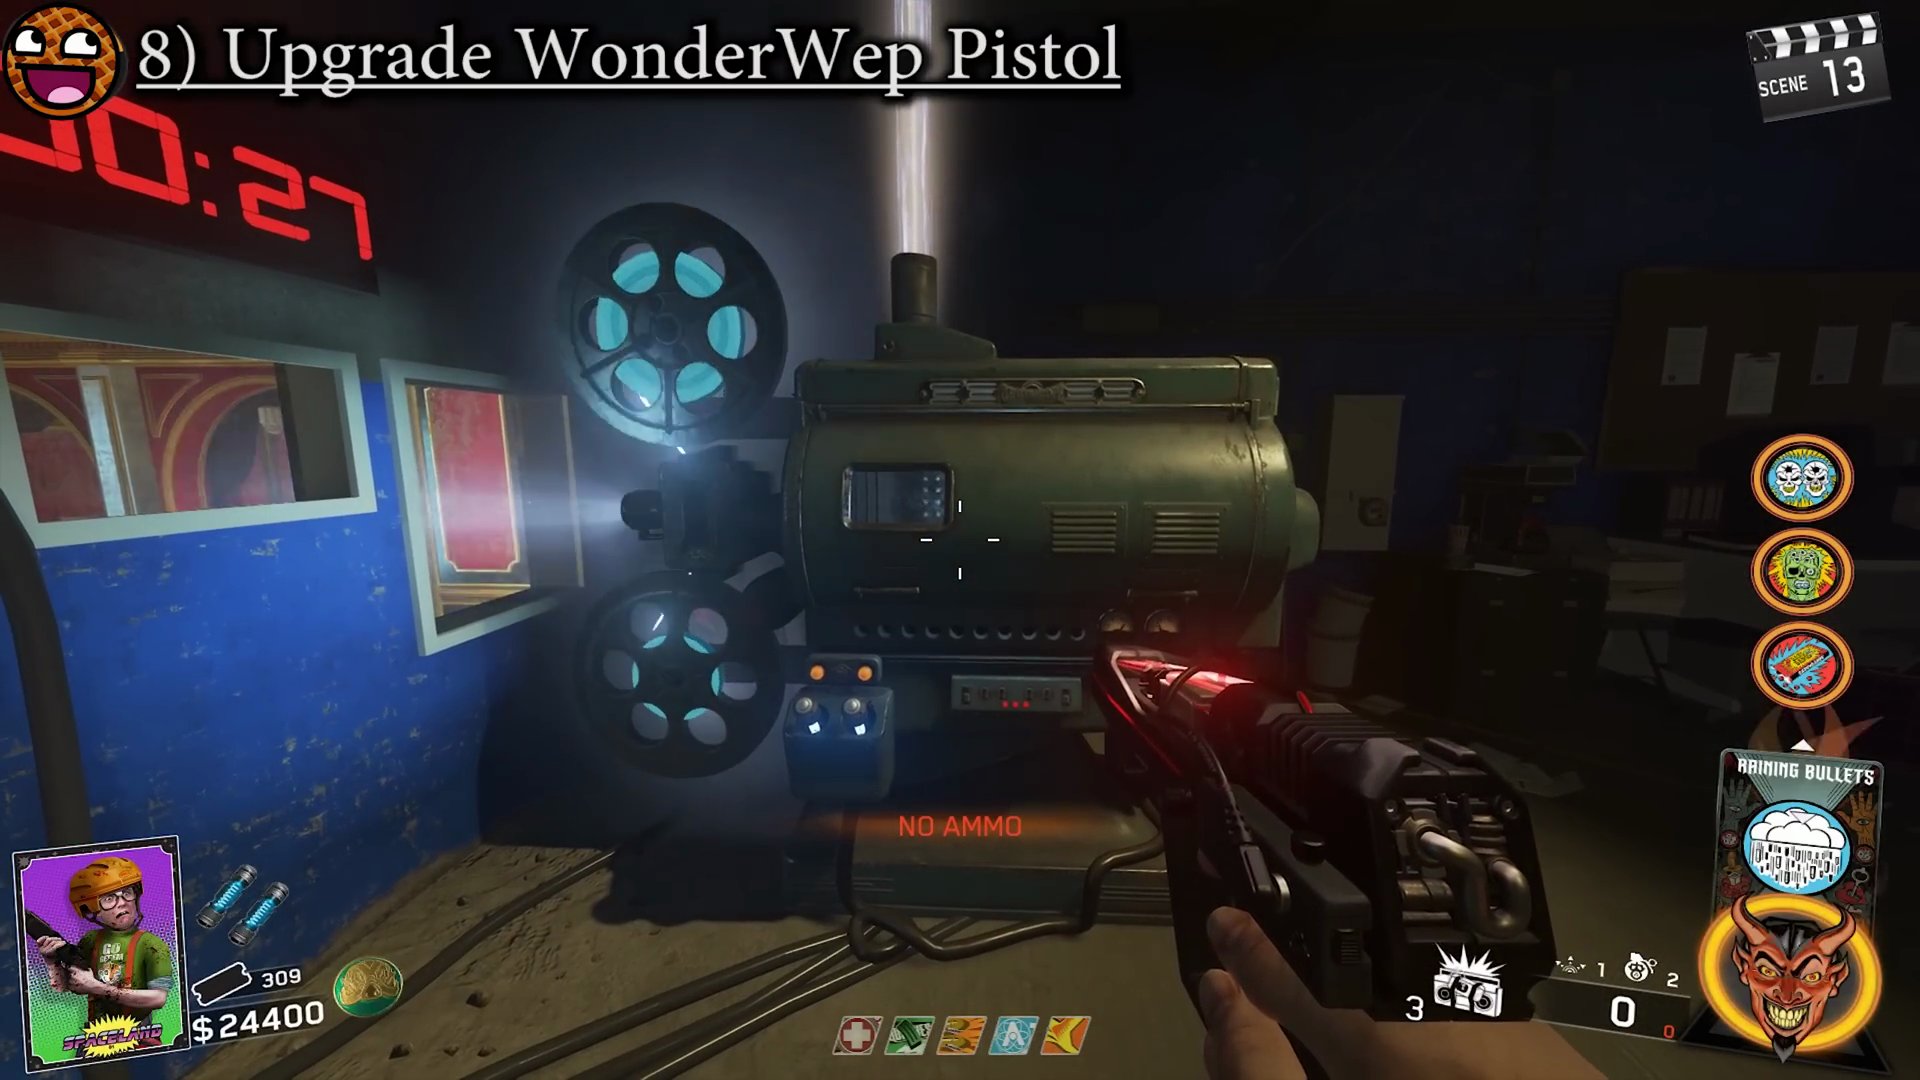
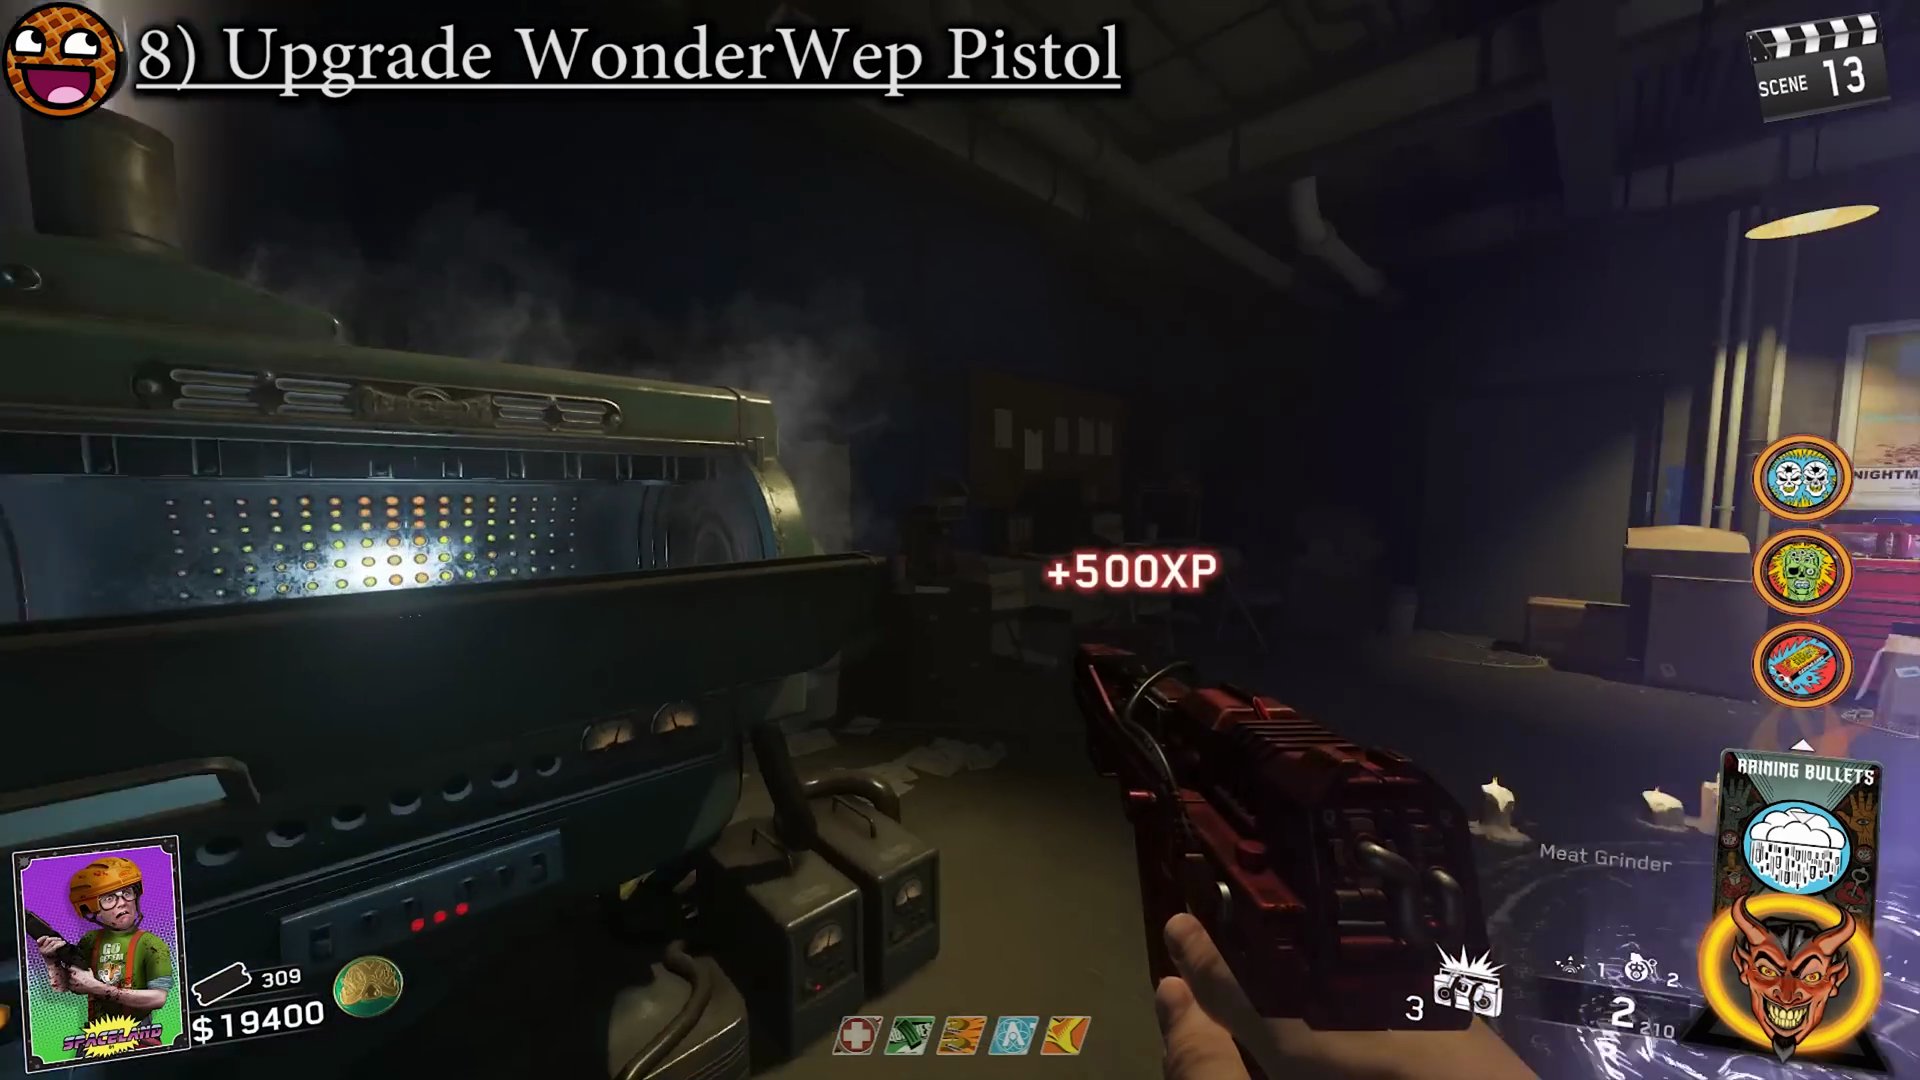
- Upgrade your chosen Wonder Weapon pistol (e.g., Shredder) for 10,000 points.
Step 9: Shoot Down UFO
- Exit the Pack-A-Punch room and go to the large 'Welcome to Spaceland' sign near the map's spawn point.
- Shoot the several blue spheres embedded in the sign until they all turn yellow.
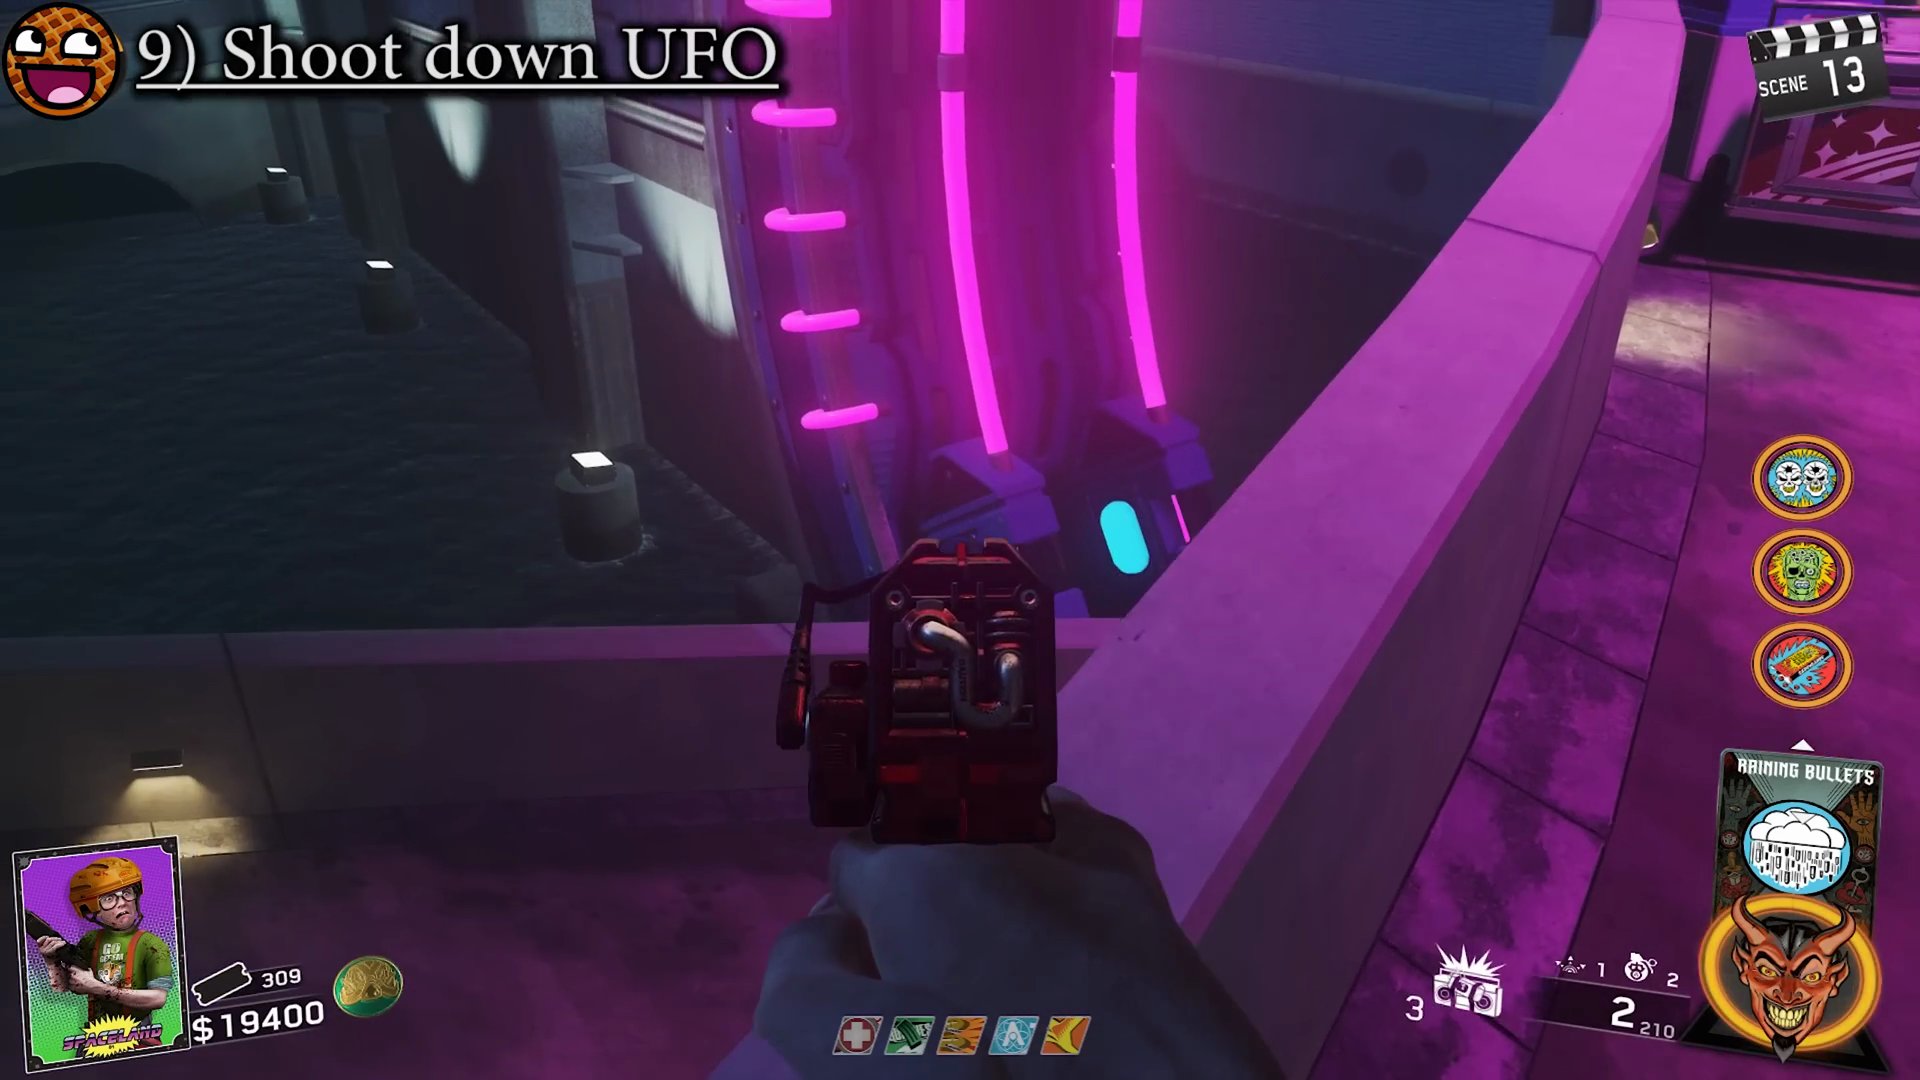
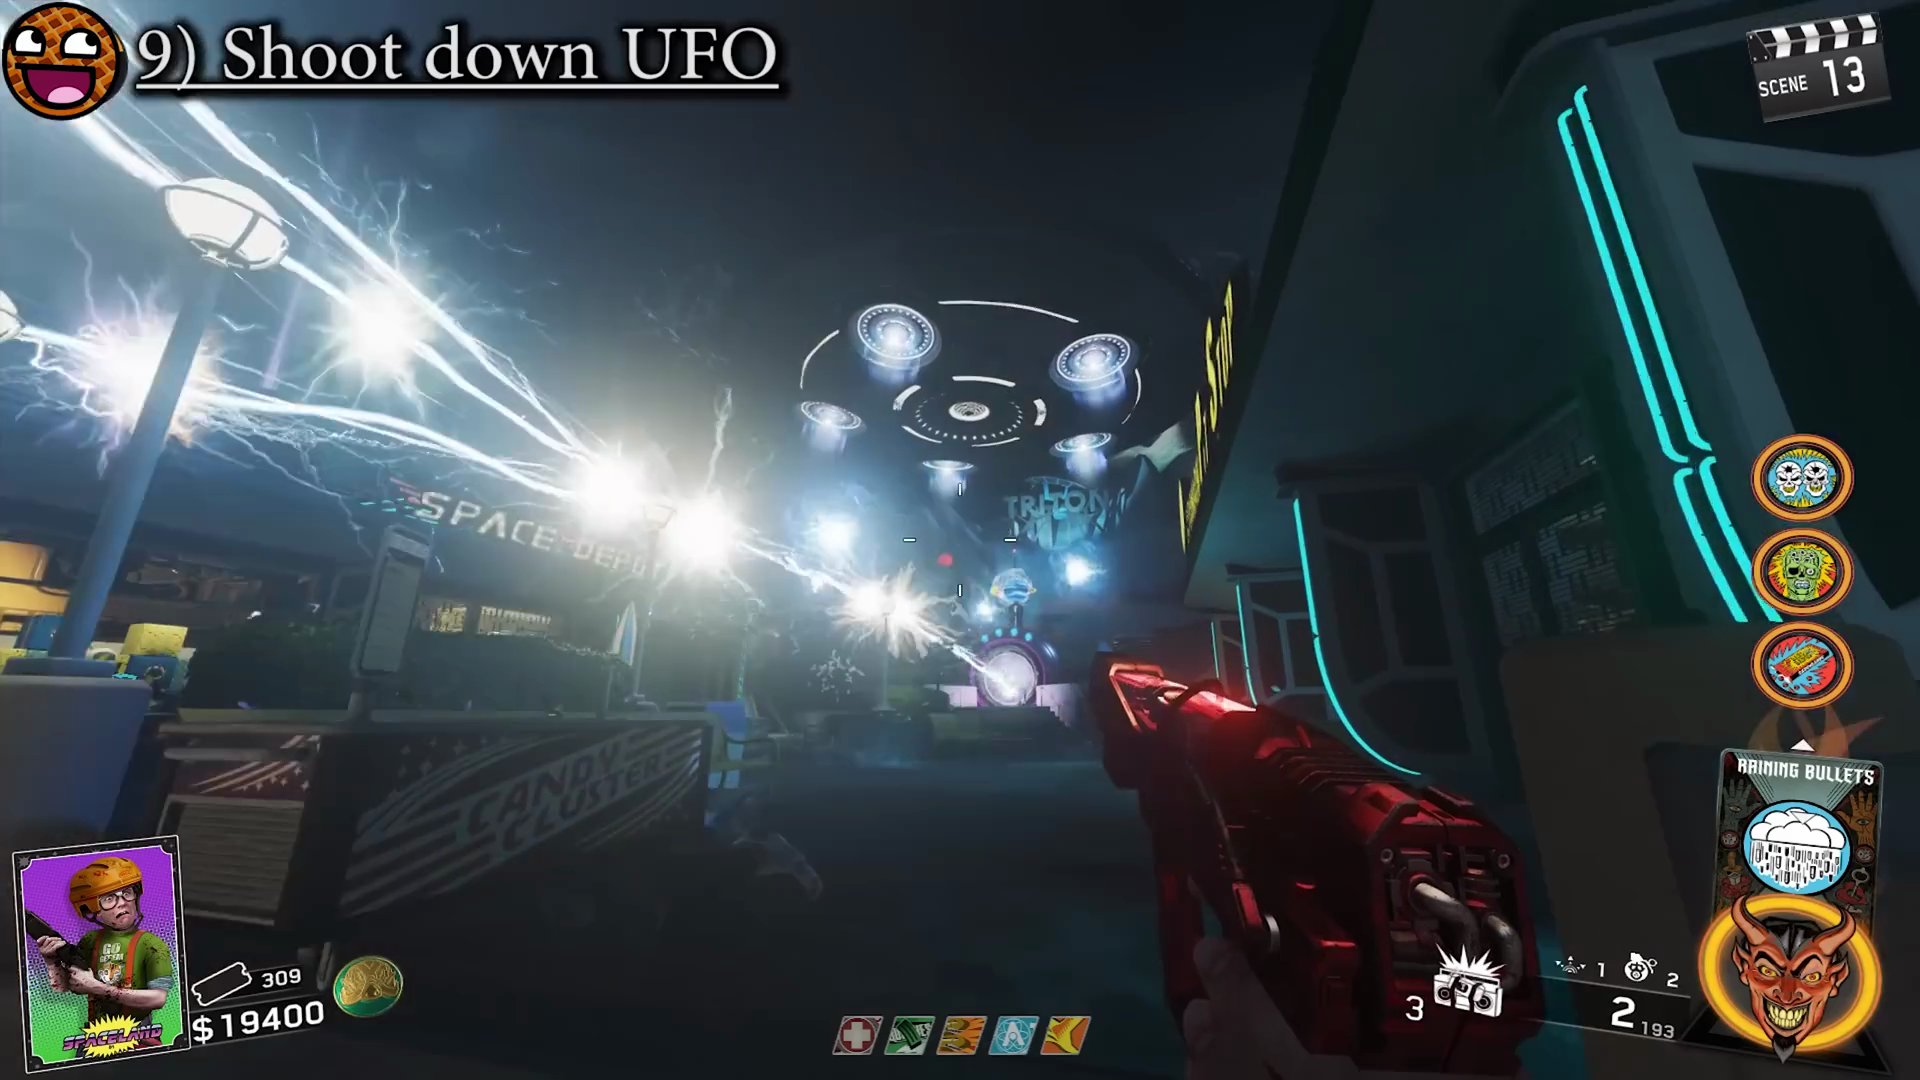
- This will trigger a burst of electricity that channels along the railings and fires a beam of energy into the sky.
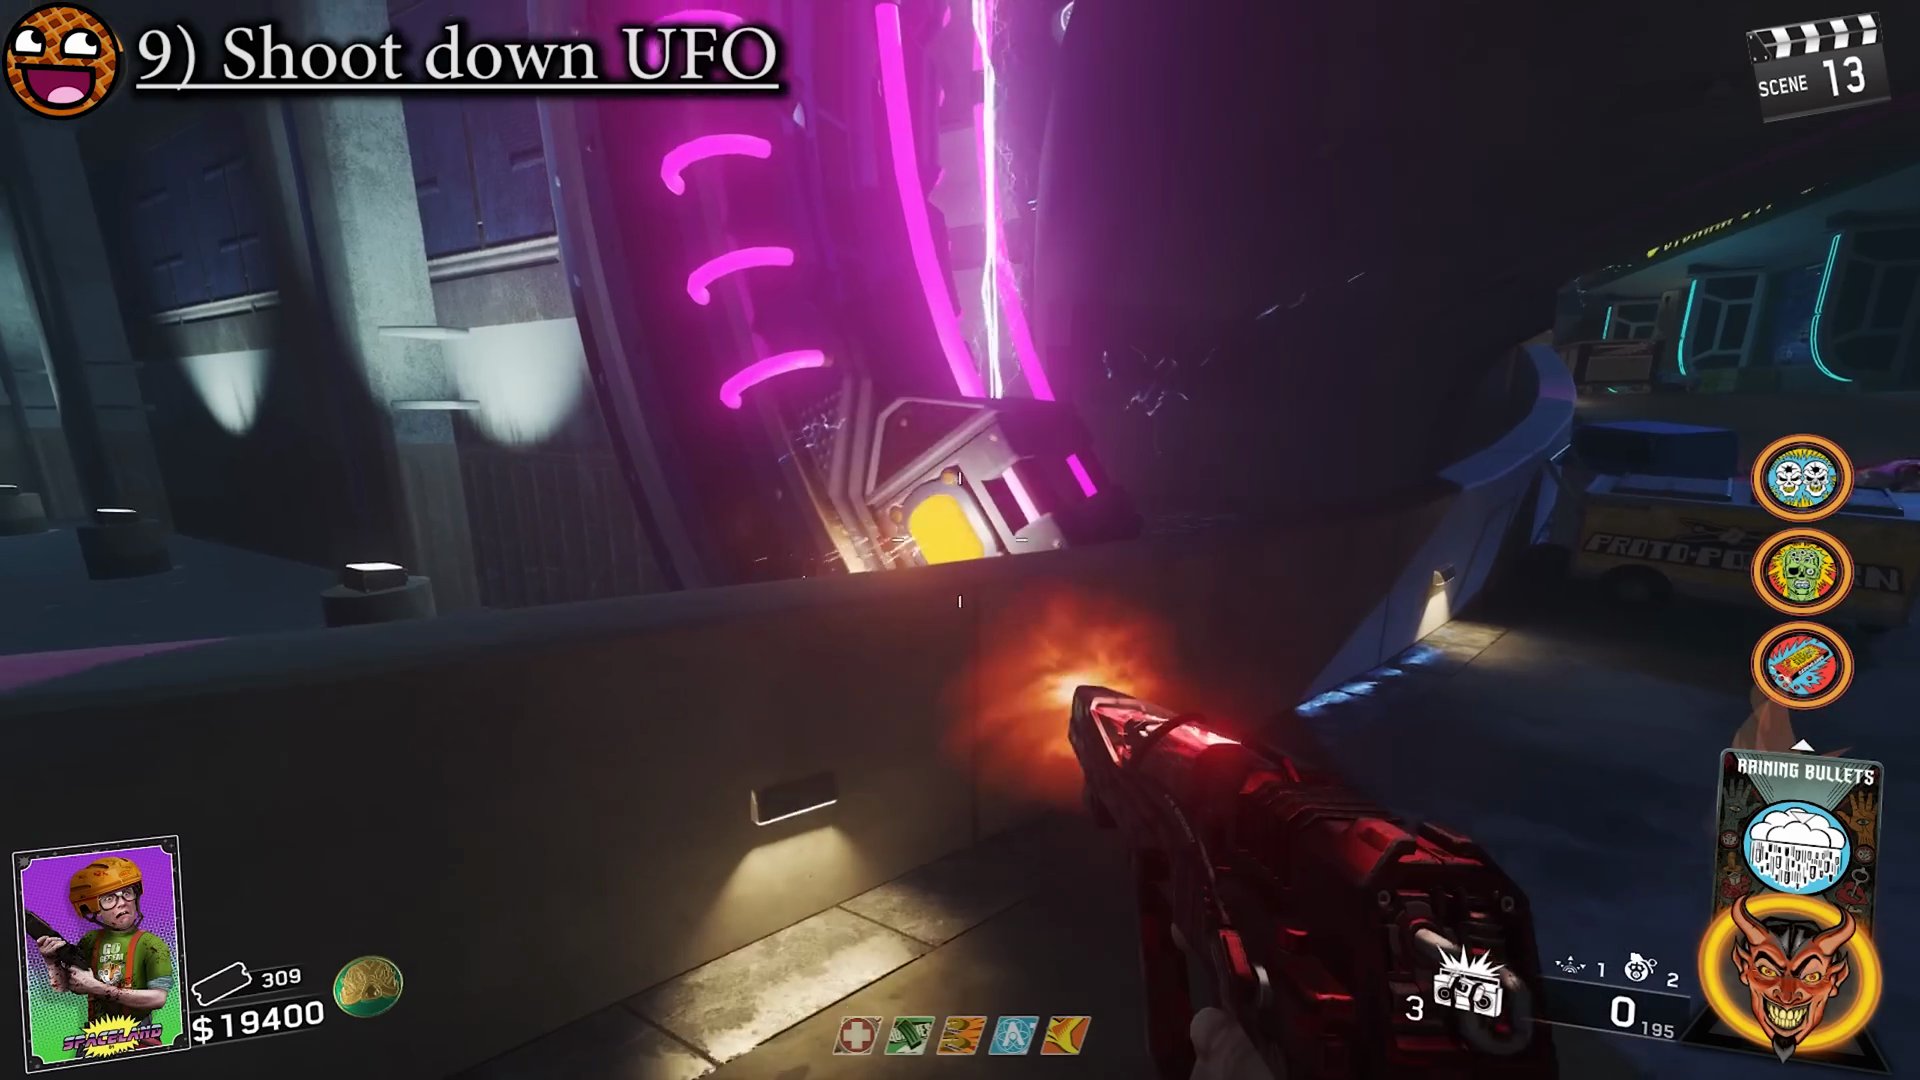
- Make sure the UFO is positioned directly above the Pack-A-Punch portal when this beam is fired, it will explode.
Step 10: Pick up Soul Key Piece
- A piece of the Soul Key will drop outside the Pack-A-Punch portal. Pick it up.
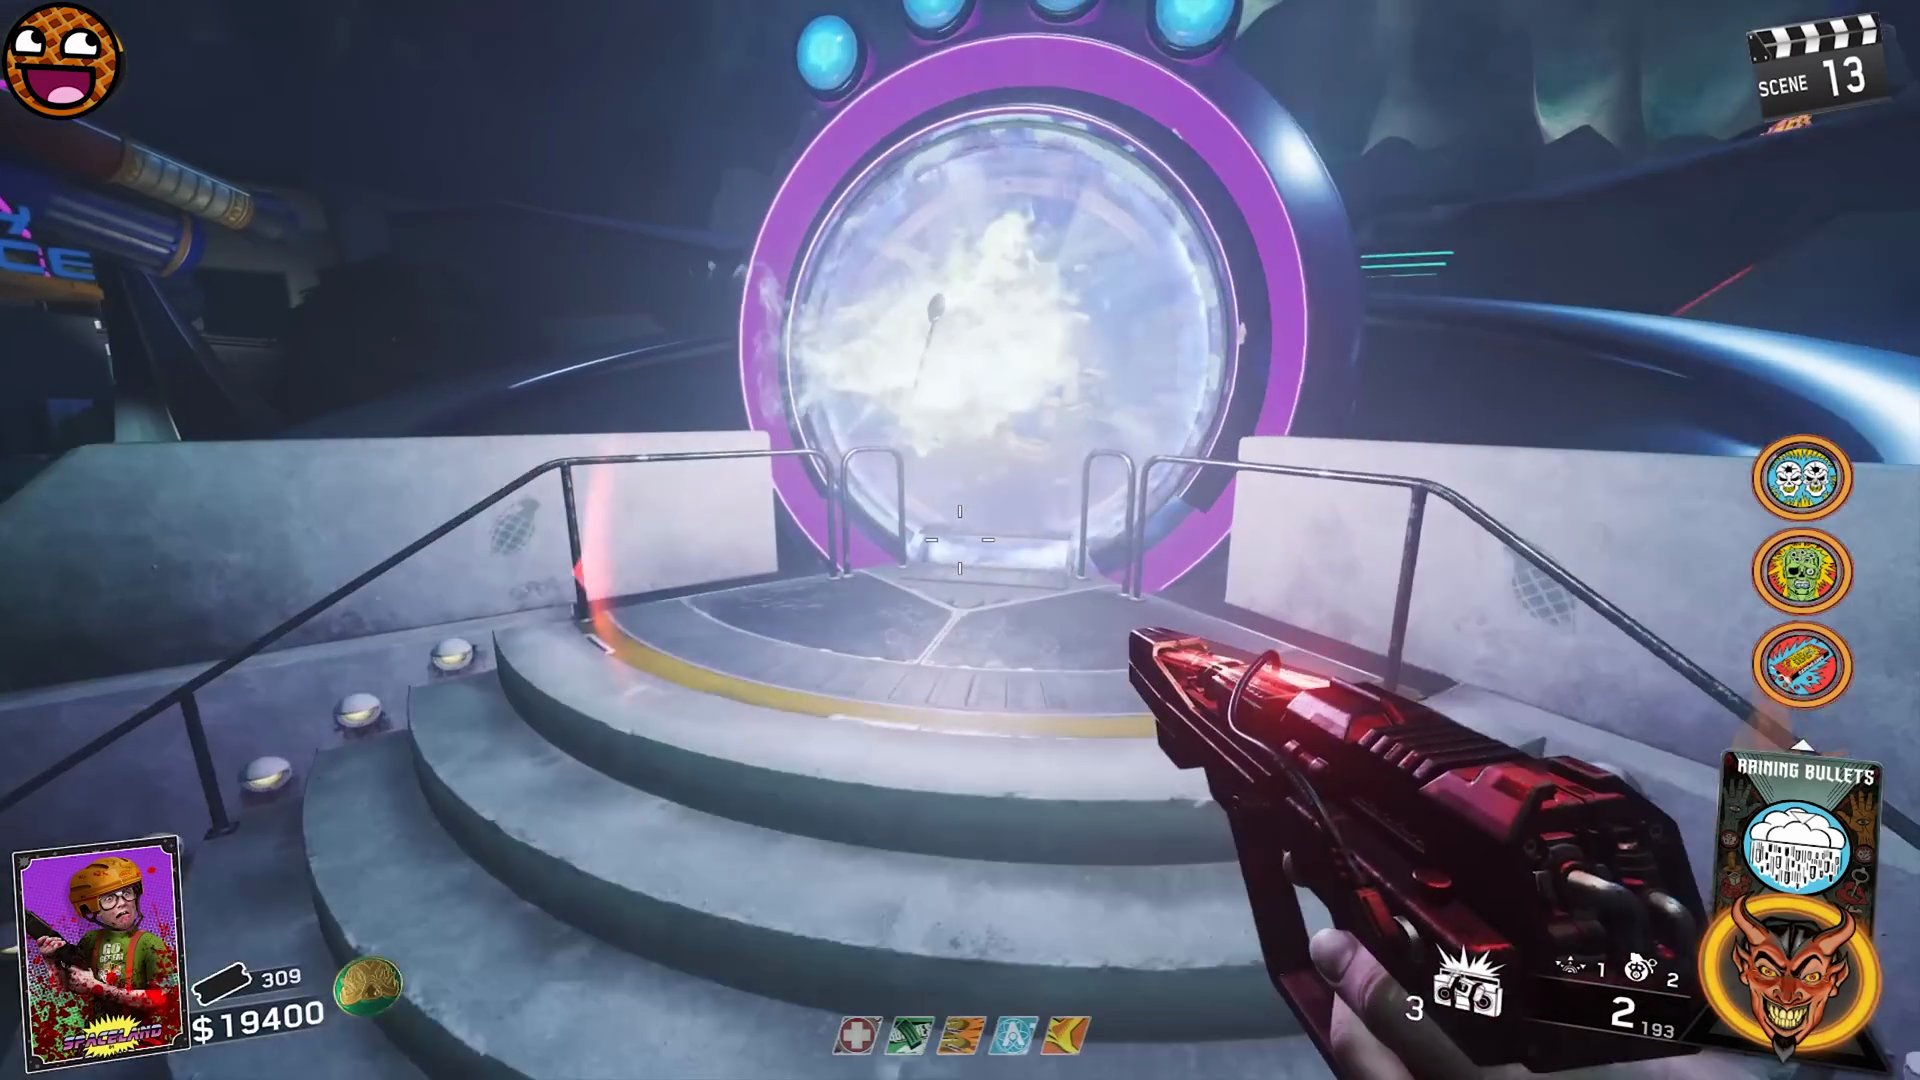
- Congratulations, you have completed the Zombies in Spaceland Easter Egg!
Finished the Easter Egg?
Send this guide to your squad.