Totenreich Easter Egg
- Updated
- Jul 2, 2026
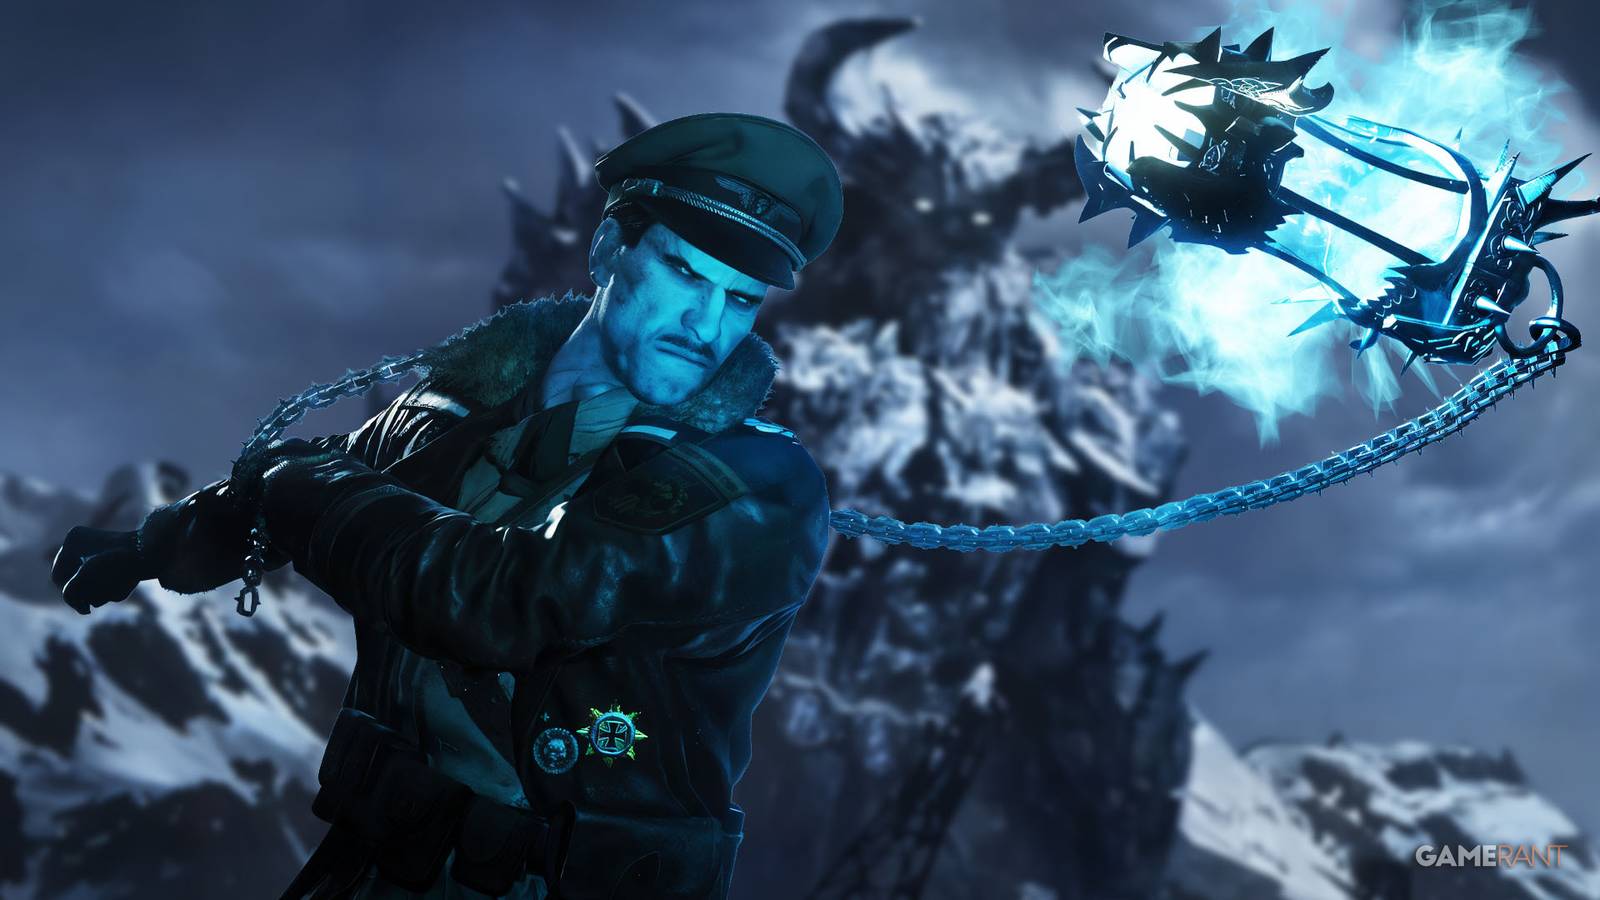
Loadout Recommendations
- Choose the M34 Novaline or 1911s for primary weapon, suitable for both ad clear and boss damage.
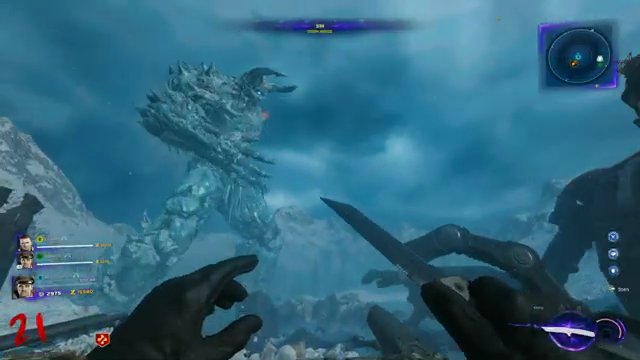
- Equip Gobblegums like Shields Up, Near Death Experience (especially for co-op), Idle Eyes, and Armor Gettin' to enhance survival and resource management during the boss fight.
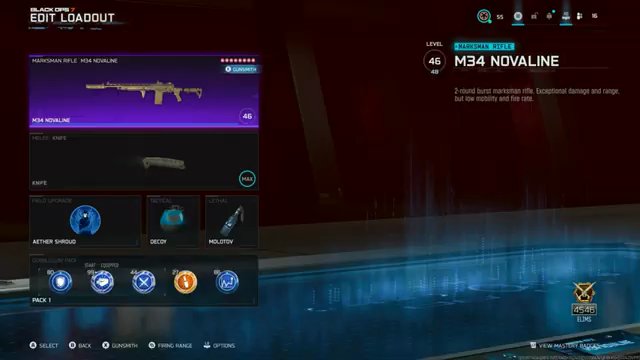
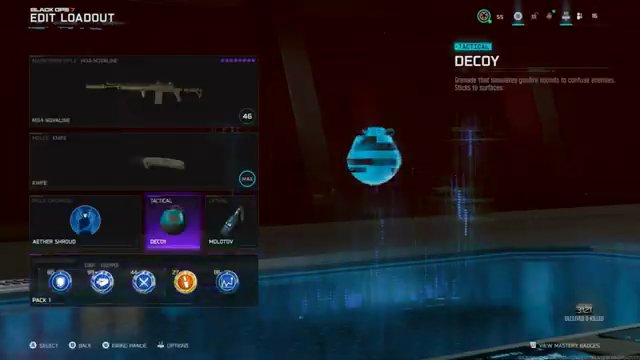
- Select Molotovs or preferred lethal equipment for utility.
Step 1: Activate Pack-a-Punch
- Restore power by interacting with two broken power lines located on both sides of the map.
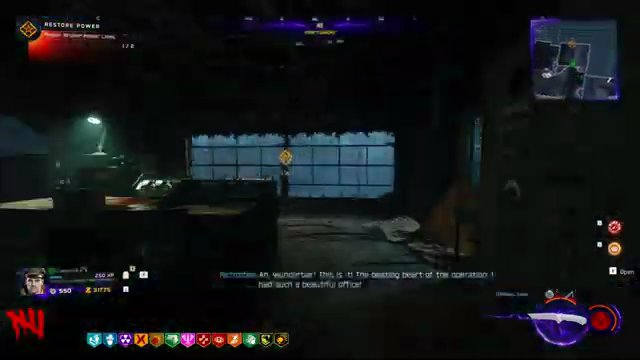
- Enter the robot's head (Tyr's Head) through the large yellow circular door.
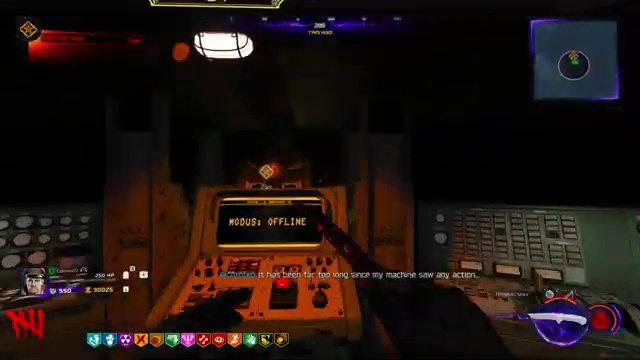
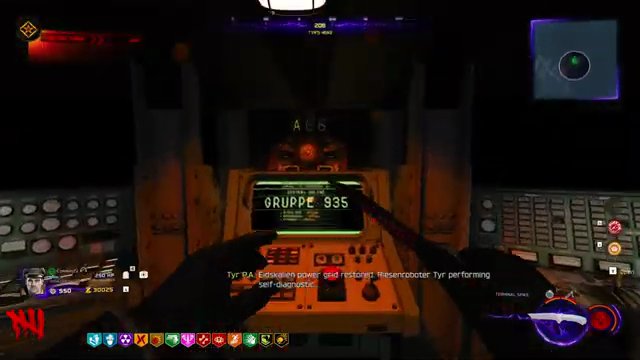
- Activate the computer console inside Tyr's Head.
- Exit Tyr's Head; a zombie will drop an Admin Keycard upon hitting the ground. Pick it up.
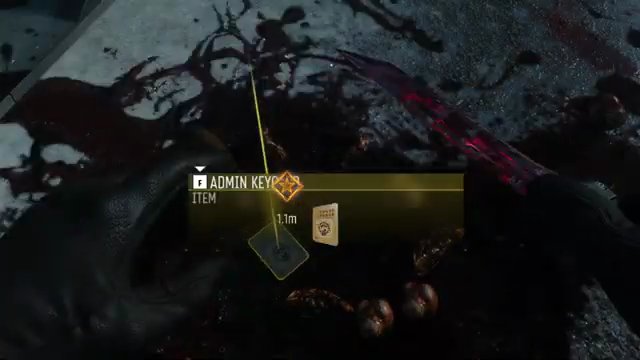
- Head to the War Factory area (western side) and use the Admin Keycard to open the Admin Room.
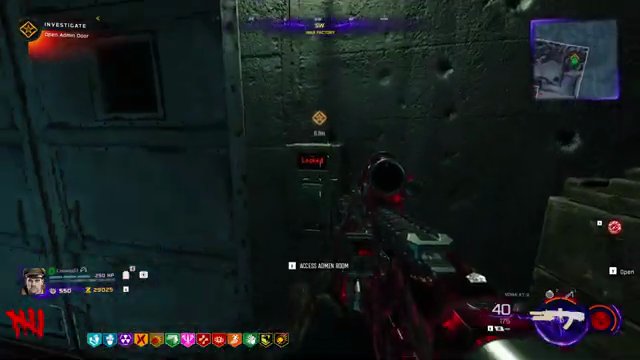
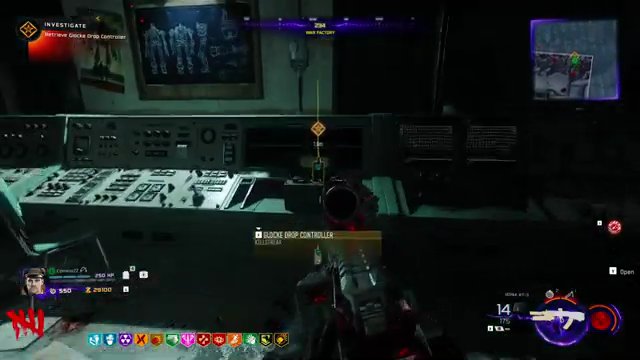
- Retrieve the Glock Drop Controller, a score streak item, from inside the Admin Room.
- Go to Fishery Island and sync the Glock Drop Controller. Defend the area from zombies while it syncs.
Step 2: Acquire Yotun Star Wonder Weapon
- In the Dry Docks area, press the button to lower a wall for a wall run.
- Jump onto the lowered wall and then onto the tip of the ship to grab the Chain Link quest item.
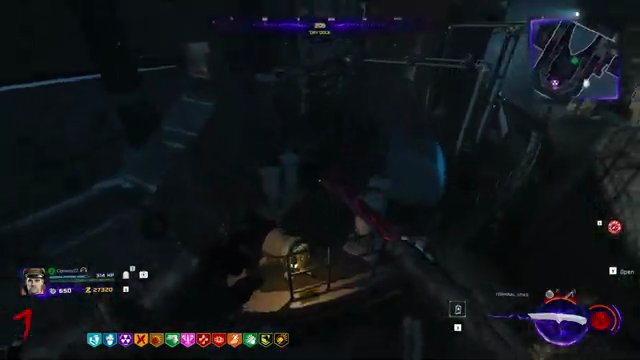
- Proceed to the Storm Bridge and find a box of Chili Chunks behind the truck near Deadshot.
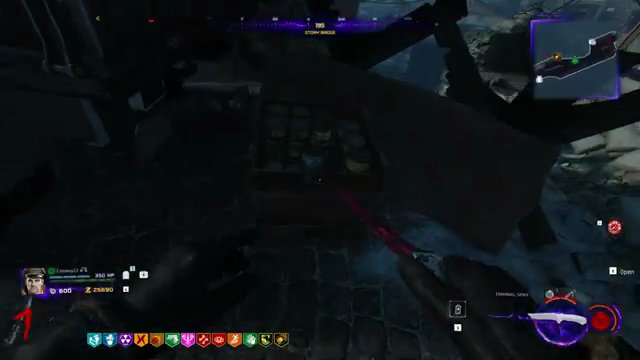
- Take the Chili Chunks to the table in the Marketplace area (right side of the map) and place them down.
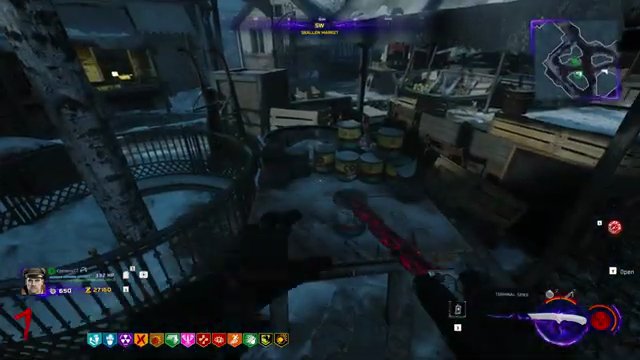
- Eliminate the Zerzer that spawns (either on round 10 or the next round after placing the beans) to collect the Lantern Part.
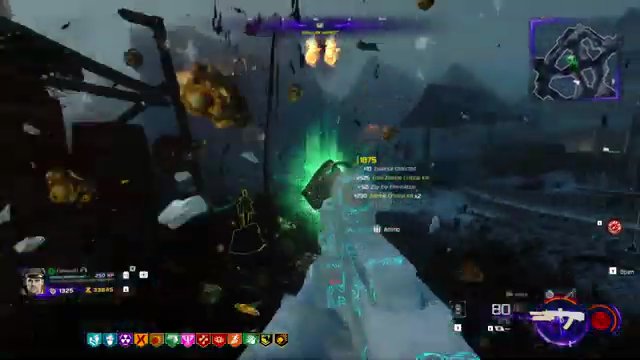
- Go to the building in the top right corner of the map (Burial Grounds) and install the Chain Part by interacting with the building's exterior.
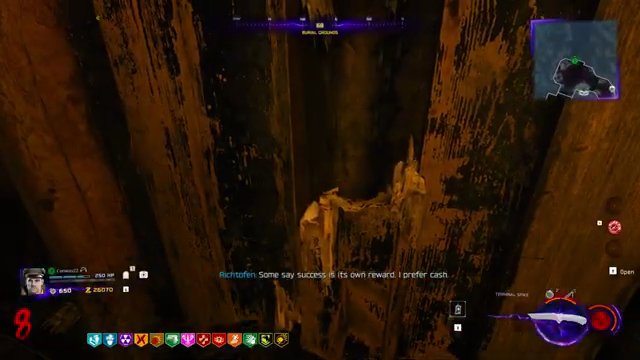
- Once inside, locate the platform with a lantern. Place the Lantern Part on it.
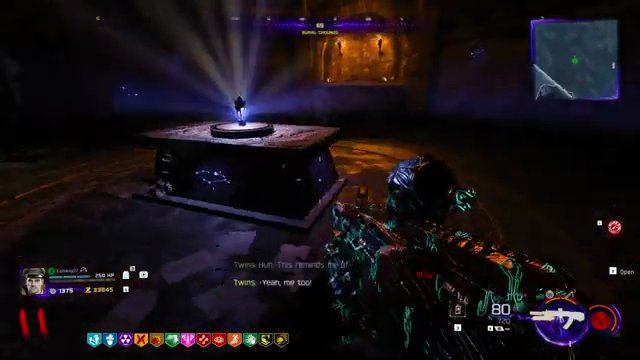
- Match the constellation symbols on the wall to those on the table in the following order: Left, Right, Back, Front. Interact with the wall symbols when they match the current table symbol. If incorrect, interact with the top table symbol to reset.
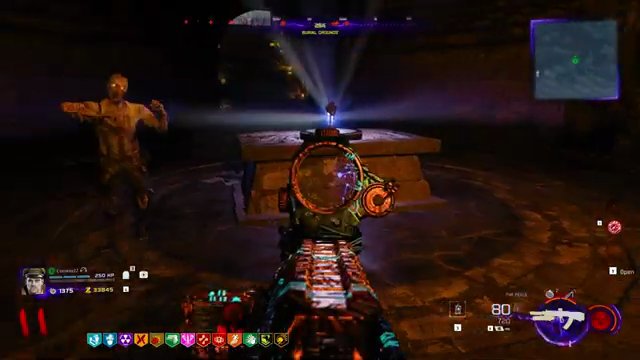
- Astrid will appear. Follow her as she moves around the map, feeding zombies into her 'soul sucking' spots to charge her.
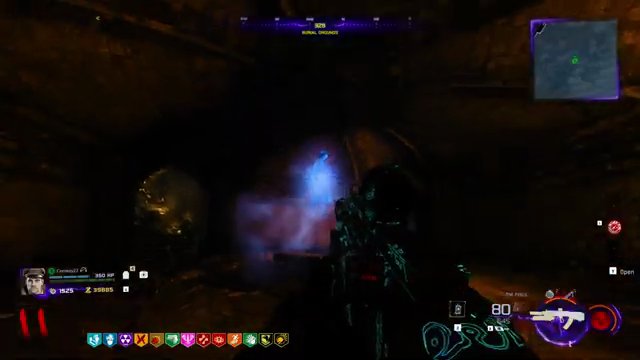
- After fully charging Astrid, she will unlock a jumping puzzle leading to the Lighthouse. Ascend the floating rocks to reach the Lighthouse, using Aether Shroud or Kazimir for zombie crowd control.
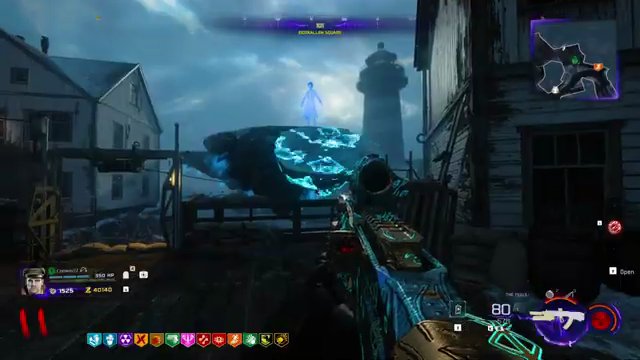
- At the top, interact to enter the Lighthouse and pick up the Yotun Star Wonder Weapon.
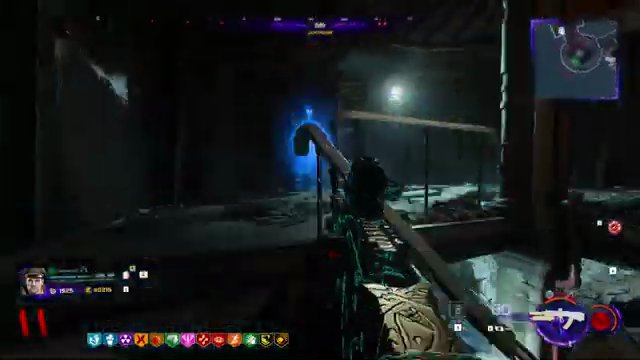
Step 3: Solve Wonder Signal Puzzle
- Inside the Lighthouse, locate a crowbar on a shelf and pick it up.
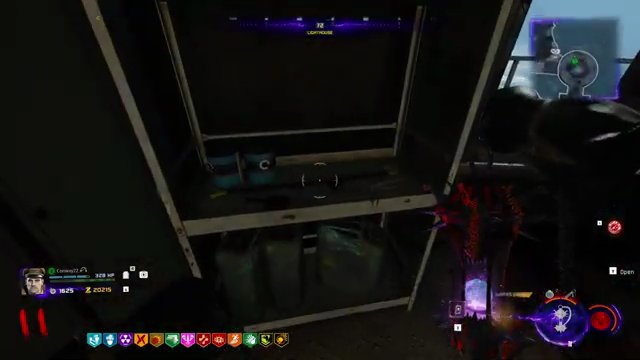
- Use the crowbar to open specific wooden boxes around the map. Refer to the Cargo Manifest (found in the Admin Room, War Factory) for the correct box ID containing the Flak Gun Round, or open them all.
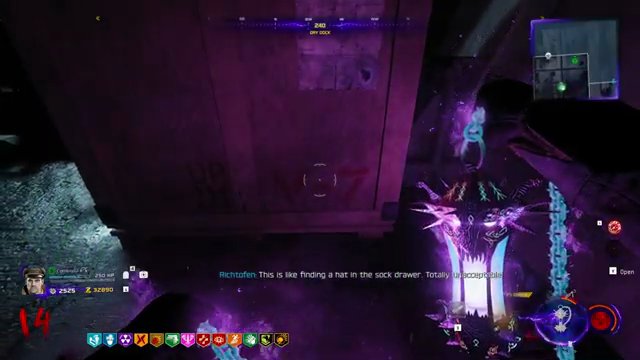
- Take the Flak Gun Round to the Flak Turret on Beacon Island and install it.
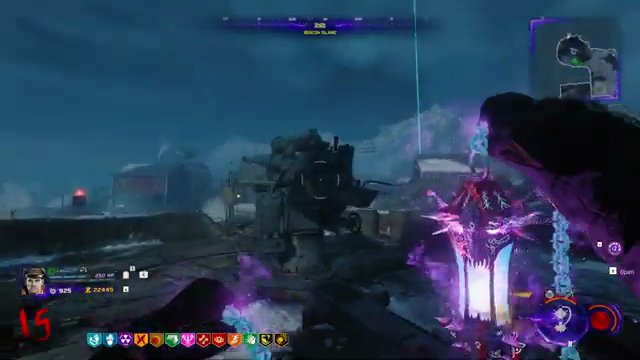
- Melee the turret with the Yotun Star to fire it at the robot's head (Tyr's Head). [SCREENSHOT:09:09]
- Return to Tyr's Head and interact with it to collect the Transmitter.
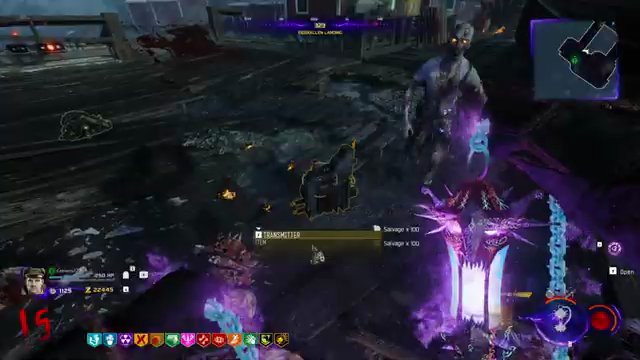
- Install the Transmitter inside Tyr's Head.
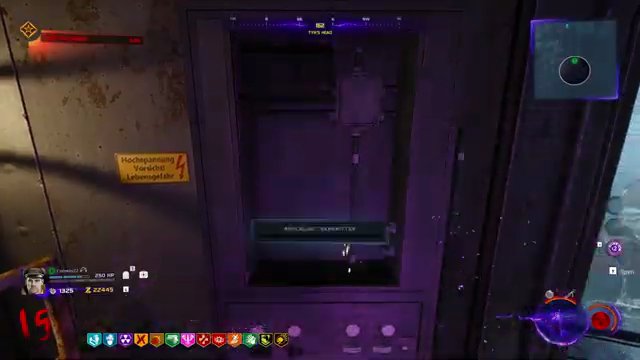
- Observe the white lights on the consoles. Each light will blink twice, displaying a number sequence. Record both pairs of numbers (Left-Right, Left-Right). For example, 2-2 followed by 3-5.
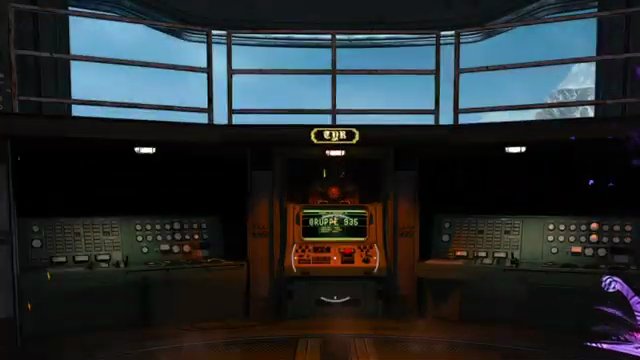
- Proceed to the Core Foundry and interact with the oscilloscope to input the code. Adjust Amplitude (Left dial) and Frequency (Right dial) to match the number pairs obtained from Tyr's Head. The wave on the screen should match a specific pattern.
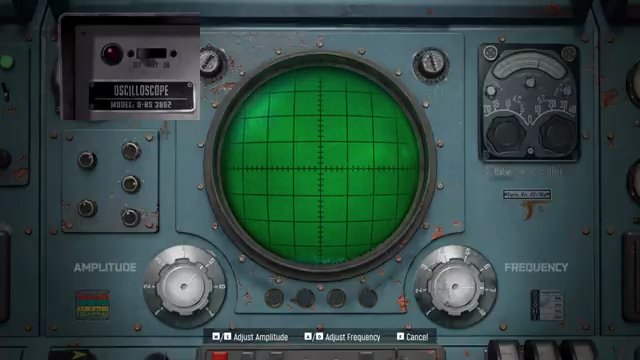
- Upon successful input of the first pair, a success quote appears. Repeat the process for the second number pair. [SCREENSHOT:11:32]
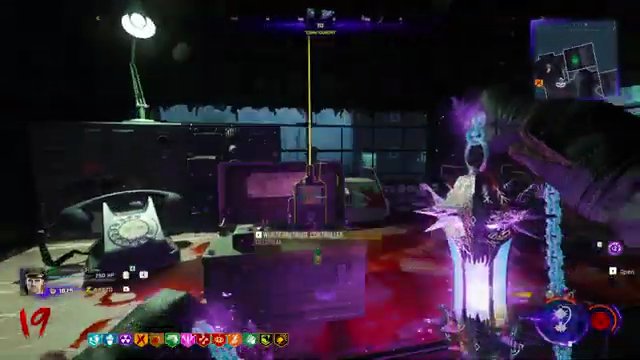
- A newly opened box in the Core Foundry will reveal the Wonder Barrage Controller. Pick it up.
Step 4: Assemble Atomcraft Core
- Collect three Uranium pieces: one from a Ravager (fish it out with the fishing rod from a green glowing spot), one from an RCXD detonation, and one from the Glock Drop.
- **For Ravager Uranium:** Fish a green glowing fish from one of the fishing spots (spawn, dry docks, bridge, lighthouse, Fishery Island).
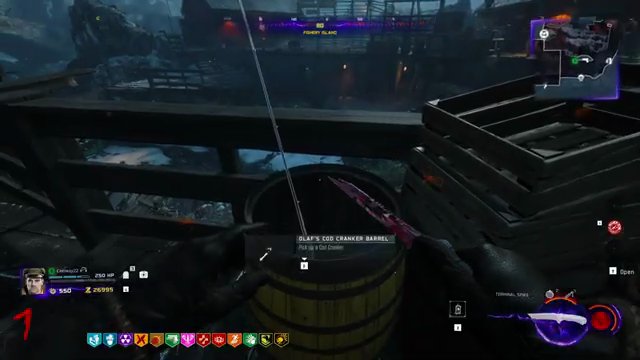 An Irradiated Ravager will spawn; defeat it for the Uranium Rod.
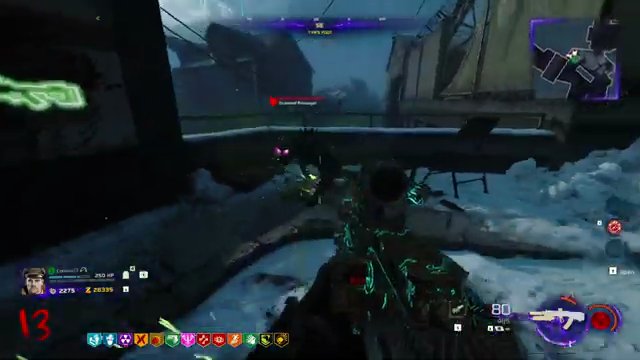
- **For RCXD Uranium:** Obtain an RCXD (craft or find a free one on a crate in Eidskalen Square).
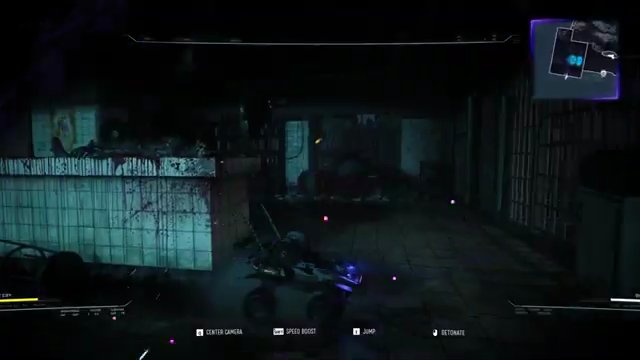
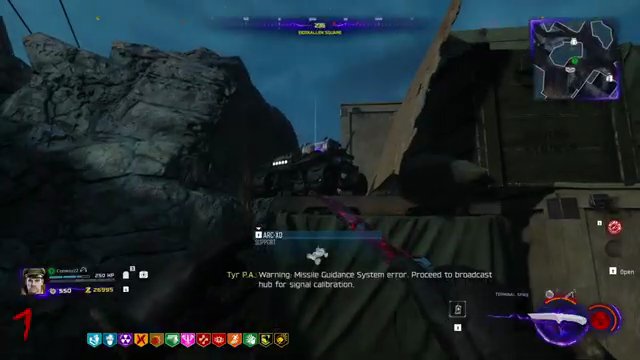 Drive the RCXD into the grate in the Core Foundry, jump across the water, and detonate it on the barrels to open a path.
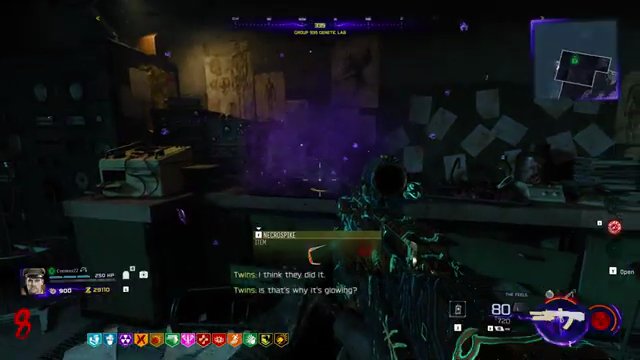
 Collect the Necrospike from the newly accessible area.
- **For Glock Drop Uranium:** Call in the Glock Drop. Kill enough floating orange zombies (suspended by the Glock Drop) to light up all three lights on the Glock Drop container. [SCREENSHOT:20:43] It will then spew out rewards, including a Uranium part. [SCREENSHOT:20:53]
- Go to the Machine Workshop and interact with the claw machine. Use the claw to place your Uranium Rods onto the grid, aiming to reach the green zone on the meter. Yellow lines connecting rods increase charge significantly, isolated rods add less. If you overcharge, place isolated rods to reduce power. [SCREENSHOT:22:00]
- Once the meter is in the green zone, retrieve the Atomcraft Core from the machine.
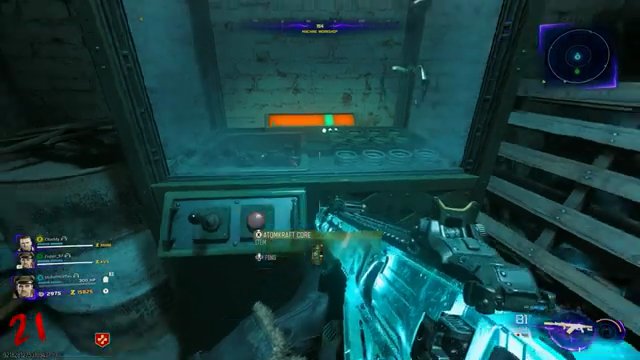
- Carry the Atomcraft Core by foot to the spawn area (Eidskalen Landing). Avoid zip lines or entering Tyr's Head, as this will cause you to drop the core. You can drop it manually by holding the prone button.
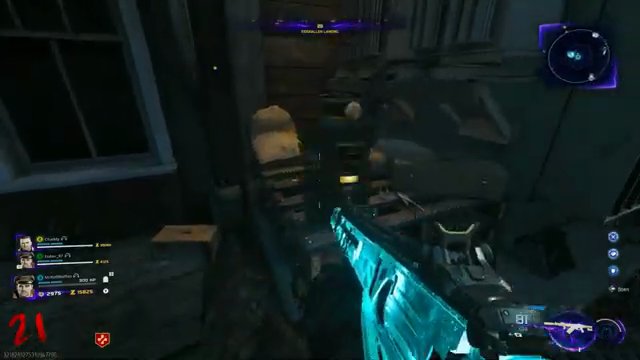
- Place the Atomcraft Core at the generator near Quick Revive.
- Activate the generator inside the nearby shed. [SCREENSHOT:27:01]
- Defend the Atomcraft Core from zombies until it's fully charged. If the charging is interrupted, reactivate the generator.
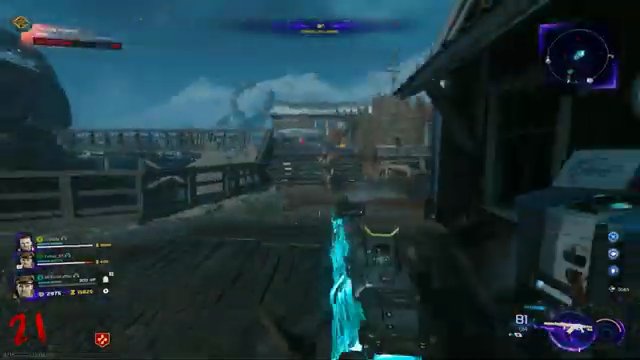
- Once fully charged, pick up the Charged Atomcraft Core.
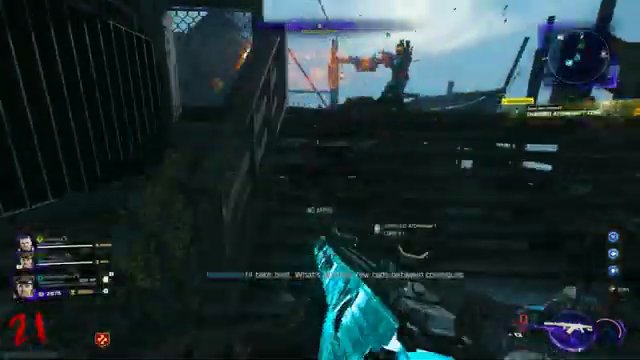
- Proceed to the Longhouse (top right of the map) and place the Charged Atomcraft Core on the central spit inside.
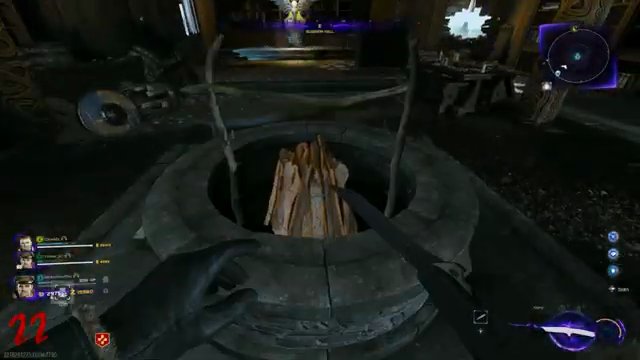
- Fire a charged shot from the Yotun Star Wonder Weapon at the spit to ignite the meat. [SCREENSHOT:28:43]
- Use the Disciple Injection score streak to pick up and throw zombies at the meat, making it spin. Continue until the lockdown begins. [SCREENSHOT:29:10]
- Defeat the named Necropinsor that spawns during the lockdown to obtain the Sunstone. [SCREENSHOT:30:01]
- Place the Sunstone in the church (top right of the map). [SCREENSHOT:30:18]
- Melee the Sunstone with the Yotun Star to activate it, revealing rune symbols in the sky above the church.
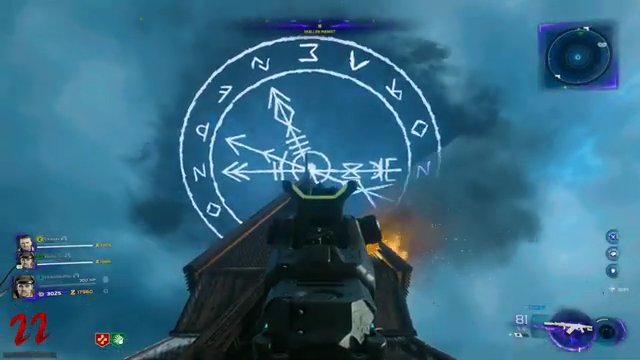
- Light three bonfires corresponding to the arrow symbols on the rune dial above the church. The order is: Plain arrow, Two slashes, Three slashes. Use charged Yotun Star shots to light them.
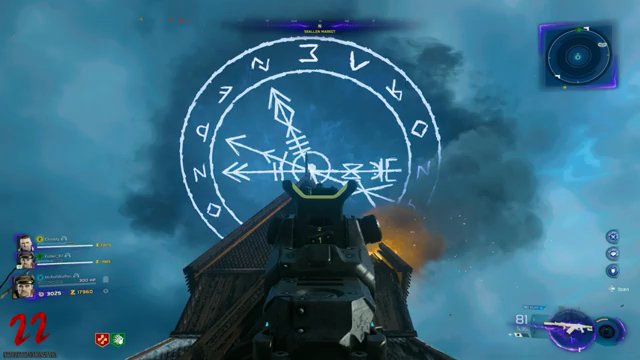
- Once all three bonfires are lit, the arrows on the dial will align, indicating readiness for the boss fight.
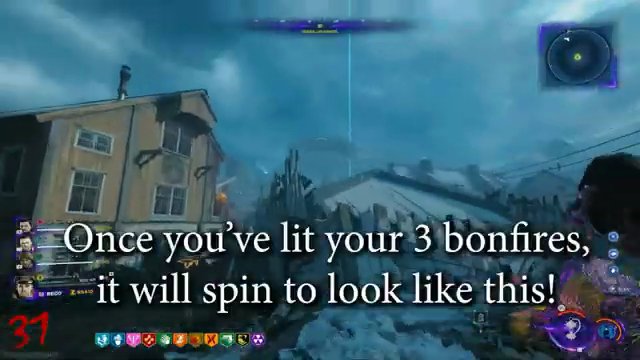
Step 5: Defeat Drovakar
- Enter Tyr's Head to initiate the final boss fight against Drovakar.
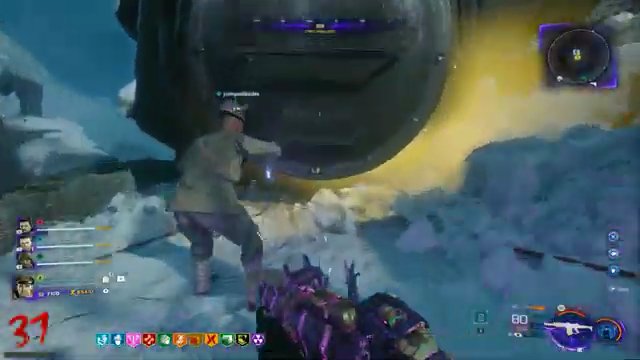
- Use ranged weapons for consistent damage on Drovakar's weak spots. The Yotun Star is effective, but other powerful assault rifles or LMGs can also work.
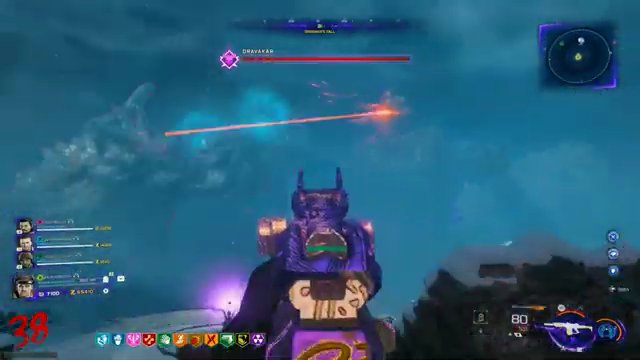
- In the first phase, Drovakar and Tyr will brawl. Shoot the red weak spots that appear on Drovakar's body when he's being hit by Tyr. [SCREENSHOT:33:55]
- Drovakar will eventually knock Tyr away, becoming immune to damage. Ice Heads will appear floating in the air. Destroy these with Yotun Star ranged attacks or equipment.
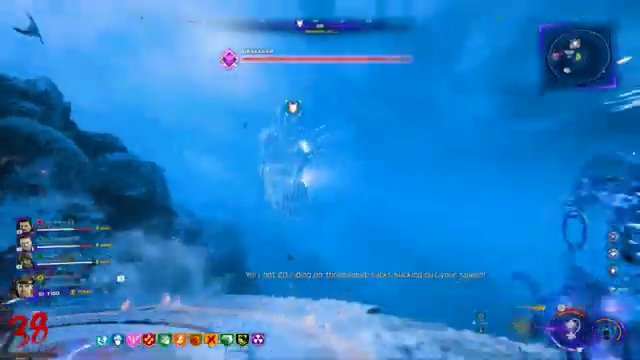
- After destroying an Ice Head, Drovakar's red weak spot will become vulnerable again. Focus fire on it.
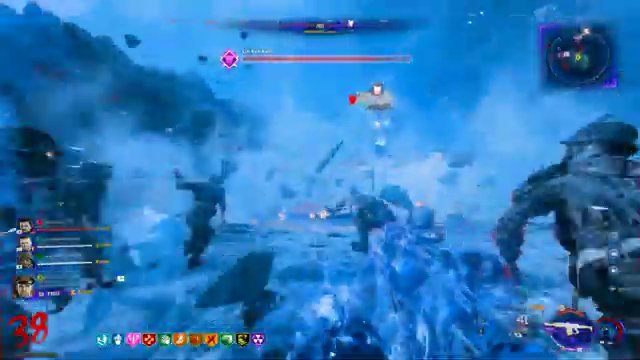
- Drovakar will perform various attacks:
- **Ice Spikes:** Dodge or destroy them. The Yotun Star melee attack can destroy them.
- **Red Pulsing Area:** Move out of these areas immediately to avoid damage.
- **Rock Throws:** Hide behind large boulders or pillars for cover.
- **Ice Blast (S-shape, V-shape, Horizontal Line):** Dodge these patterns. For the horizontal line, go prone.
- Use the Yotun Star's held-out lantern ability to defrost yourself and teammates if frozen by ice attacks. [SCREENSHOT:37:07]
- Each time you destroy an Ice Head, it drops ammo and armor. Prioritize collecting these as resources are scarce. [SCREENSHOT:37:37]
- Continue damaging Drovakar's weak spots and destroying Ice Heads. Eventually, Drovakar's face will become the primary weak spot.
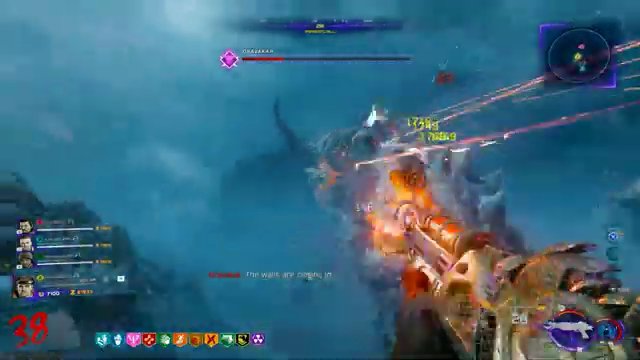
- This is the final phase. Pop any remaining Gobblegums (especially Near Death Experience) and unleash all remaining damage onto Drovakar's face. [SCREENSHOT:38:58]
Finished the Easter Egg?
Send this guide to your squad.