Pack-a-Punch Activation
- Updated
- Jul 2, 2026
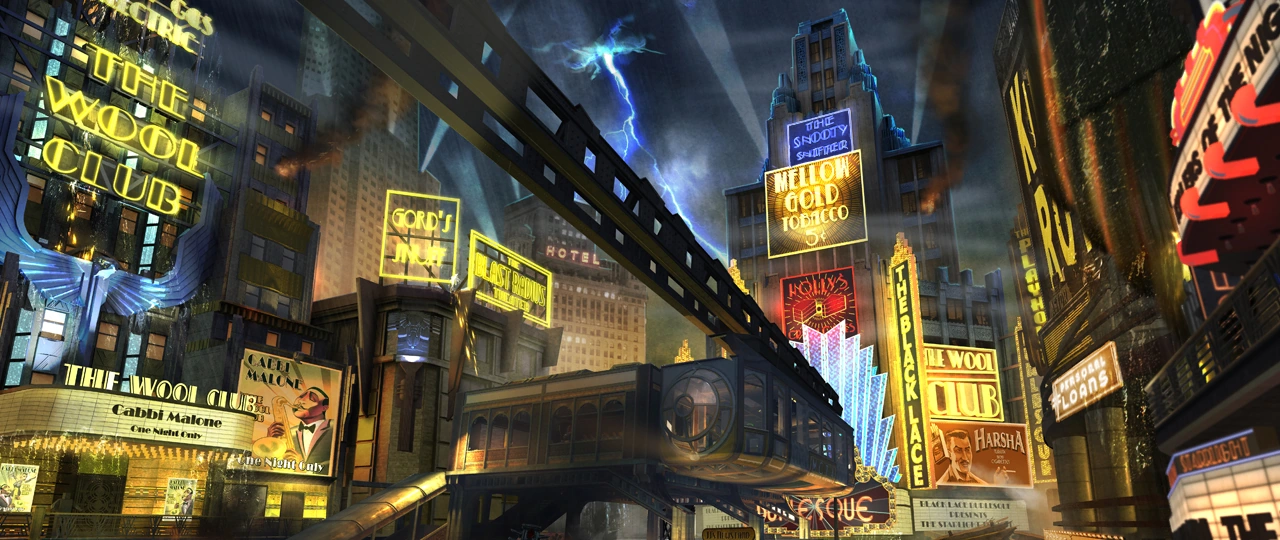
Pack-a-Punch Activation
This guide details the complete process to activate the Pack-a-Punch machine in Call of Duty: Black Ops 3 Zombies, Shadows of Evil. Follow these steps to collect all four ritual items, complete each summoning ritual, and finally unlock weapon upgrades.
Step 1: Complete Nero's Lair Ritual
- First, you'll need to pick up the Lawyer's Pen from the Junction. It's found on some debris just beyond the 'Easy Street' archway after shocking the crane box in beast mode.
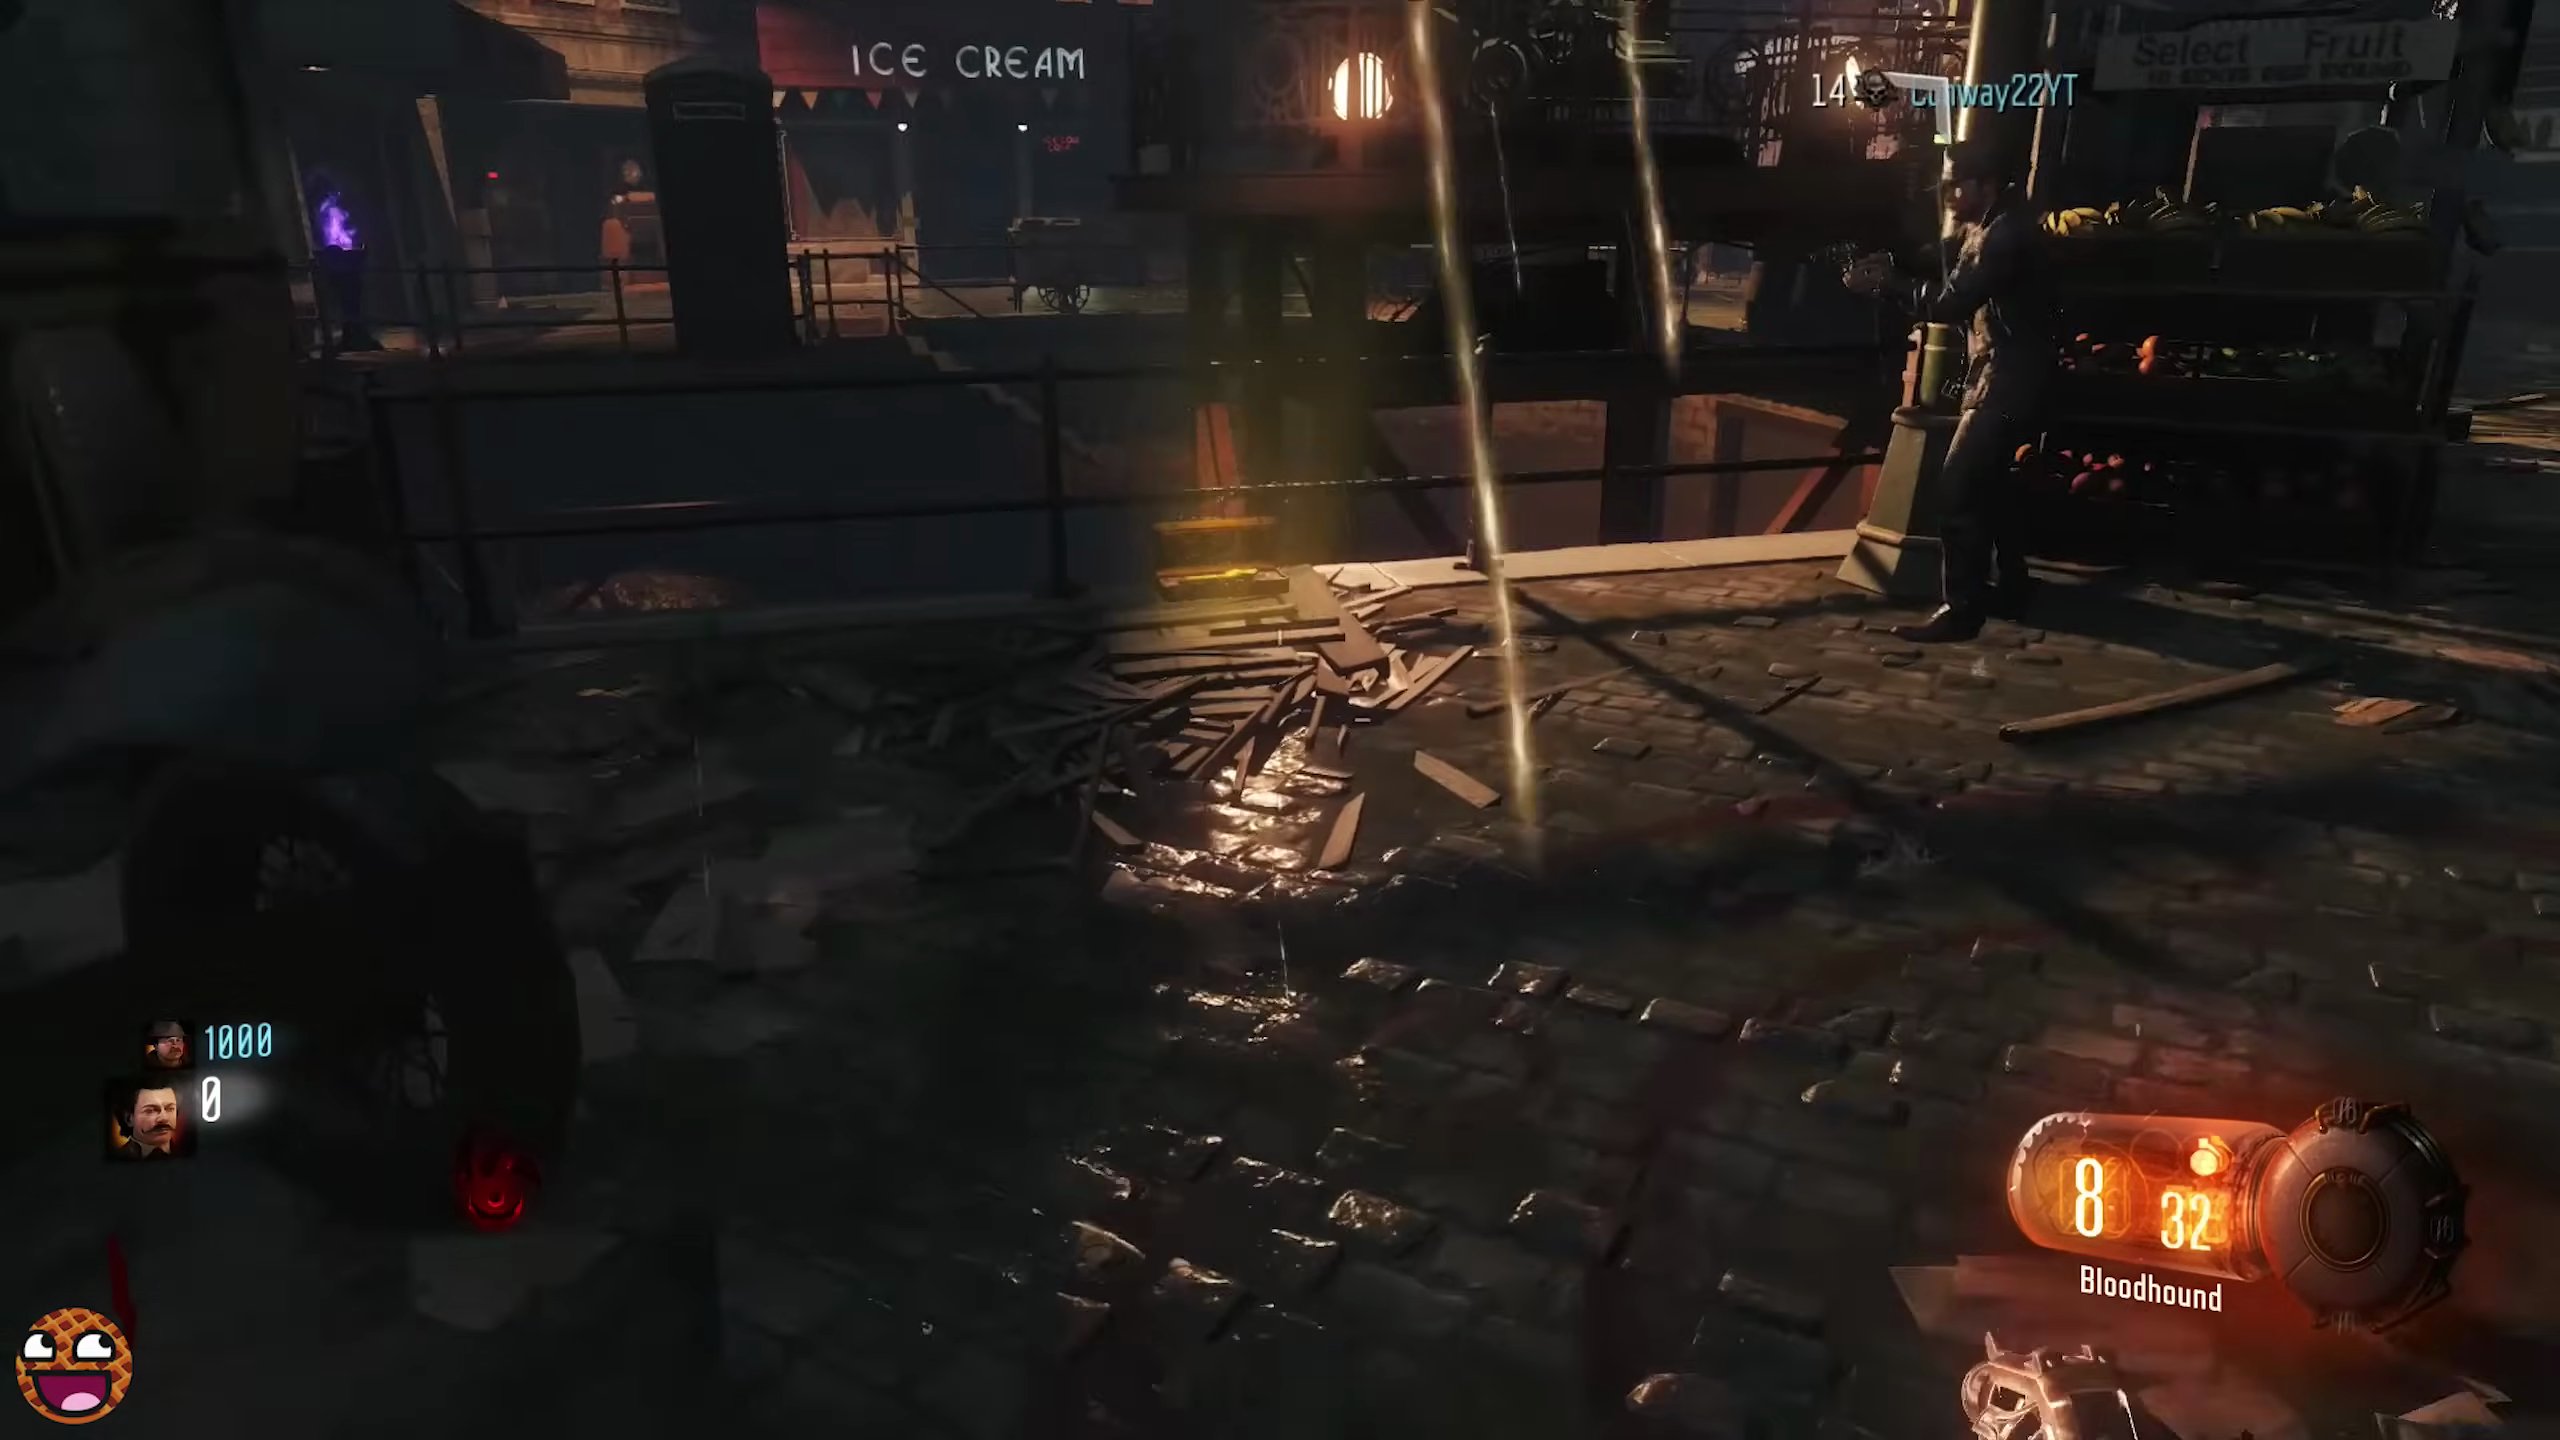
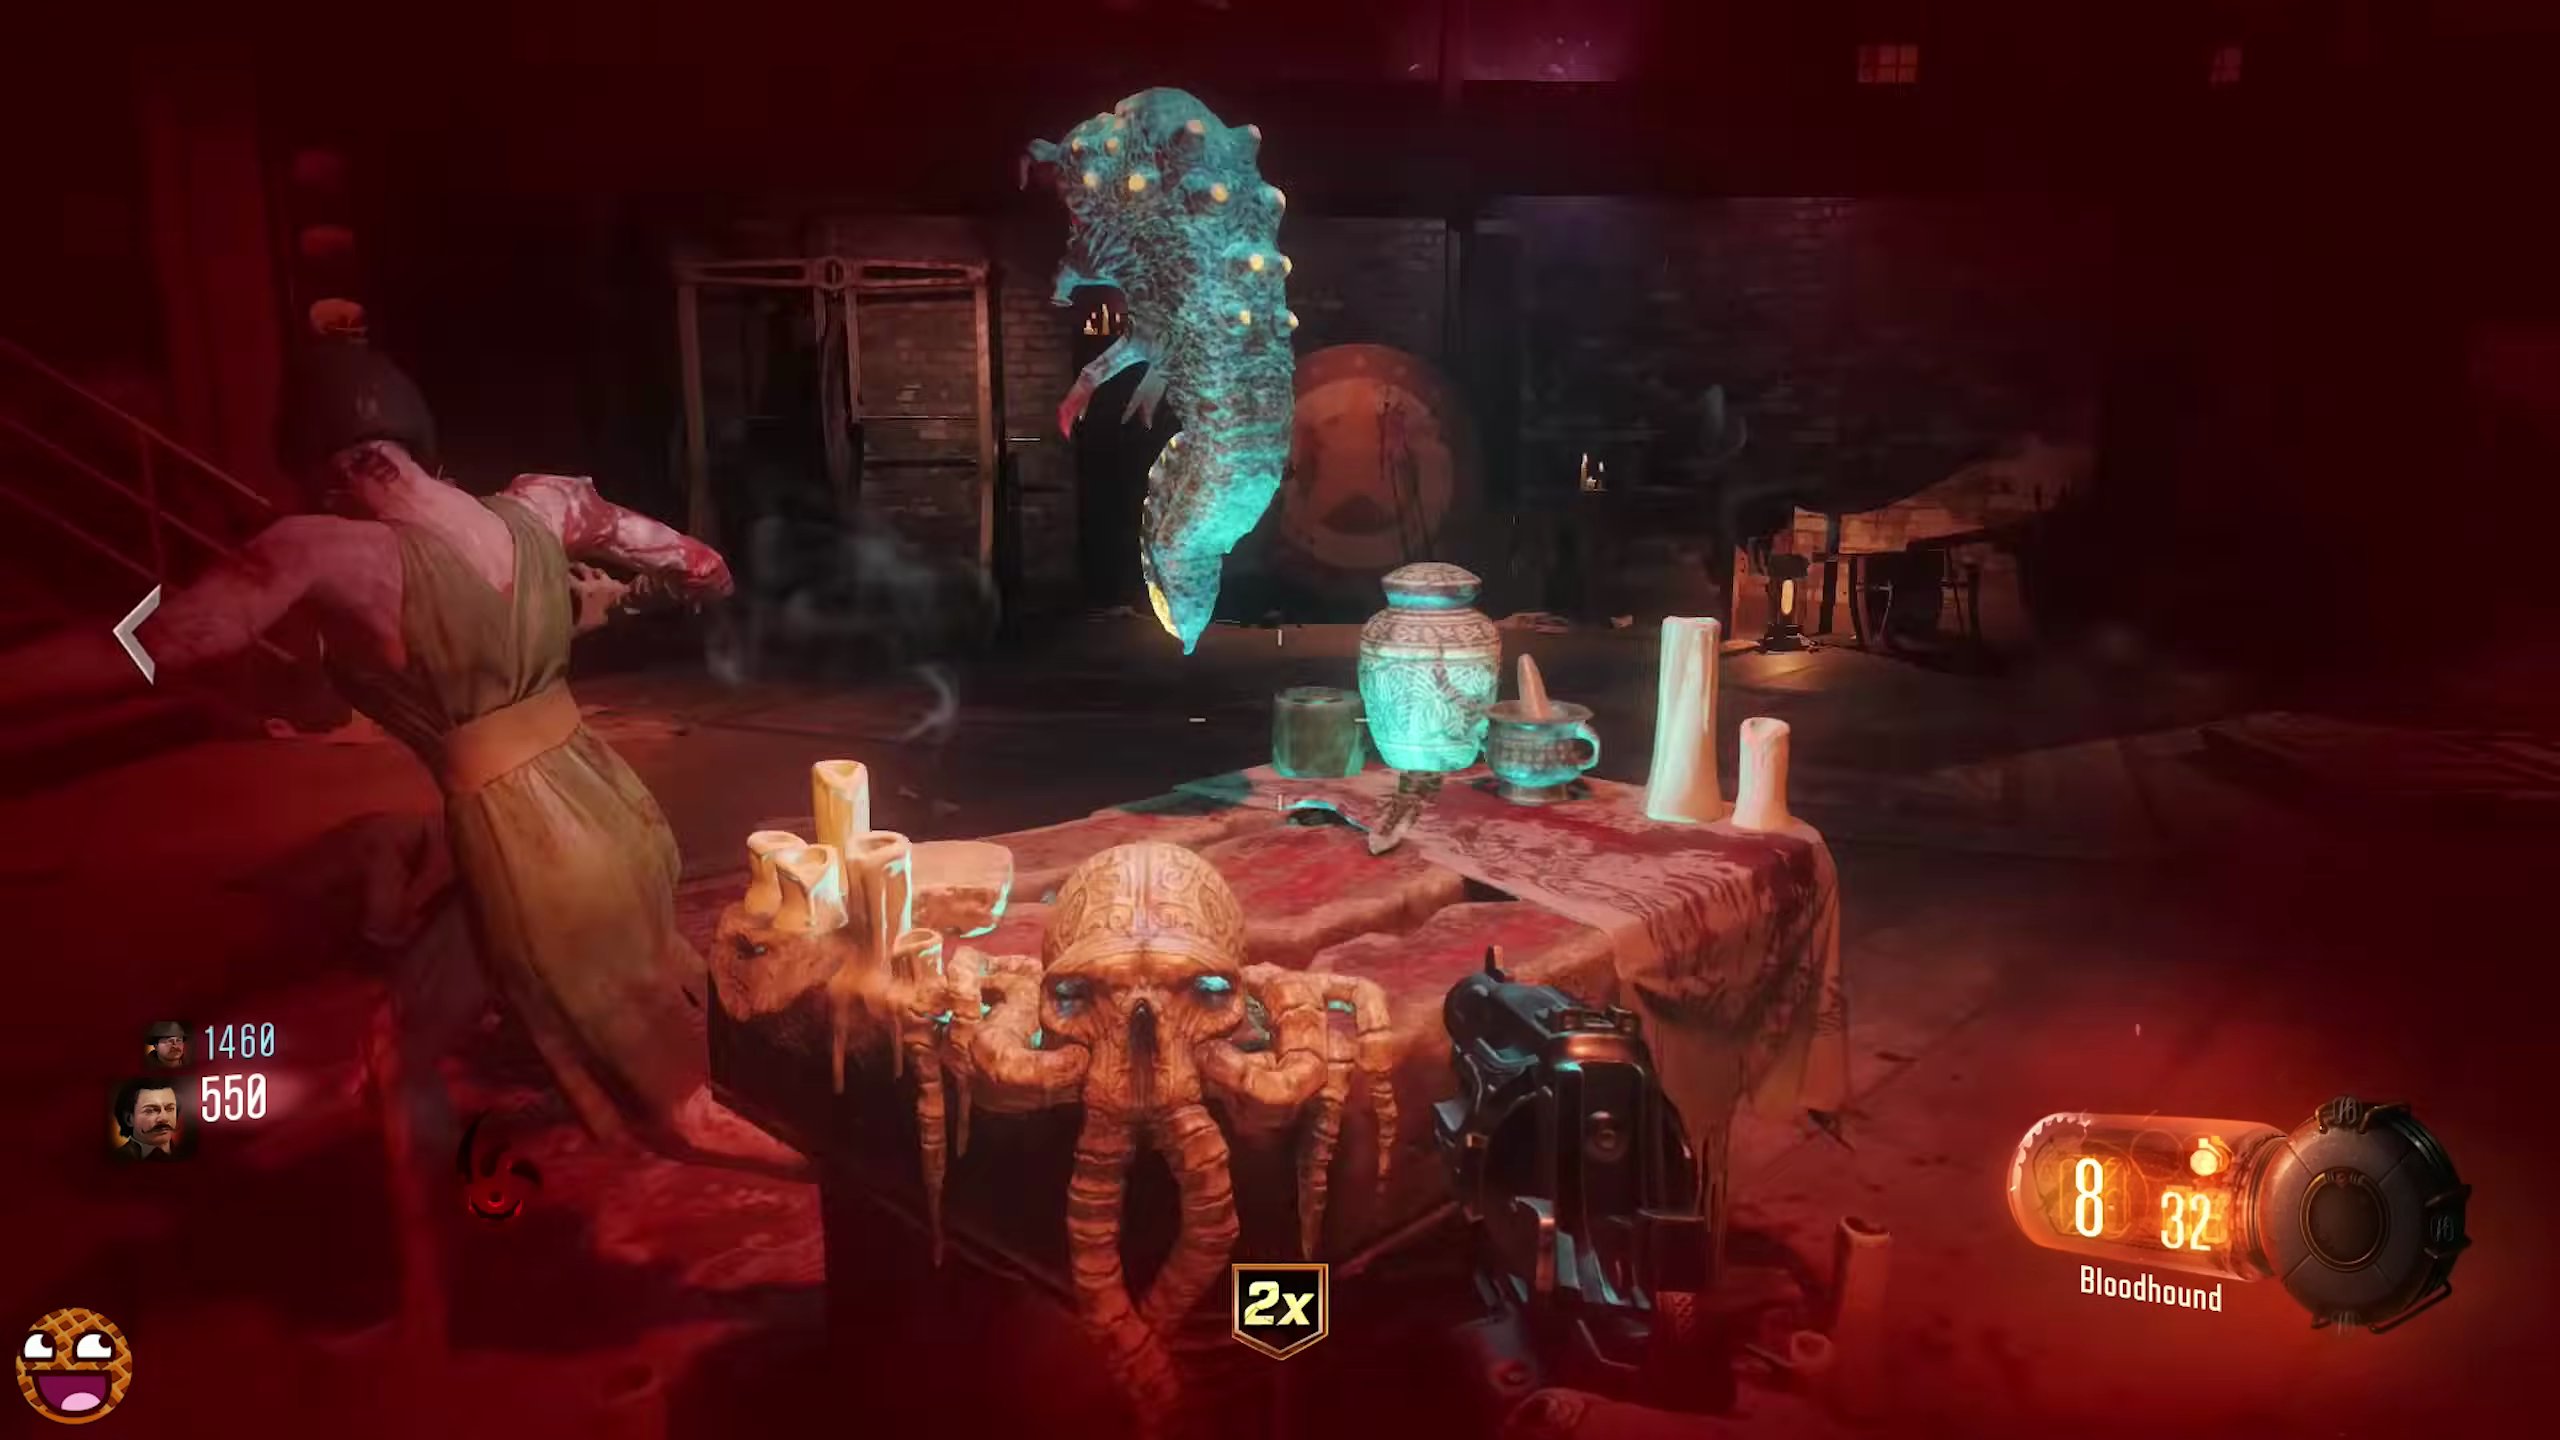
- Head to Nero's Lair and place the Lawyer's Pen on the summoning table in the center of the room.
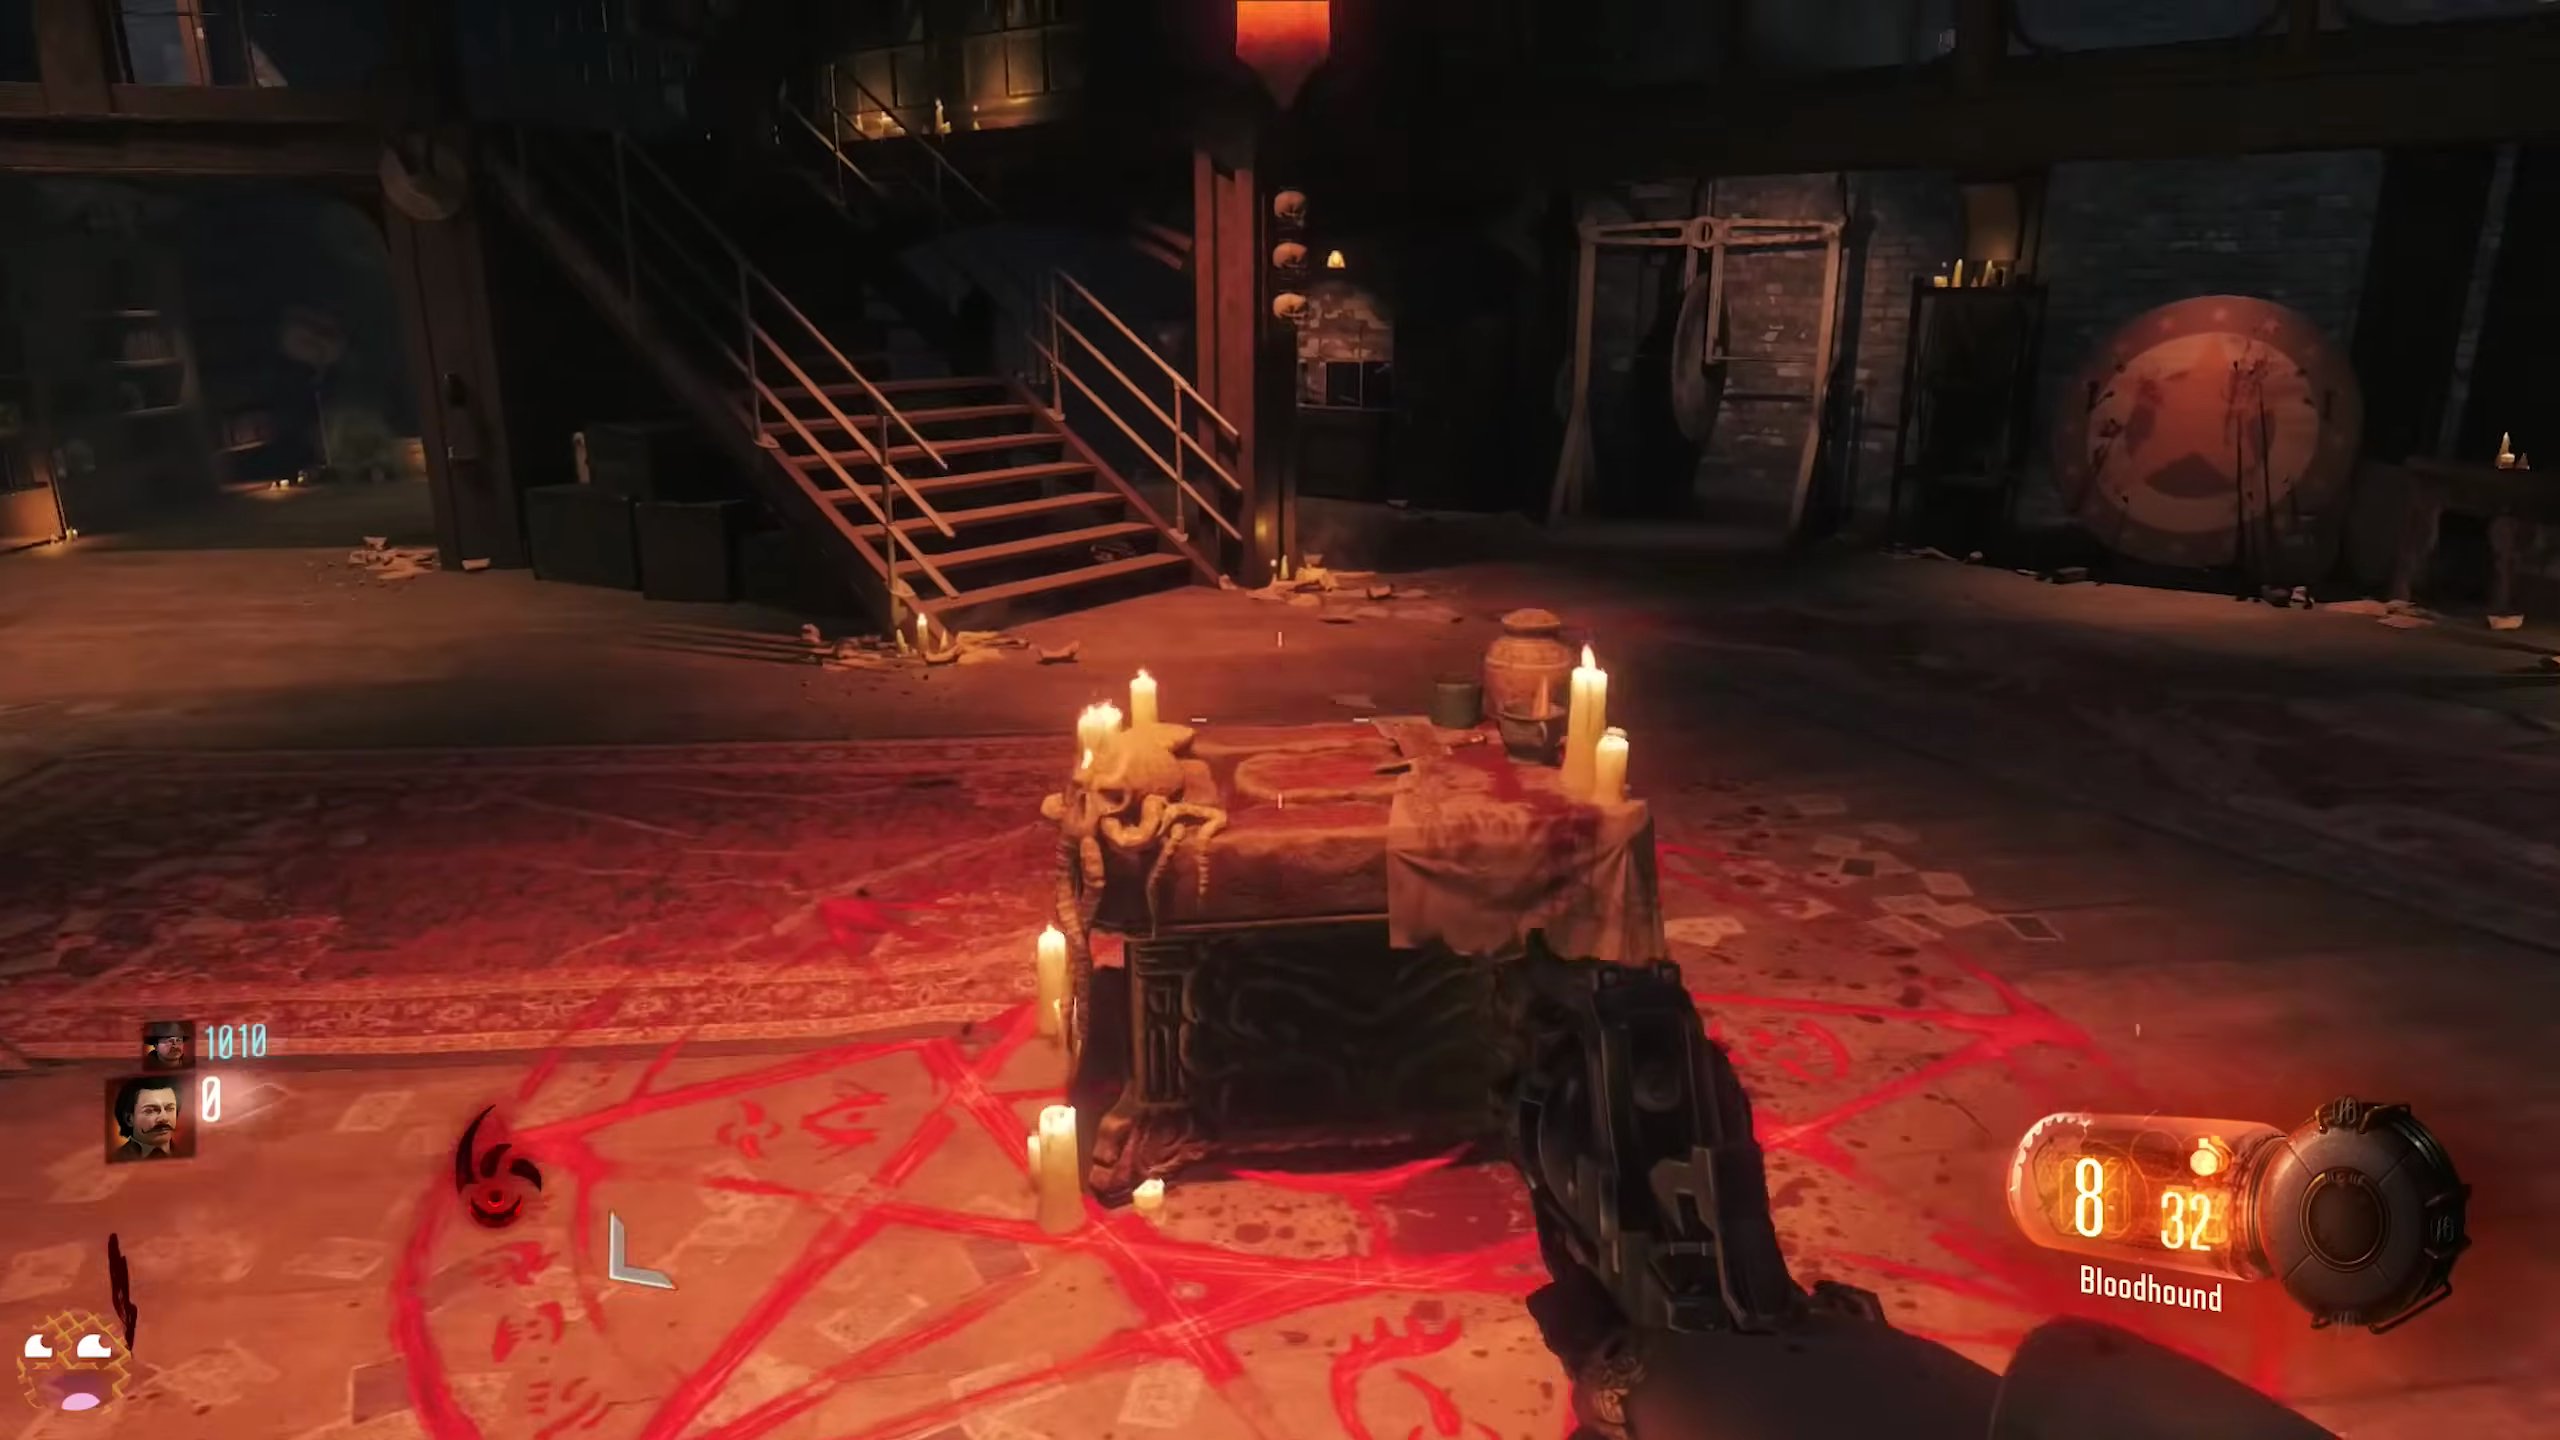
- Hold the action button to begin the ritual.
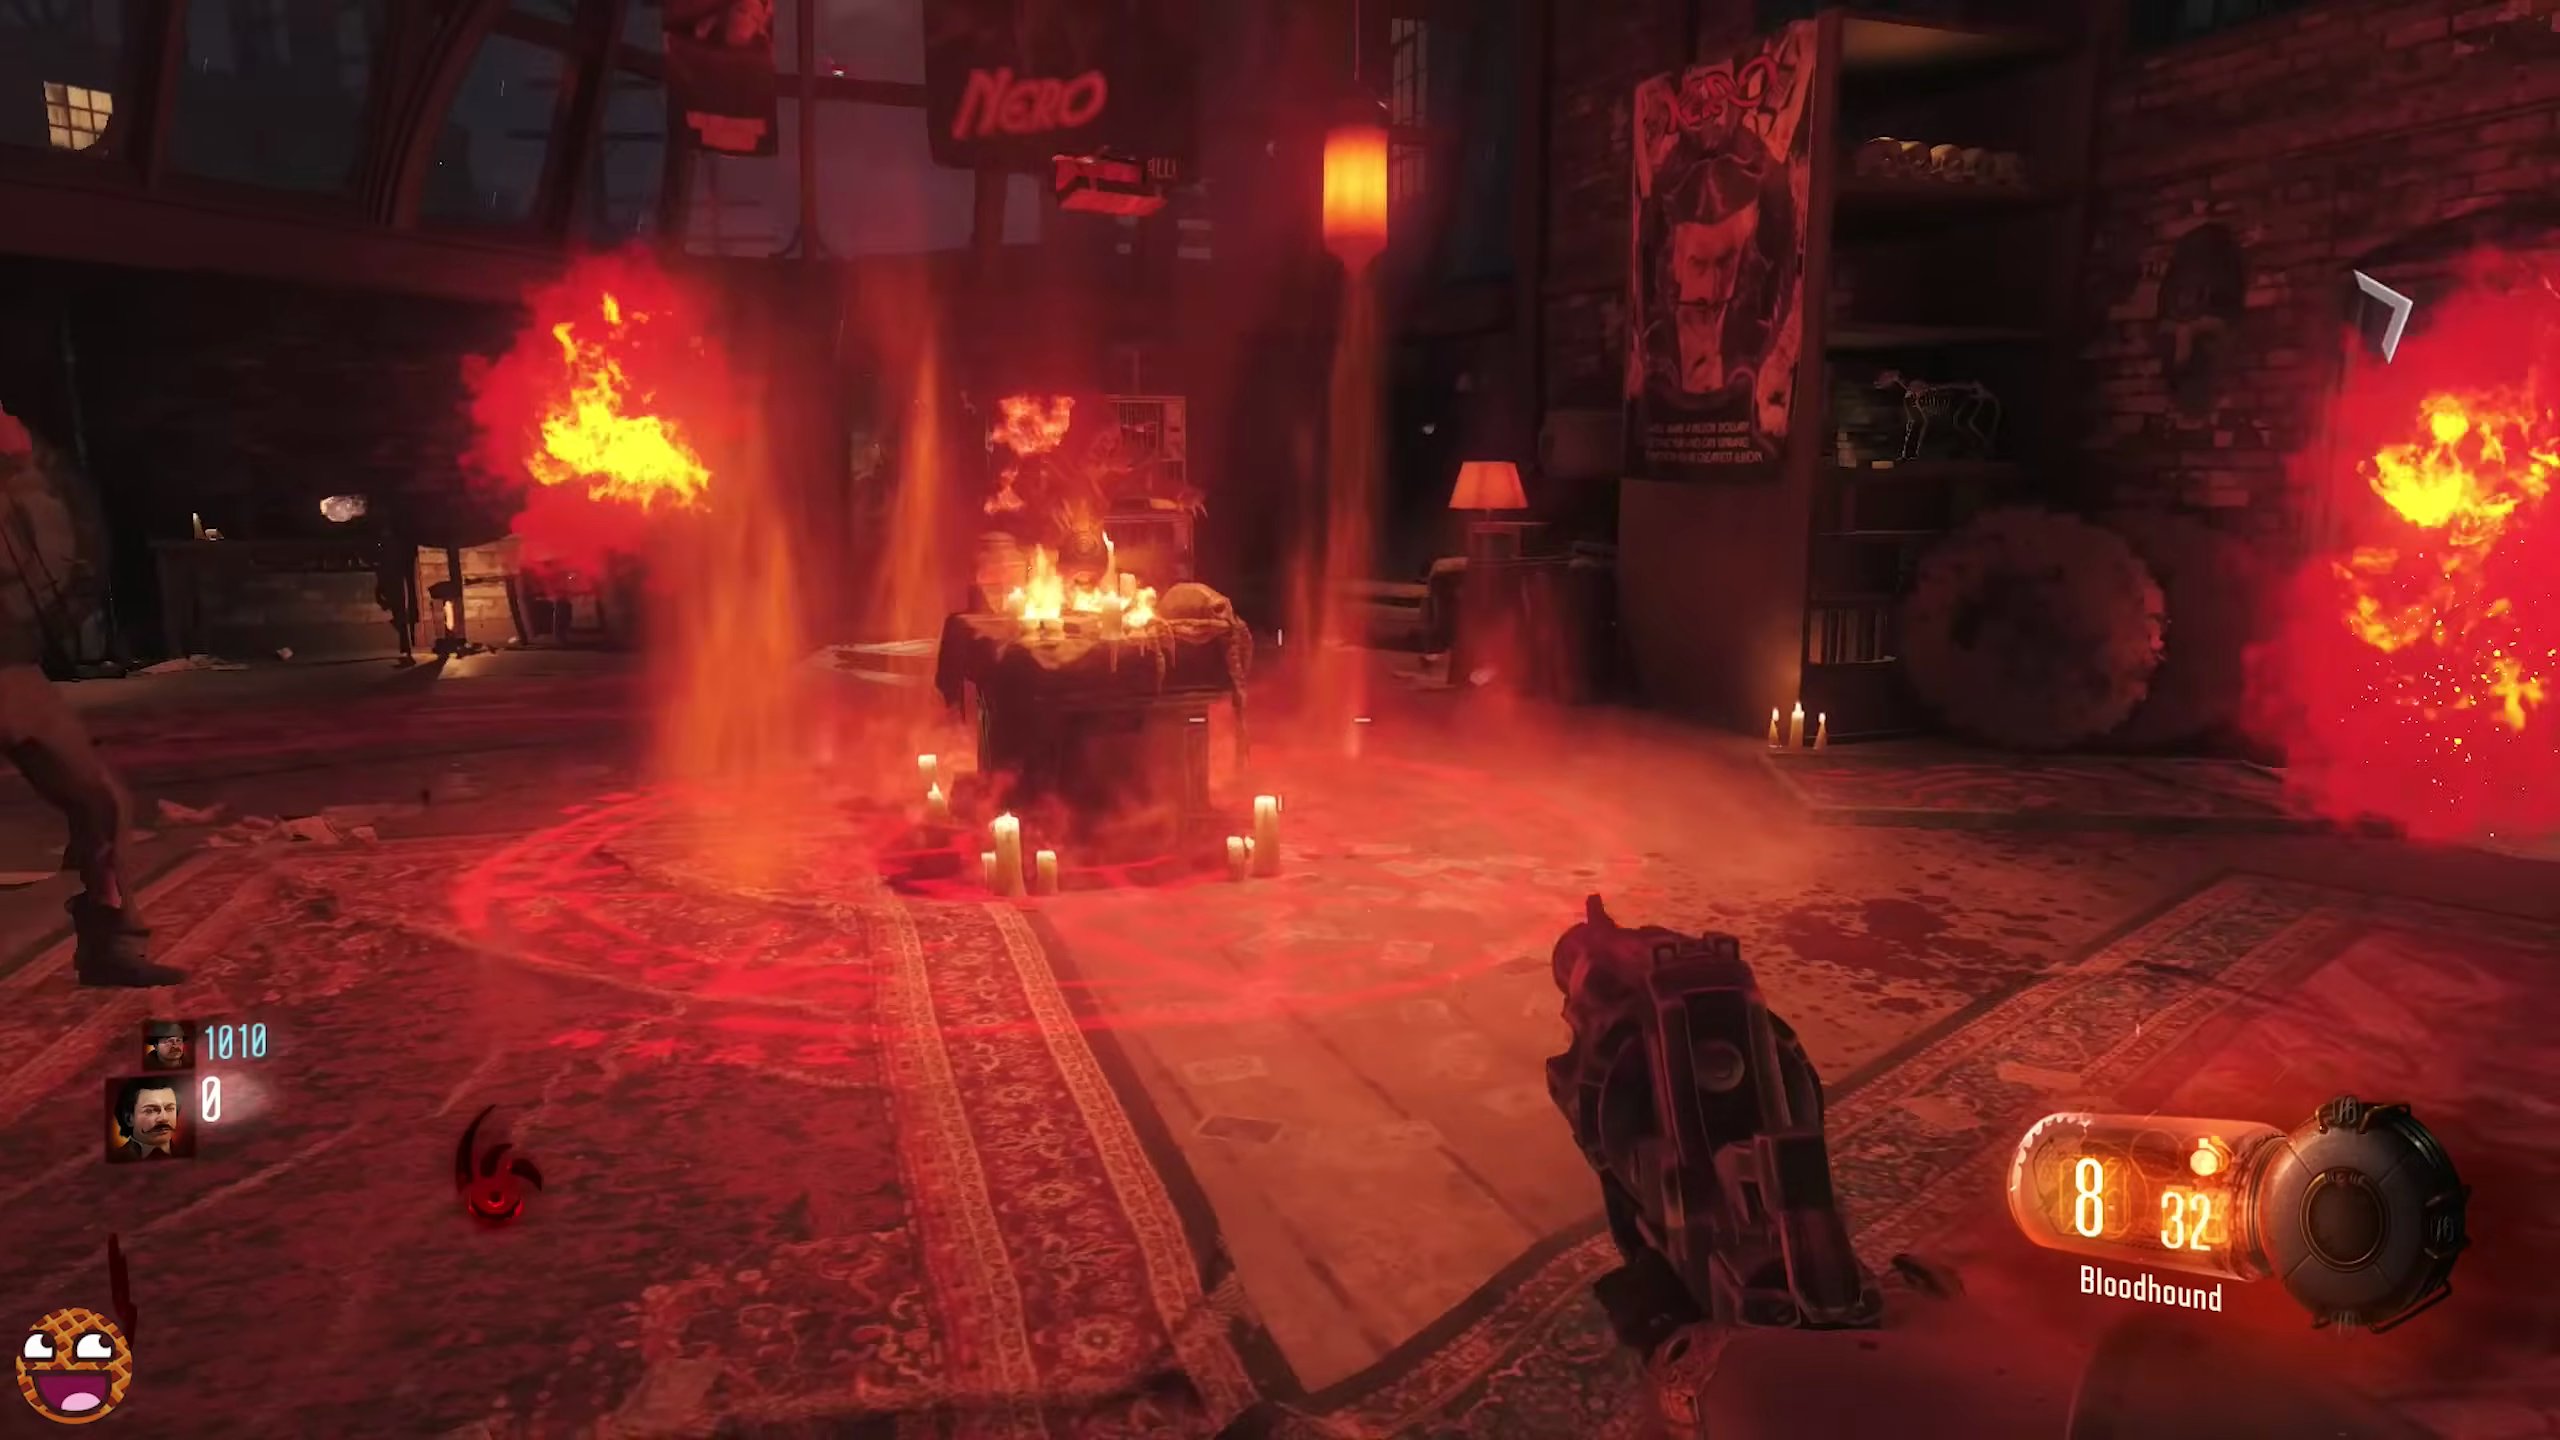
- Survive the Keepers that spawn for approximately 30 seconds. You do not need to kill them, but you can if necessary to survive.
- Once the ritual is complete, a Gateway Worm will spawn on the table. Collect it.
Step 2: Complete Black Lace Burlesque Ritual
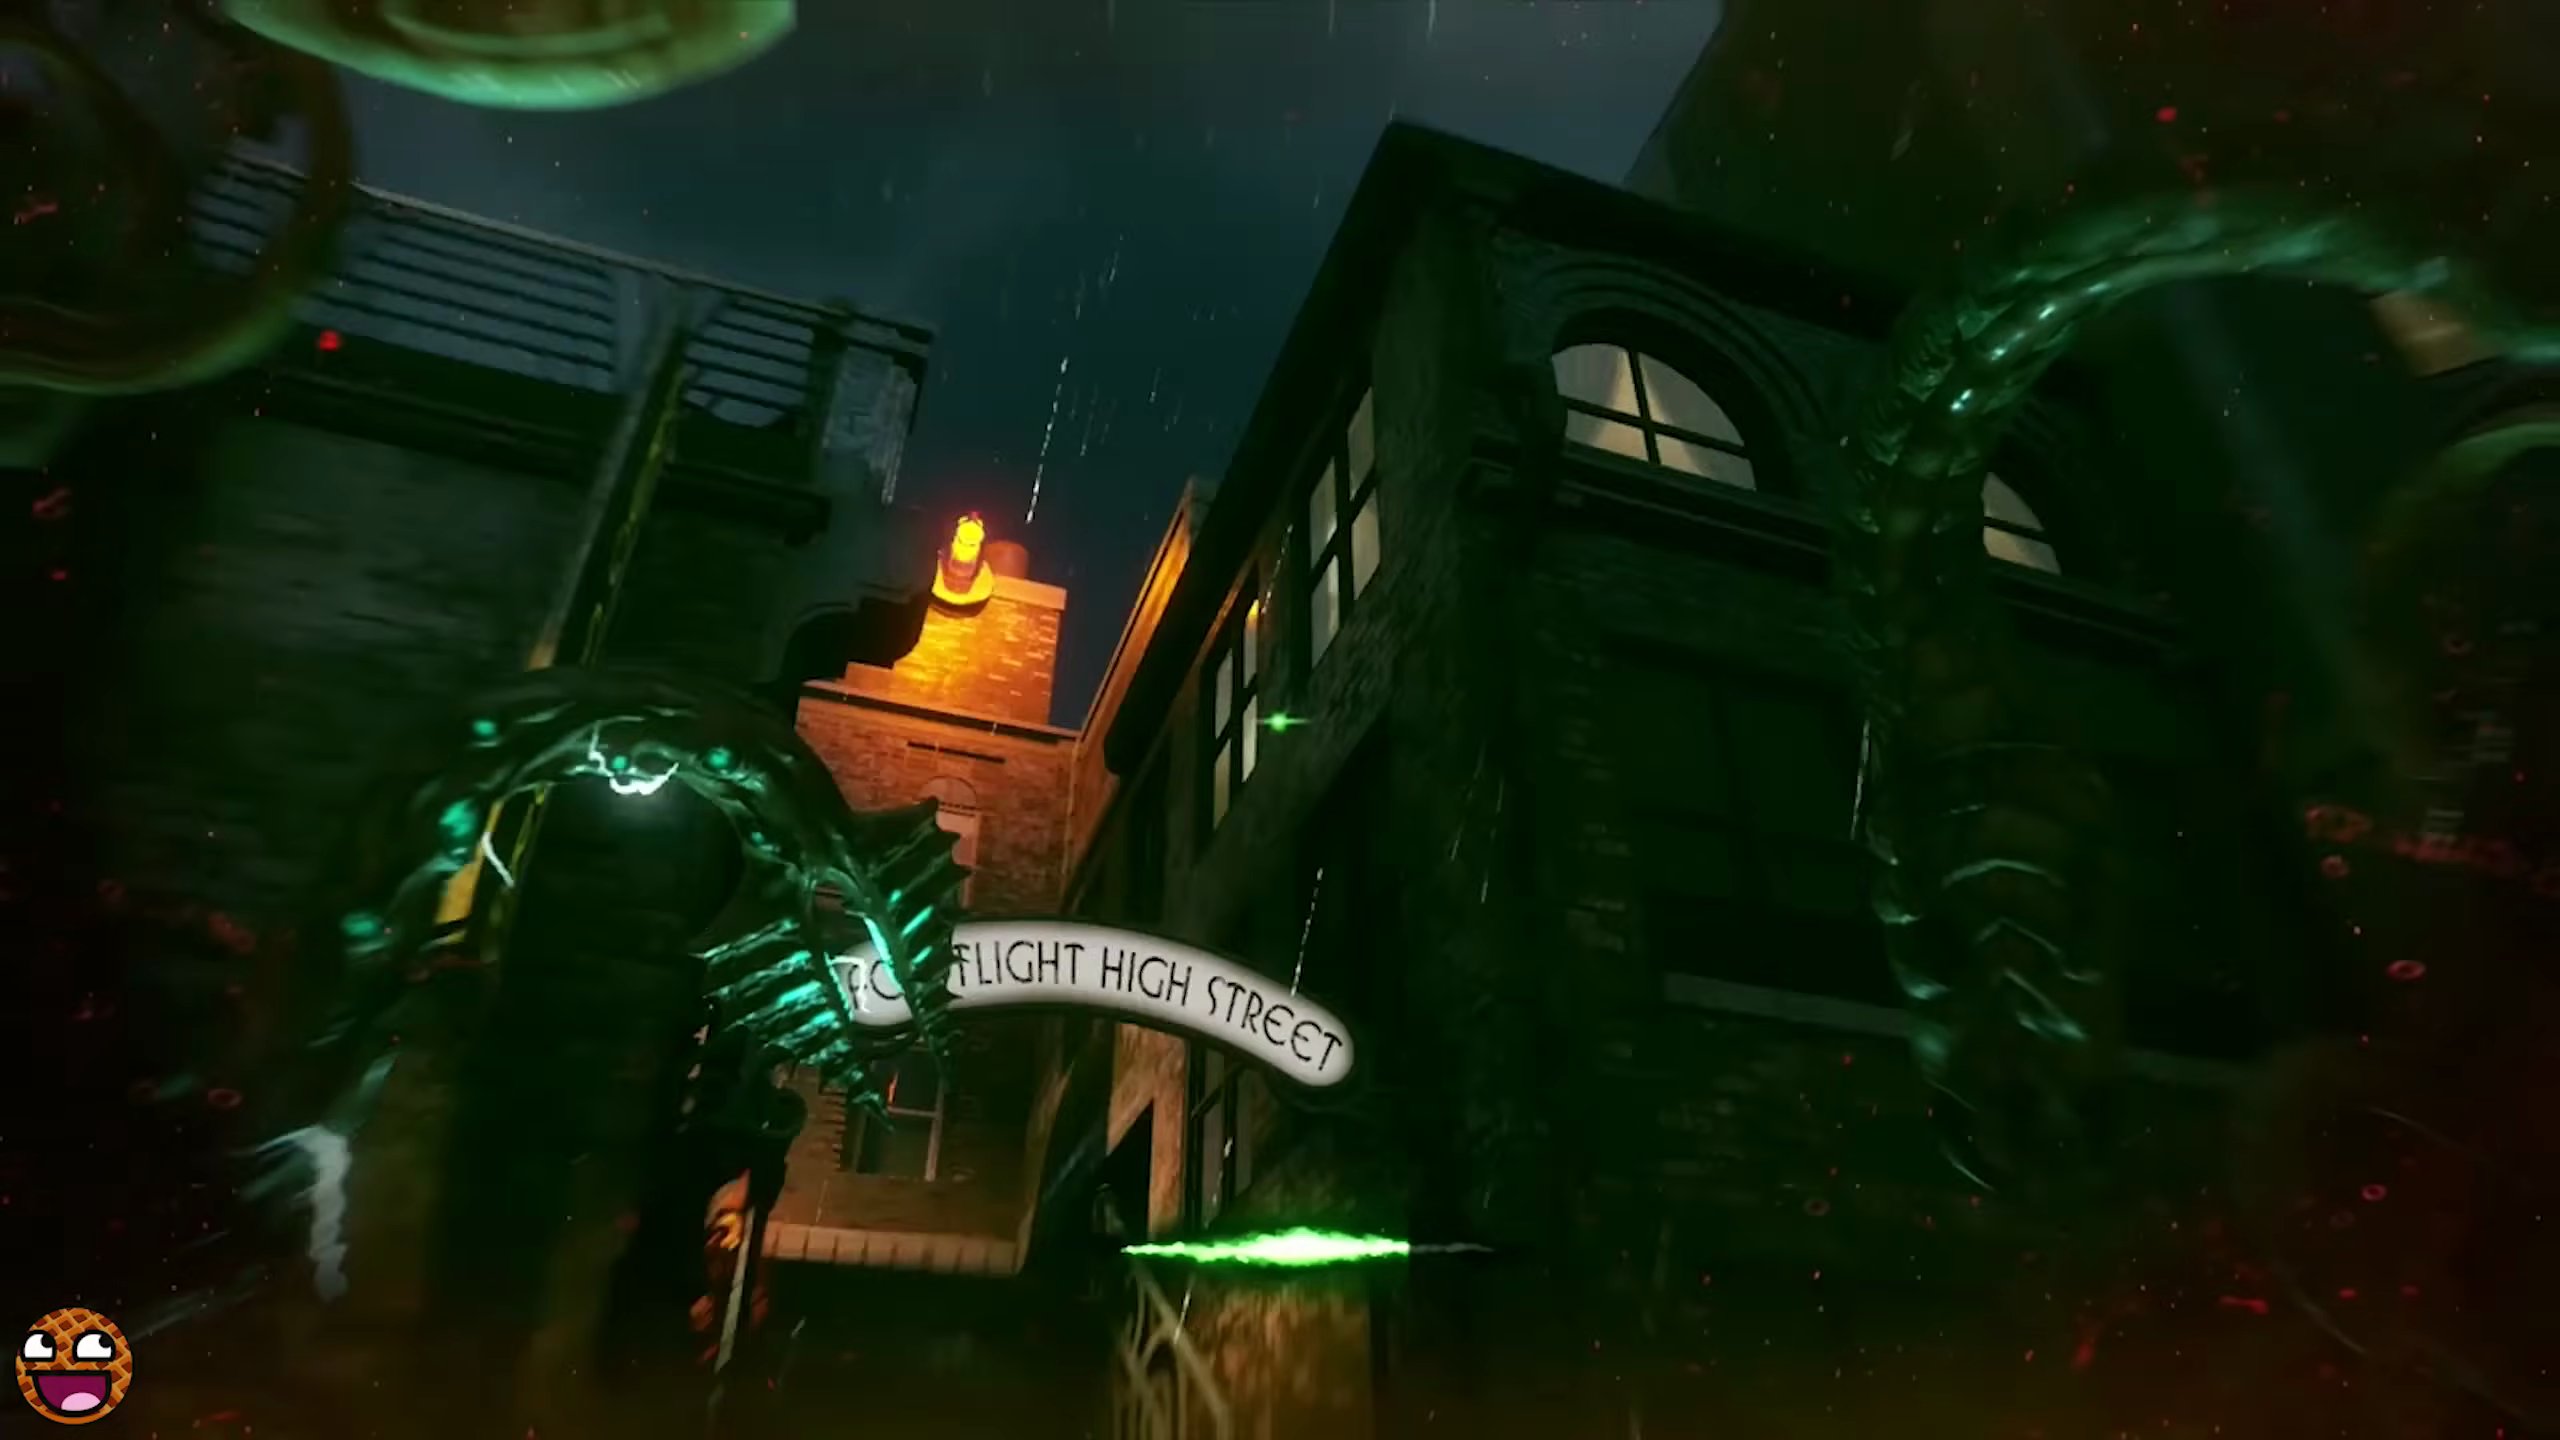
- Next, you'll need to acquire the Producer's Toupee. Go to the Footlight High Street area. [SCREENSHOT:00:50]
- Activate Beast Mode at a nearby Beast Mode statue.
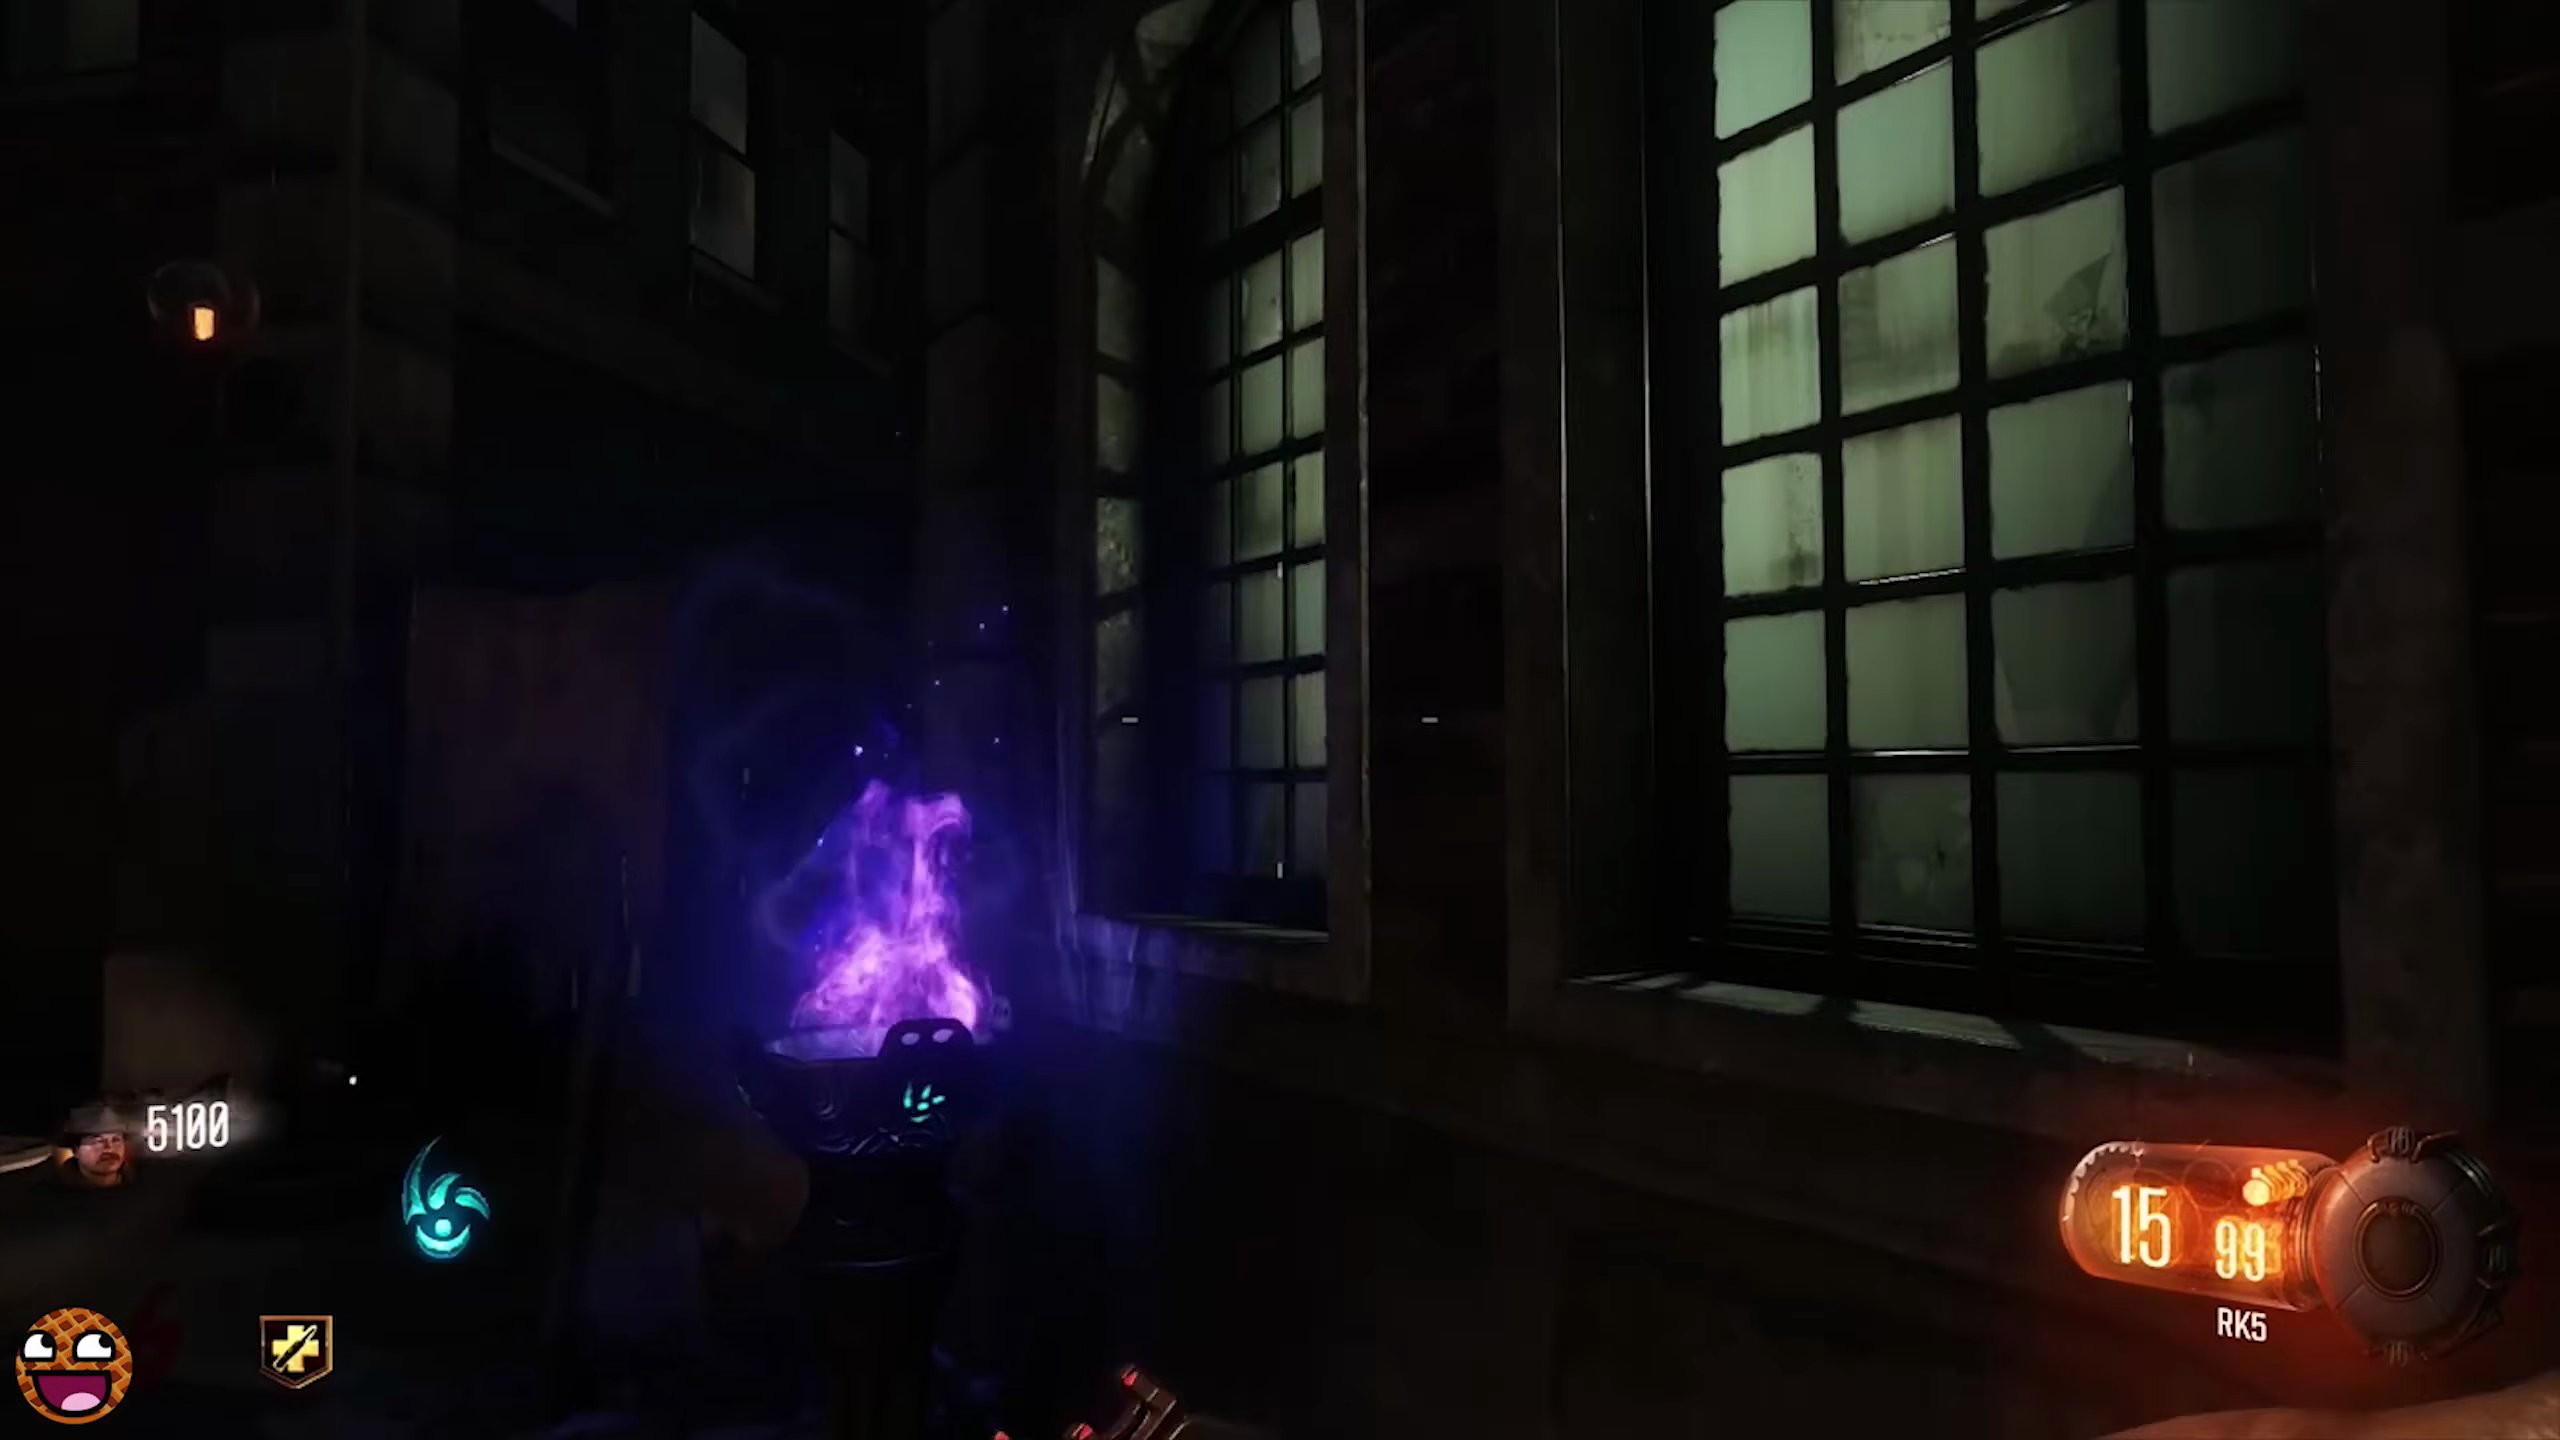
- Grapple up to the top of the building indicated by a lit torch.
- Zap the generator on the building.
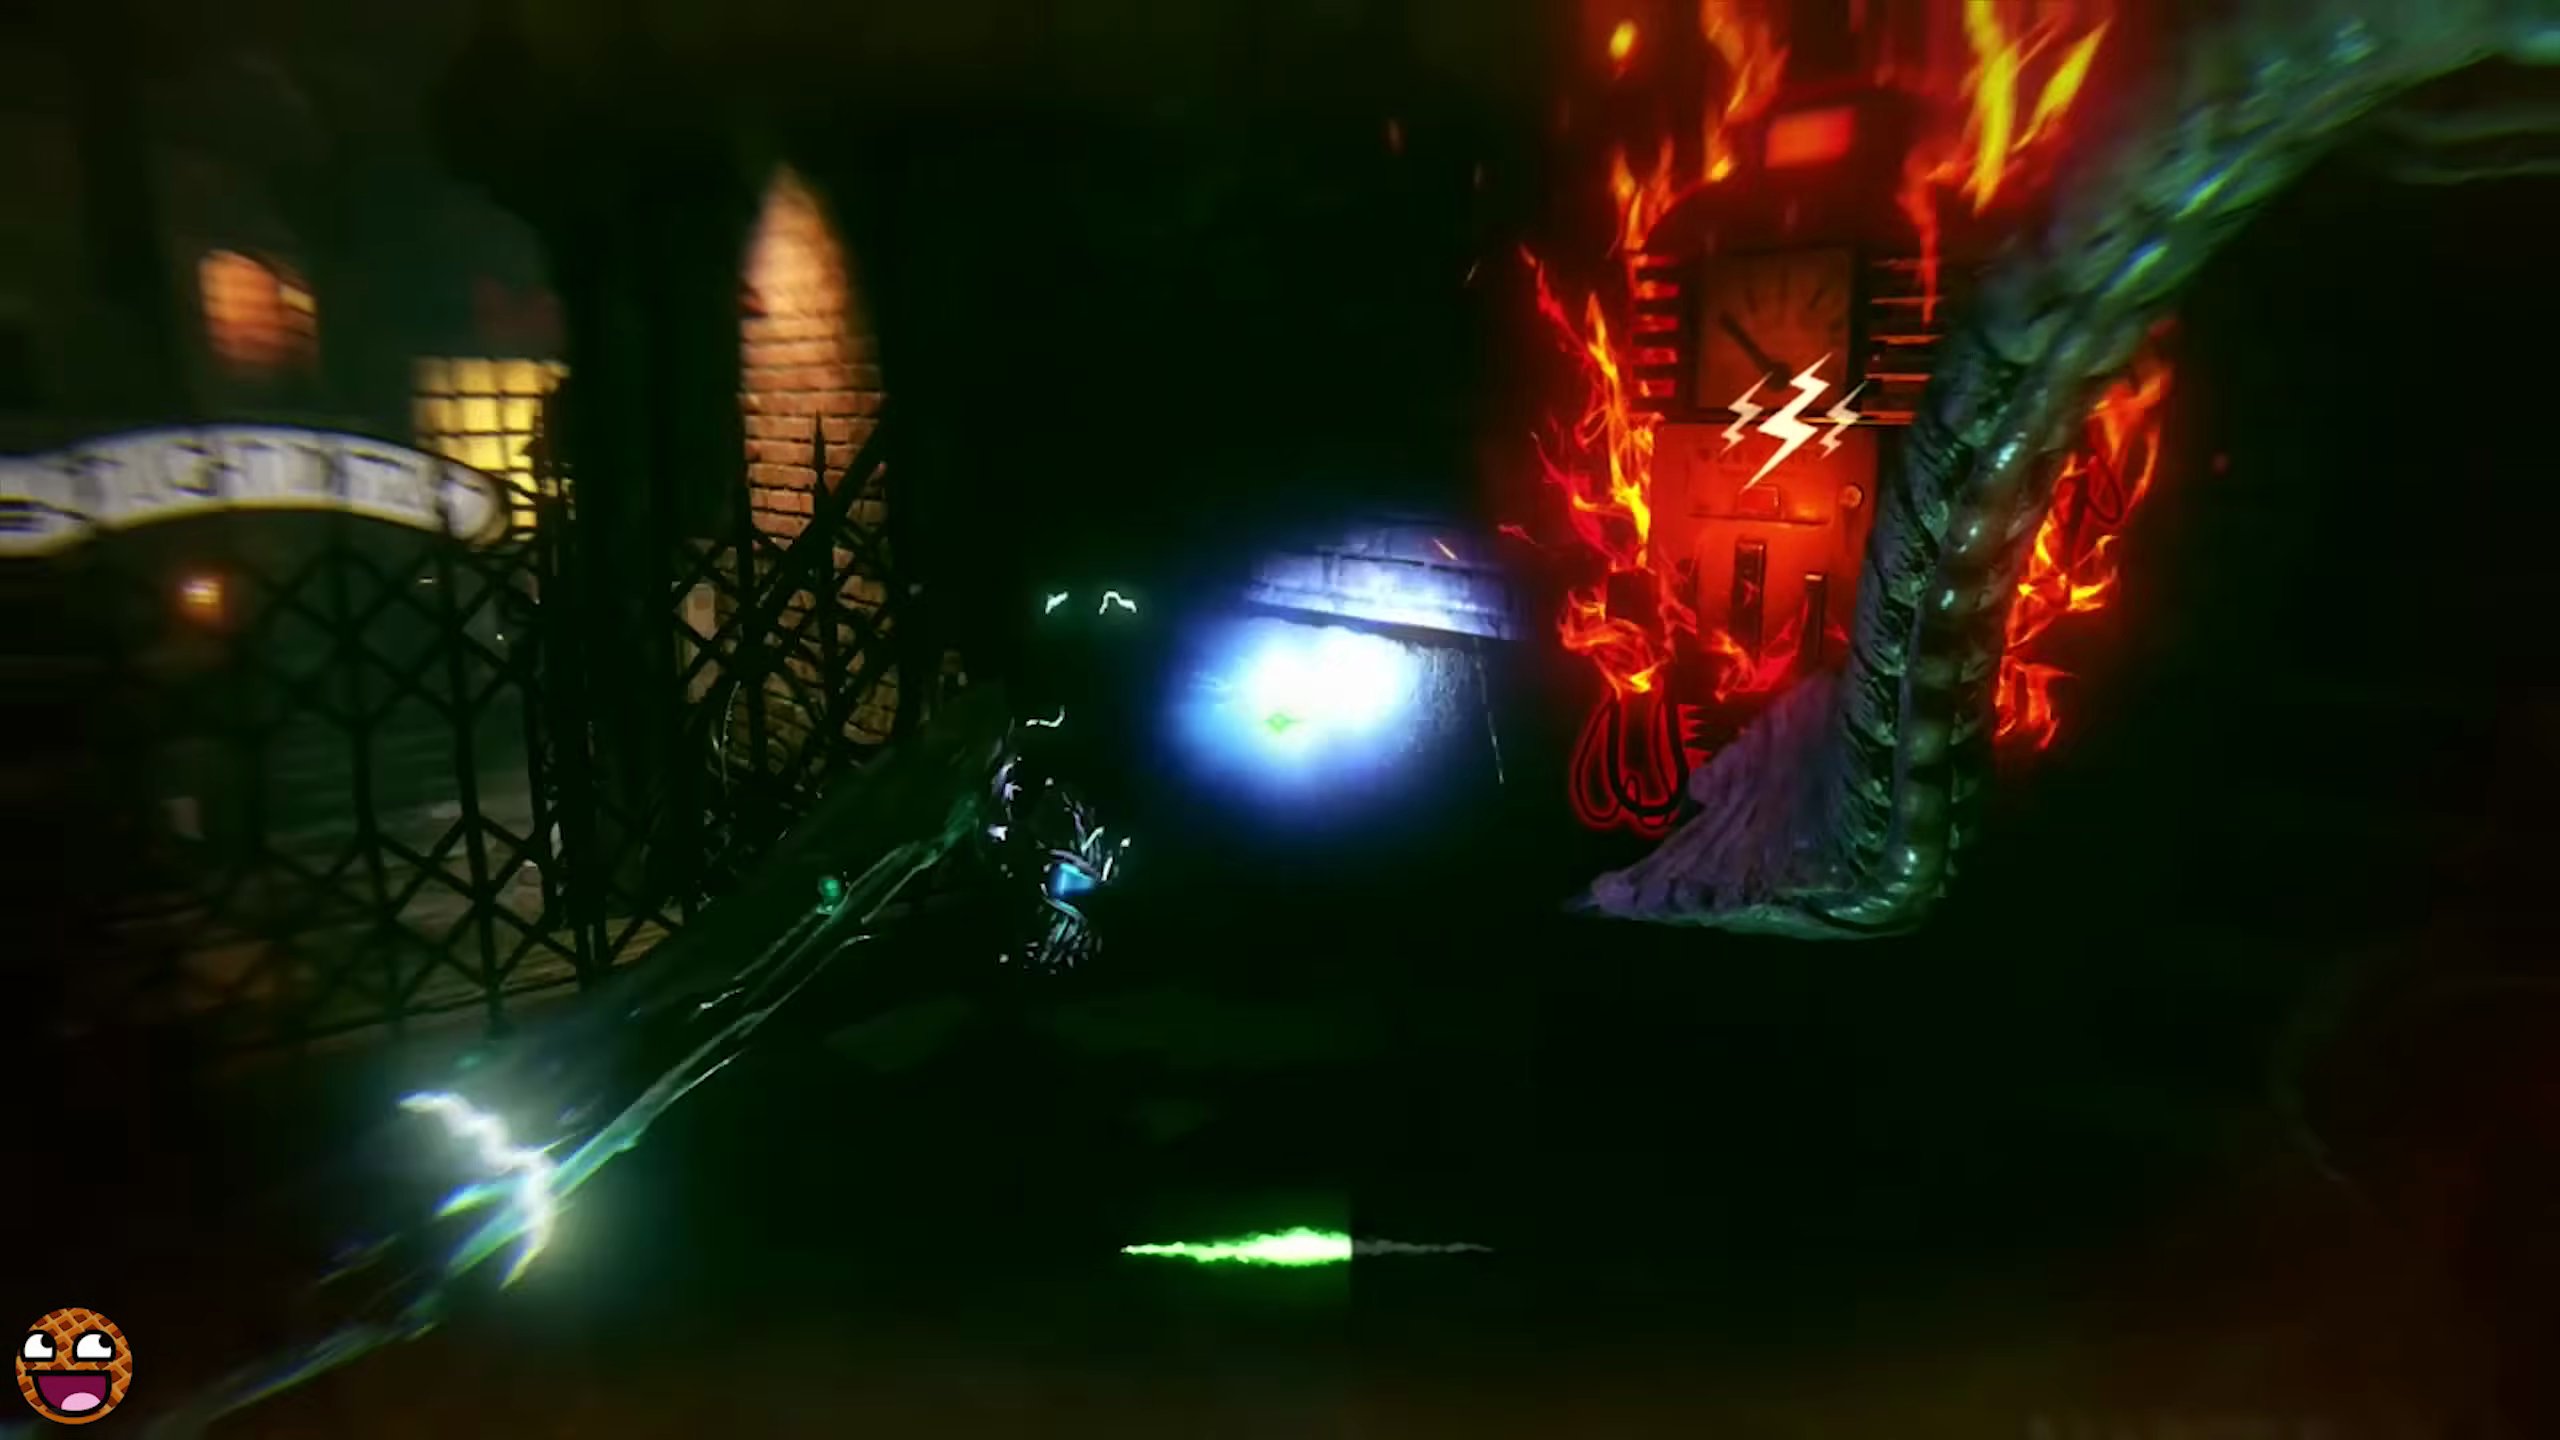
- Grapple across to the opposite building.
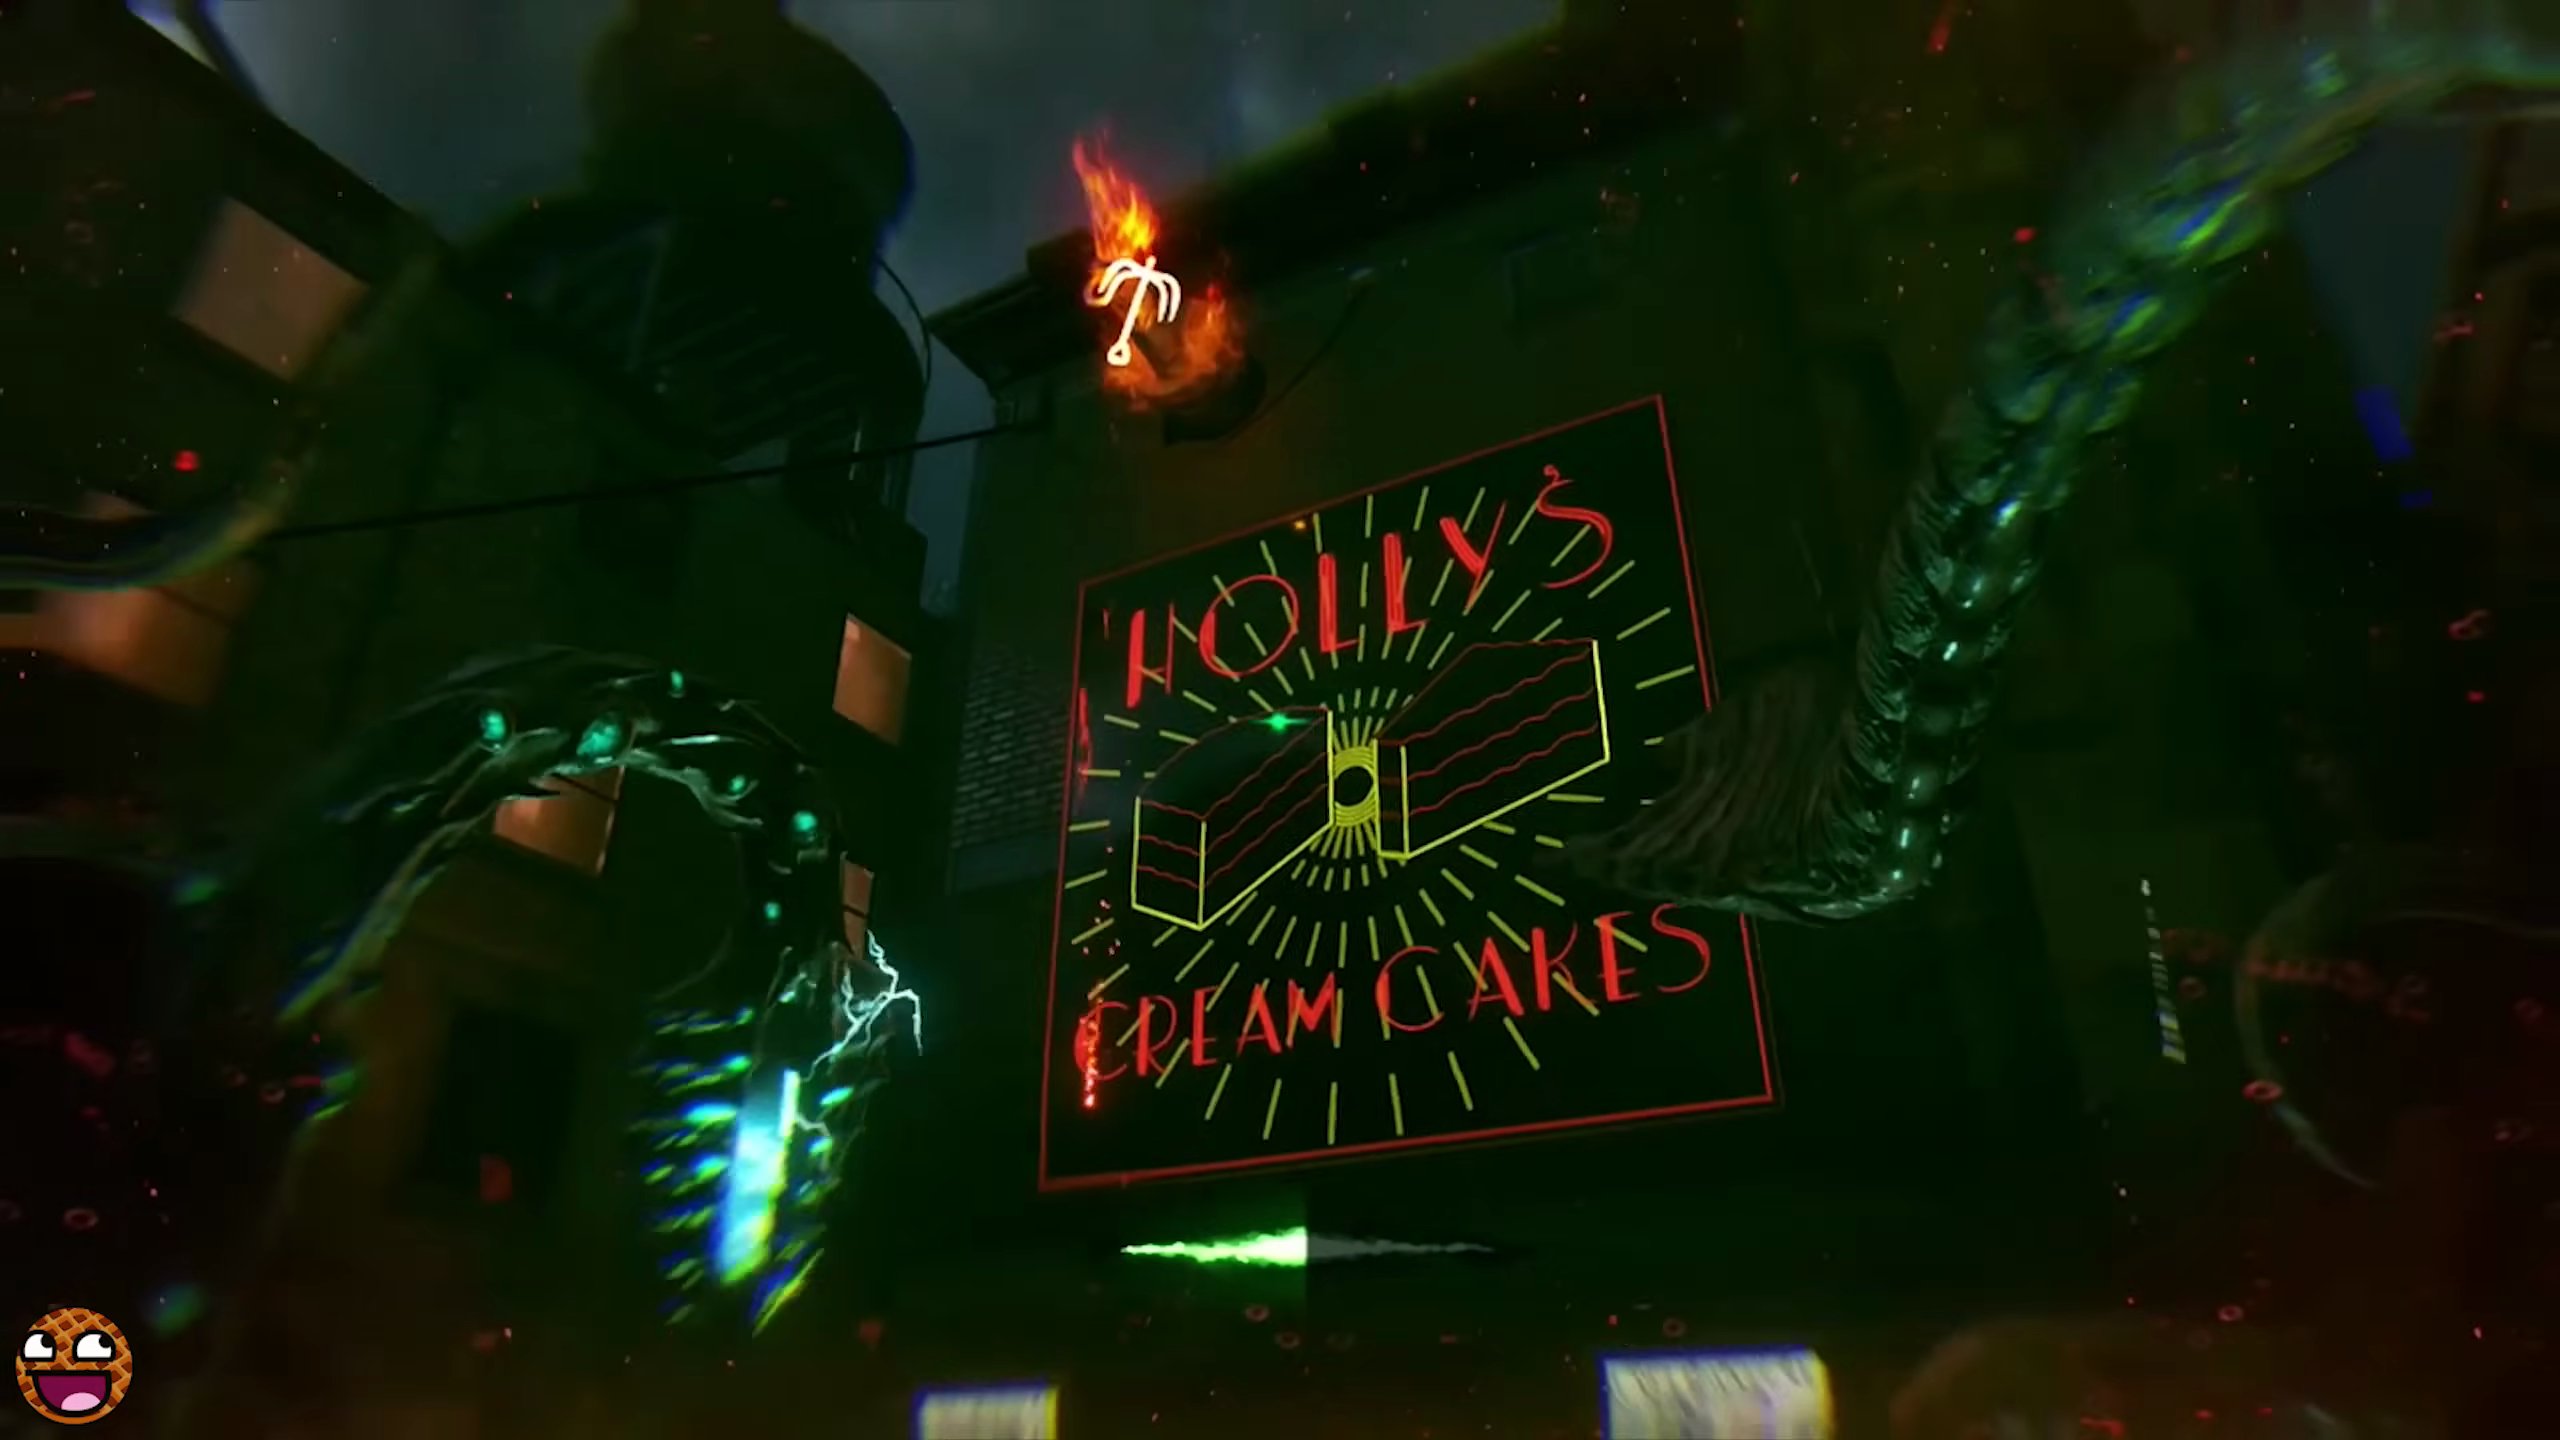
- Break open the box on the ledge to drop the Toupee to the street below.
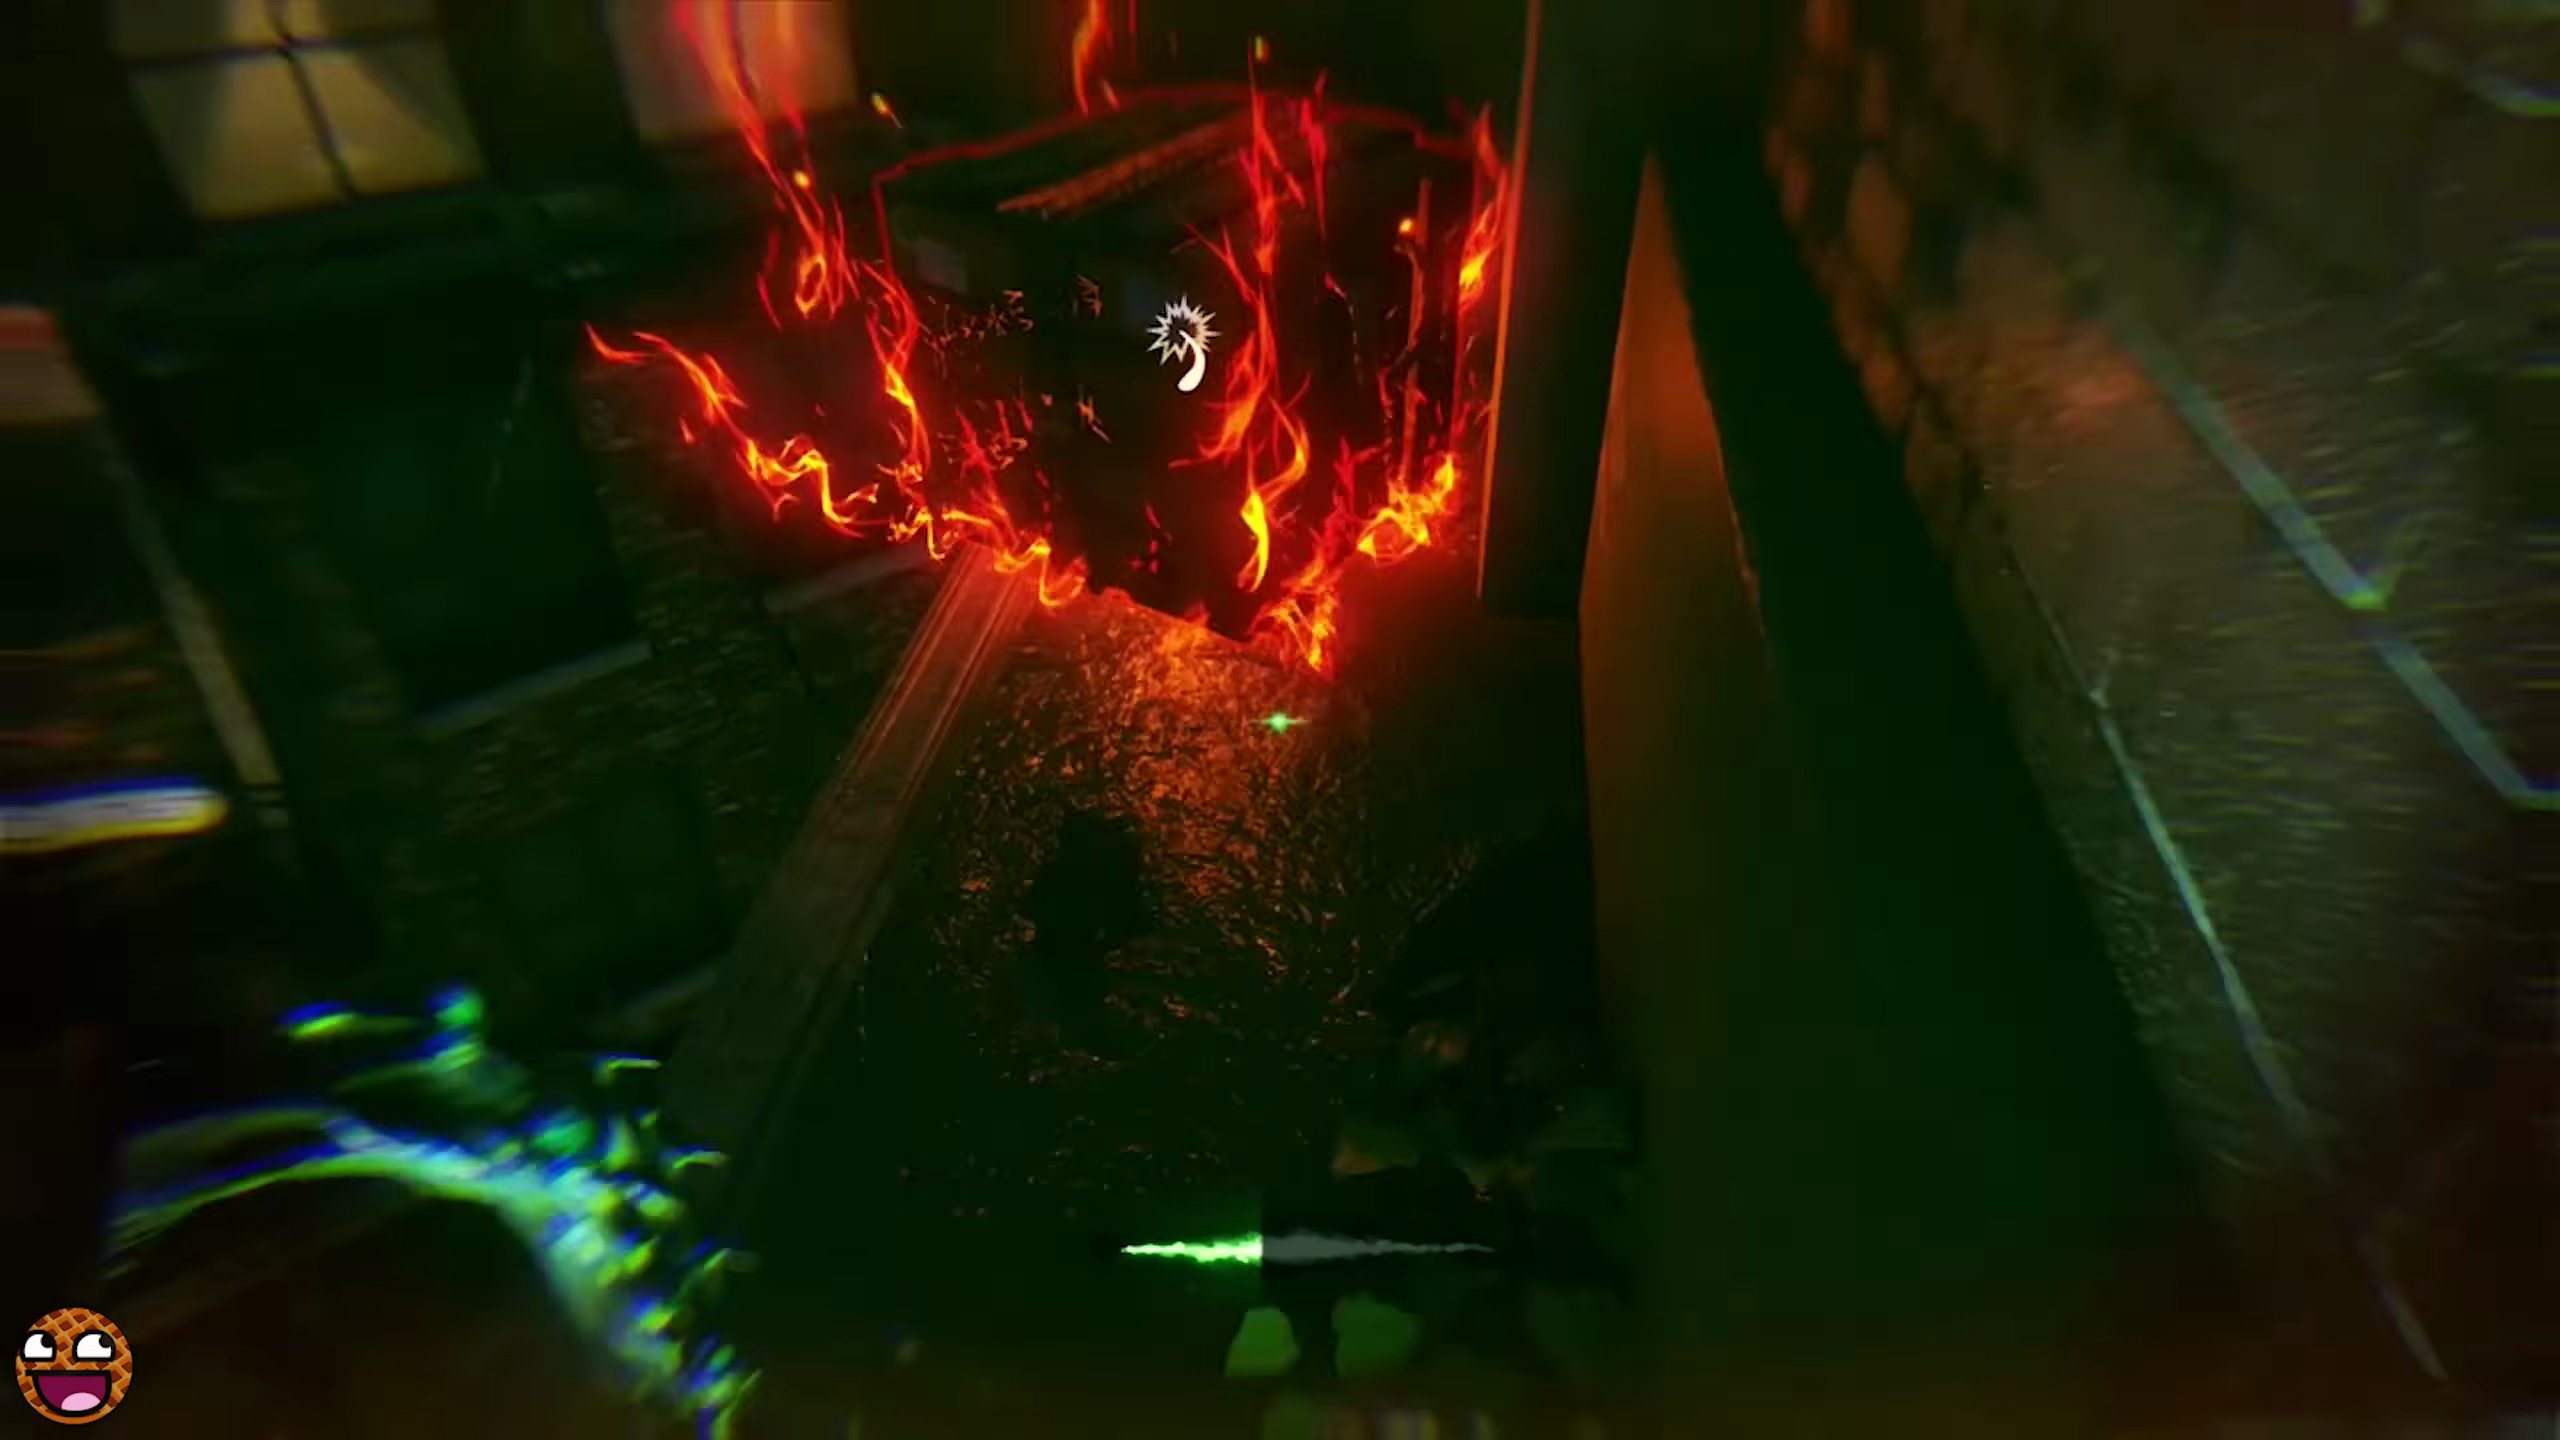
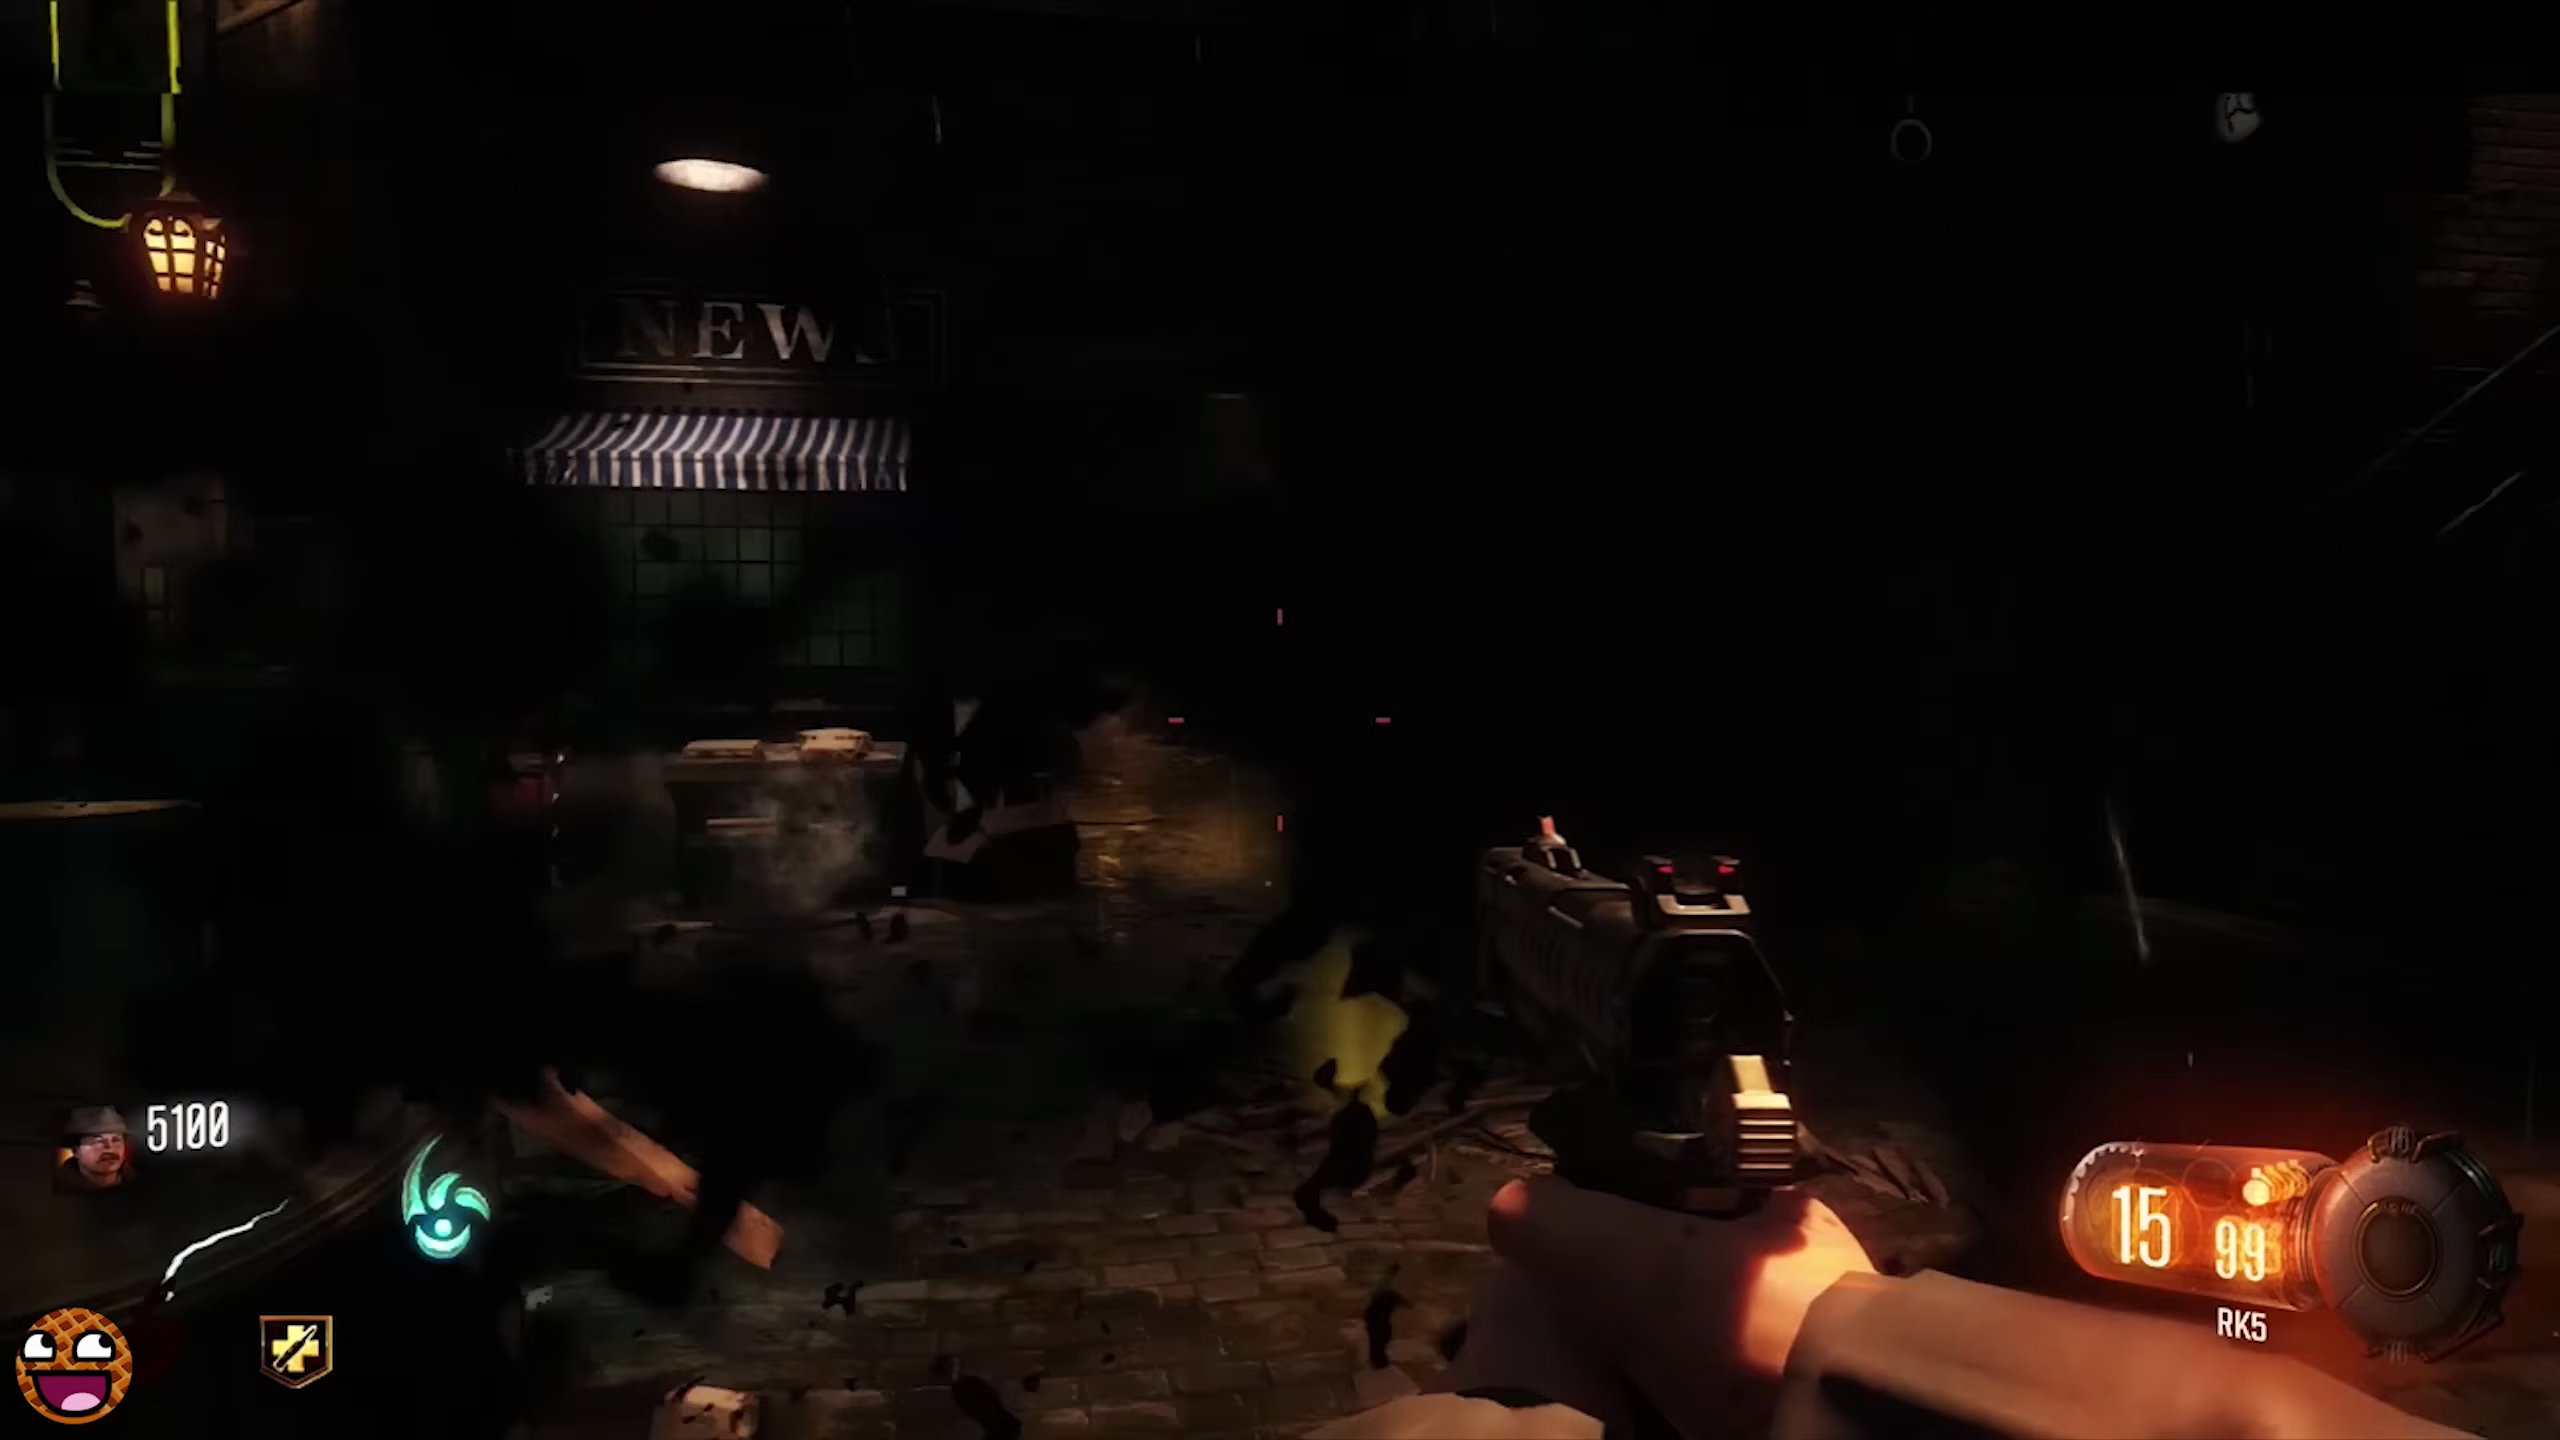
- Revert from Beast Mode and pick up the Toupee from the ground near the newsstand.
- Head to the Black Lace Burlesque and place the Toupee on the summoning table on the stage.
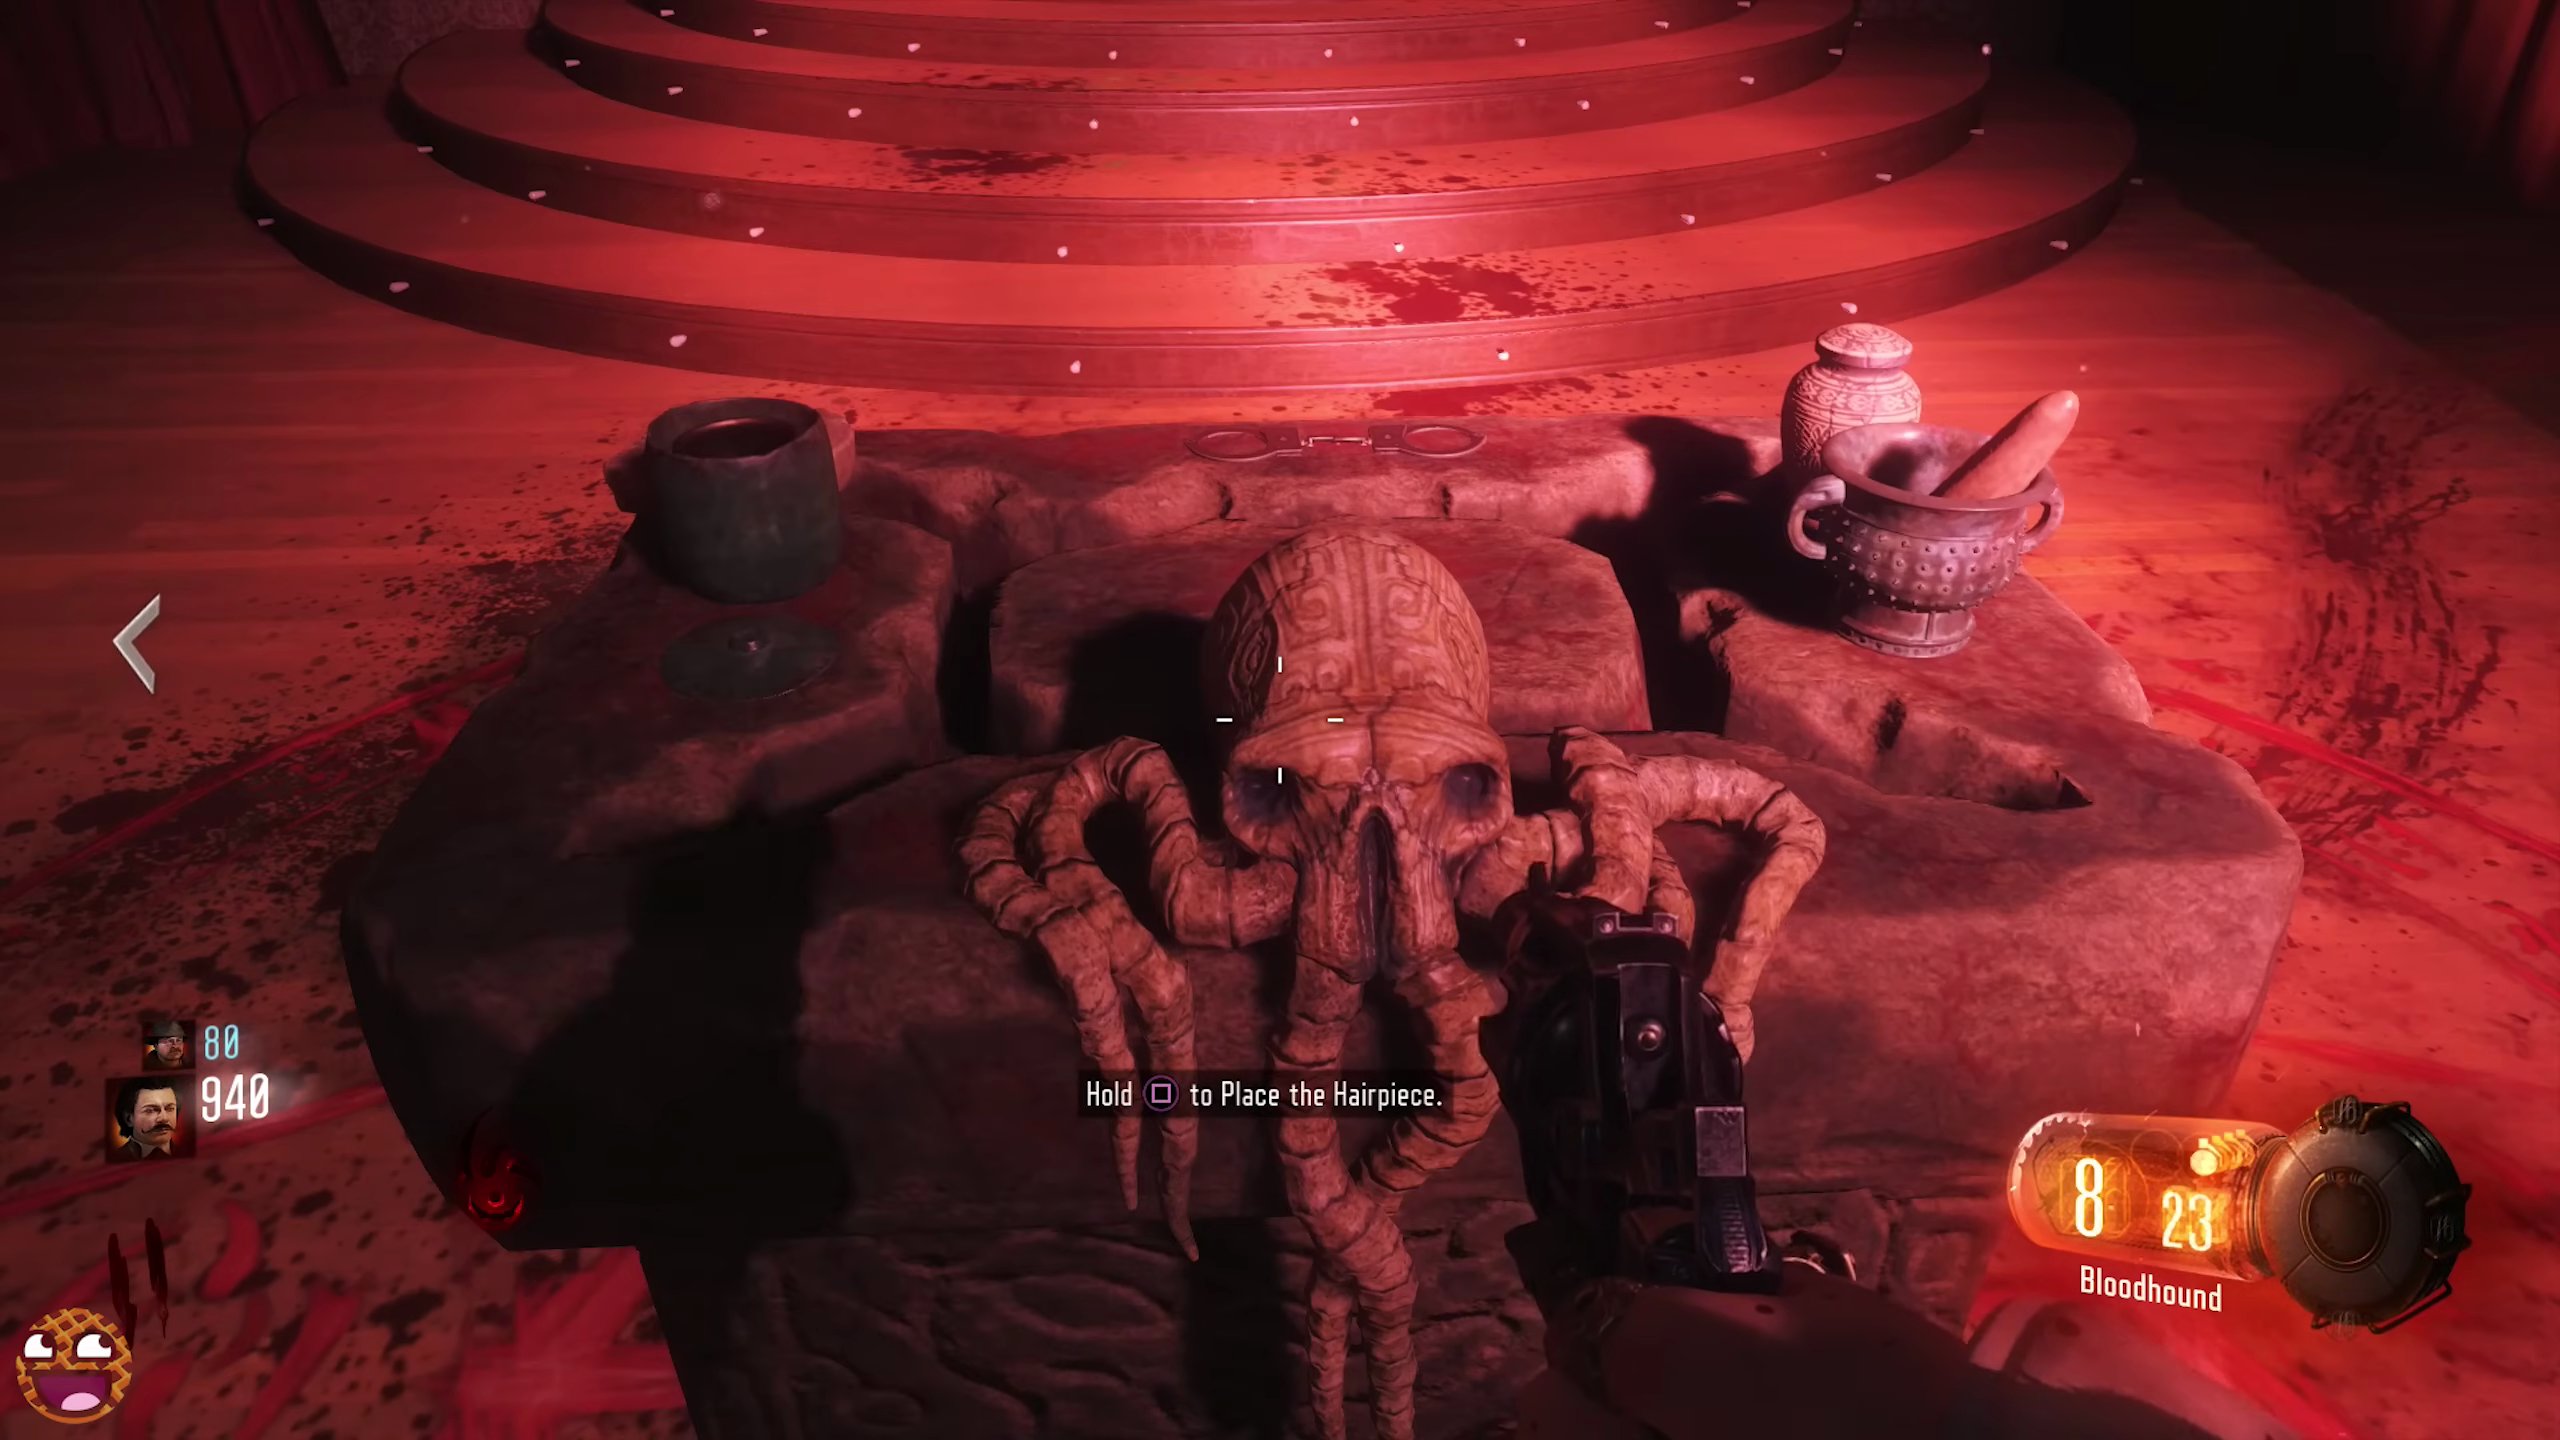
- Hold the action button to begin the ritual.
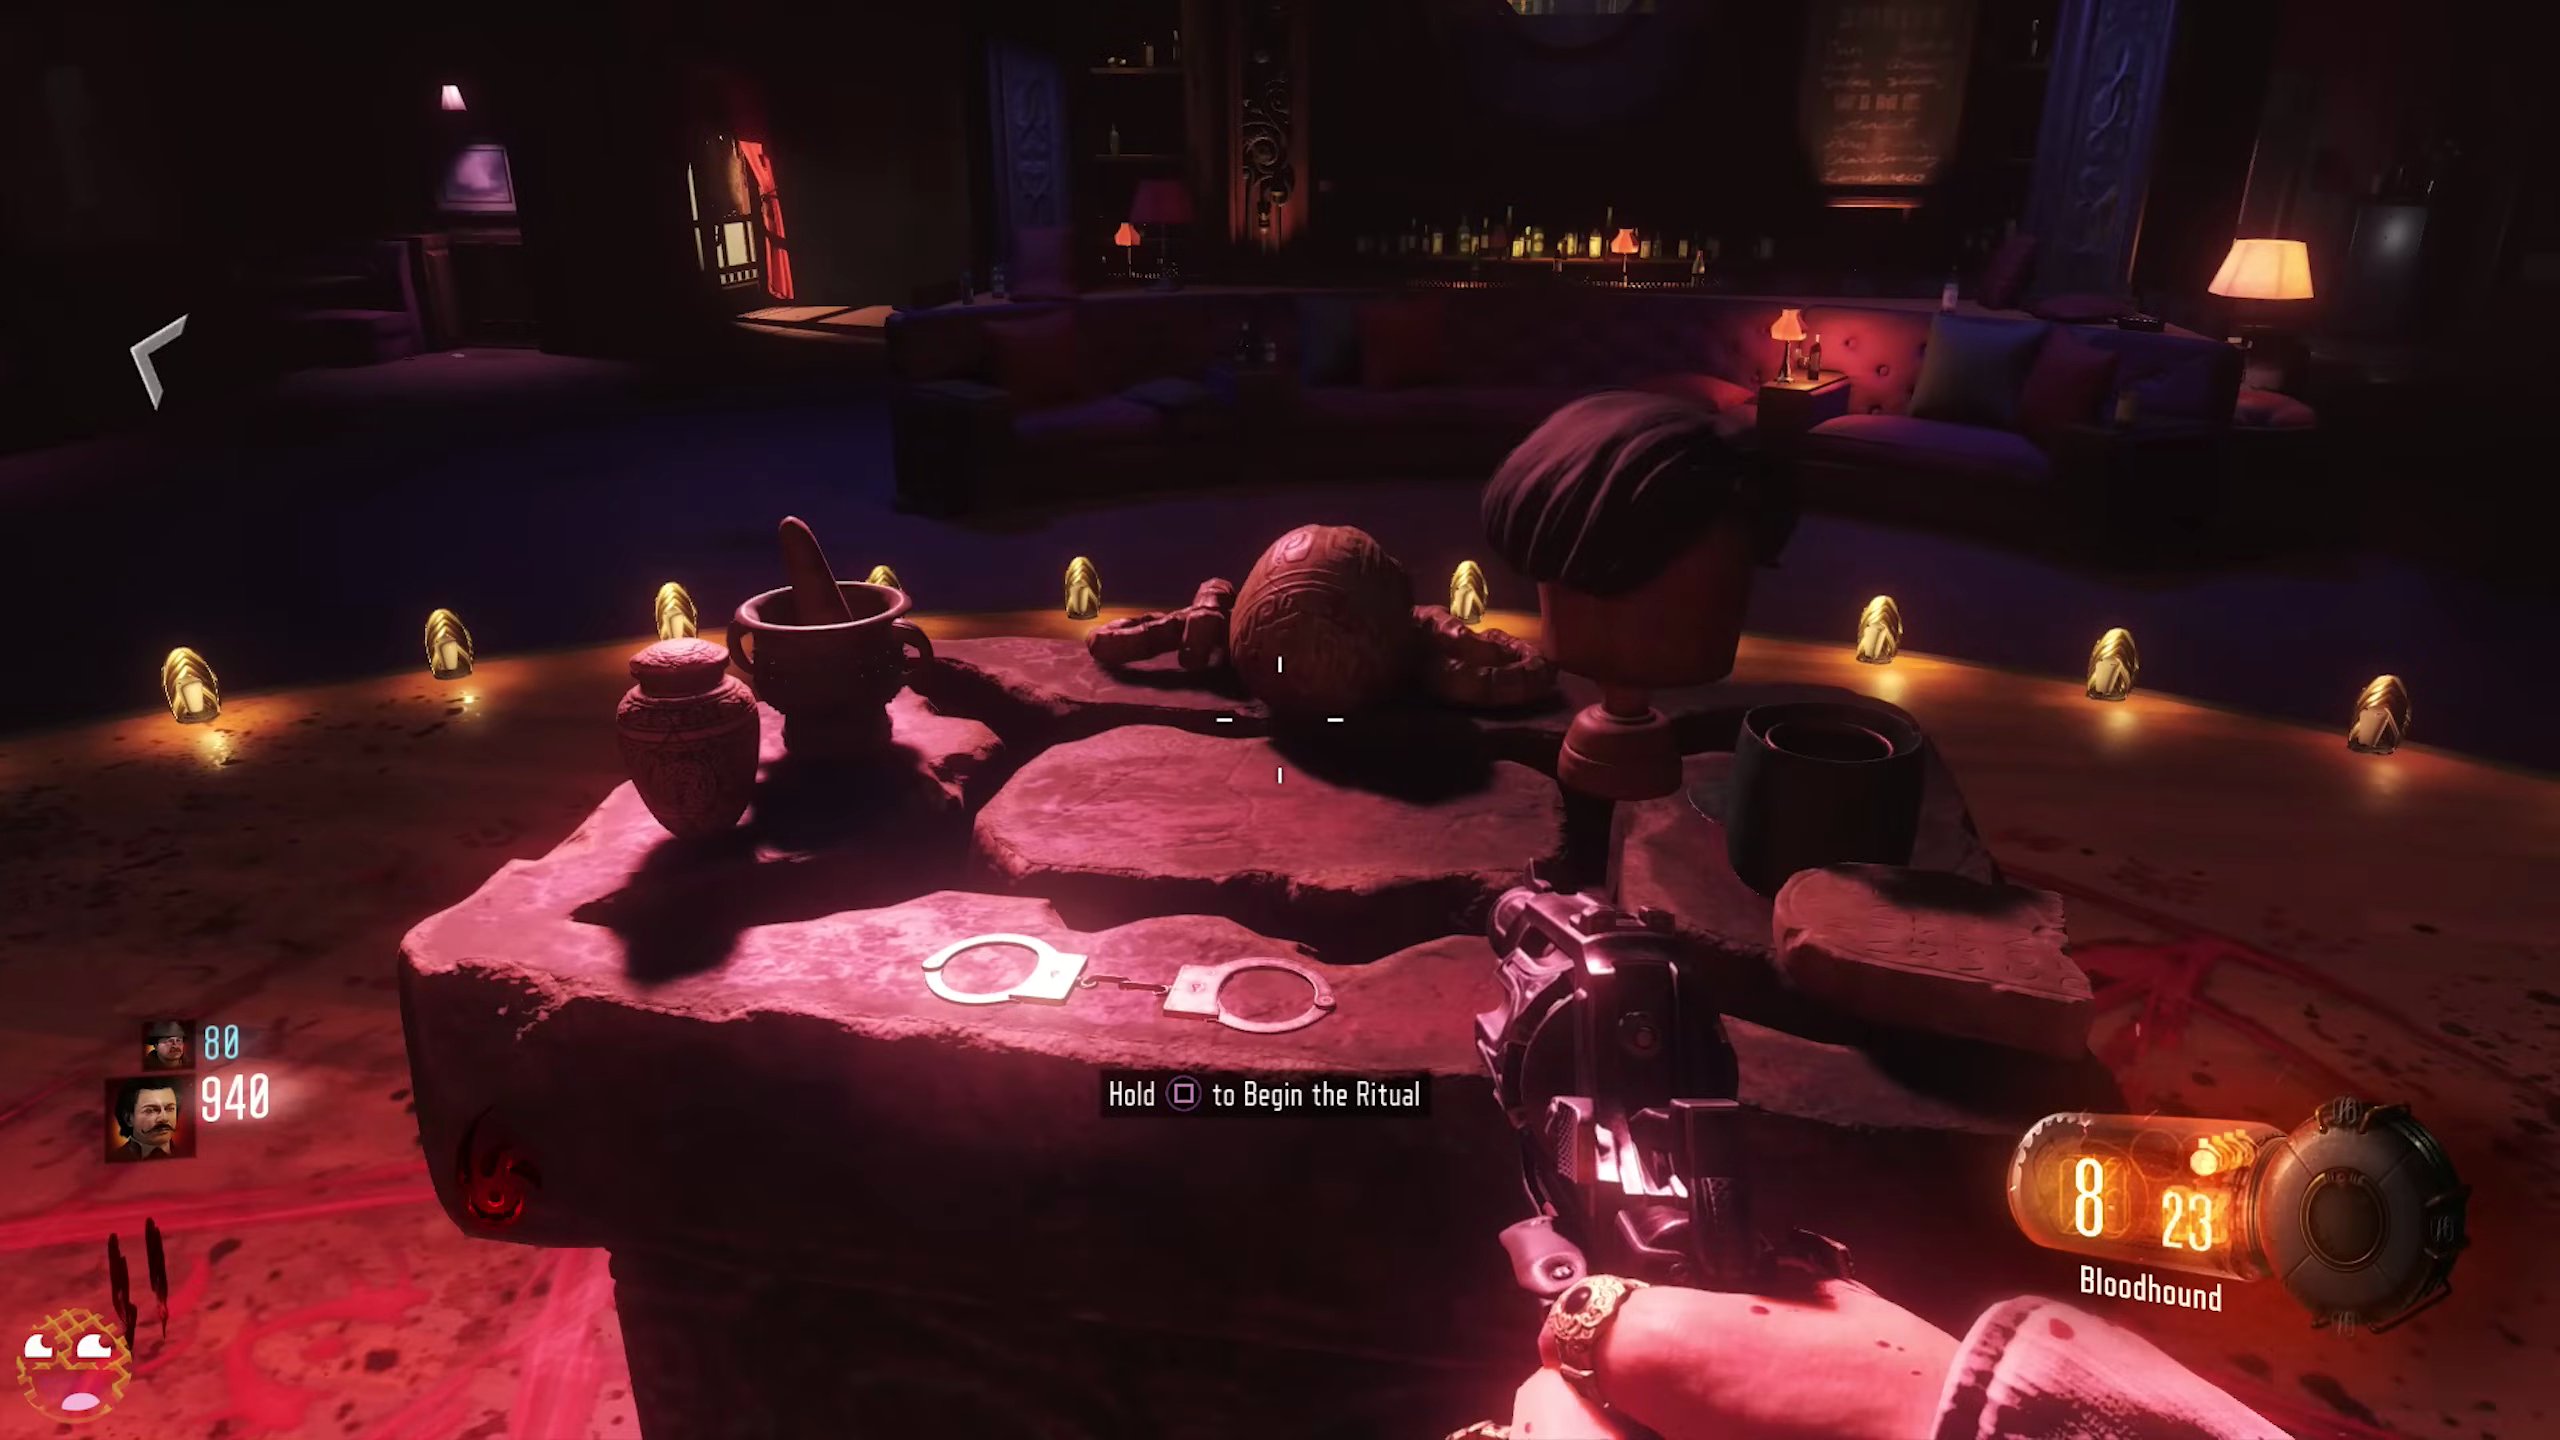
- Survive the Keepers and a Margo that will spawn. You do not need to kill them, but you can if necessary to survive.
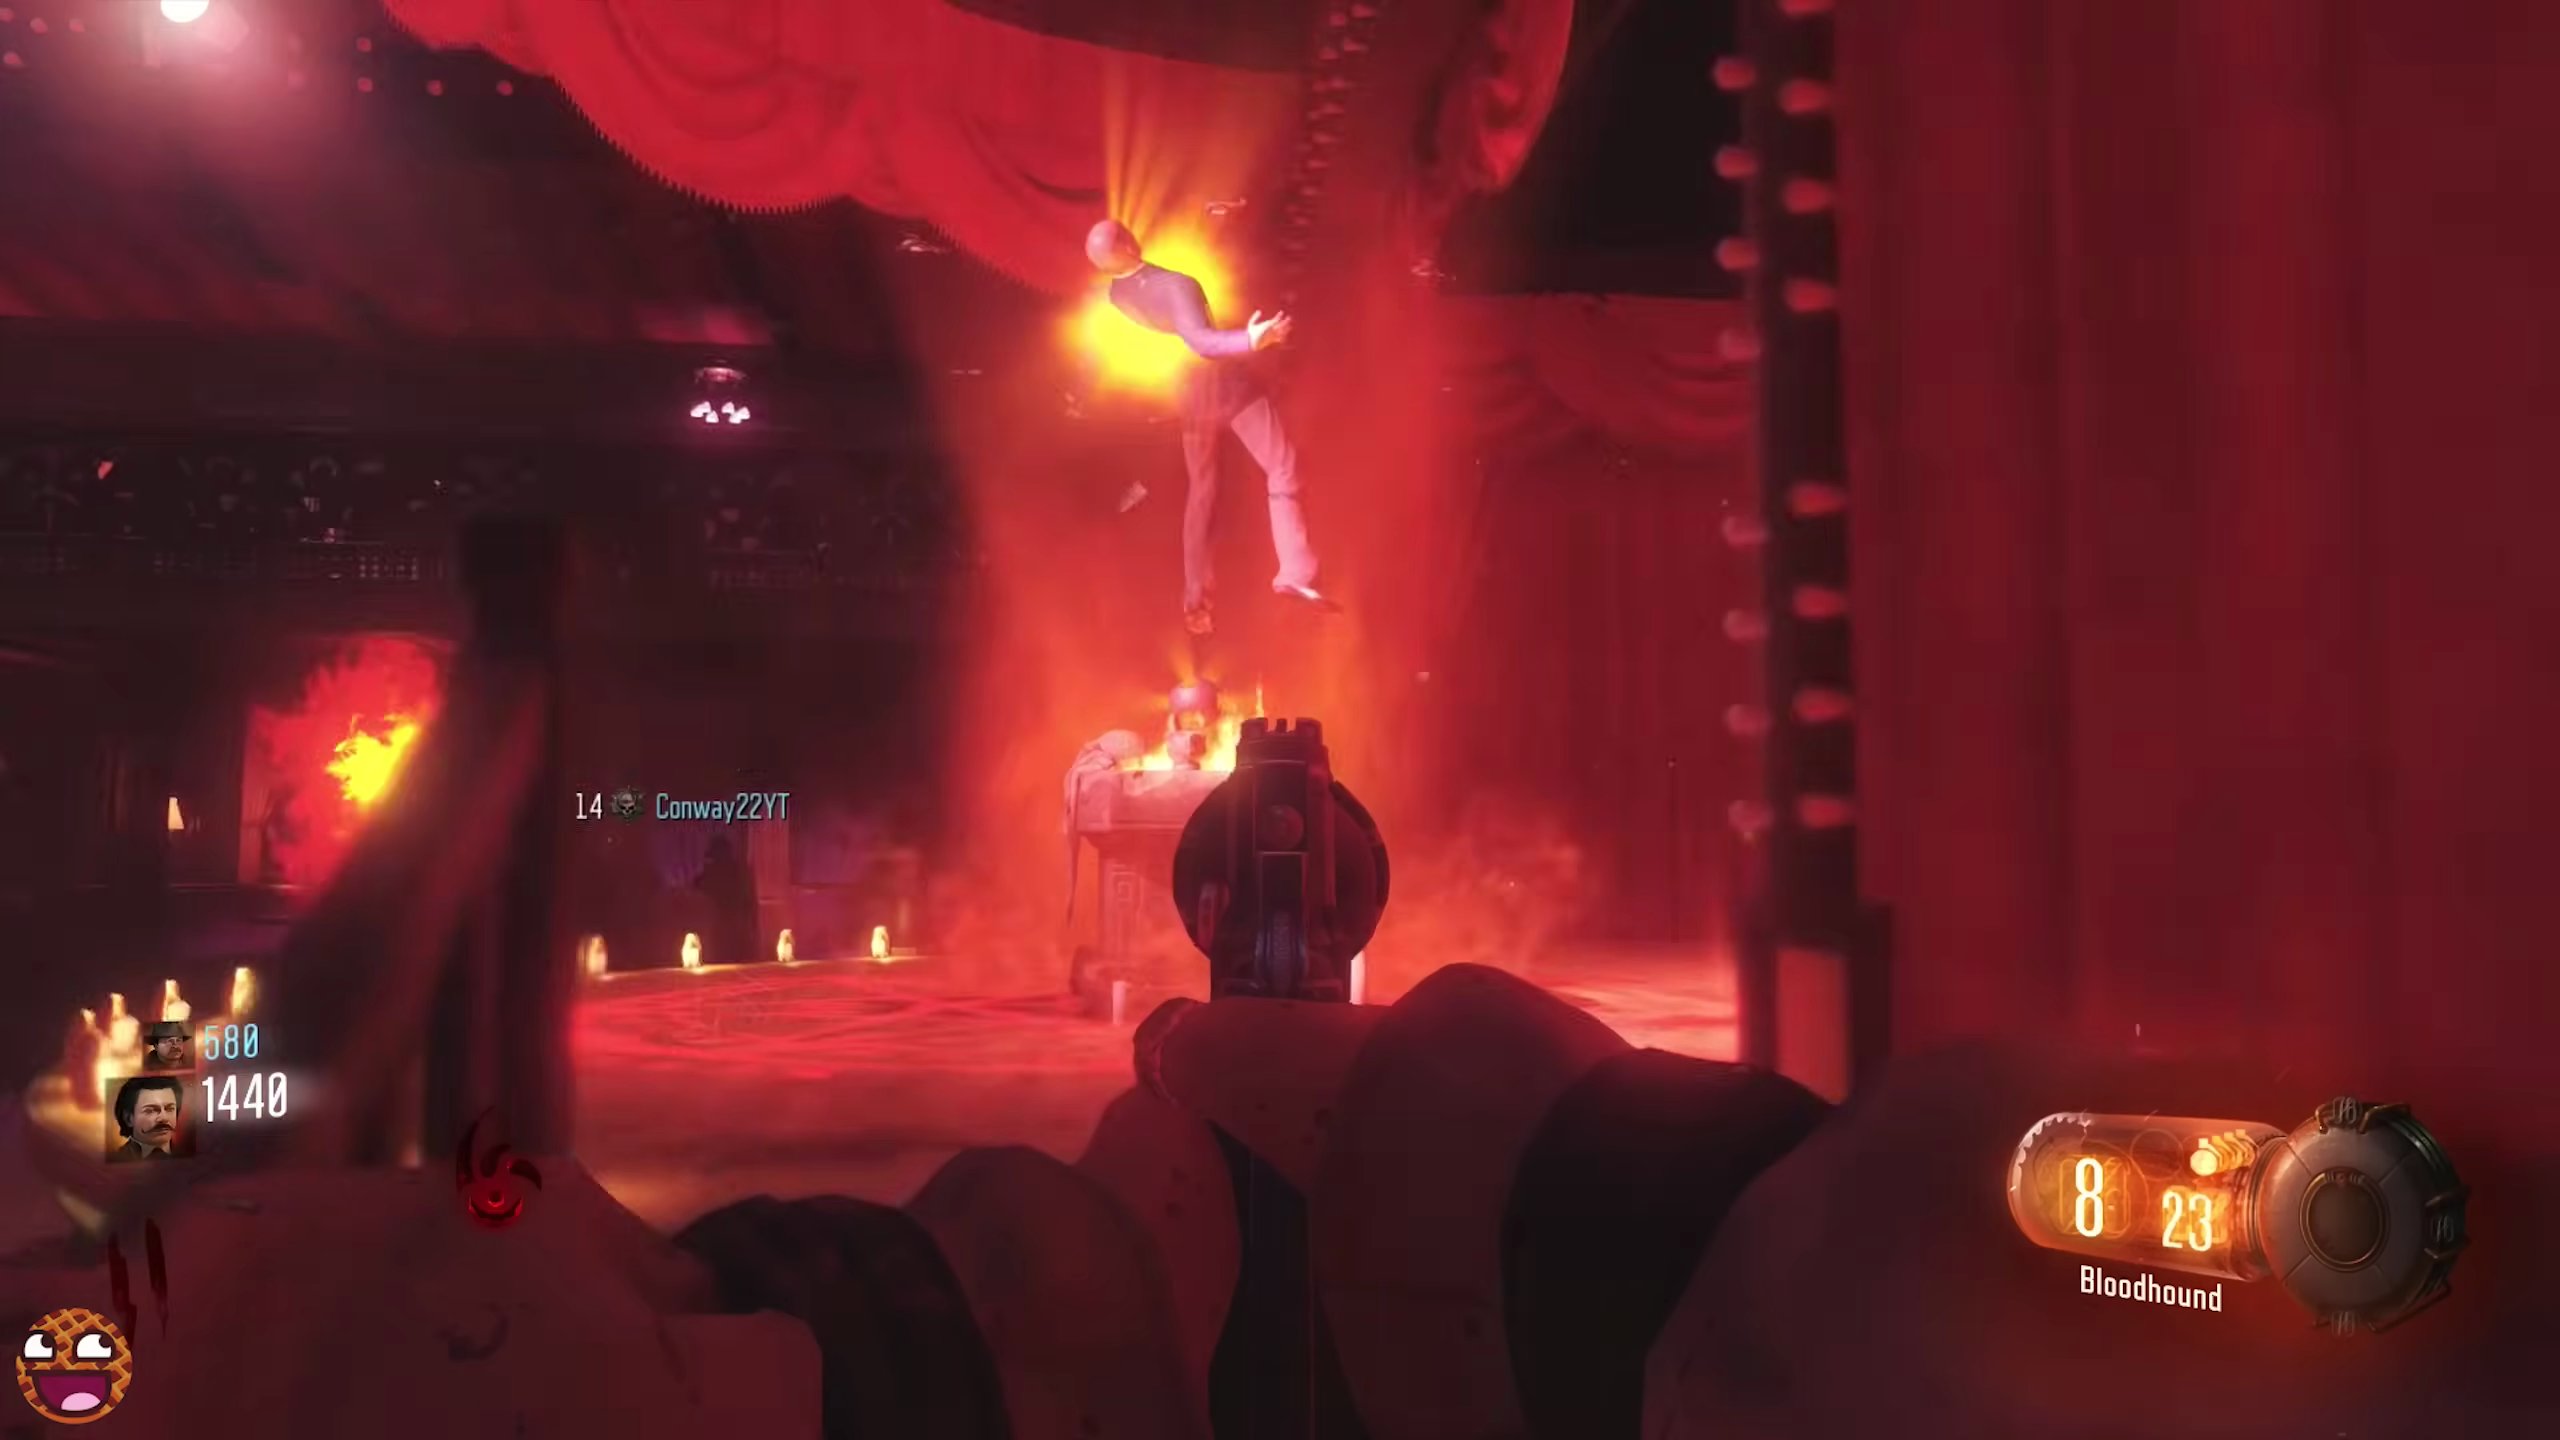
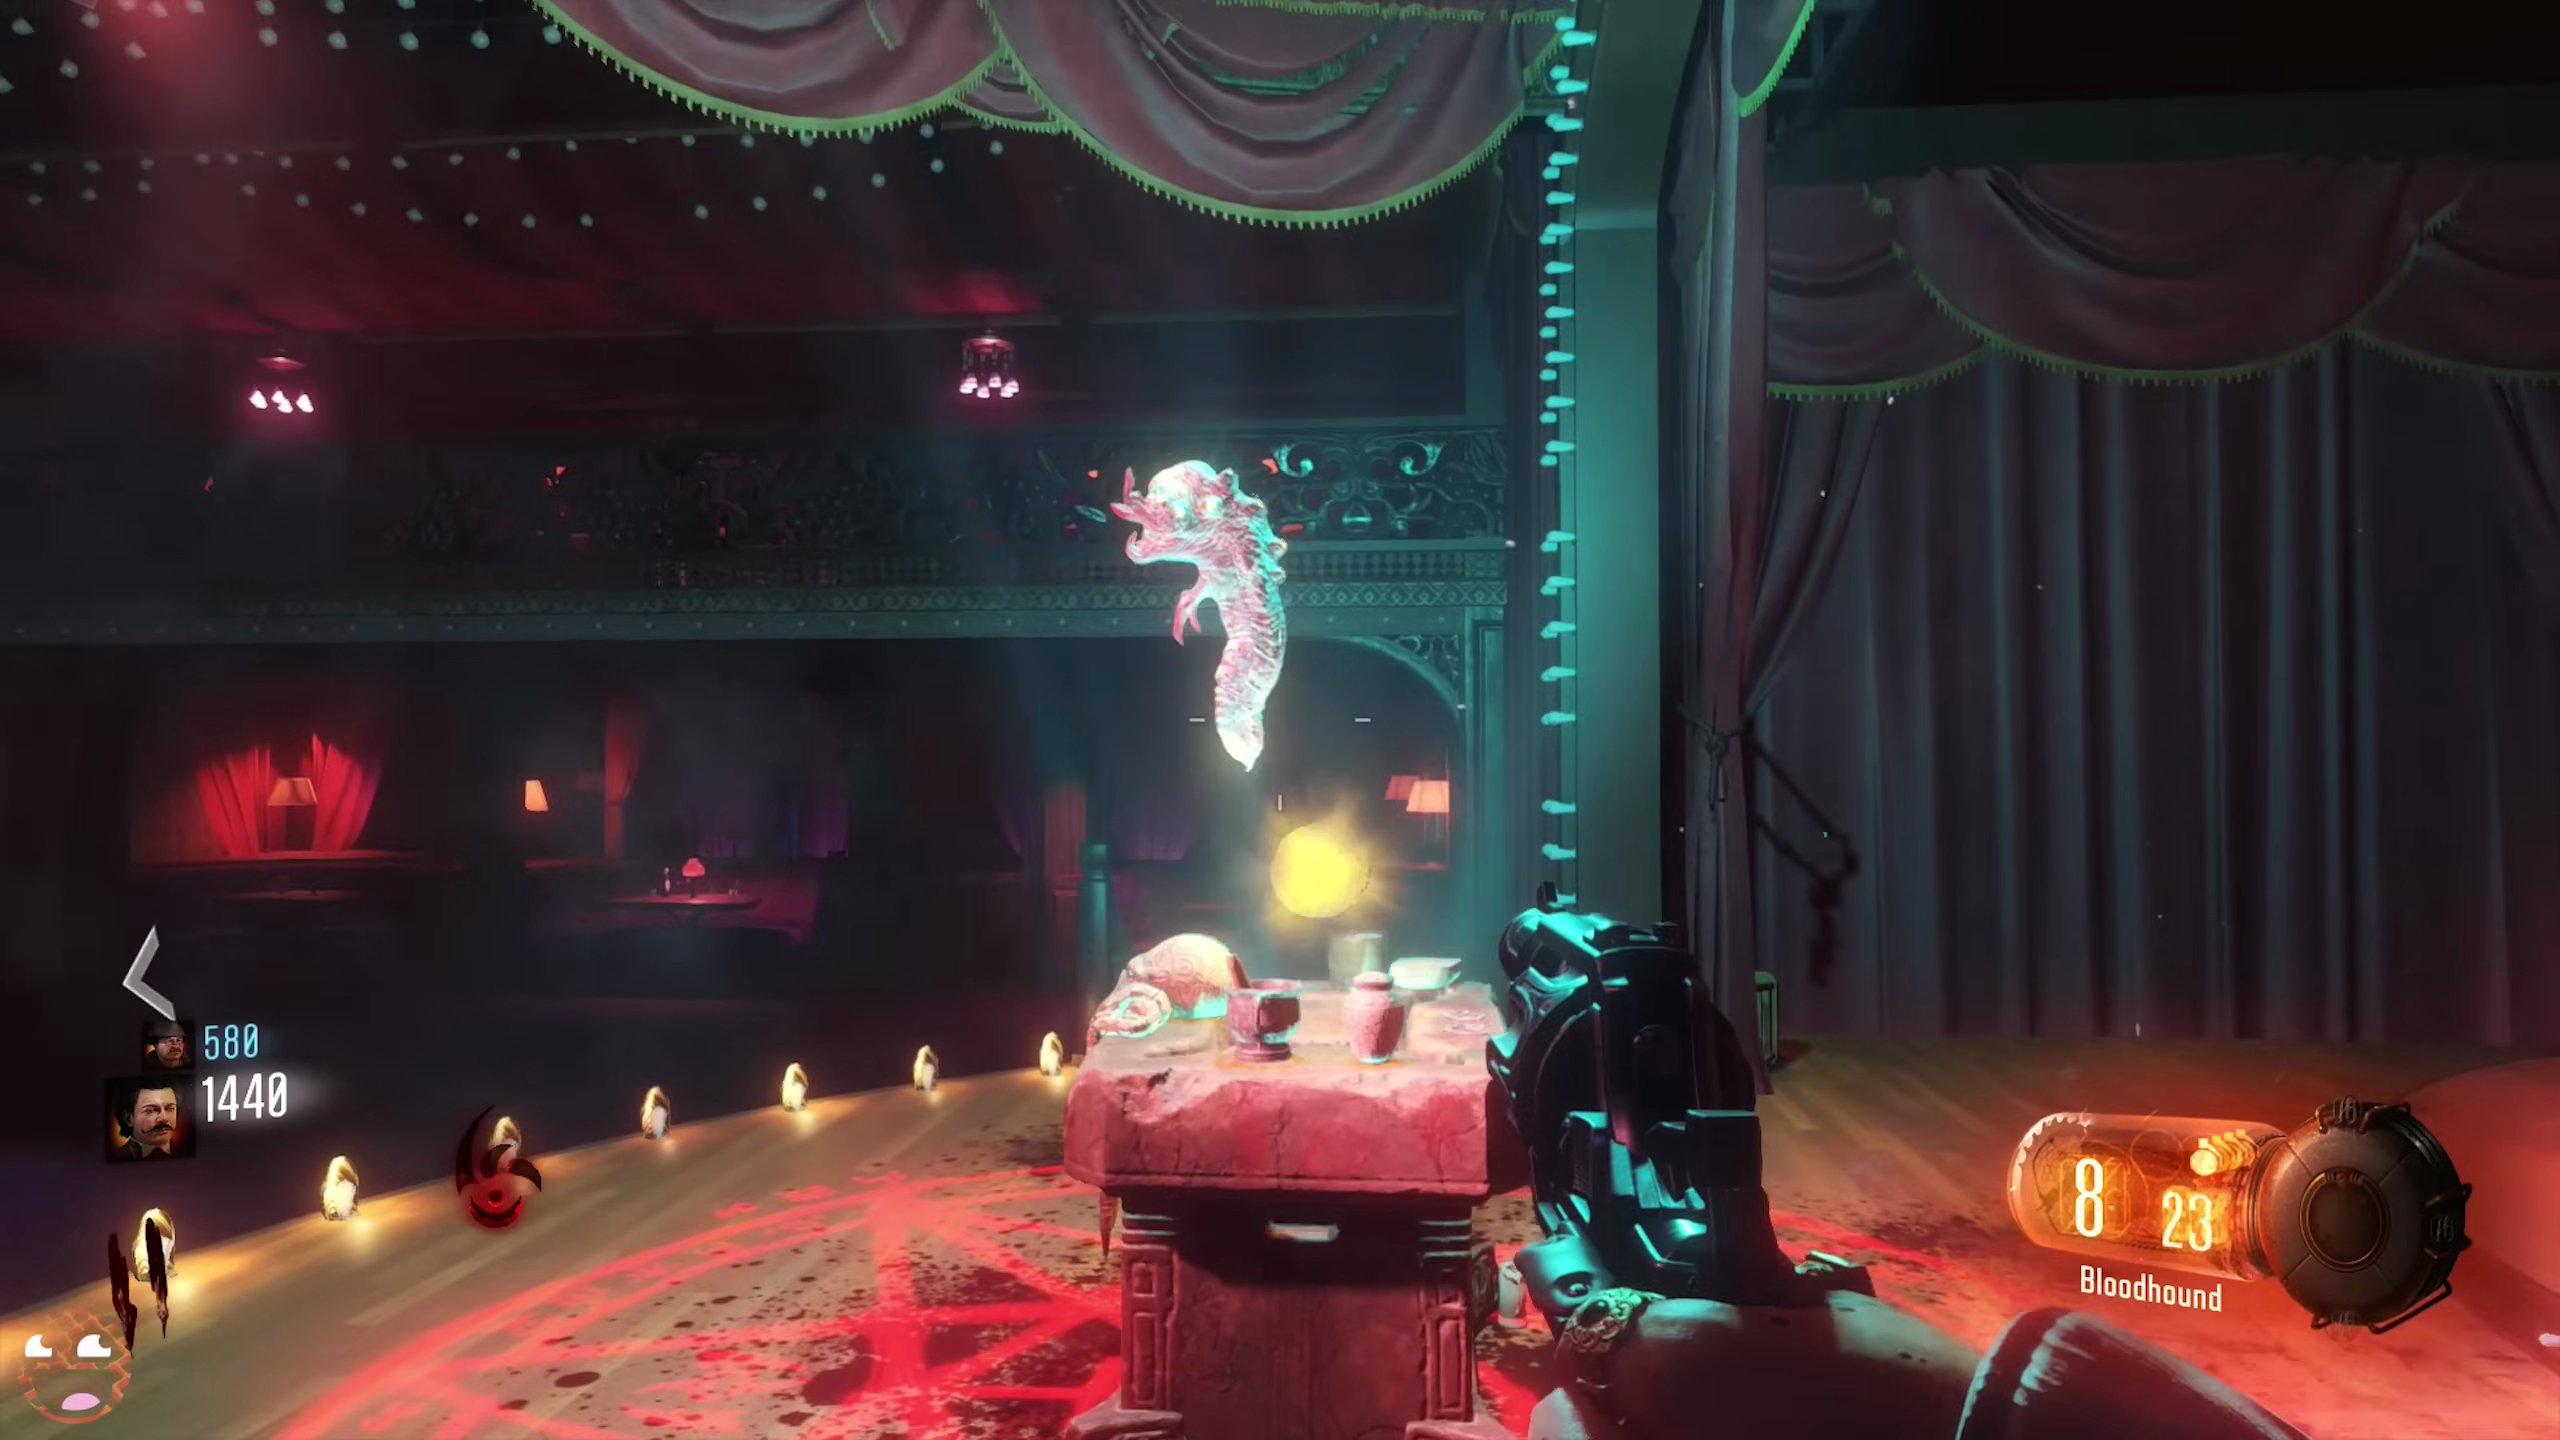
- Once the ritual is complete, a Gateway Worm will spawn on the table. Collect it.
Step 3: Complete The Anvil Ritual
- Now you'll need the Promoter's Championship Belt. Go to the Waterfront District. [SCREENSHOT:02:23]
- Activate Beast Mode.
- Grapple up the first building where the box is located.
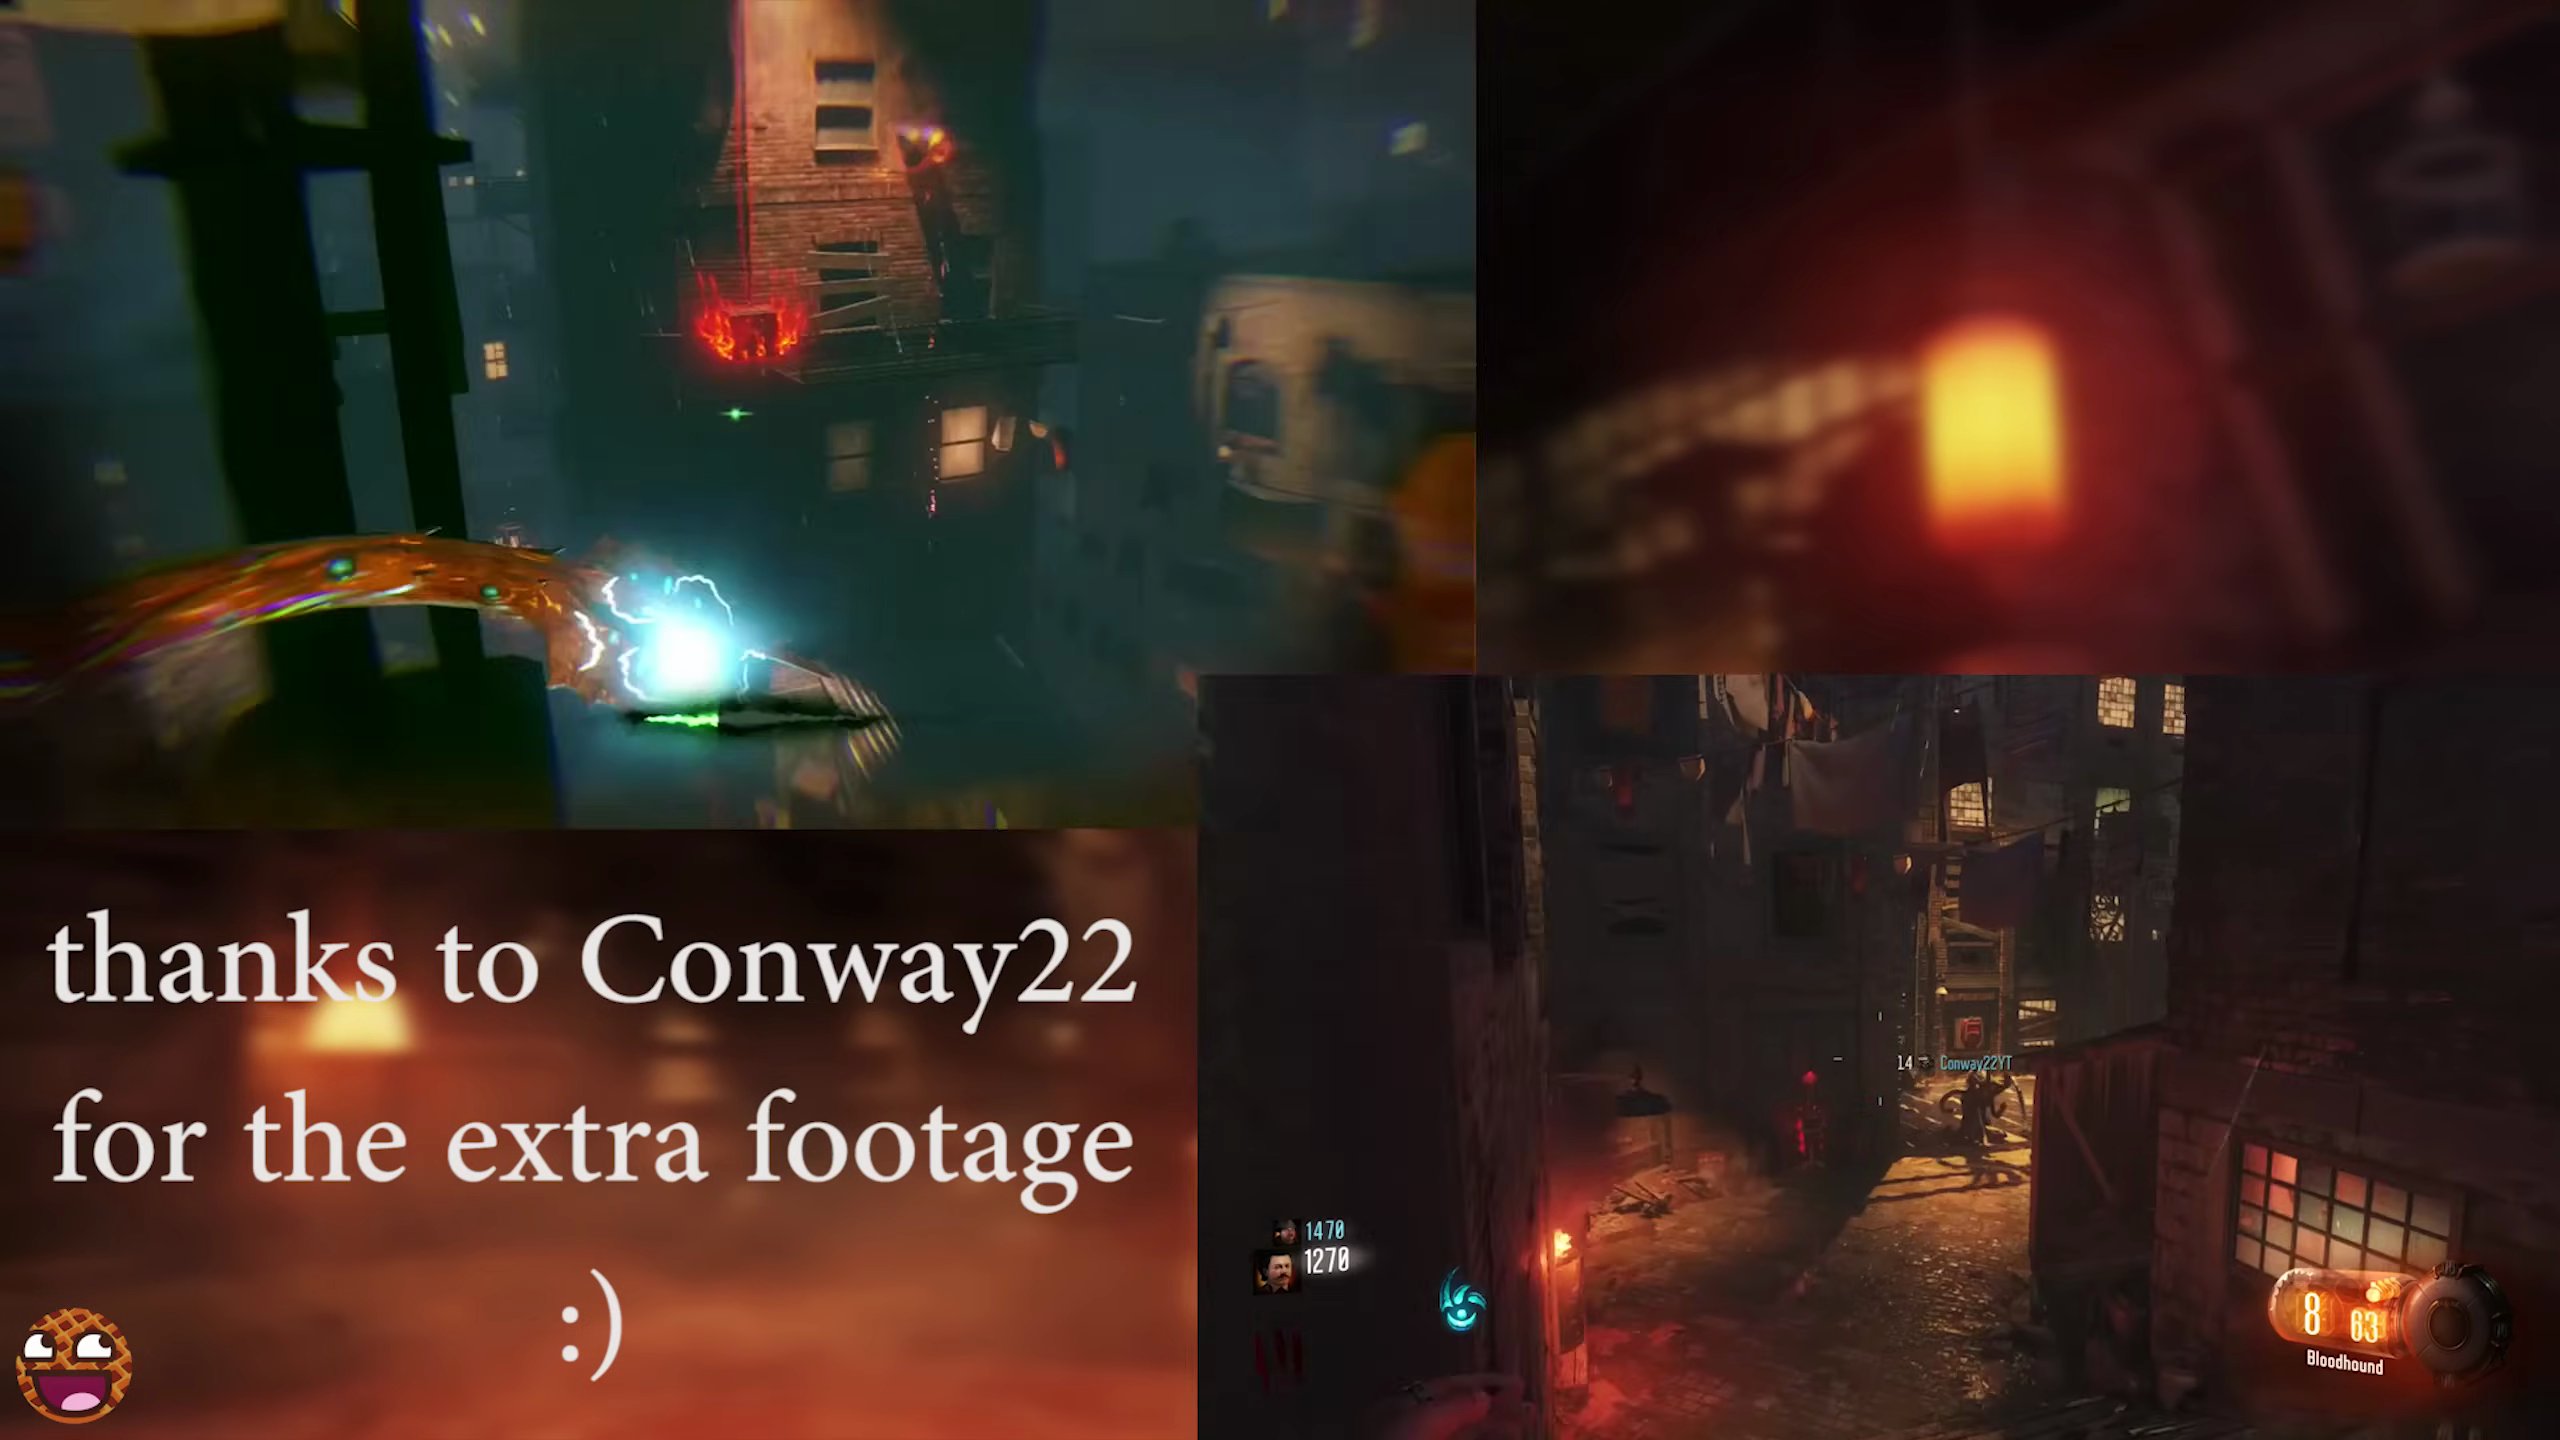
- Grapple across to the opposite building.
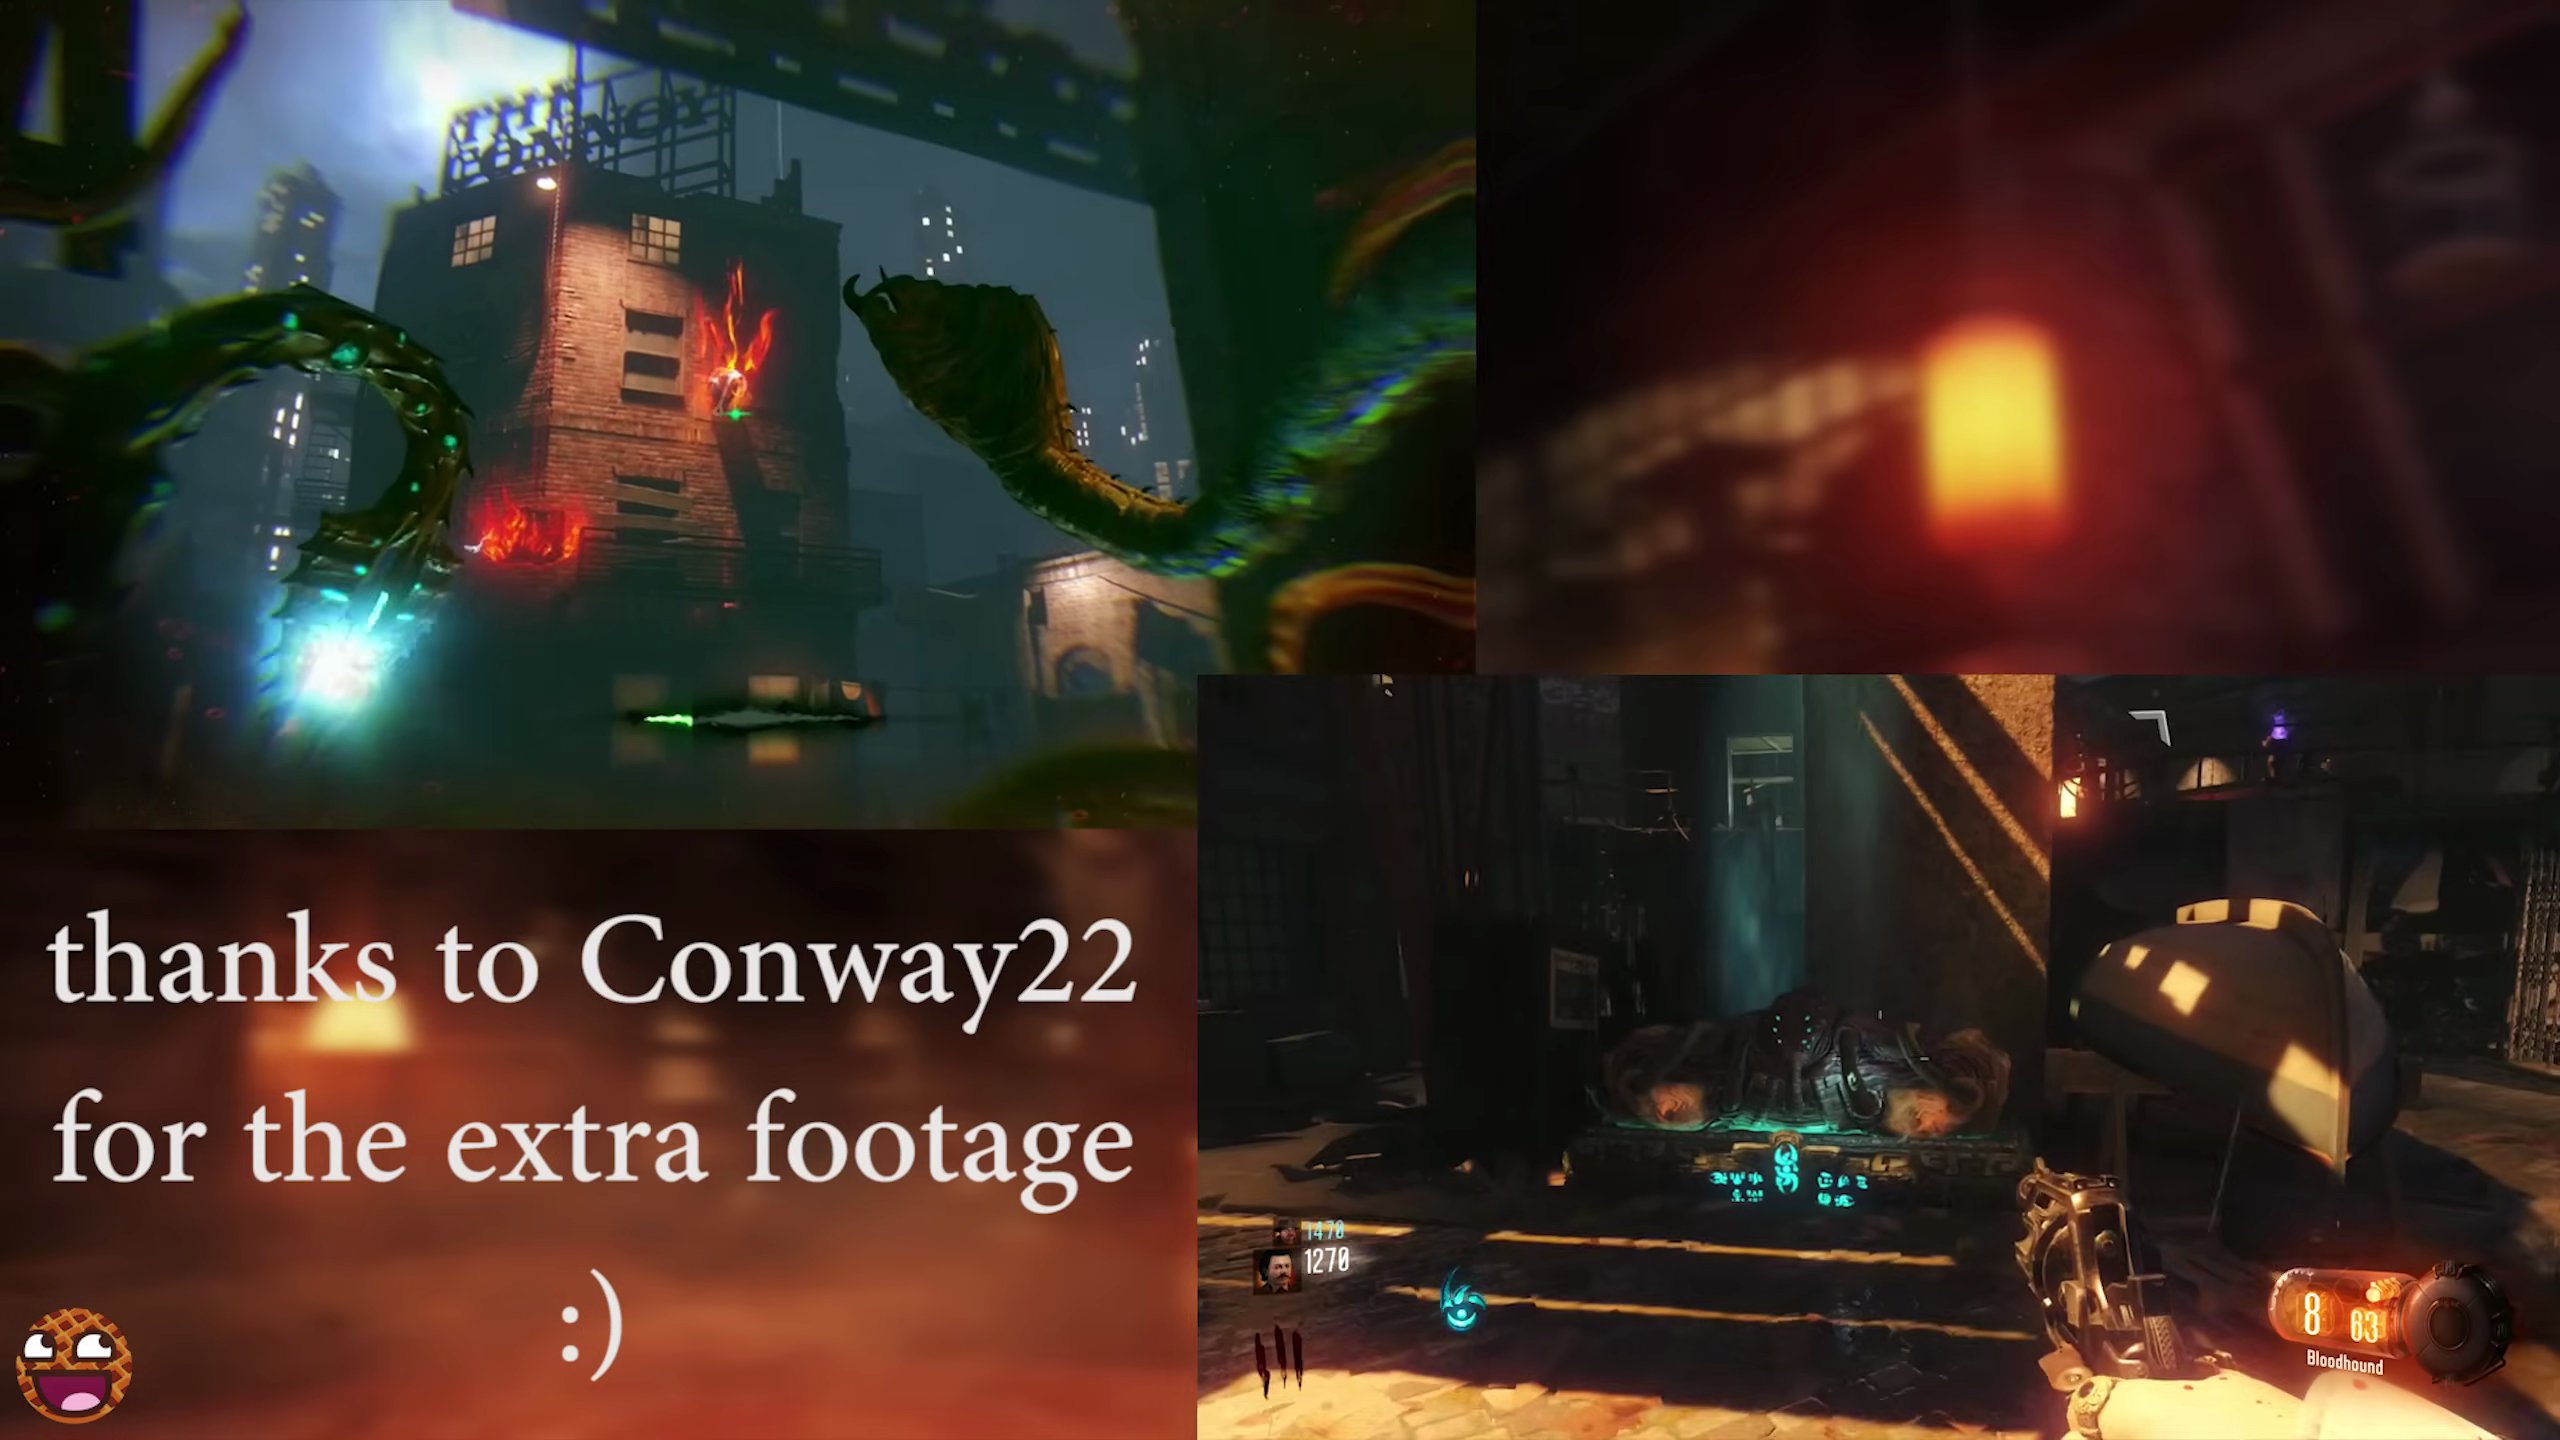
- Break open the box to drop the Championship Belt below.
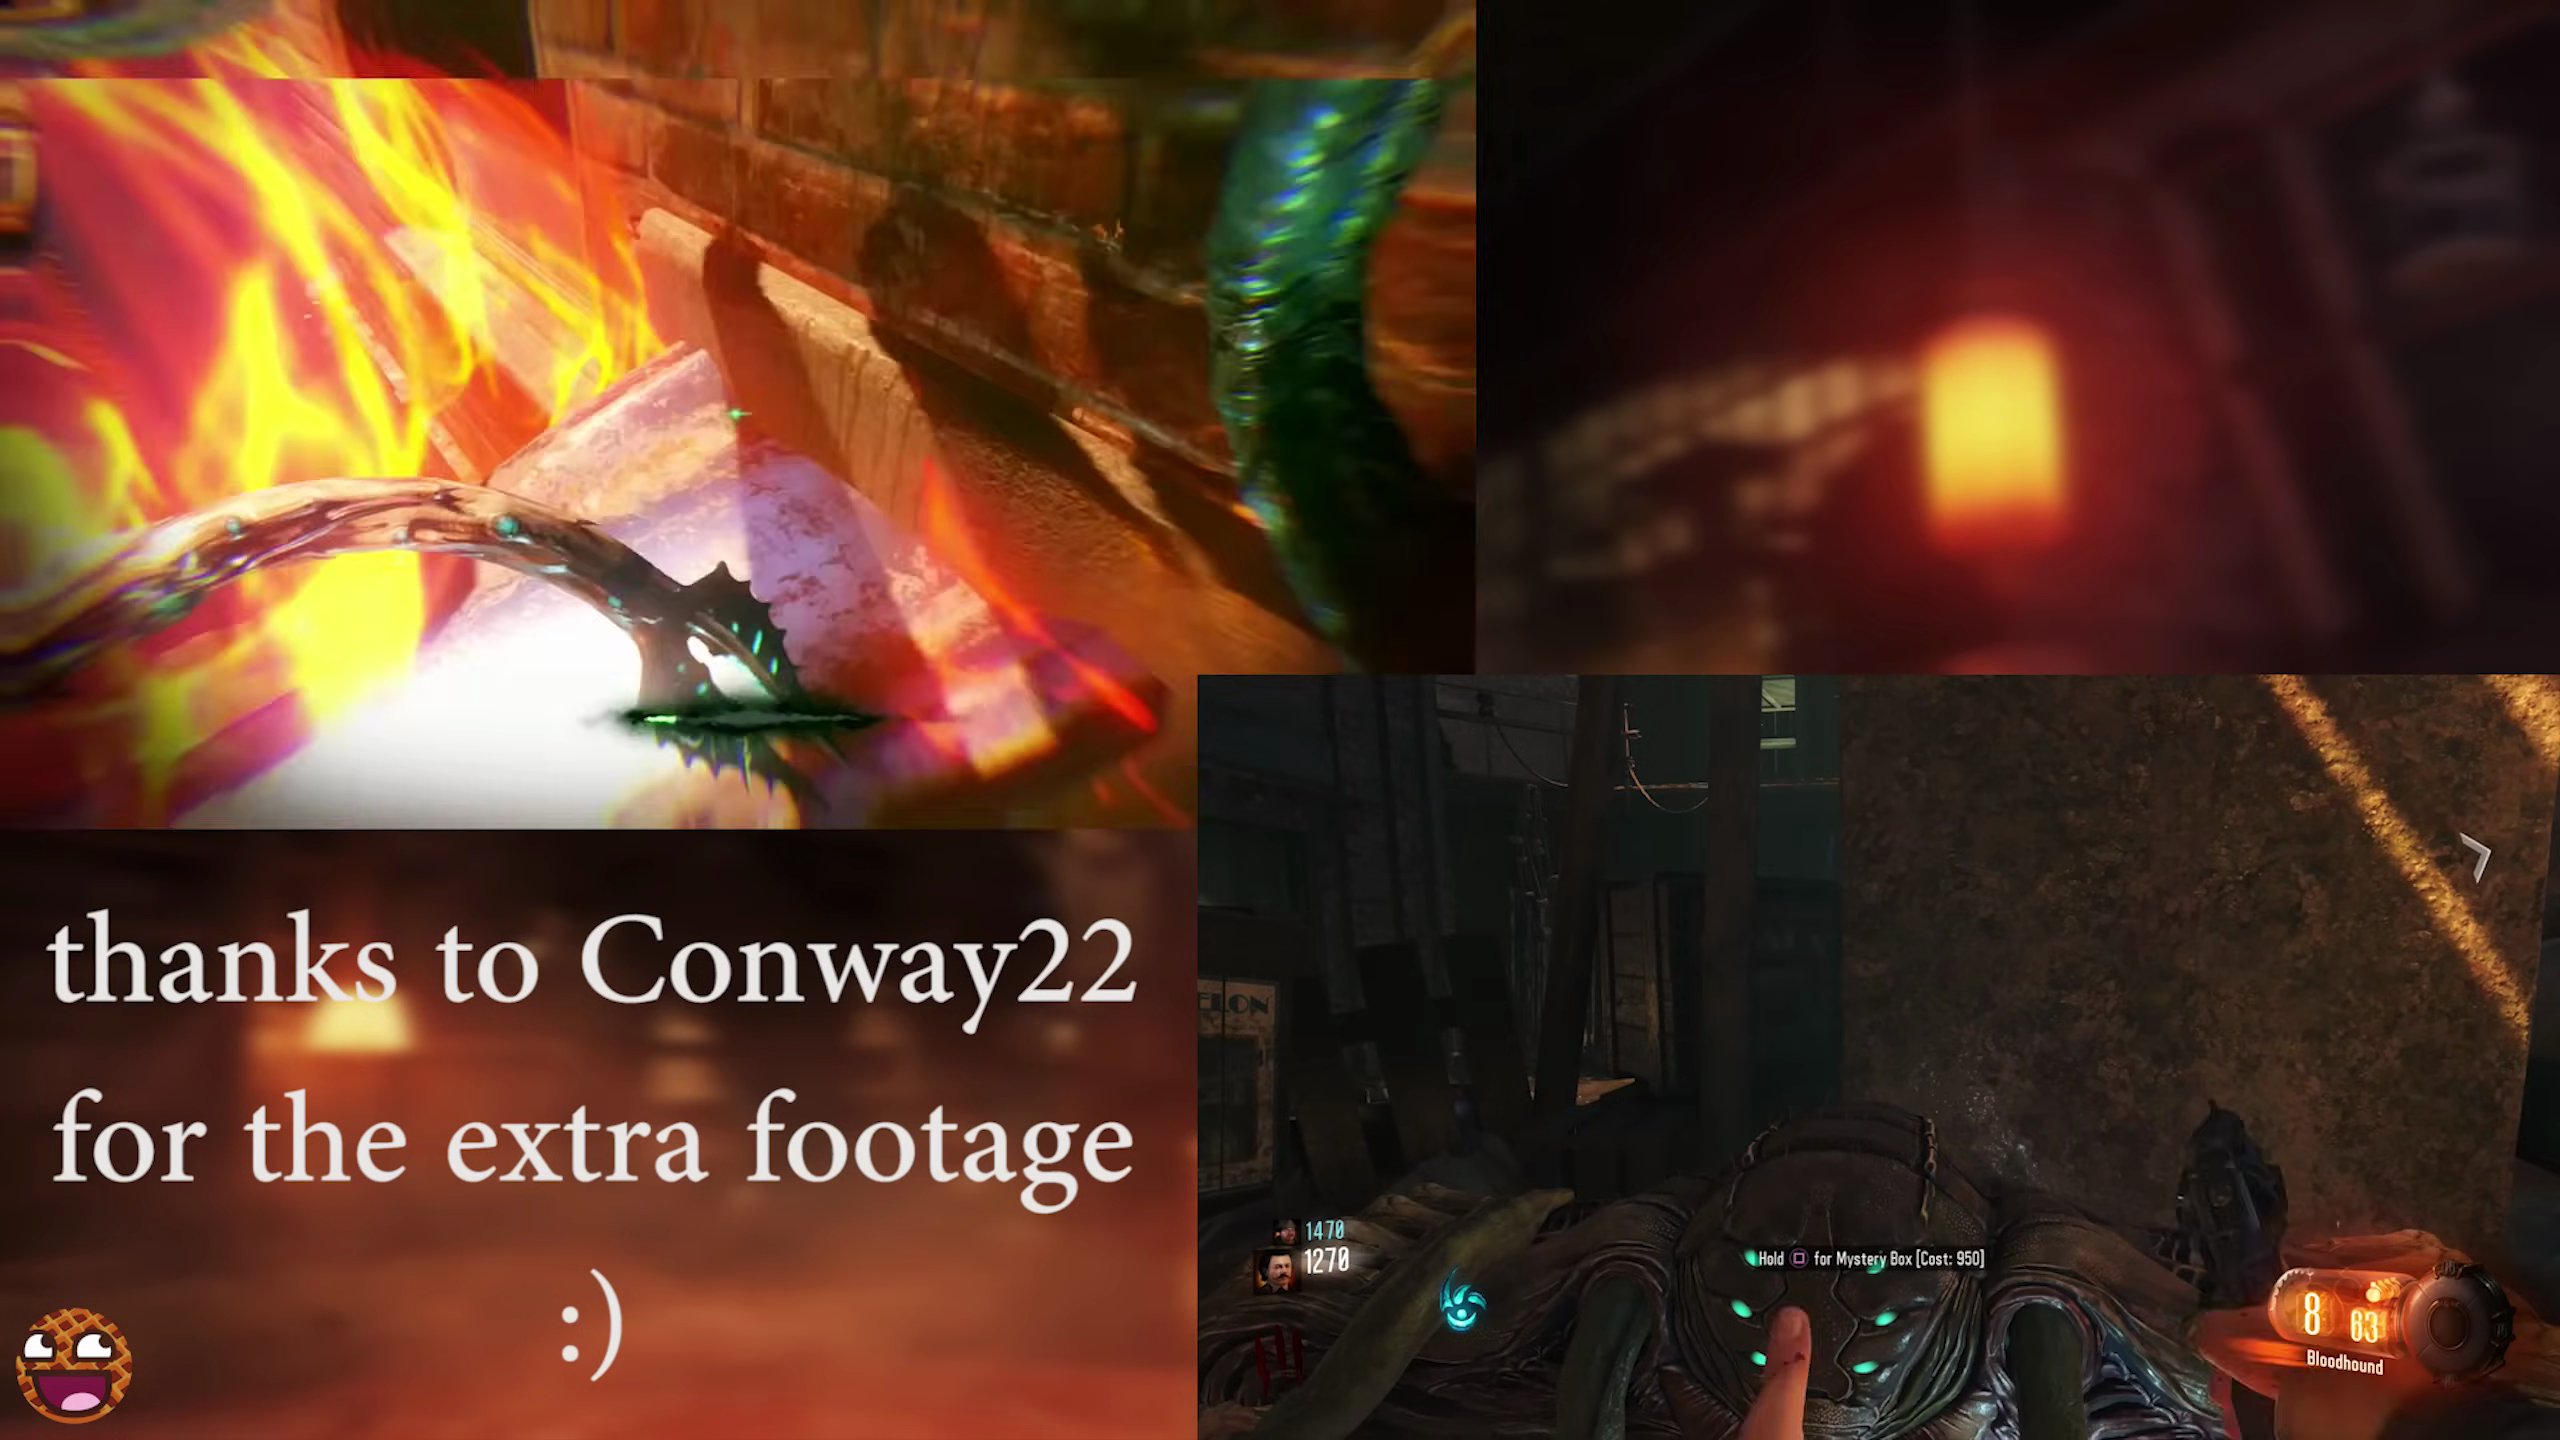
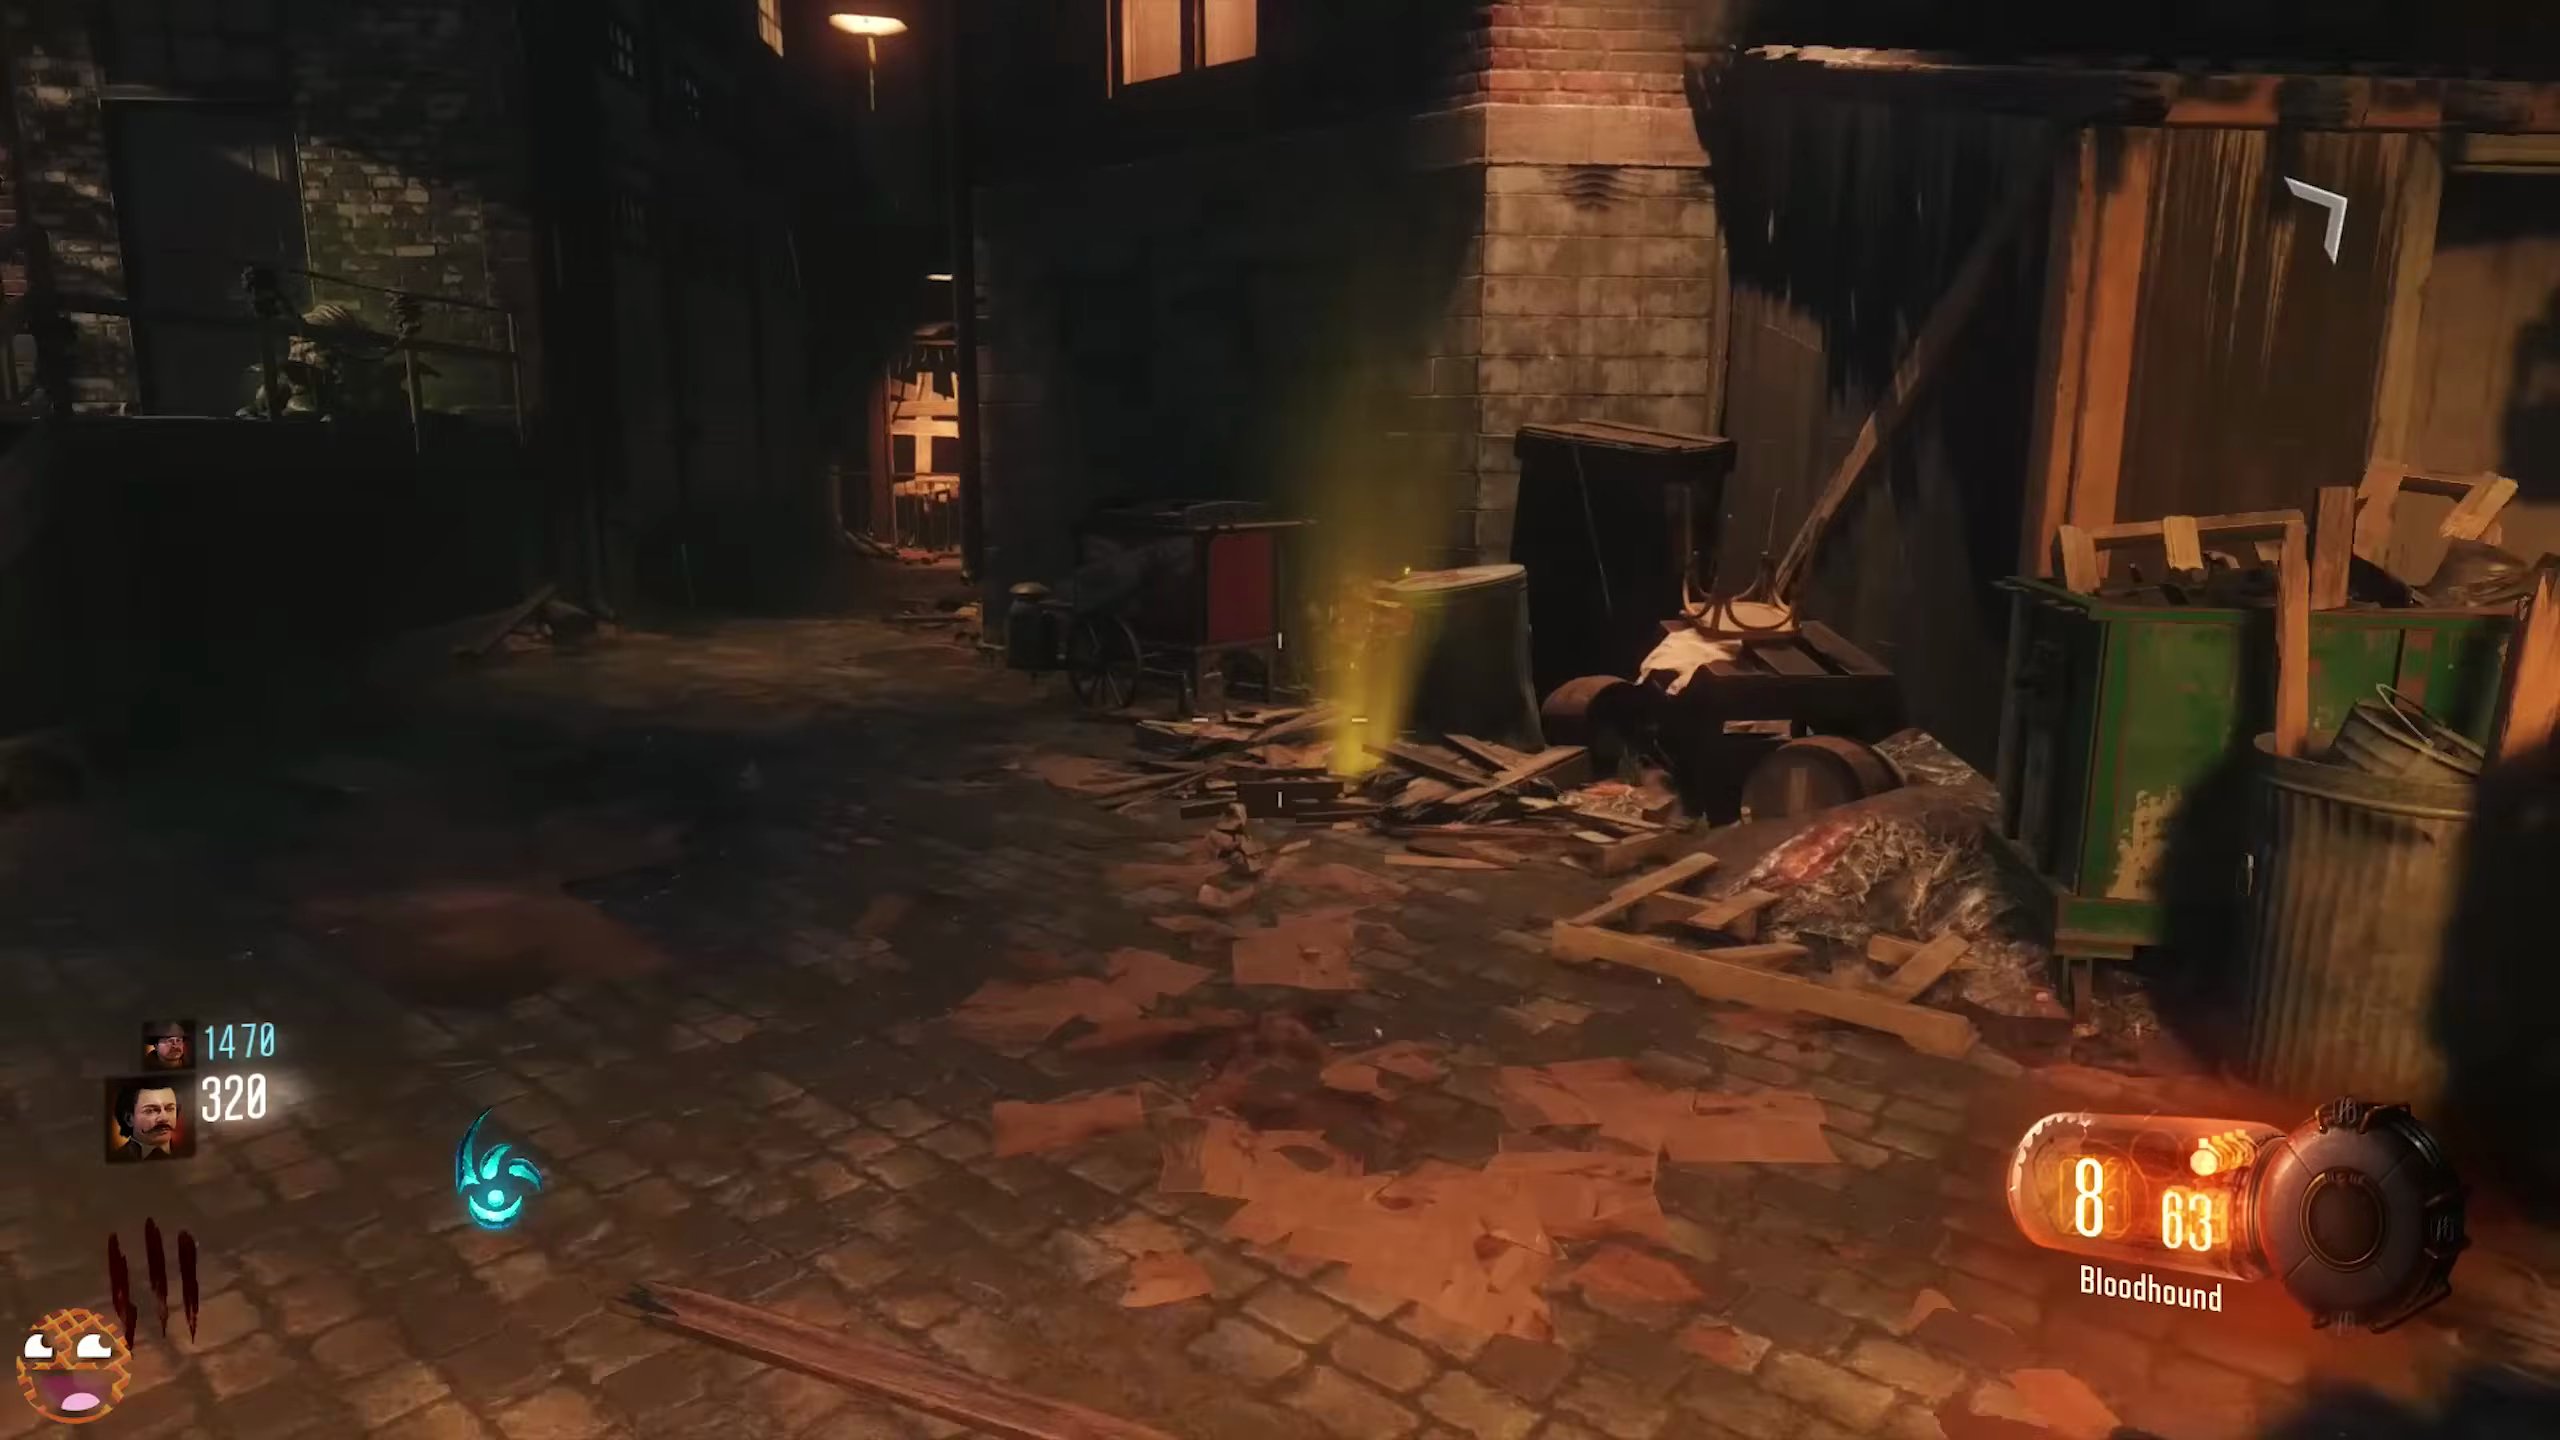
- Revert from Beast Mode and pick up the Championship Belt from the ground.
- Head to The Anvil (boxing ring) in the Waterfront District and place the Championship Belt on the summoning table.
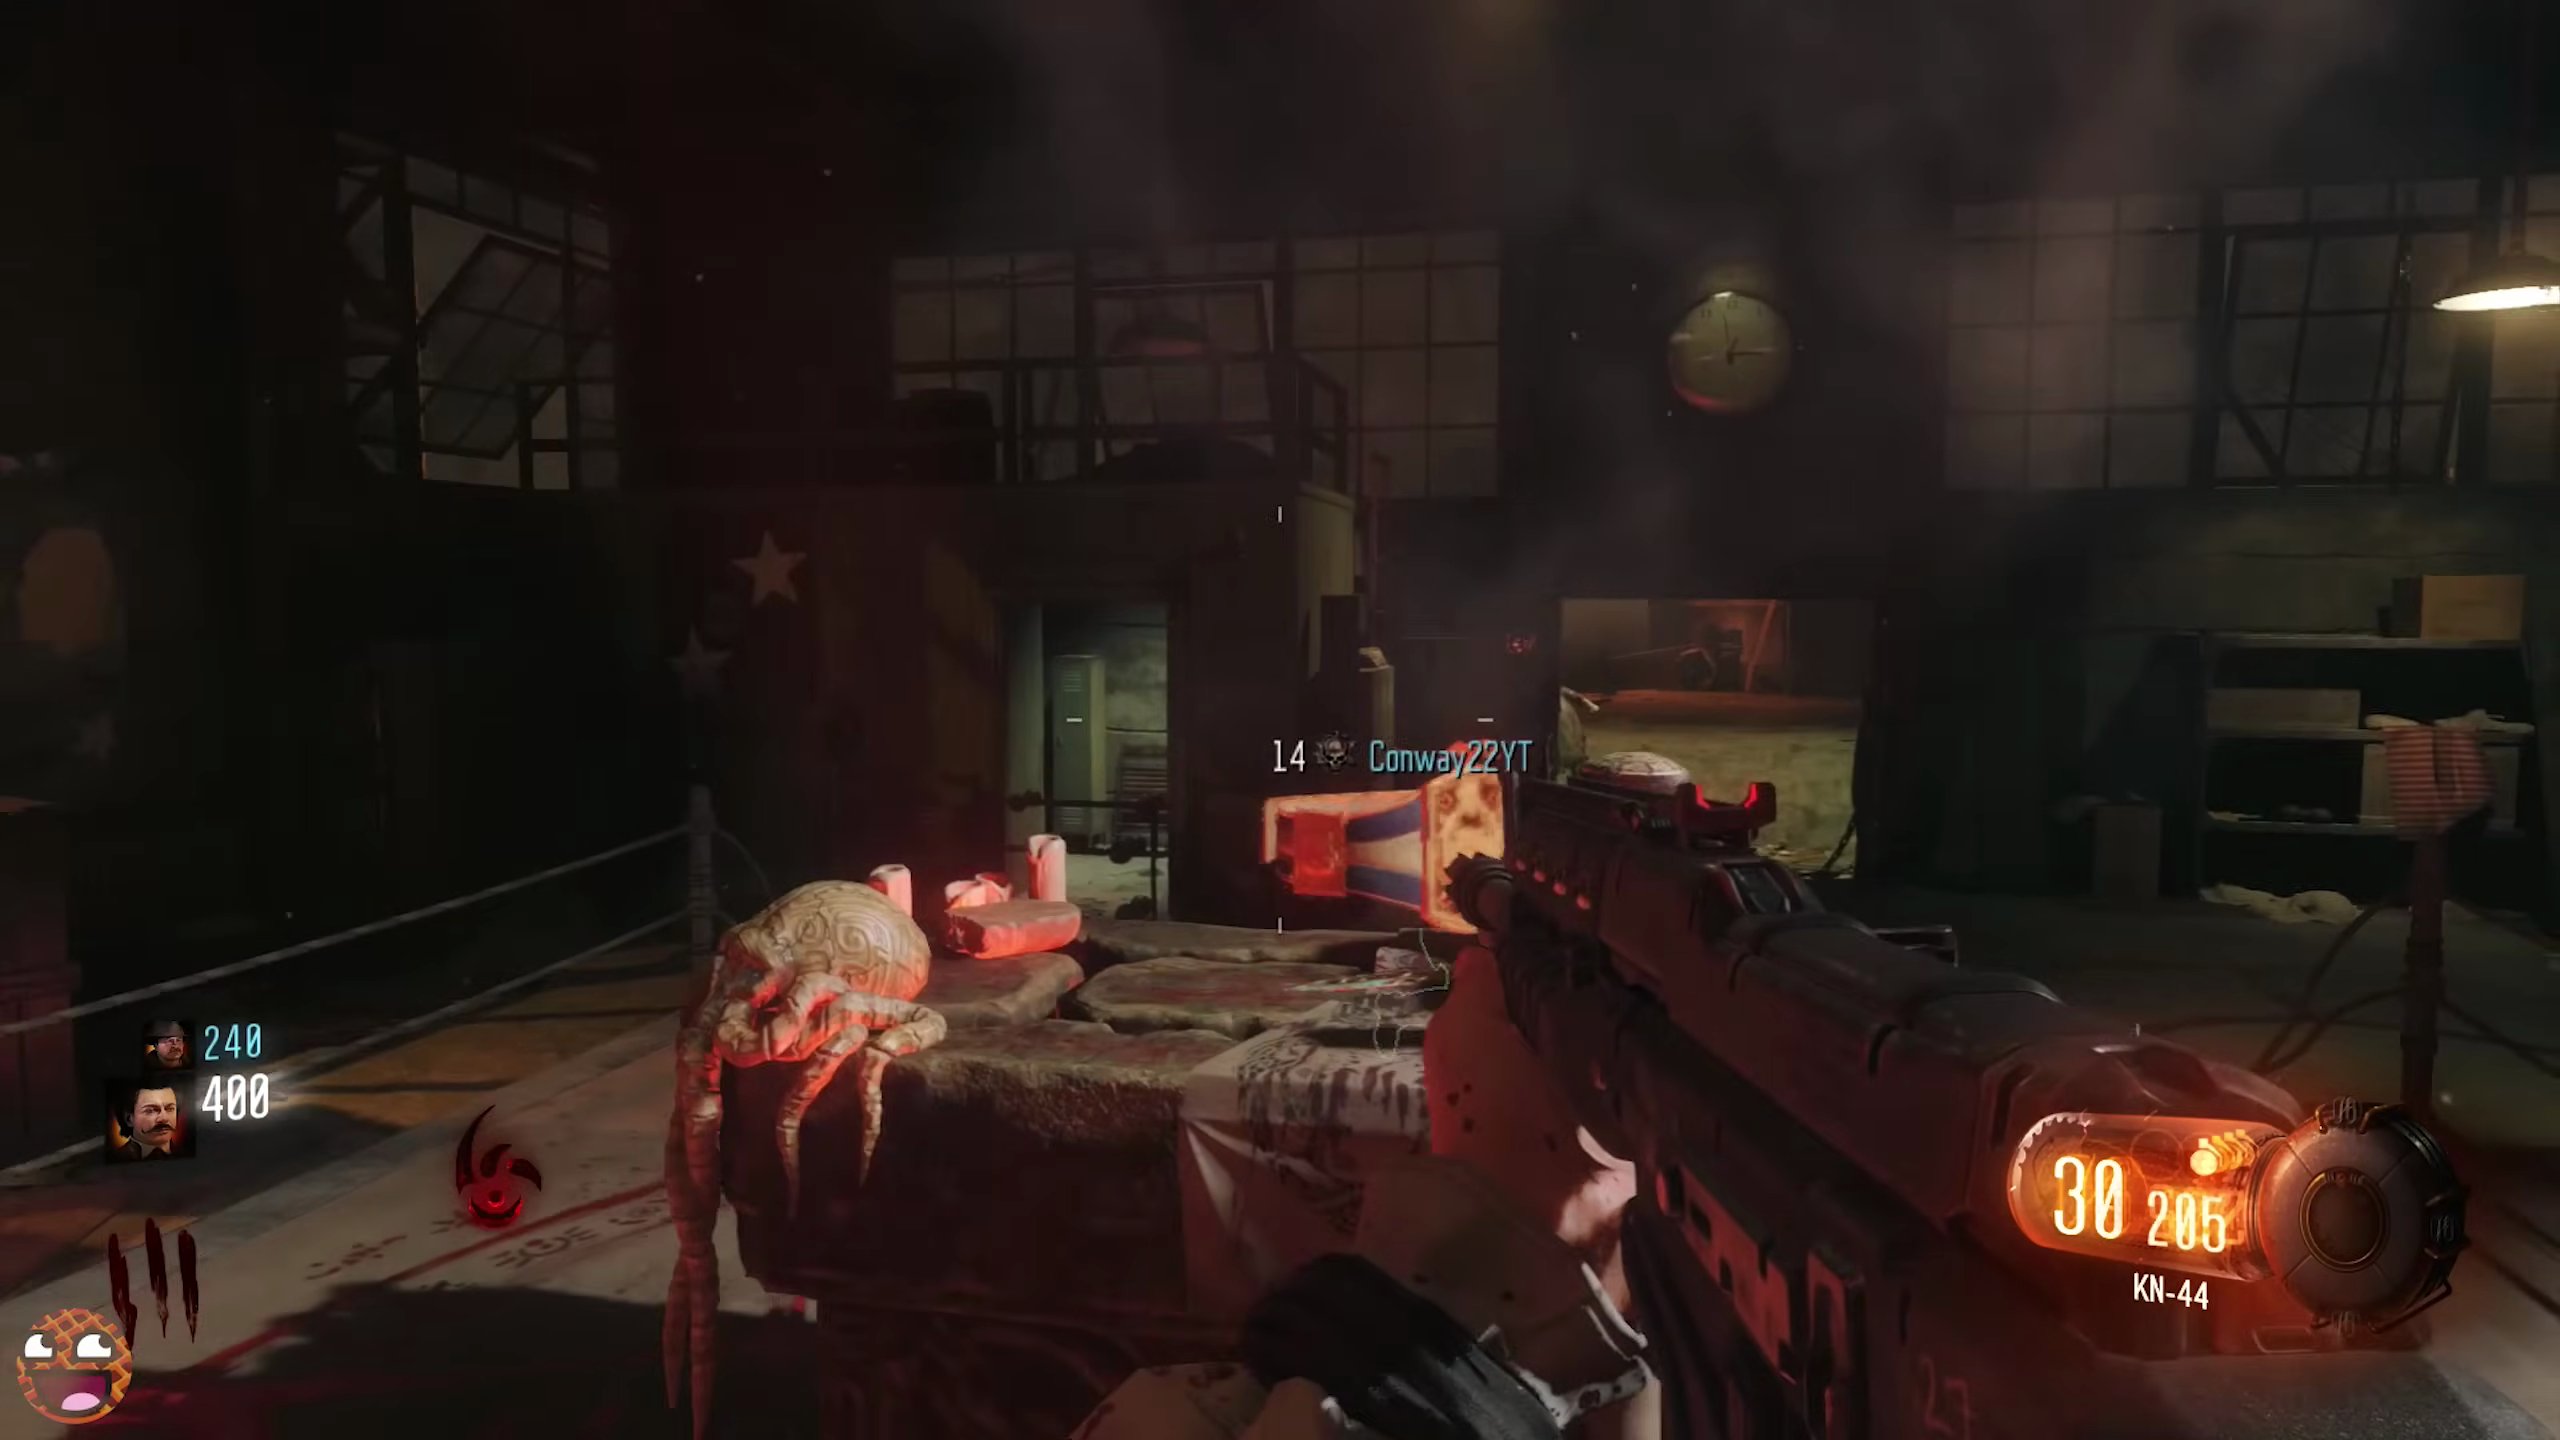
- Hold the action button to begin the ritual.
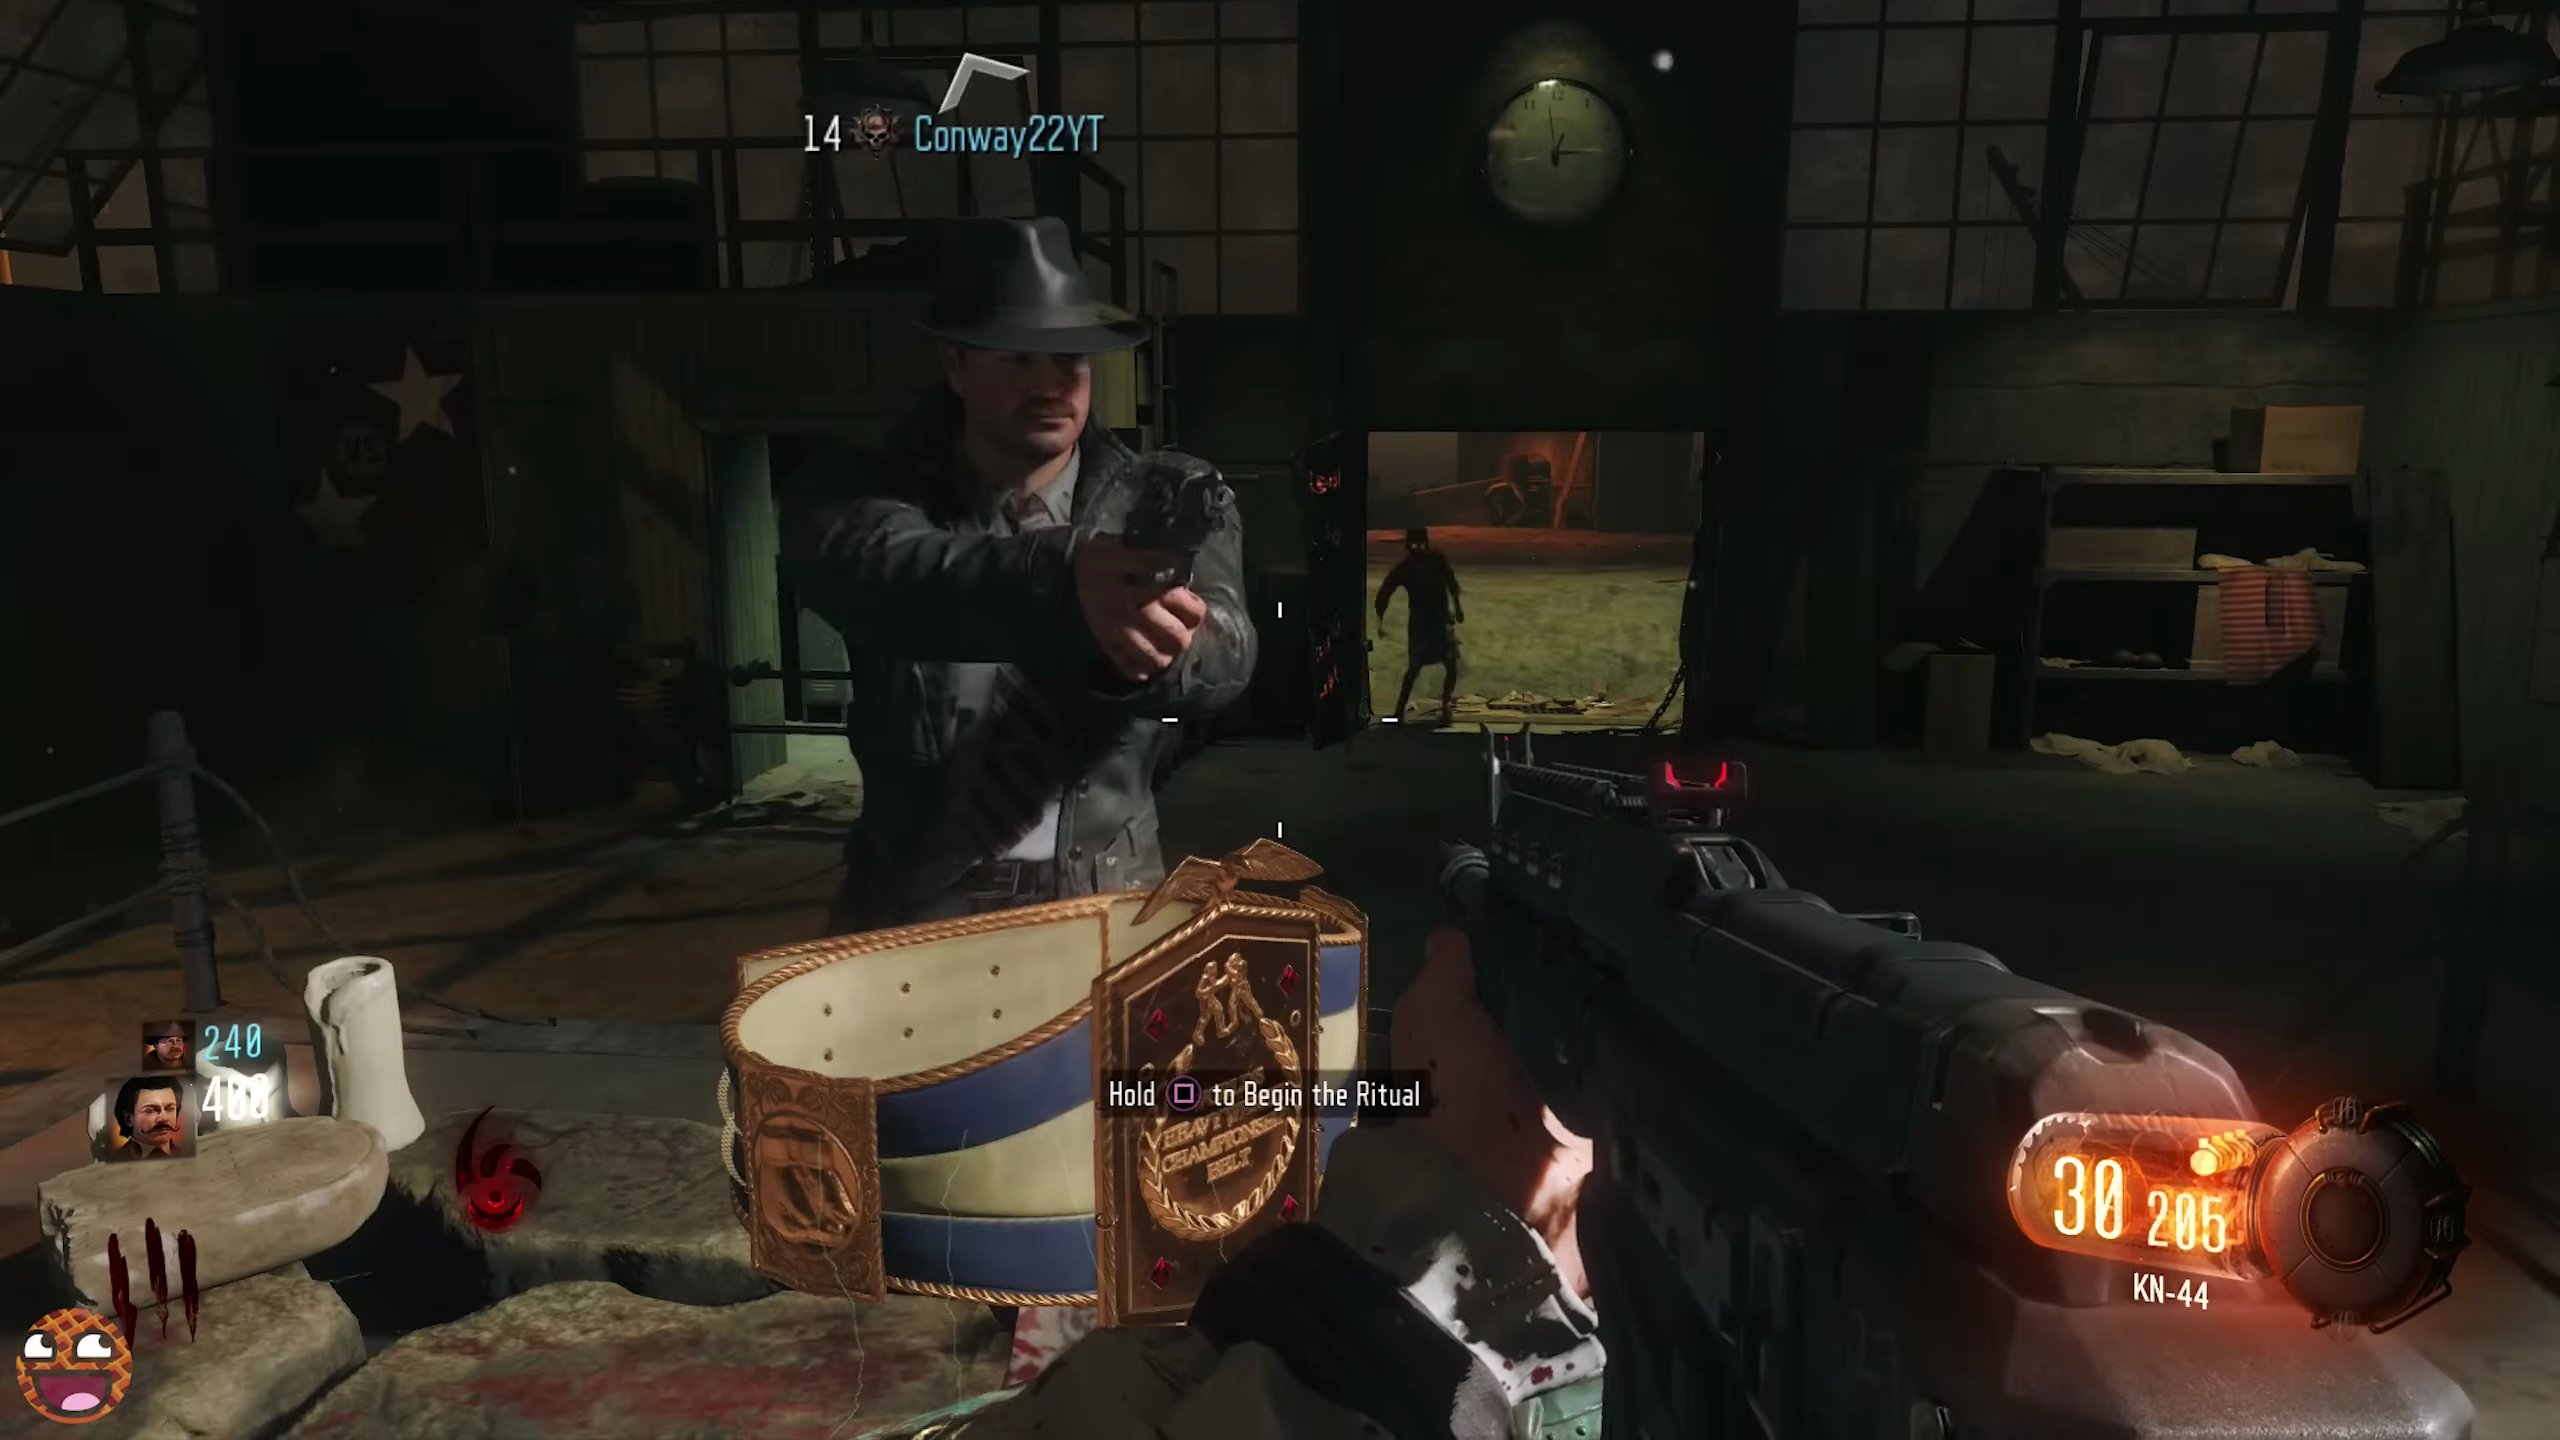
- Survive the Keepers. No Margo will spawn during this ritual.
- Once the ritual is complete, a Gateway Worm will spawn on the table. Collect it.
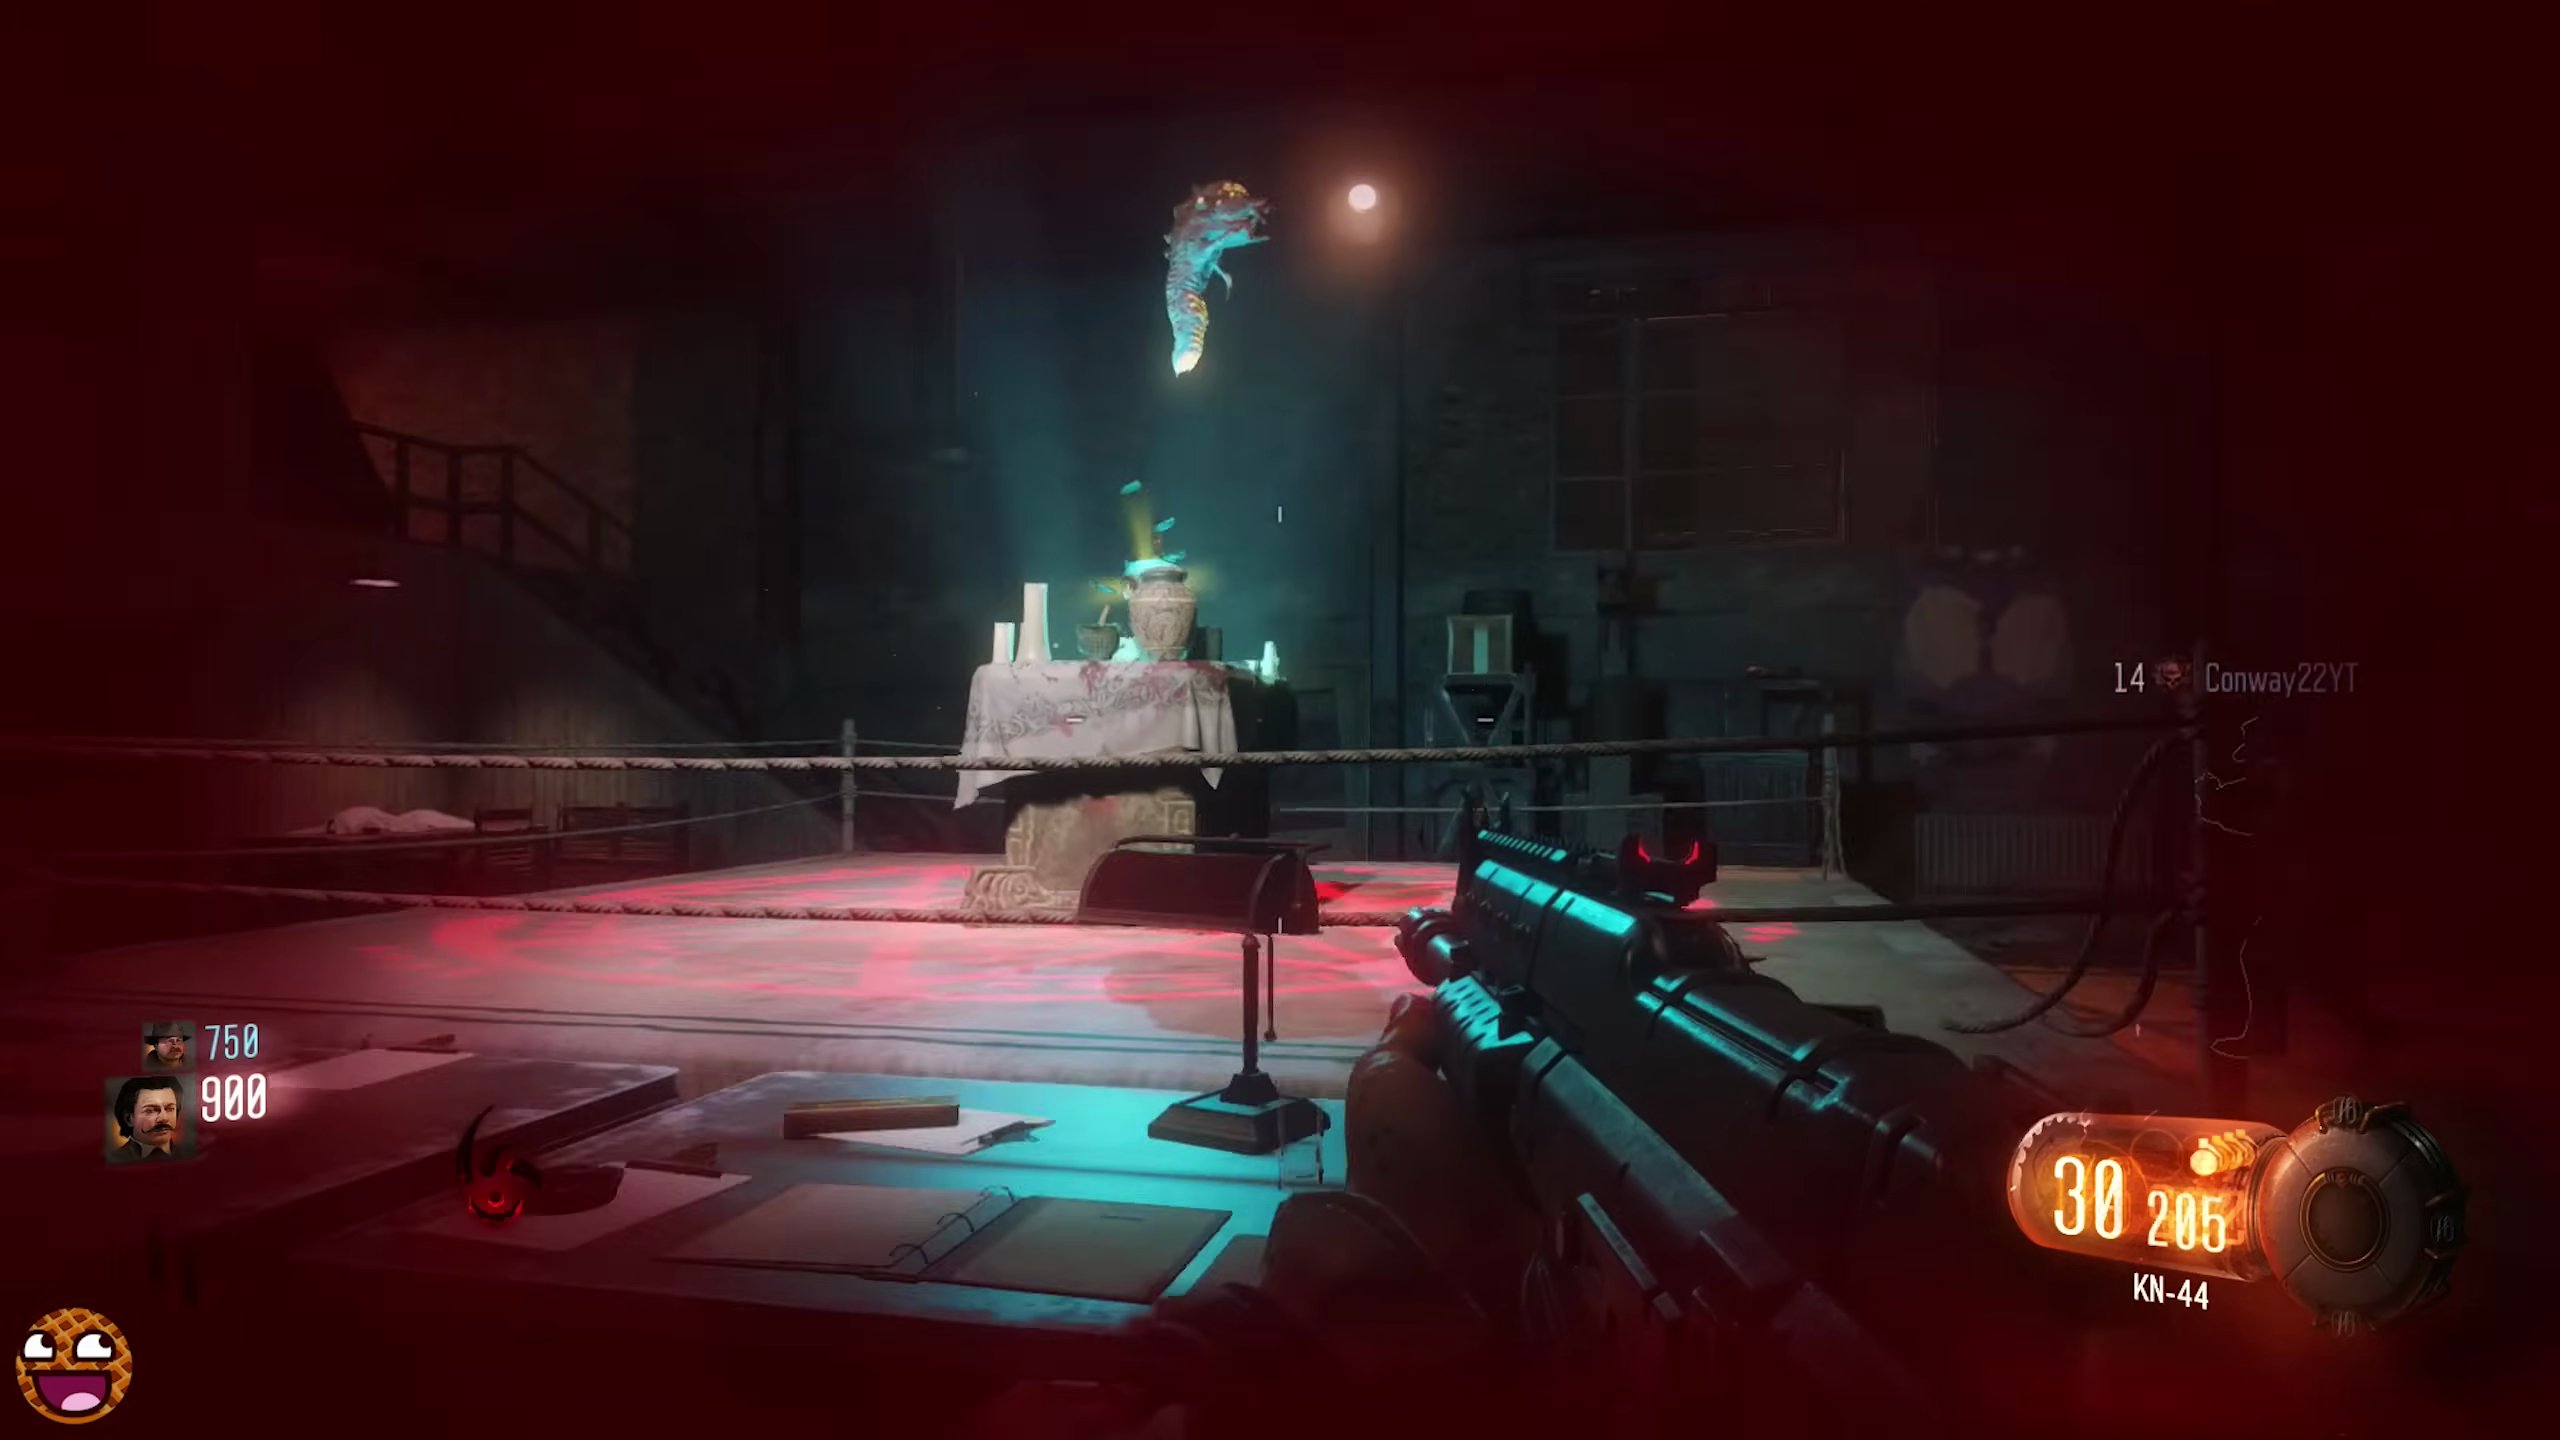
Step 4: Complete Ruby Rabbit Ritual
- Finally, you need the Detective's Badge. Head to the Canal area, near the Ruby Rabbit. [SCREENSHOT:03:36]
- Activate Beast Mode.
- Locate the broken box on the right of the portal. Zap the generator nearby and then break this box to reveal the badge.
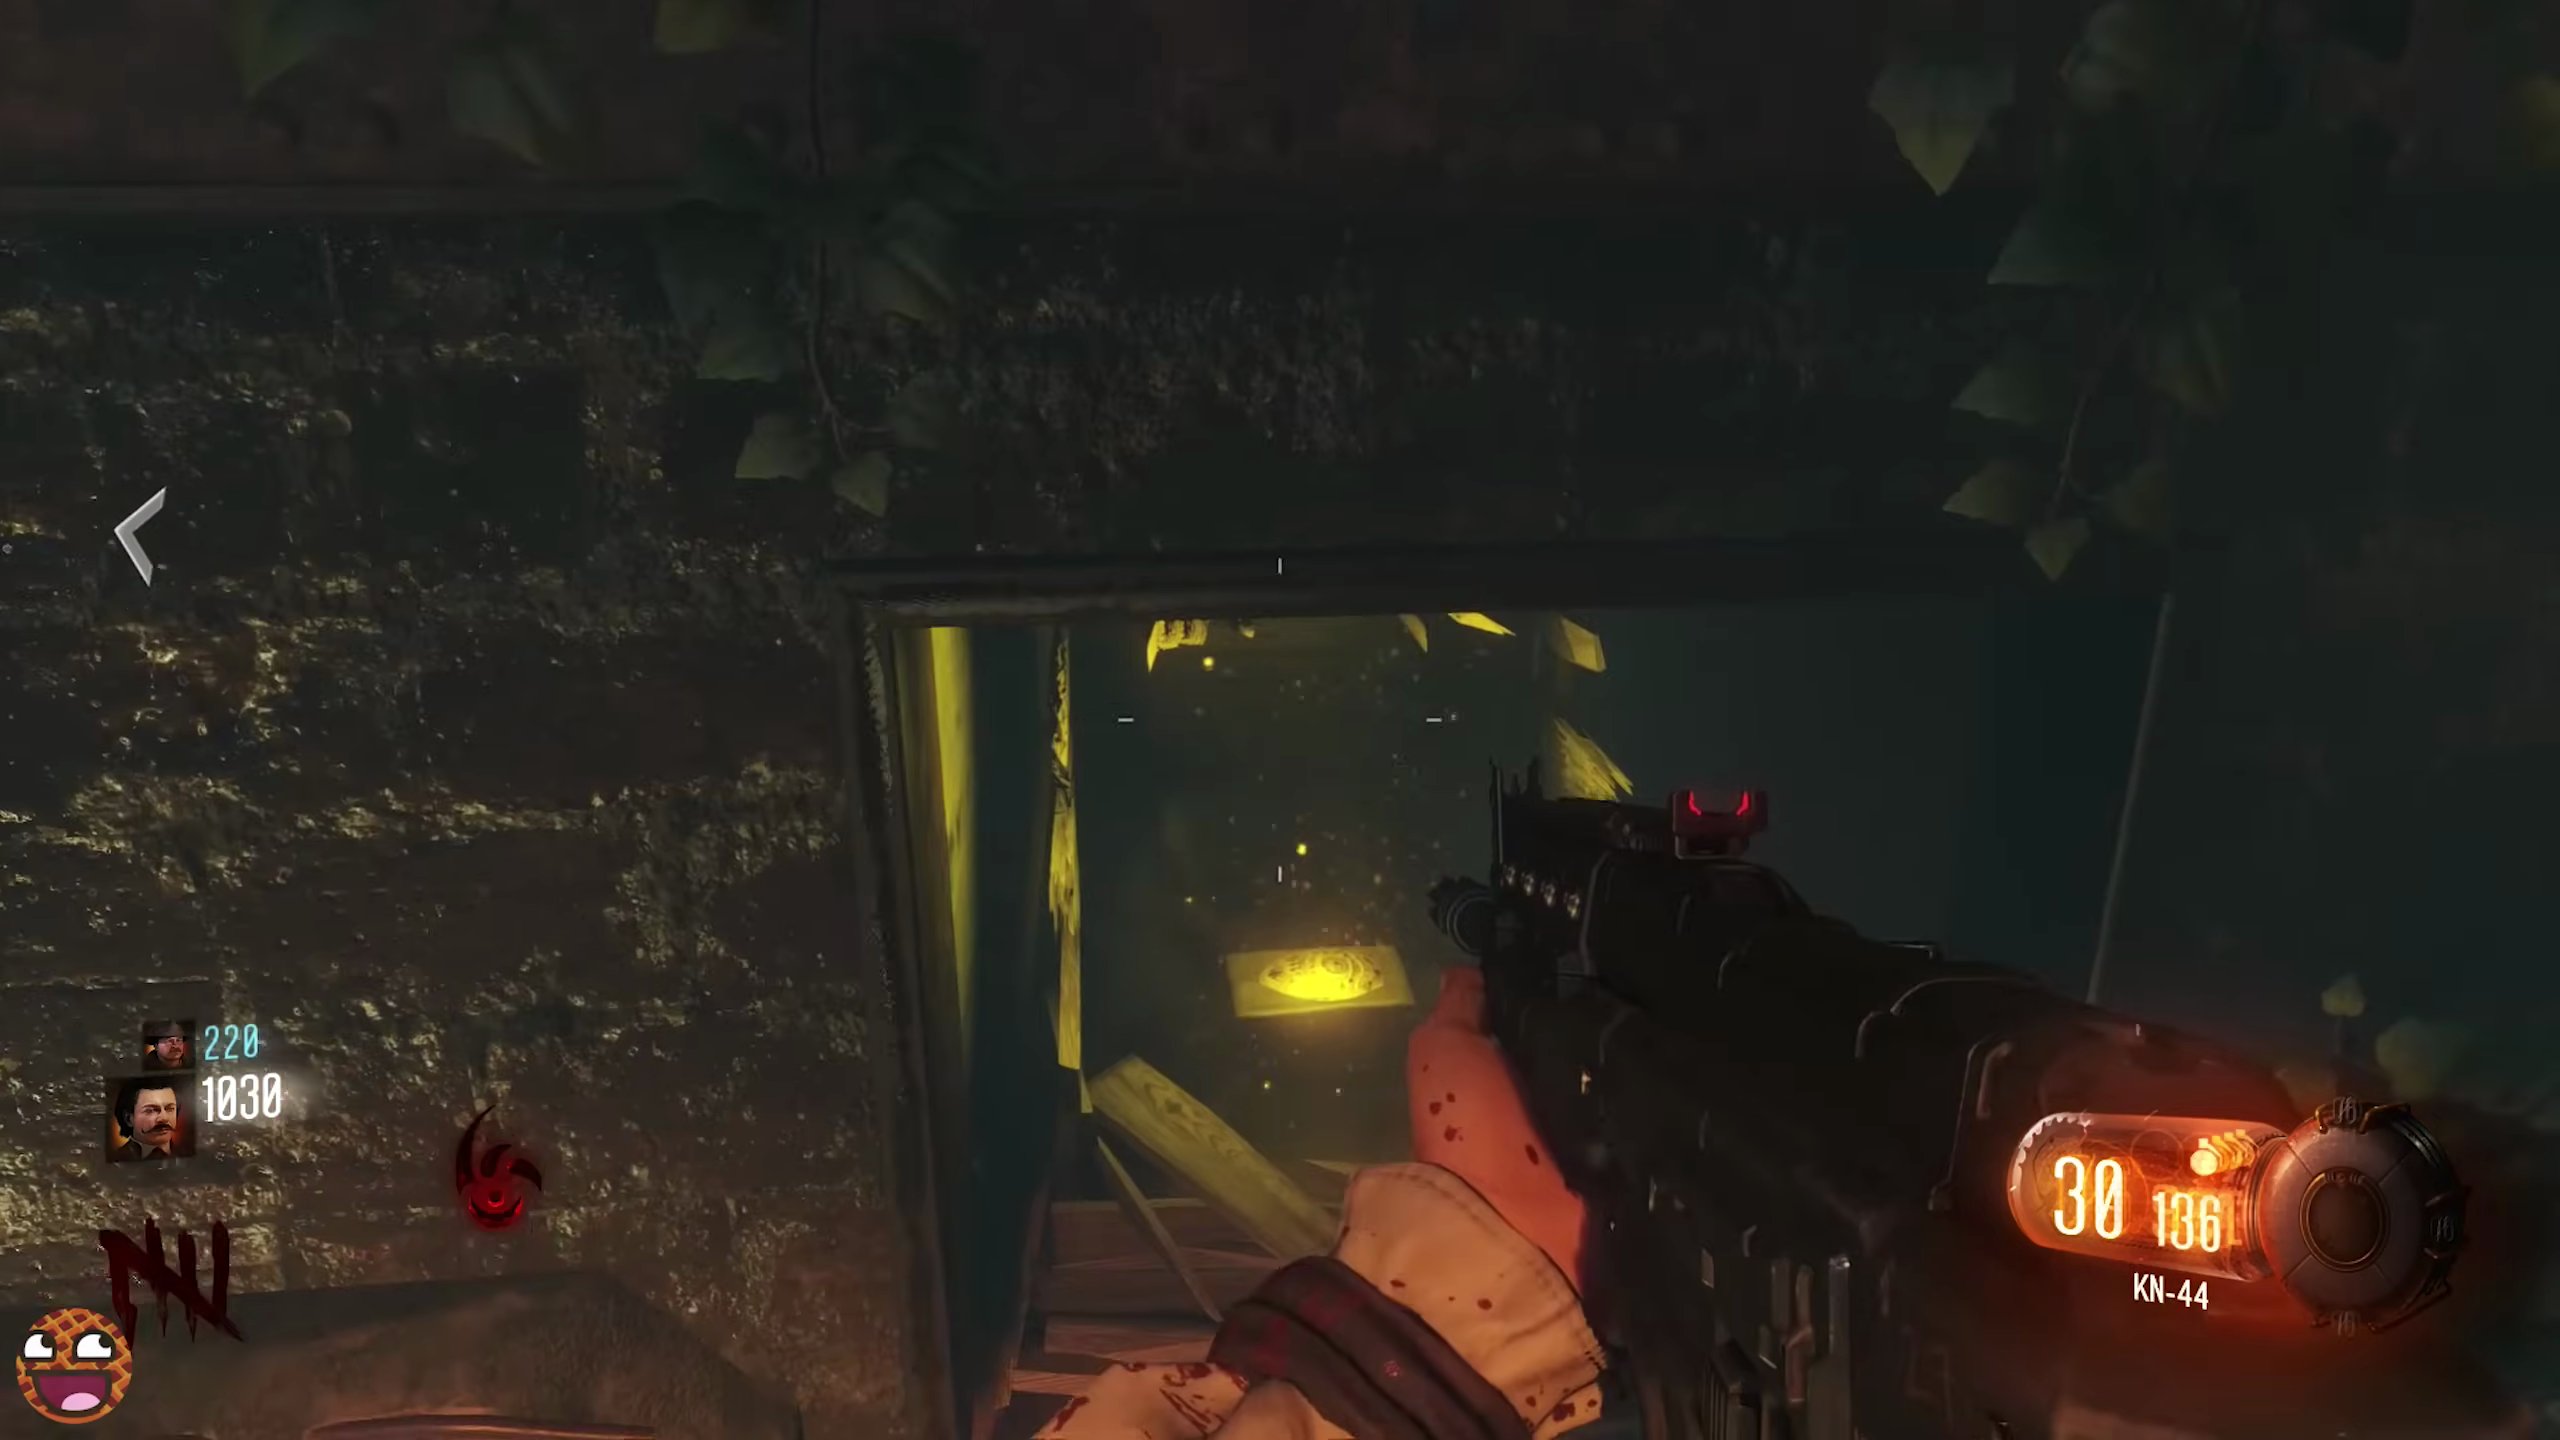
- Revert from Beast Mode and pick up the Detective's Badge. [SCREENSHOT:03:43]
- Head to the Ruby Rabbit and place the Detective's Badge on the summoning table.
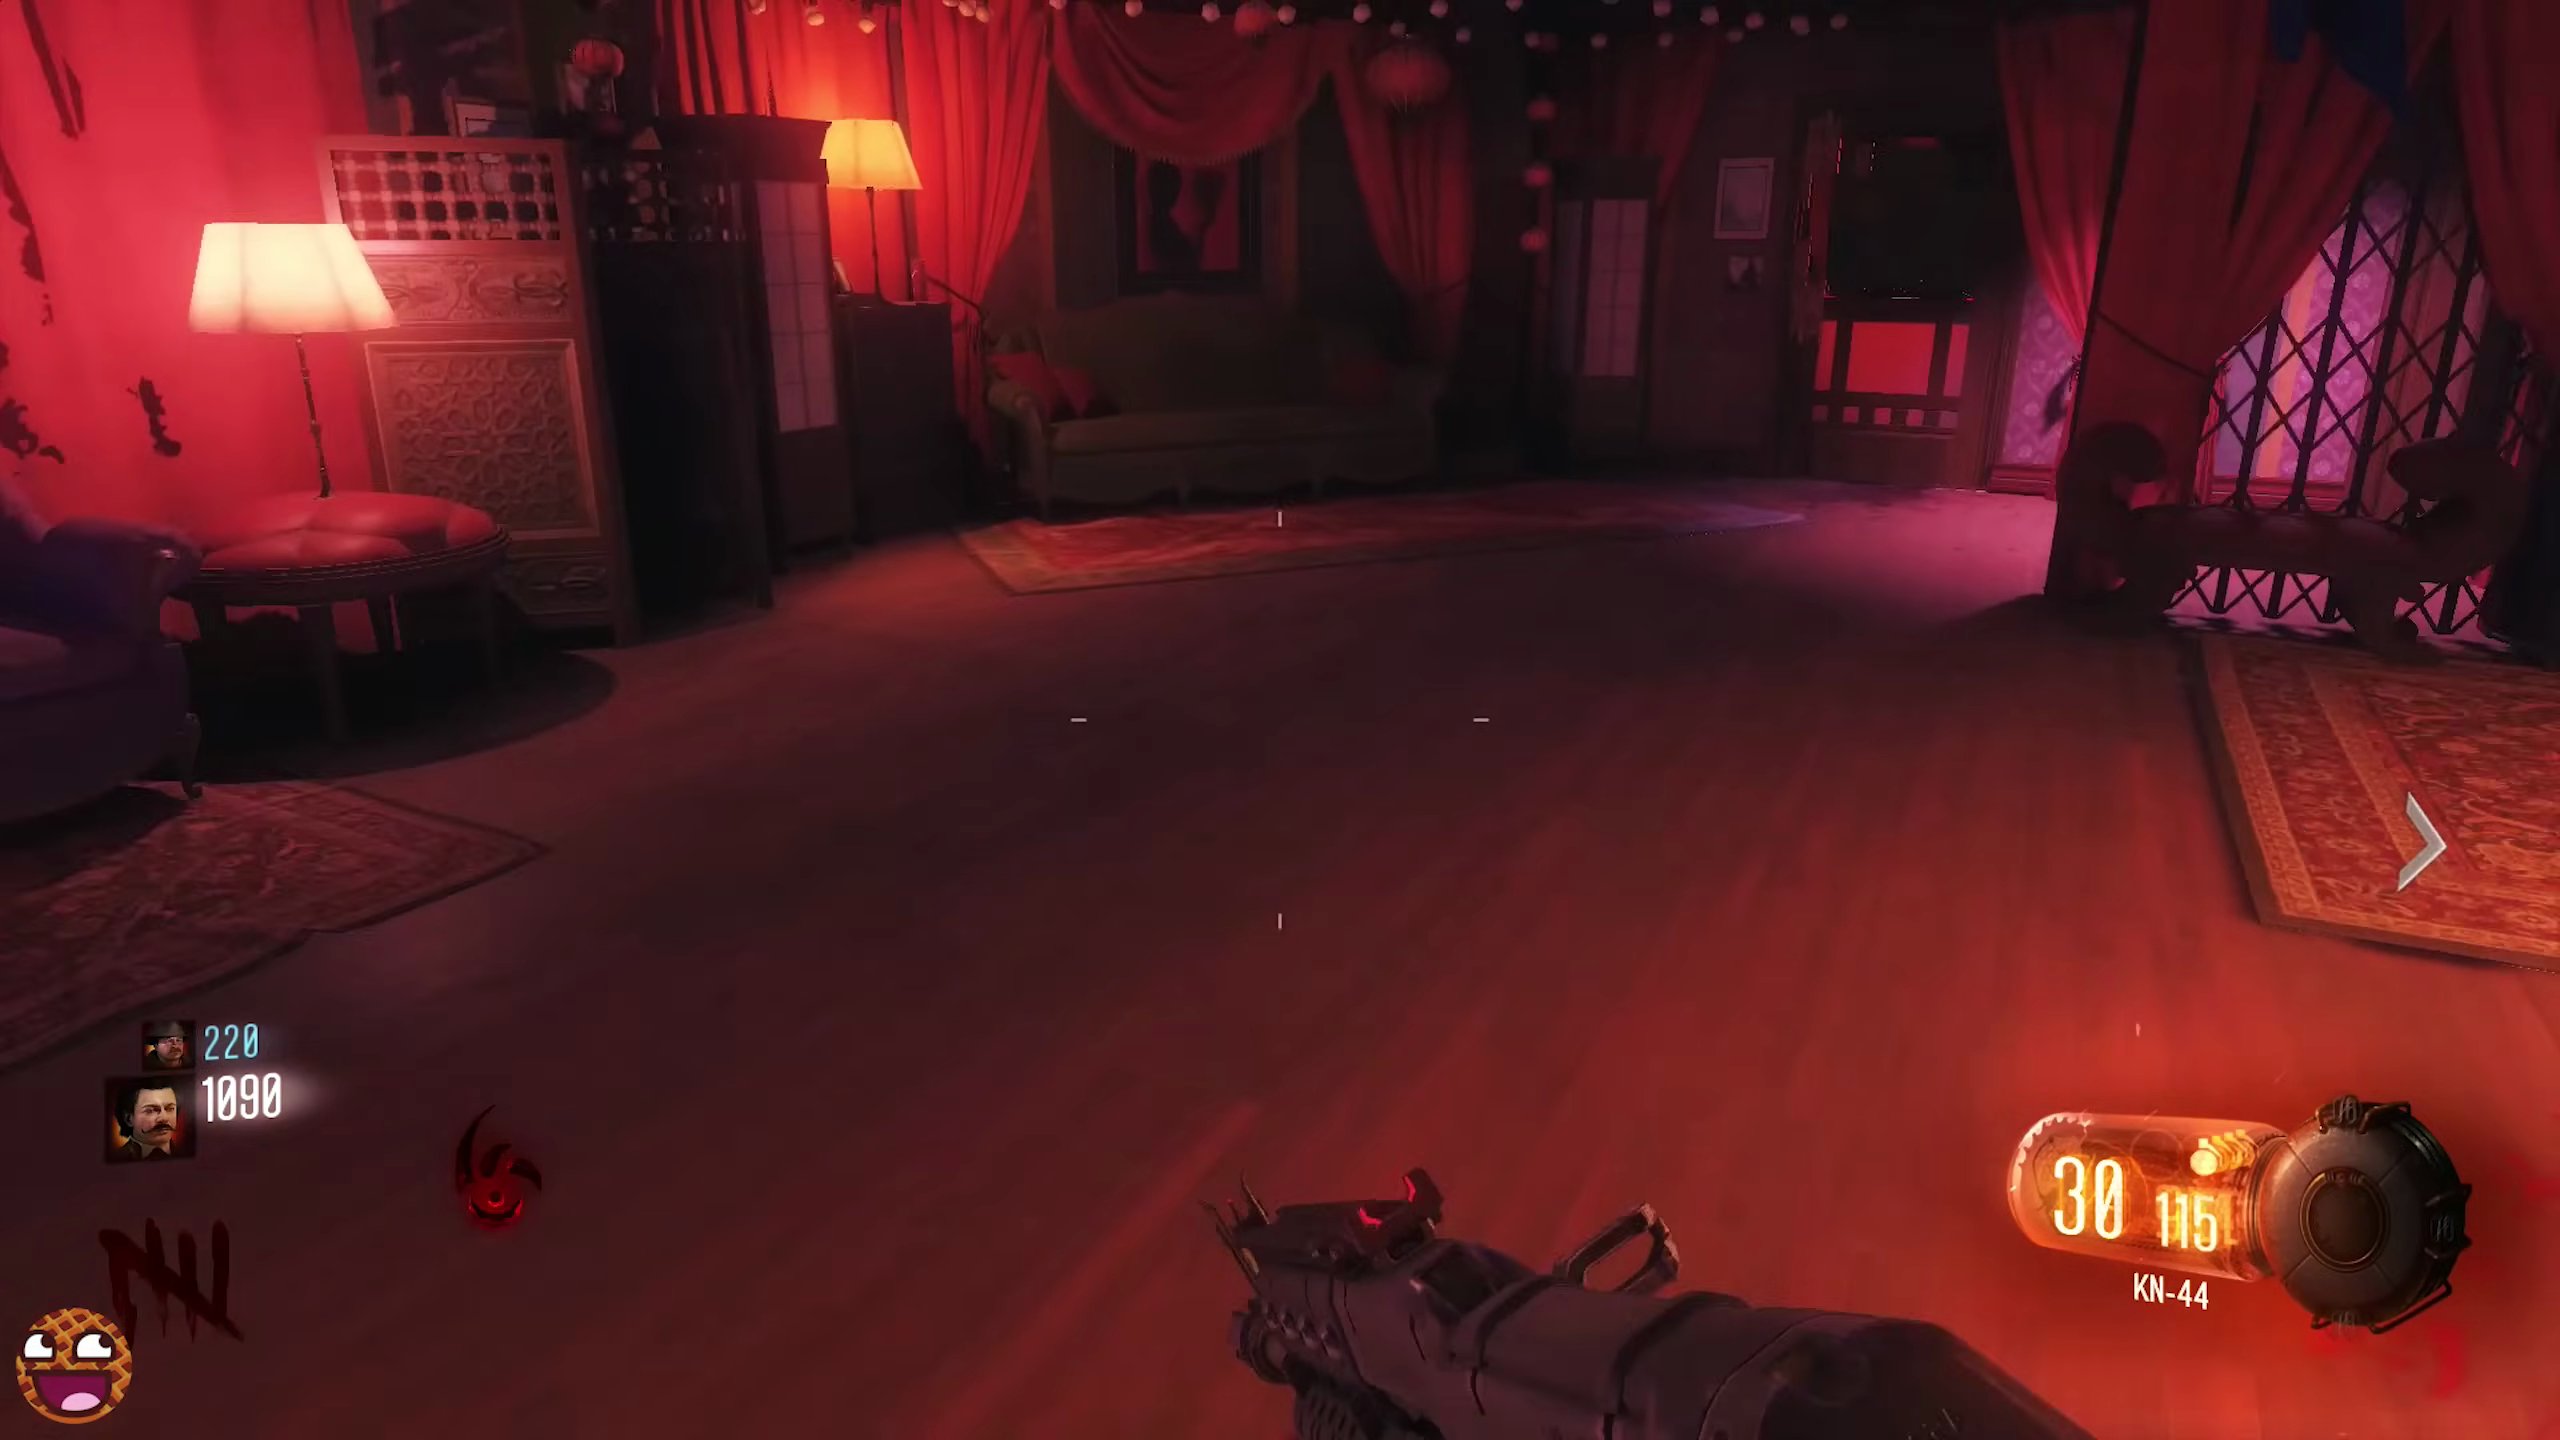
- Hold the action button to begin the ritual.
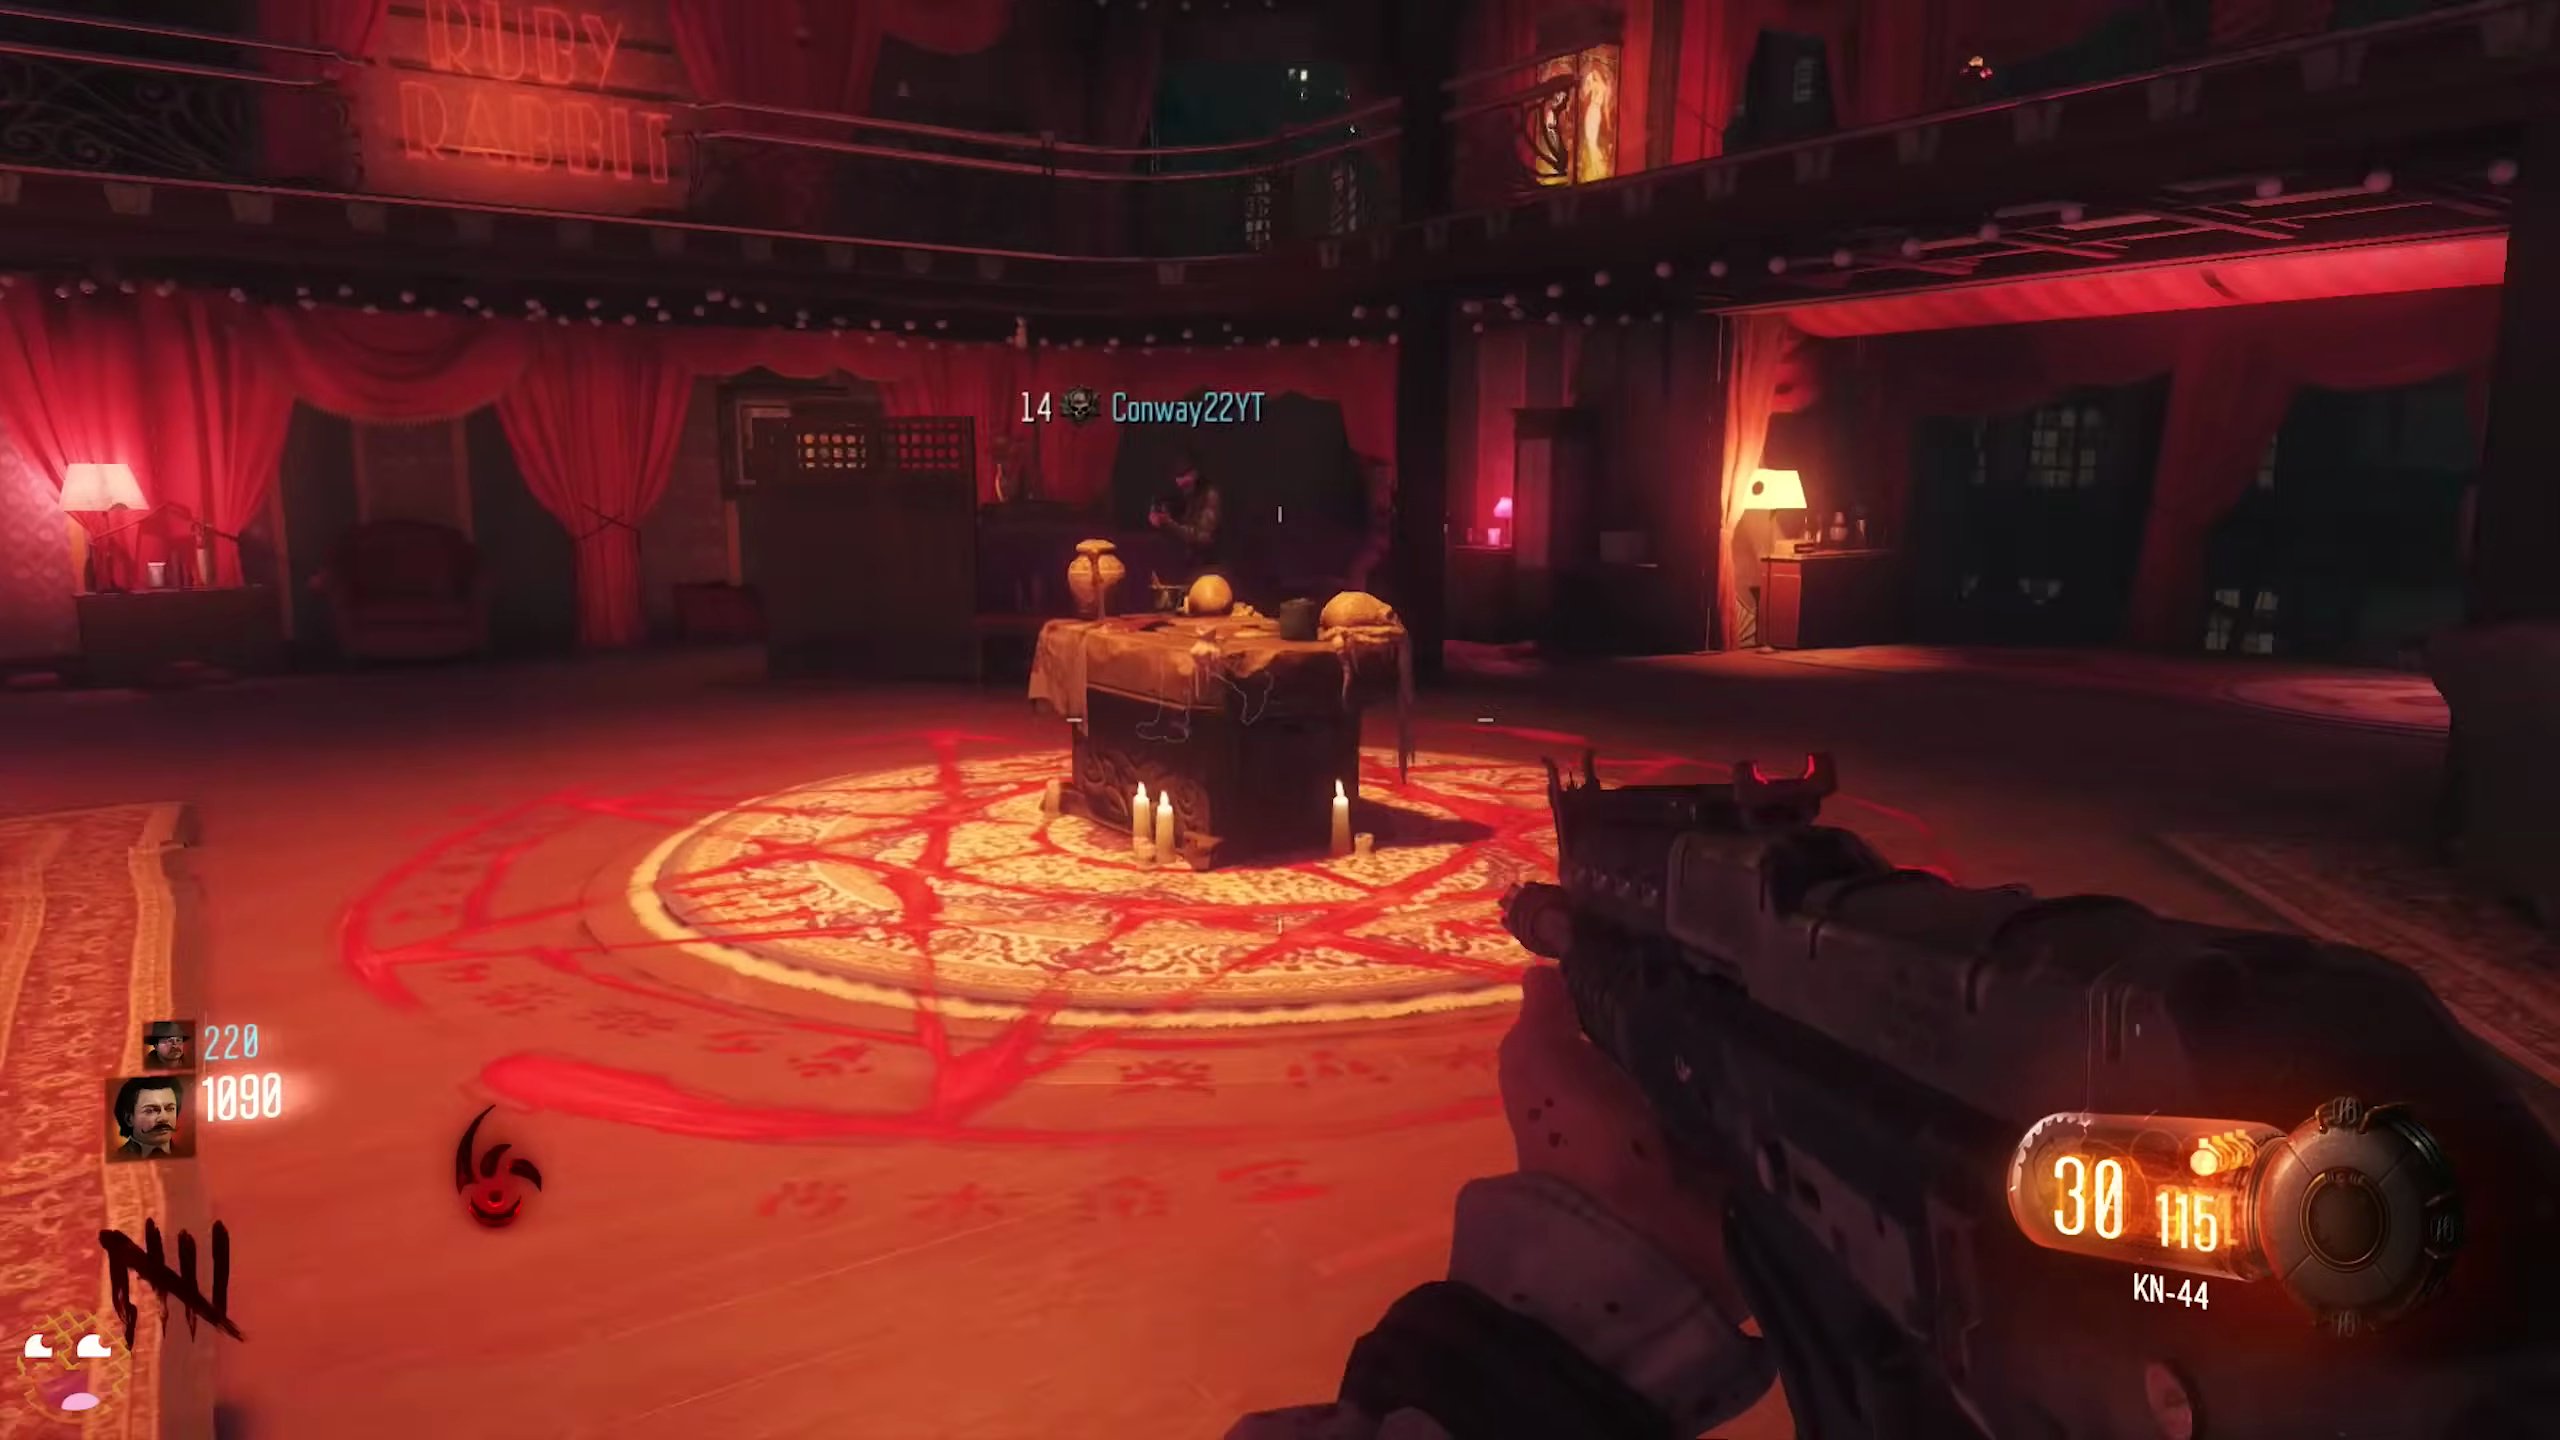
- Survive the Keepers and a Margo that will spawn. You do not need to kill them, but you can if necessary to survive.
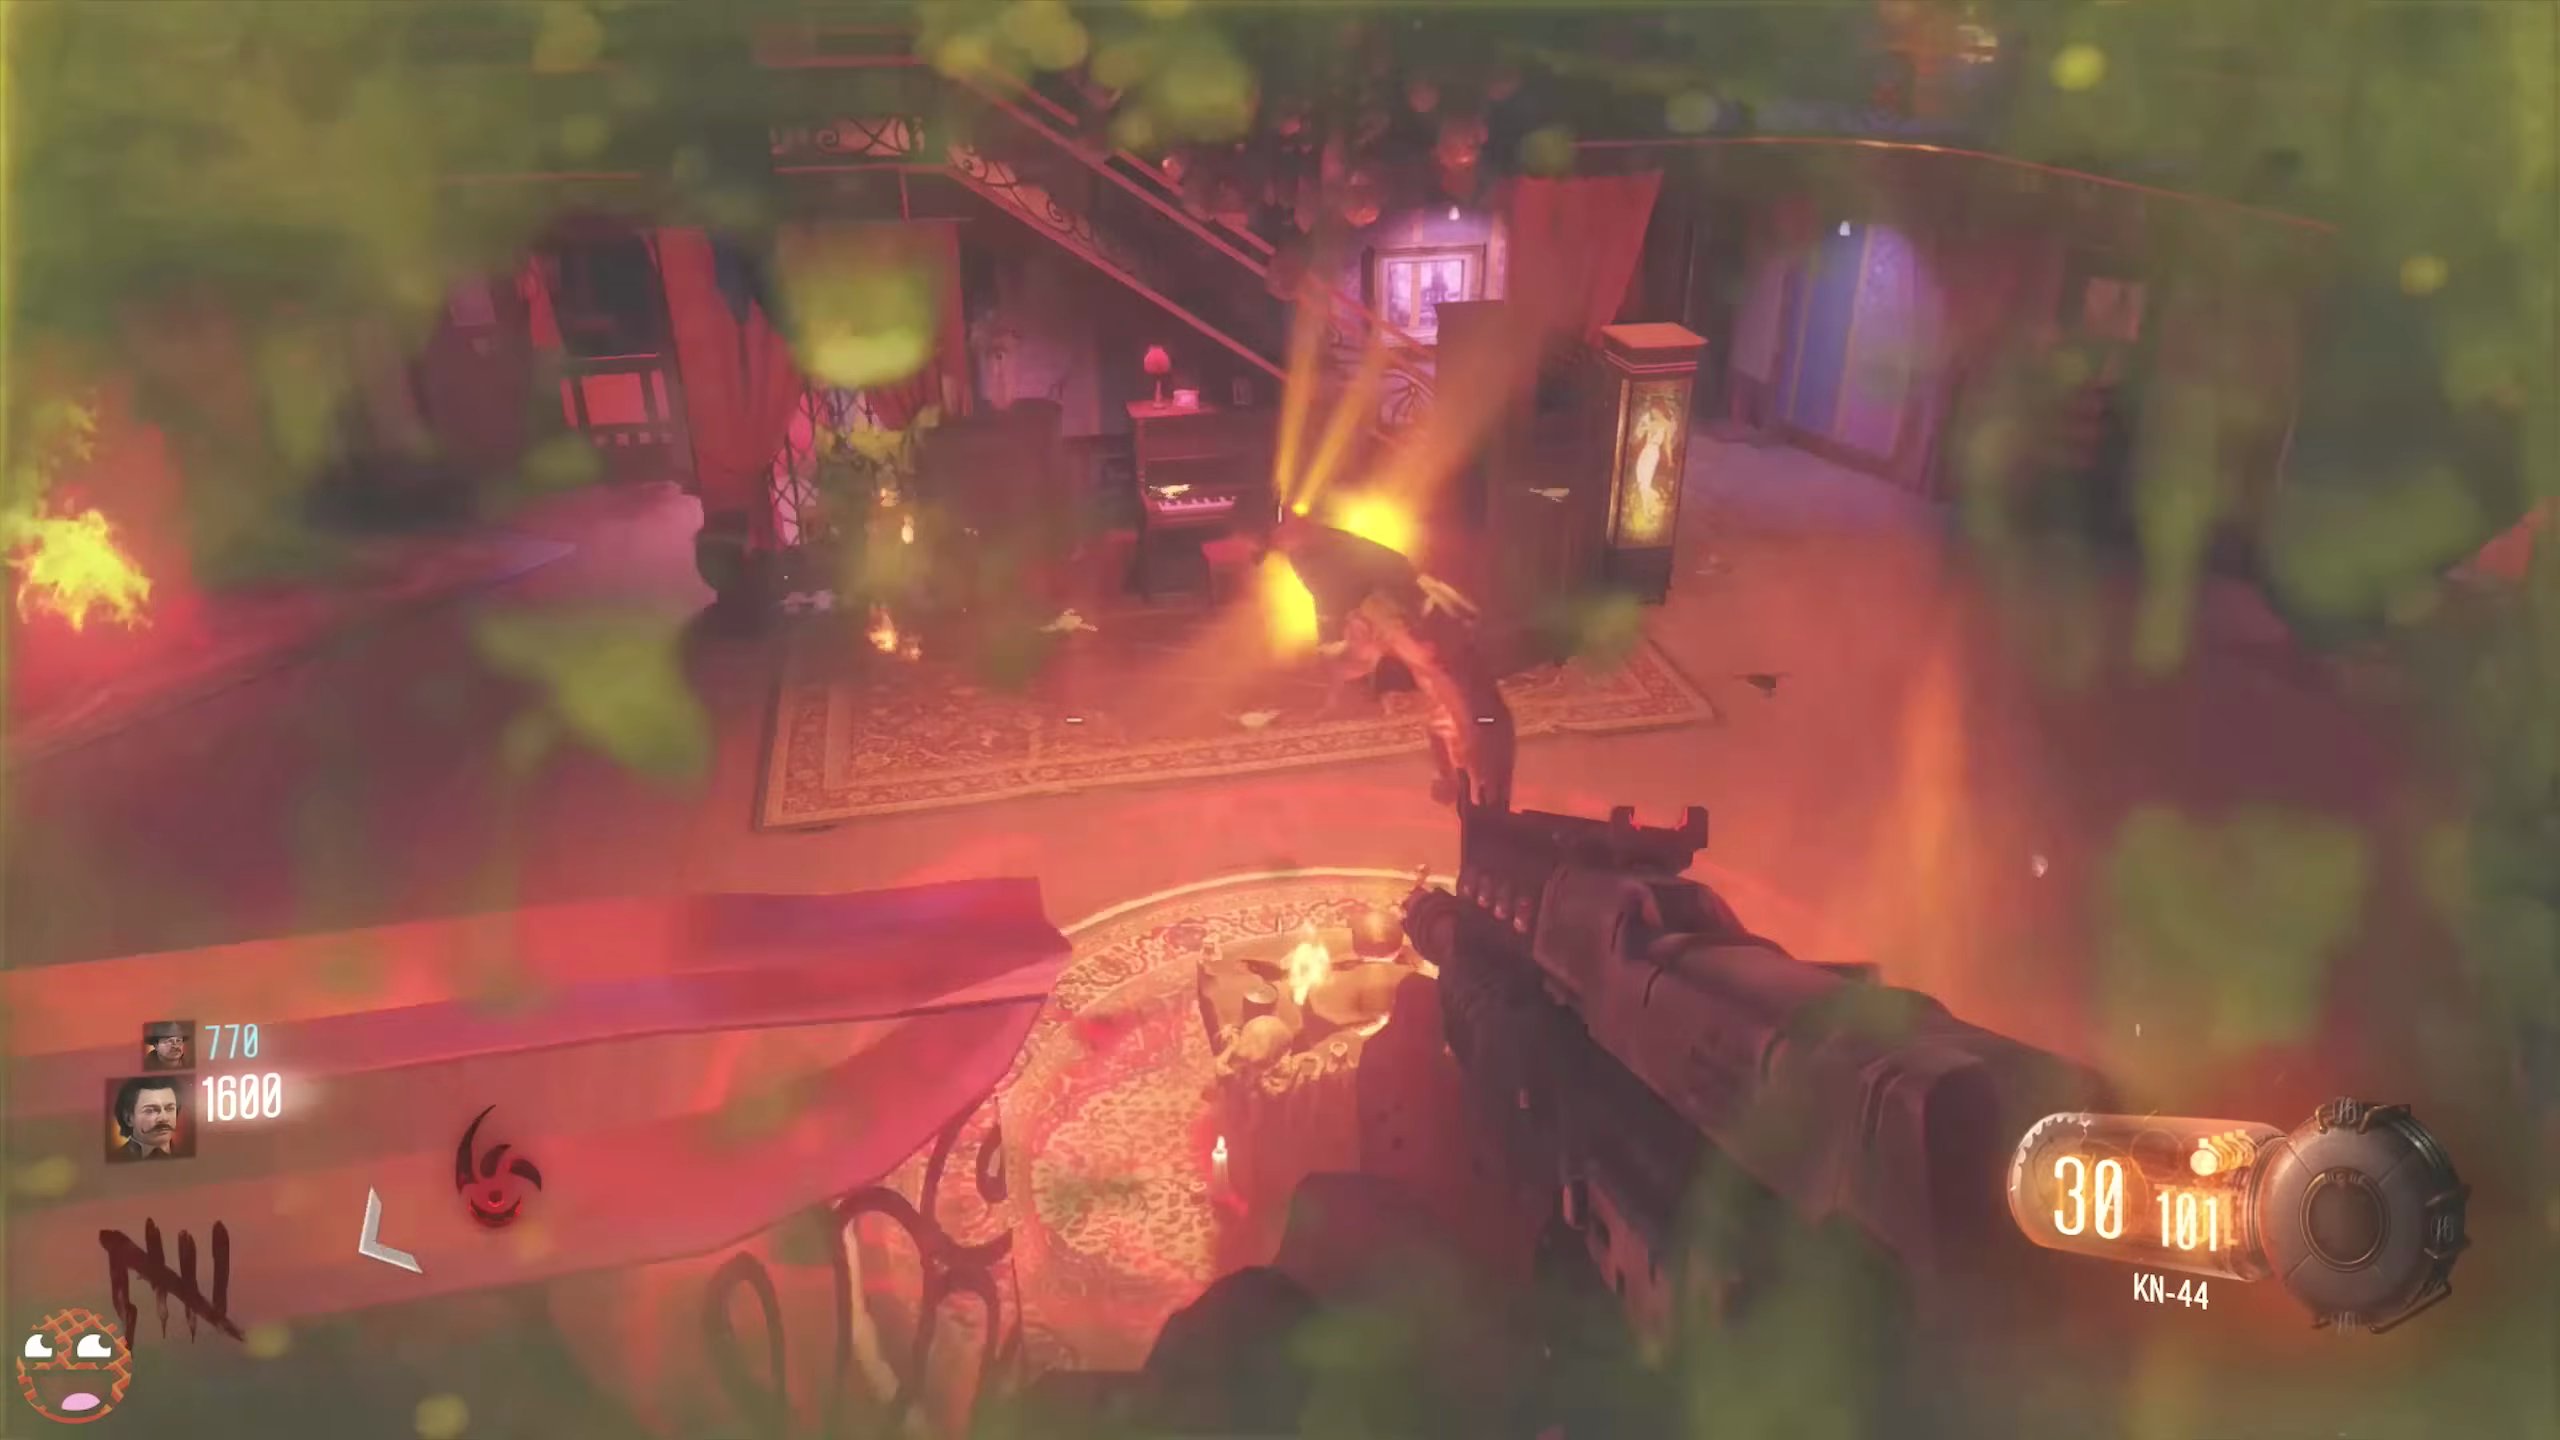
- Once the ritual is complete, a Gateway Worm will spawn on the table. Collect it.
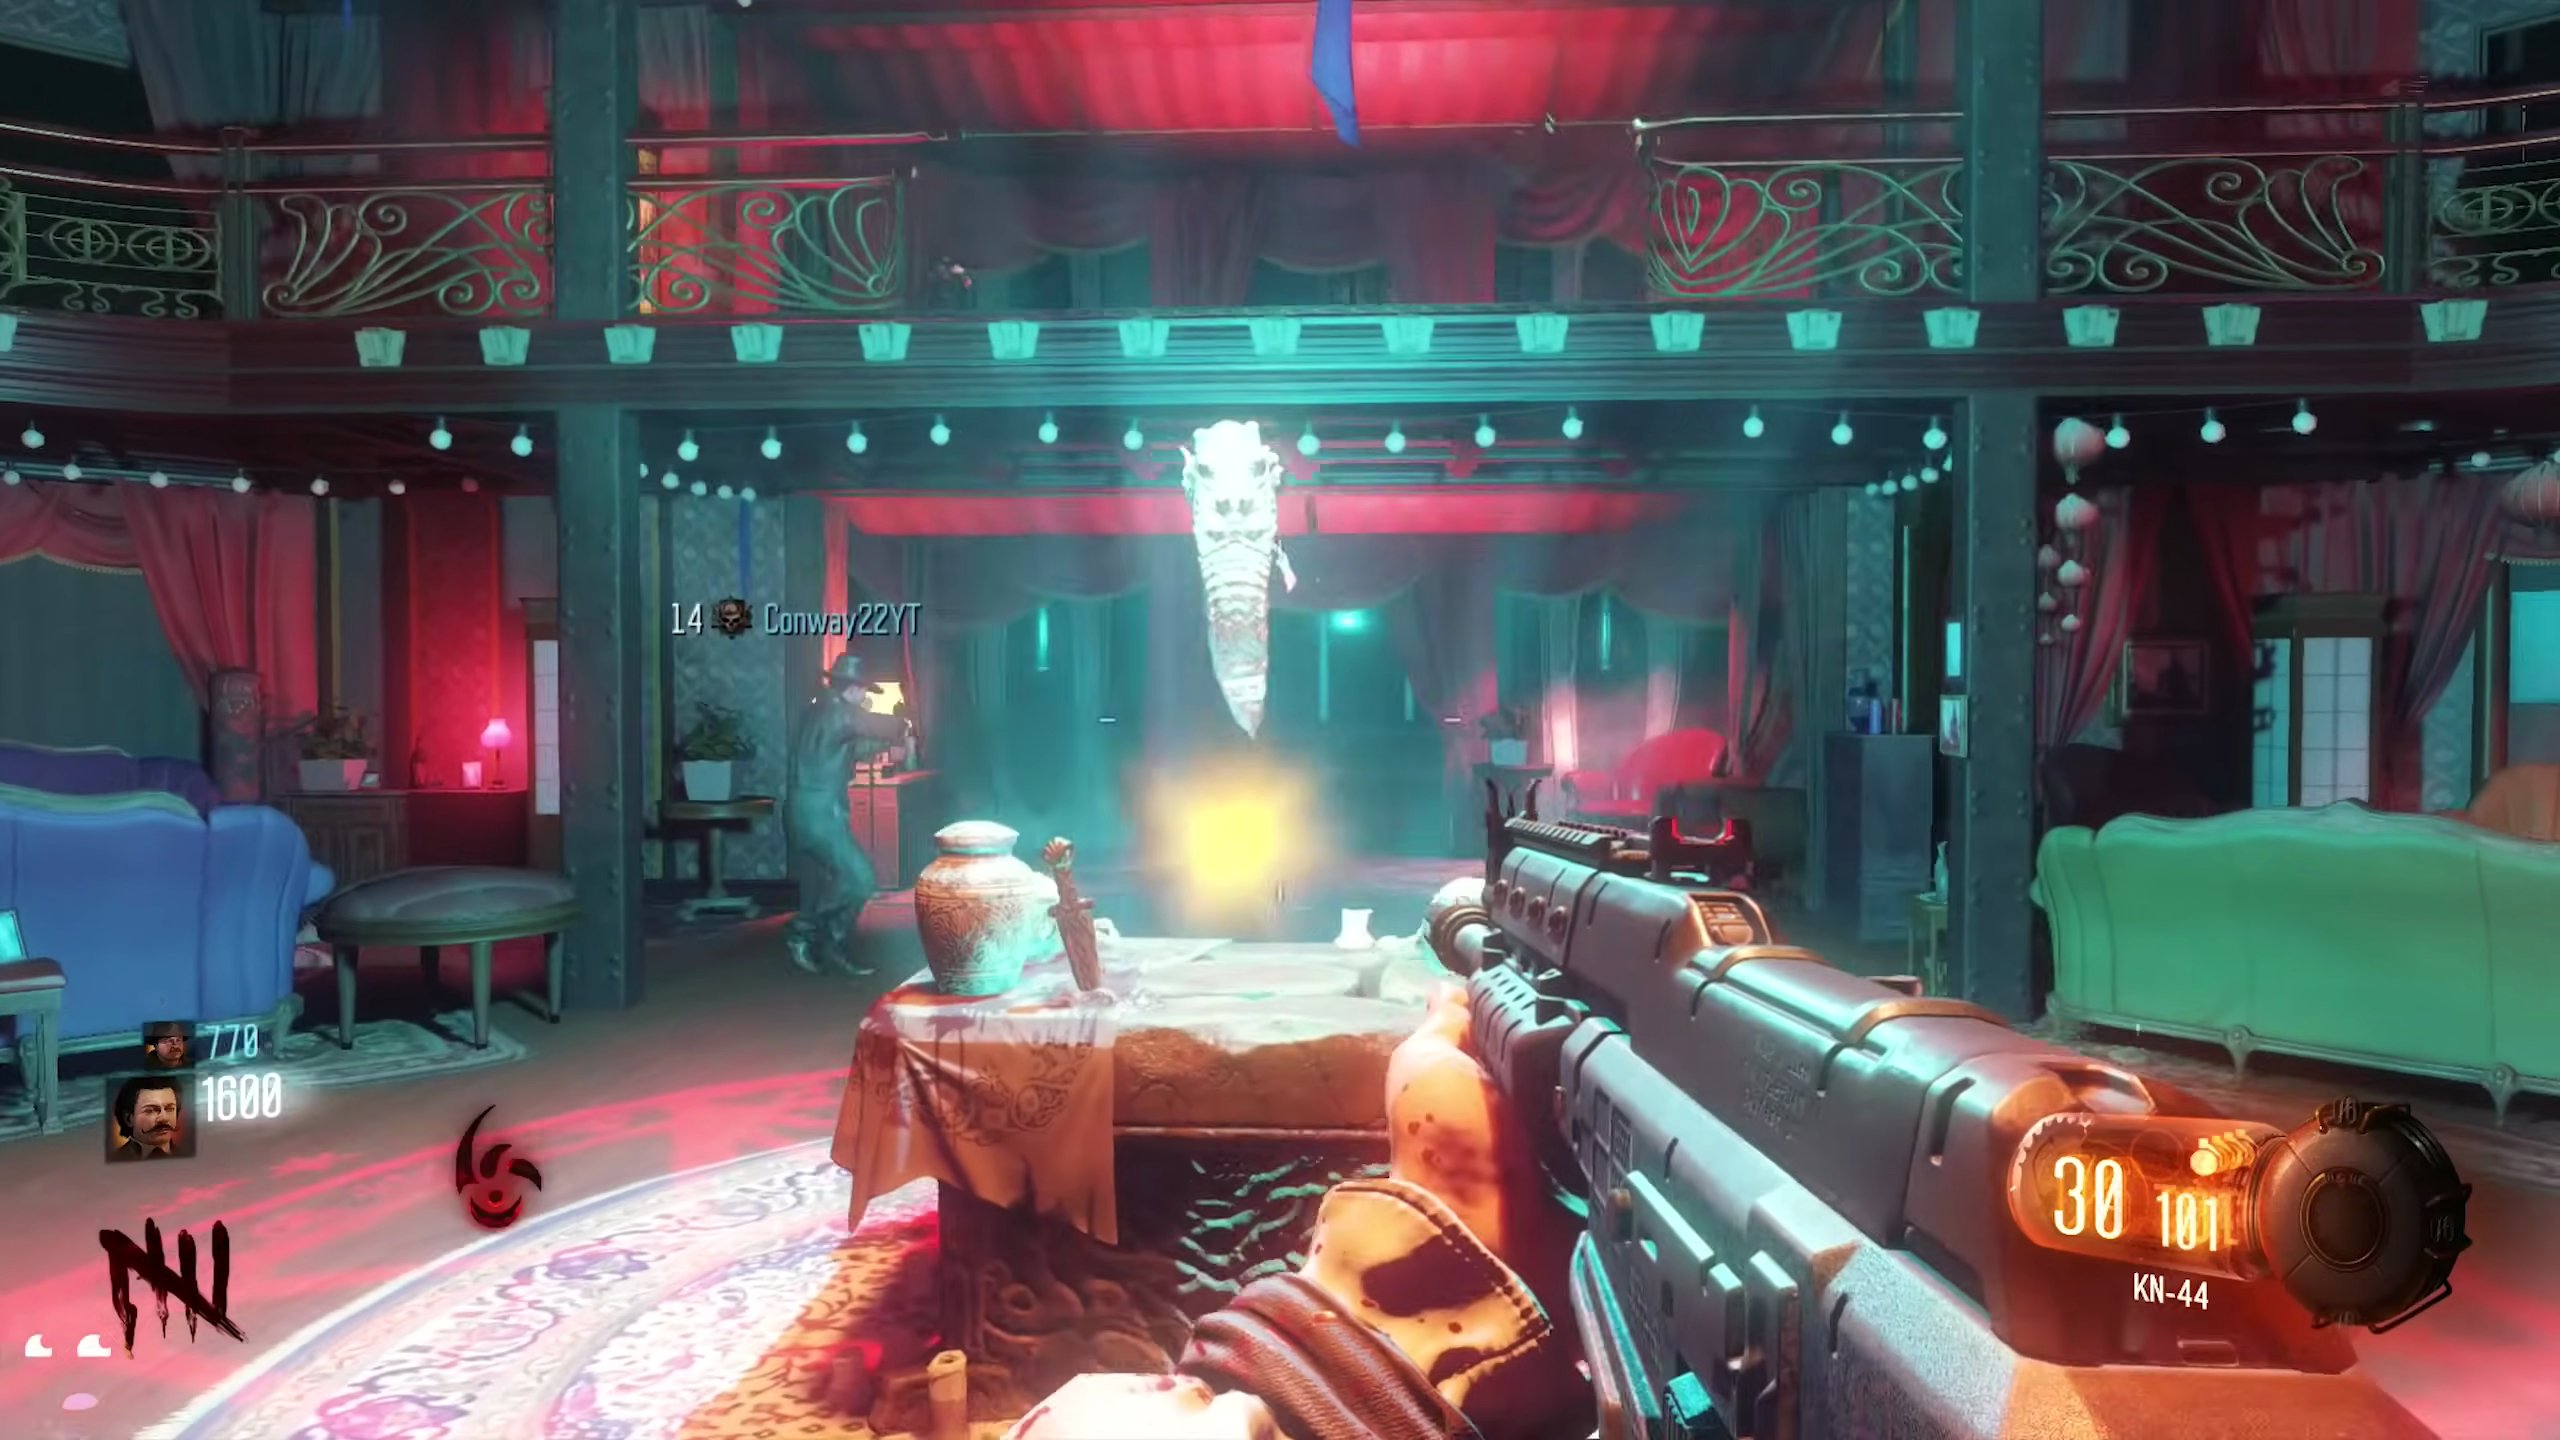
Step 5: Activate the Pack-a-Punch Machine
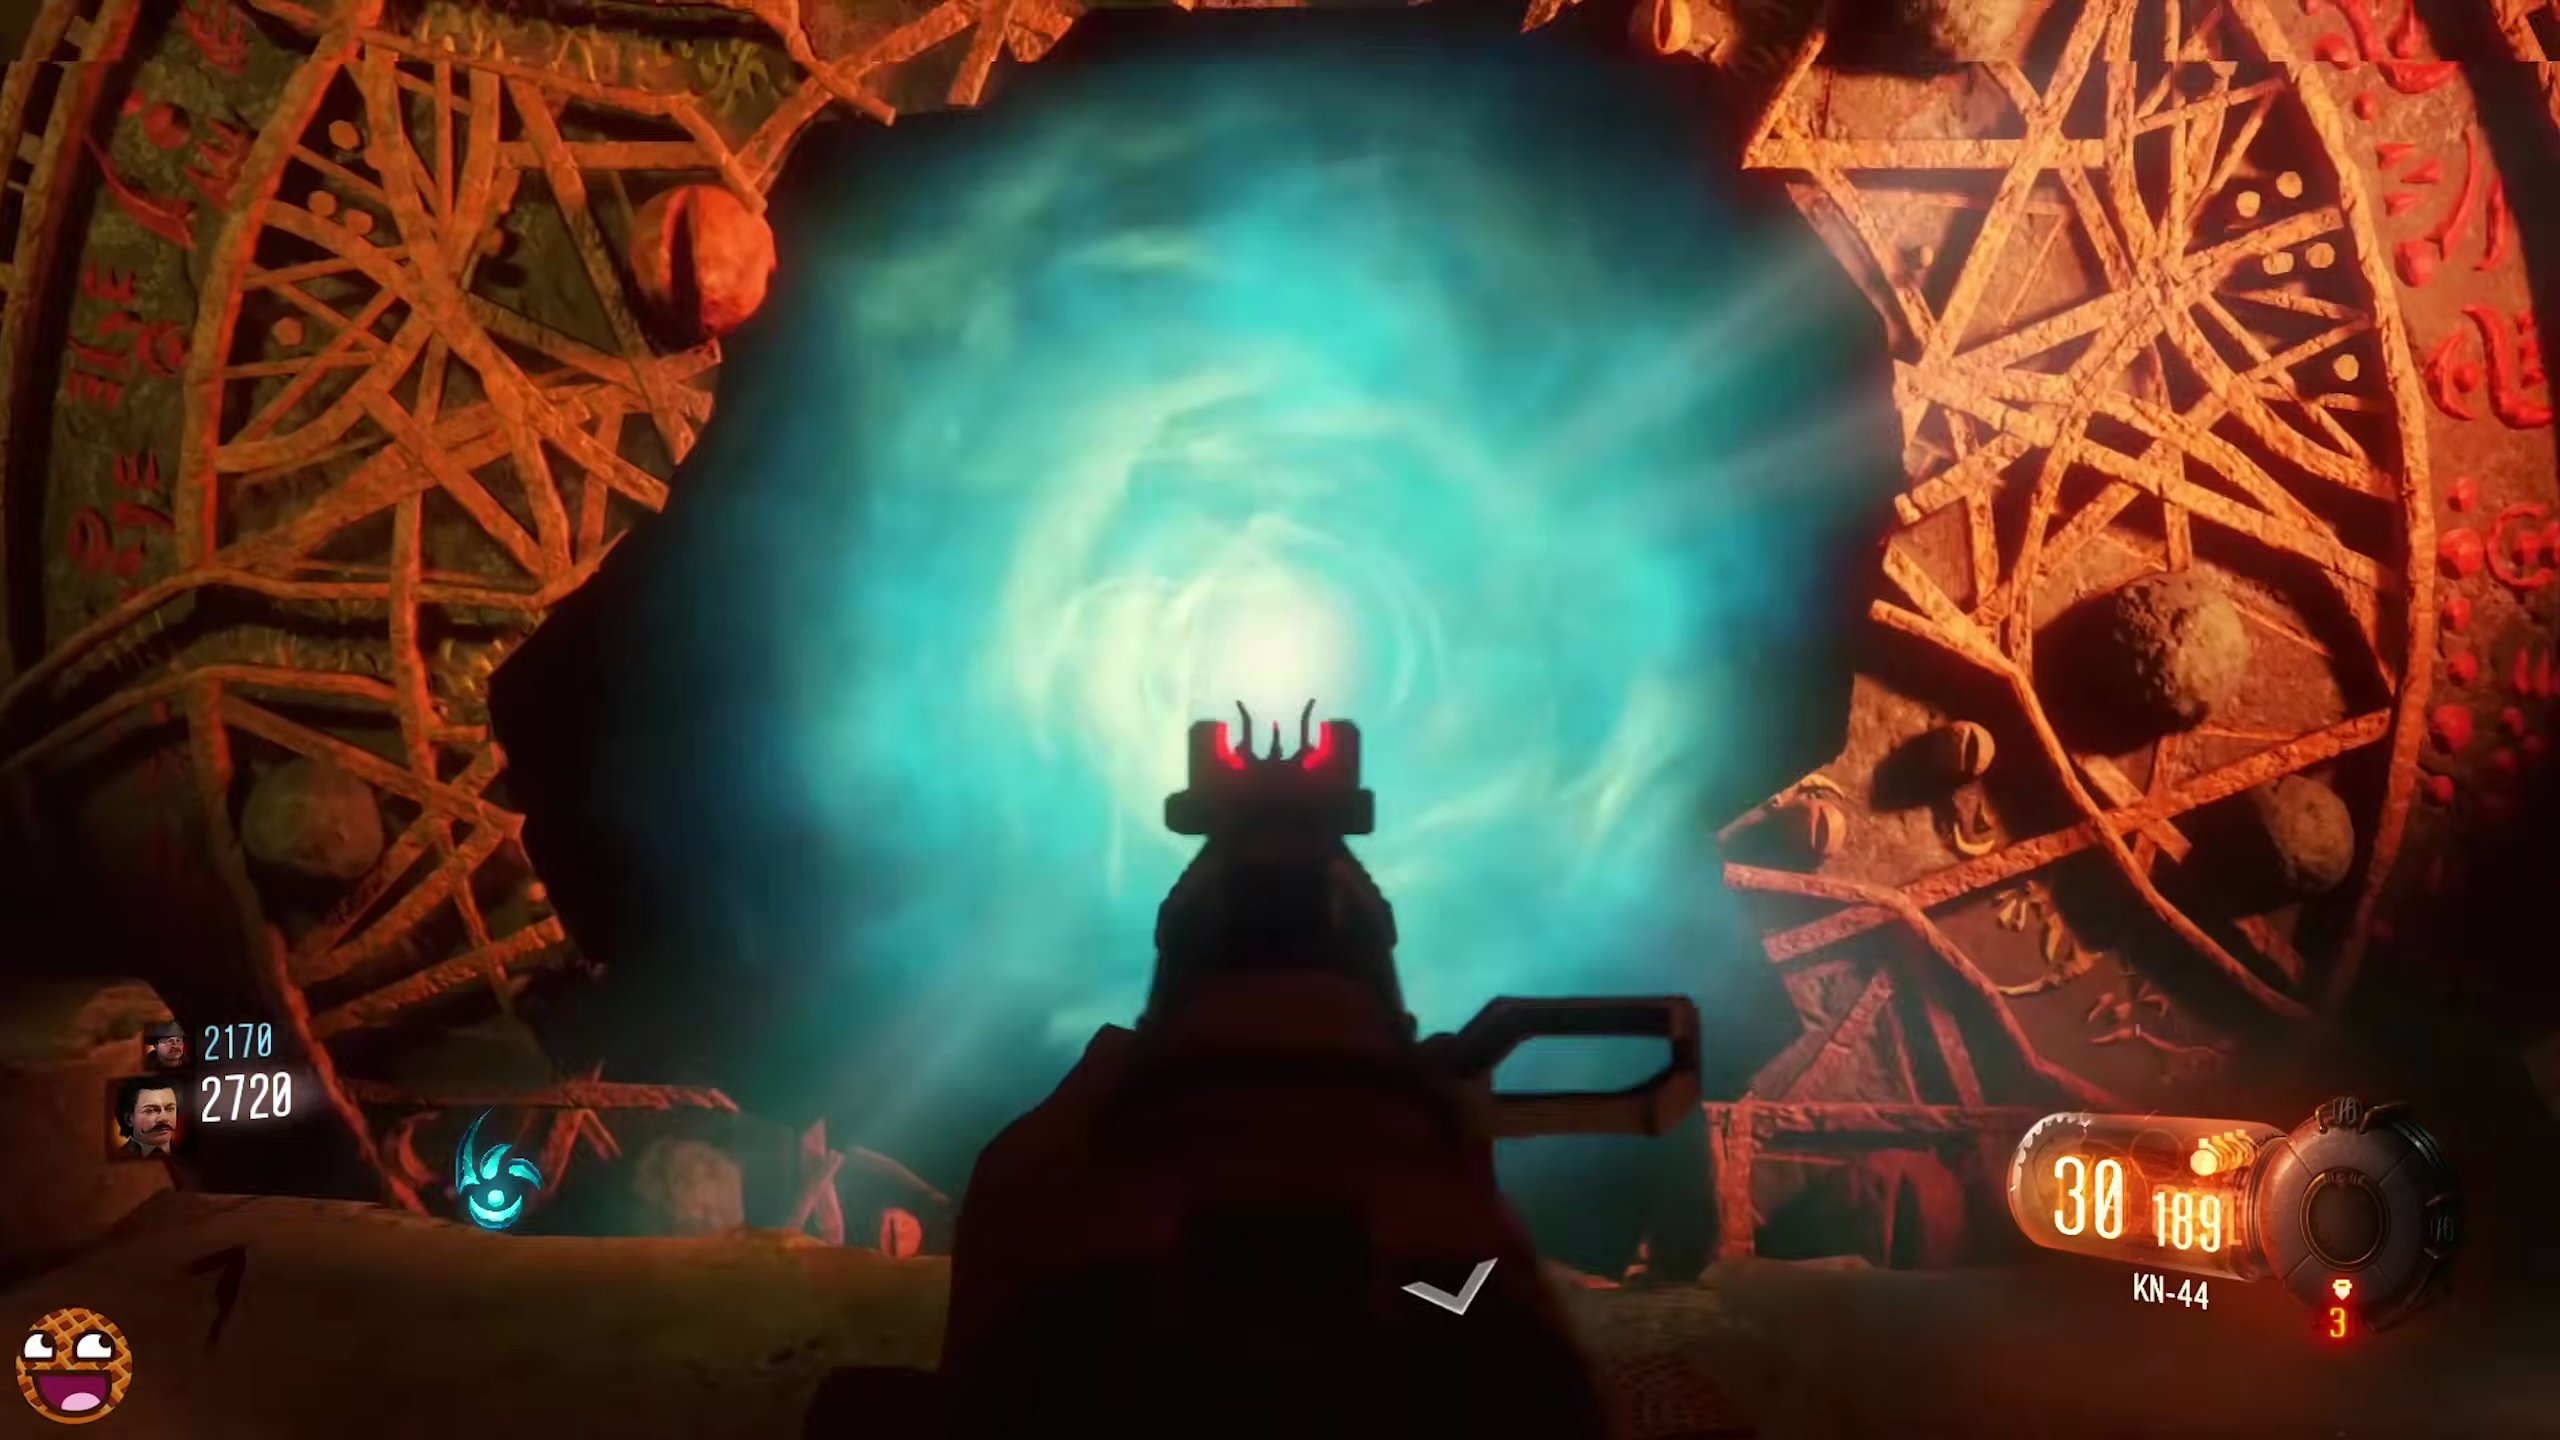
- After completing all four rituals, return to the Canal area. The symbols on the wall will now be lit up.
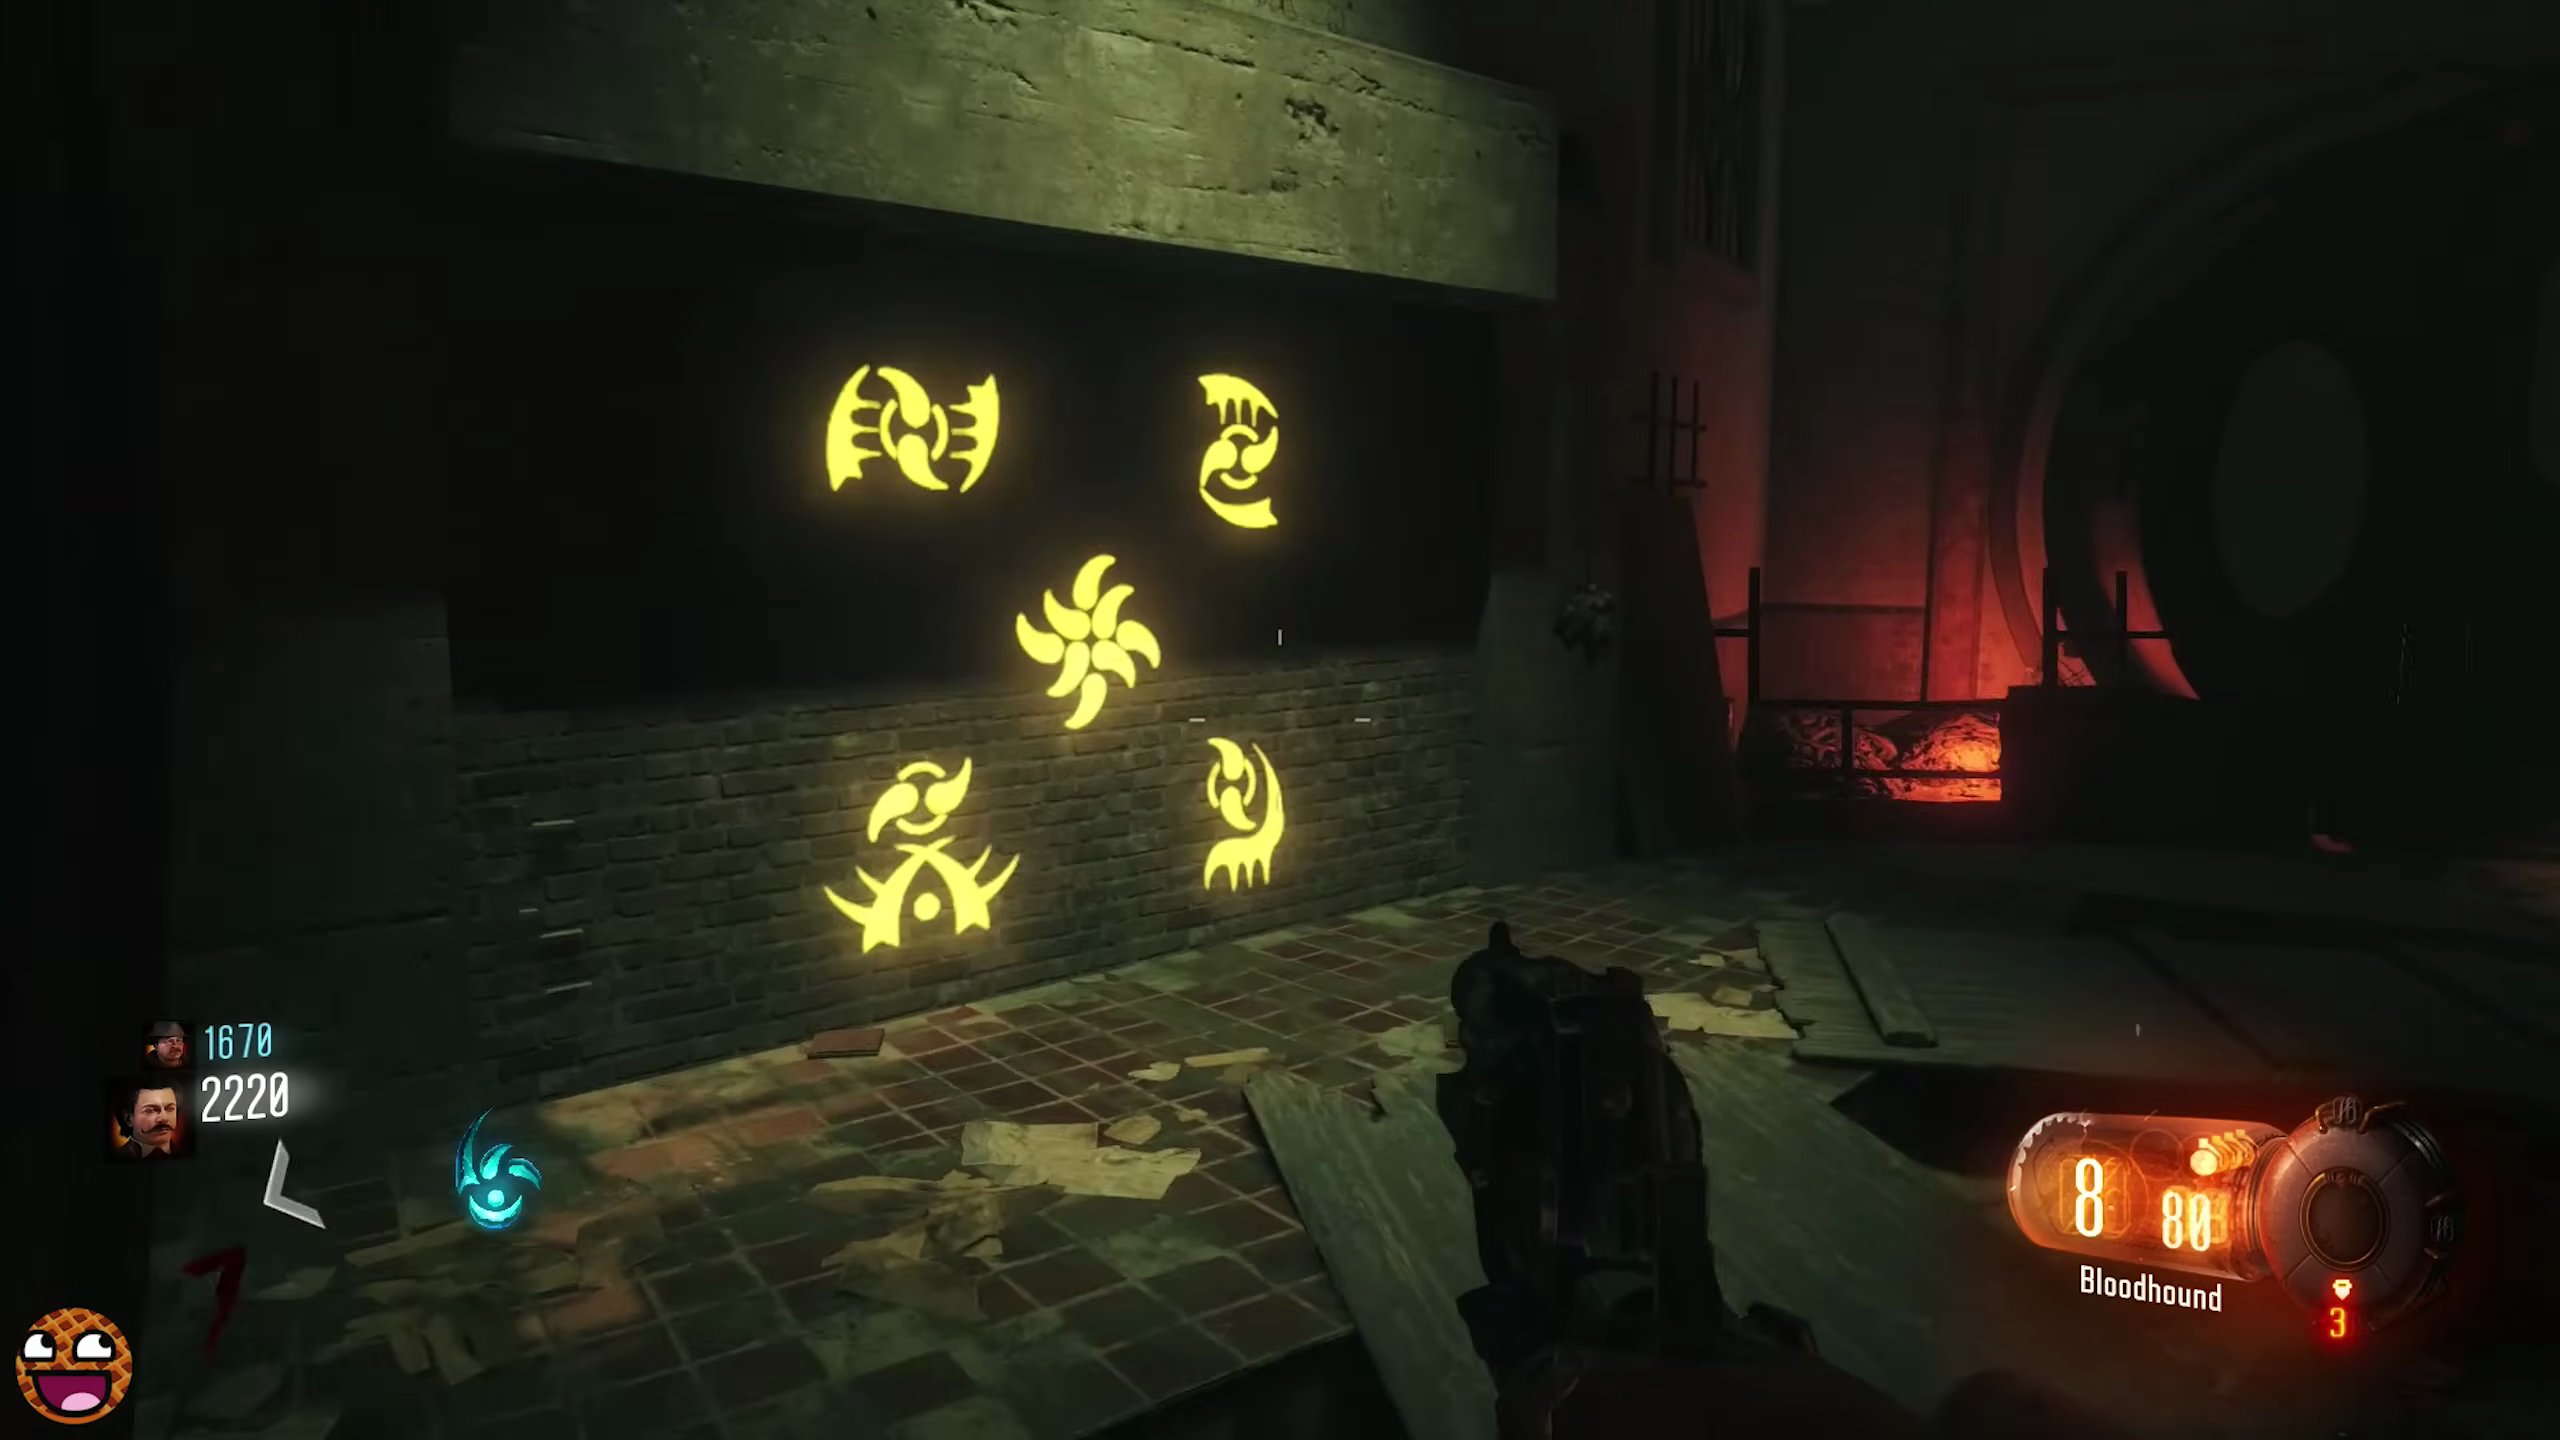
- The wall will disintegrate, revealing the Pack-a-Punch room.
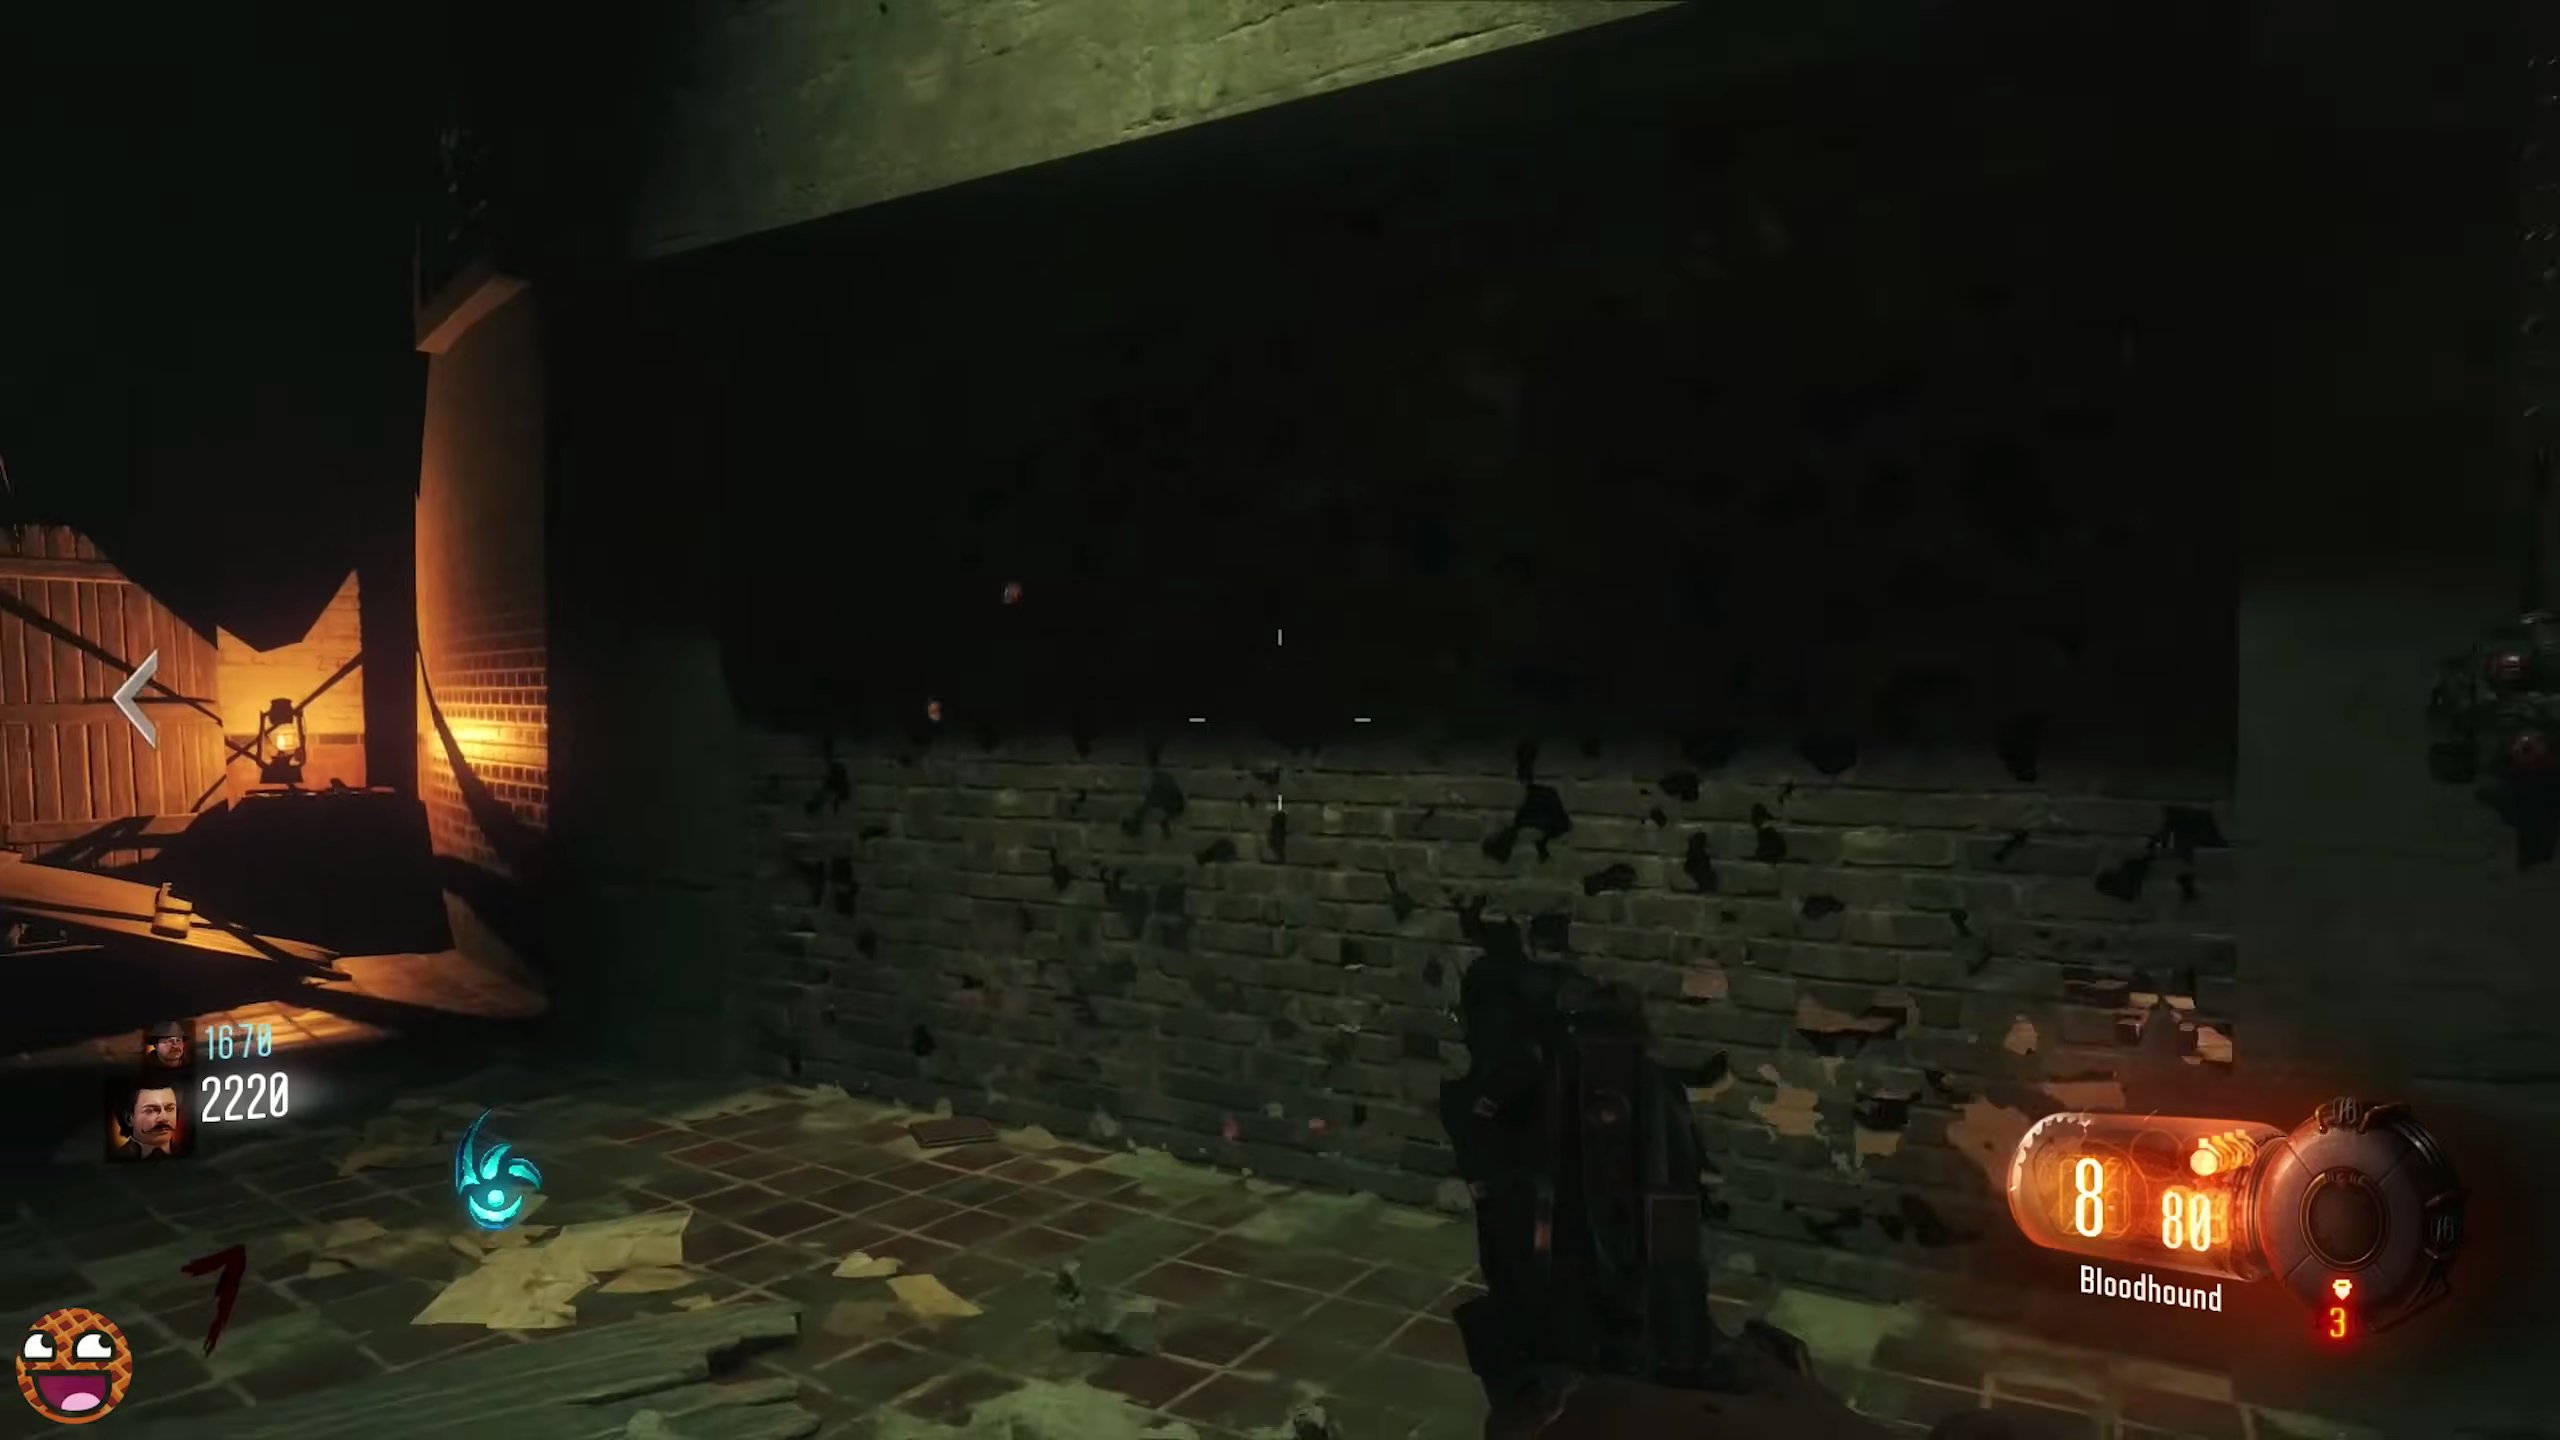
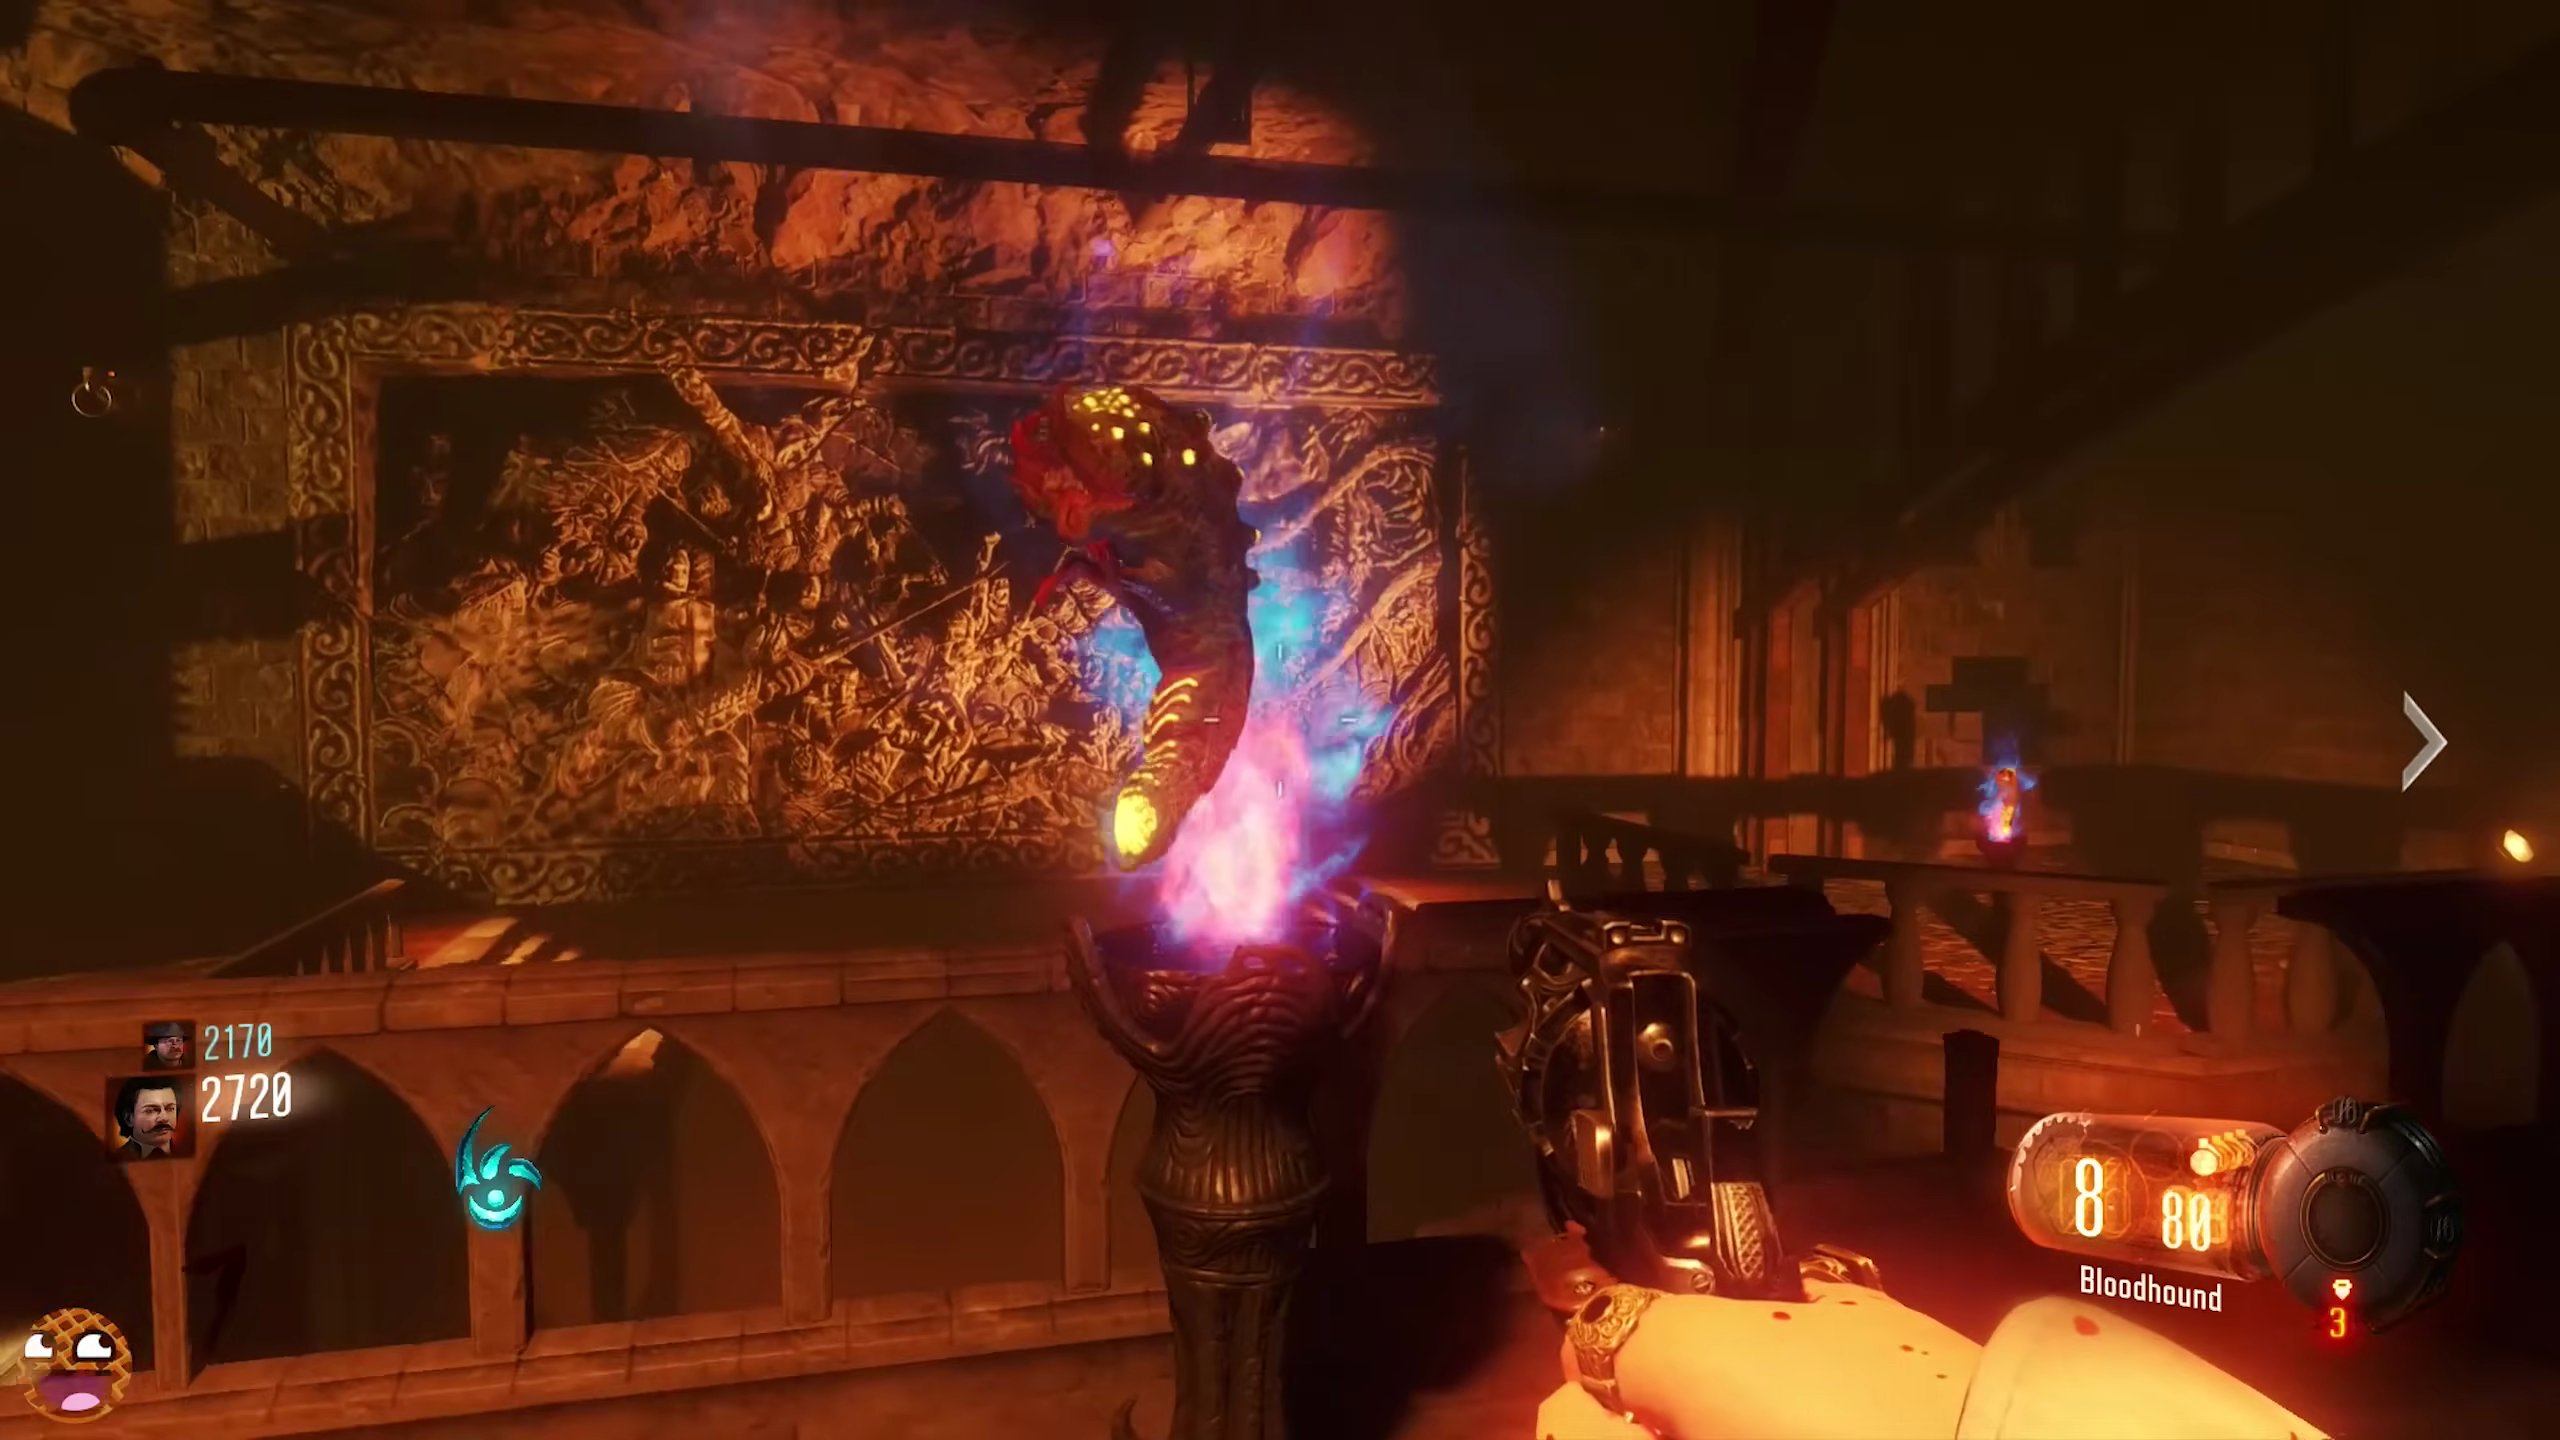
- Enter the Pack-a-Punch room. You will see four pedestals for the Gateway Worms.
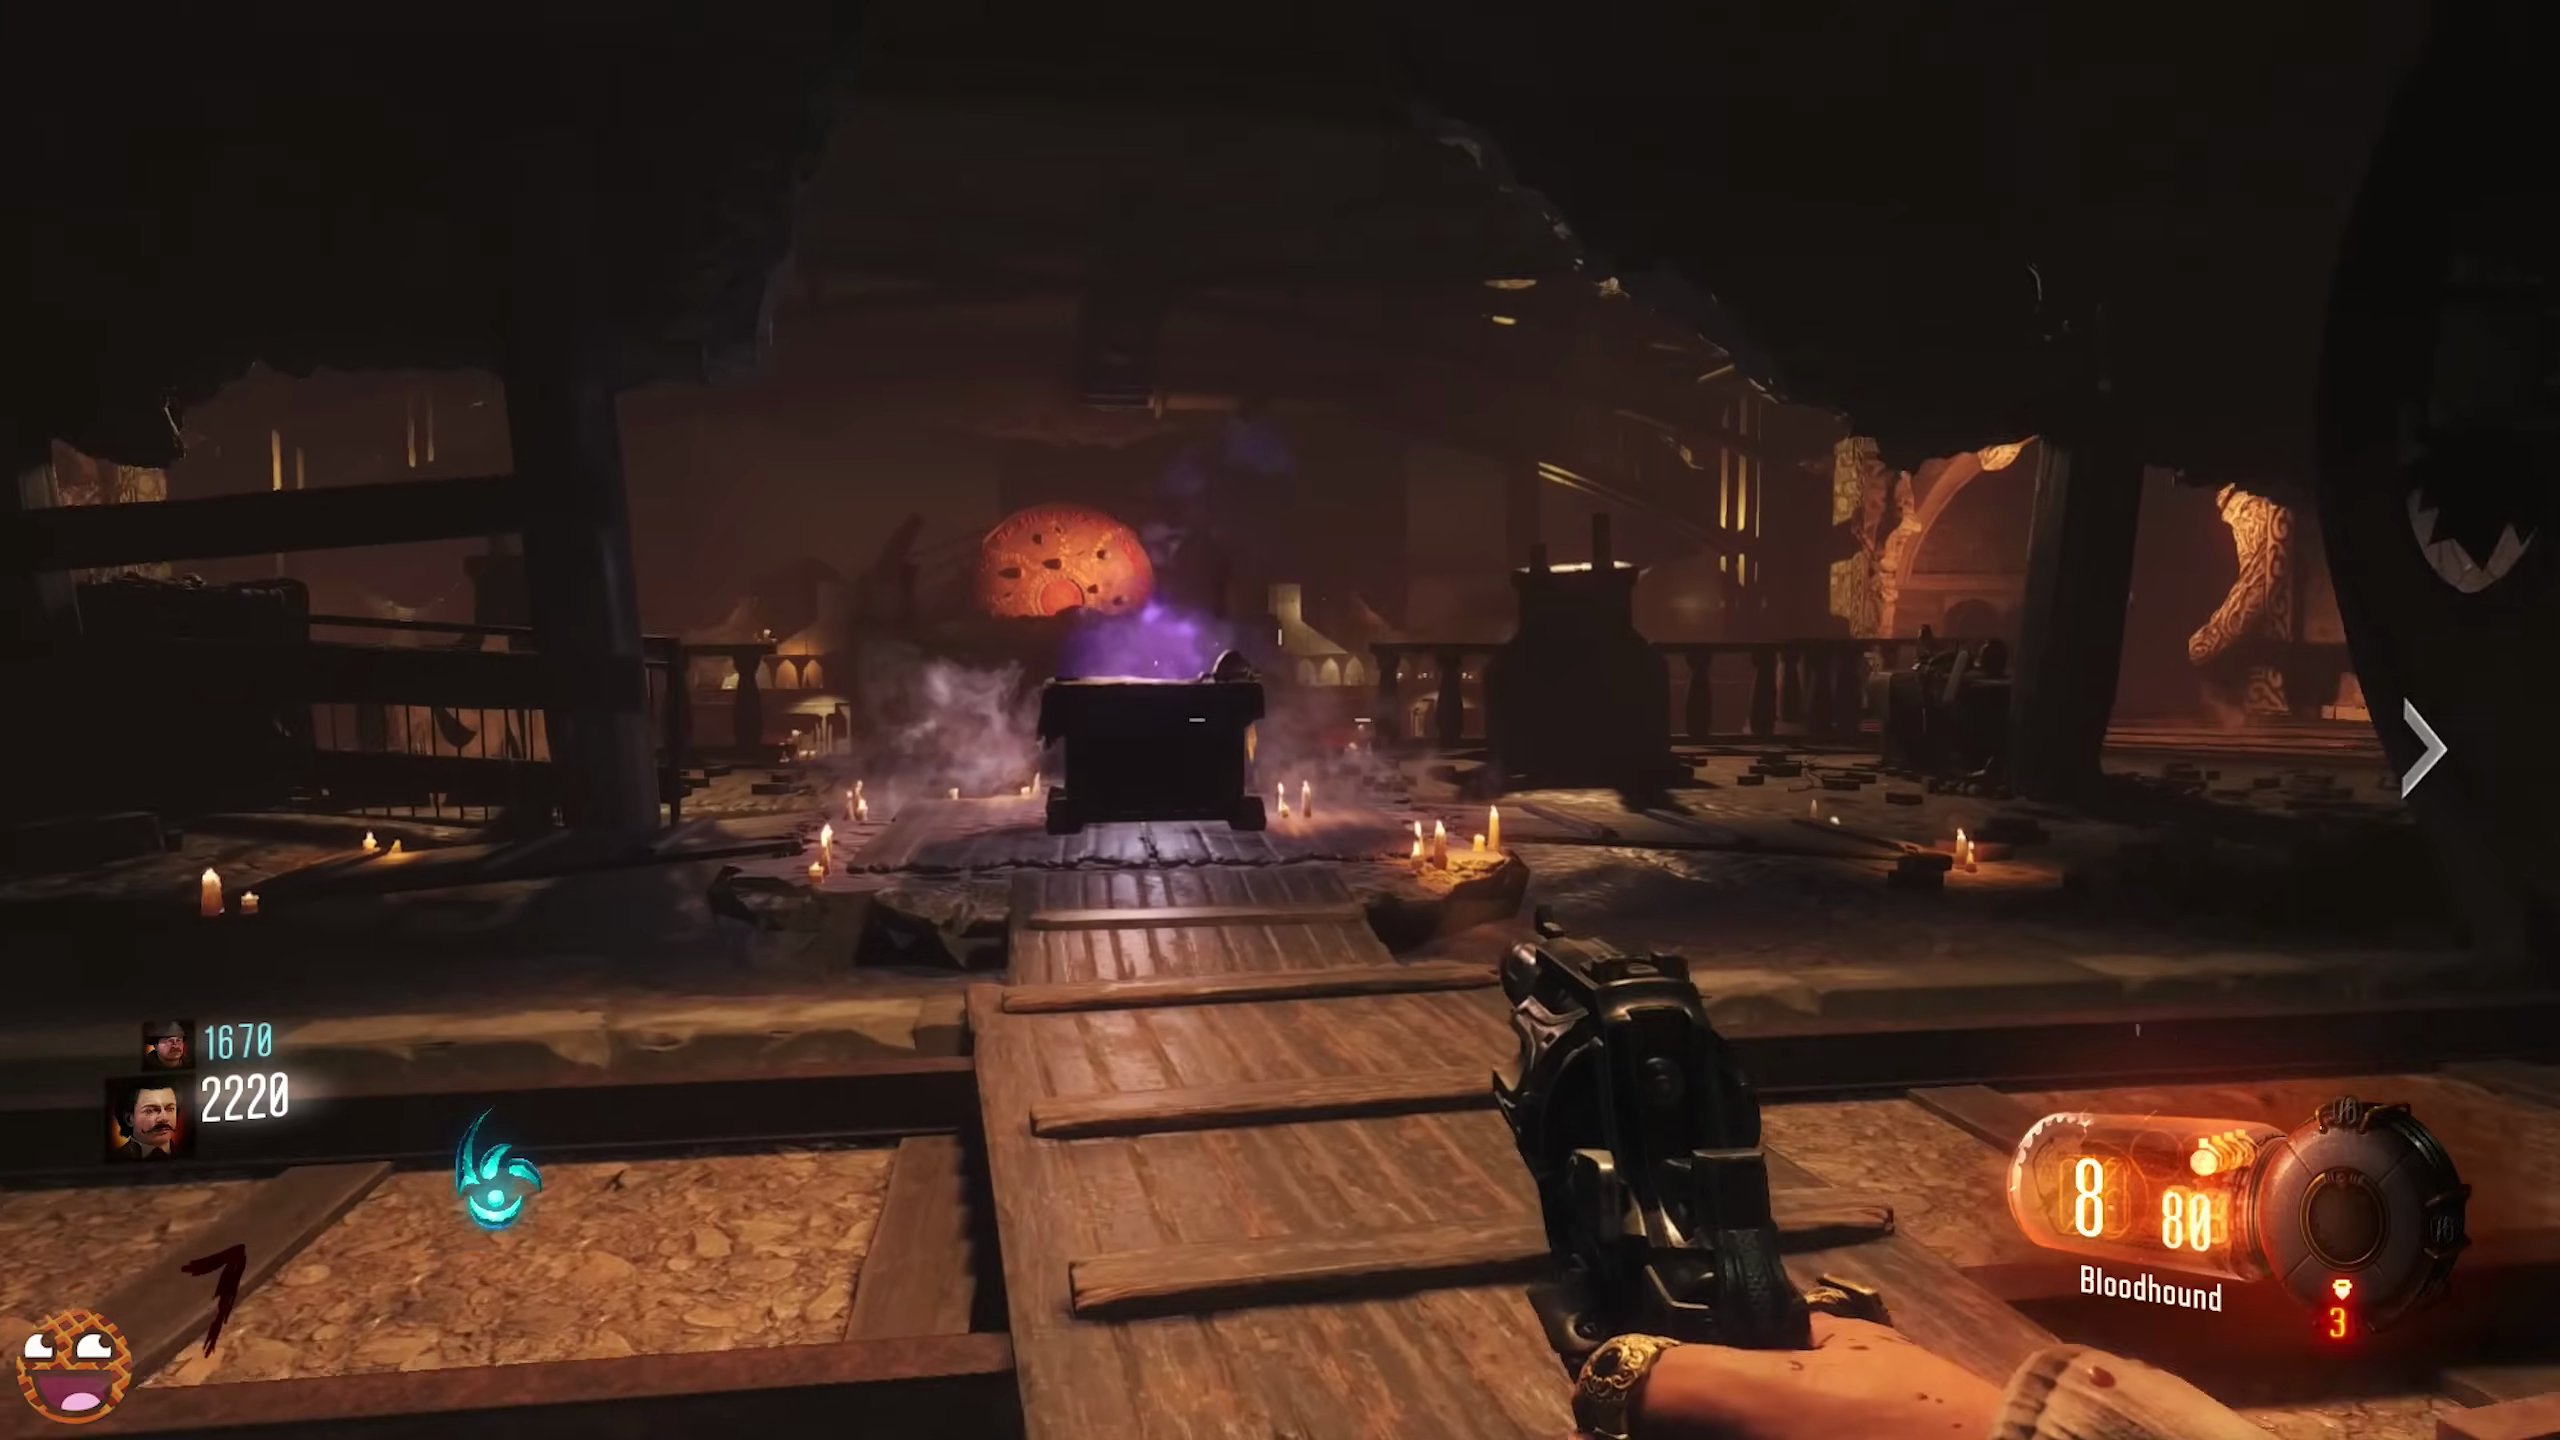
- Place your collected Gateway Worms onto the pedestals. If playing solo, you'll need to use Beast Mode to wall run and grapple across the broken bridge in the center of the room multiple times to place all four worms.
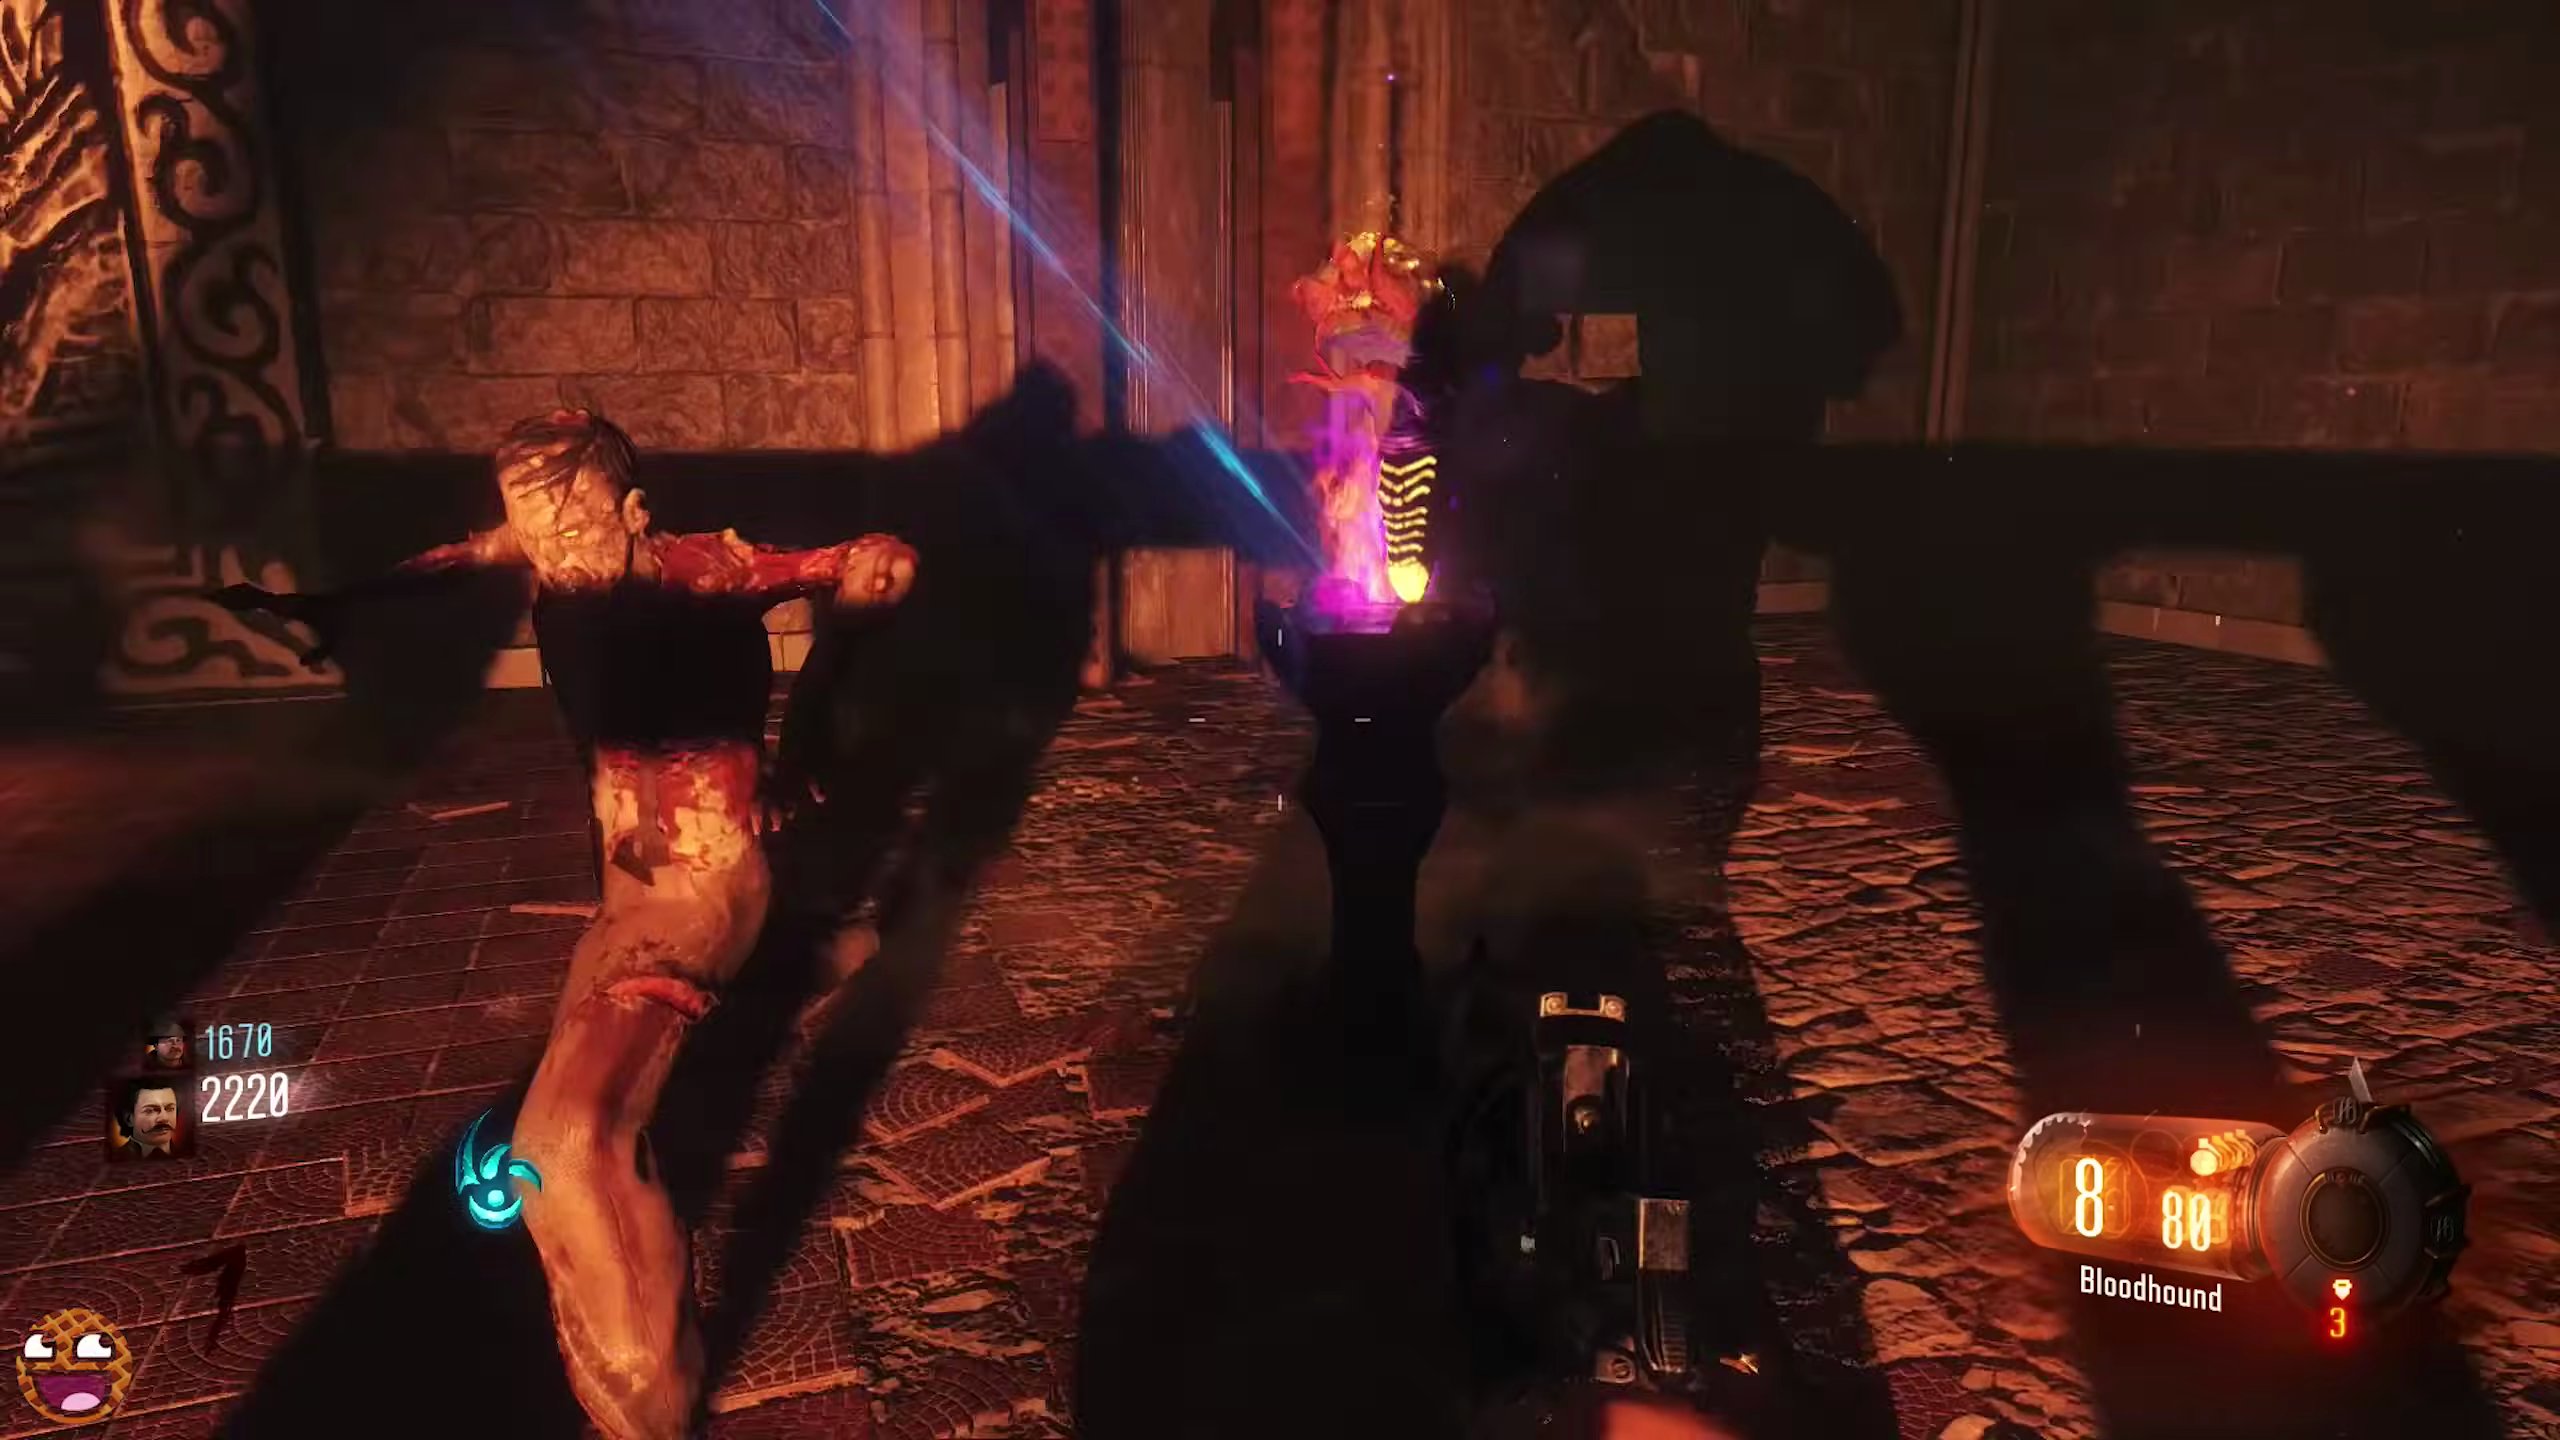
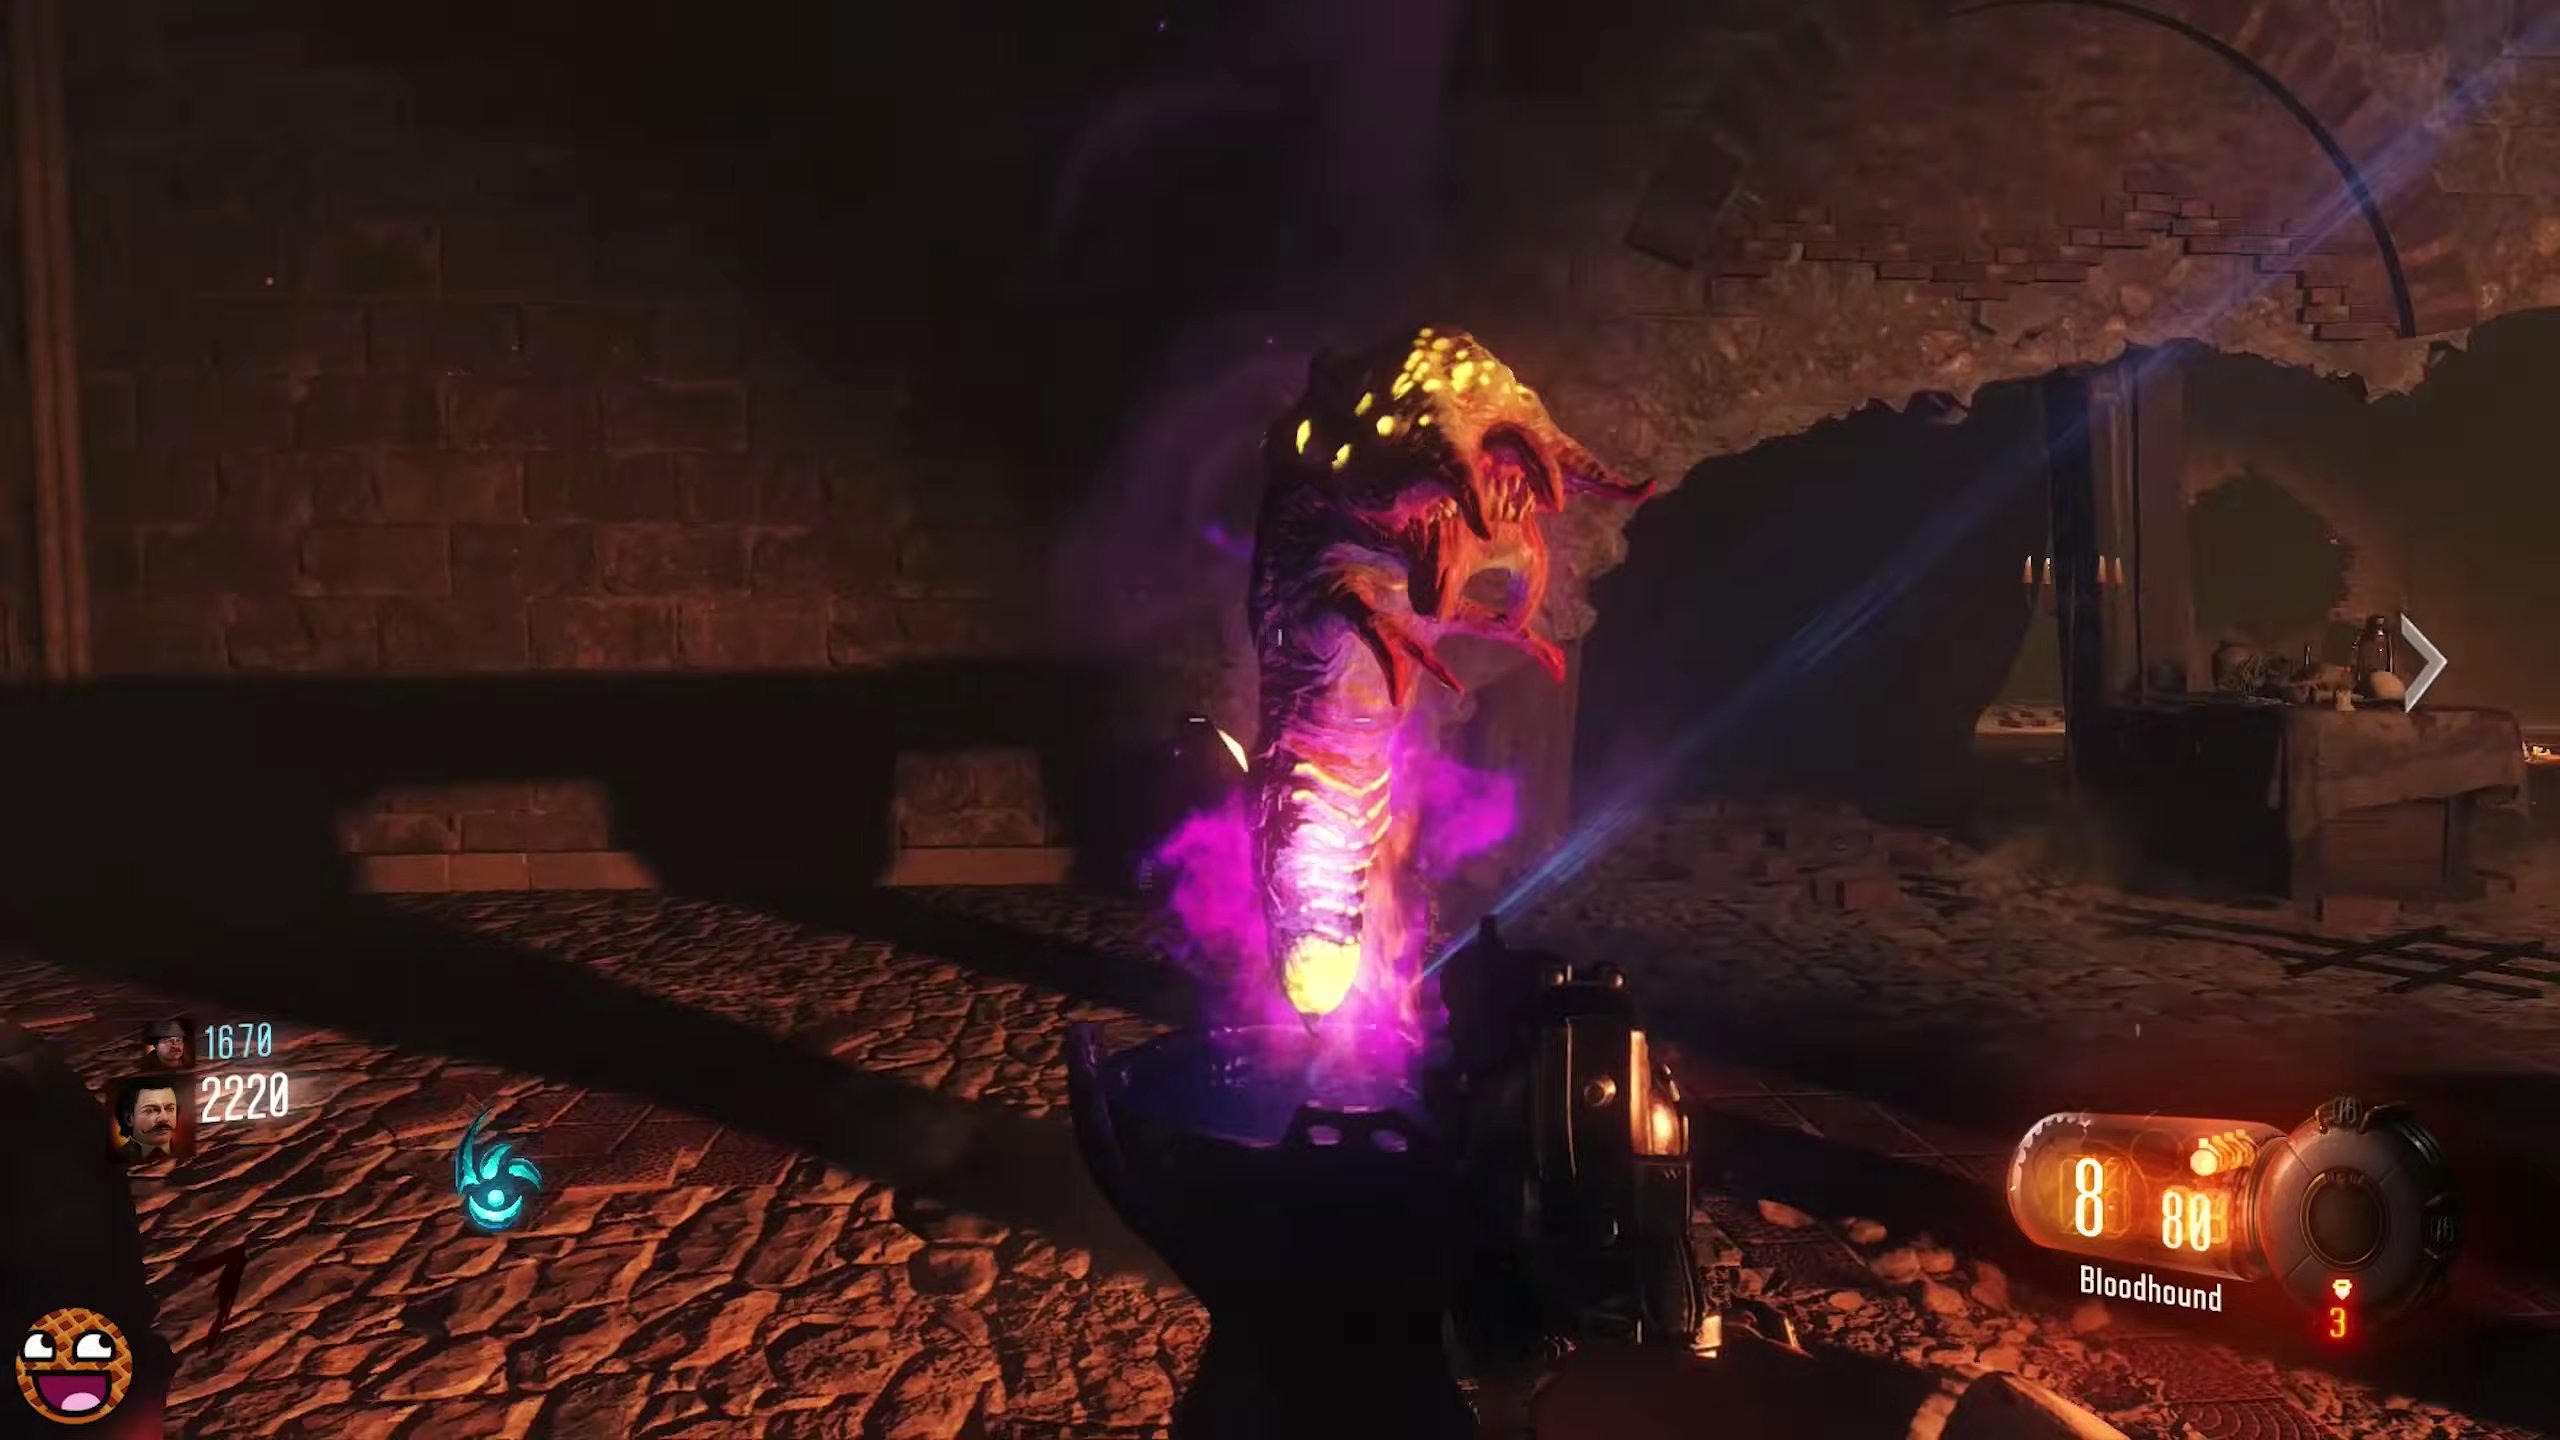
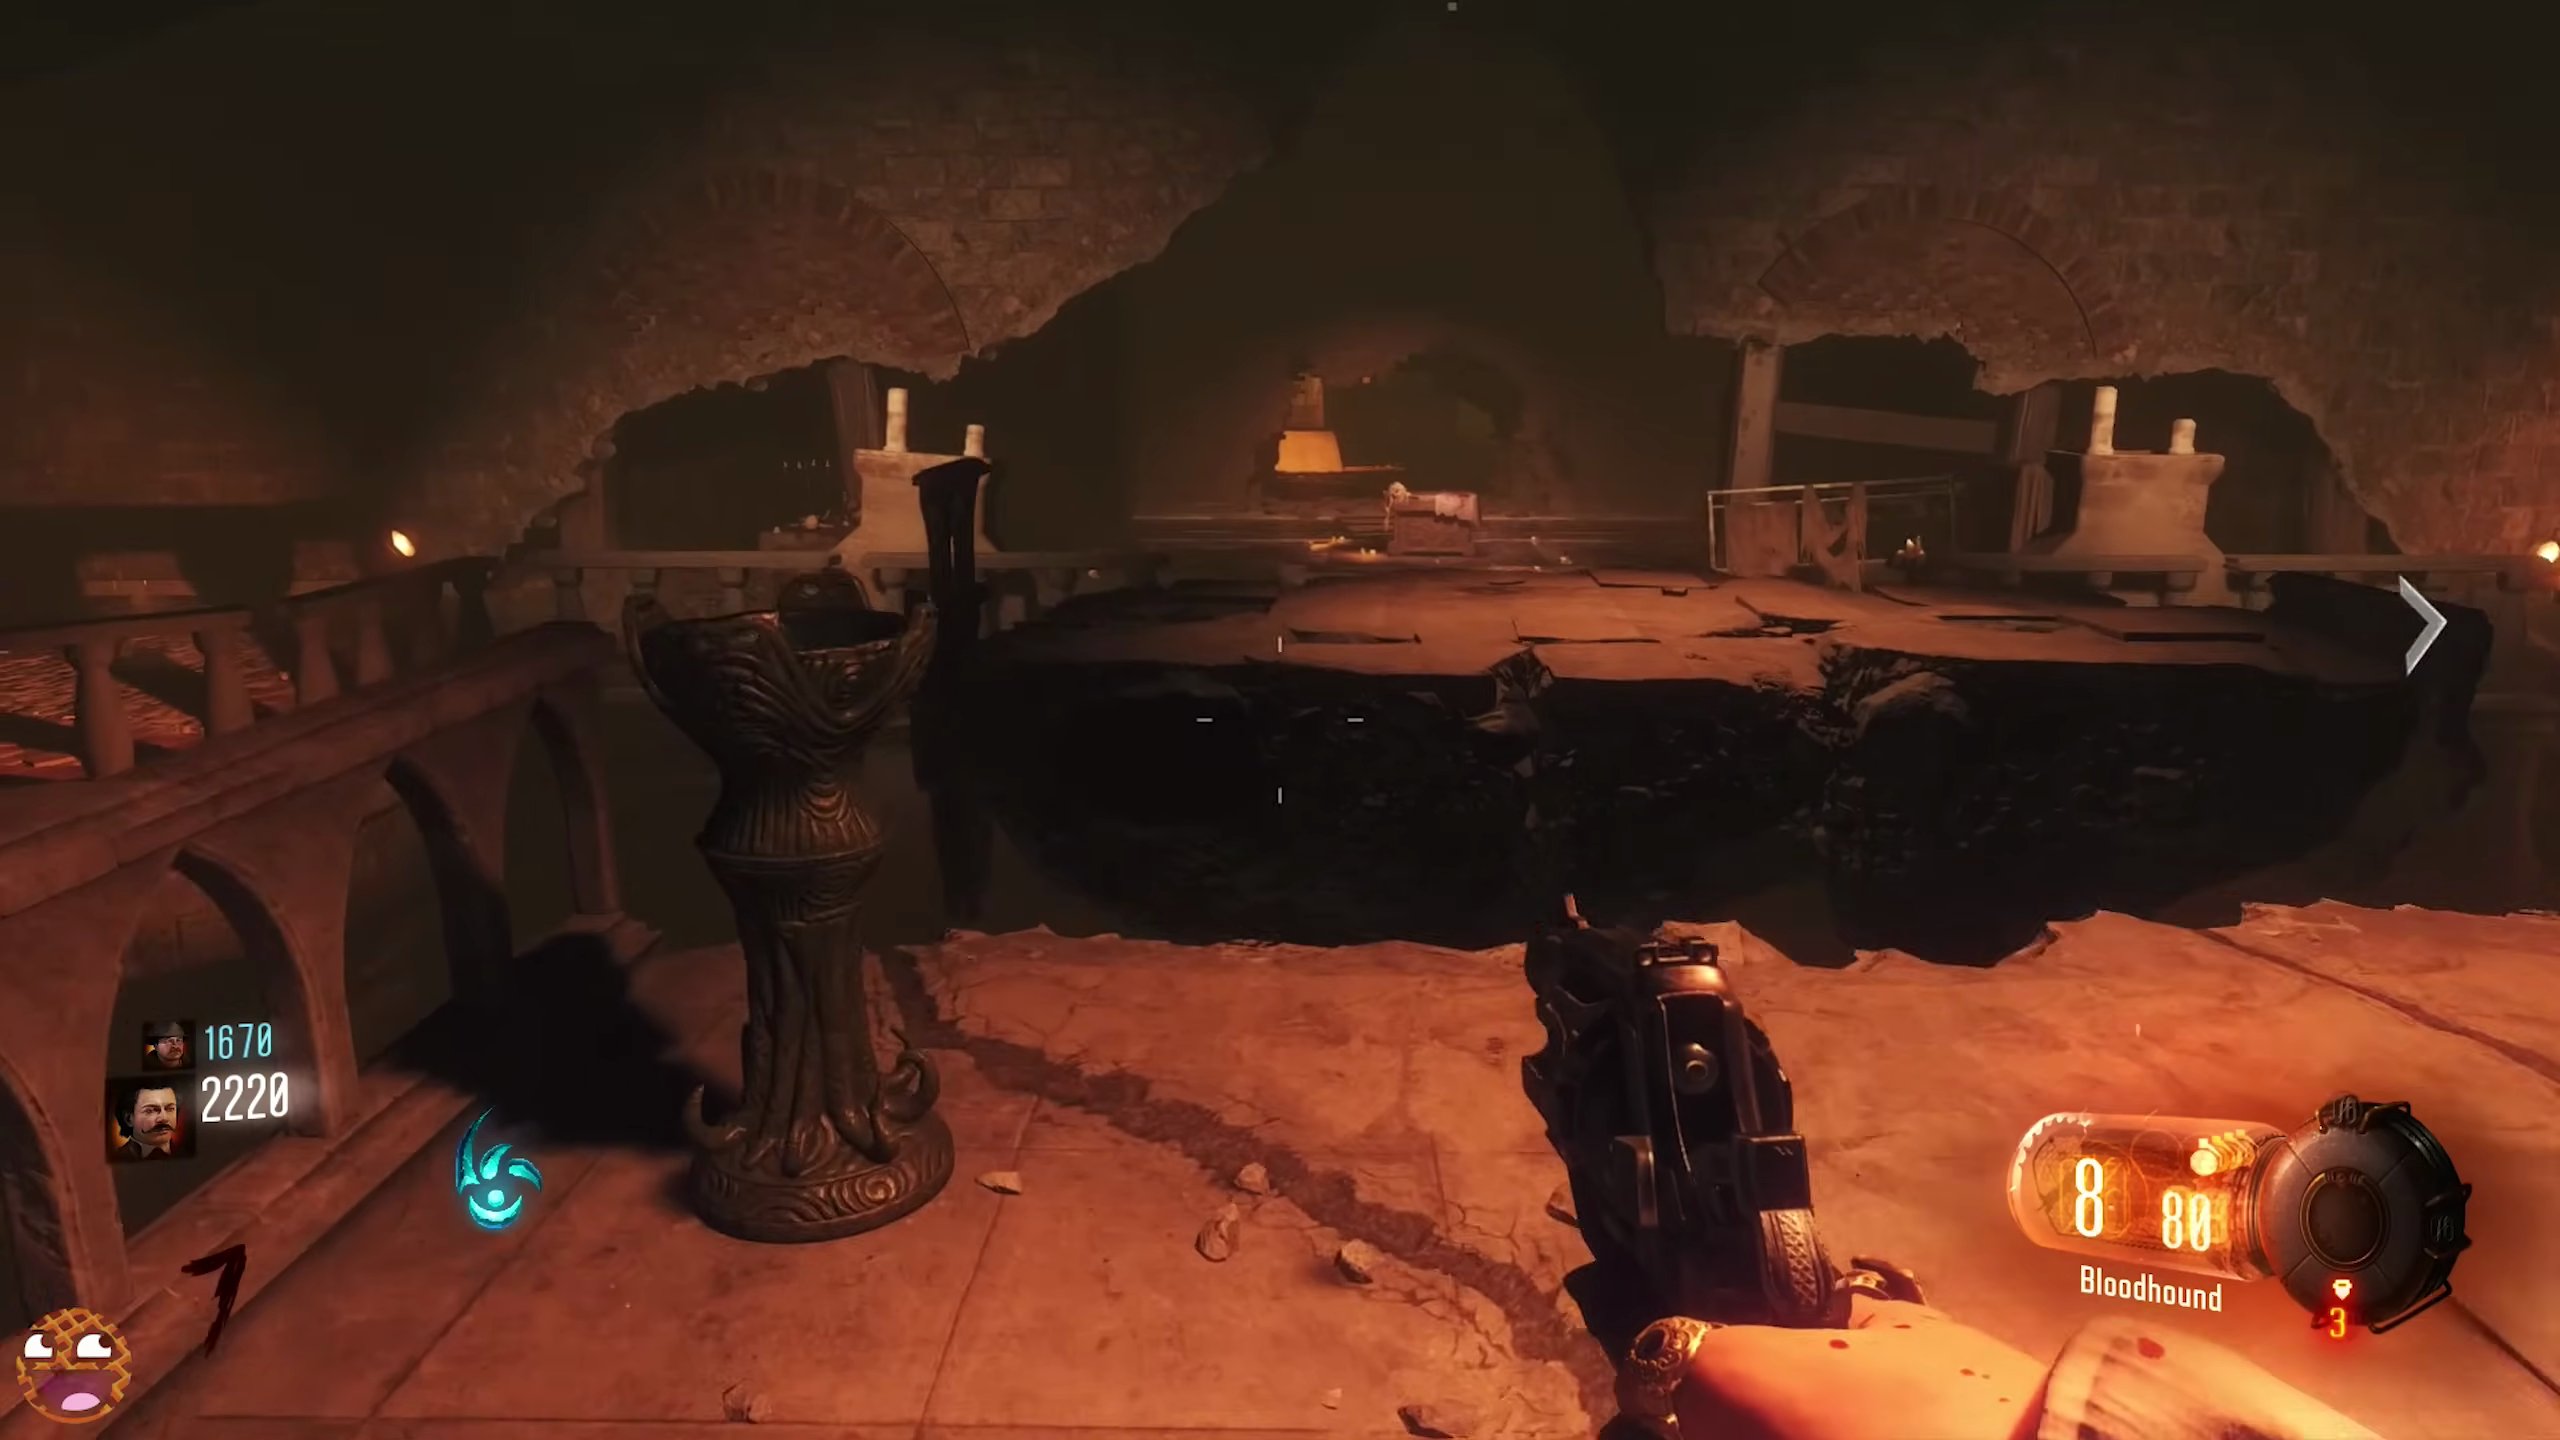
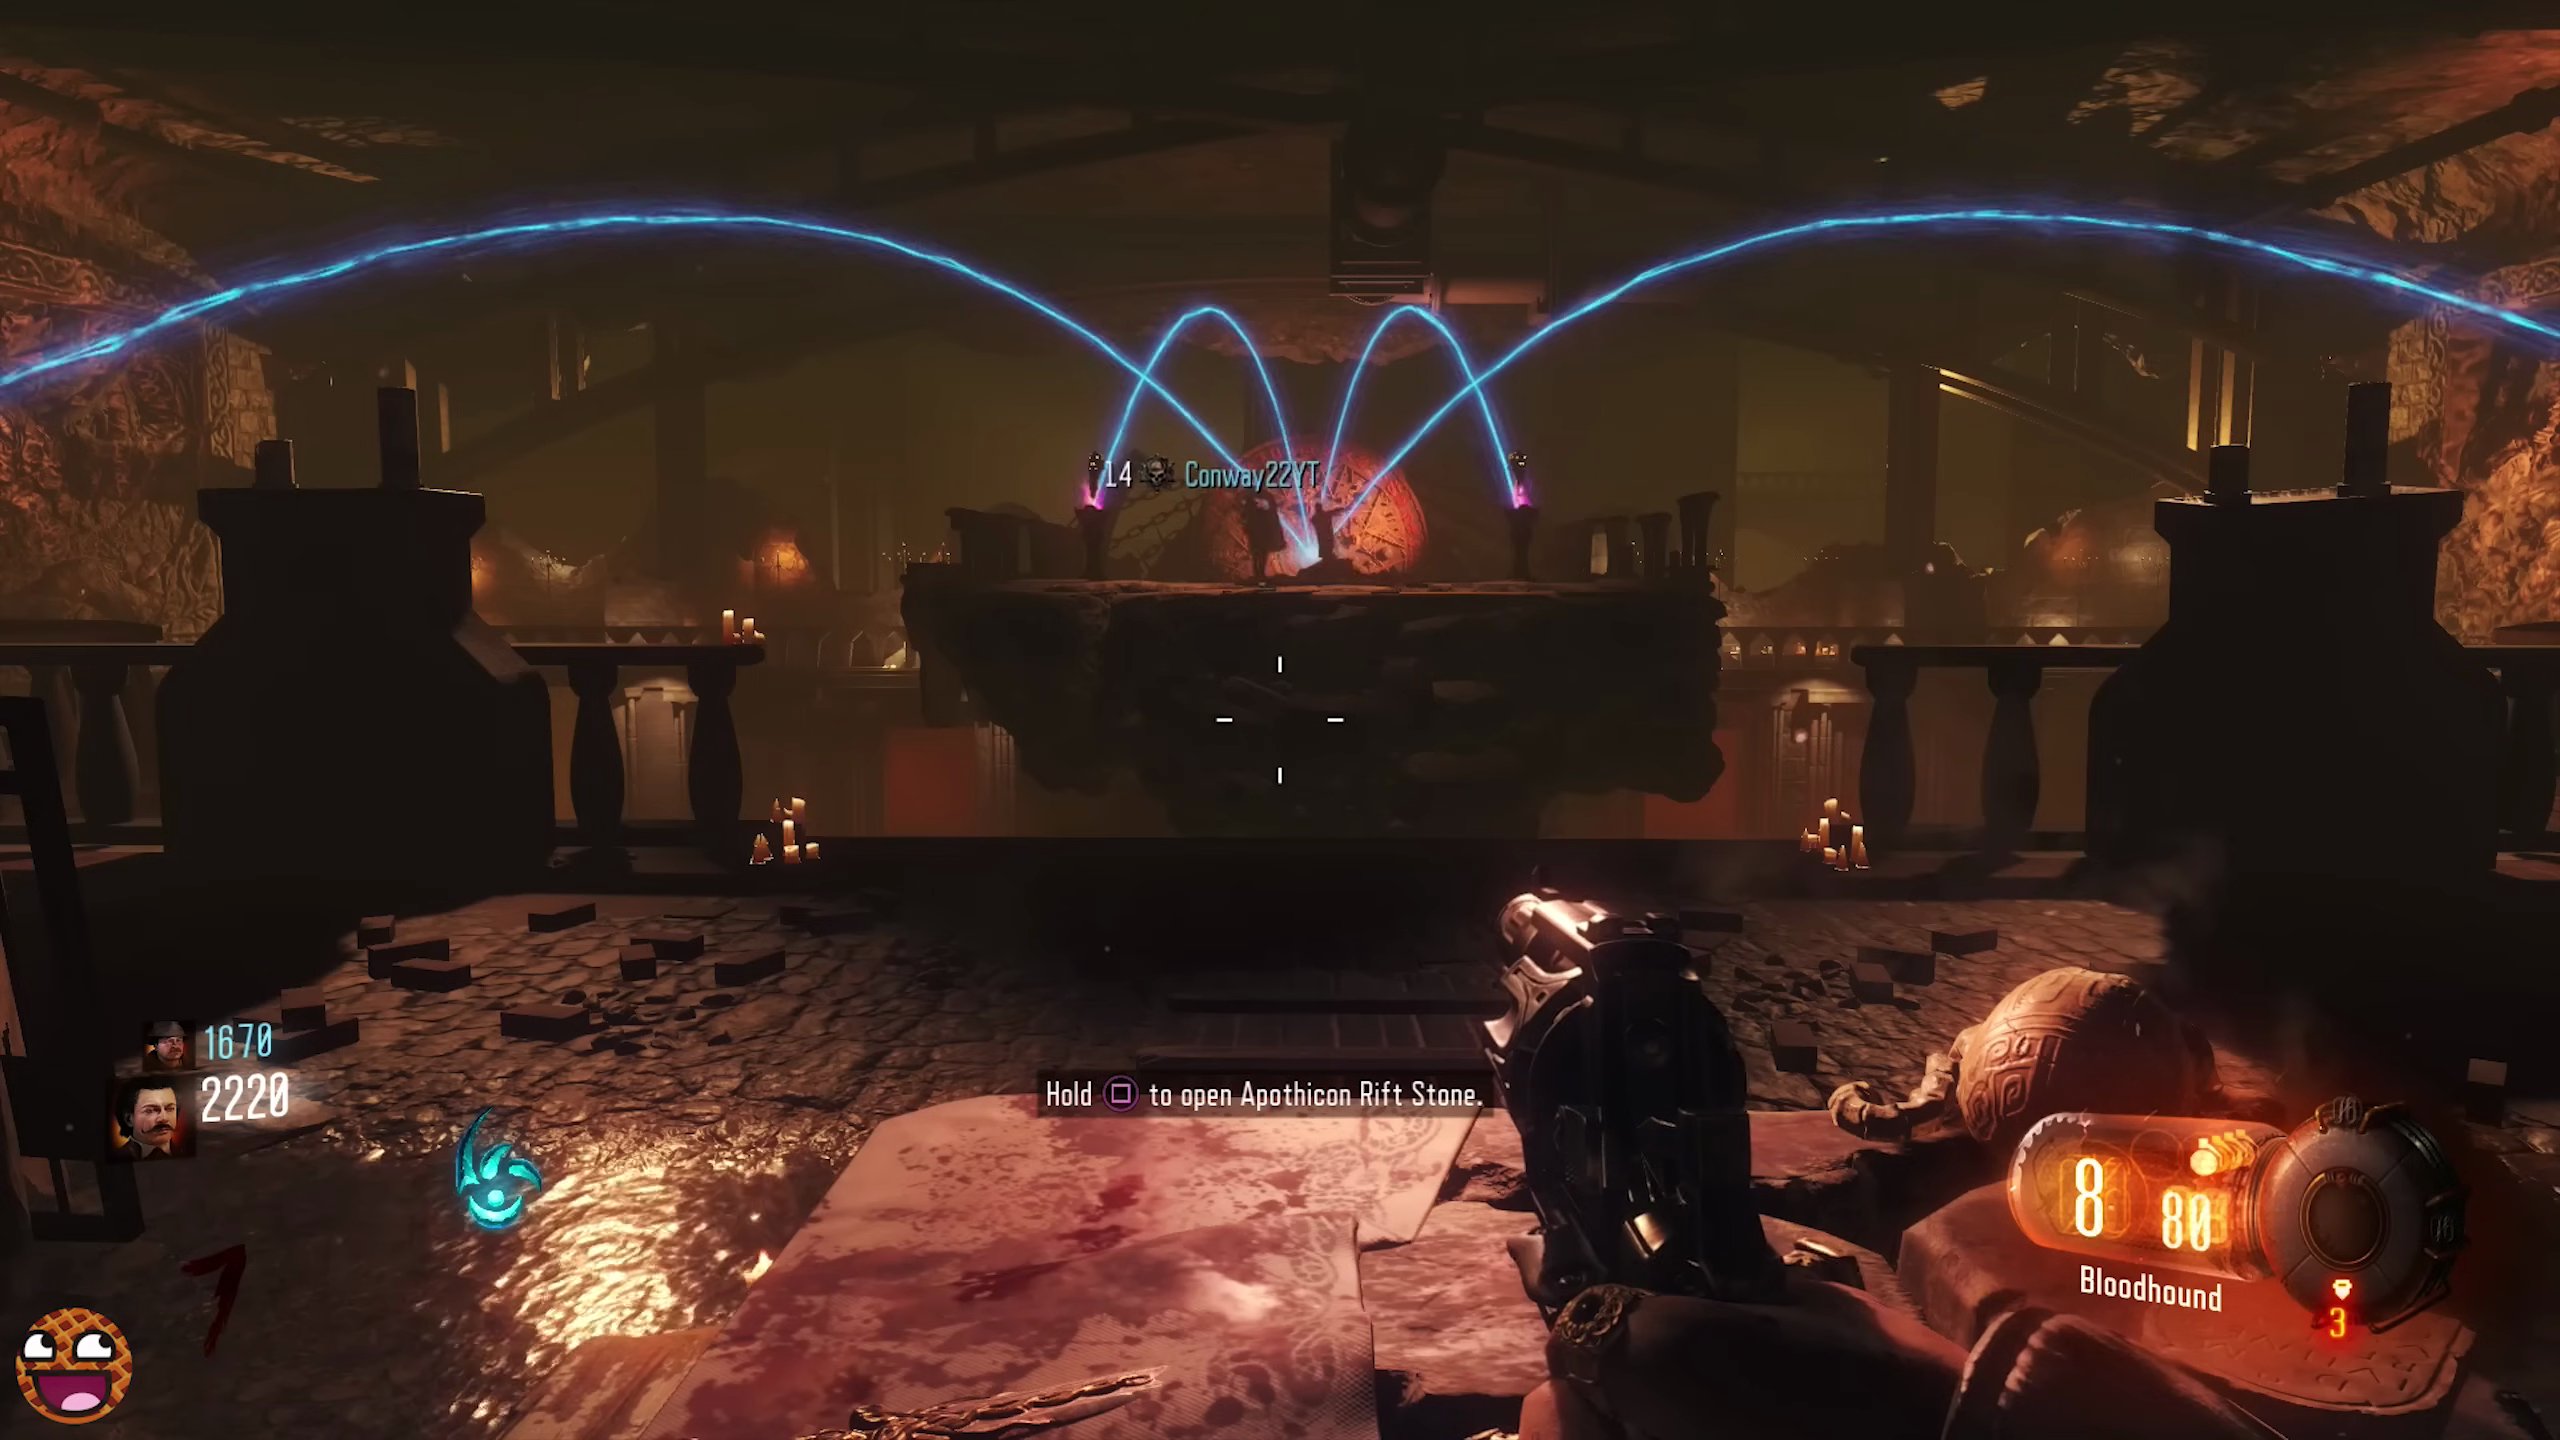
- Once all four Gateway Worms are placed, the Shadow Man will appear.
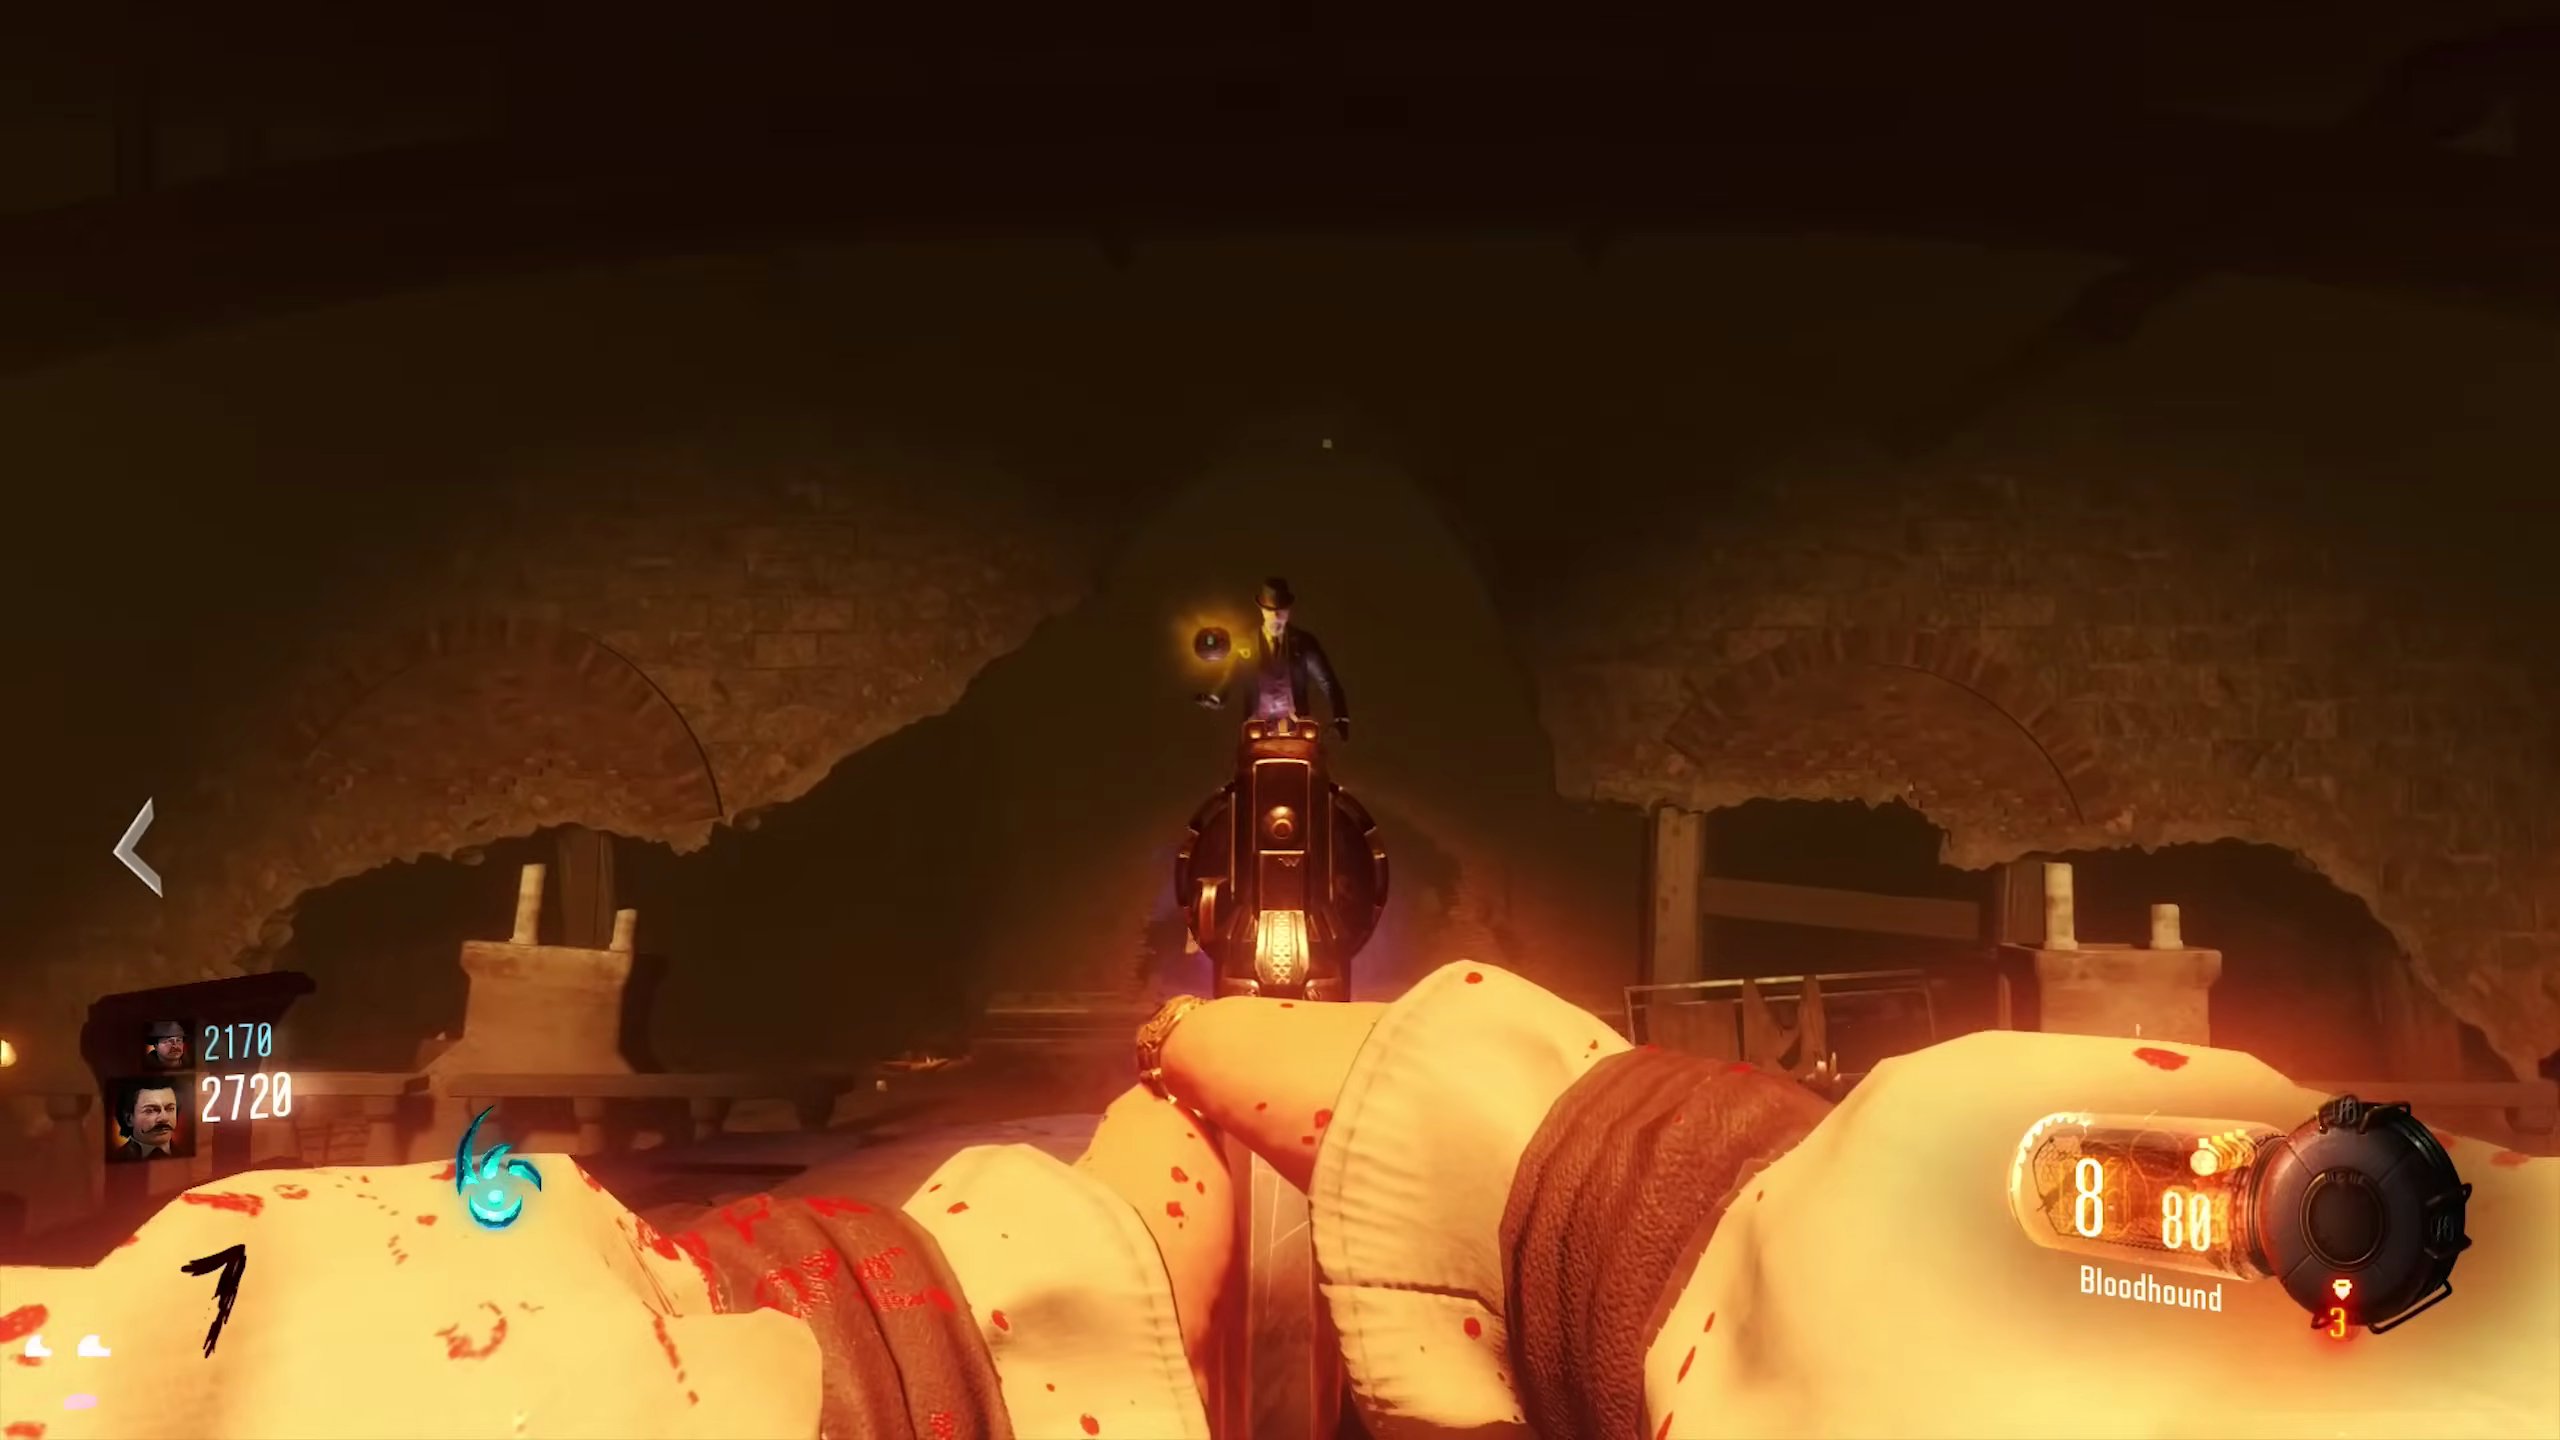
- After the Shadow Man's monologue and transformation, he will disappear. The large stone disc at the back of the room will split open, revealing the Pack-a-Punch machine.
- Approach the Pack-a-Punch machine and hold the action button to upgrade your weapon for 5000 points.
Finished the Easter Egg?
Send this guide to your squad.