Main Easter Egg
- Updated
- Jul 2, 2026

Reckoning Main Easter Egg Guide
This guide will walk you through all the necessary steps to complete the Main Easter Egg in the Zombies map Reckoning, from initial setup to the final boss encounters.
Suggested Loadout & Perks
Before diving into the Easter Egg, optimize your loadout for the boss fight:
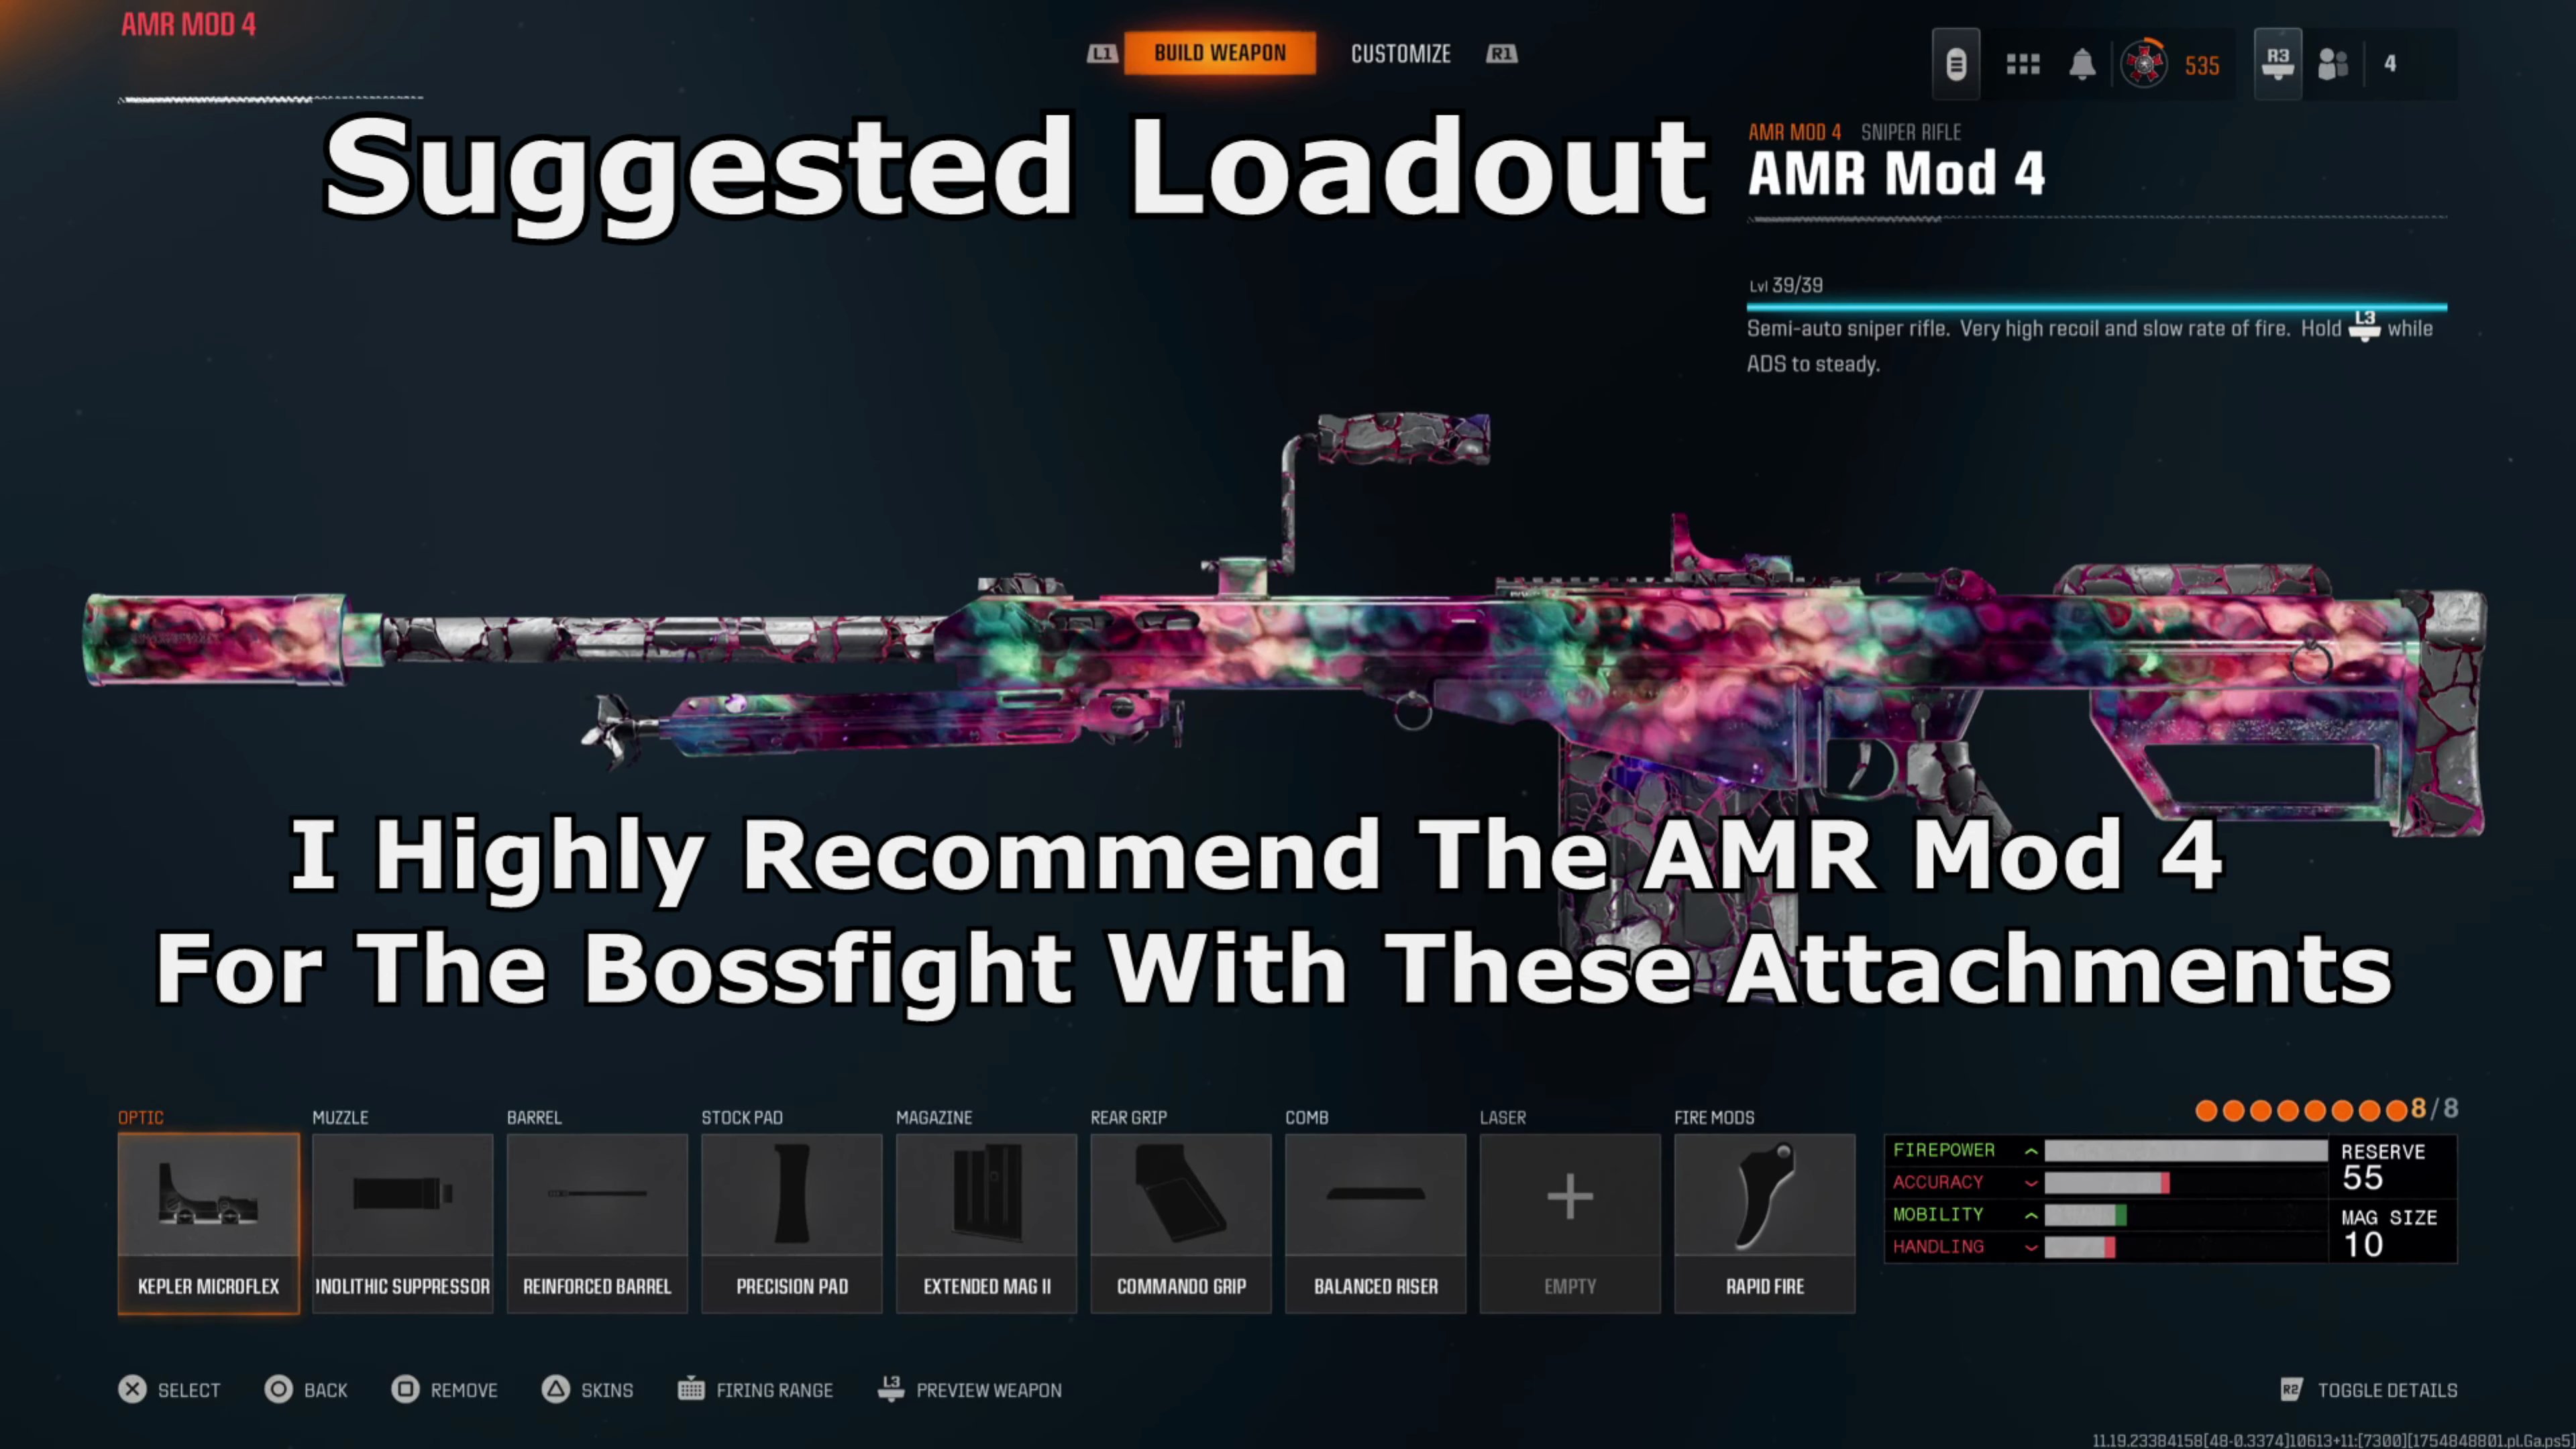
- Weapon: AMR Mod 4 (Heating Suppressor, Reinforced Barrel, Precision Grip, Commando Grip, Balanced Grip)
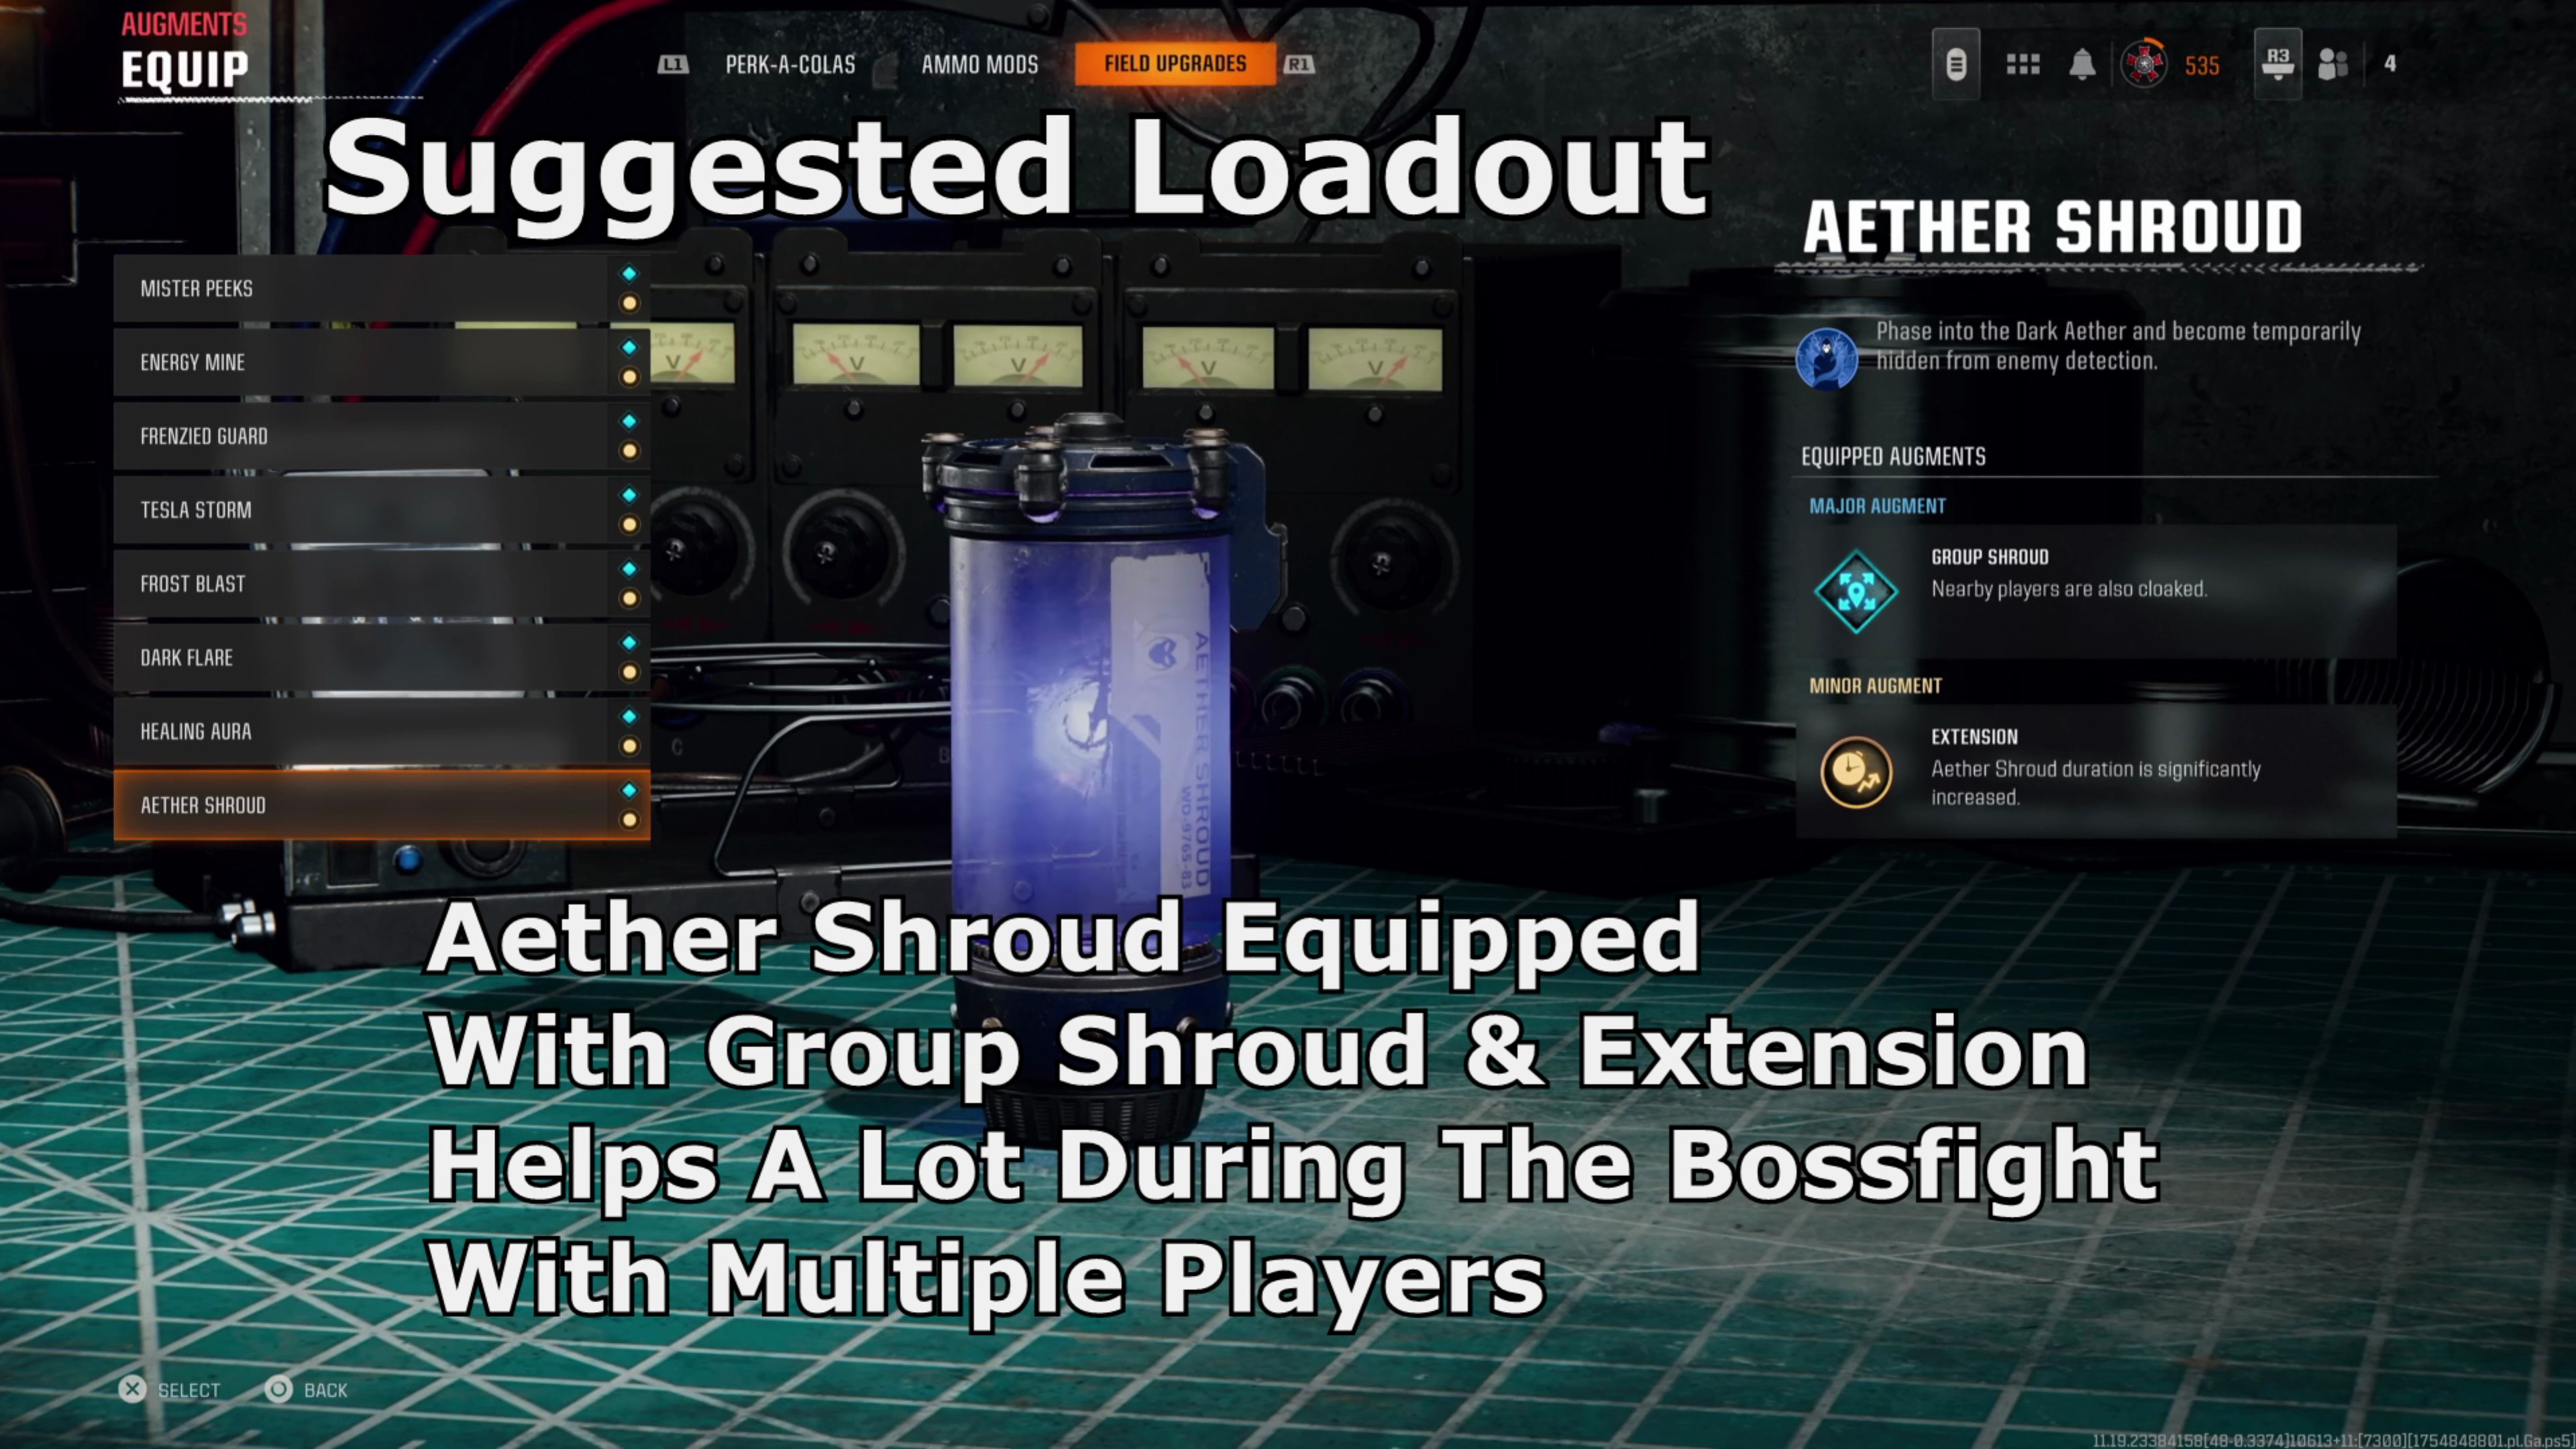
- Field Upgrade: Aether Shroud (Group Shroud & Extension augments)
- Perks (Augments):
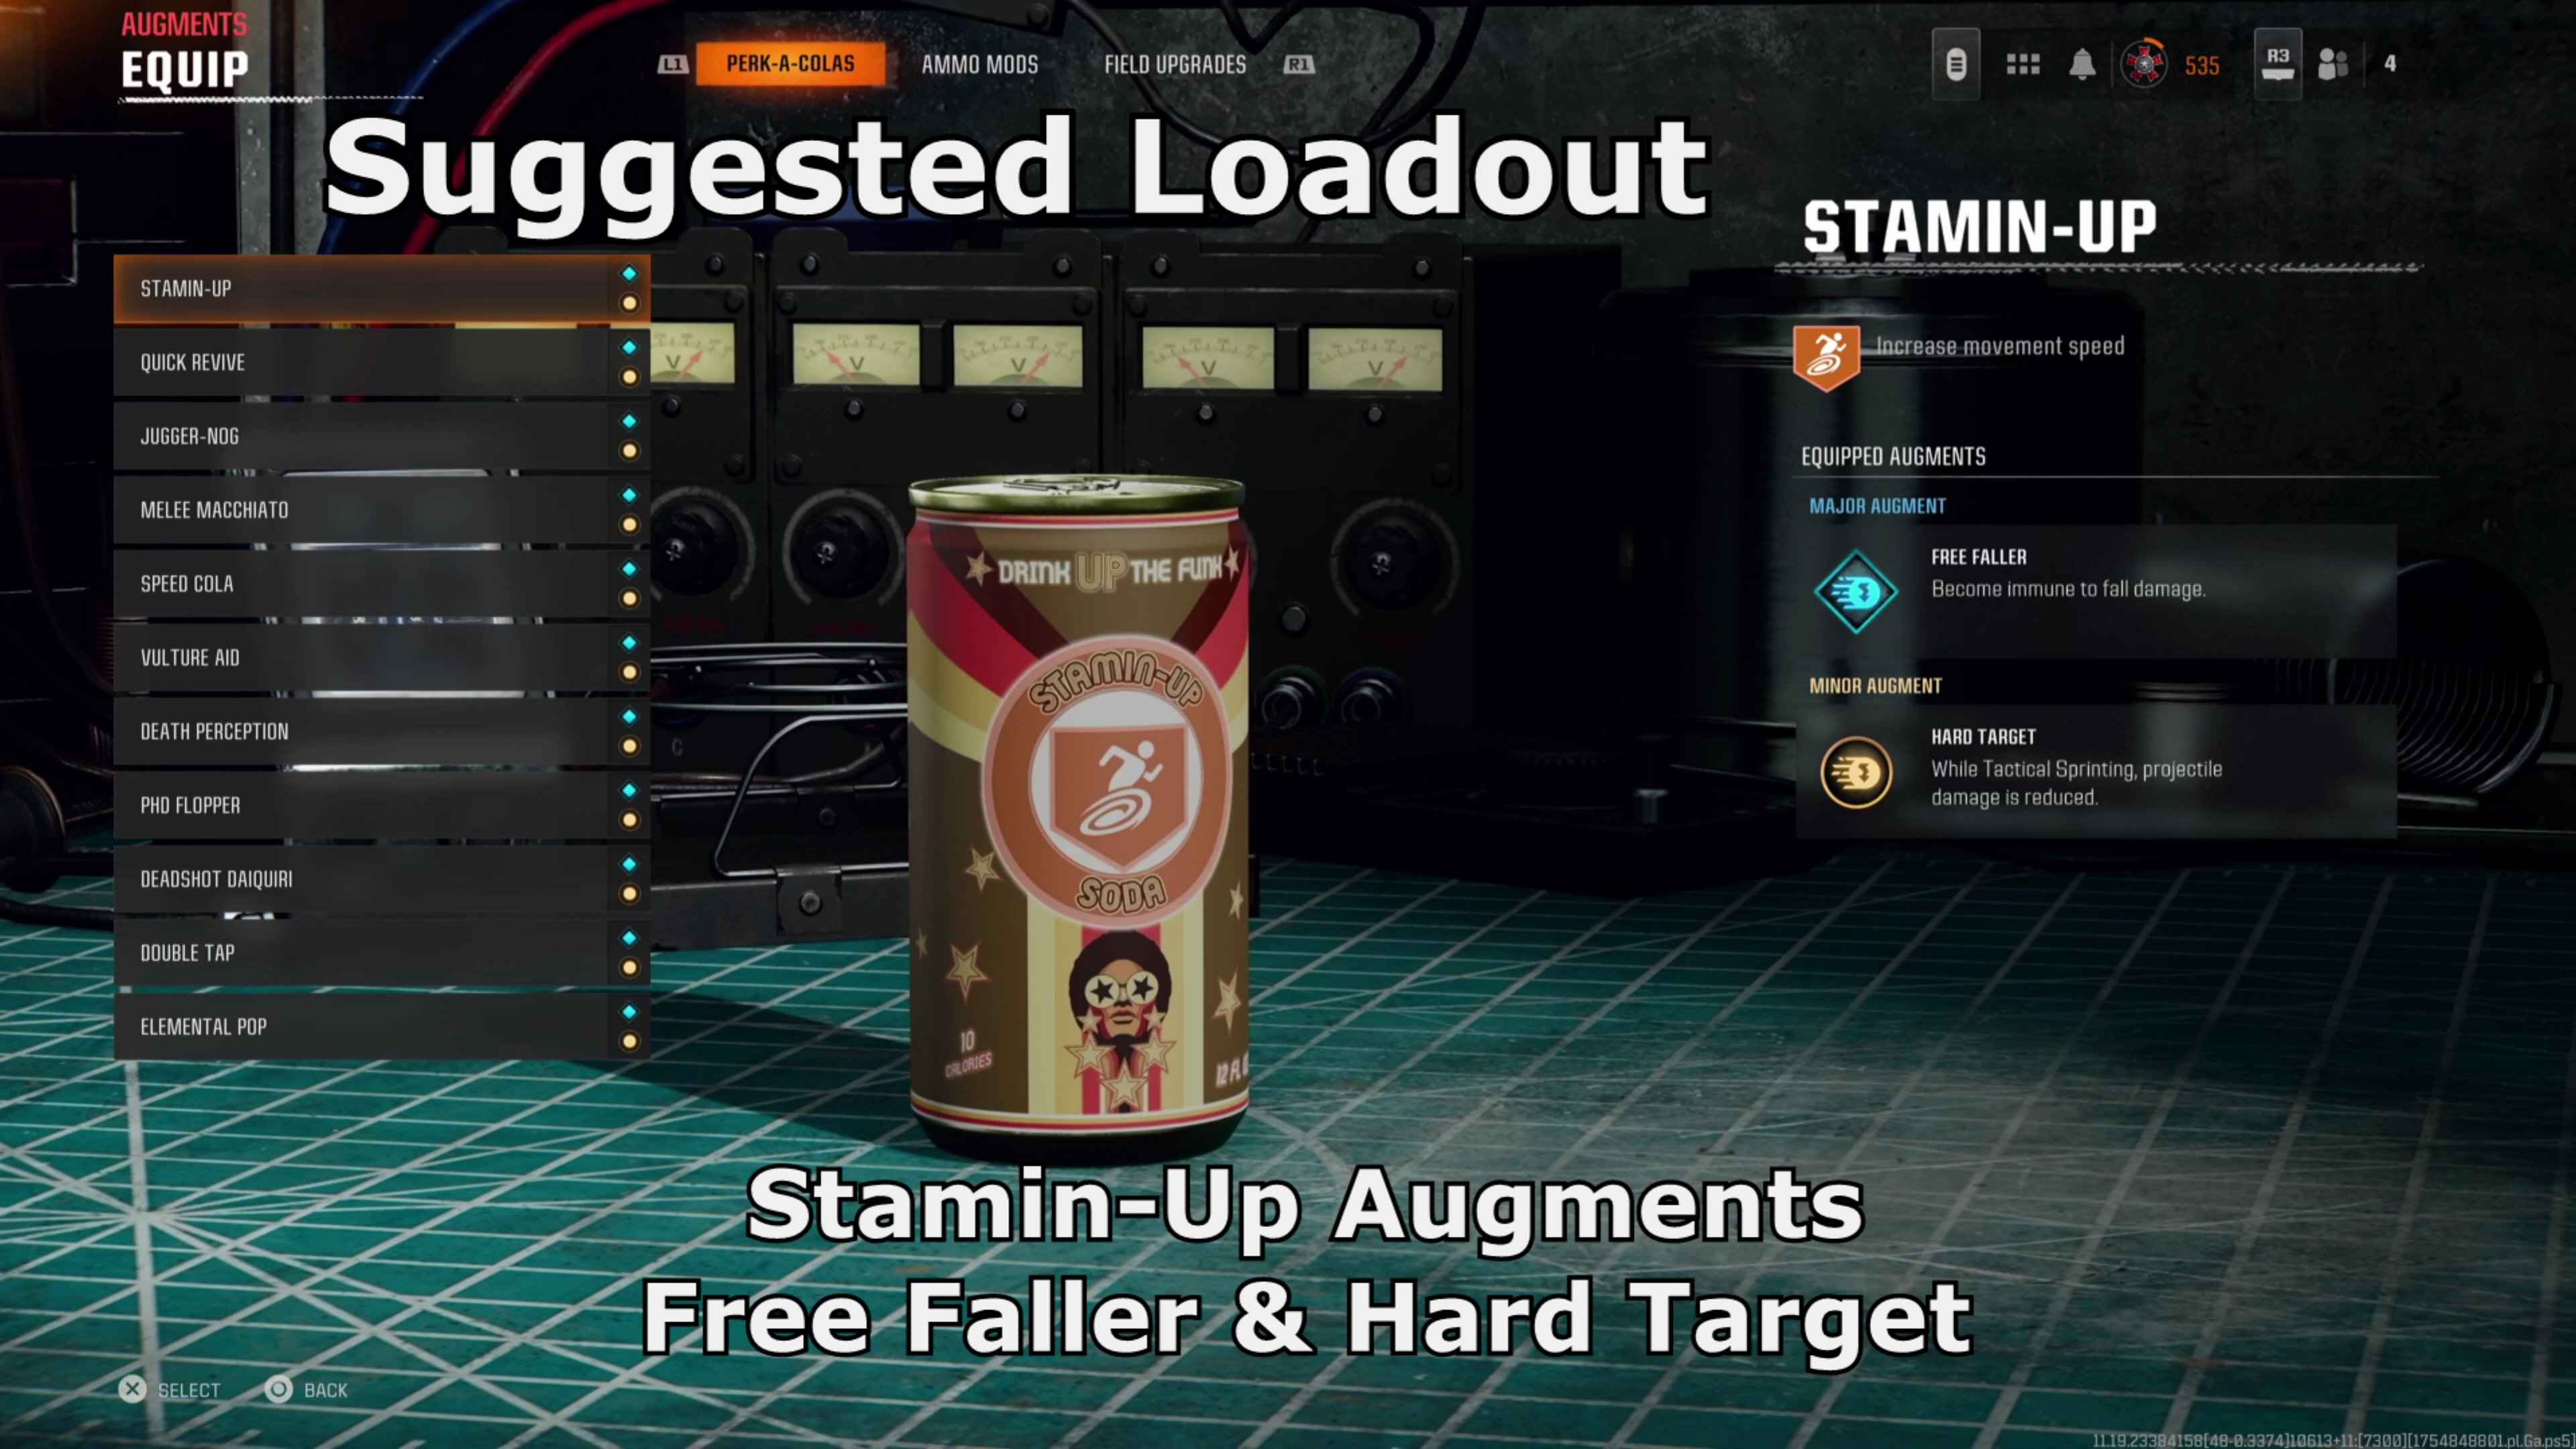
- Stamin-Up (Free Faller & Hard Target)
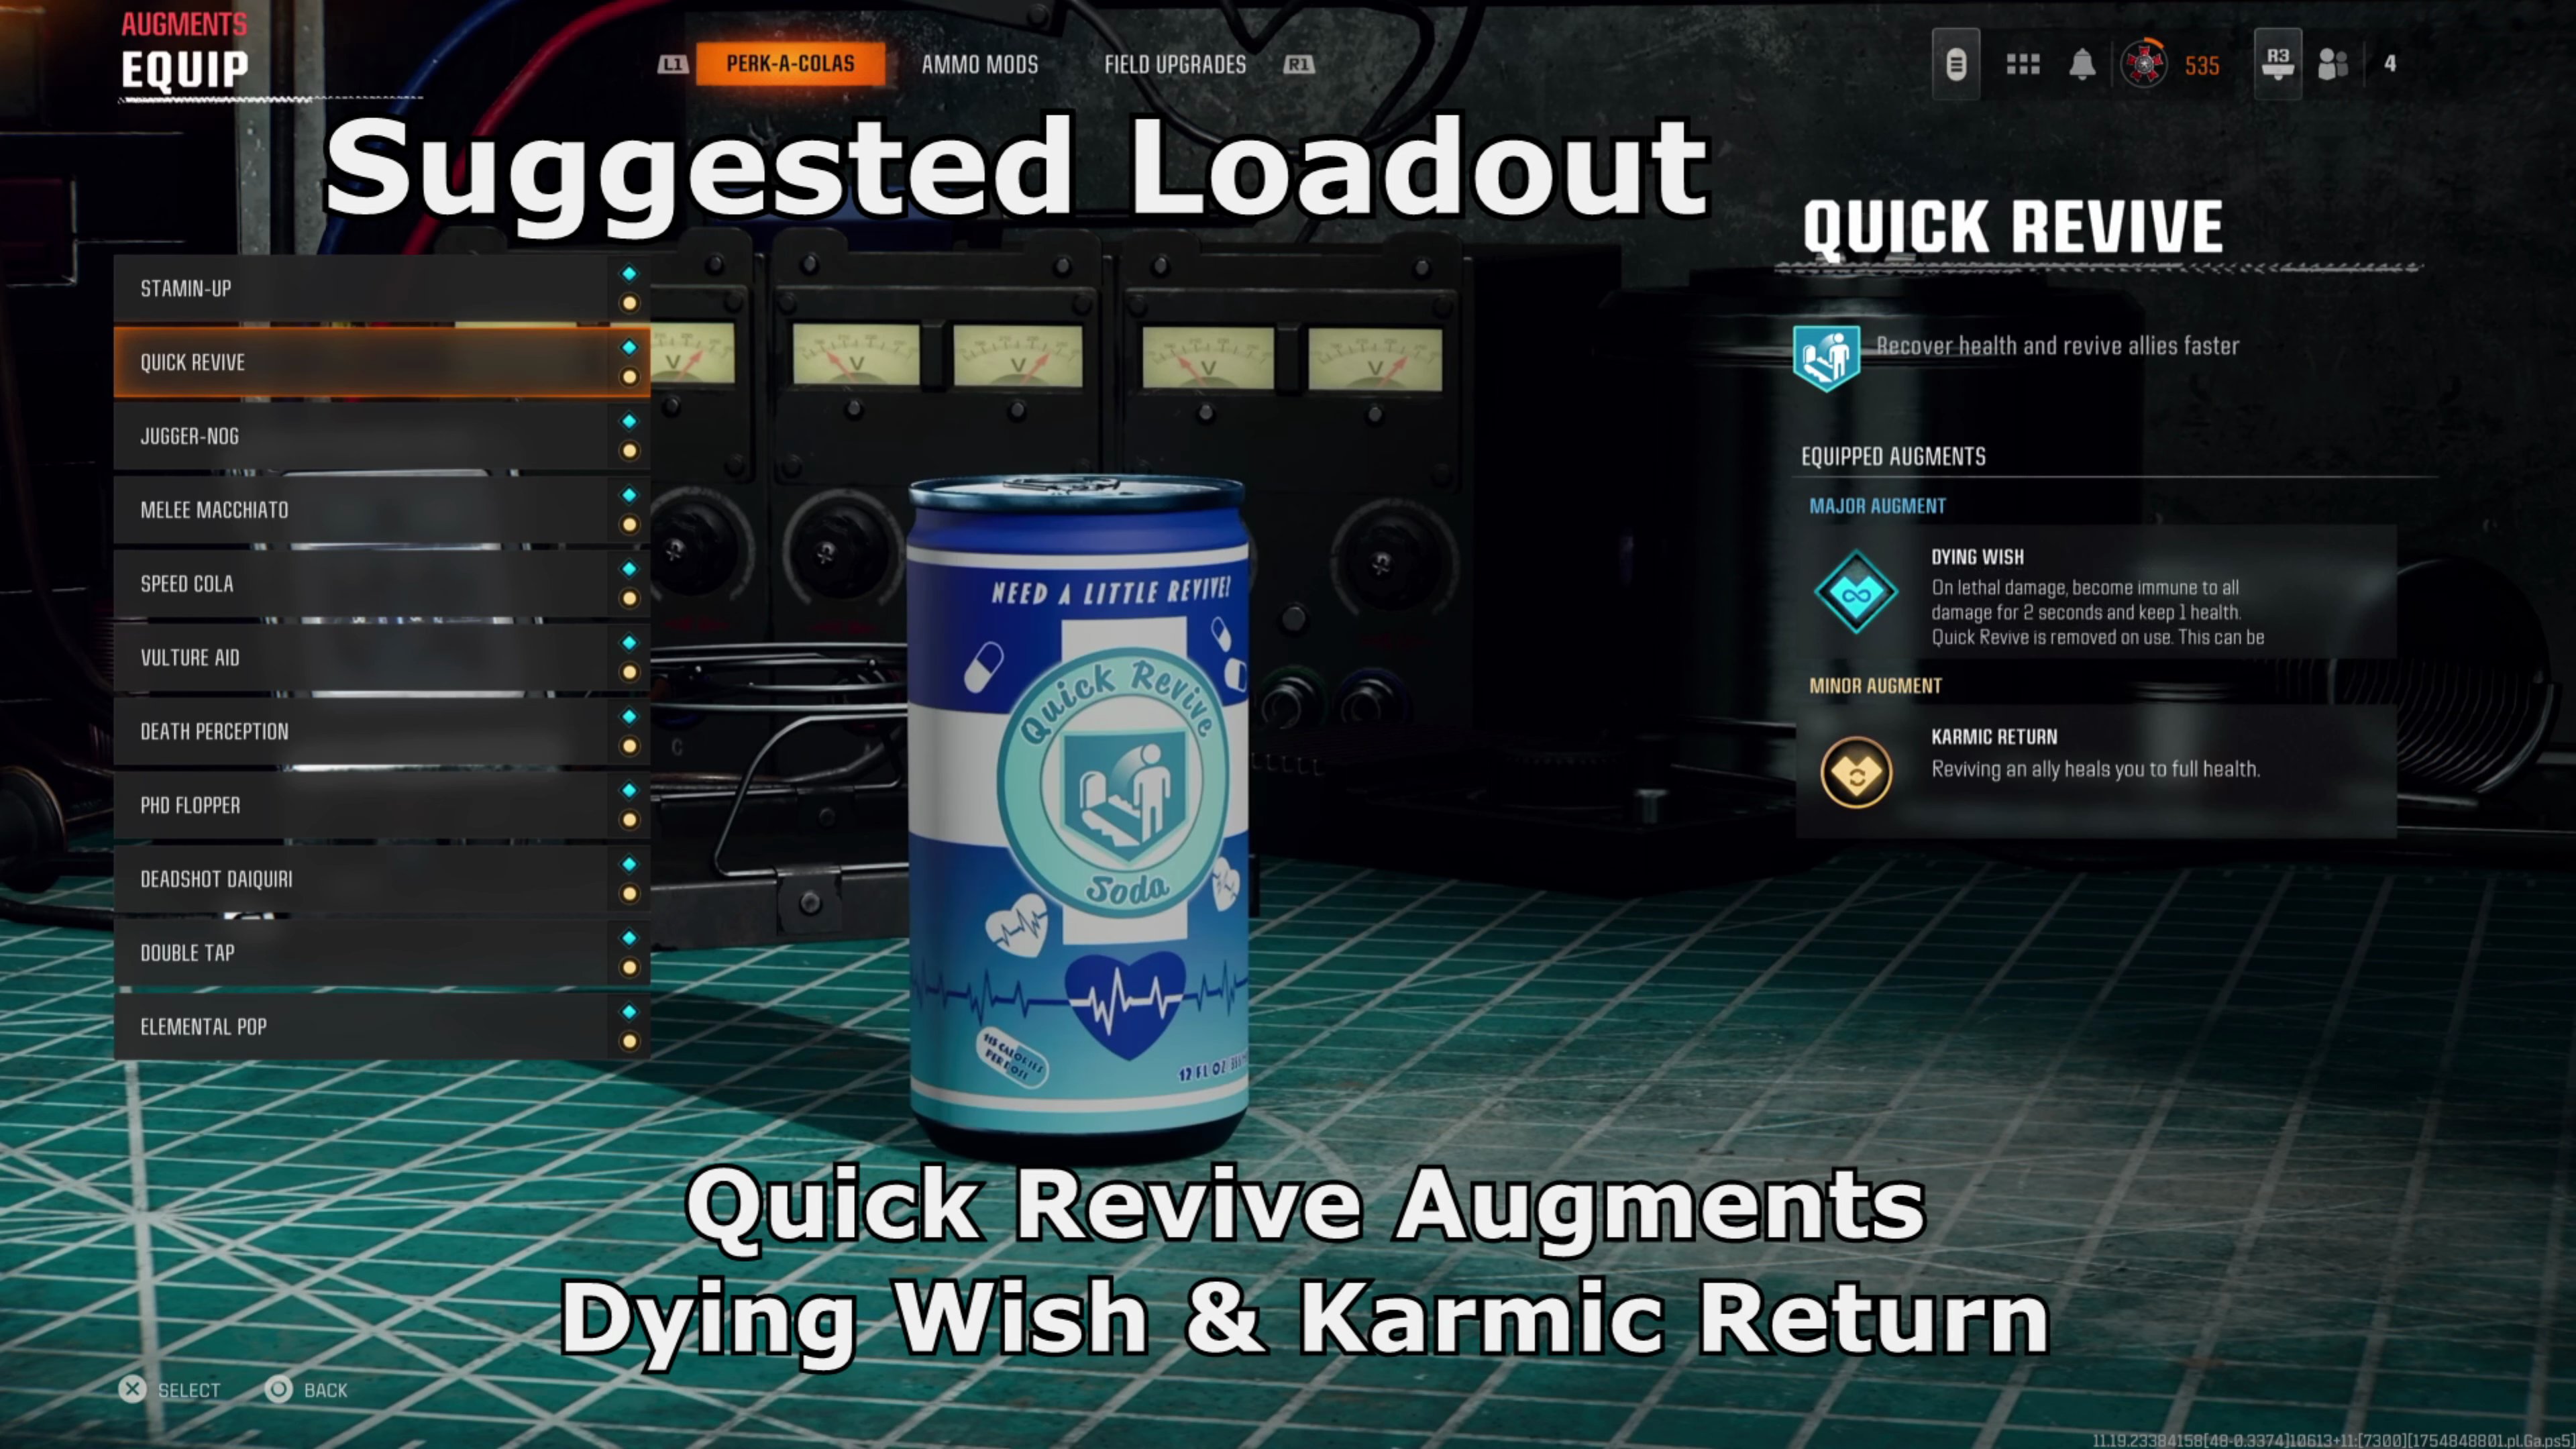
- Quick Revive (Dying Wish & Karmic Return)
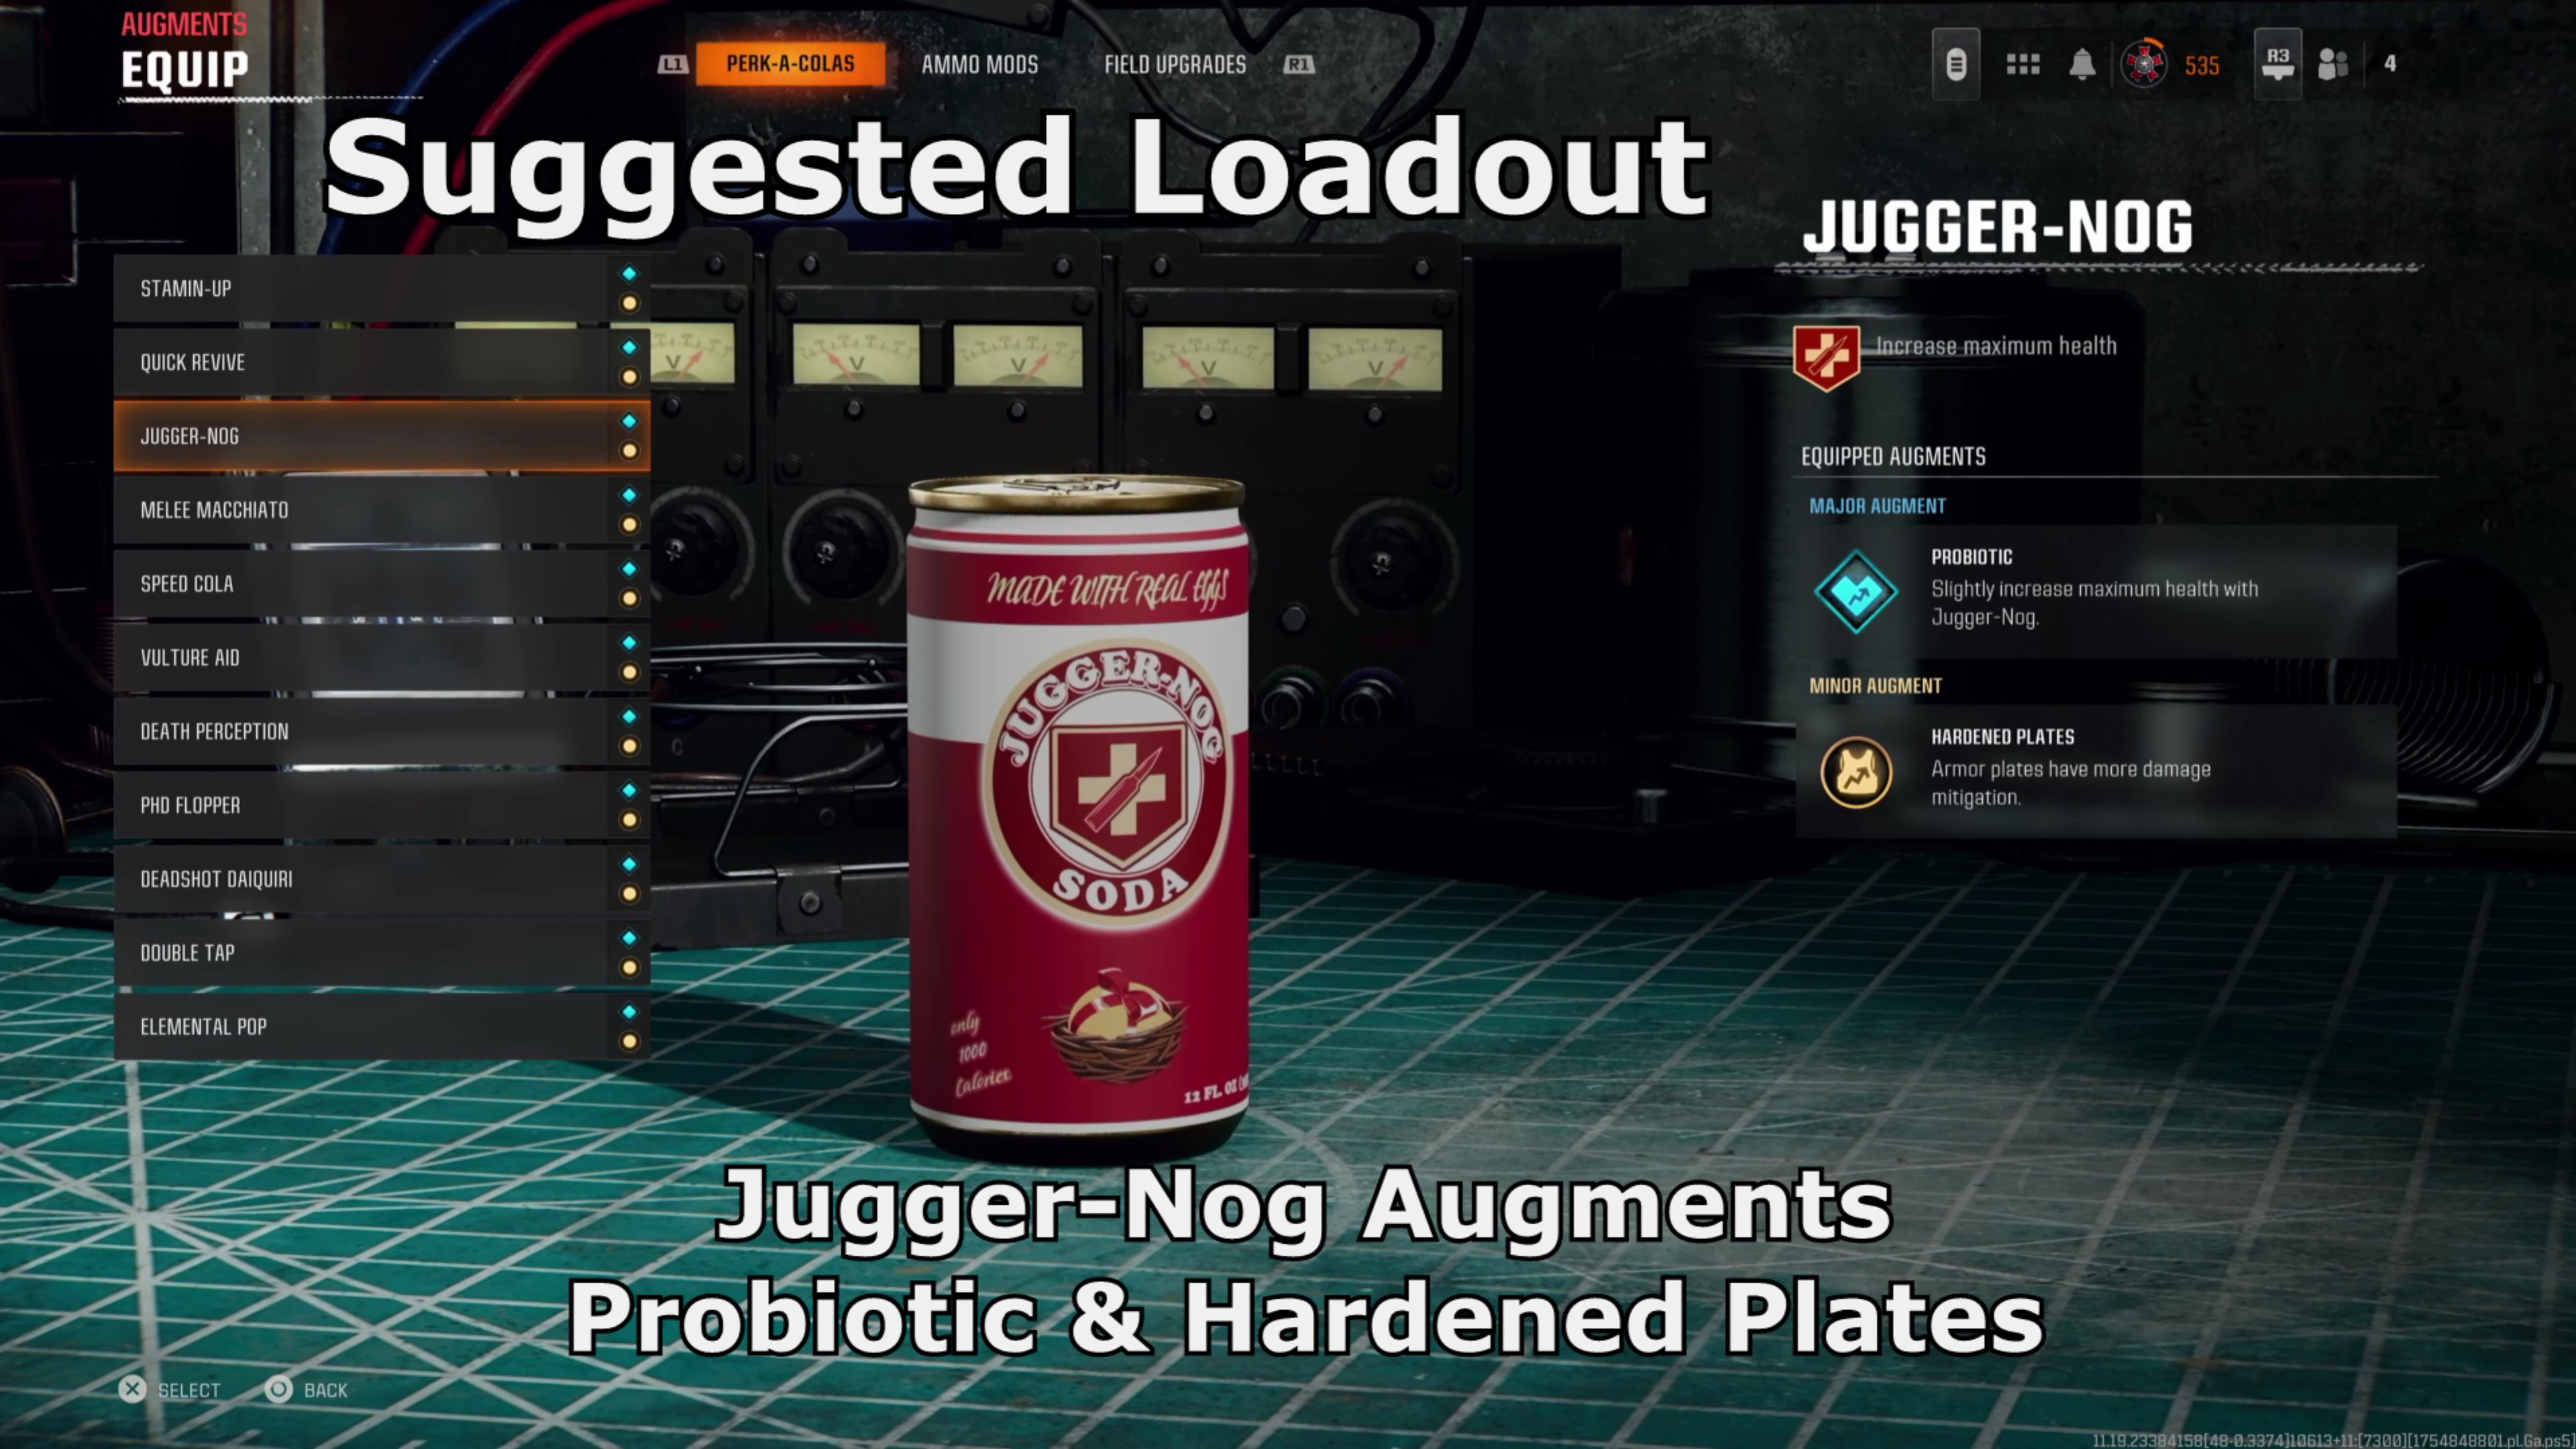
- Juggernog (Probiotic & Hardened Plates)
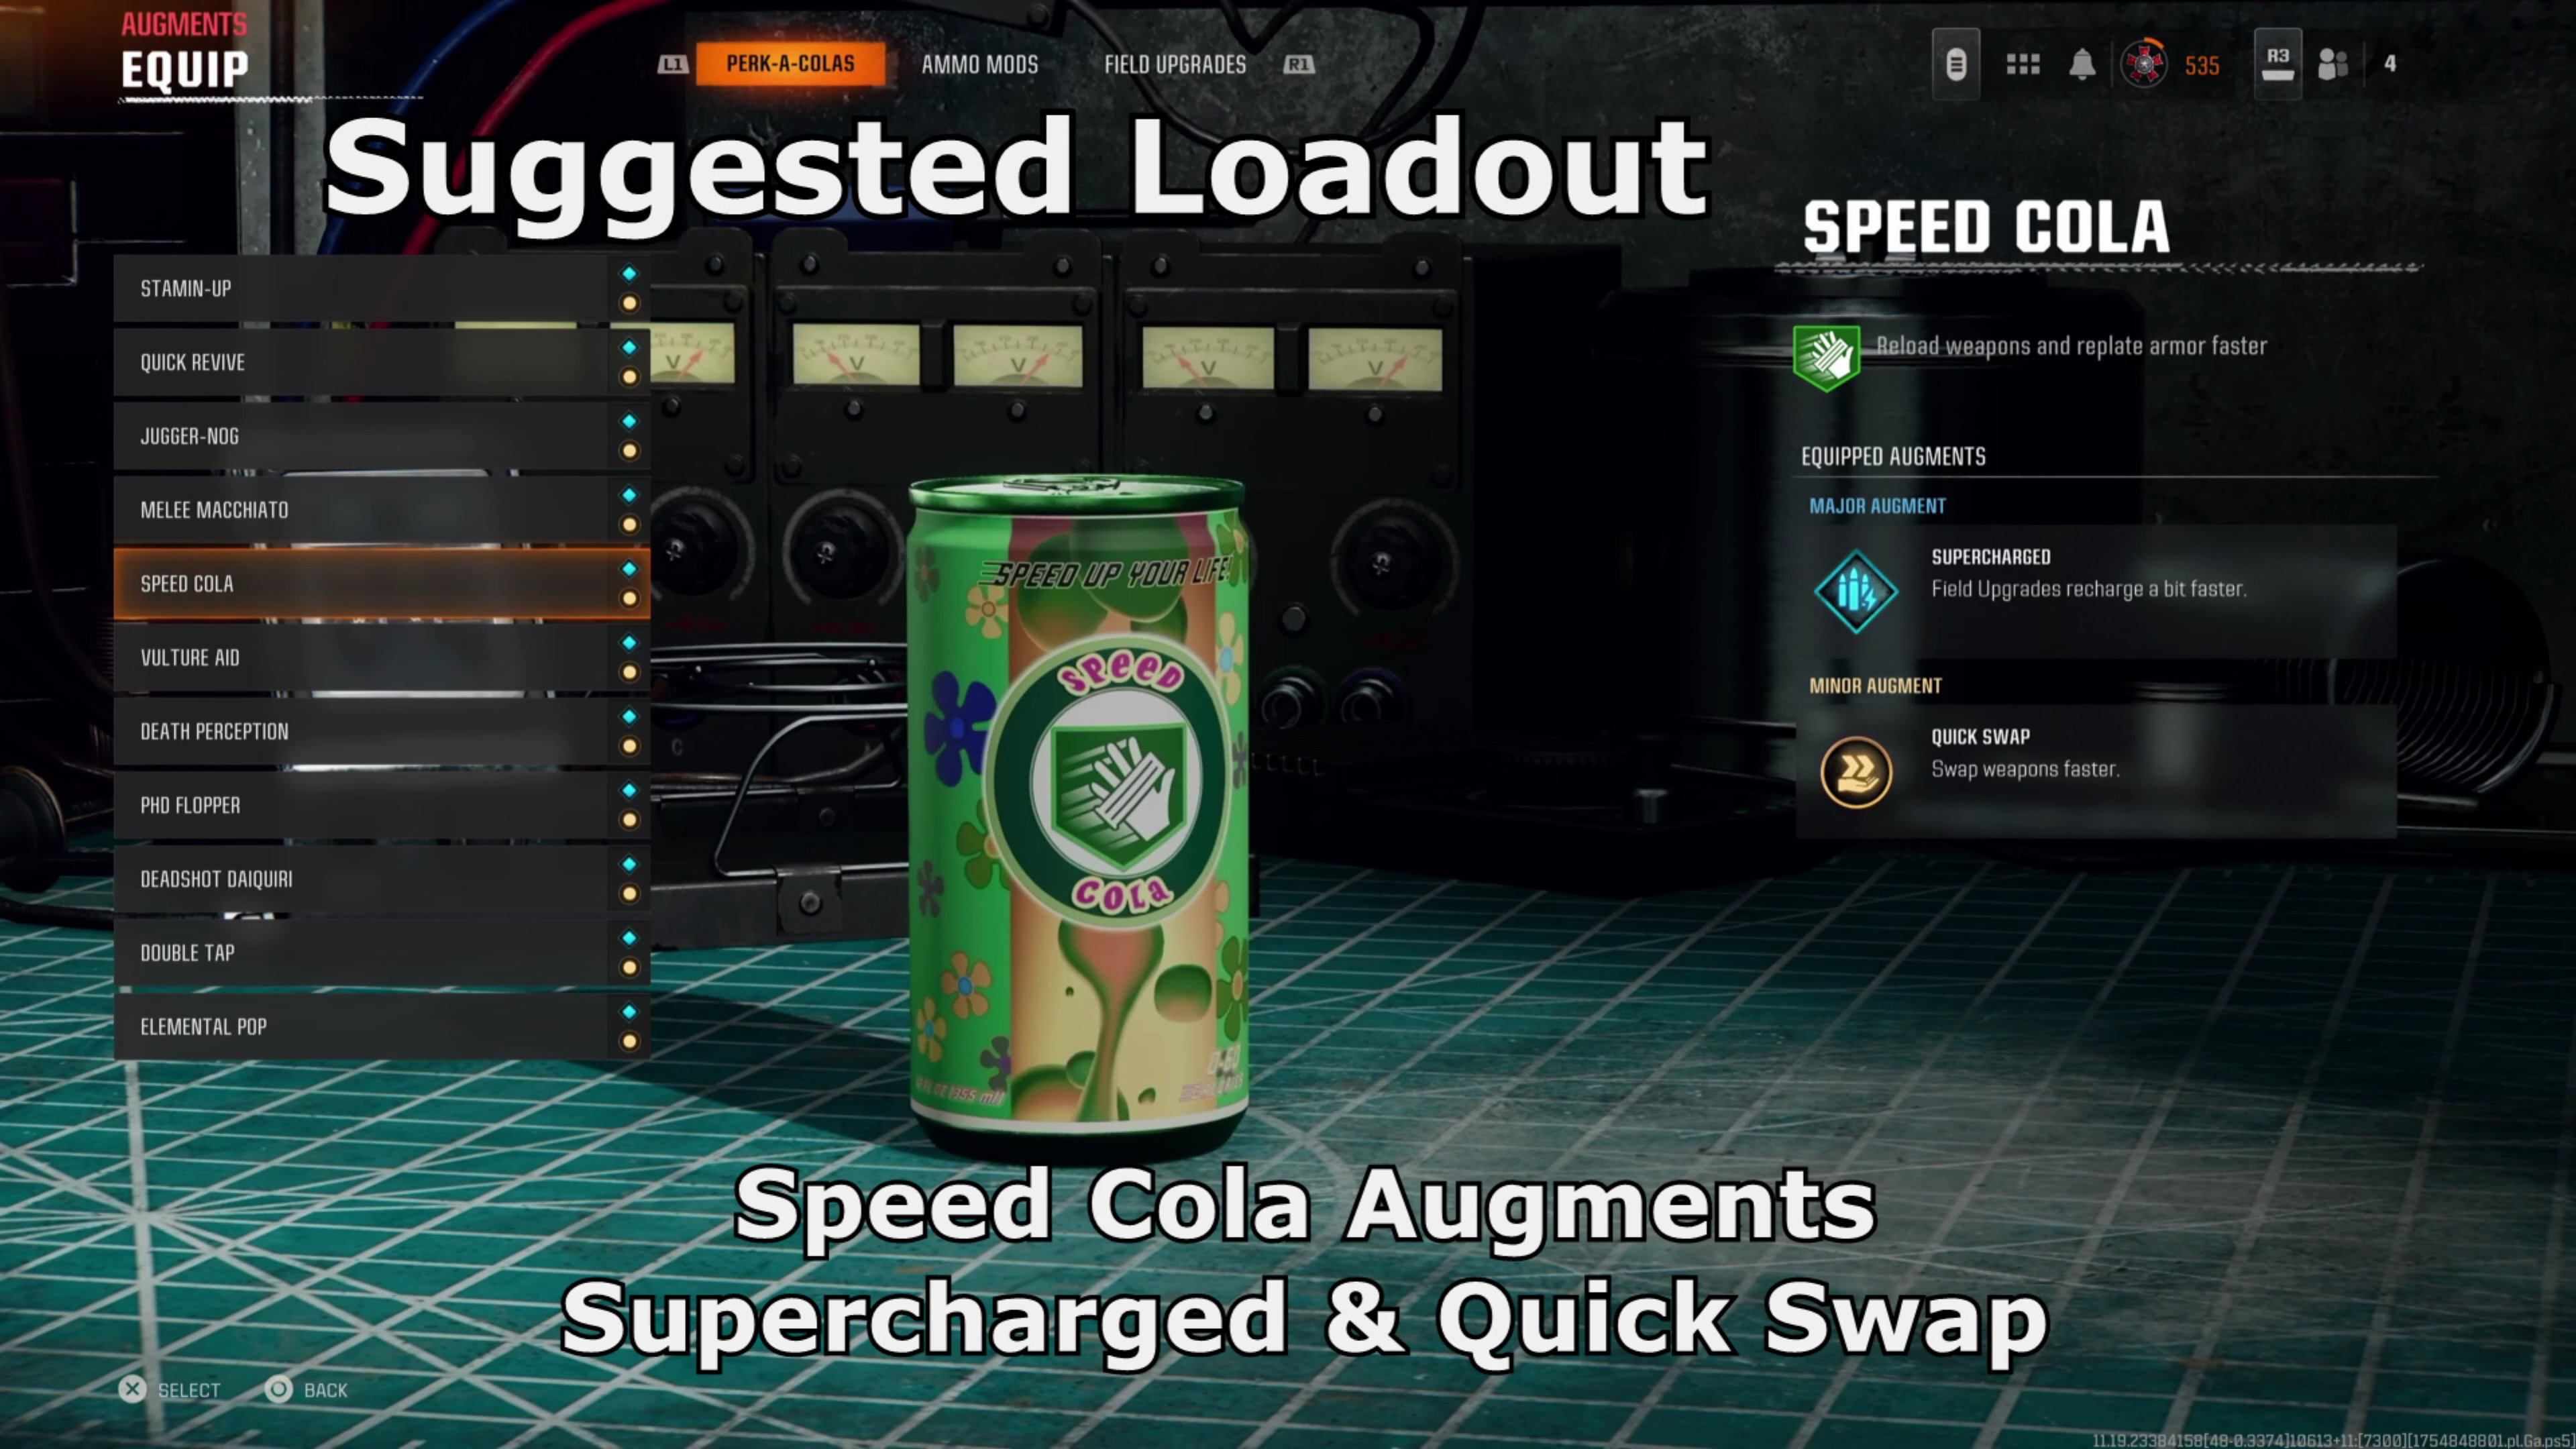
- Speed Cola (Supercharged & Quick Swap)
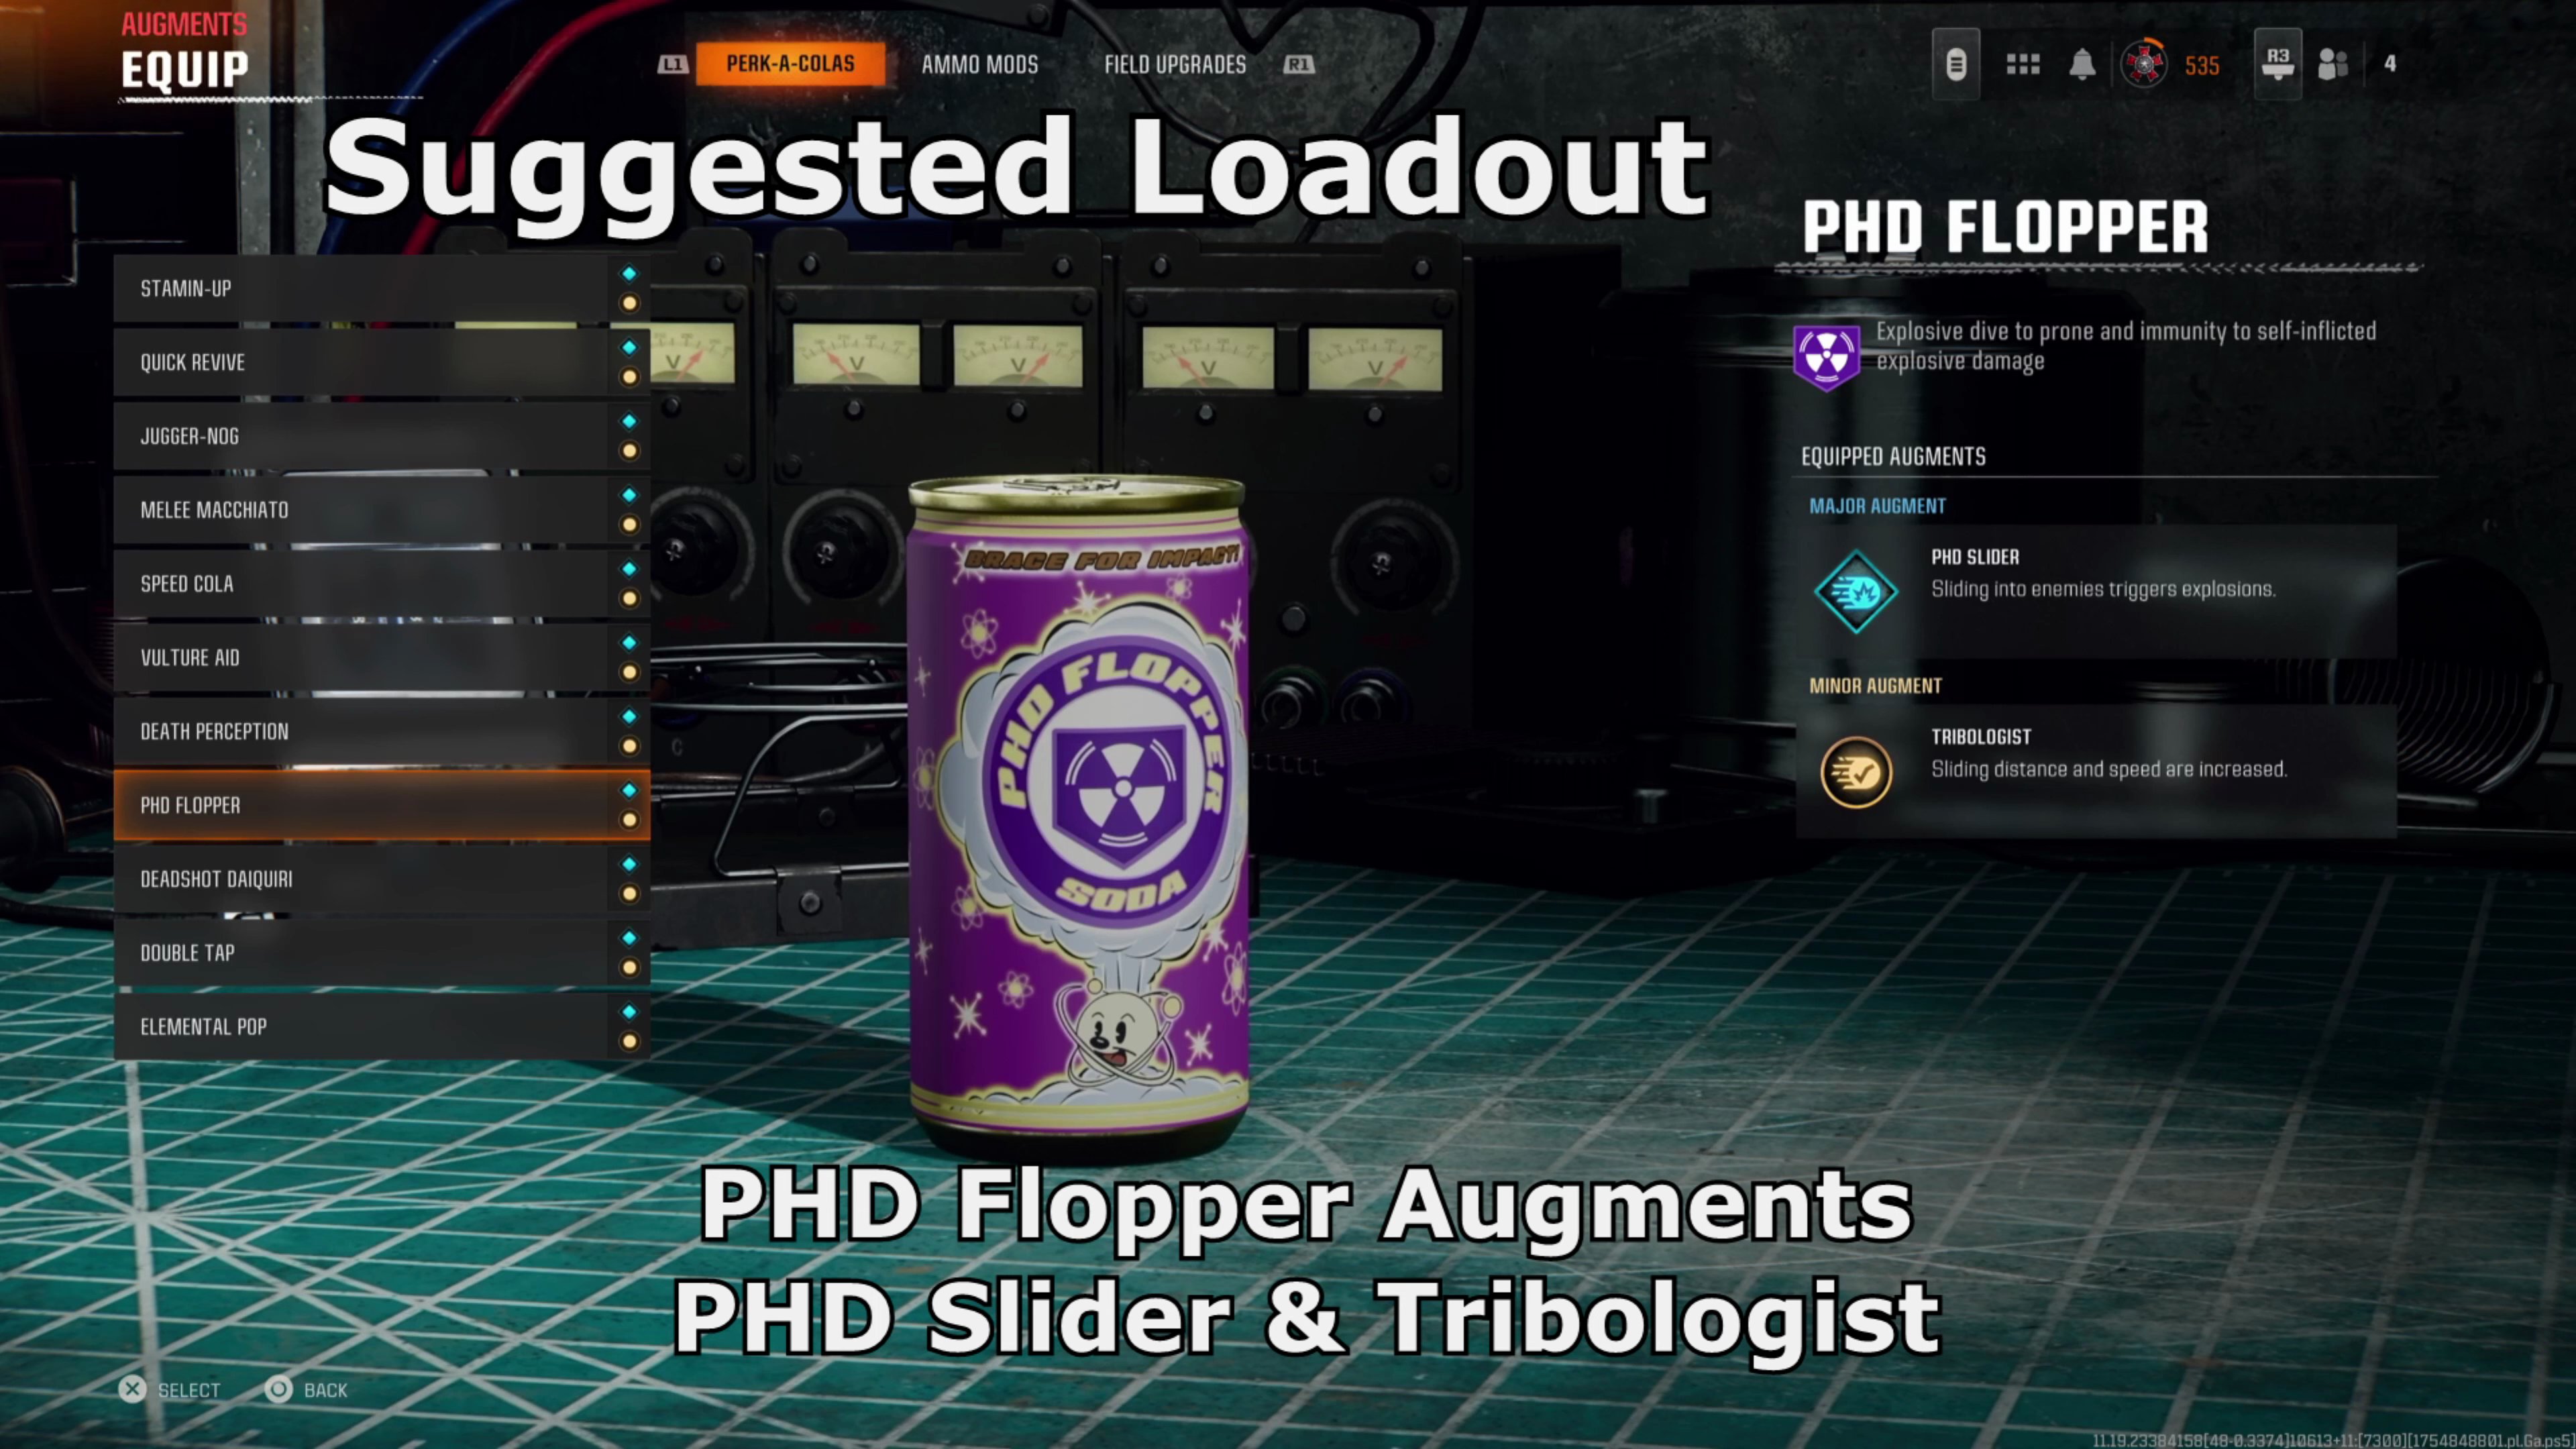
- PHD Flopper (PHD Slider & Tribologist)
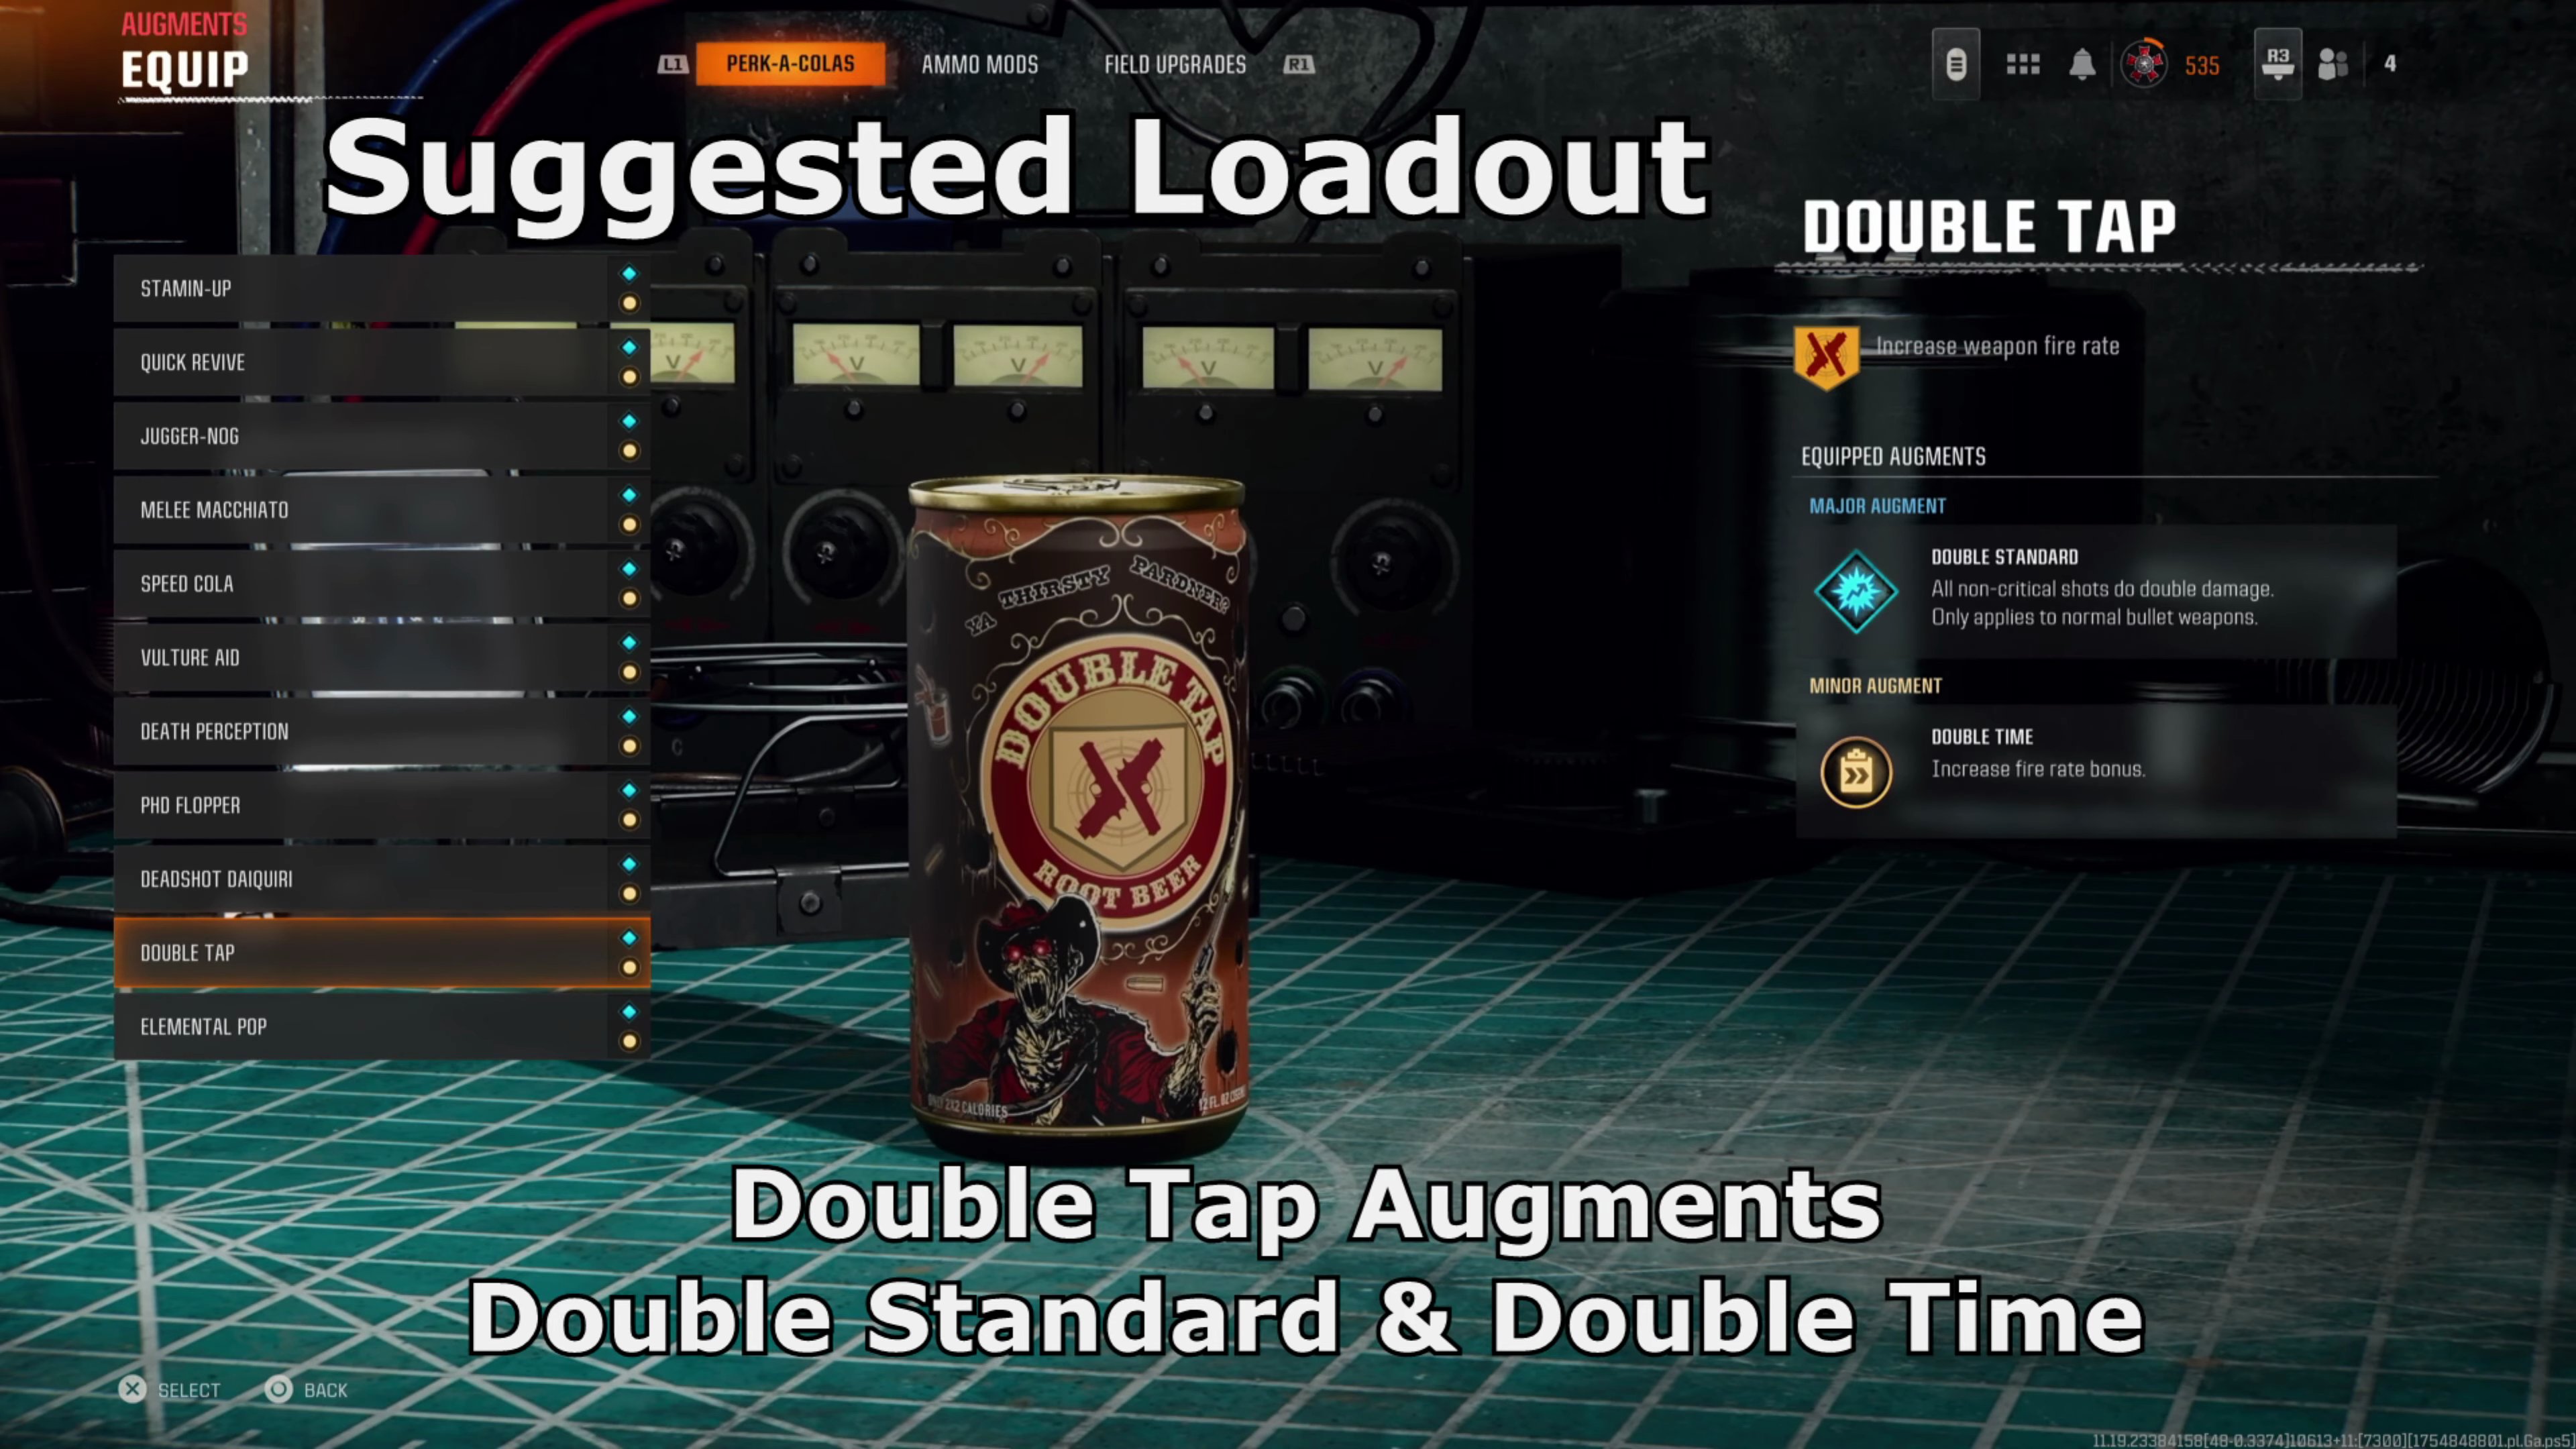
- Double Tap (Double Standard & Double Time)
- Stamin-Up (Free Faller & Hard Target)
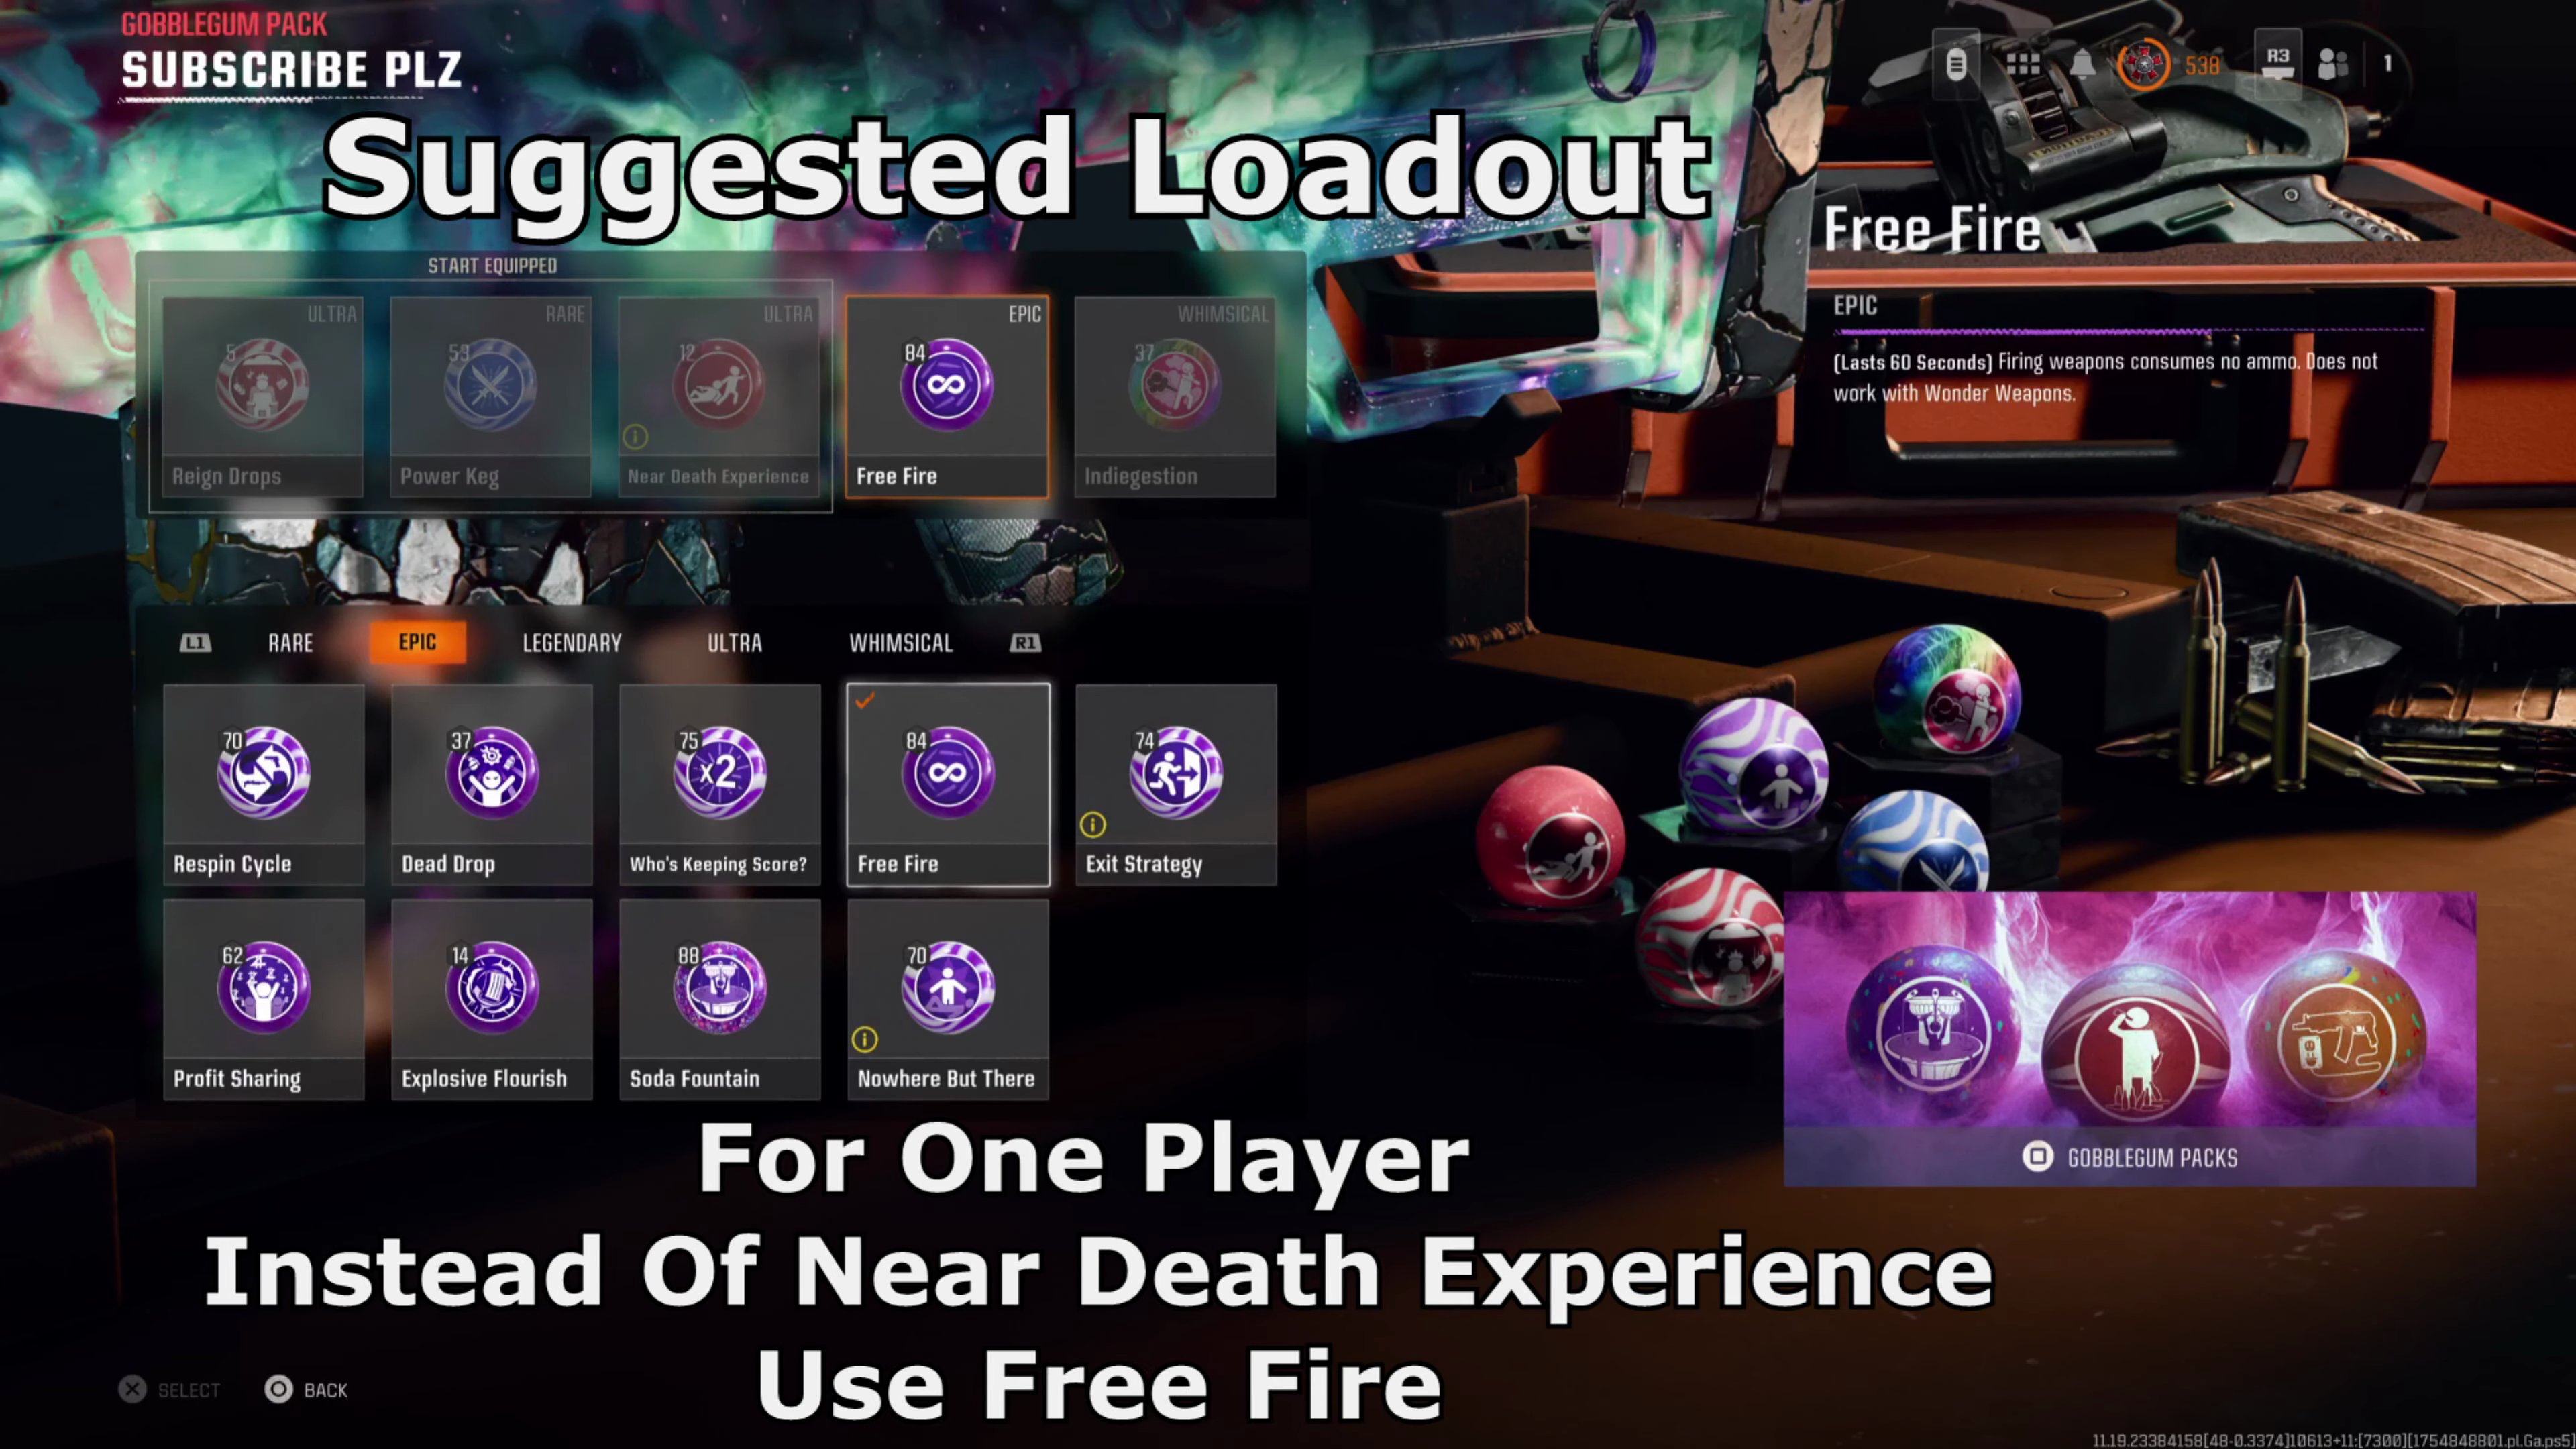
- Gobble Gums (2+ Players): Reign Drops, Power Keg, or Near Death Experience
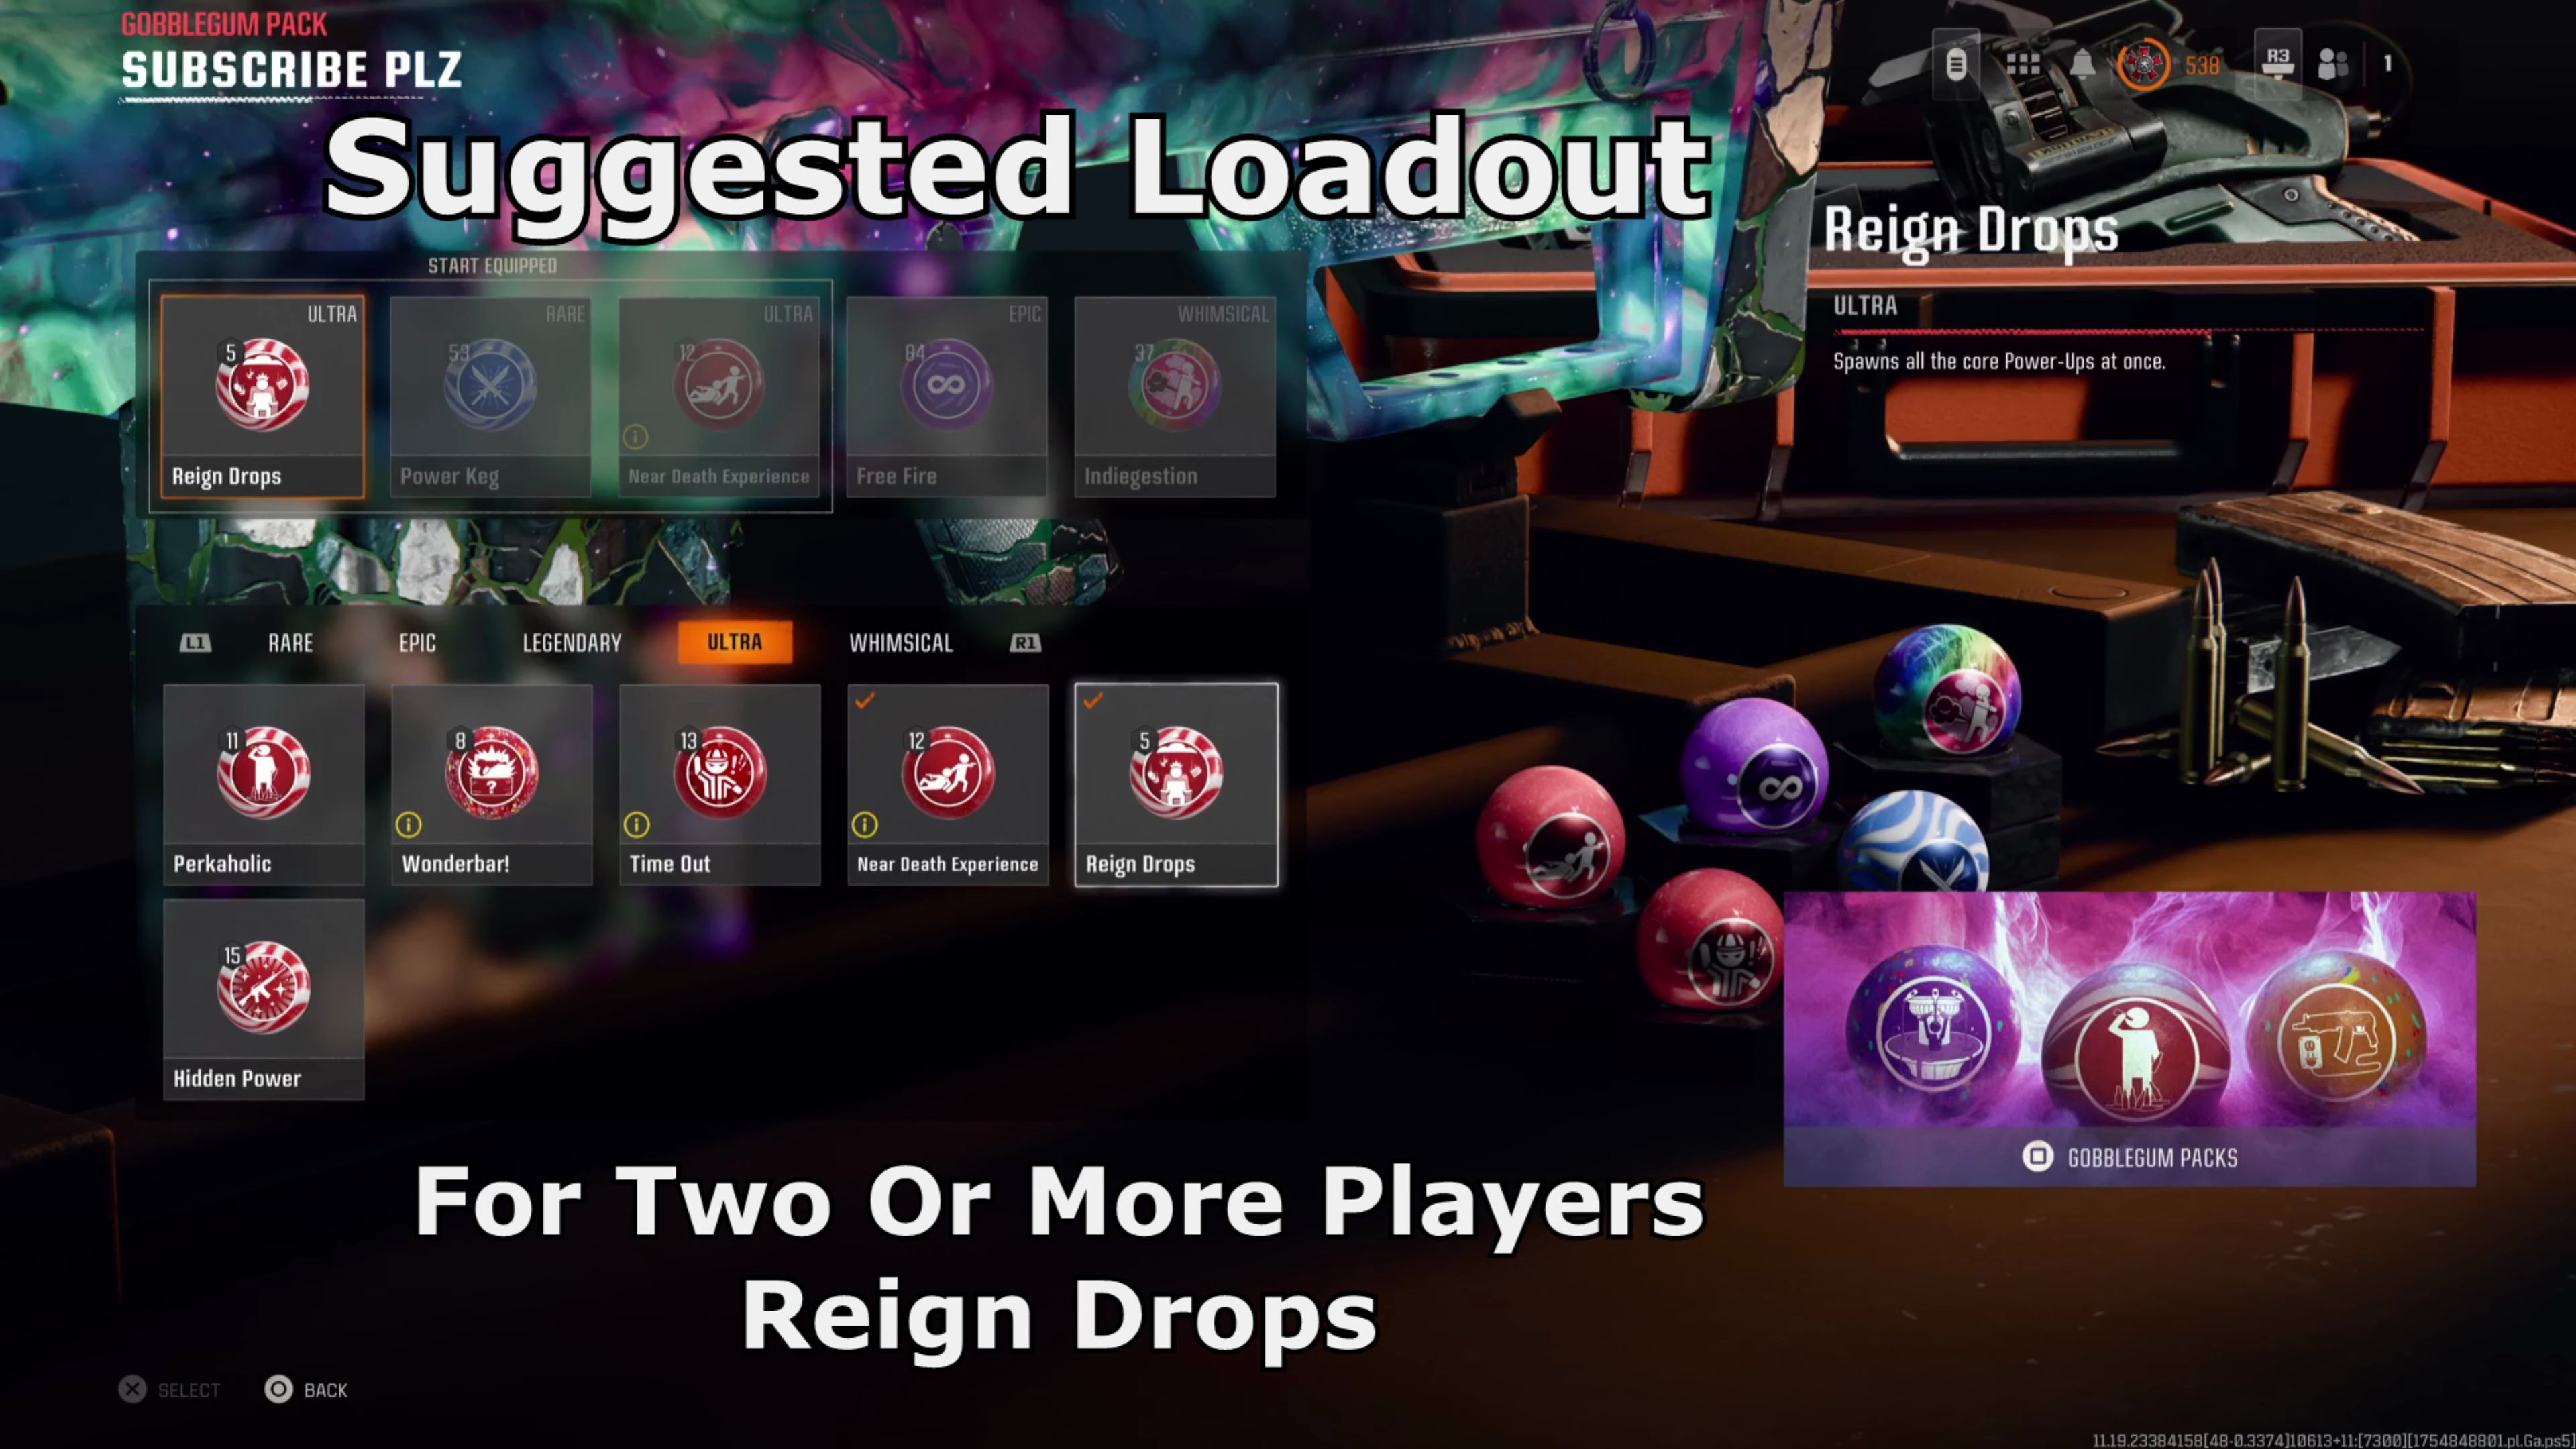
- Gobble Gums (1 Player): Free Fire (instead of Near Death Experience)
Step 1: Acquire DNA Samples
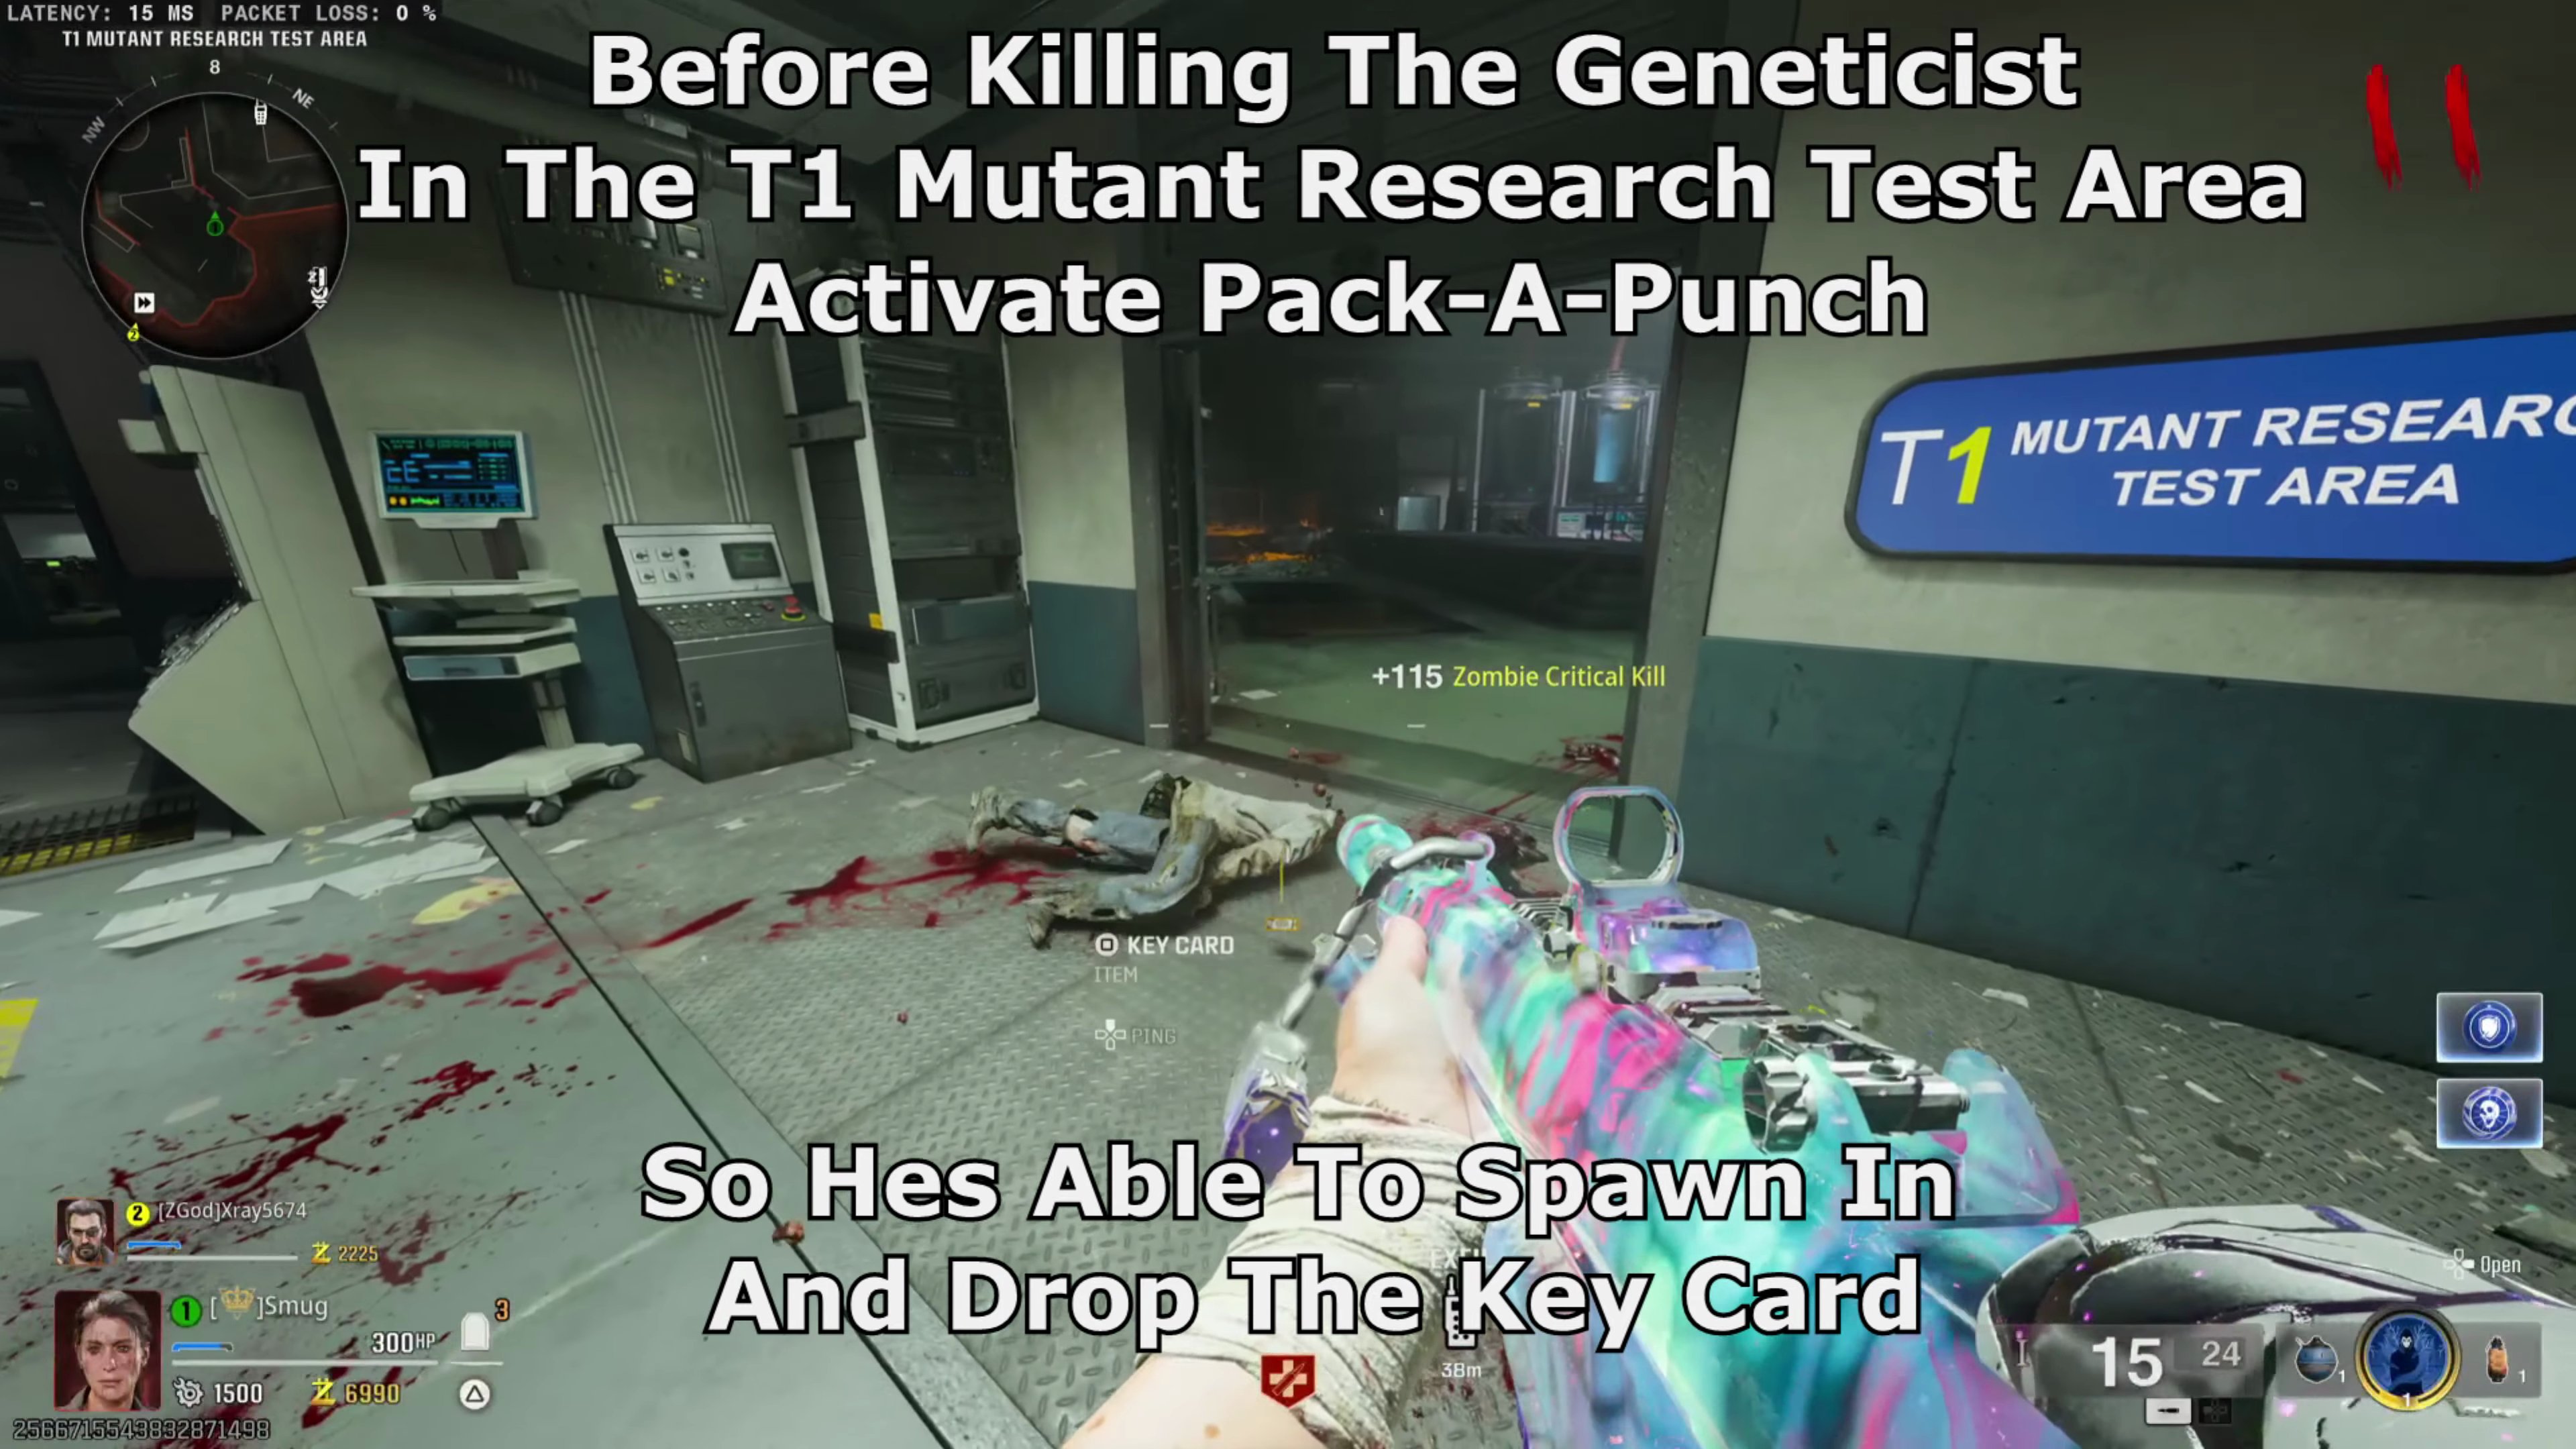
- Locate and kill the Geneticist in the T1 Mutant Research Test Area after activating Pack-A-Punch. He will drop a Key Card.
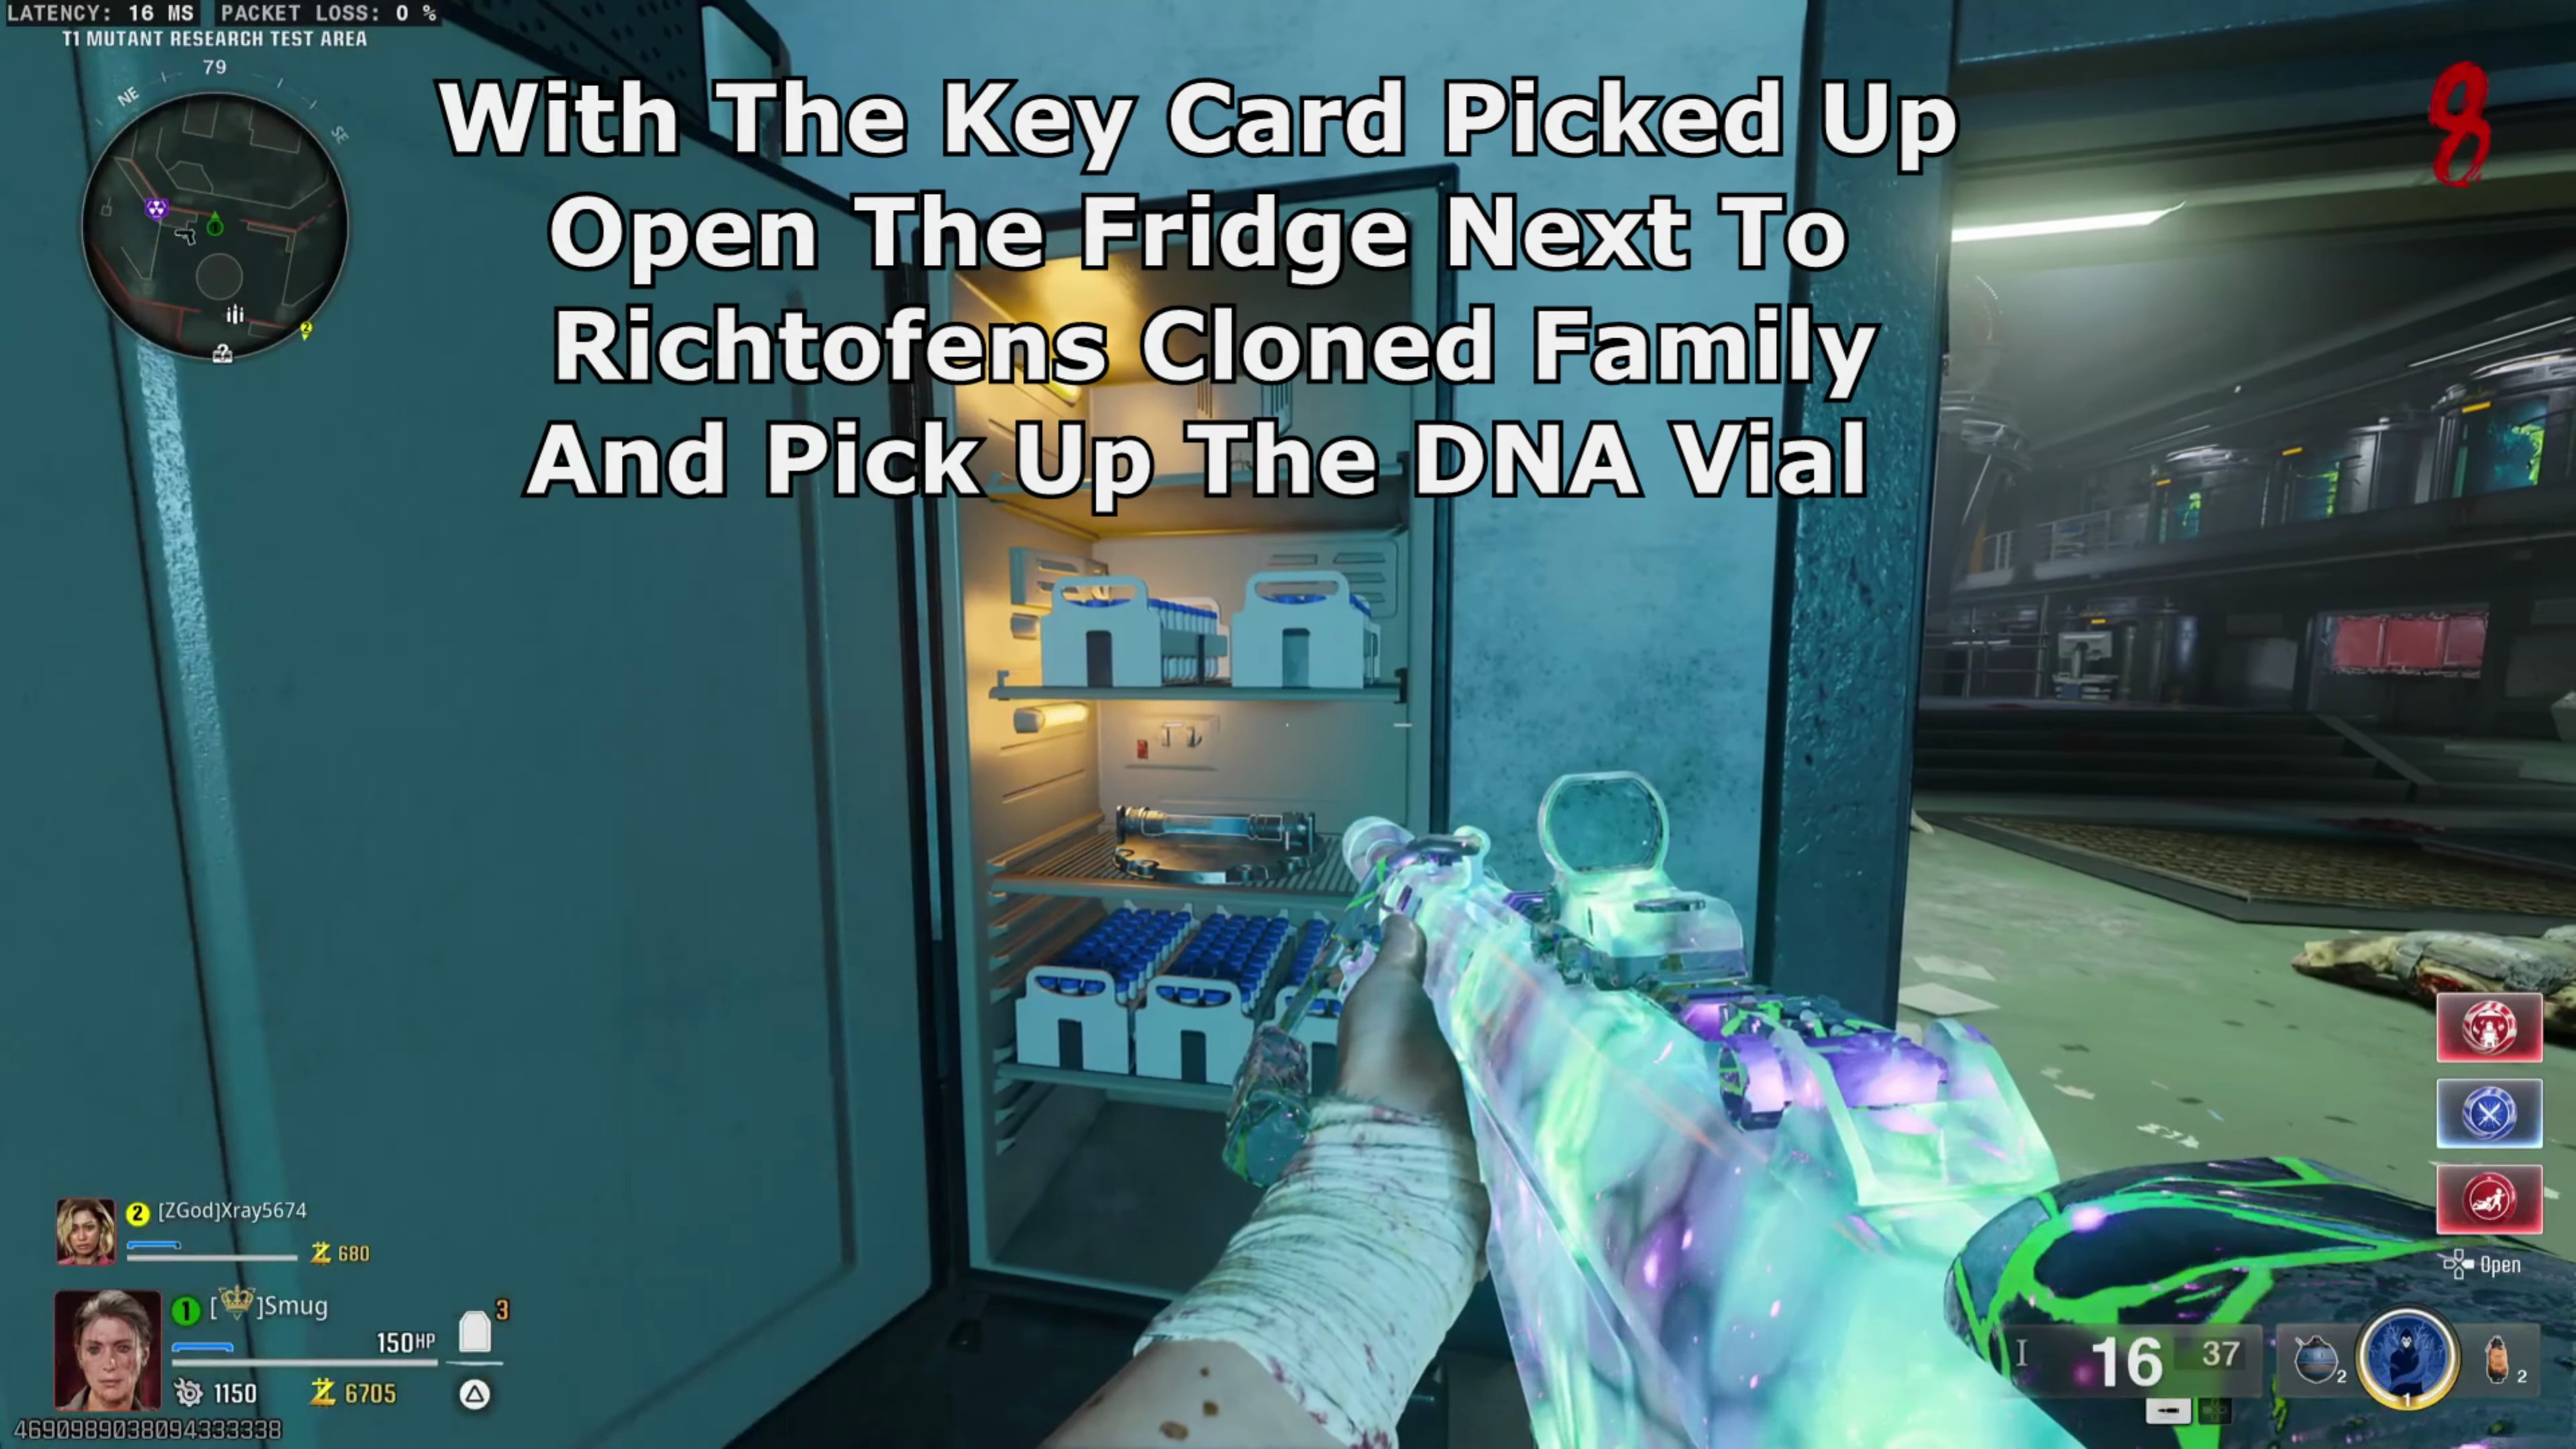
- Use the Key Card to open the fridge next to Richtofen's Cloned Family and pick up the DNA Vial.
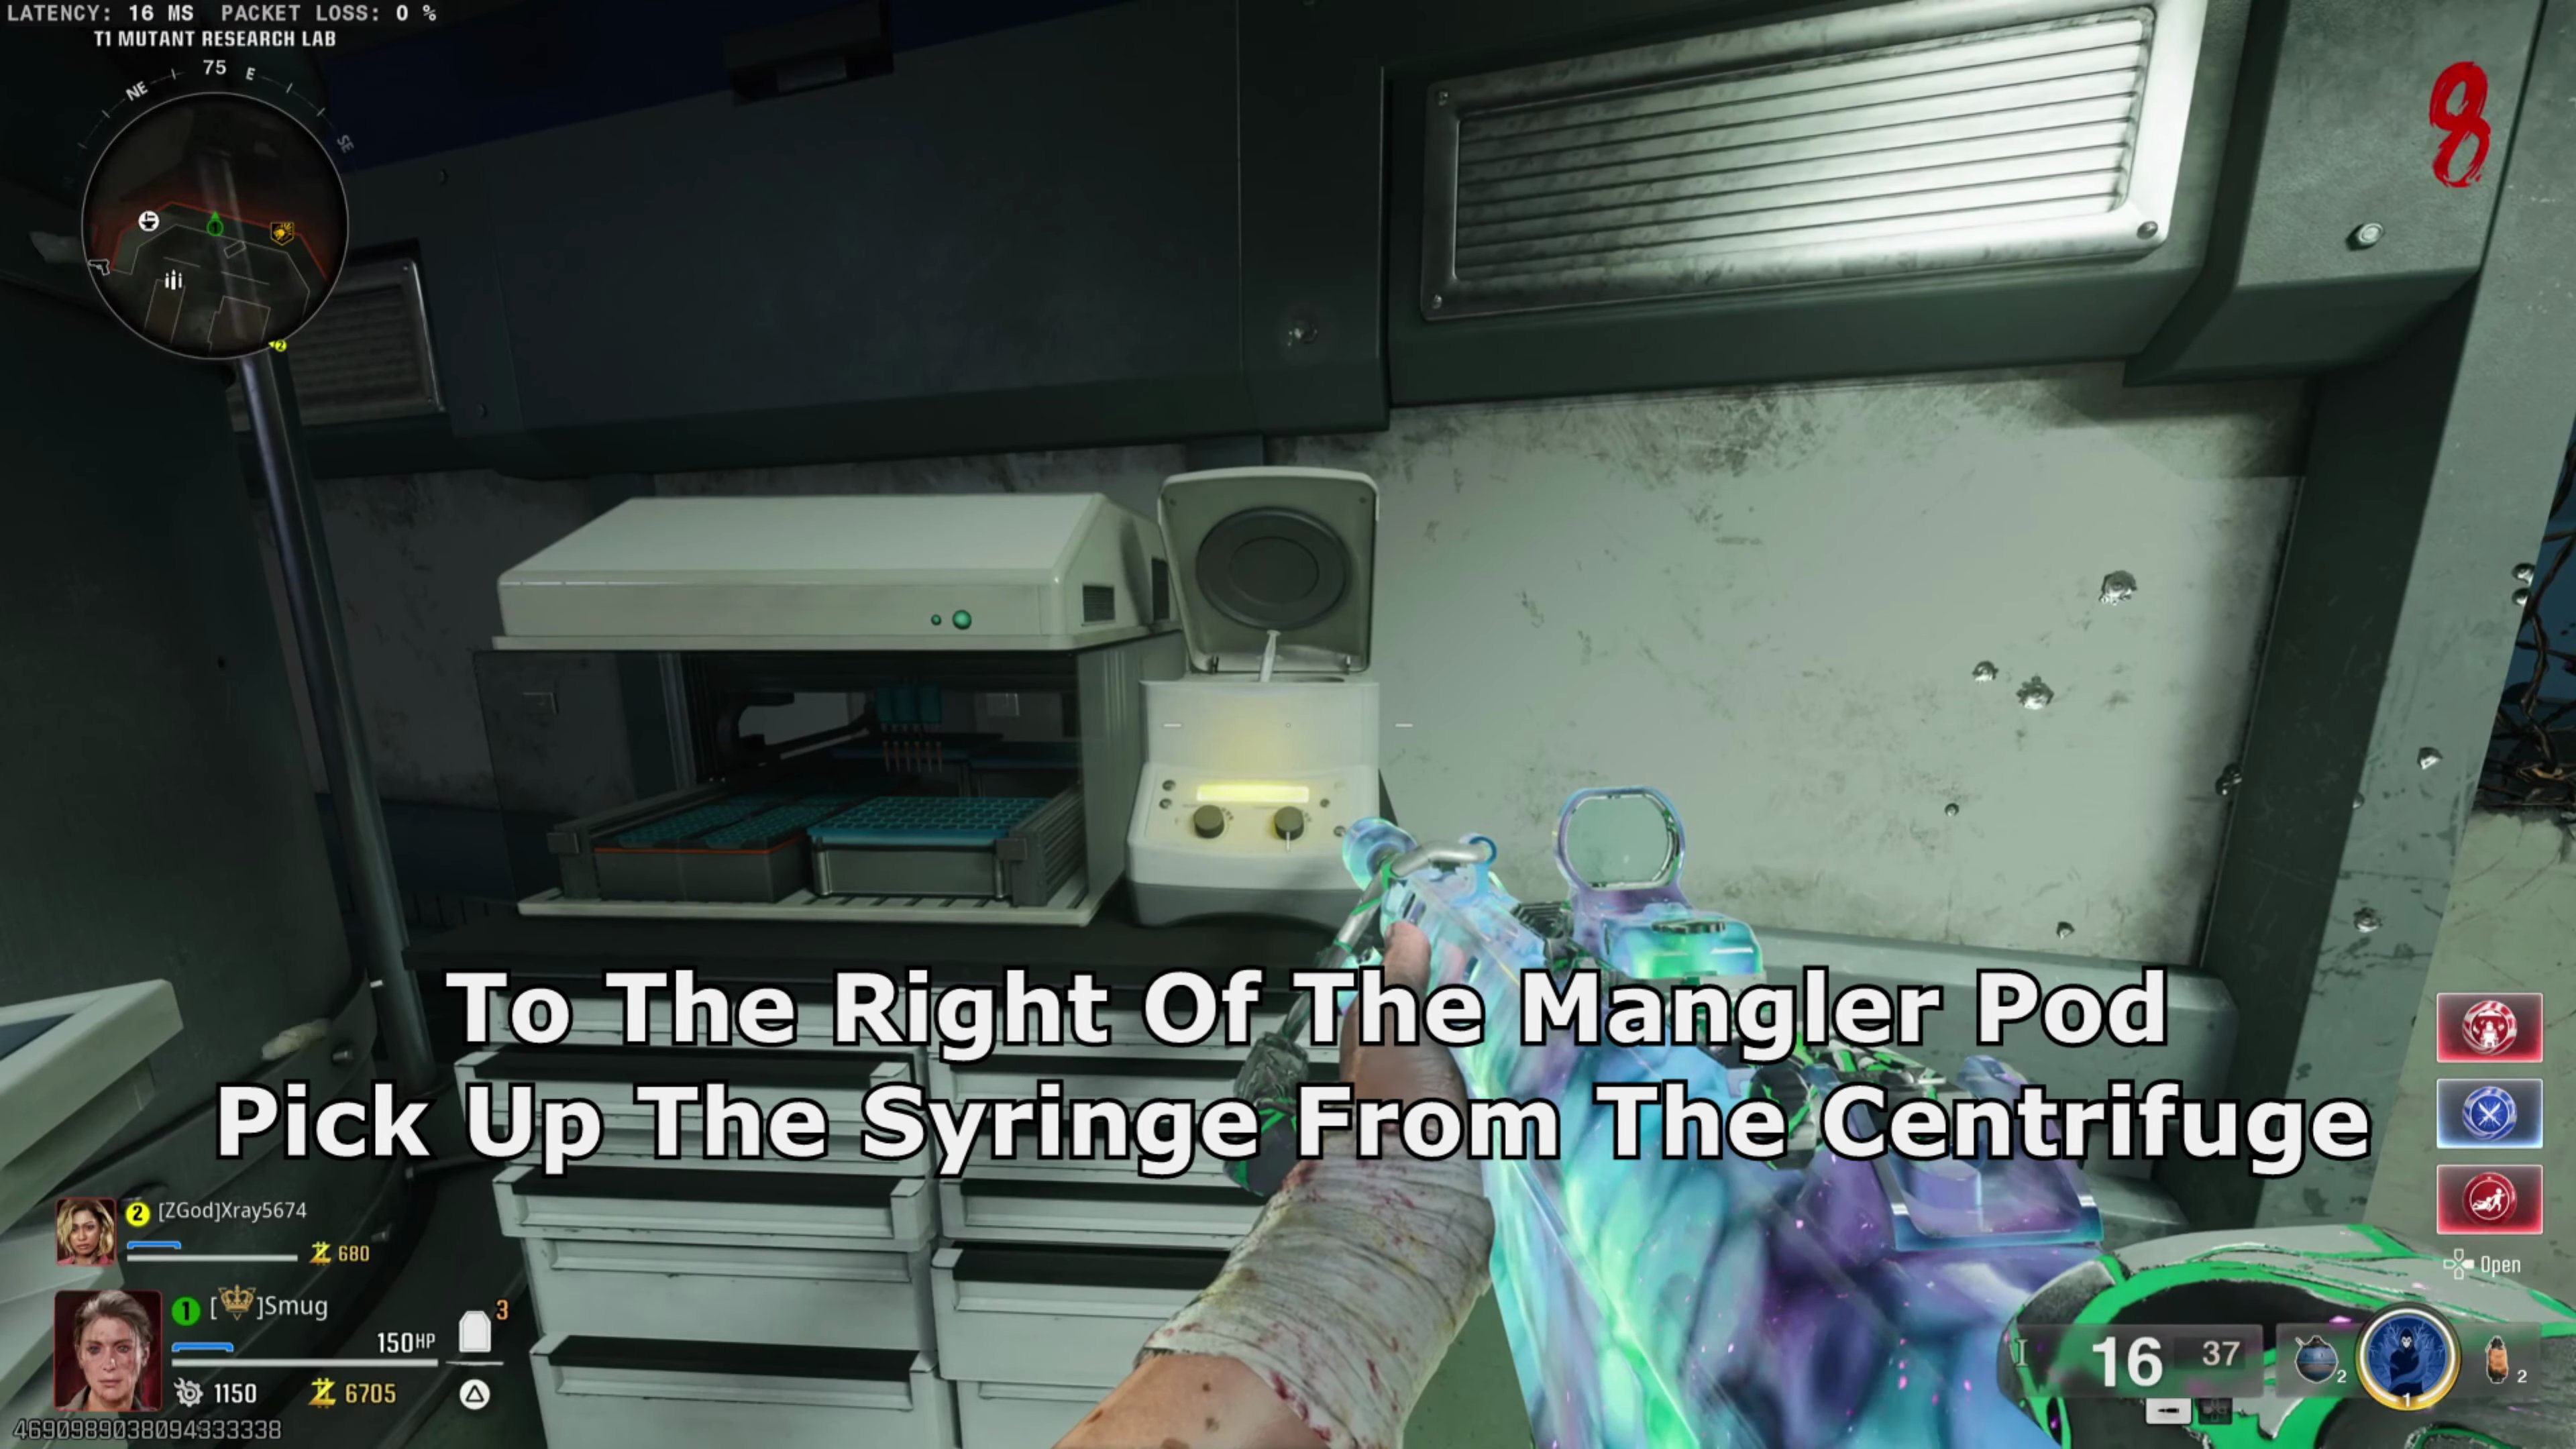
- To the right of the Mangler Pod, pick up the Syringe from the Centrifuge.
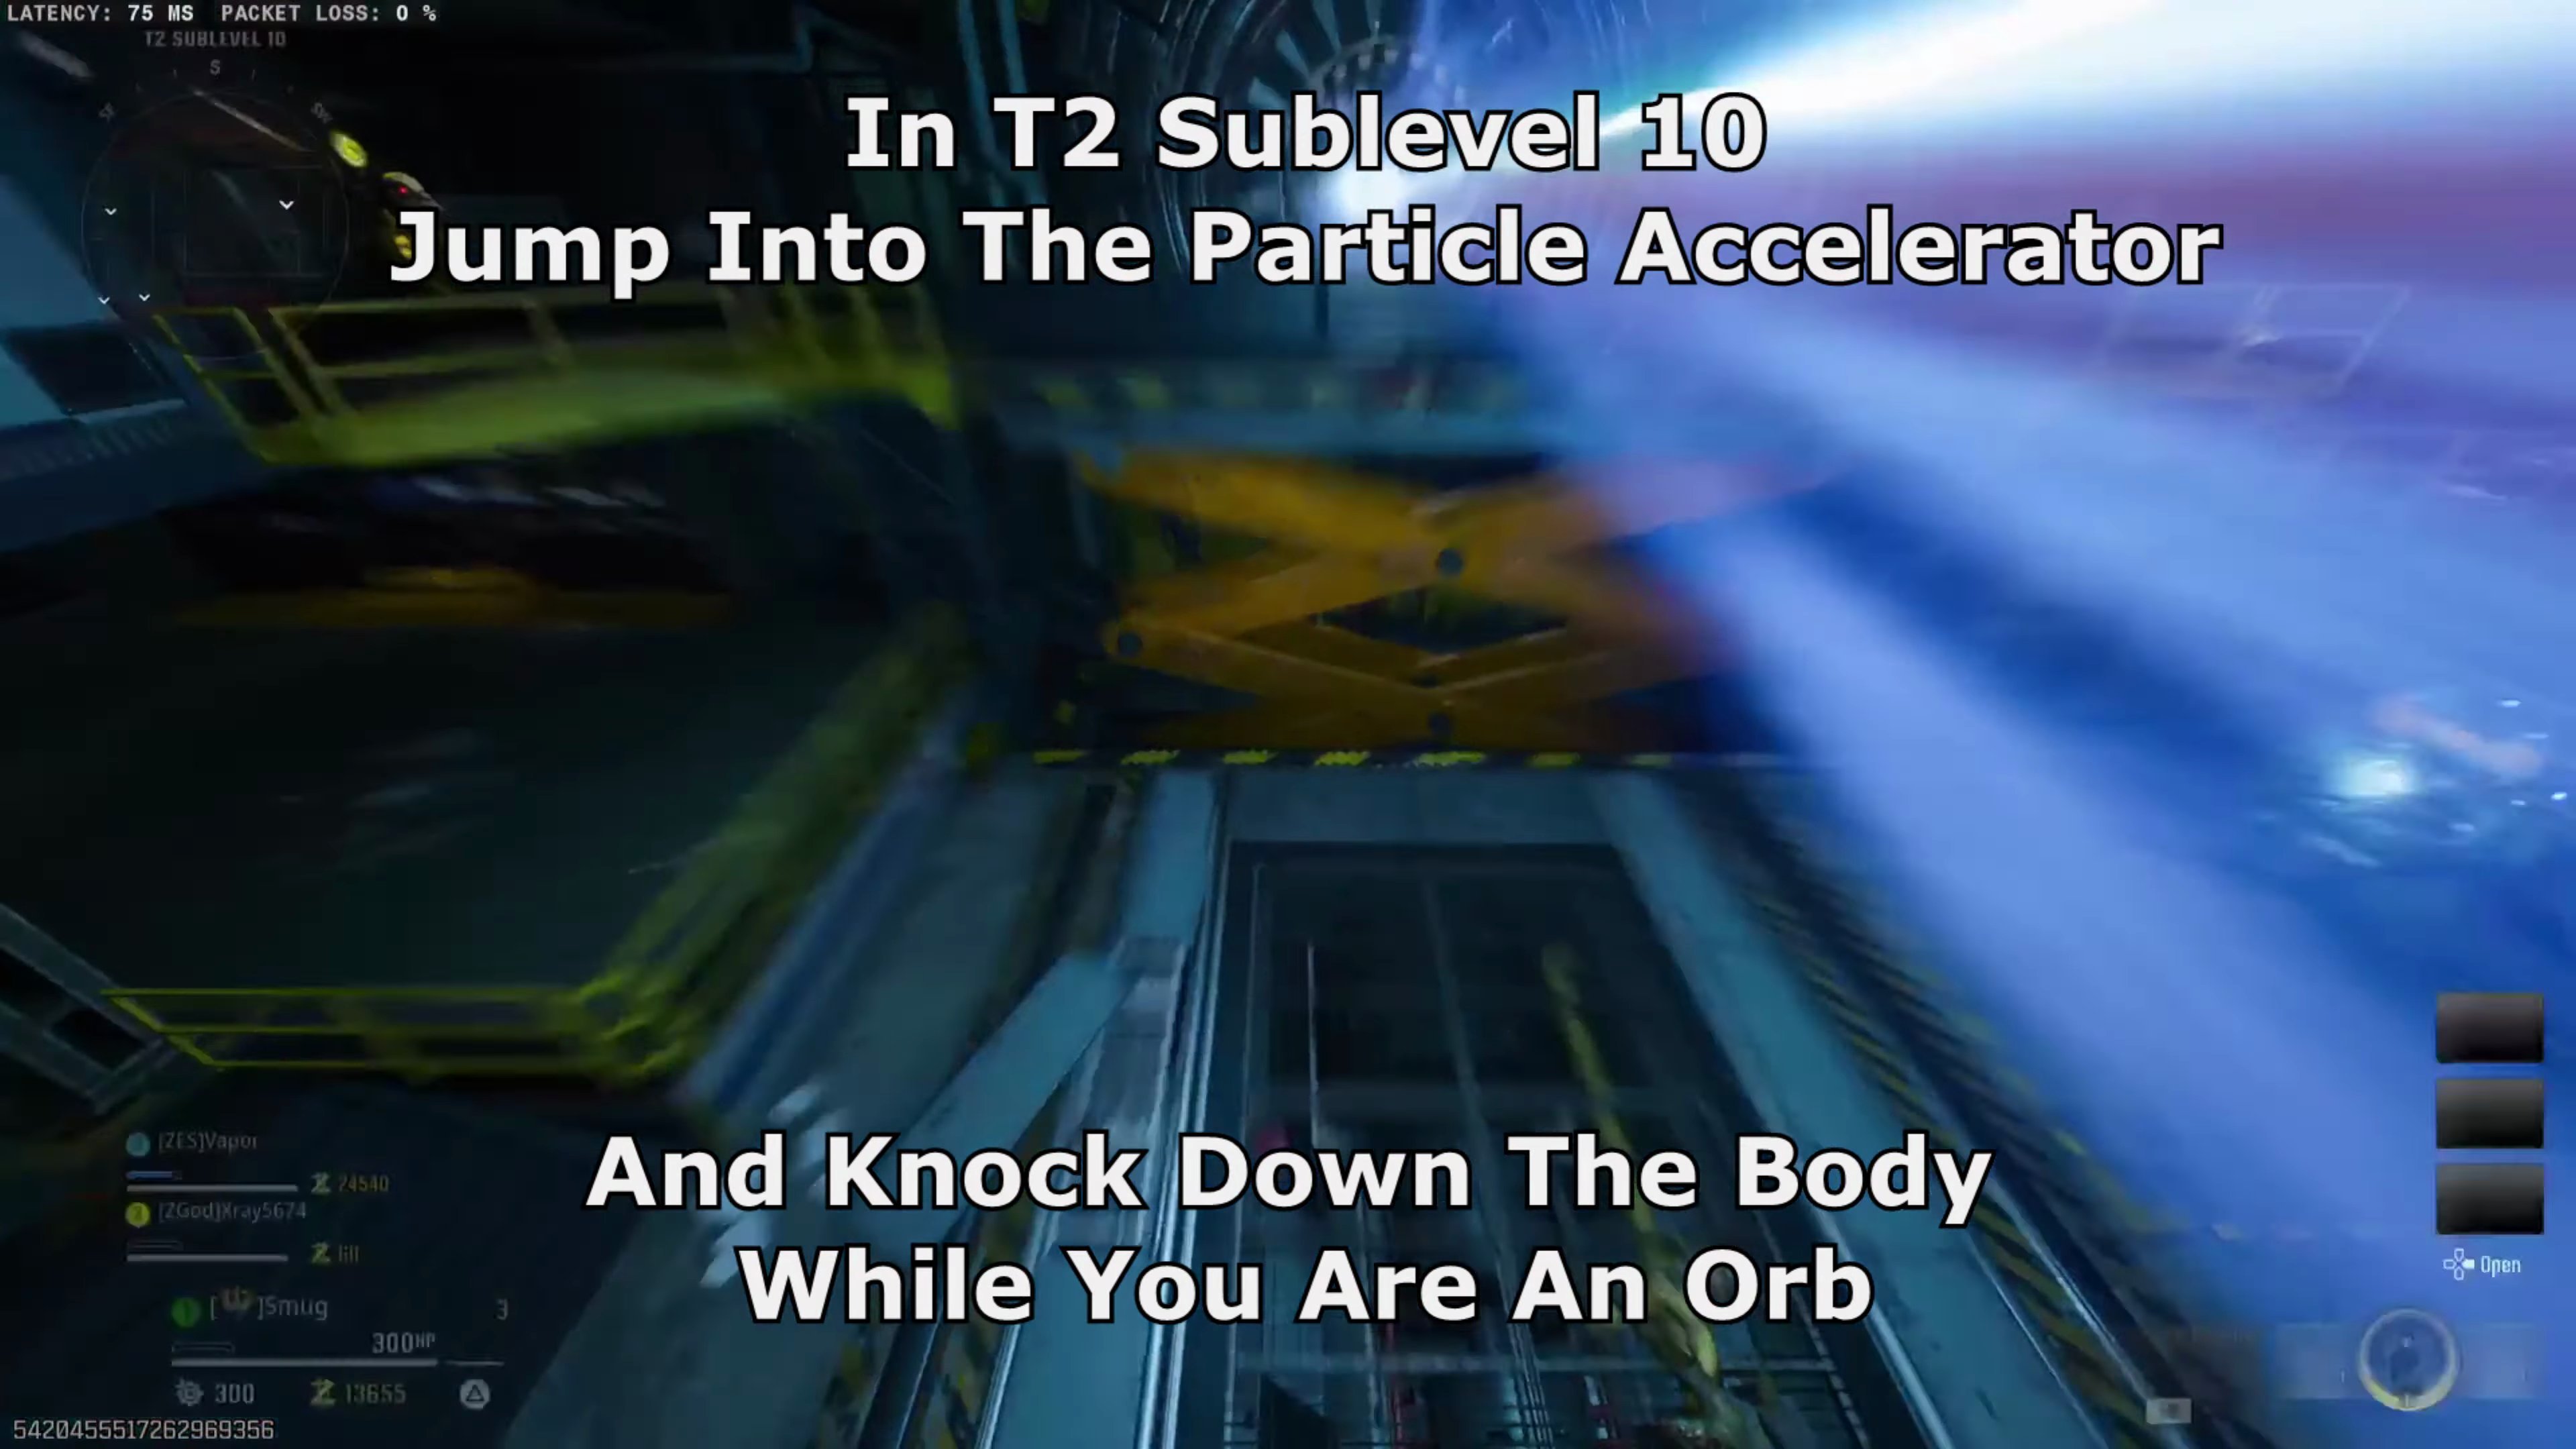
- In T2 Sublevel 10, jump into the Particle Accelerator and knock down the body while you are an Orb.
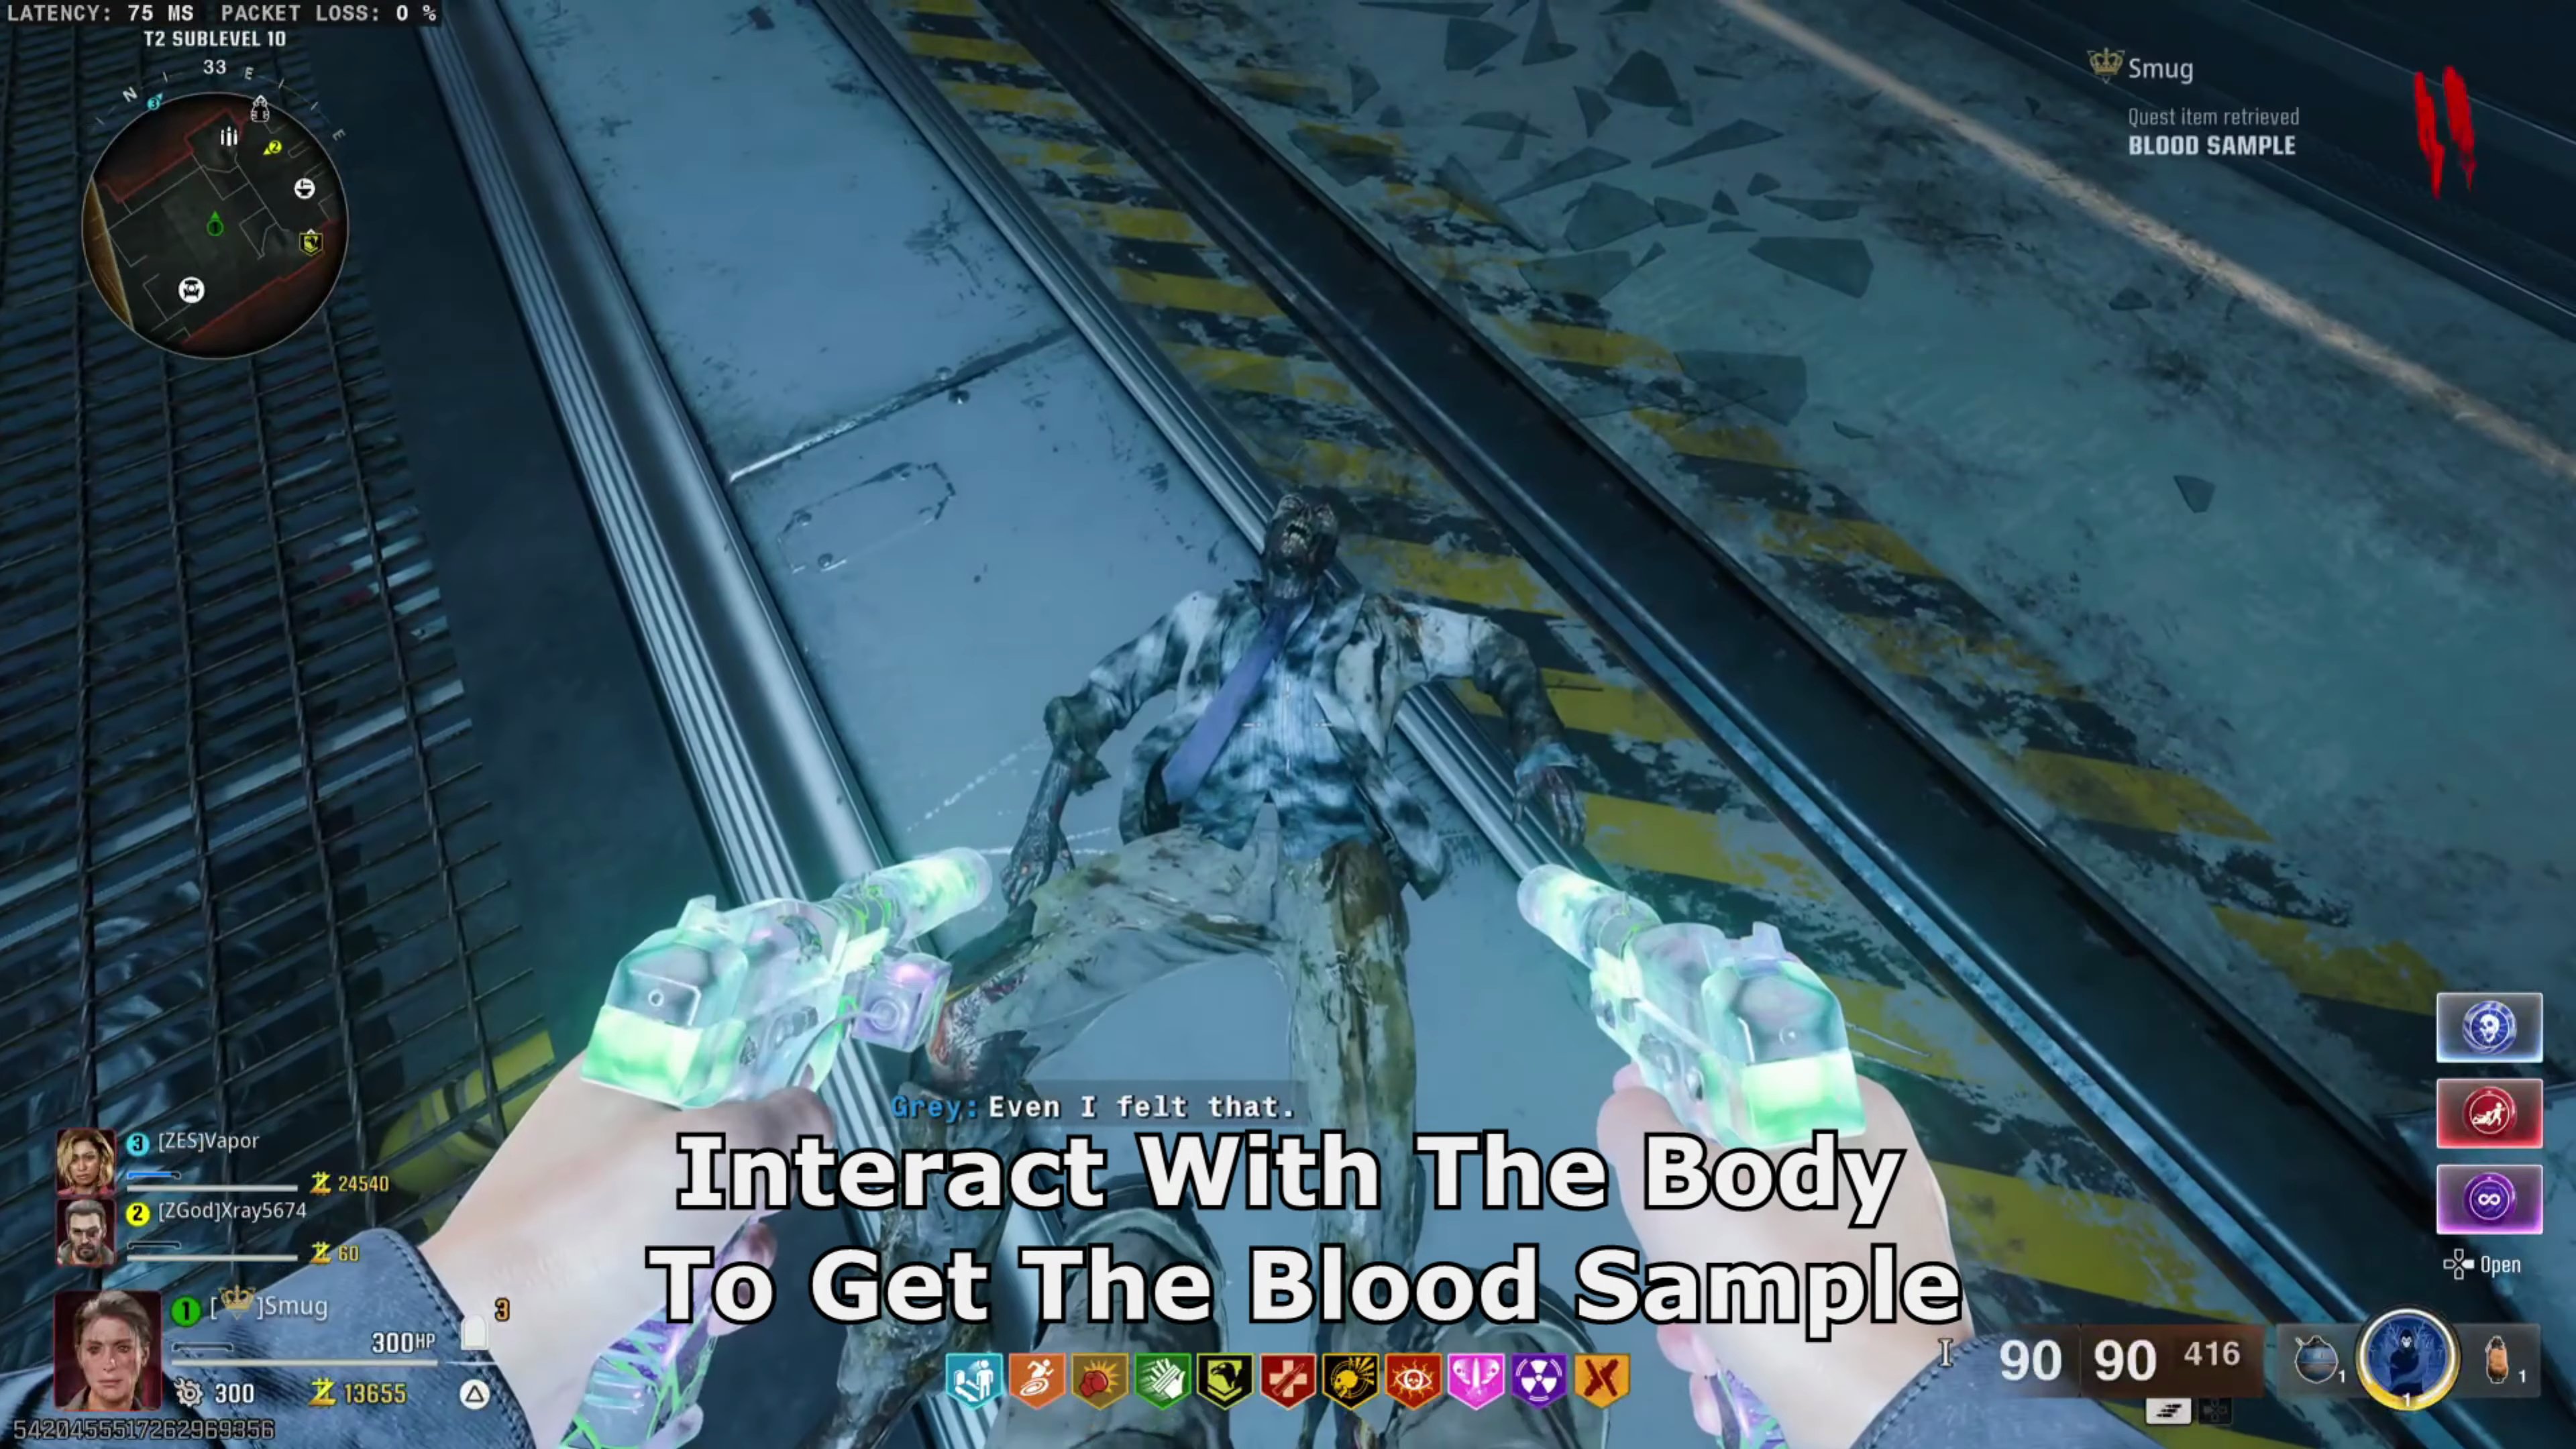
- Interact with the body to get the Blood Sample.
Step 2: Obtain Fowler Injection
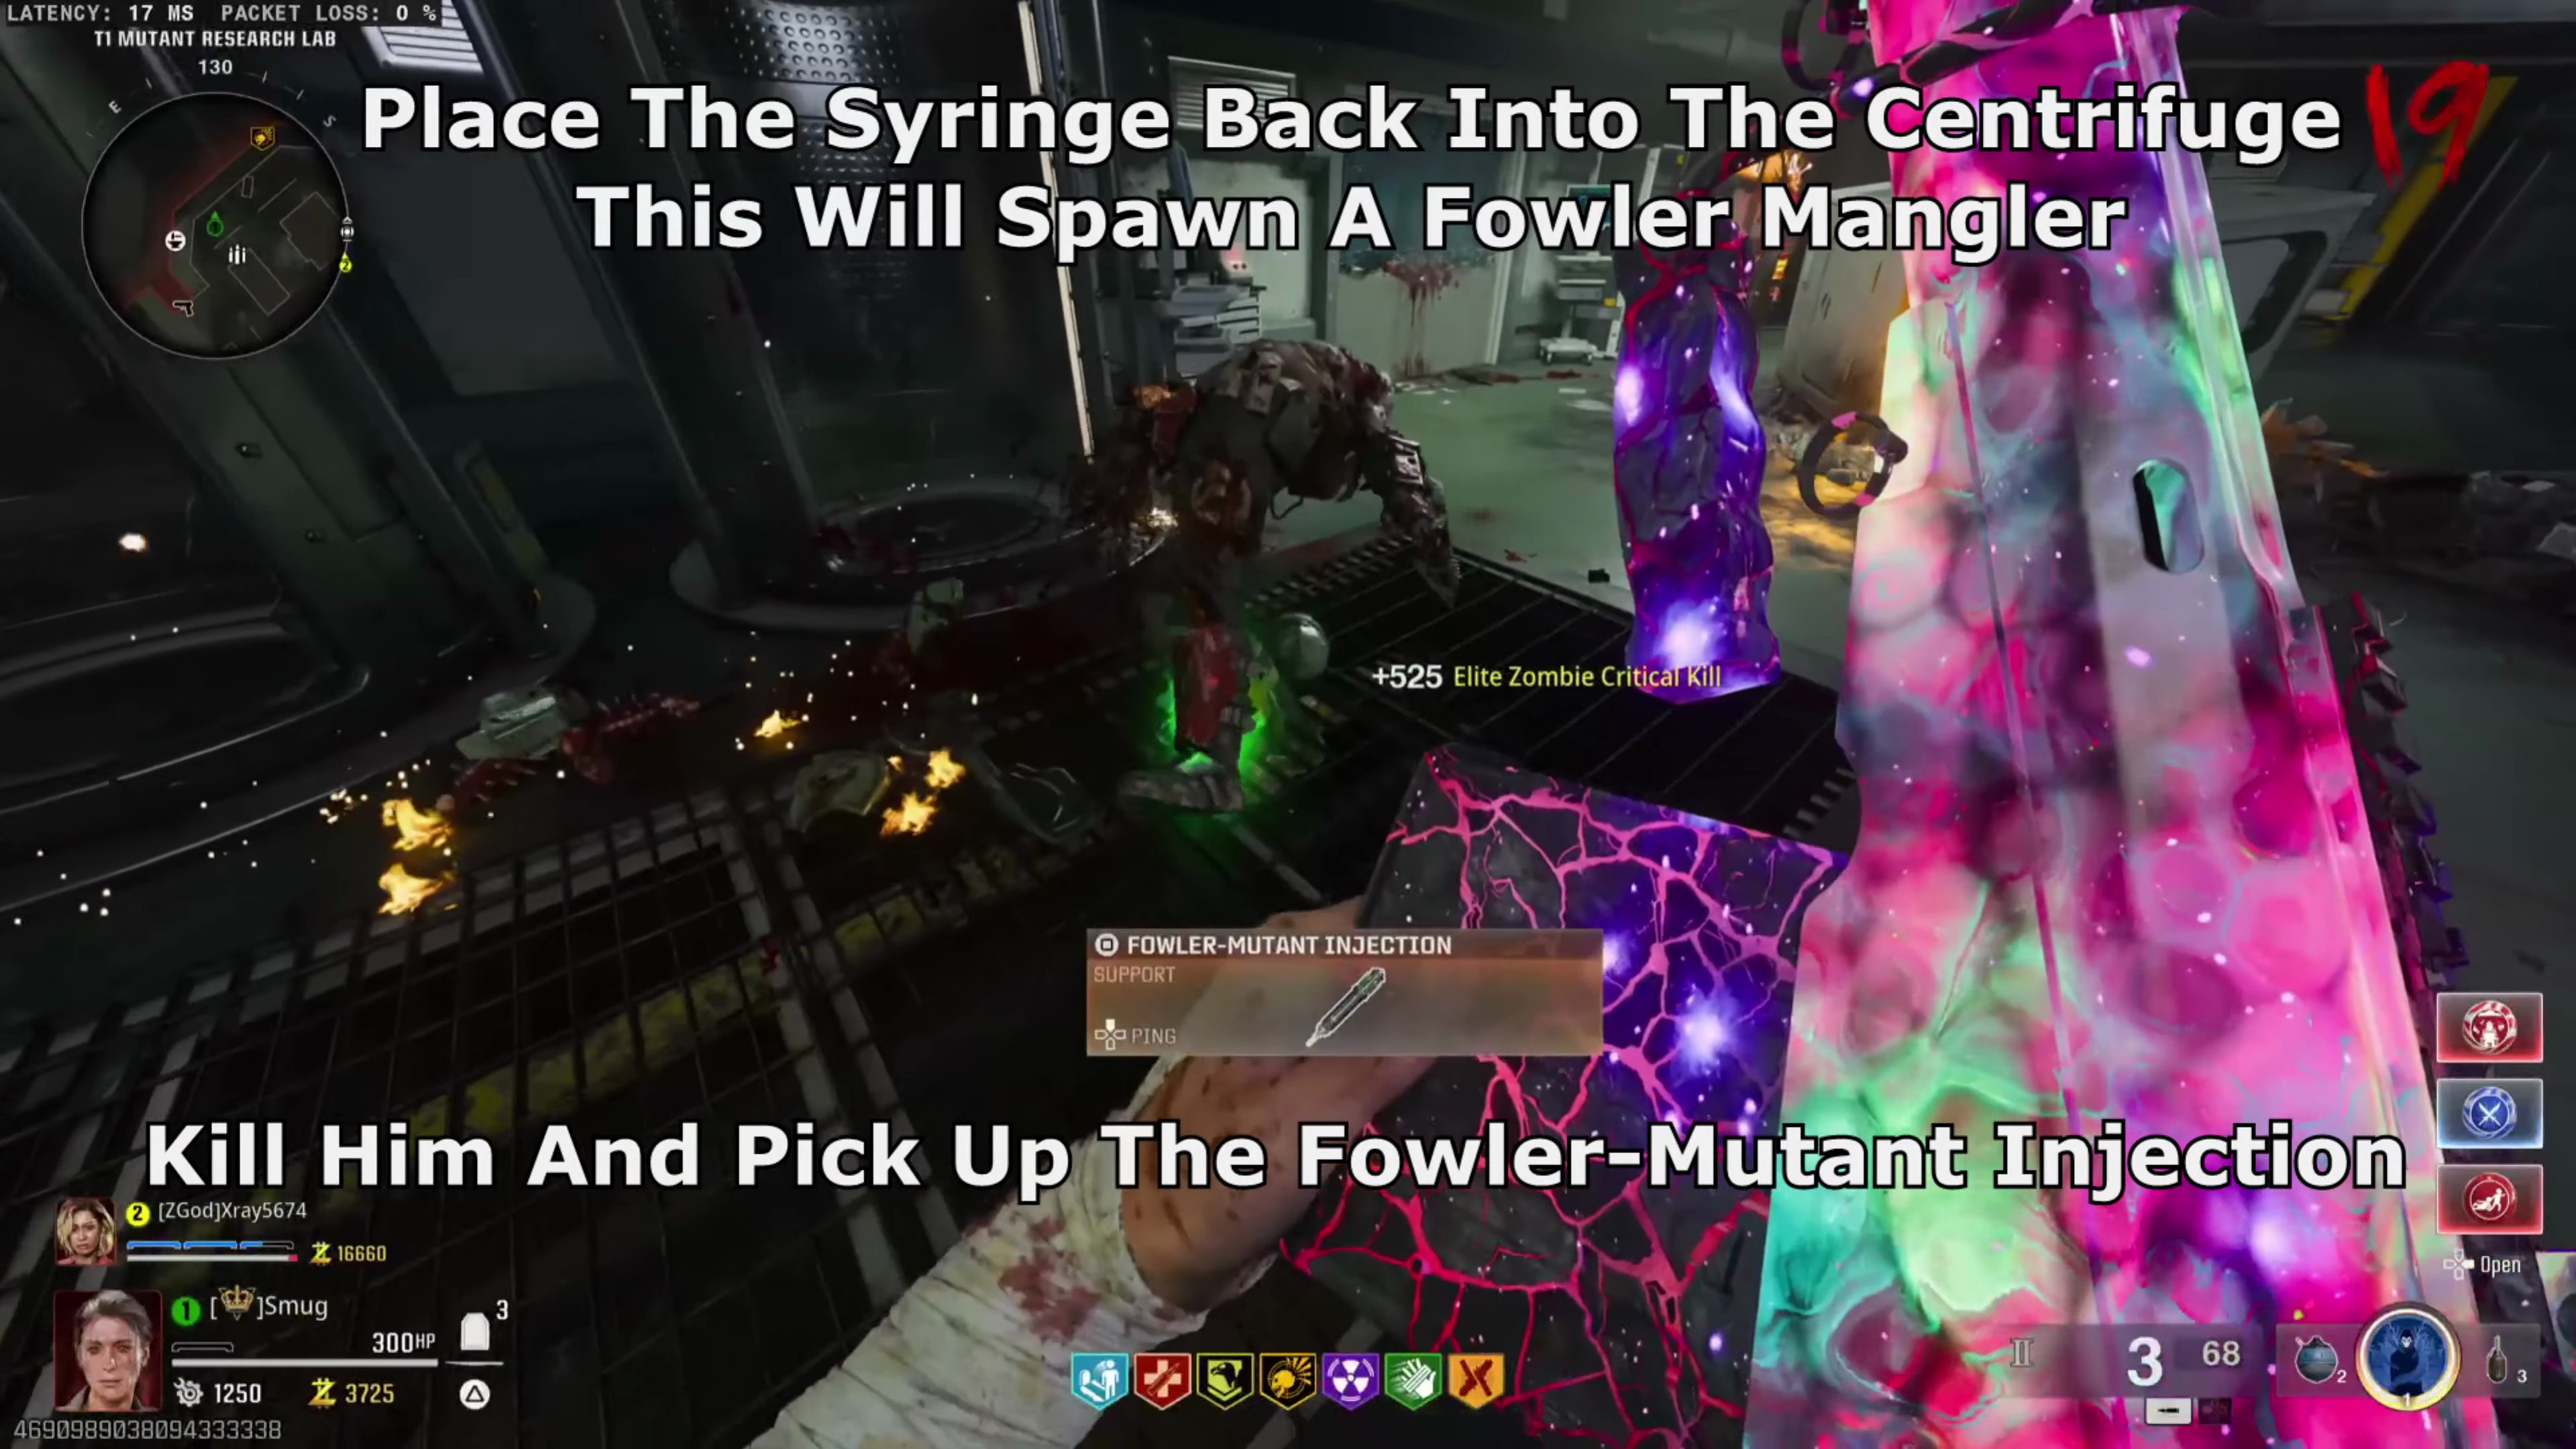
- Return to the Mutant Research Lab and place the Syringe back into the Centrifuge. This will spawn a Fowler Mangler.
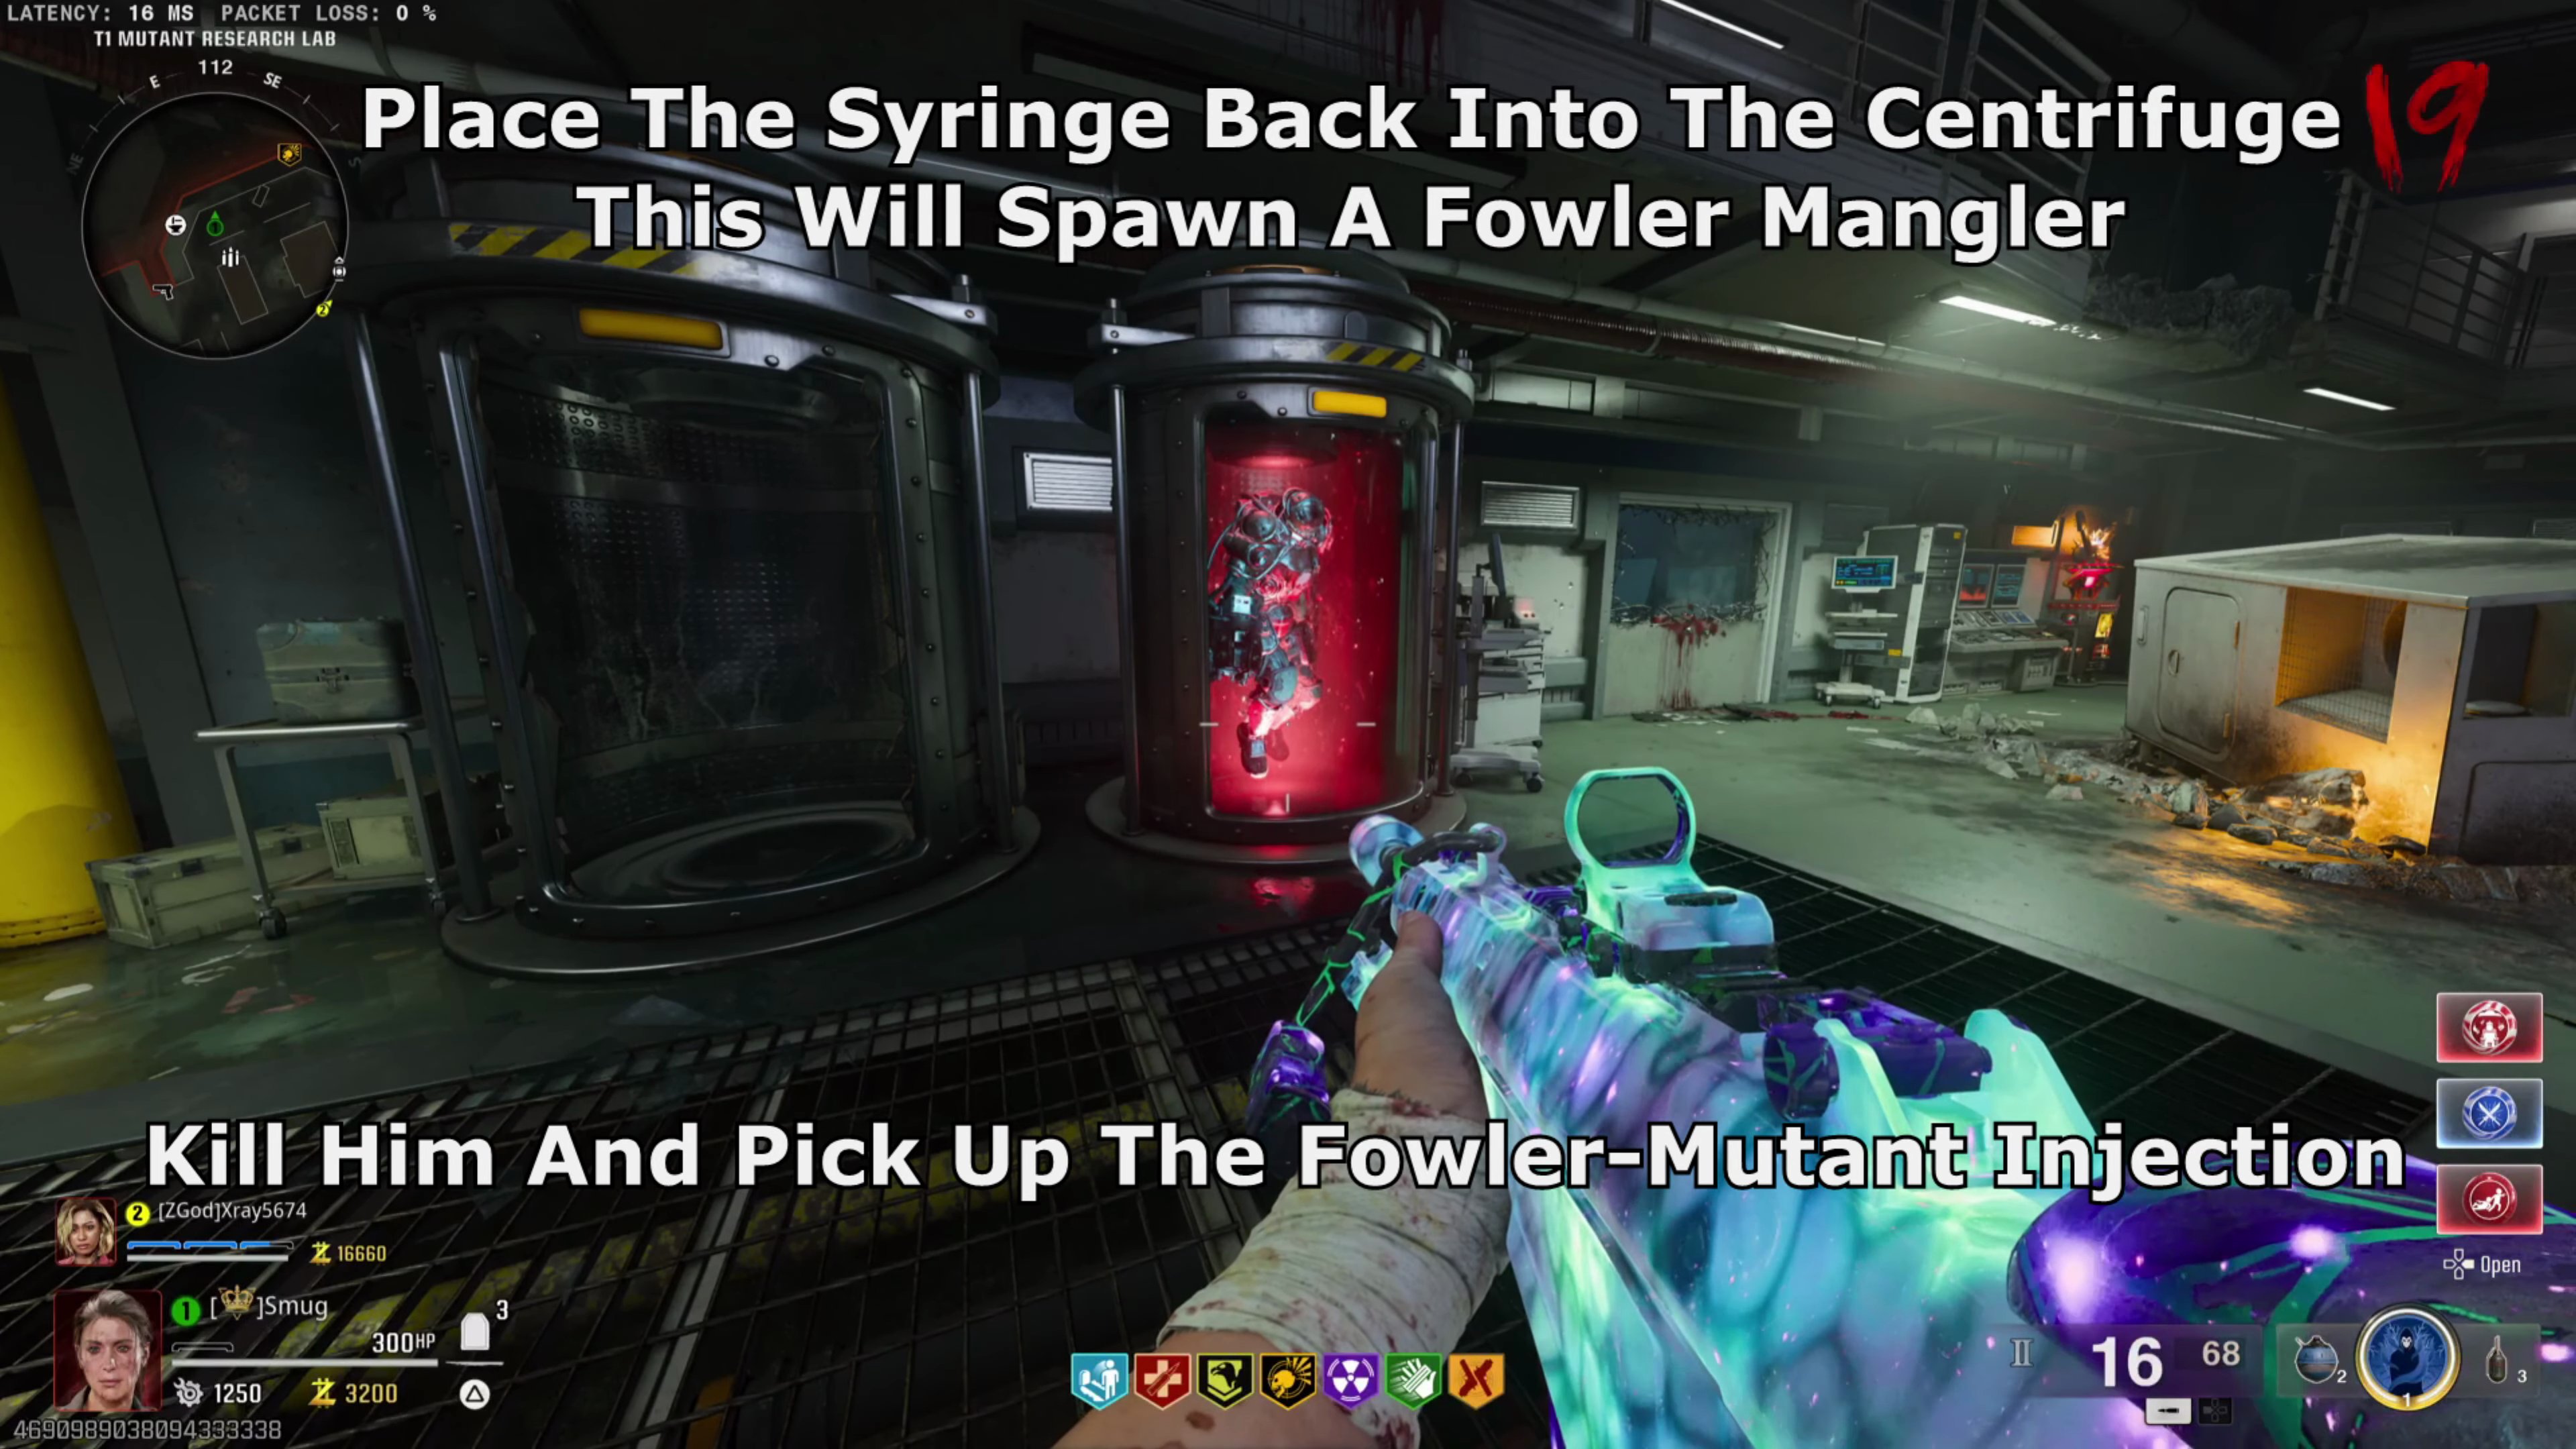
- Kill the Fowler Mangler and pick up the Fowler-Mutant Injection.
- Go up the stairs in the T2 Dark Entity Containment Room and interact with the scanner next to the closed door.
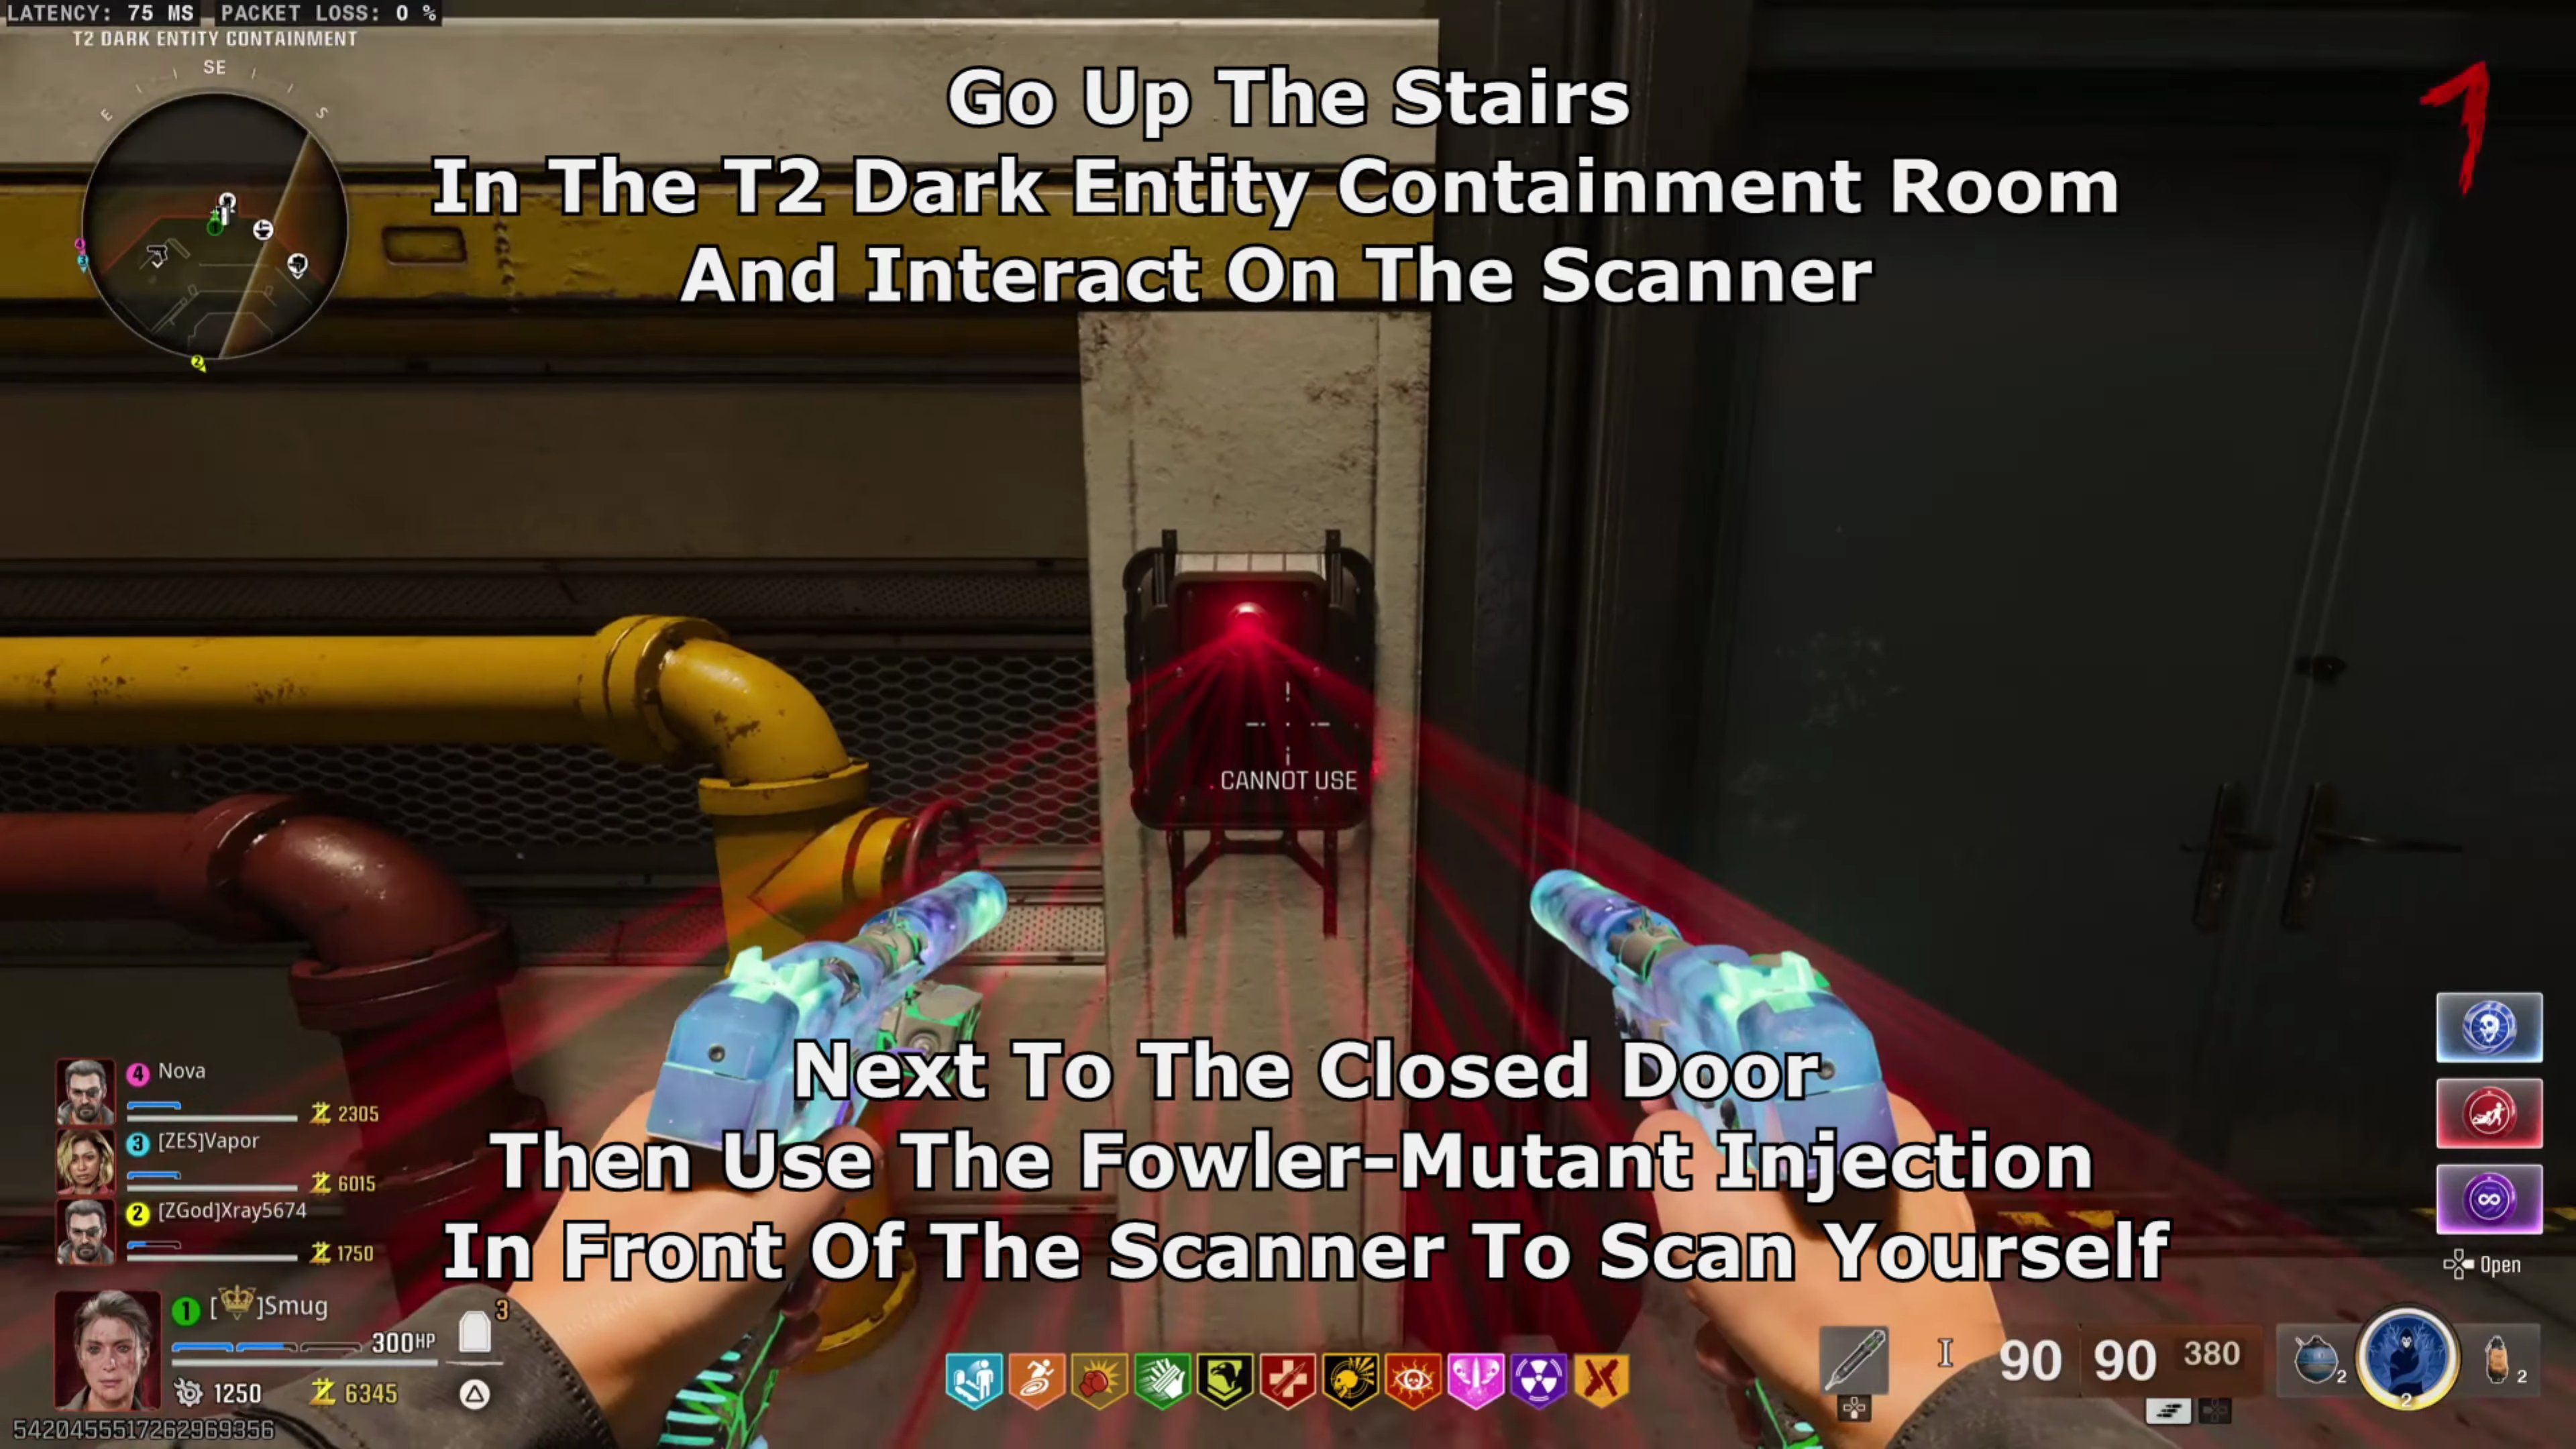
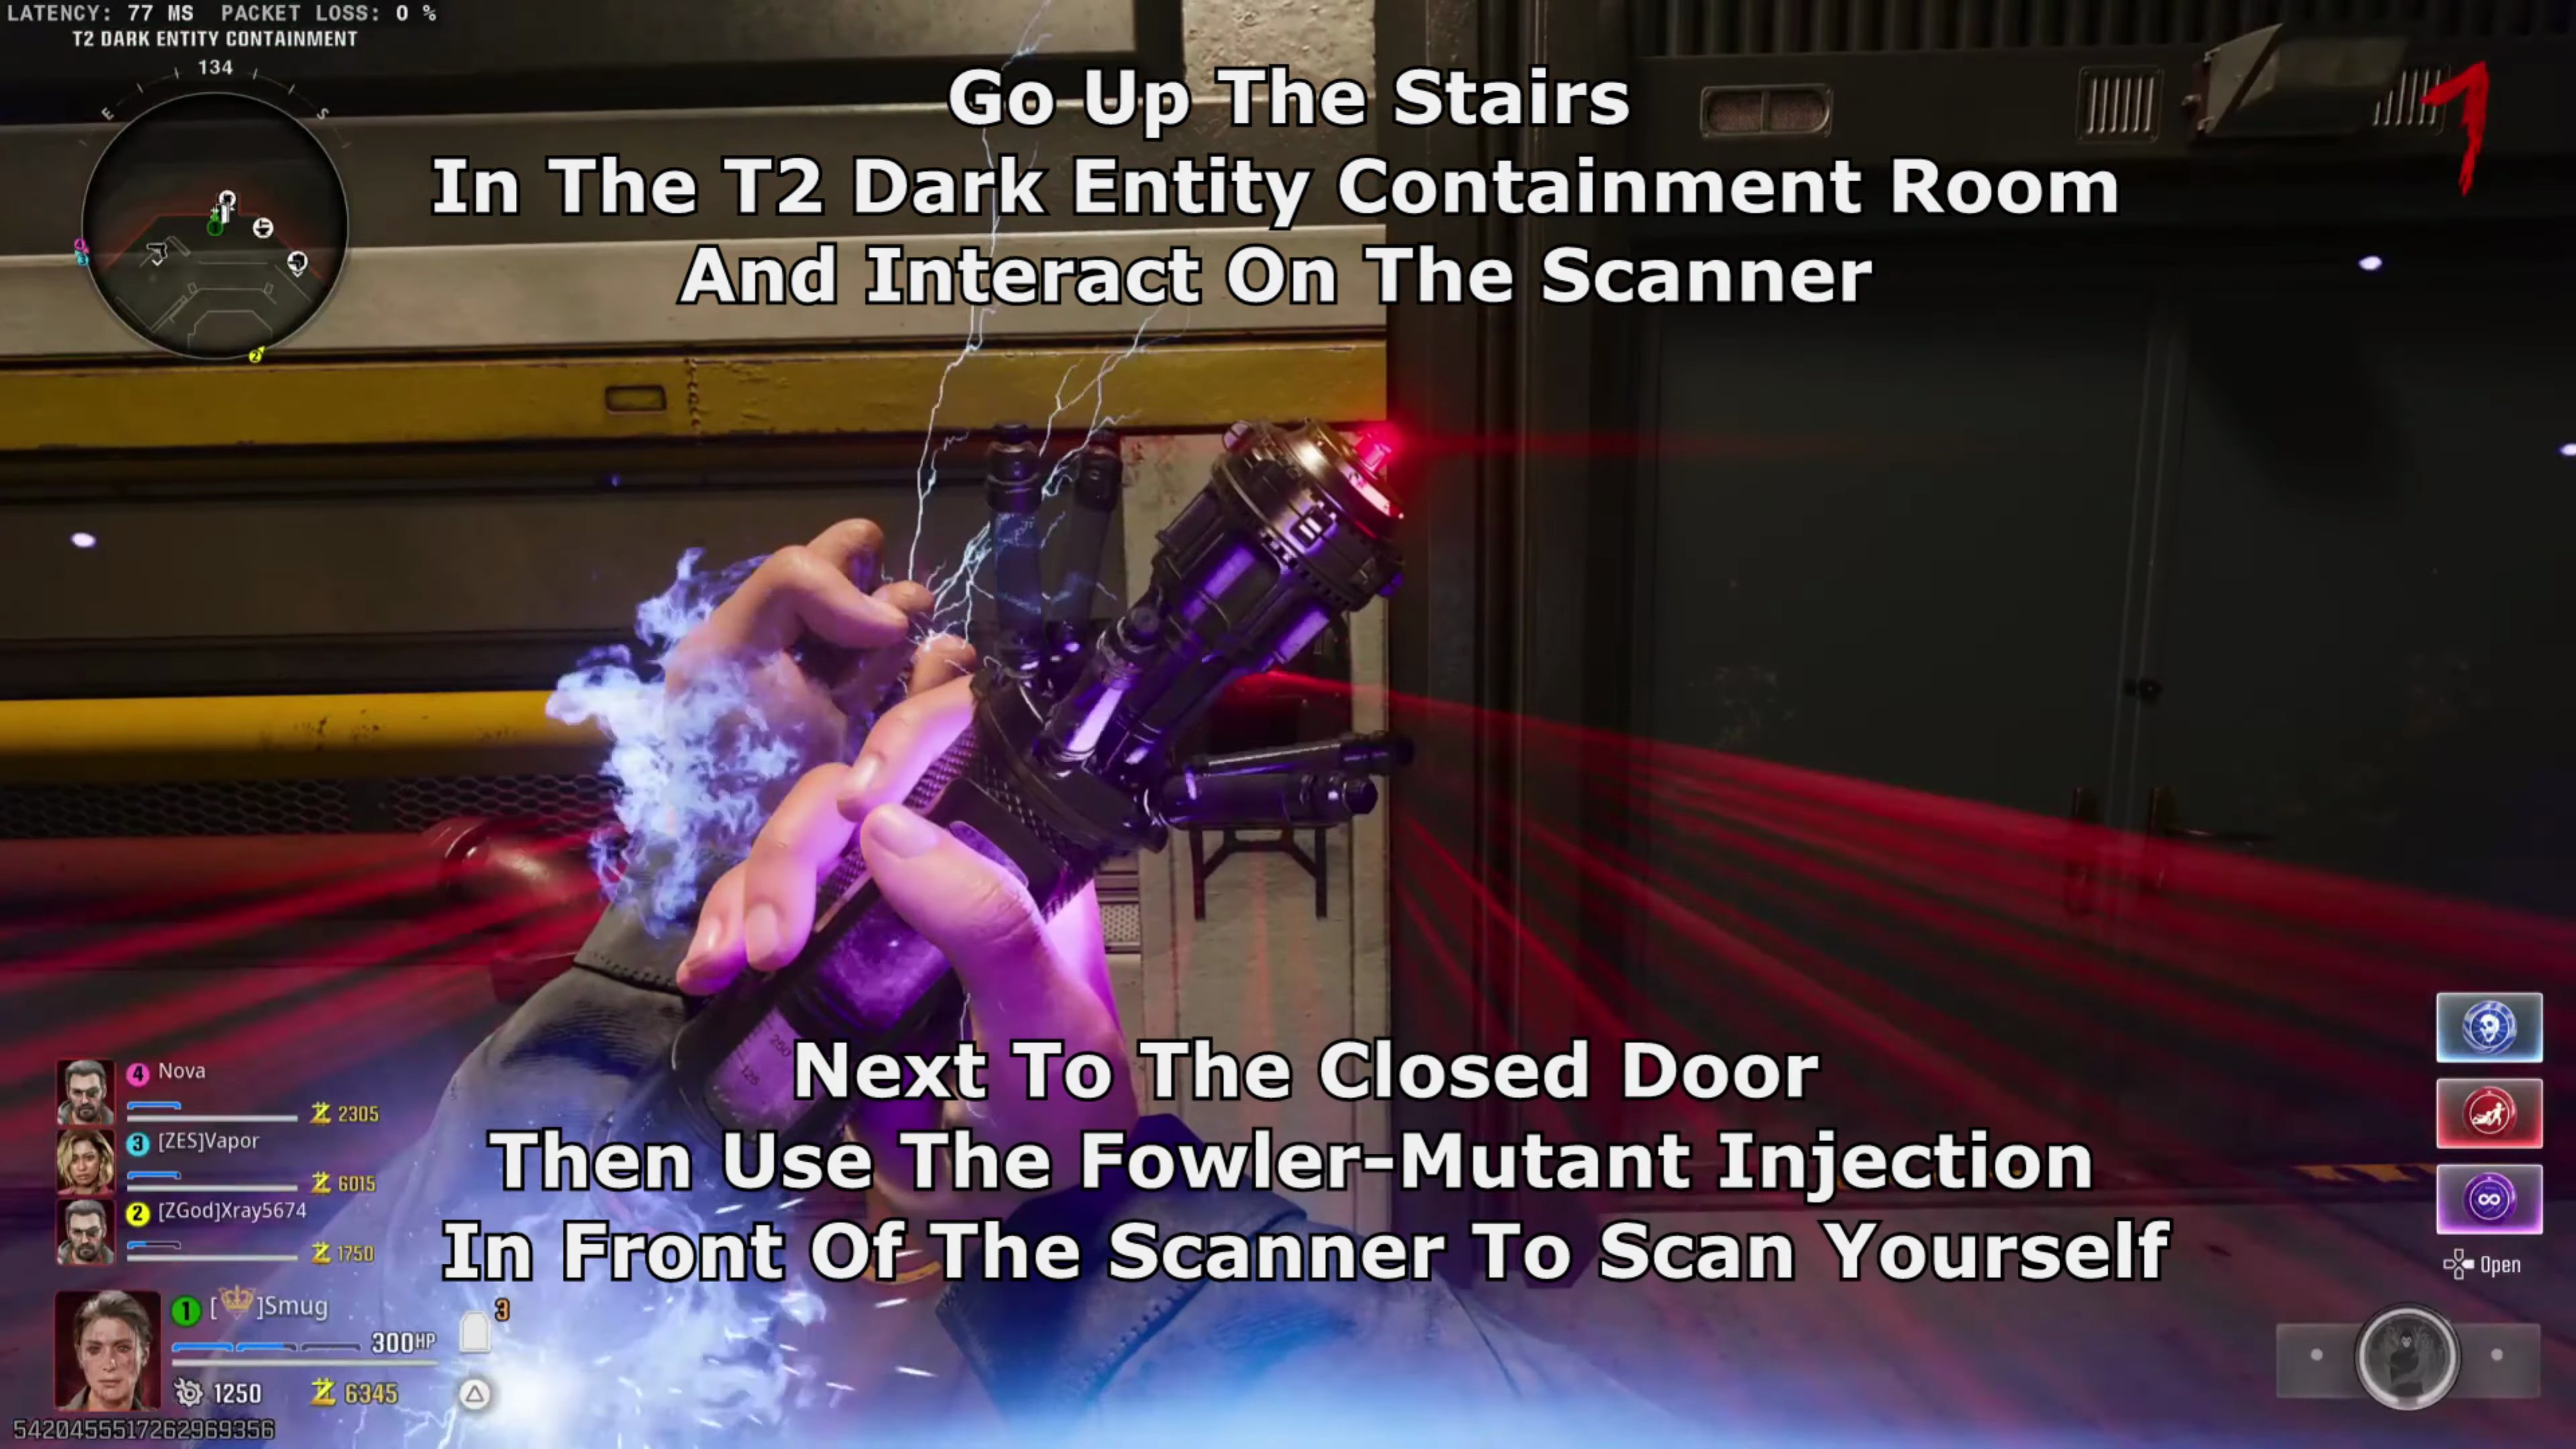
- Use the Fowler-Mutant Injection in front of the scanner to scan yourself.
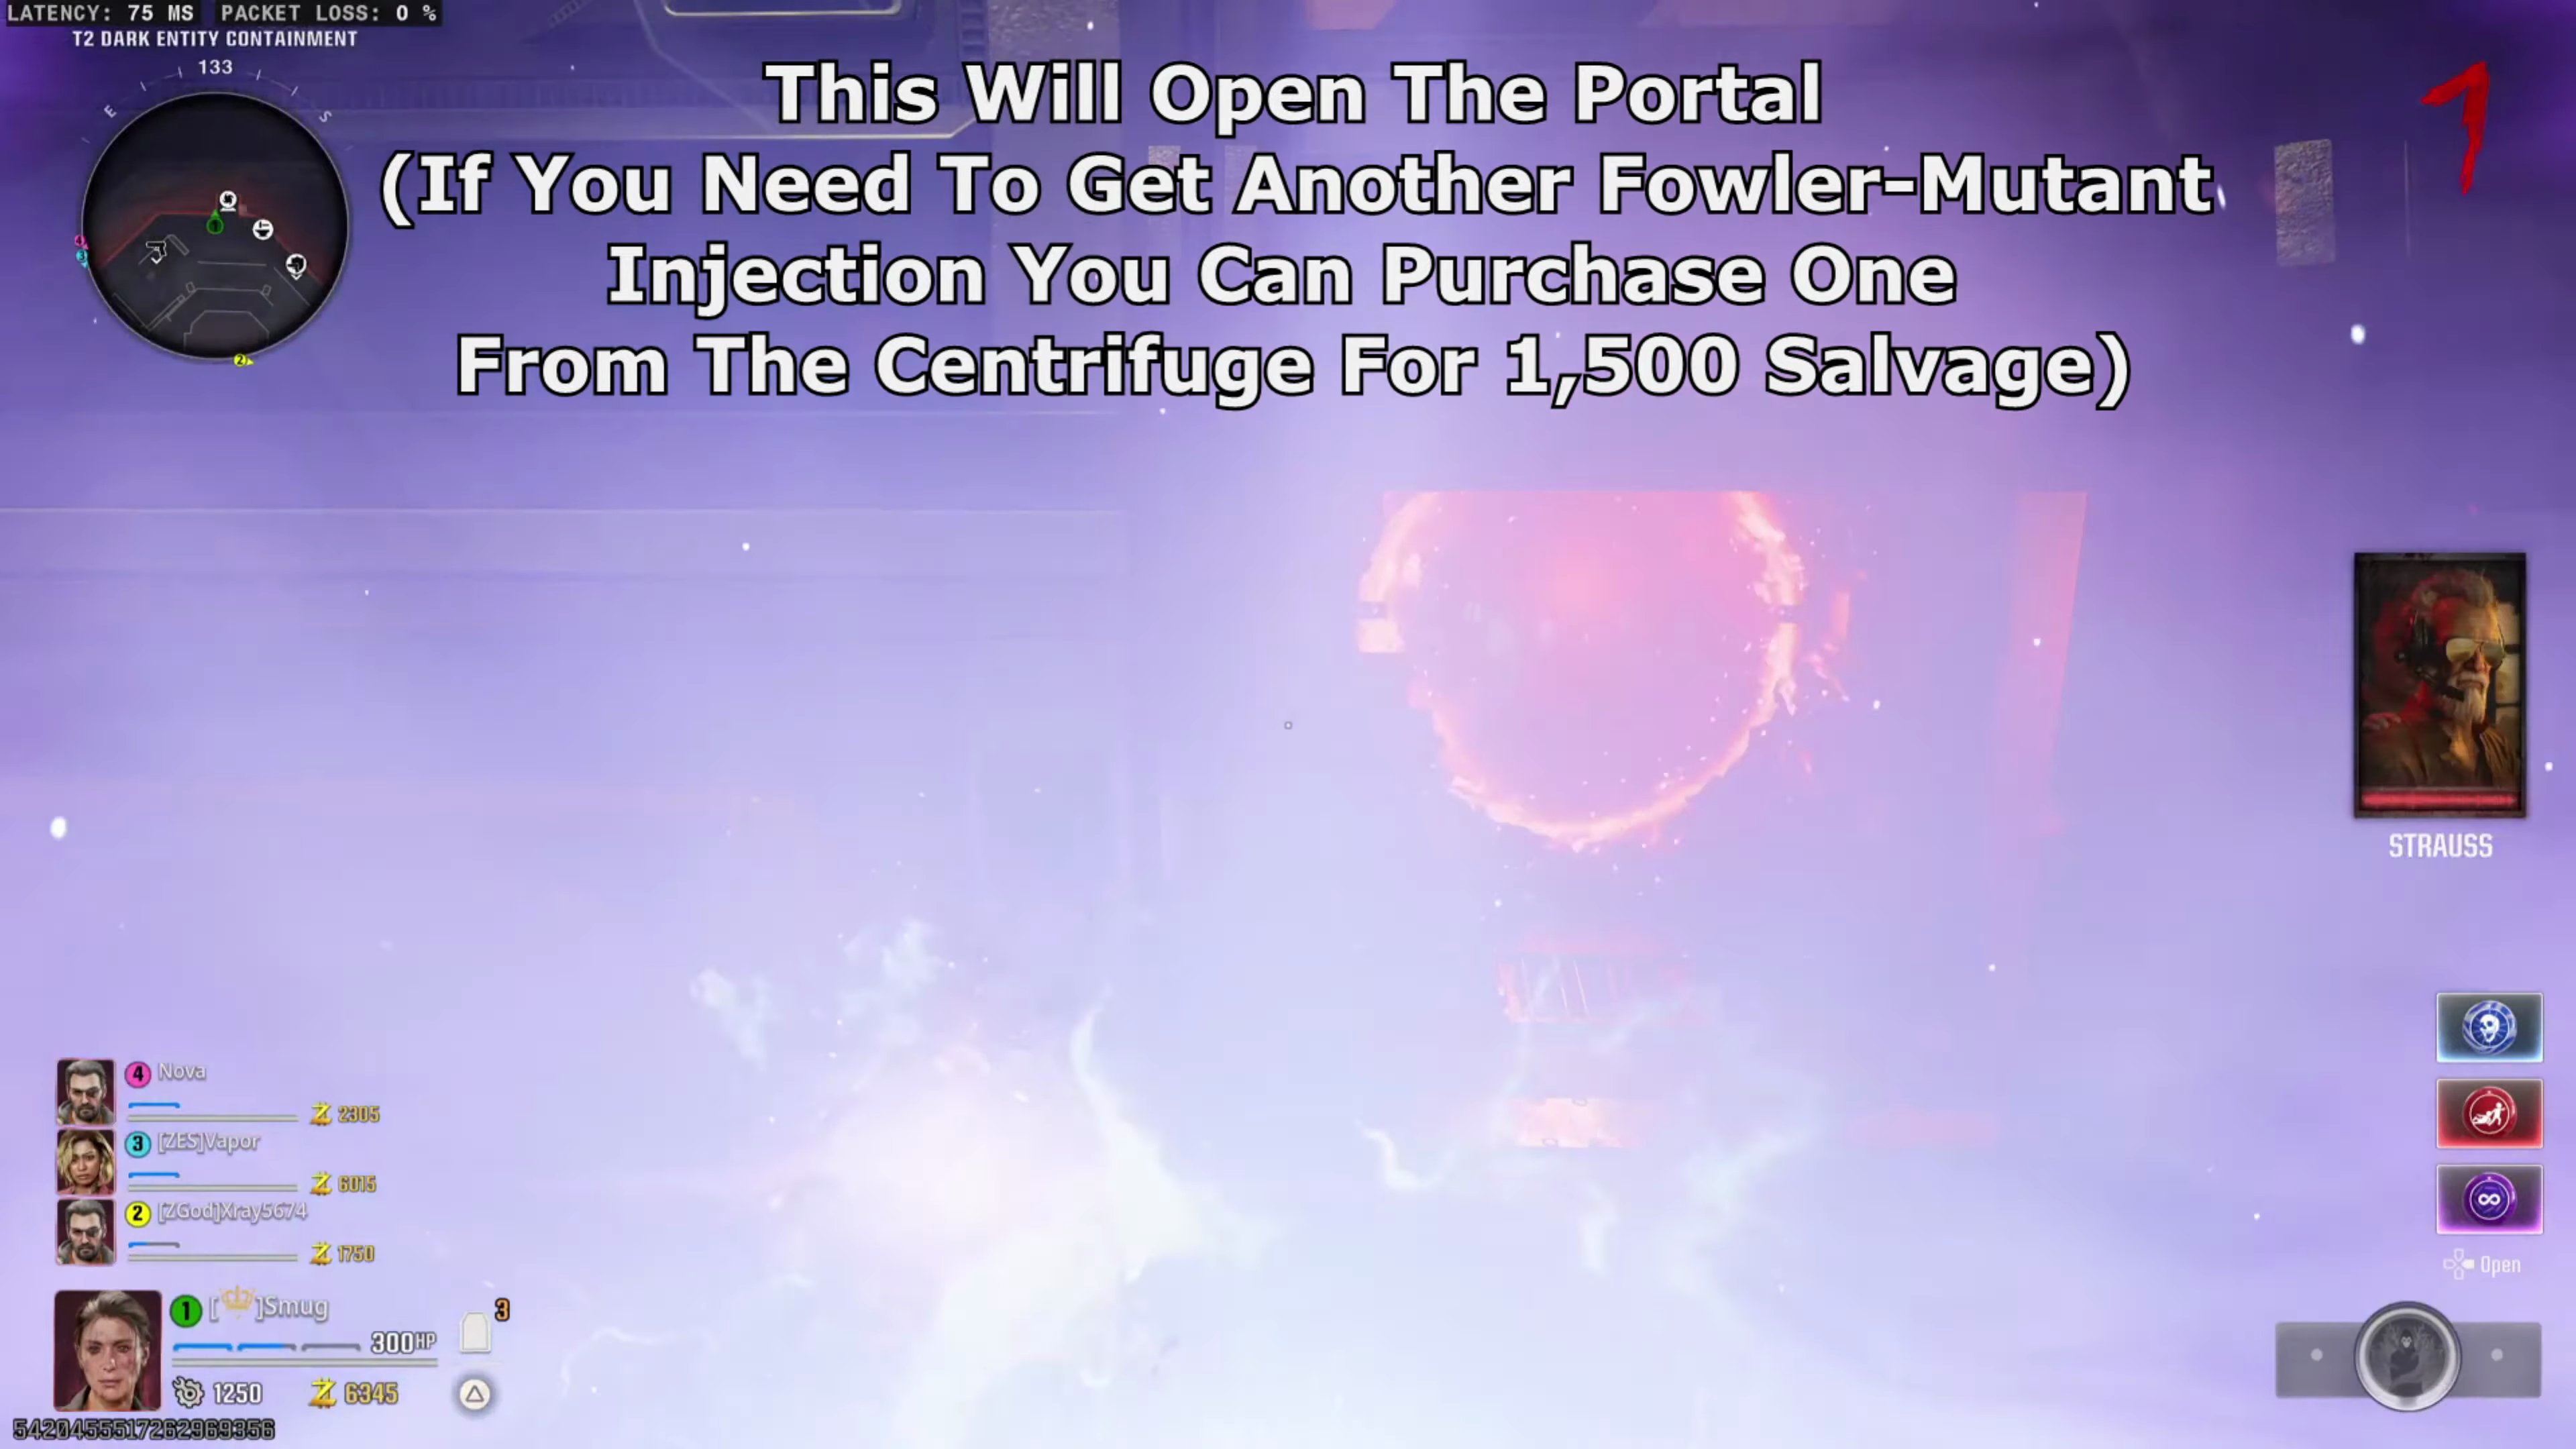
- This will open a portal to the Teleportation Lab. (If you need another Fowler-Mutant Injection, you can purchase one from the Centrifuge for 1,500 Salvage).
Step 3: Assemble Franken Klaus
- On two separate Kommando Klaus rounds, shoot them on their arms to get them to drop a total of two arms.
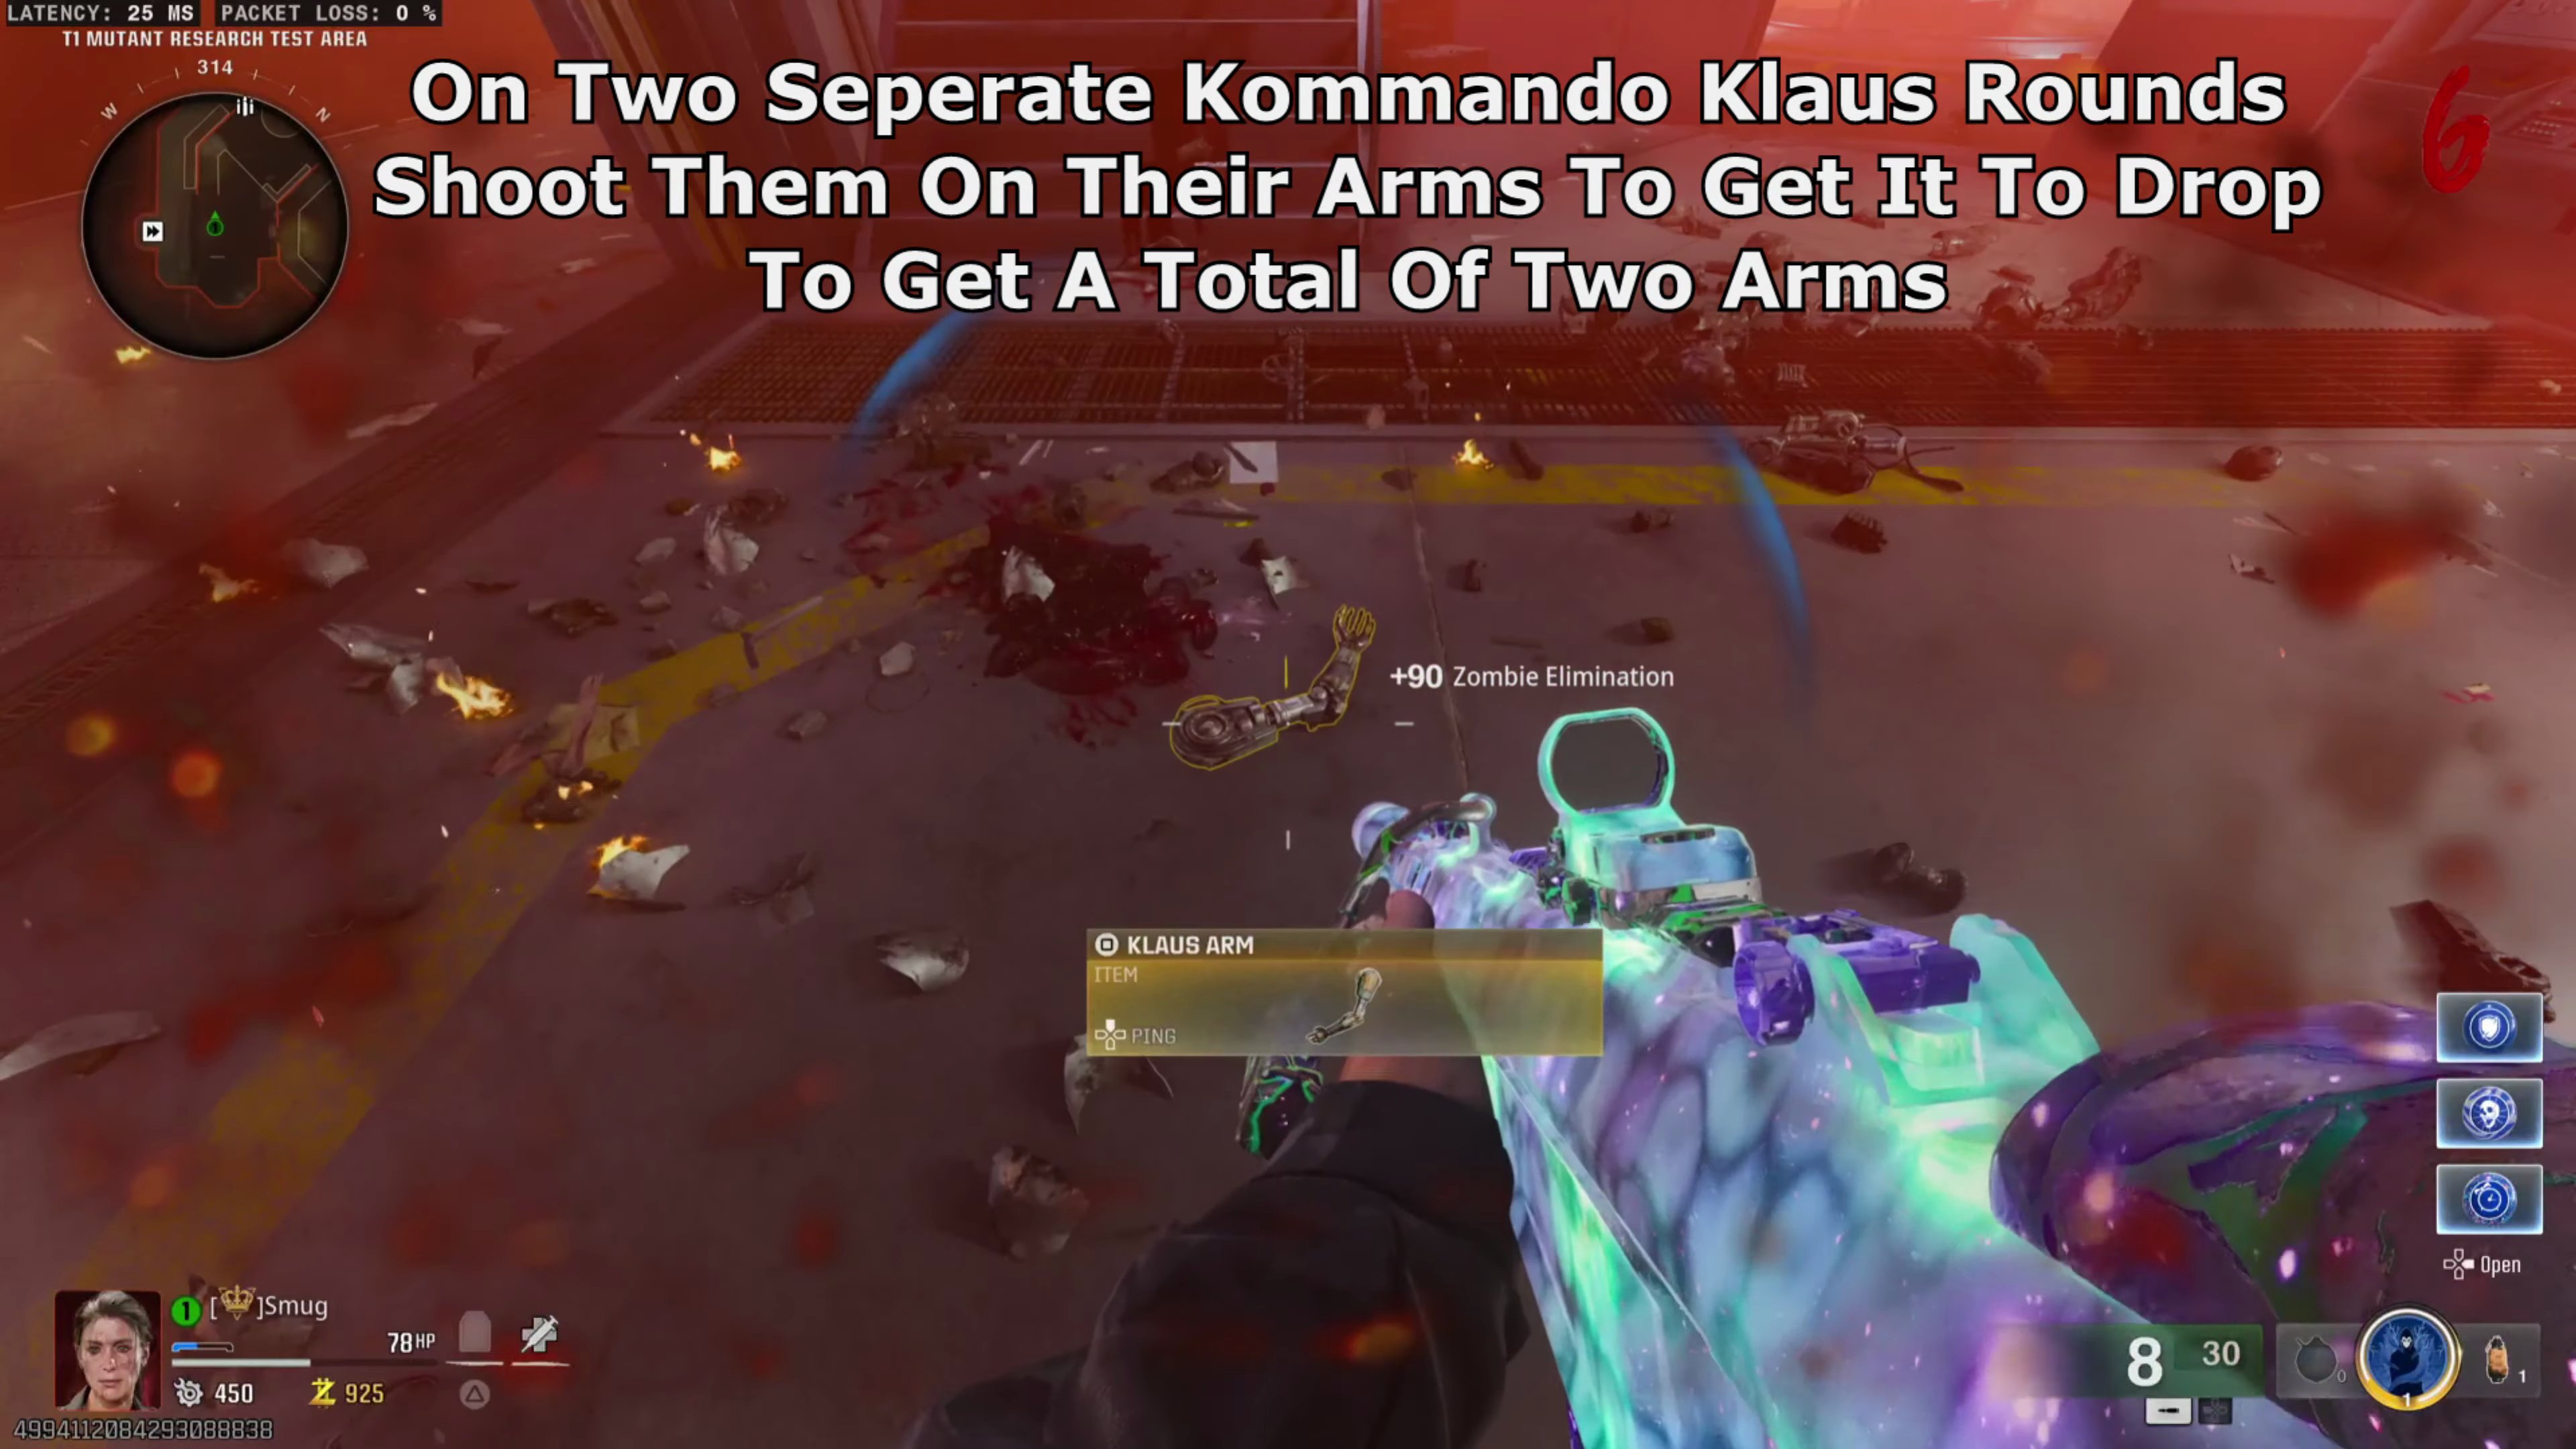
- Find two Klaus legs inside Android Assembly. Possible locations include: near the box close to the elevator
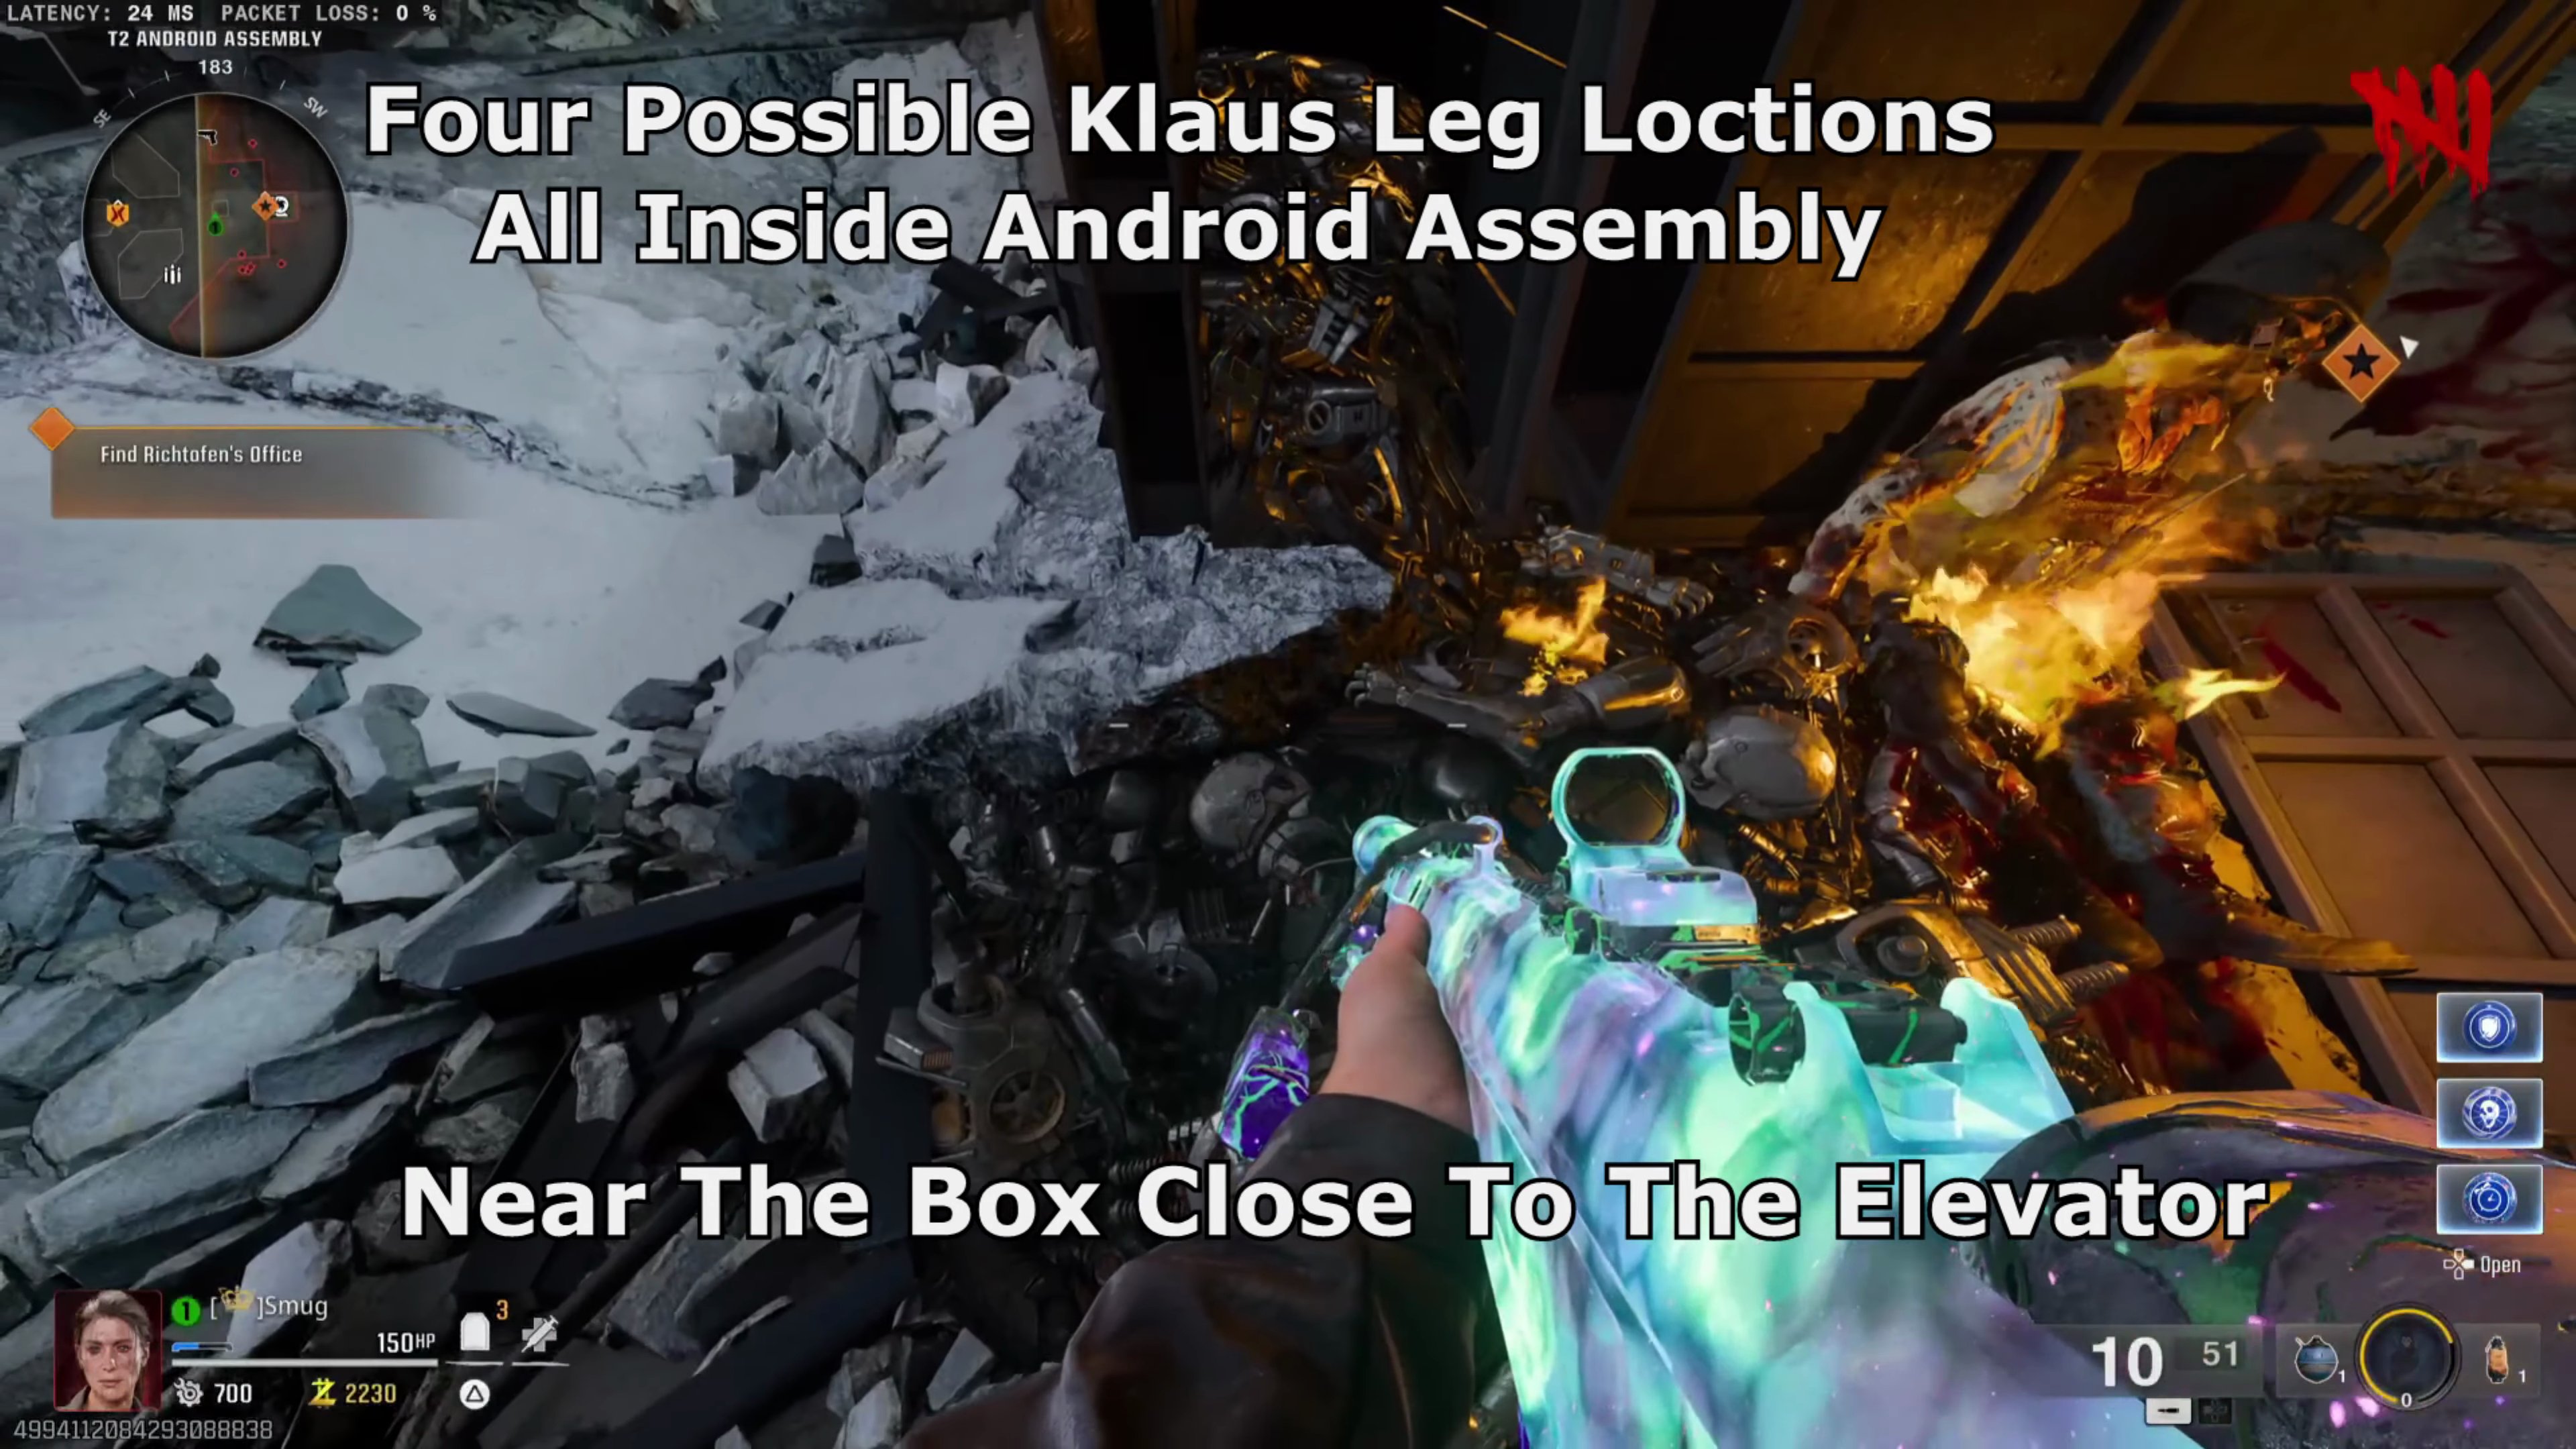 , on the corner shelf near the hanging Klauses
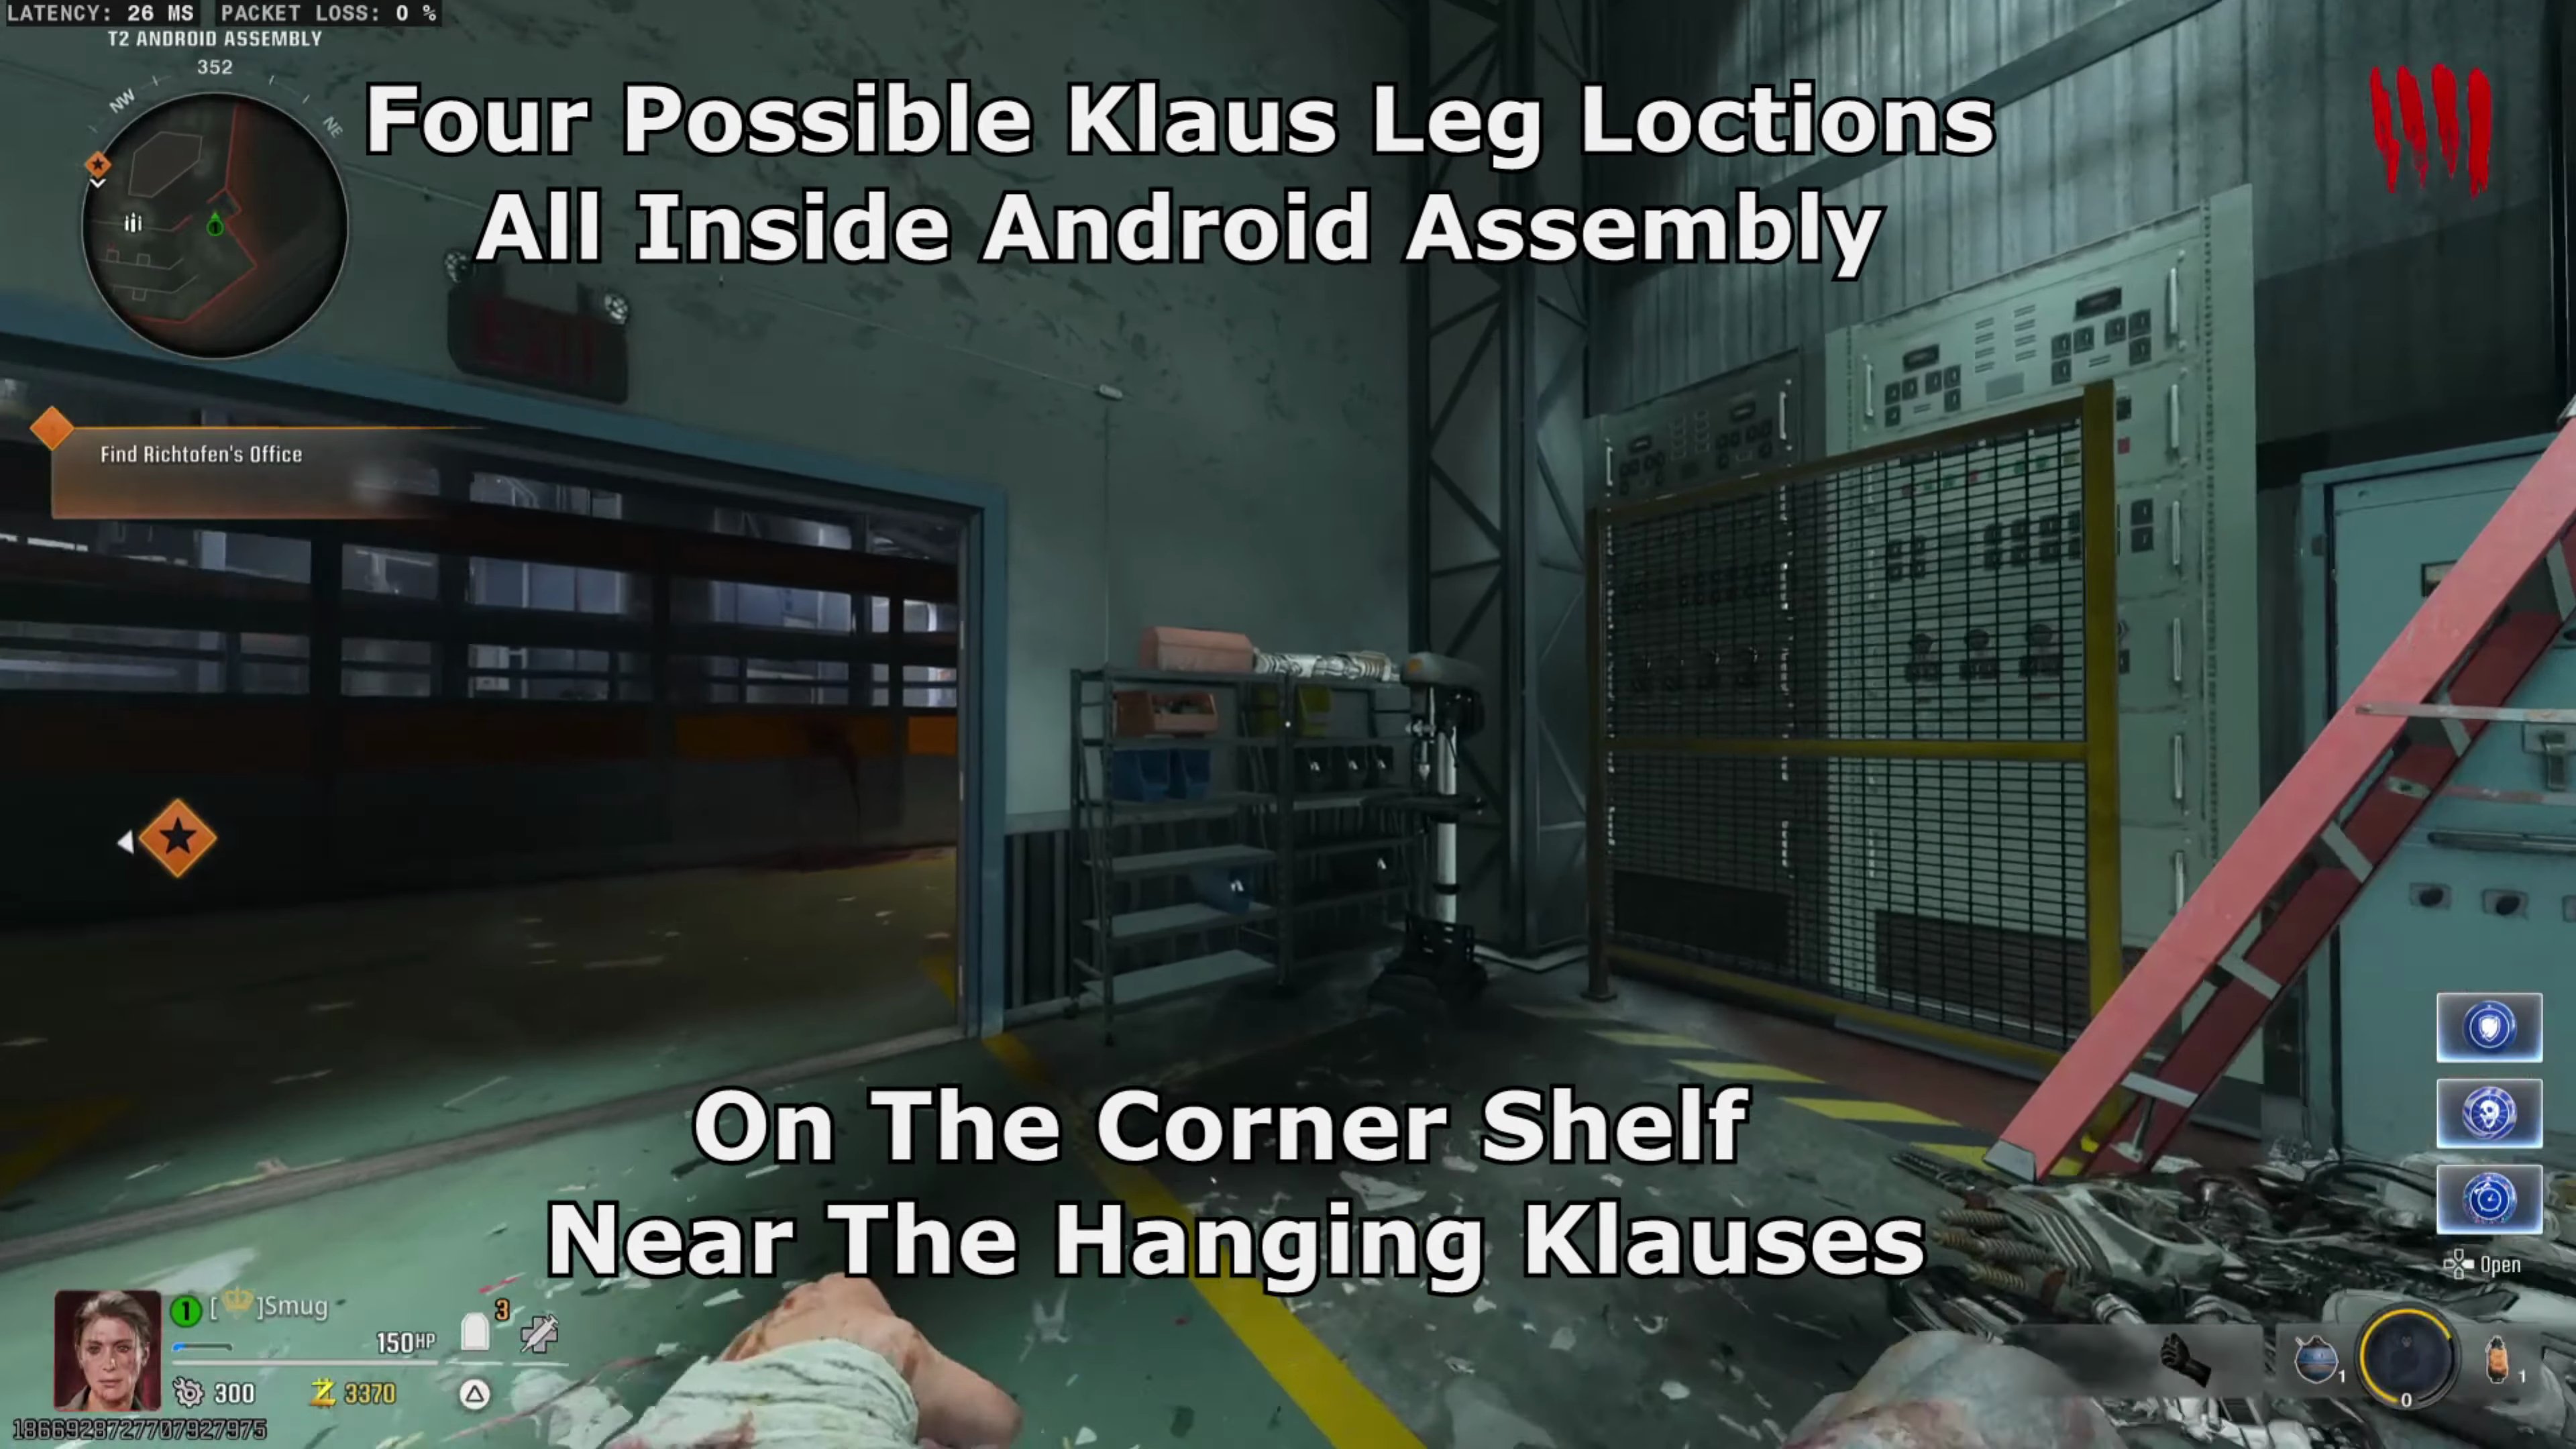 , in the doorway near where you build Franken Klaus
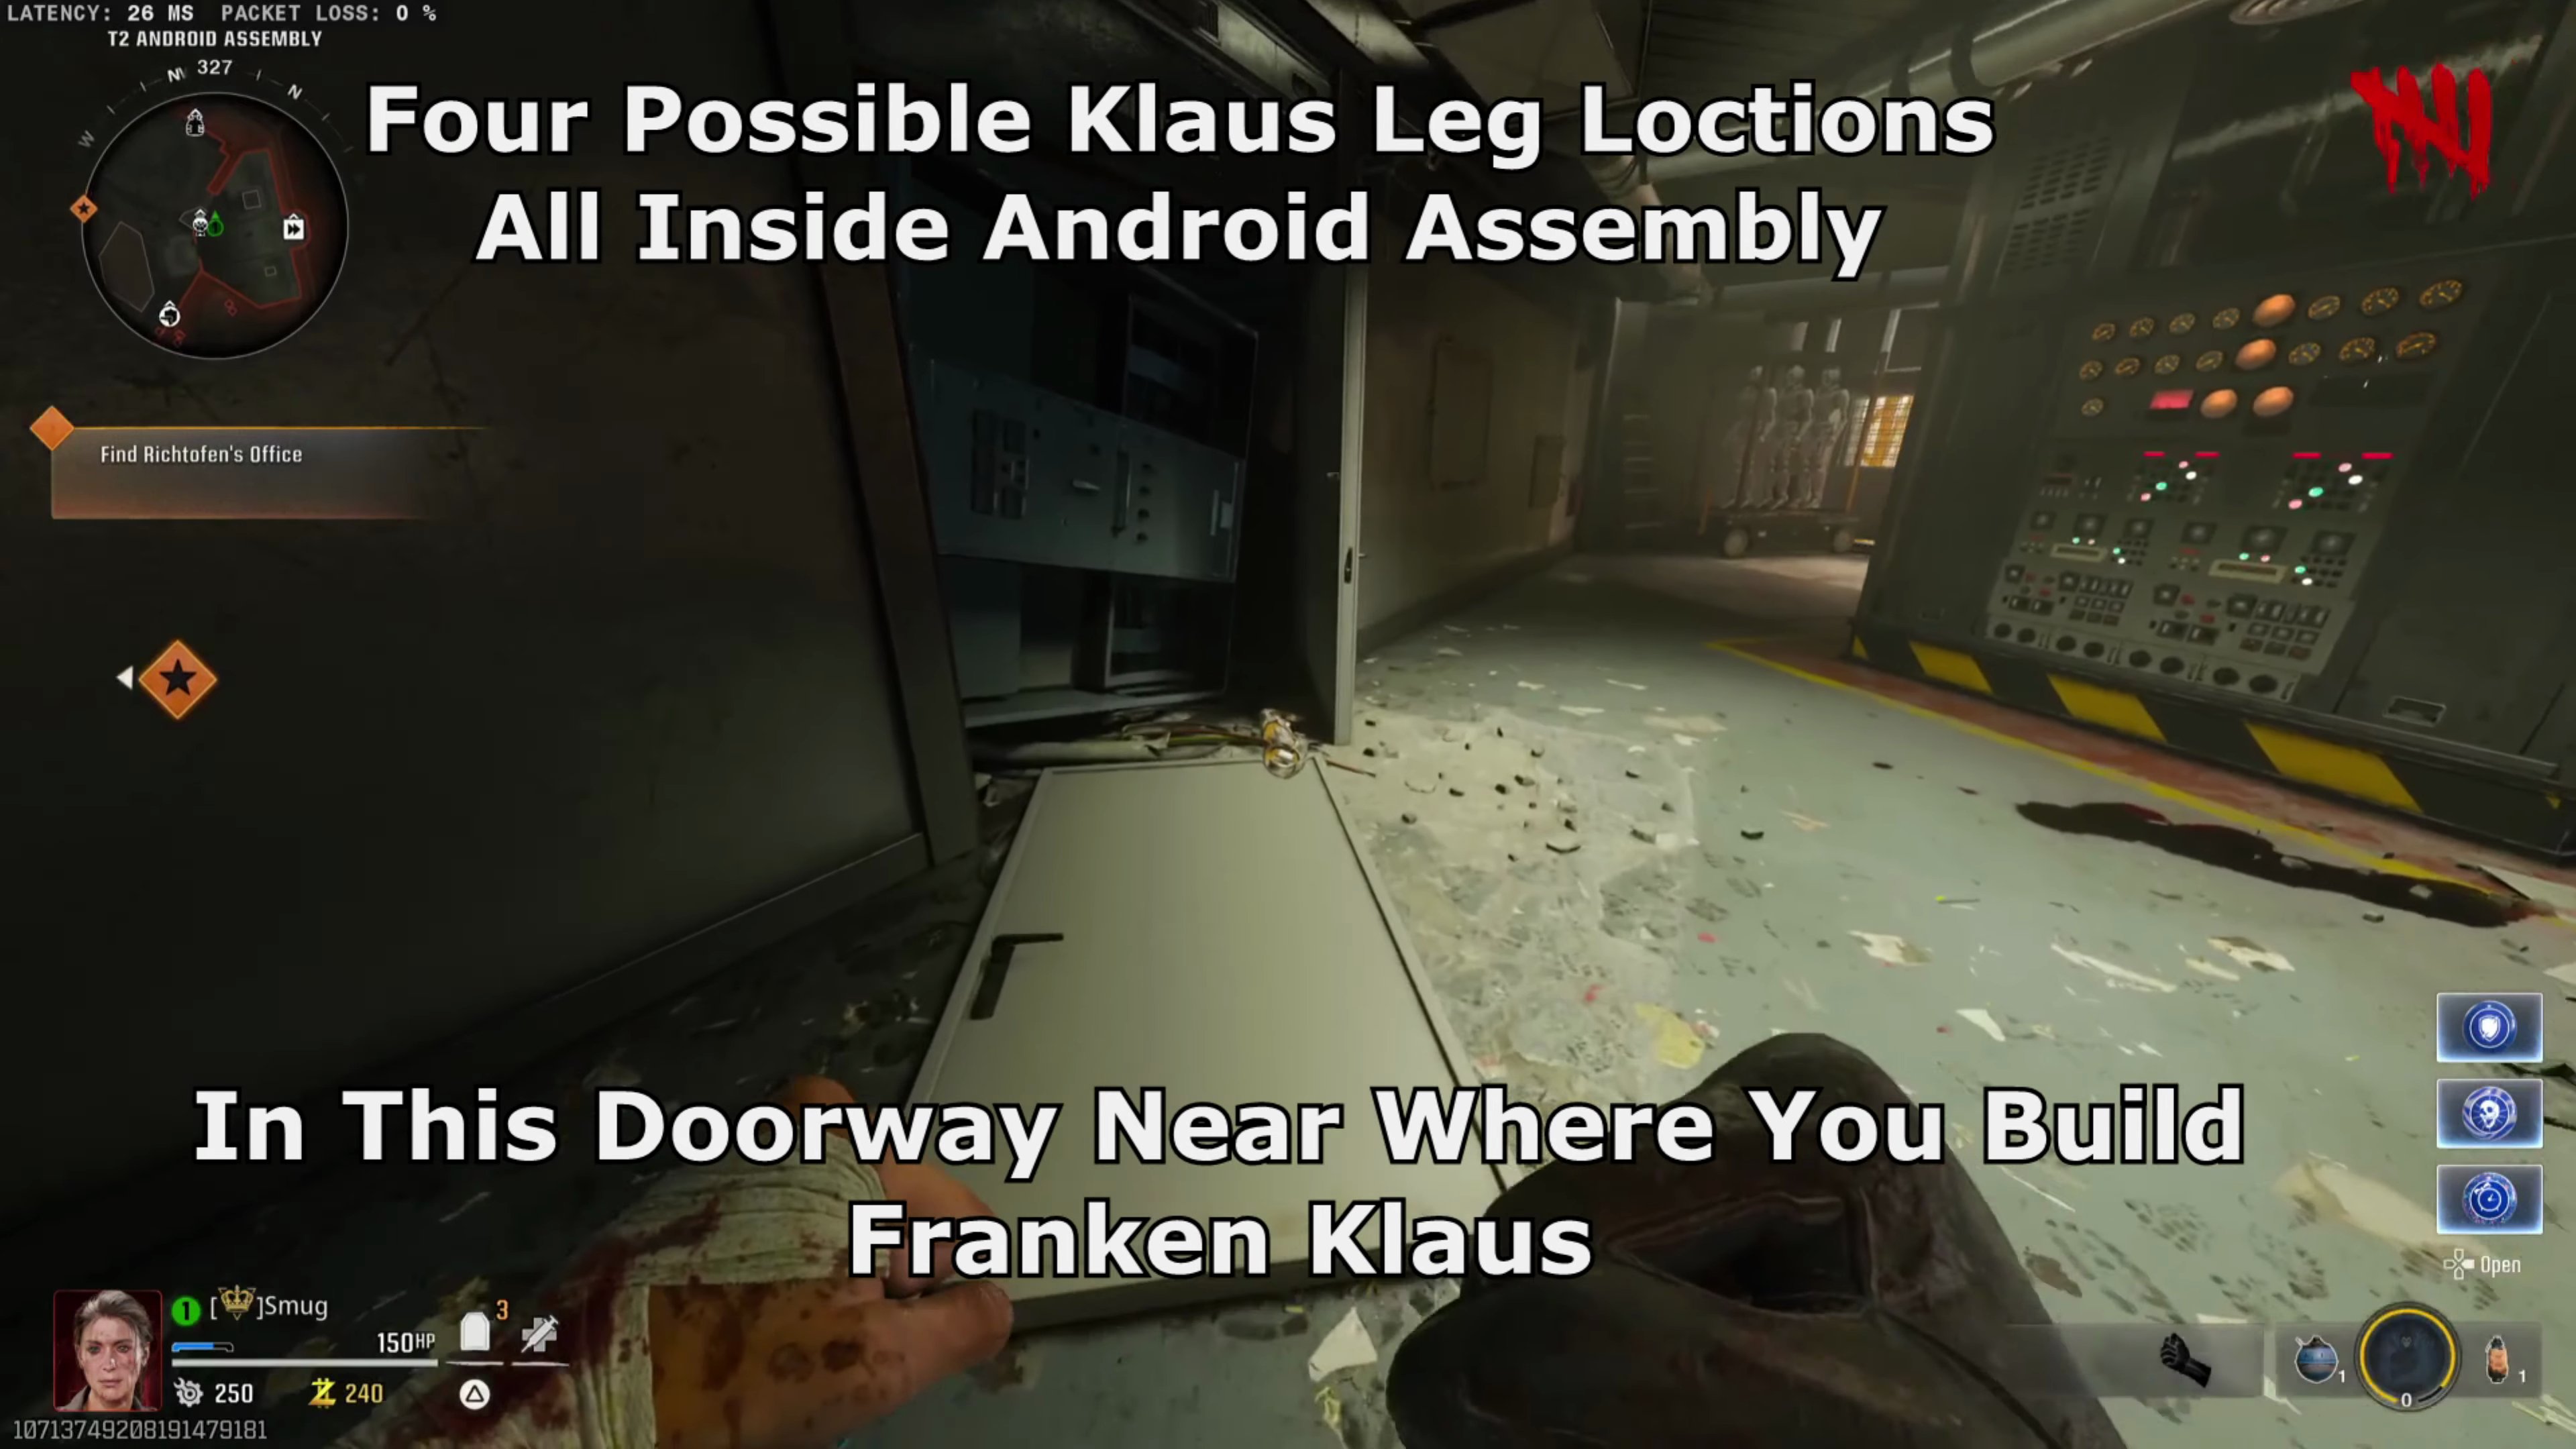 , and in the corner with the broken TV screen
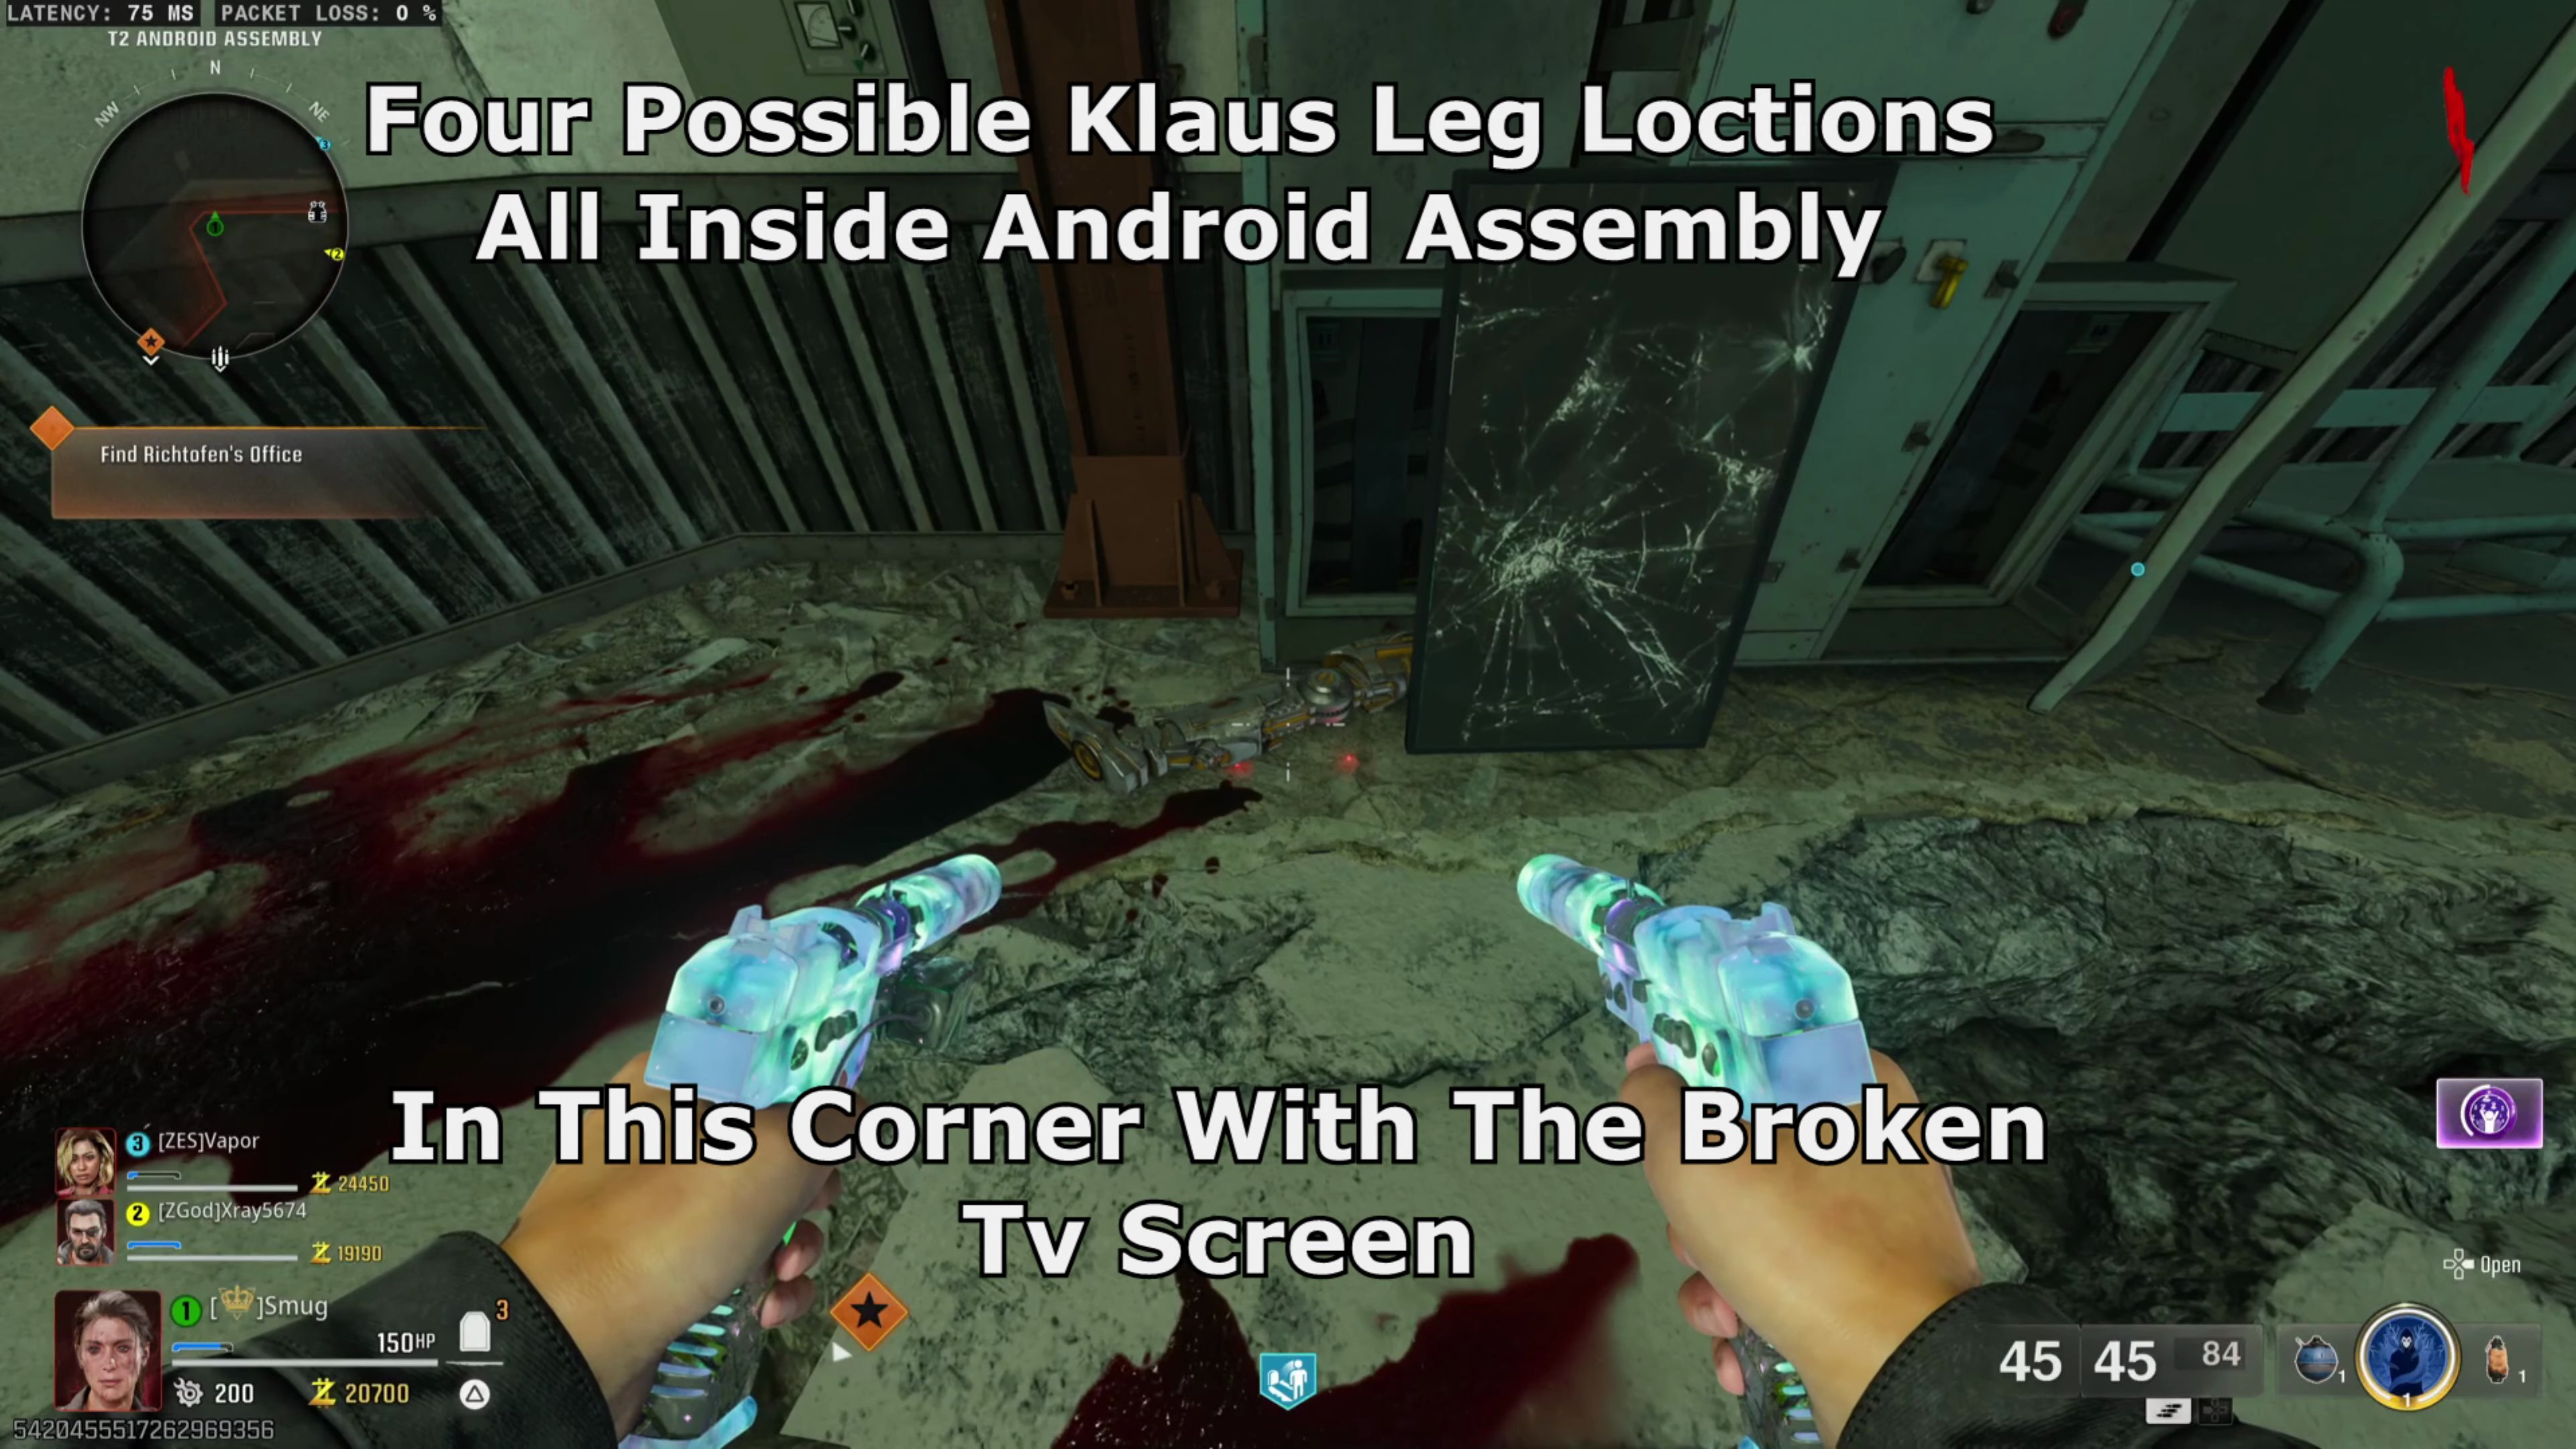 .
- With two arms and two legs collected, build Franken Klaus.
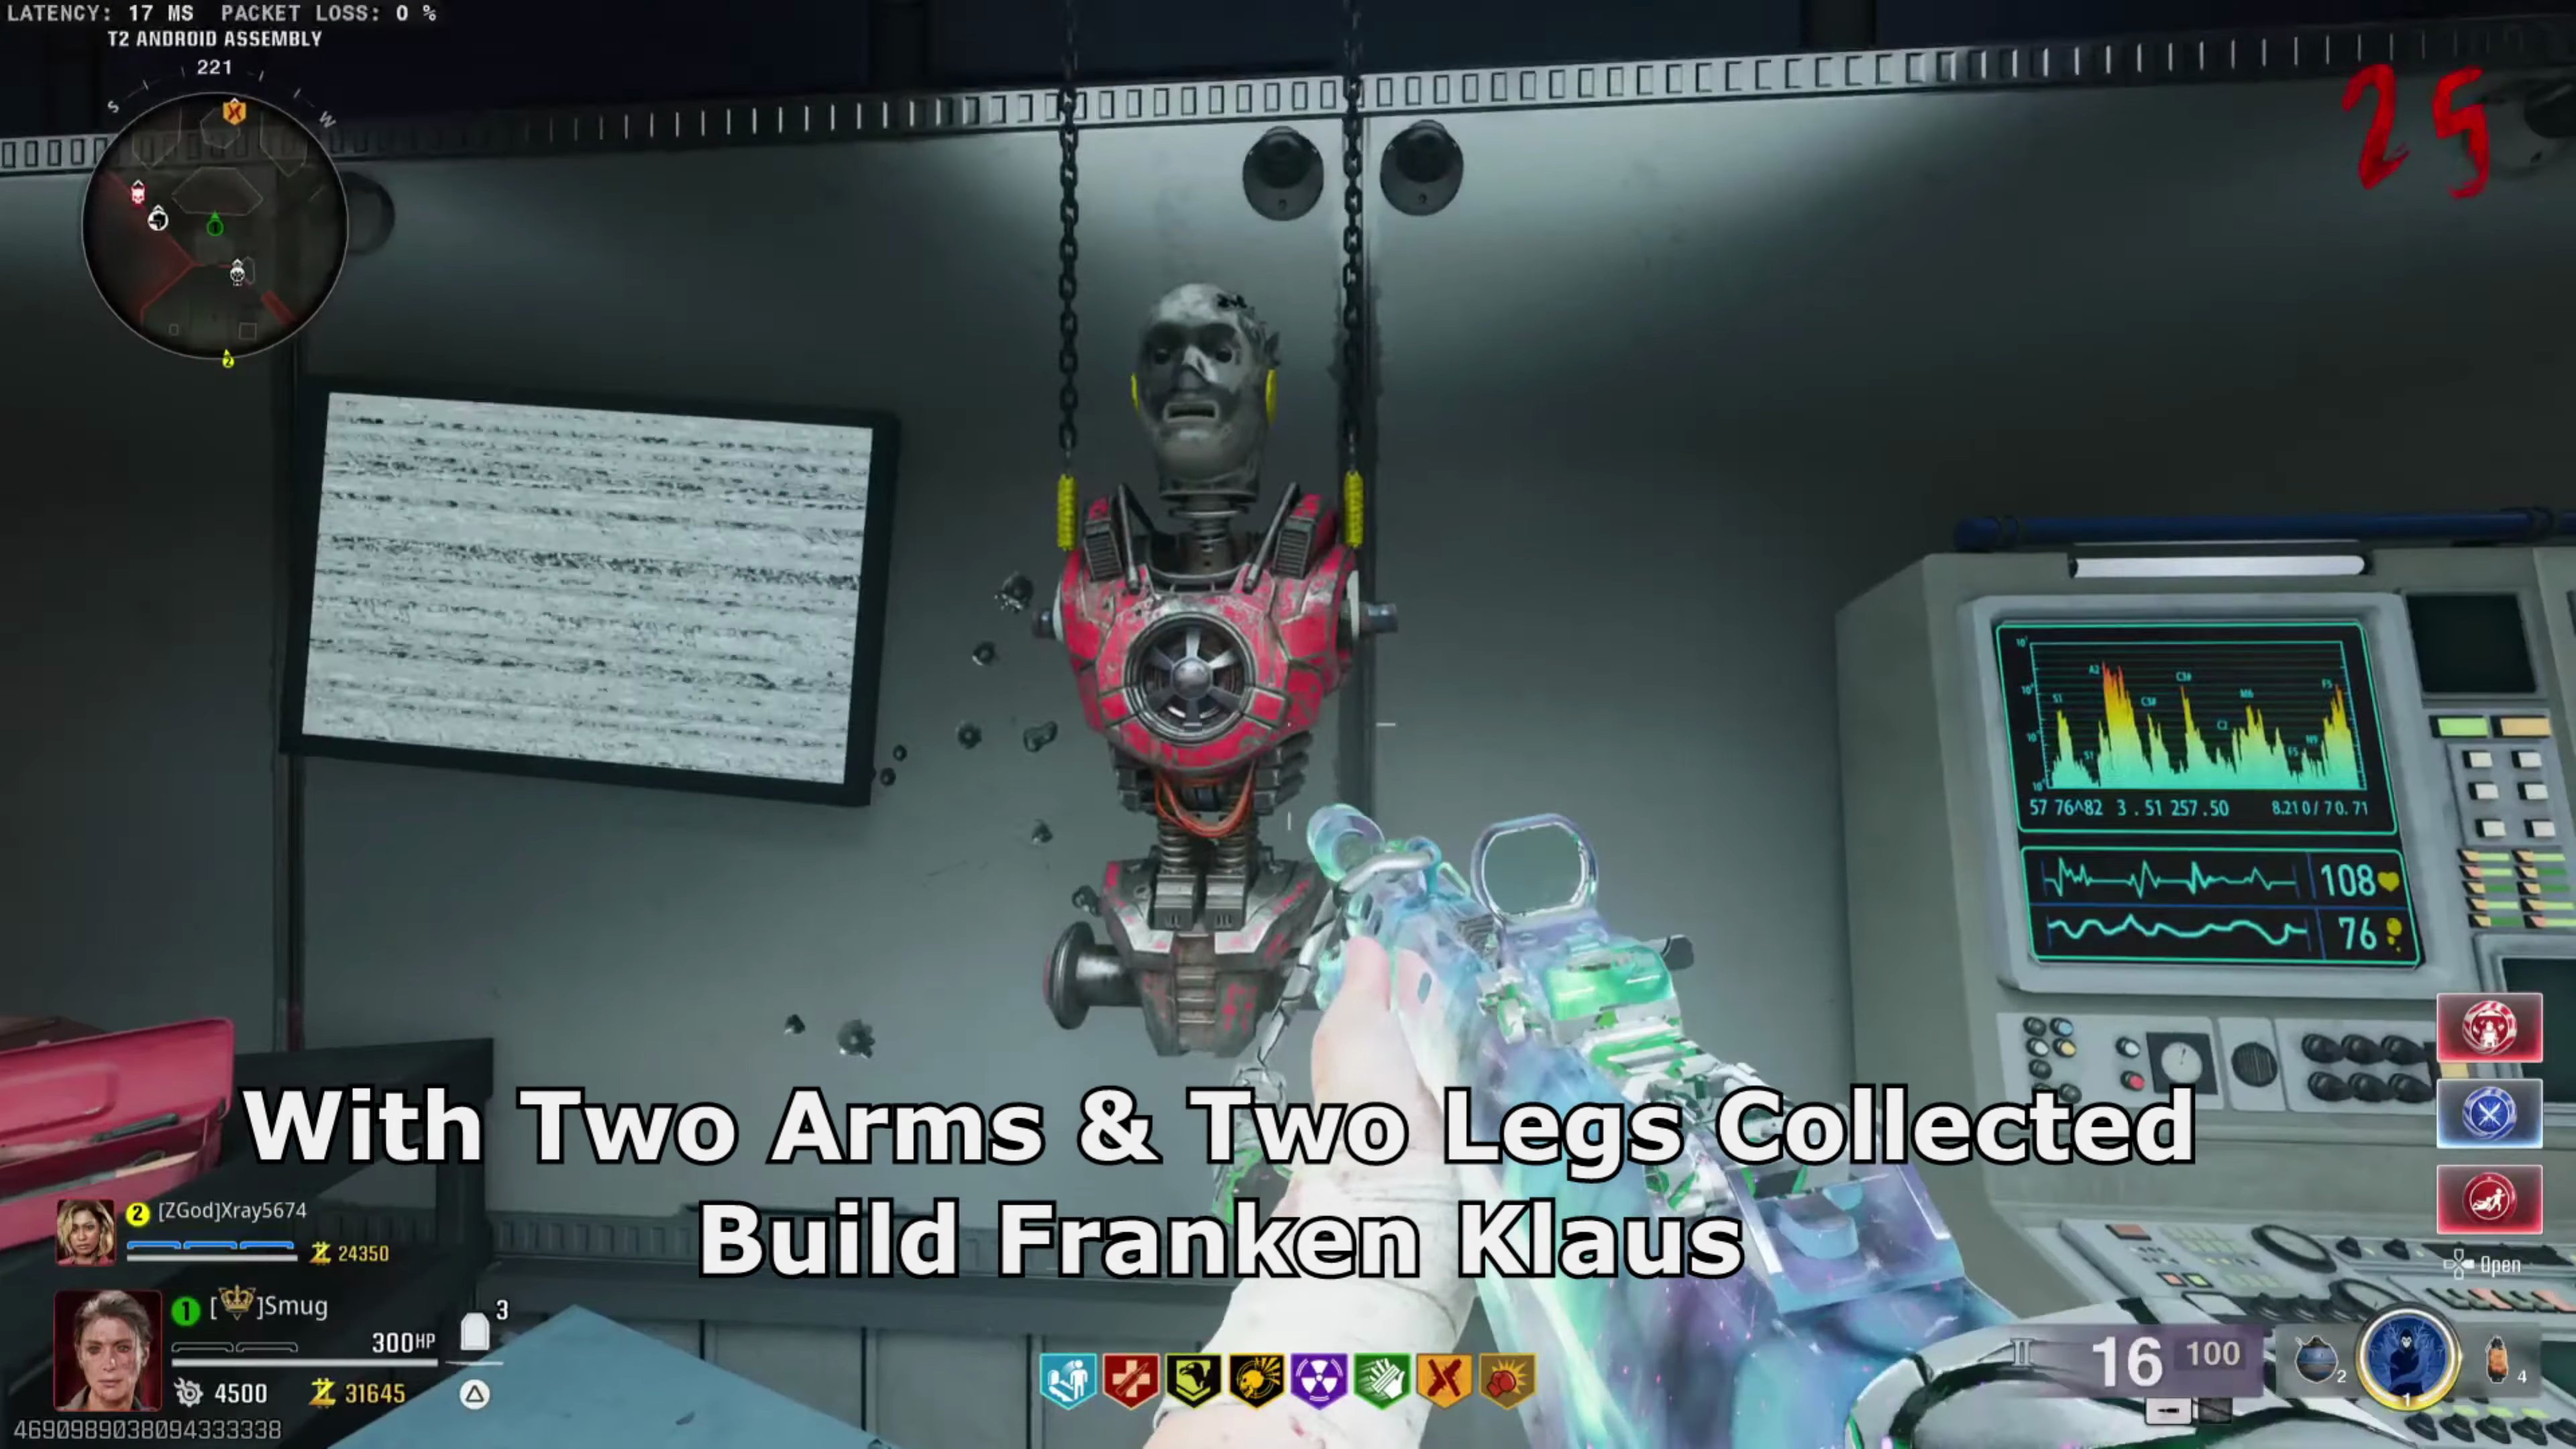
- Once built, power him up by getting an Uber Klaus to use its ranged attack on or near him.
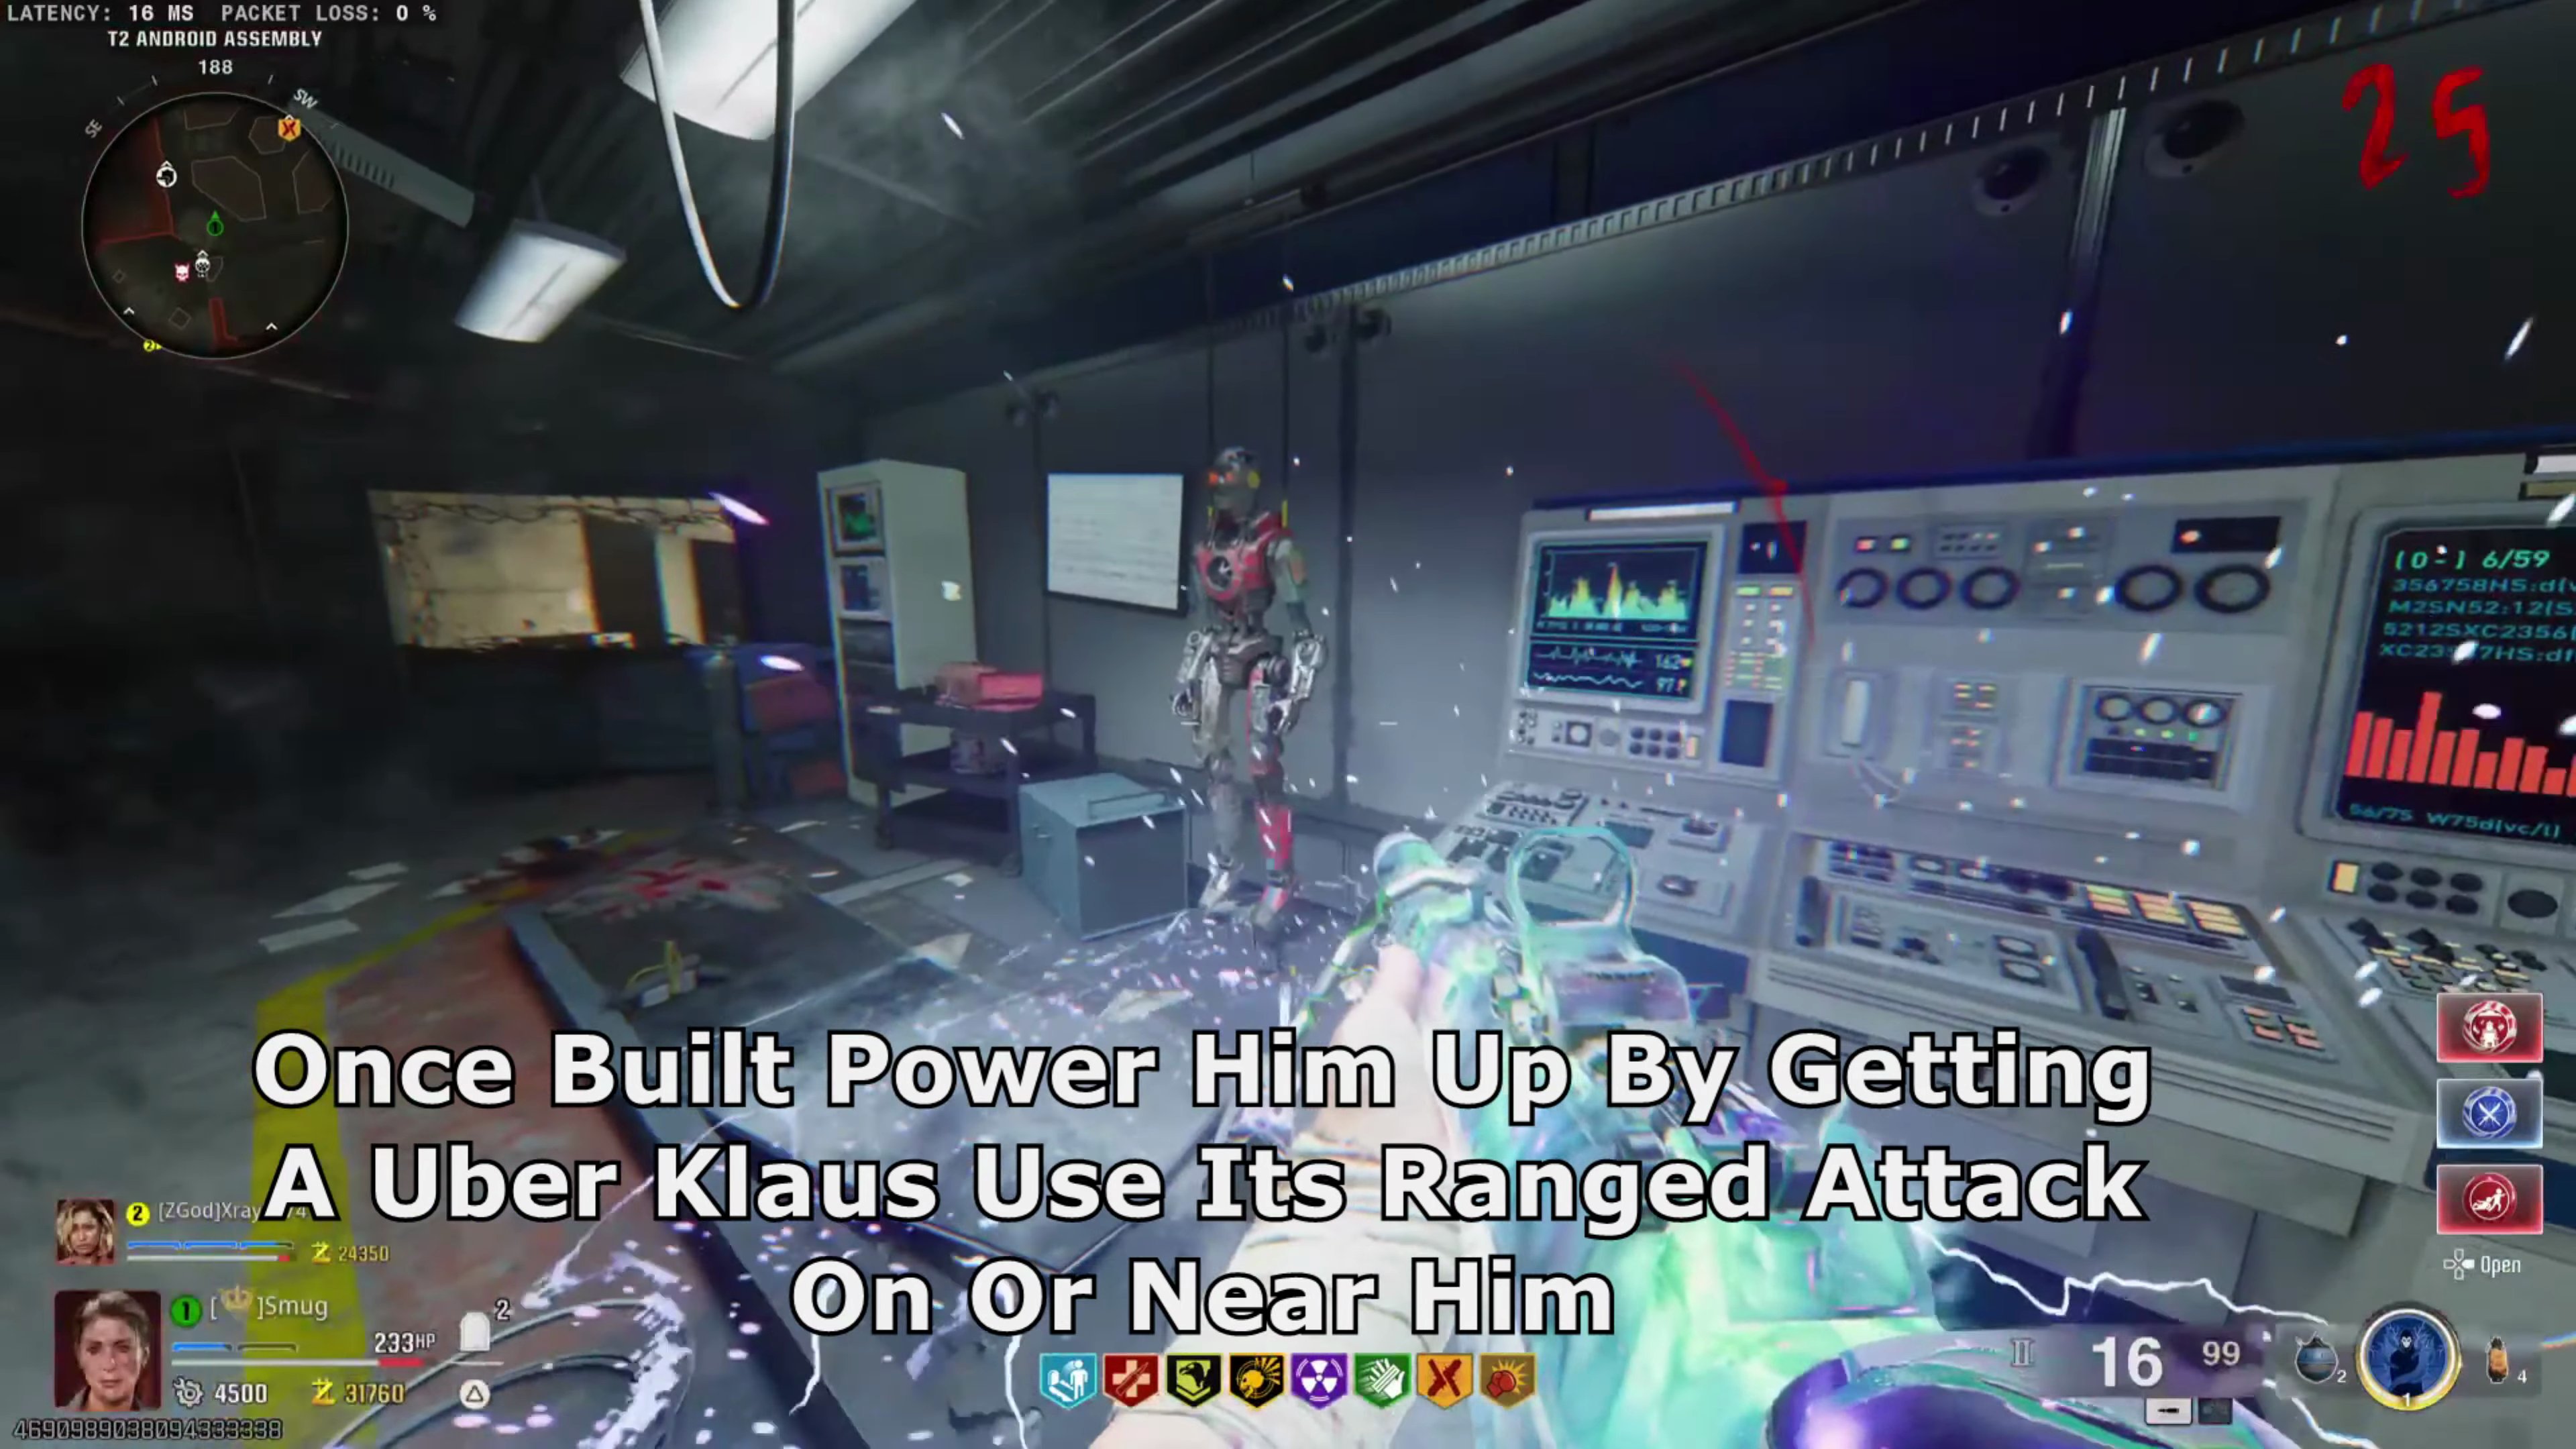
- He will type on the terminal until the following round.
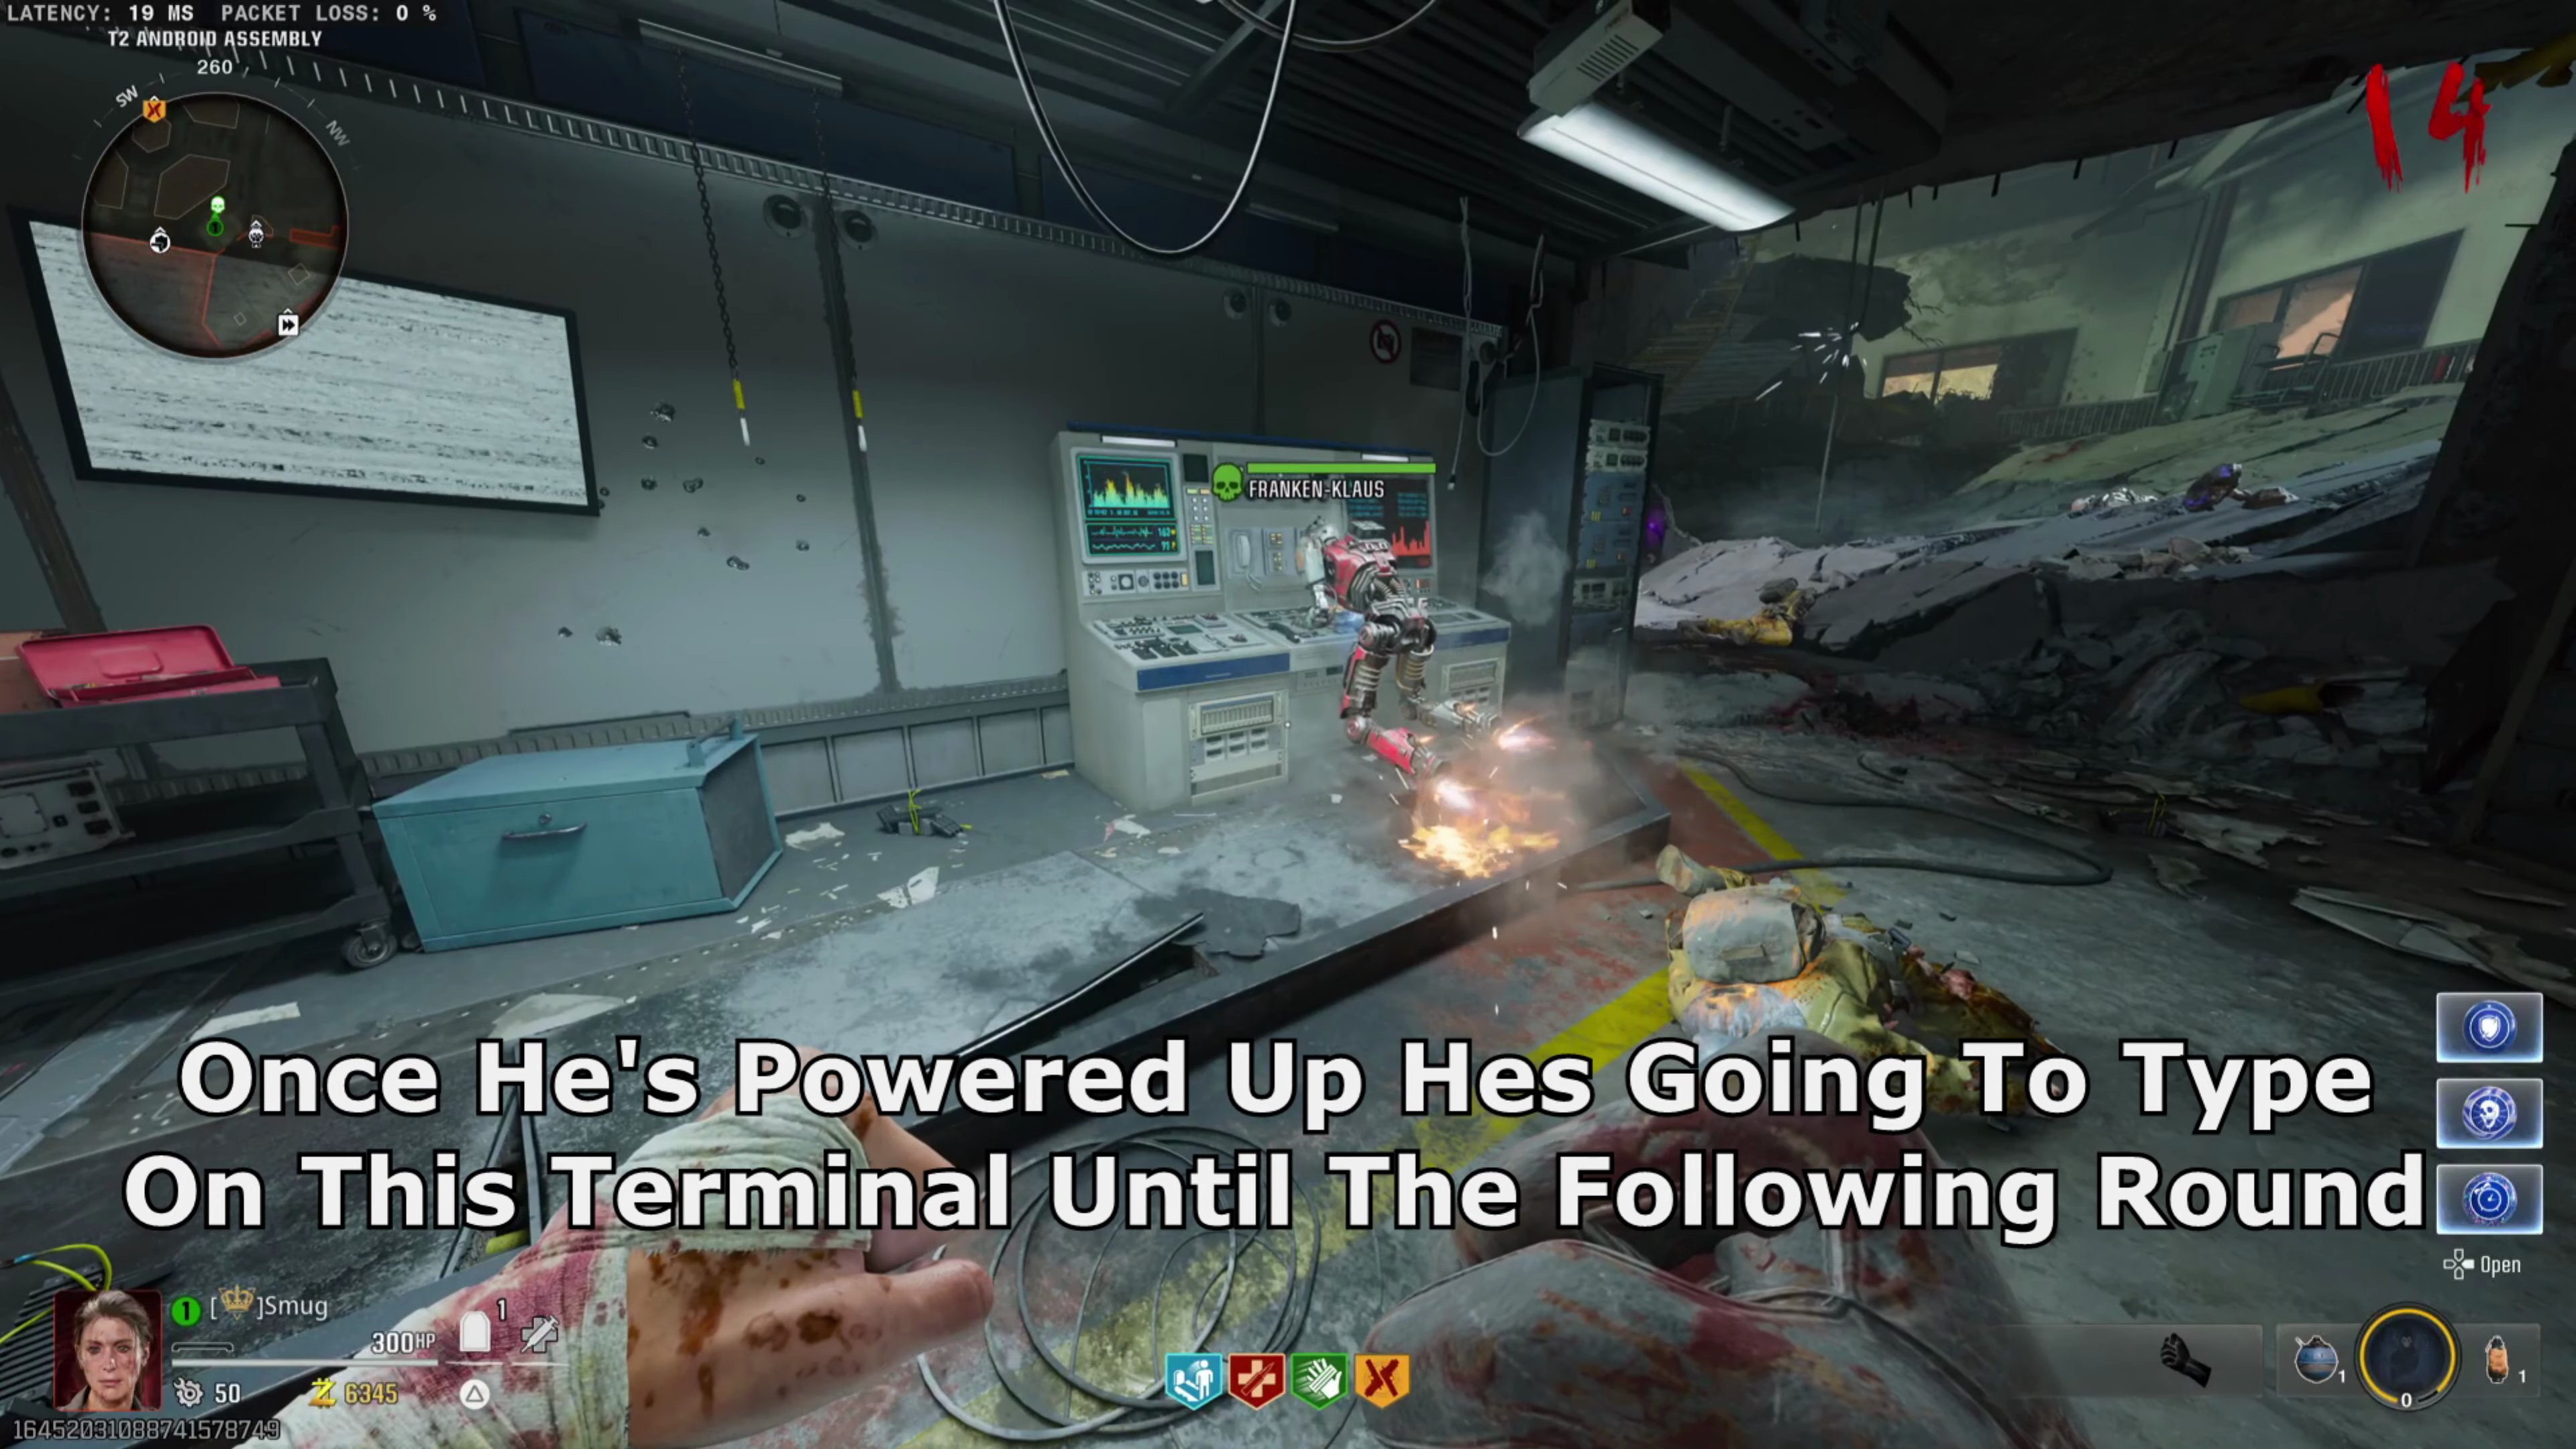
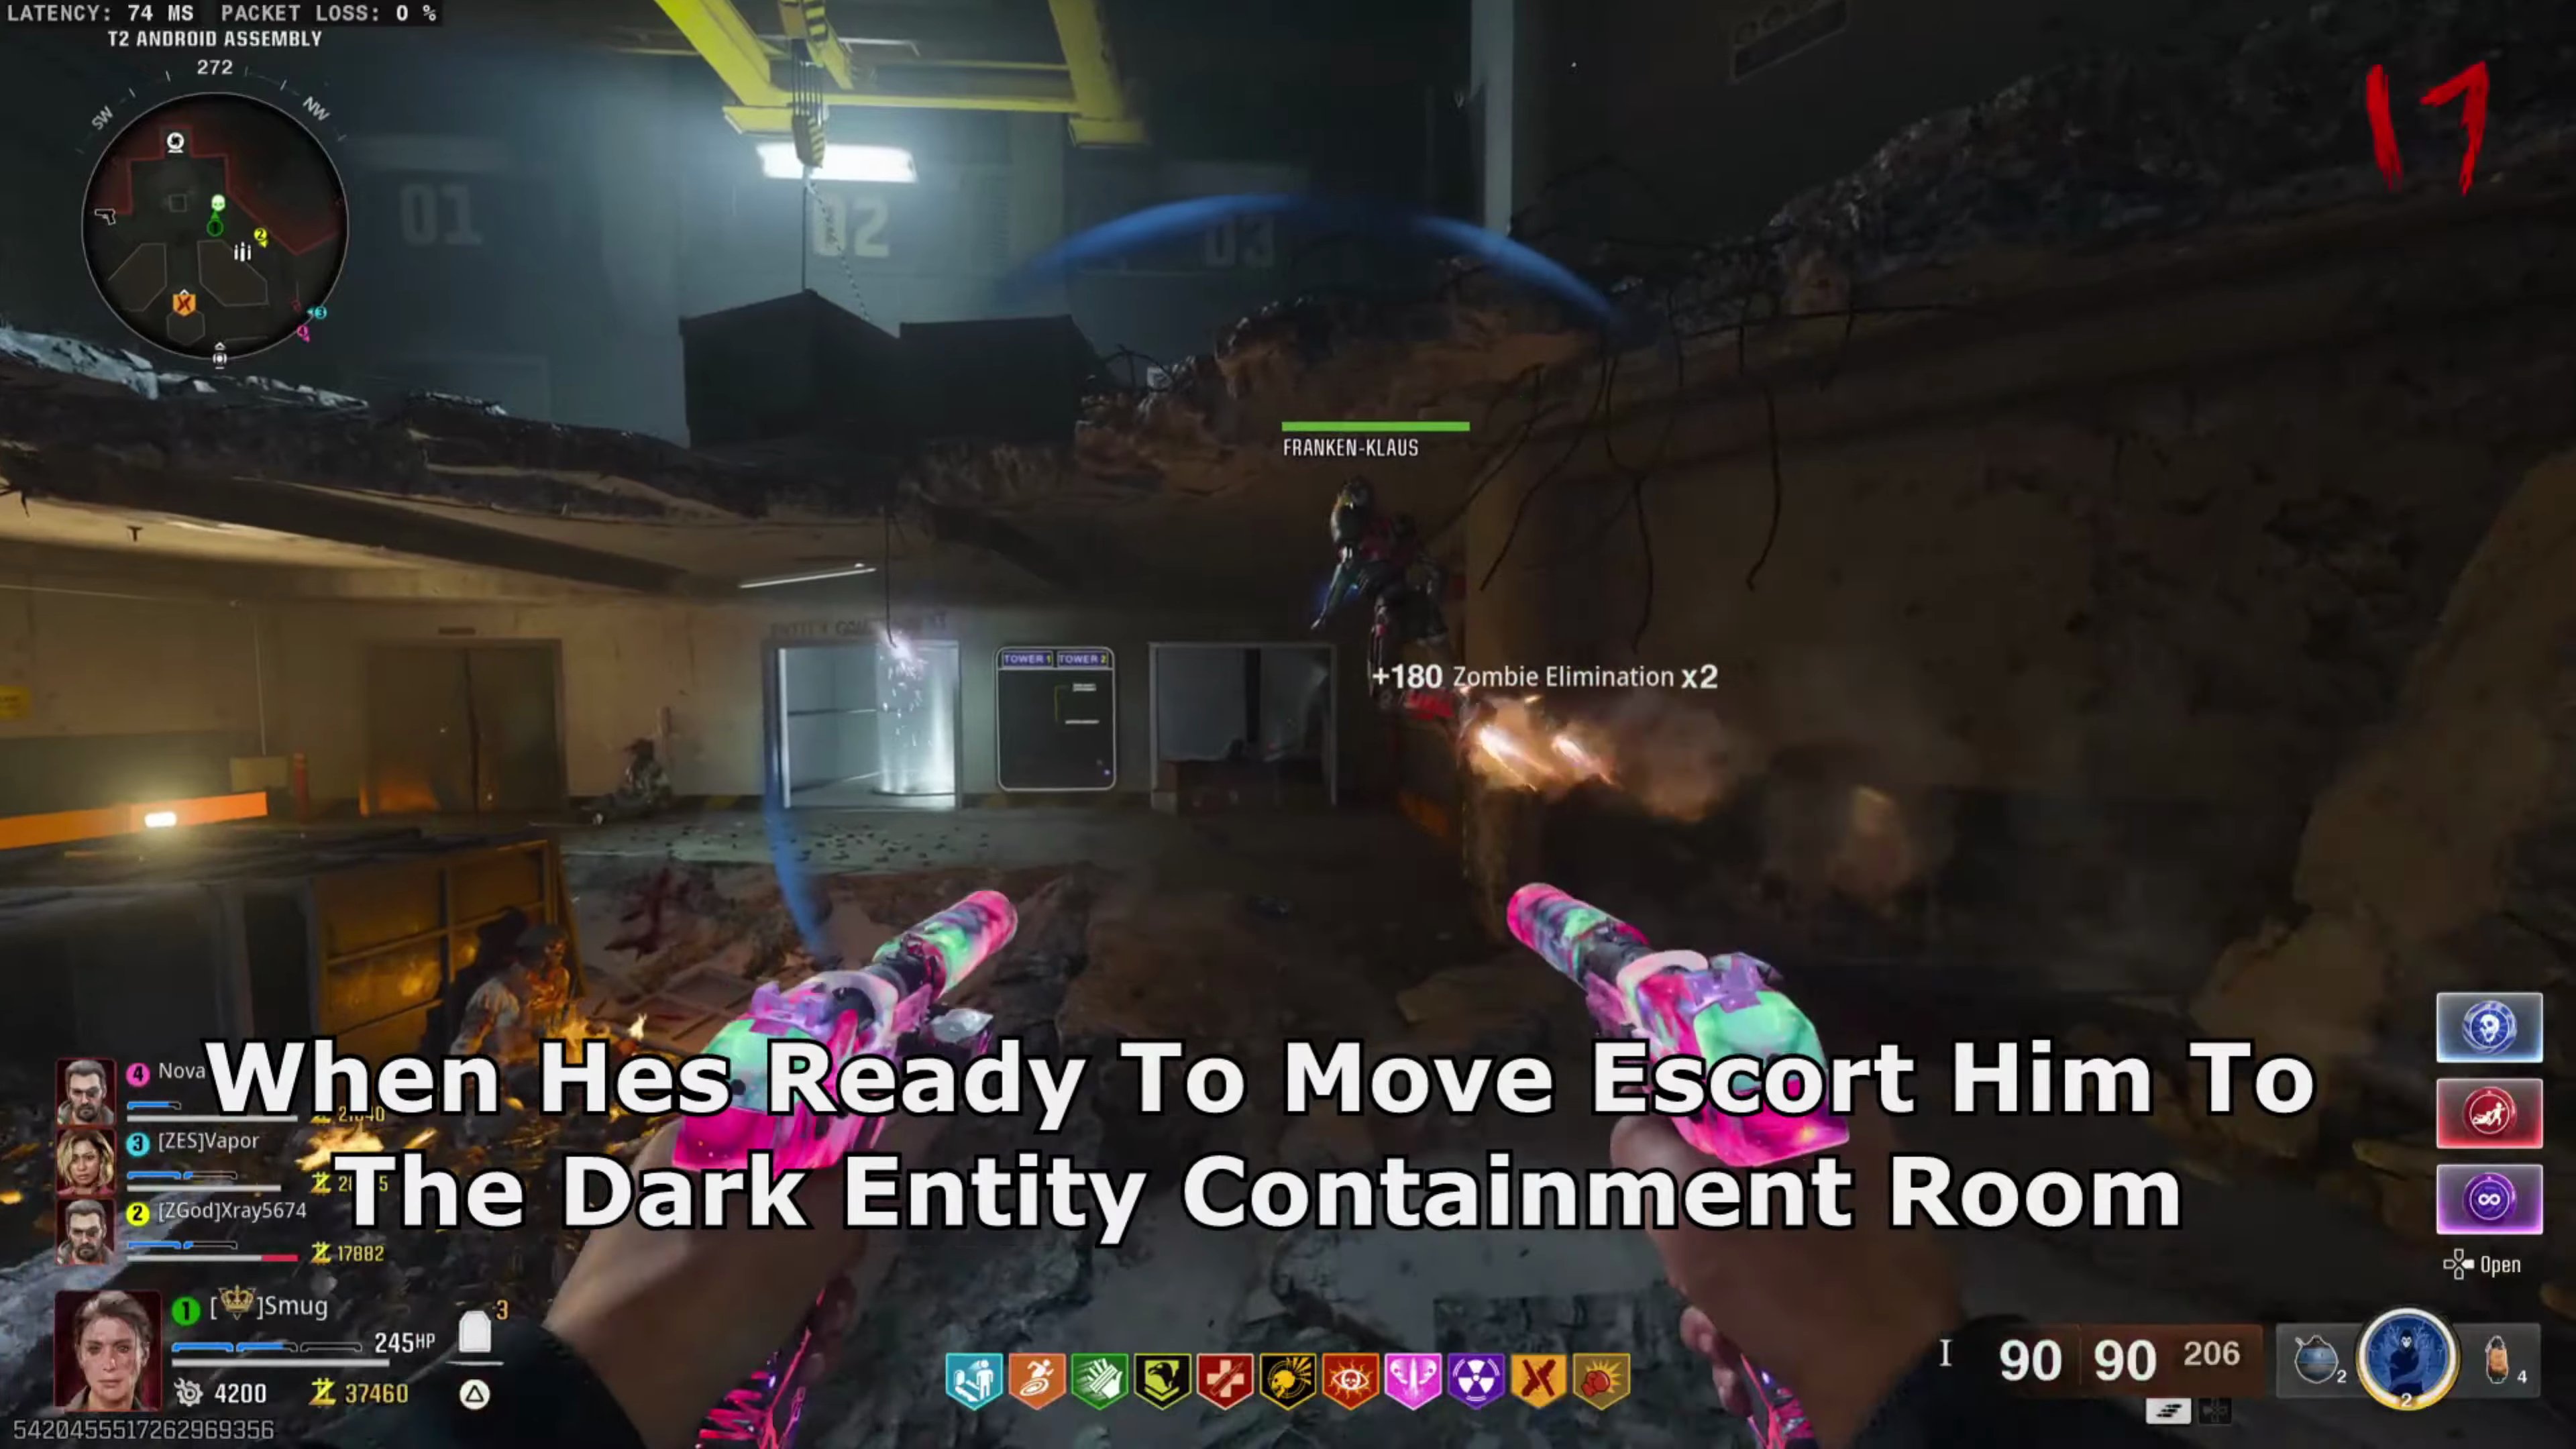
- Escort him to the Dark Entity Containment Room.
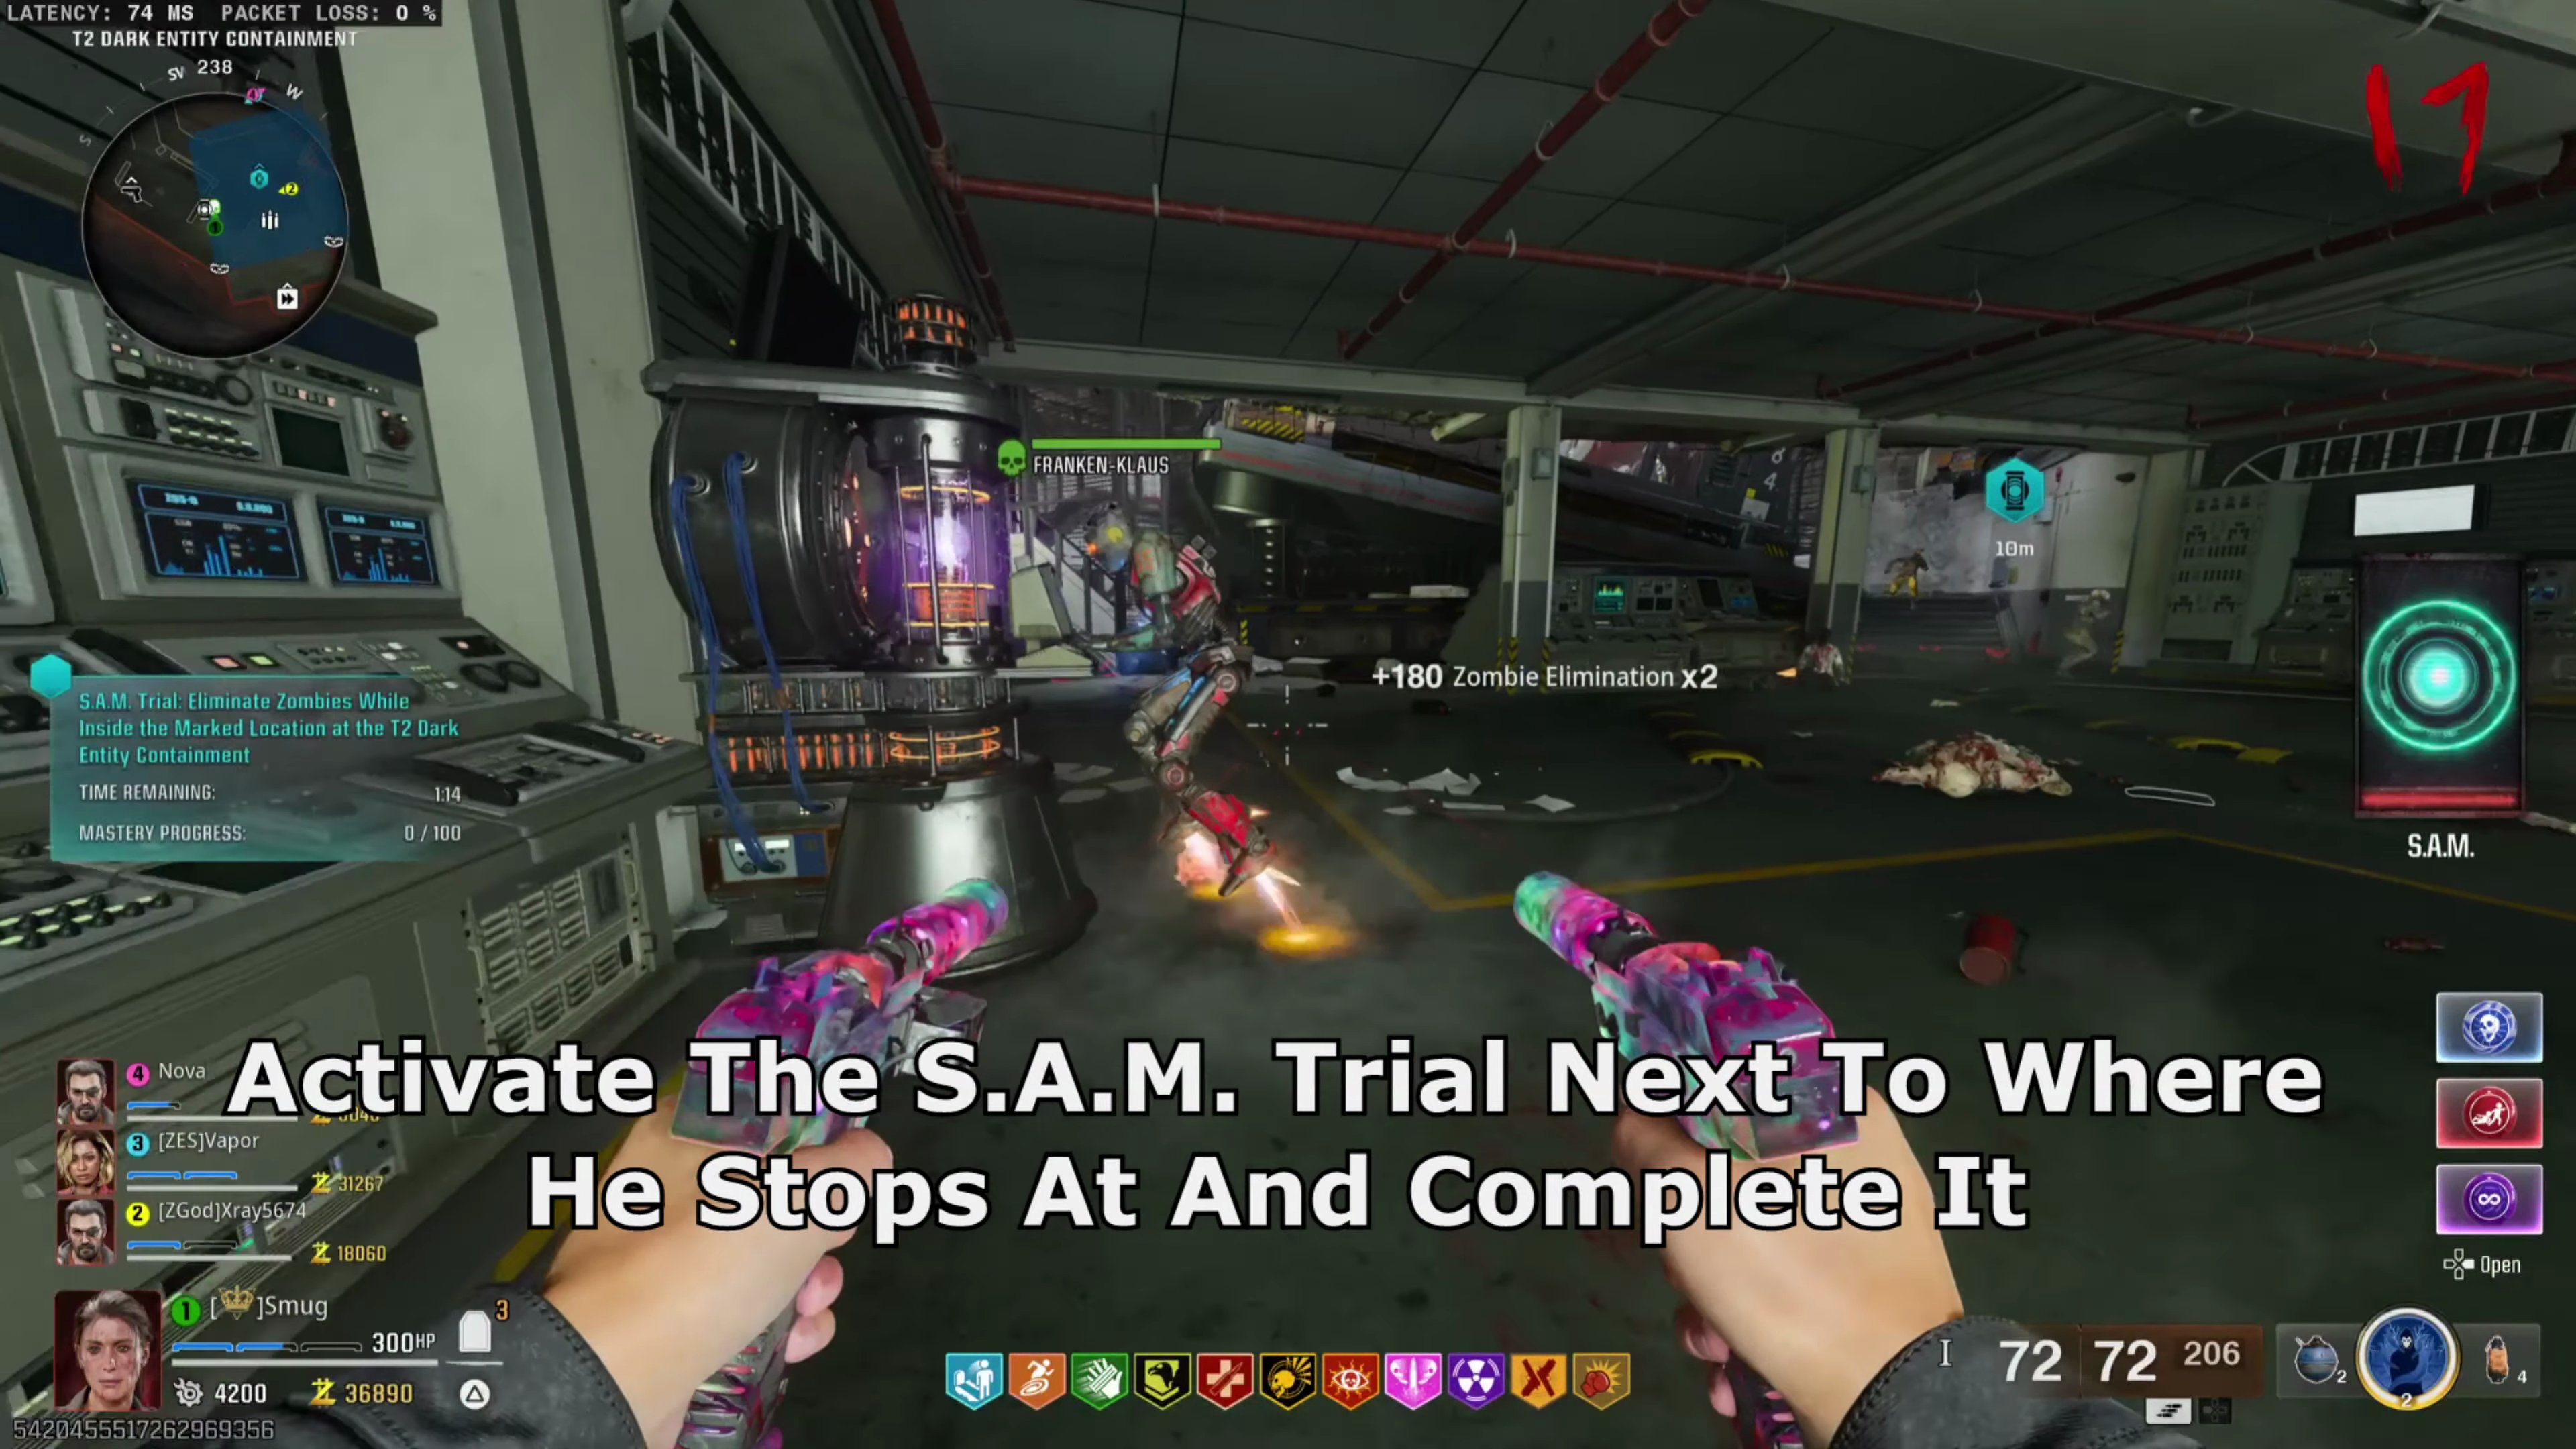
- Activate the S.A.M. trial next to where he stops and complete it. (The more players, the more kills you need).
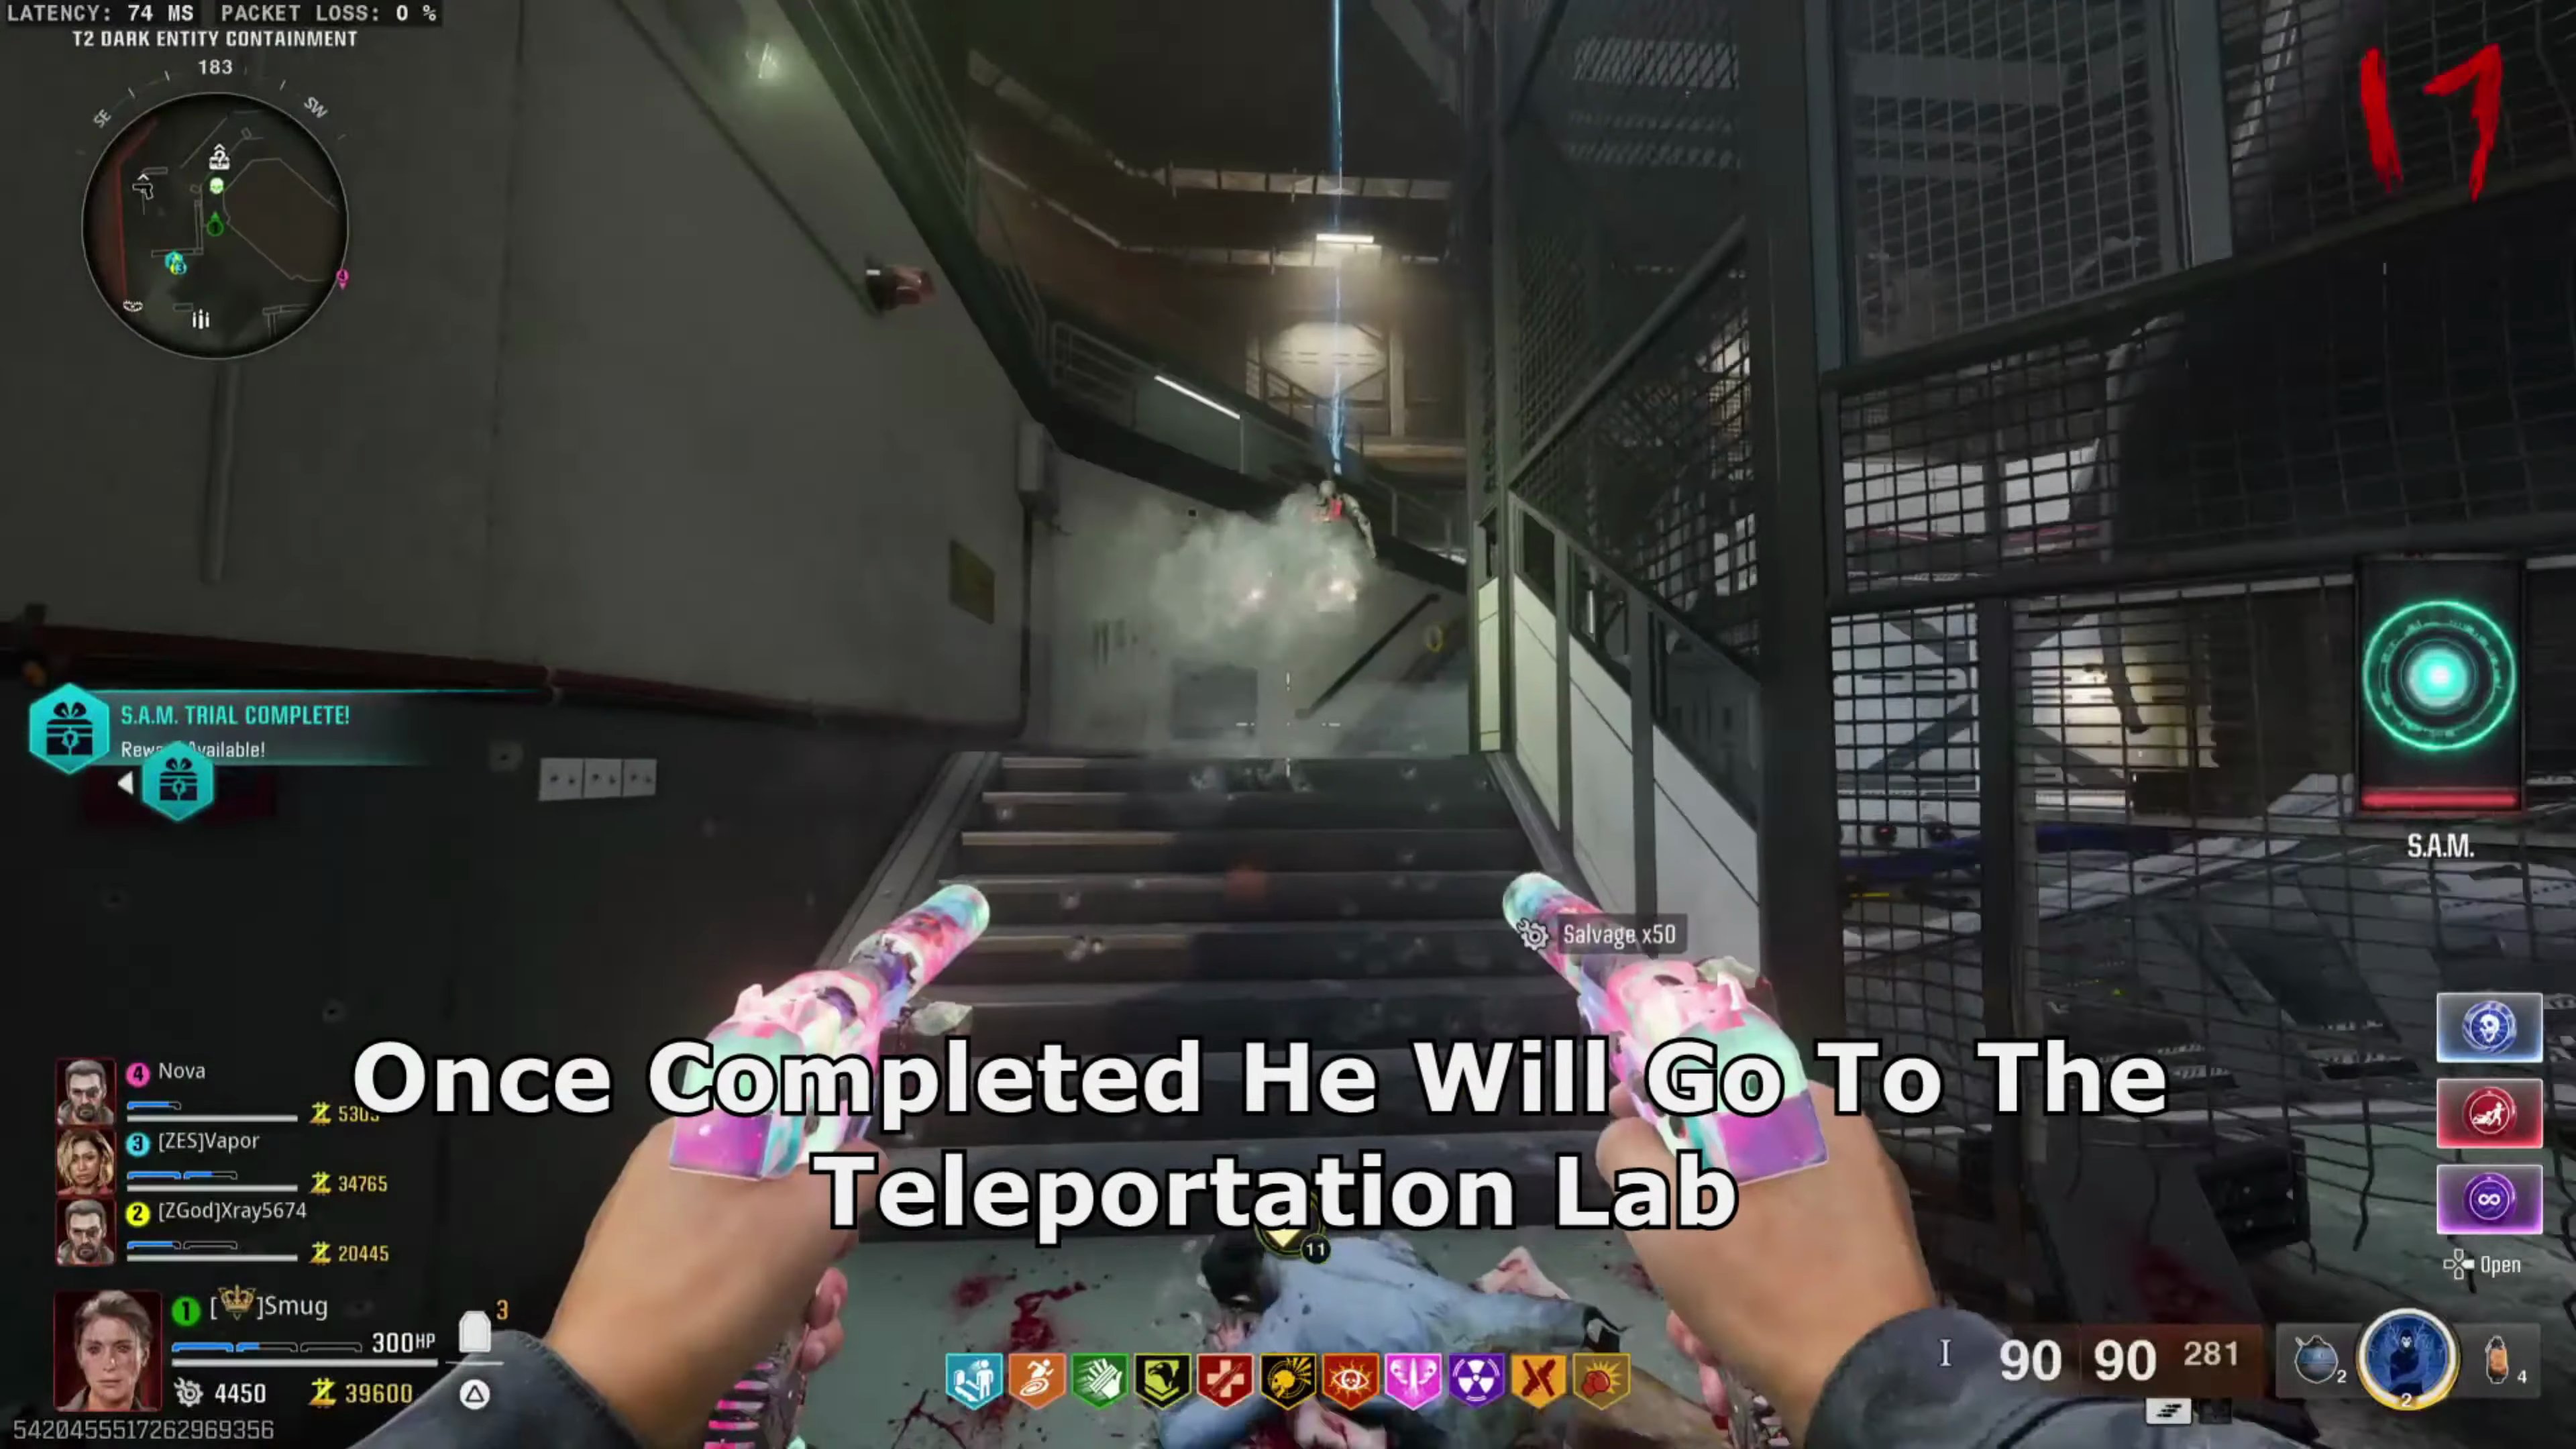
- Once the trial is completed, he will head up to the Teleportation Lab.
Step 4: Deliver The Brain
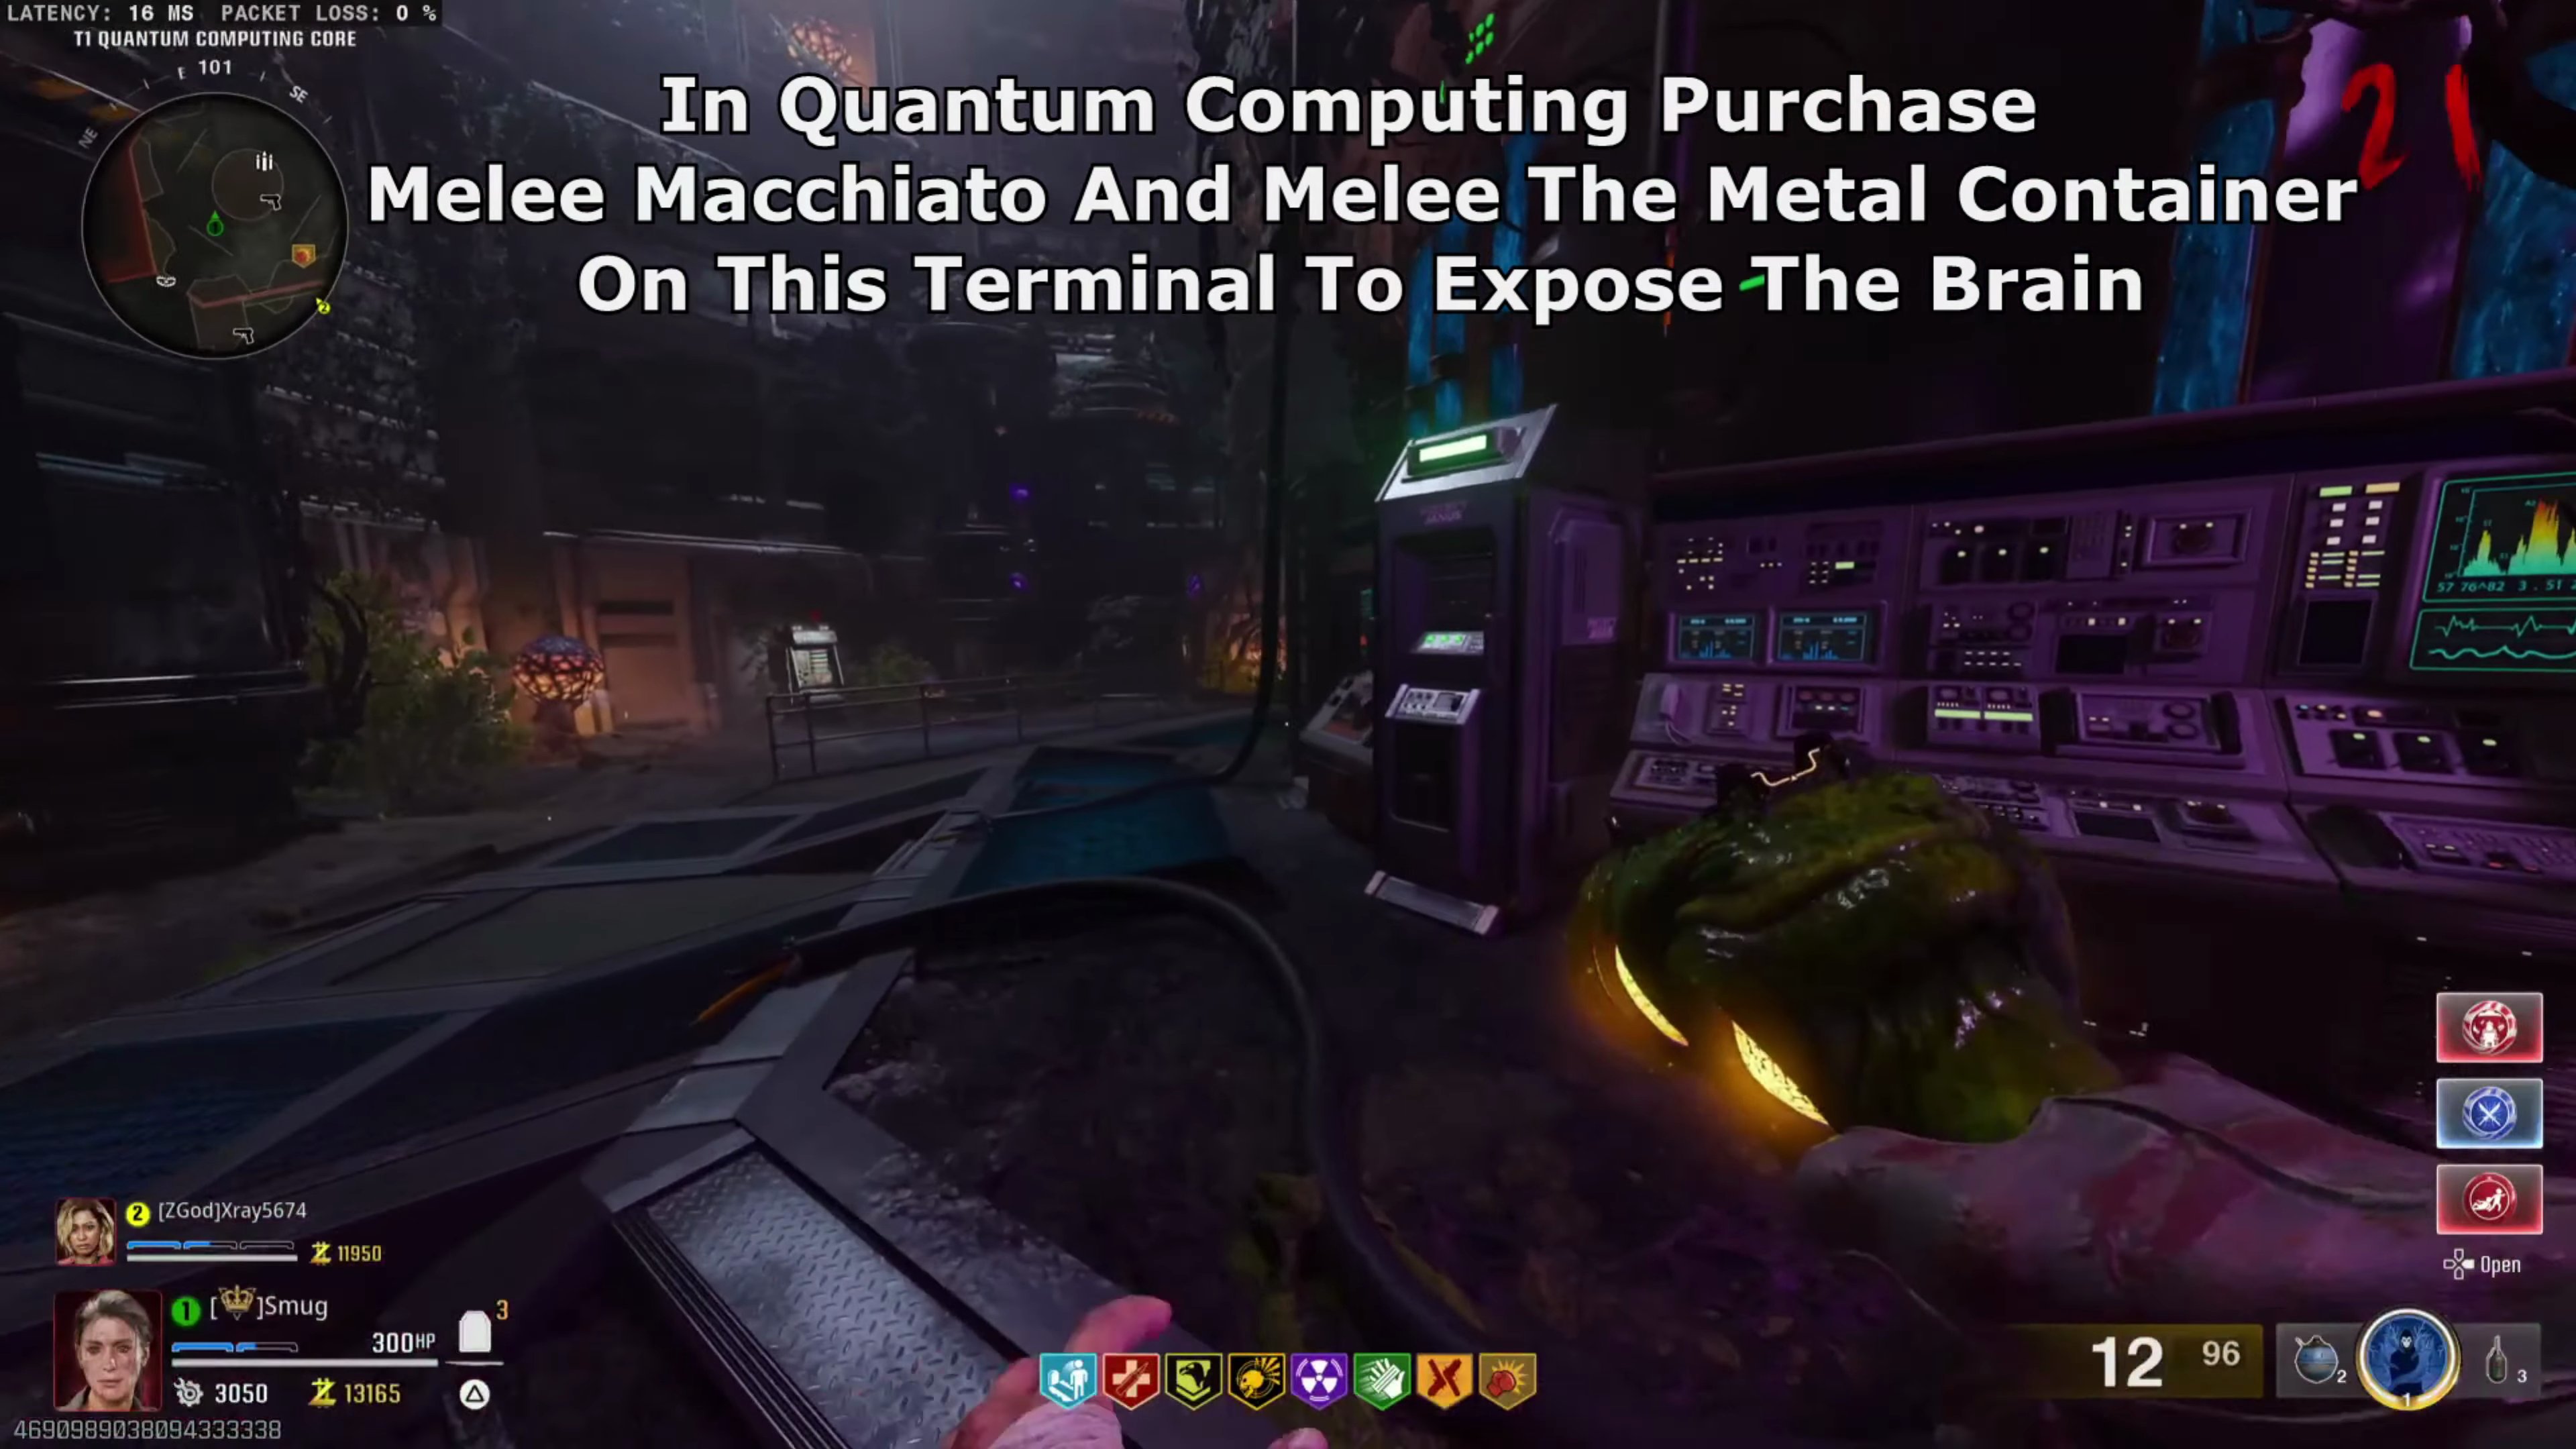
- In Quantum Computing, purchase Melee Macchiato and melee the metal container on the terminal to expose the brain.
- With the brain in your hand, bring it to the Teleportation Lab. (You will walk slower with the brain).
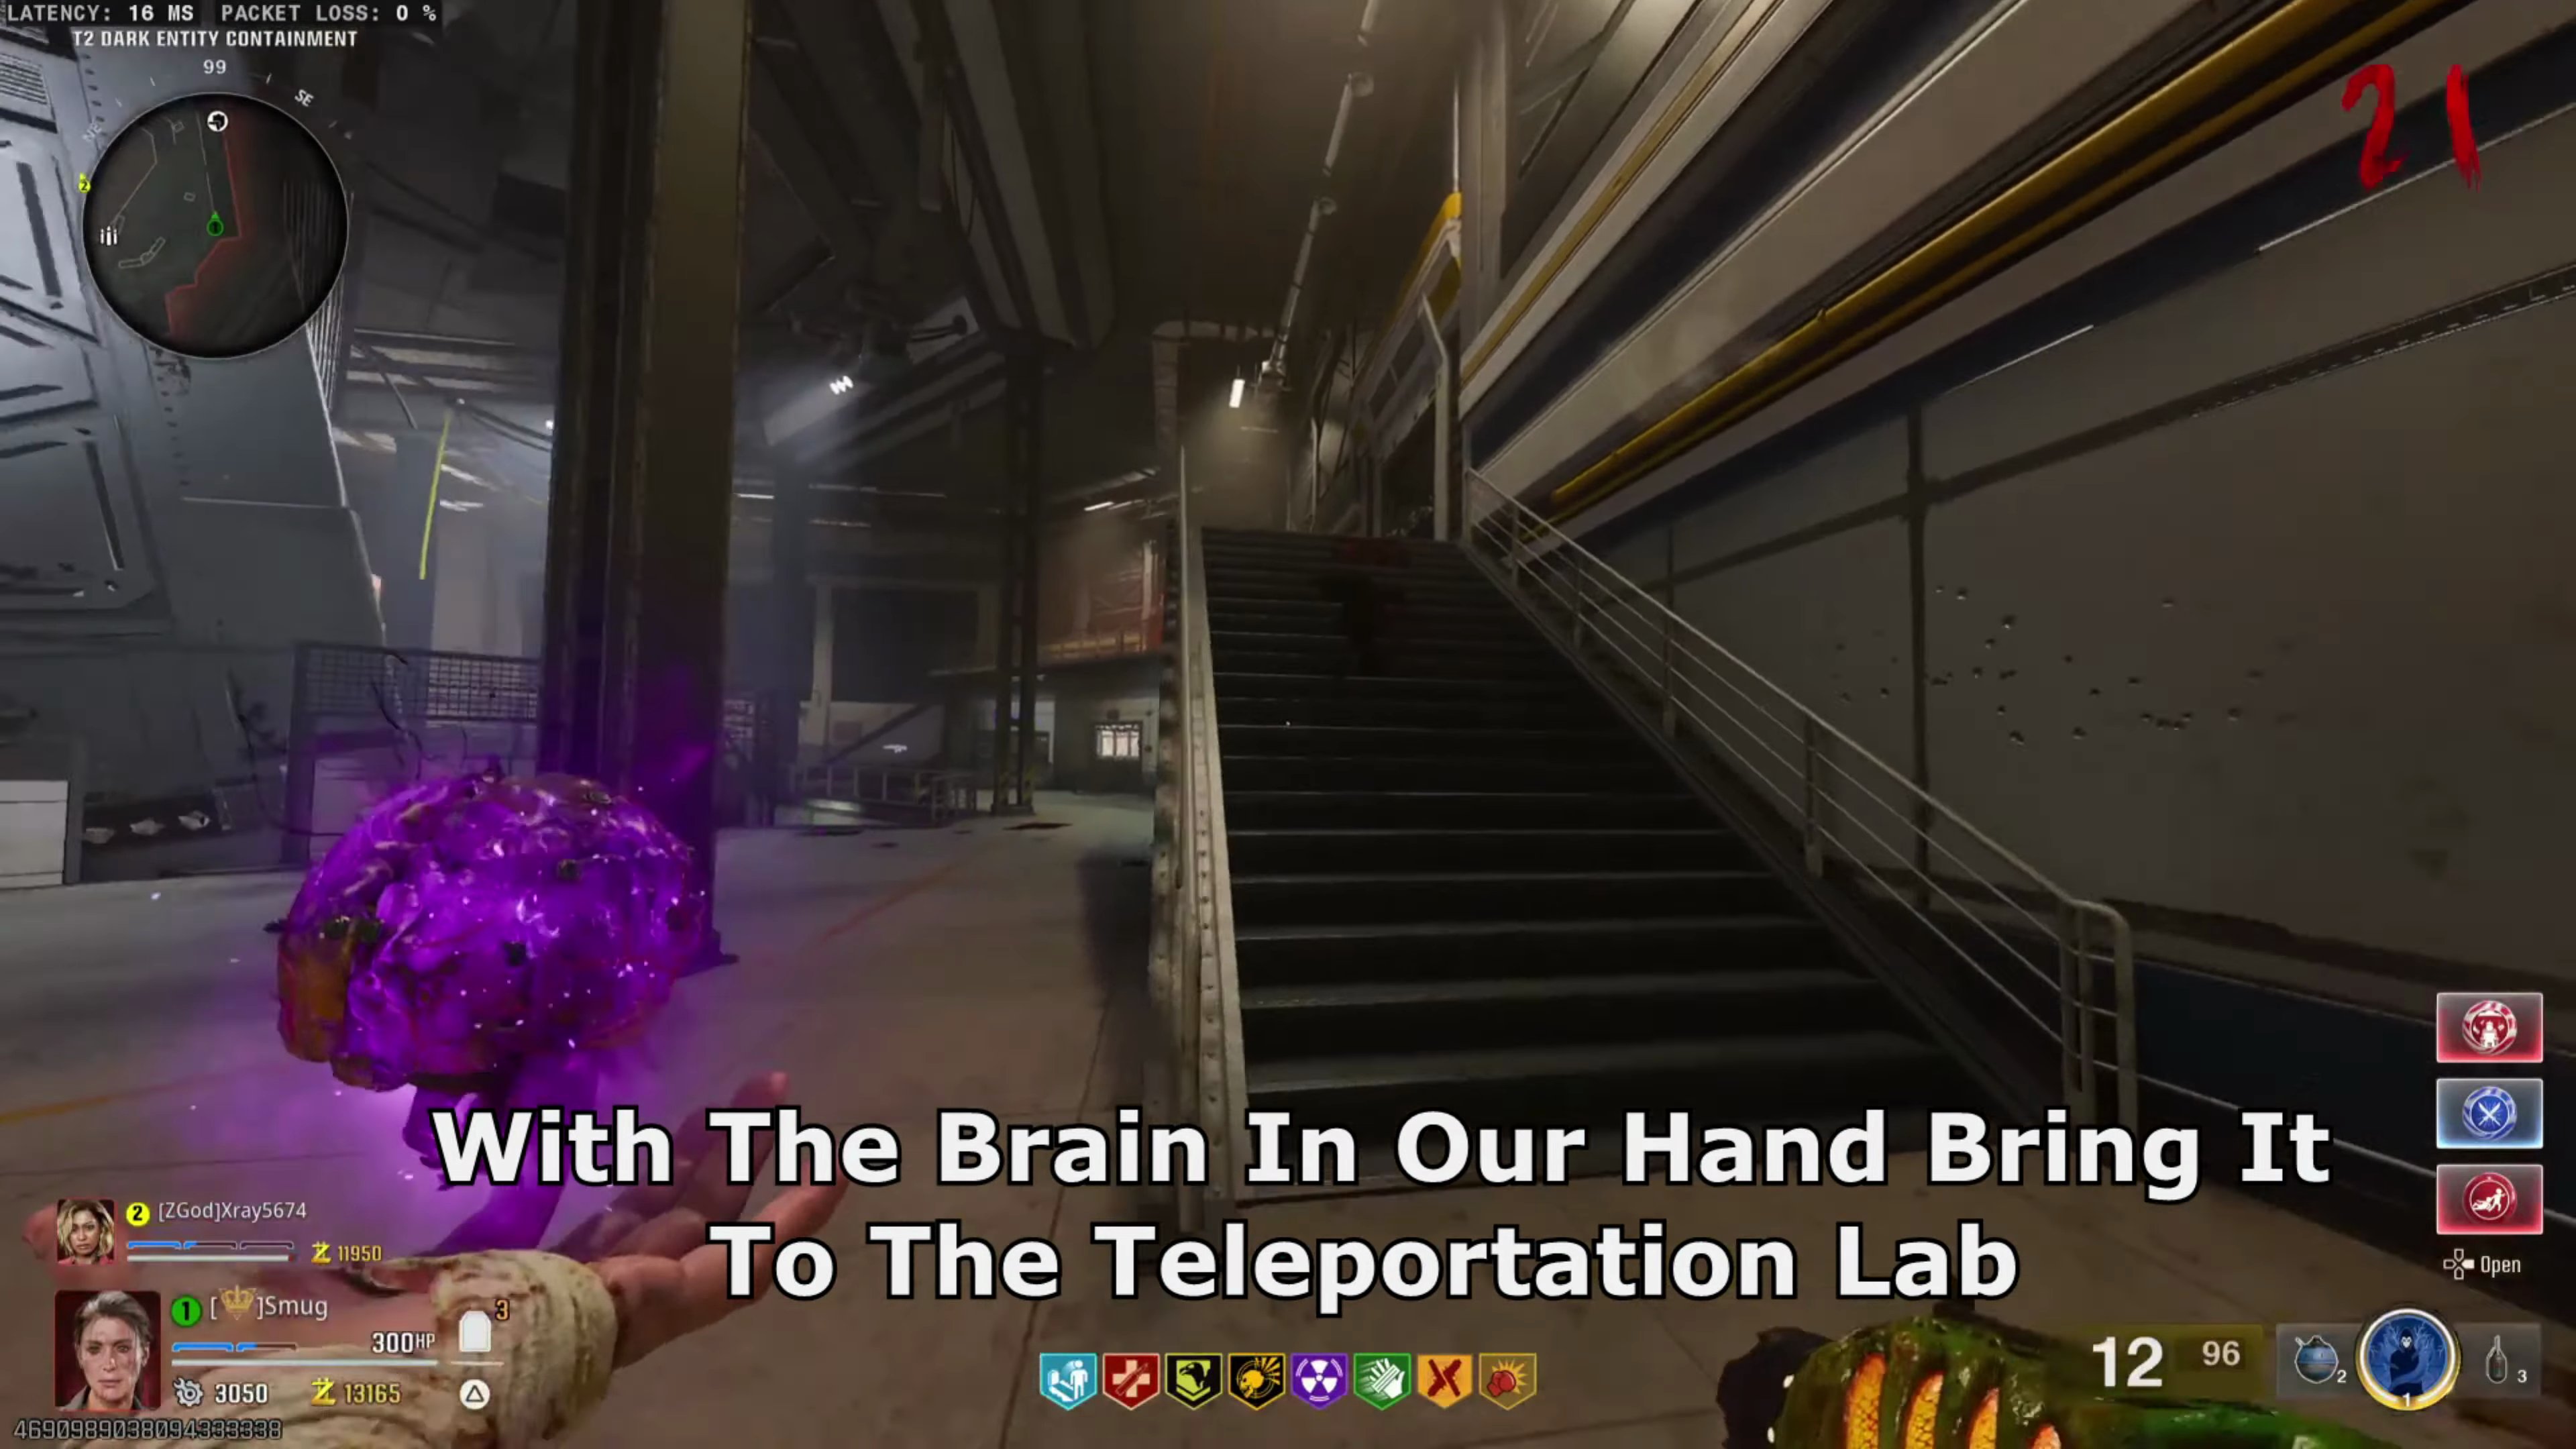
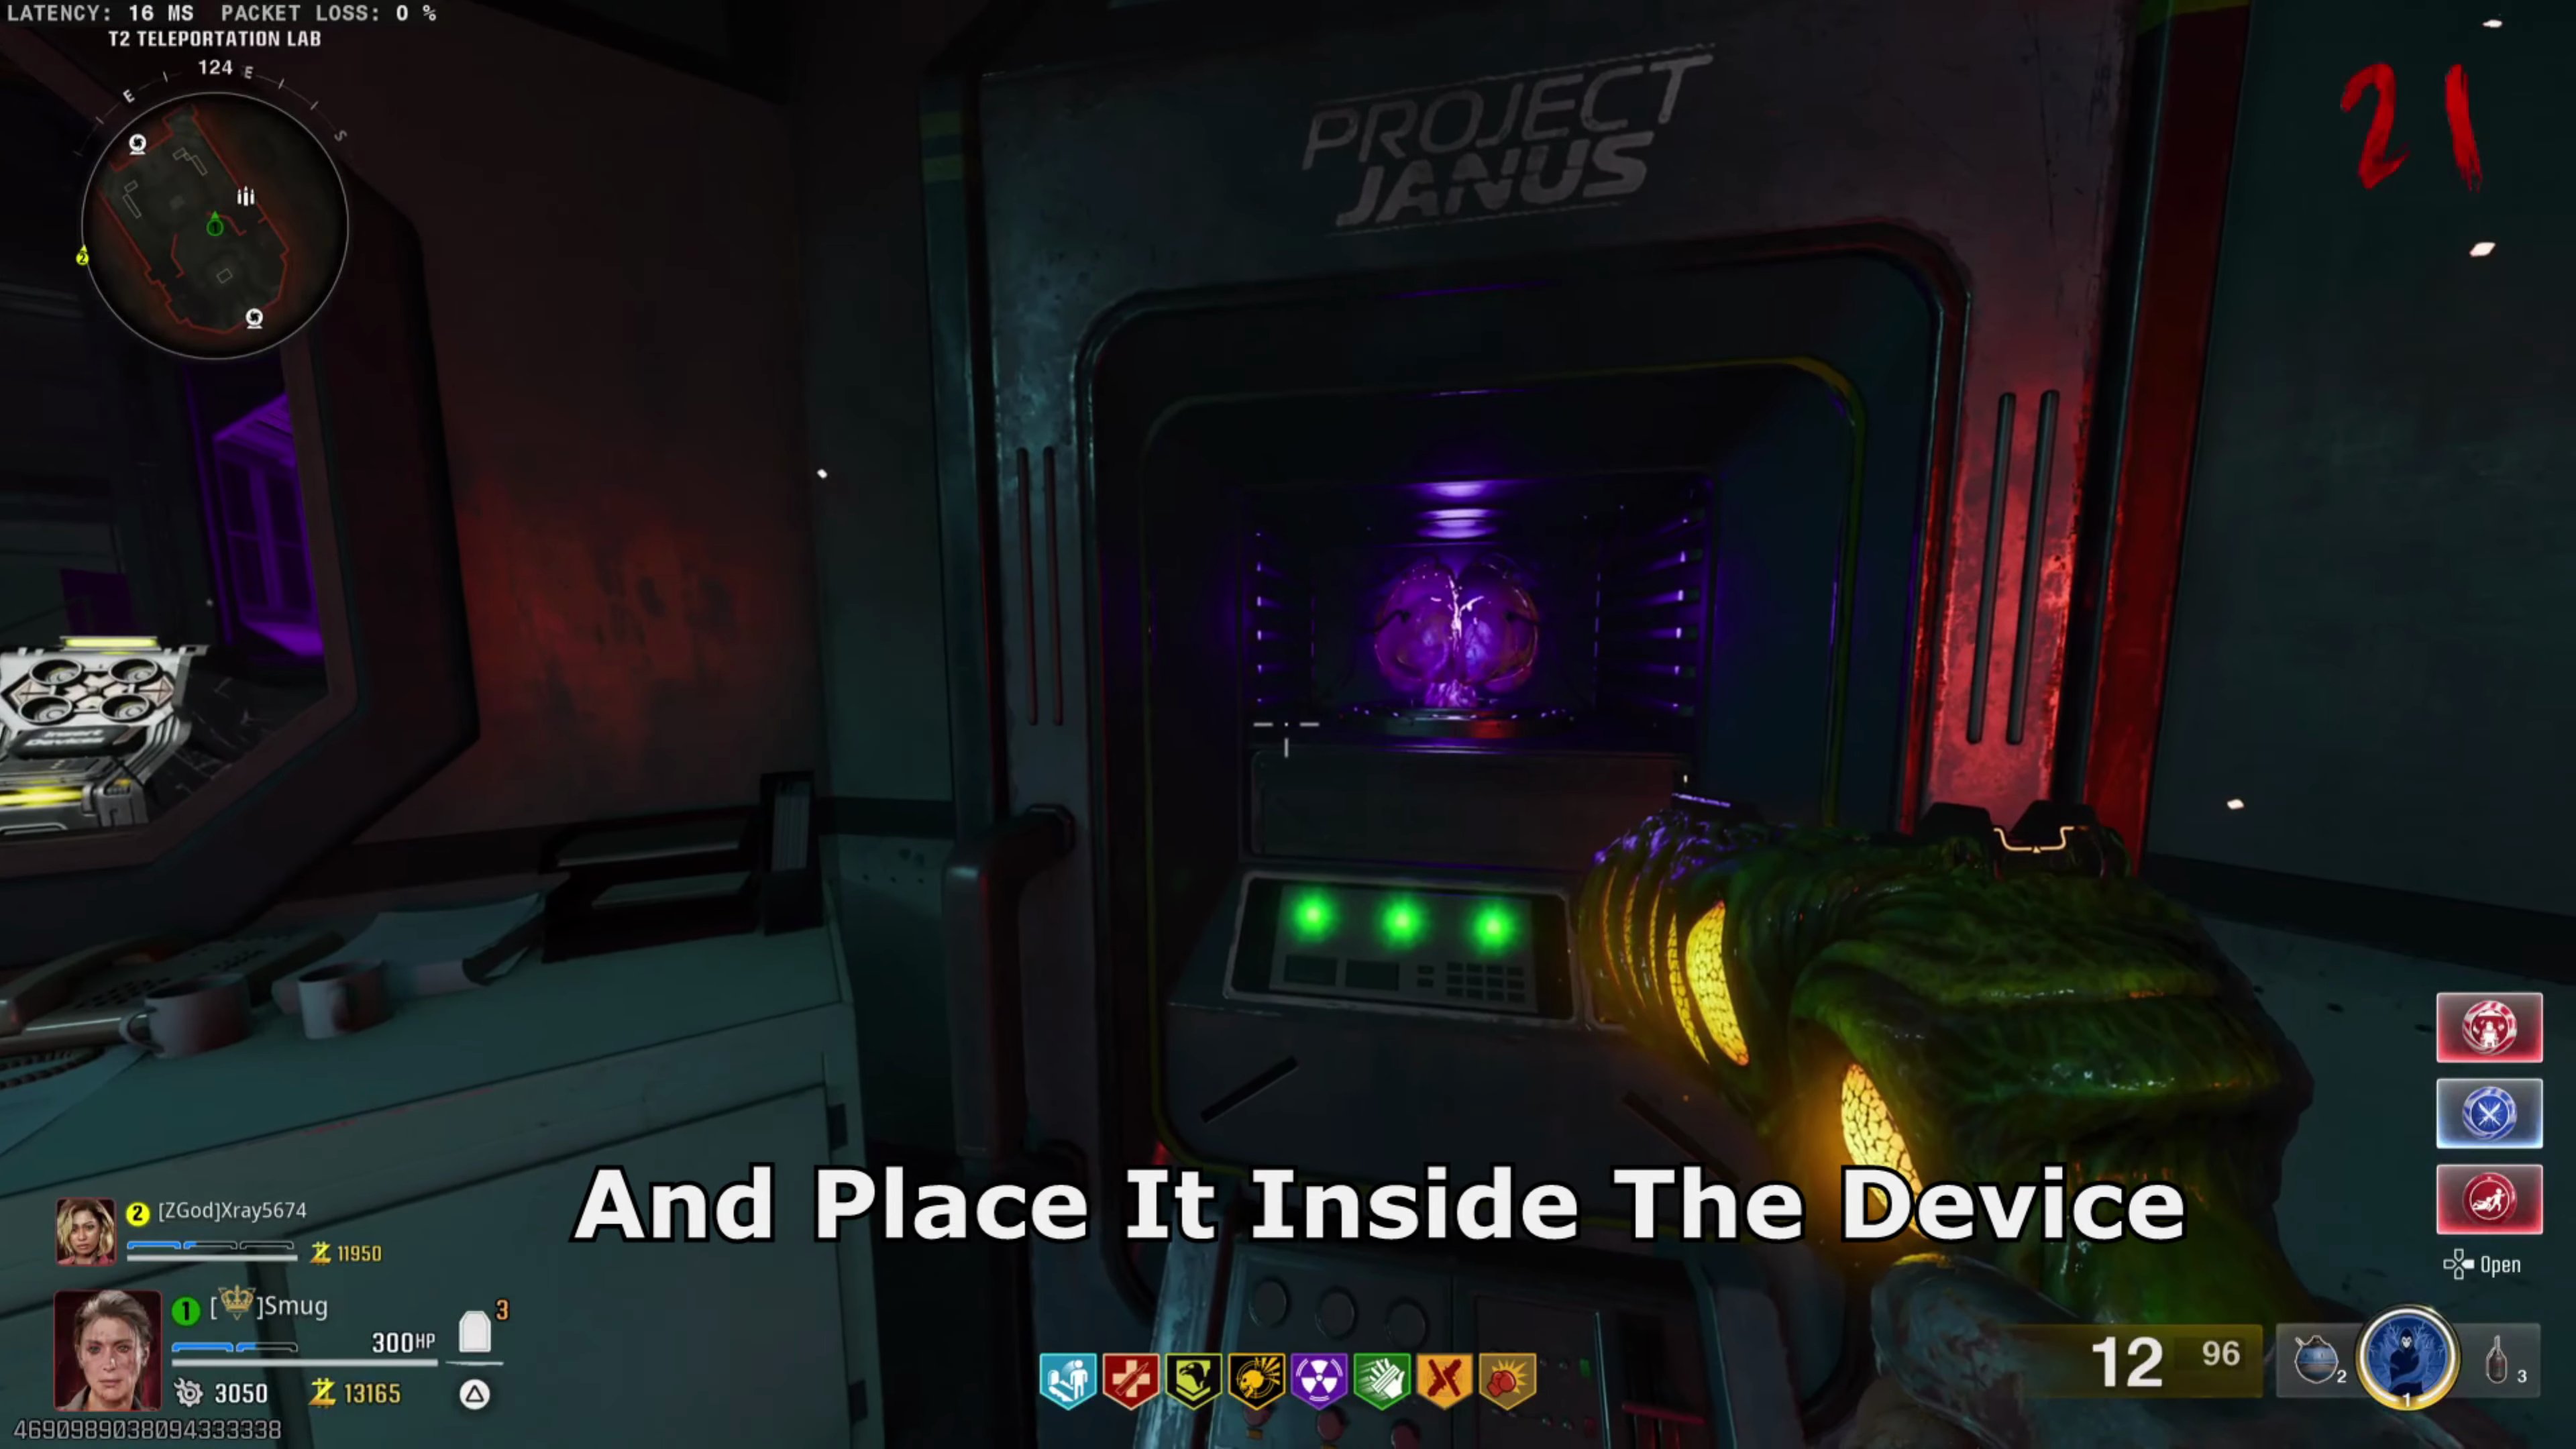
- Place the brain inside the device.
Step 5: Input Folder Code
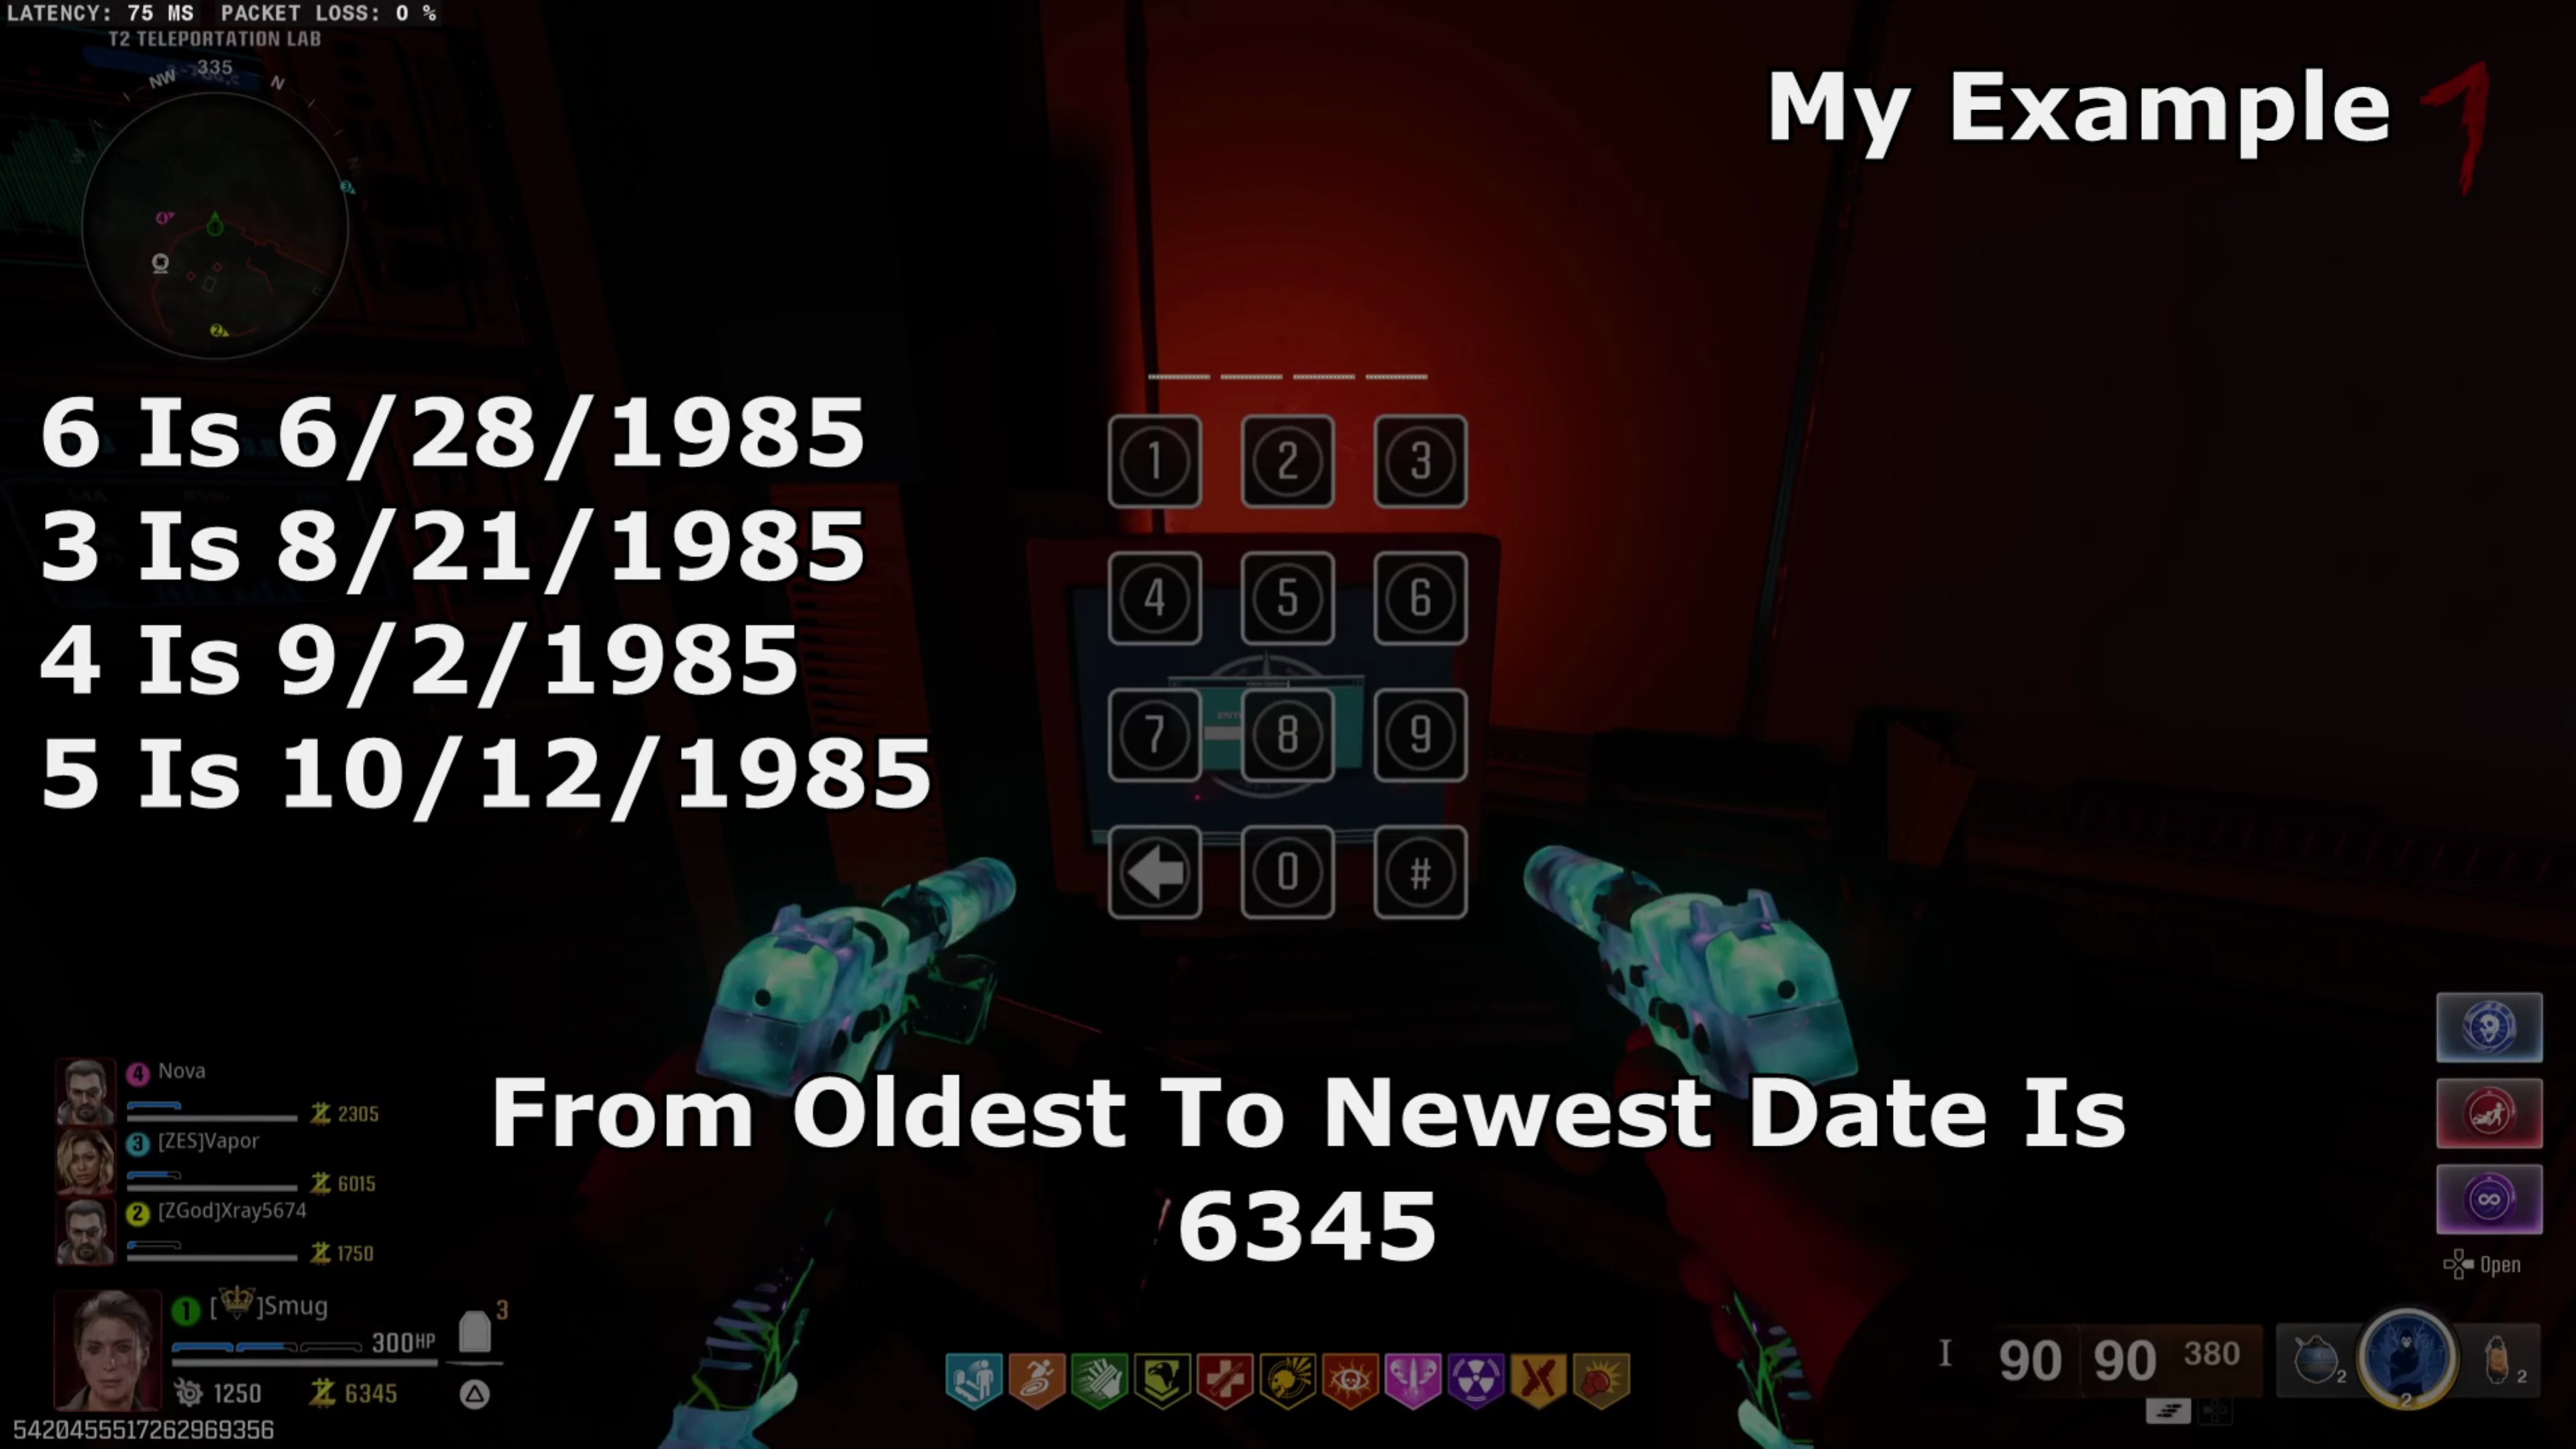
- Find four folders to get a code. Each folder will have a number and a date. The numbers form a four-digit code, ordered by date from oldest to newest. (You can take a photo of each document for reference).
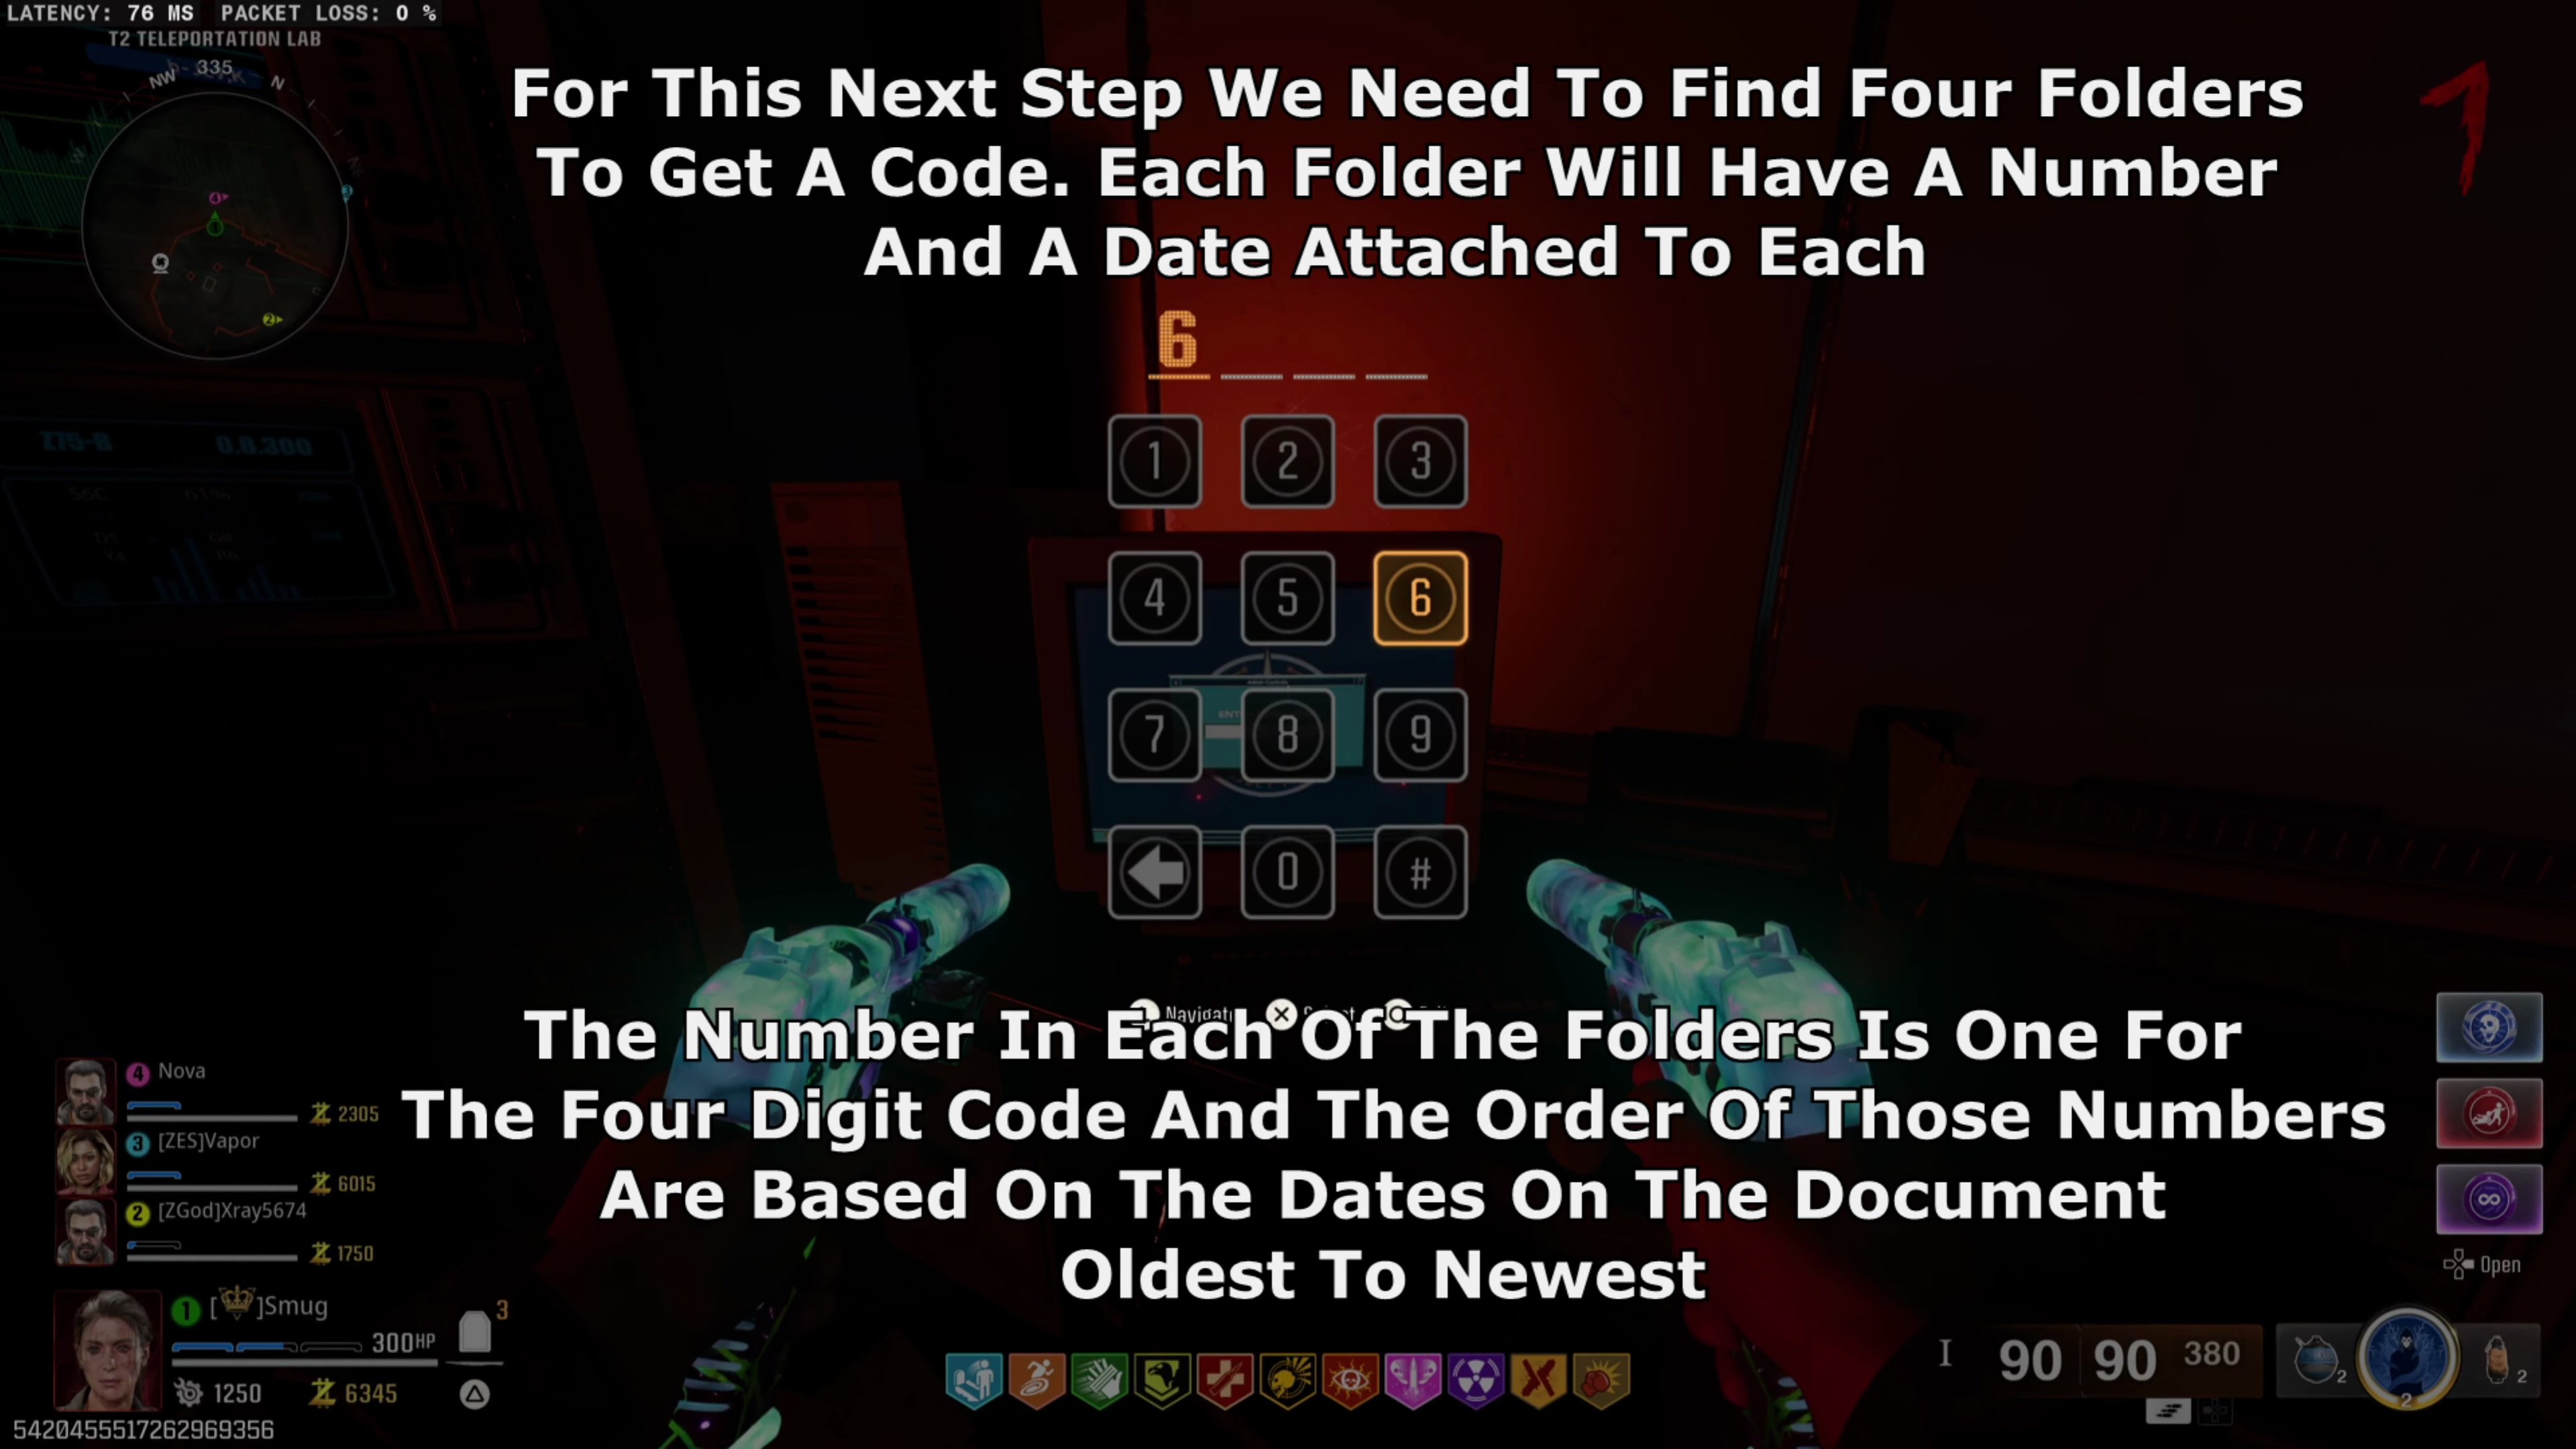
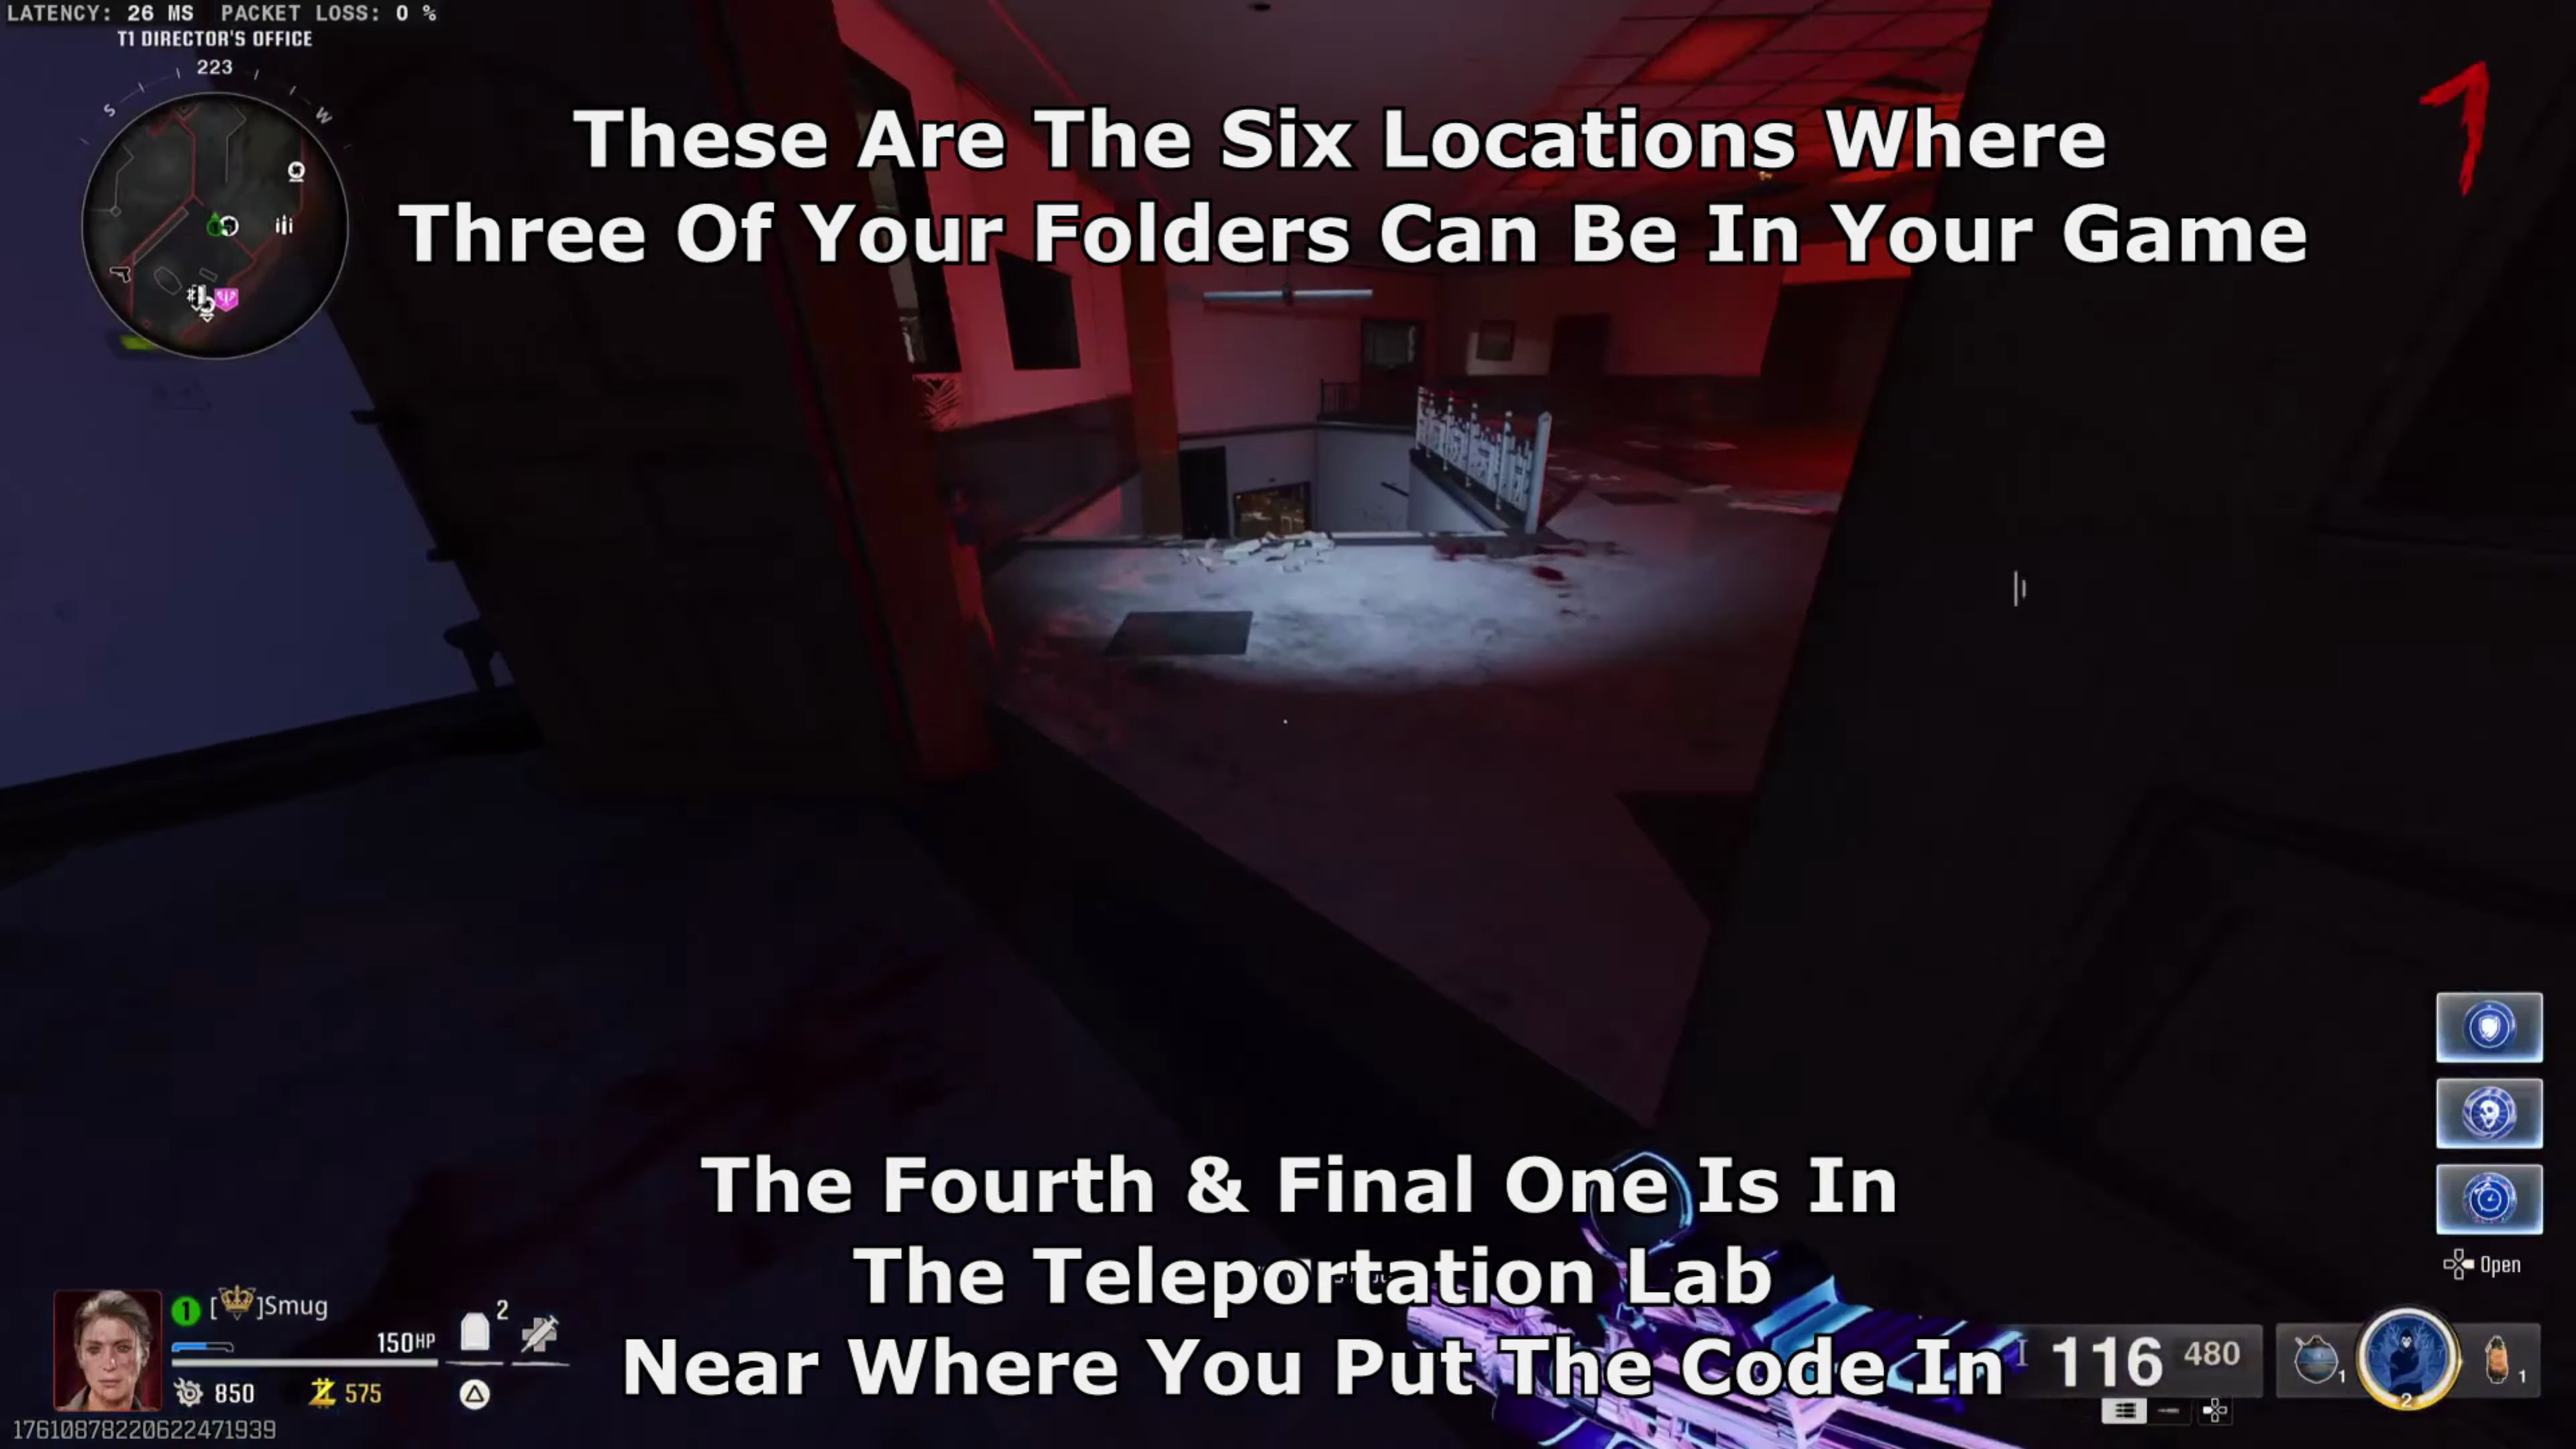
- Three of the folders can be found in the Director's Office and Executive Suites.
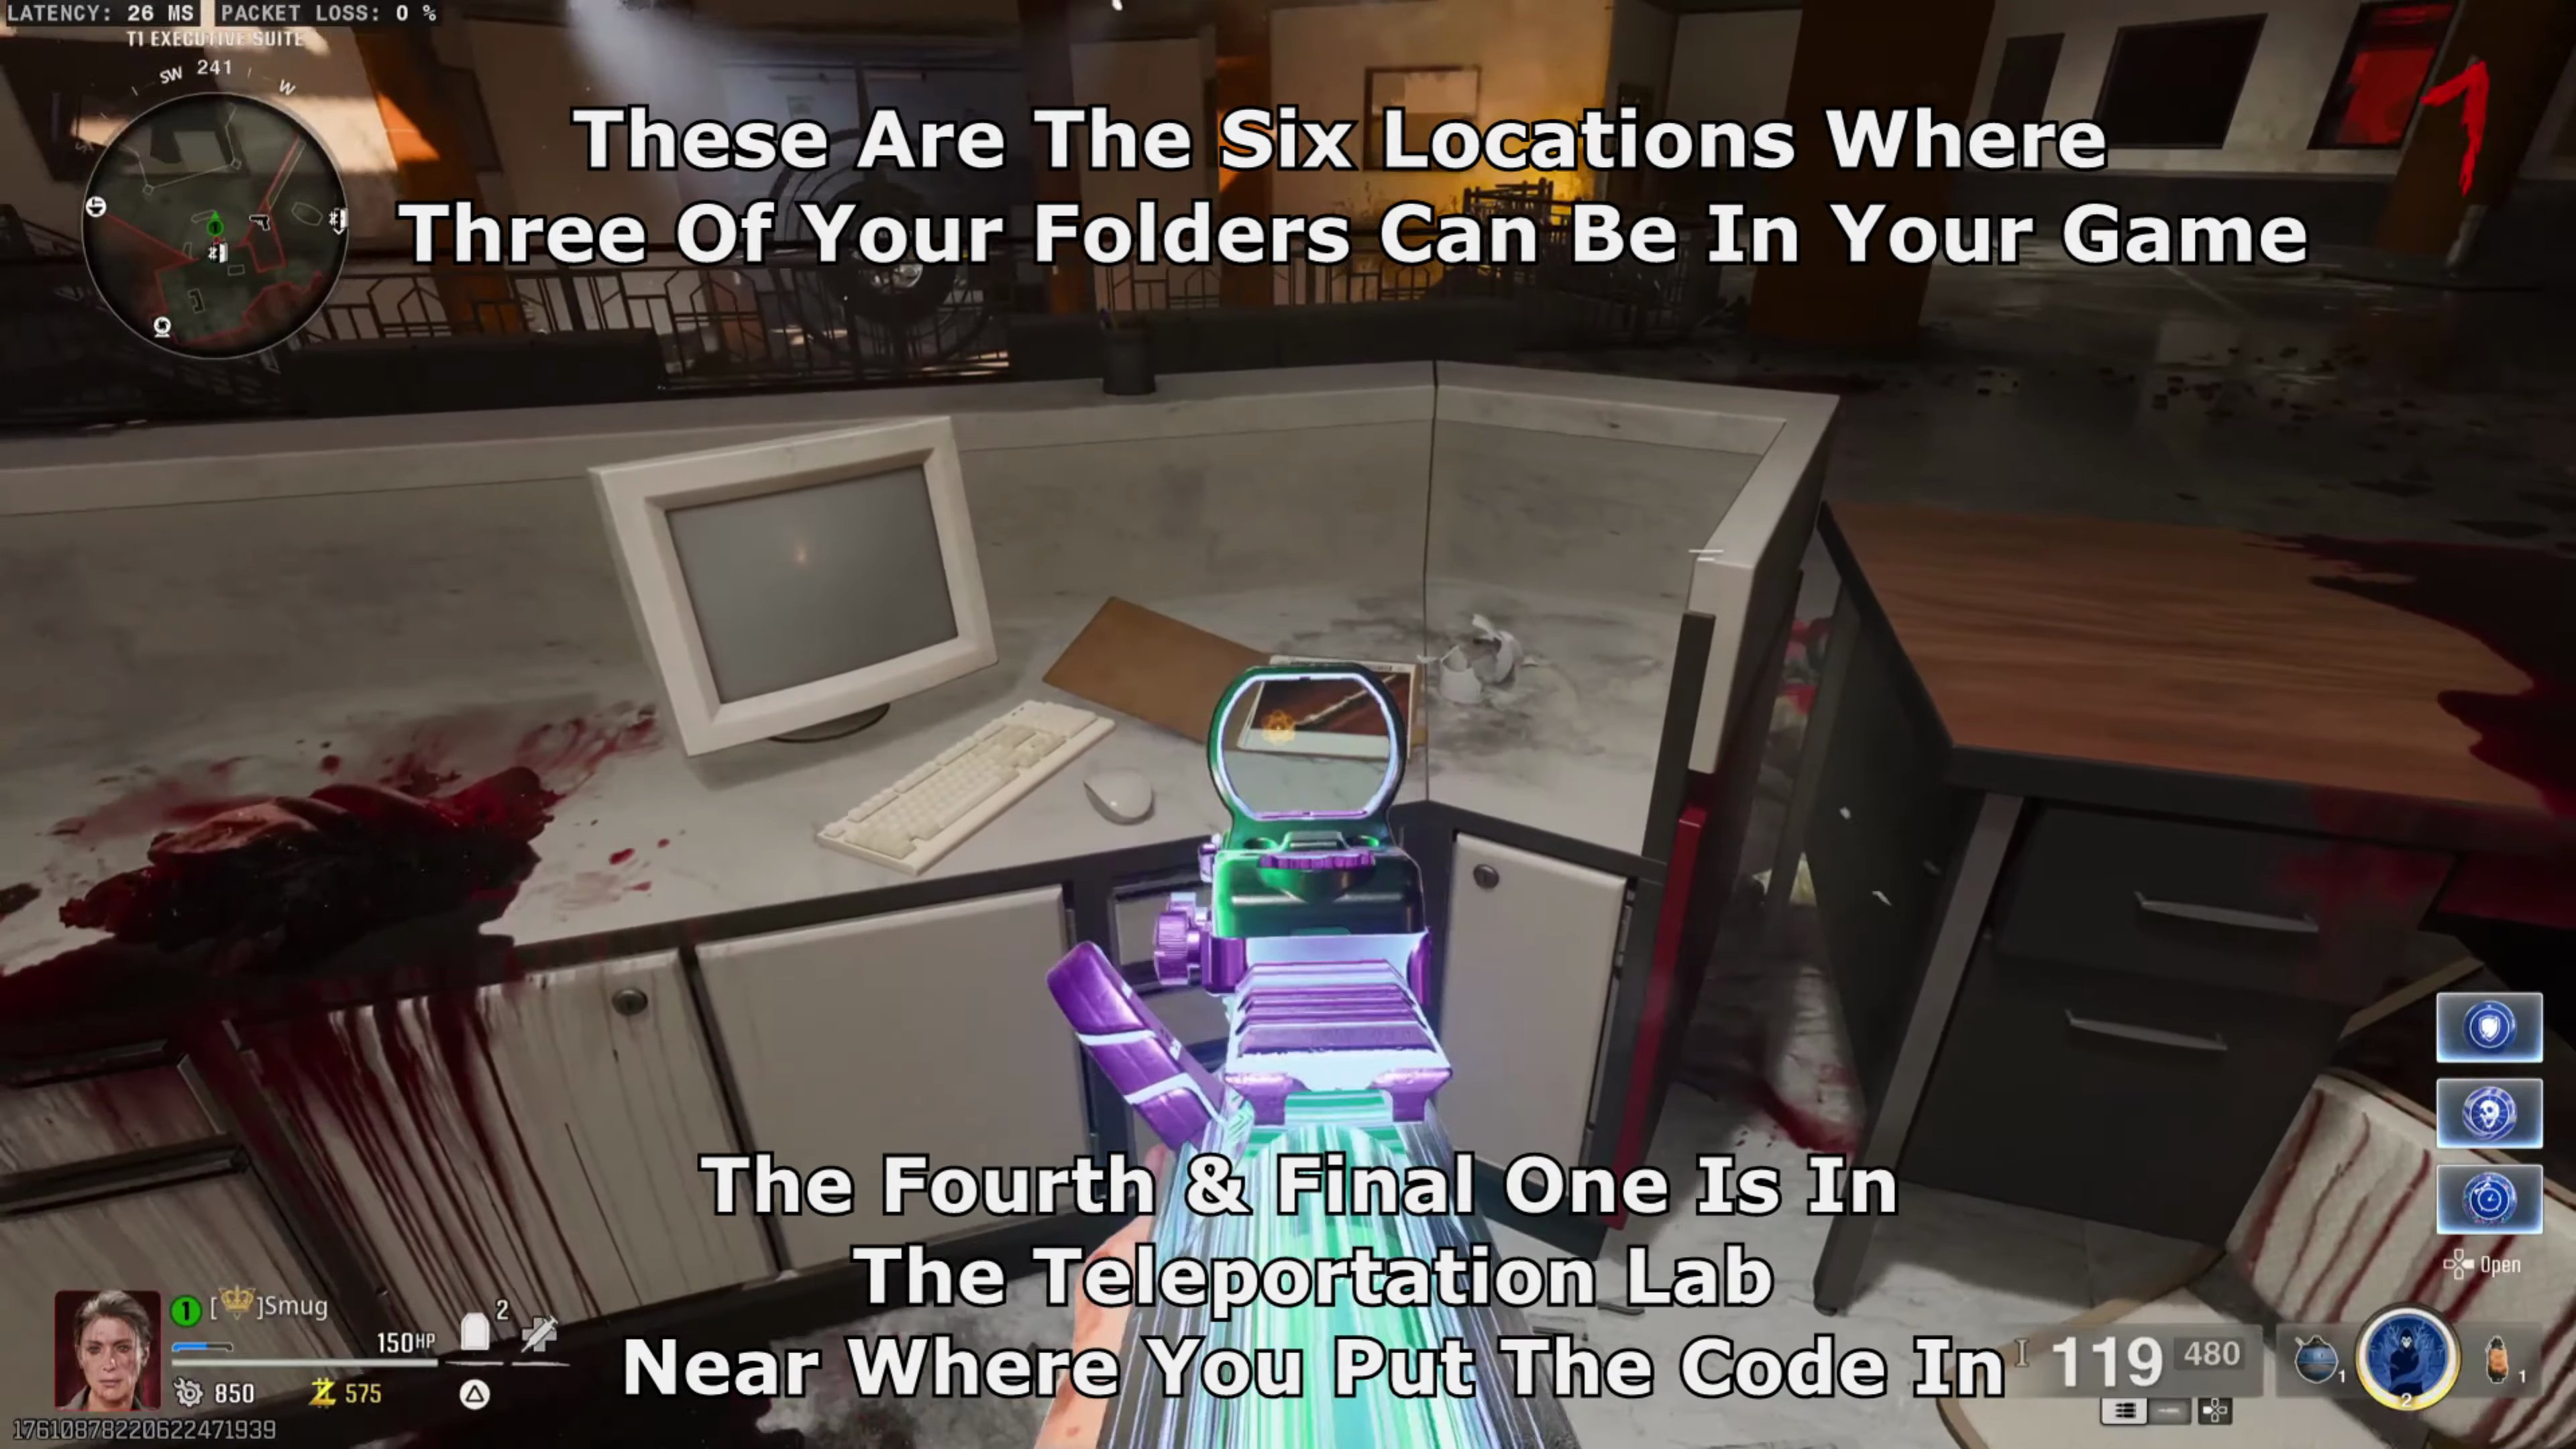 The fourth and final folder is in the Teleportation Lab, near where you put the code in.
- Input the four-digit code (from oldest to newest date) on the computer in the Teleportation Lab.
Step 6: Acquire Gorgofex
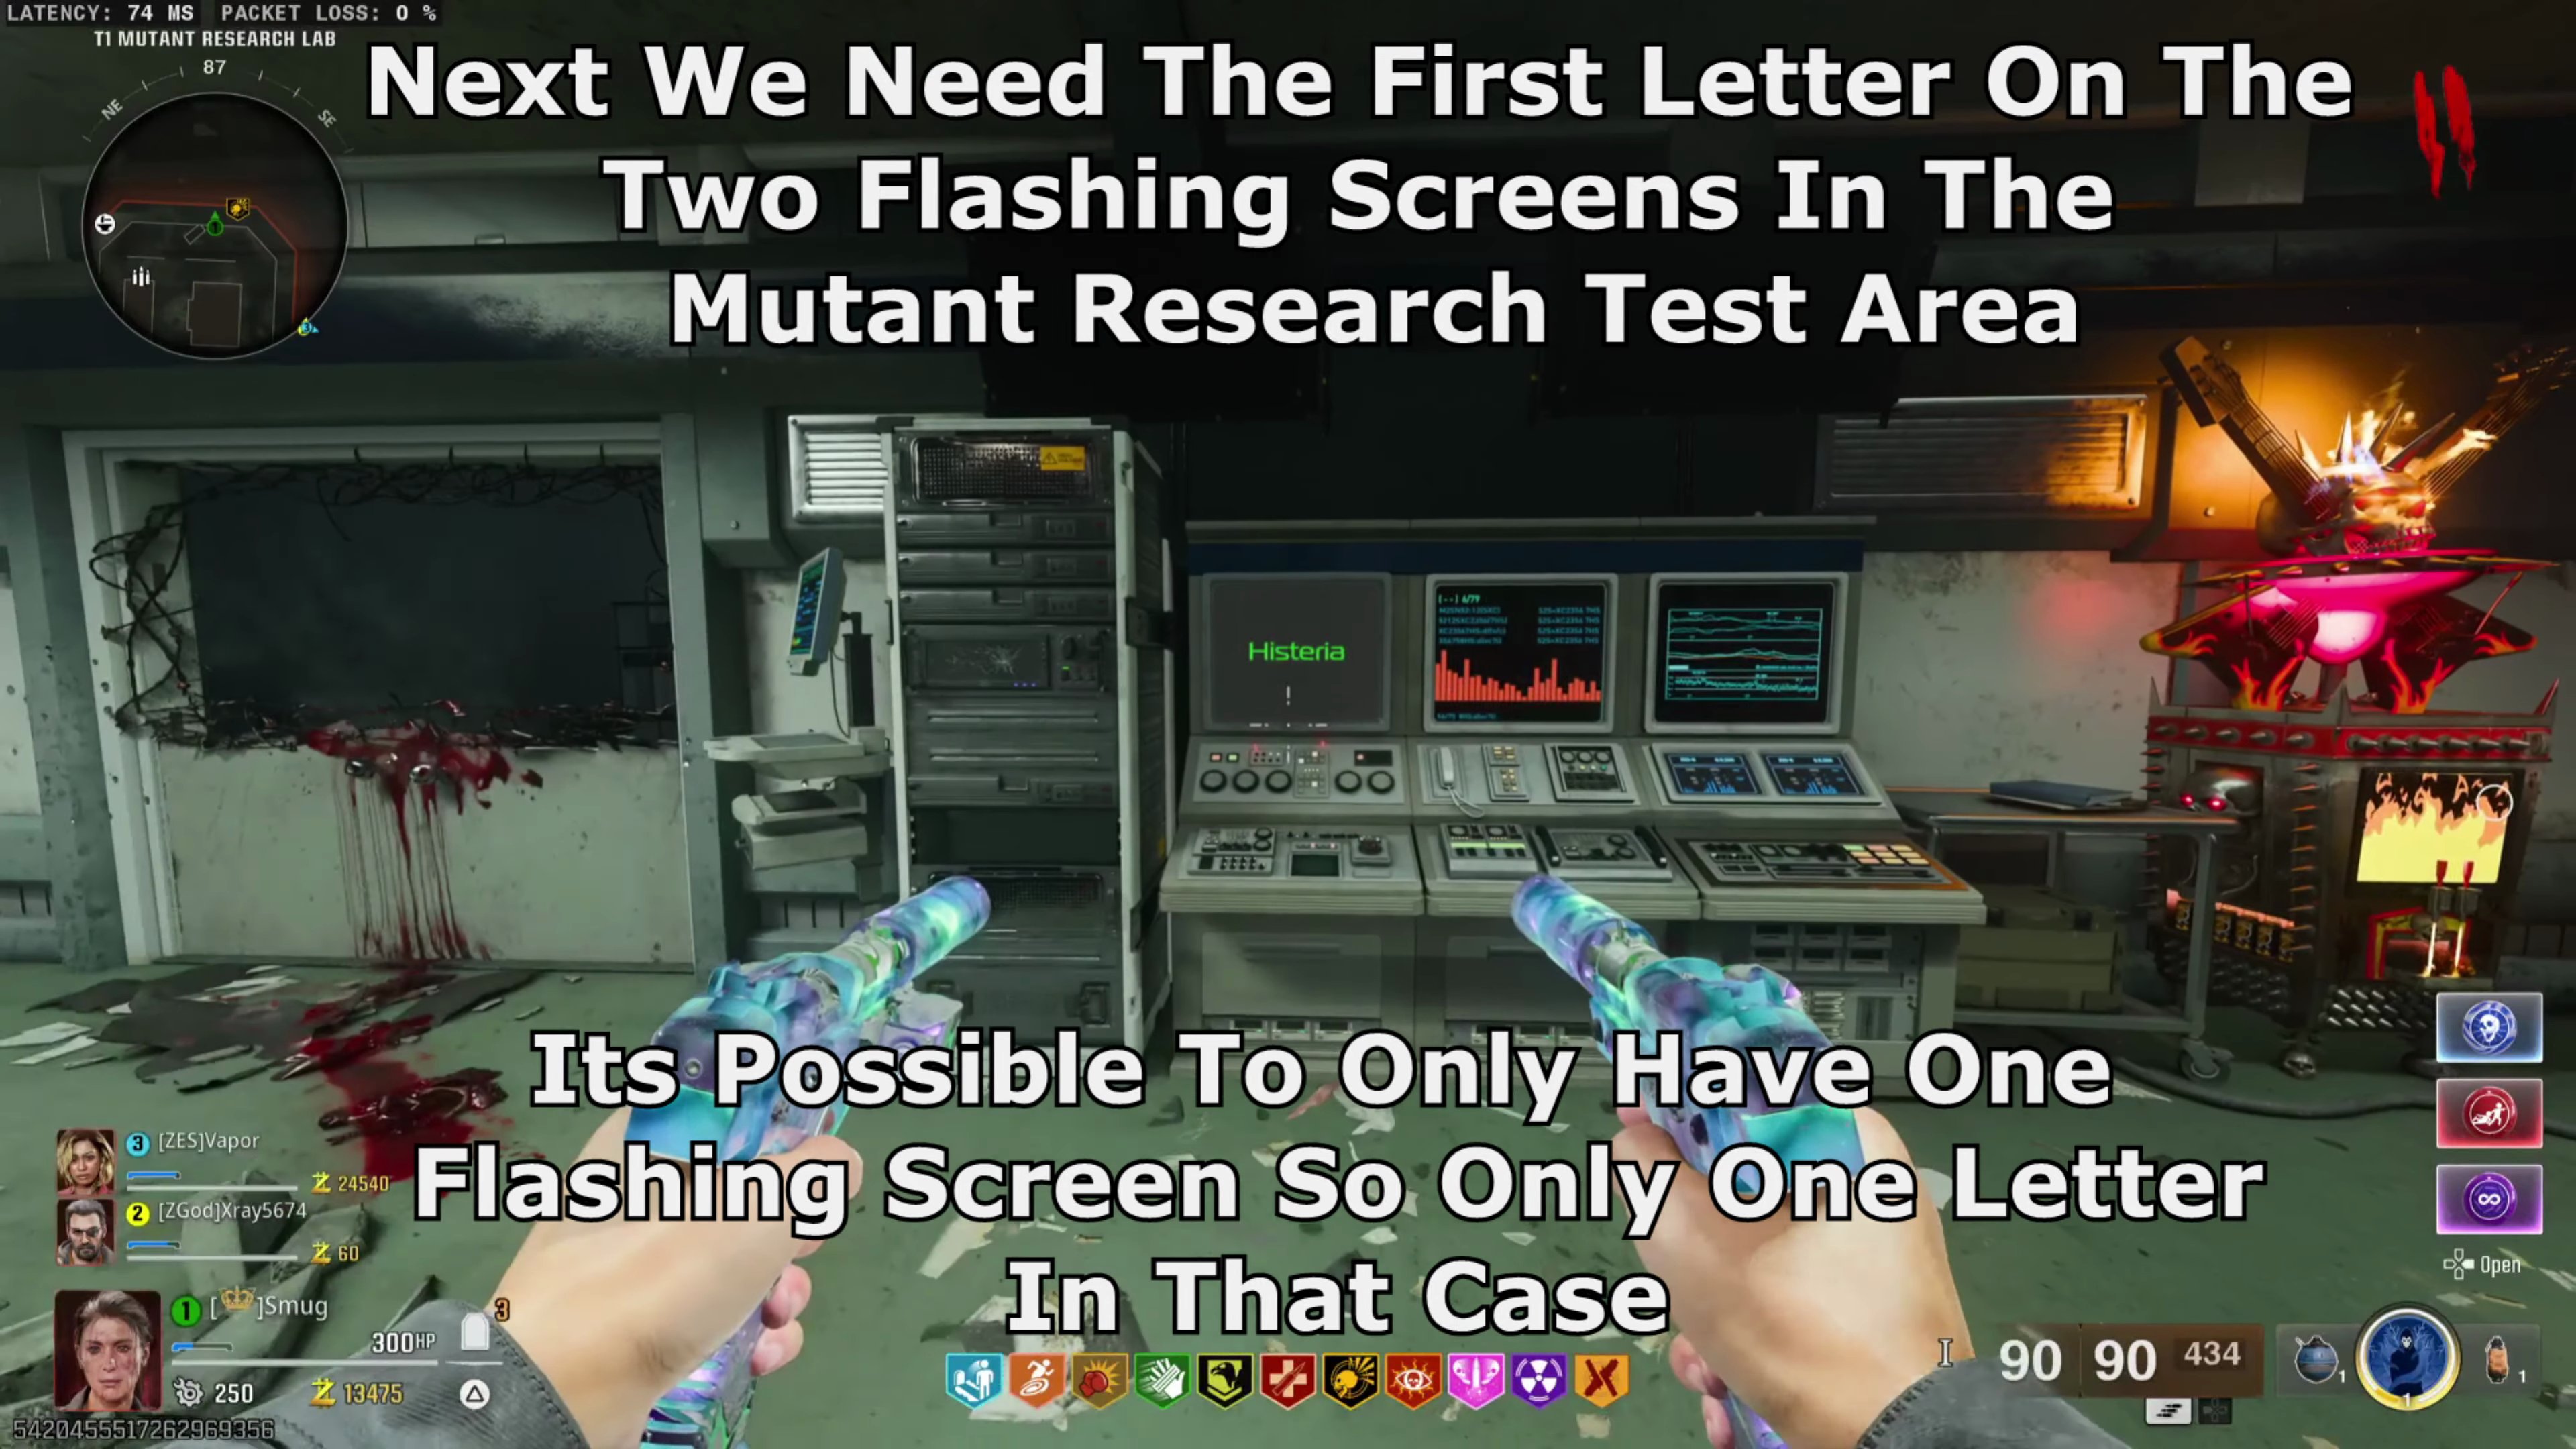
- Find the first letter on the two flashing screens in the Mutant Research Test Area. (It's possible to only have one flashing screen, meaning you only need one letter).
- On the Periodic Table of the Elements, find the element that has your letter(s).
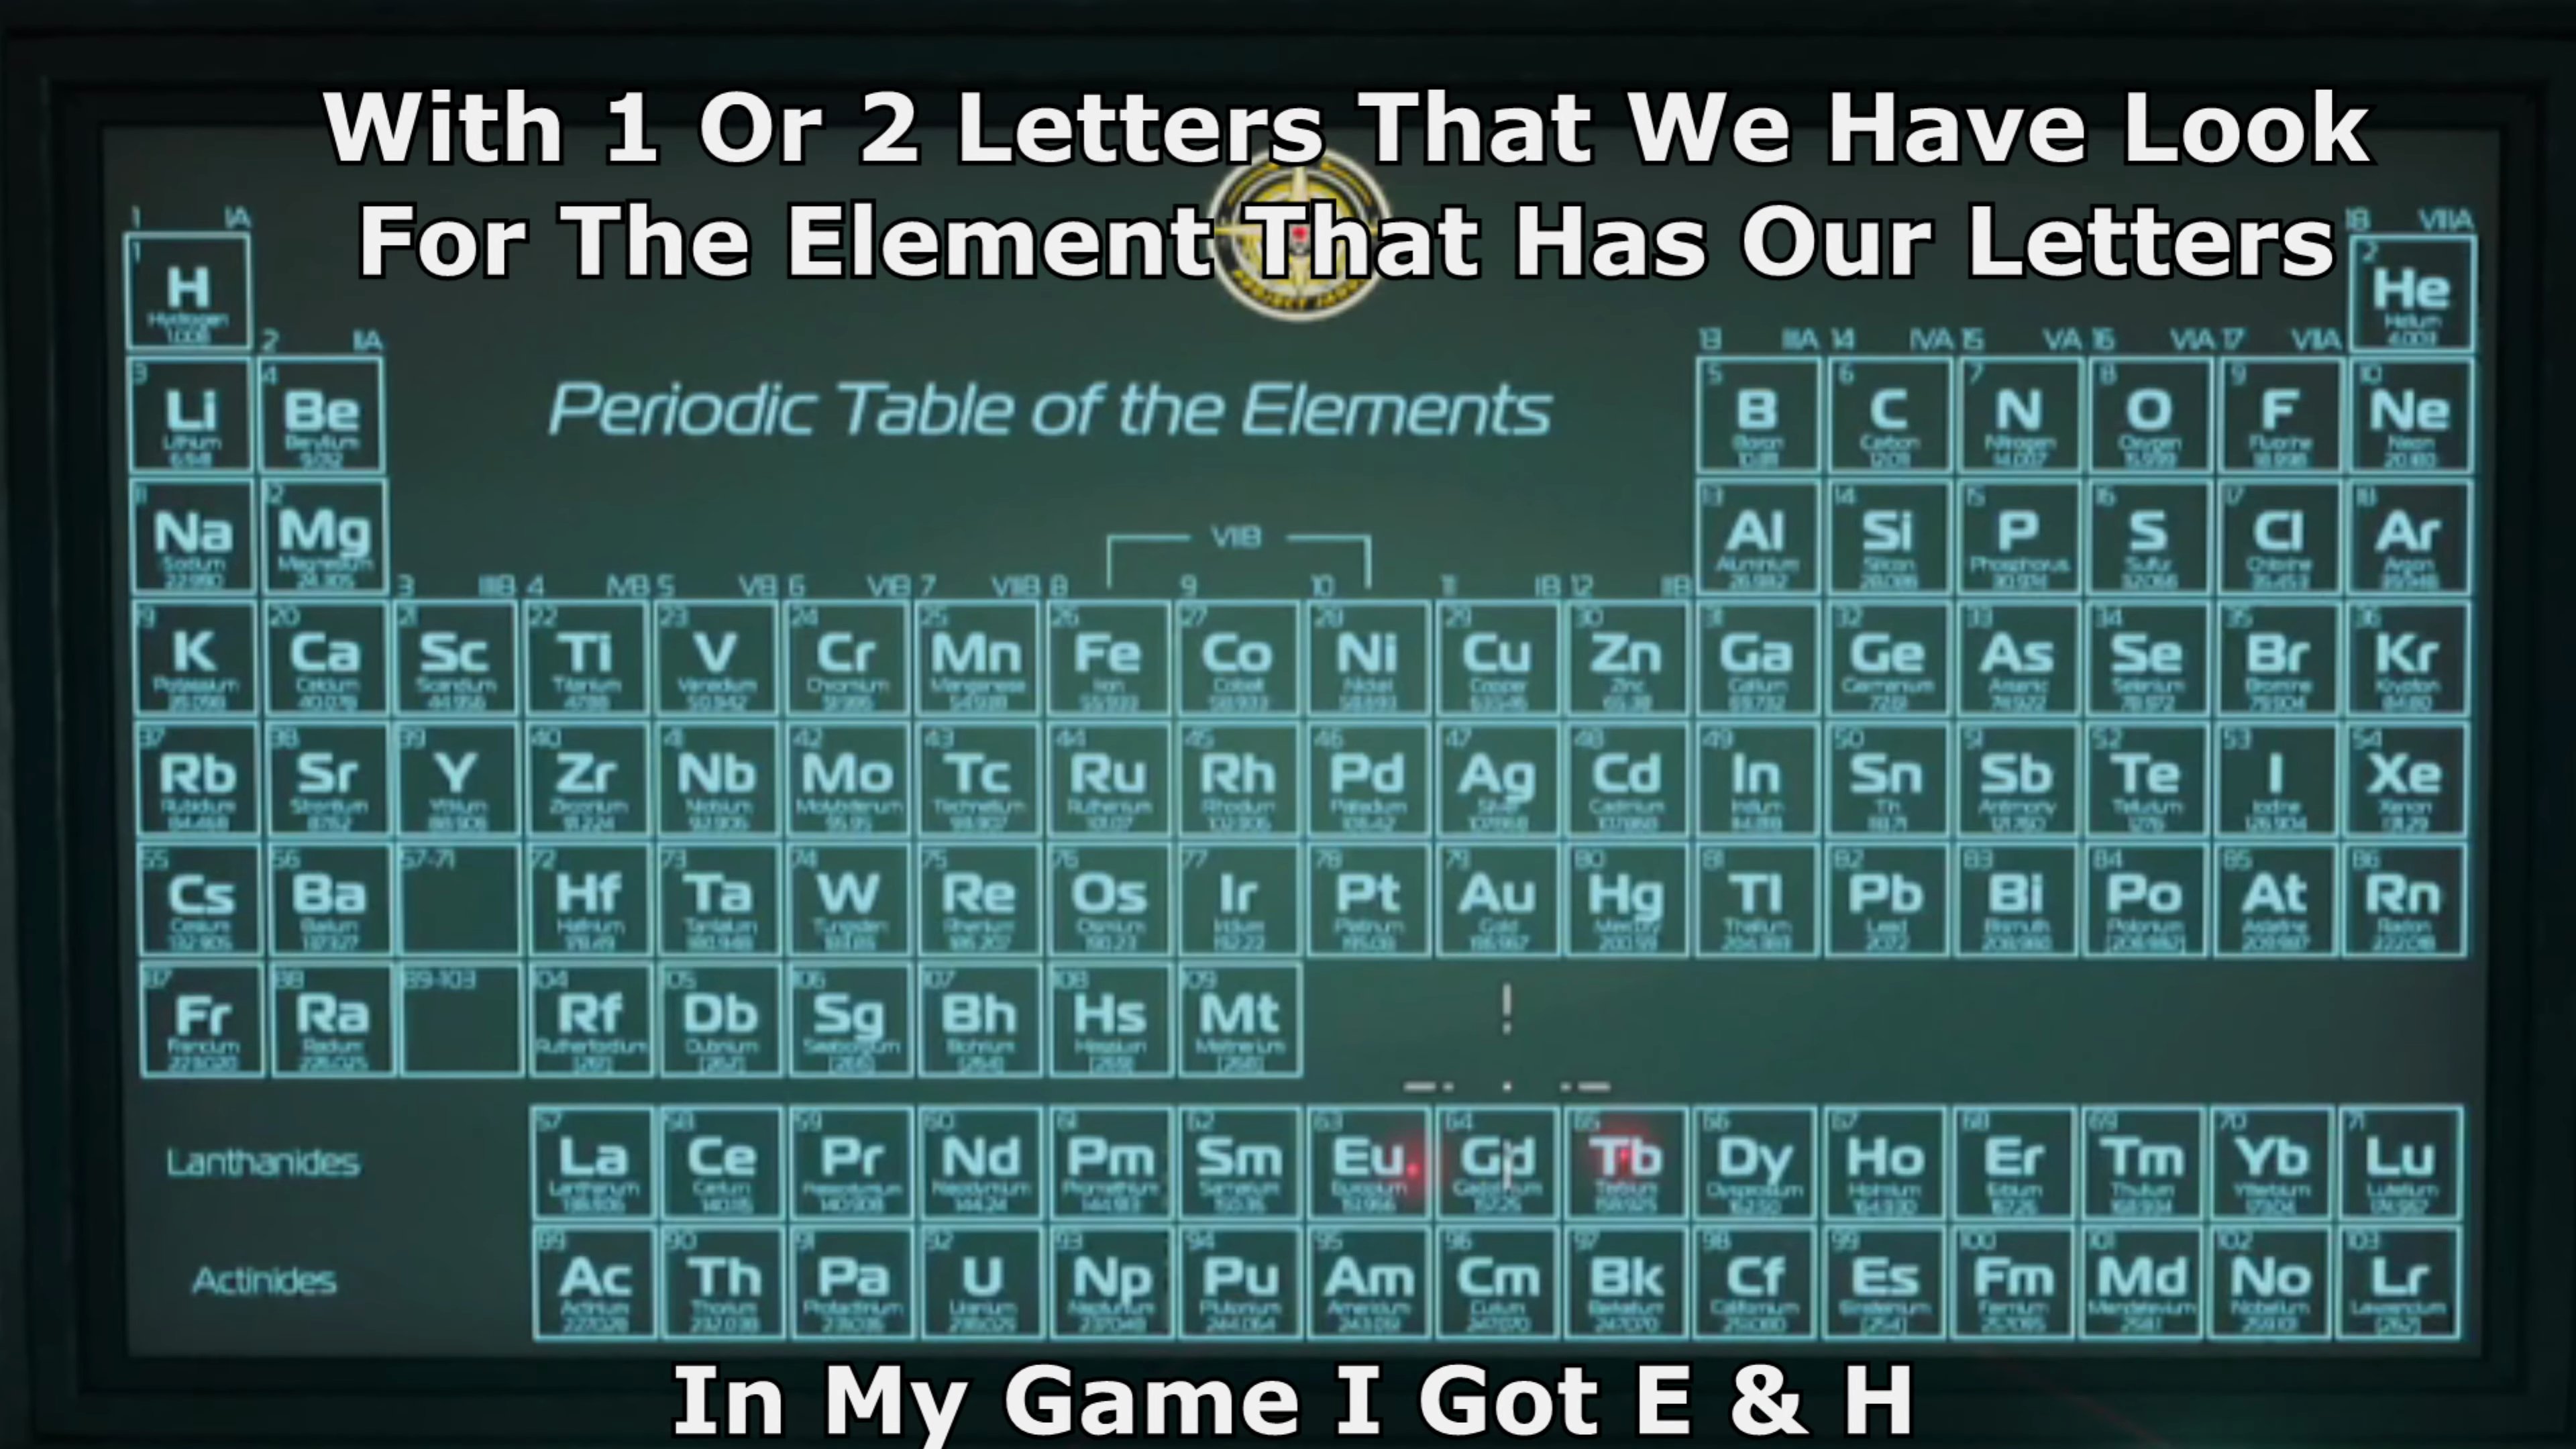
- Note its Atomic Number. Since it's a three-digit code, add leading zeros to the Atomic Number to make it three digits (e.g., 2 becomes 002).
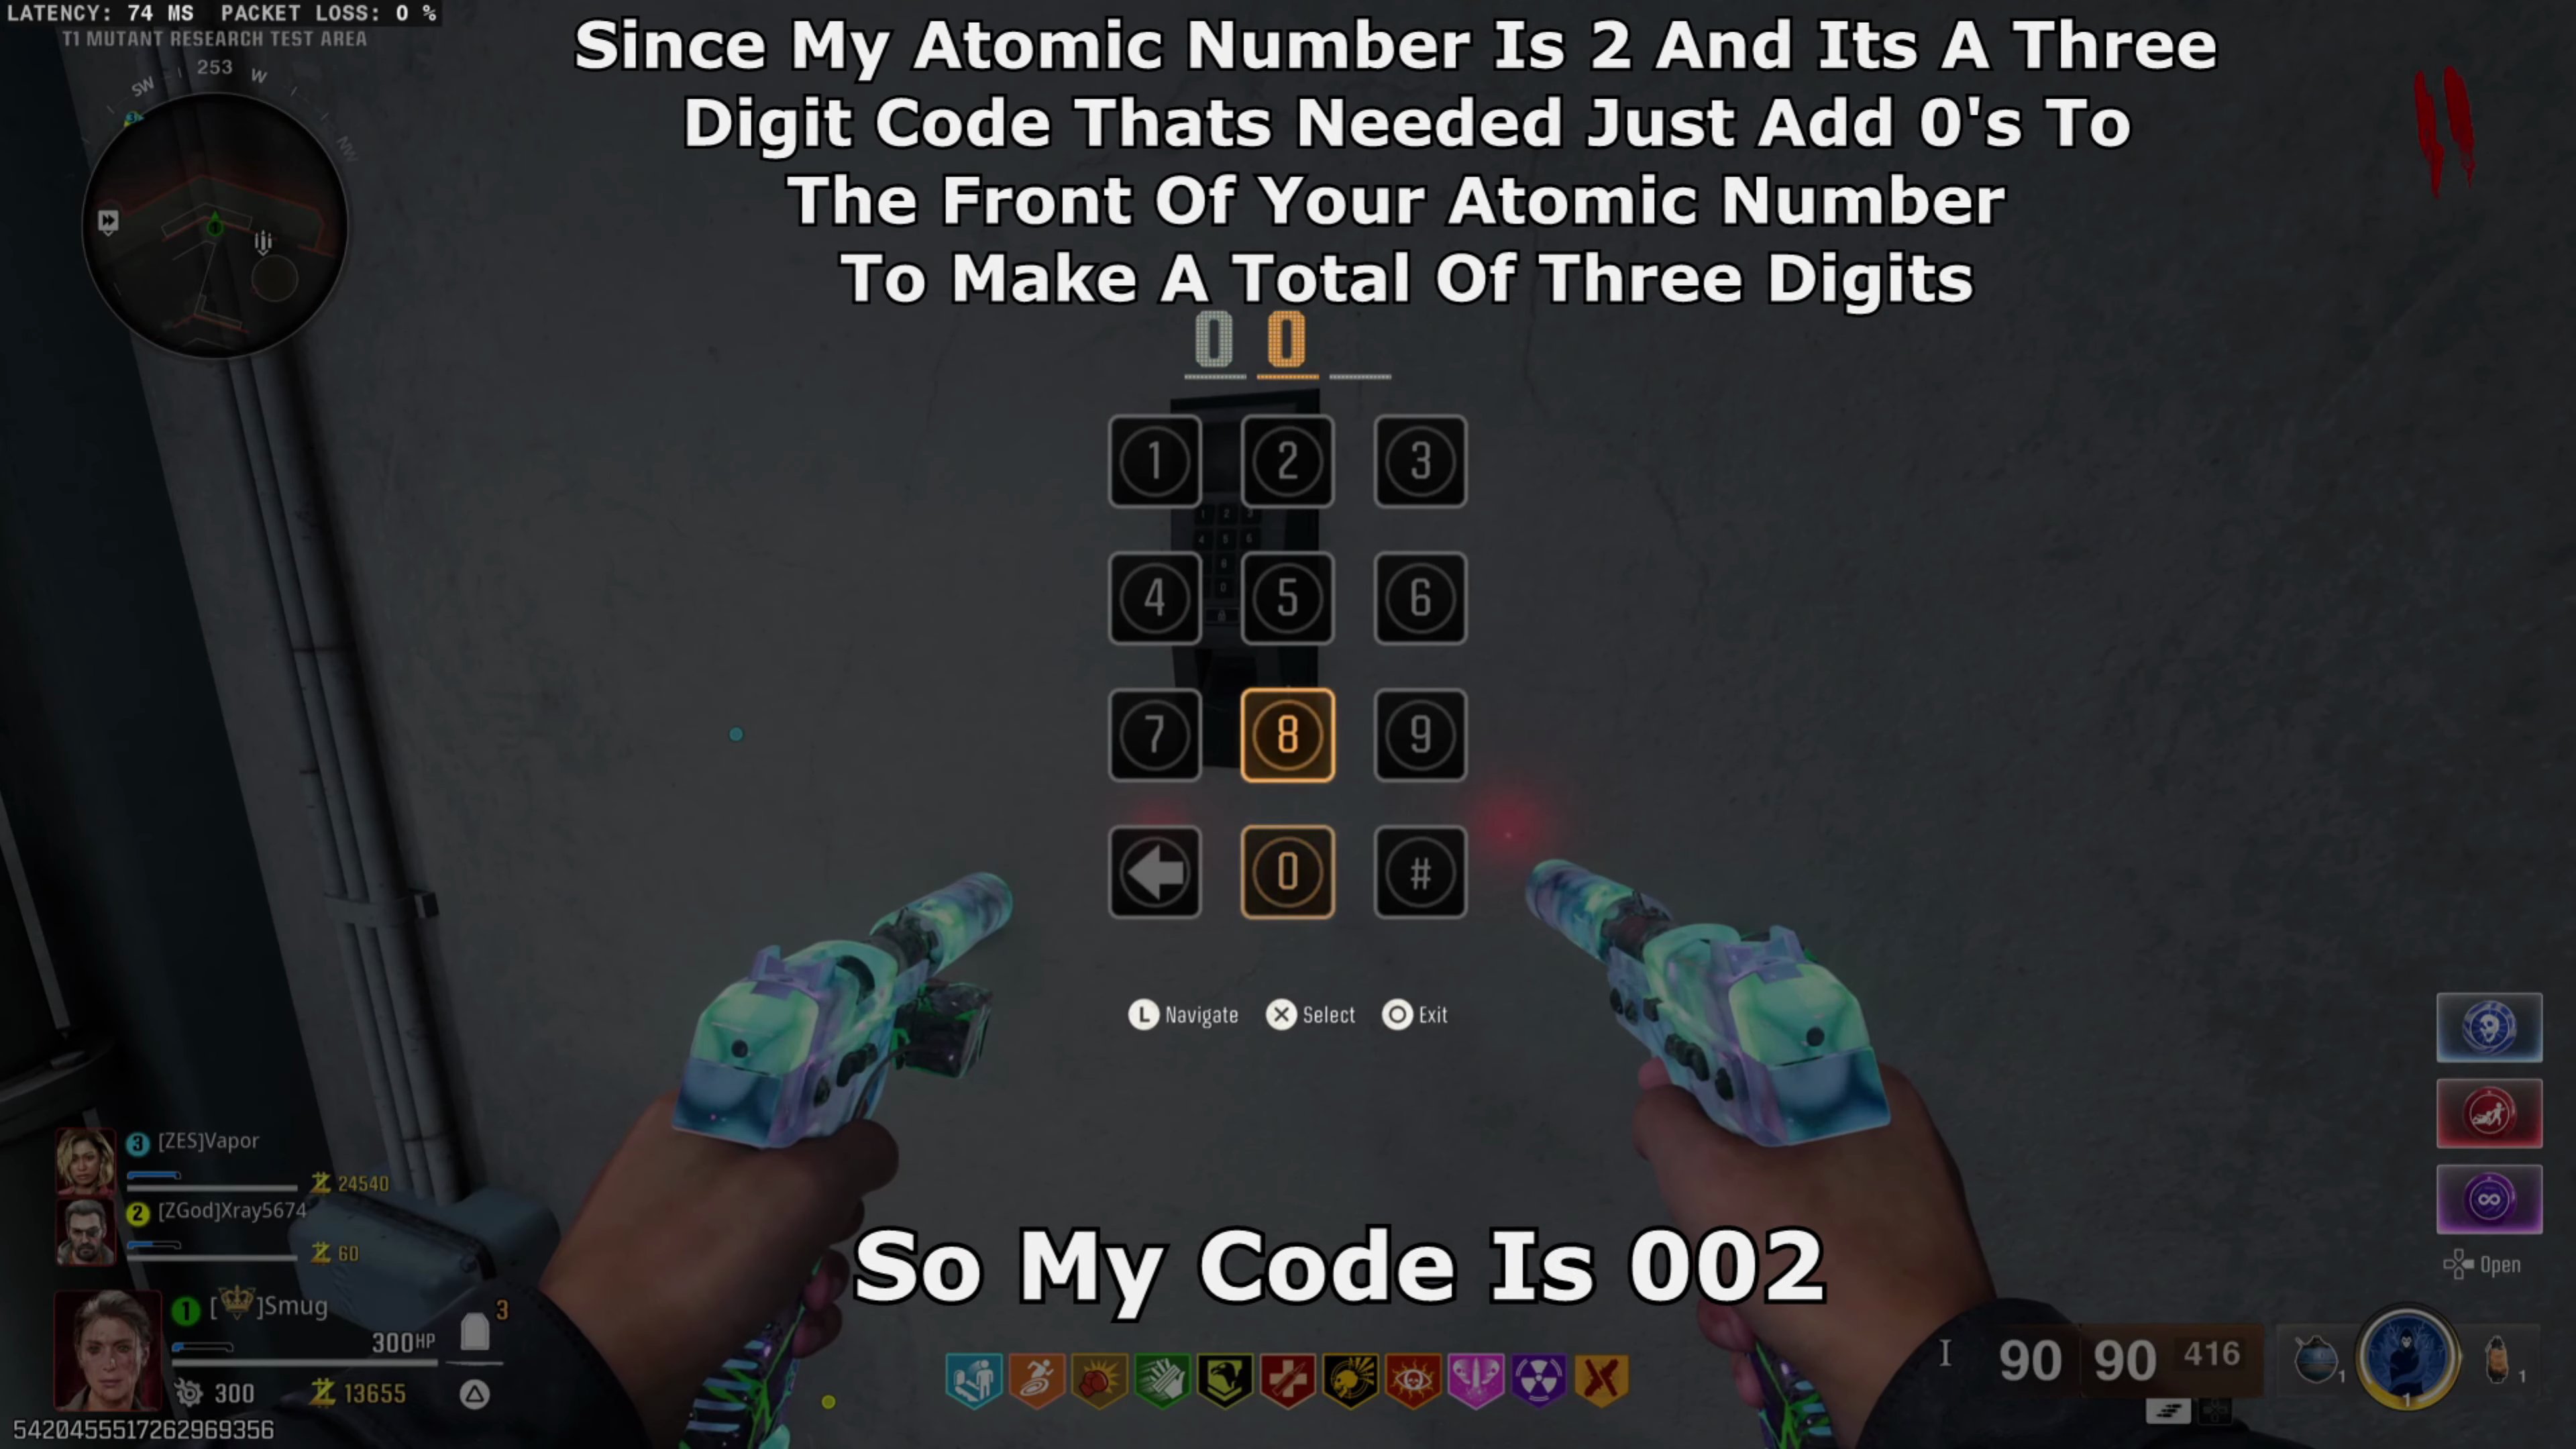
- Charge up the Cyst in the case with three Vermin followed by three Zombies. Be sure to allow around ten seconds before killing the next Vermin/Zombie, or it won't count towards the charge.
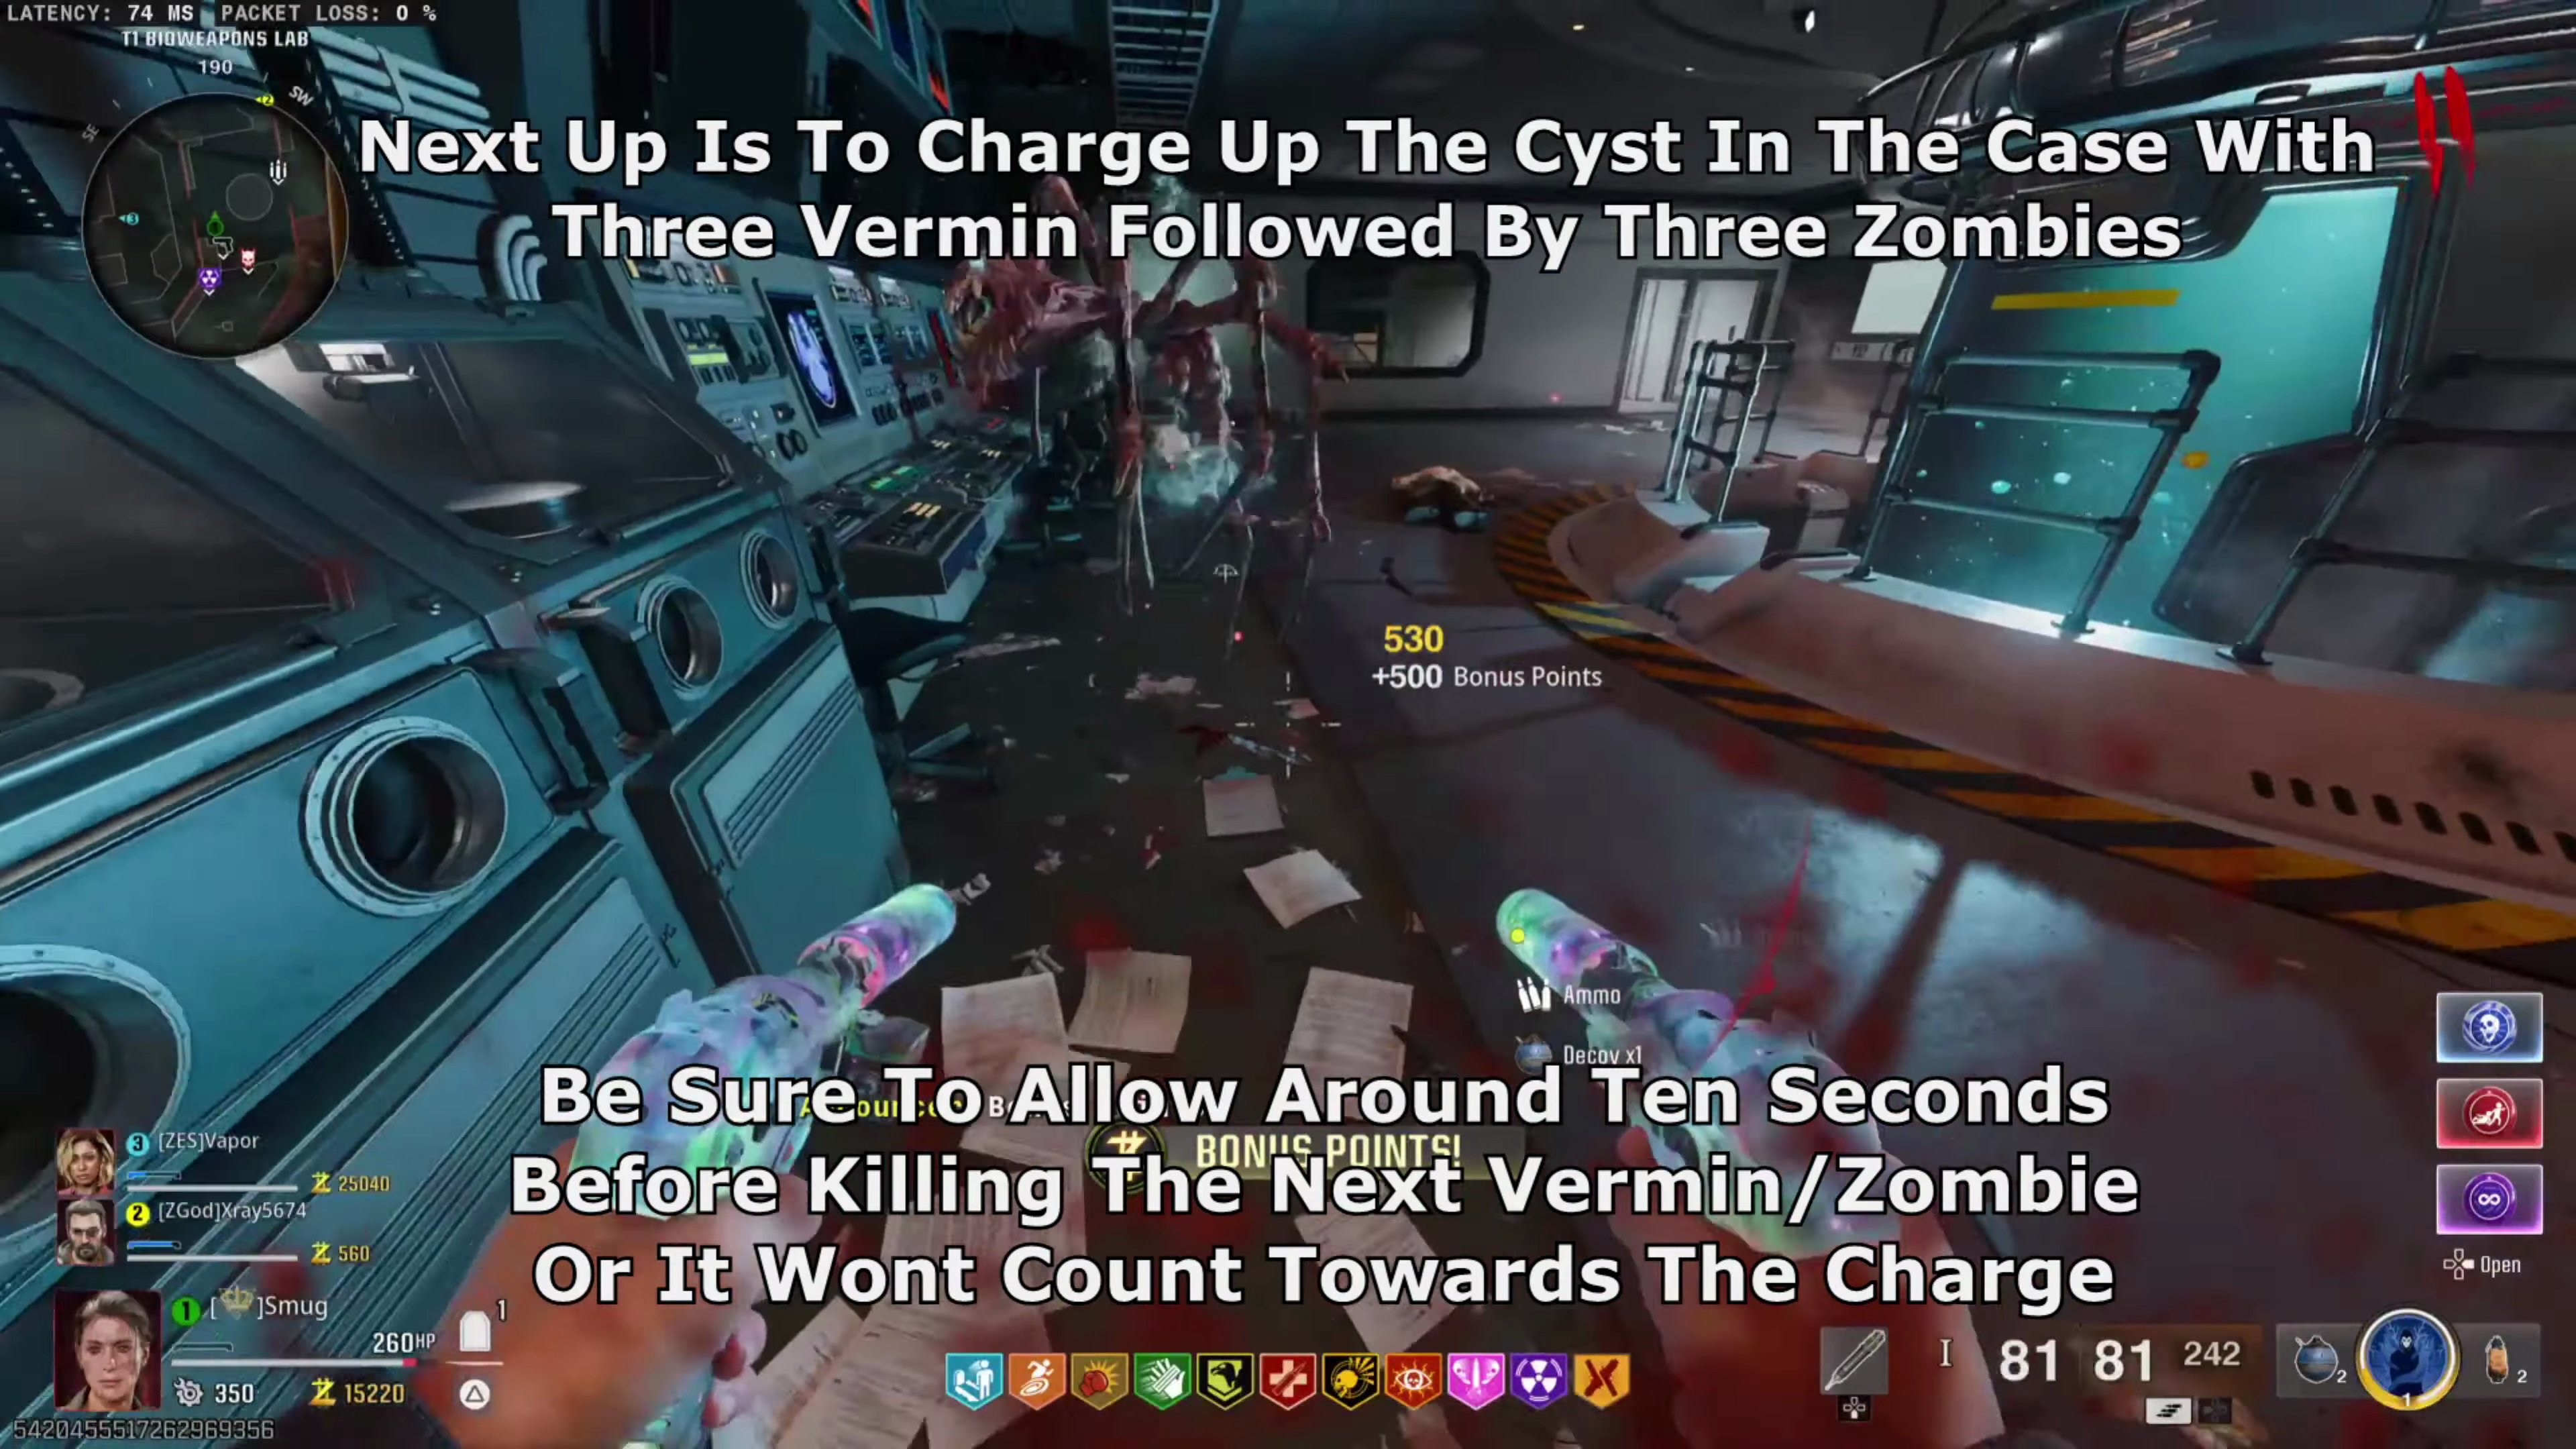
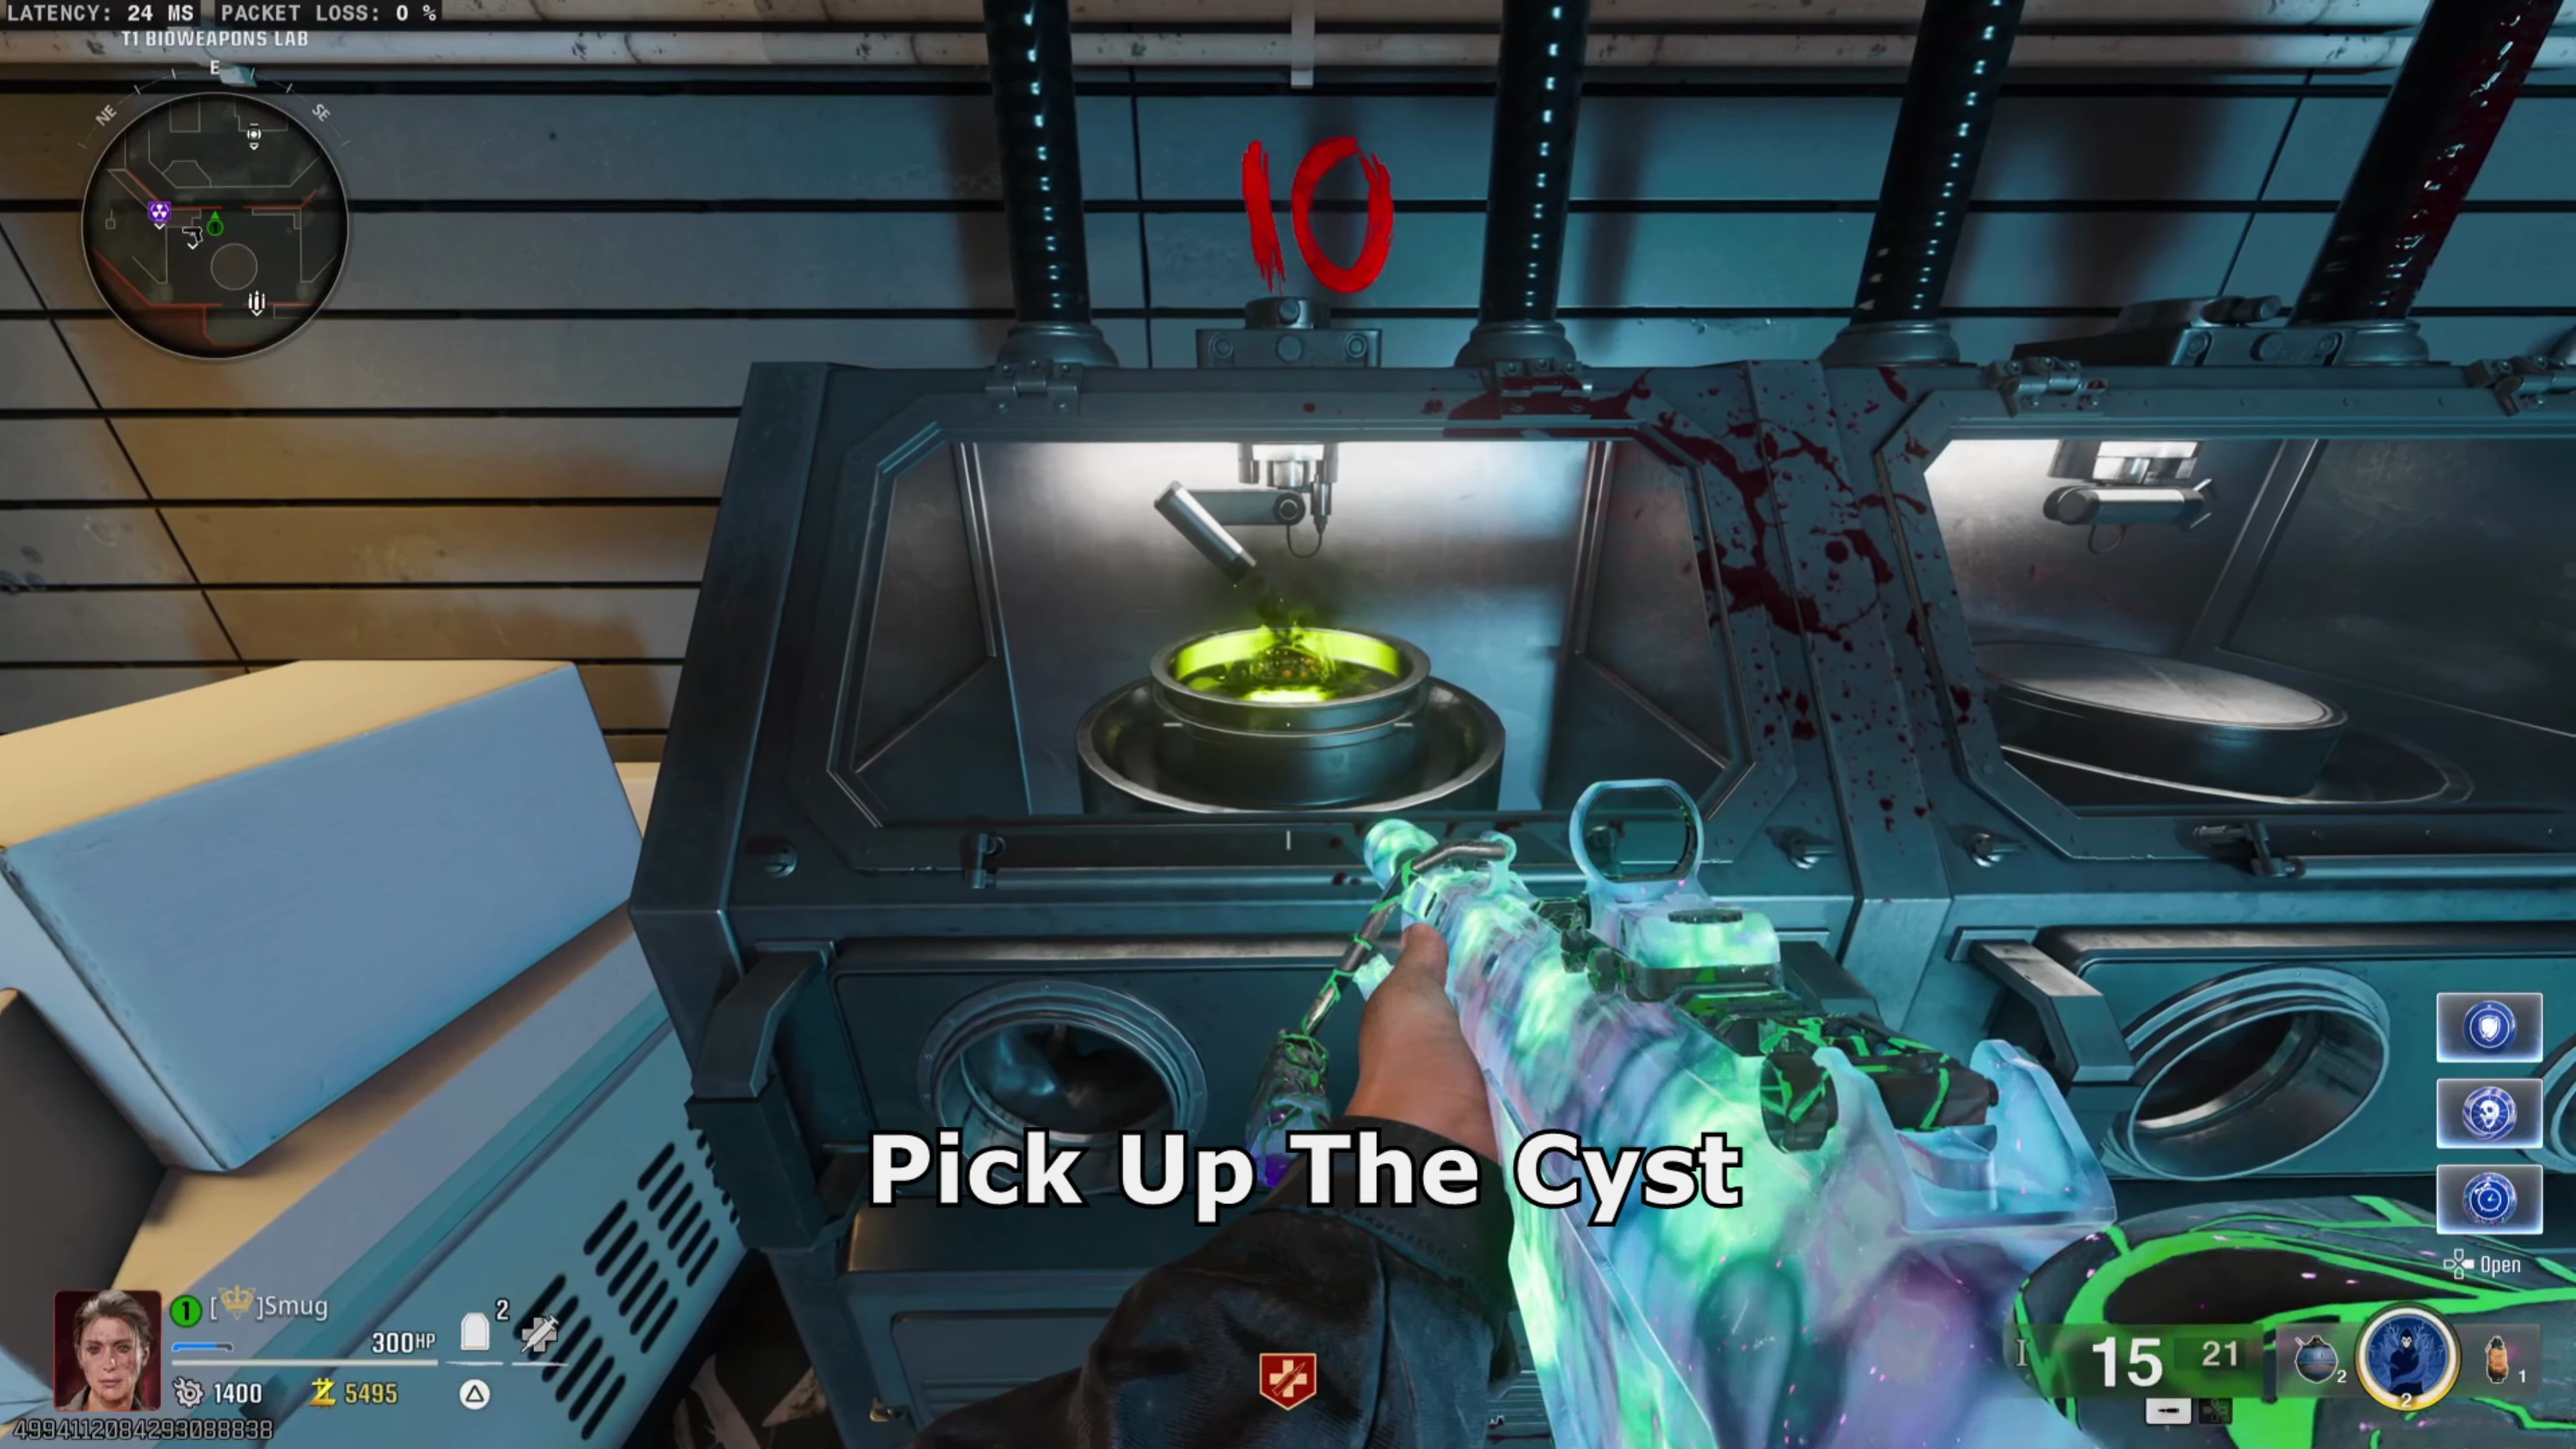
- Pick up the Cyst once it's charged.
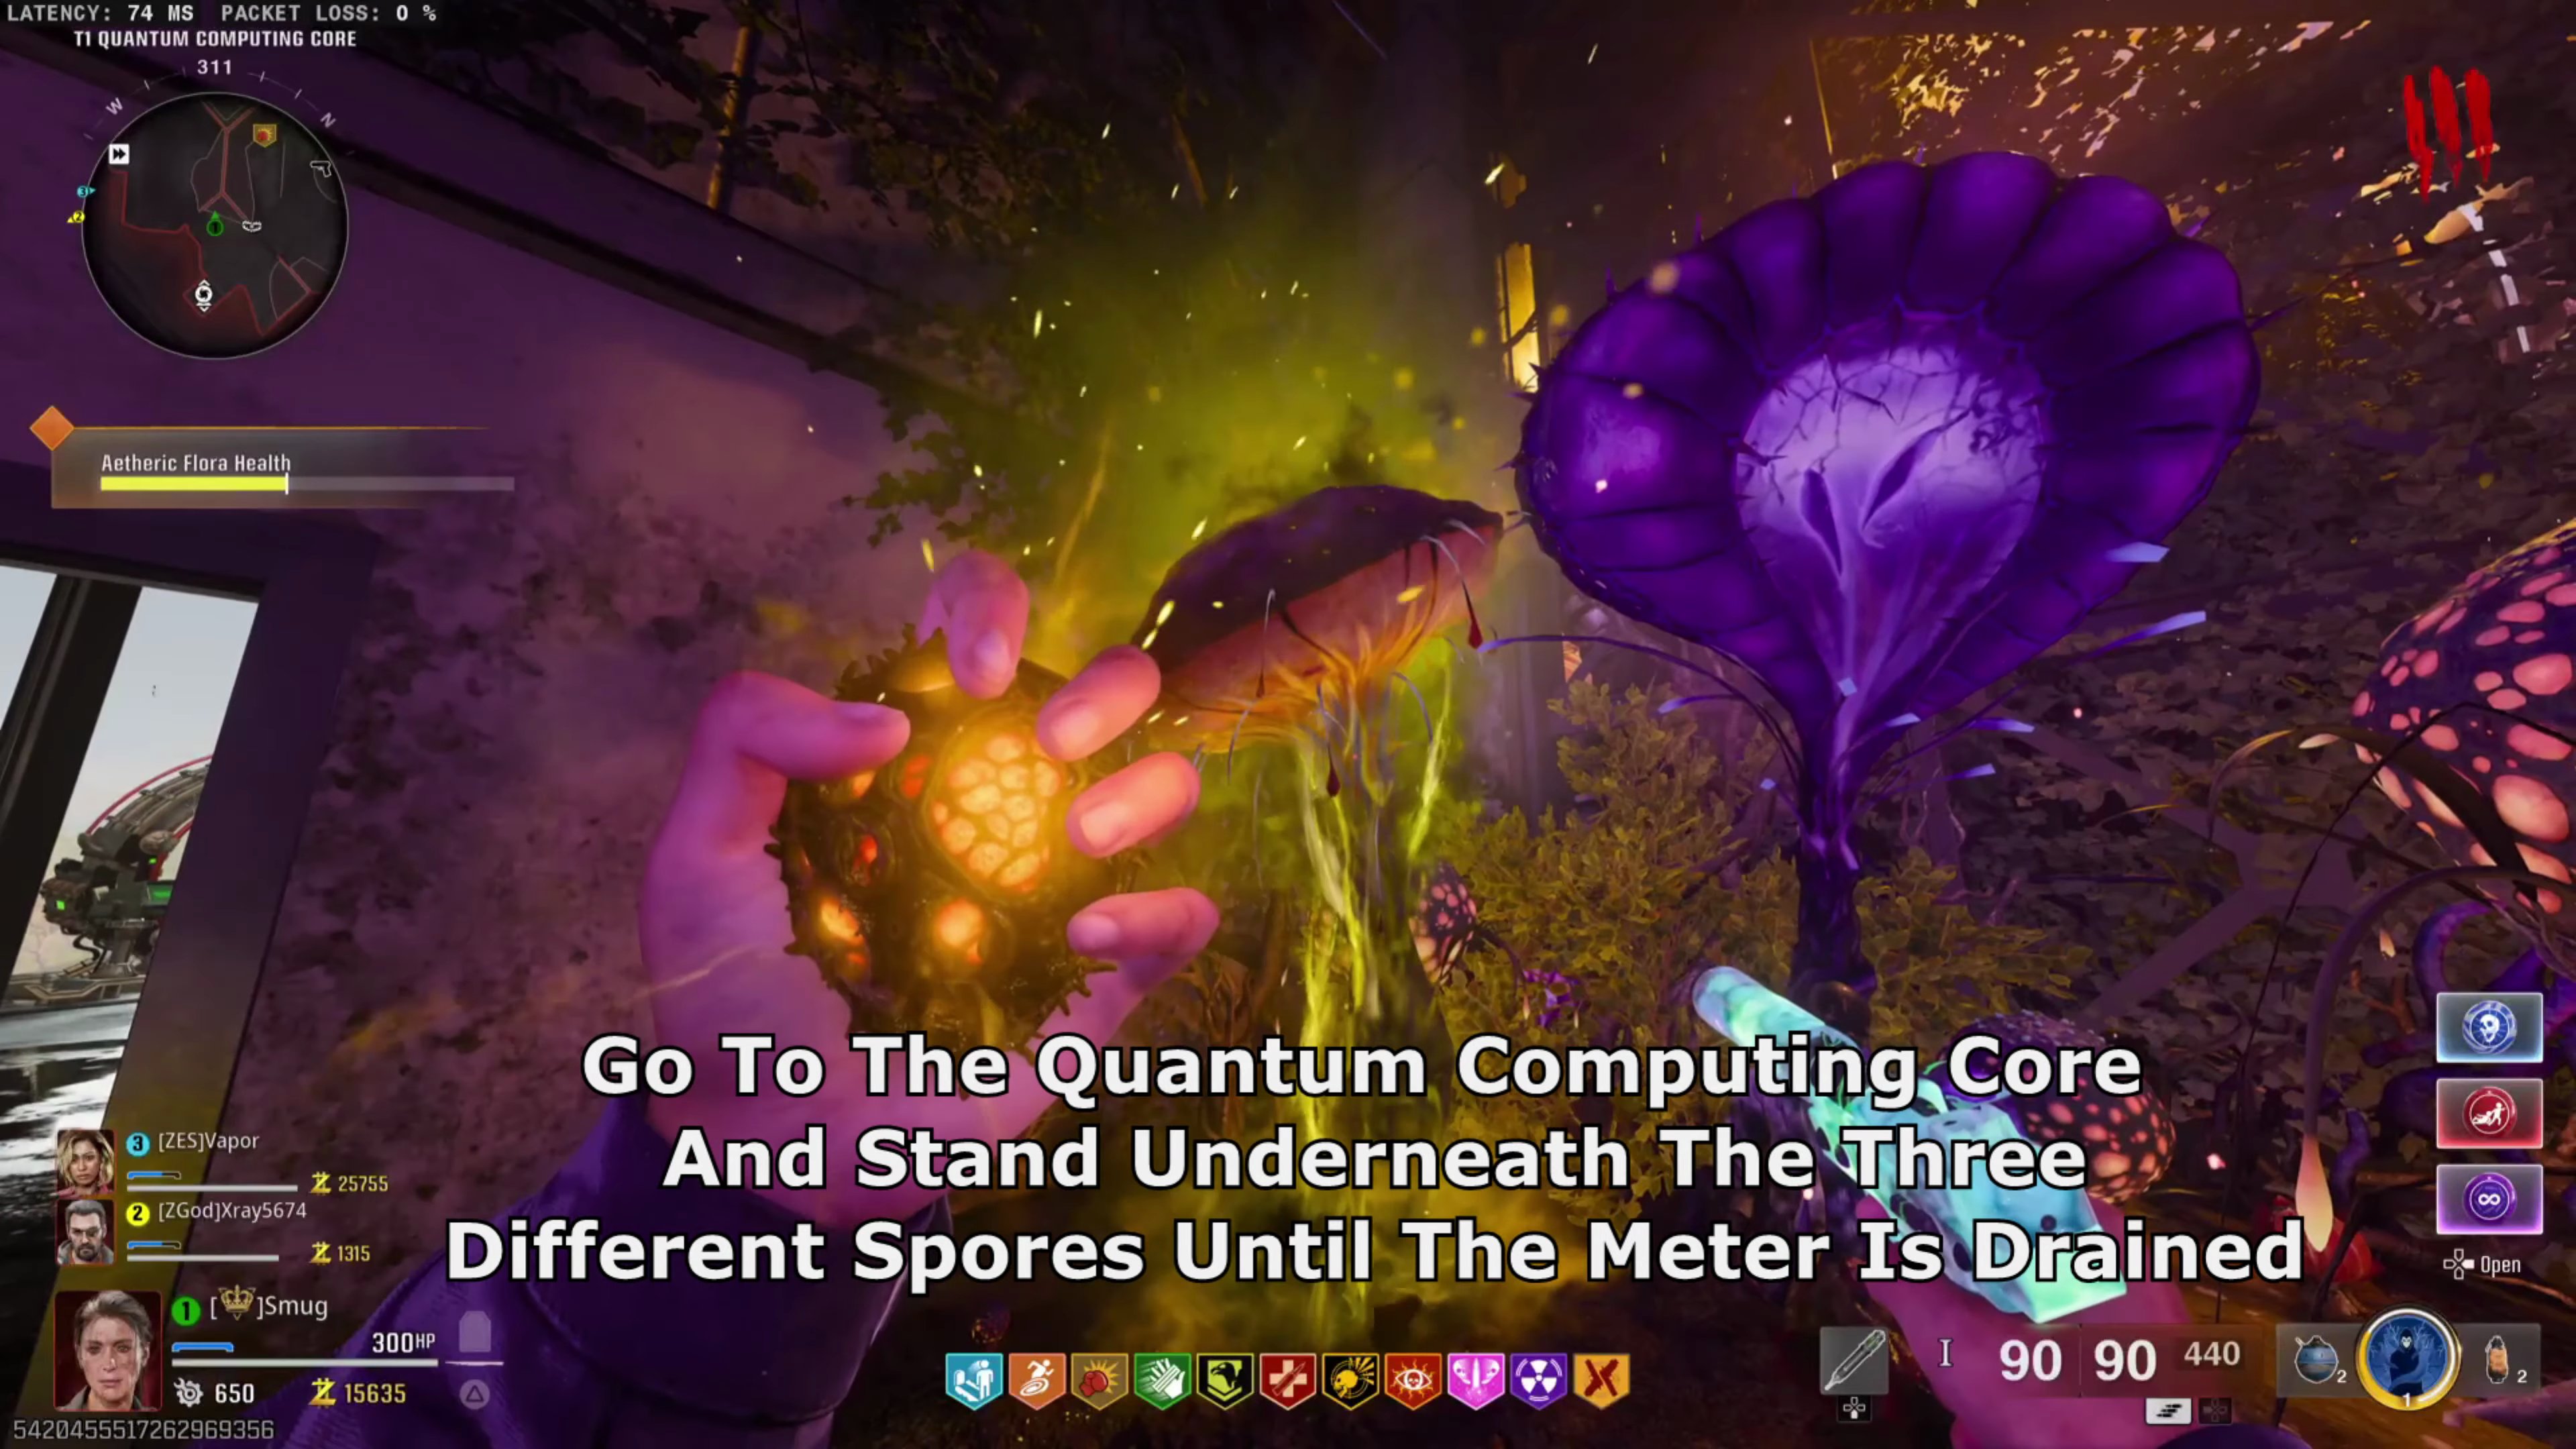
- Go to the Quantum Computing Core and stand underneath the three different spores until the meter is drained.
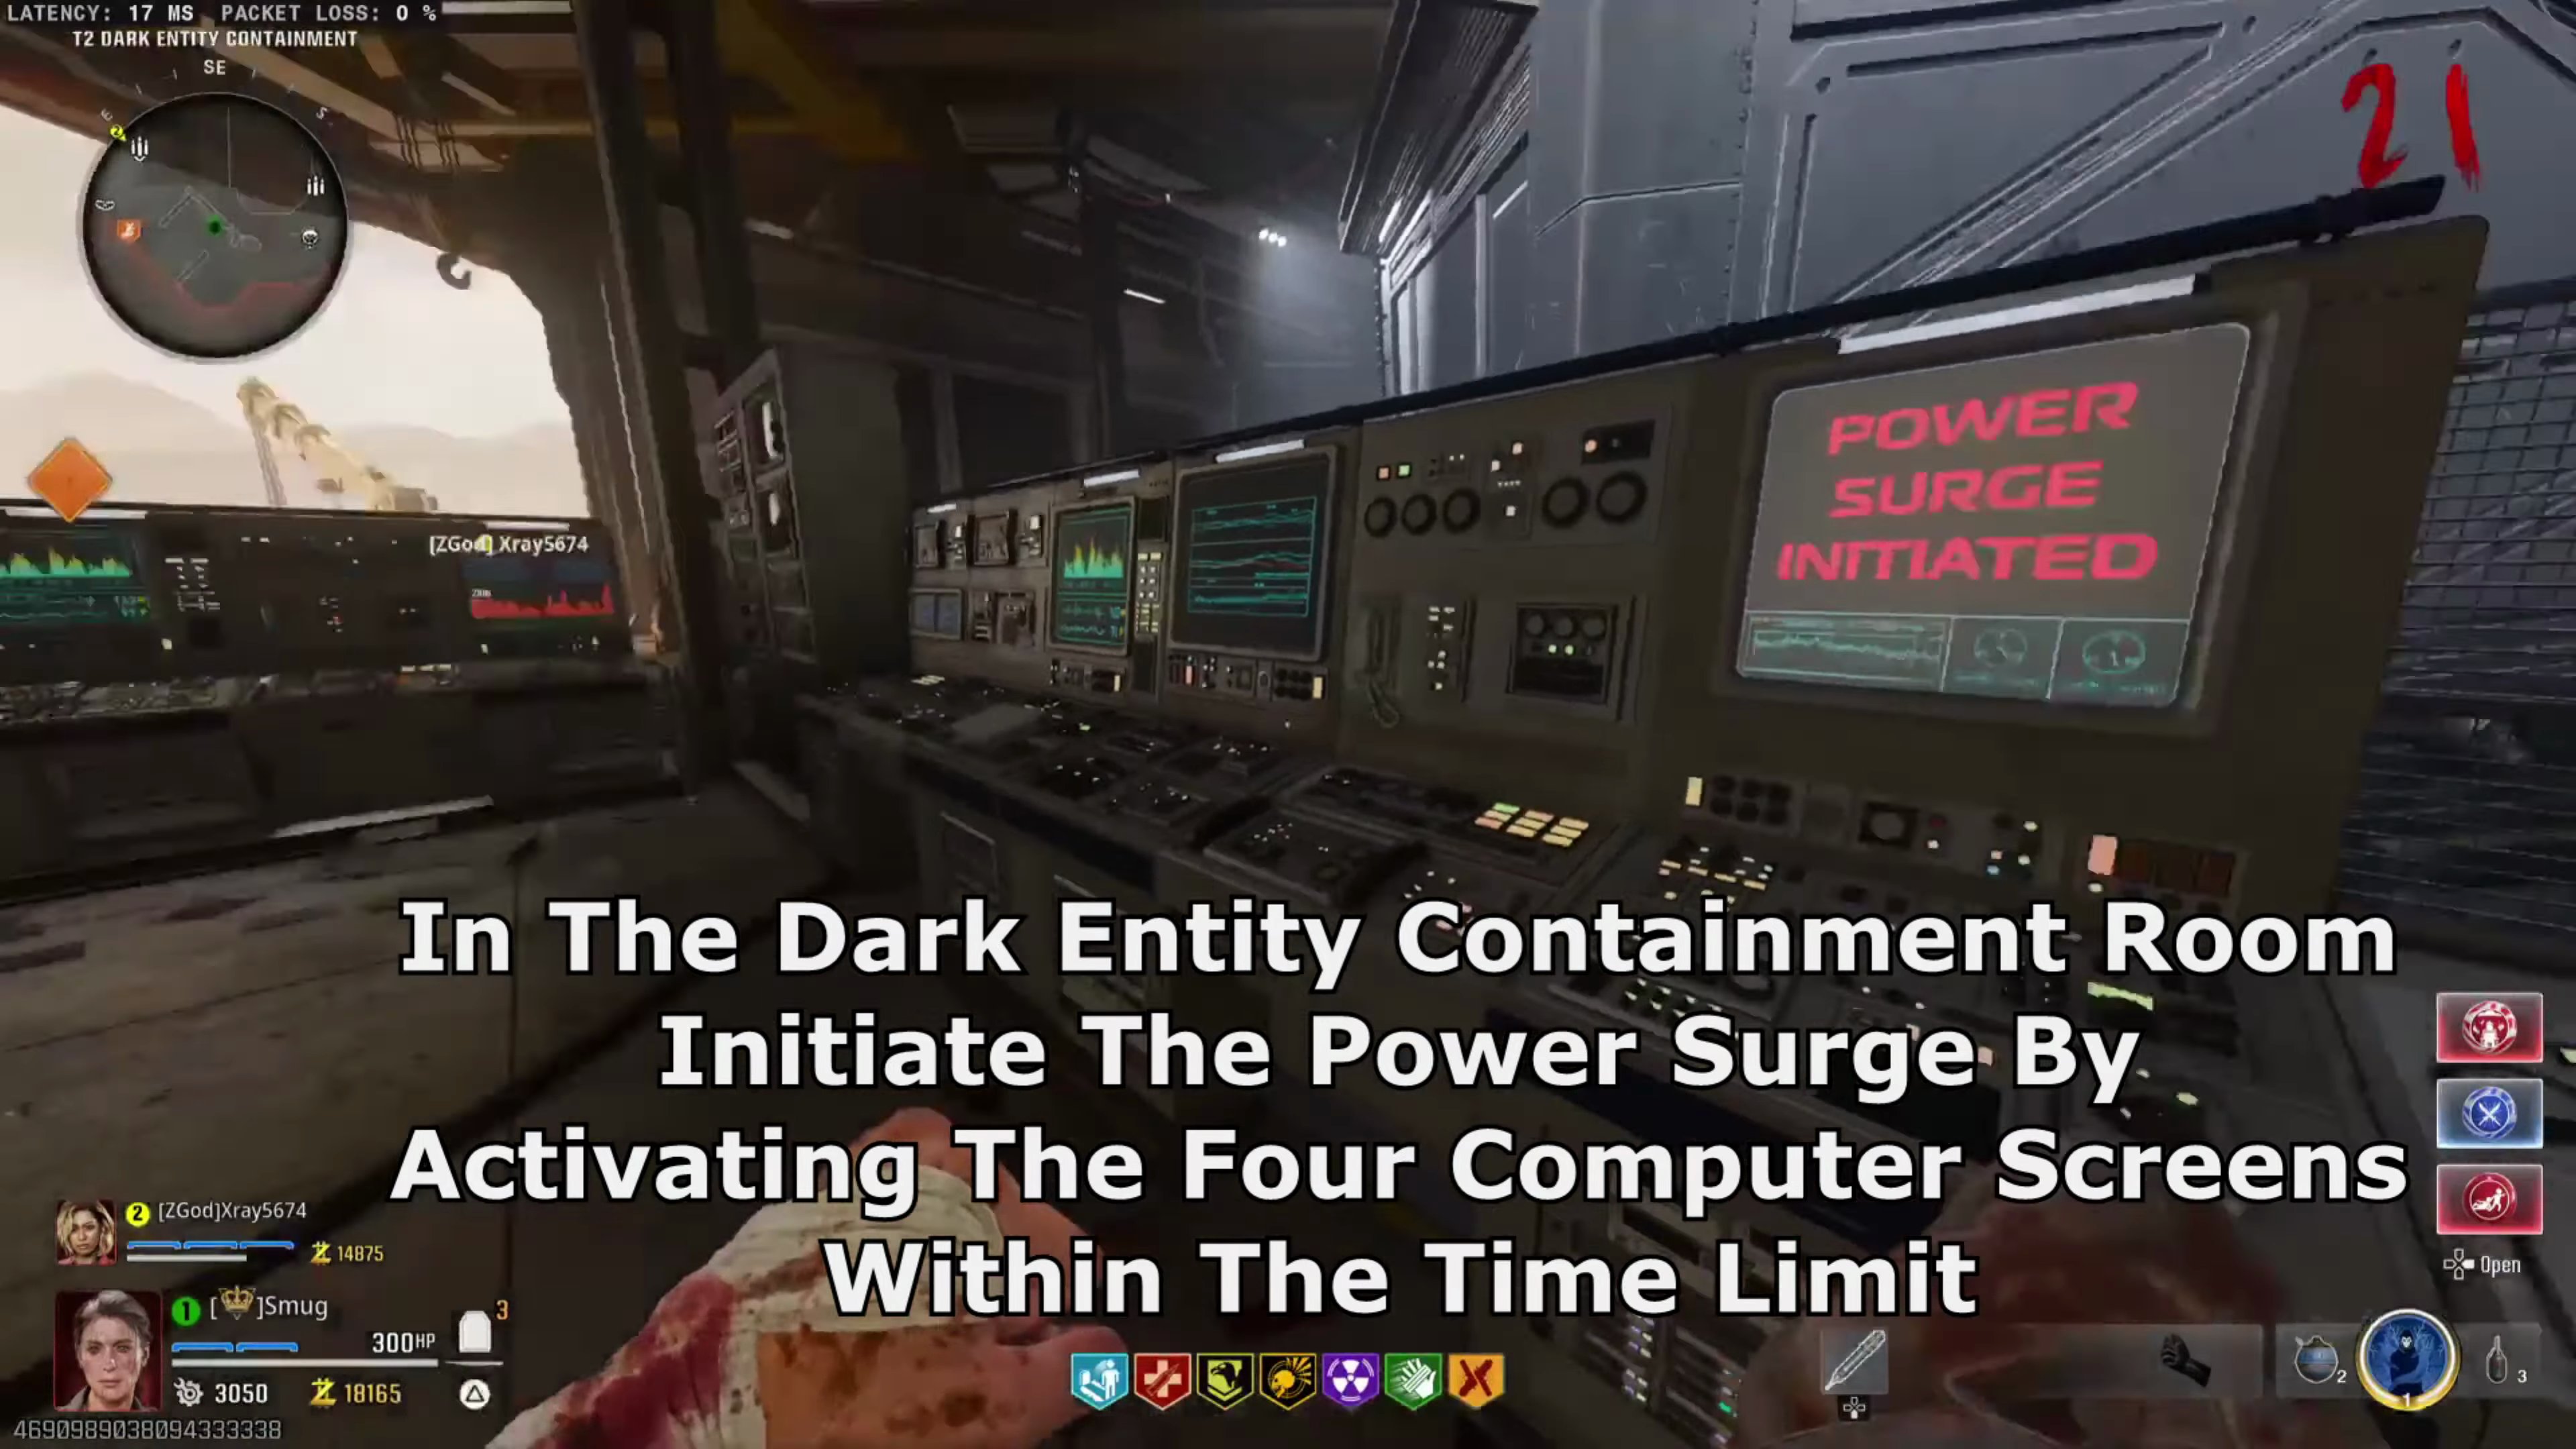
- In the Dark Entity Containment Room, initiate the Power Surge by activating the four computer screens within the time limit.
- This will spawn an Uber Klaus. Destroy its two shoulder pads and bring him to the shocking platform.
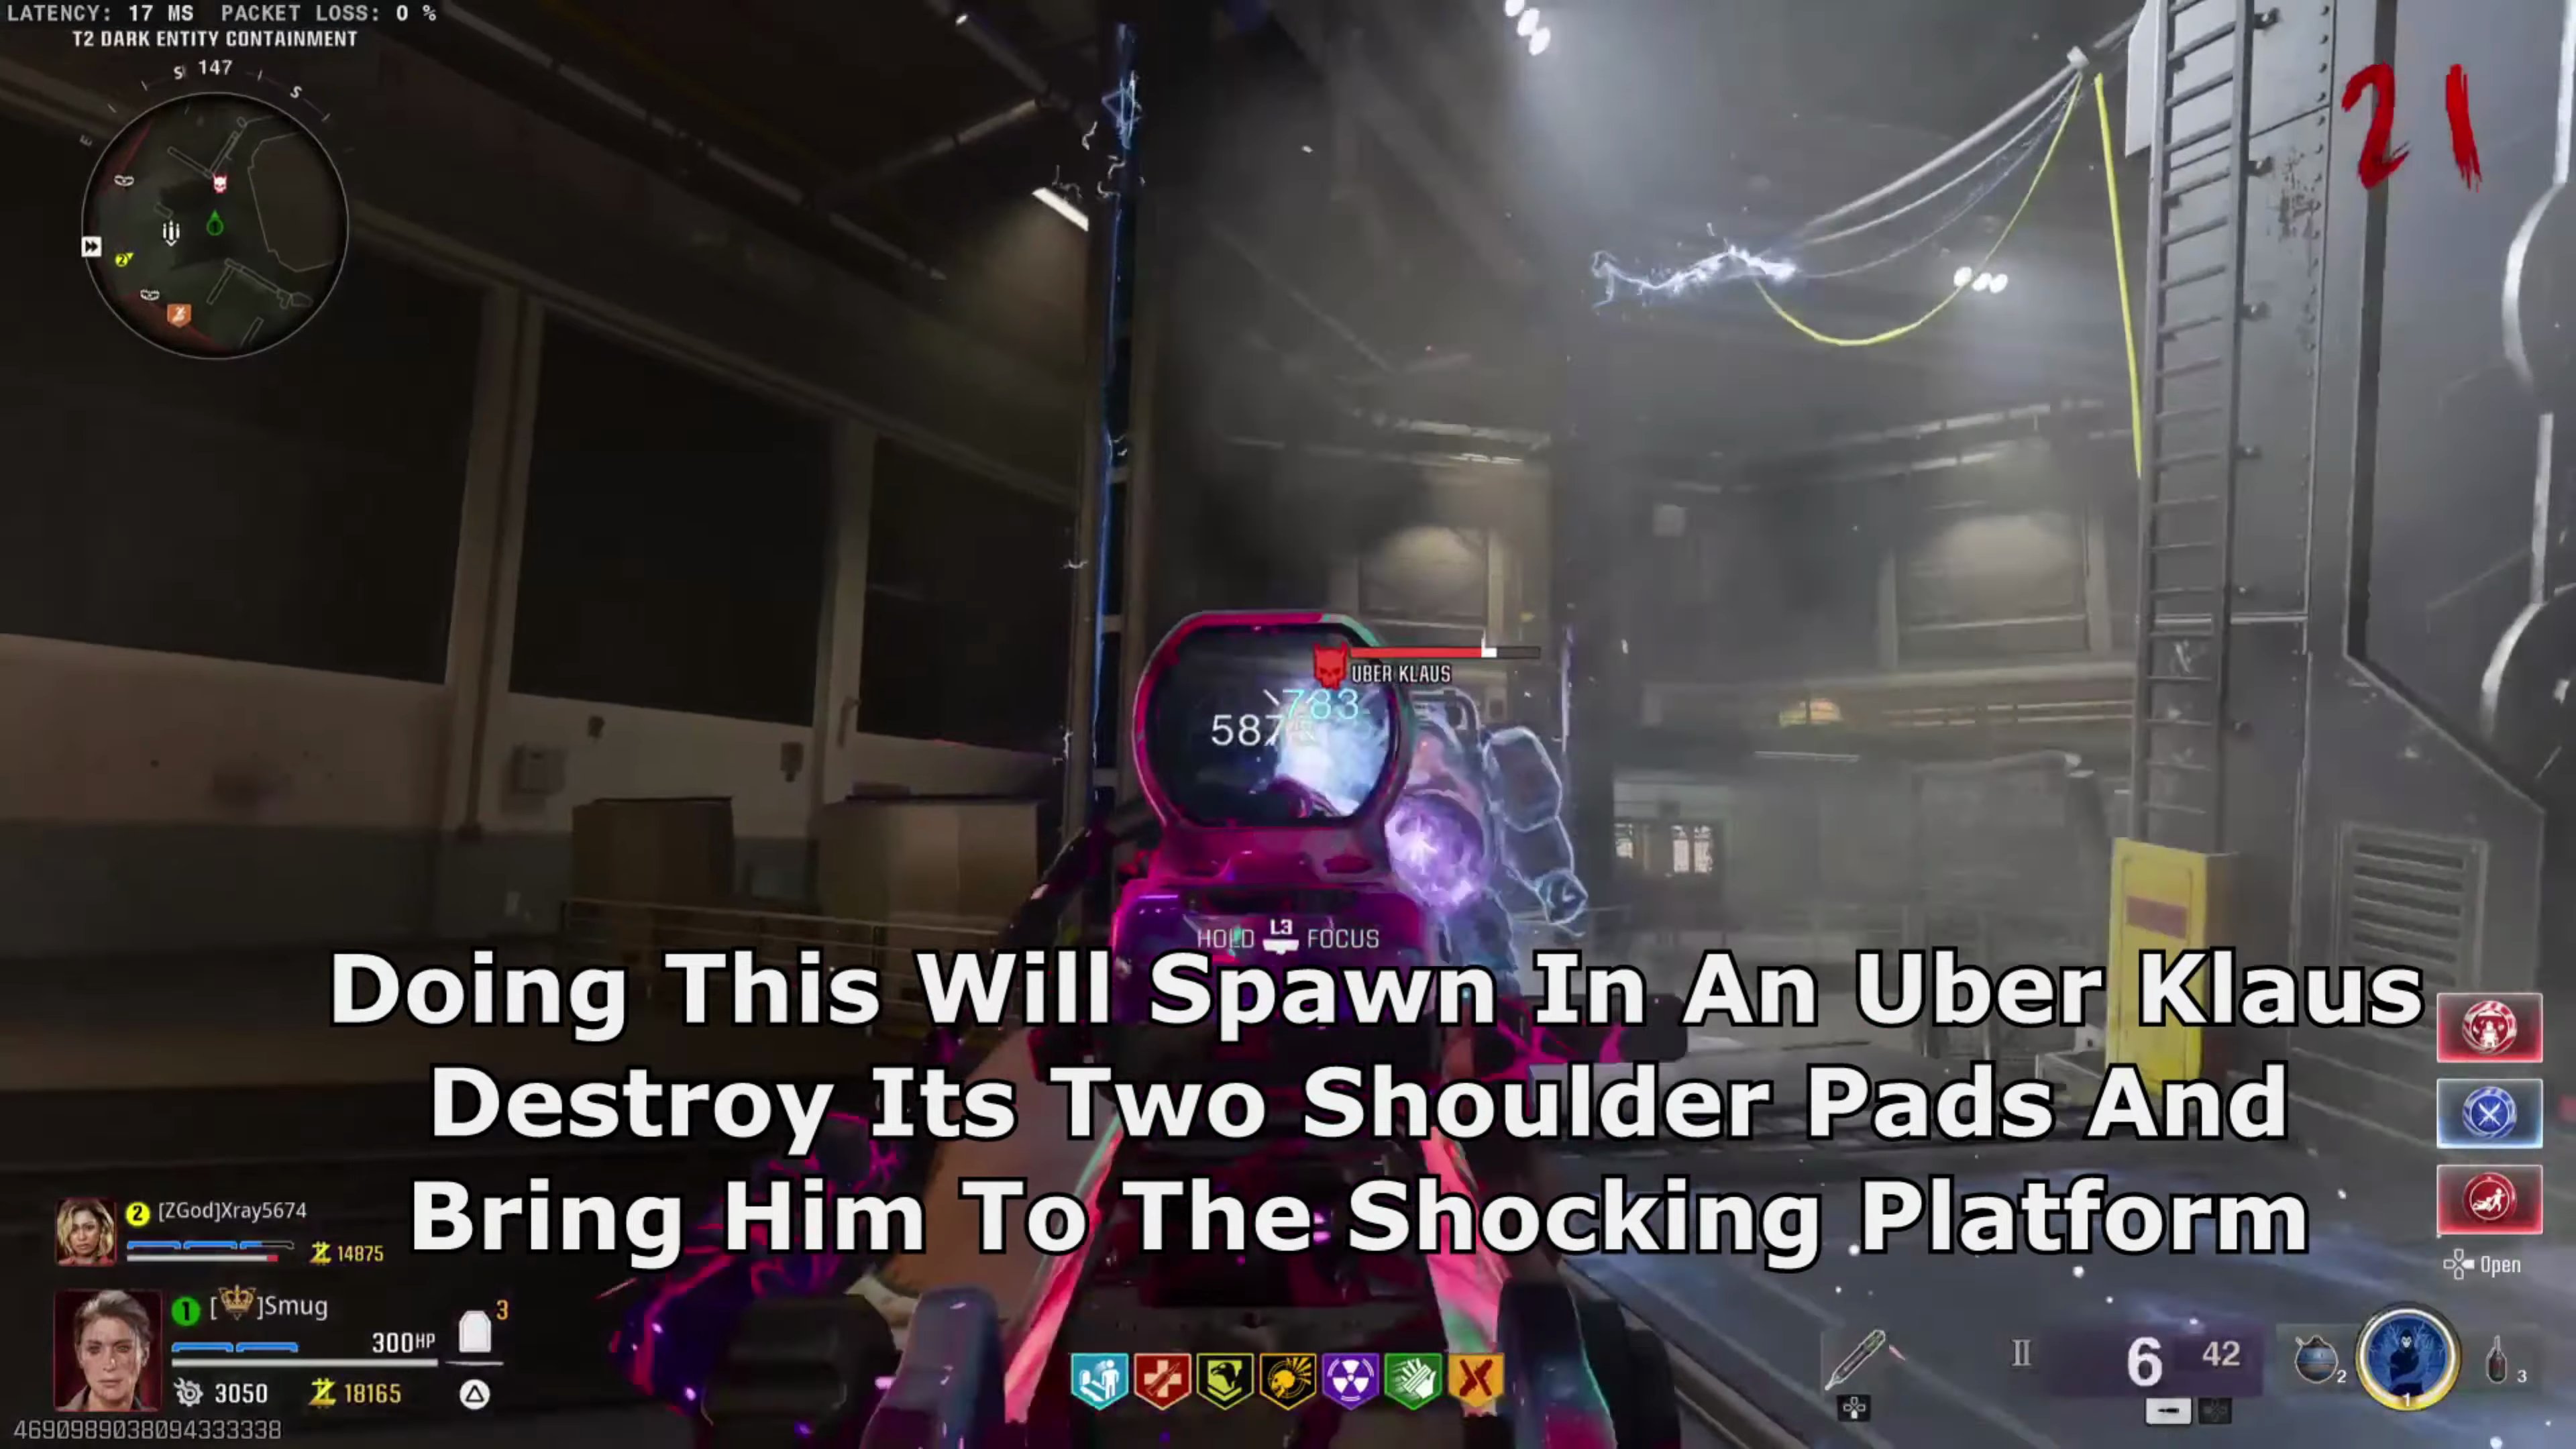
- This will allow The Forsaken to enter the Uber Klaus, making him a mini-boss fight. [SCREENSHOT:08:26]
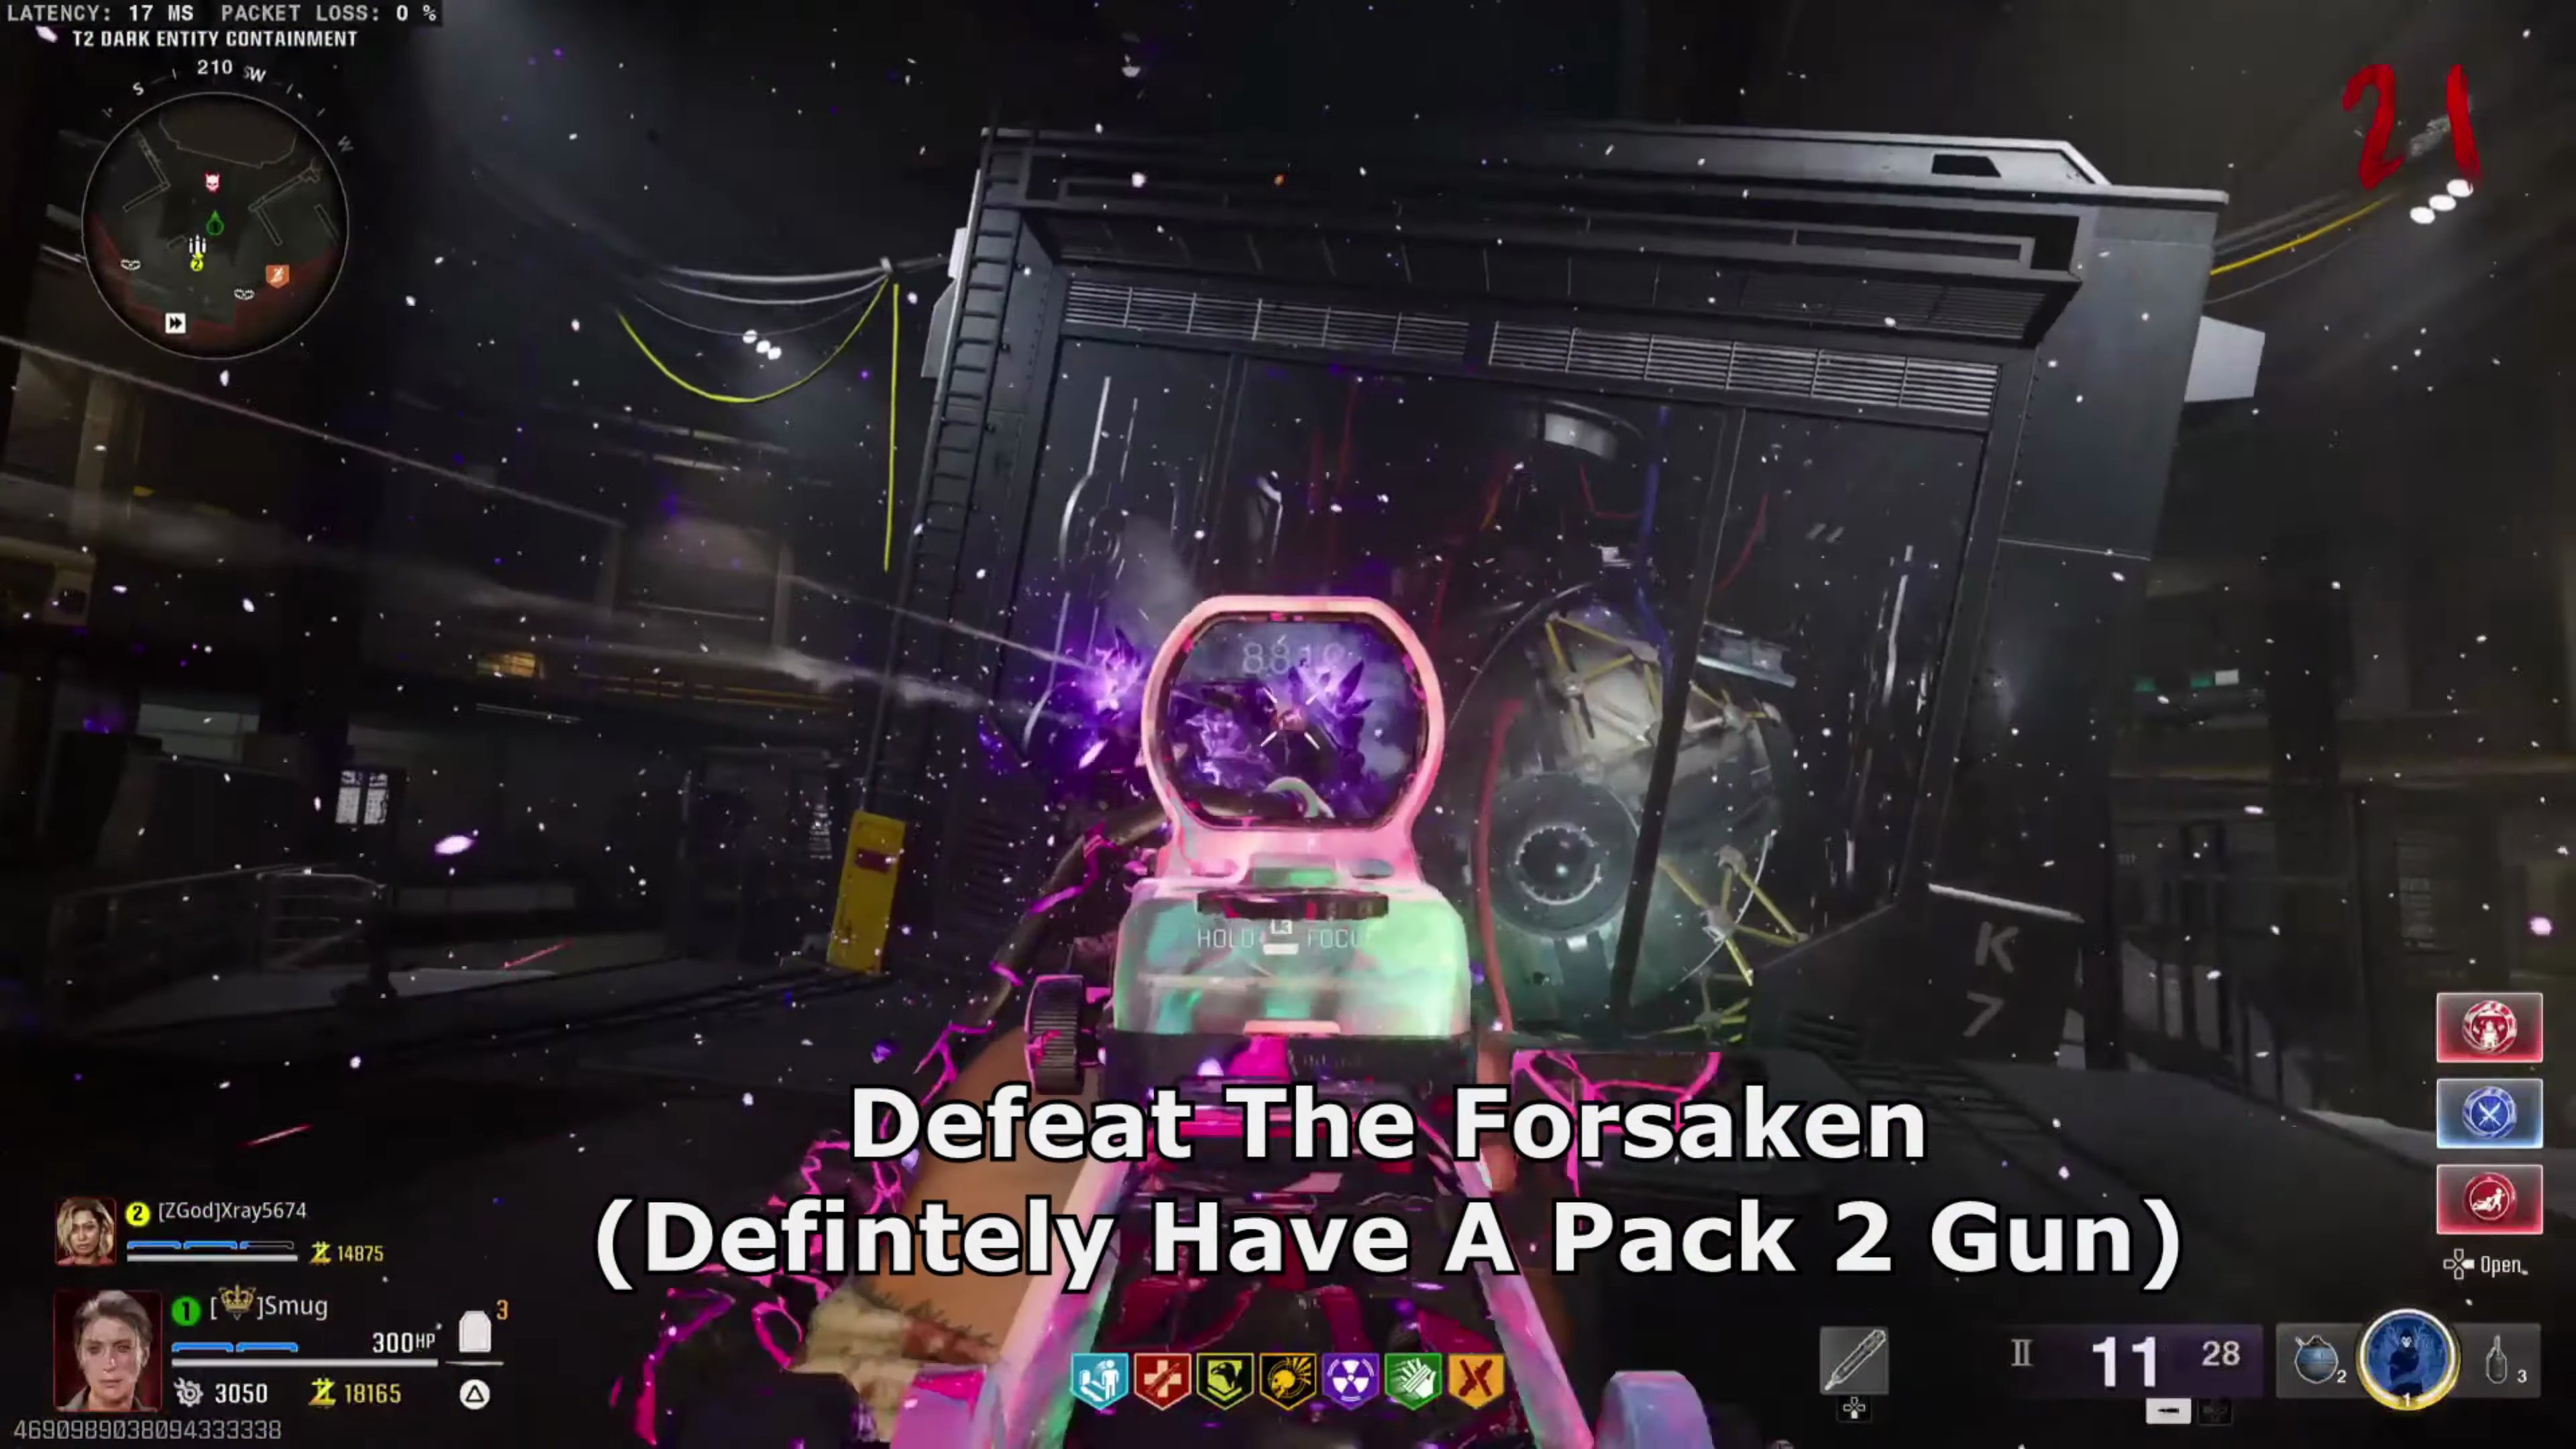
- Defeat The Forsaken. (It's highly recommended to have a Pack-2 gun).
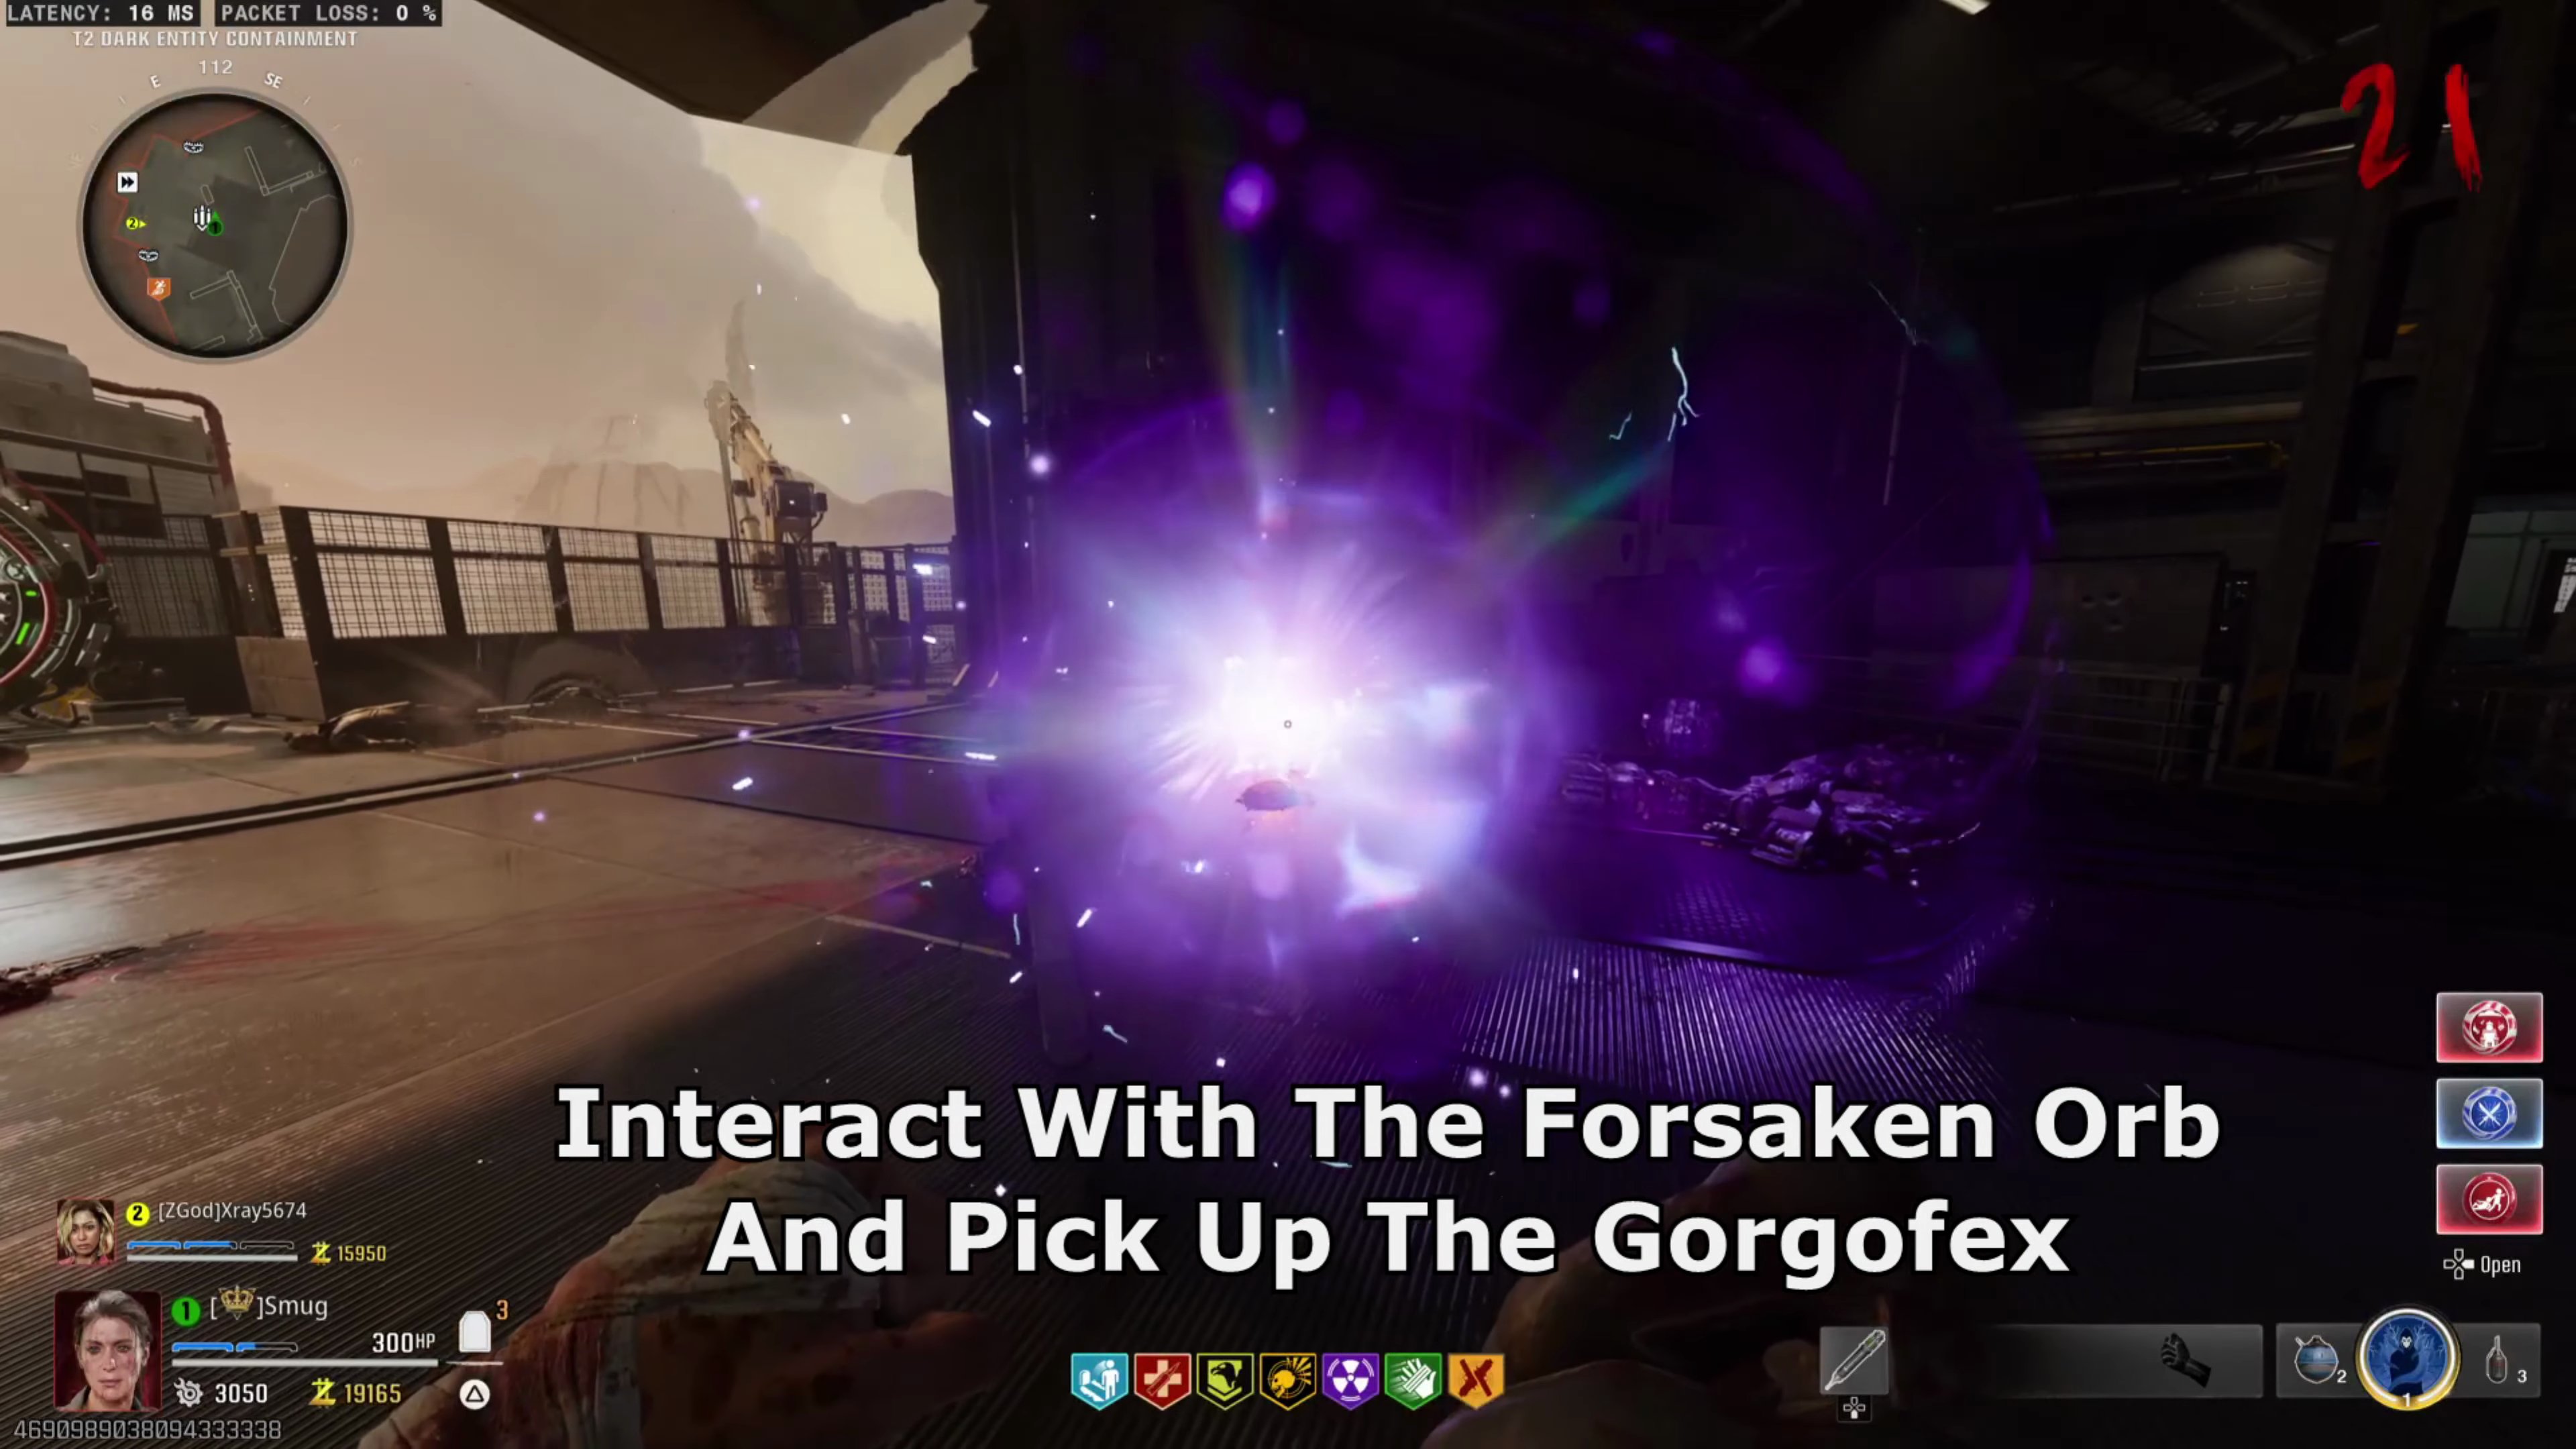
- Interact with The Forsaken Orb and pick up the Gorgofex (the new Wonder Weapon).
Step 7: Open The Portal
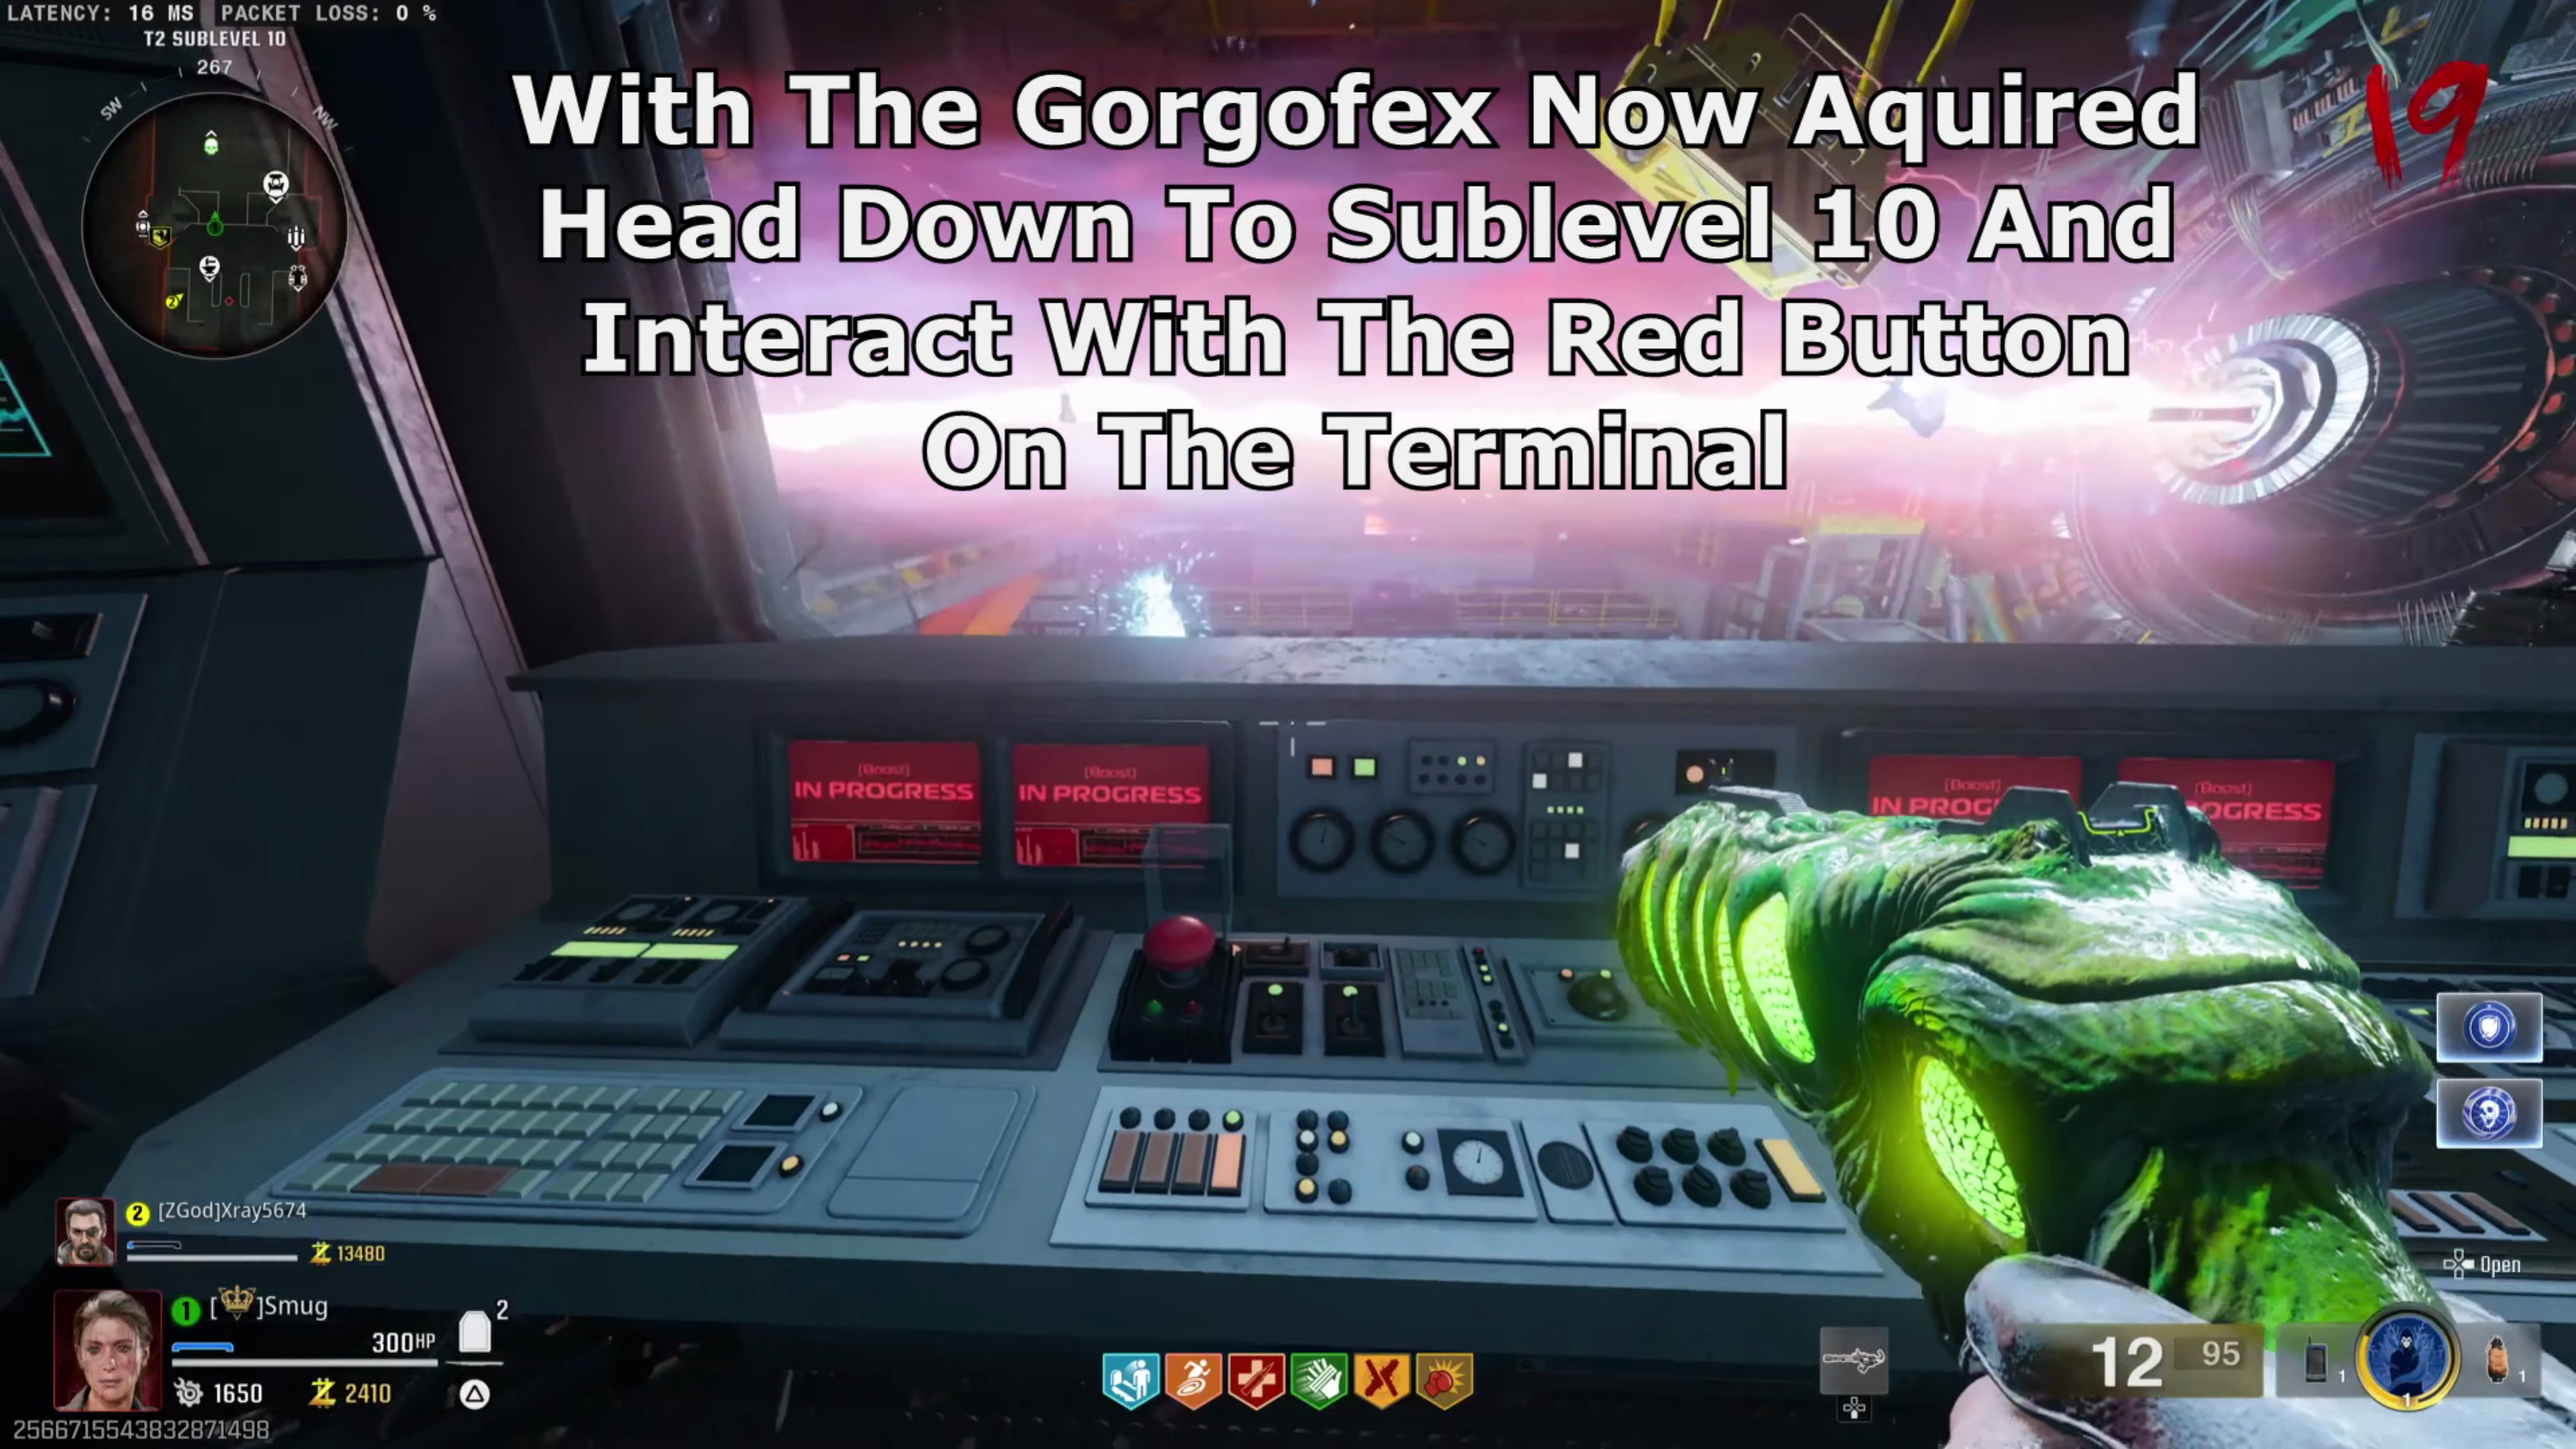
- With the Gorgofex acquired, head down to Sublevel 10 and interact with the red button on the terminal.
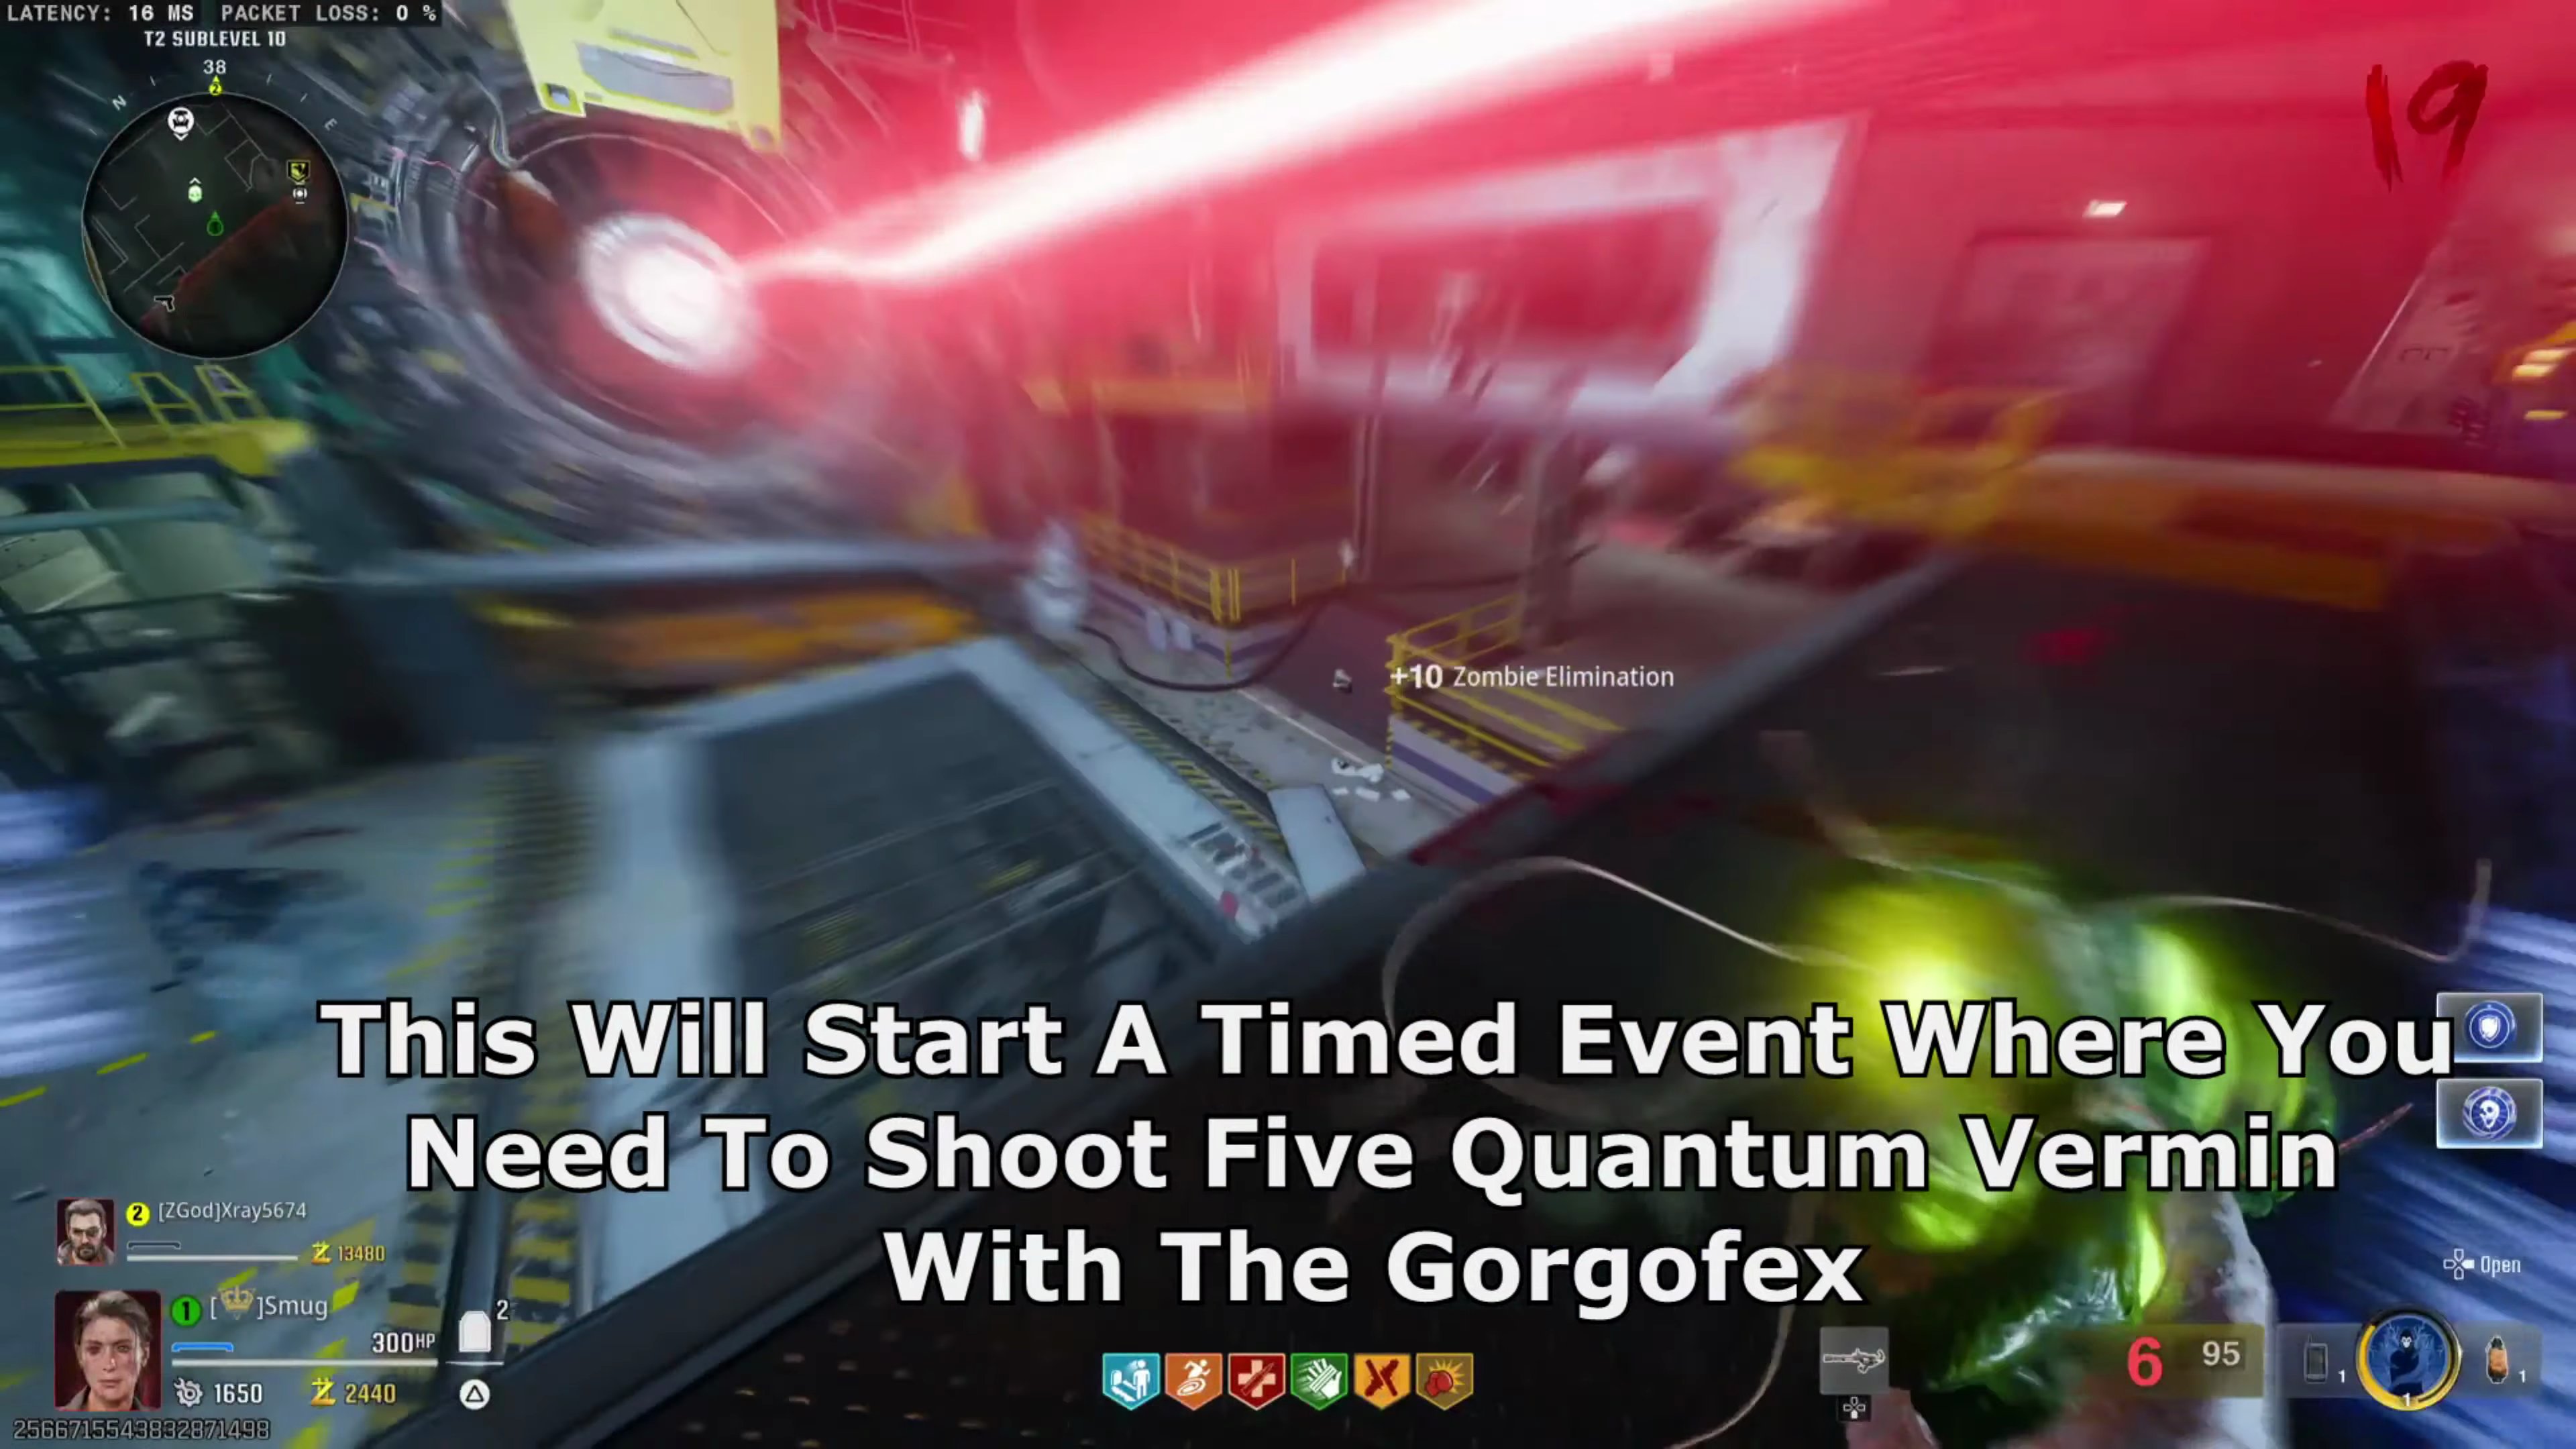
- This will start a timed event where you need to shoot five Quantum Vermin with the Gorgofex (normal shots are sufficient).
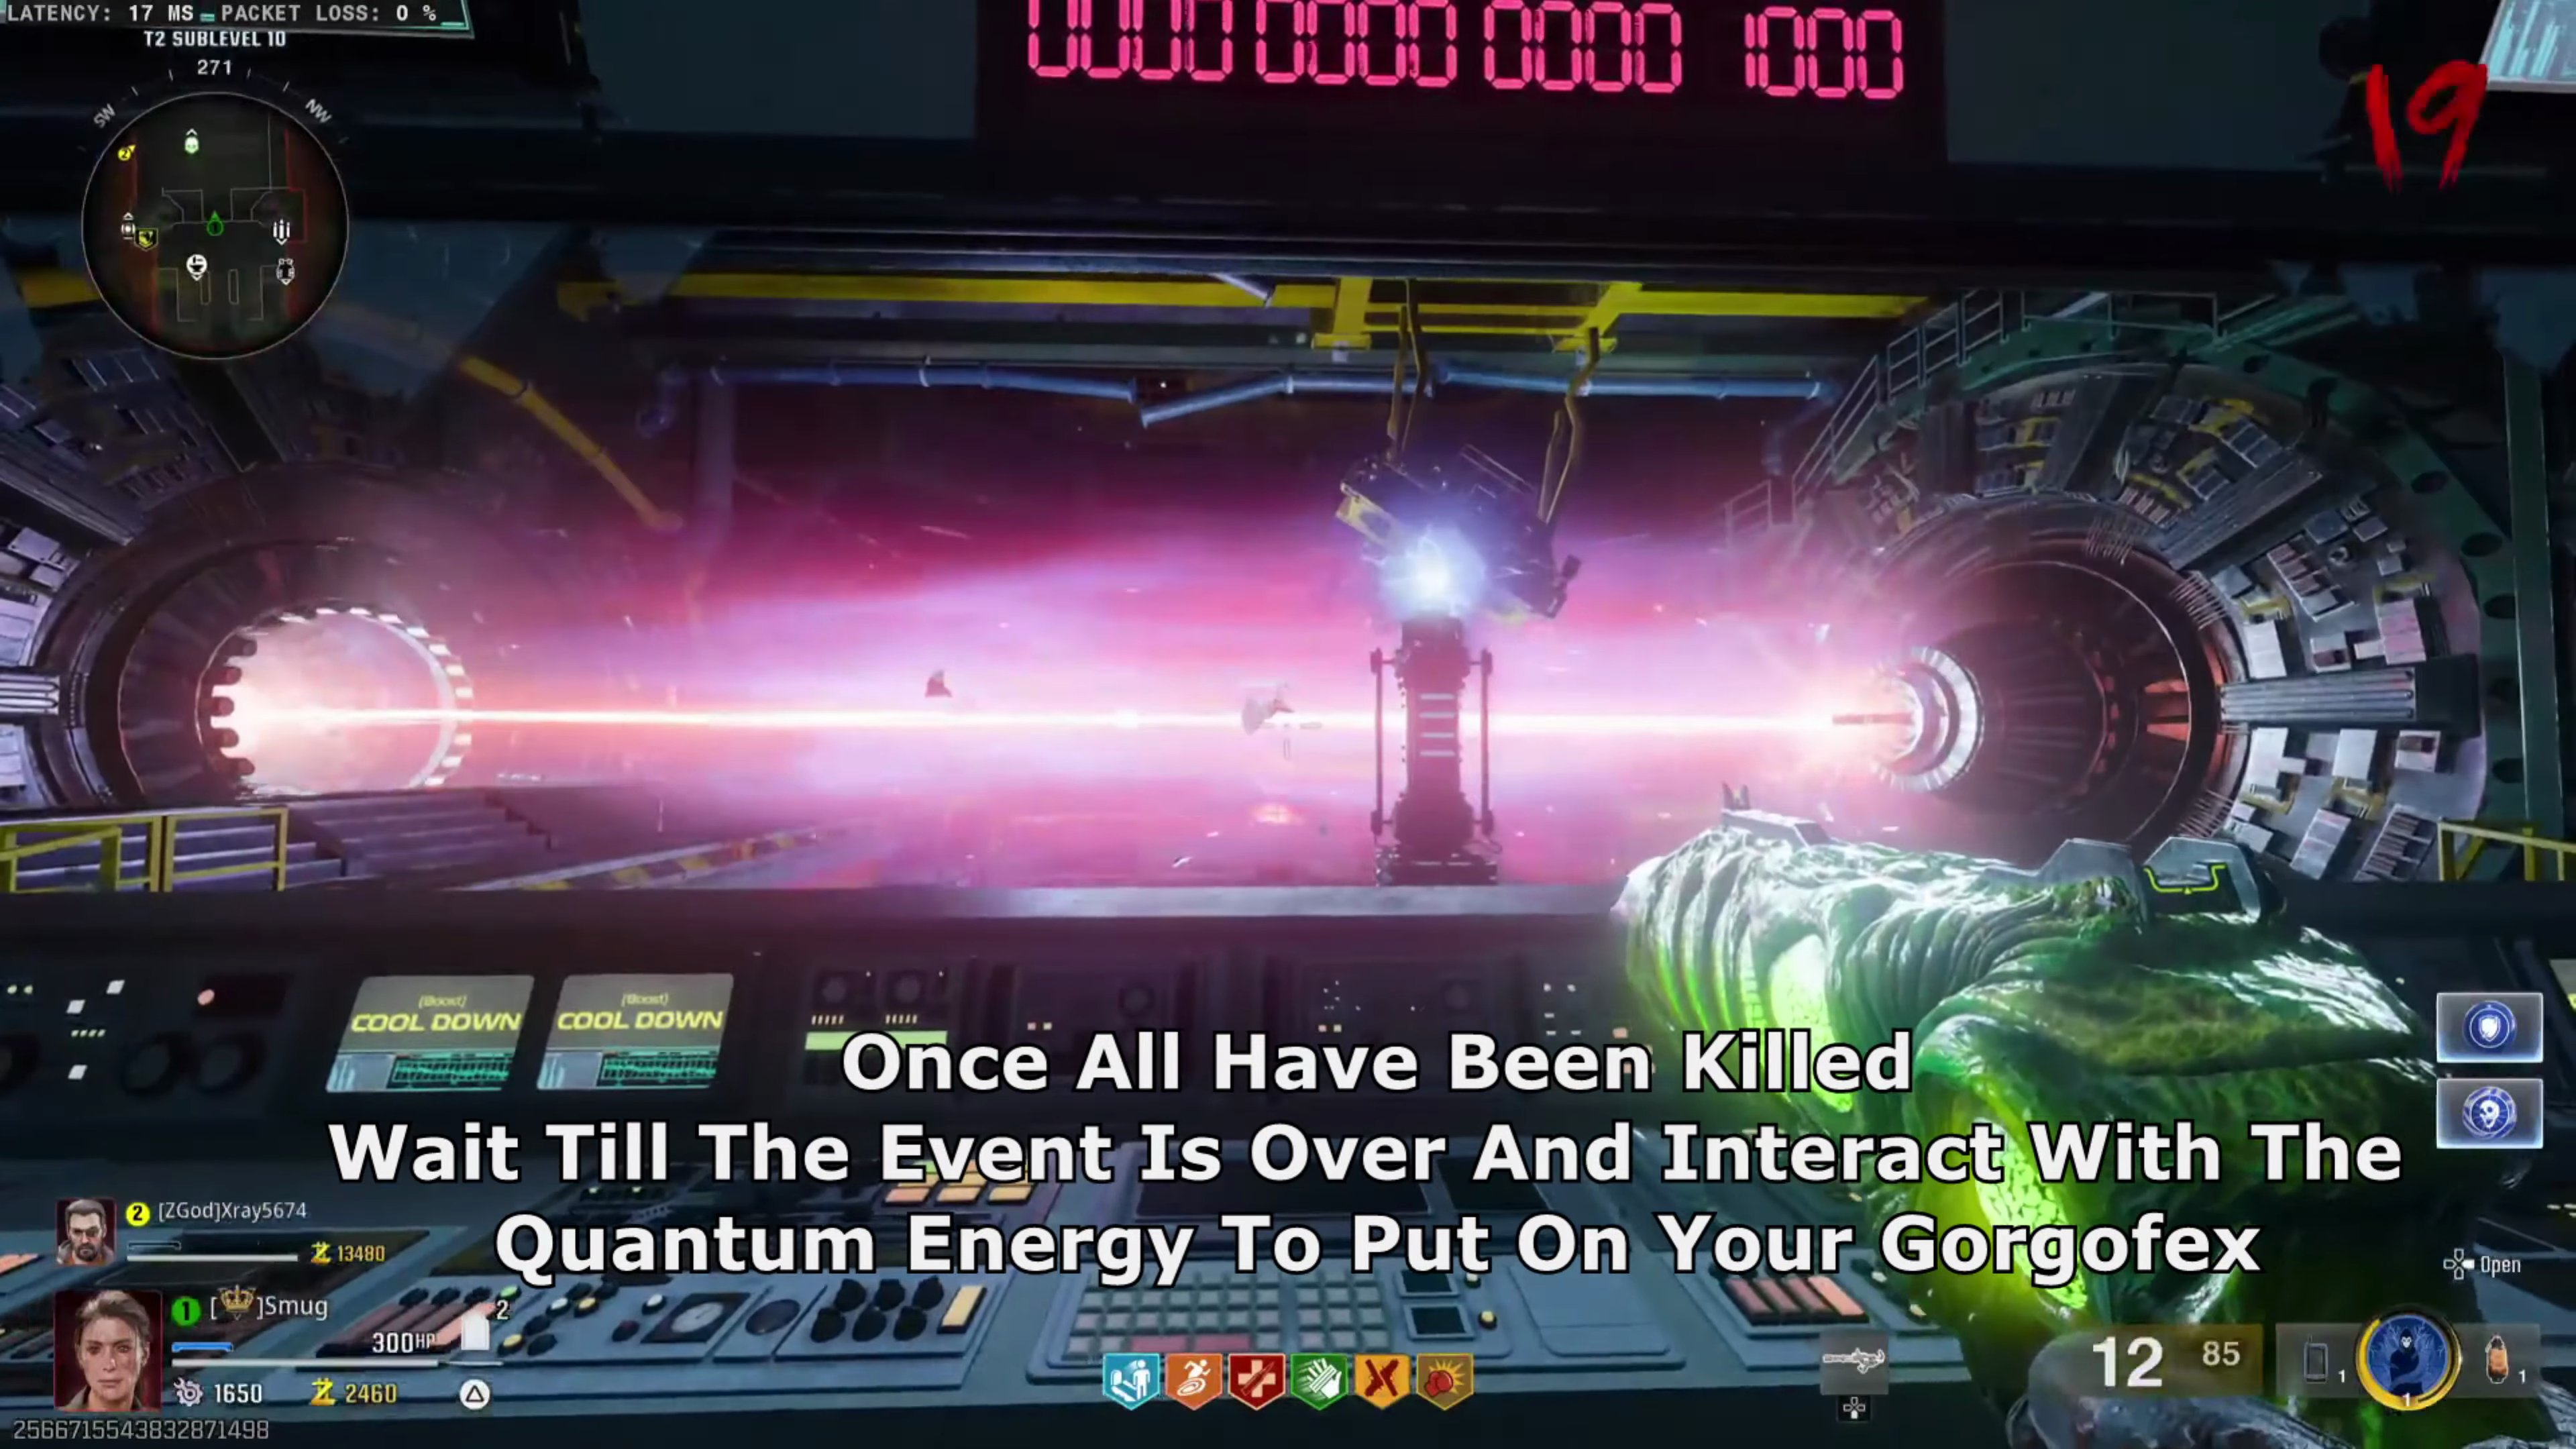
- Once all have been killed, wait until the event is over and interact with the Quantum Energy to put it on your Gorgofex.
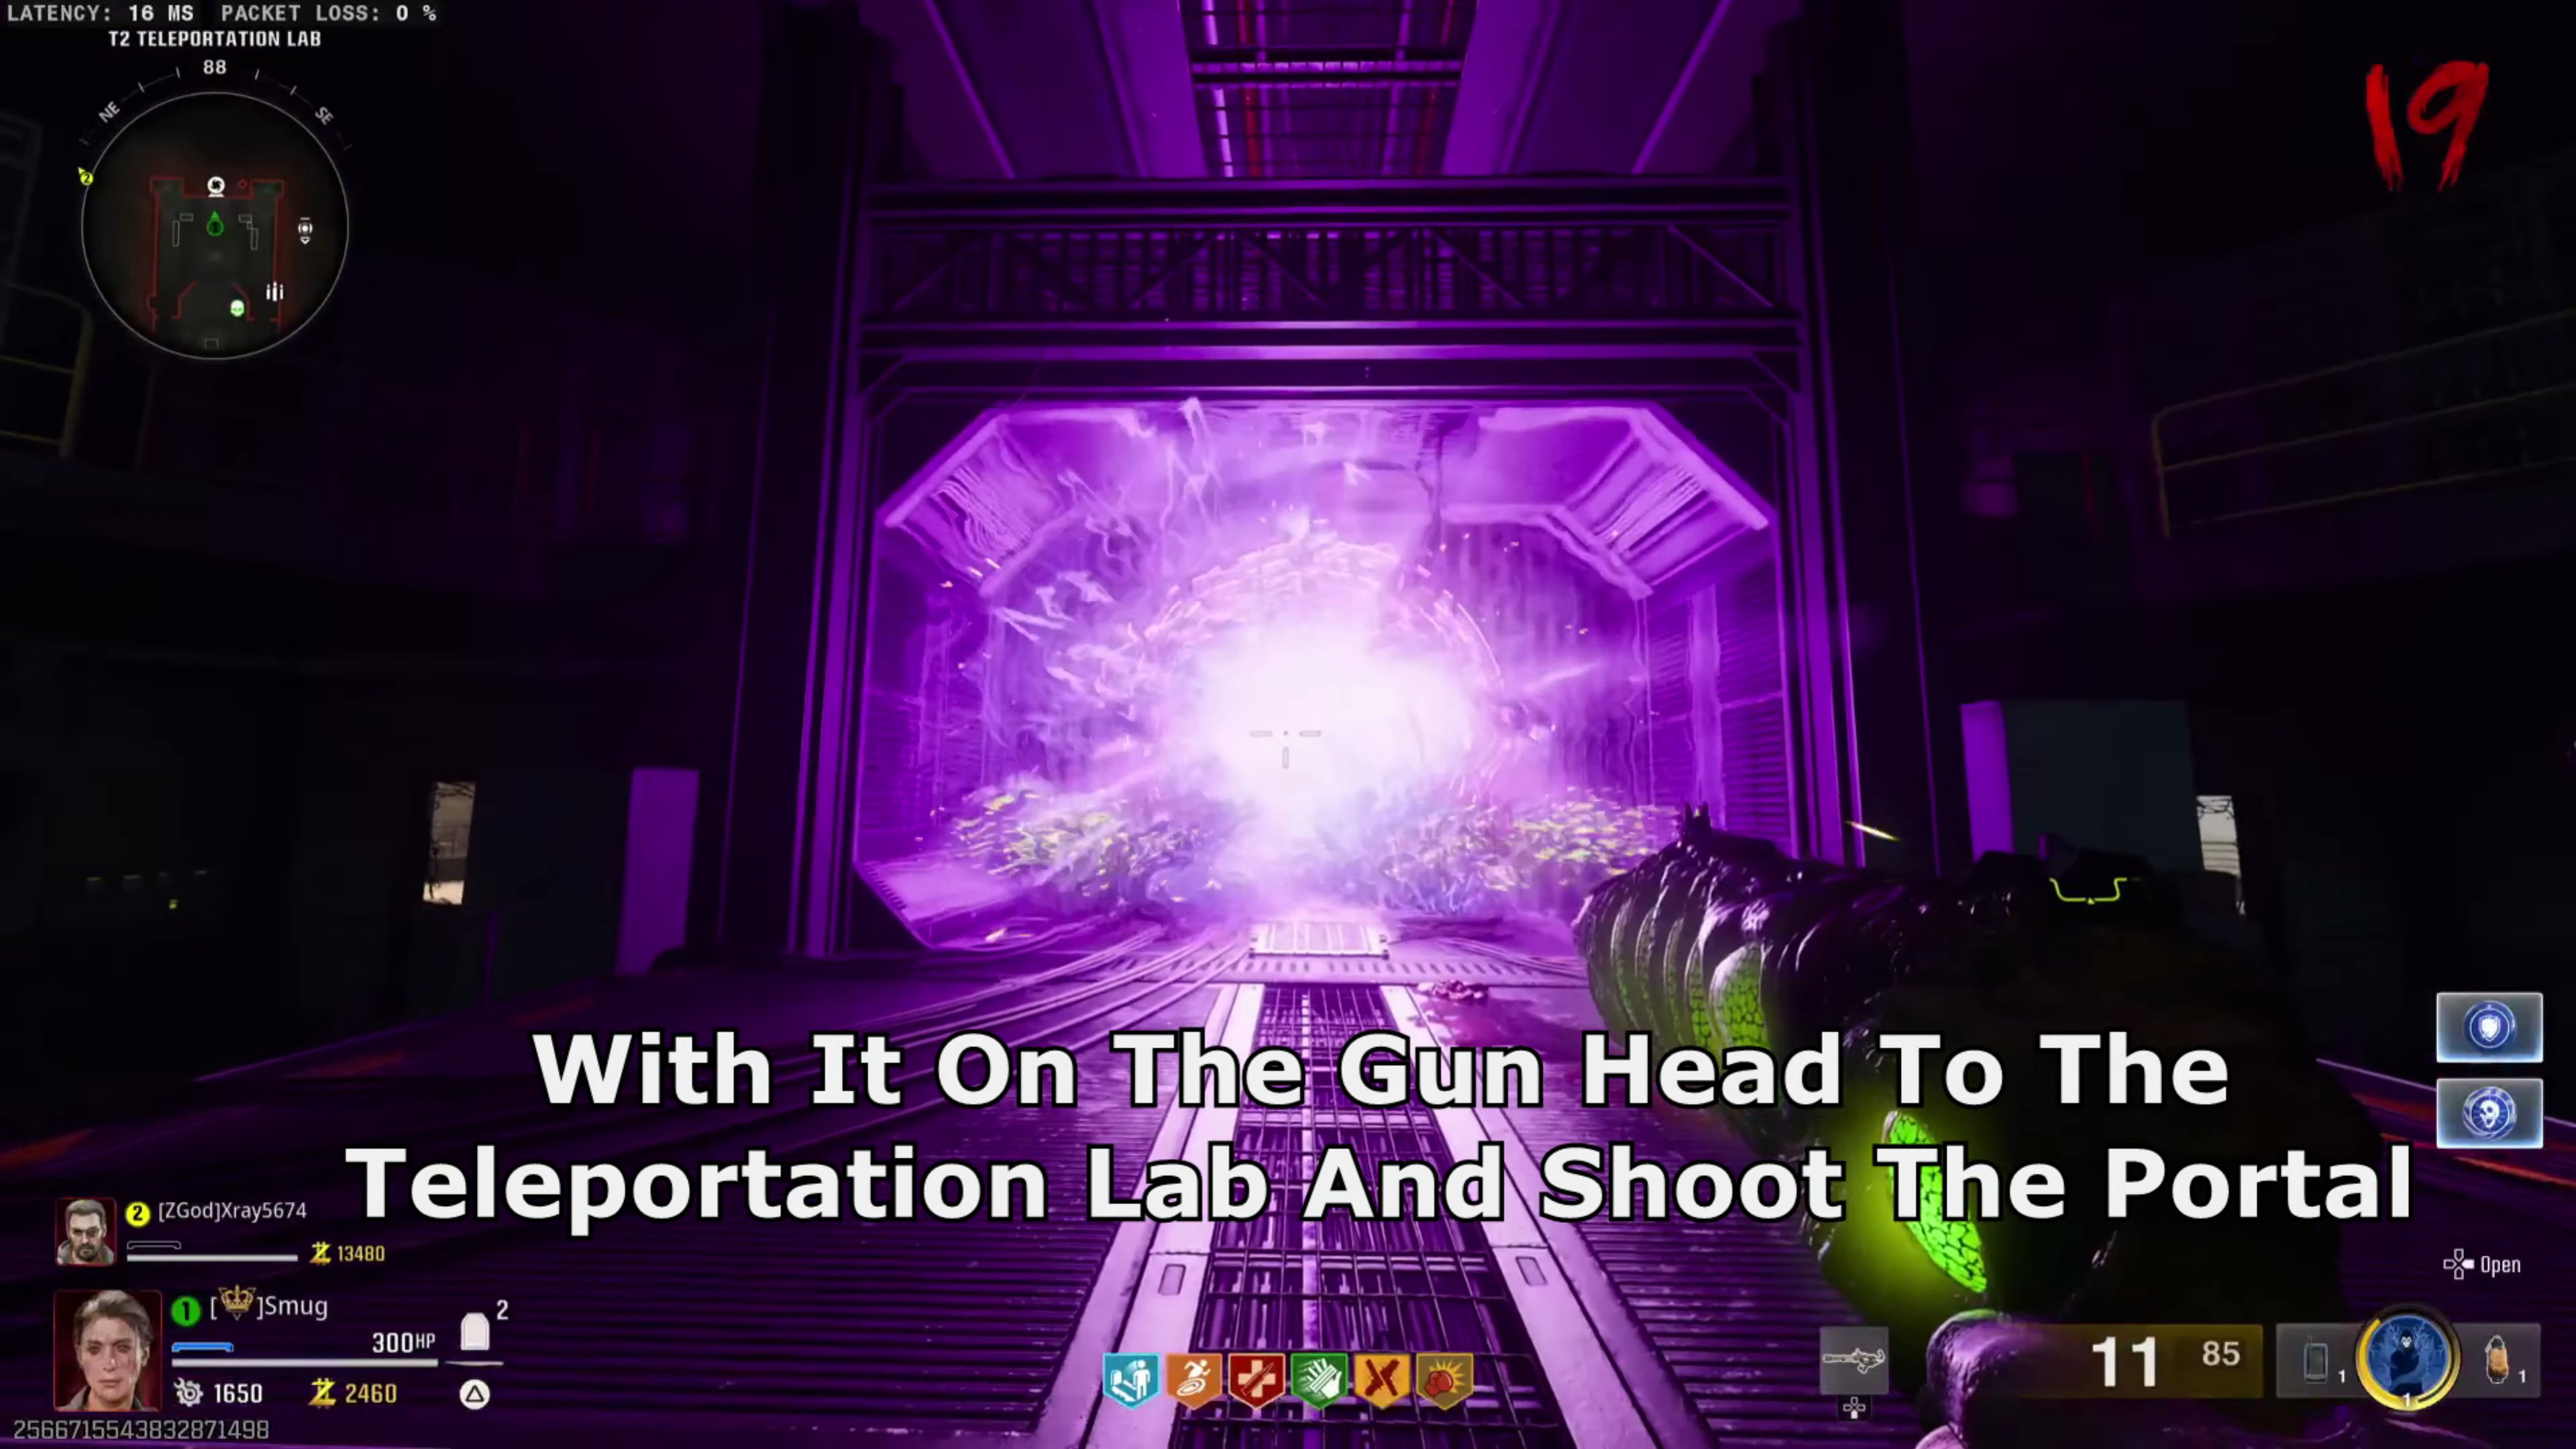
- With the Quantum Energy on the gun, head to the Teleportation Lab and shoot the portal.
Step 8: Collect Fungal Head
- Go to the hole in the ground in the Mutant Research Lab and use a charged Gorgofex shot on the ledge with the spore. This will drop a Fungal Head into the Quantum Computing Core for you to pick up.
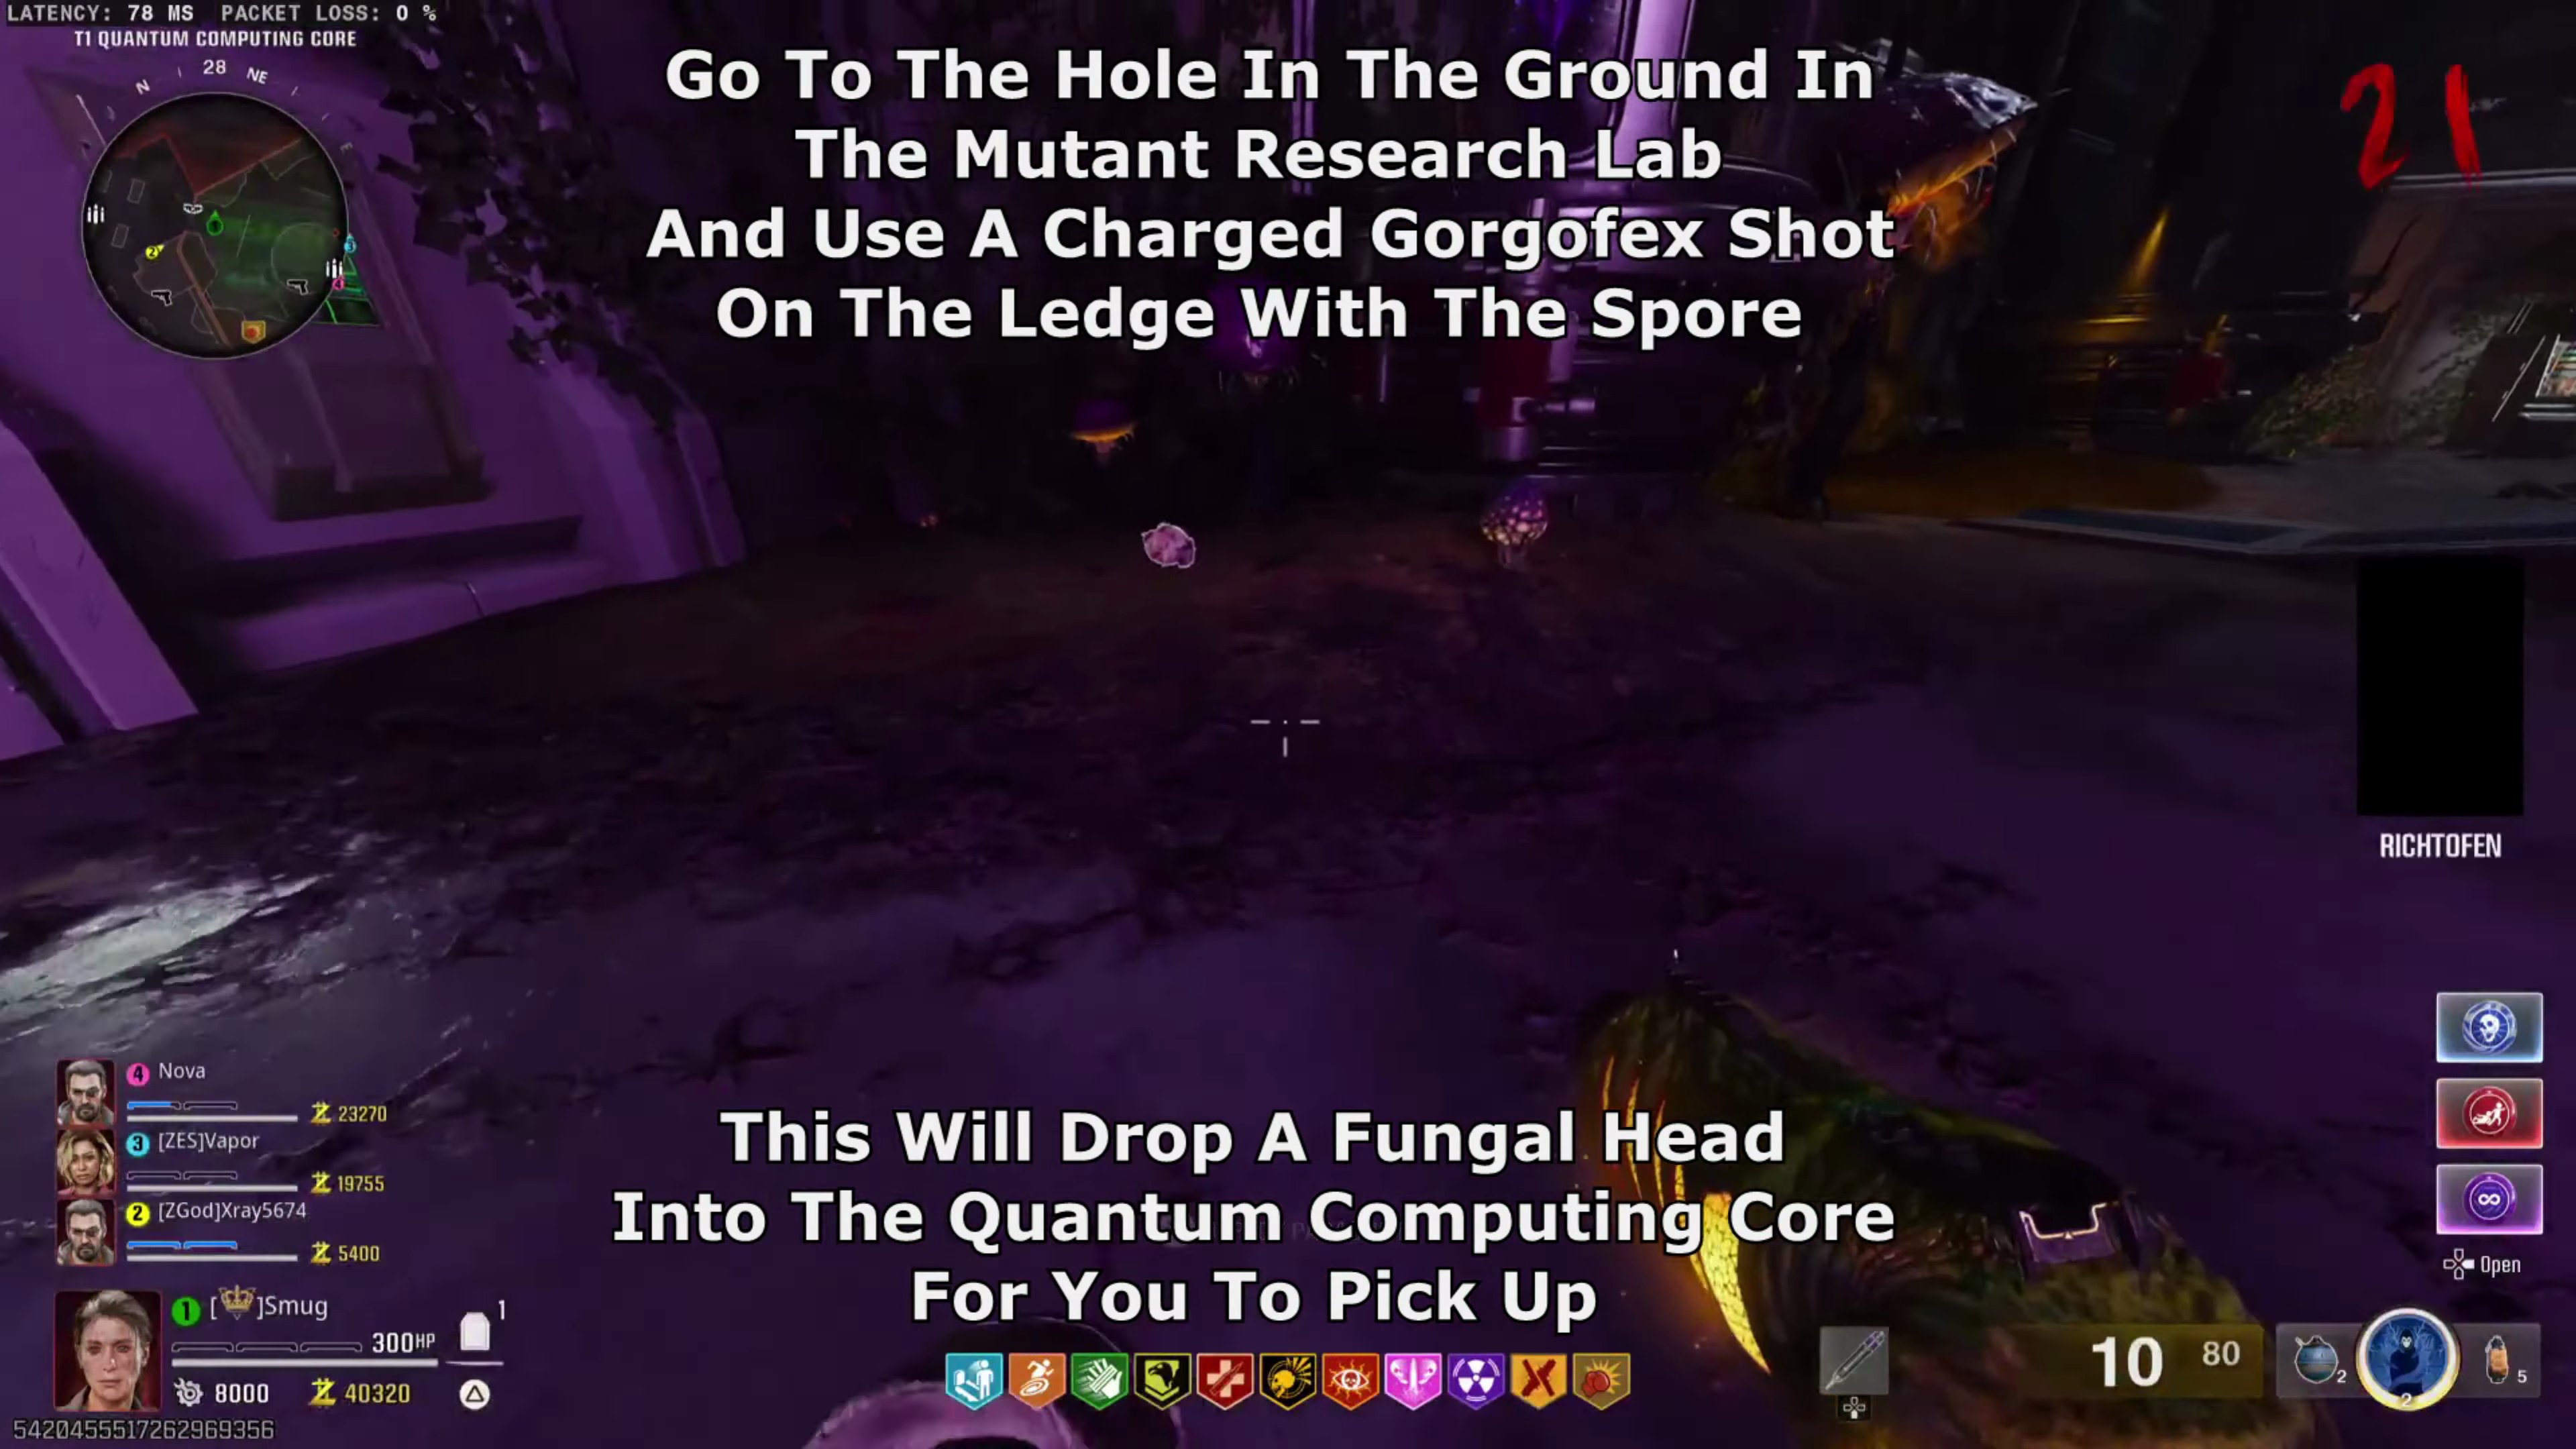
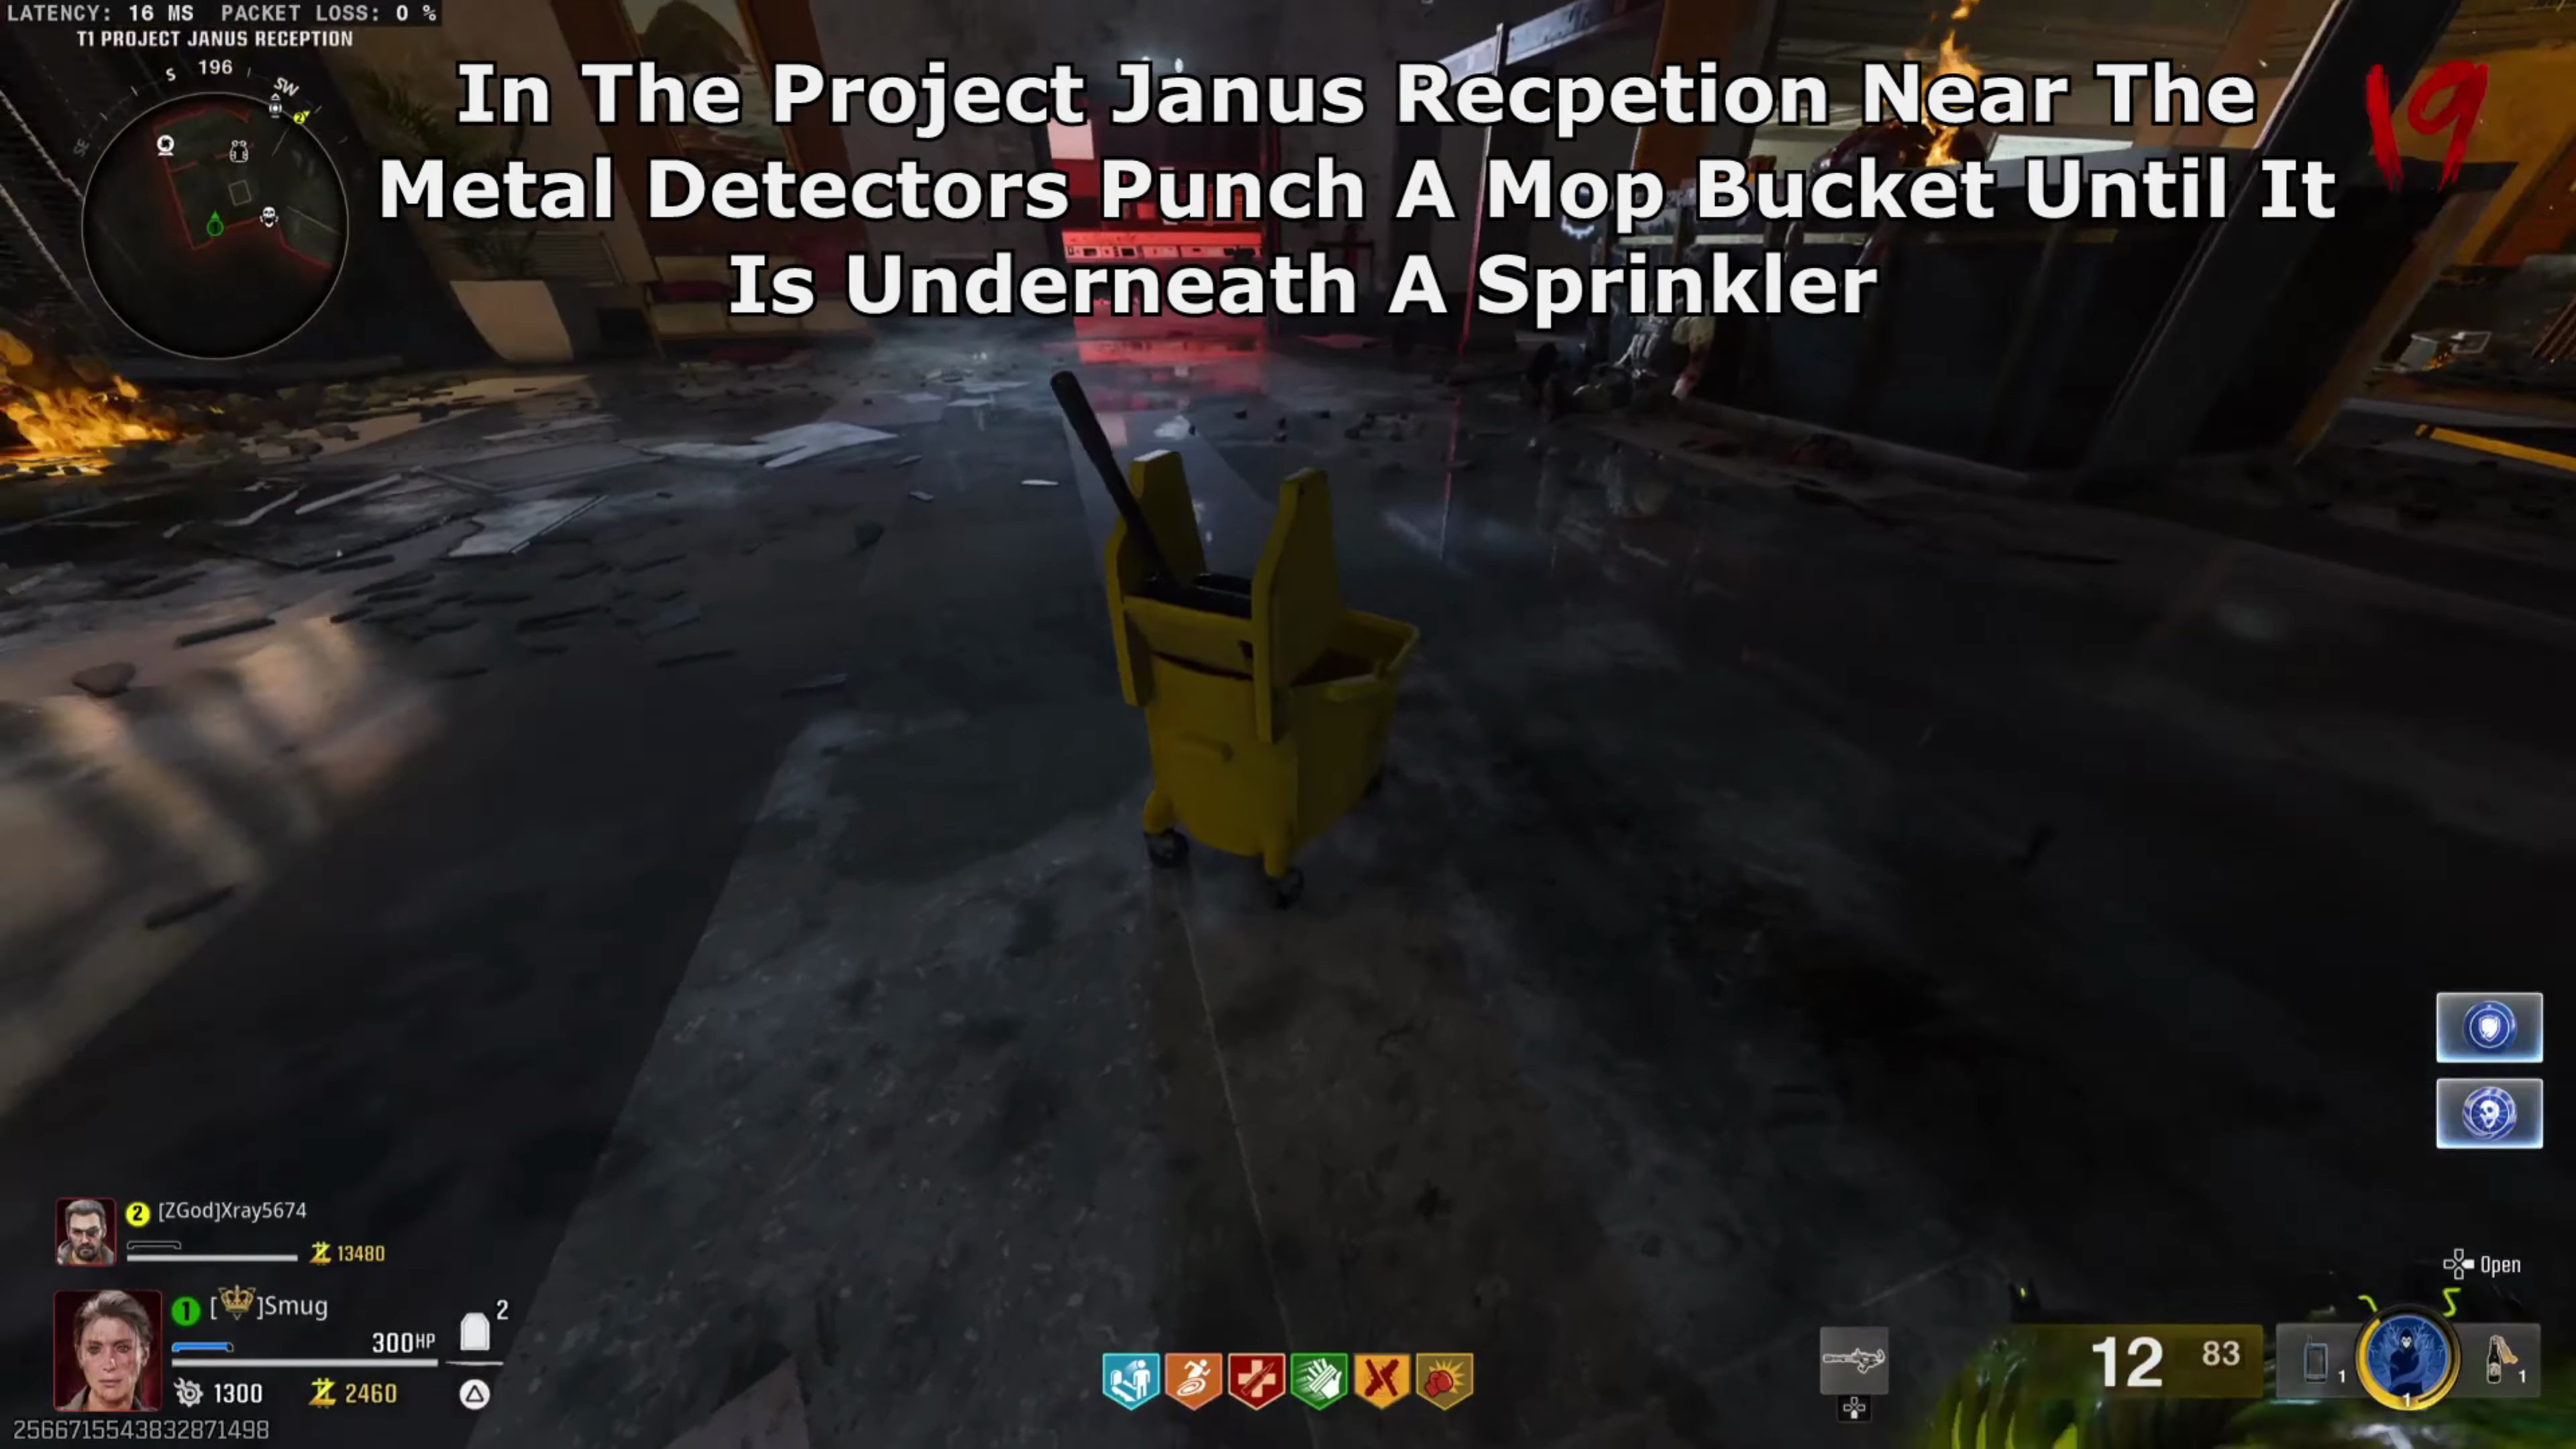
- In the Project Janus Reception near the metal detectors, punch a mop bucket until it is underneath a sprinkler.
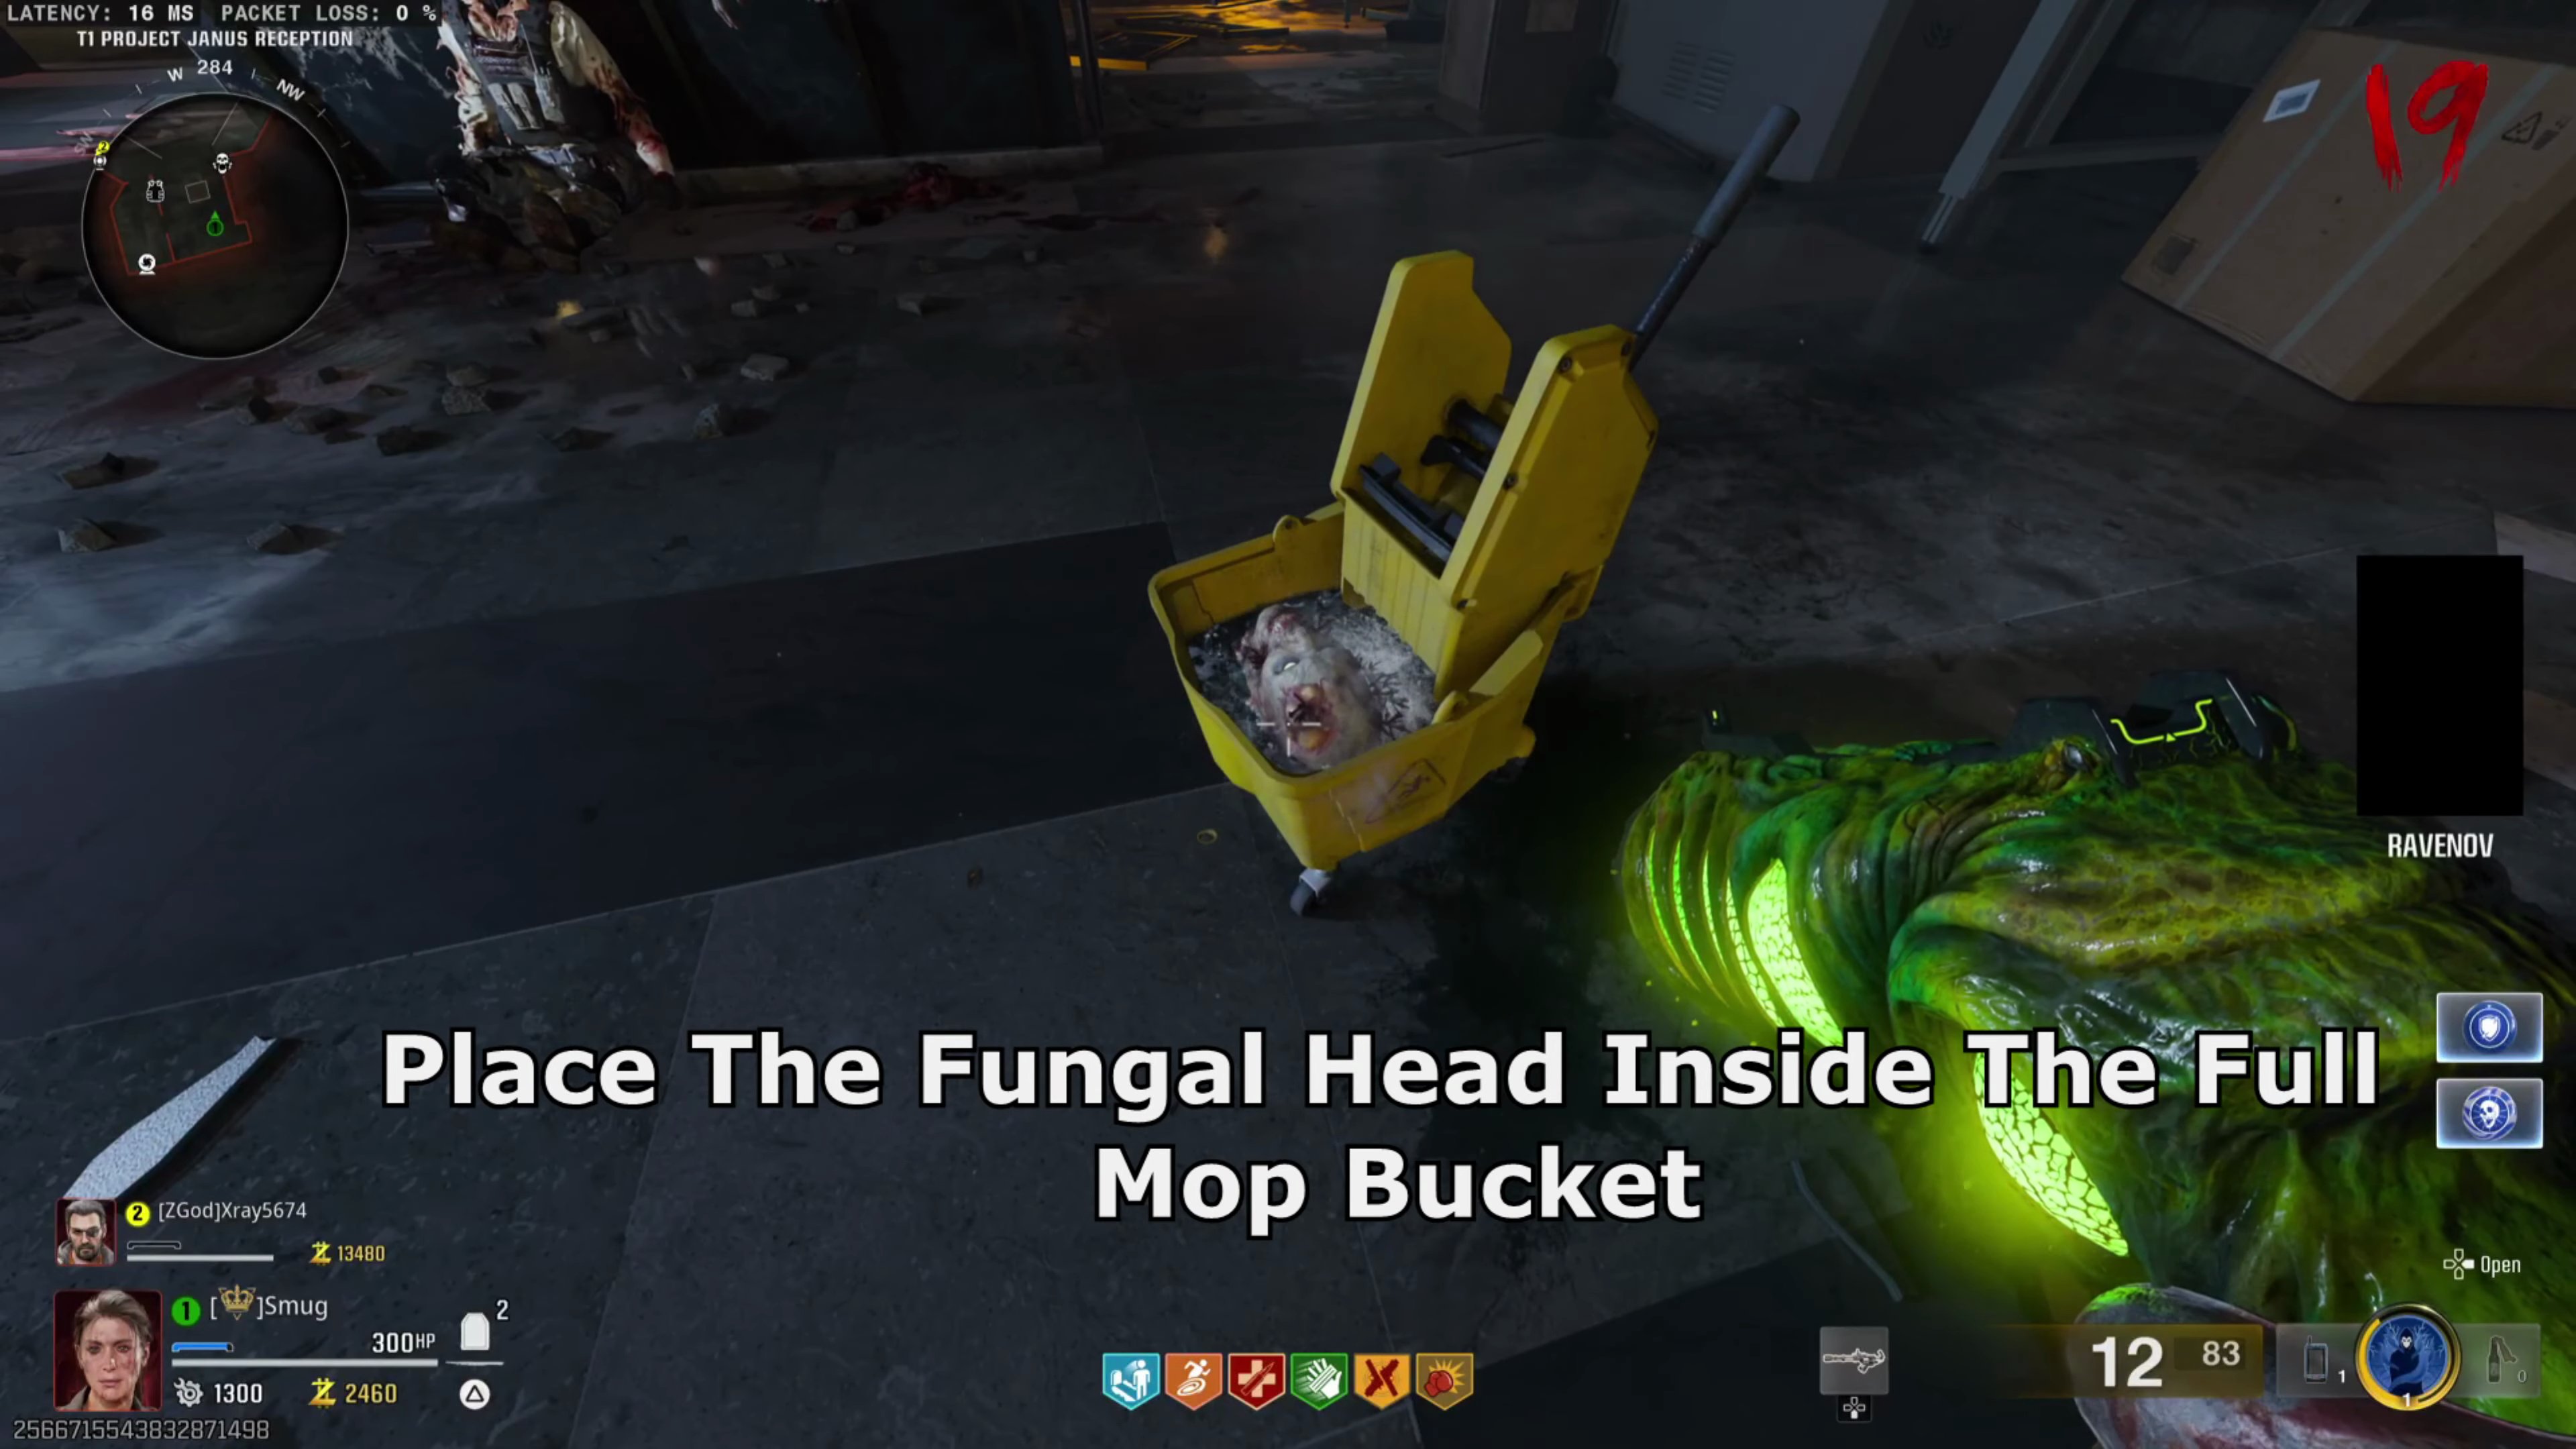
- Place the Fungal Head inside the full mop bucket.
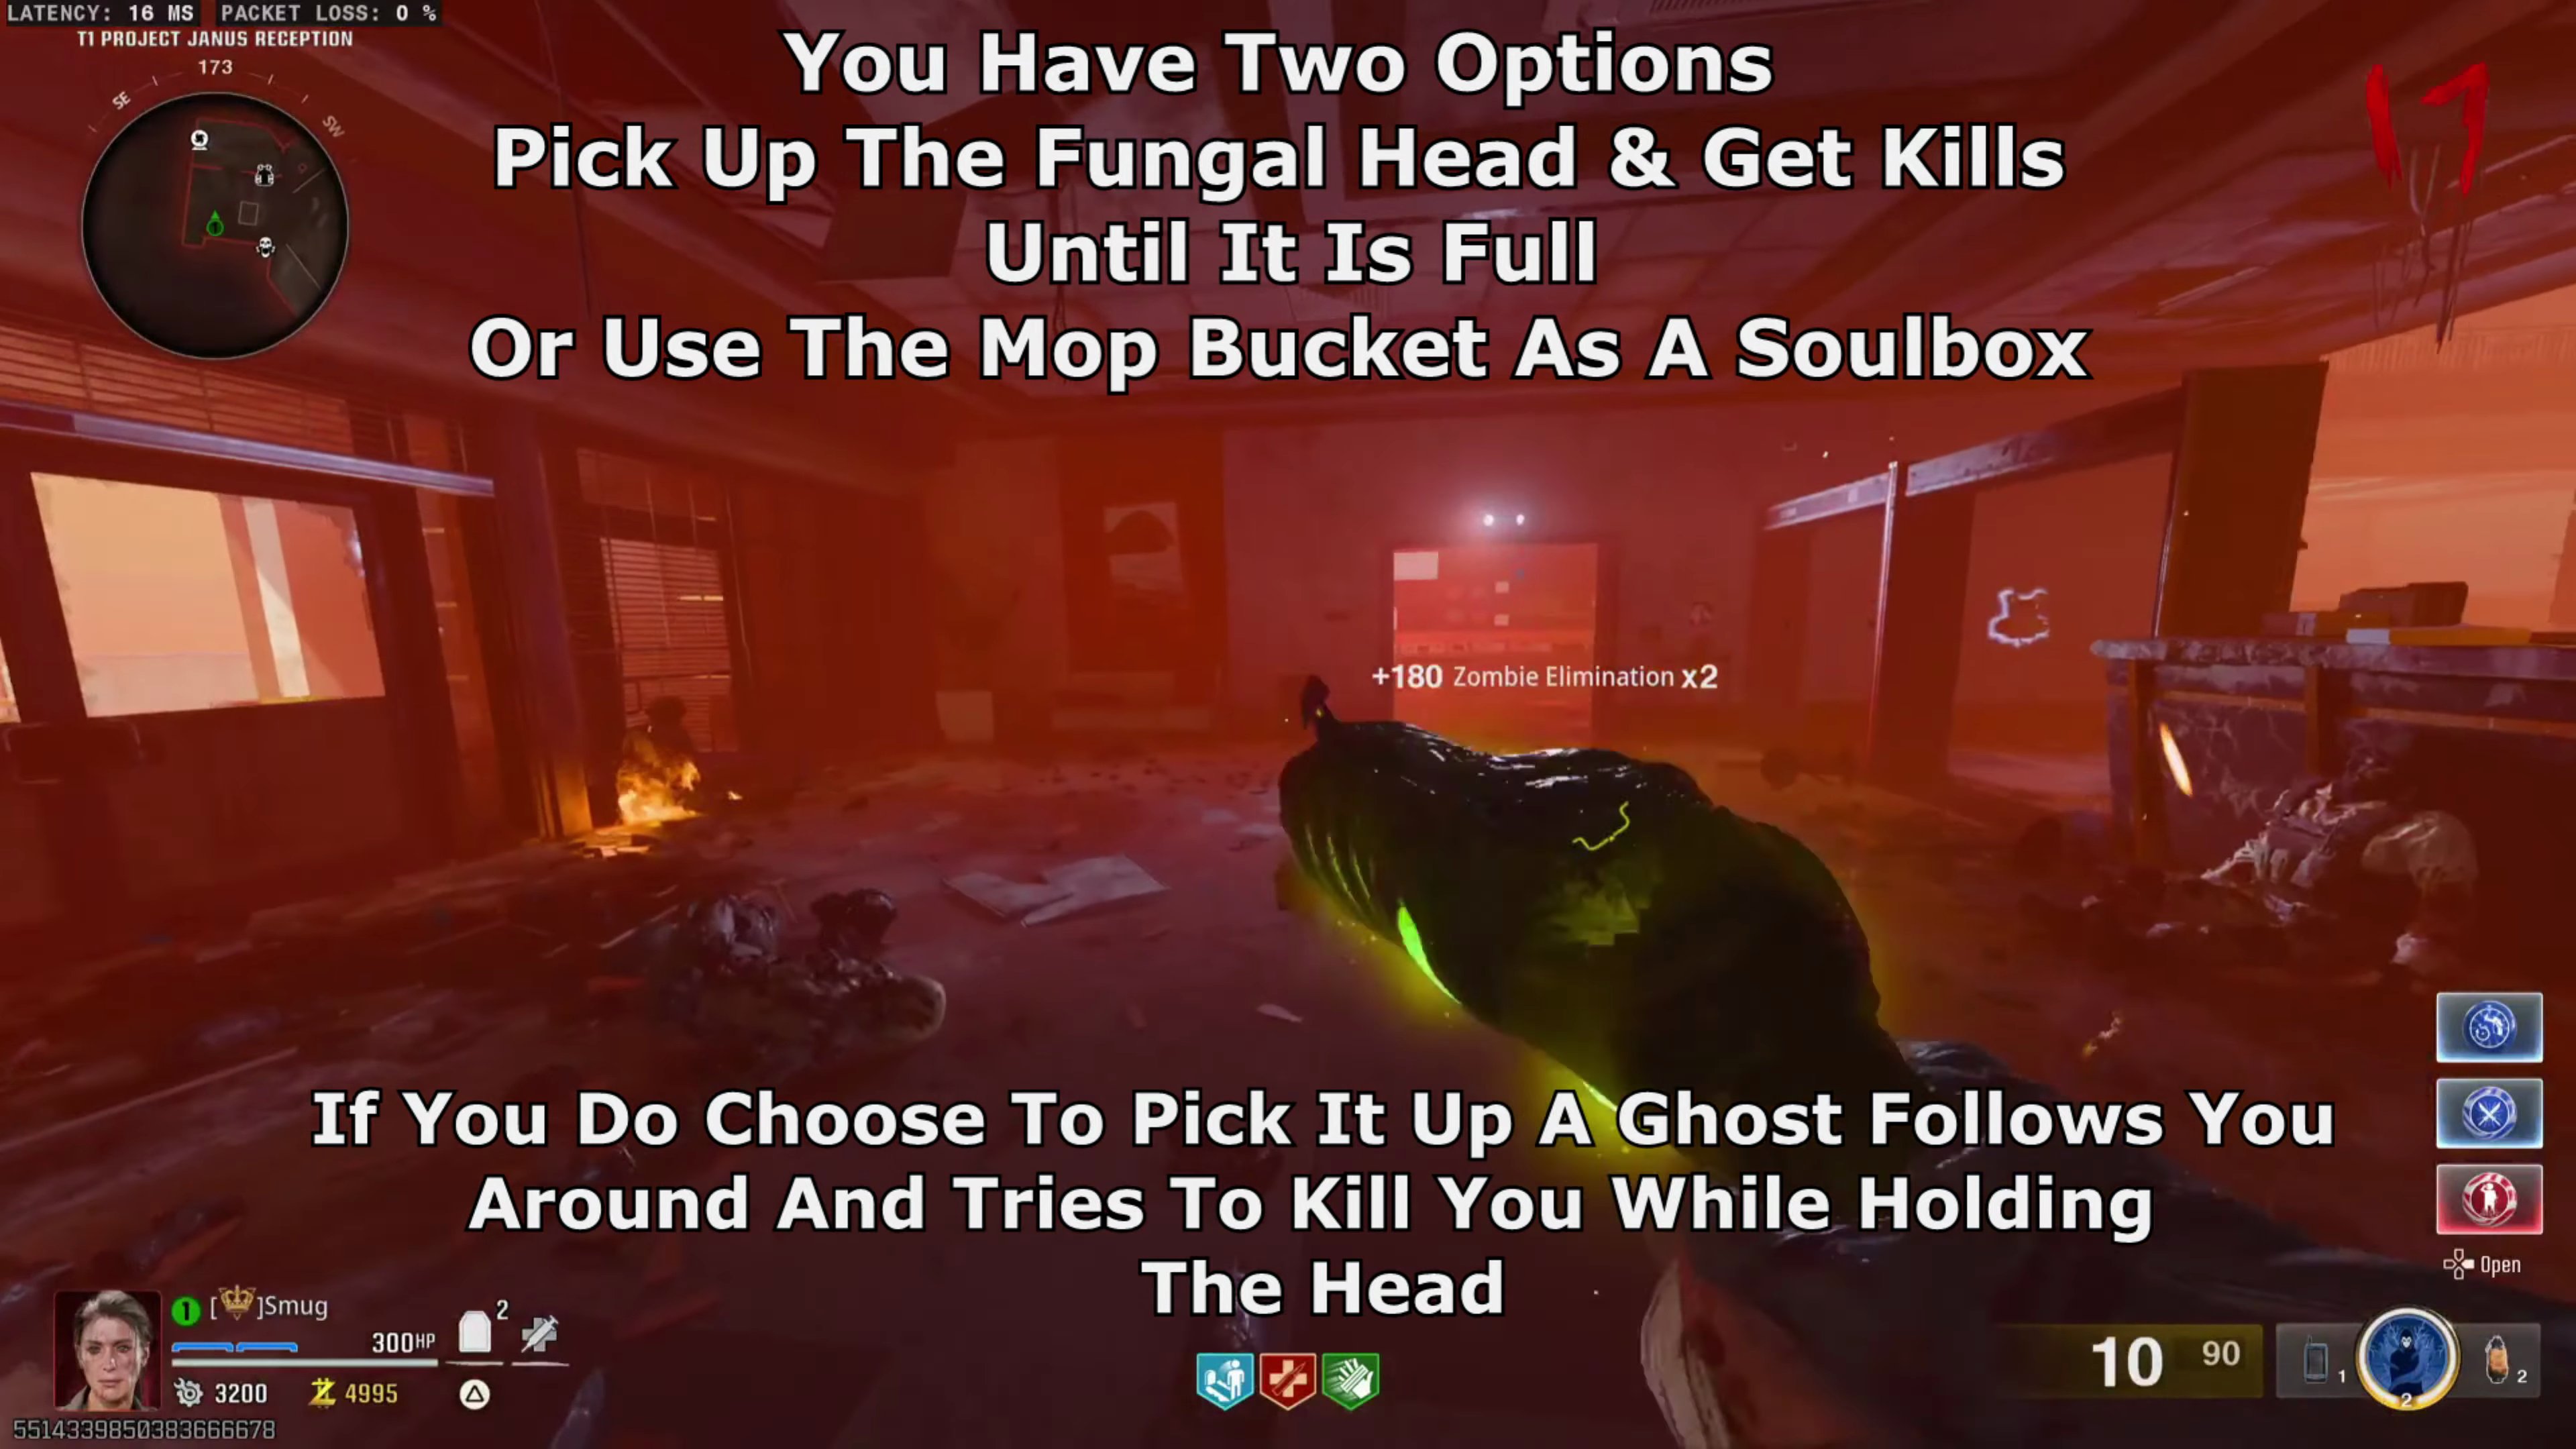
- You have two options: pick up the Fungal Head and get kills until it is full (a ghost will follow you around and try to kill you while holding the head) or use the mop bucket as a Soulbox (the ghost won't follow).
- Pick up and bring the fully charged Fungal Head to the Teleportation Lab.
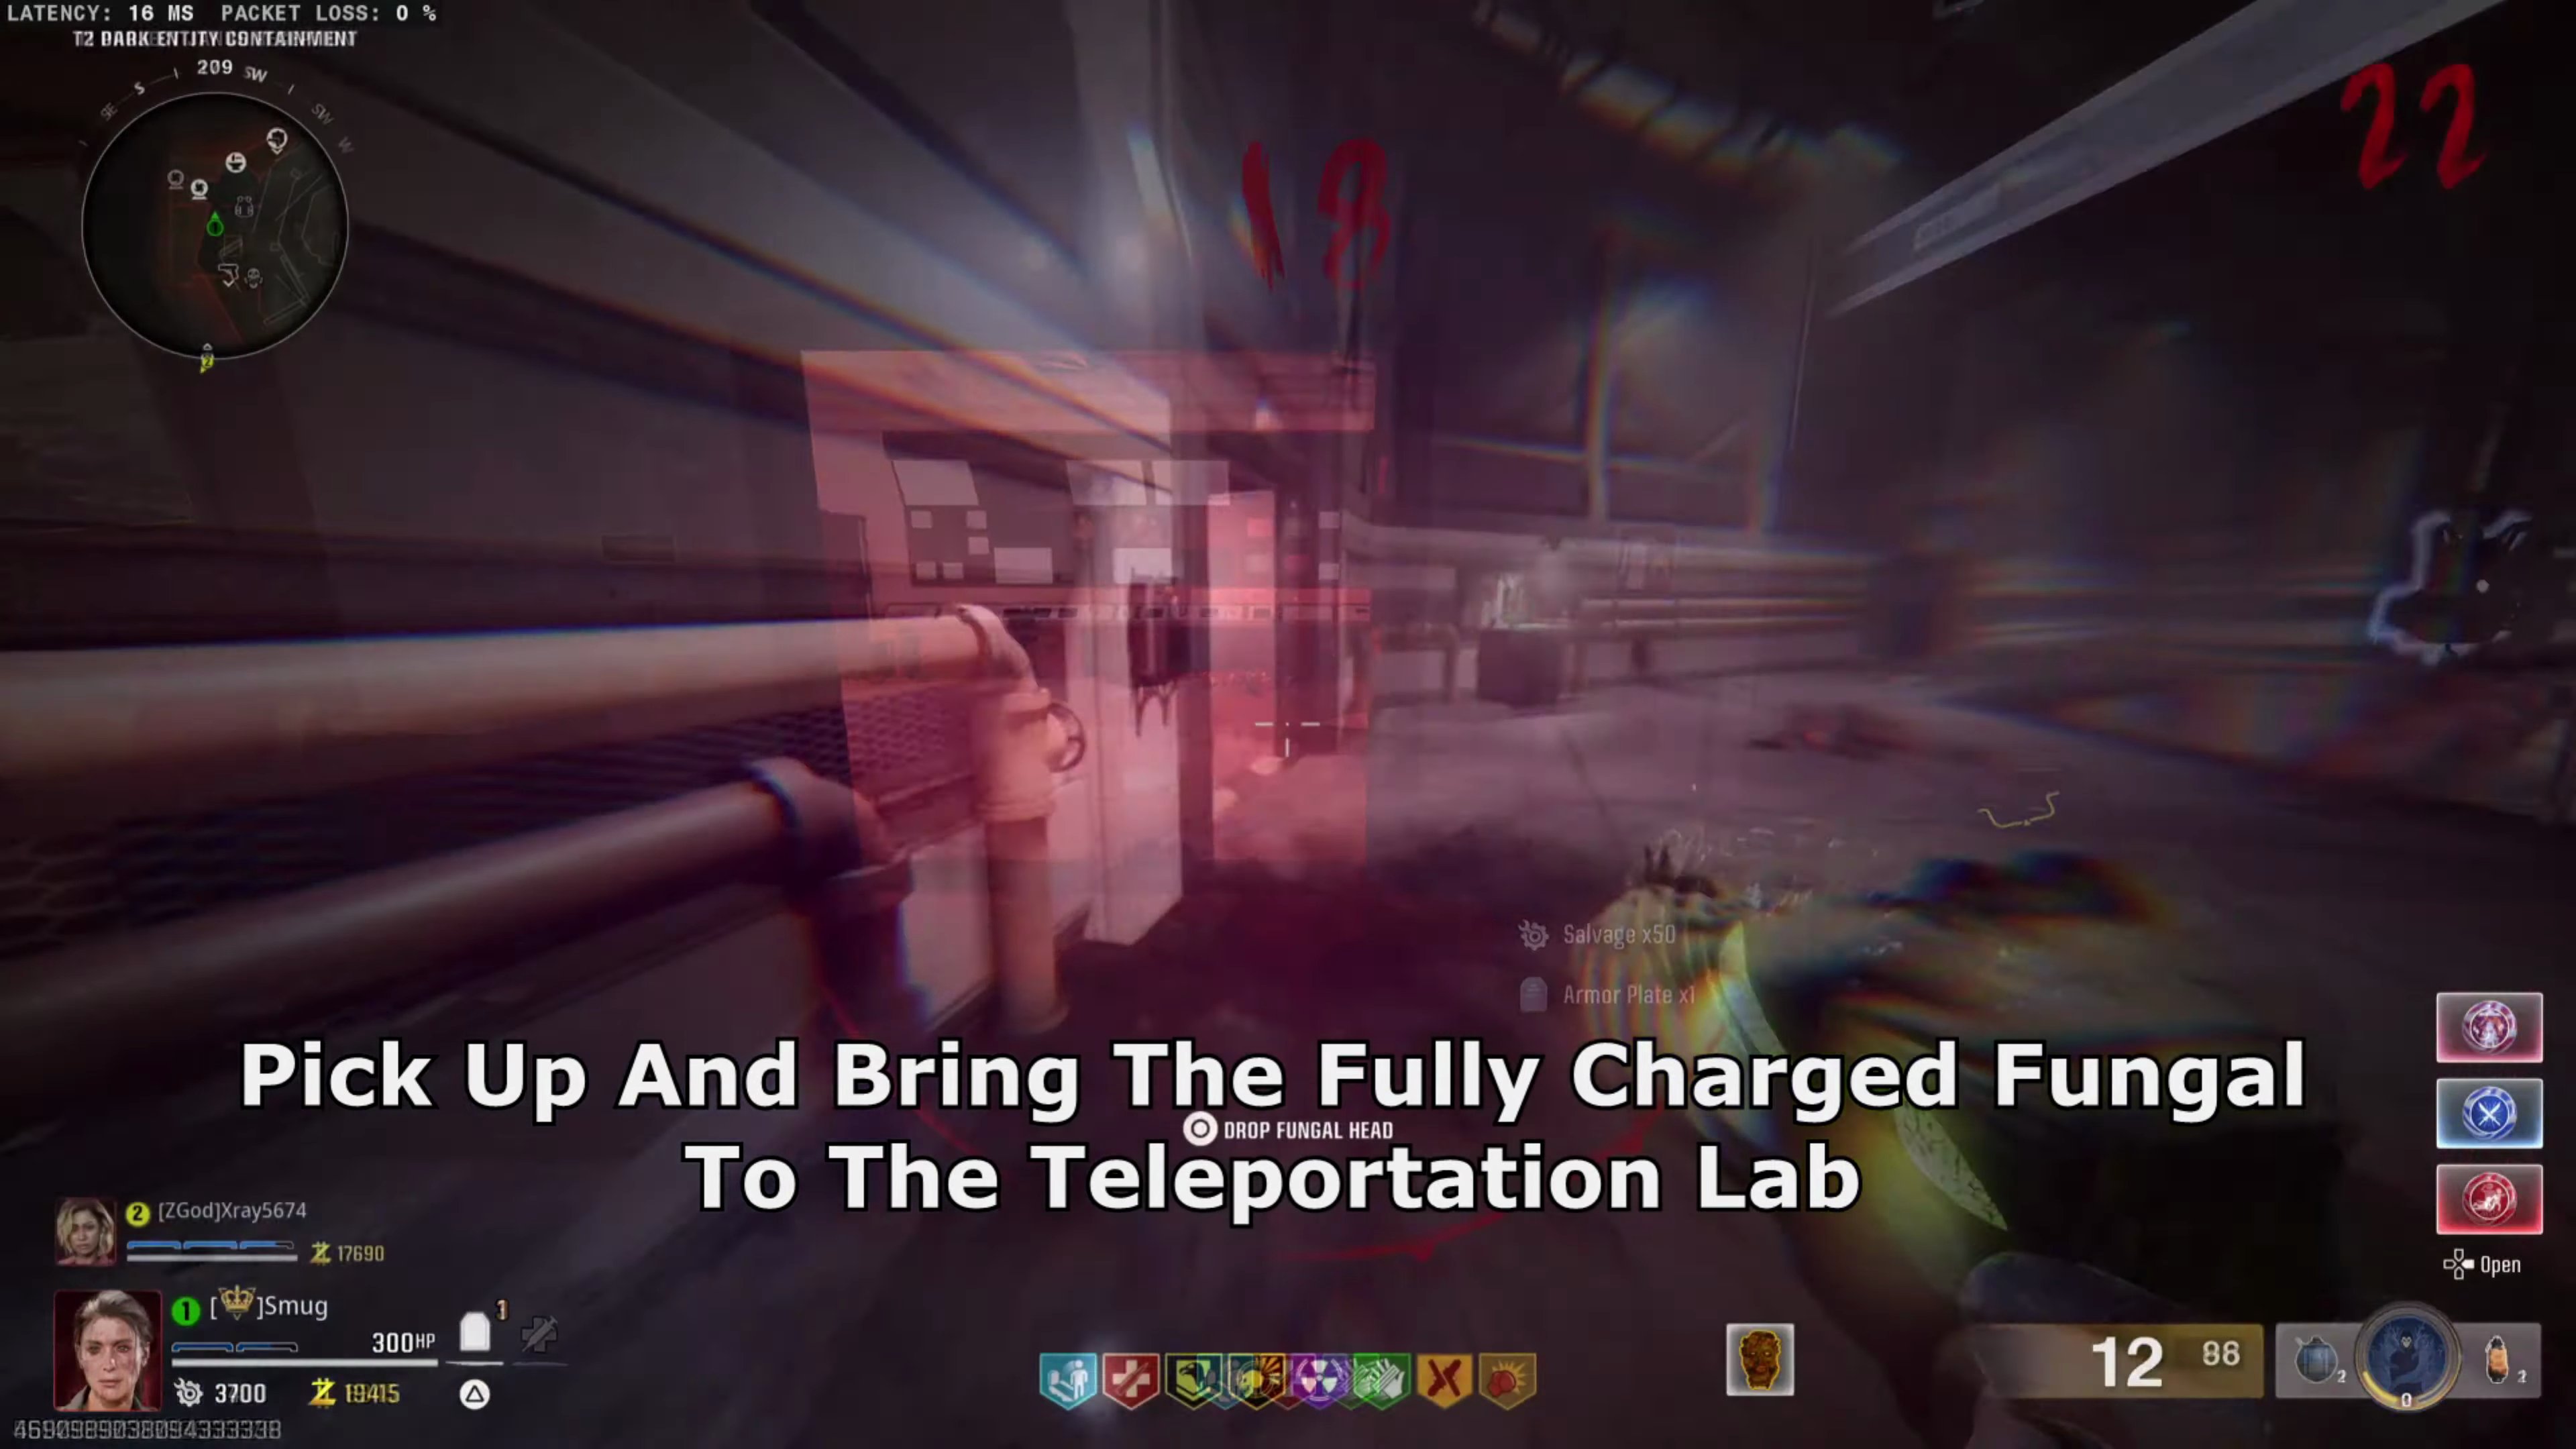
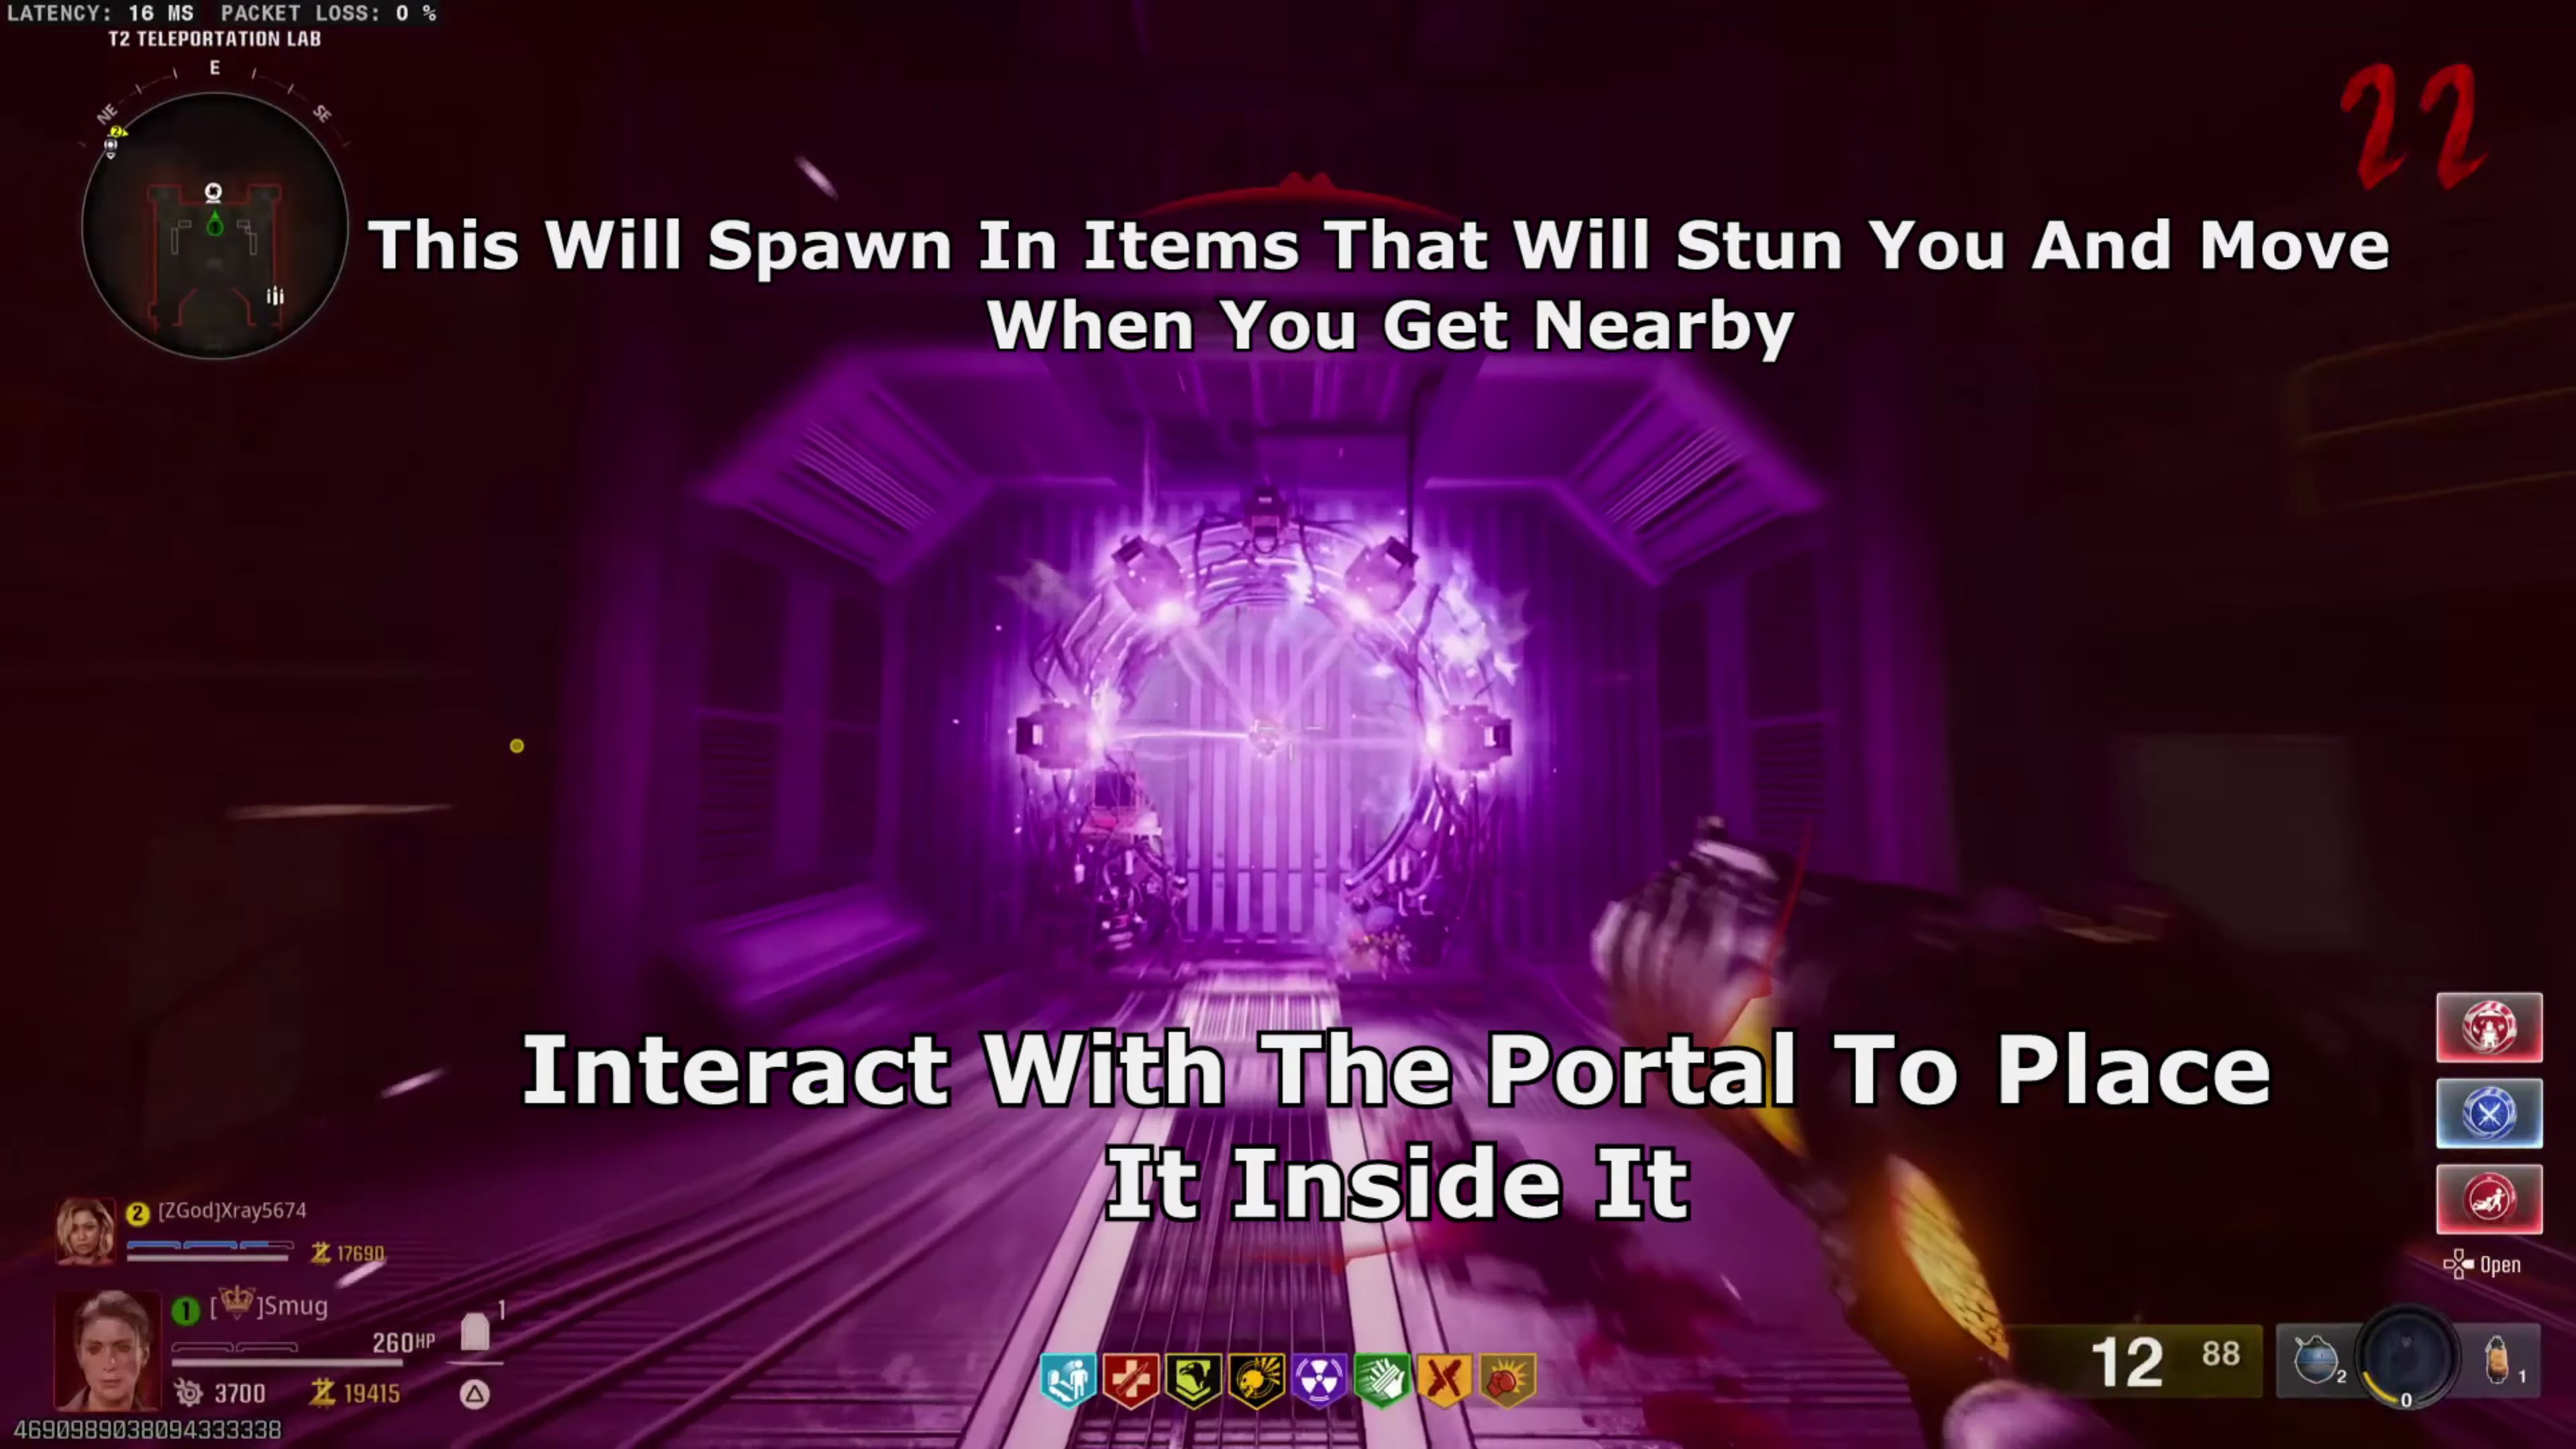
- Interact with the portal to place it inside it. This will spawn items that will stun you and move when you get nearby.
Step 9: Vacuum Seal Devices
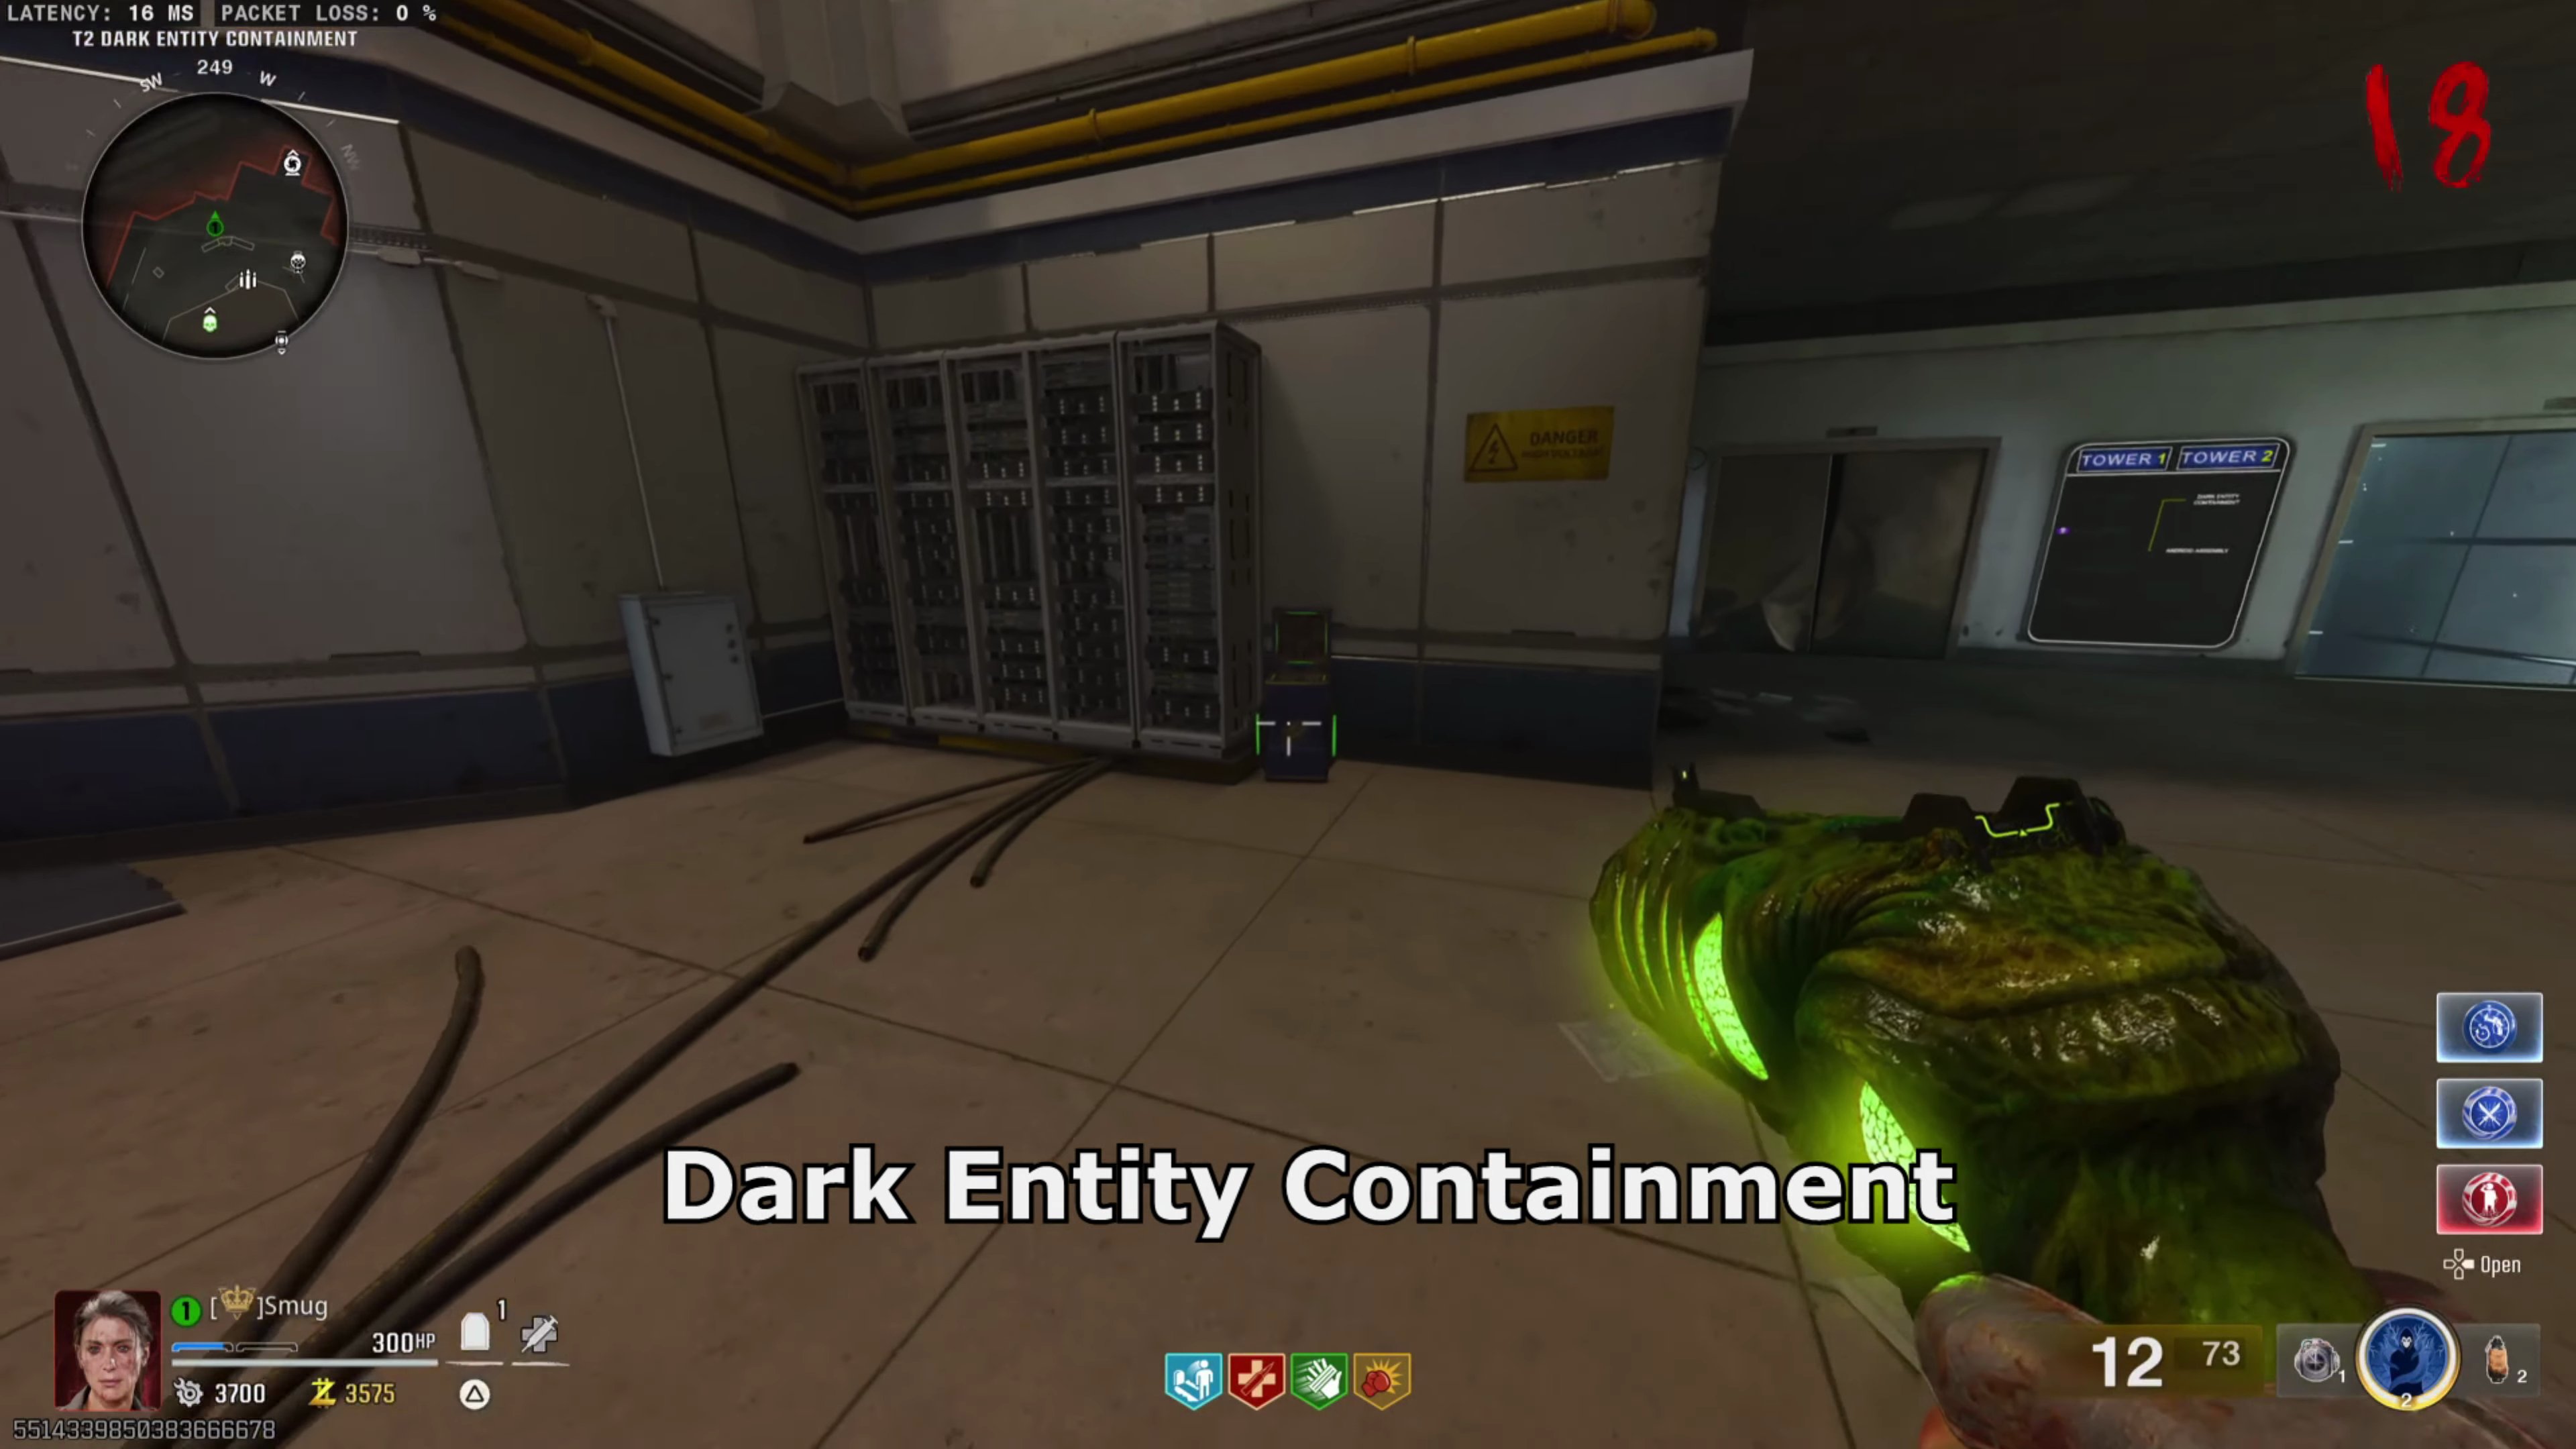
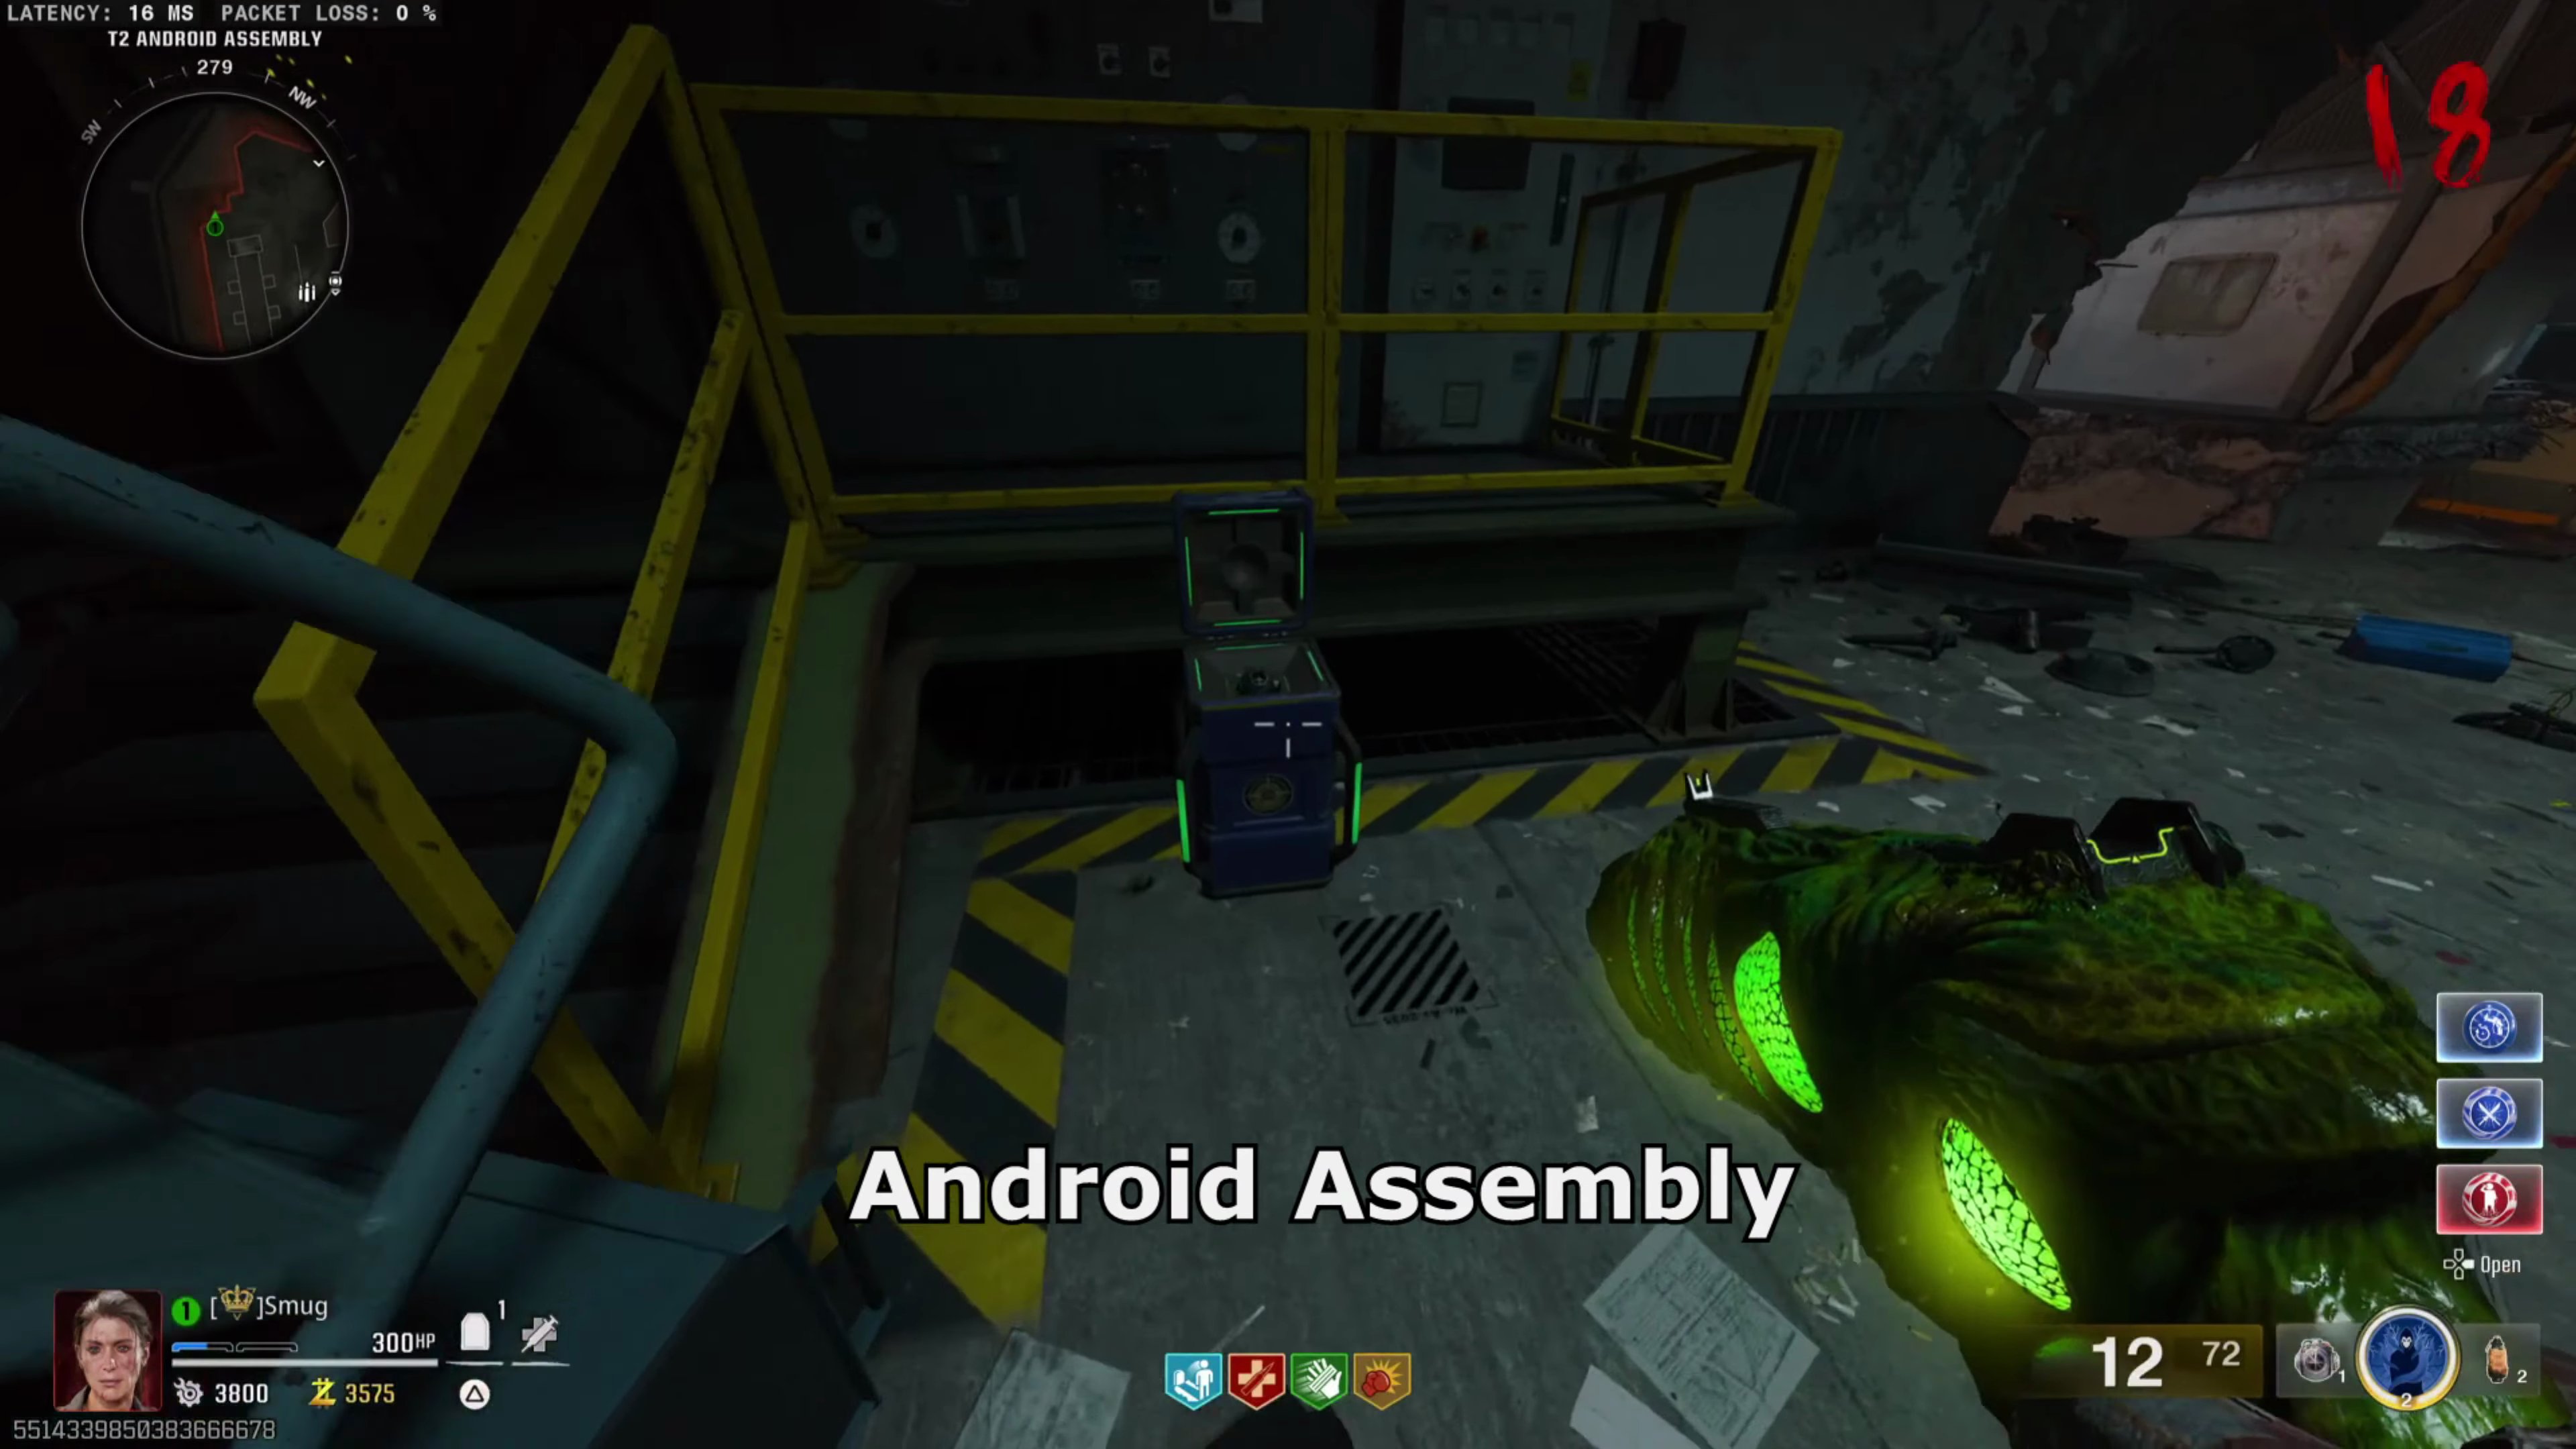
- You will need to find four Vacuum-Seal Devices. Here are their possible locations: Dark Entity Containment
 , Android Assembly
 , Director's Office
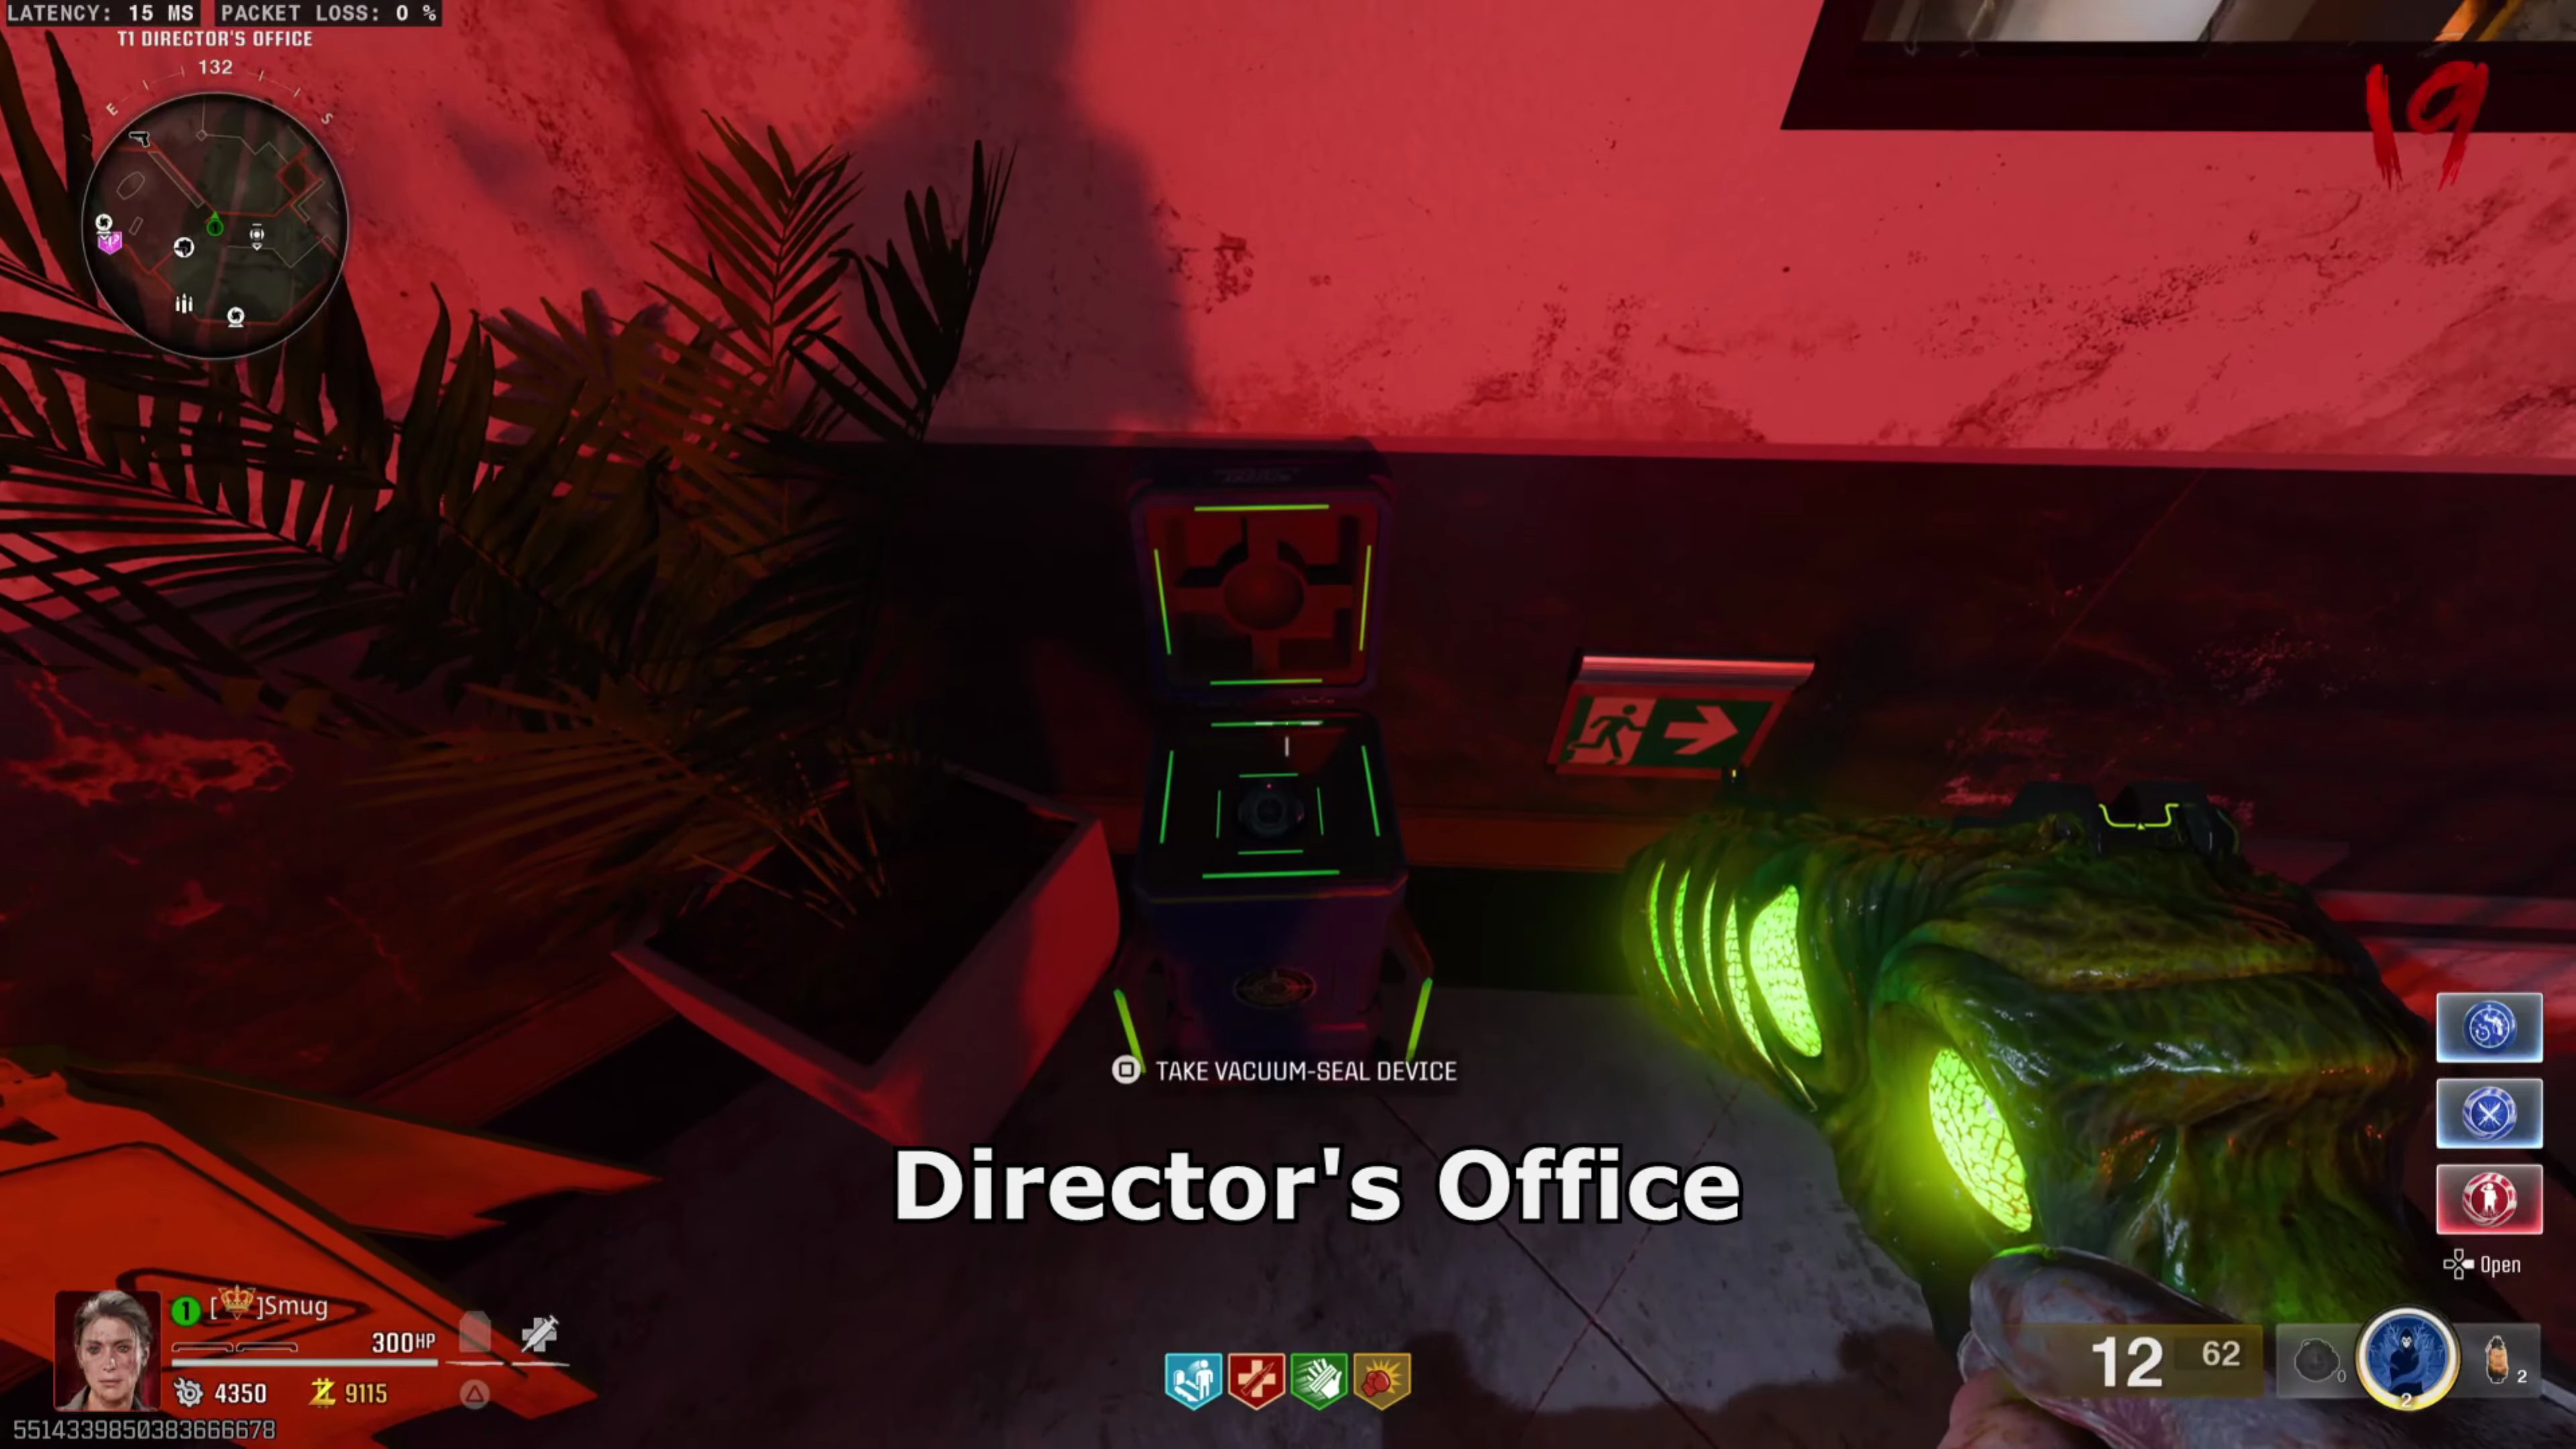 , Quantum Computing Lab
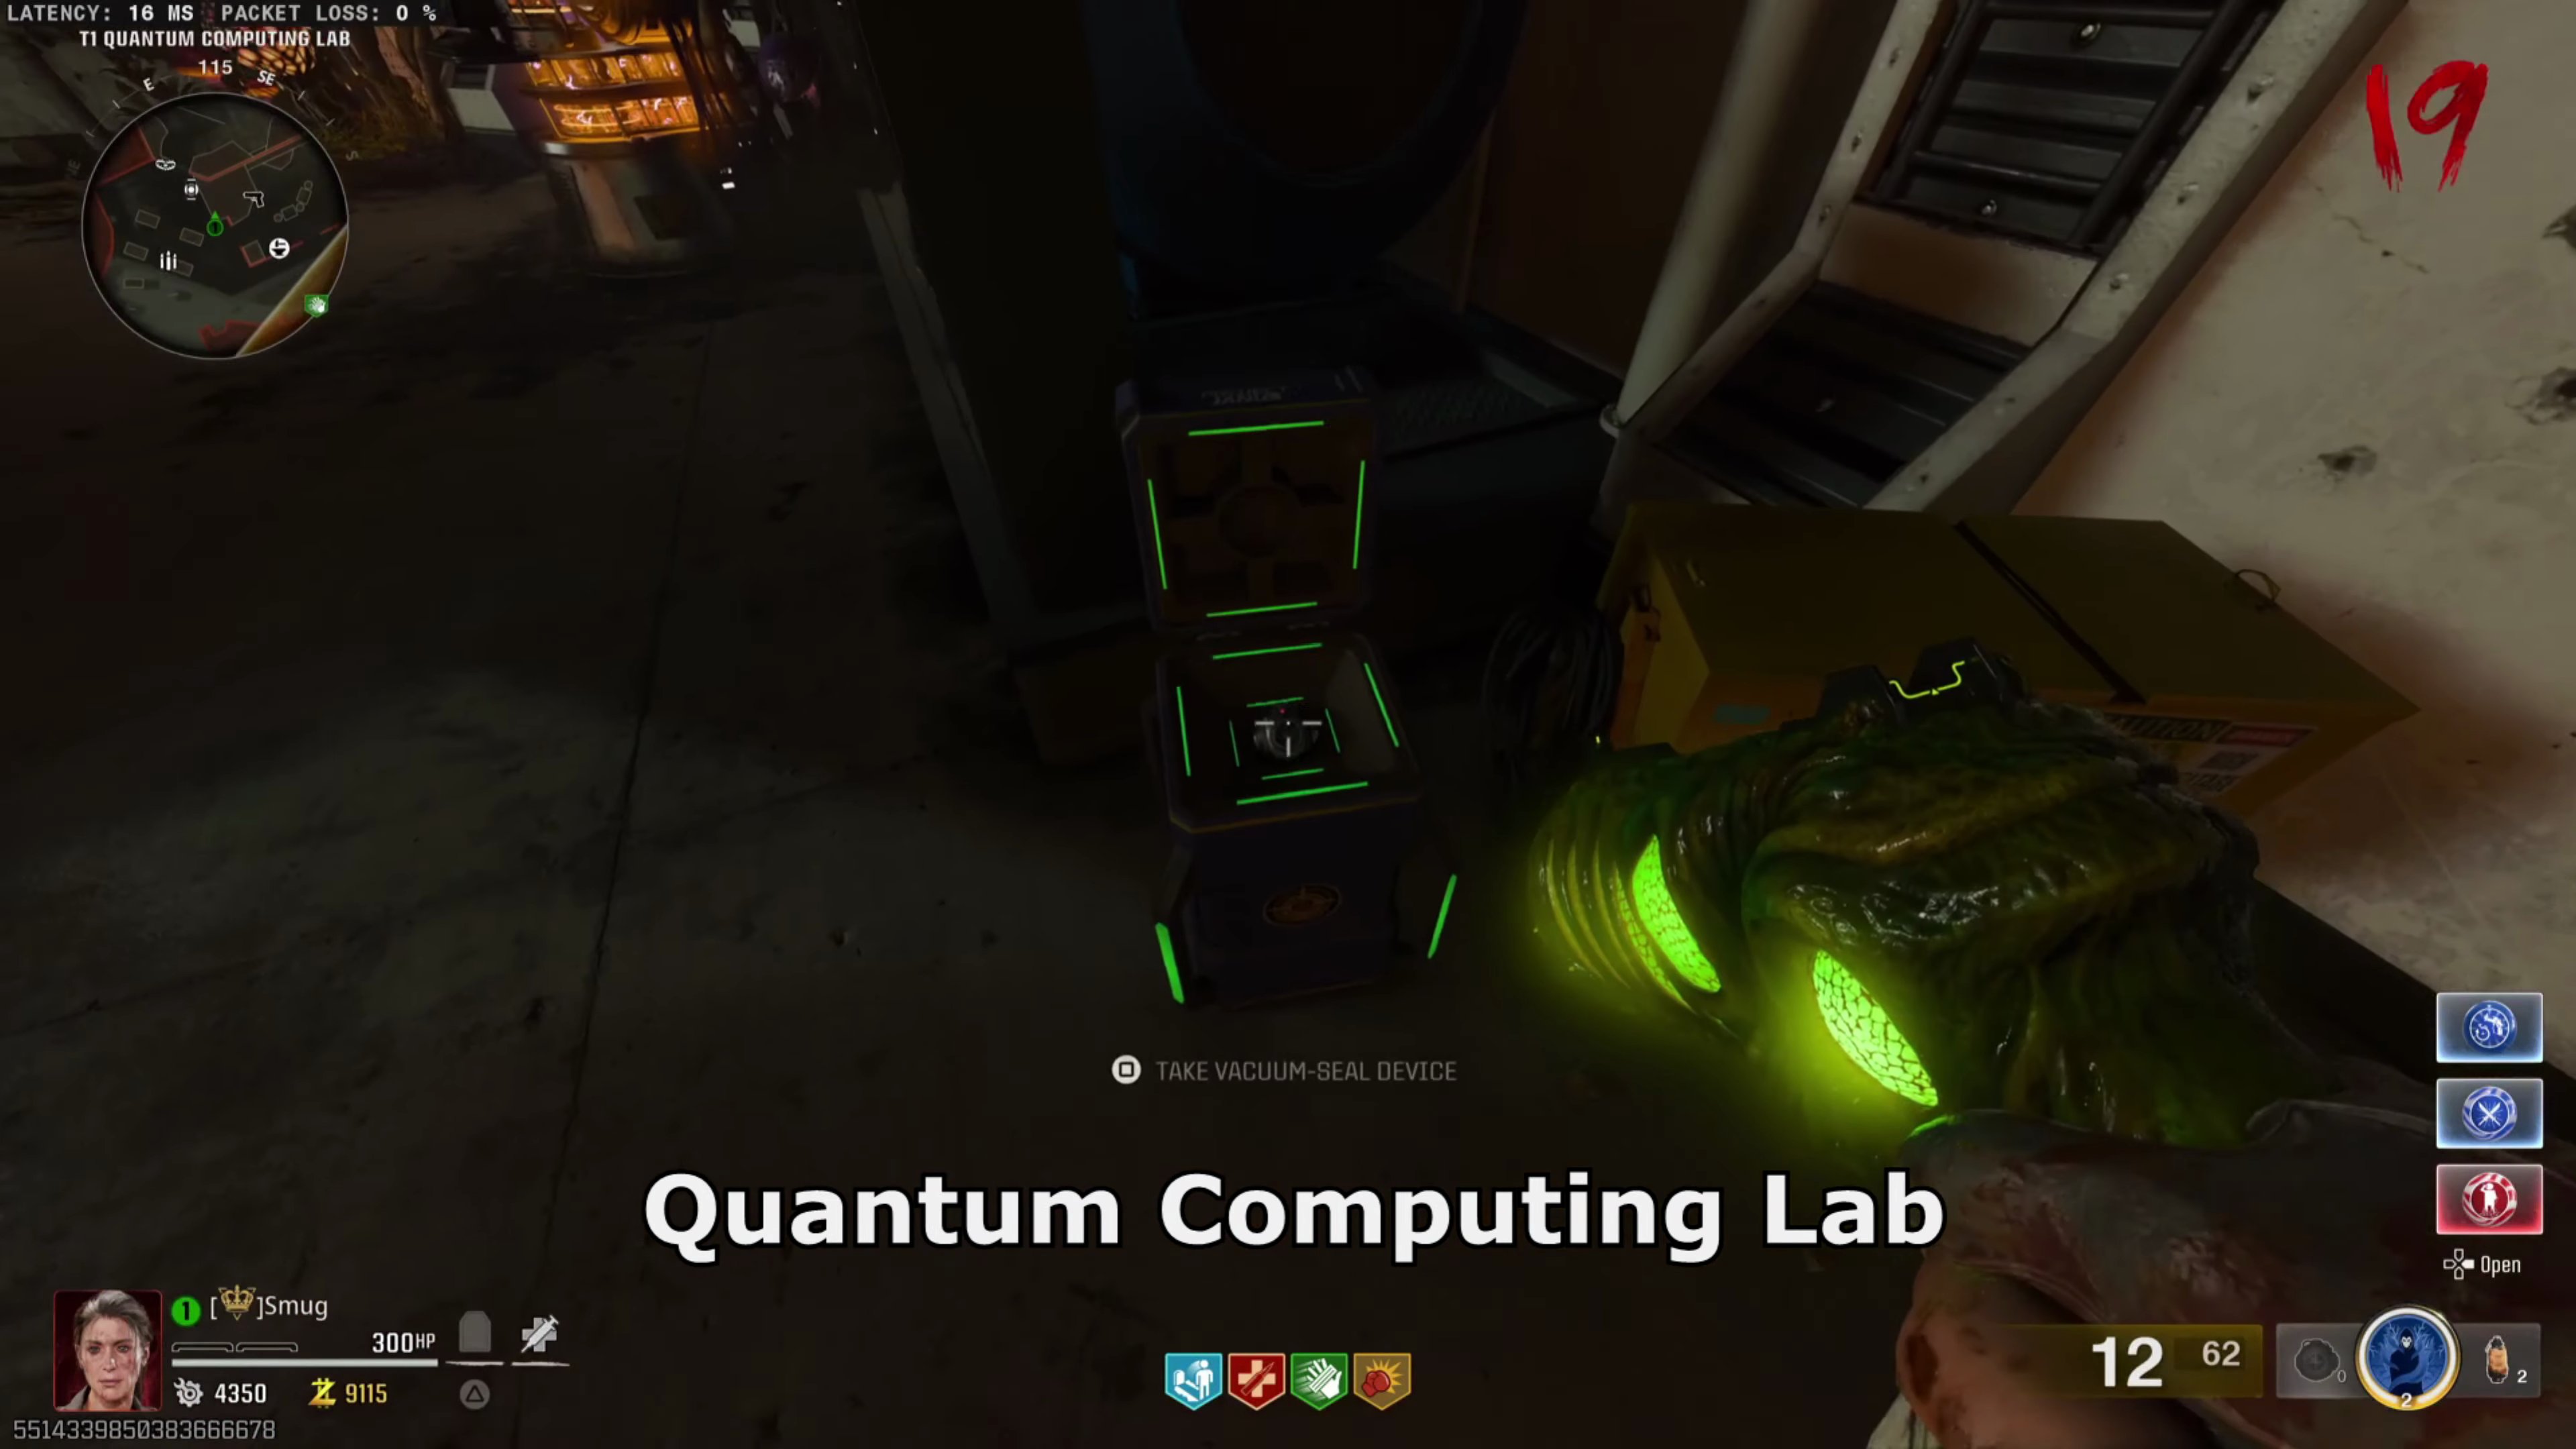 , Project Janus Reception
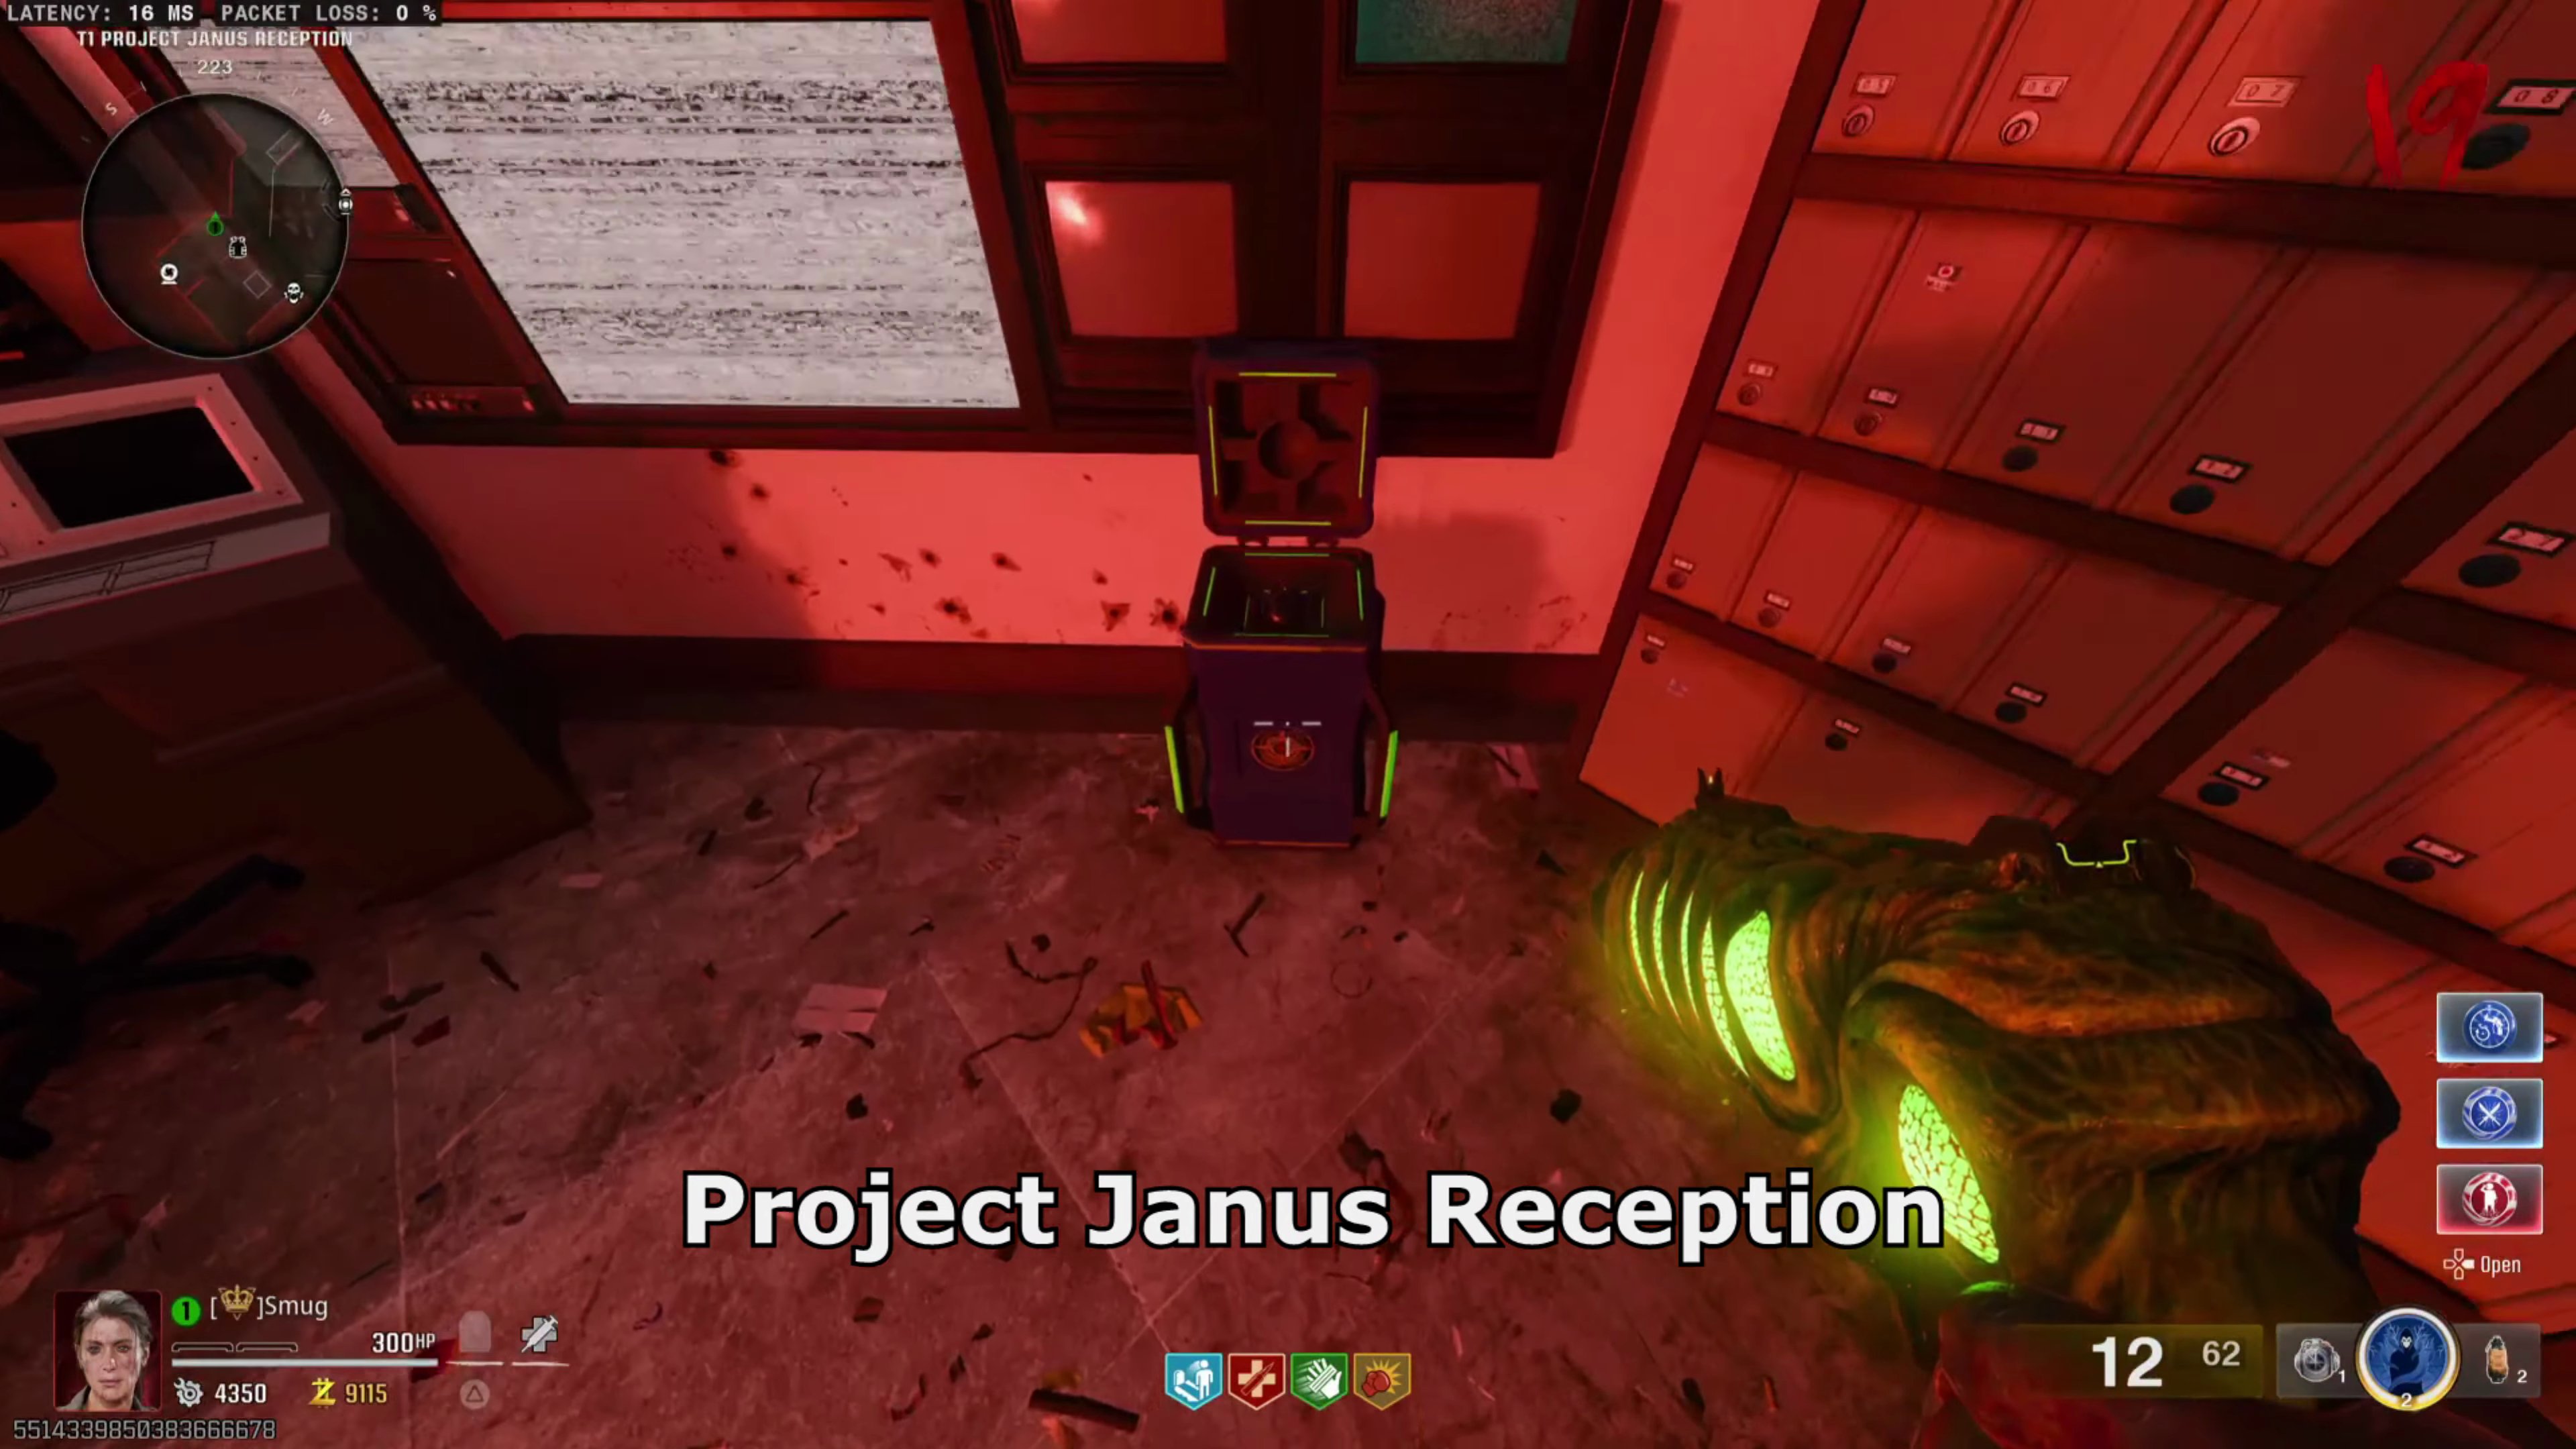 , Sublevel 10
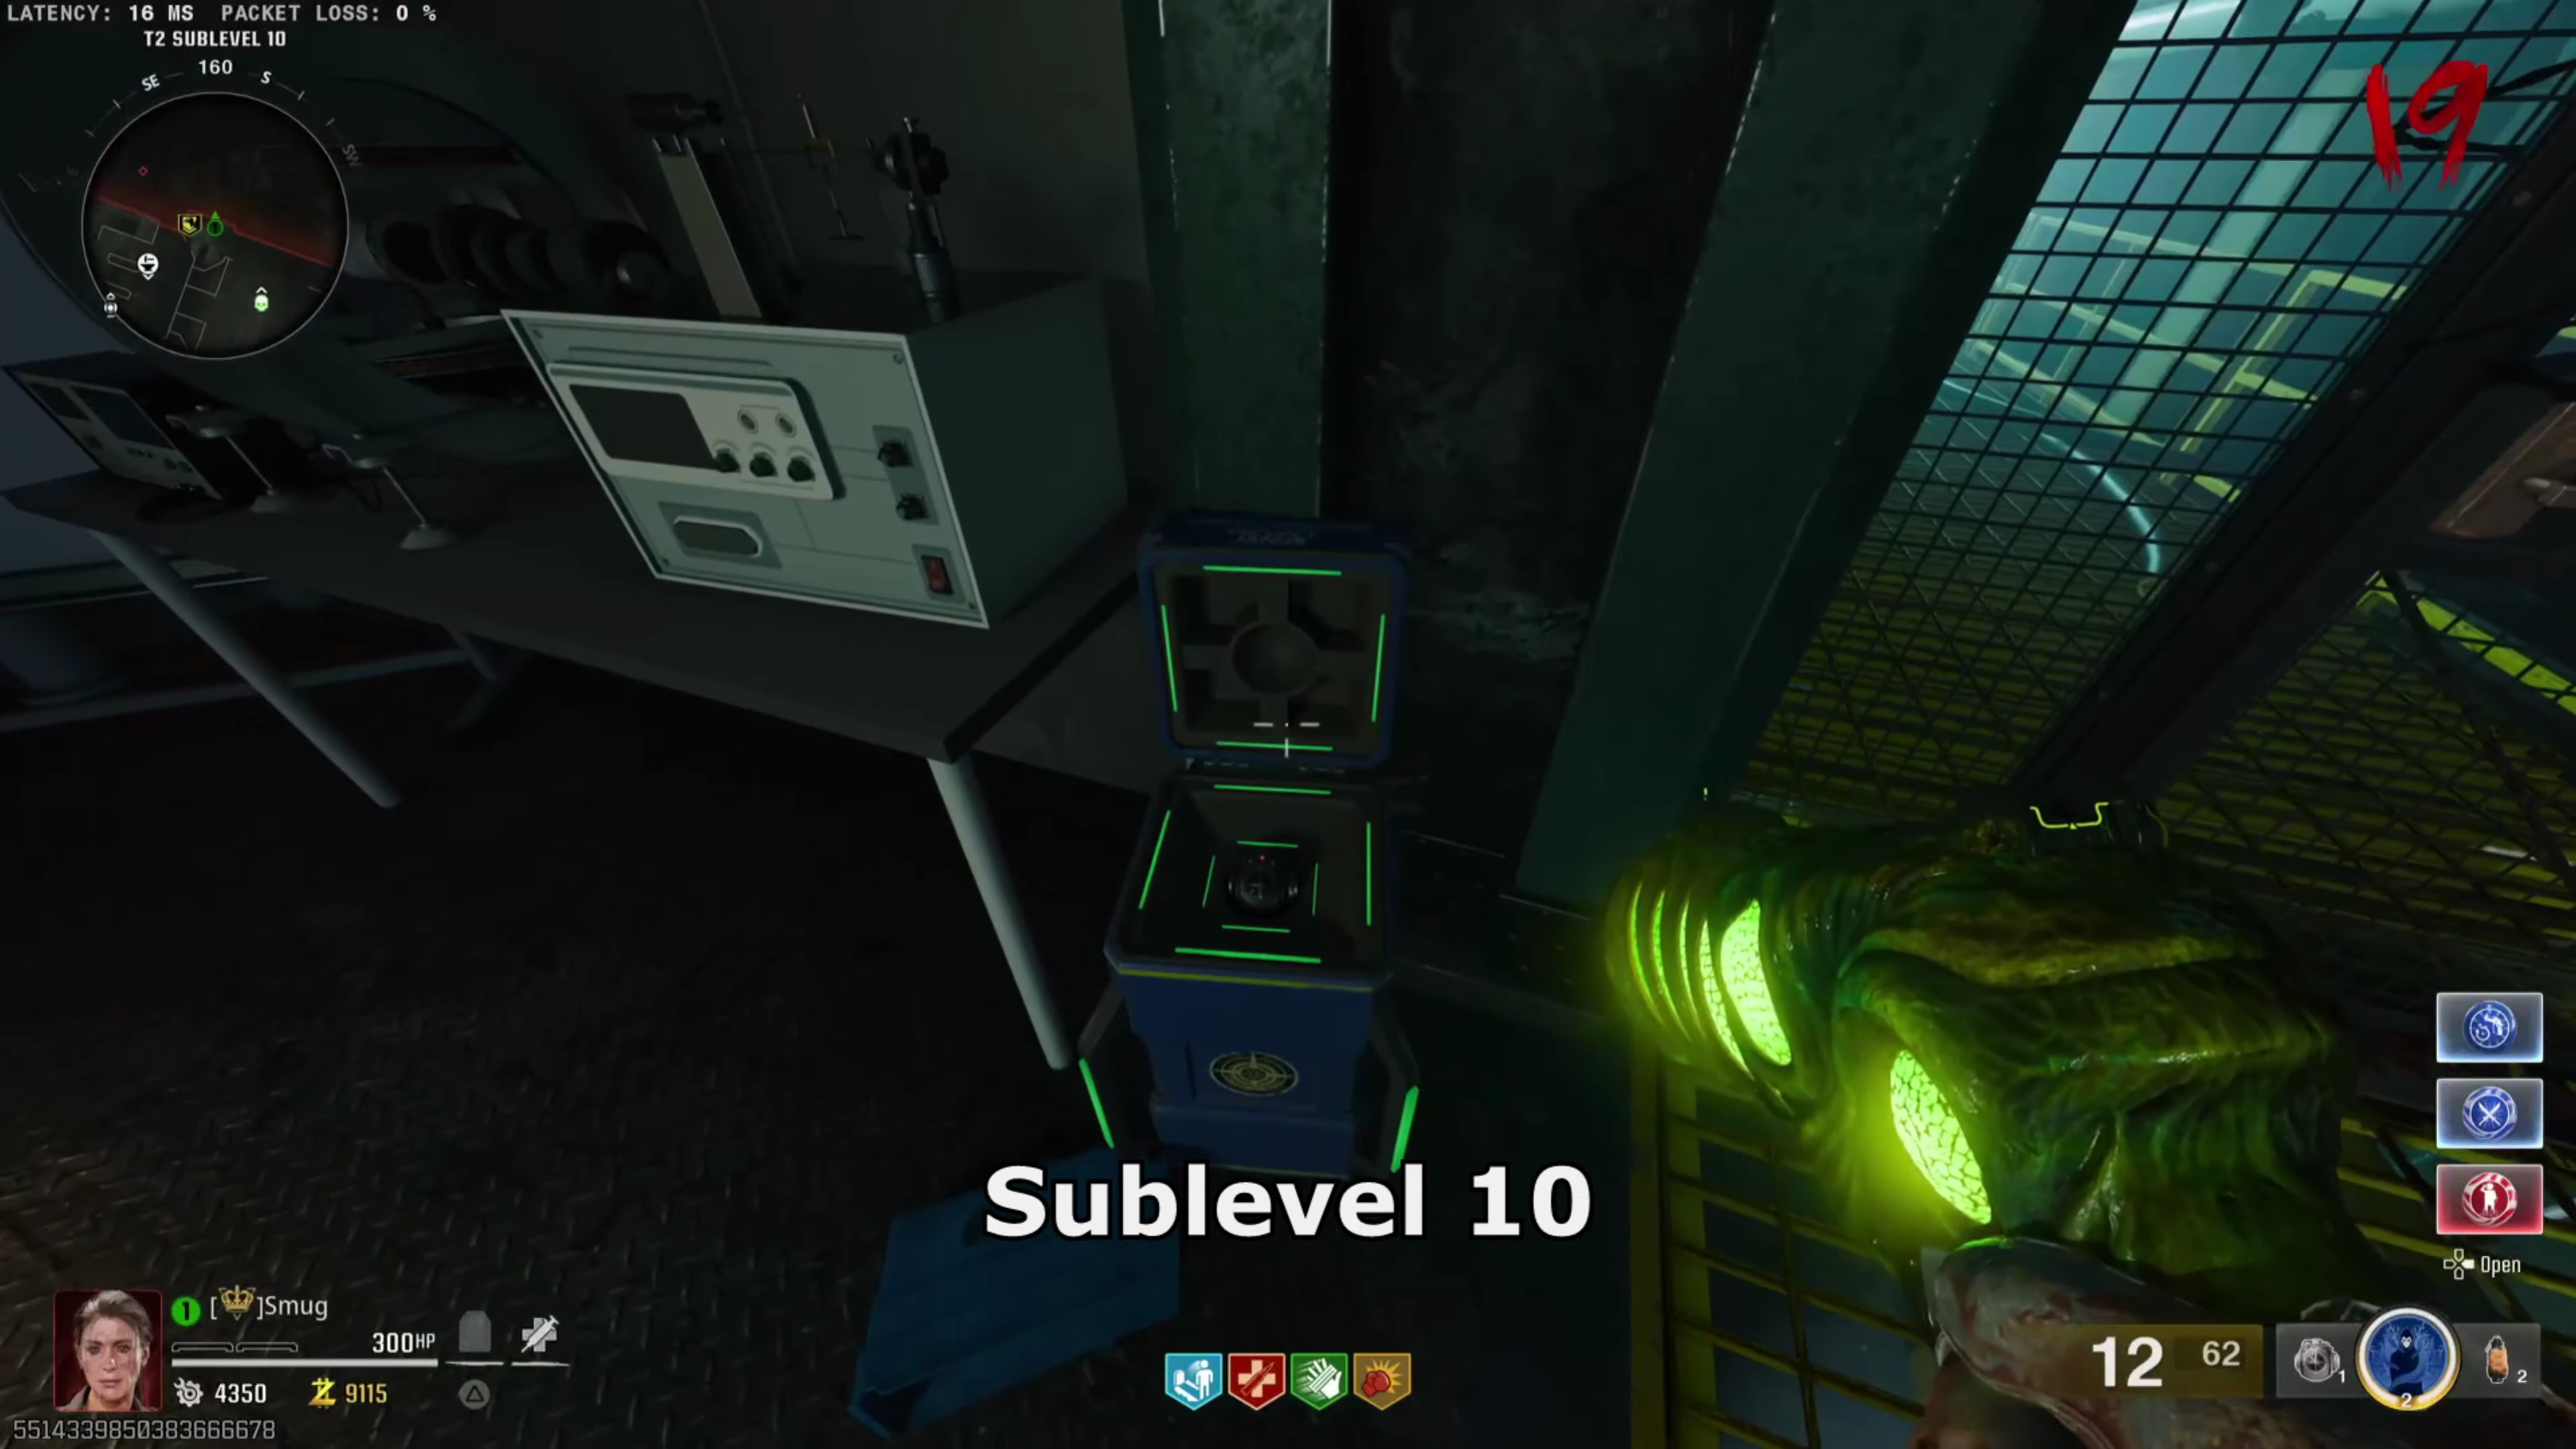 , and Mutant Research Test Area
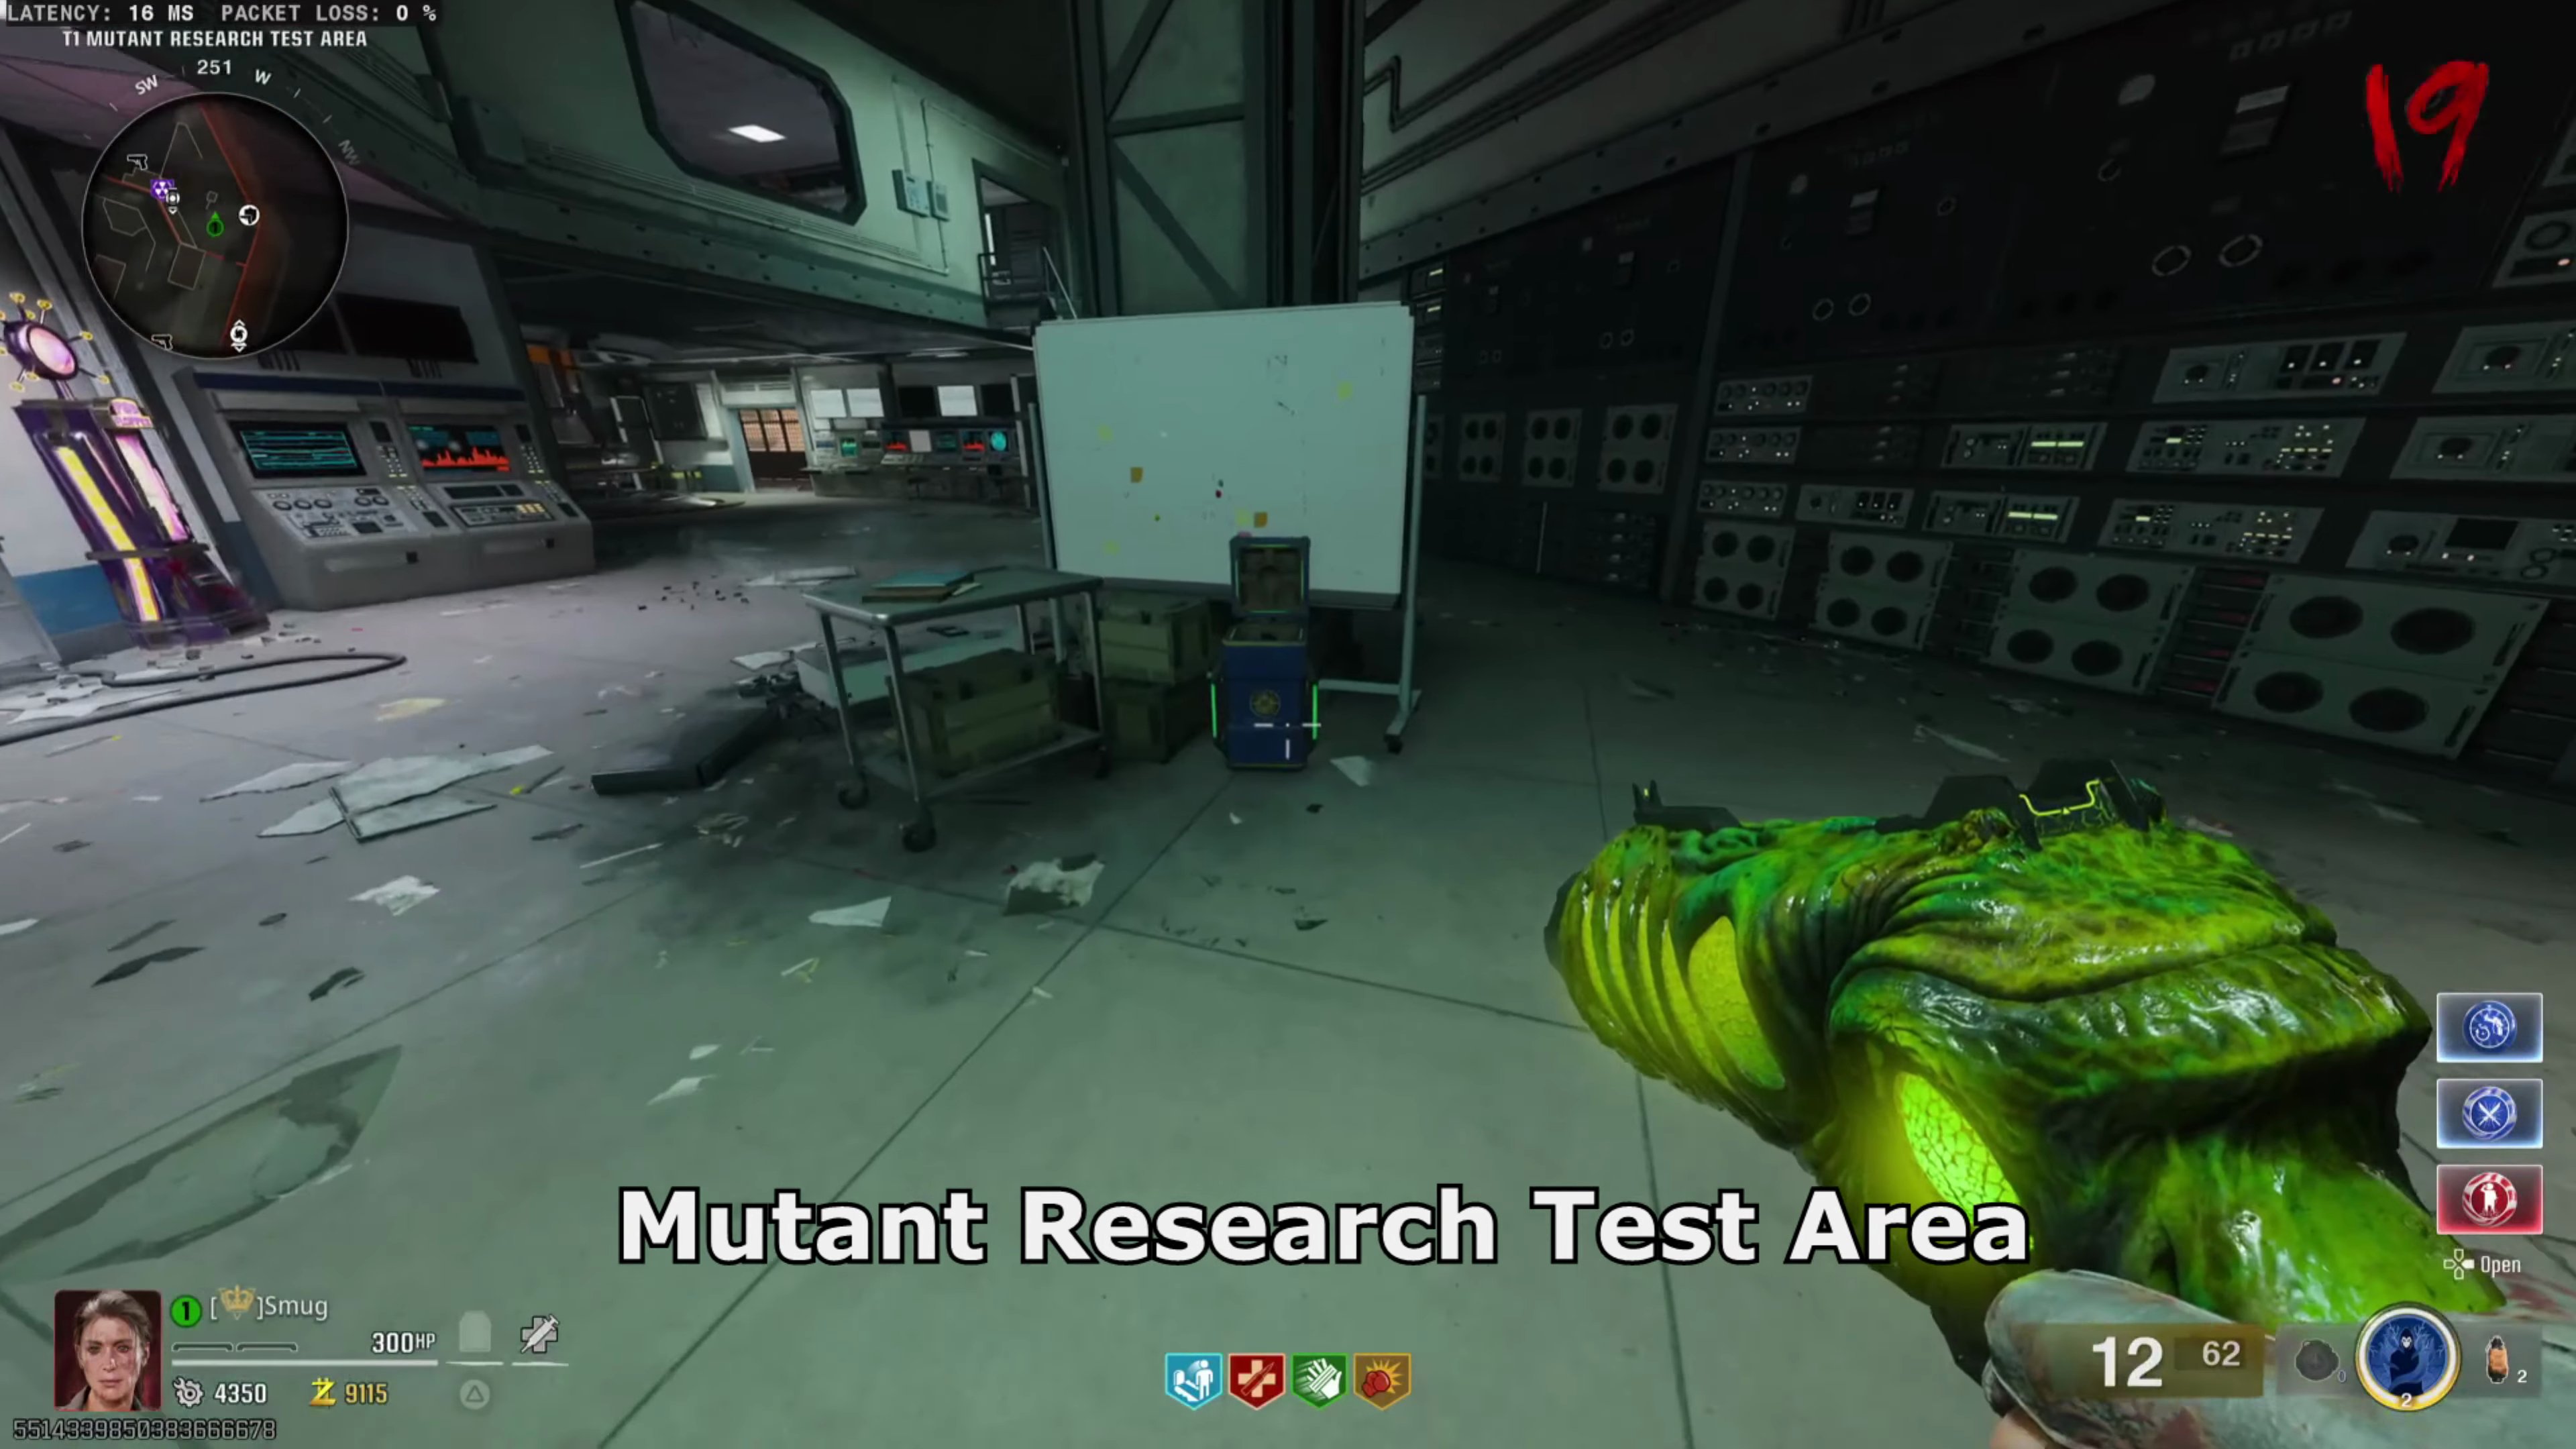 . (You can only hold one device at a time).
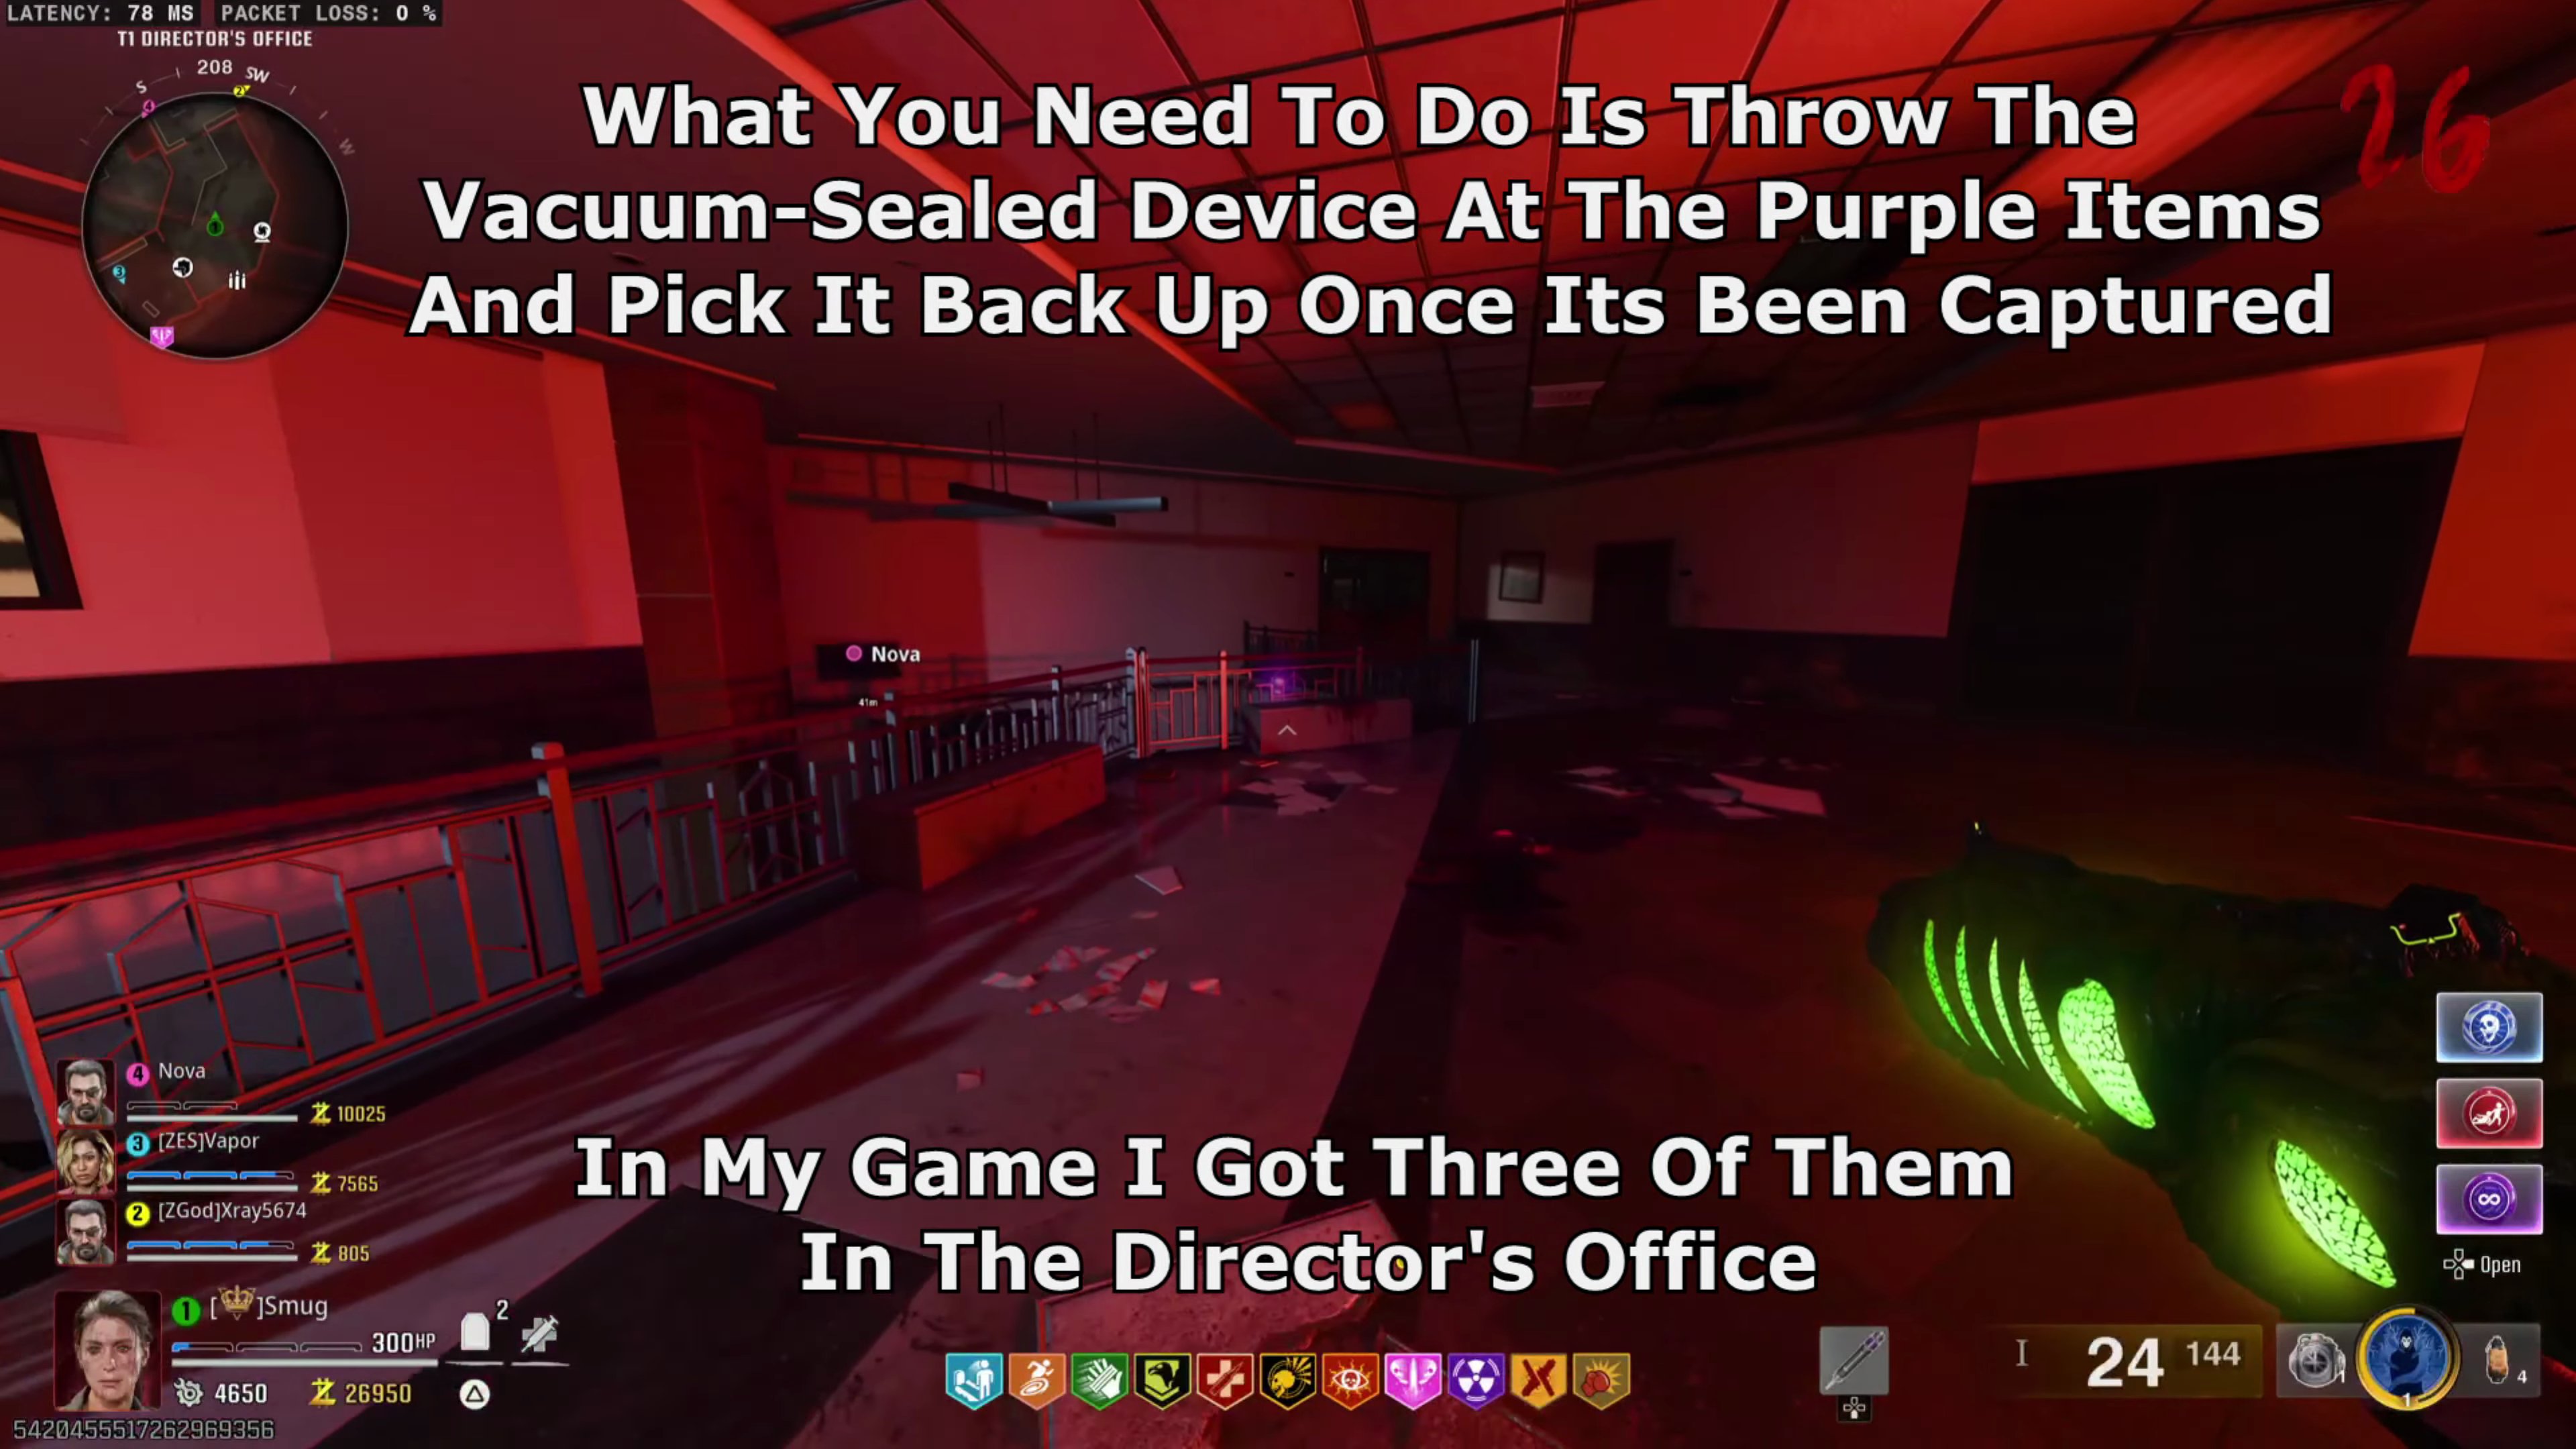
- What you need to do is throw the Vacuum-Sealed Device at the purple items that move around and pick it back up once it's been captured.
Step 10: Pre-Bossfight Lockdown
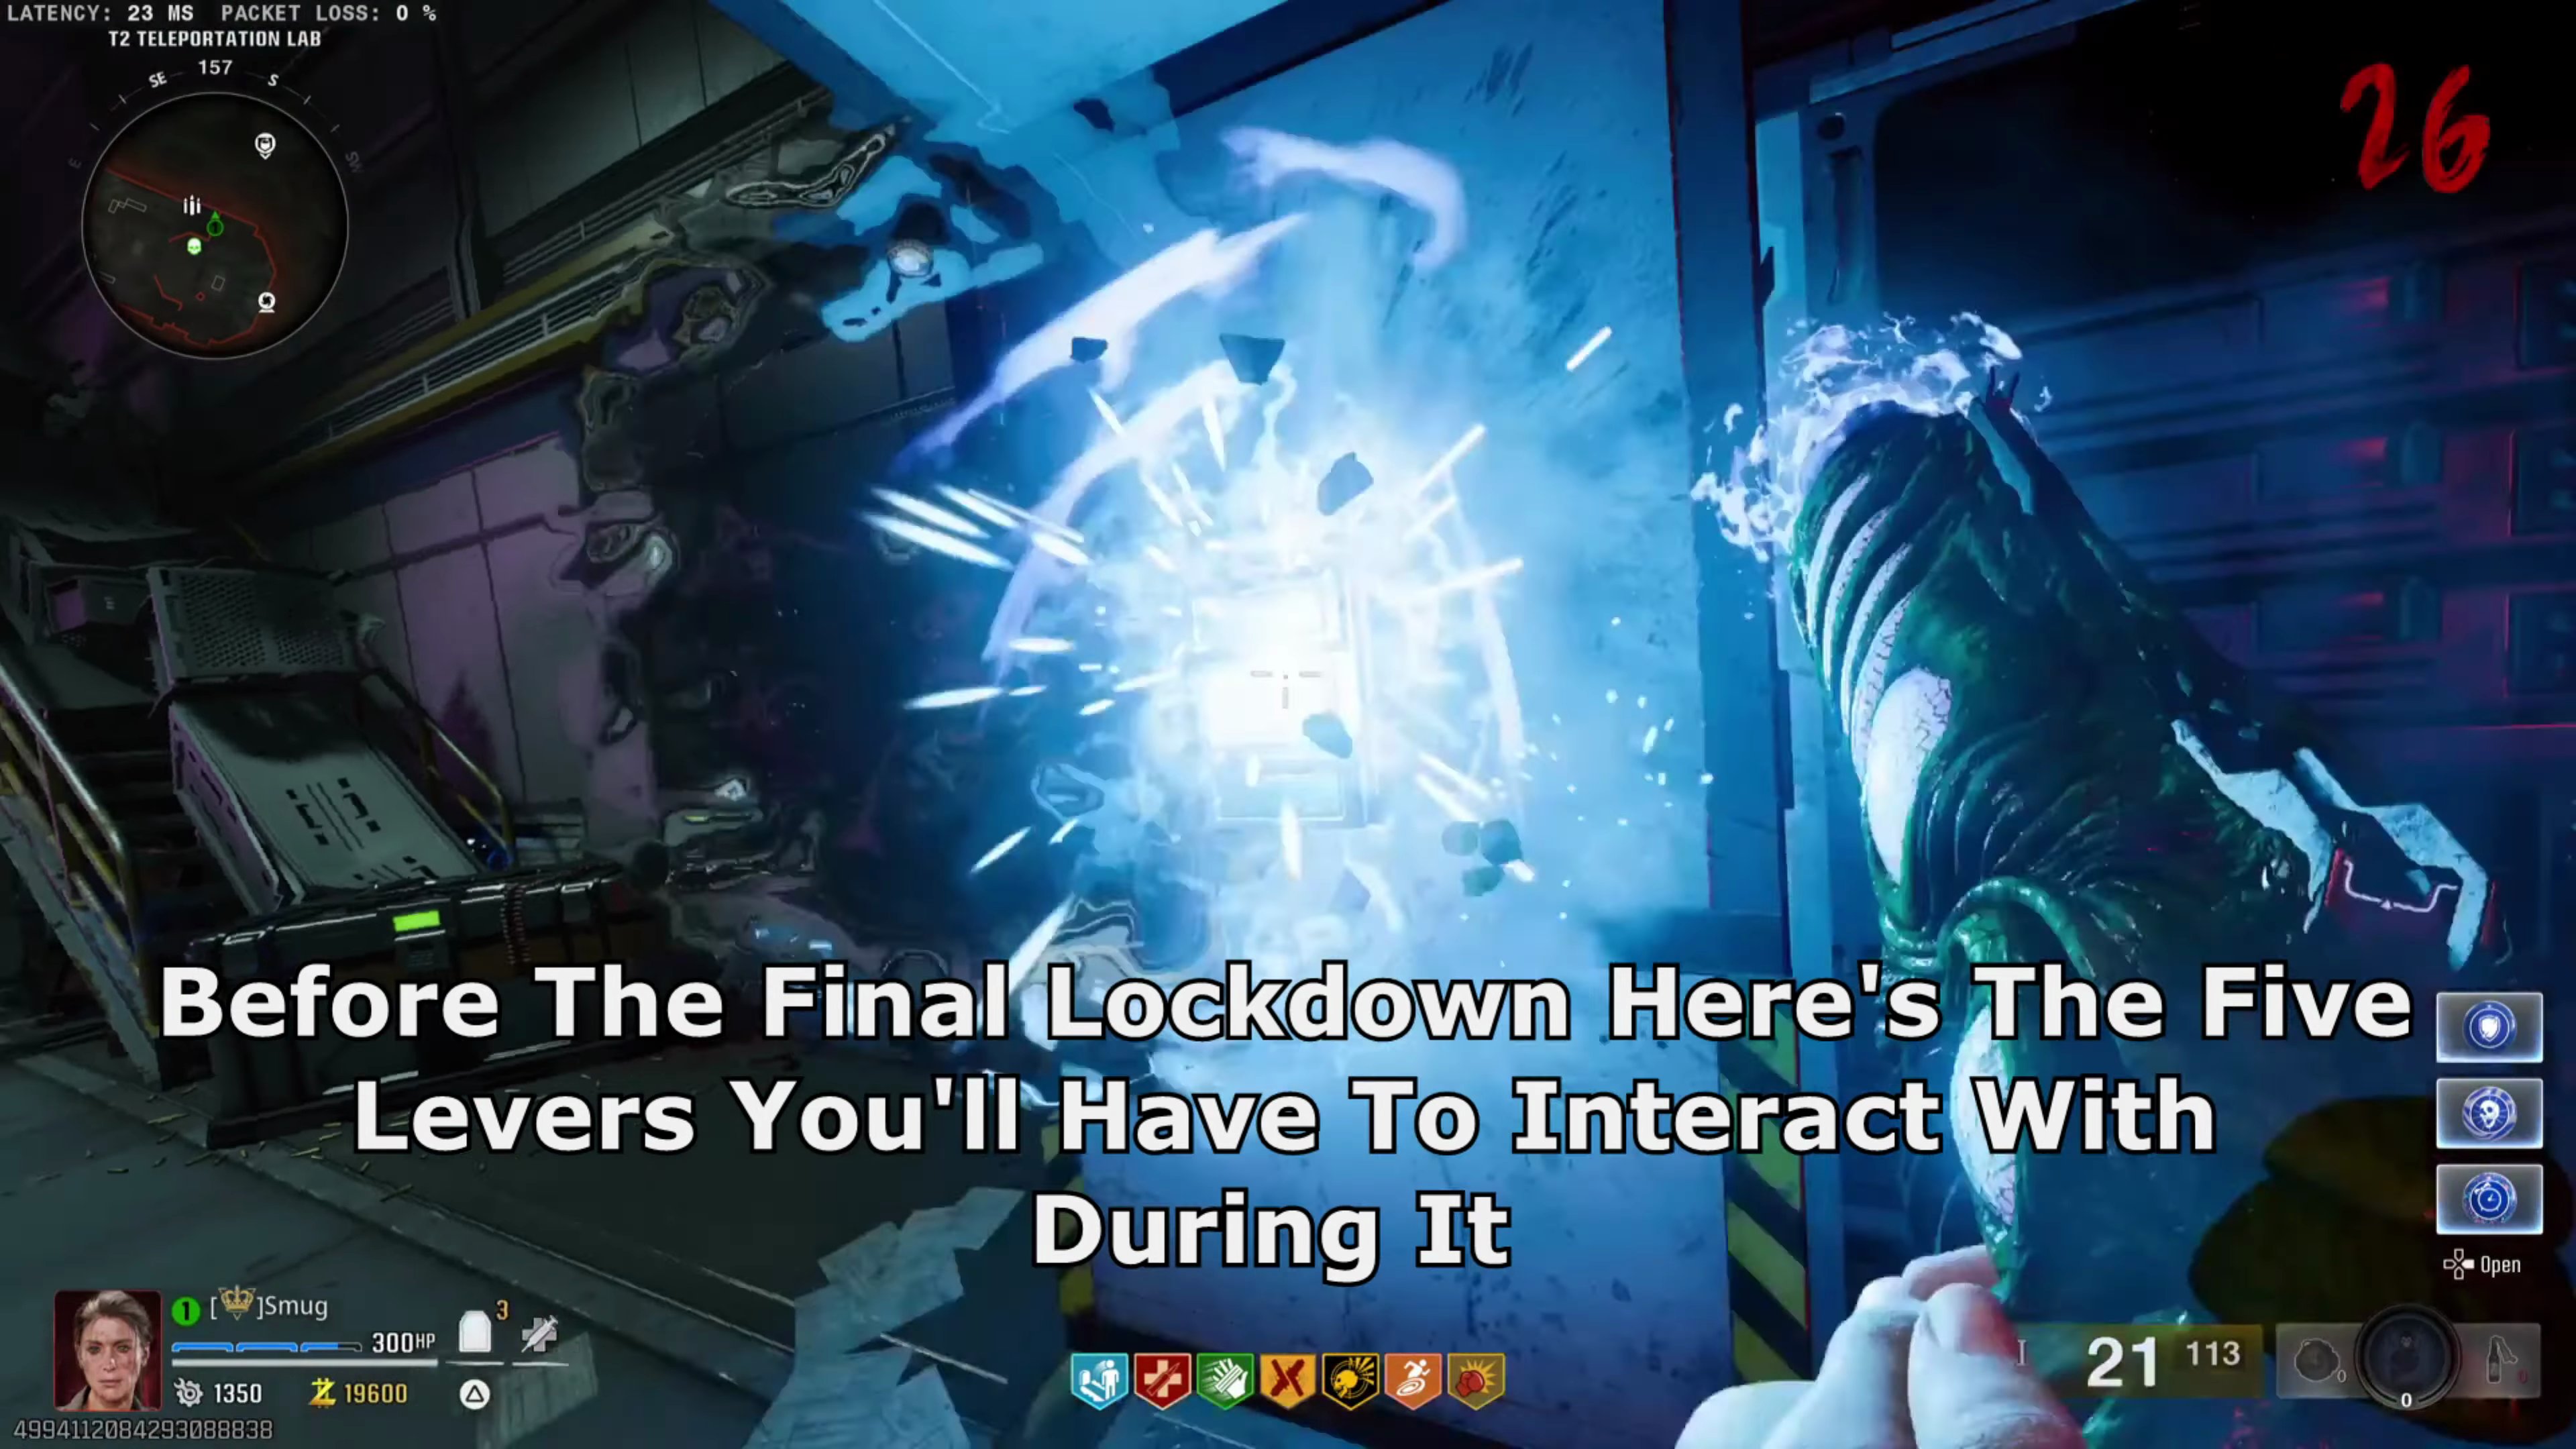
- Before starting the final lockdown, here are the five levers you'll have to interact with (located around the facility).
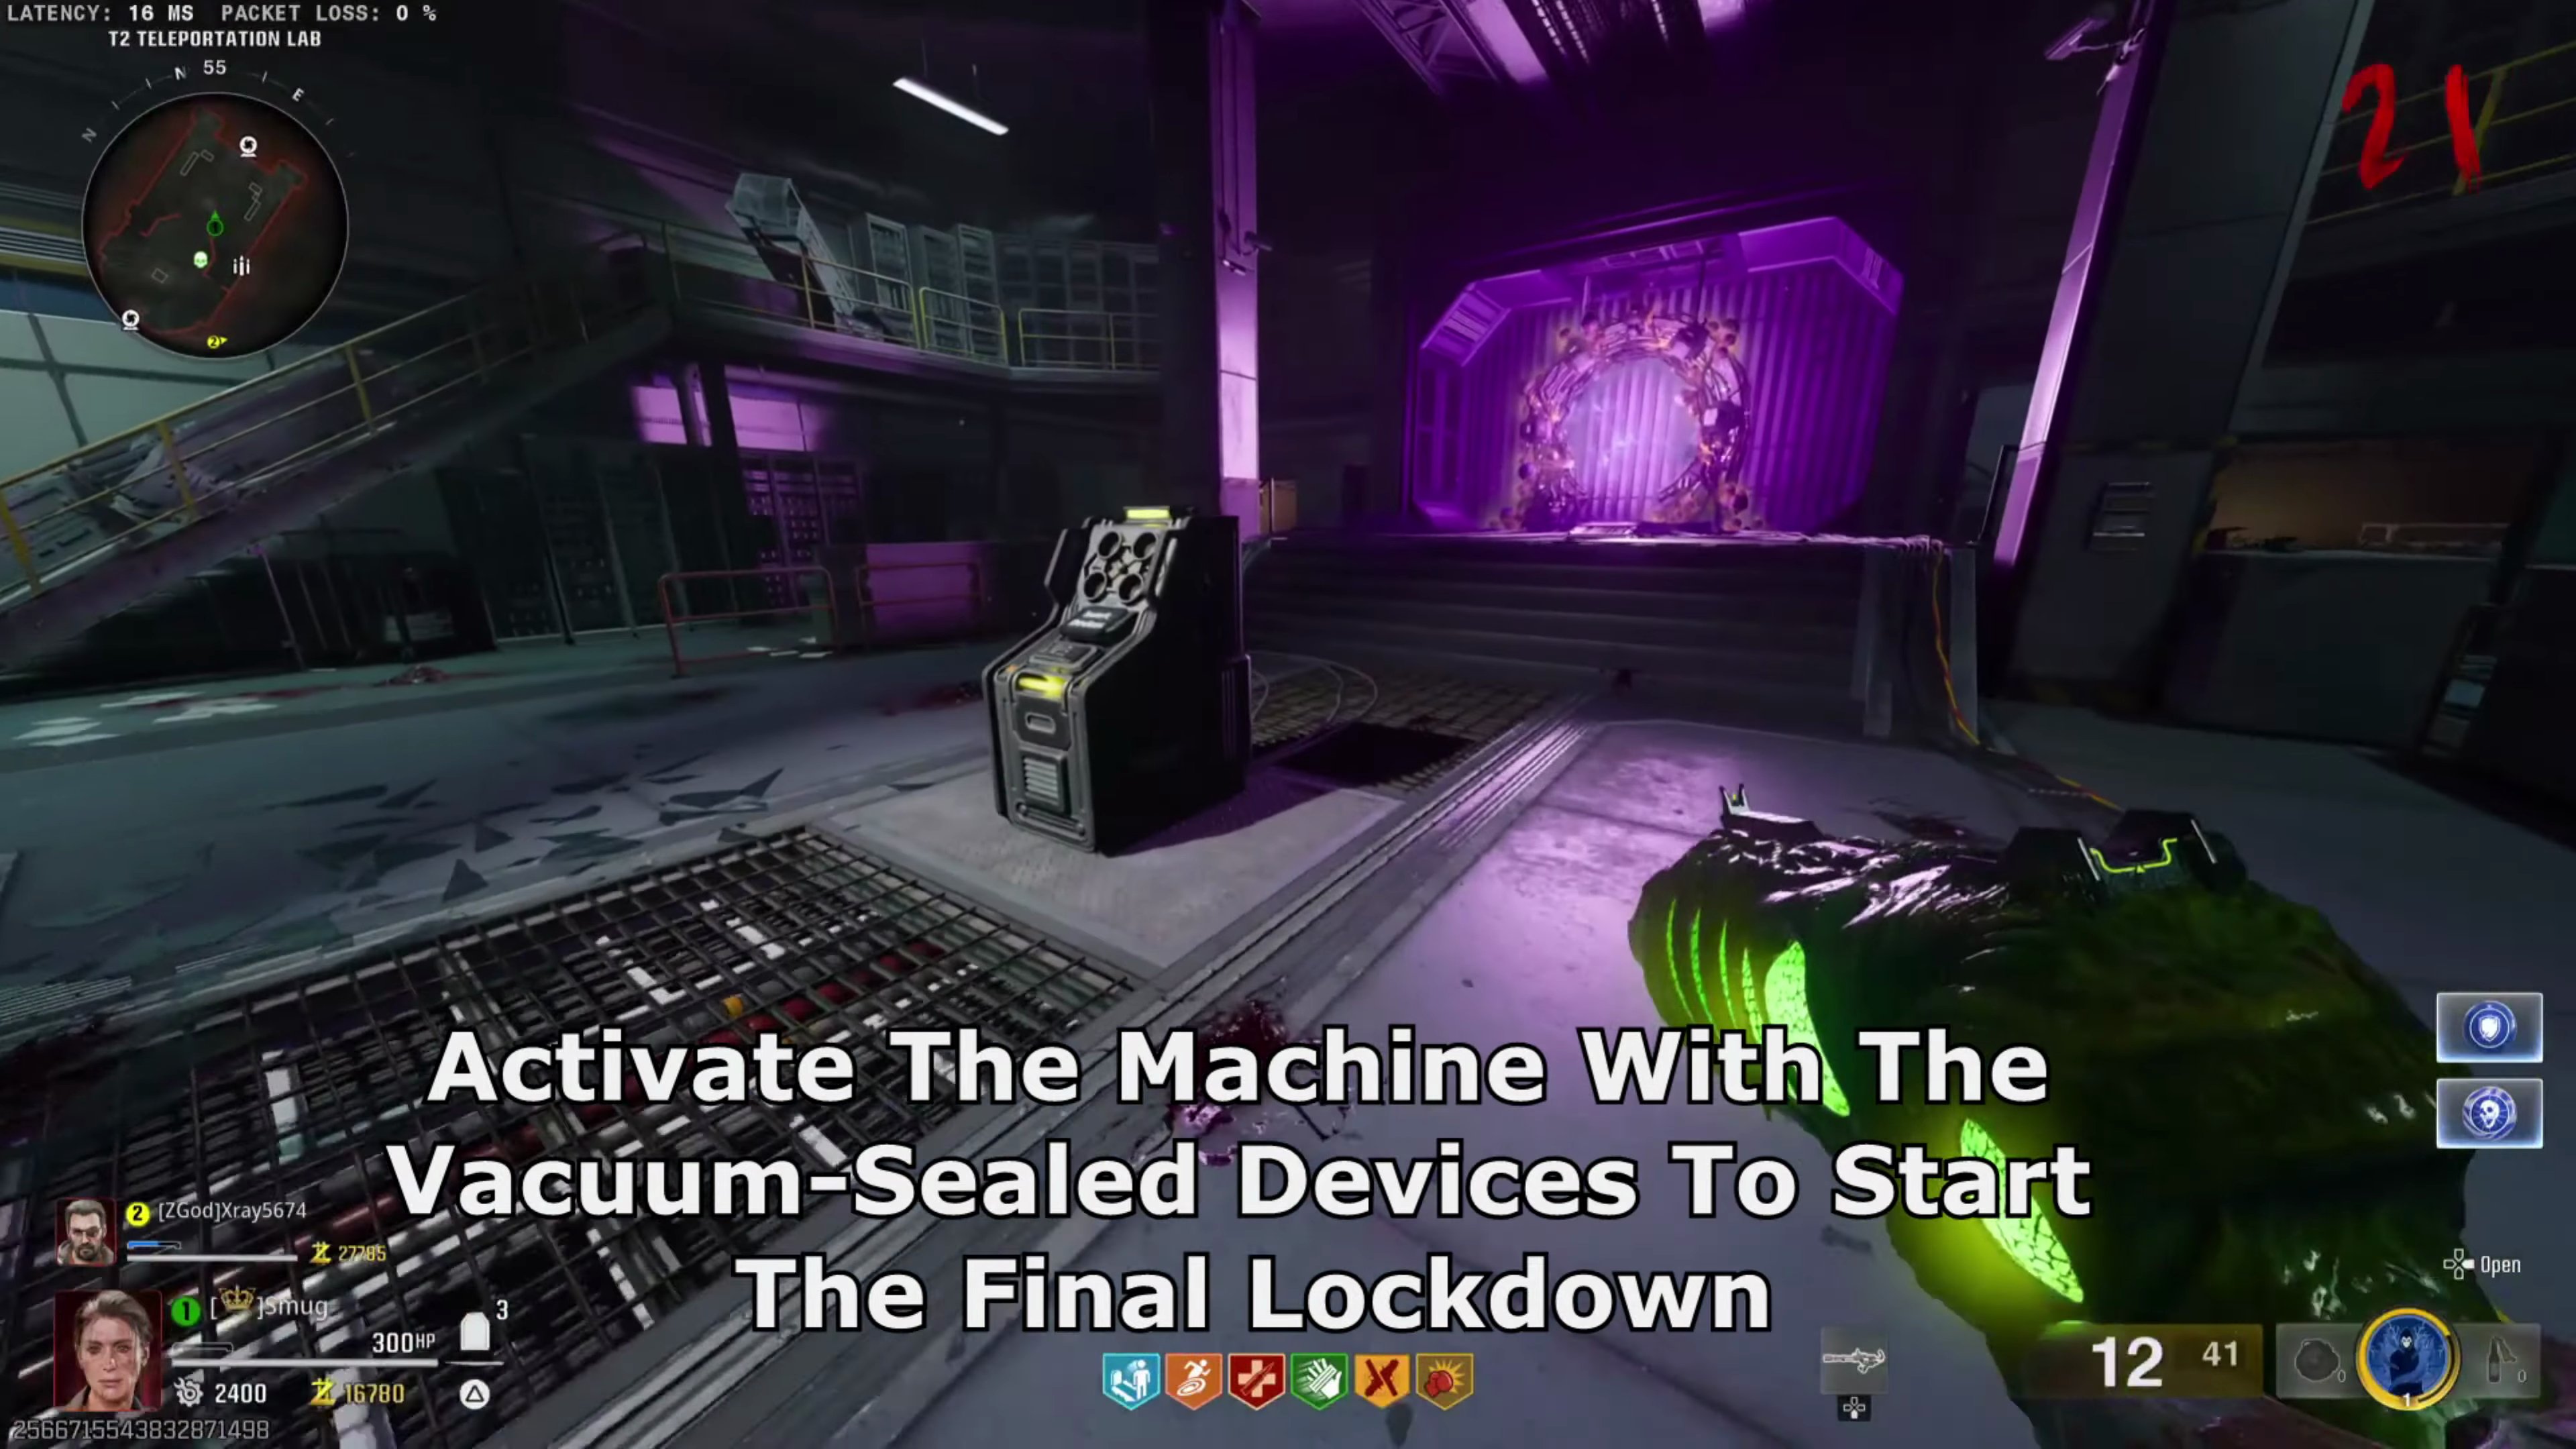
- Activate the machine with the Vacuum-Sealed Devices to start the final lockdown.
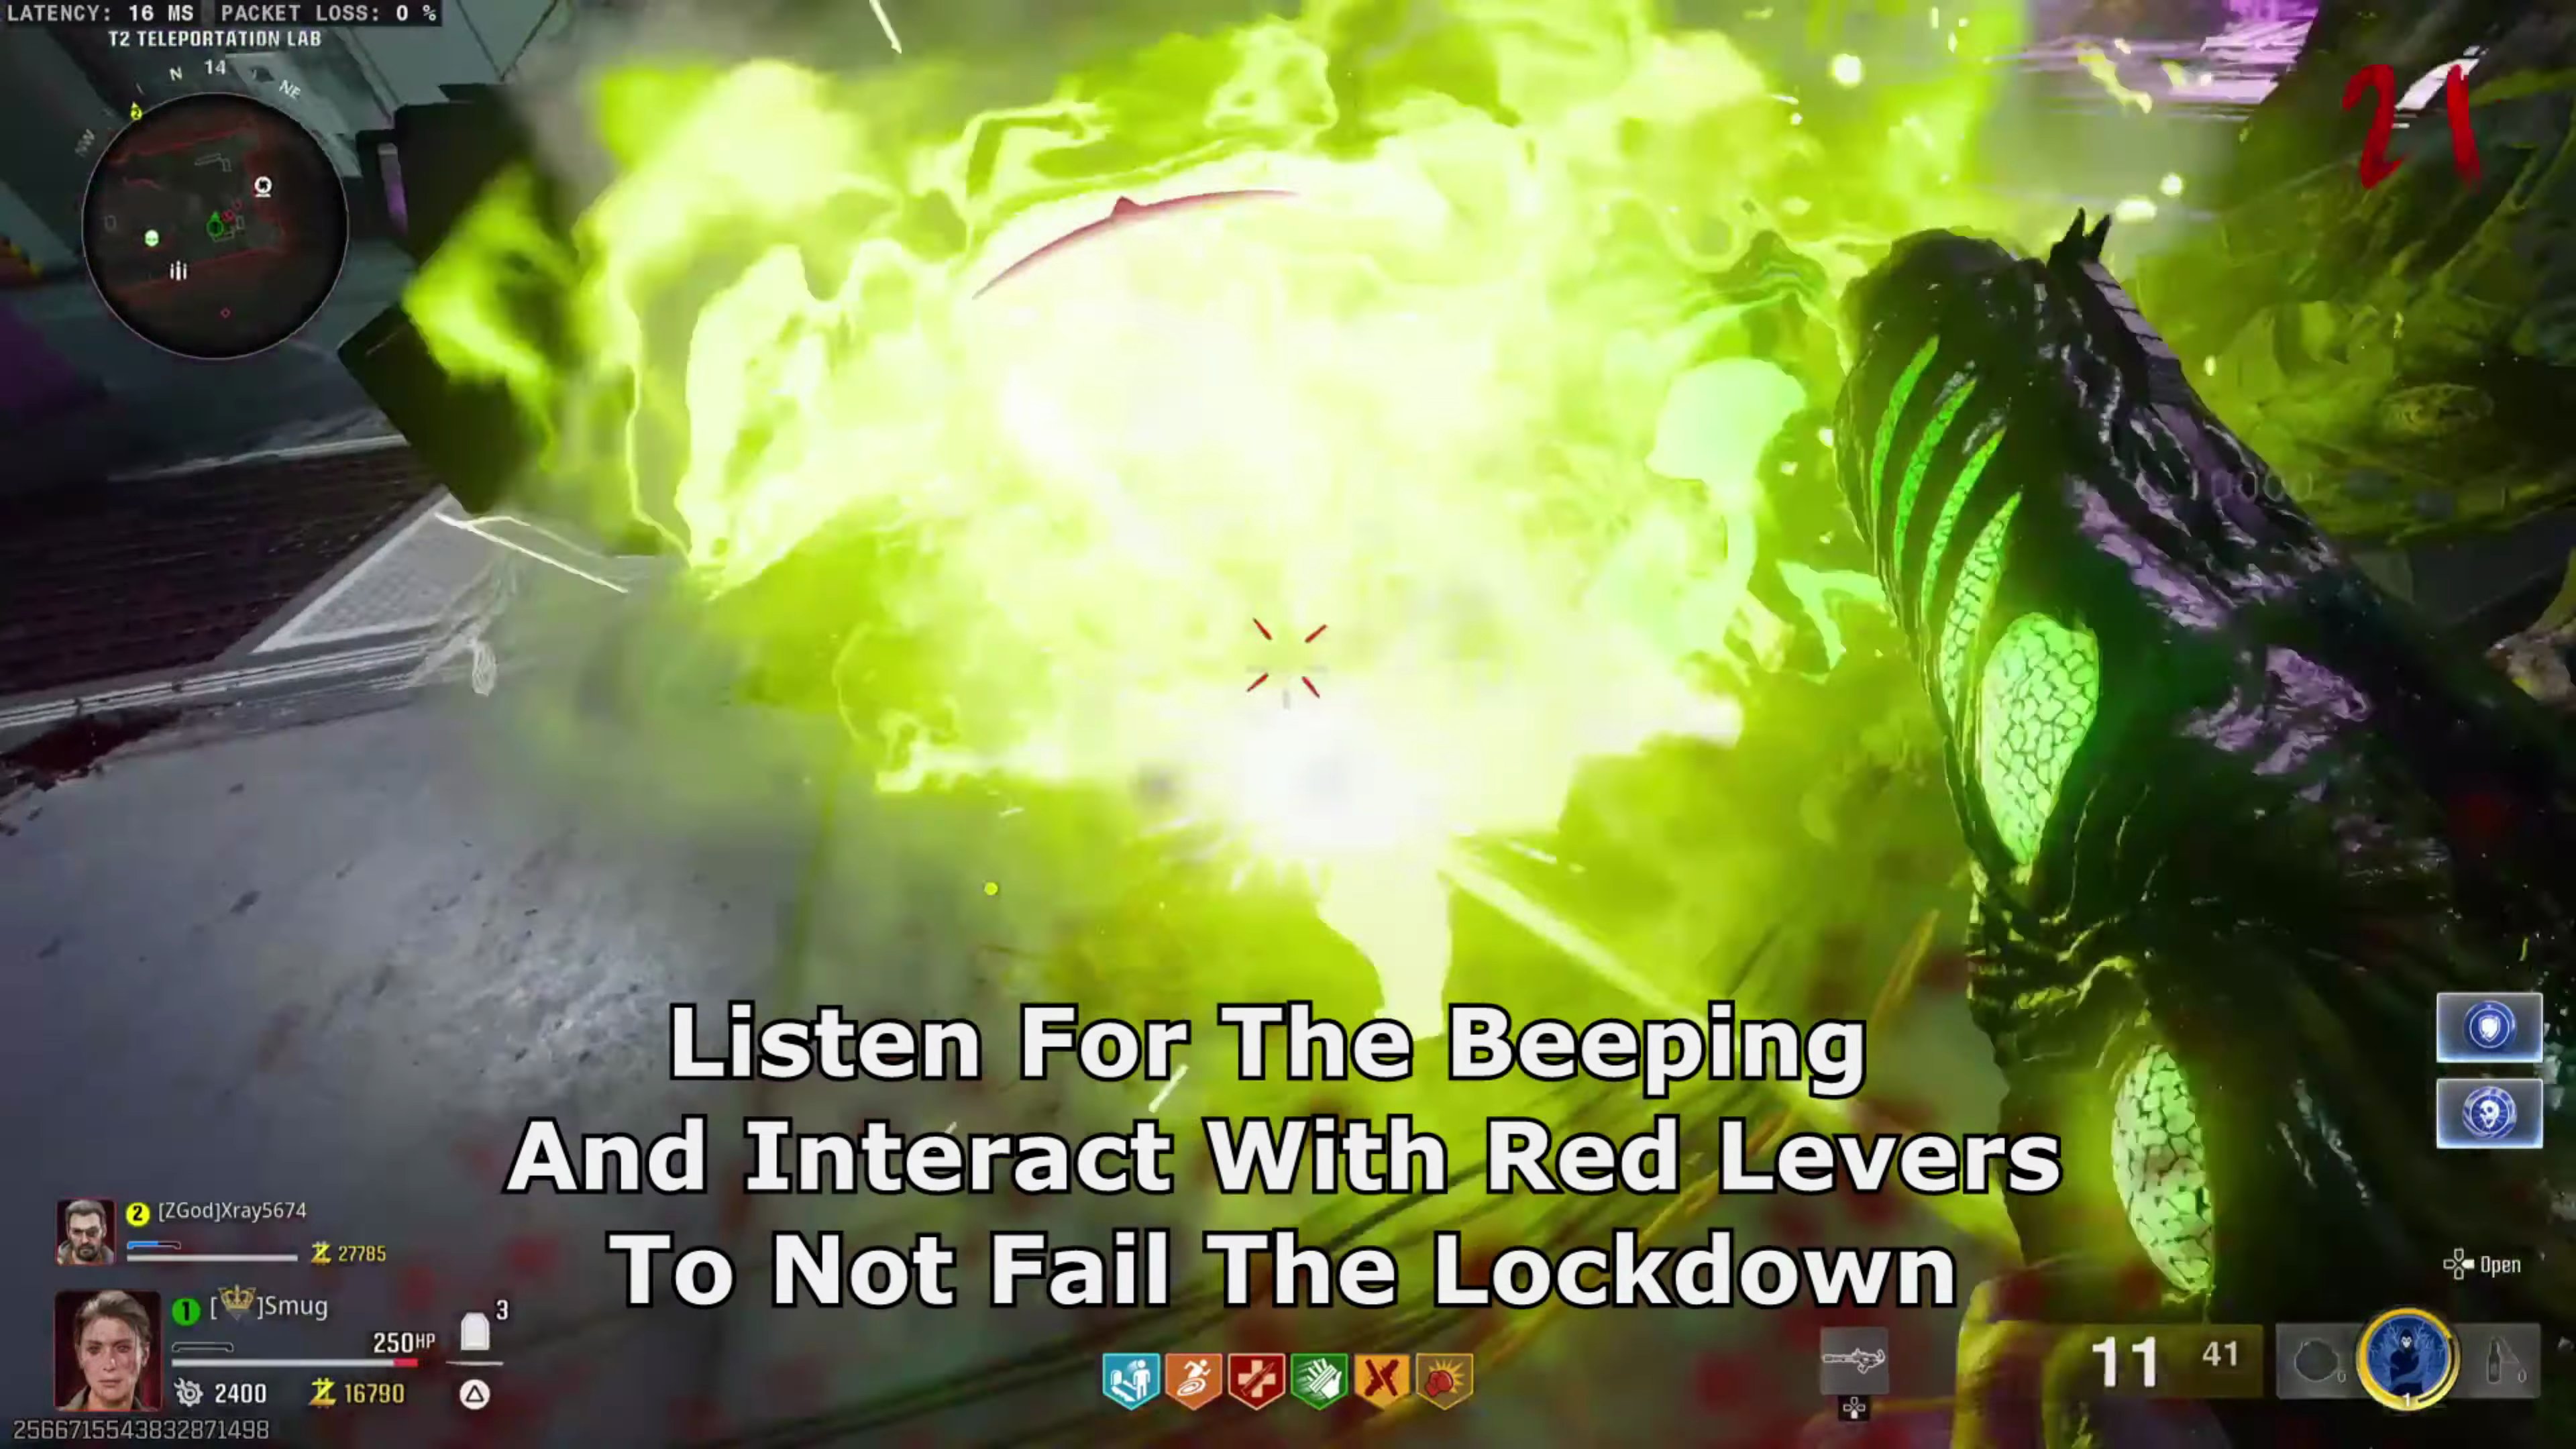
- Listen for the beeping sound and interact with the red levers that light up to successfully complete the lockdown. (It's recommended to have at least a Pack-3 weapon with gold rarity before starting).
Step 11: Bossfight
Now that the lockdown is complete, the bossfight is available. You will have a choice between two paths: the S.A.M. Bossfight or the Richtofen Bossfight.
Path A: S.A.M. Bossfight
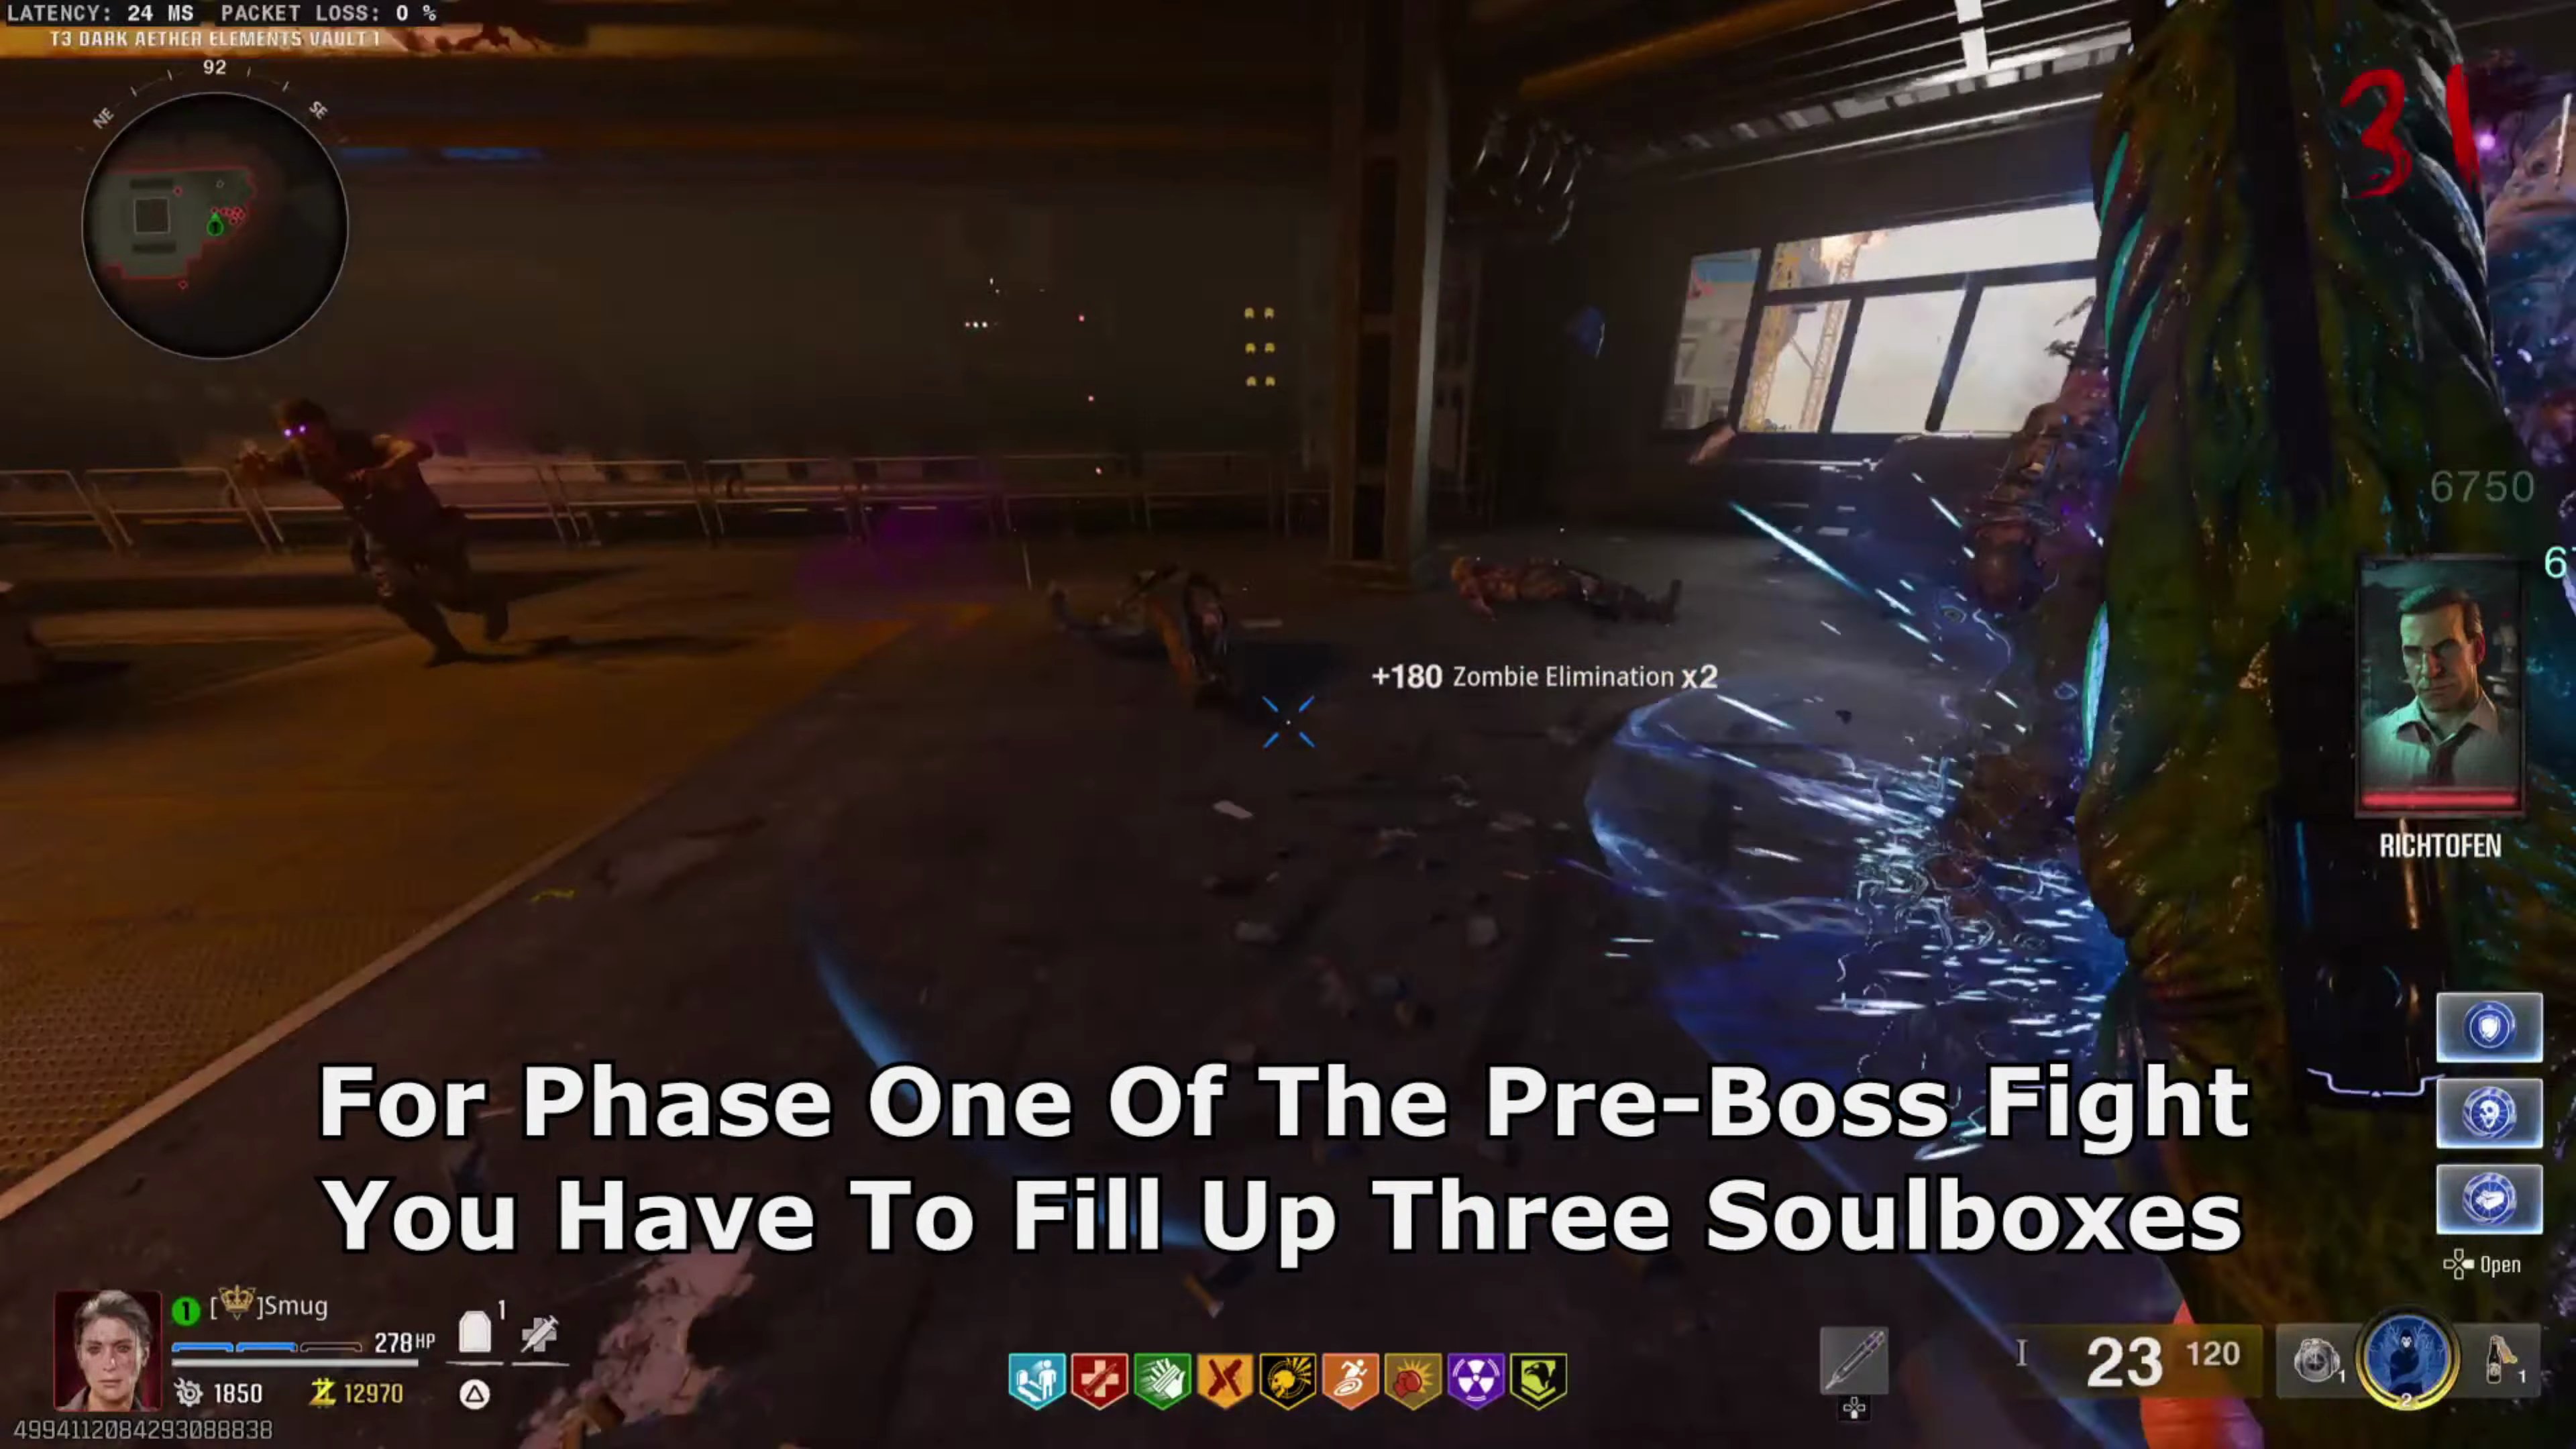
- For Phase One of the pre-boss fight, you have to fill up three Soulboxes.
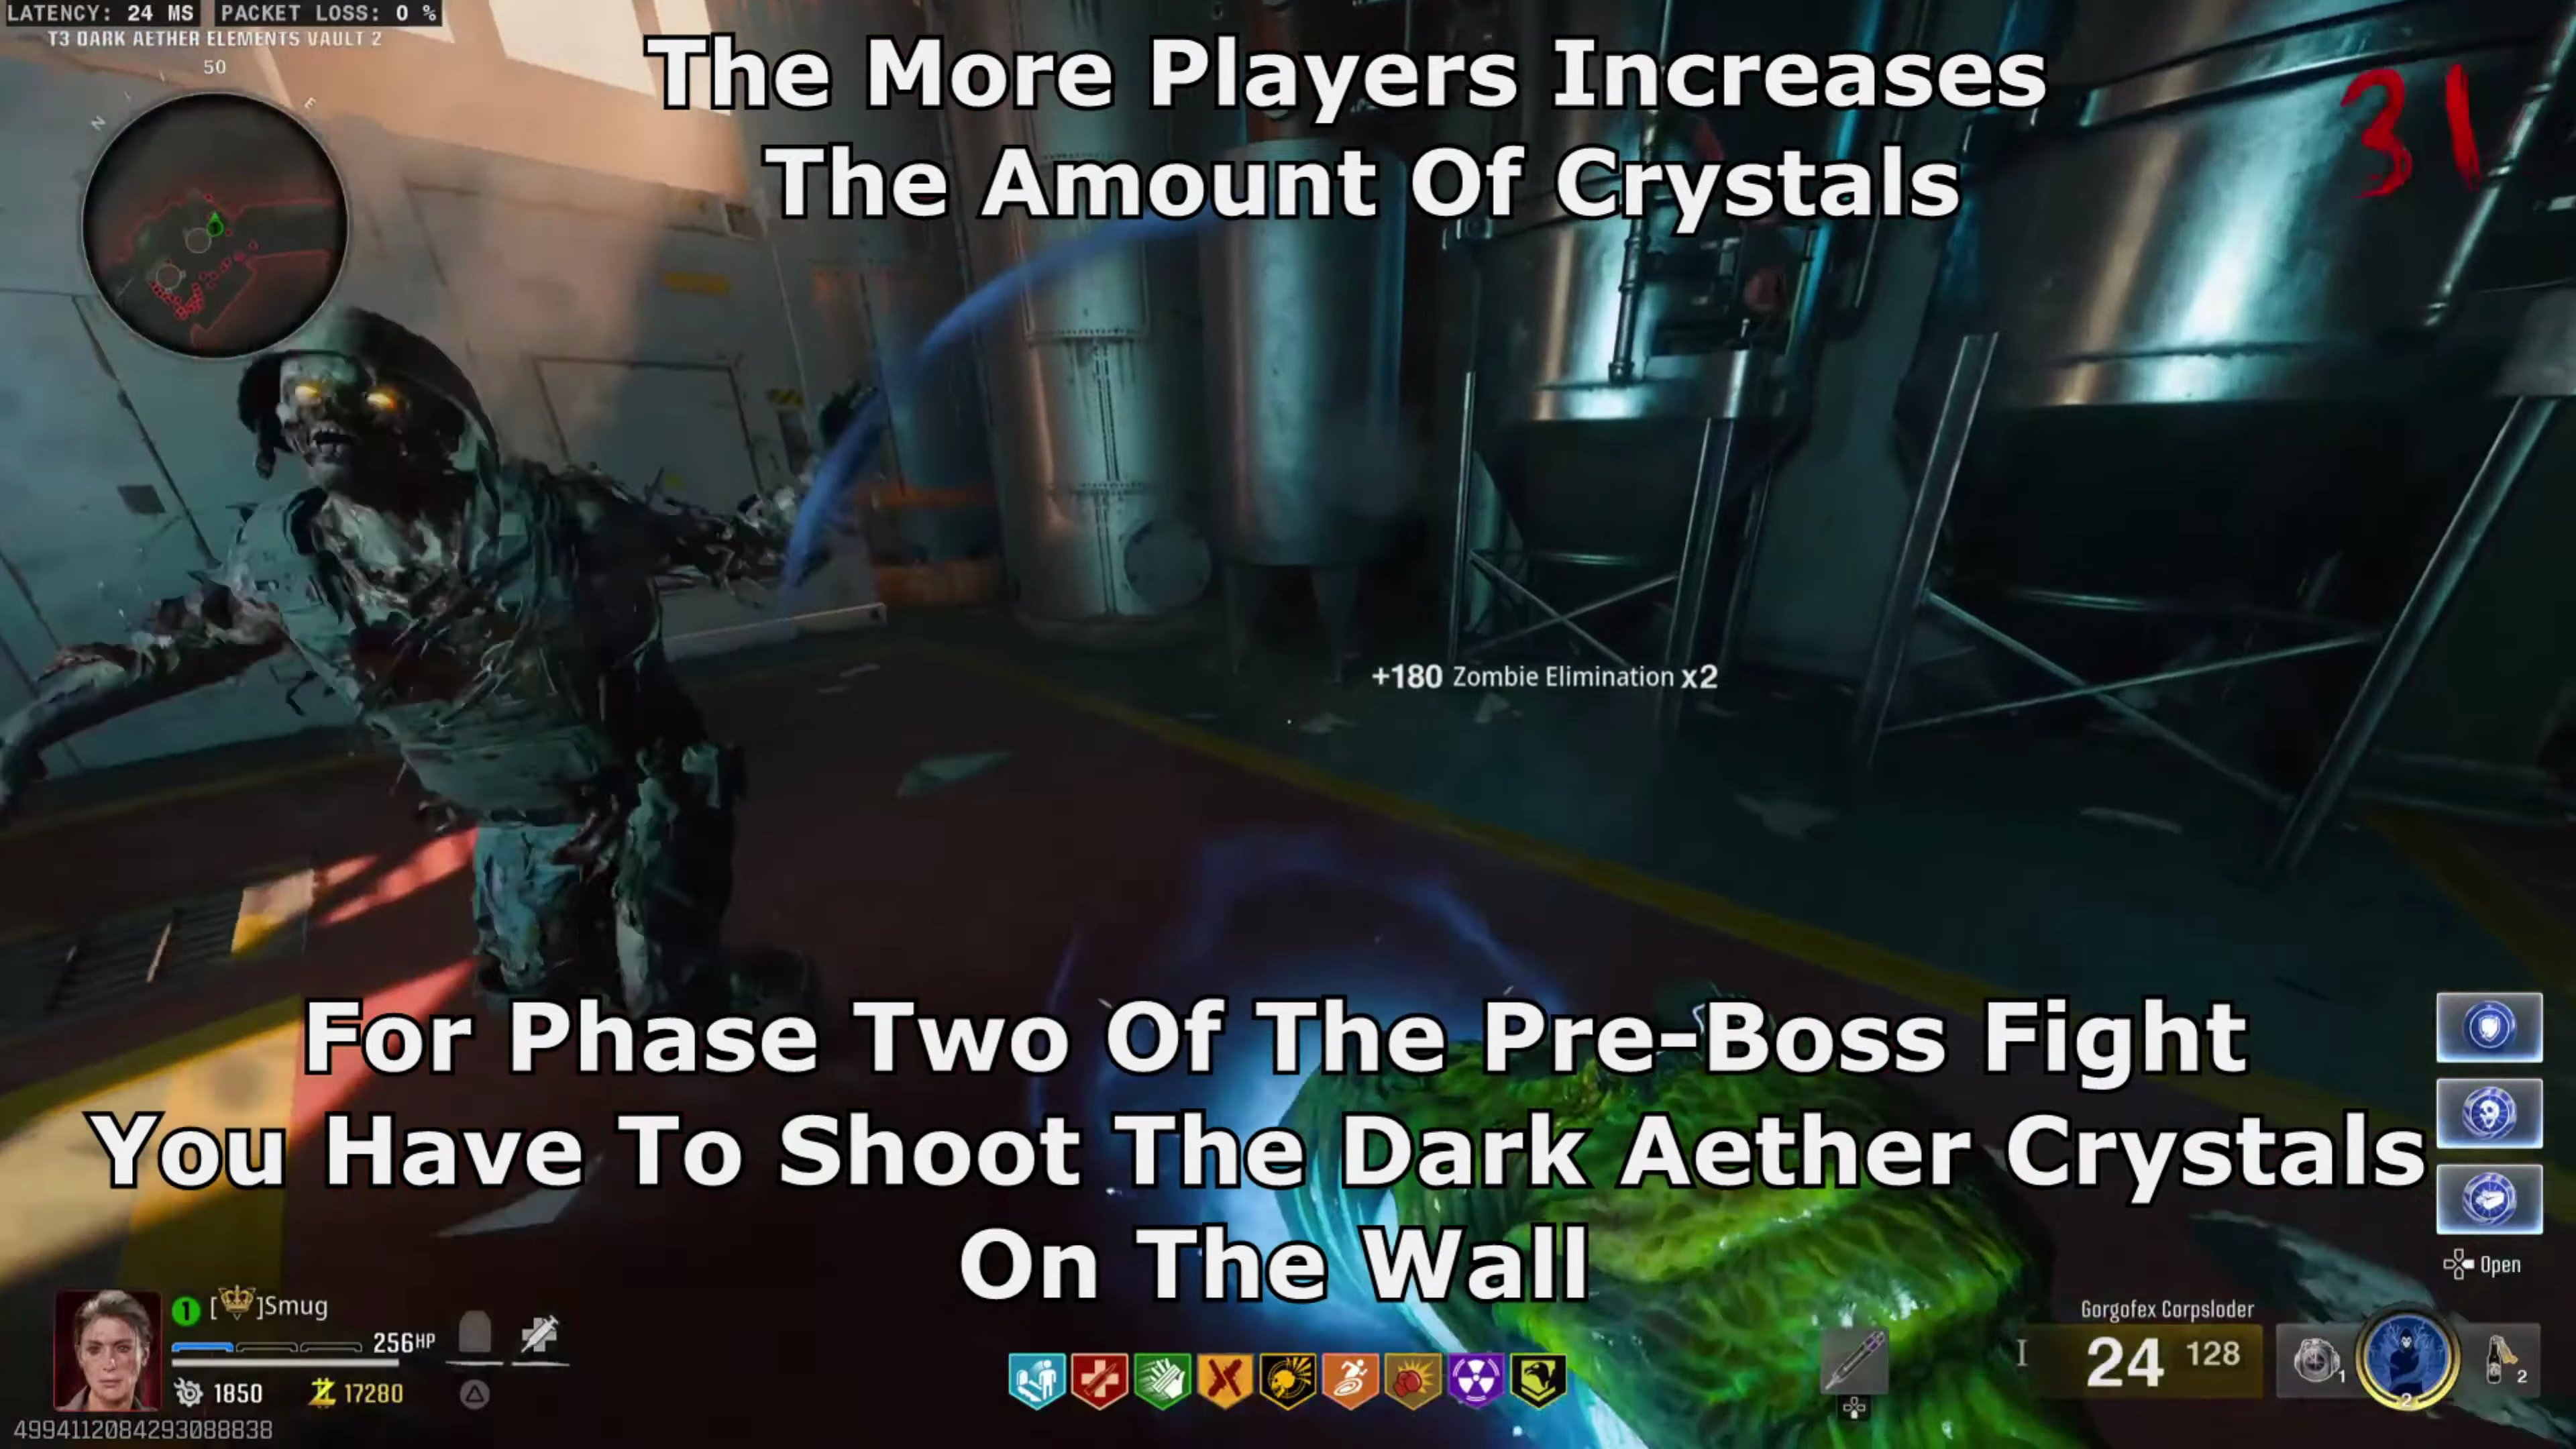
- For Phase Two of the pre-boss fight, you have to shoot the Dark Aether Crystals on the wall. (The more players, the more crystals will spawn).
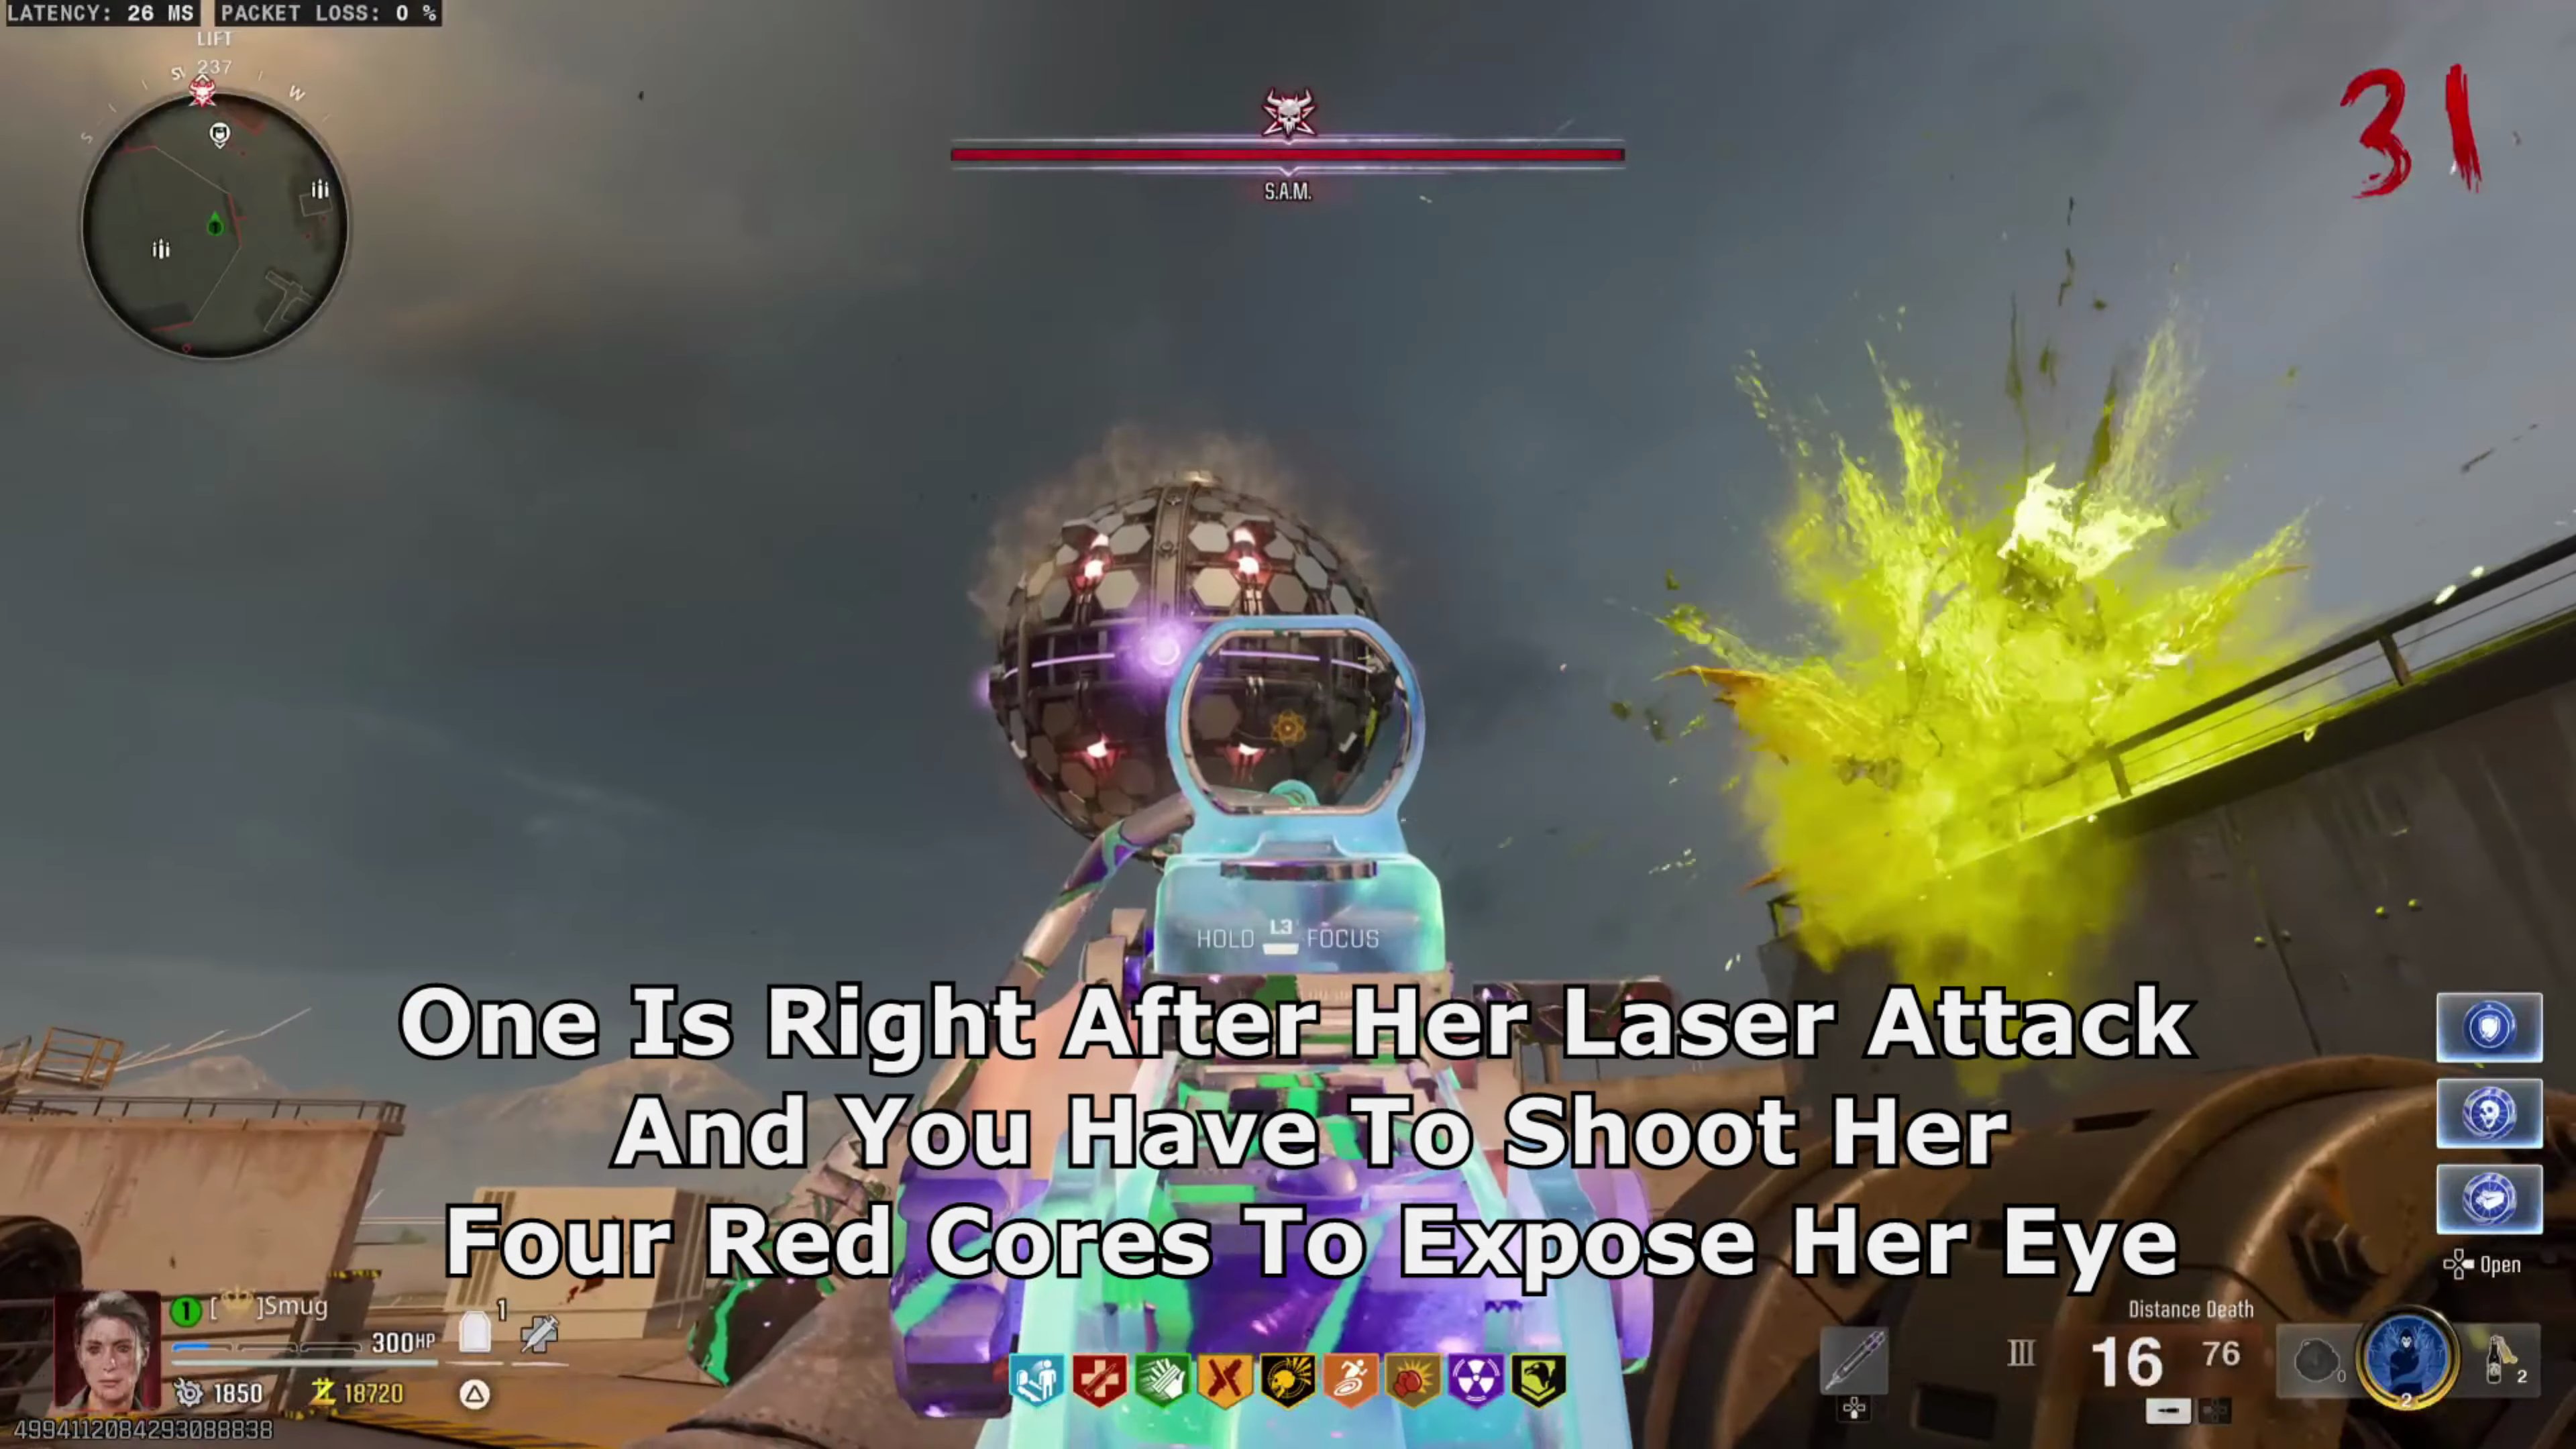
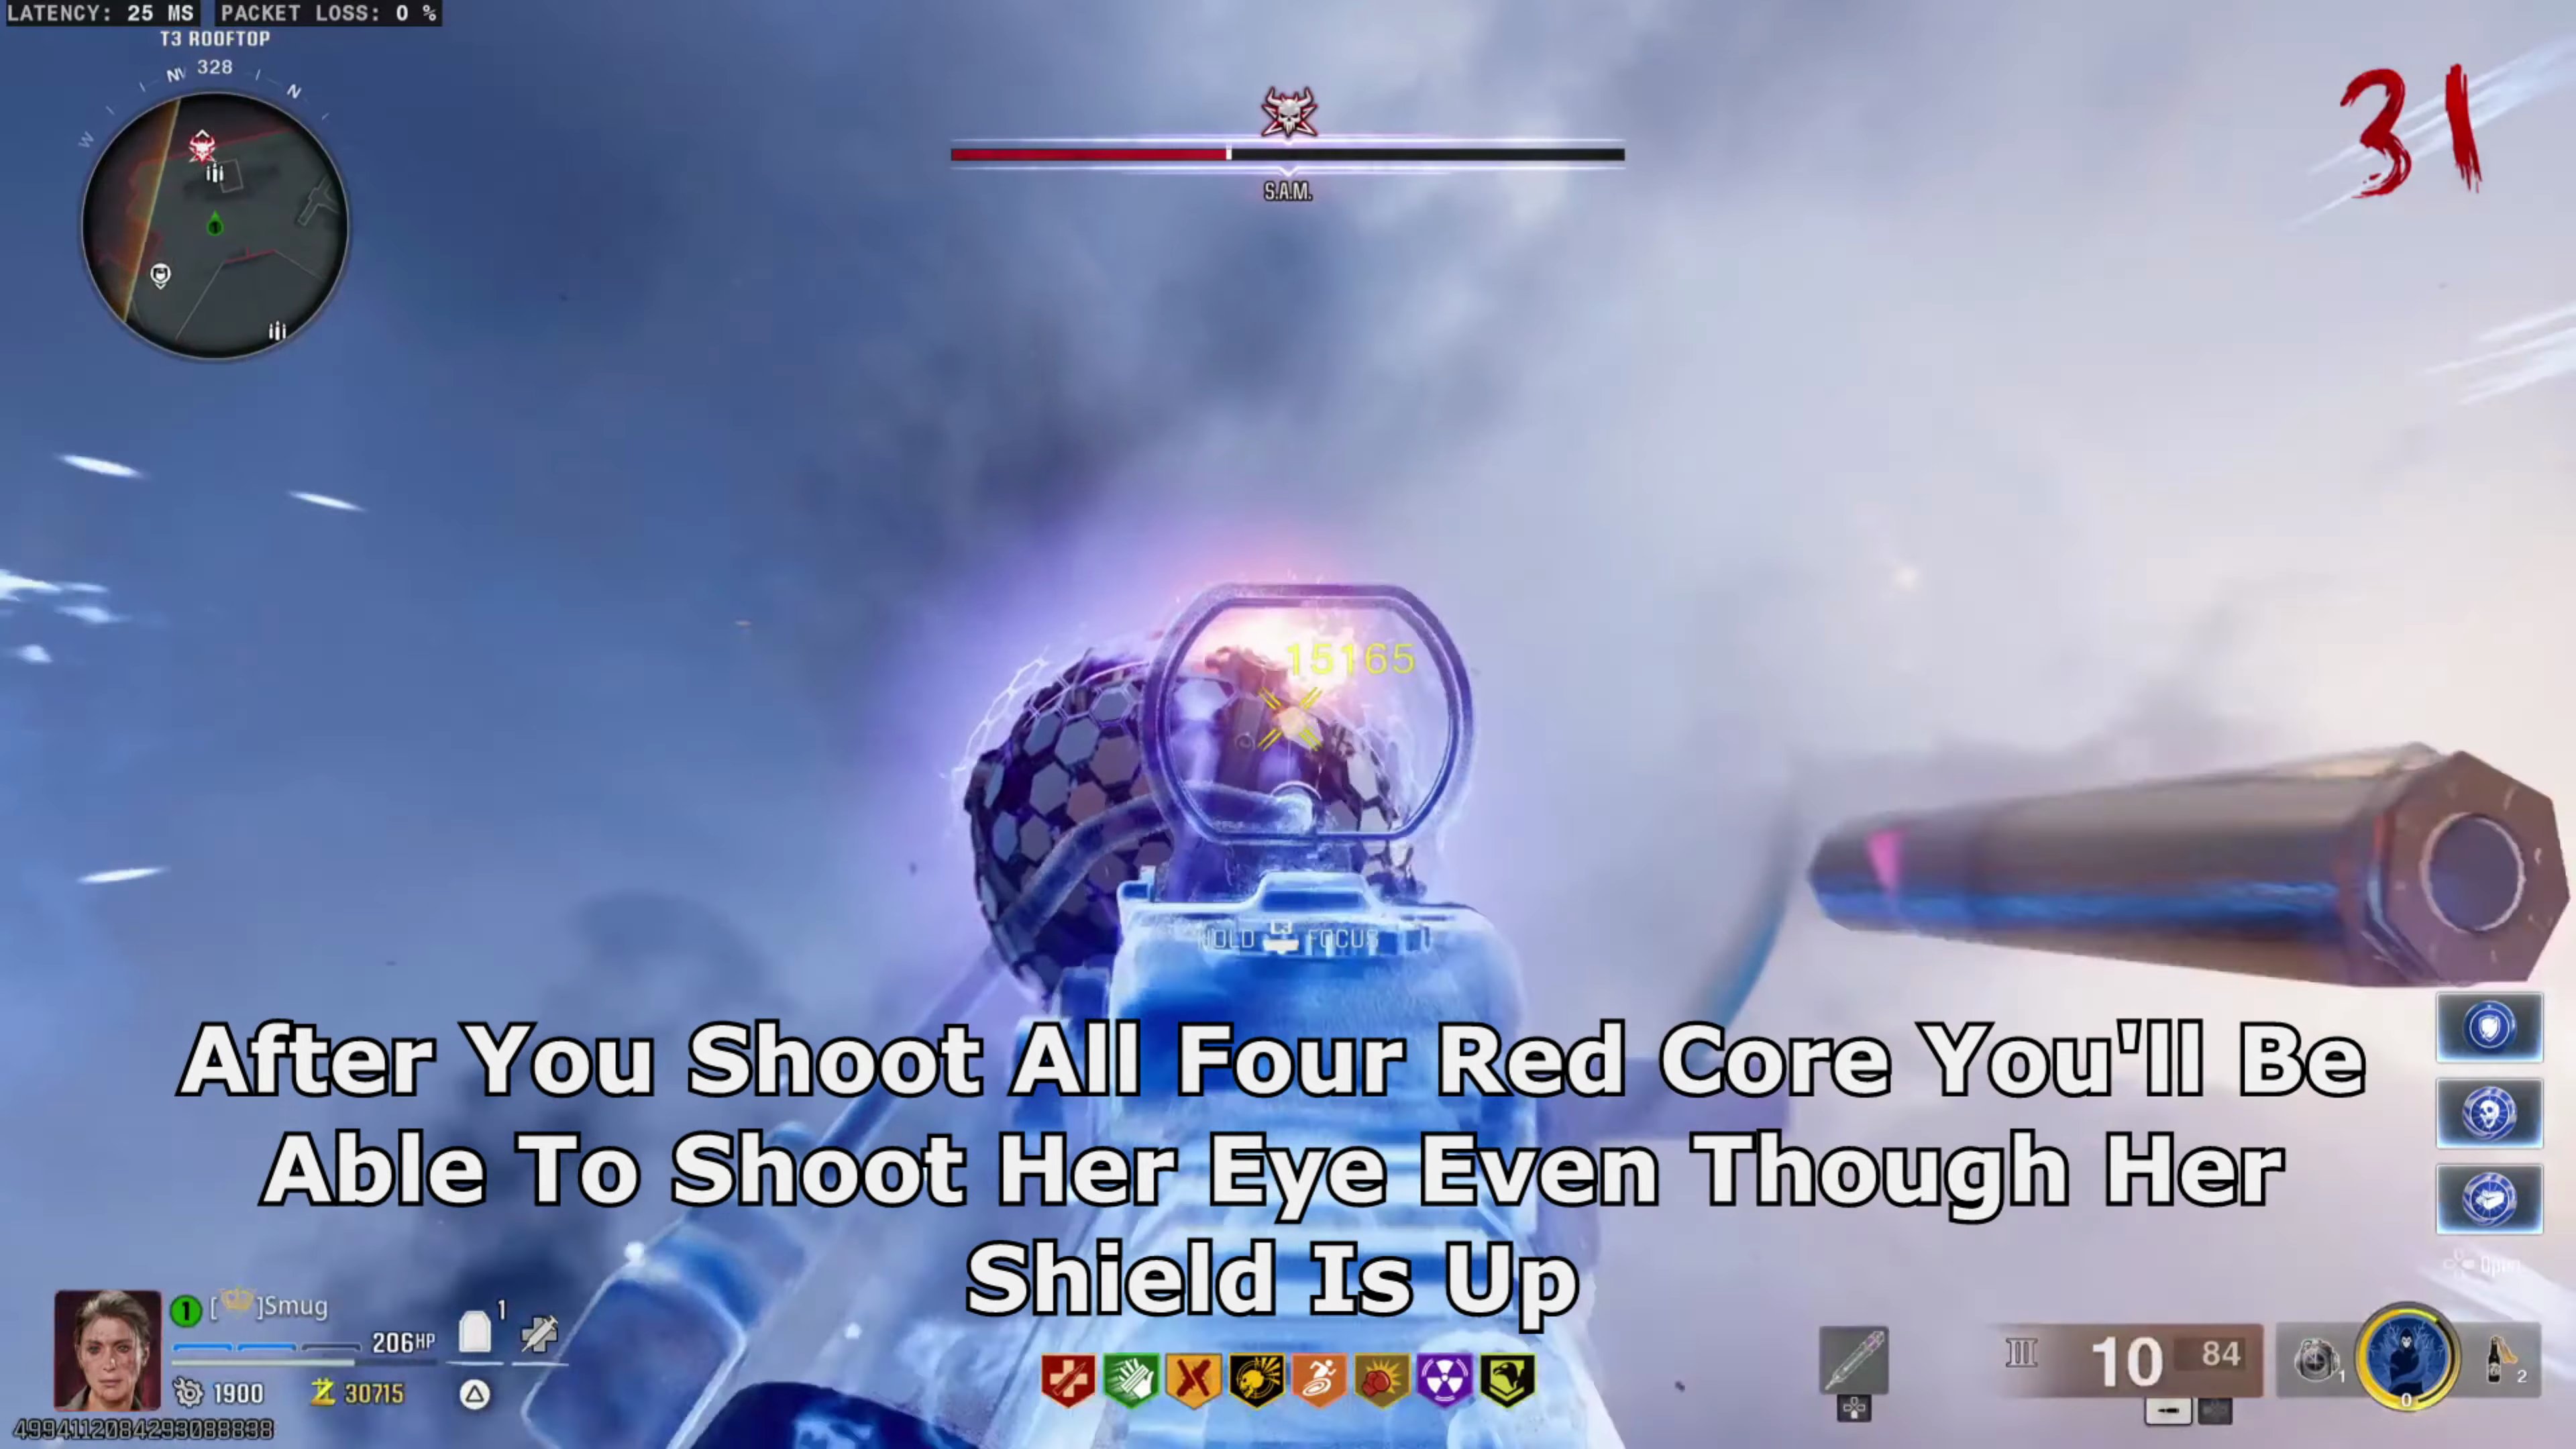
- For the S.A.M. Bossfight, there are a couple of openings for attacking her. One is right after her laser attack (you have to shoot her four red cores to expose her eye).
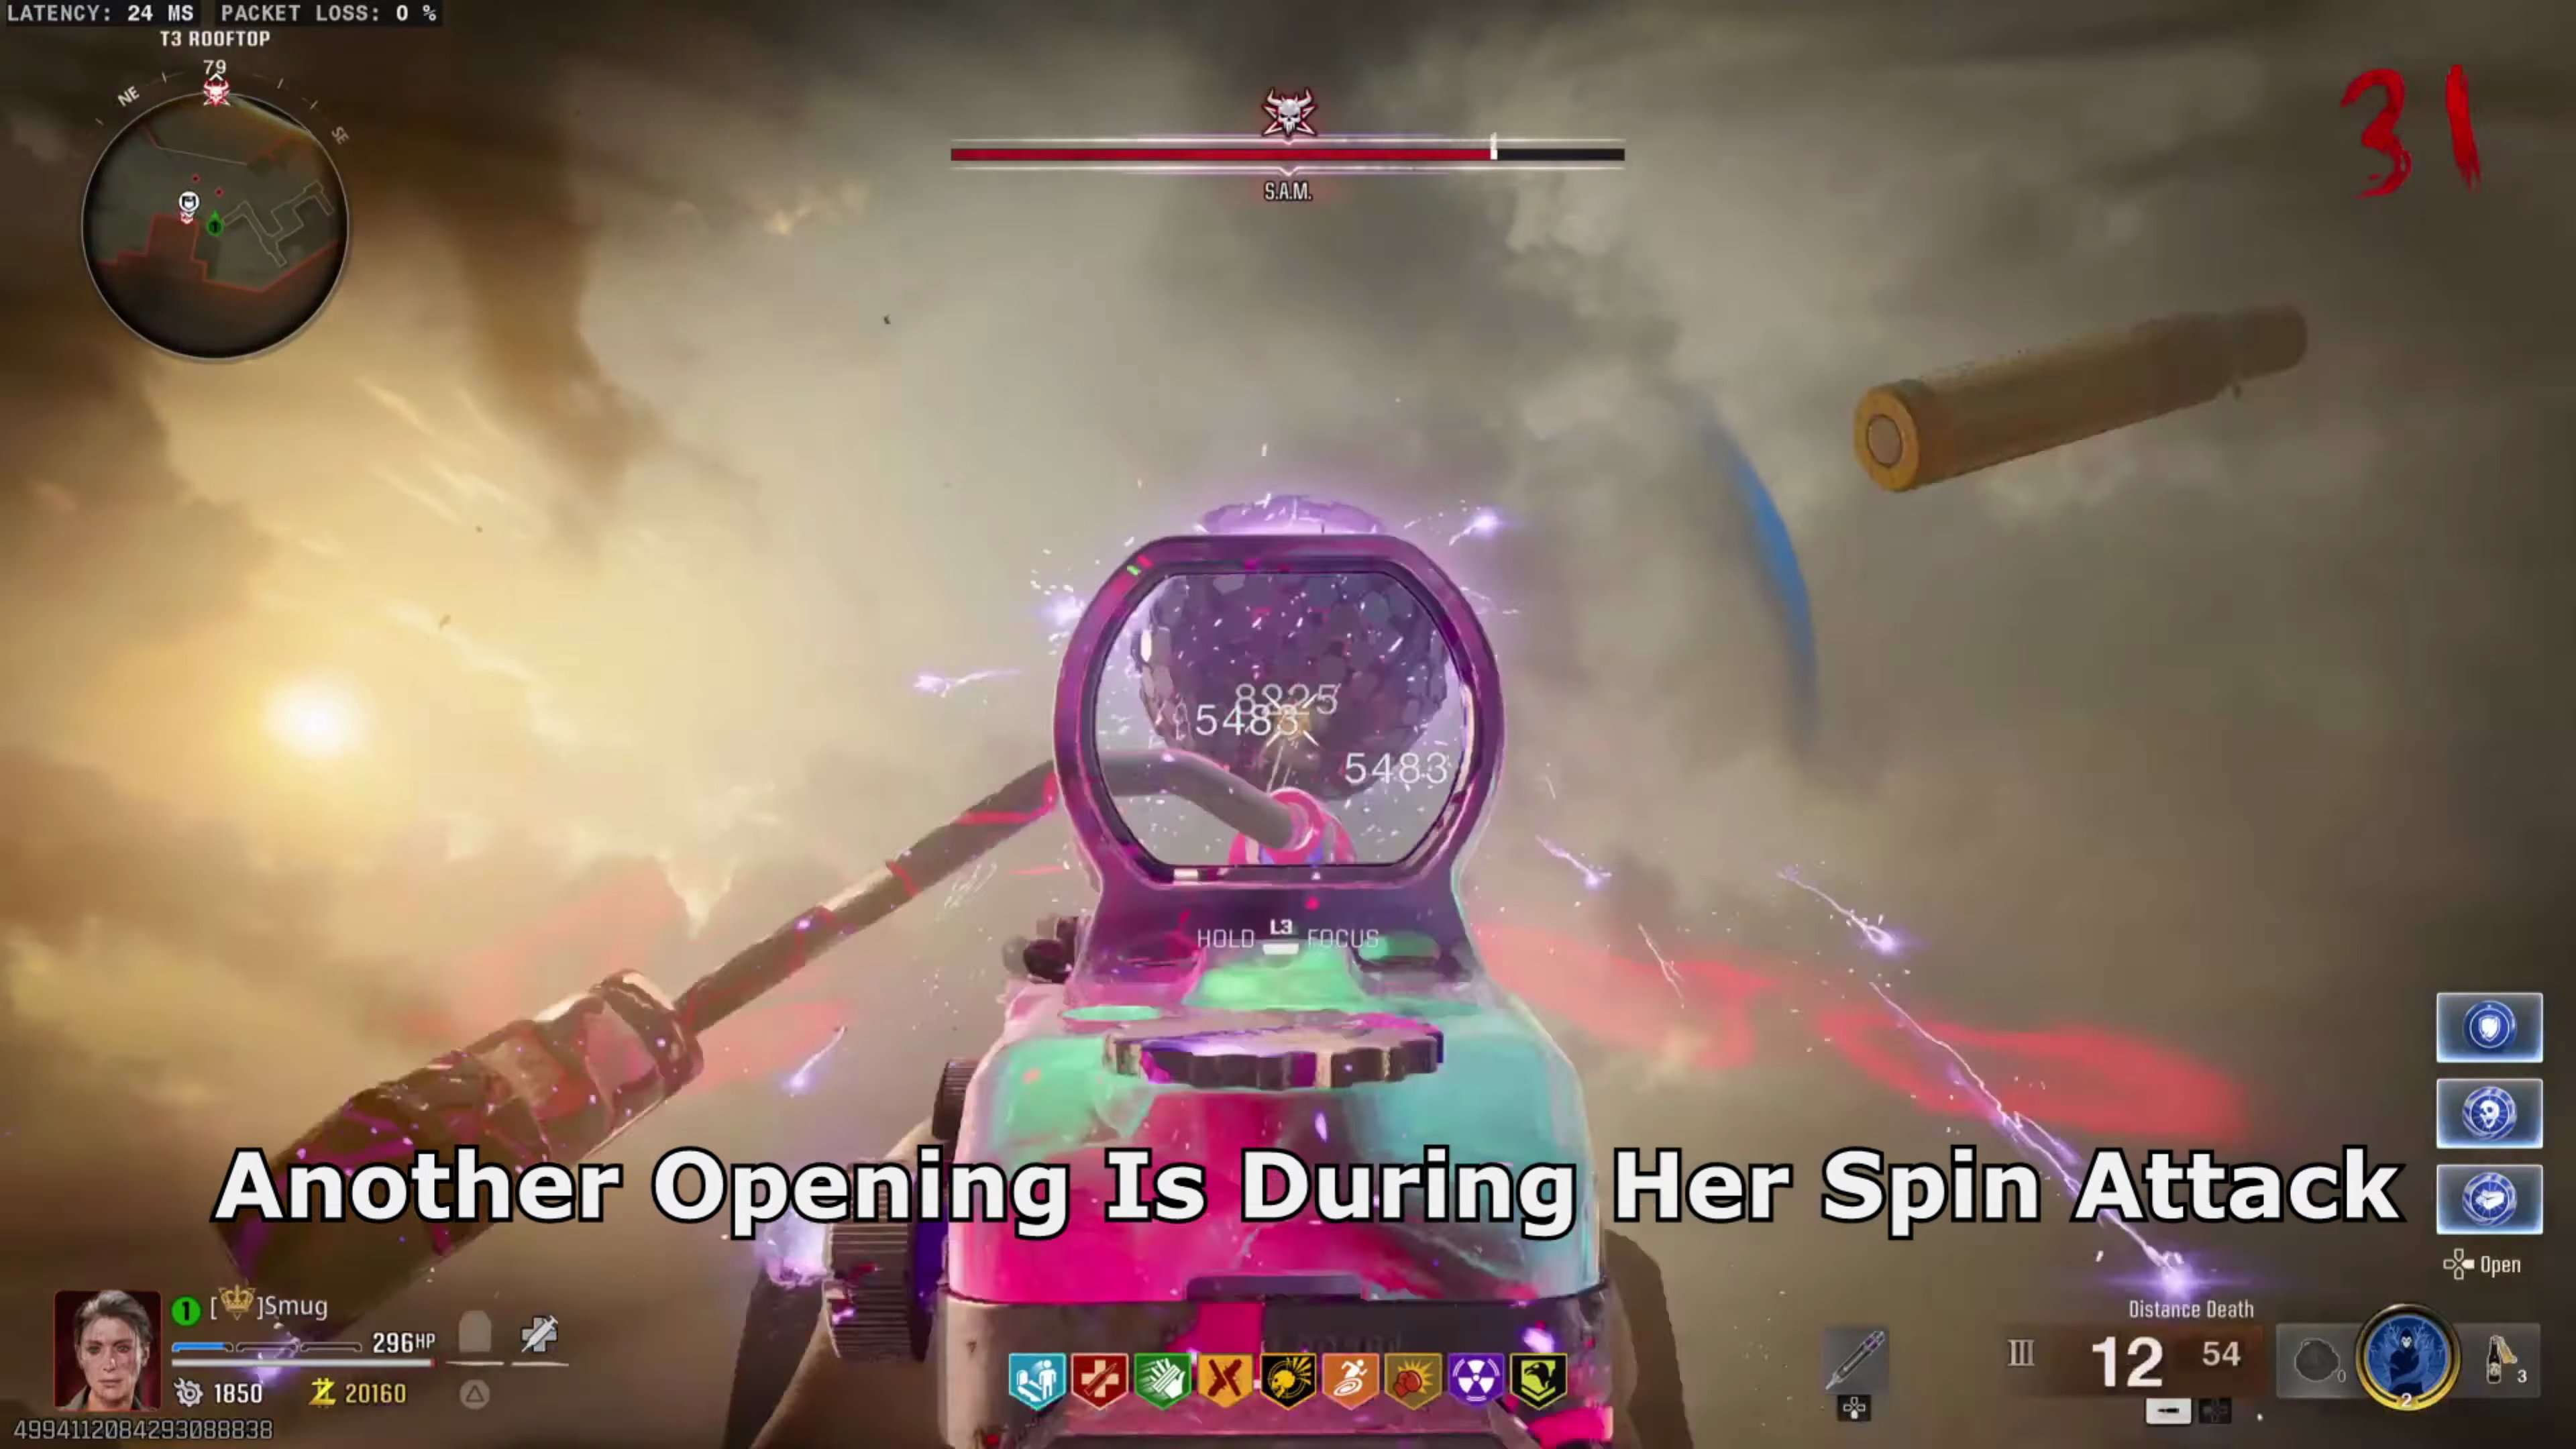
- Another opening is during her spin attack, but be sure to look out for her projectiles.
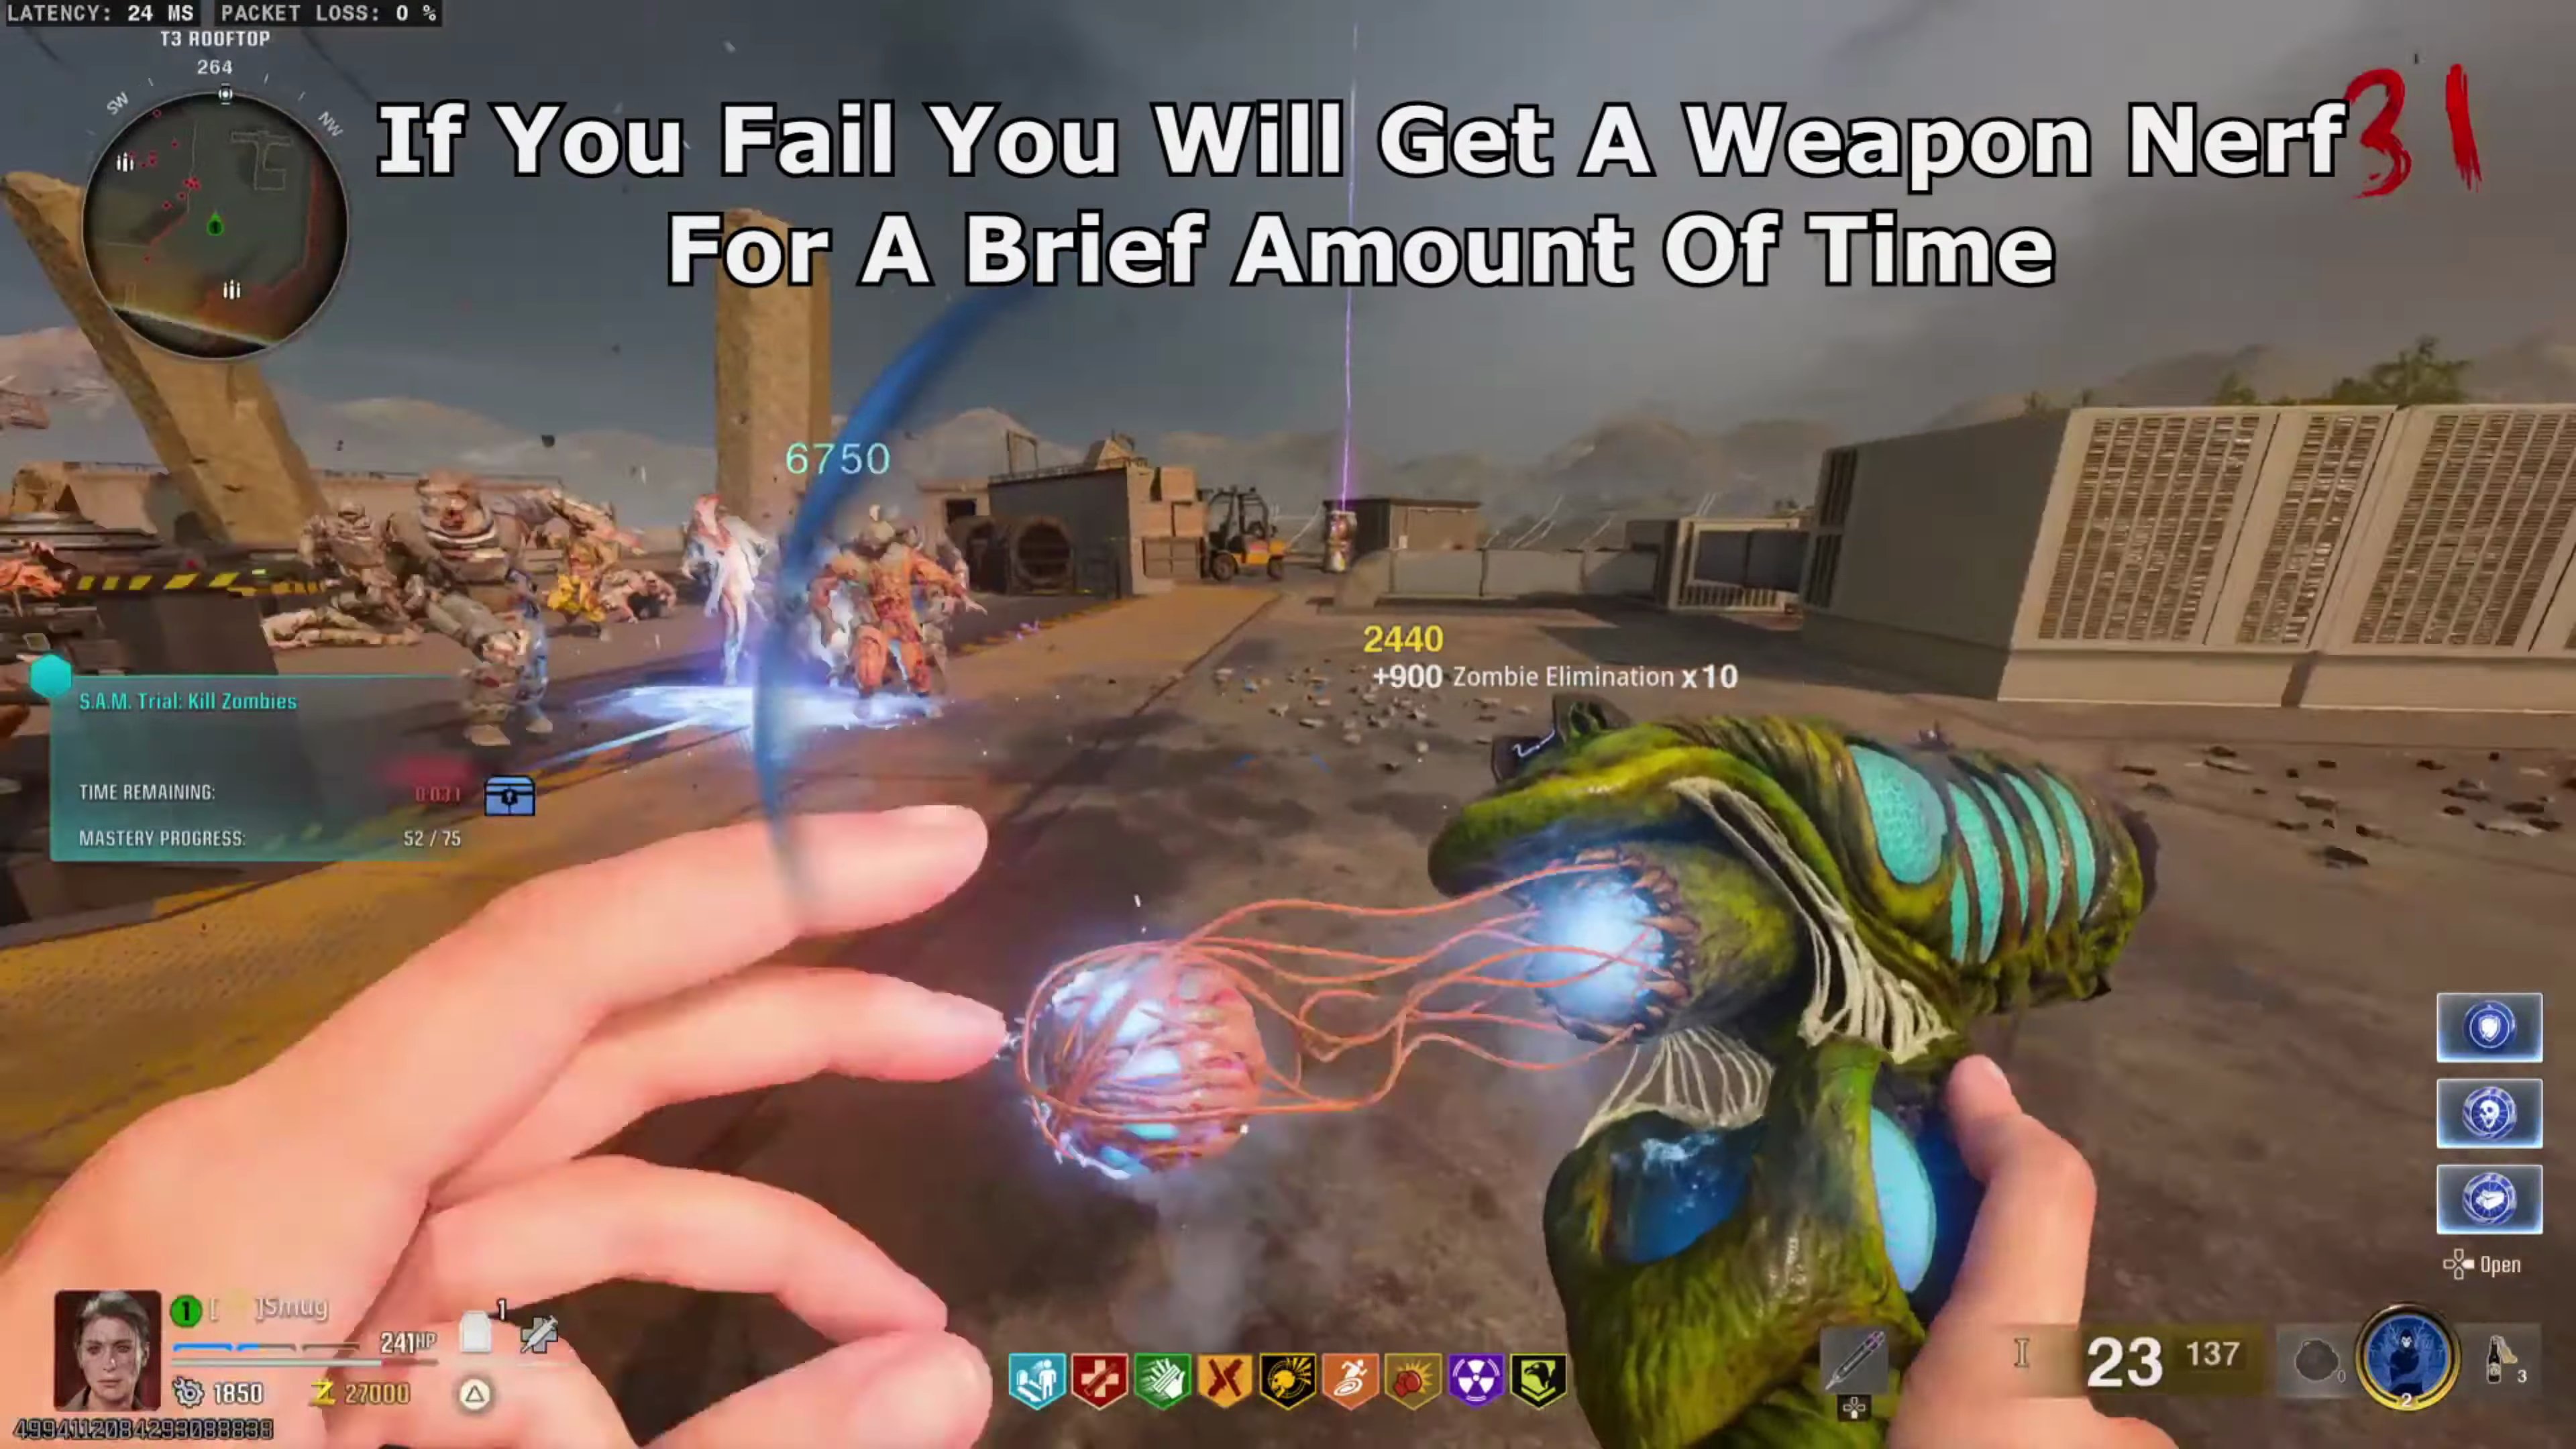
- After enough damage, she will start a trial. If you fail, you will get a weapon nerf for a brief amount of time.
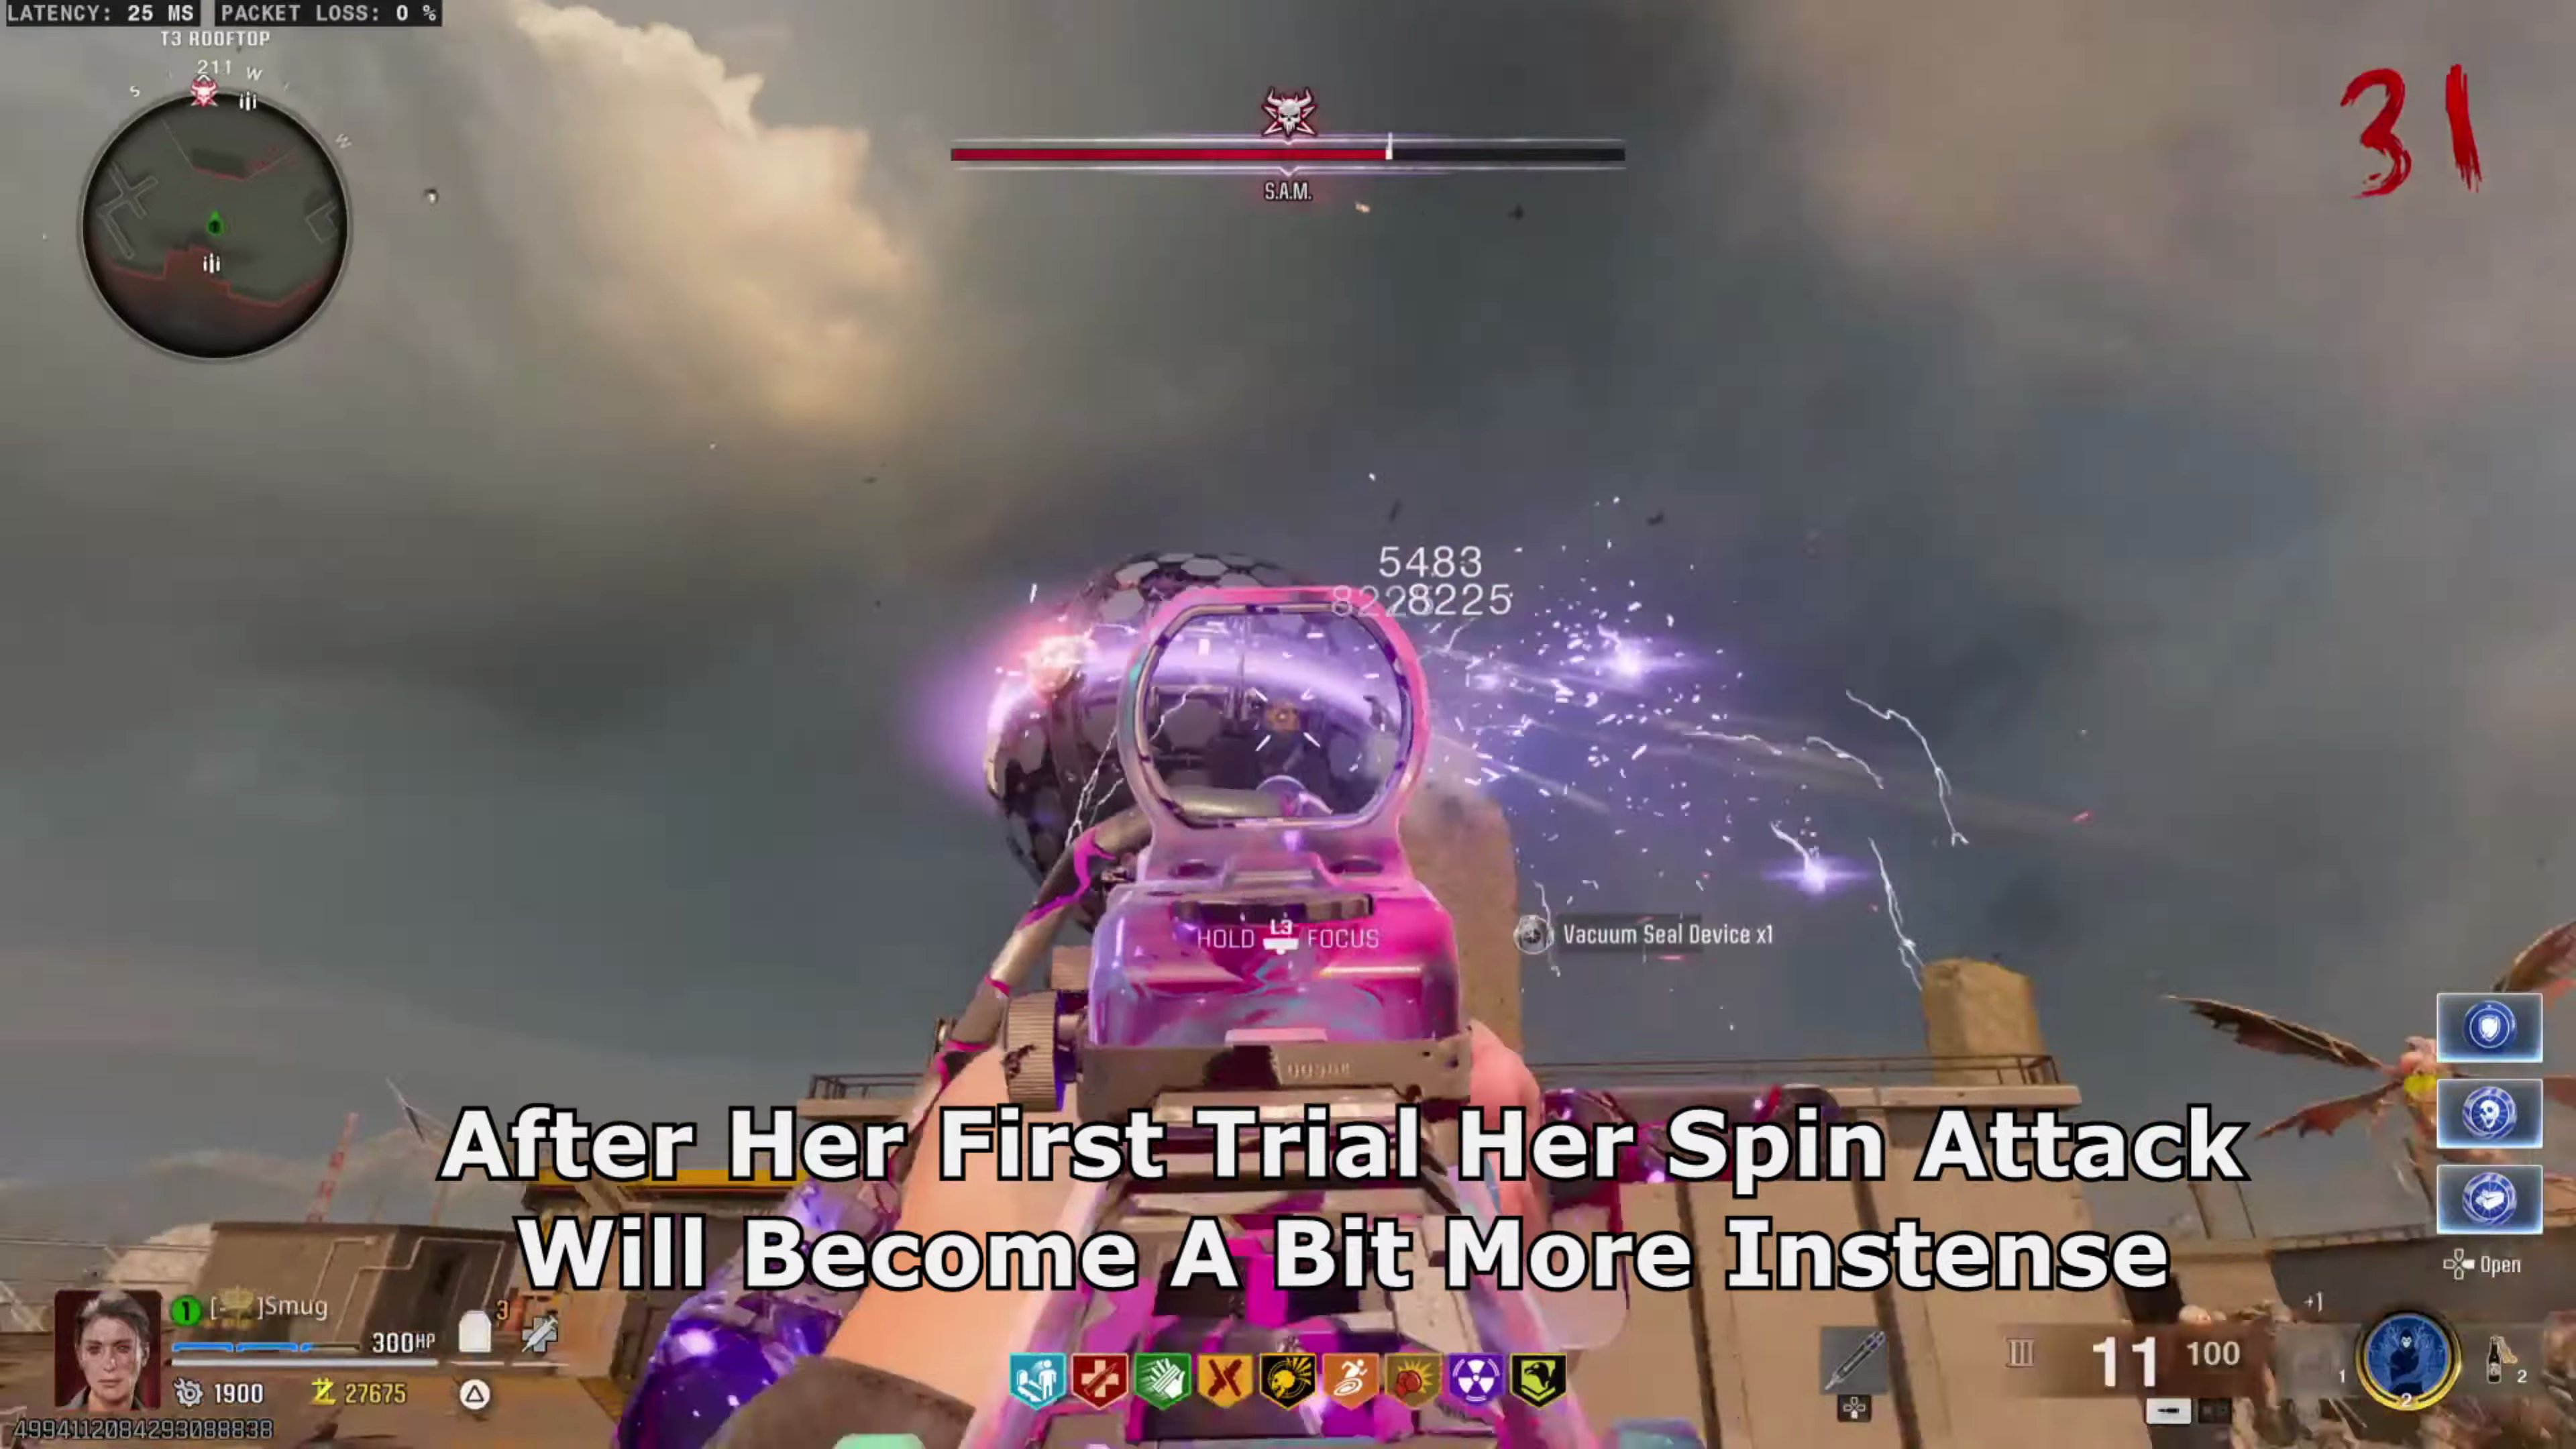
- After her first trial, her spin attack will become a bit more intense.
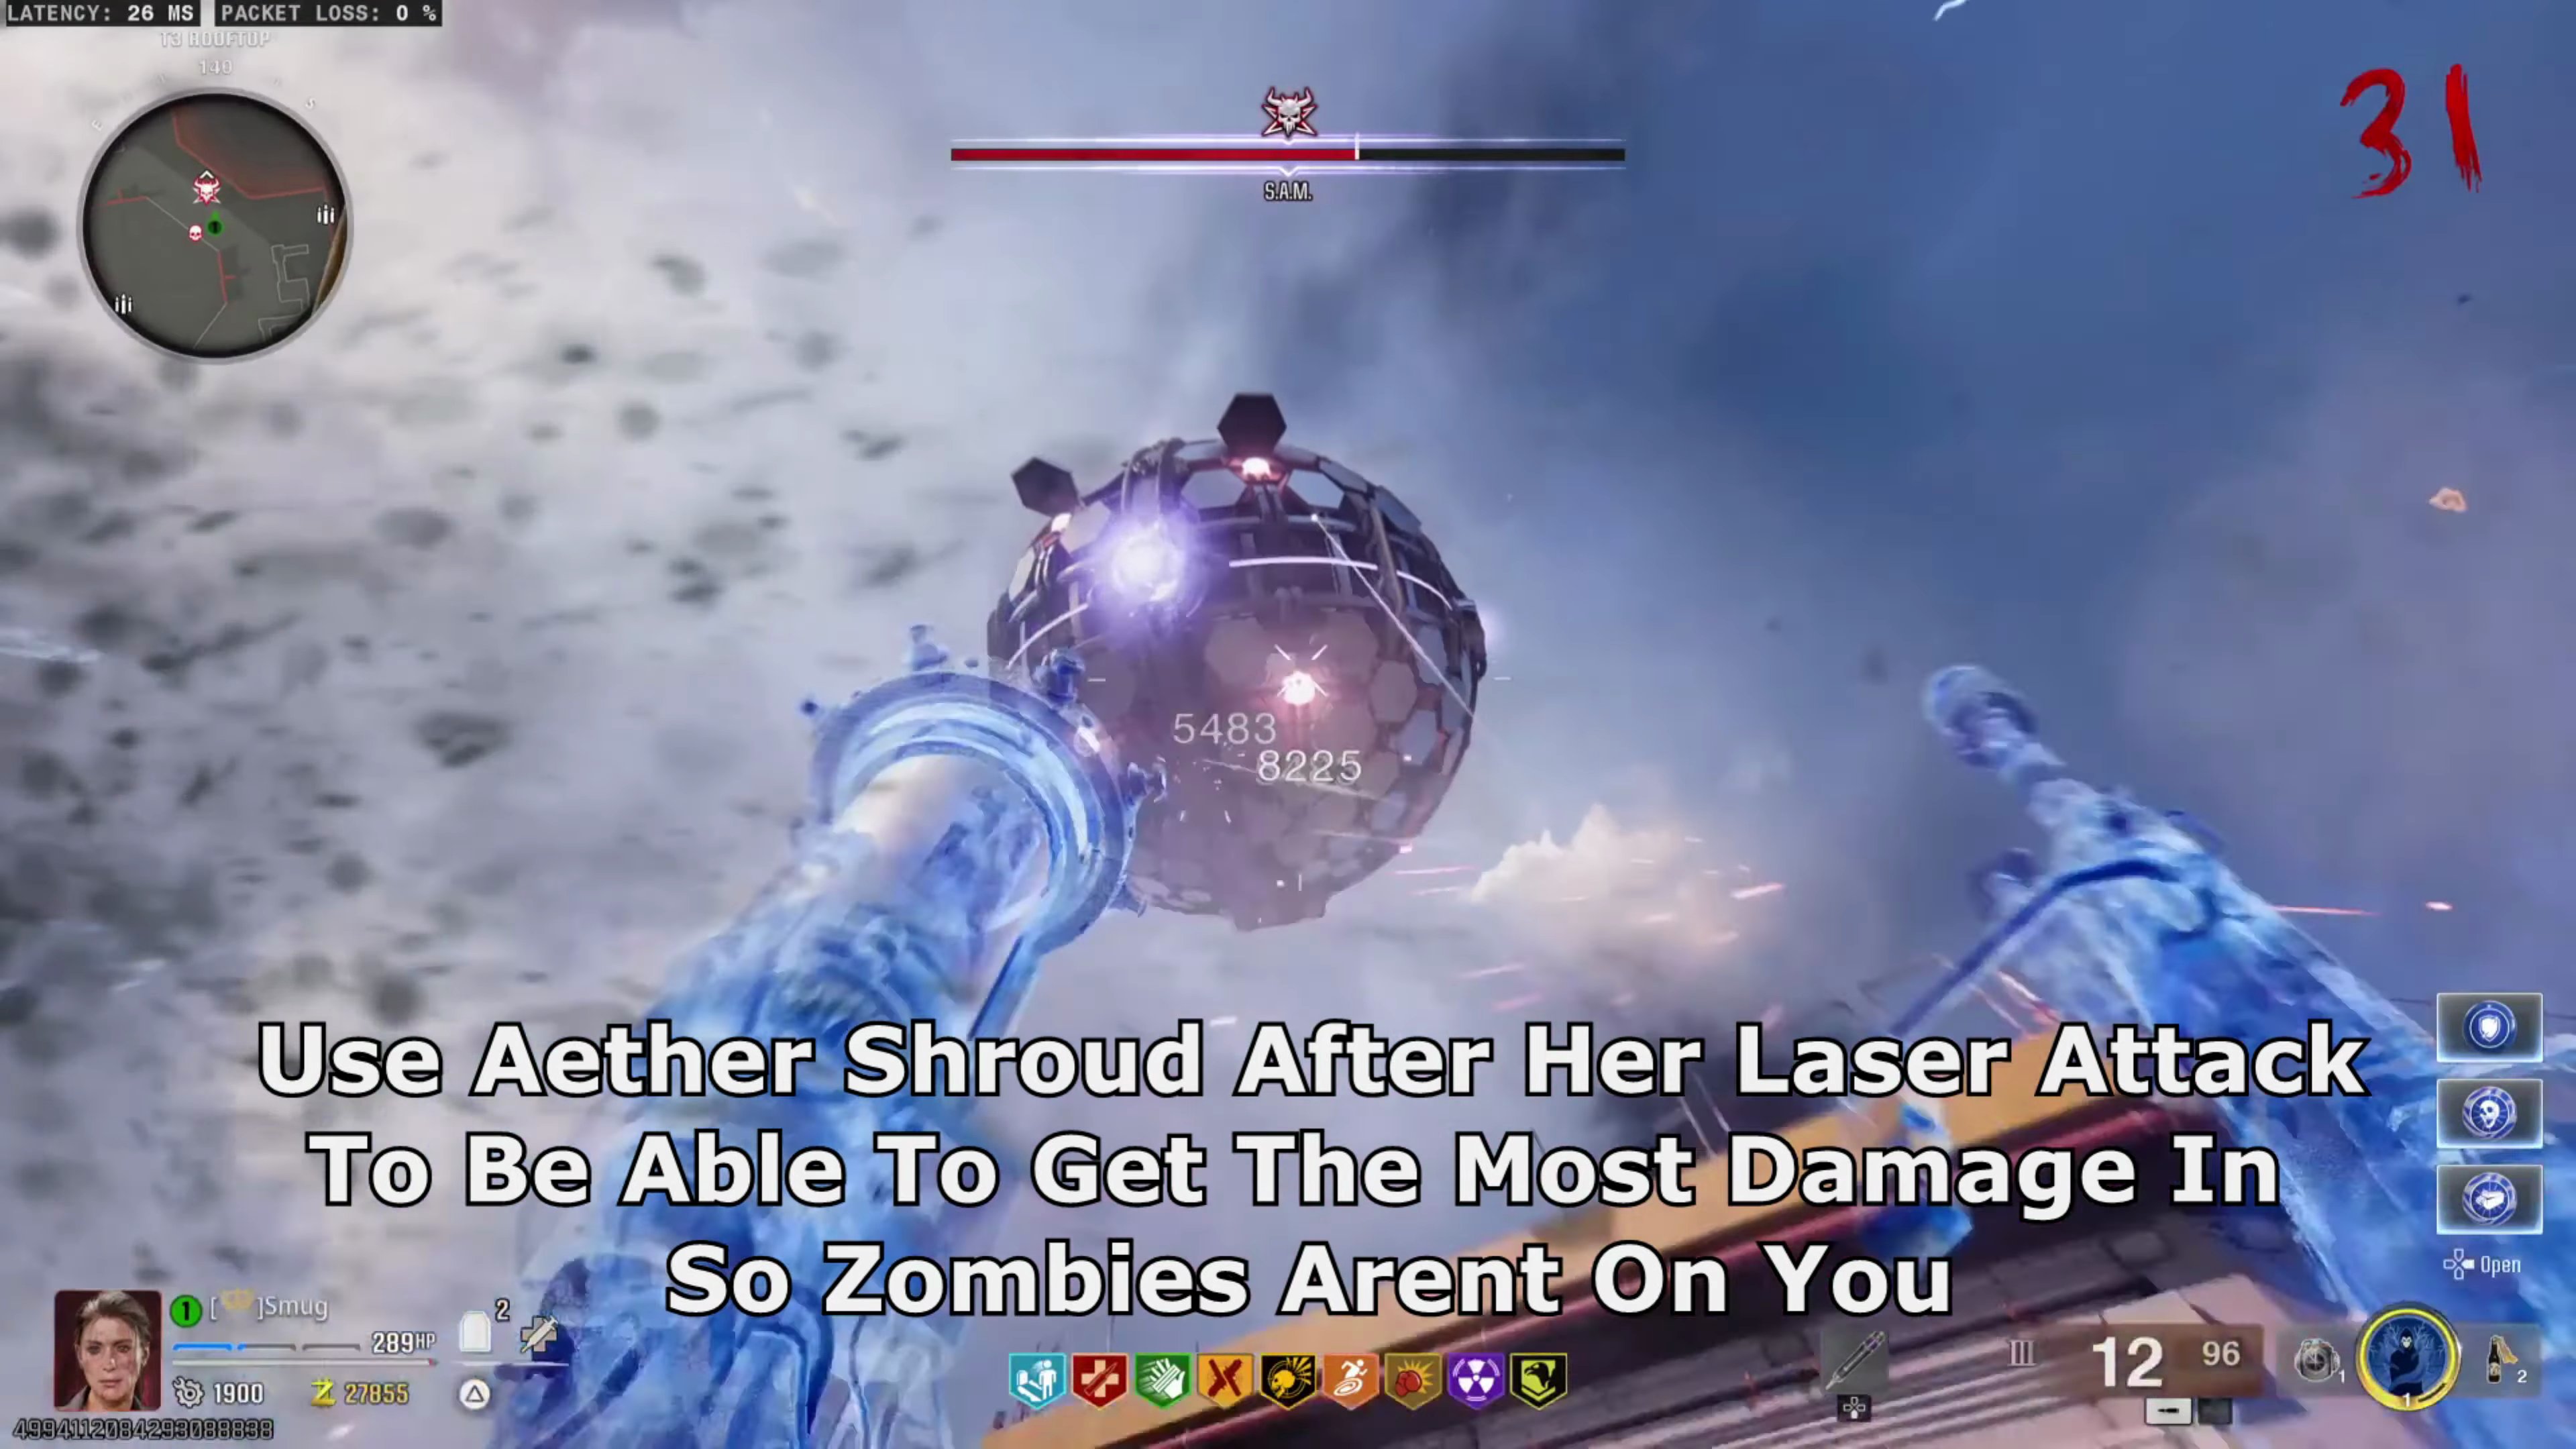
- Use Aether Shroud after her laser attack to be able to get the most damage in, so zombies aren't on you.
- After you shoot all four red cores, you'll be able to shoot her eye even though her shield is up.
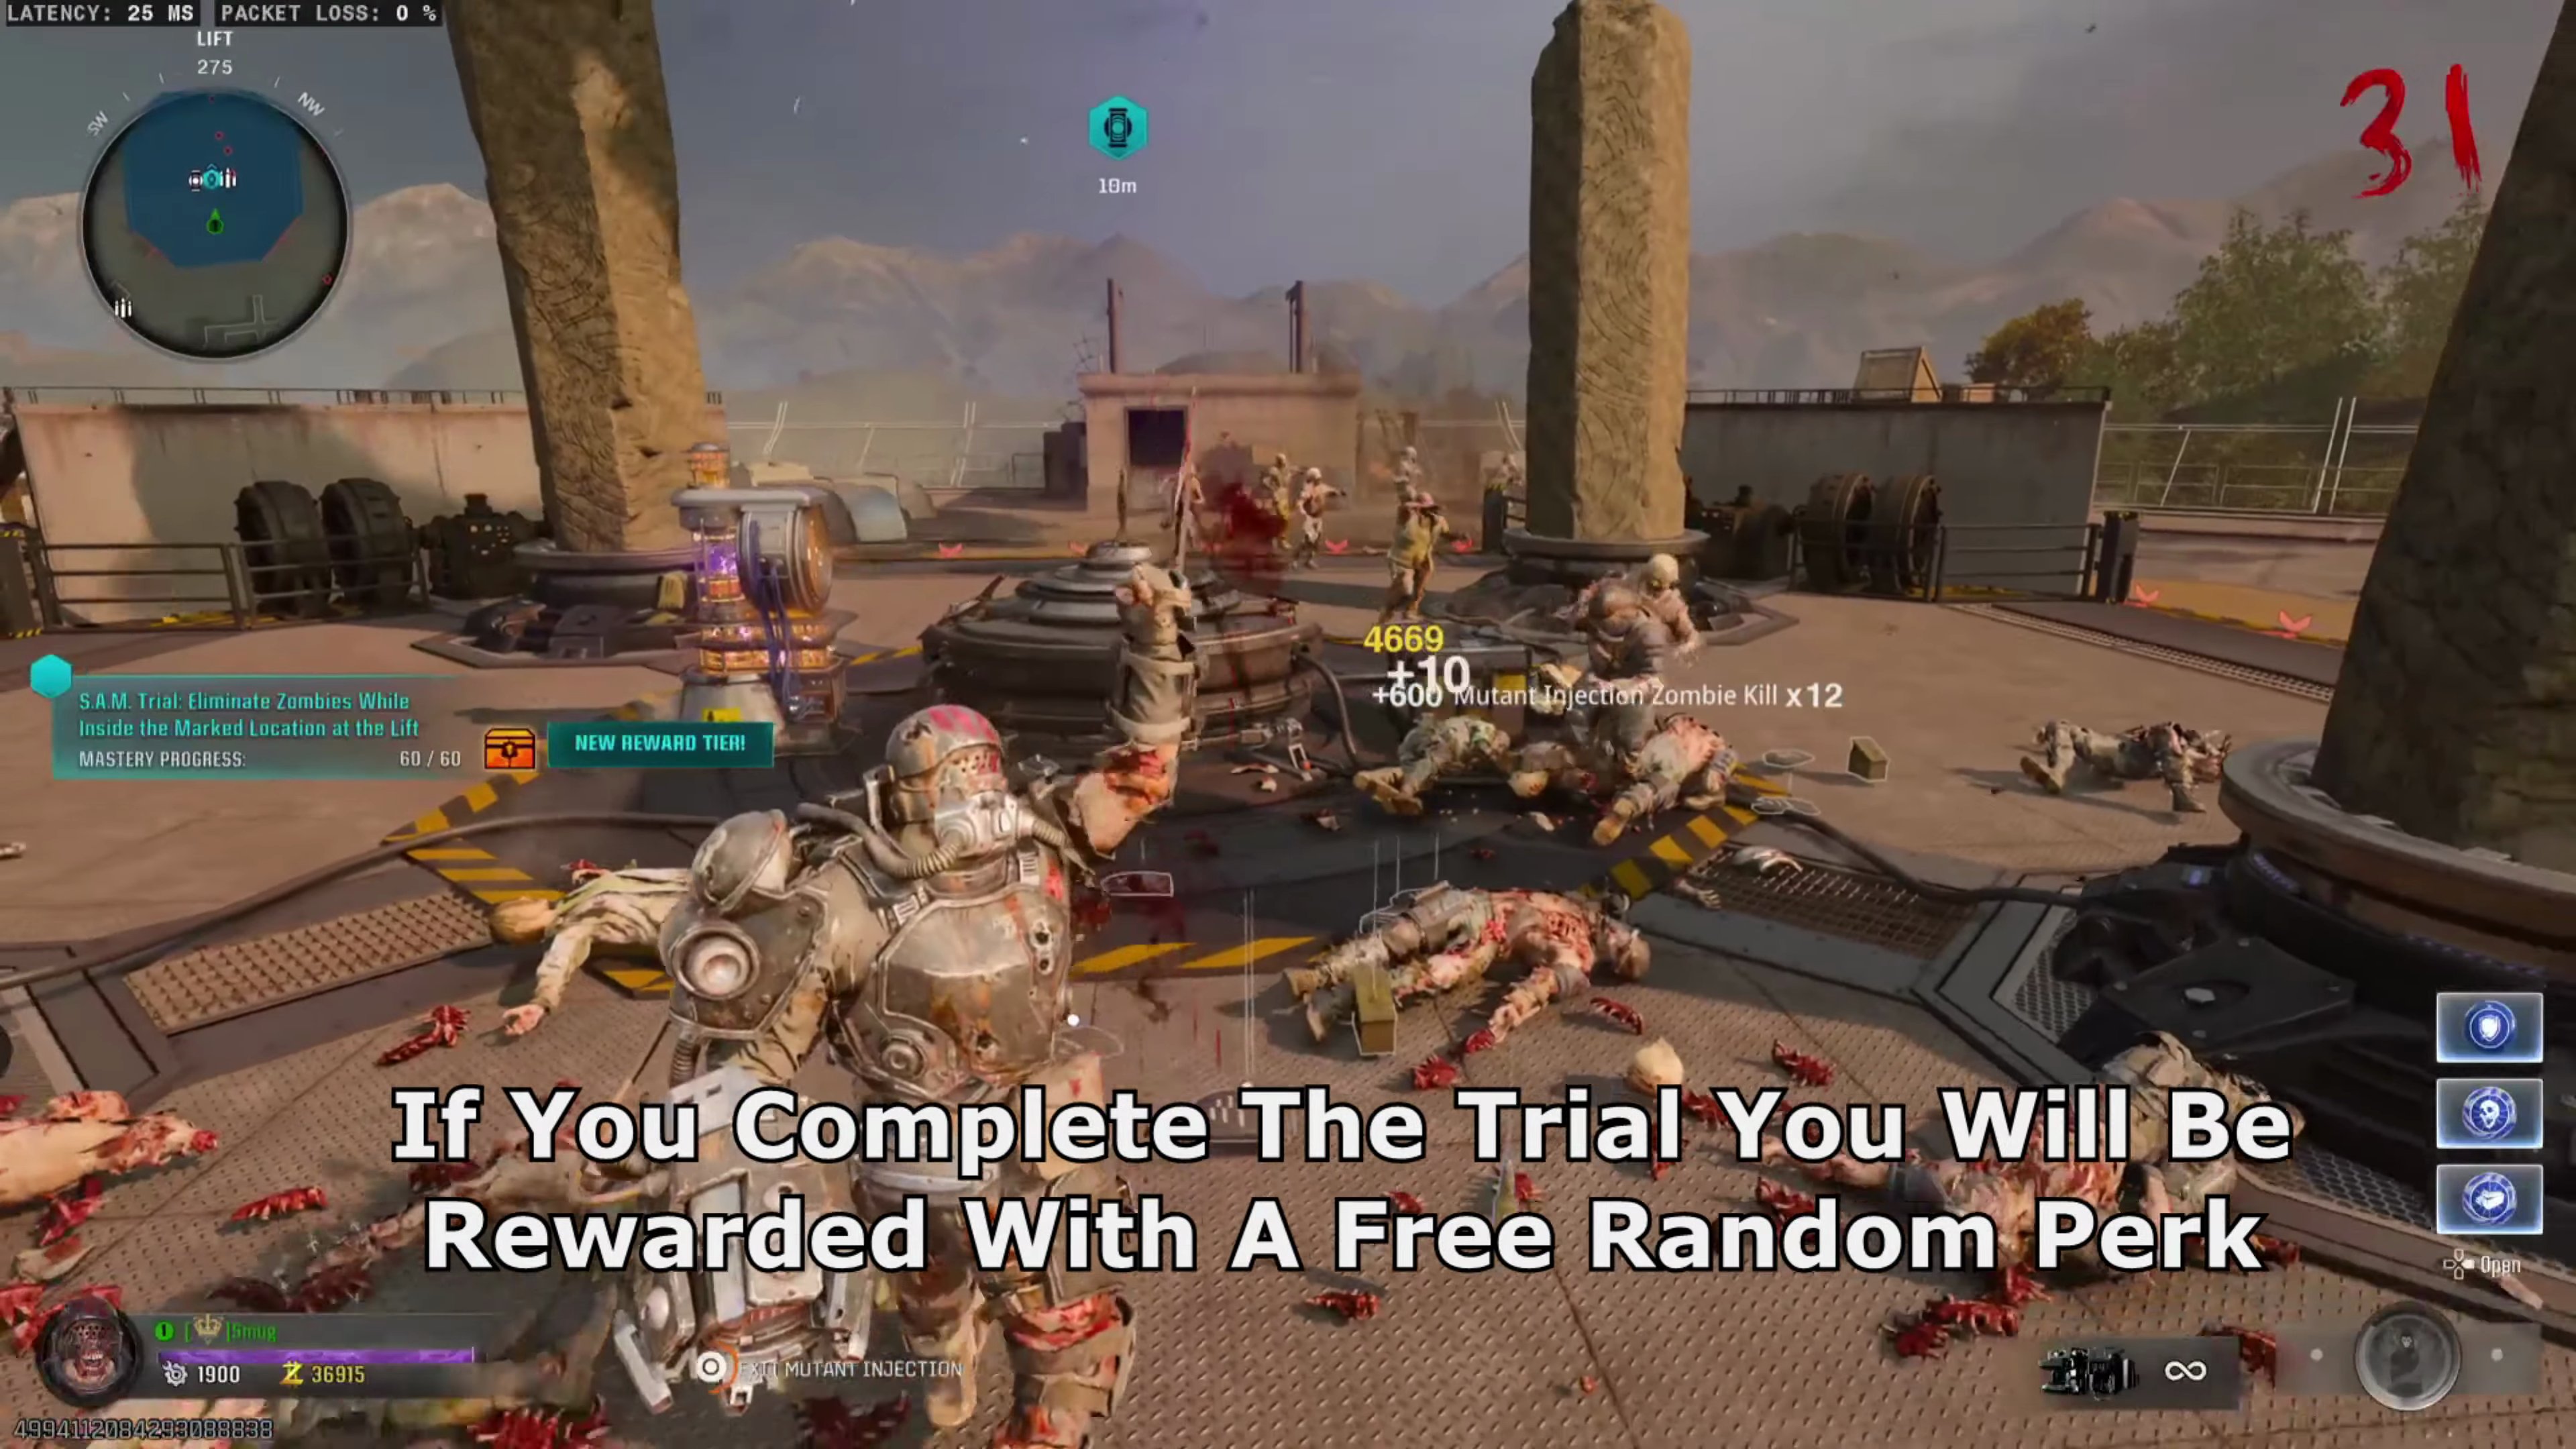
- Once Phase Two is complete, she will start another trial. If you complete the trial, you will be rewarded with a free random perk.
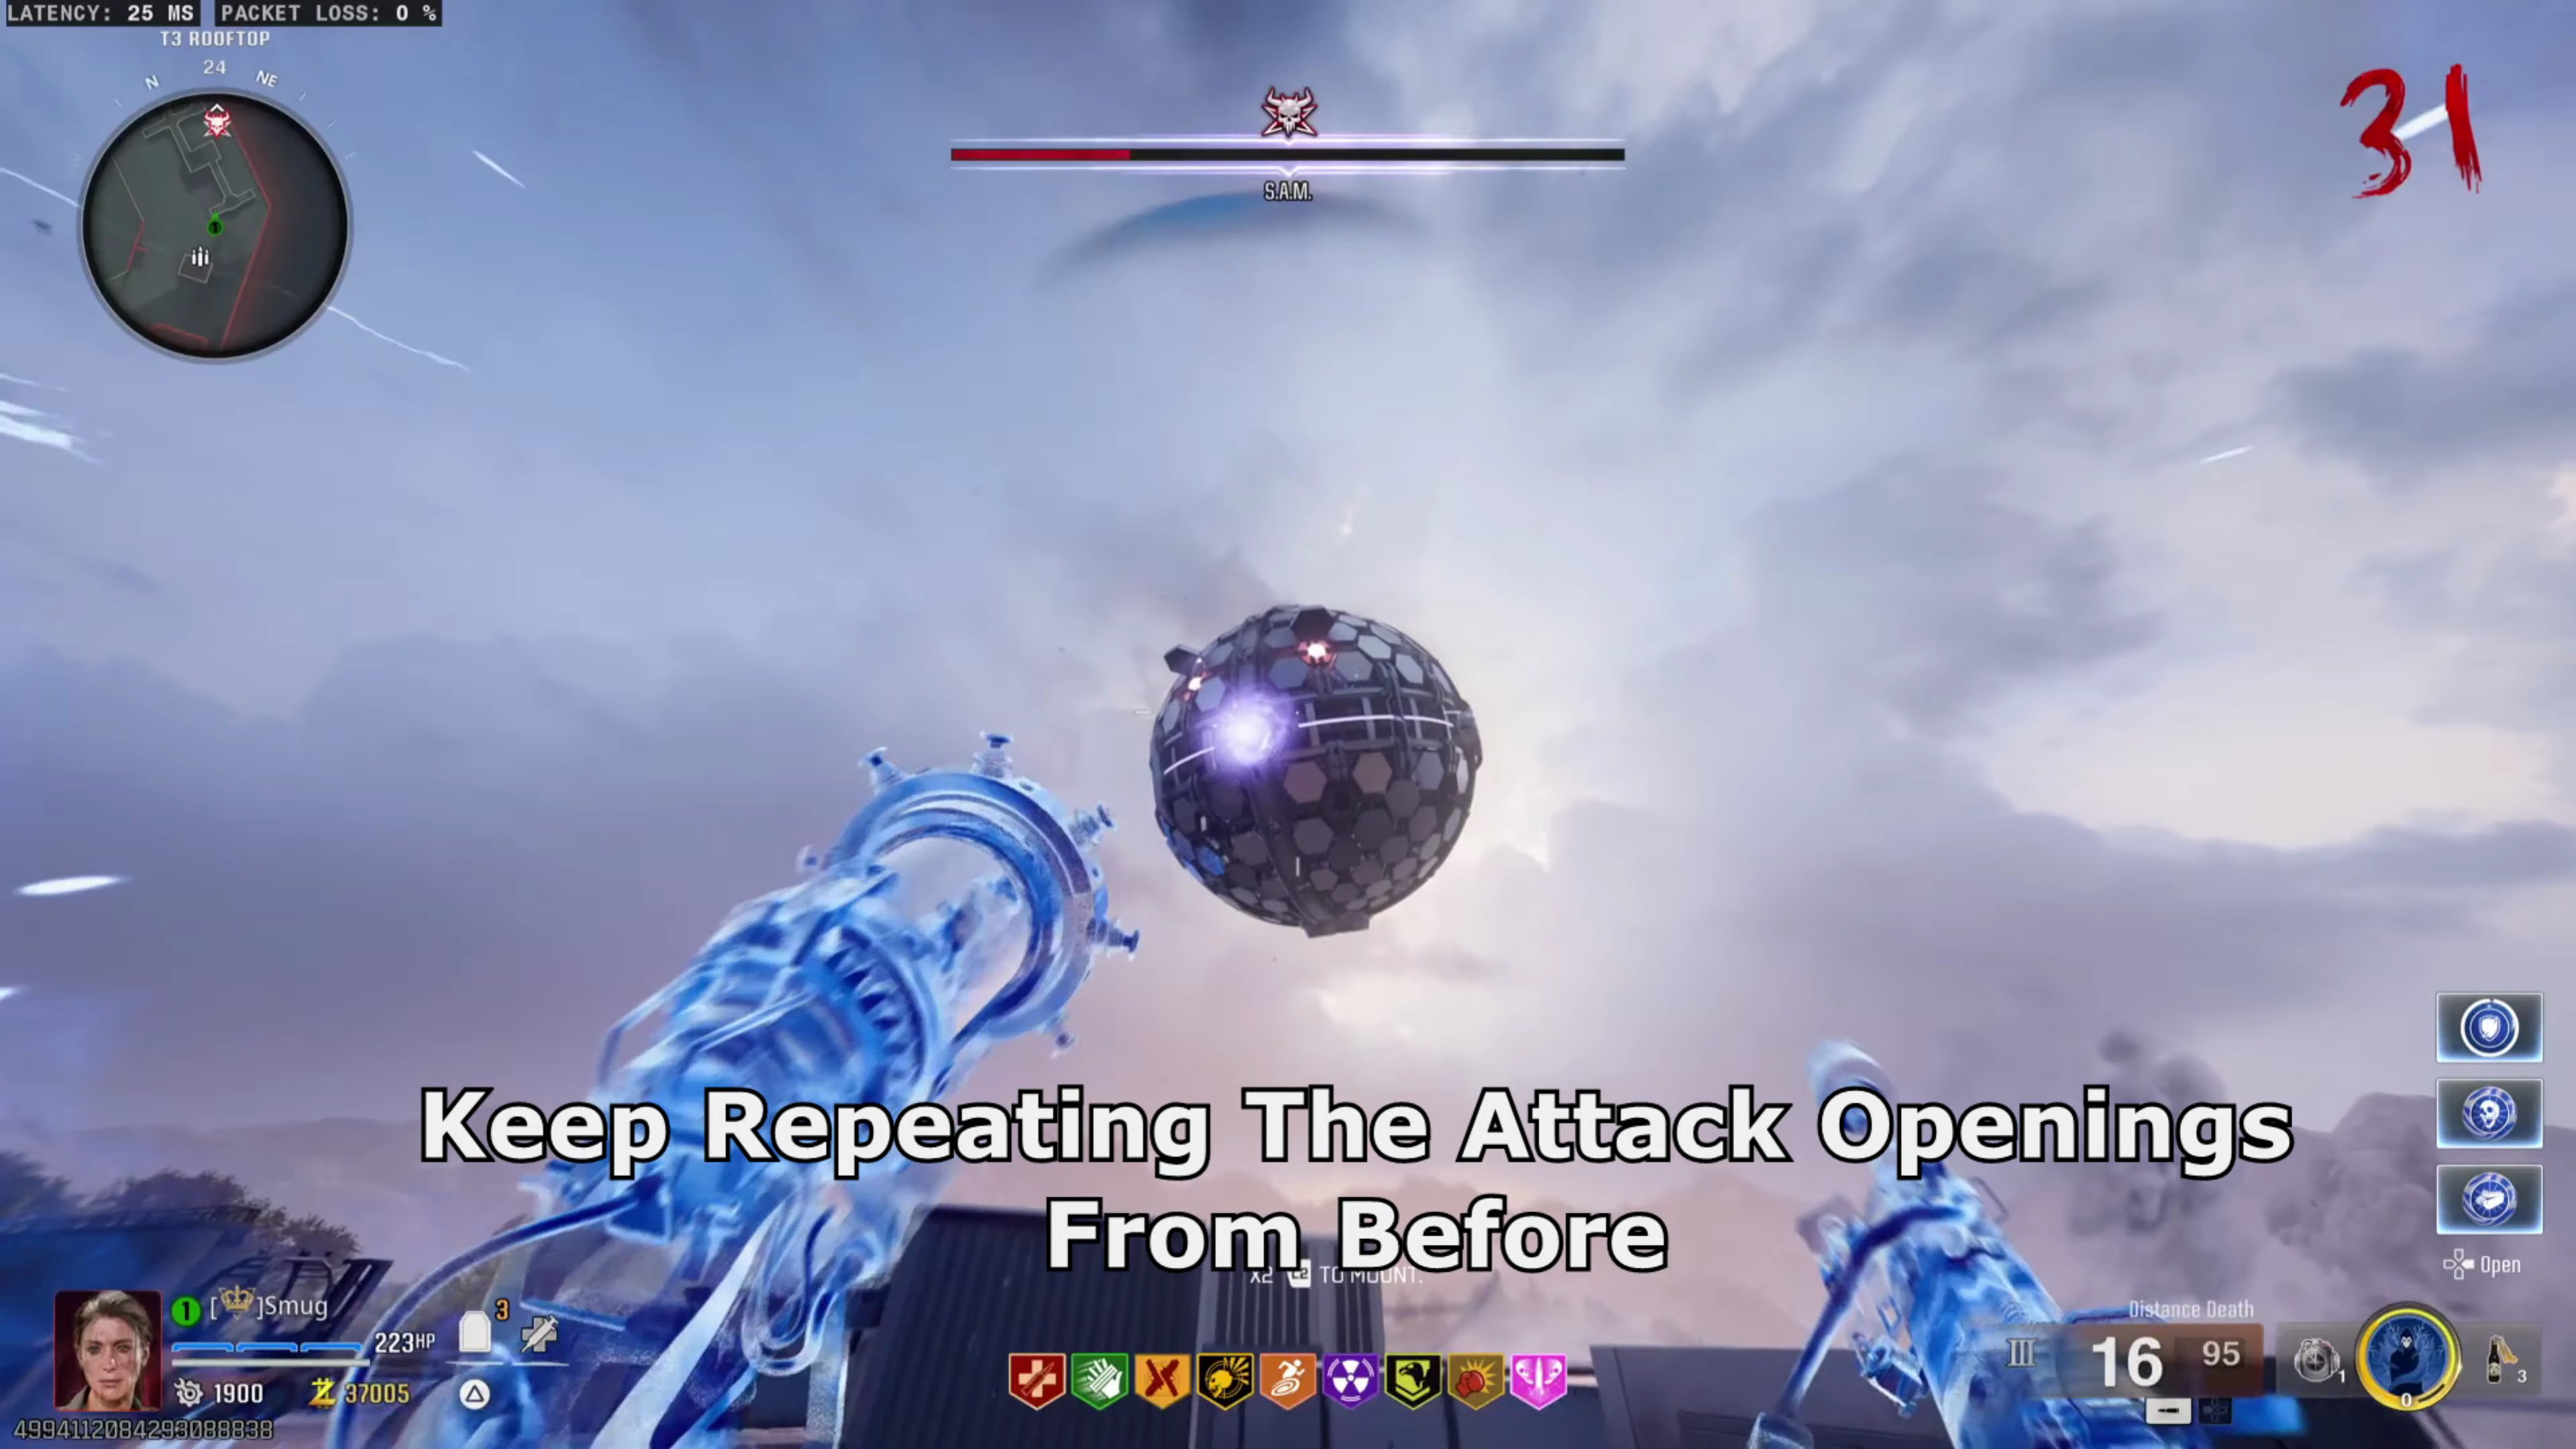
- Keep repeating the attack openings from before.
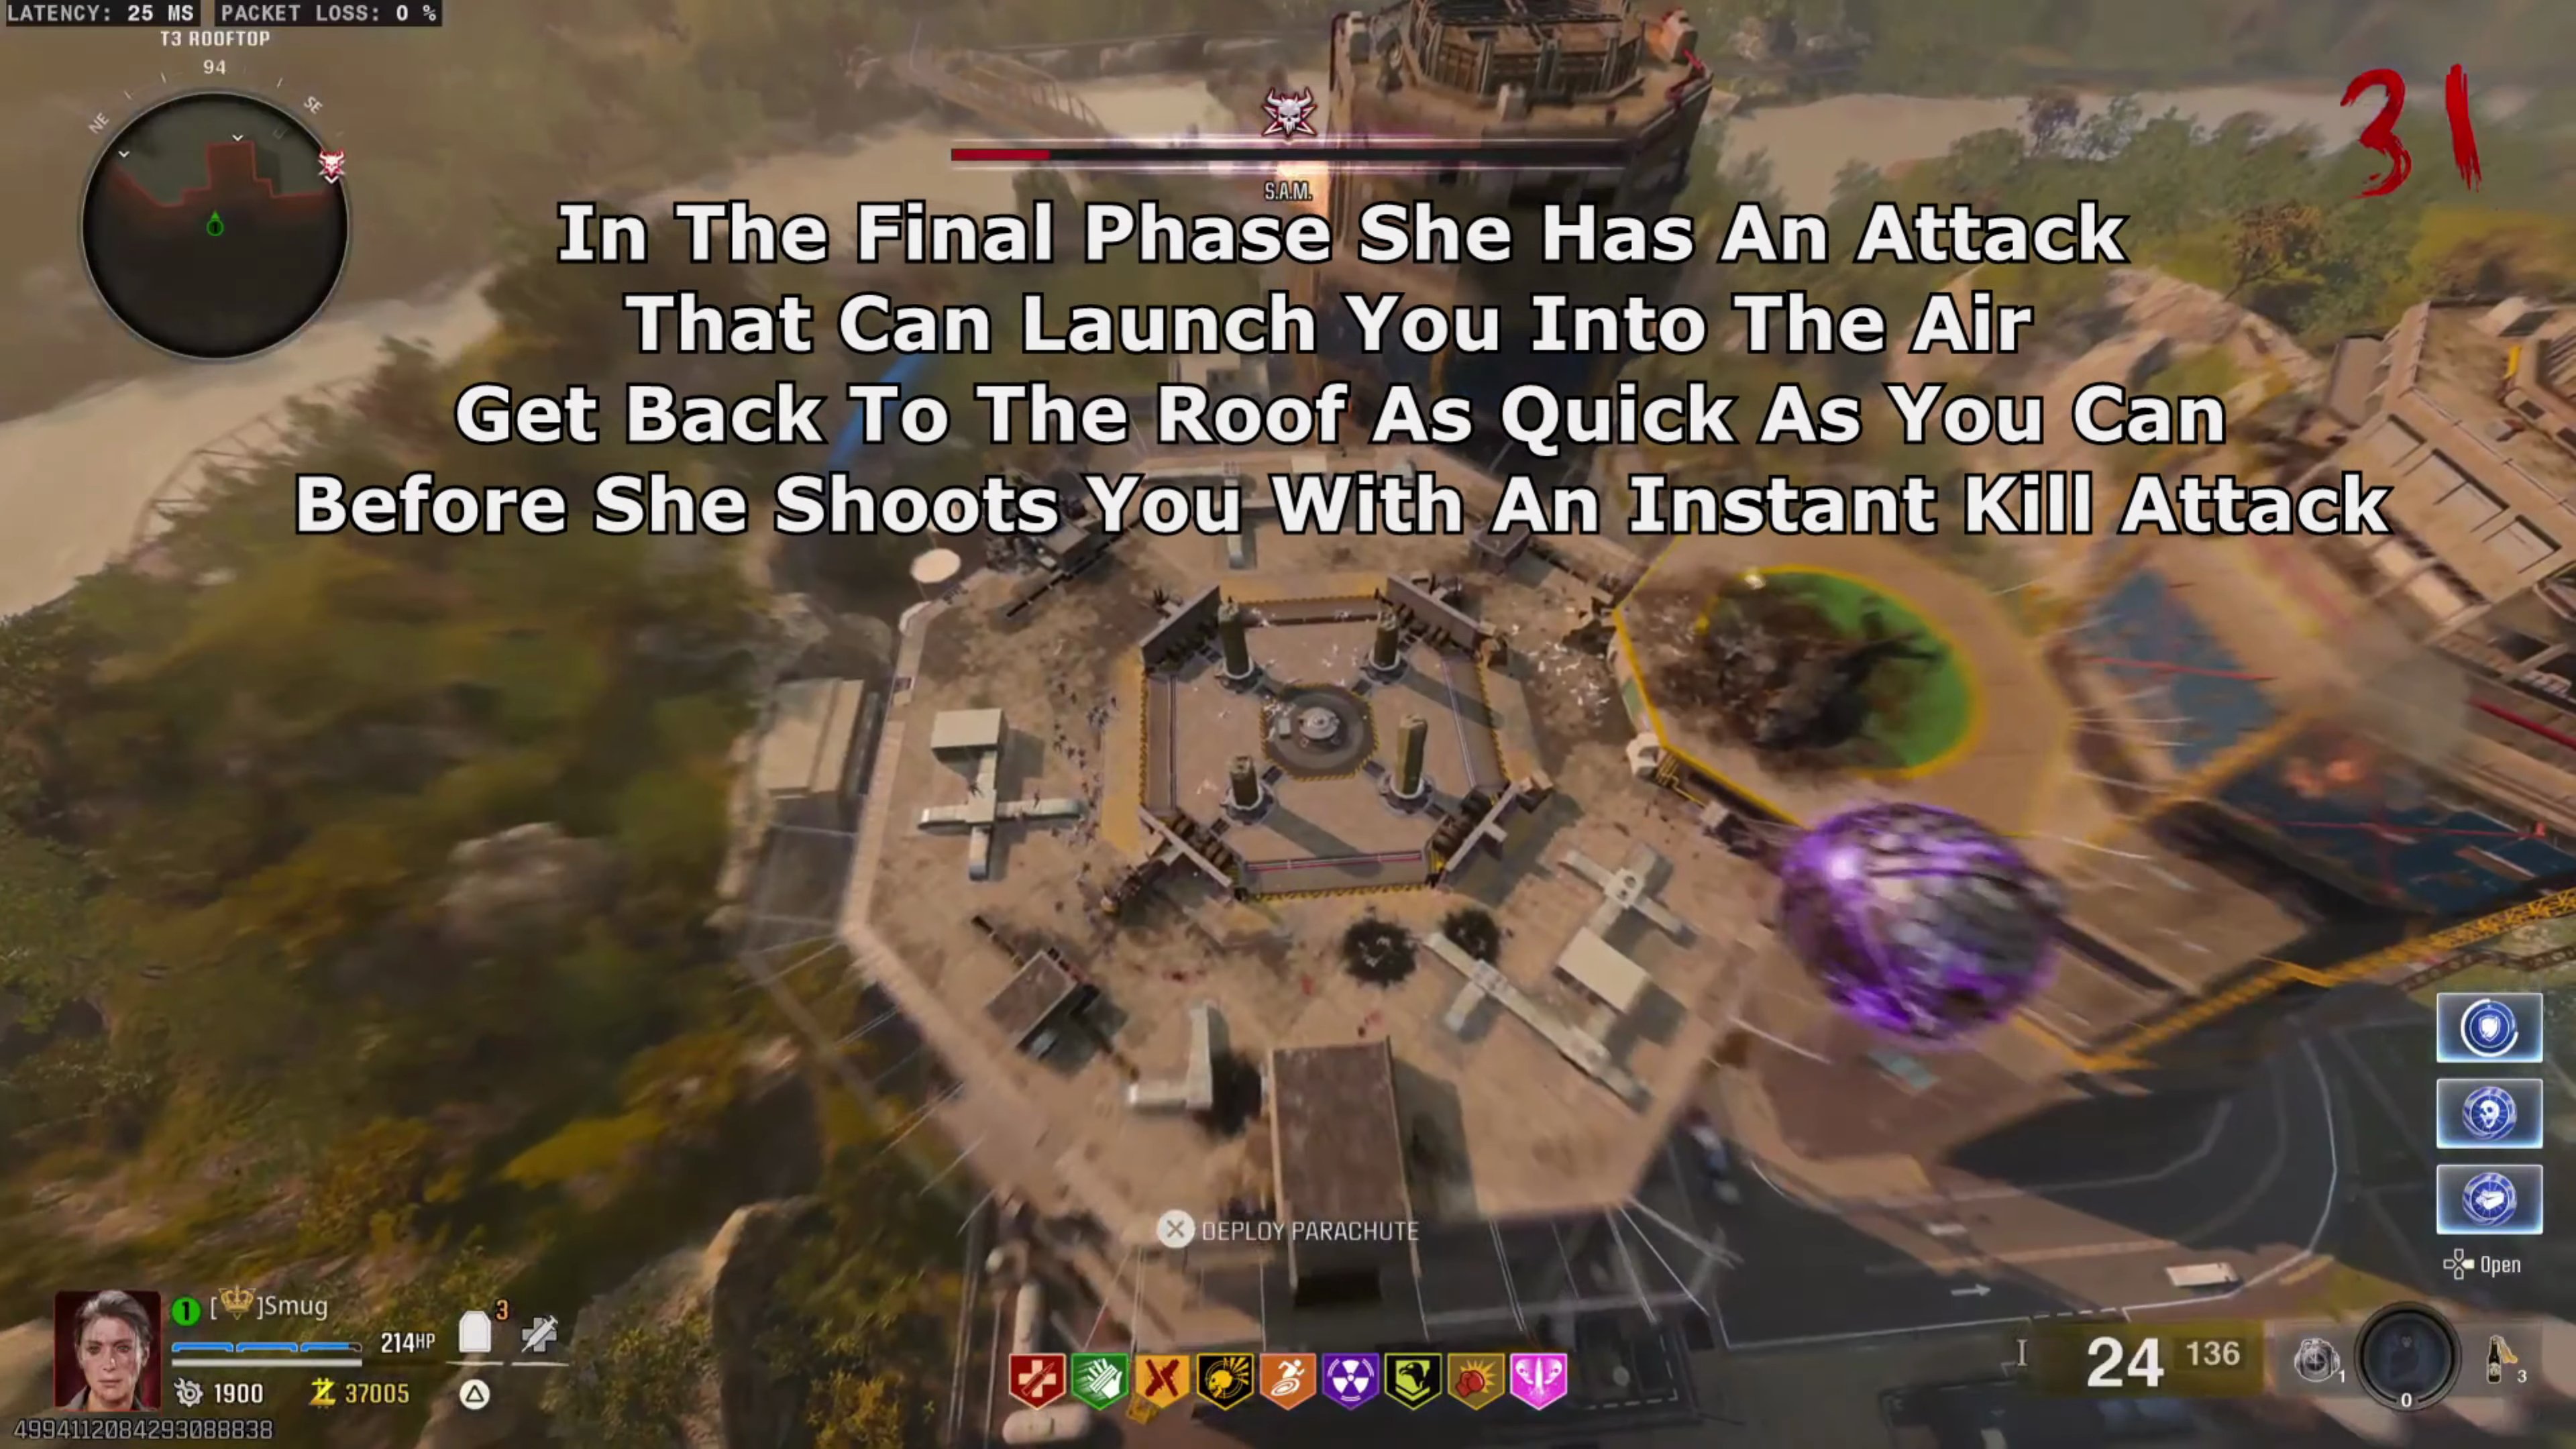
- In the final phase, she has an attack that can launch you into the air. Get back to the roof as quickly as you can before she shoots you with an instant kill attack.
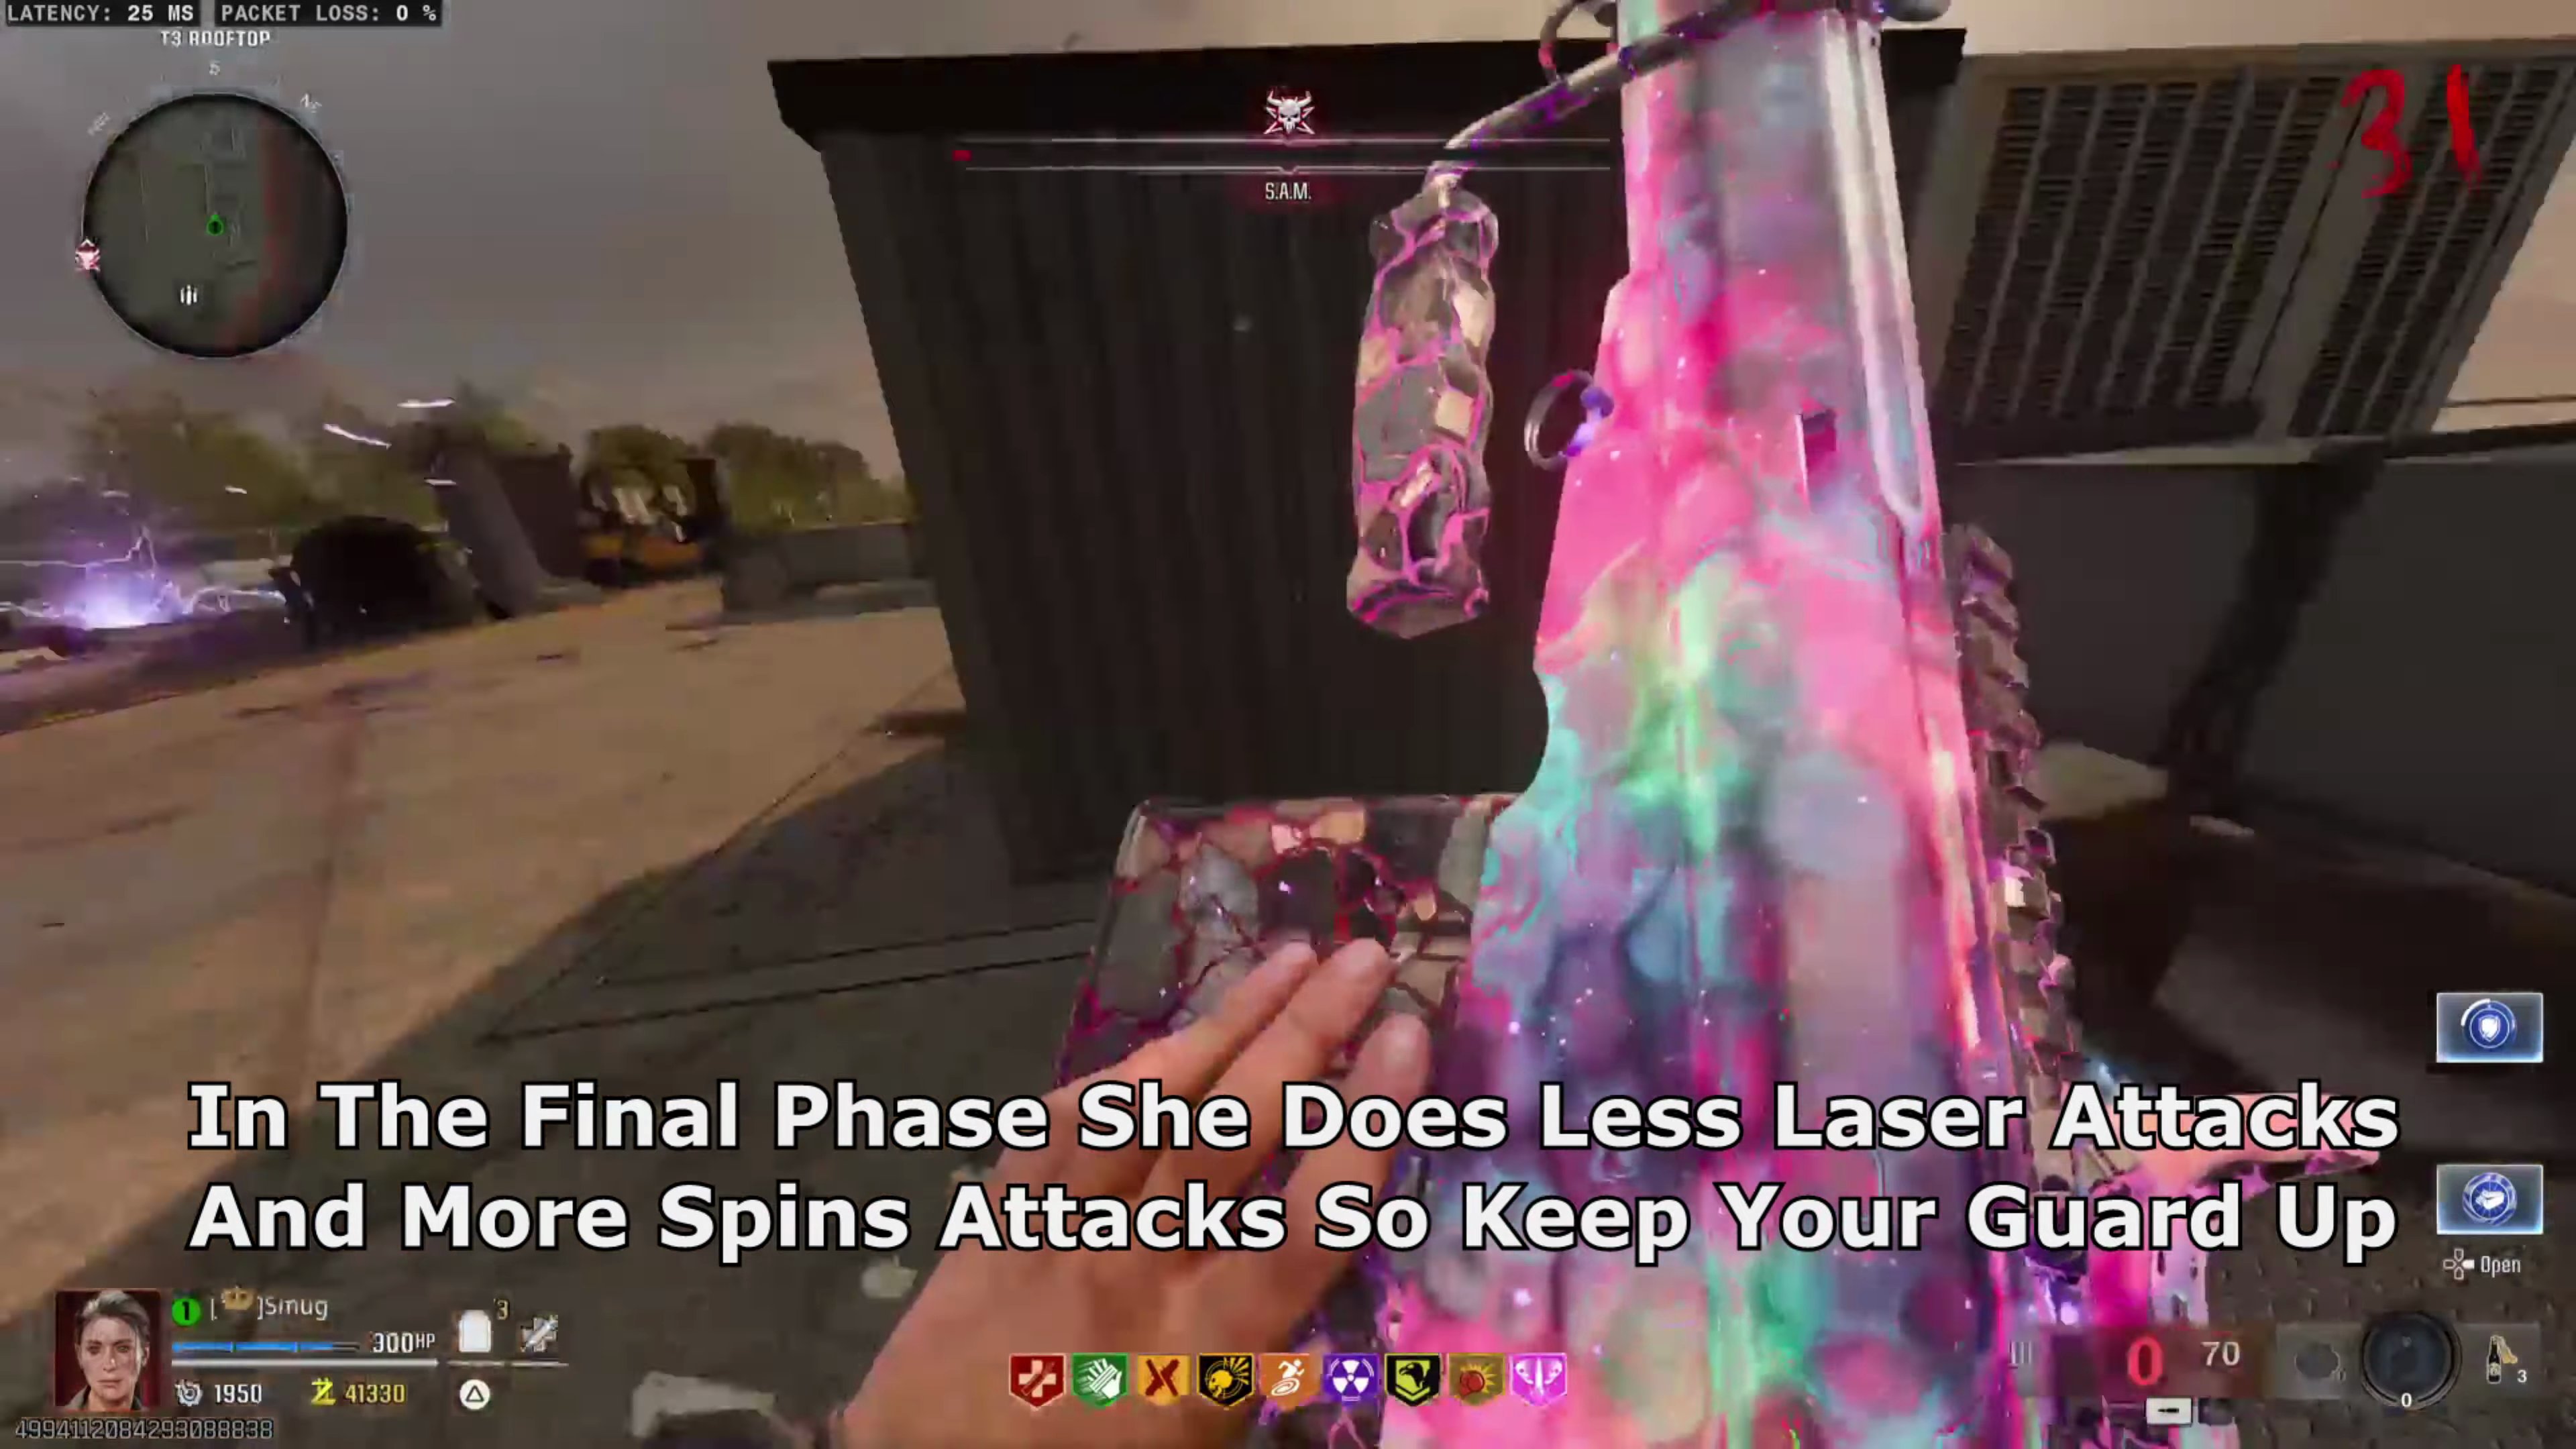
- In the final phase, she does less laser attacks and more spin attacks, so keep your guard up.
Path B: Richtofen Bossfight
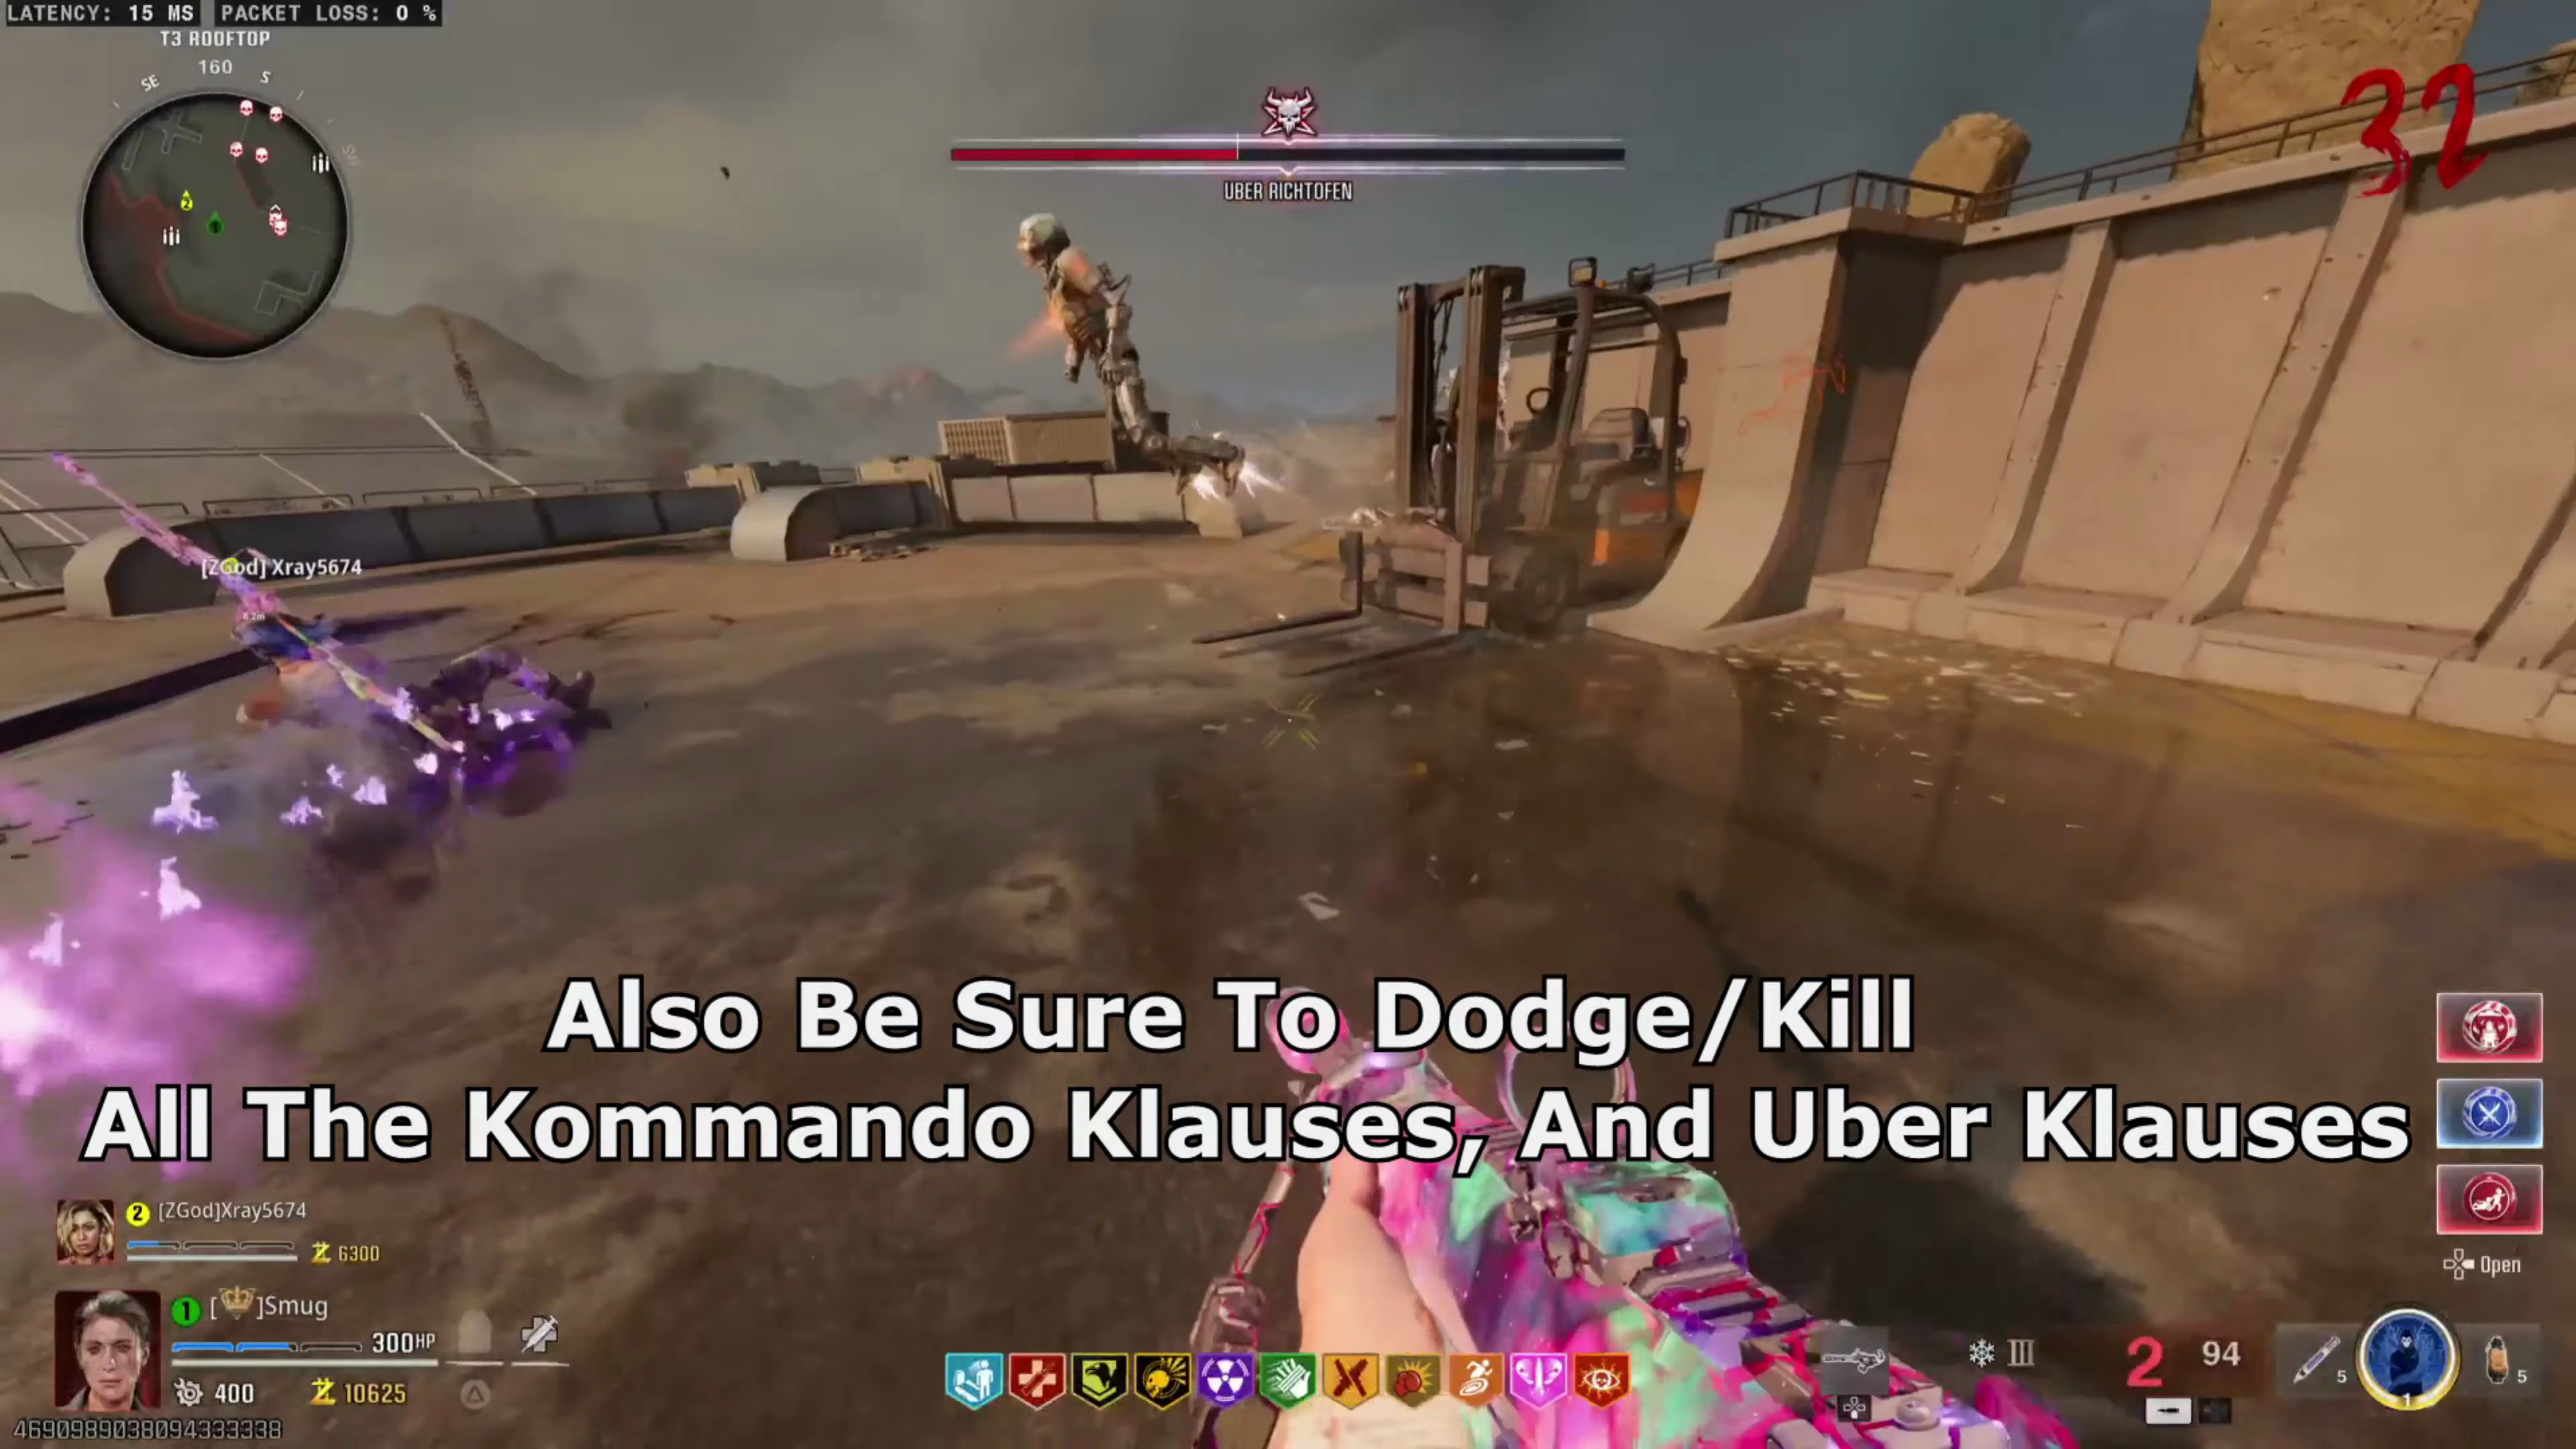
- In the first phase of the Richtofen Bossfight, shoot off his shoulder pads to destroy his shield. Also, be sure to dodge/kill all the Kommando Klauses and Uber Klauses, or you're going to get overwhelmed.
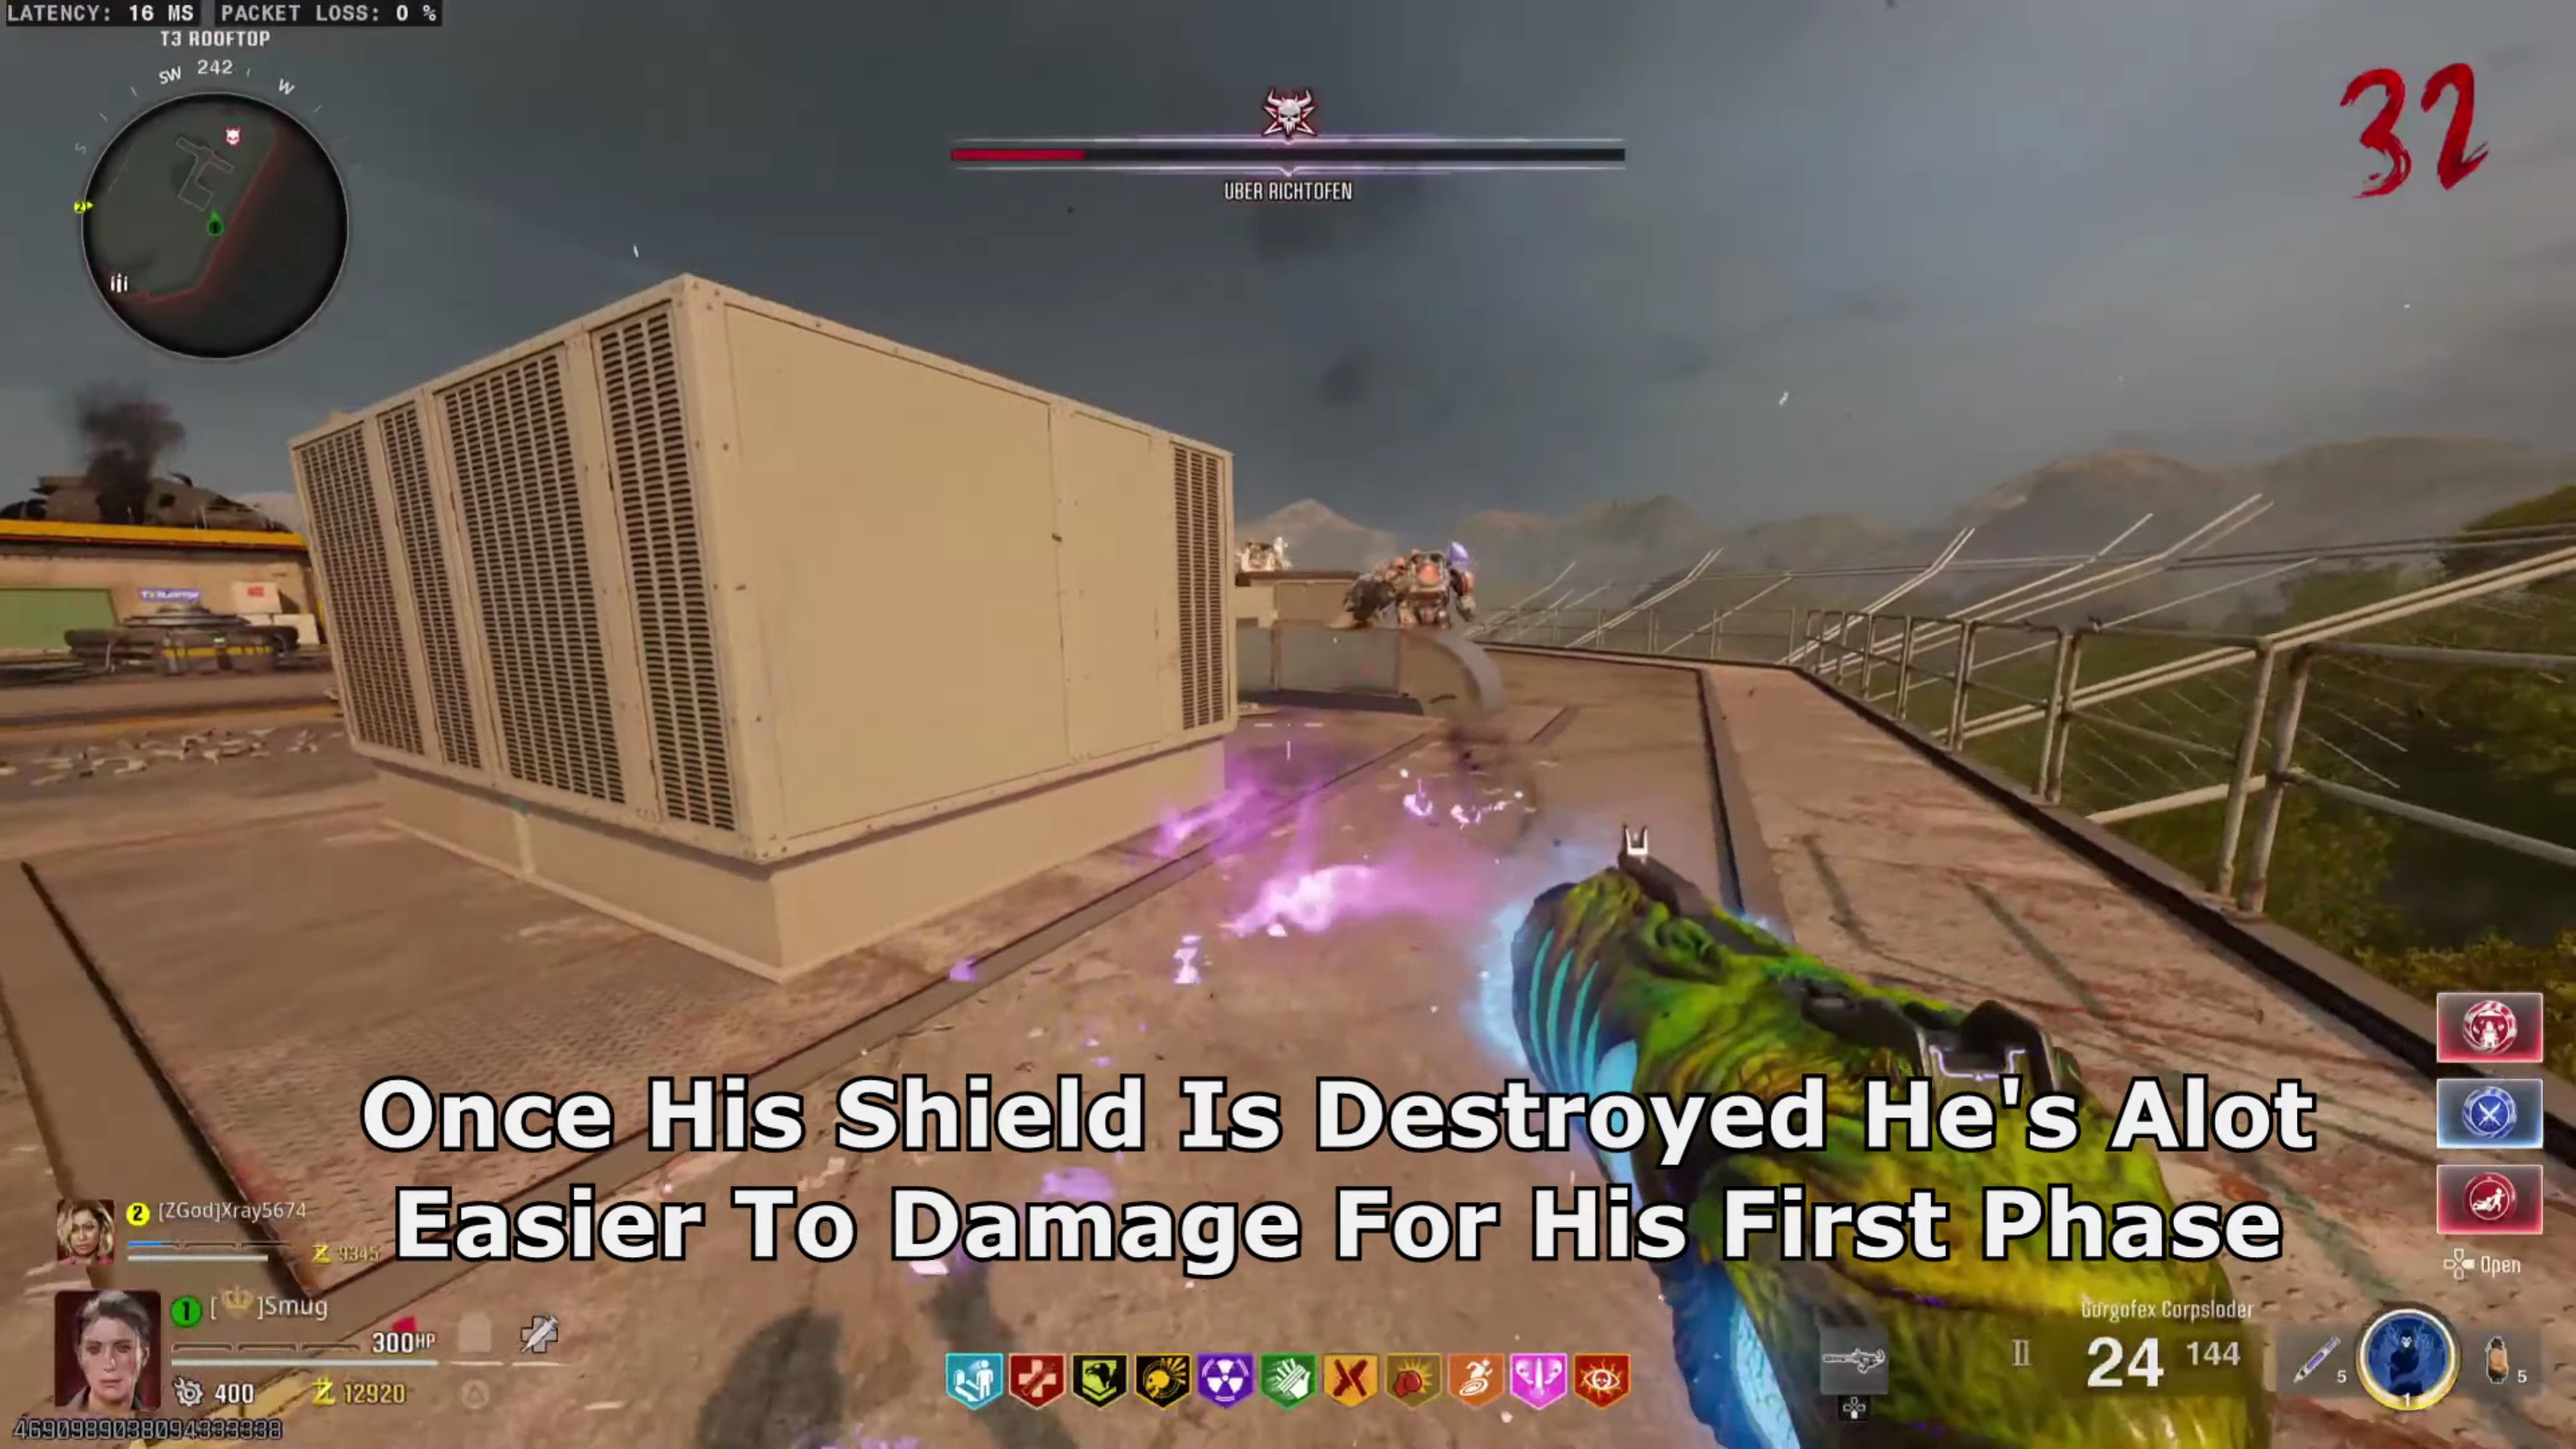
- Once his shield is destroyed, he's a lot easier to damage for his first phase.
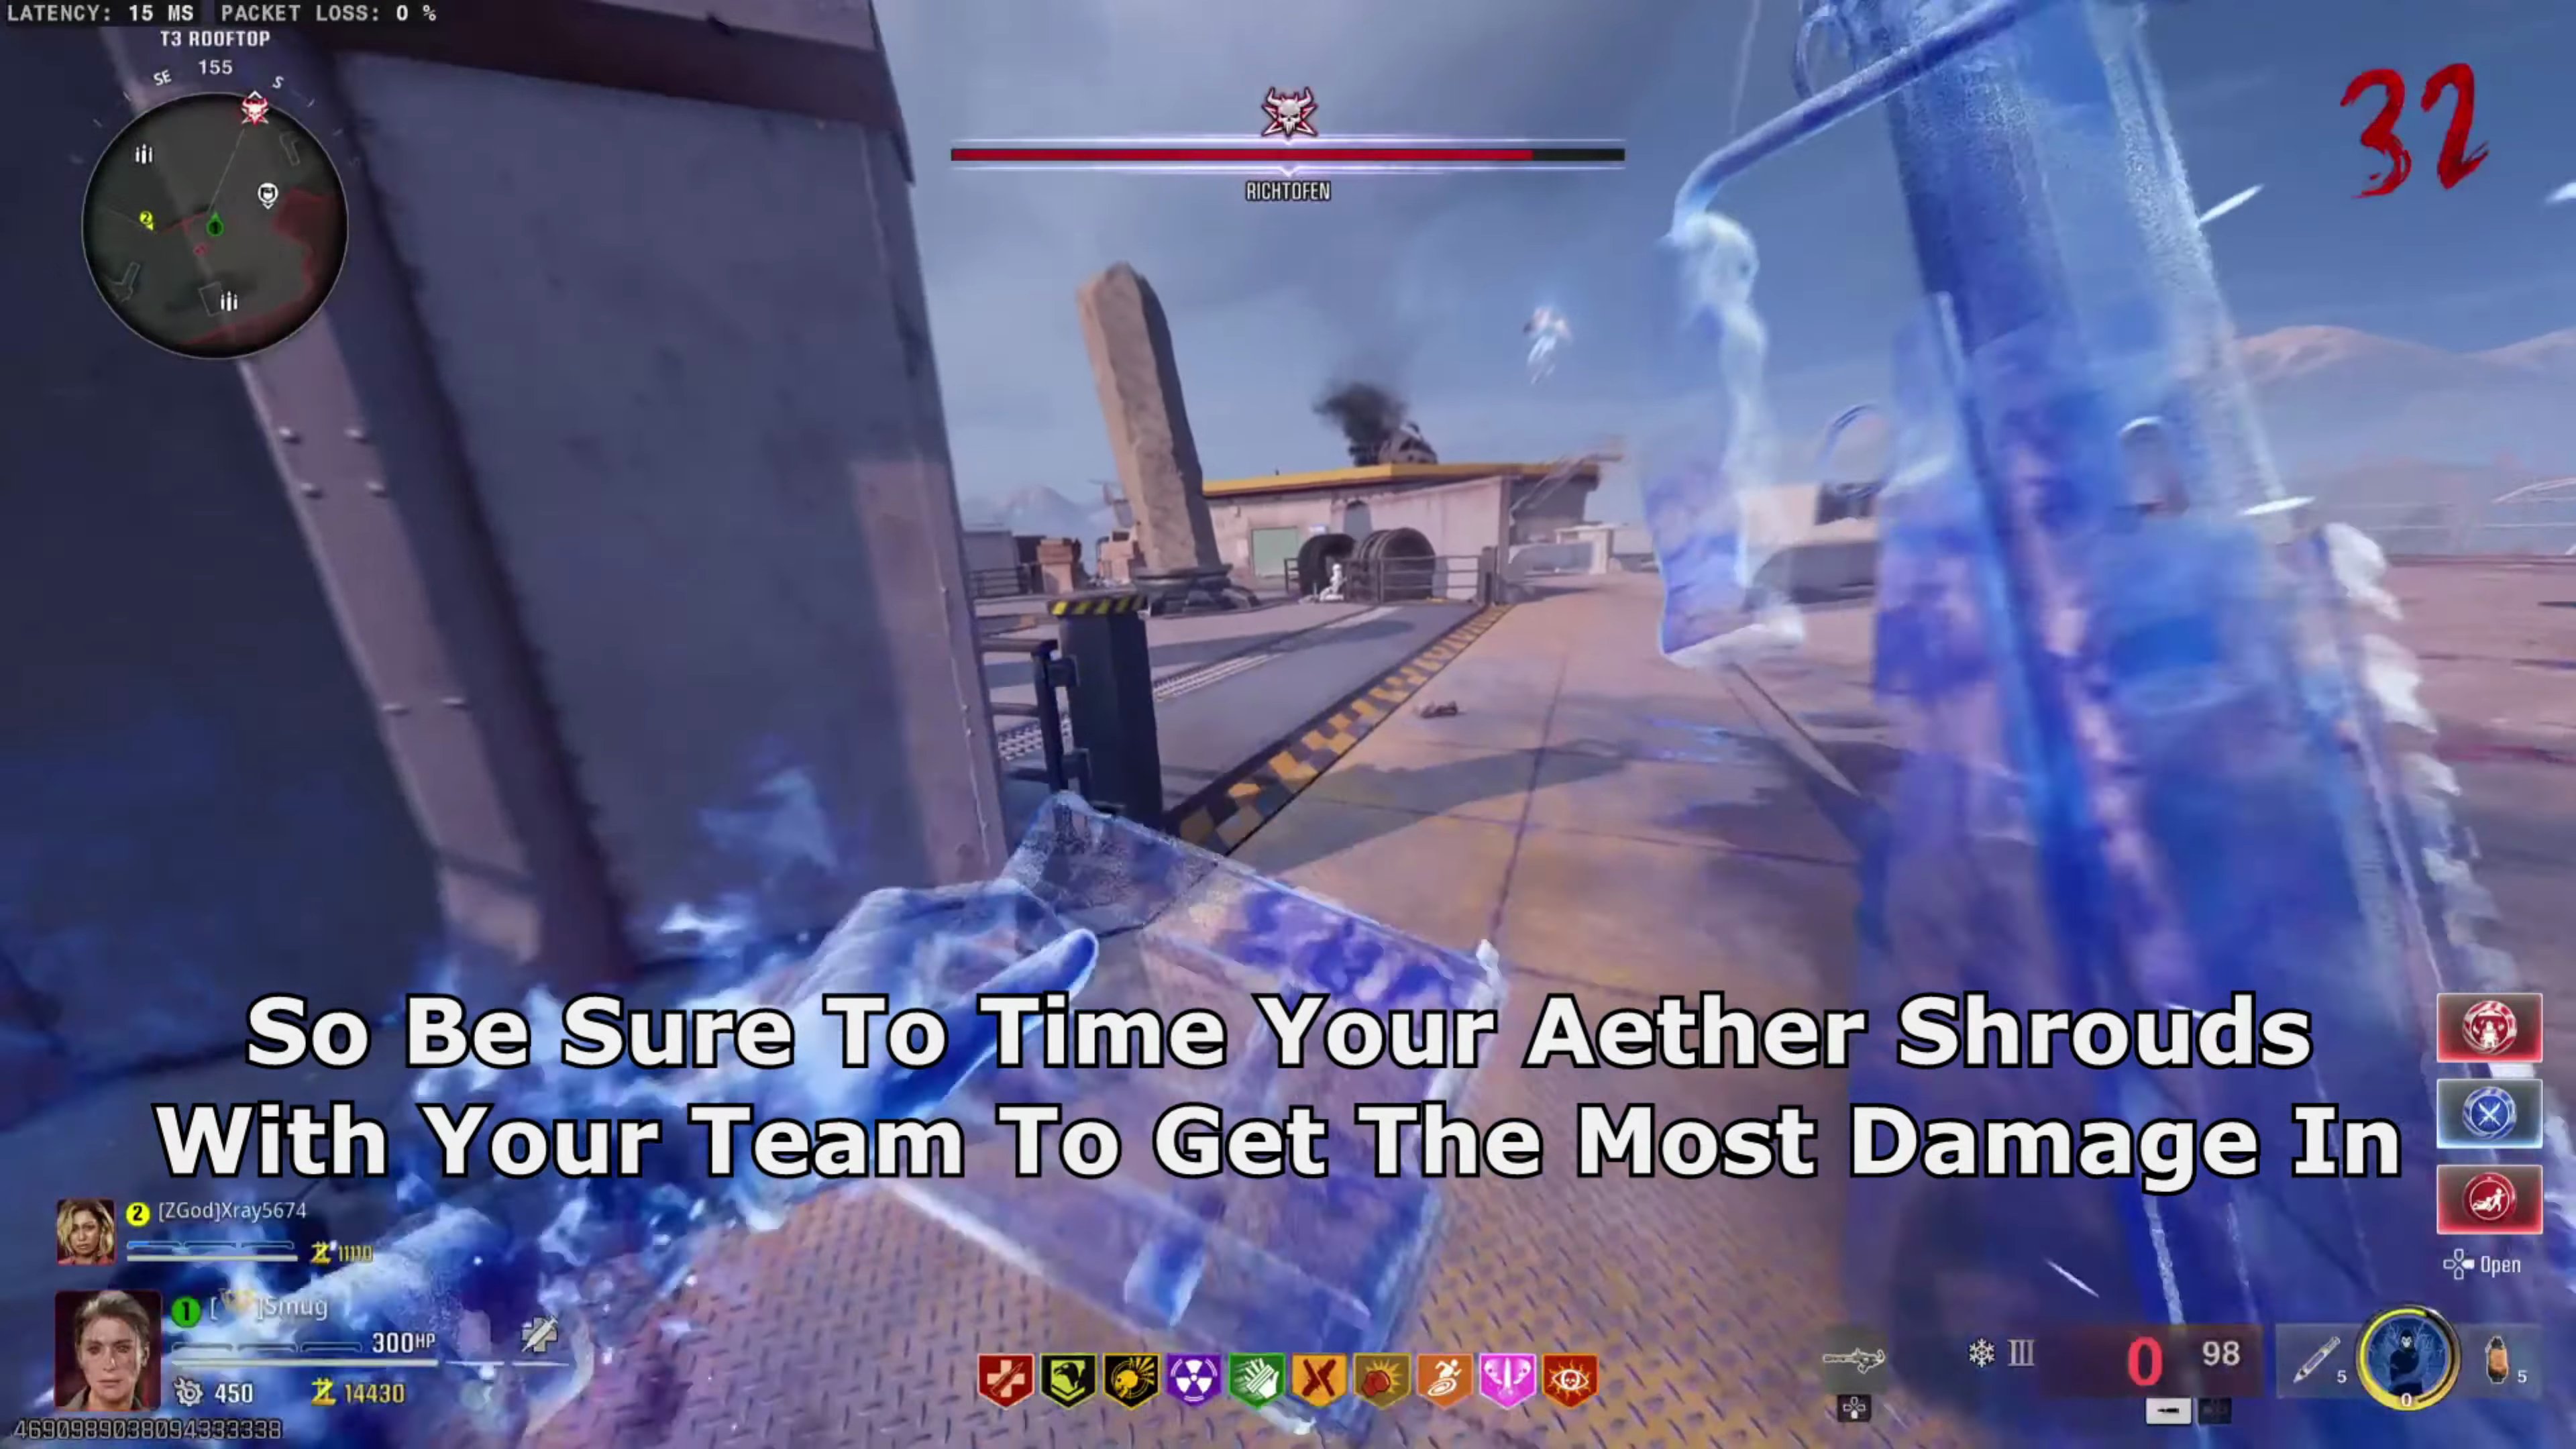
- When Uber Richtofen is defeated, it's time for phase two. Using Aether Shroud while he is floating around with his jetpack makes you completely invisible from him. So be sure to time your Aether Shrouds with your team to get the most damage in.
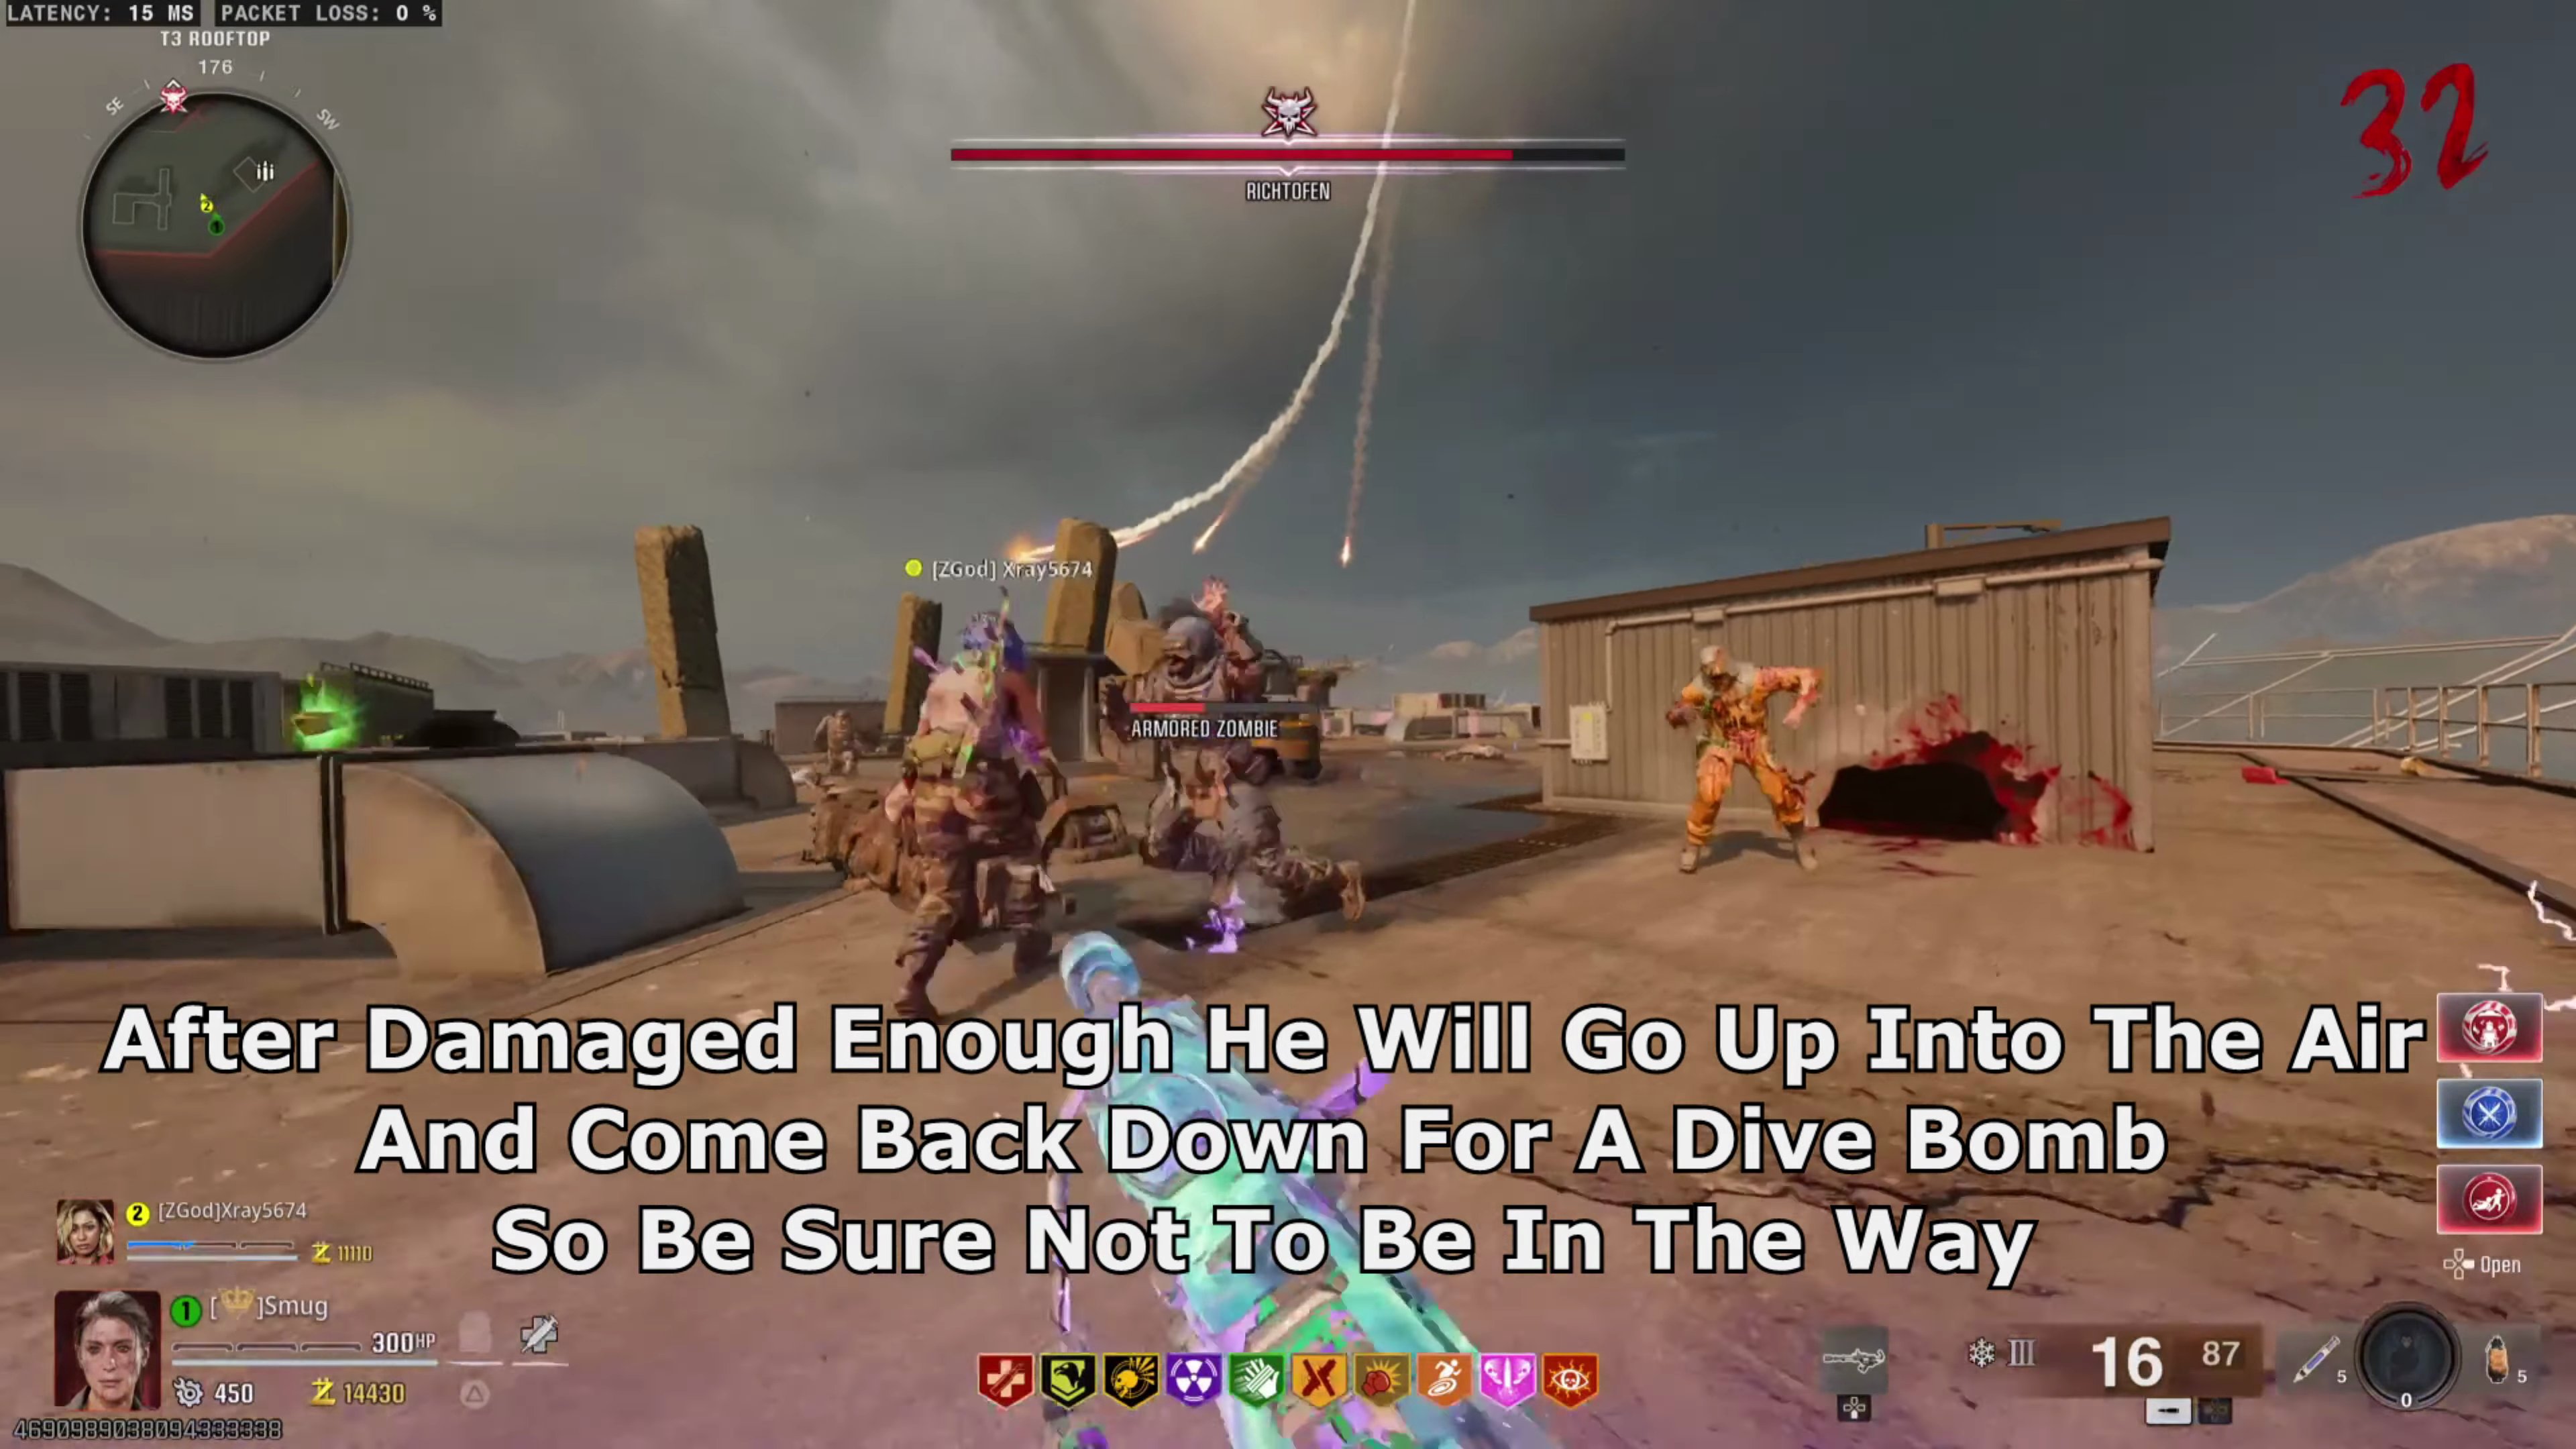
- After damaged enough, he will go up into the air and come back down for a dive bomb, so be sure not to be in the way.
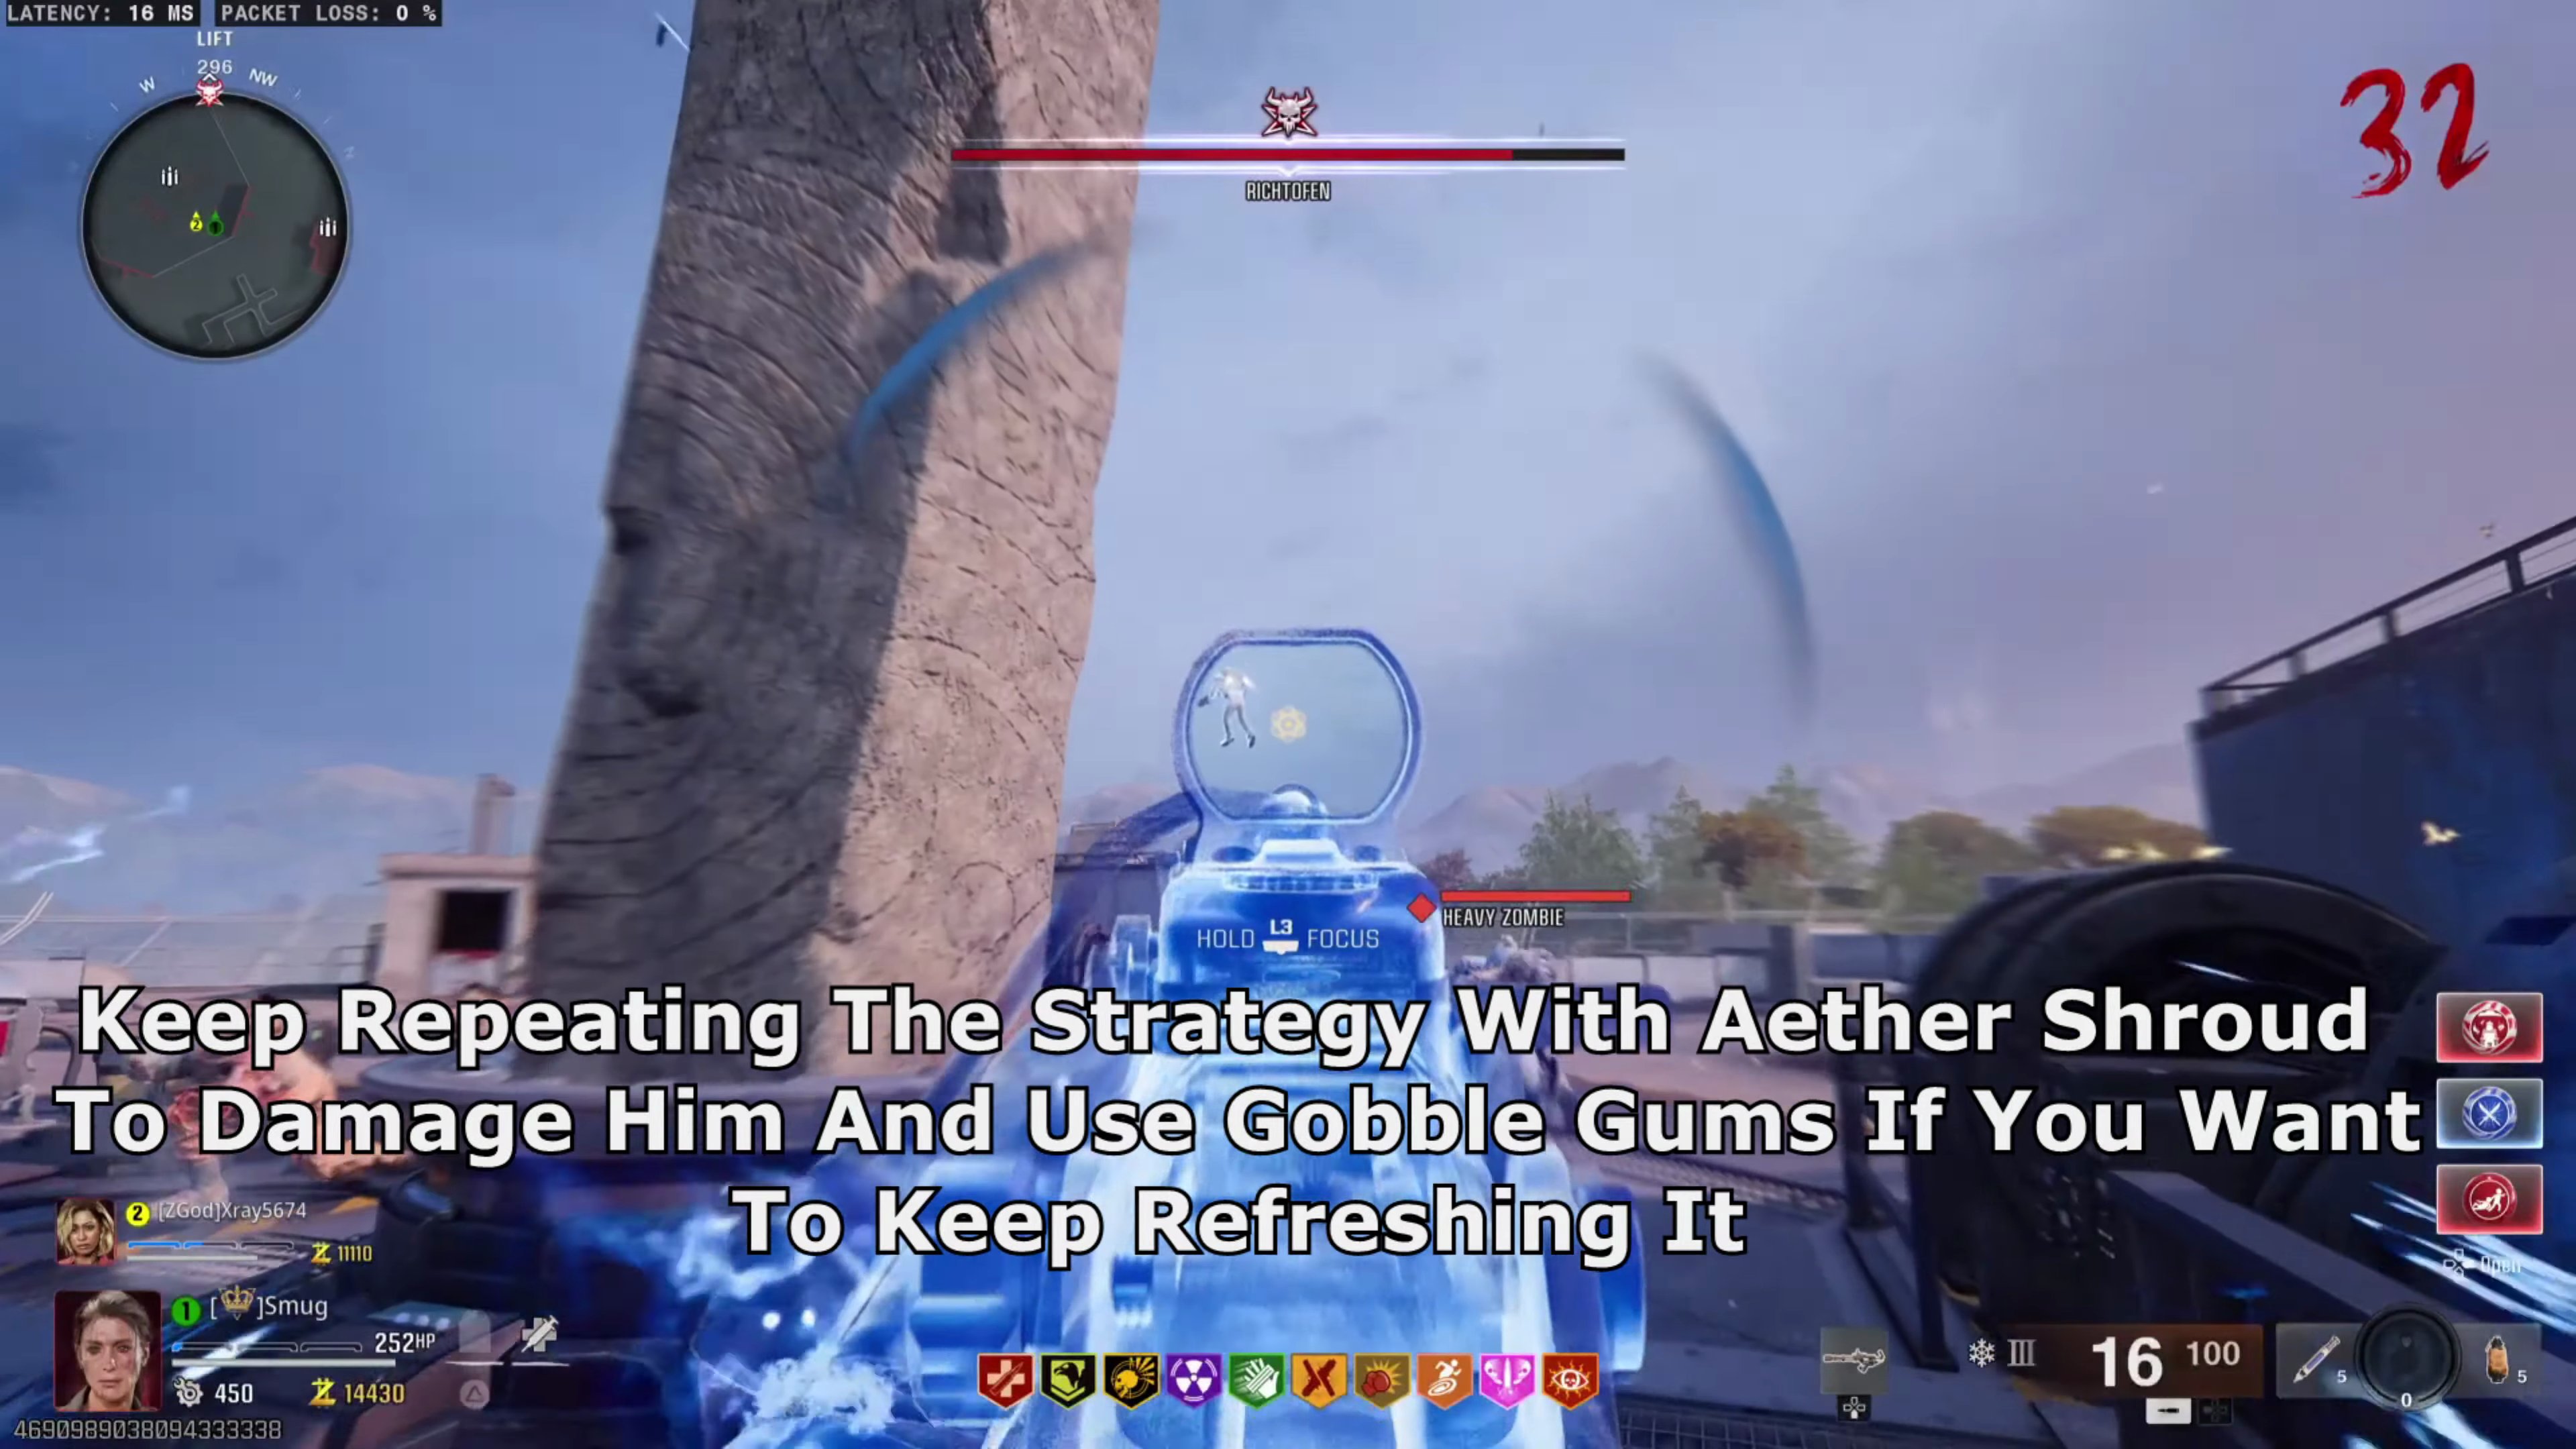
- Keep repeating the strategy with Aether Shroud to damage him and use Gobble Gums if you want to keep refreshing it.
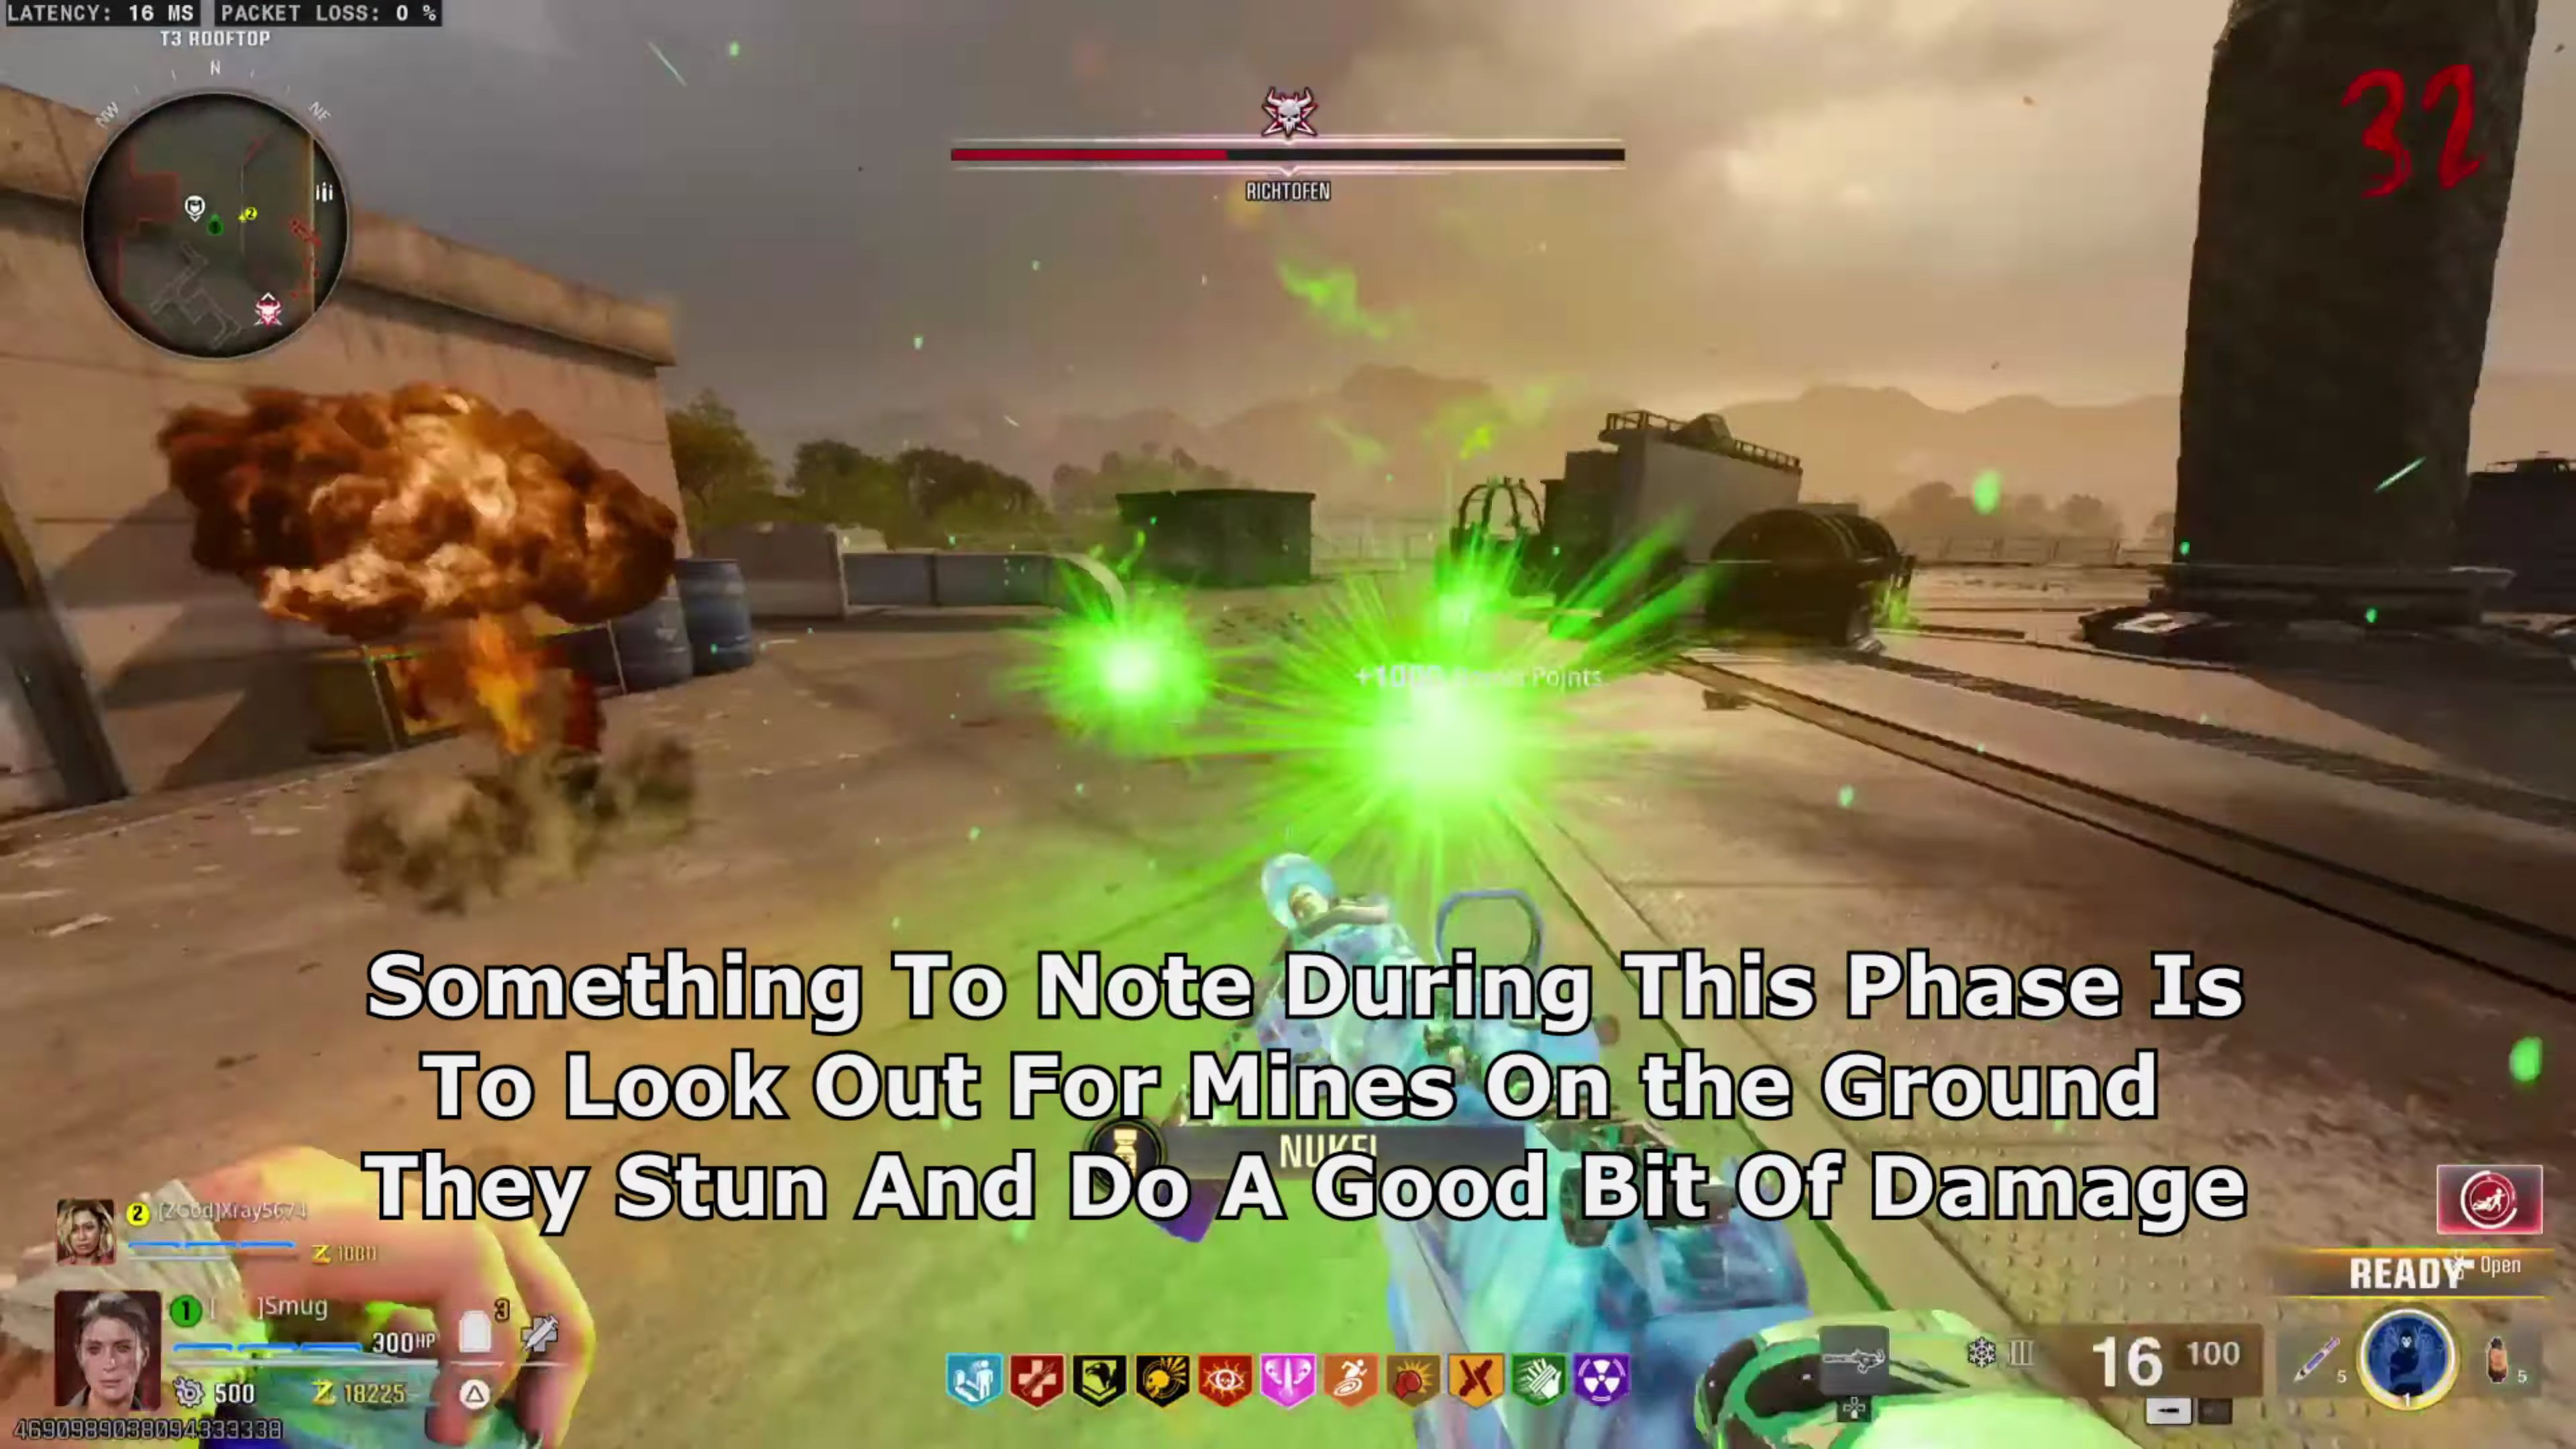
- Something to note during this phase is to look out for mines on the ground; they stun and do a good bit of damage.
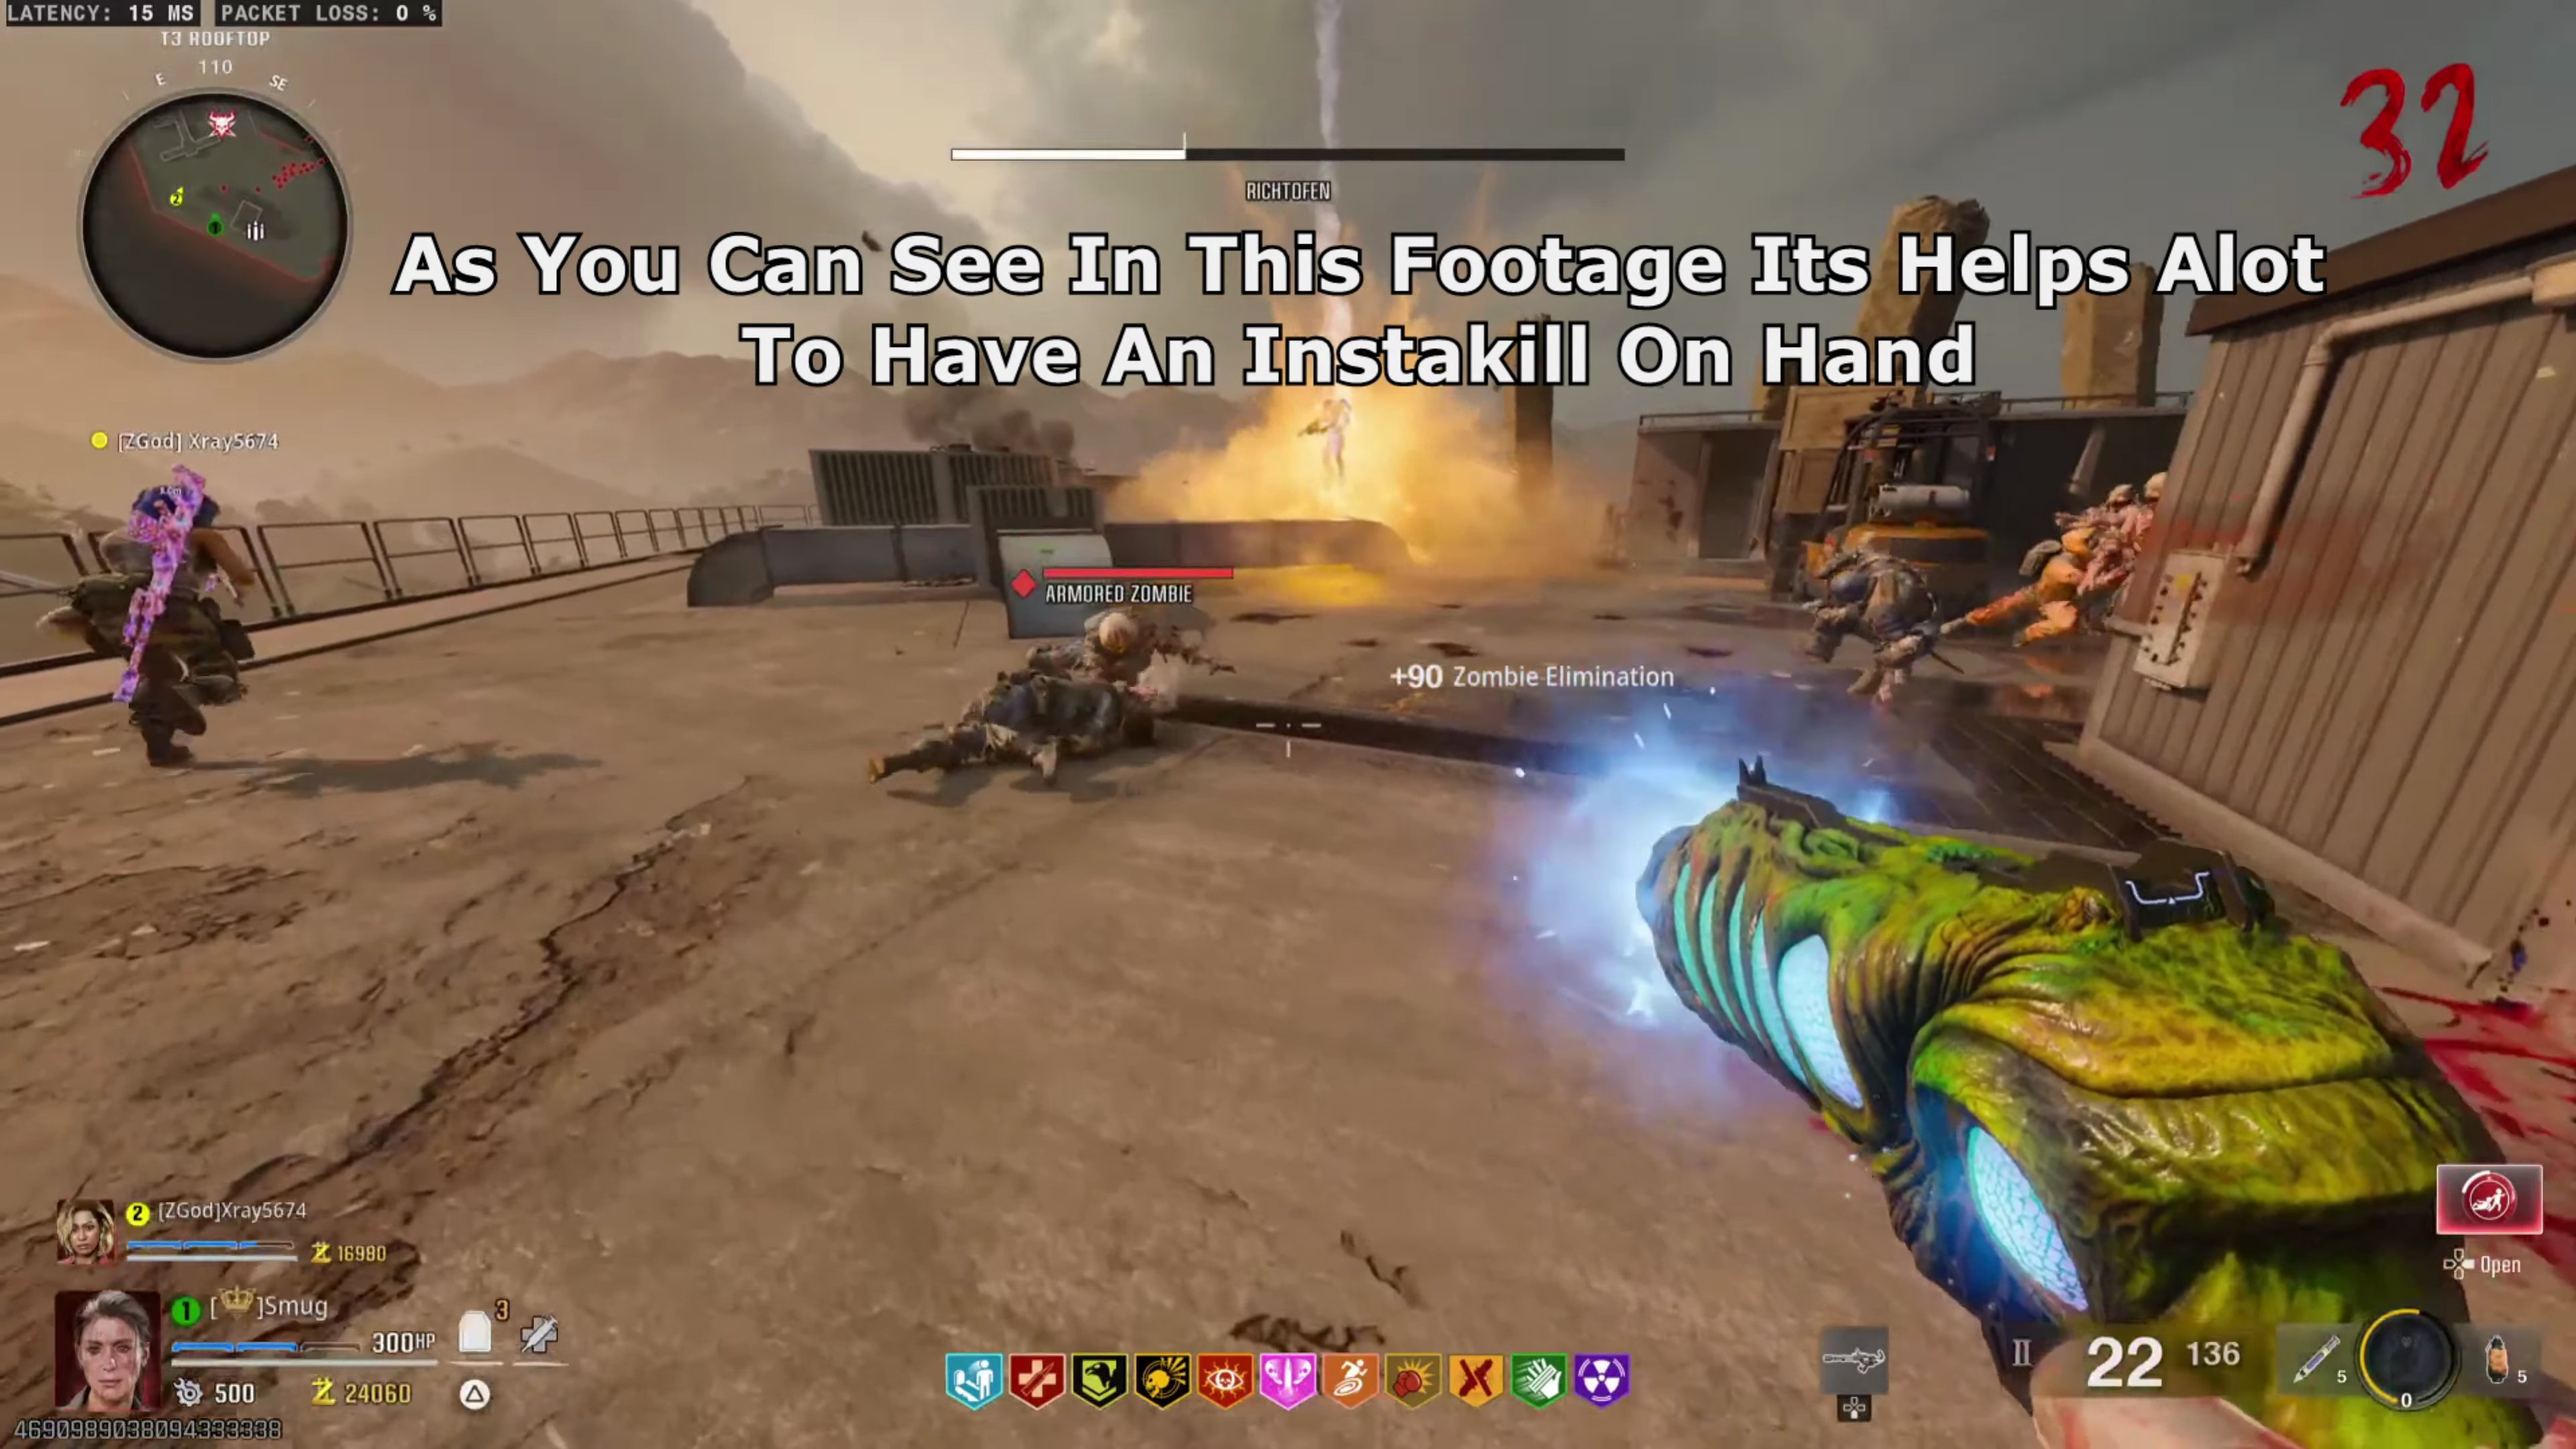
- As you can see in this footage, it helps a lot to have an Instakill on hand.
Rewards
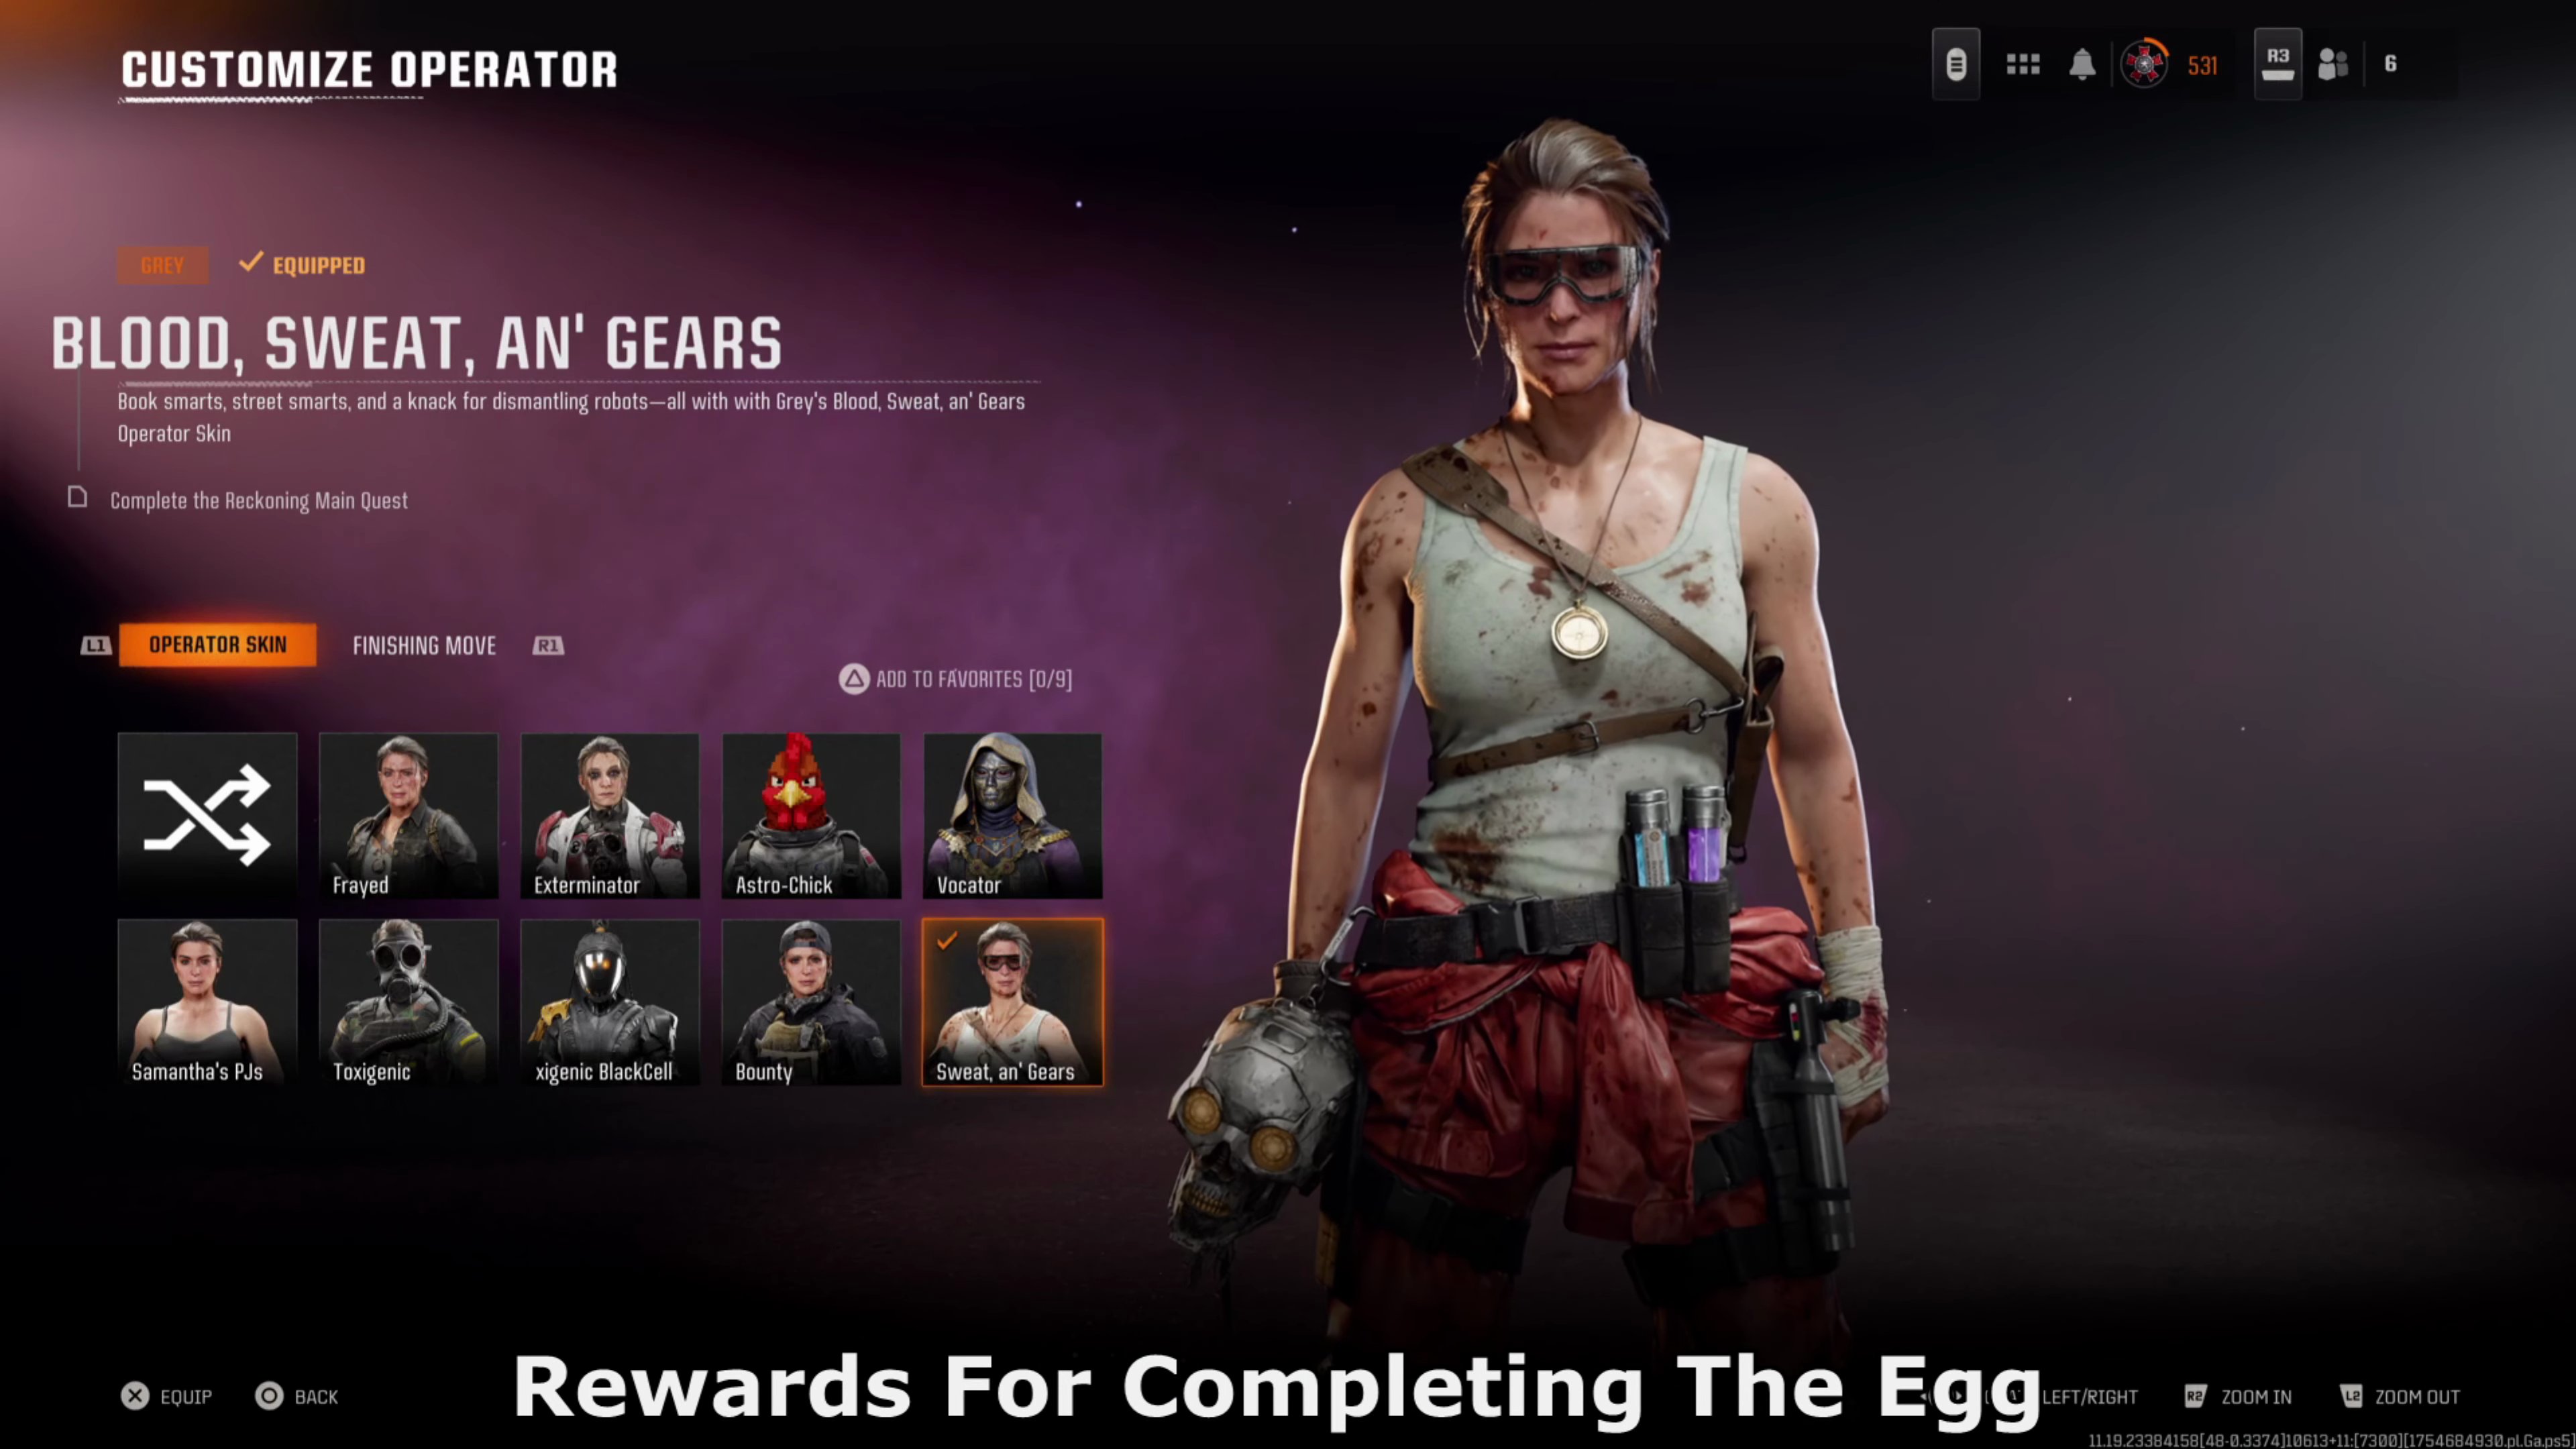
- Completing the Easter Egg will reward you with the "BLOOD, SWEAT, AN' GEARS" Operator Skin.
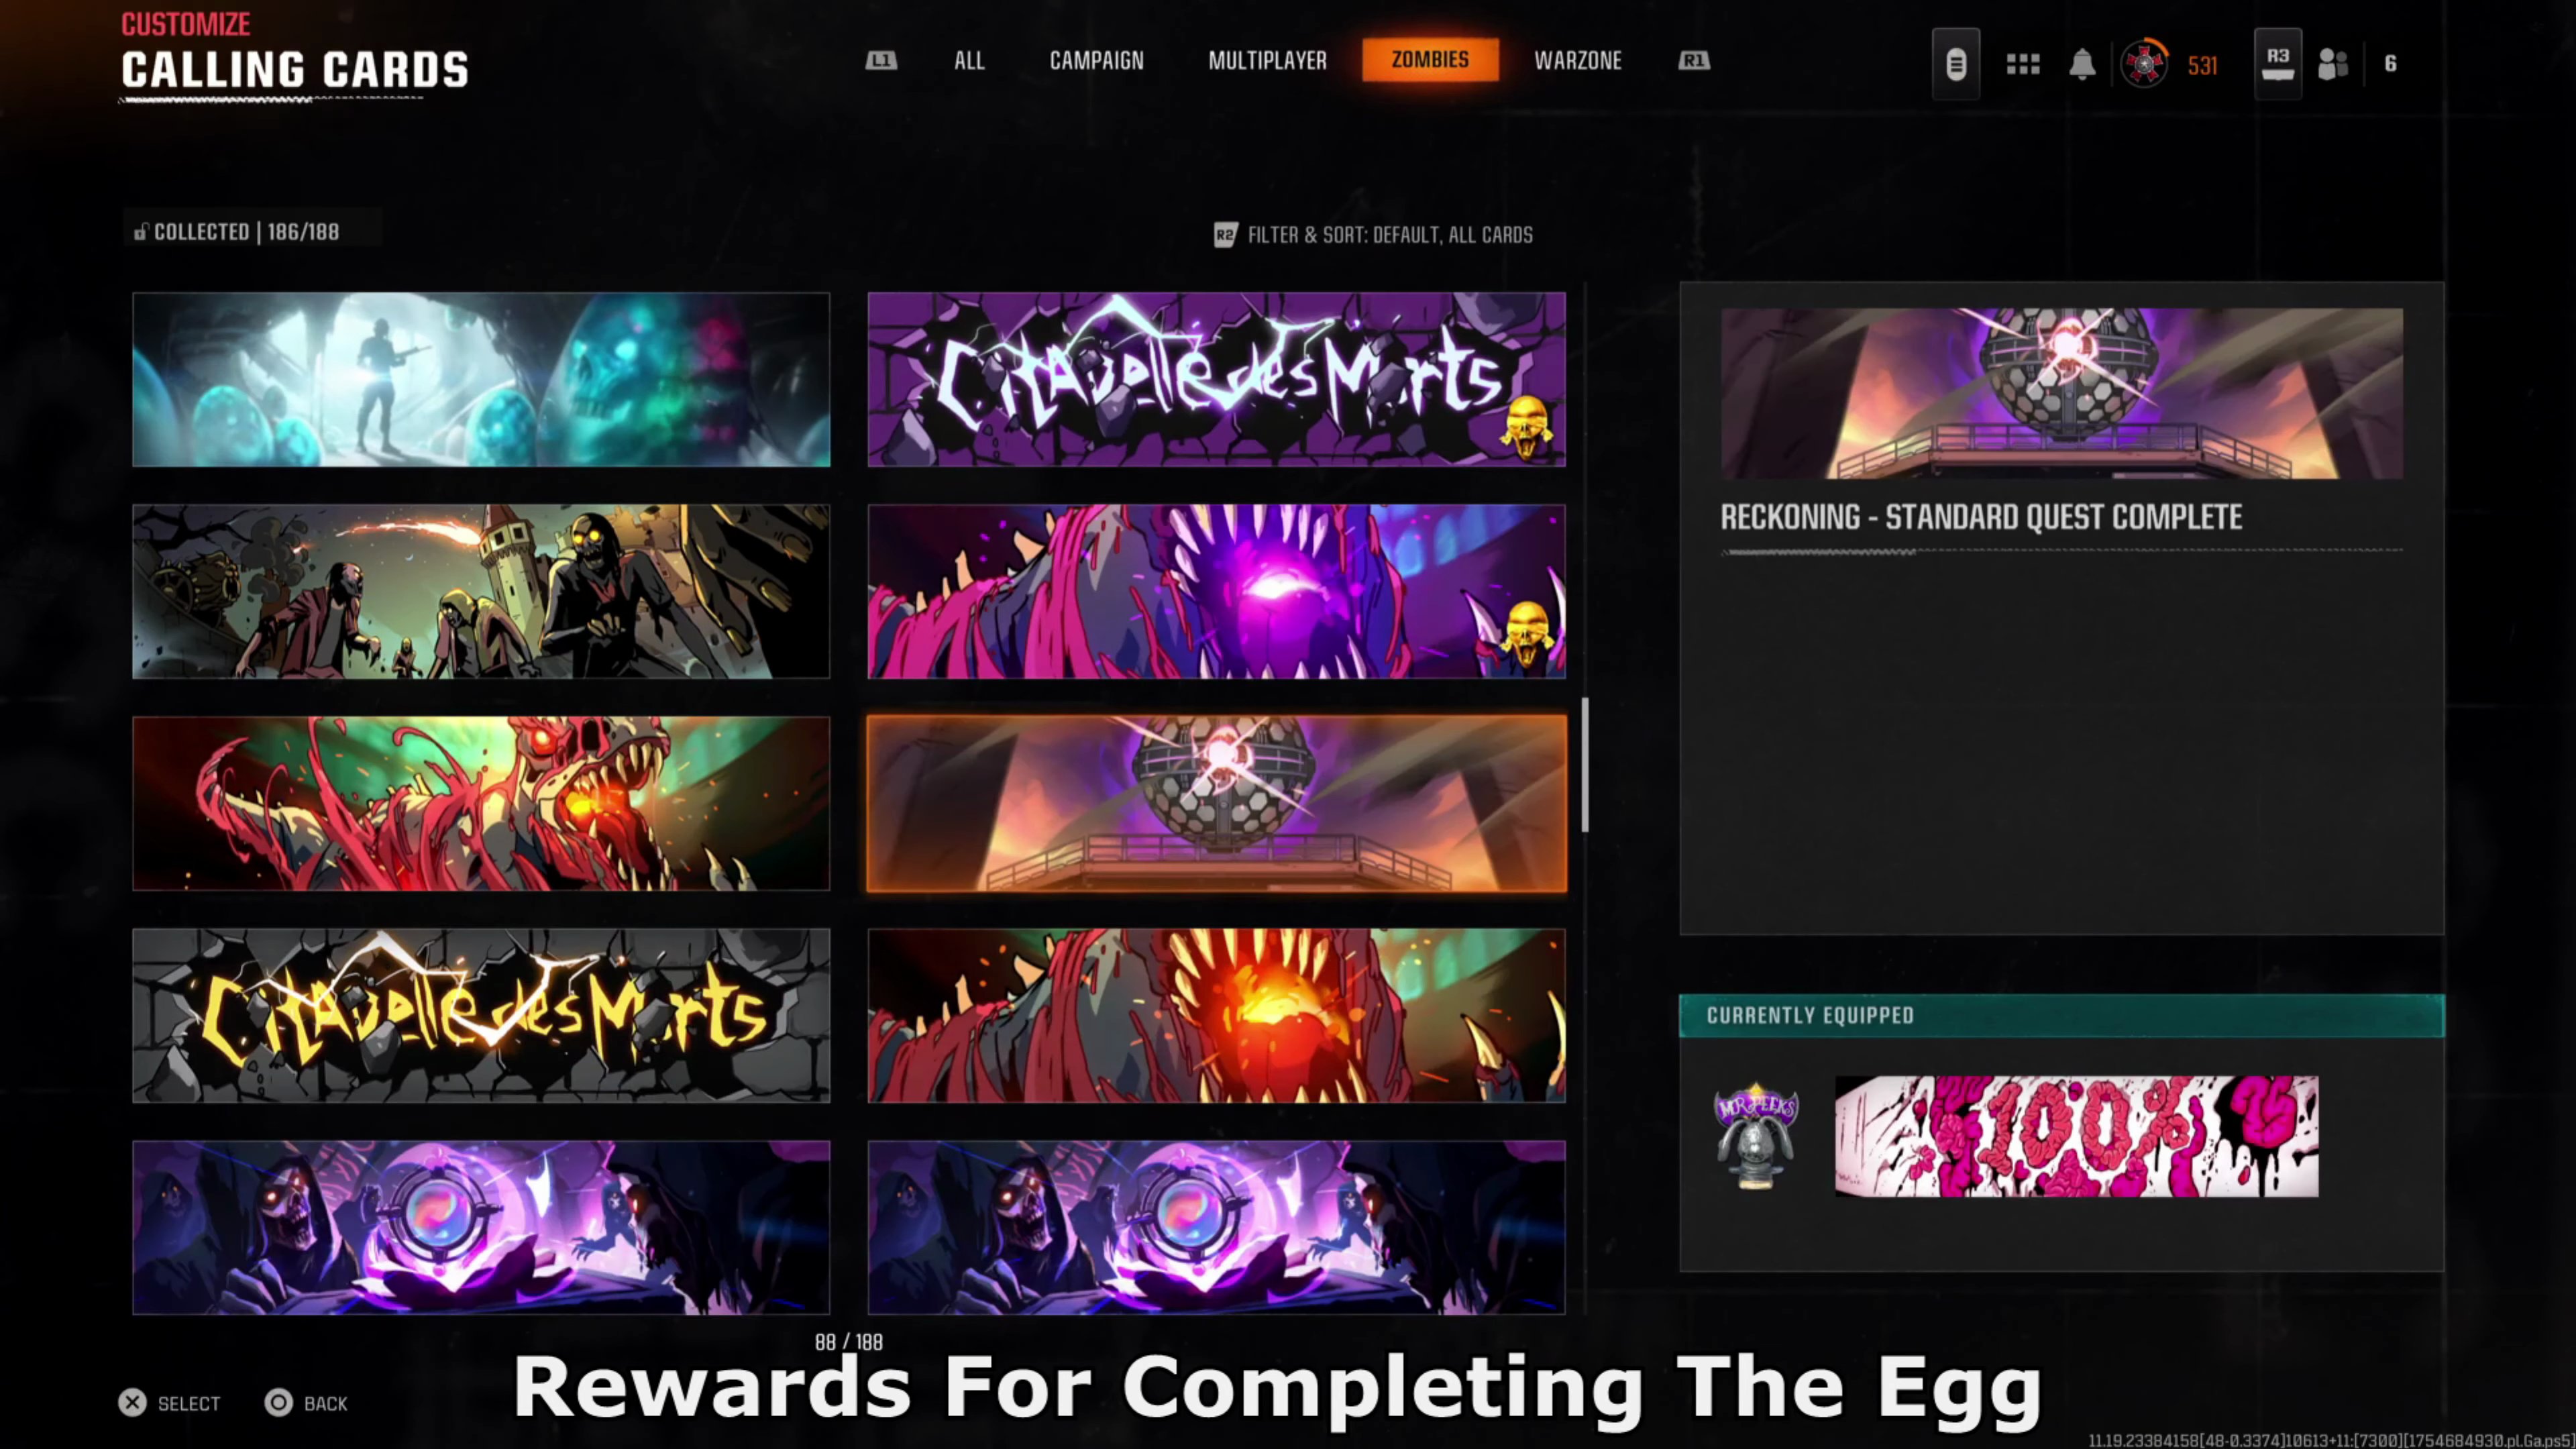
- You will also receive several Calling Cards related to the Reckoning map.
Finished the Easter Egg?
Send this guide to your squad.