All Reckoning Intel
- Updated
- Jul 2, 2026
Overview
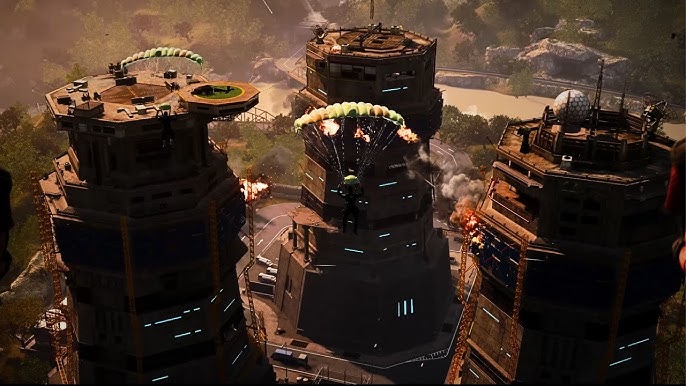
This guide covers the locations of all Zombie Intel on the Reckoning map. Note that Audio Log 13 and Document 7 require the 'Mr. Peeks' Field Upgrade, which may not be available at launch. The steps for these items are included for future reference.
Audio Logs
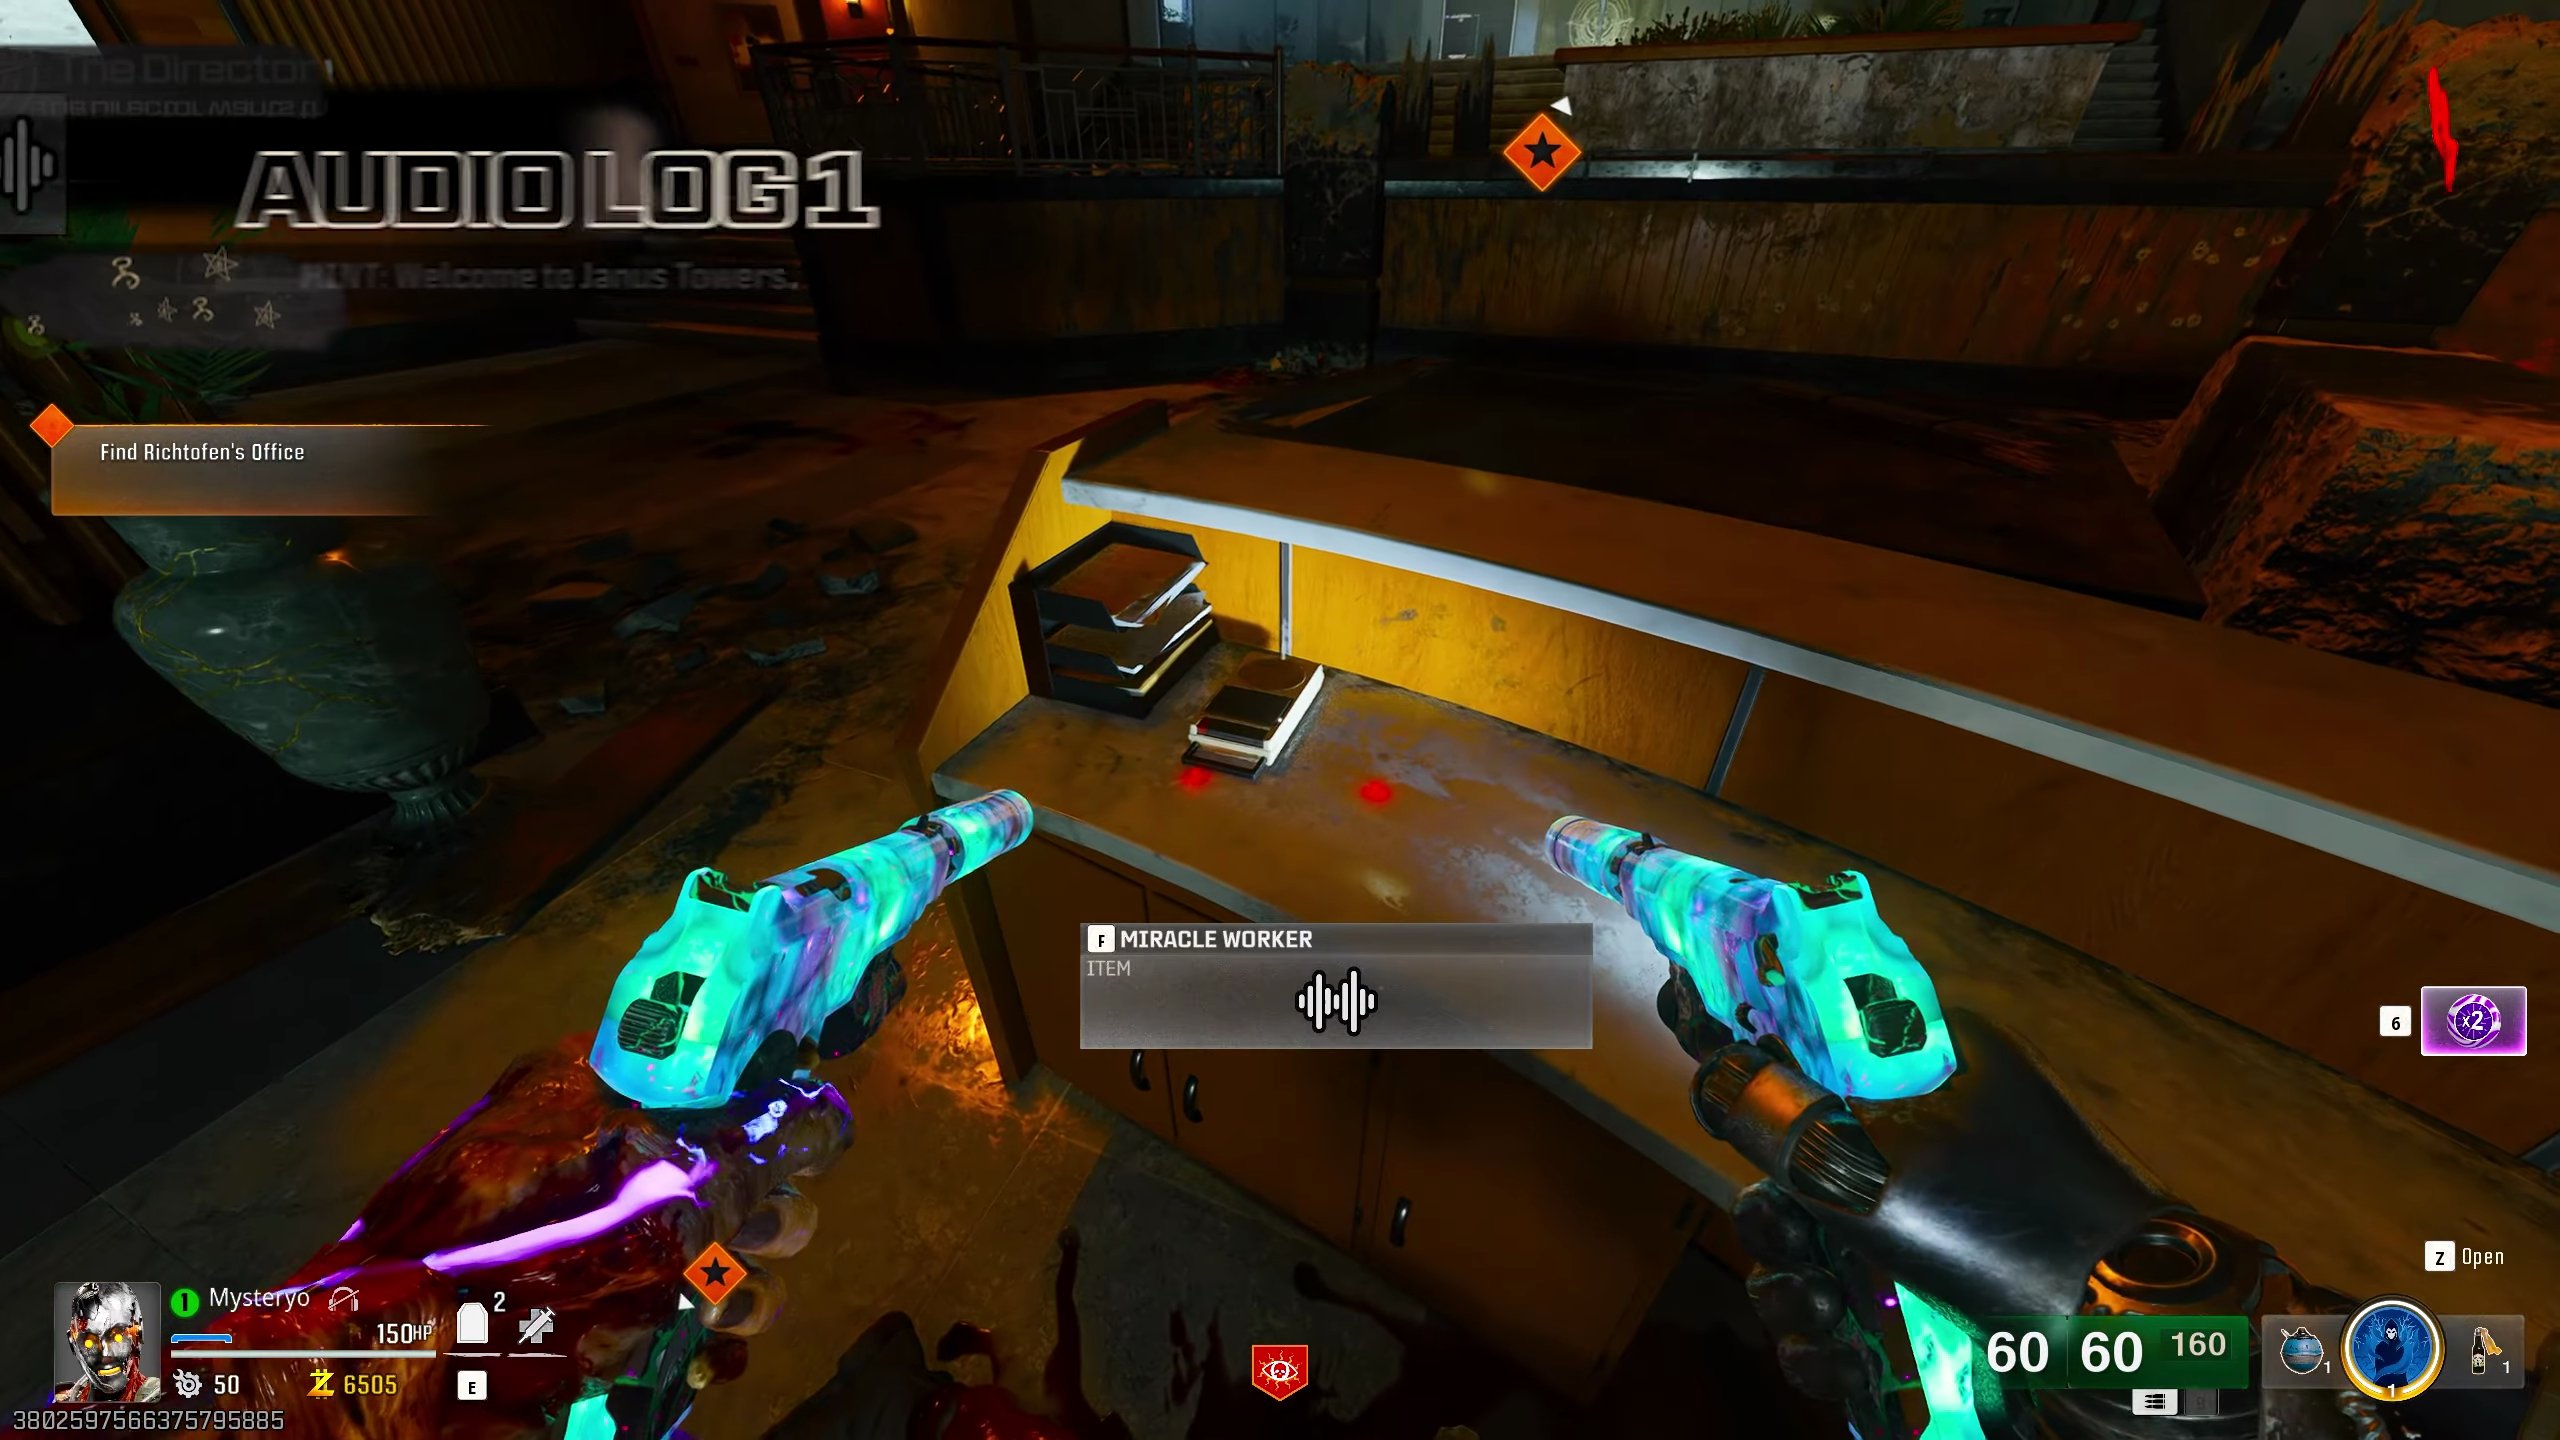
Audio Log 1: Welcome to James Towers
- From spawn, find this audio log sitting on the reception desk.
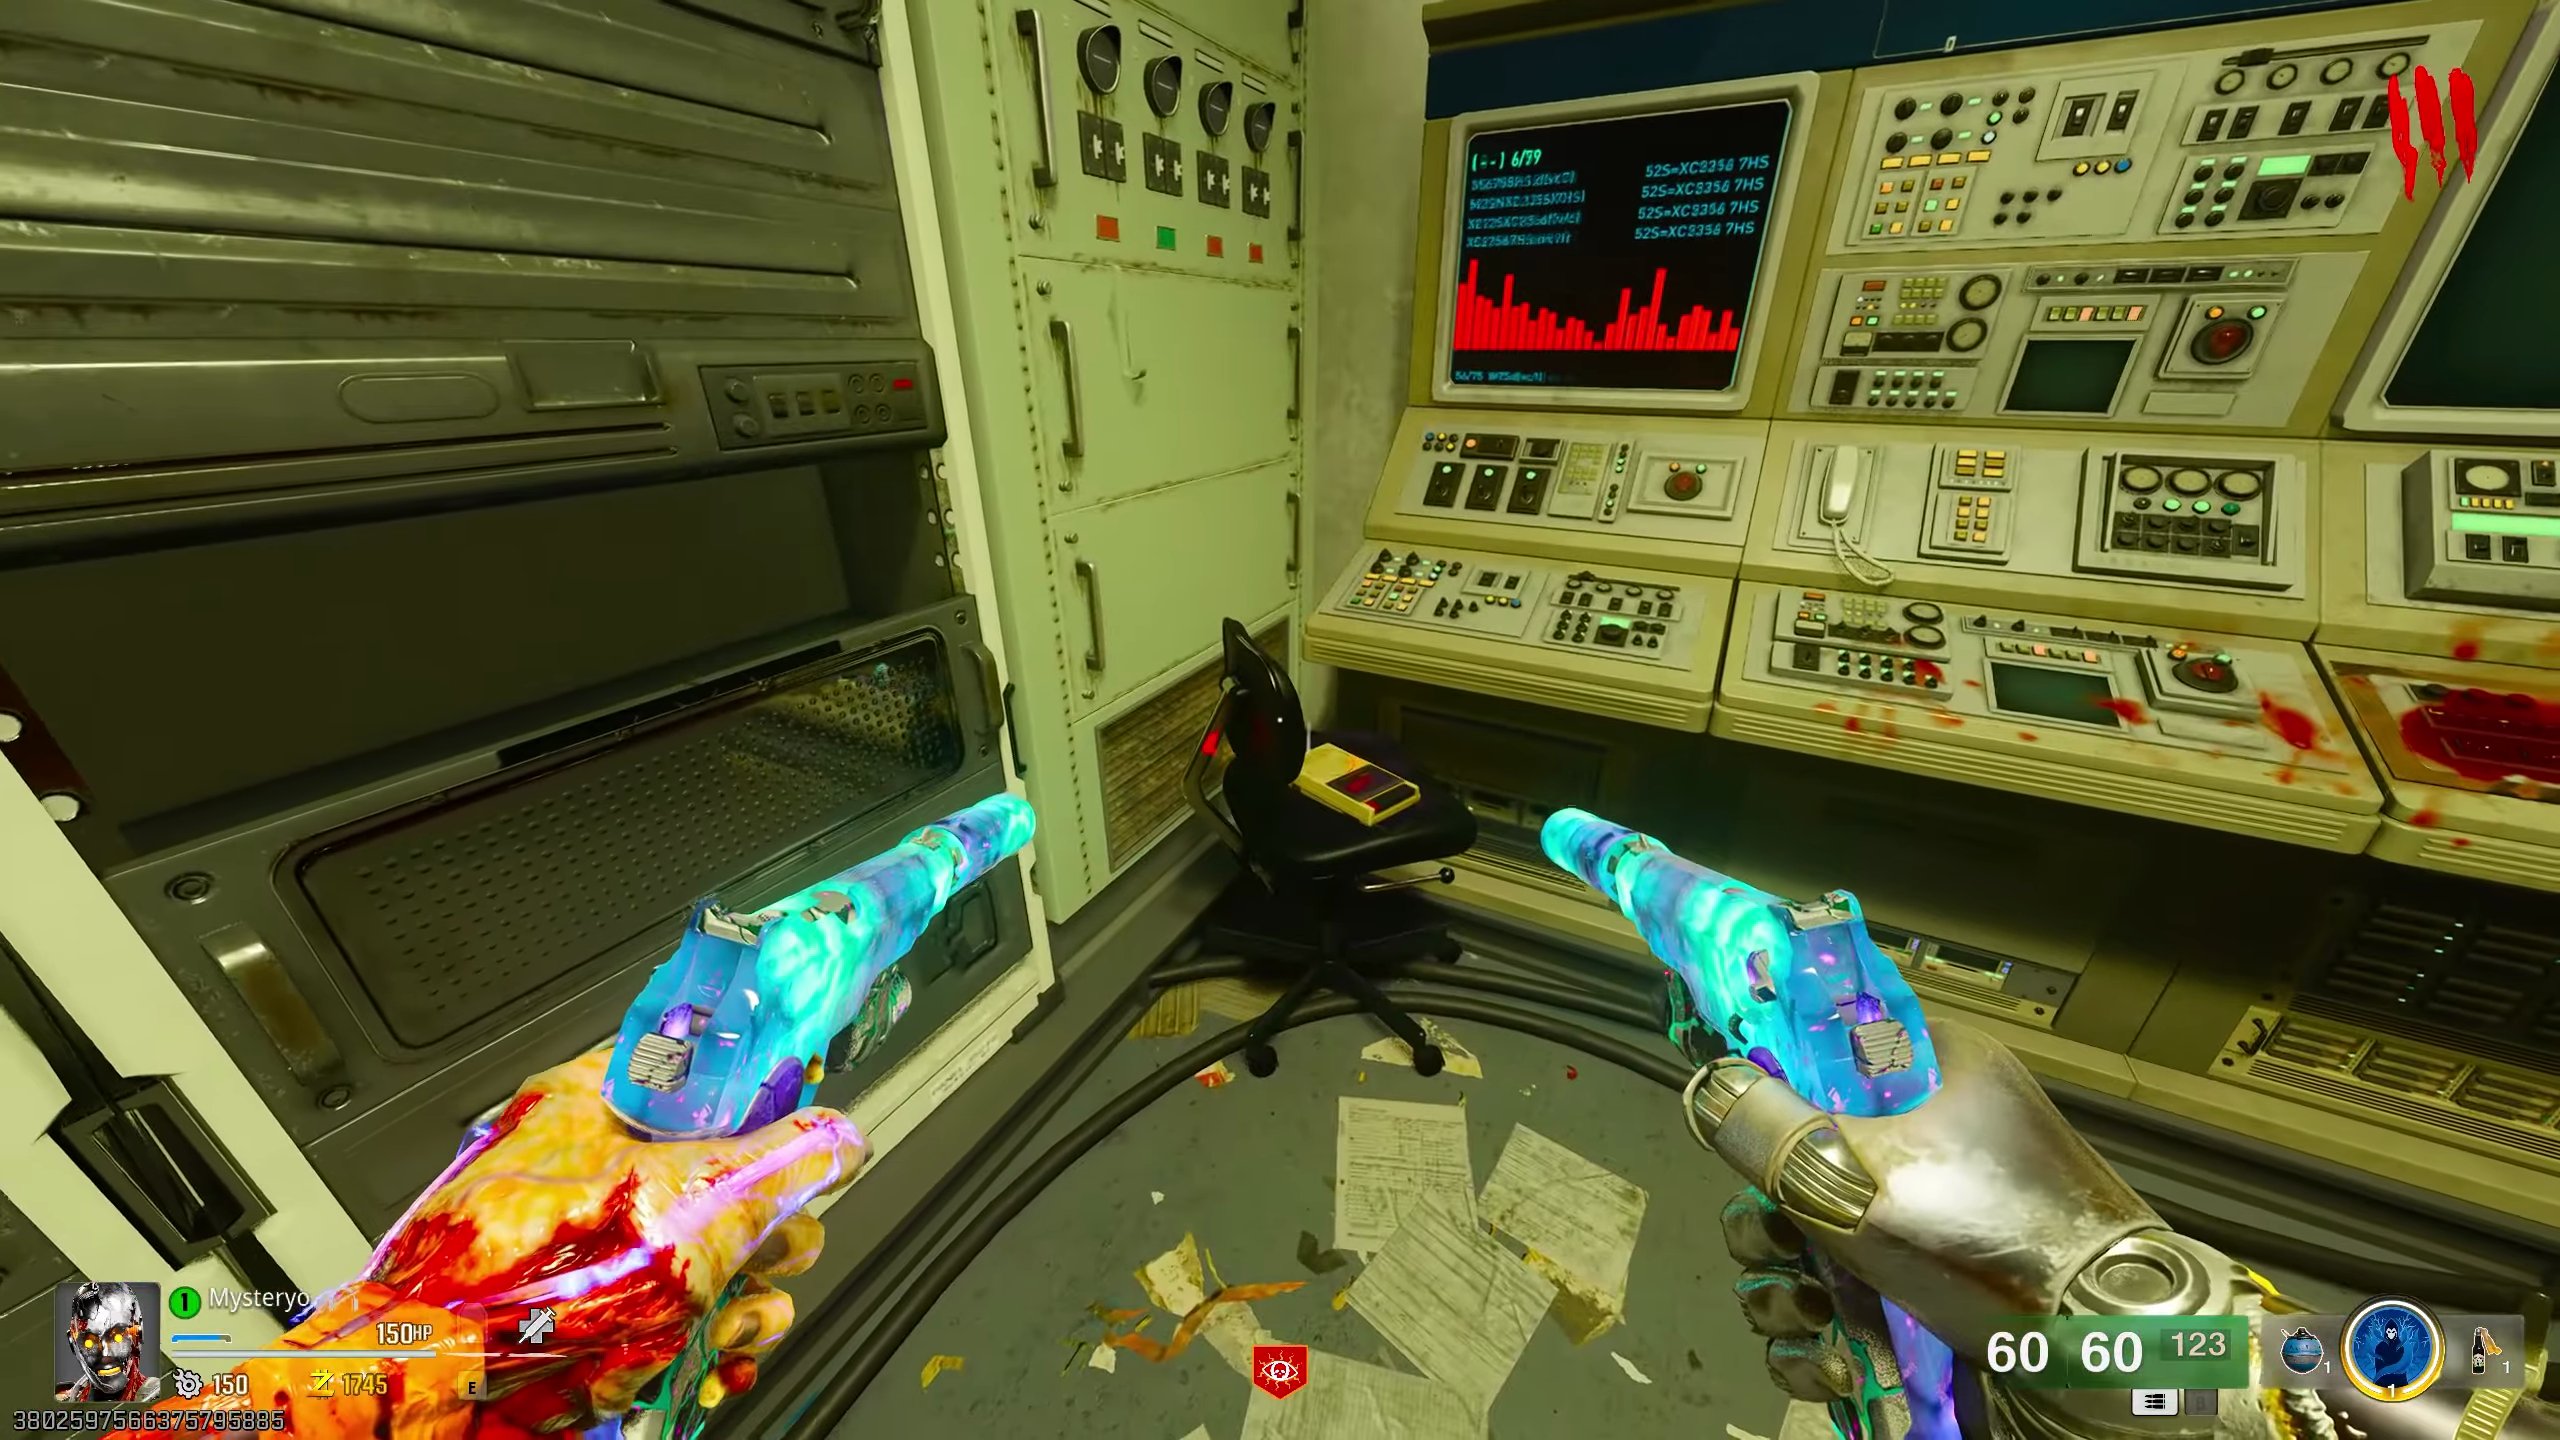
Audio Log 2: Death Cap
- Take the left elevator to Quantum Computing.
- Follow the path through the mutated area until you reach a control room.
- The audio log is on a console near the machines.
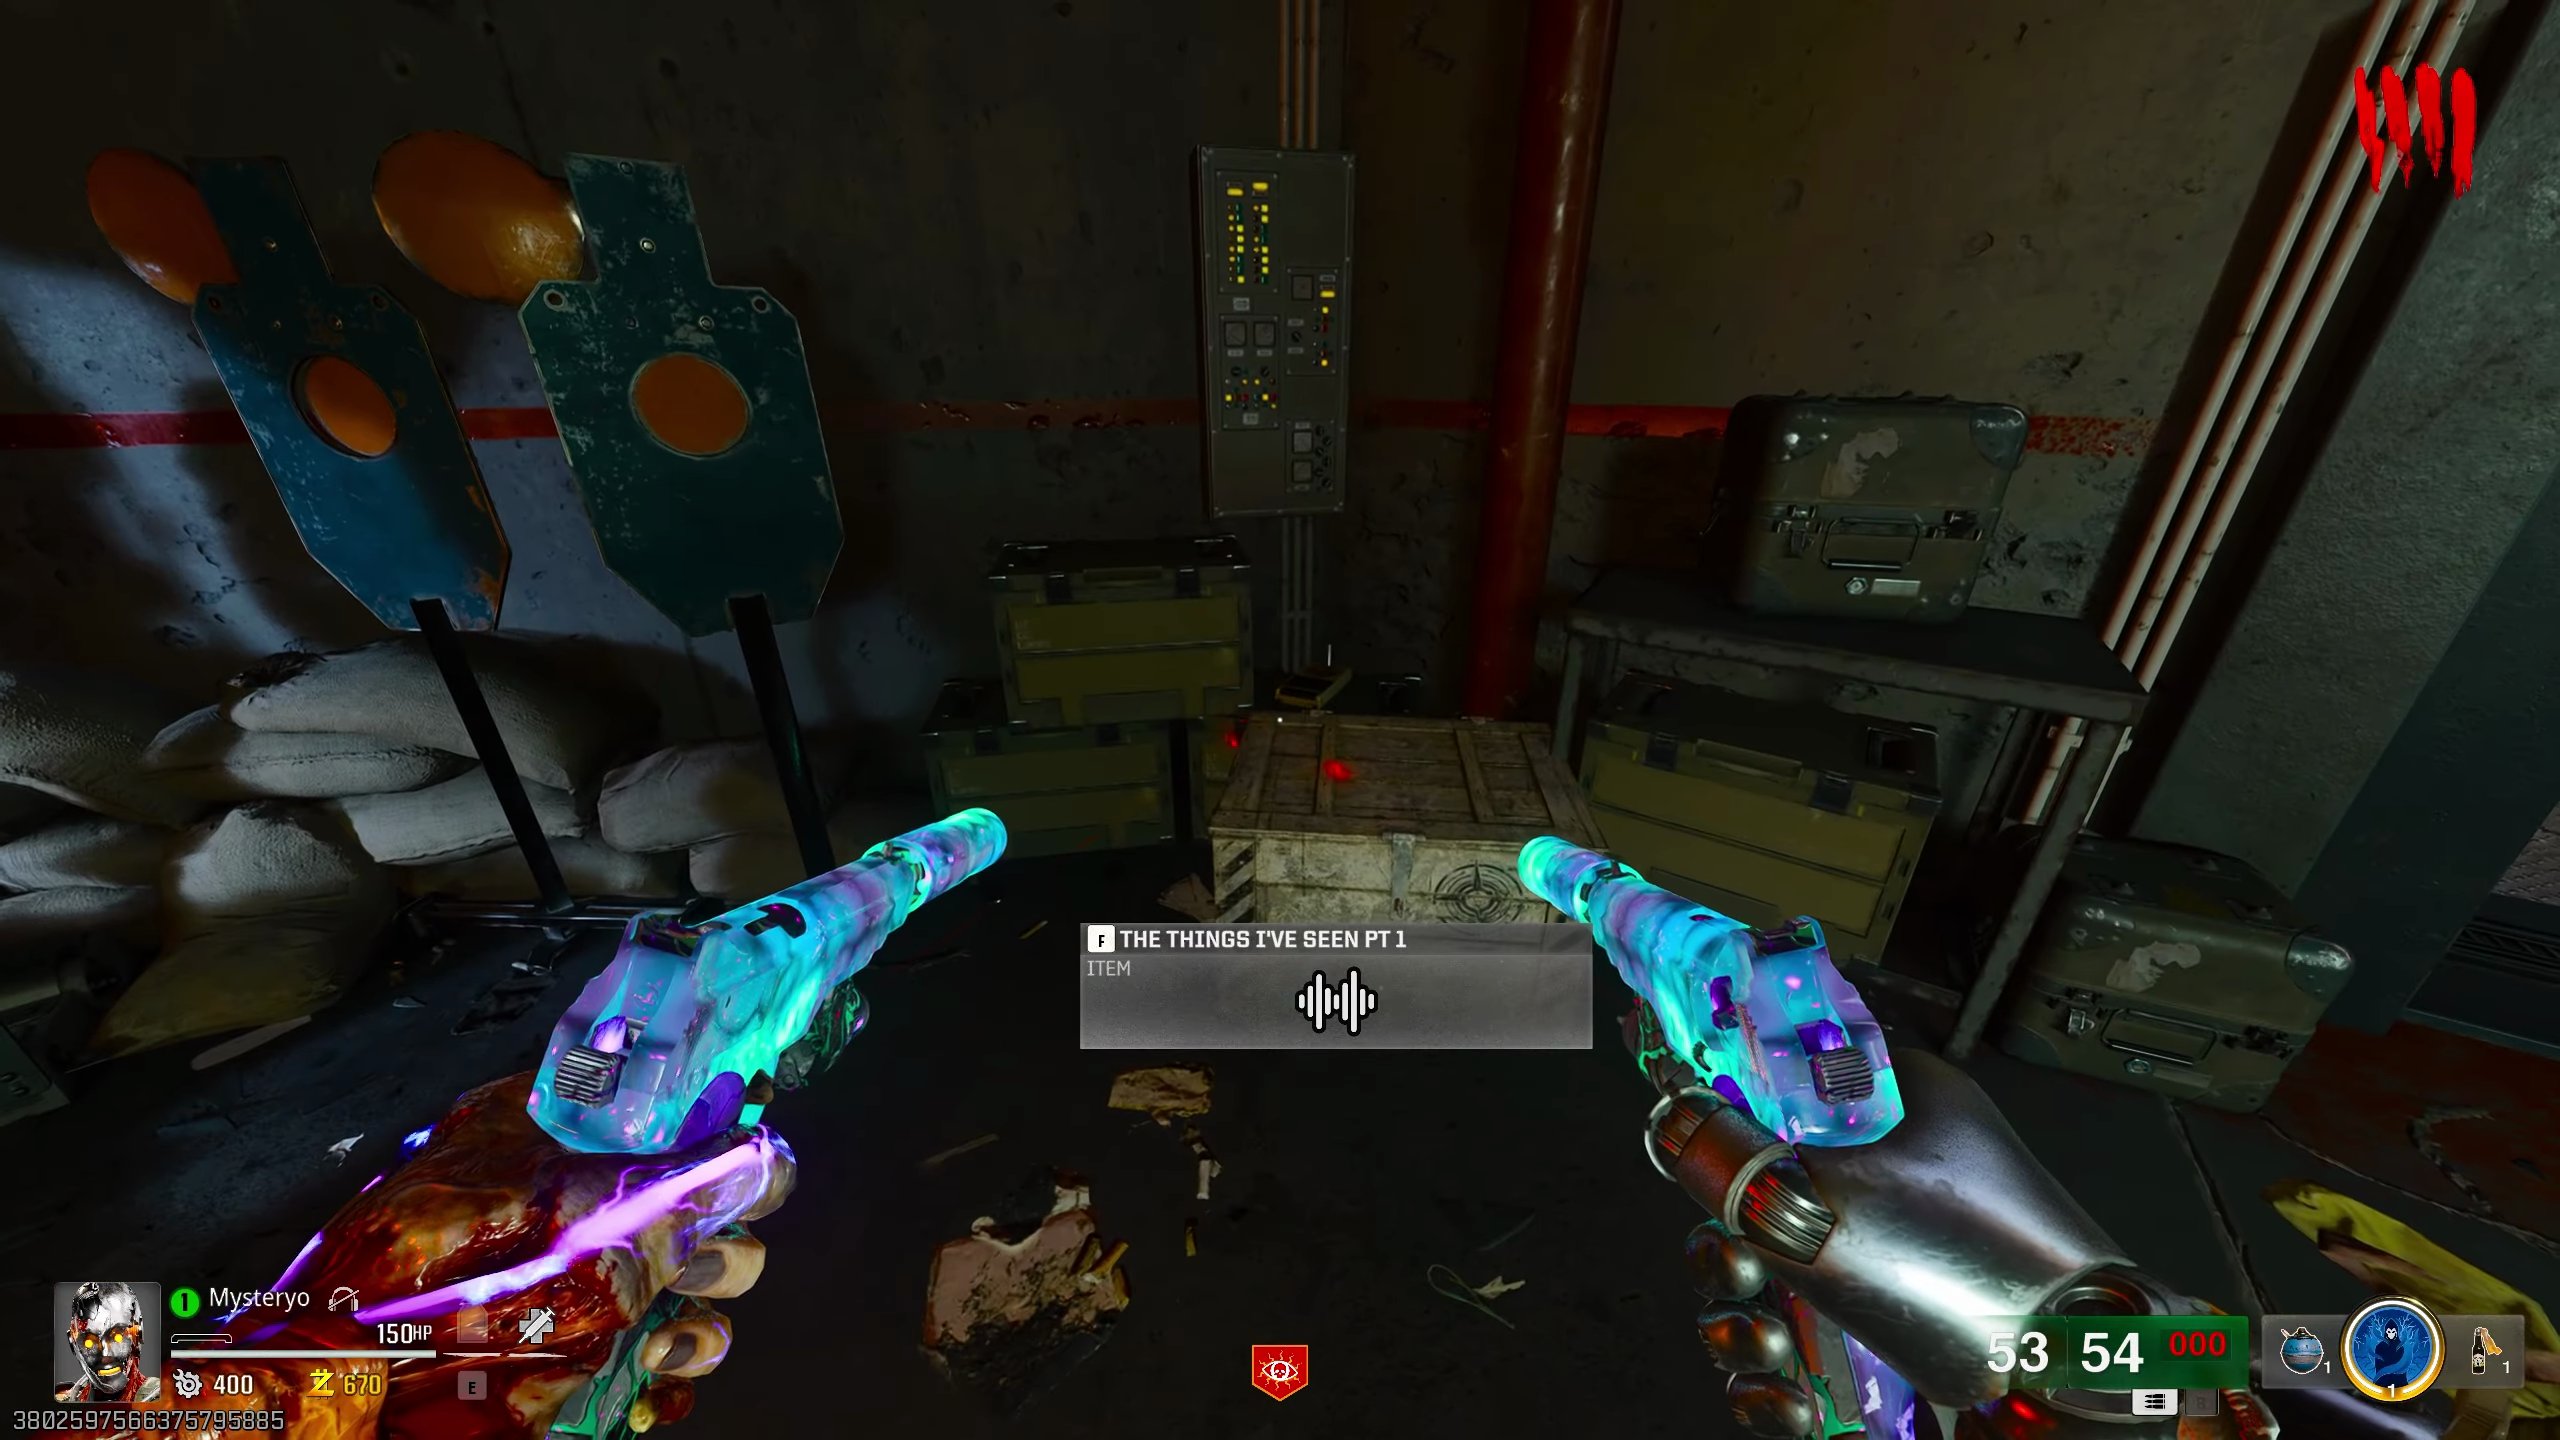
Audio Log 3: Target Practice
- From spawn, take the right elevator to Mutant Research.
- Head straight into the open area.
- The audio log is located near the target dummies.
Audio Log 4: Tangled Webs We Weave
- In Mutant Research, you must be playing as Weaver on Round 13 or higher.
- Stay near the large containment tube until Sam speaks.
- Interact with the blue radio on the wall to make the log spawn.
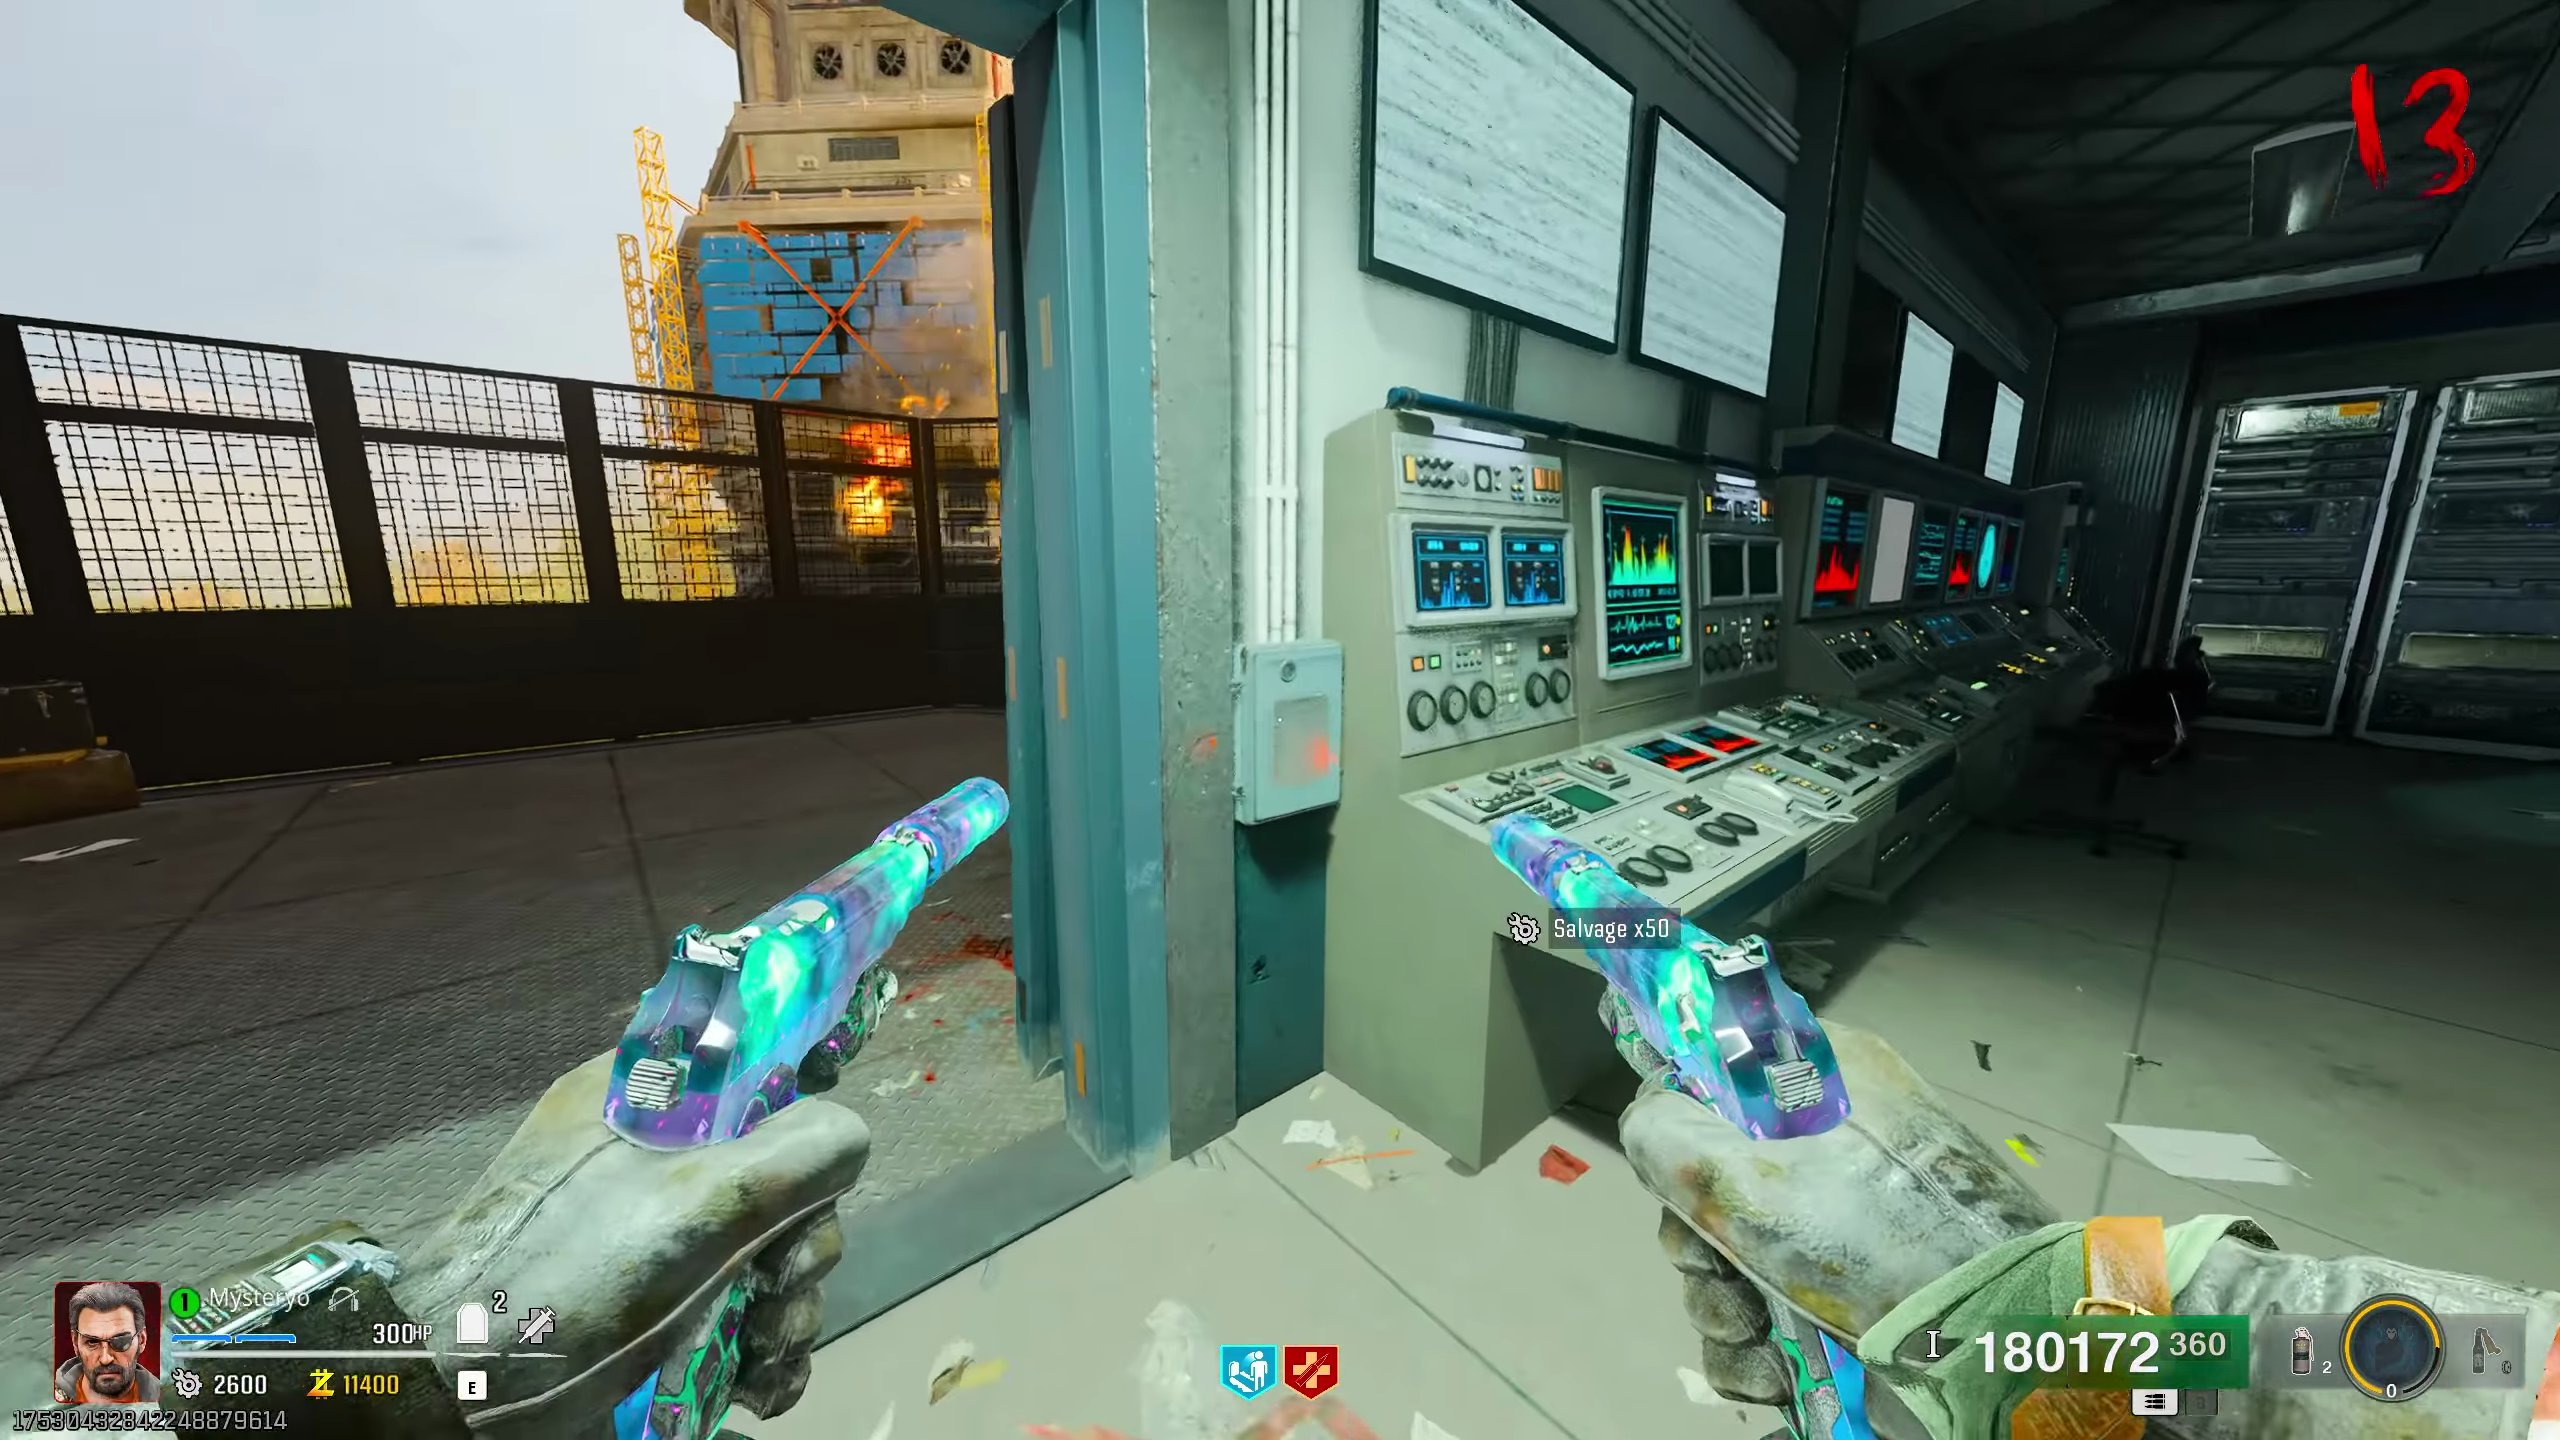
- The audio log will appear next to the radio.
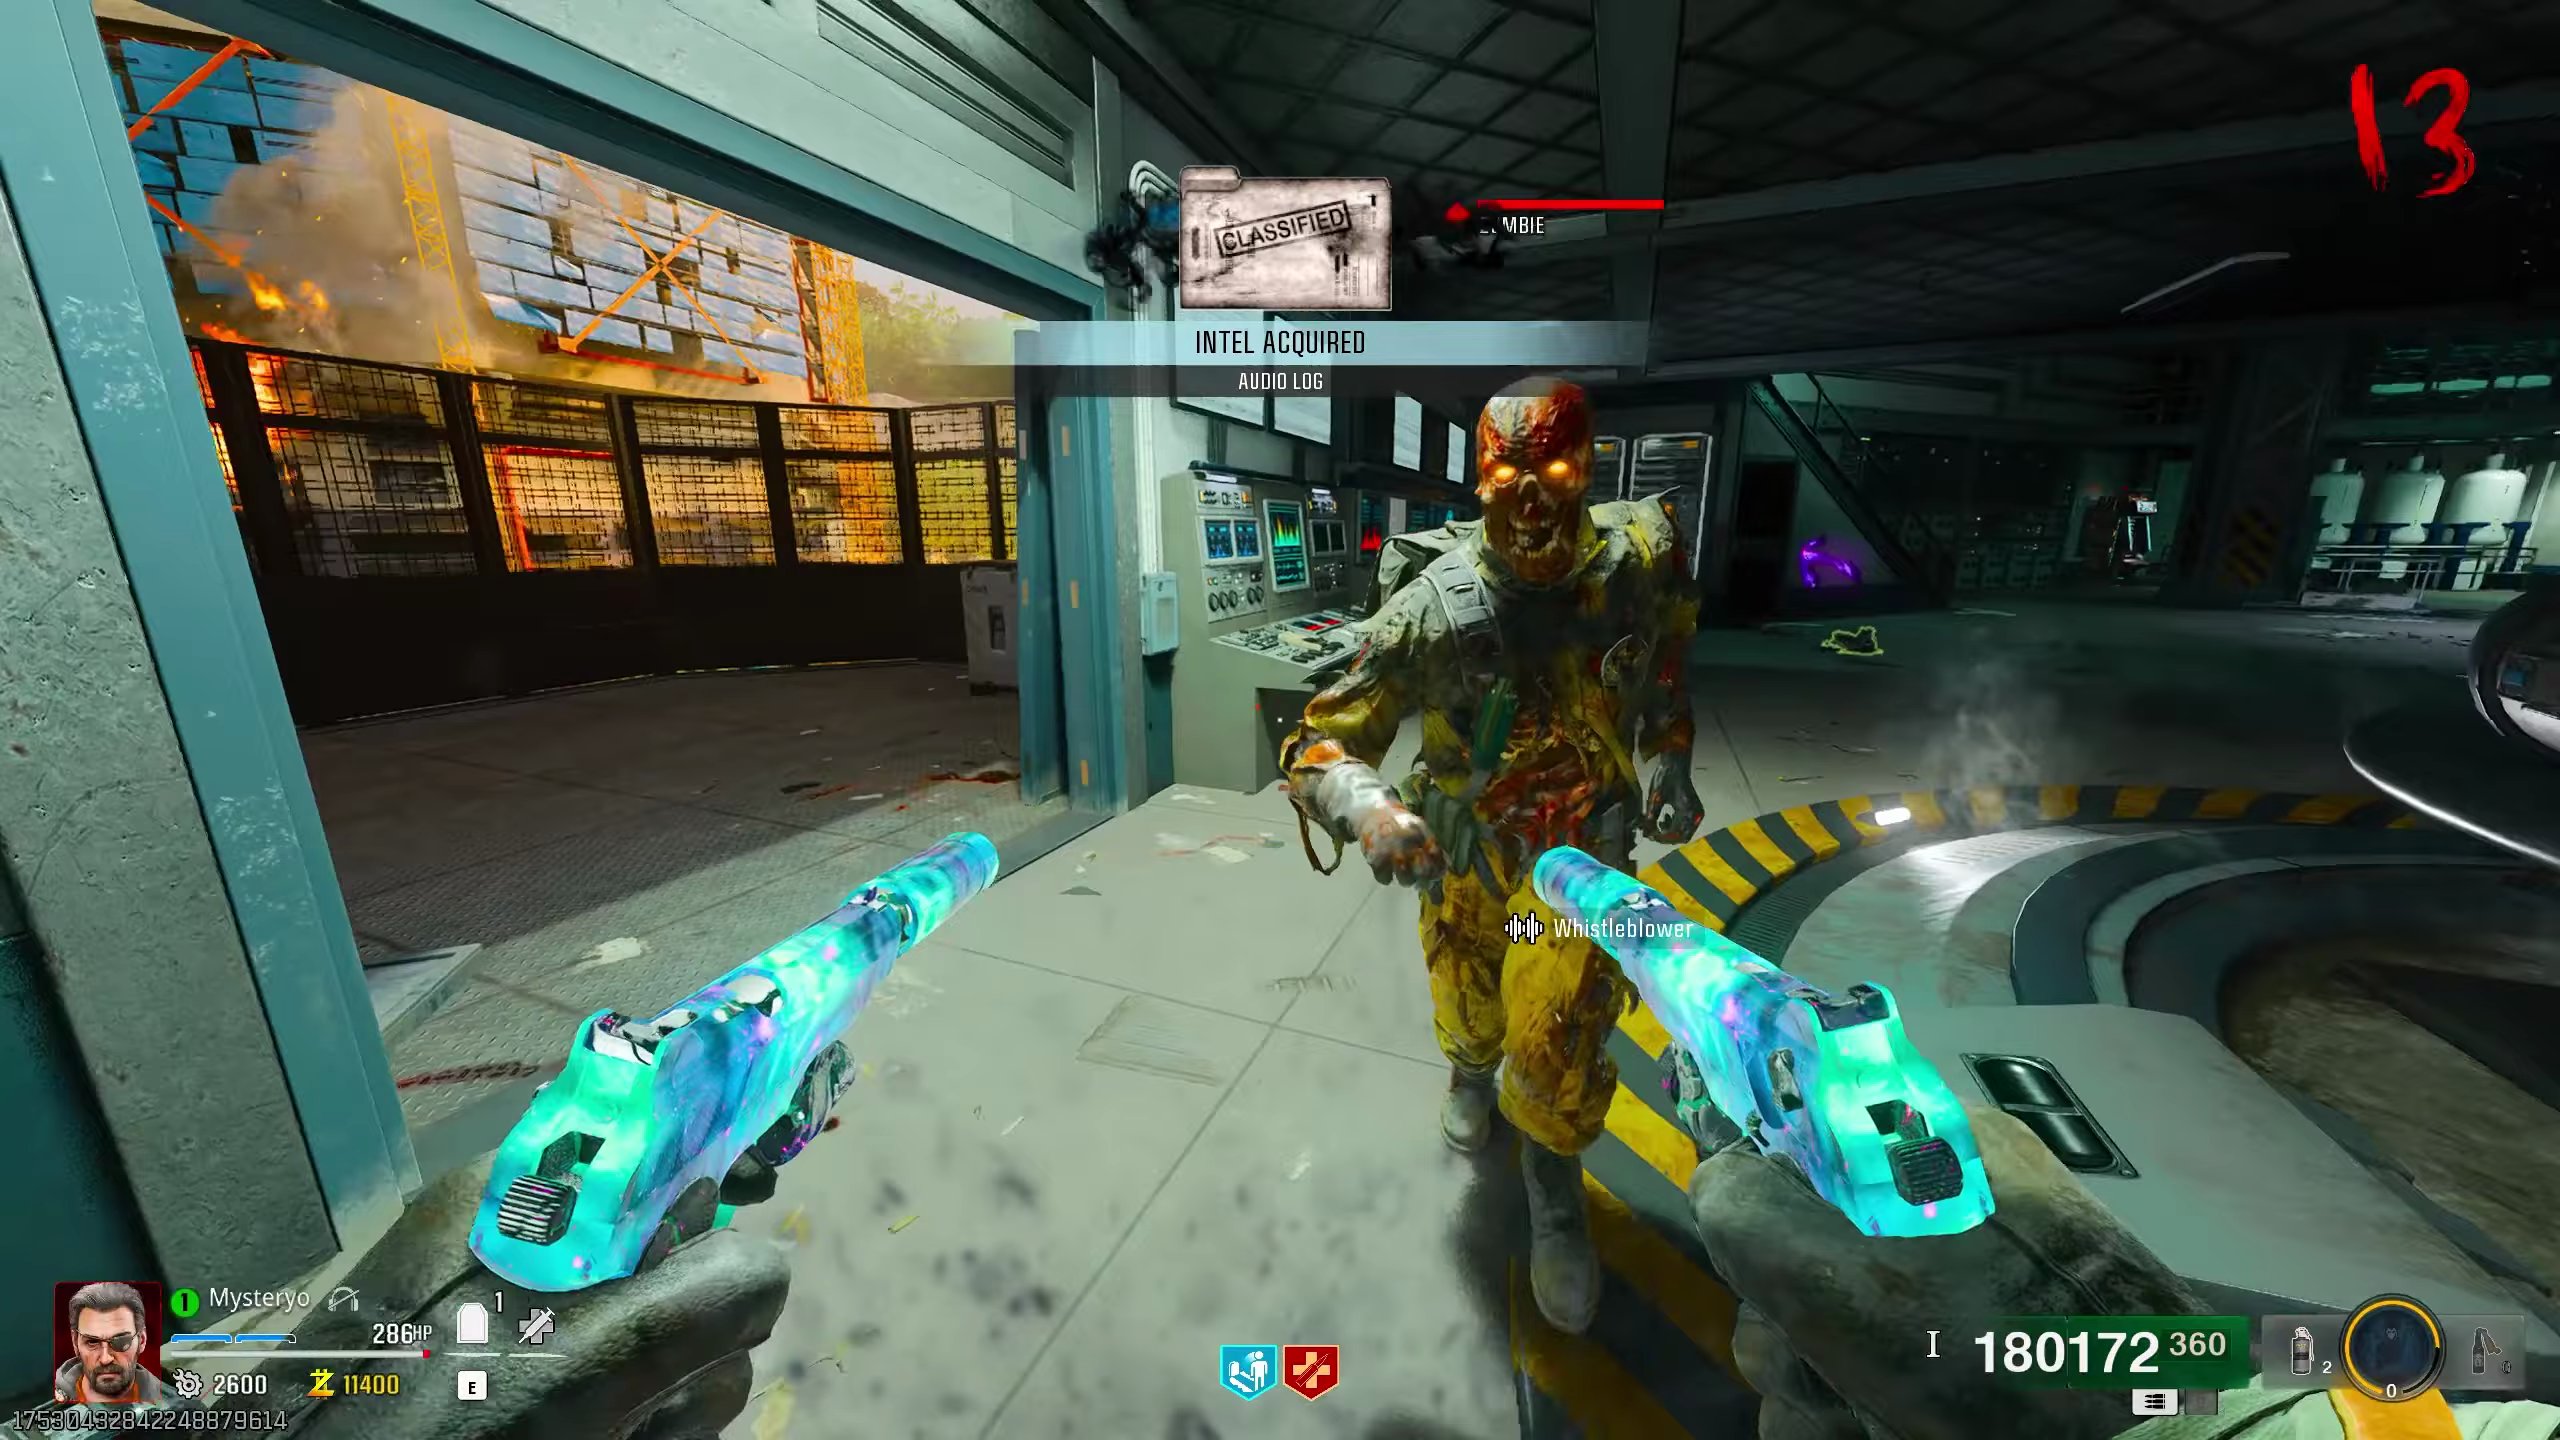
Audio Log 5: Some Assembly Required
- Head to Tower 2's Android Assembly area.
- You'll find the audio log on a shelf near the conveyor belt.
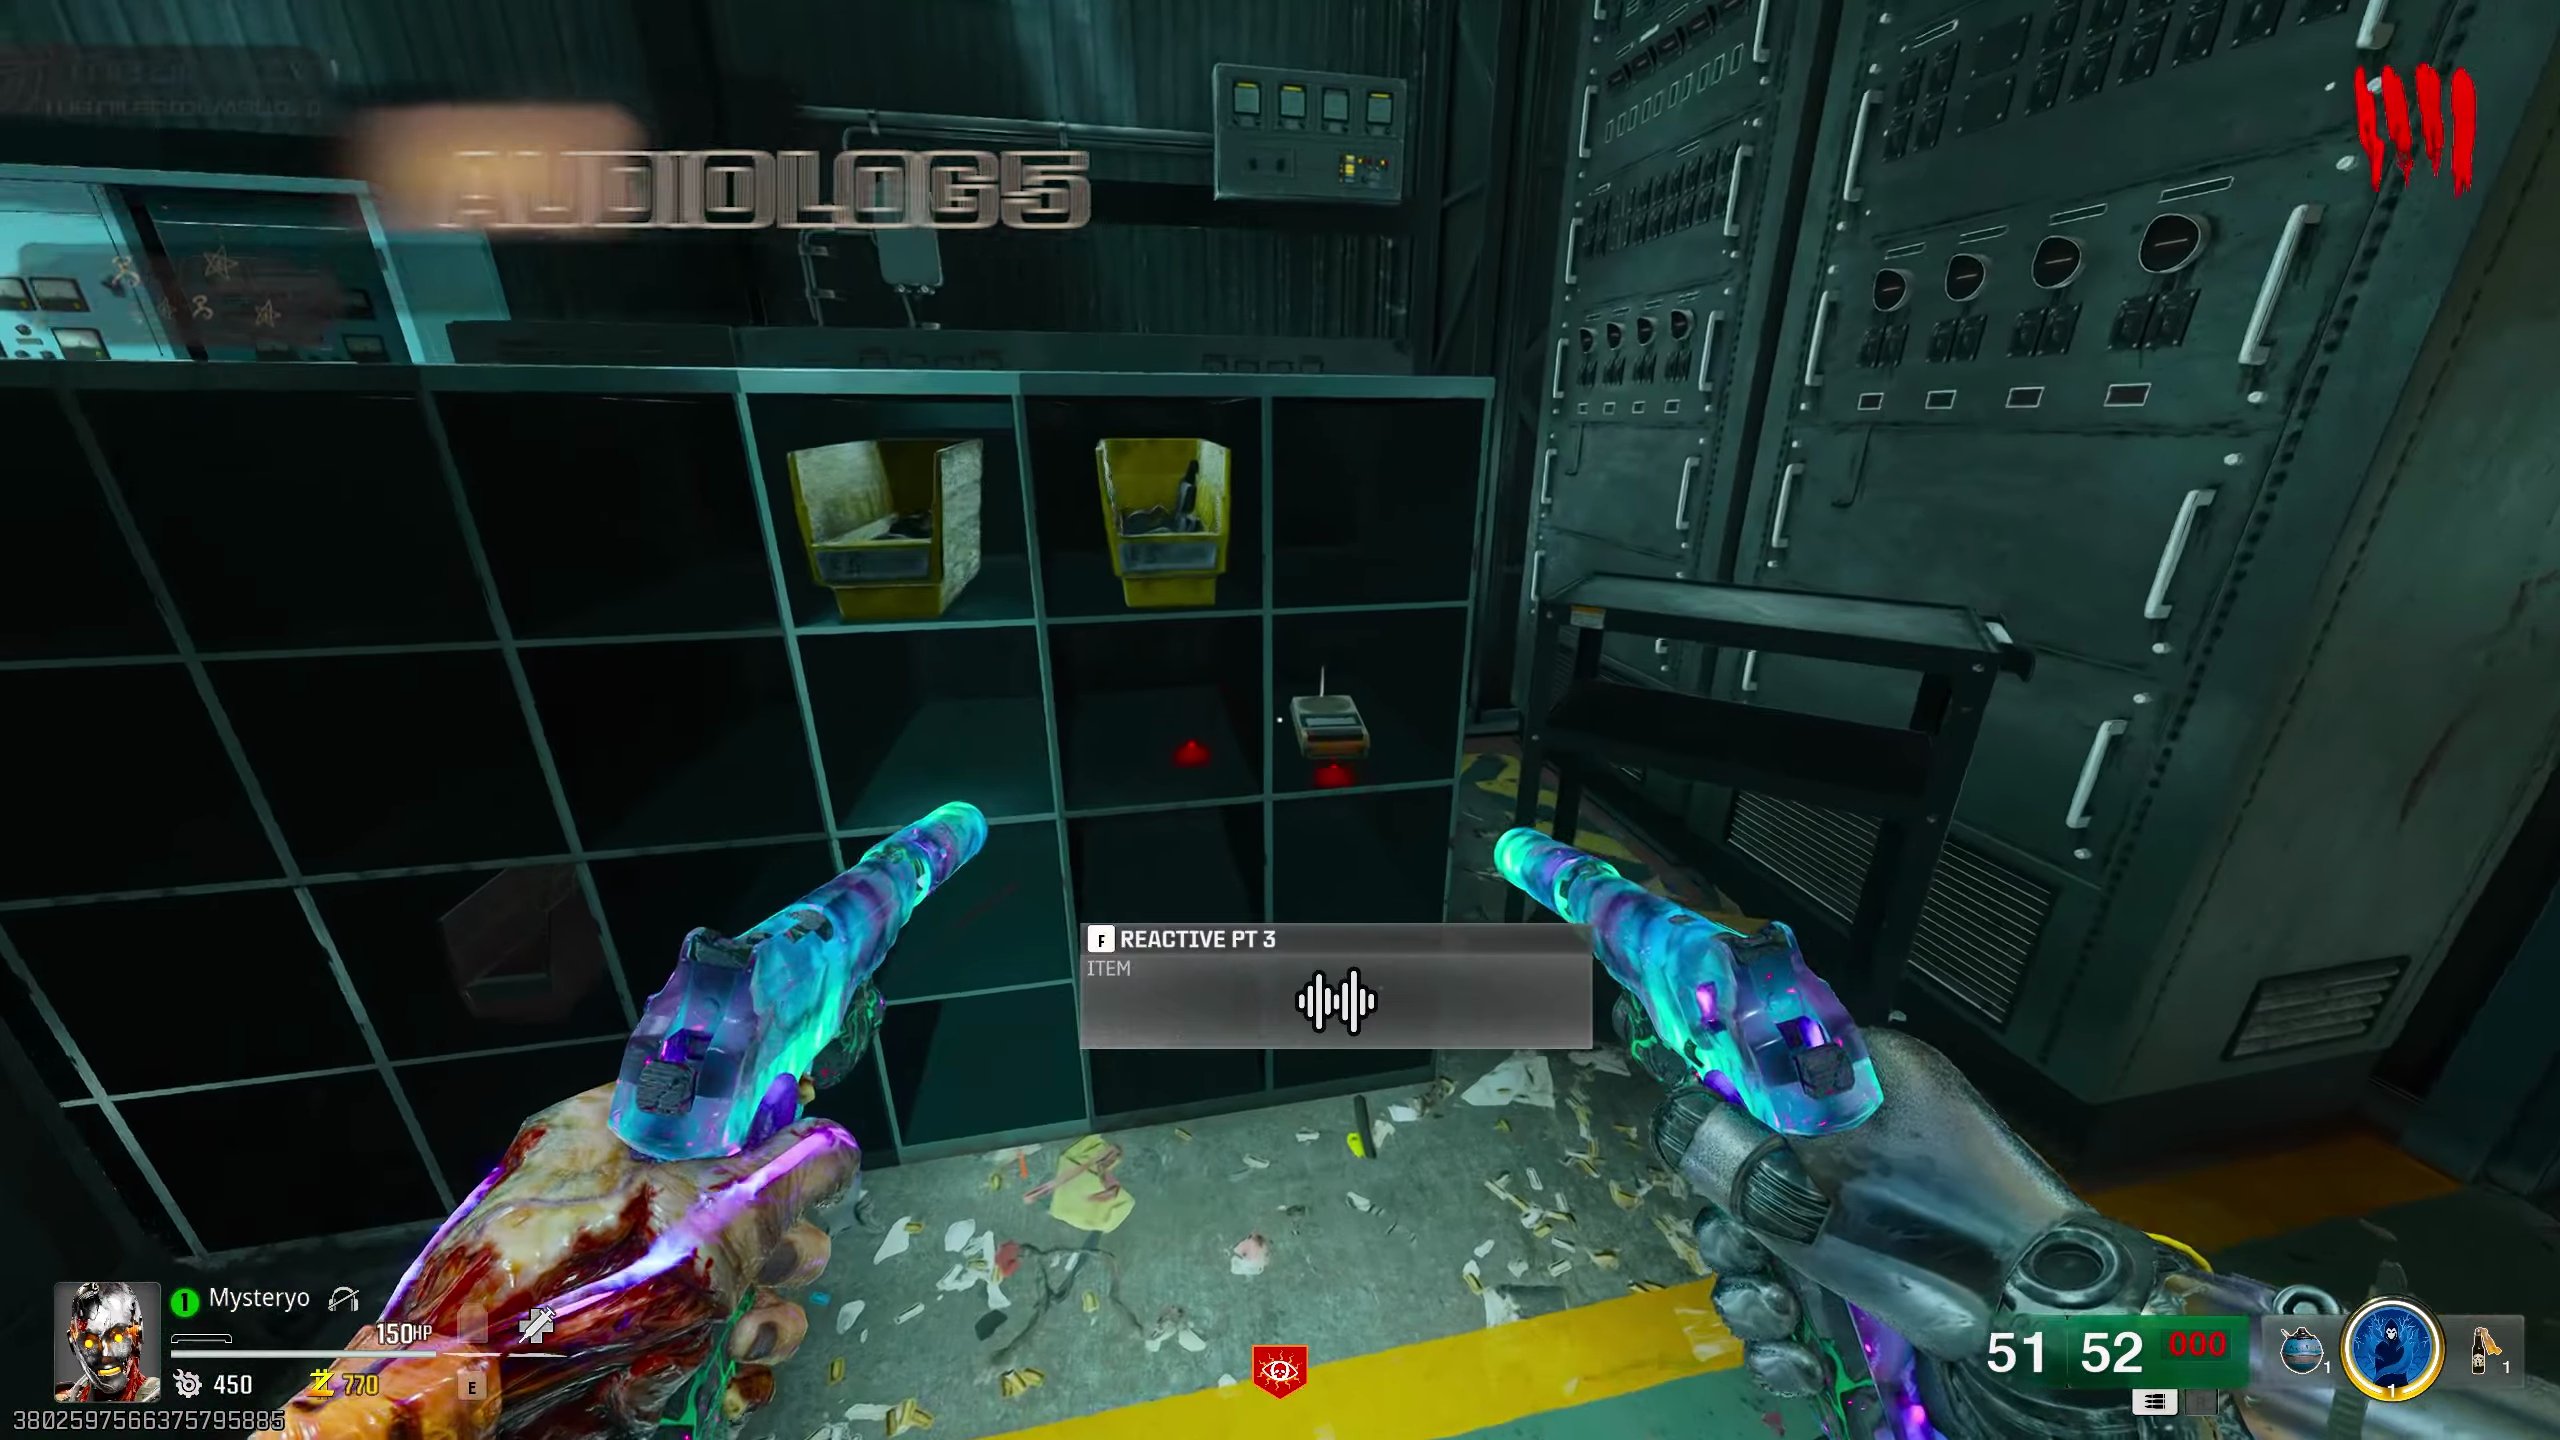
Audio Log 6: Need a Lift?
- Go one level up to Dark Entity Containment.
- The audio log is sitting on a forklift.
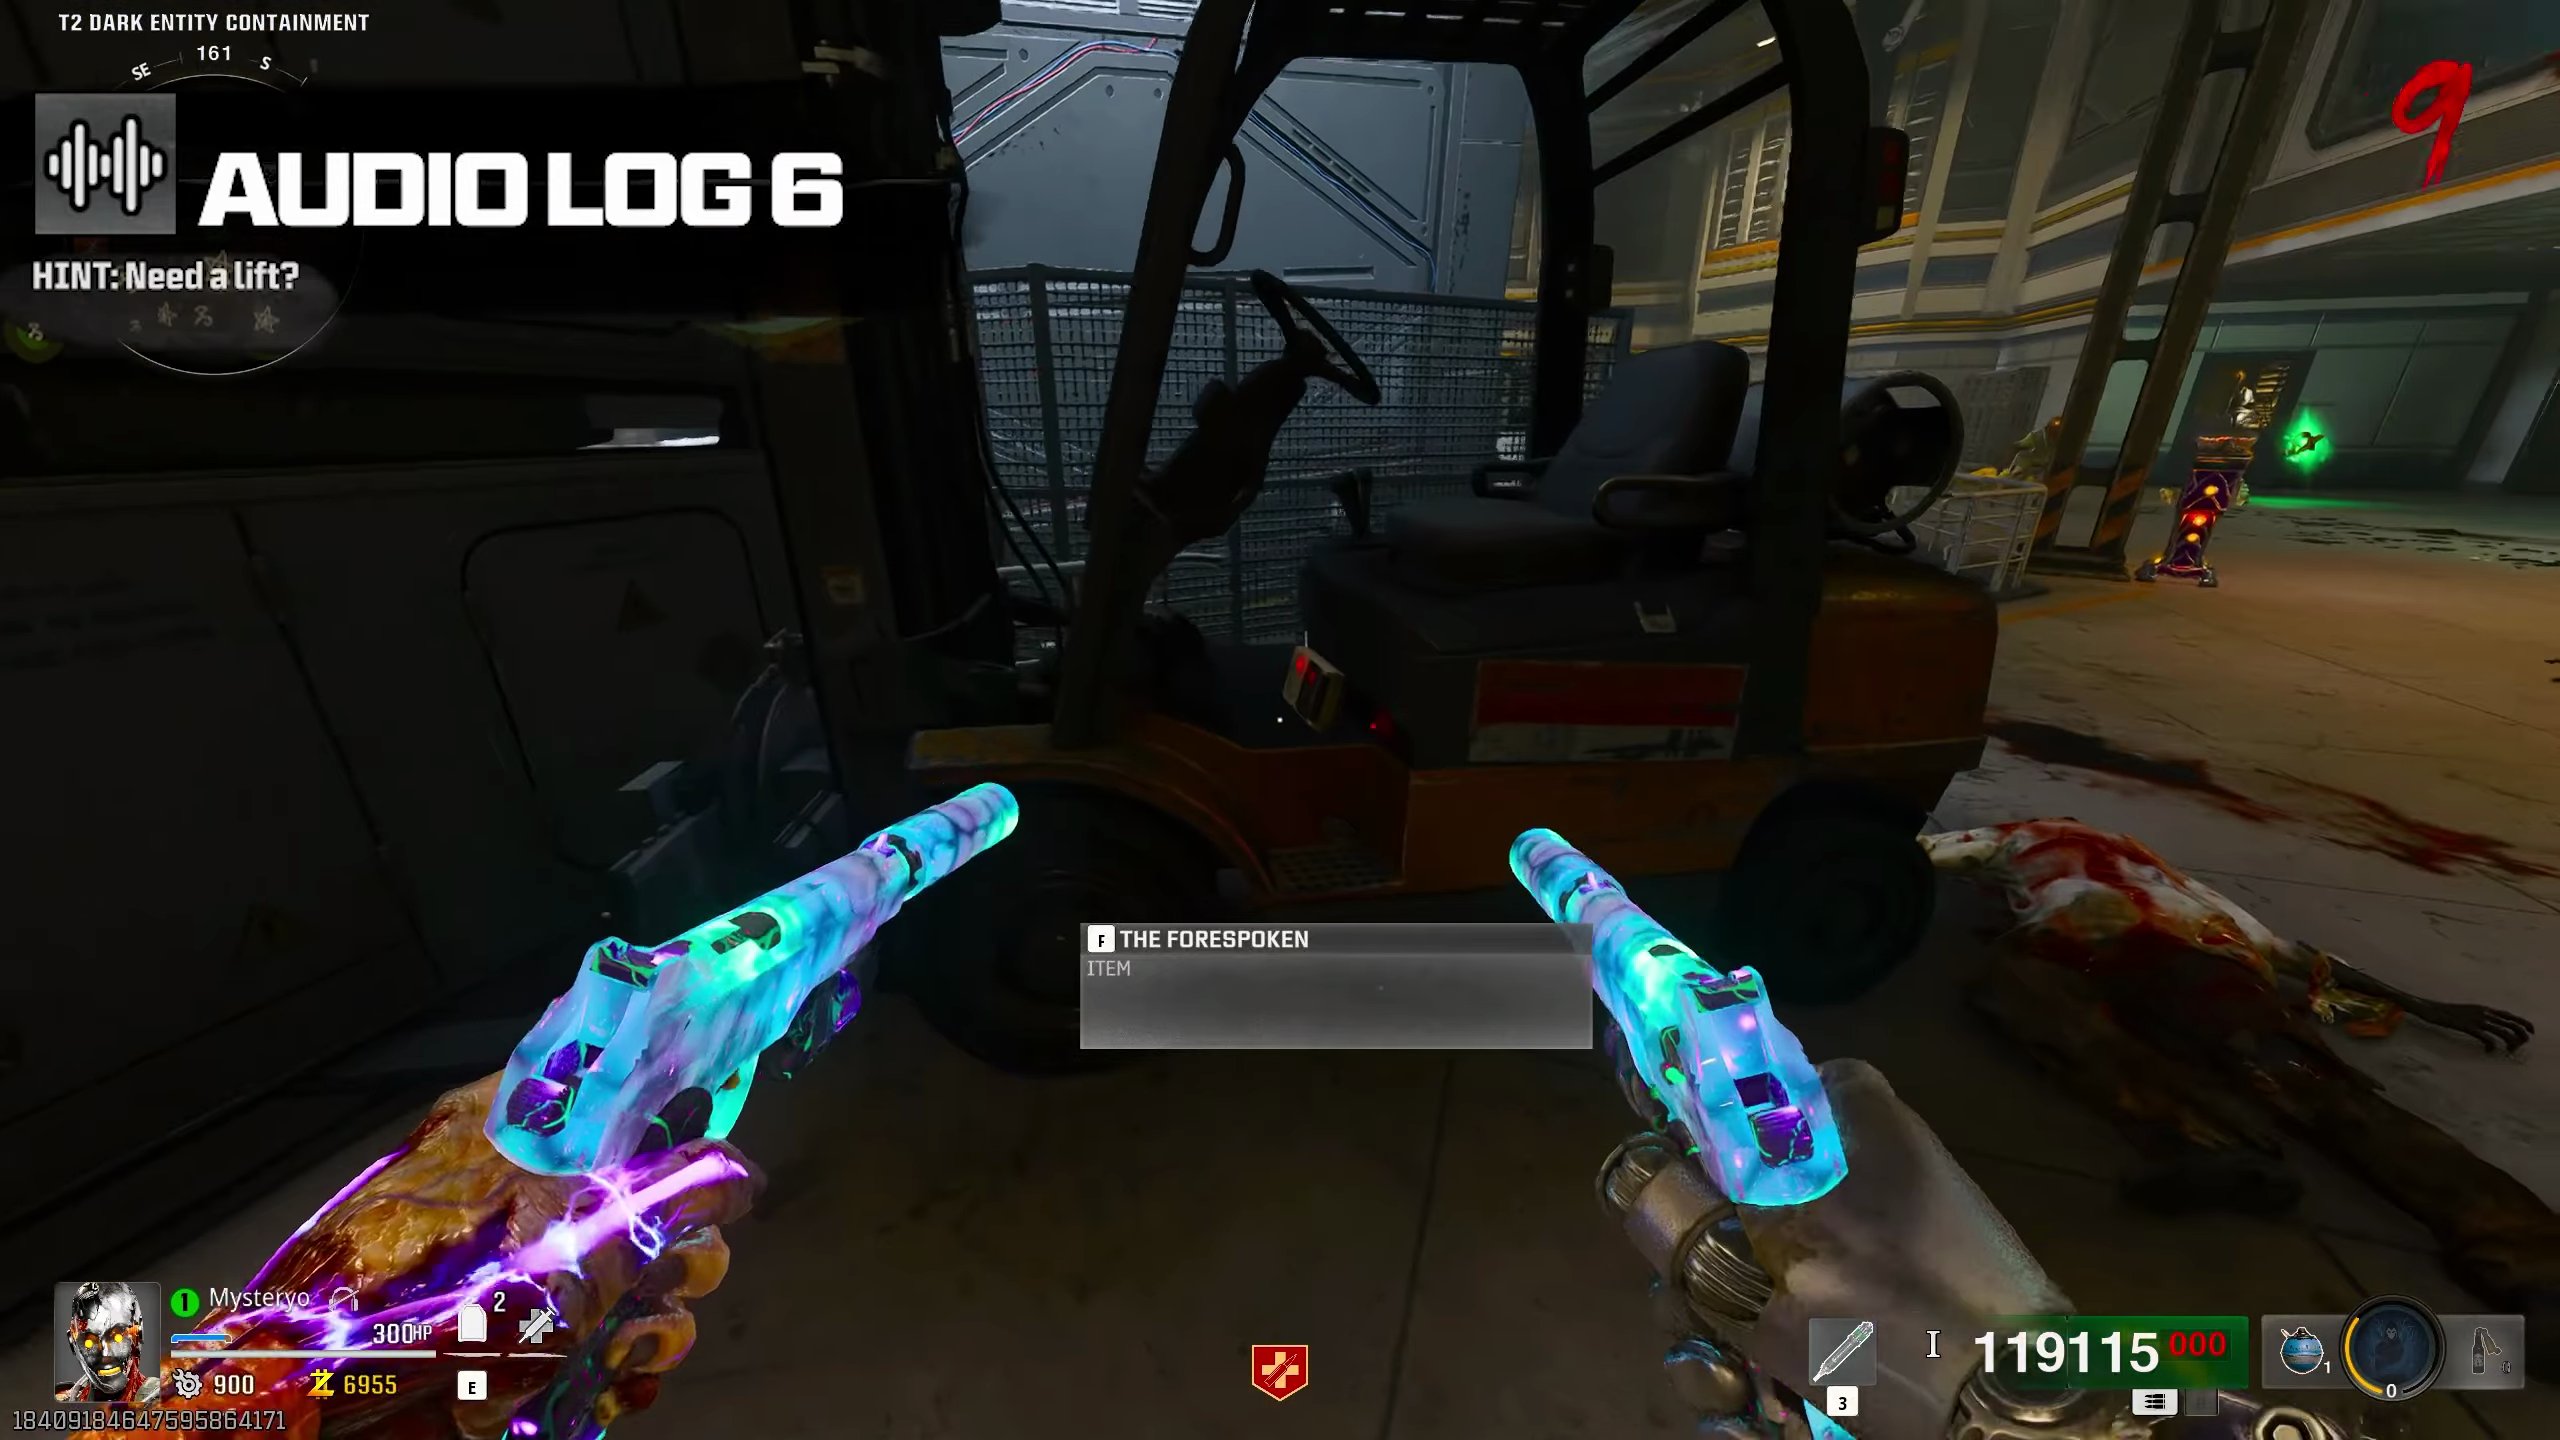
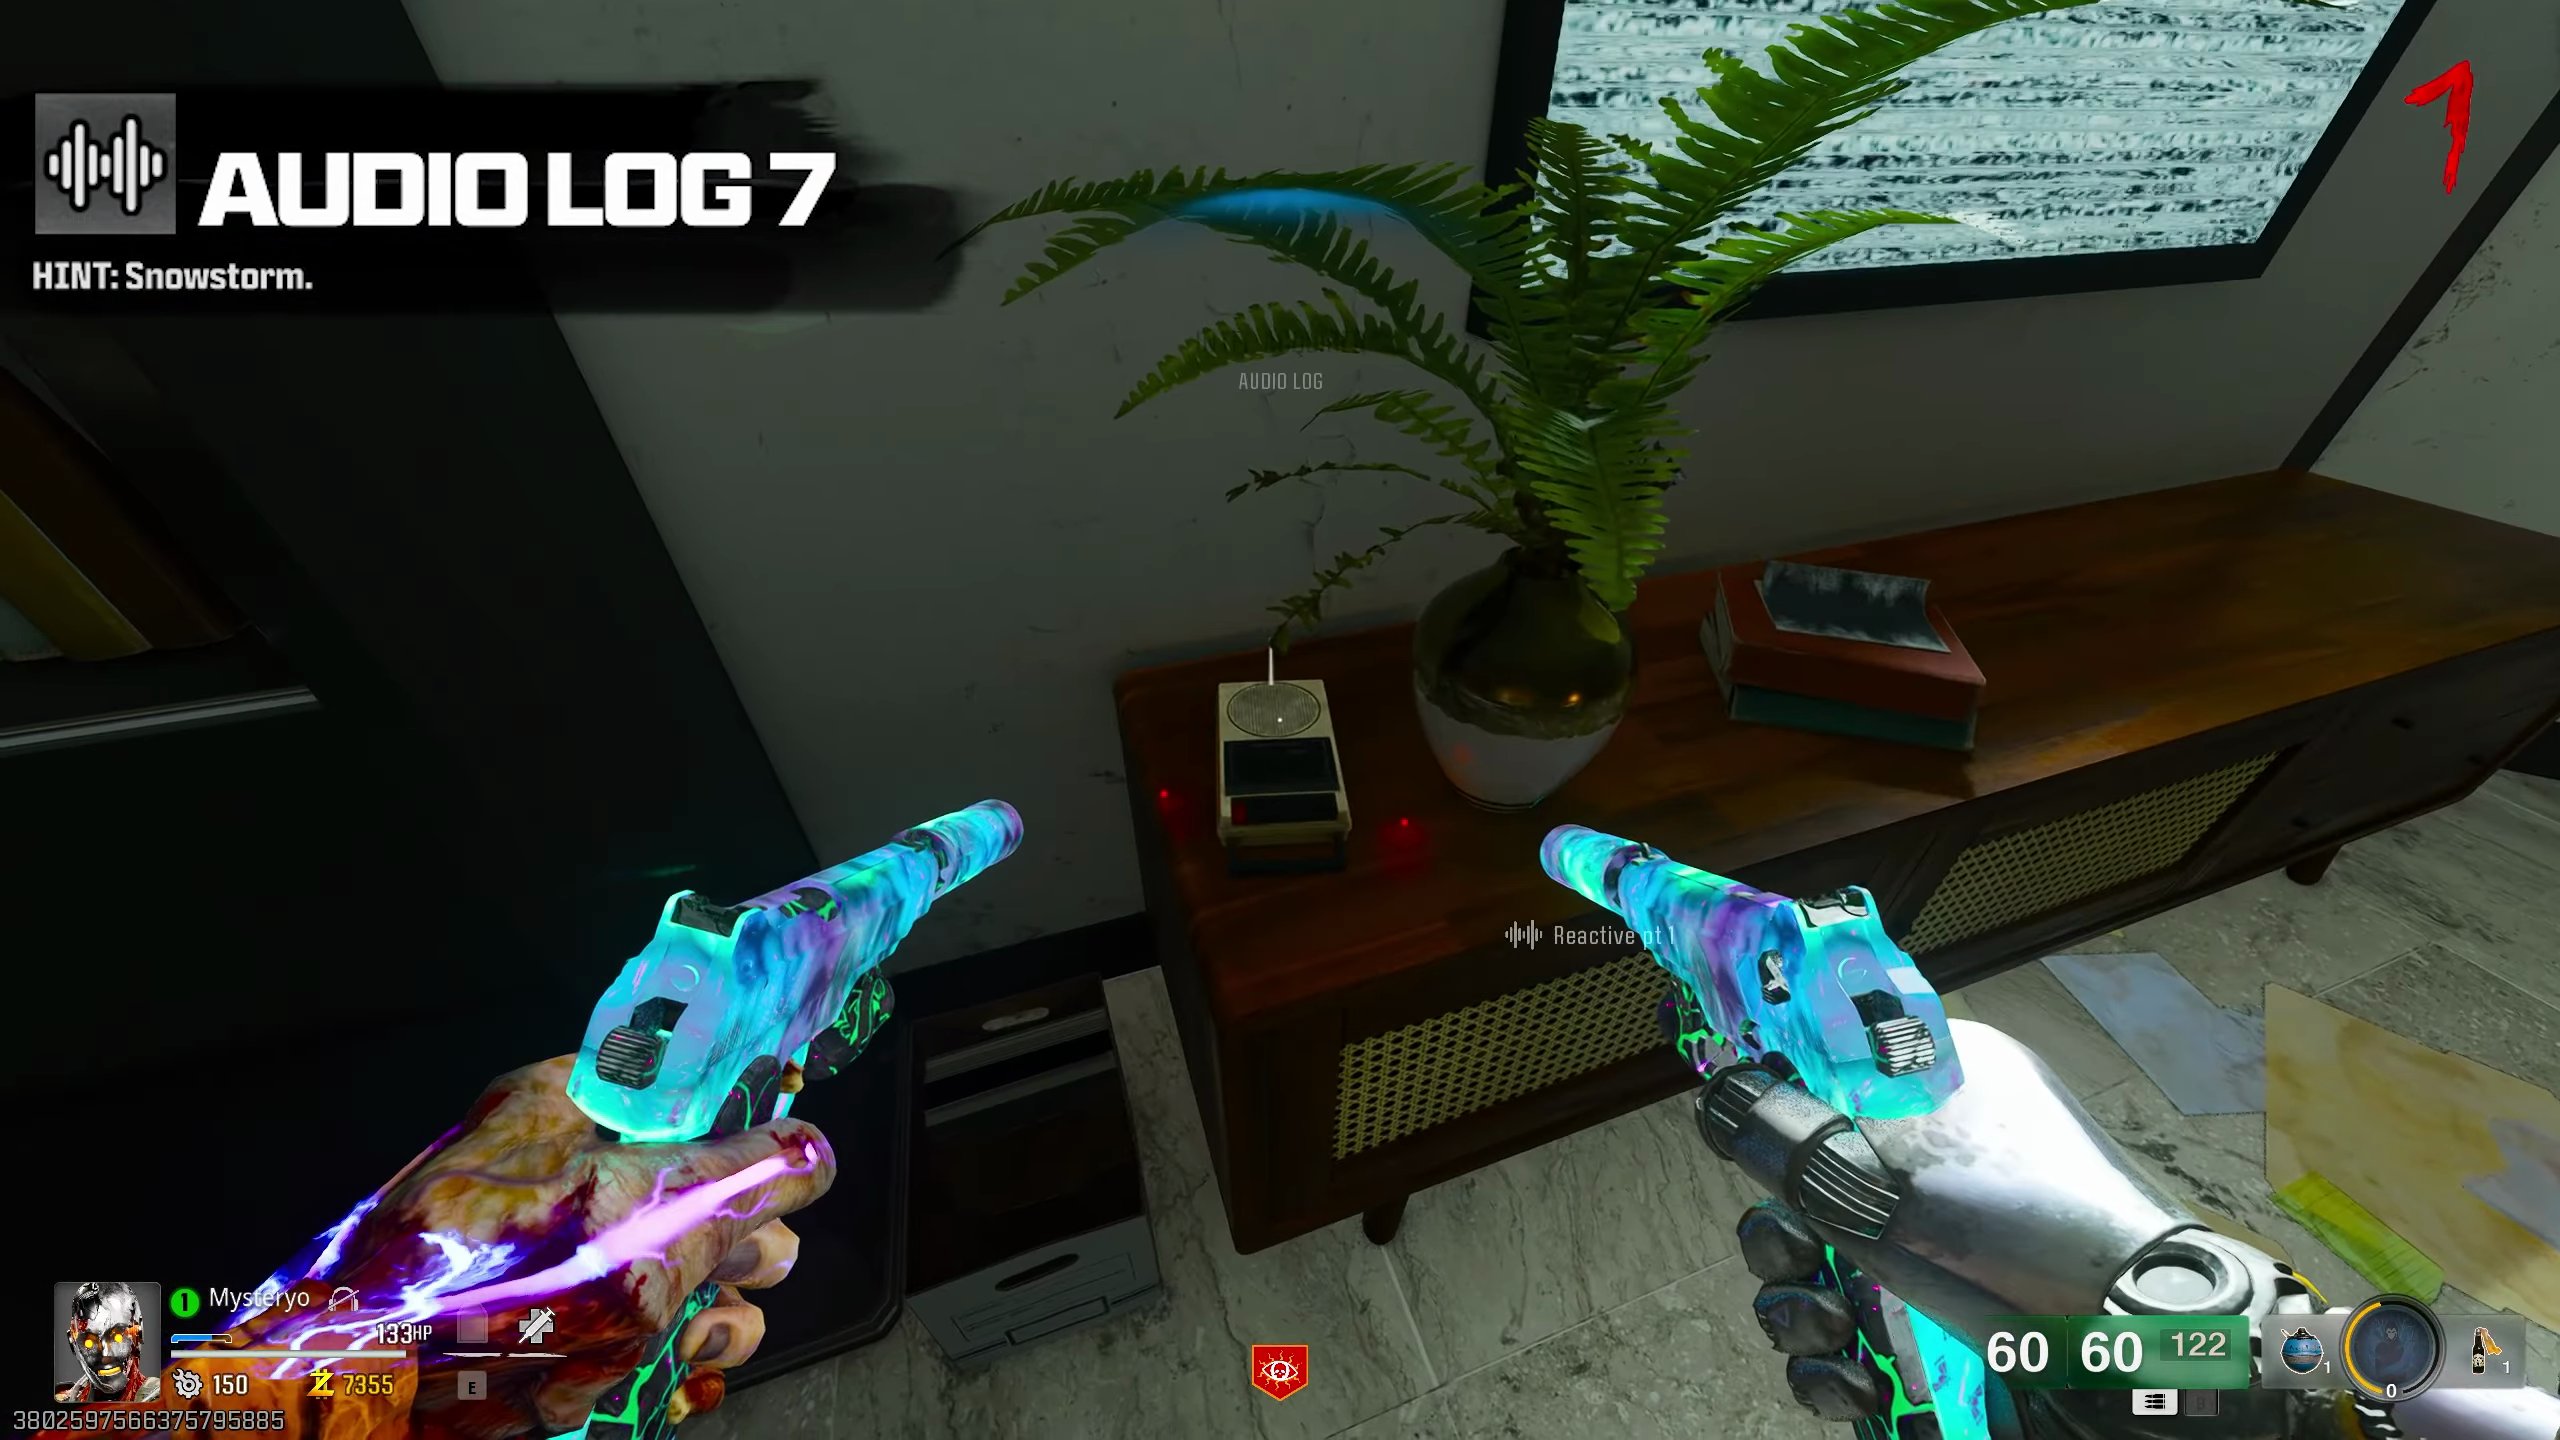
Audio Log 7: Snowstorm
- Take the jump pad to Executive Suites.
- Head into the room directly across from Juggernog.
- The audio log is on a cabinet inside the room.
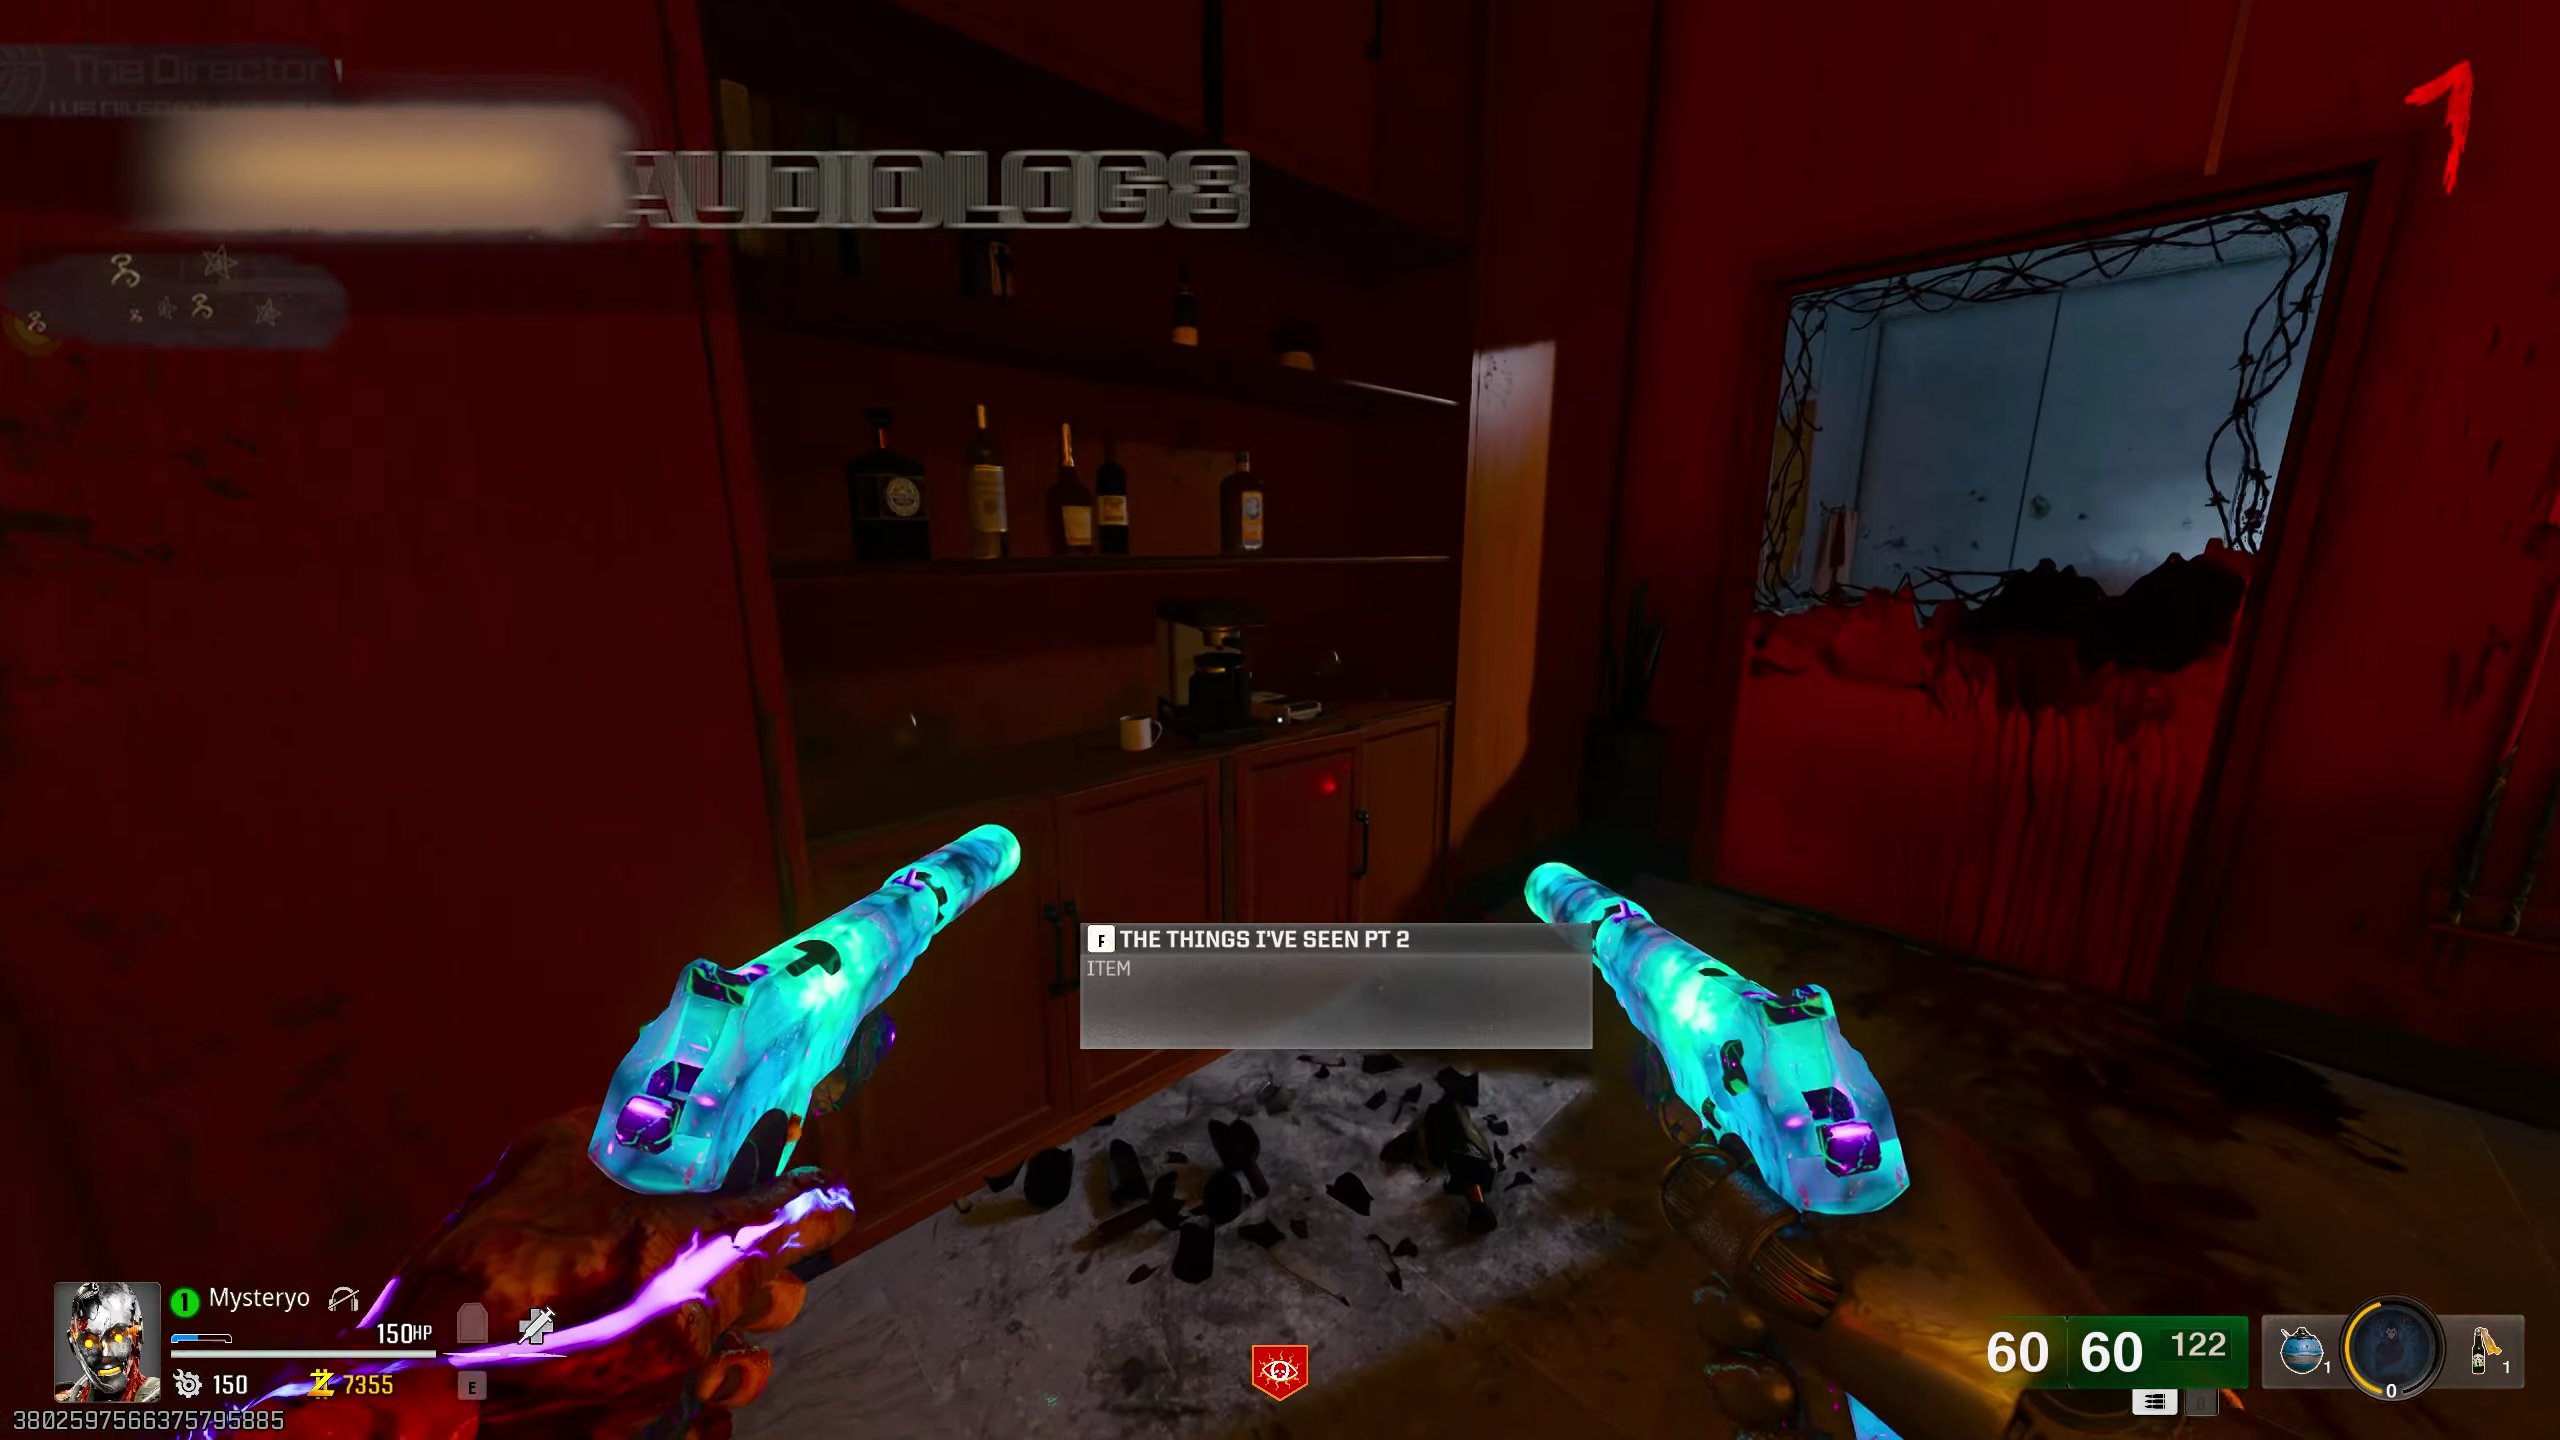
Audio Log 8: With a Twist
- Go upstairs to the Director's Office.
- As you enter, look for a pool table.
- The audio log is on a shelf right beside the pool table.
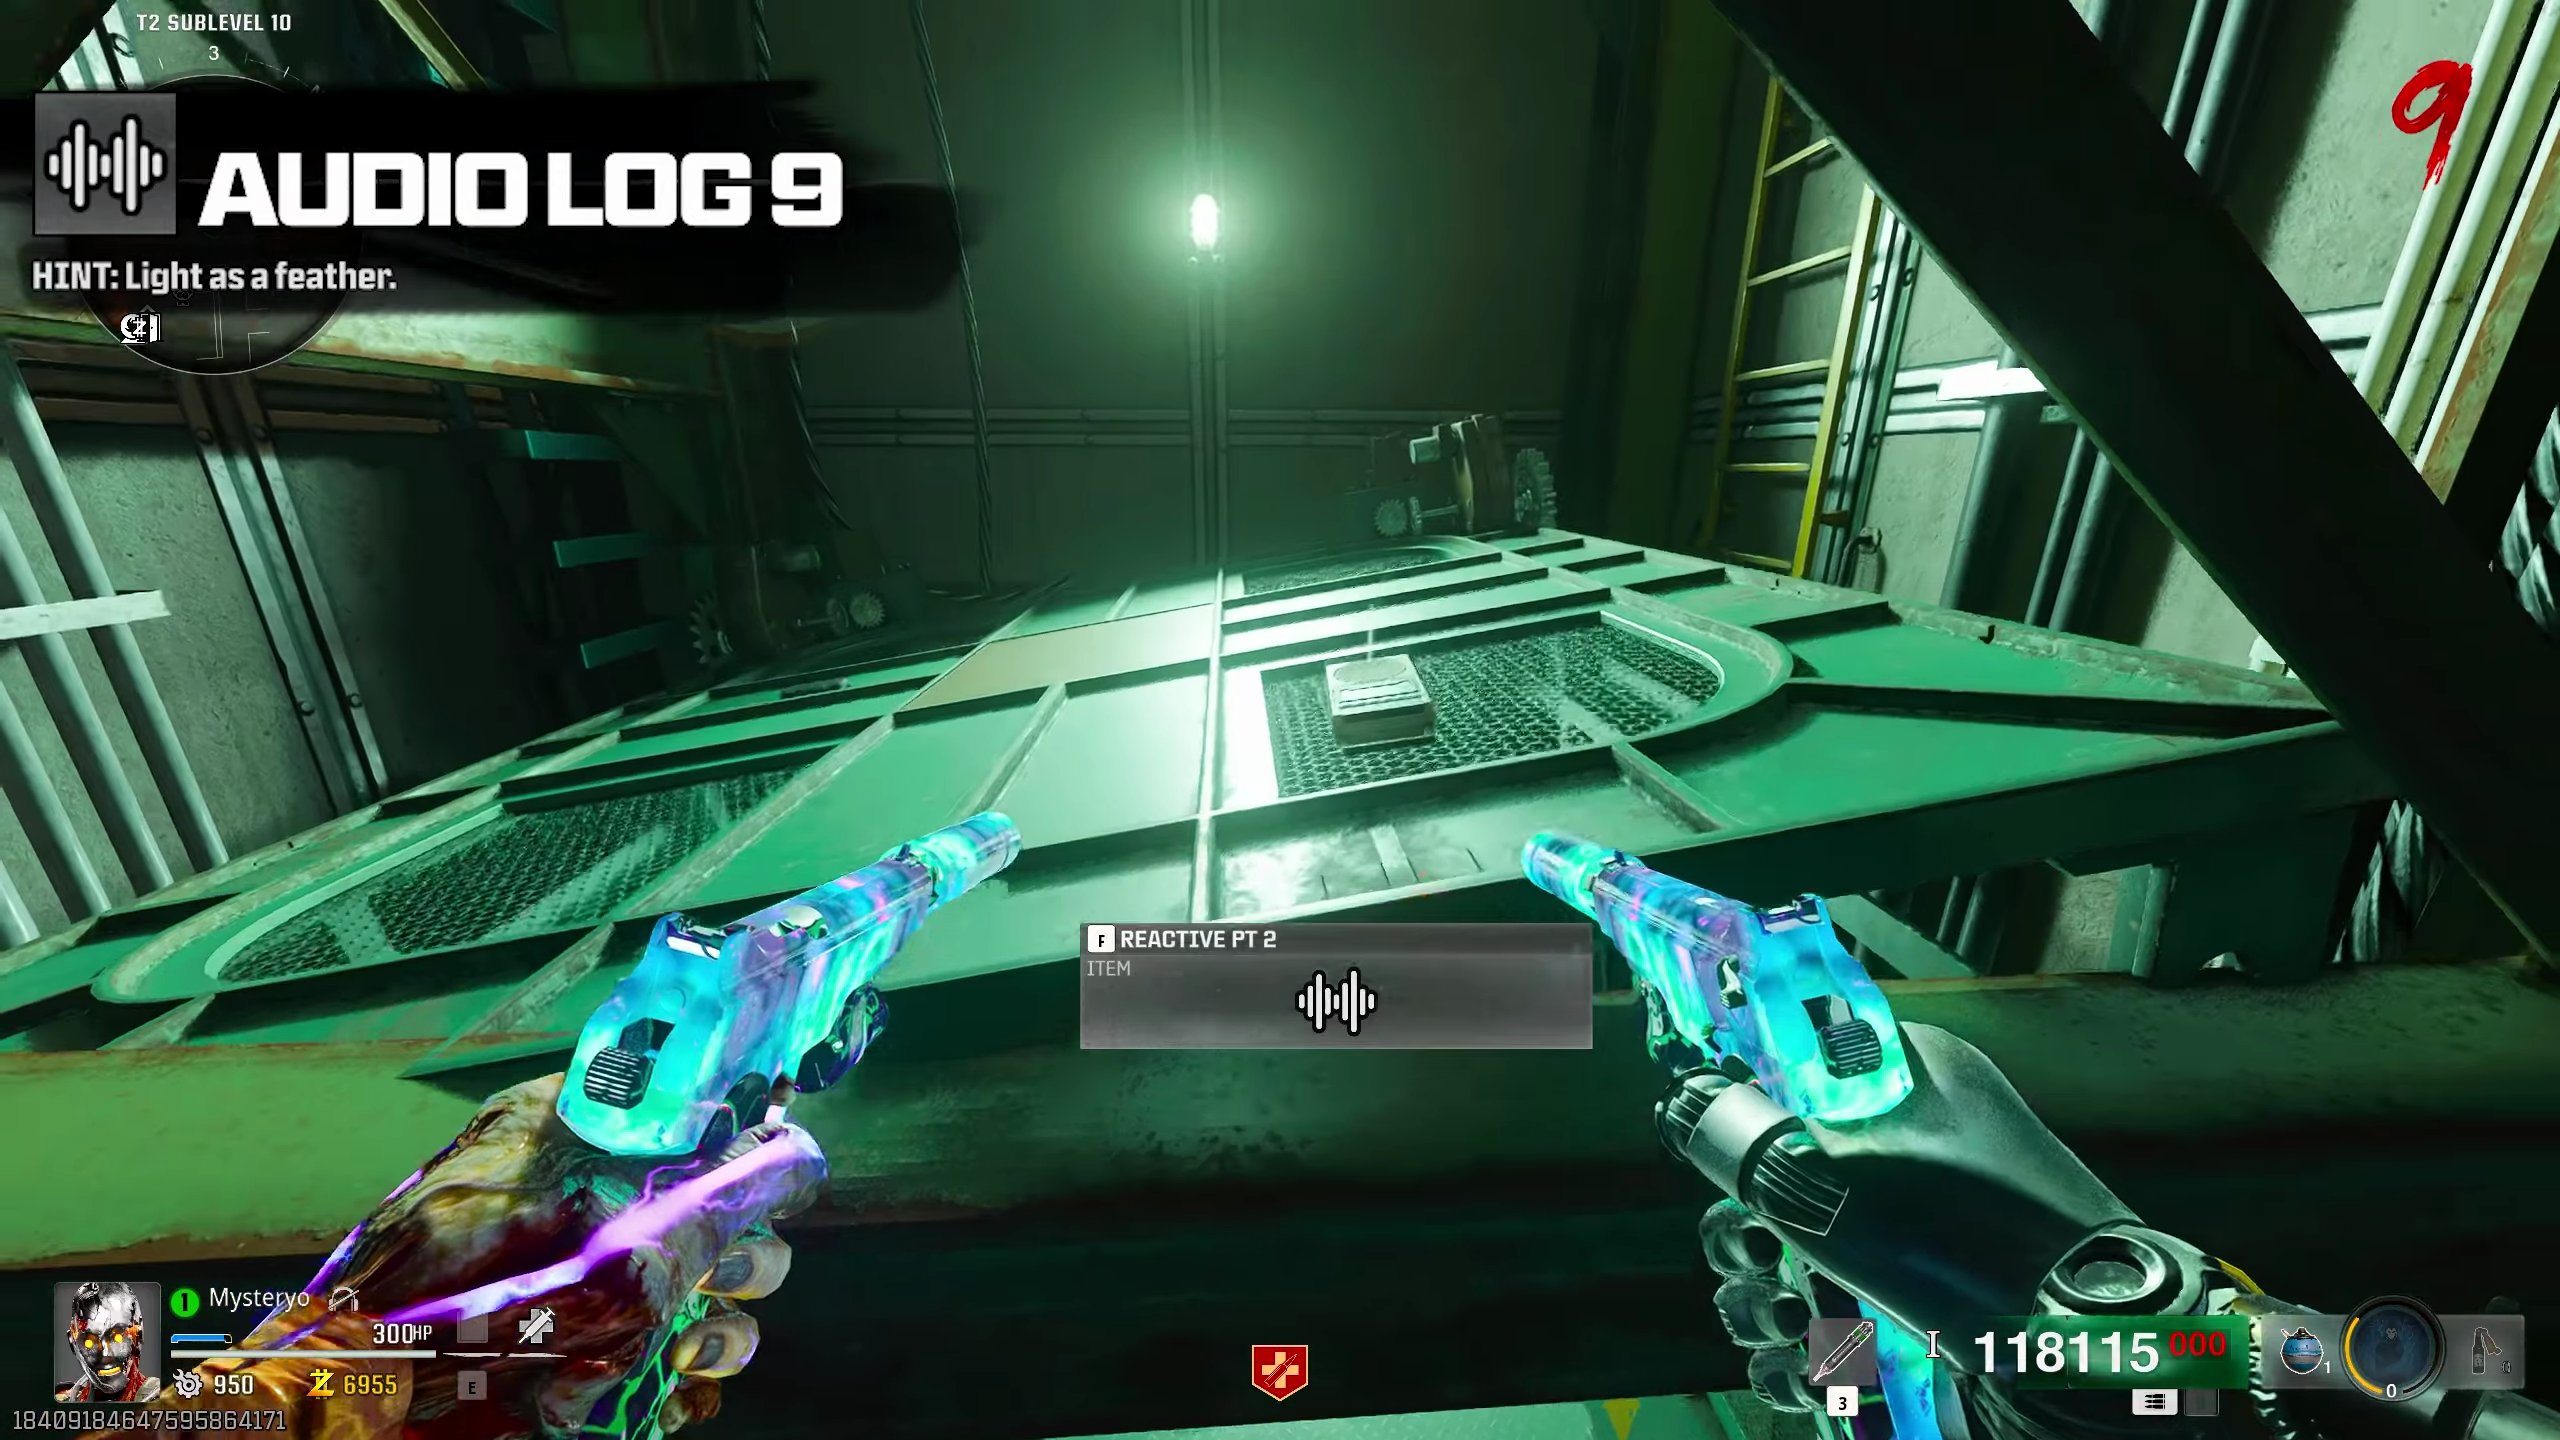
Audio Log 9: Light as a Feather
- Take the portal down to Sublevel 10 and activate Pack-a-Punch.
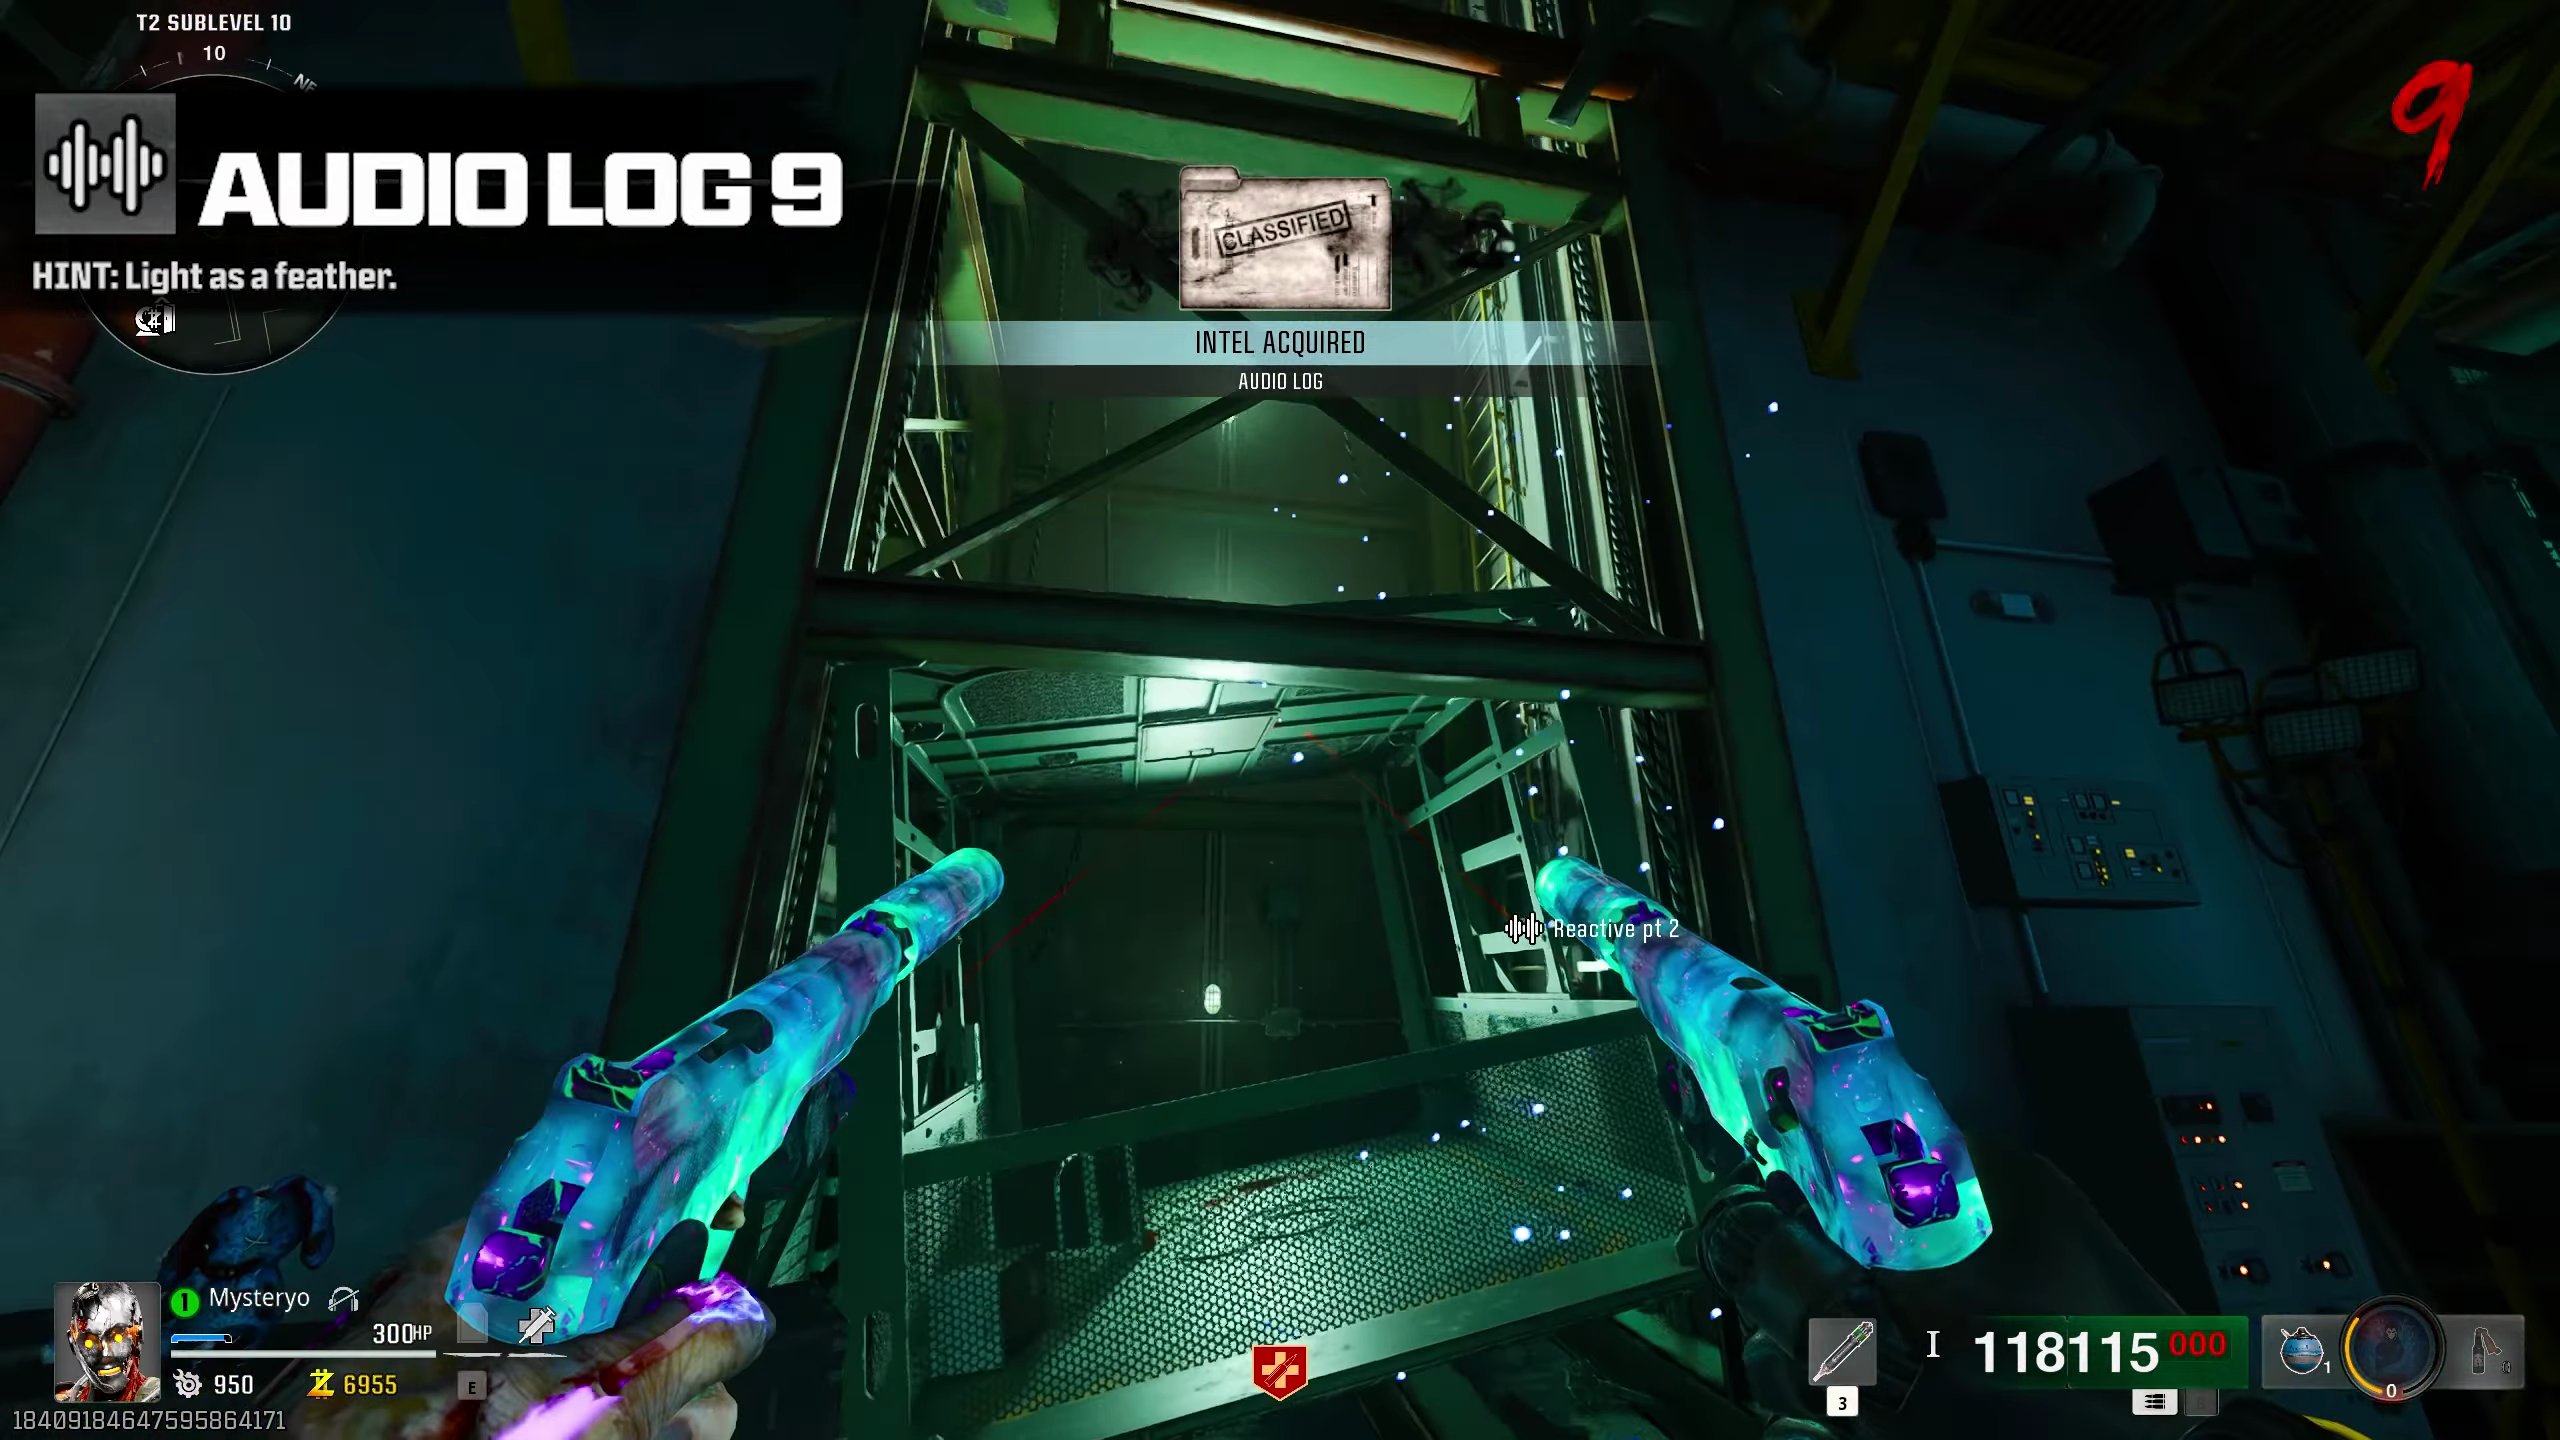
- Once low gravity activates, head to the broken elevator shaft.
- Jump up to grab the audio log.
- Acquire the audio log from inside the broken elevator.
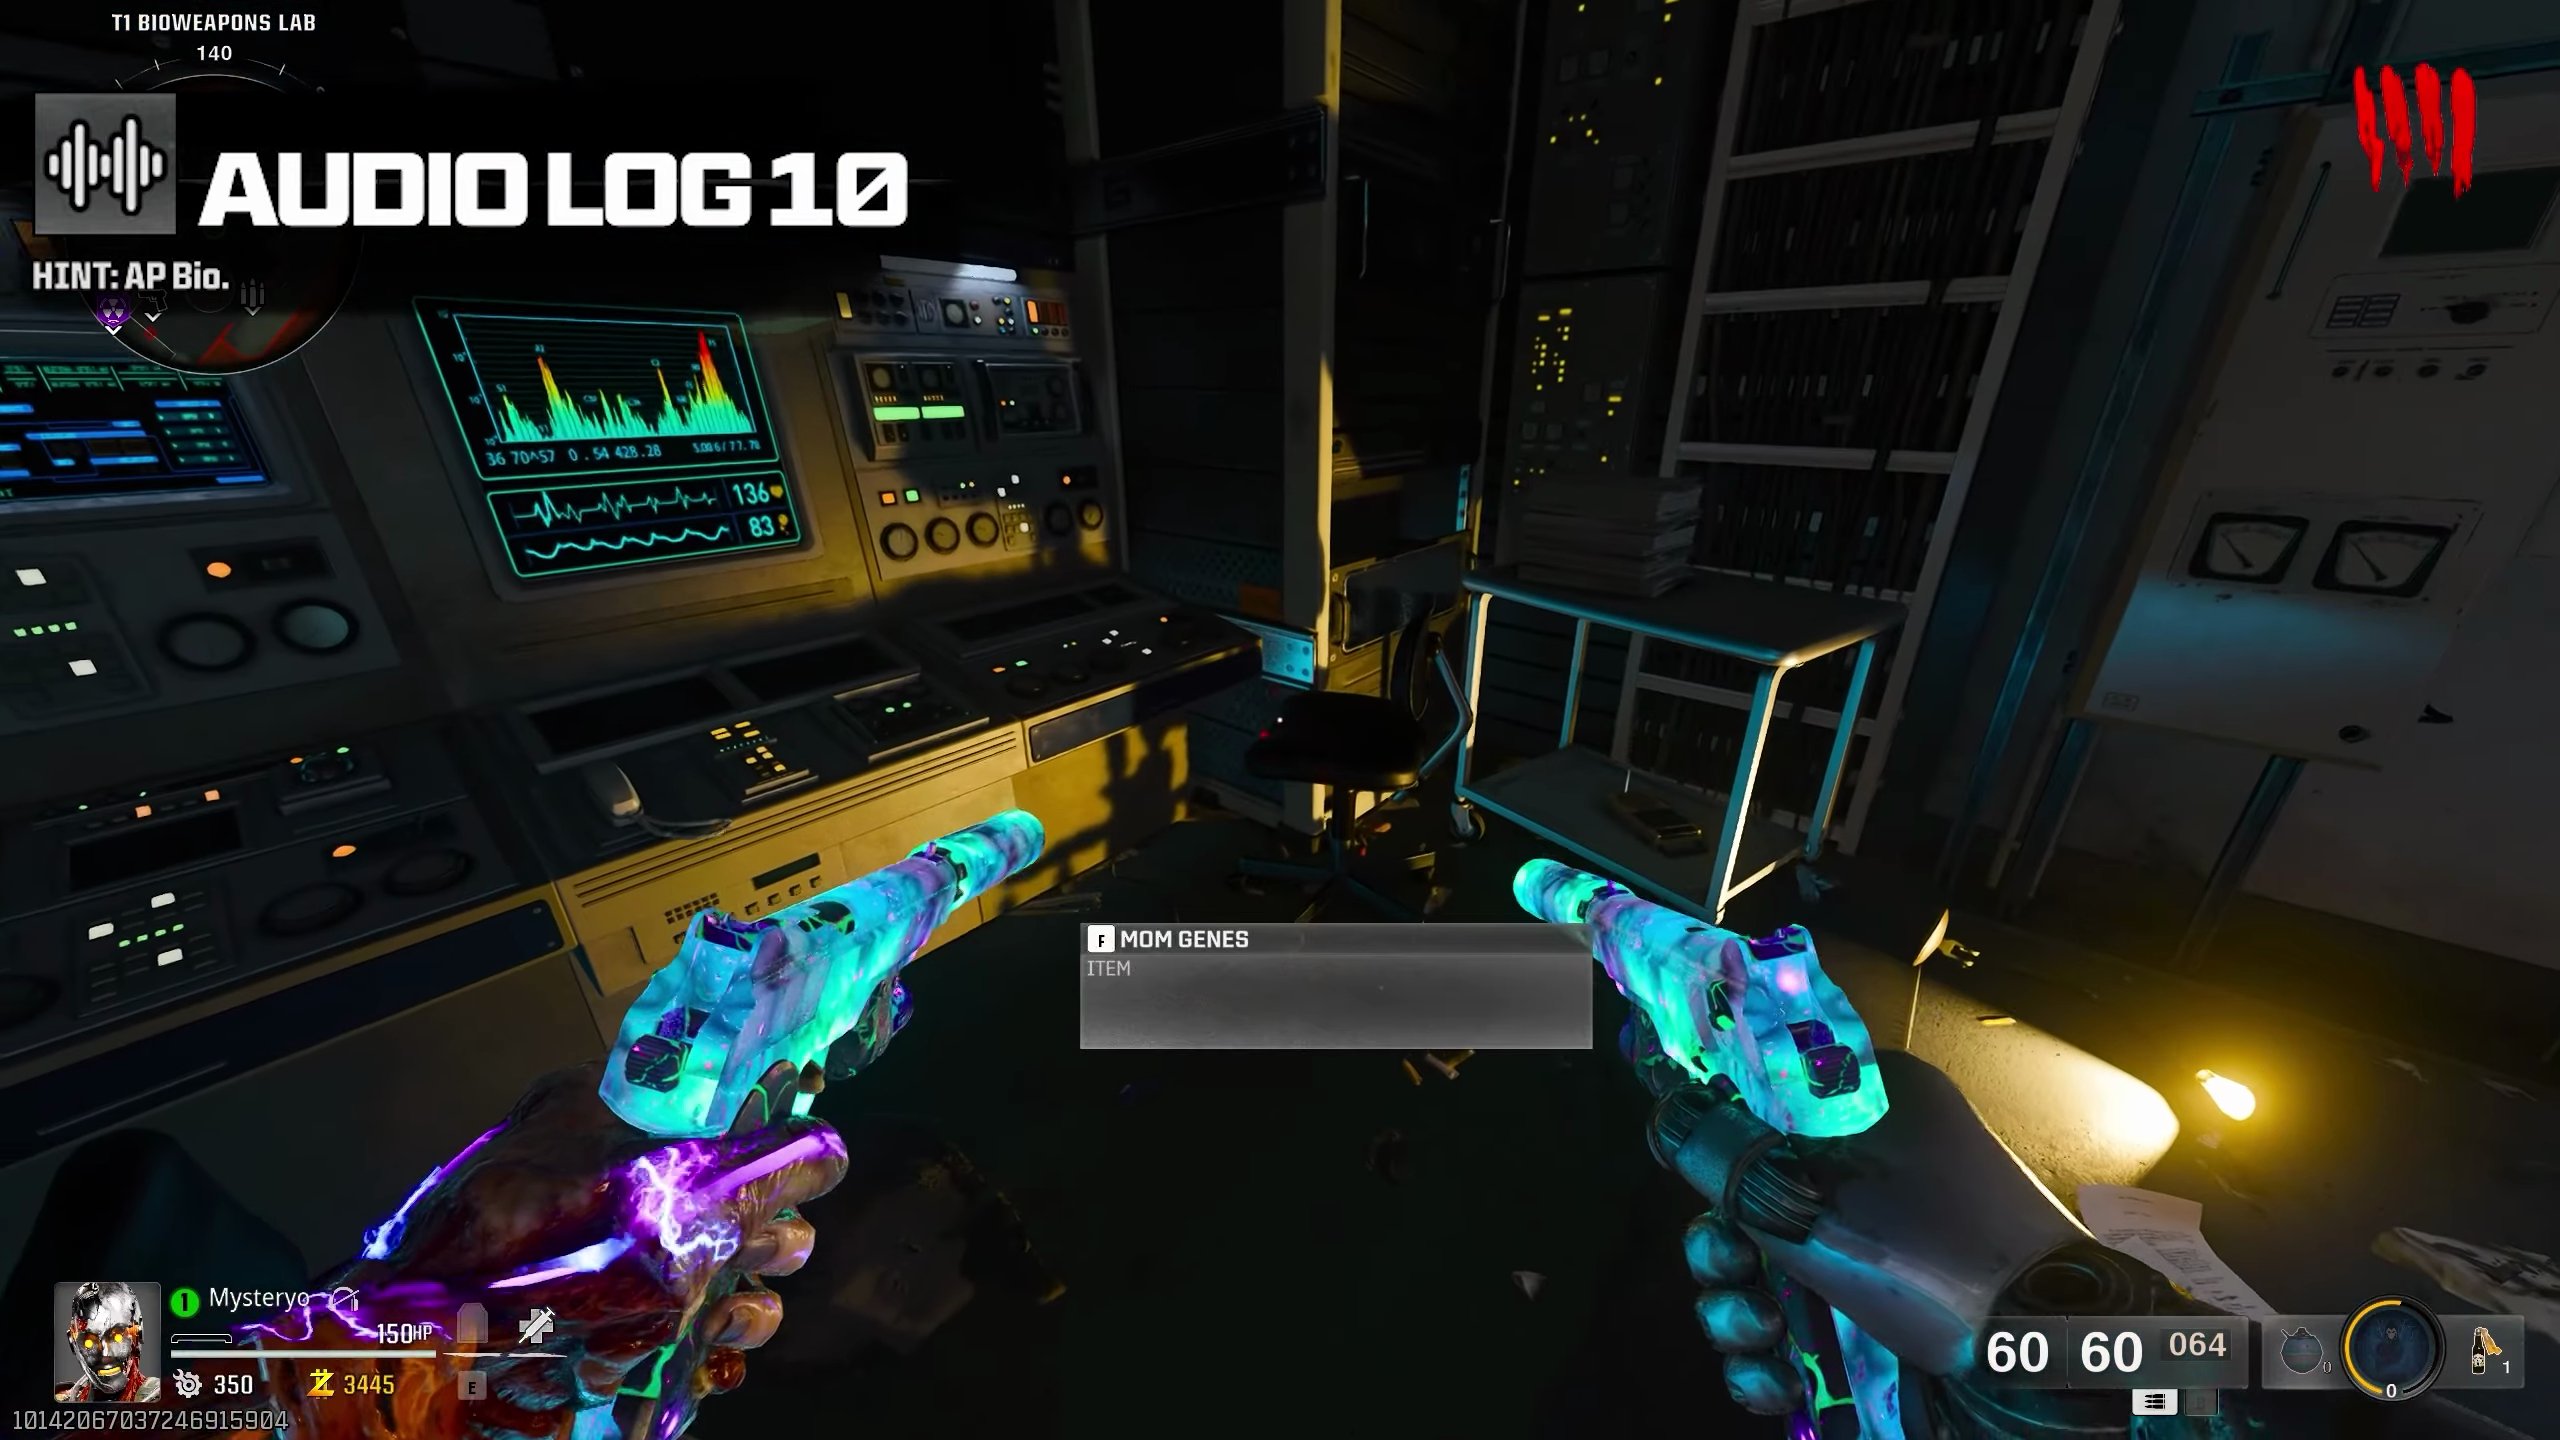
Audio Log 10: AP Bio
- During the Gorgofex Wonder Weapon quest, once you unlock the lab.
- The audio log is in the corner of this lab area.
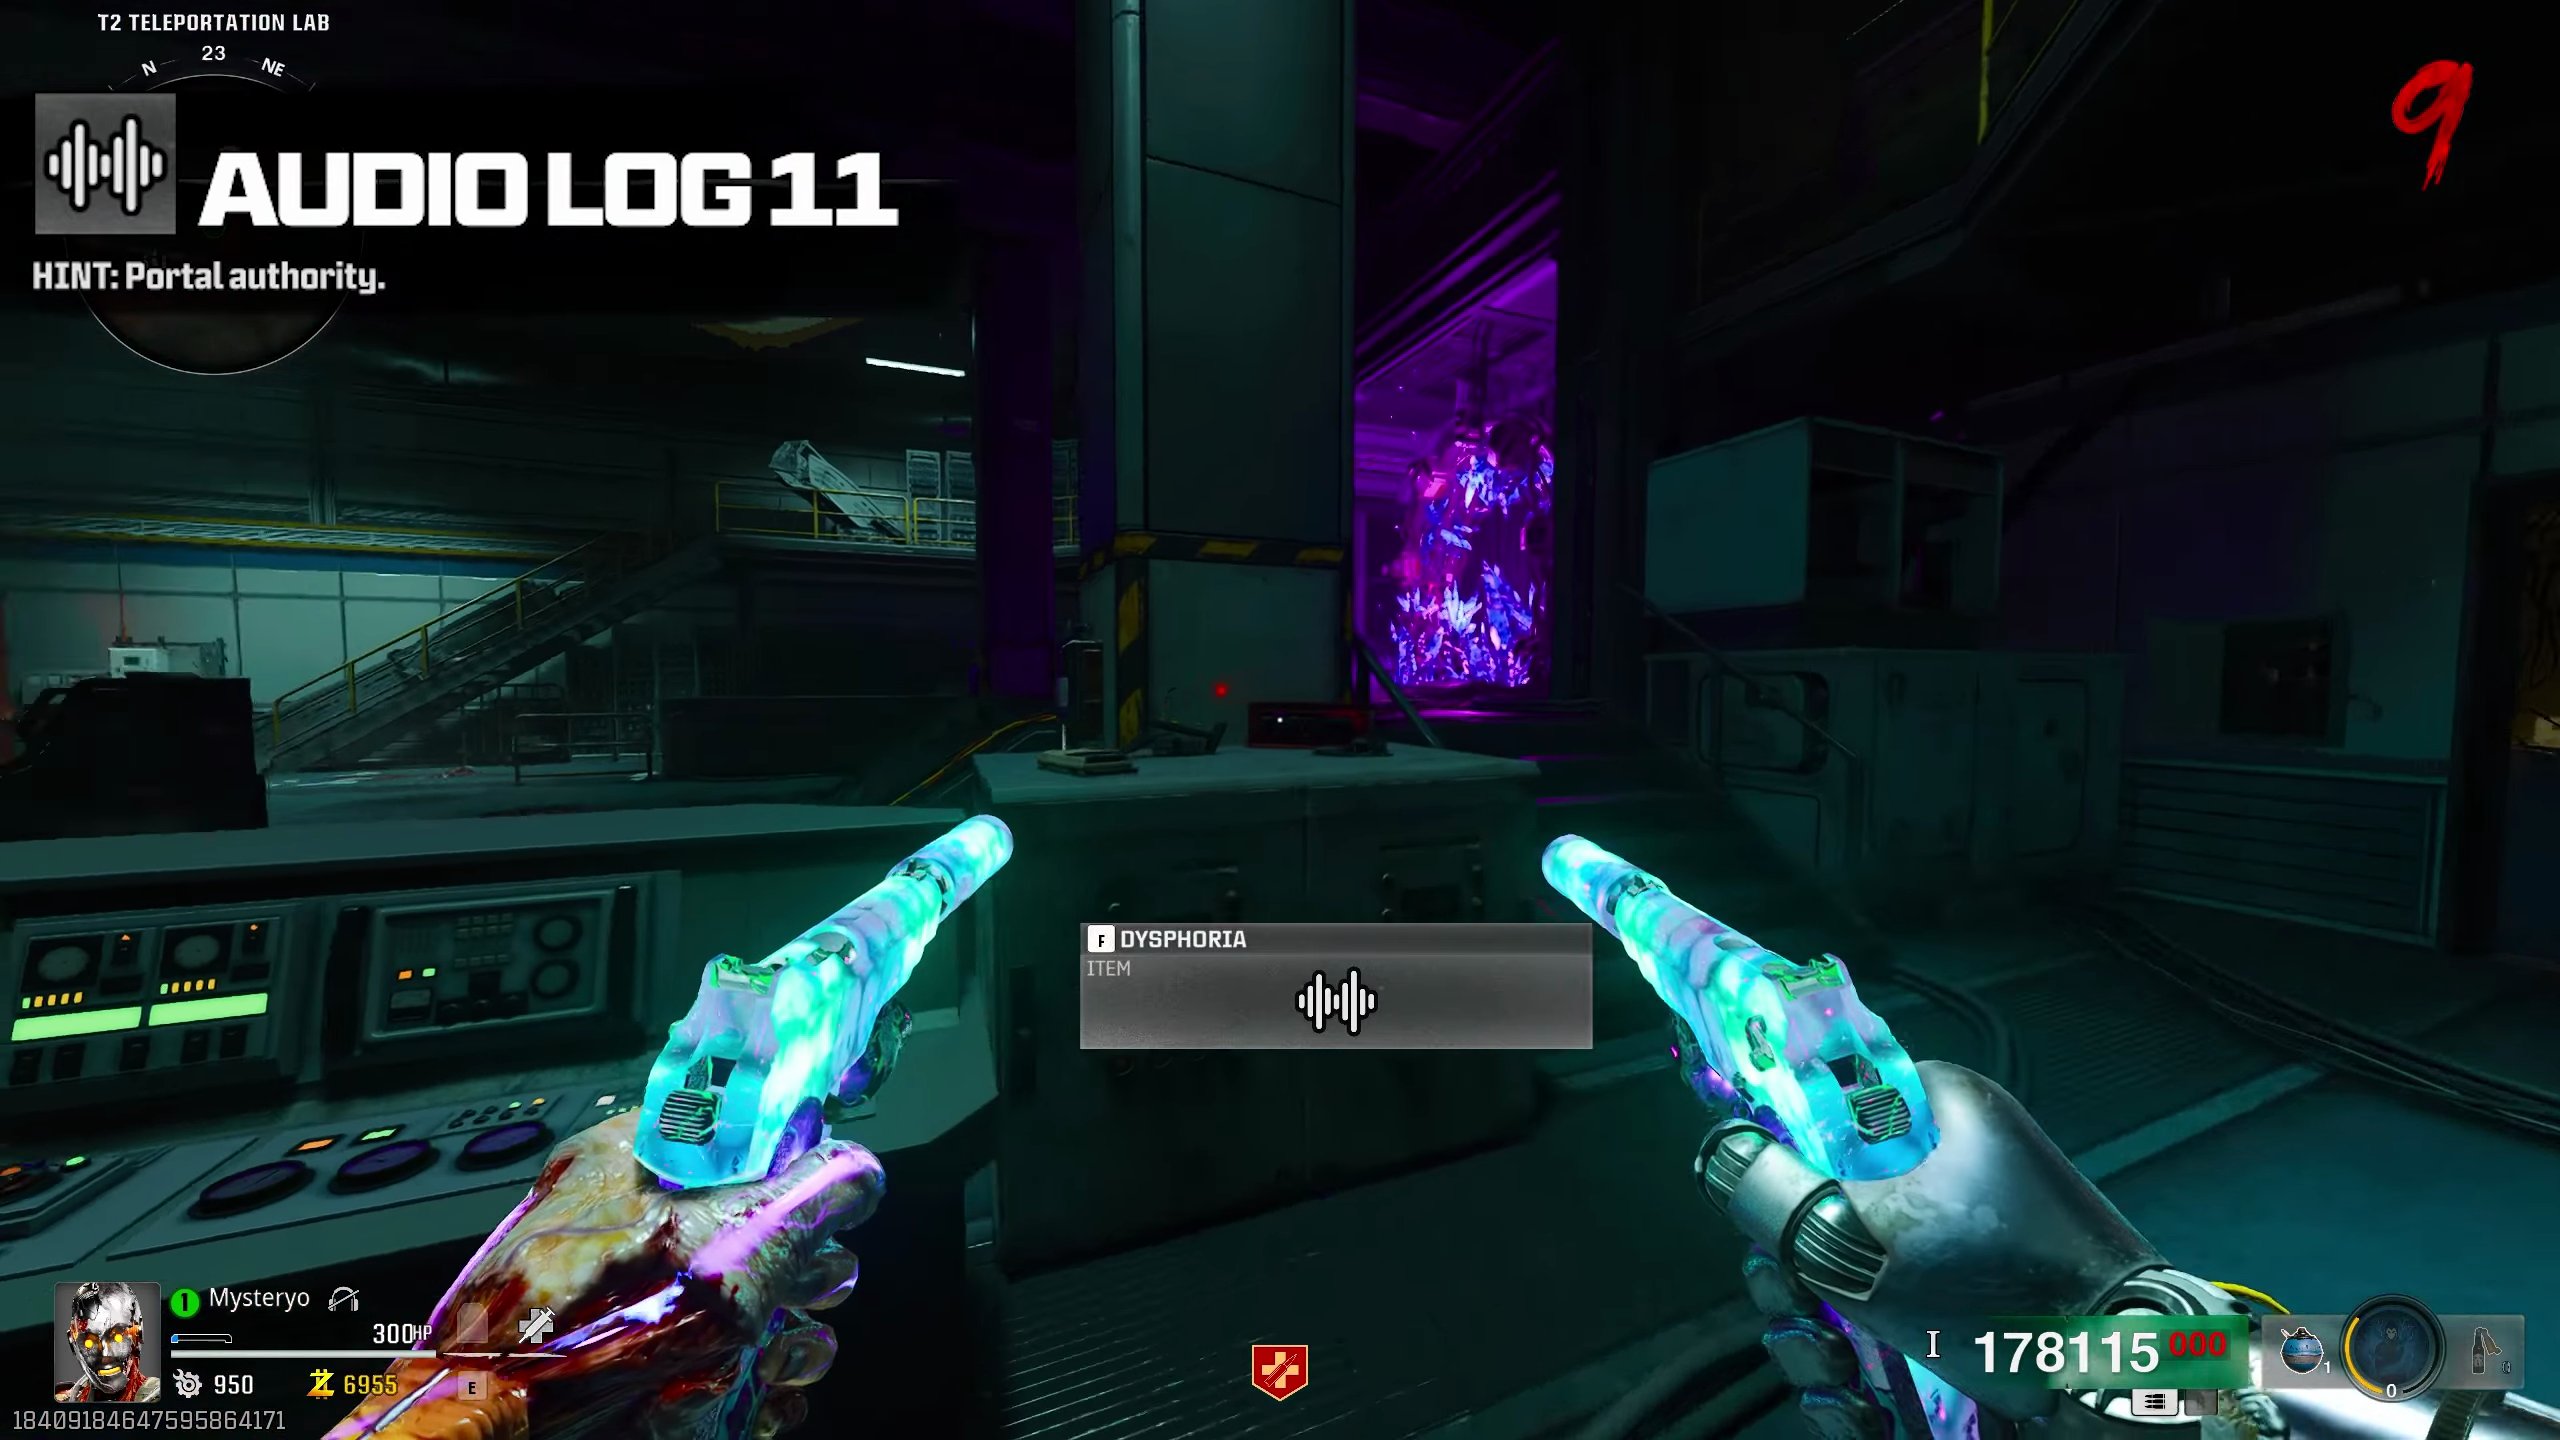
Audio Log 11: Portal Authority
- Once you've unlocked the teleporter lab in Tower 2.
- Look to the right of the portal to find the audio log on a table.
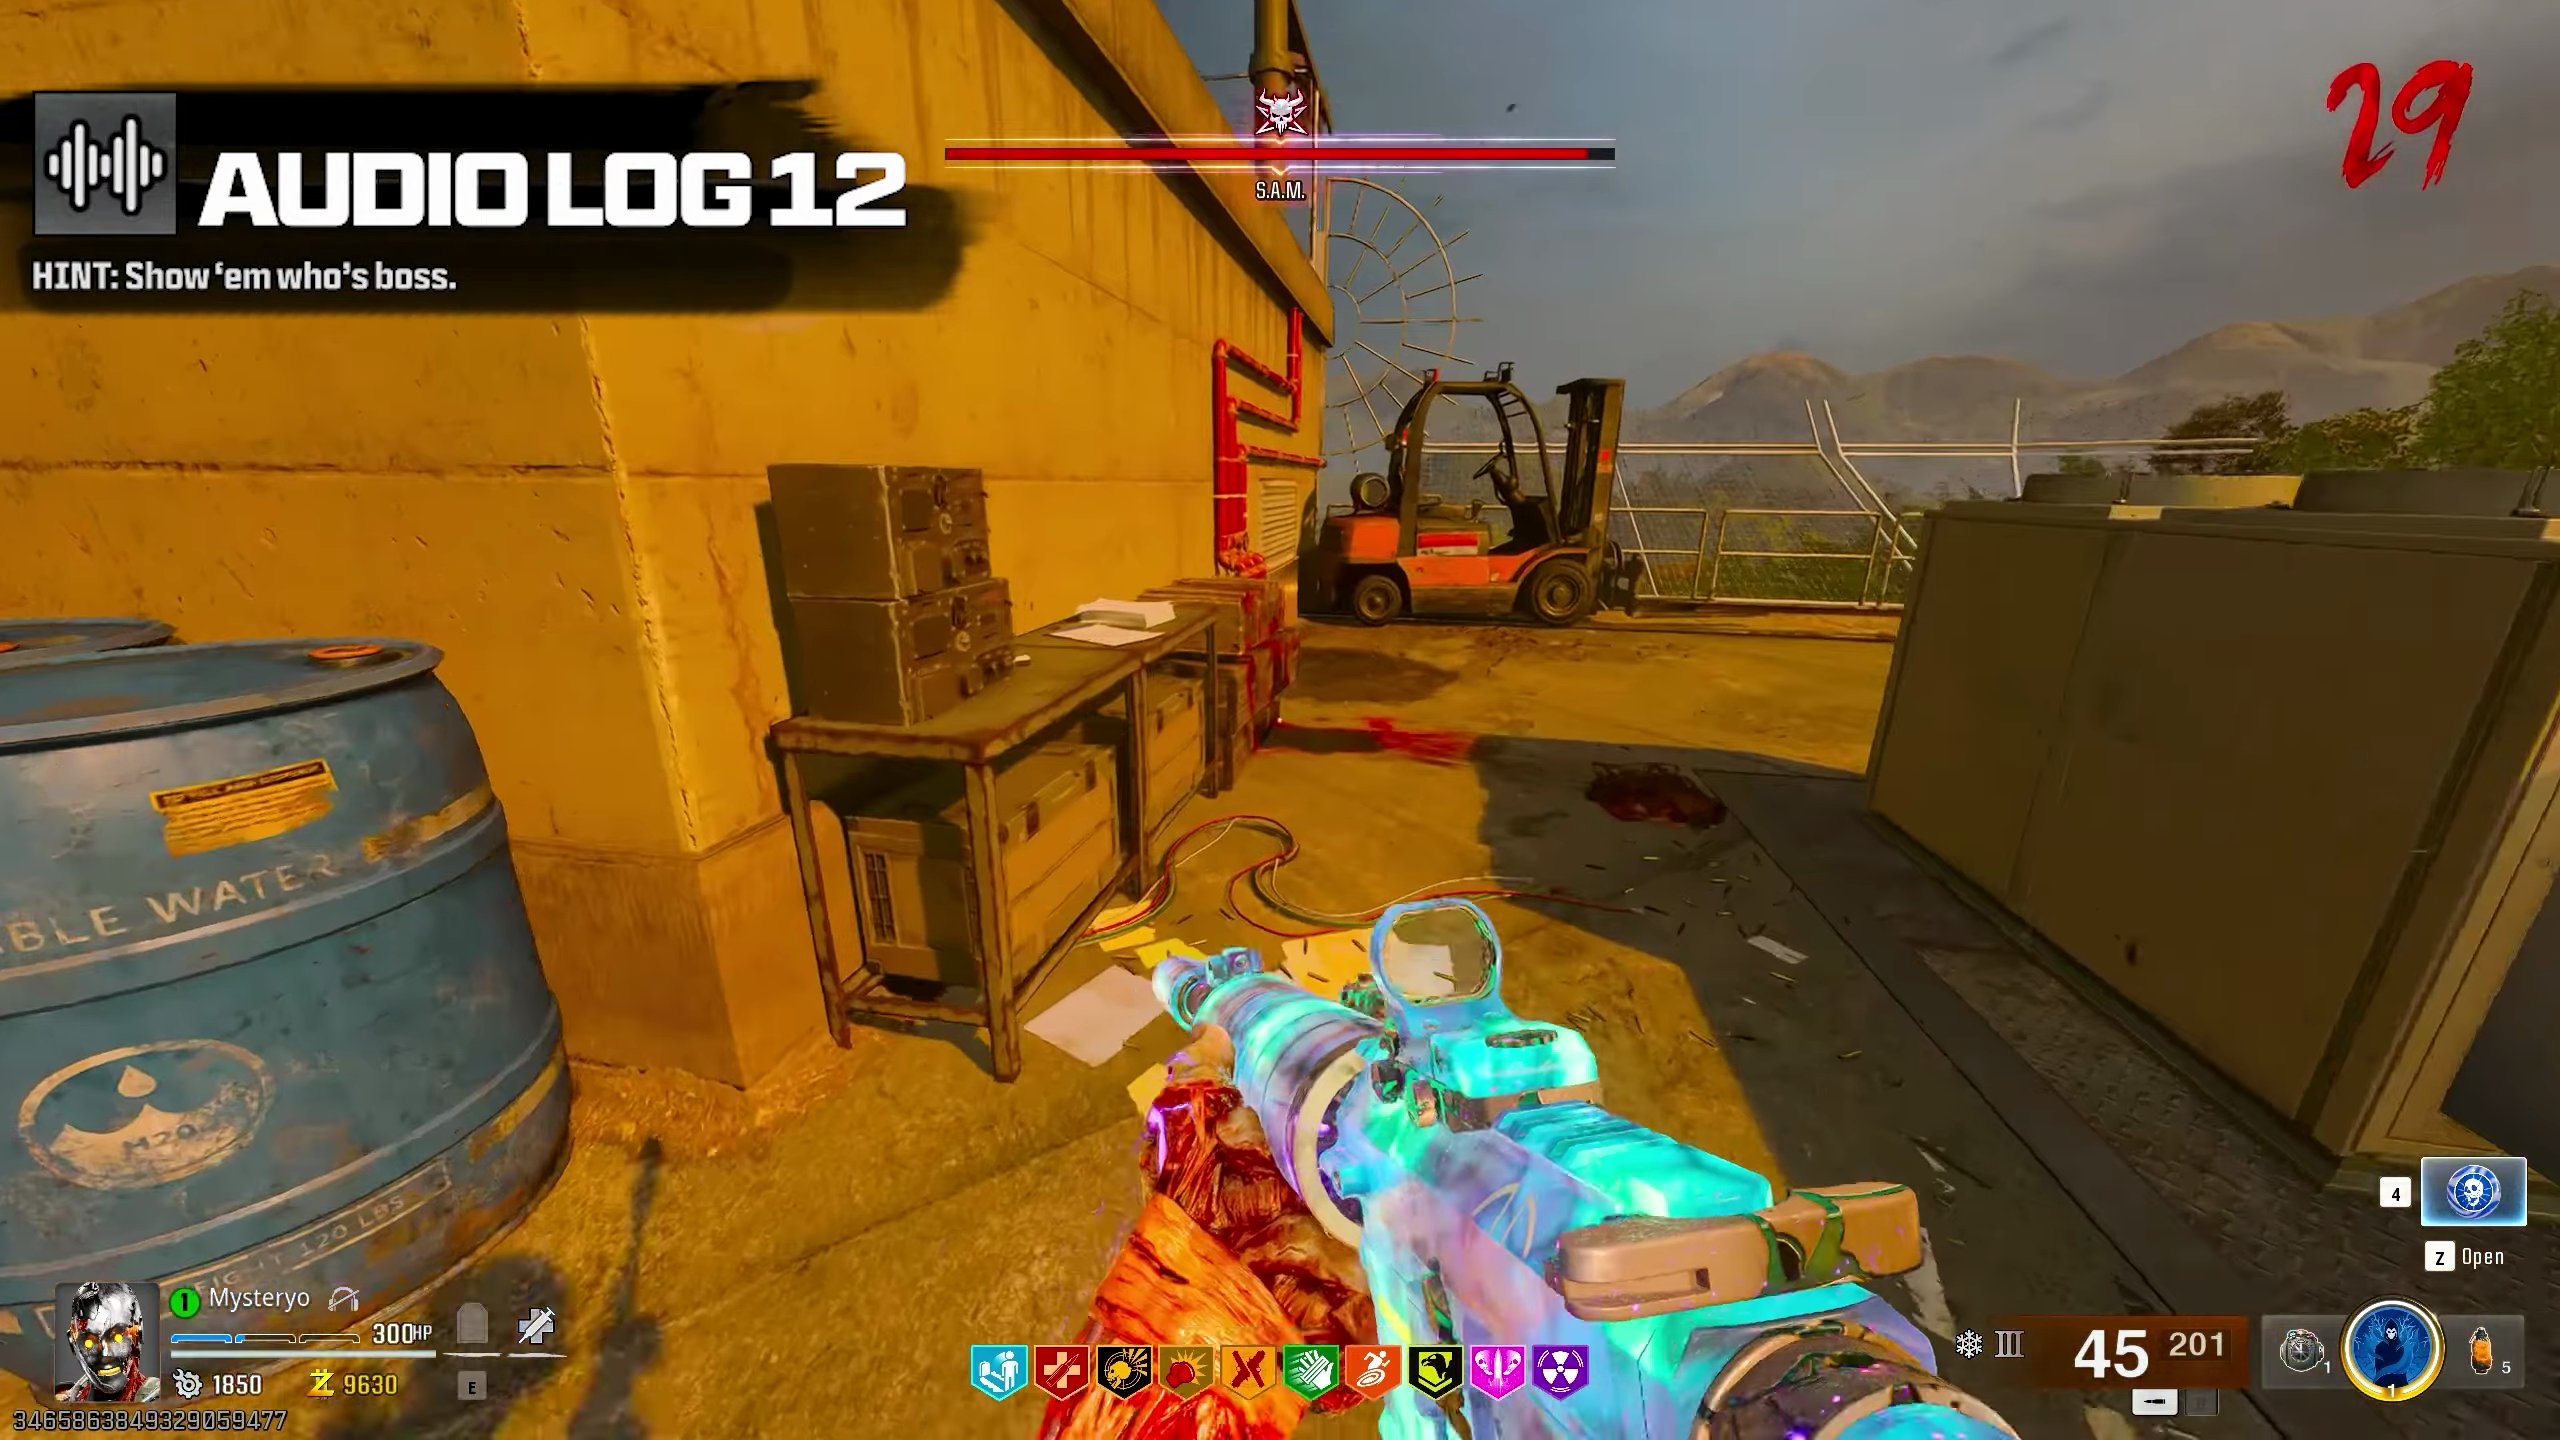
Audio Log 12: Show 'Em Who's Boss
- In the boss fight area, located inside the main tower.
- The audio log is on a shelf on the left side of the tower.
Documents
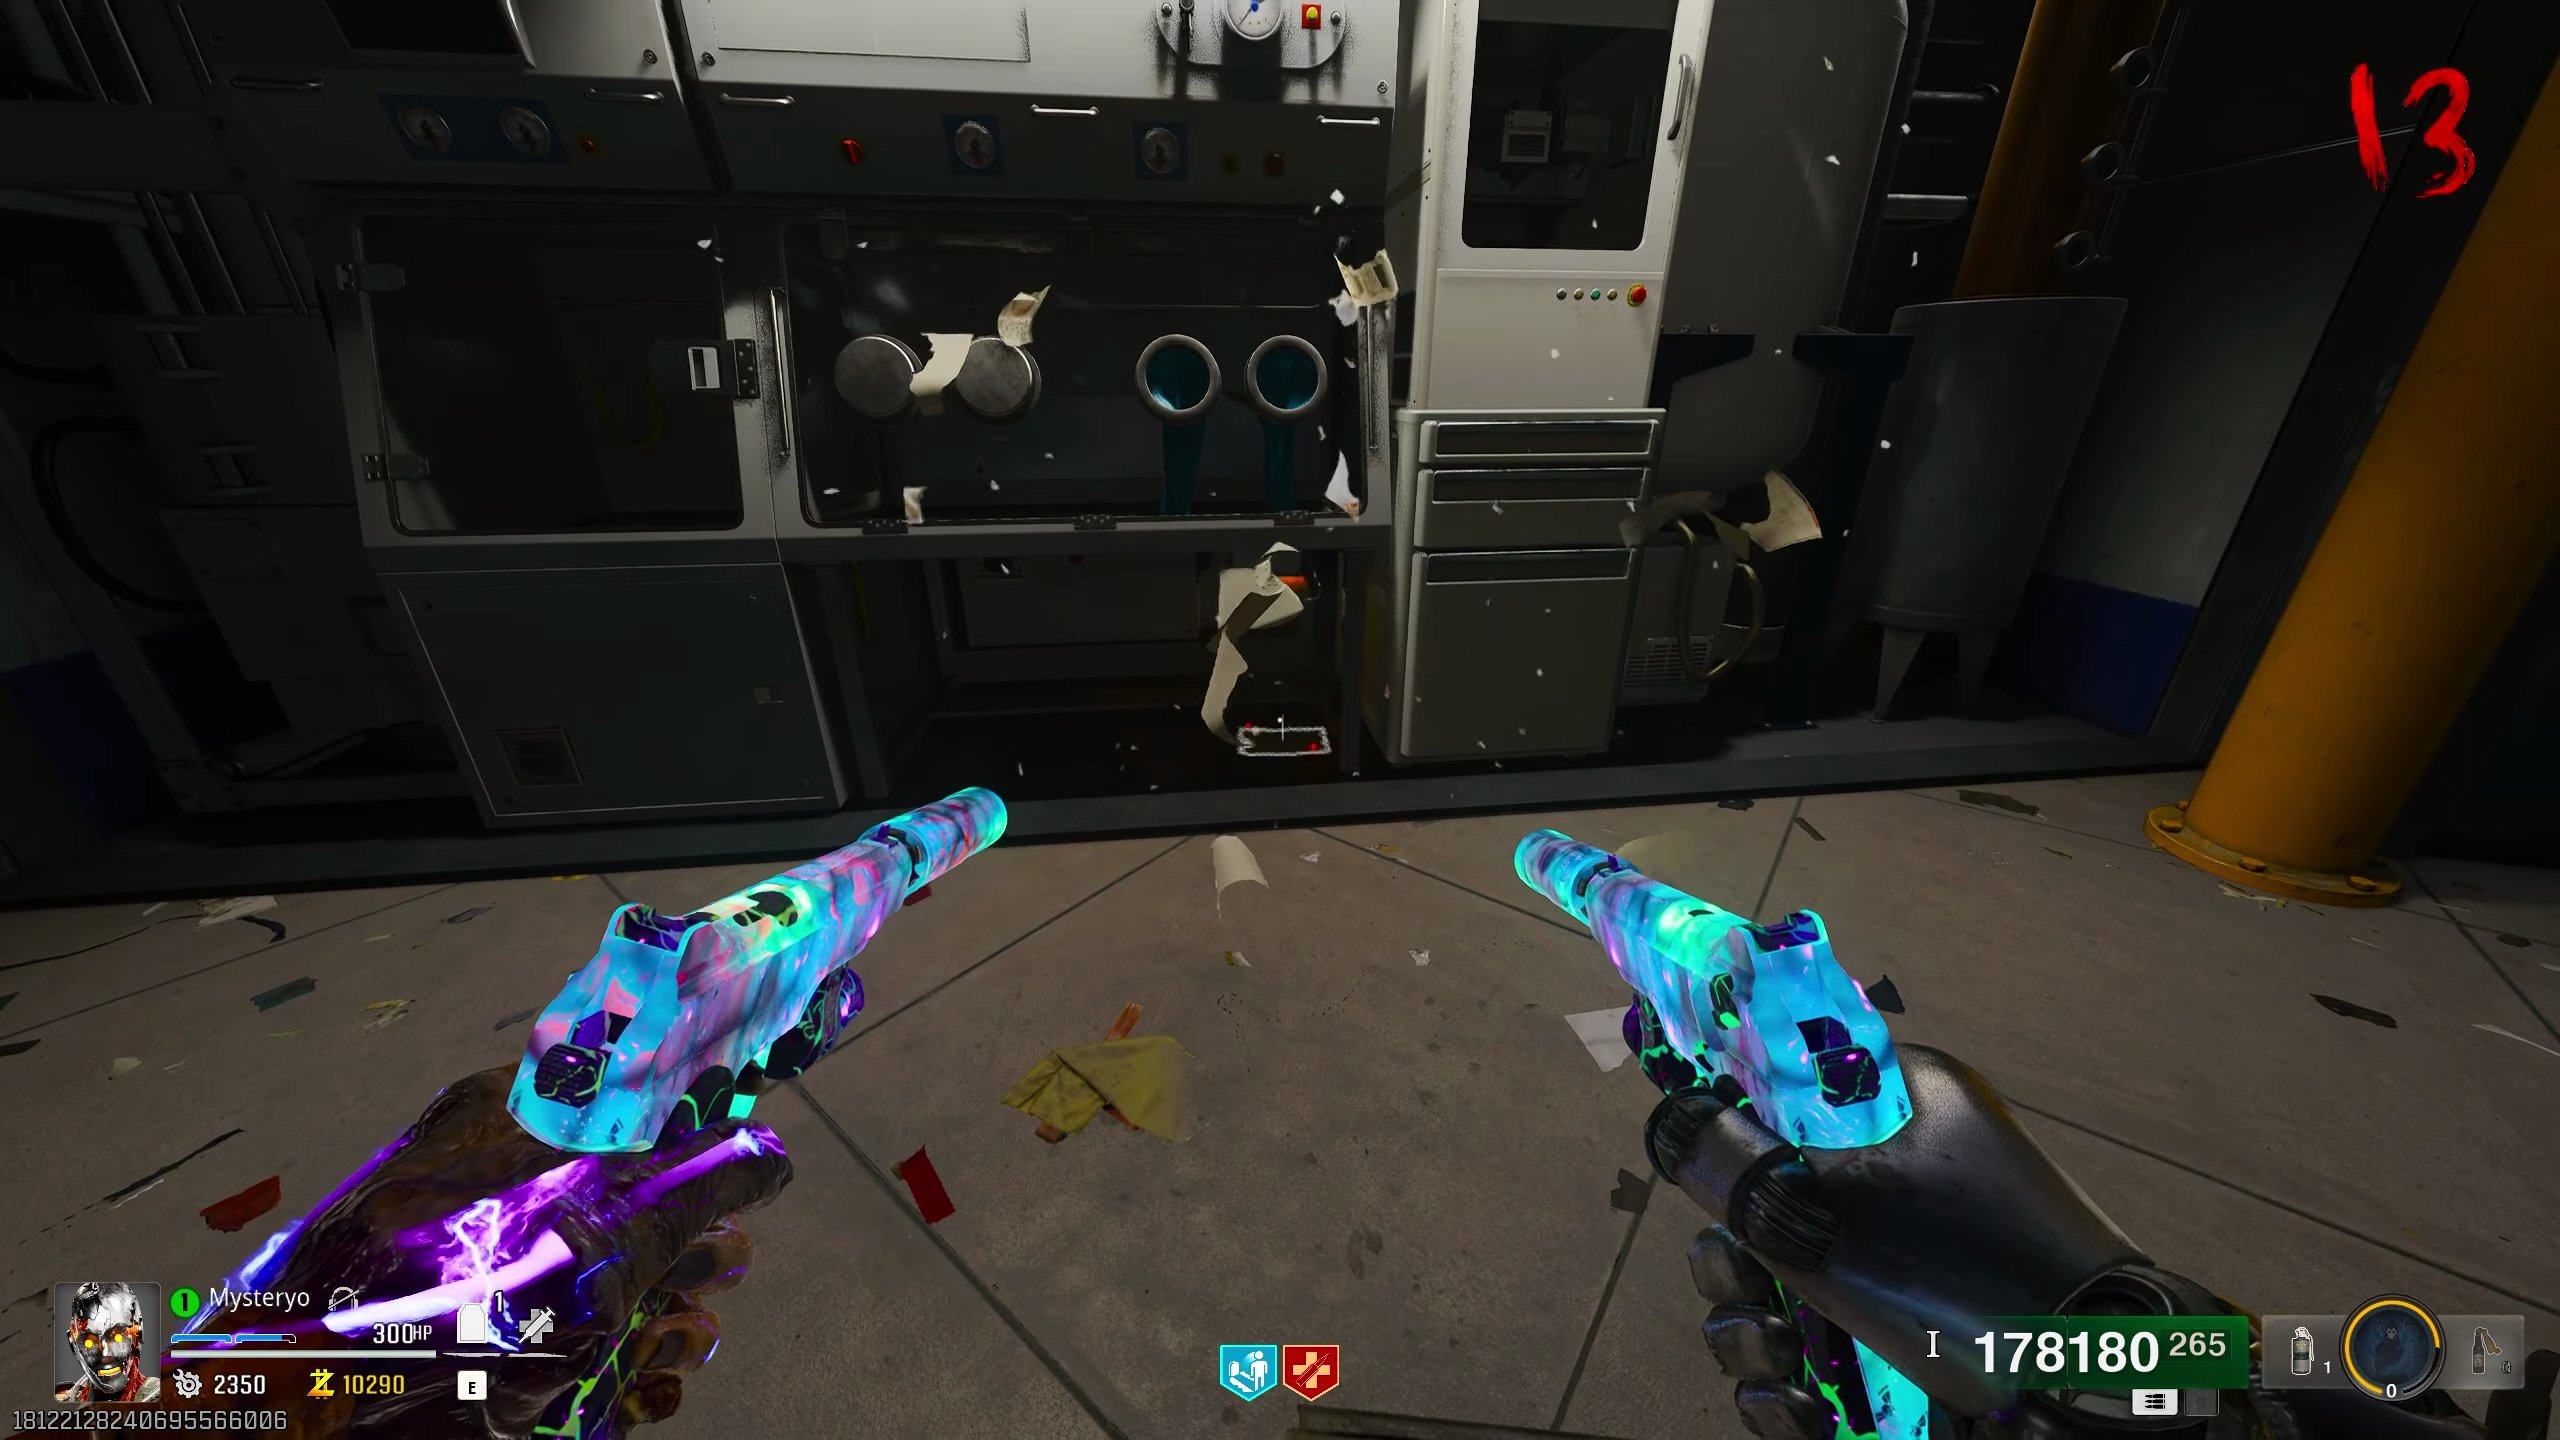
Document 1: Research High and Low
- From the location of Audio Log 4 (Mutant Research).
- Climb the broken debris to the upper level of the Research Lab.
- Head to the end and look under the white machine.
- Shoot the stack of papers to reveal the document.
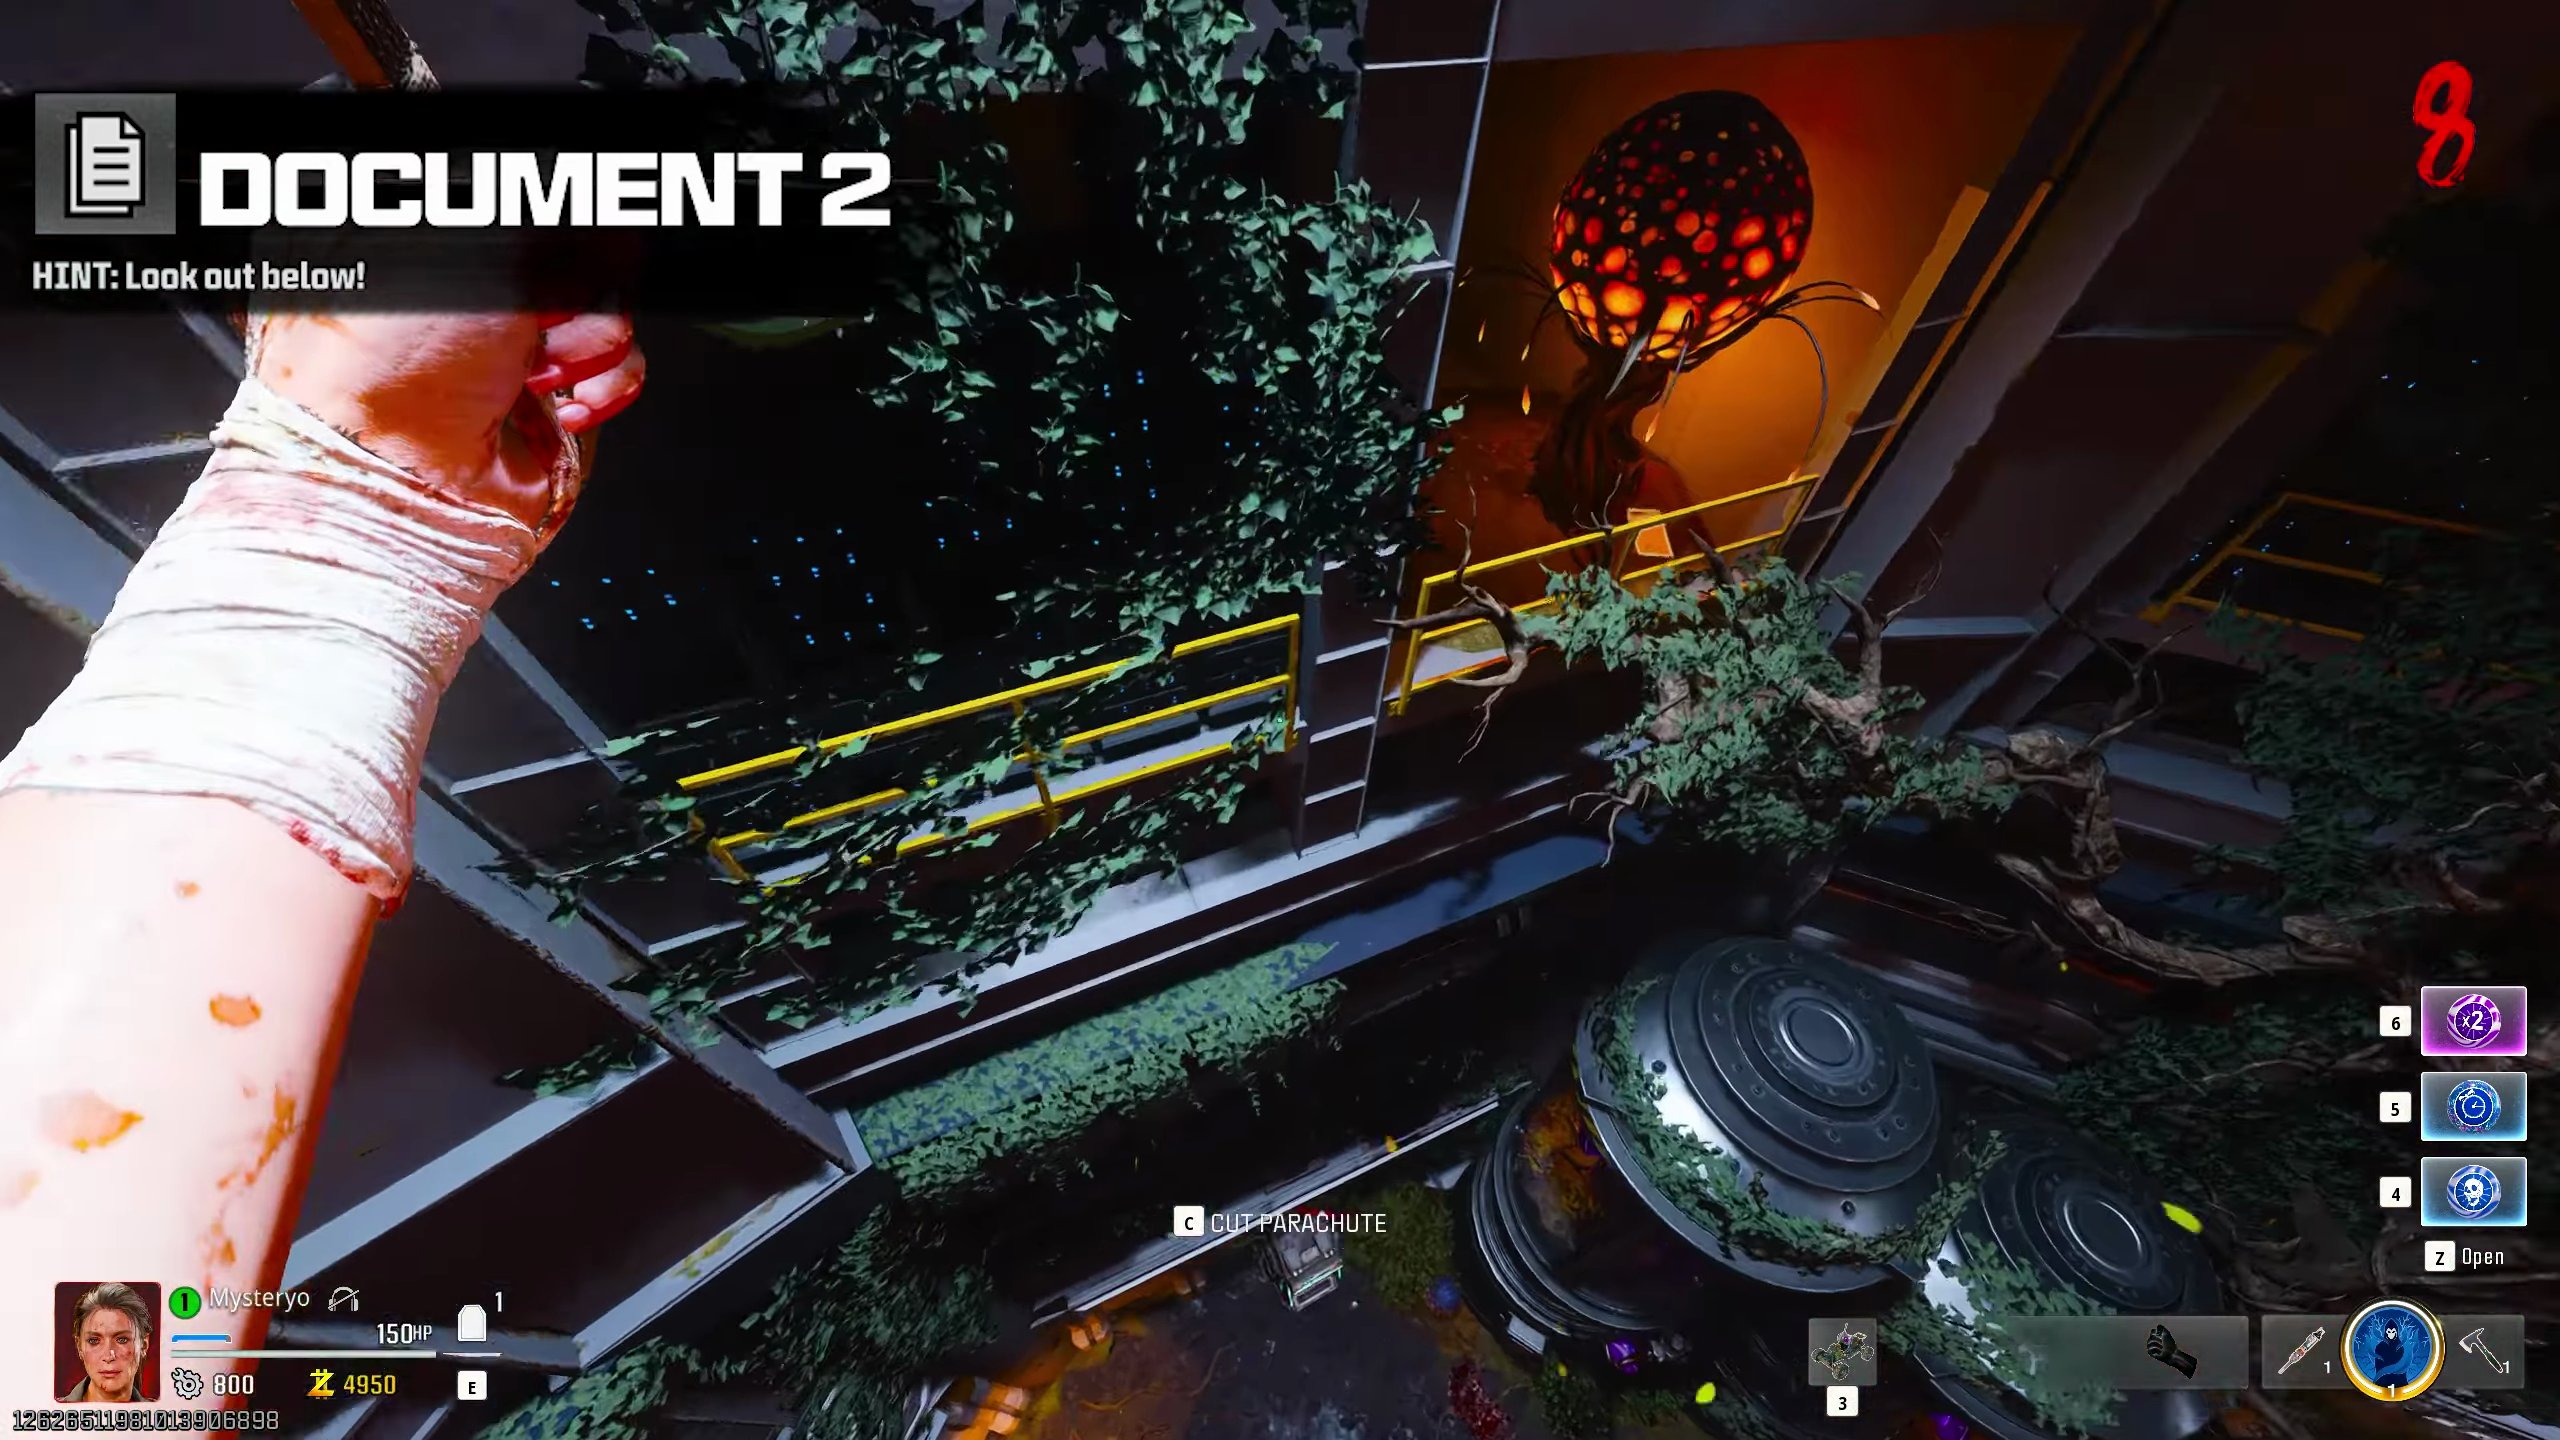
Document 2: Look Out Below!
- From the upper level of the Research Lab (Document 1 location).
- Jump through the hole in the floor back towards Quantum Computing.
- Immediately open your parachute and aim for the balcony with the large mushroom to find the document.
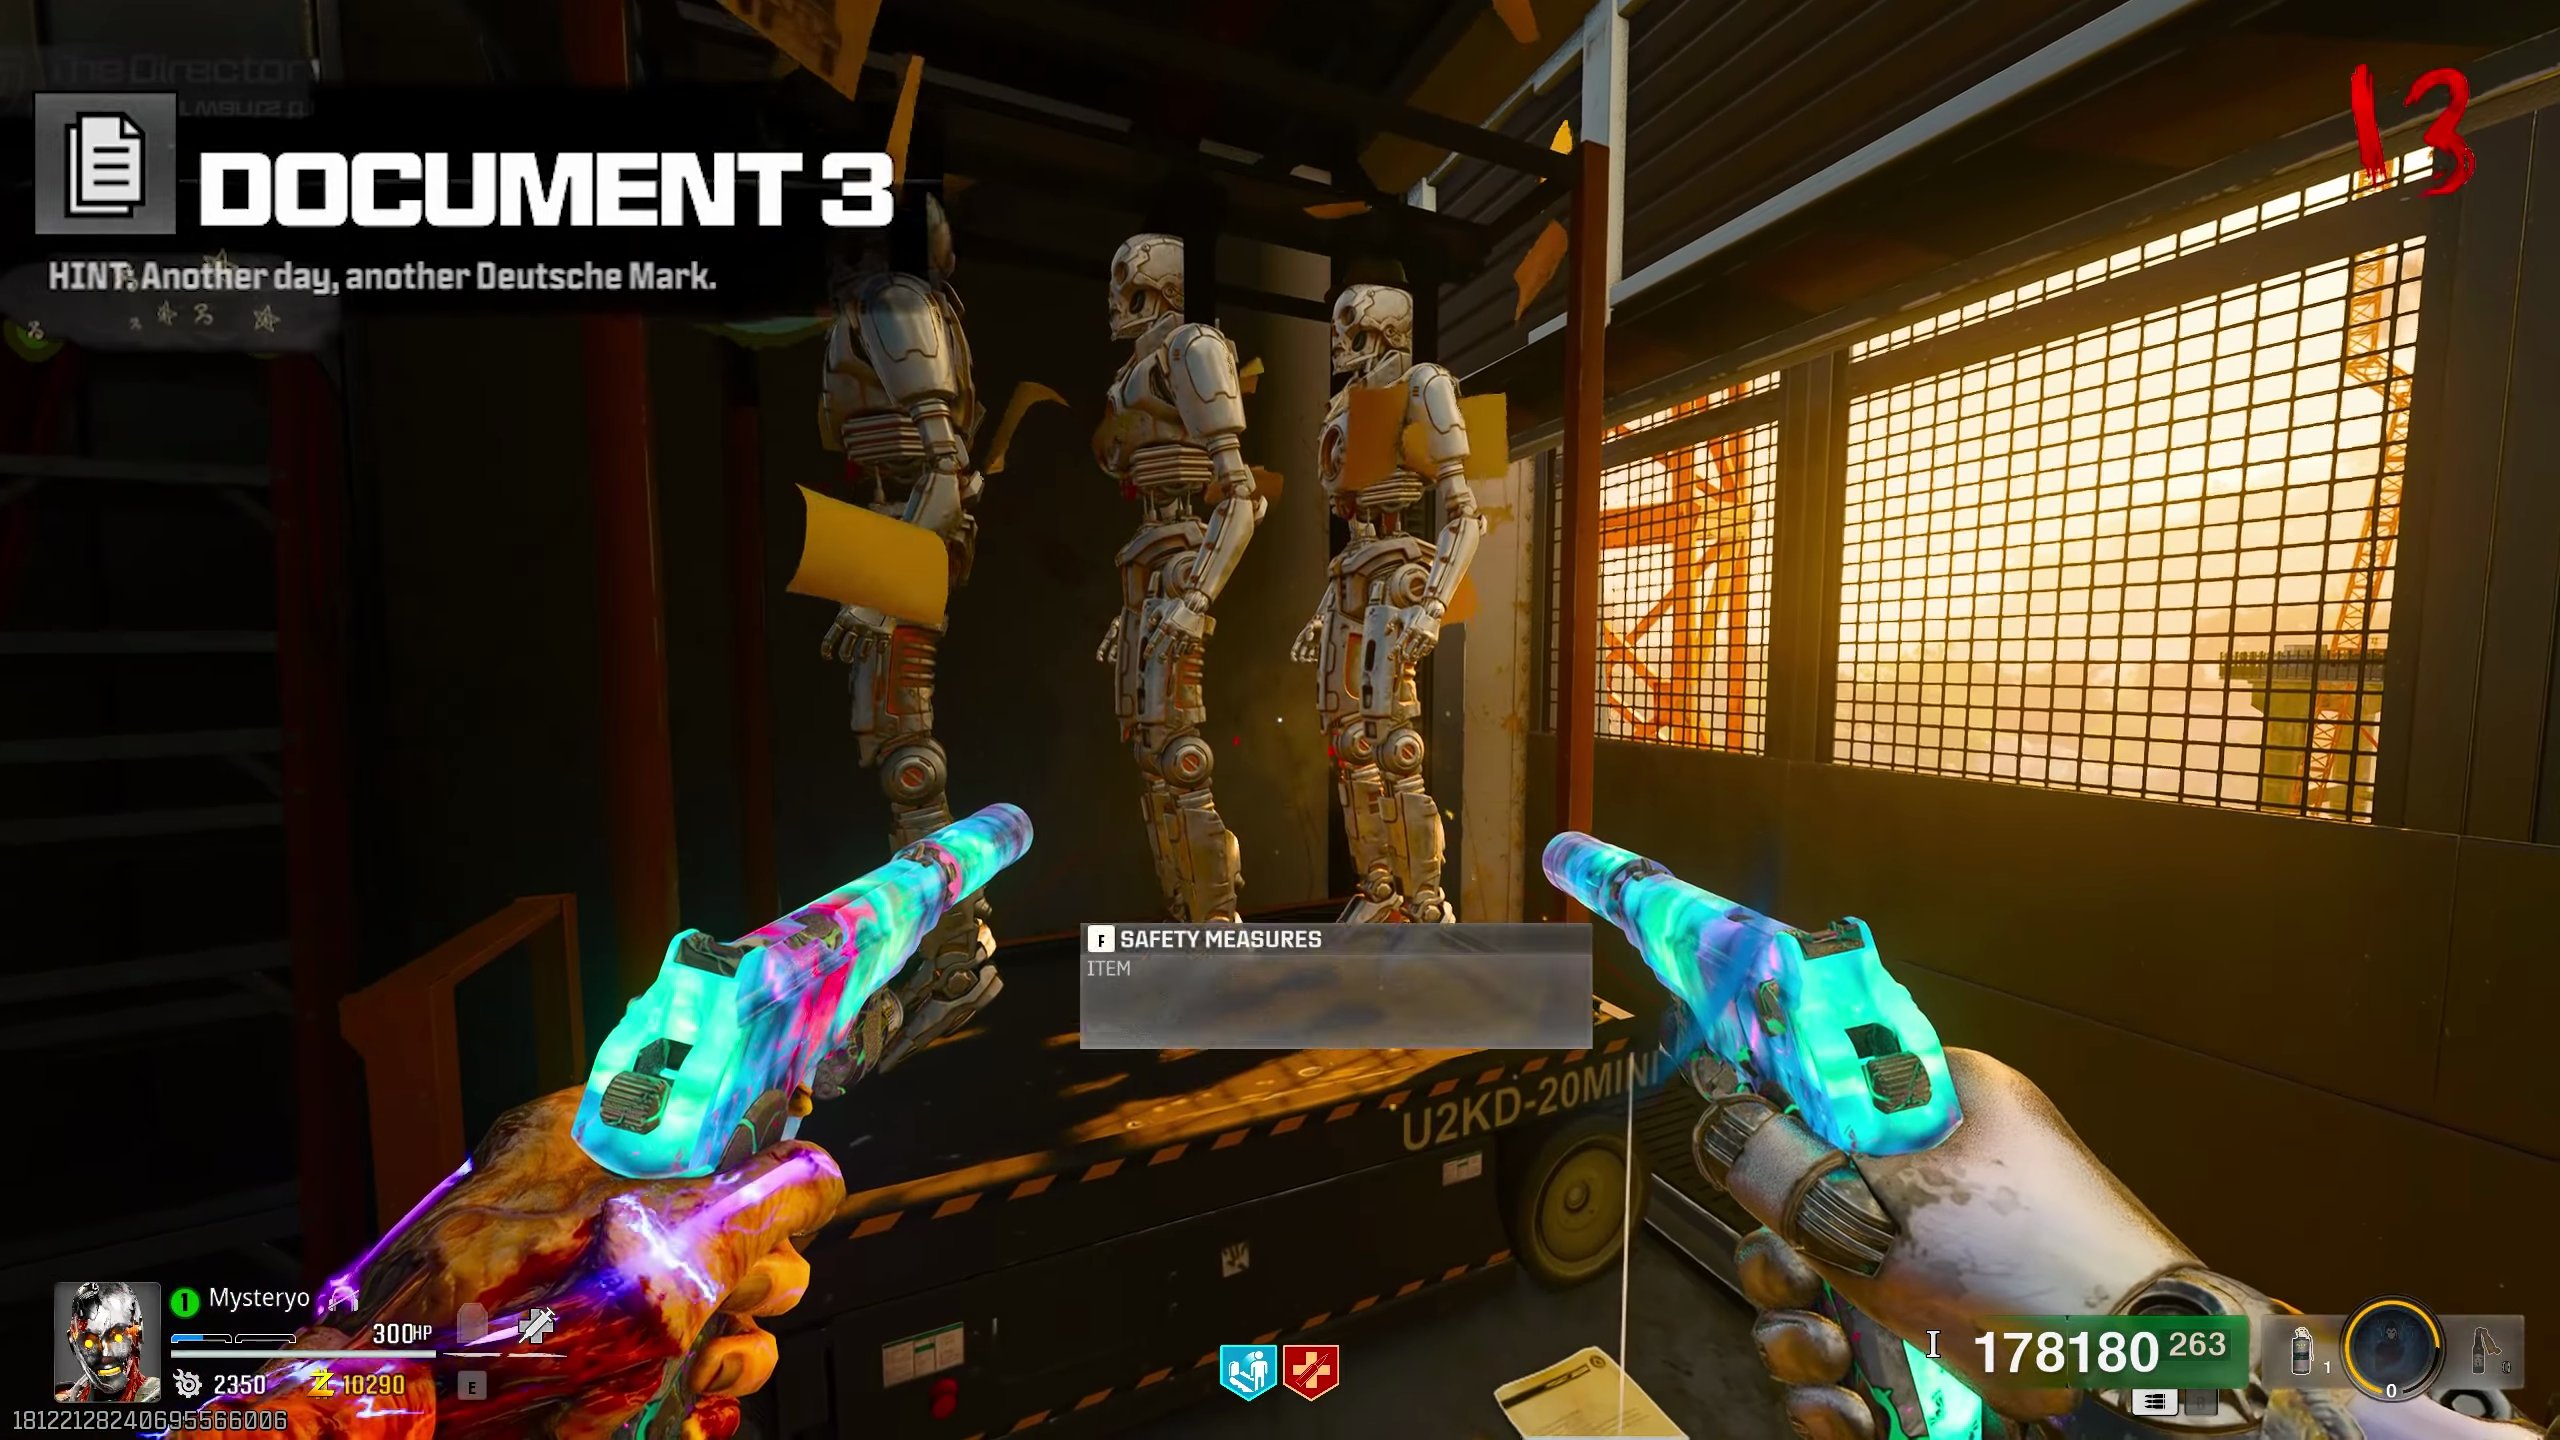
Document 3: Another Day, Another Deutsche Mark
- In the same area as Audio Log 5 (Android Assembly).
- Locate the three Klaus robots near the jump pad.
- Shoot the briefcase held by one of them to make the intel drop.
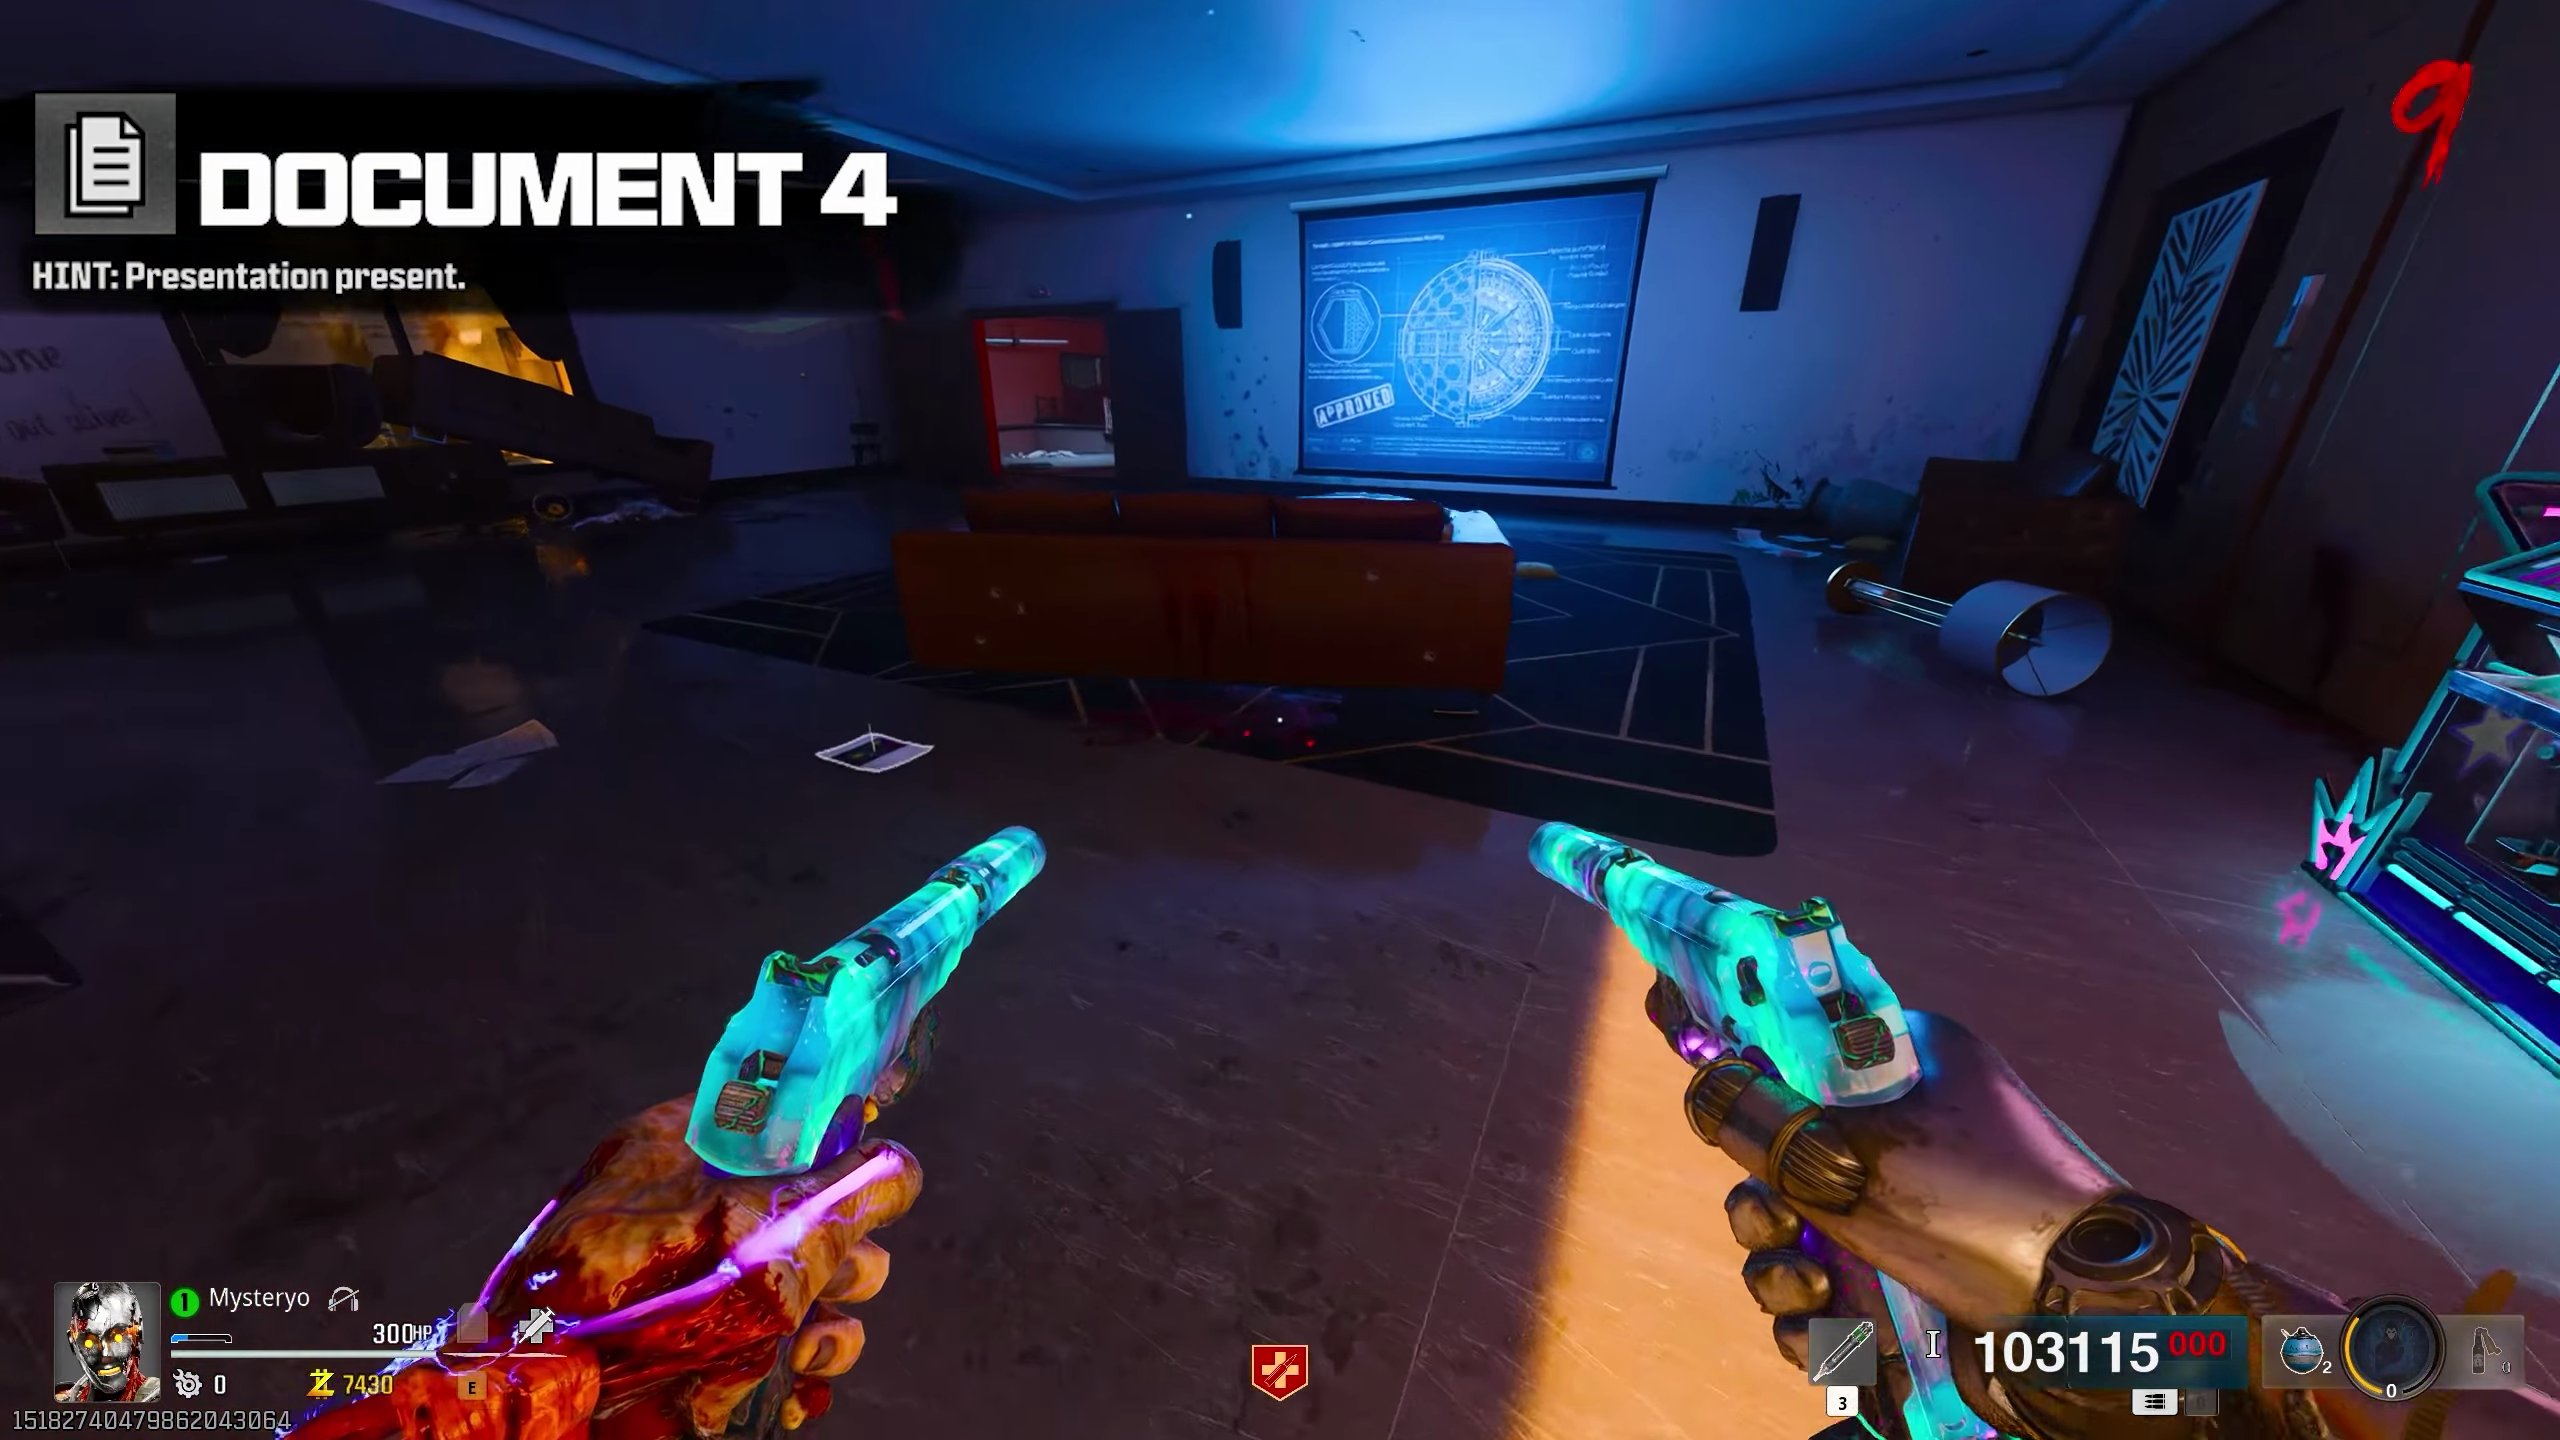
Document 4: Presentation Present
- In the same room as Audio Log 8 (Director's Office).
- Jump onto the projector hanging from the ceiling.
- Press the interact button to acquire the document.
Document 5: A Complete Waste
- In spawn, you'll see several rectangular trash bins. Interact with them to find 4 random loot drops.
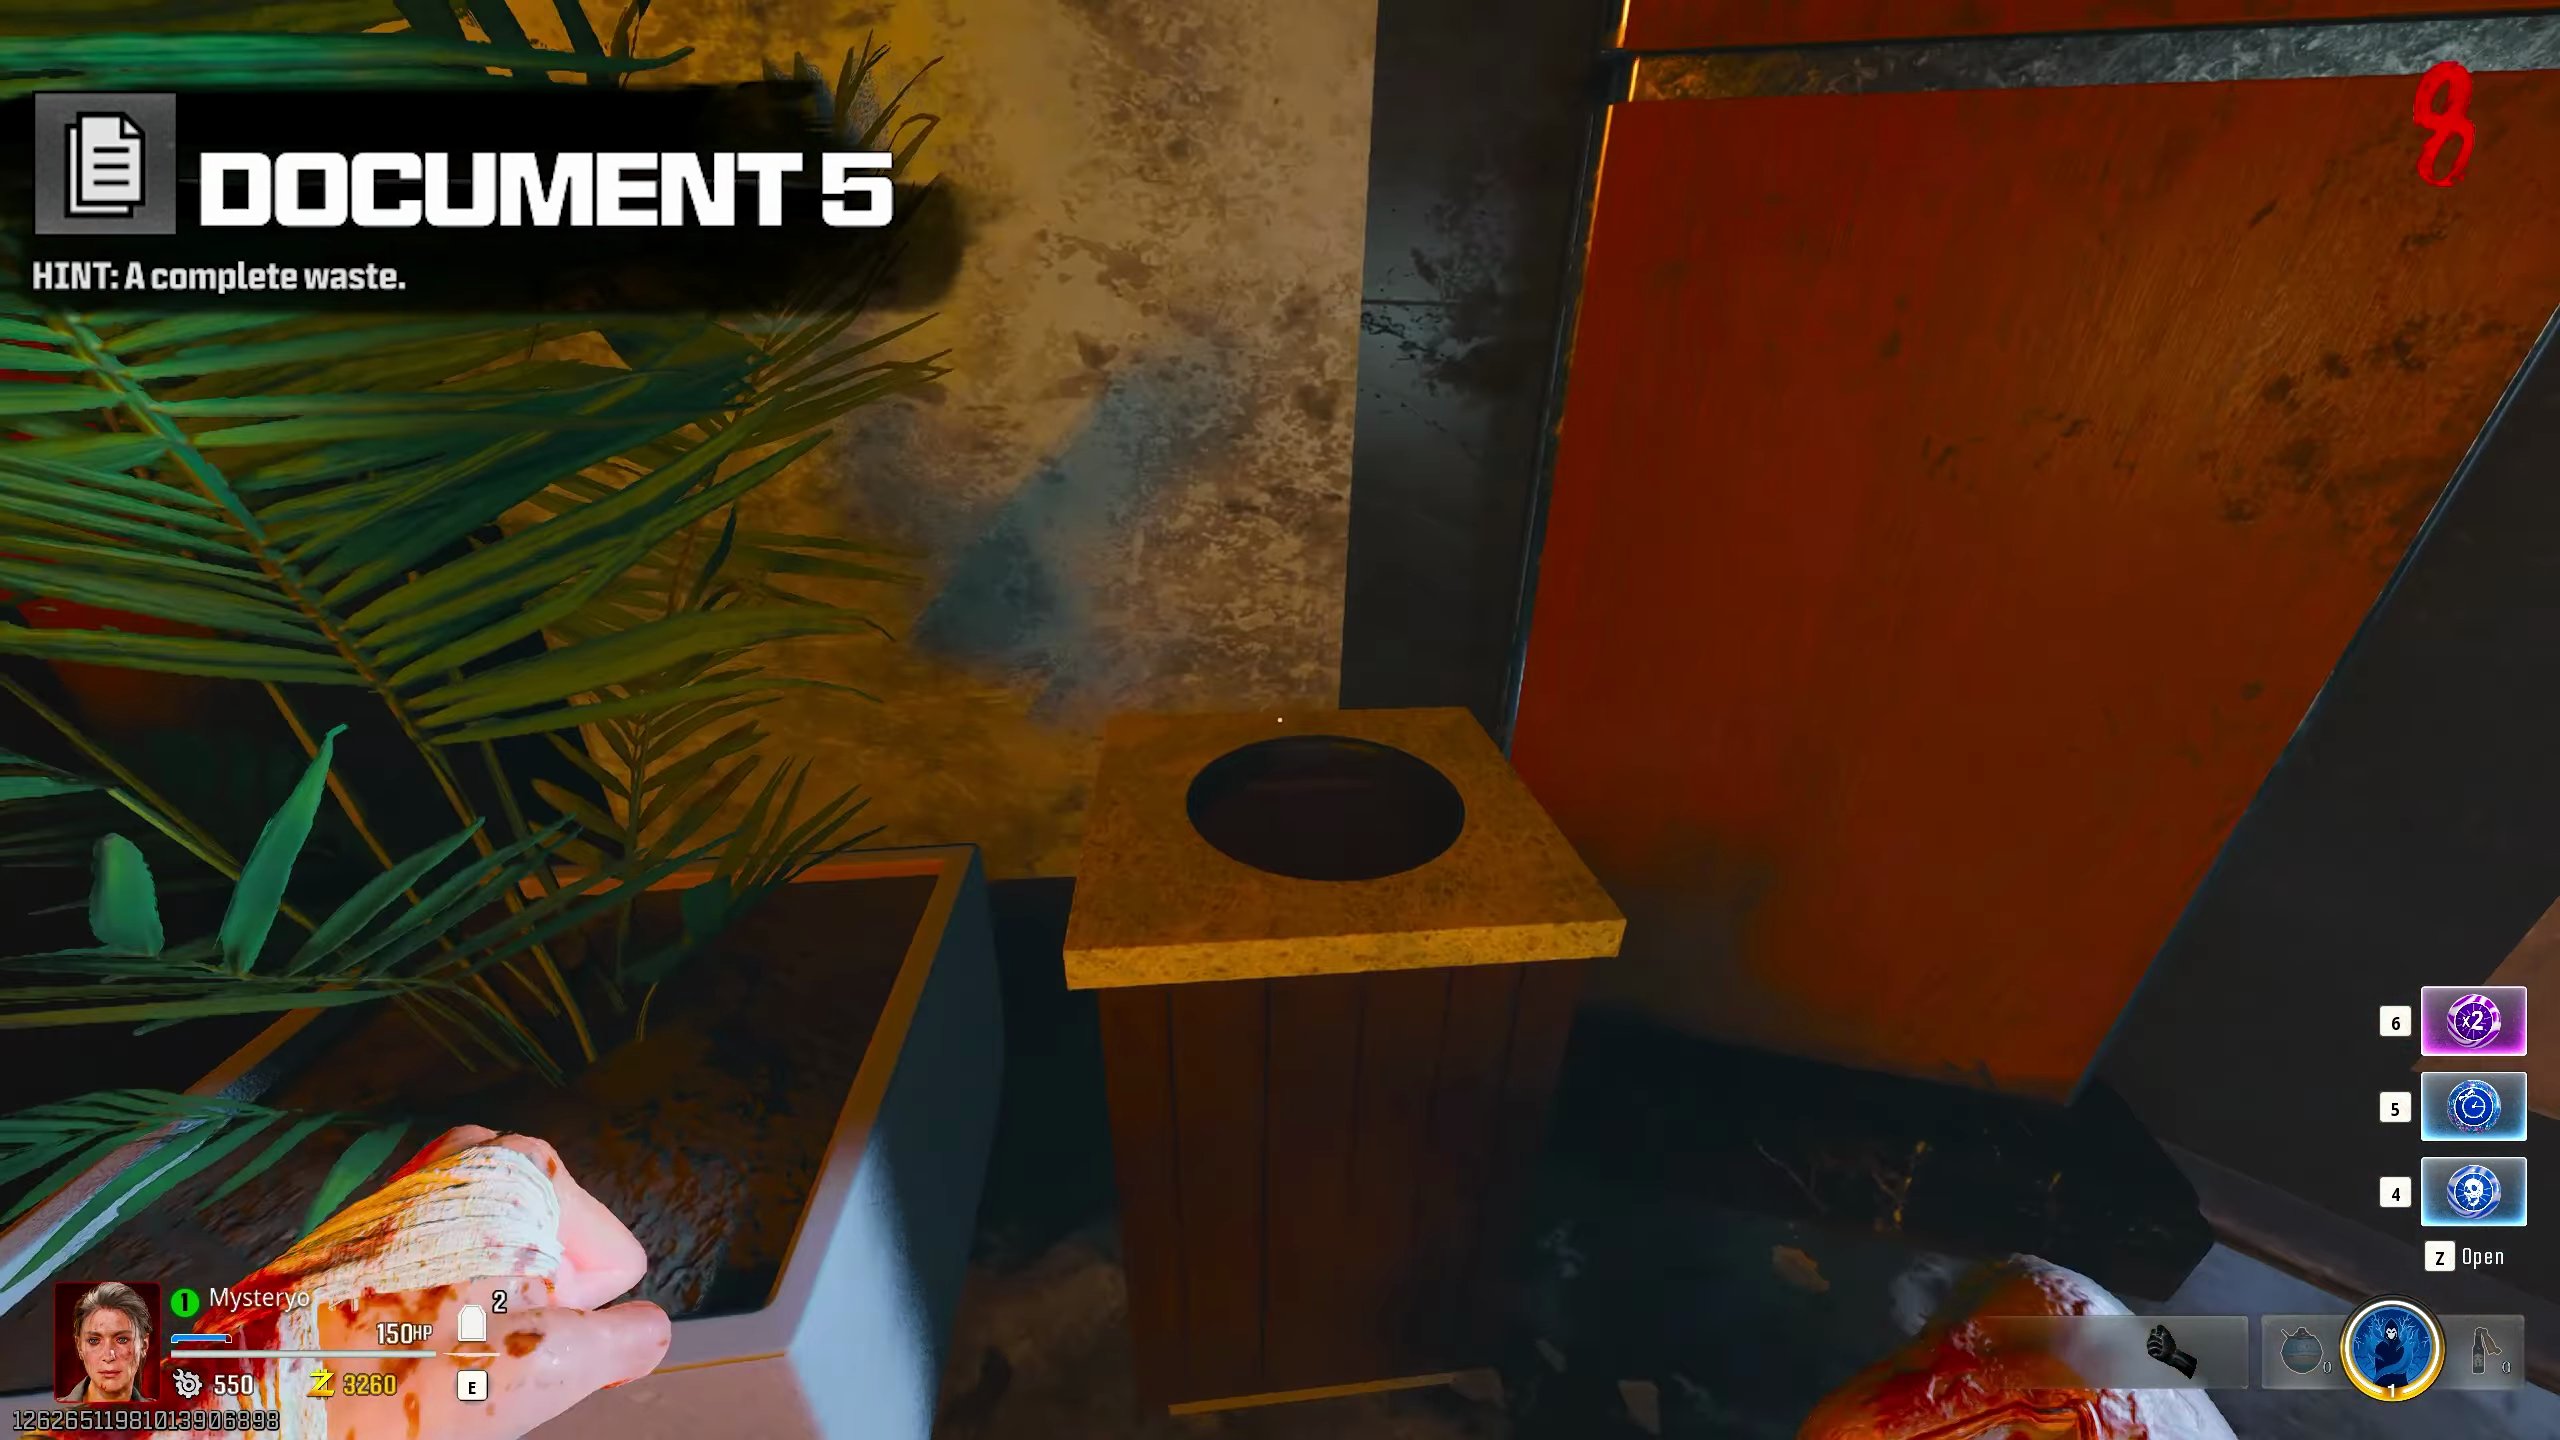
- Continue interacting with bins, including more in Executive Suites, until you have all 4 loot drops.
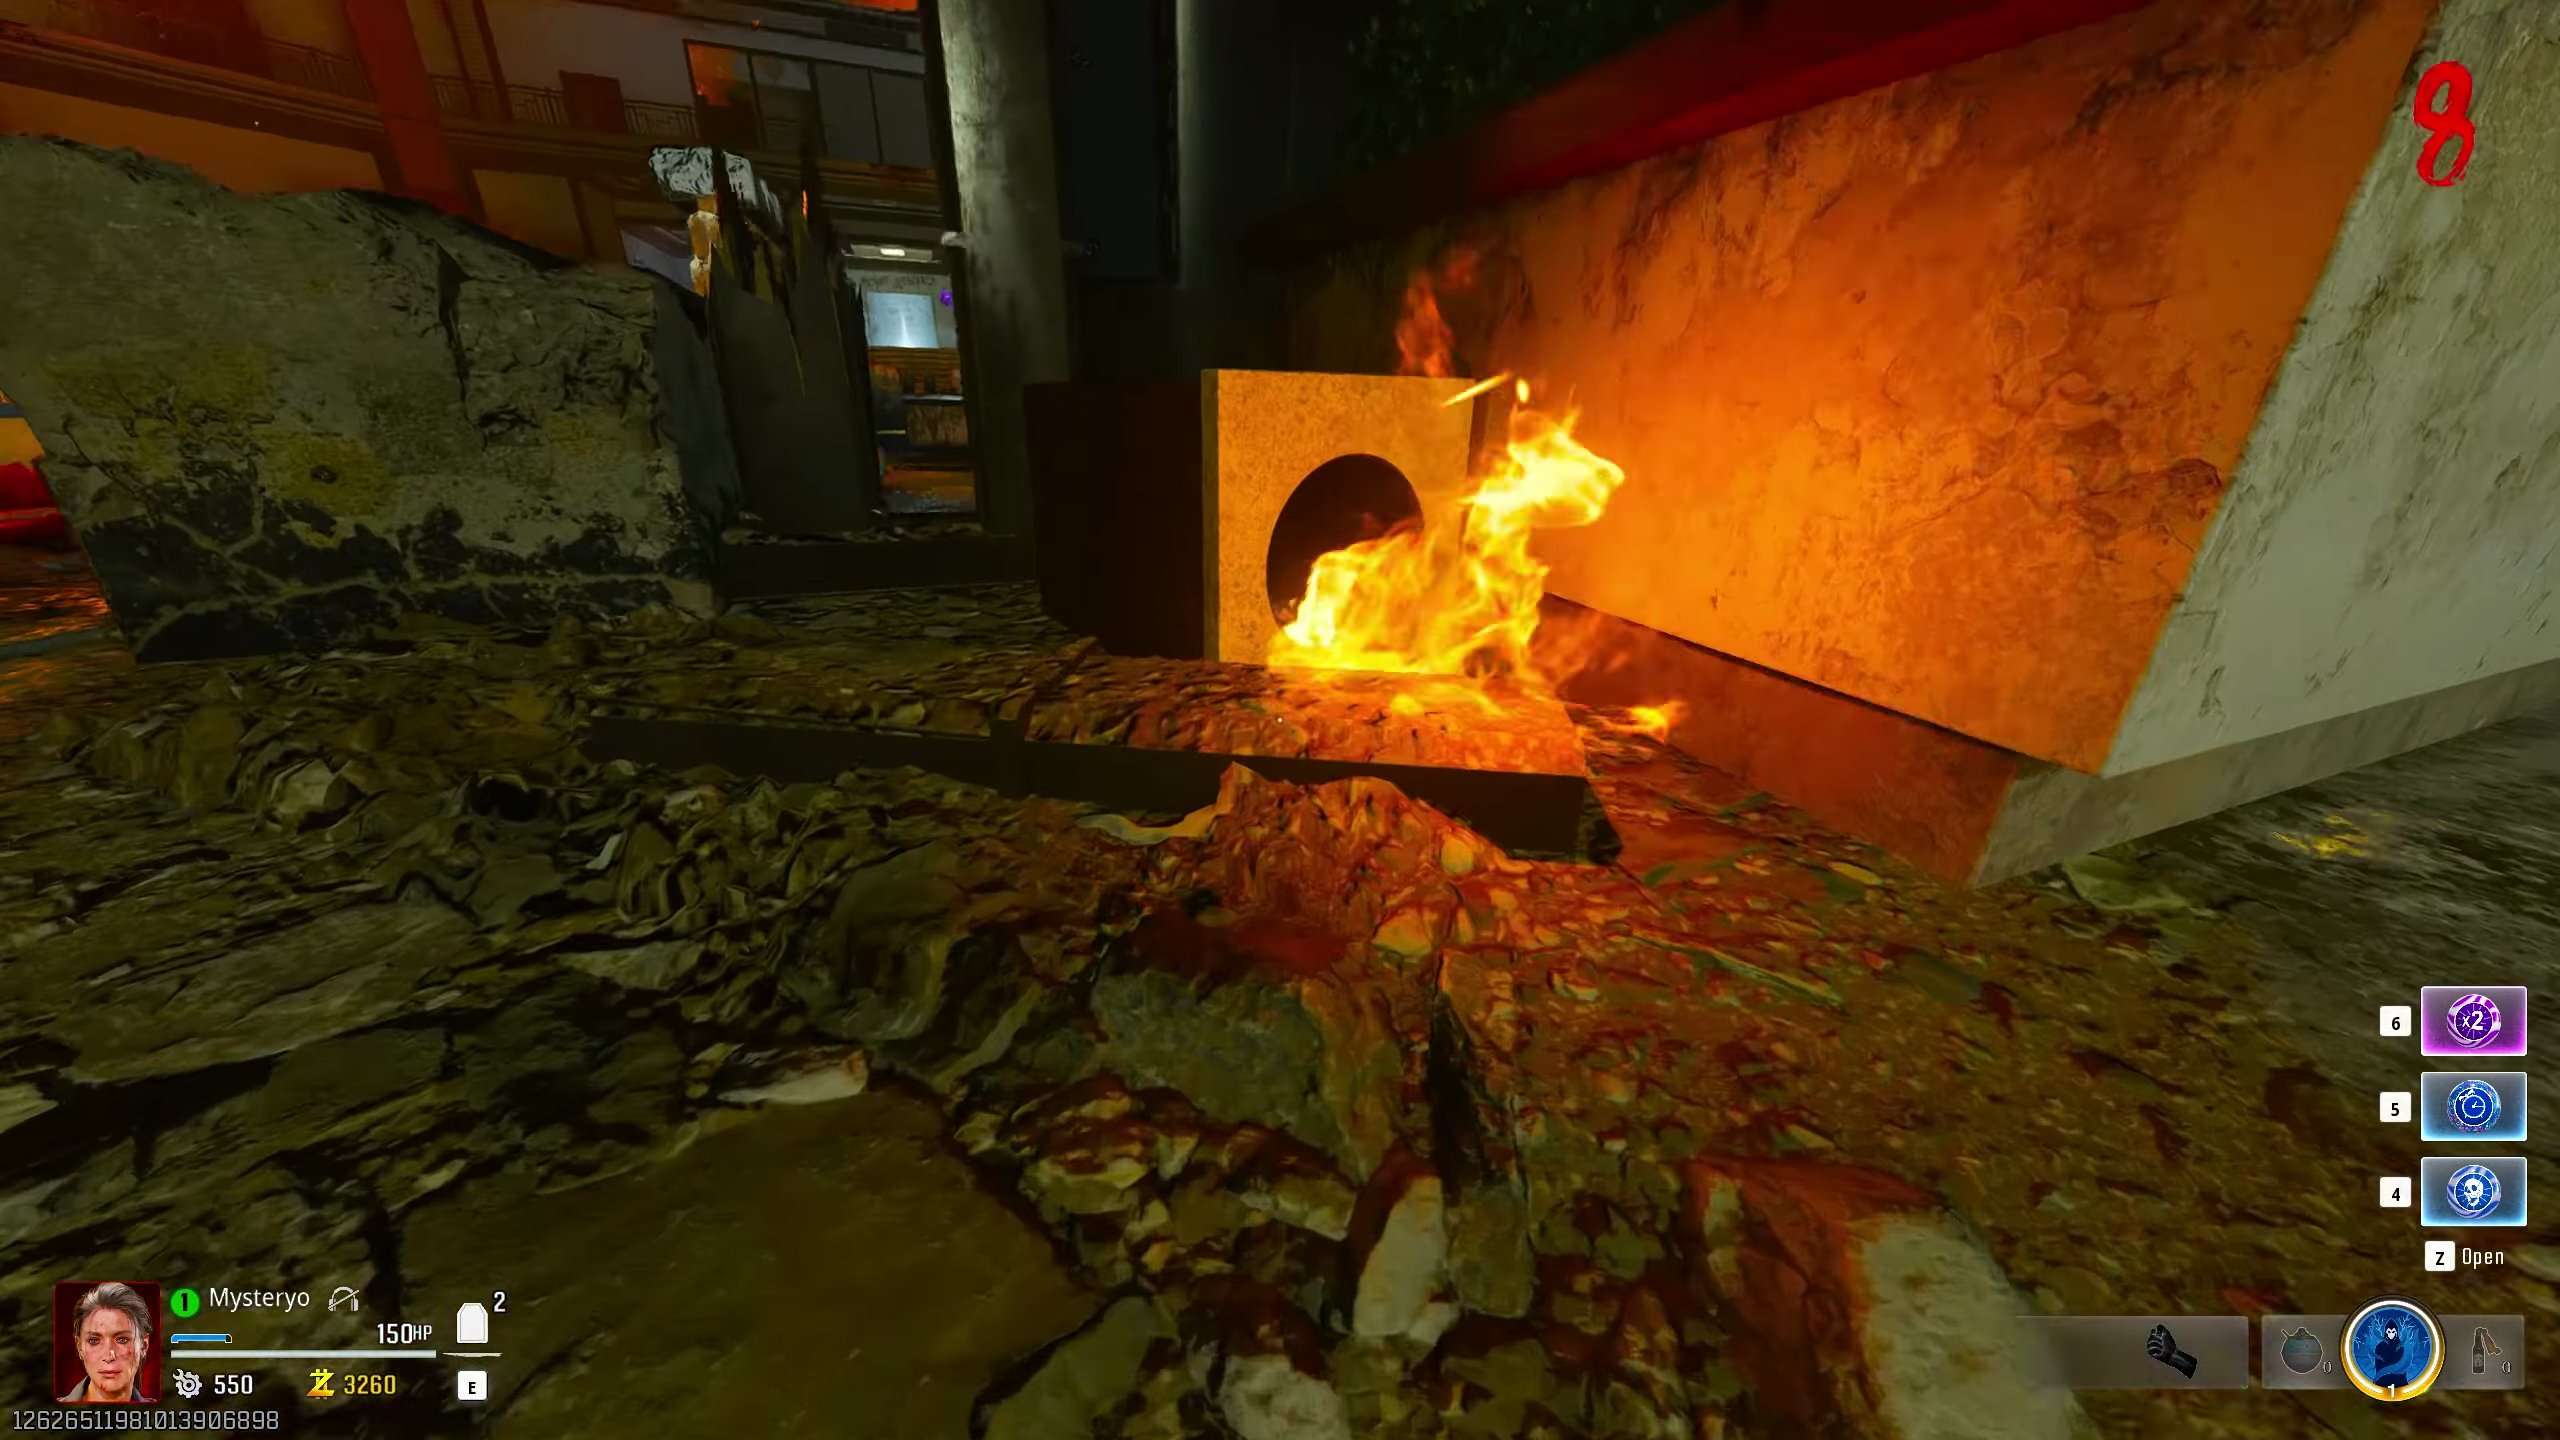
- Check the round bins in Executive Suites for more drops.
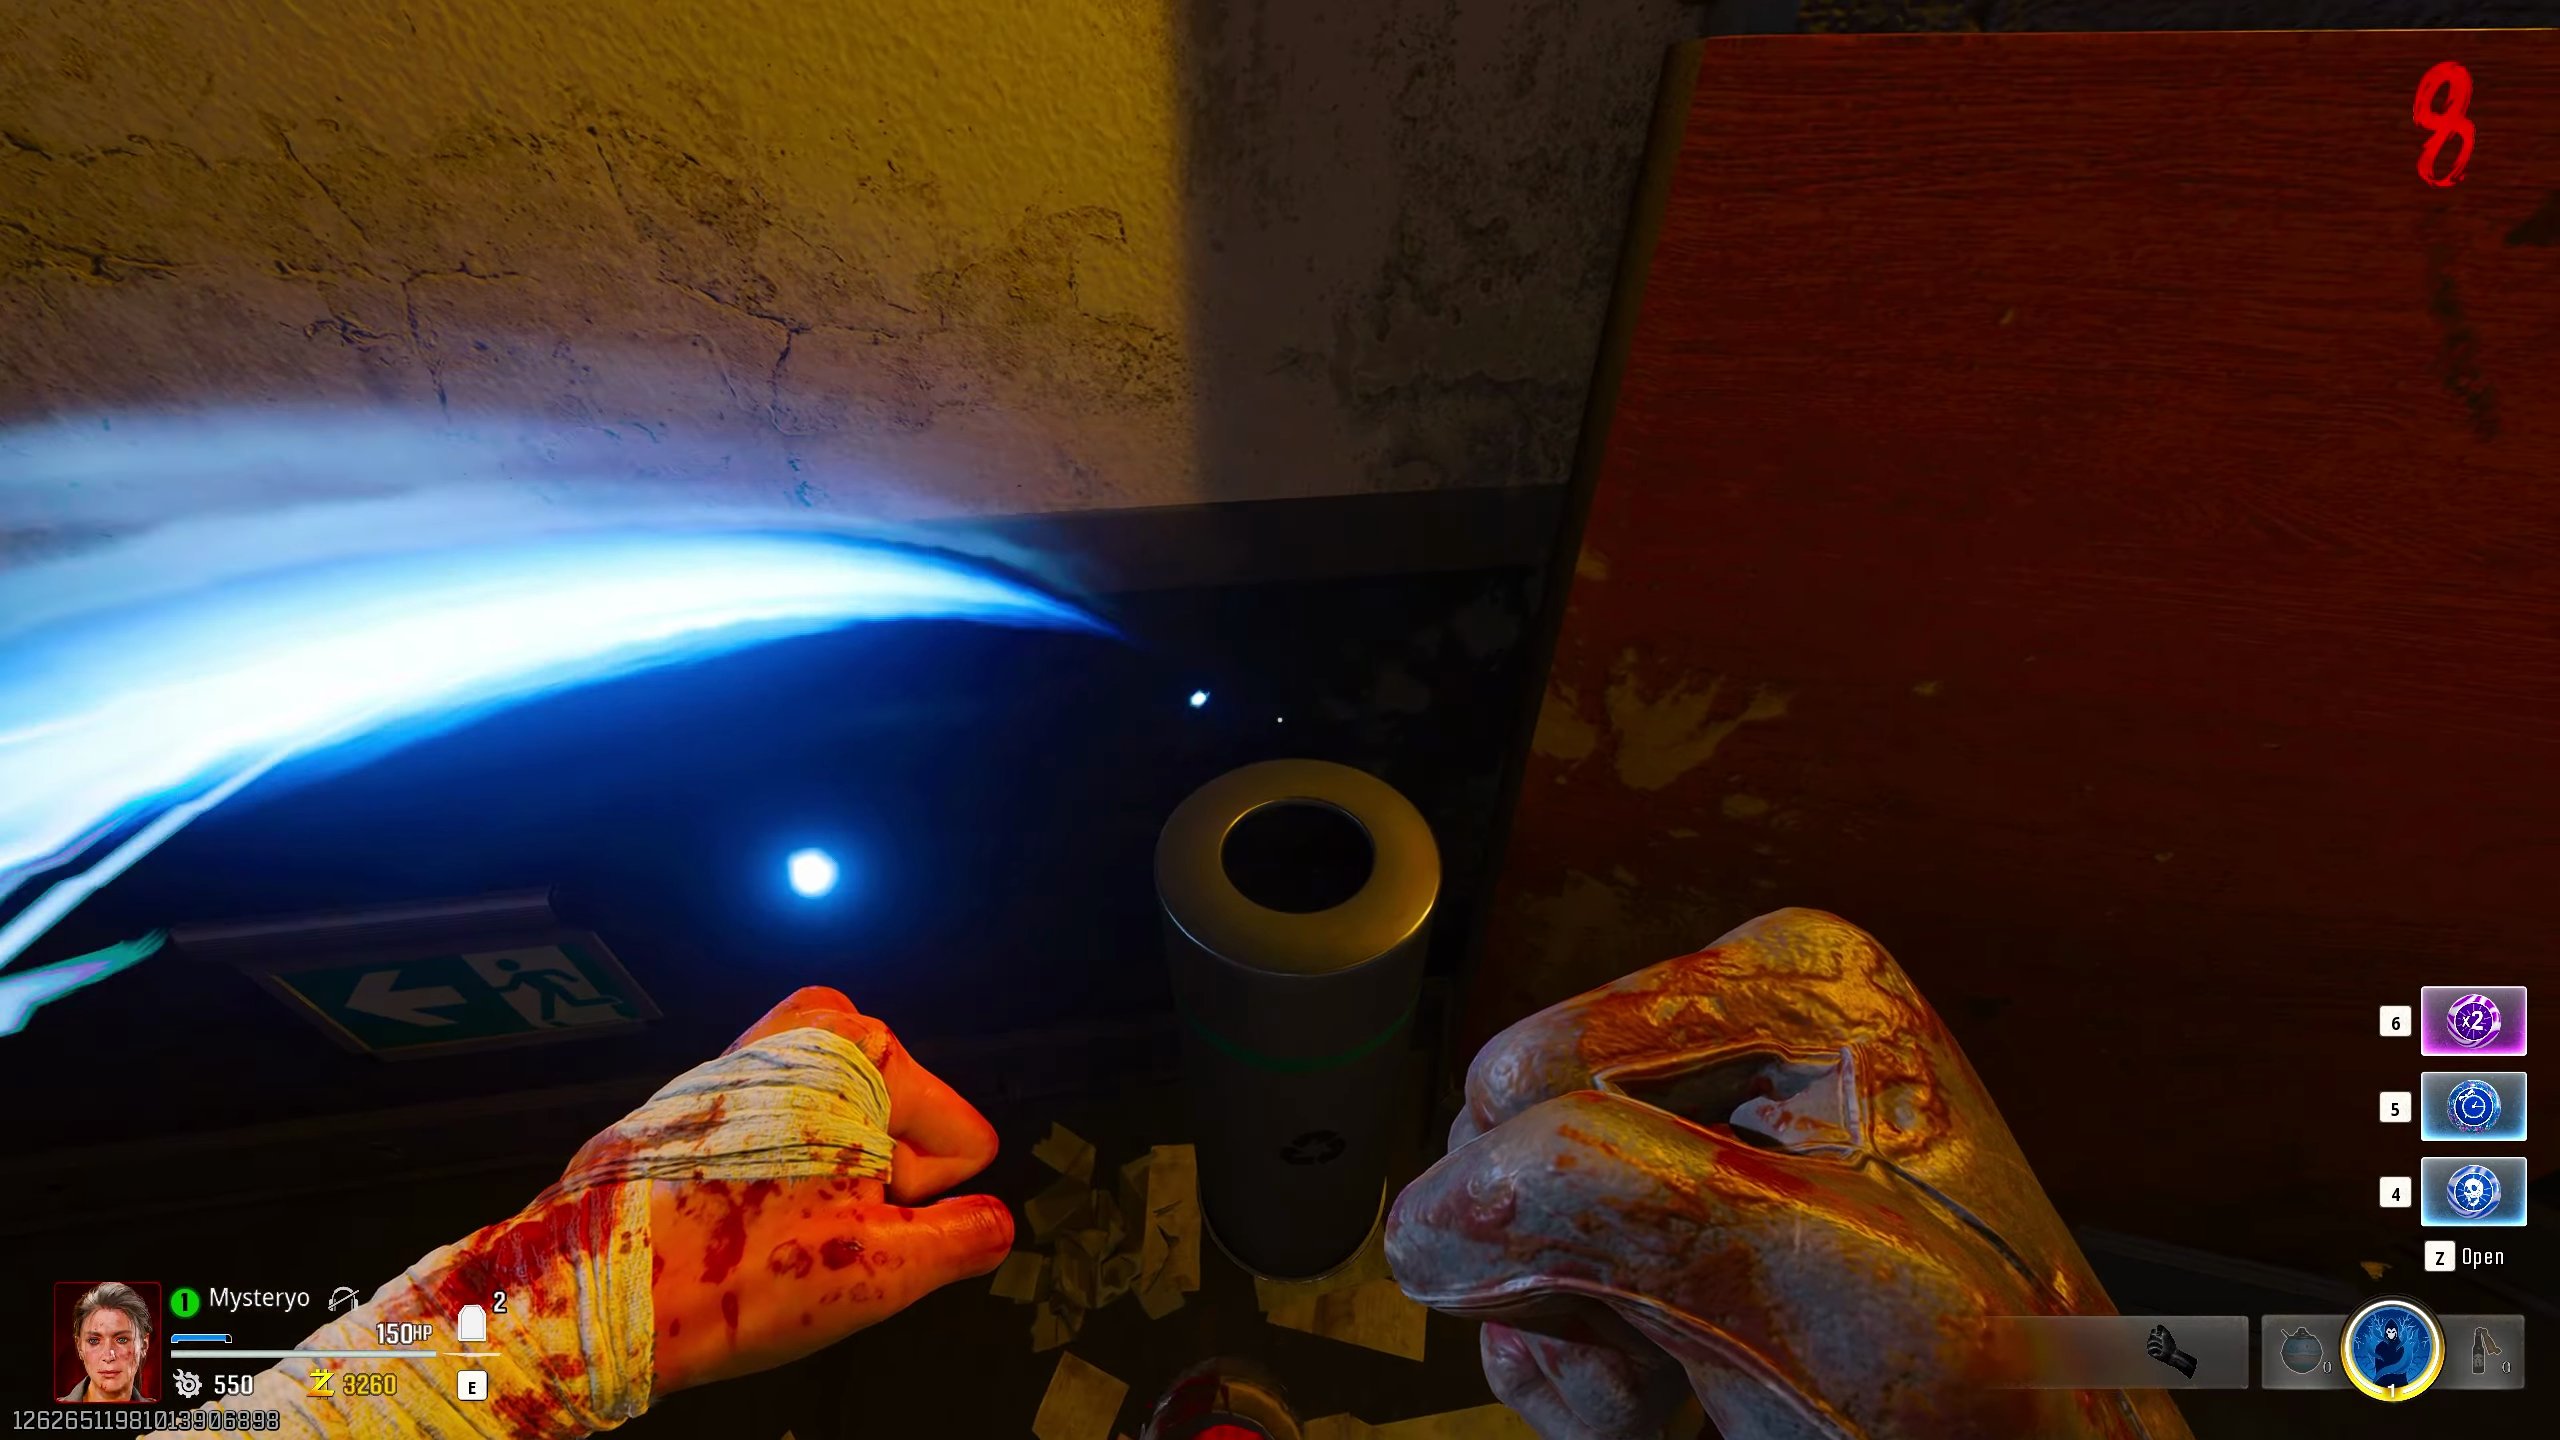
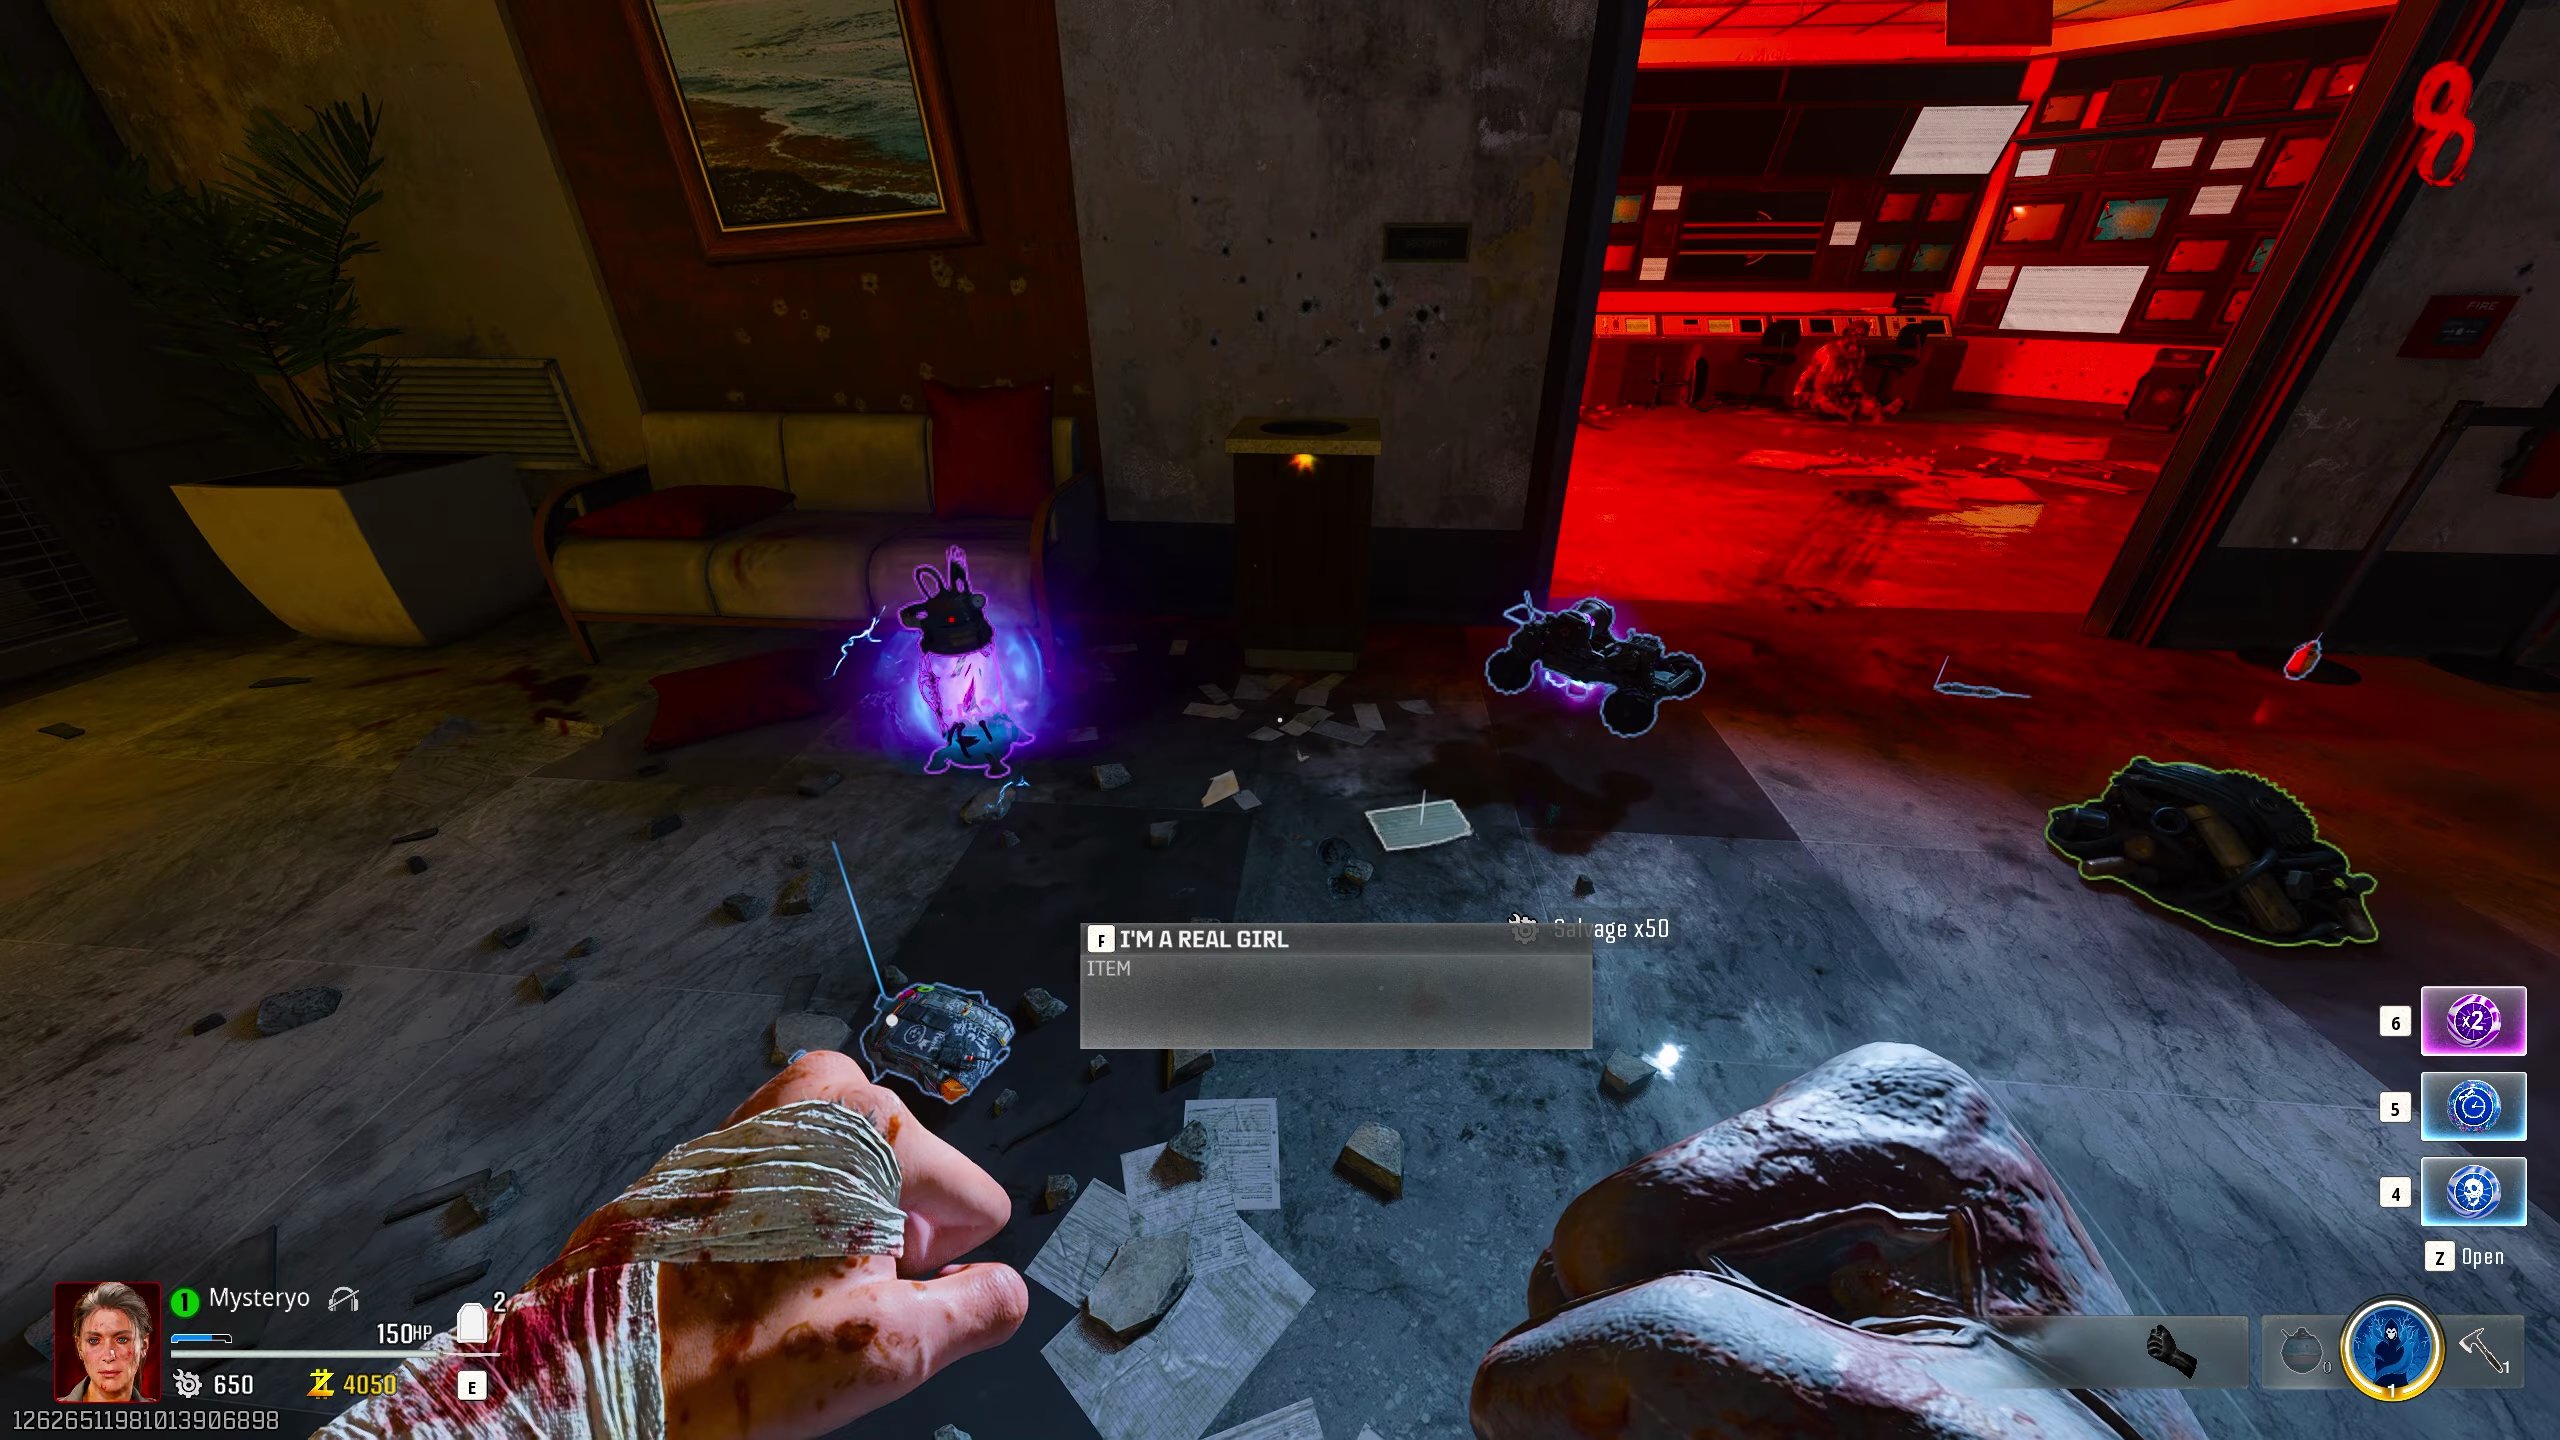
- Once you have all 4 drops, head back to spawn and locate a glowing trash bin at the very back. Interact with it.
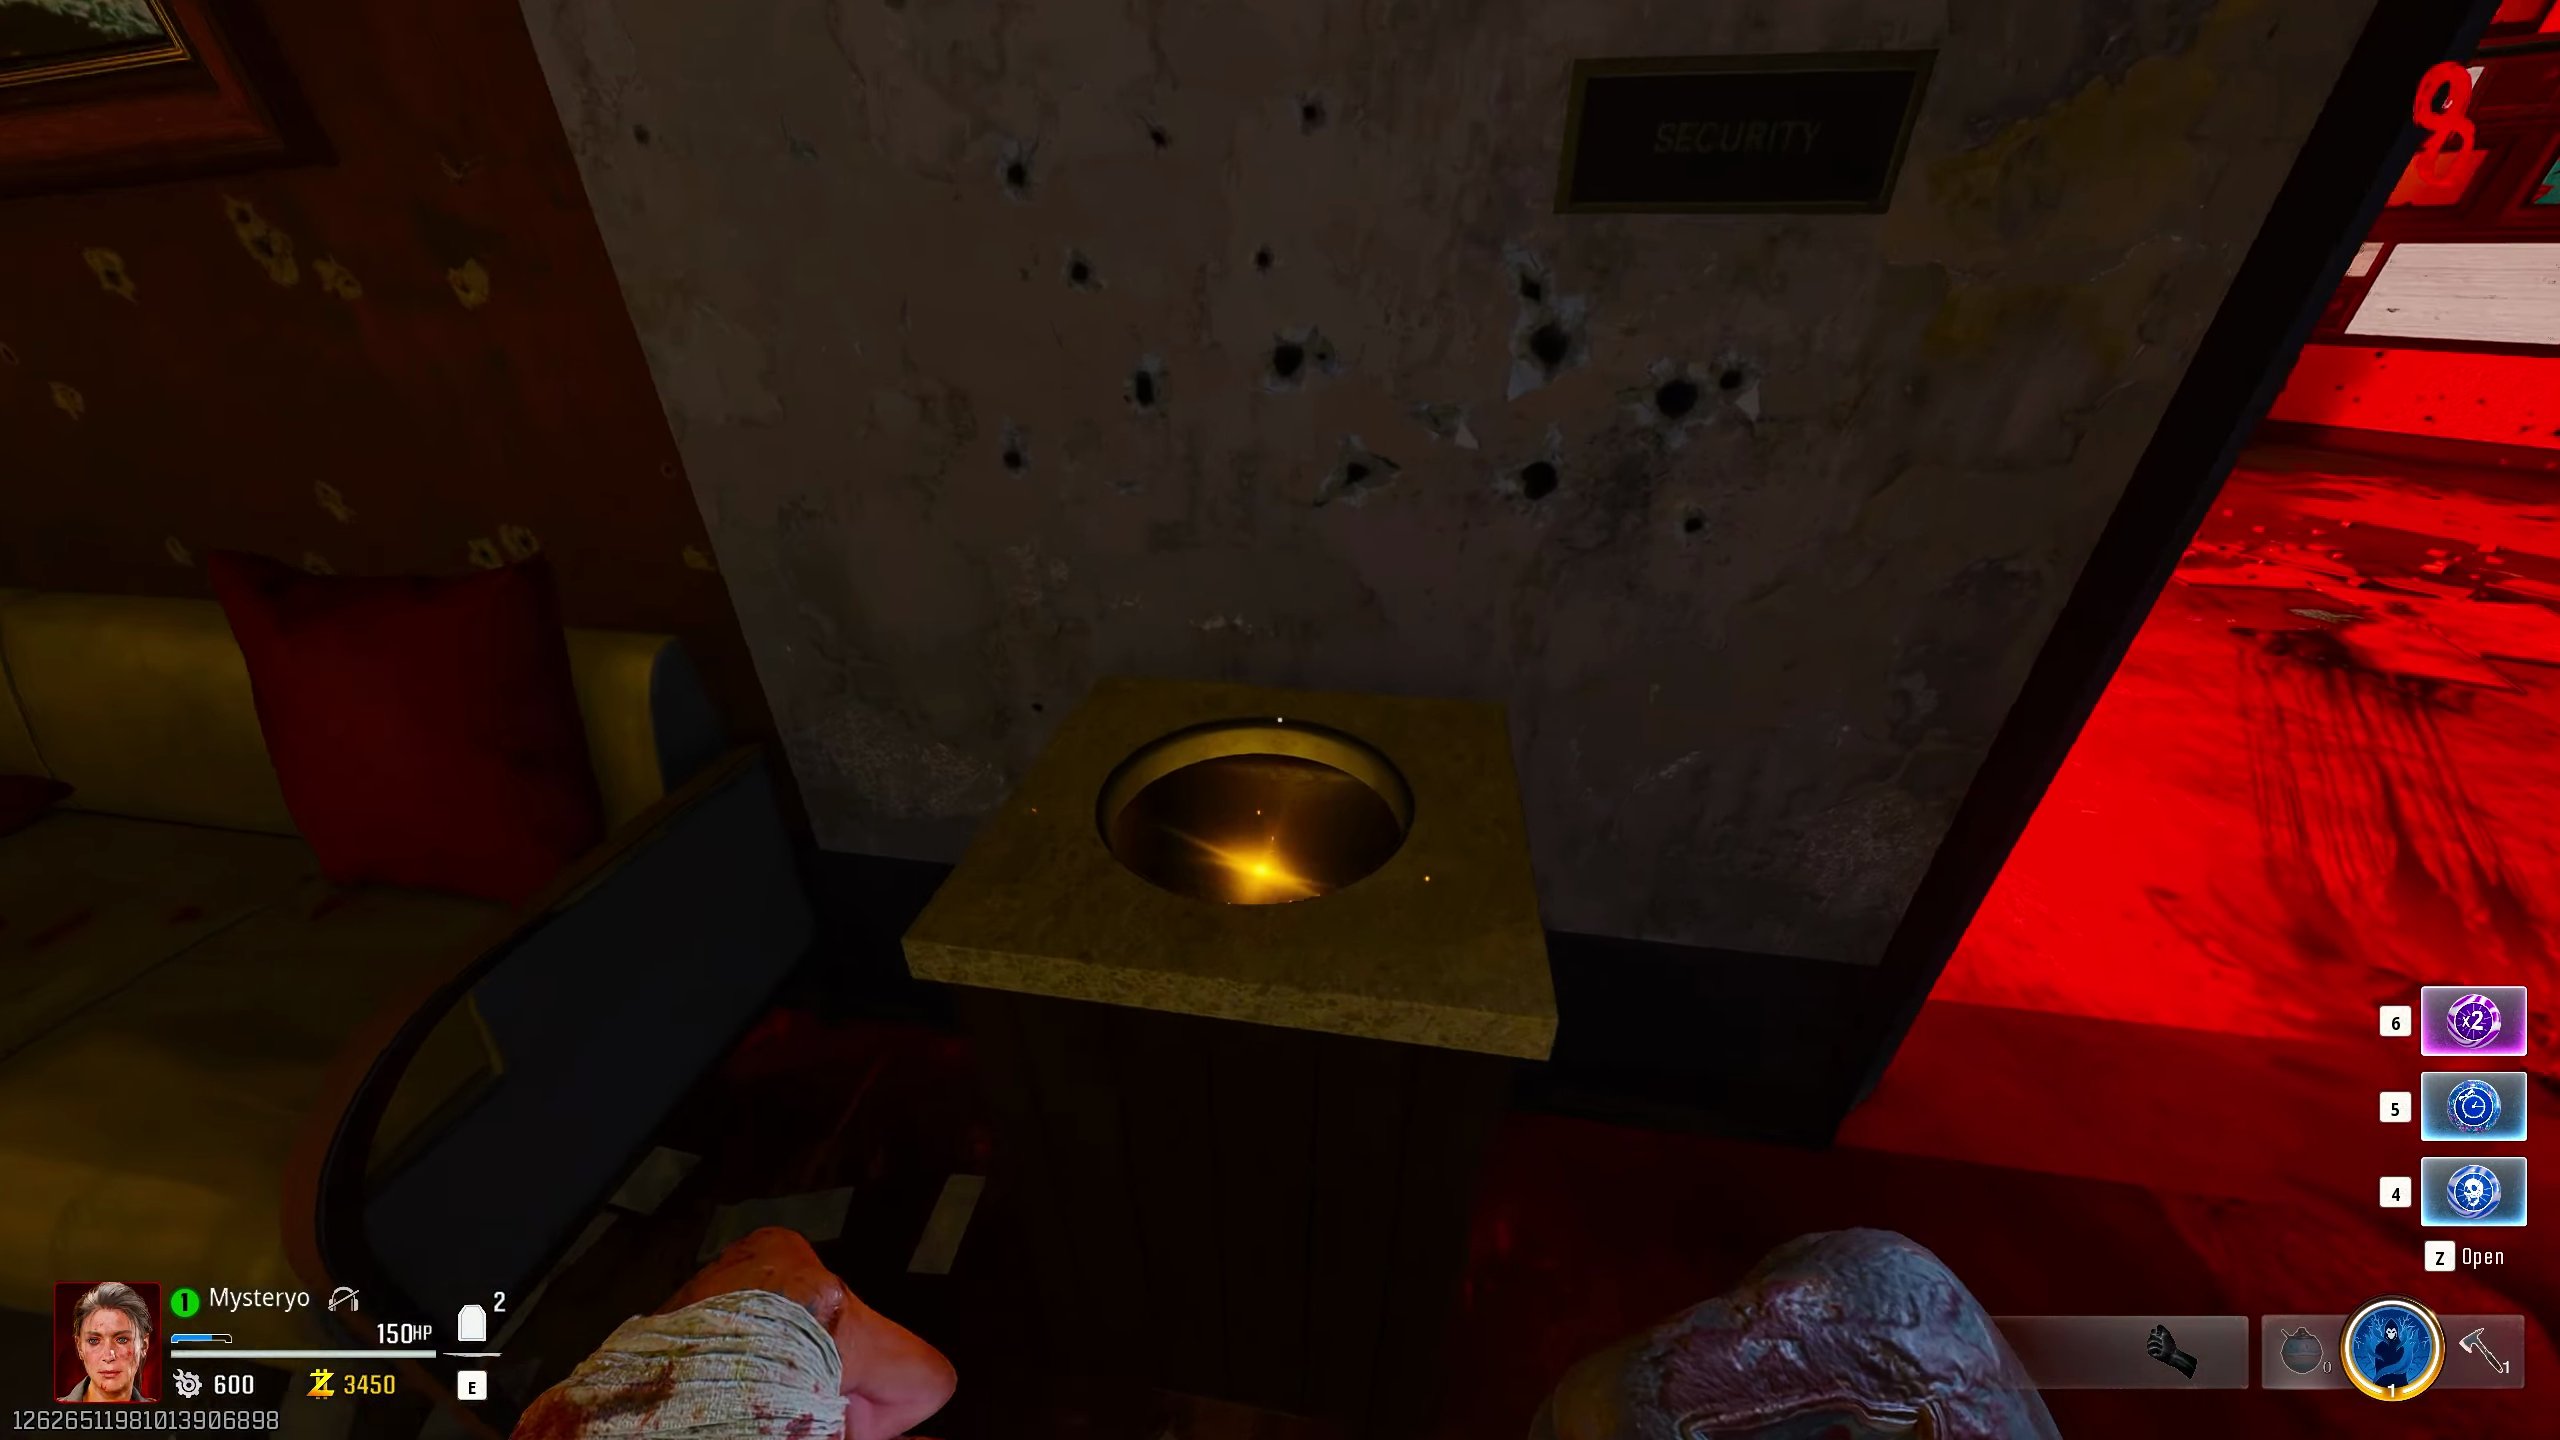
- The document will appear along with some more loot.
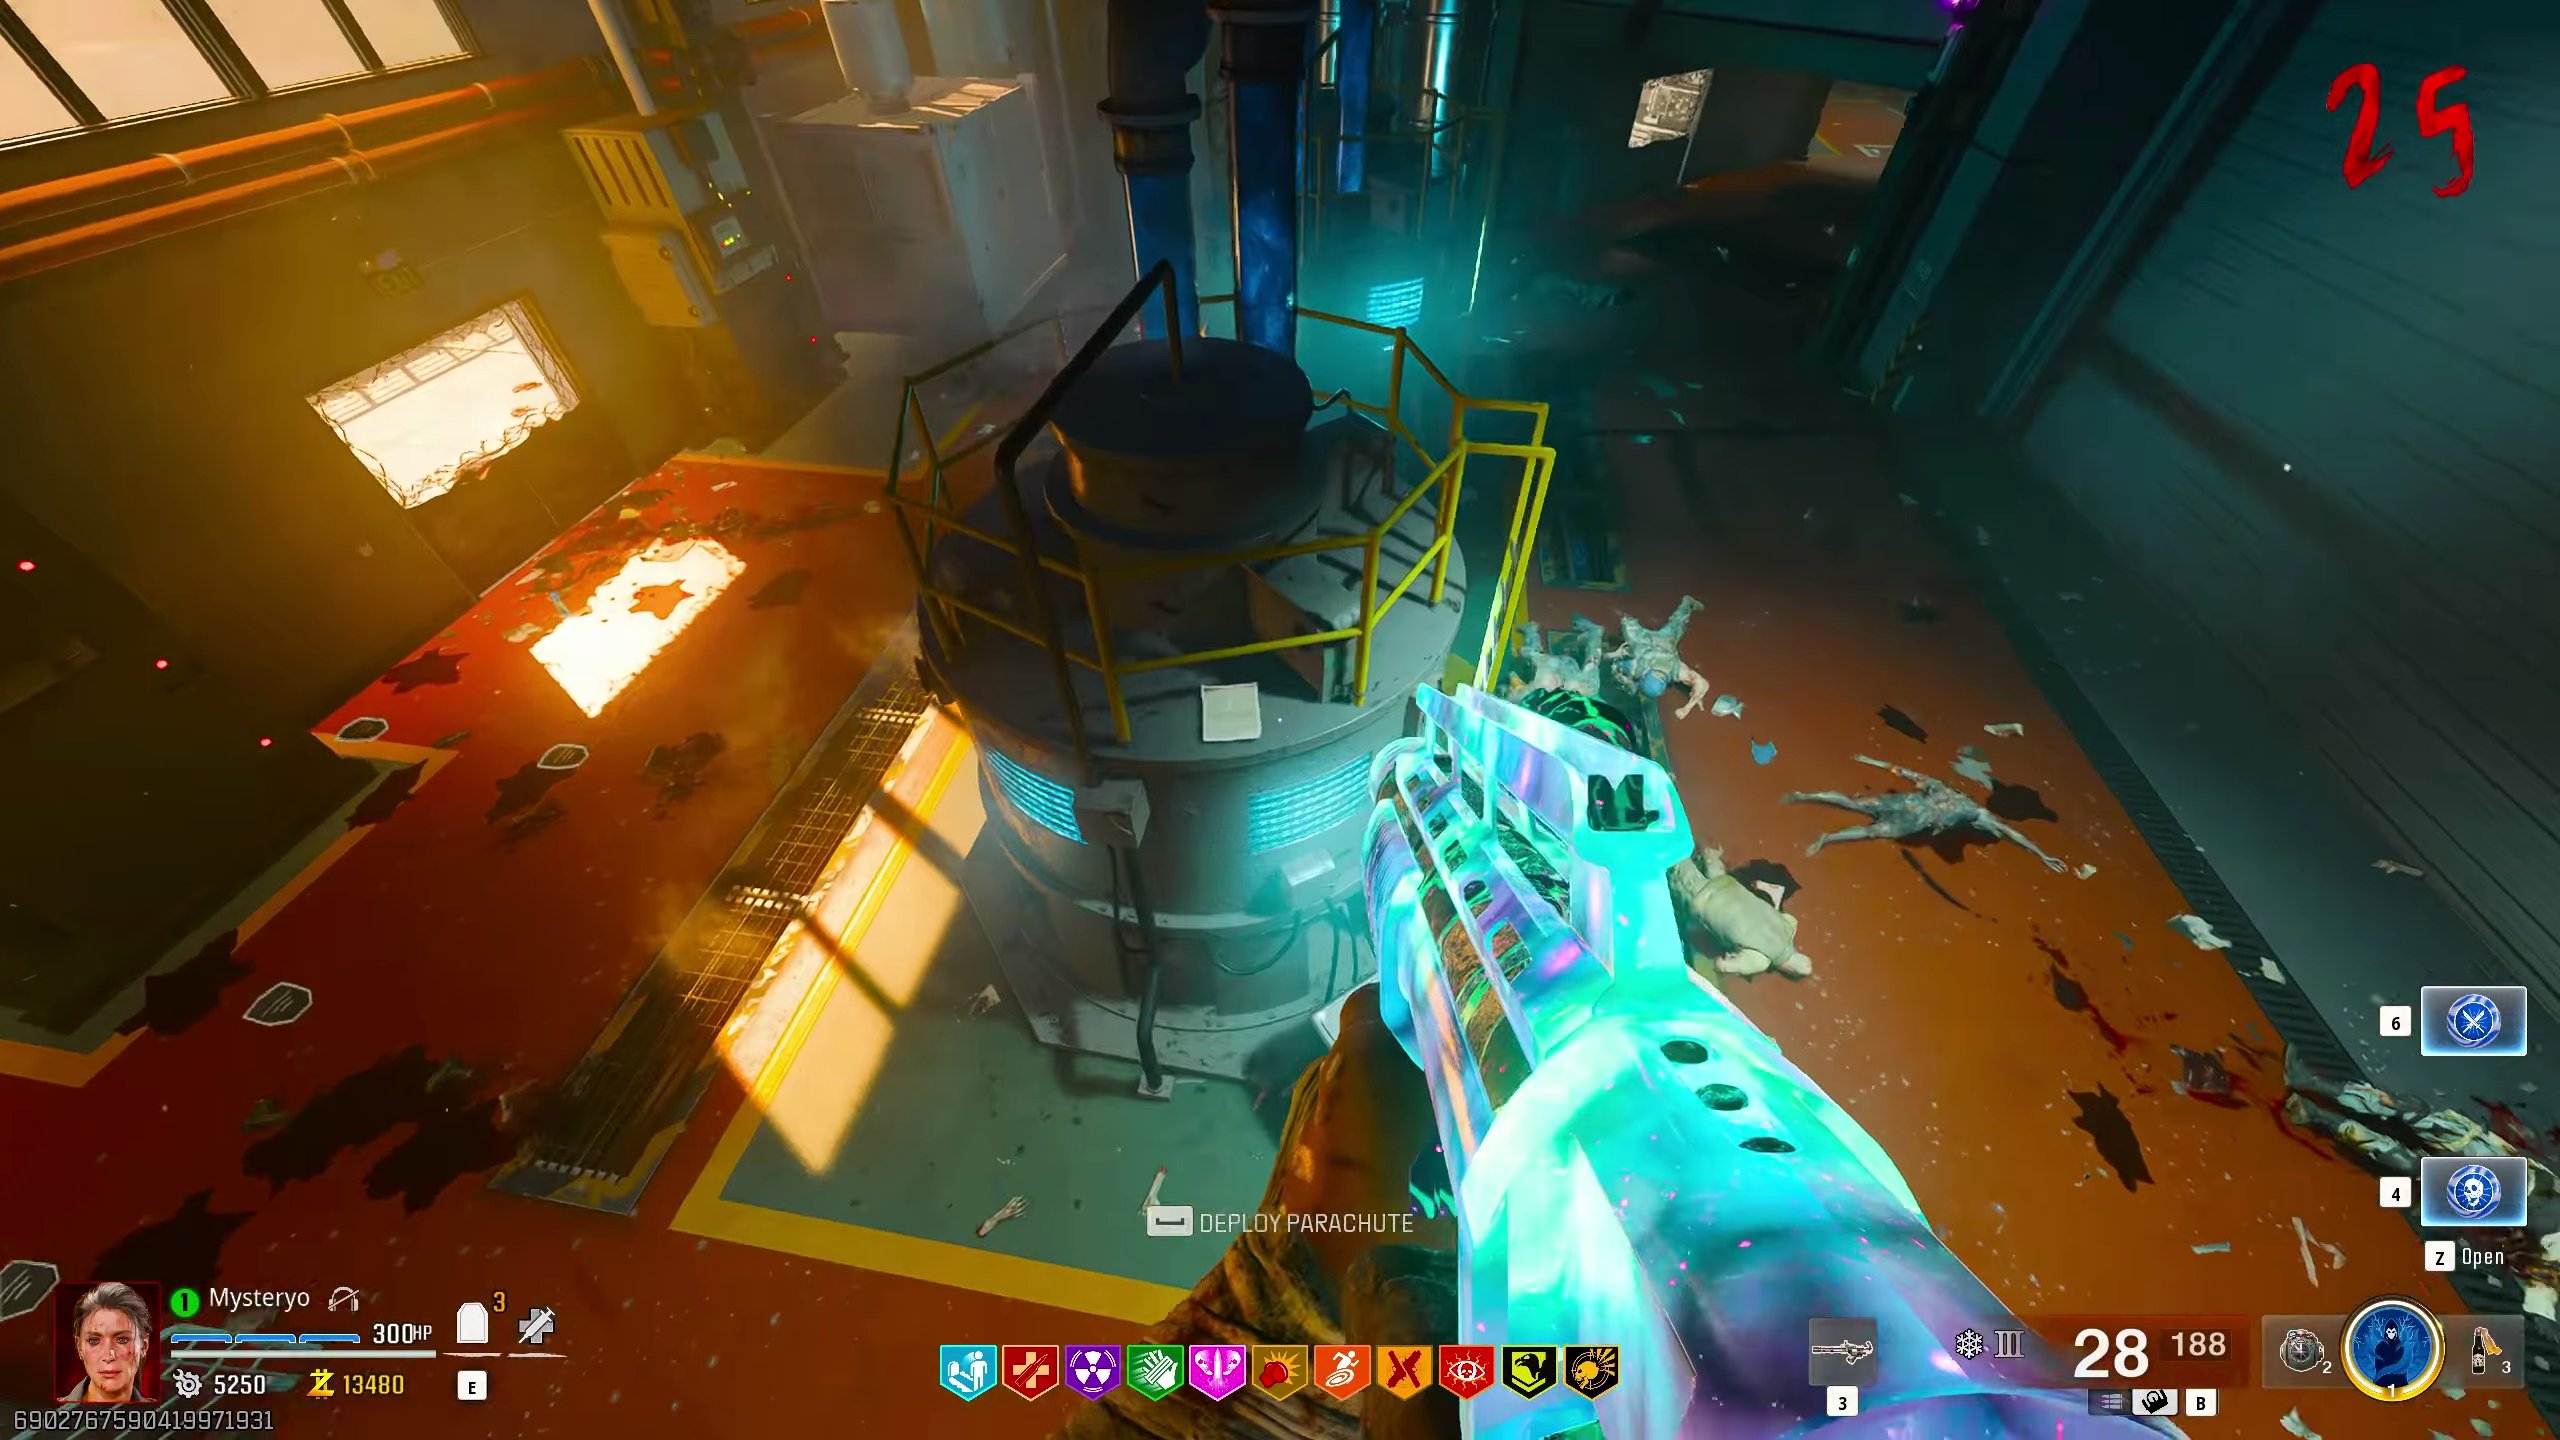
Document 6: Polevault
- Progress through the main Easter Egg until you are in Tower 3, at the step where you must destroy crystals.
- In this room, you will see two large vats.
- Go upstairs, jump over the railing onto the vat.
- Grab the document from the top of the vat.
Artifacts
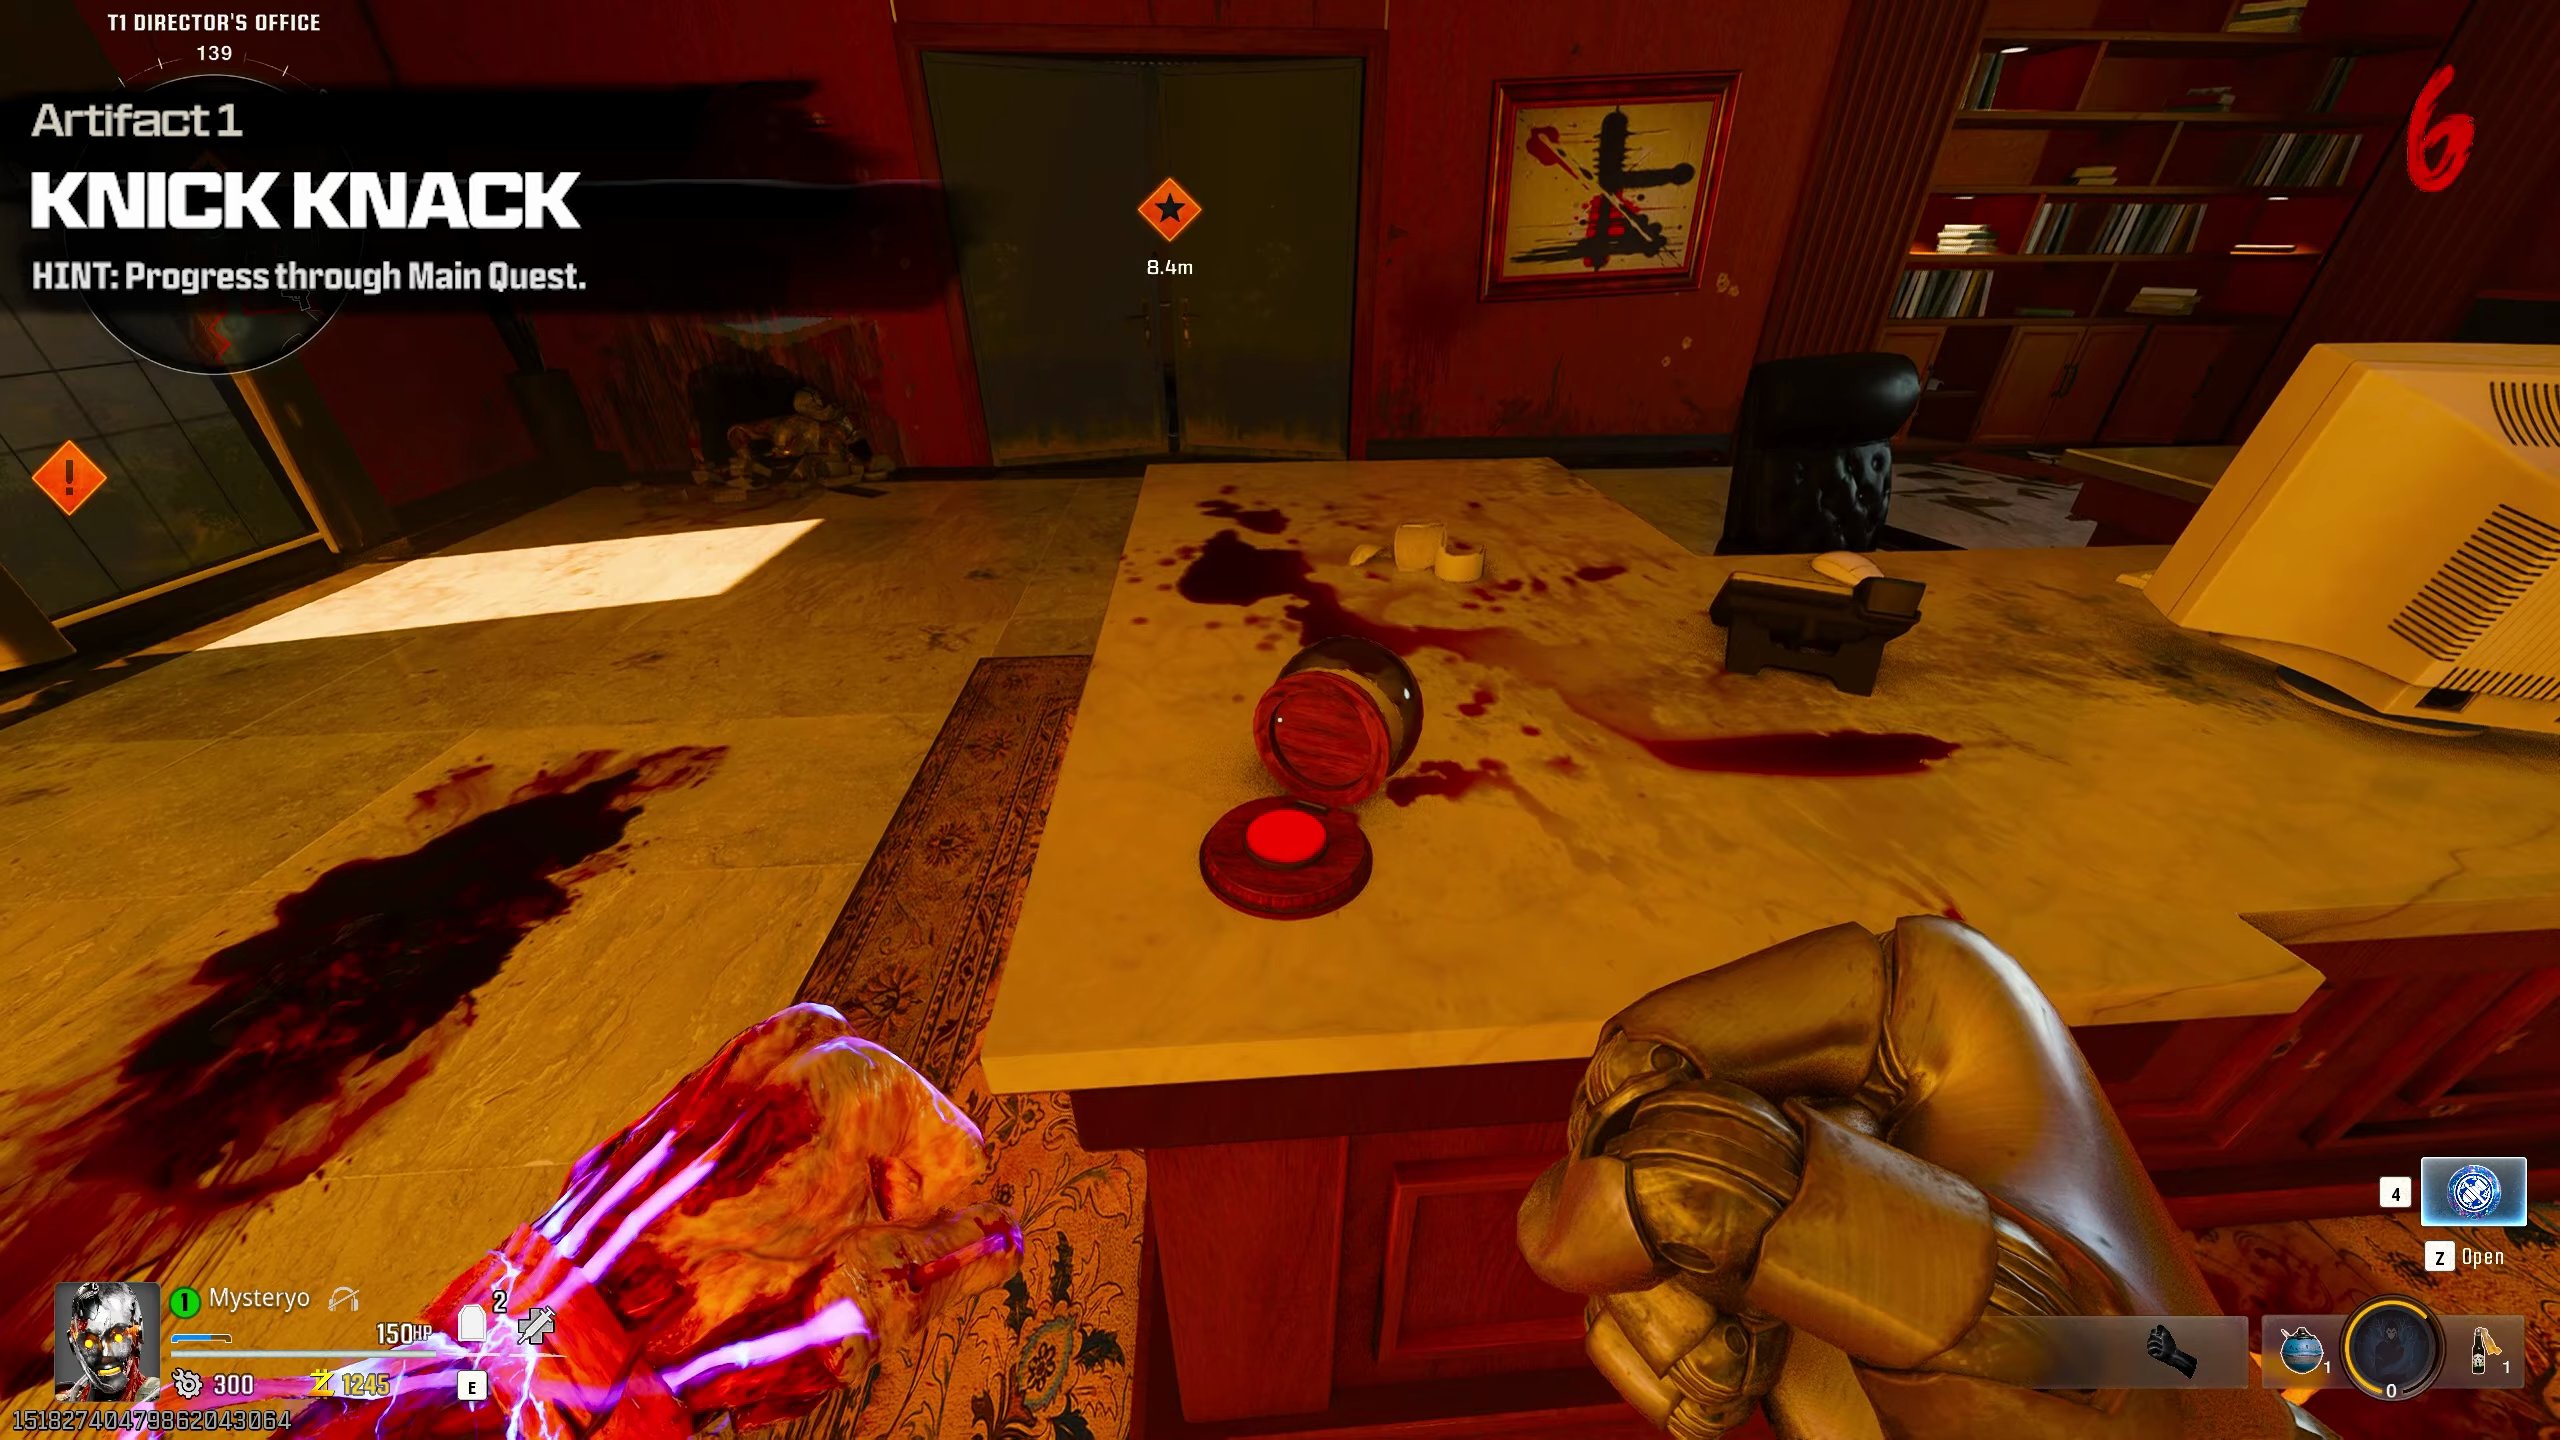
Artifact 1: Knick Knack
- In the Director's Office, interact with the snow globe on the director's table.
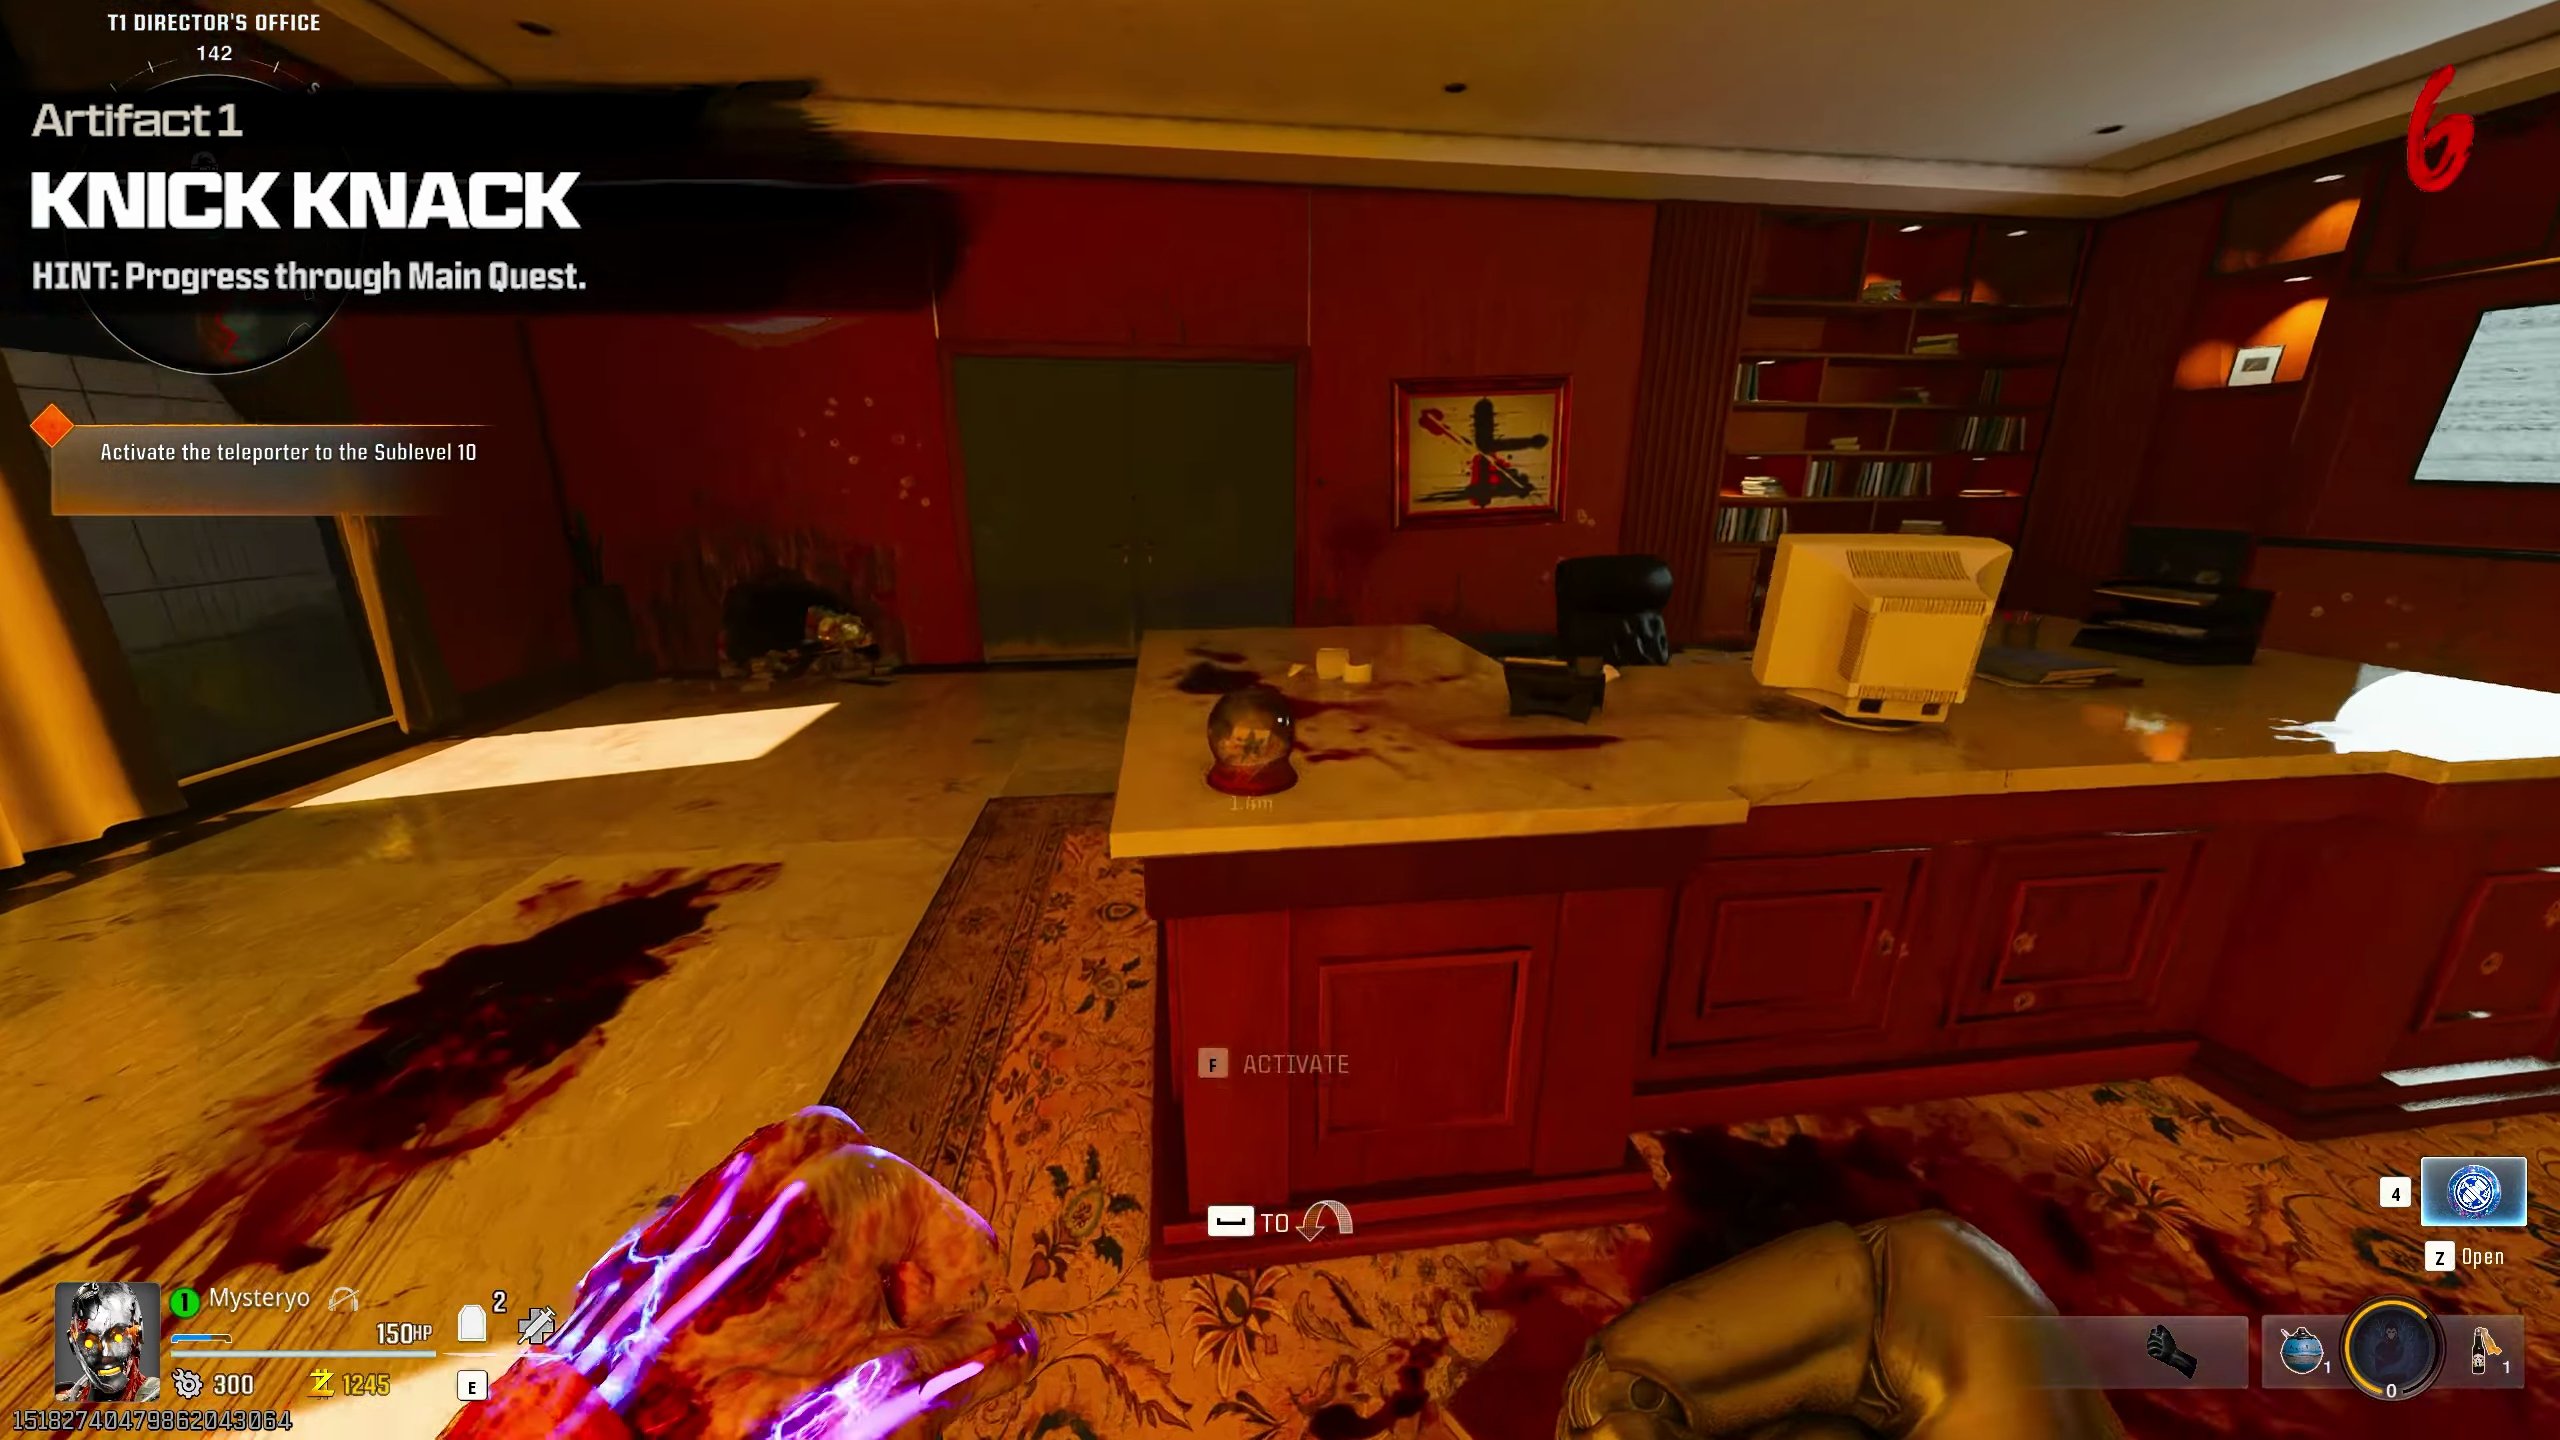
- The snow globe will activate, unlocking the artifact.
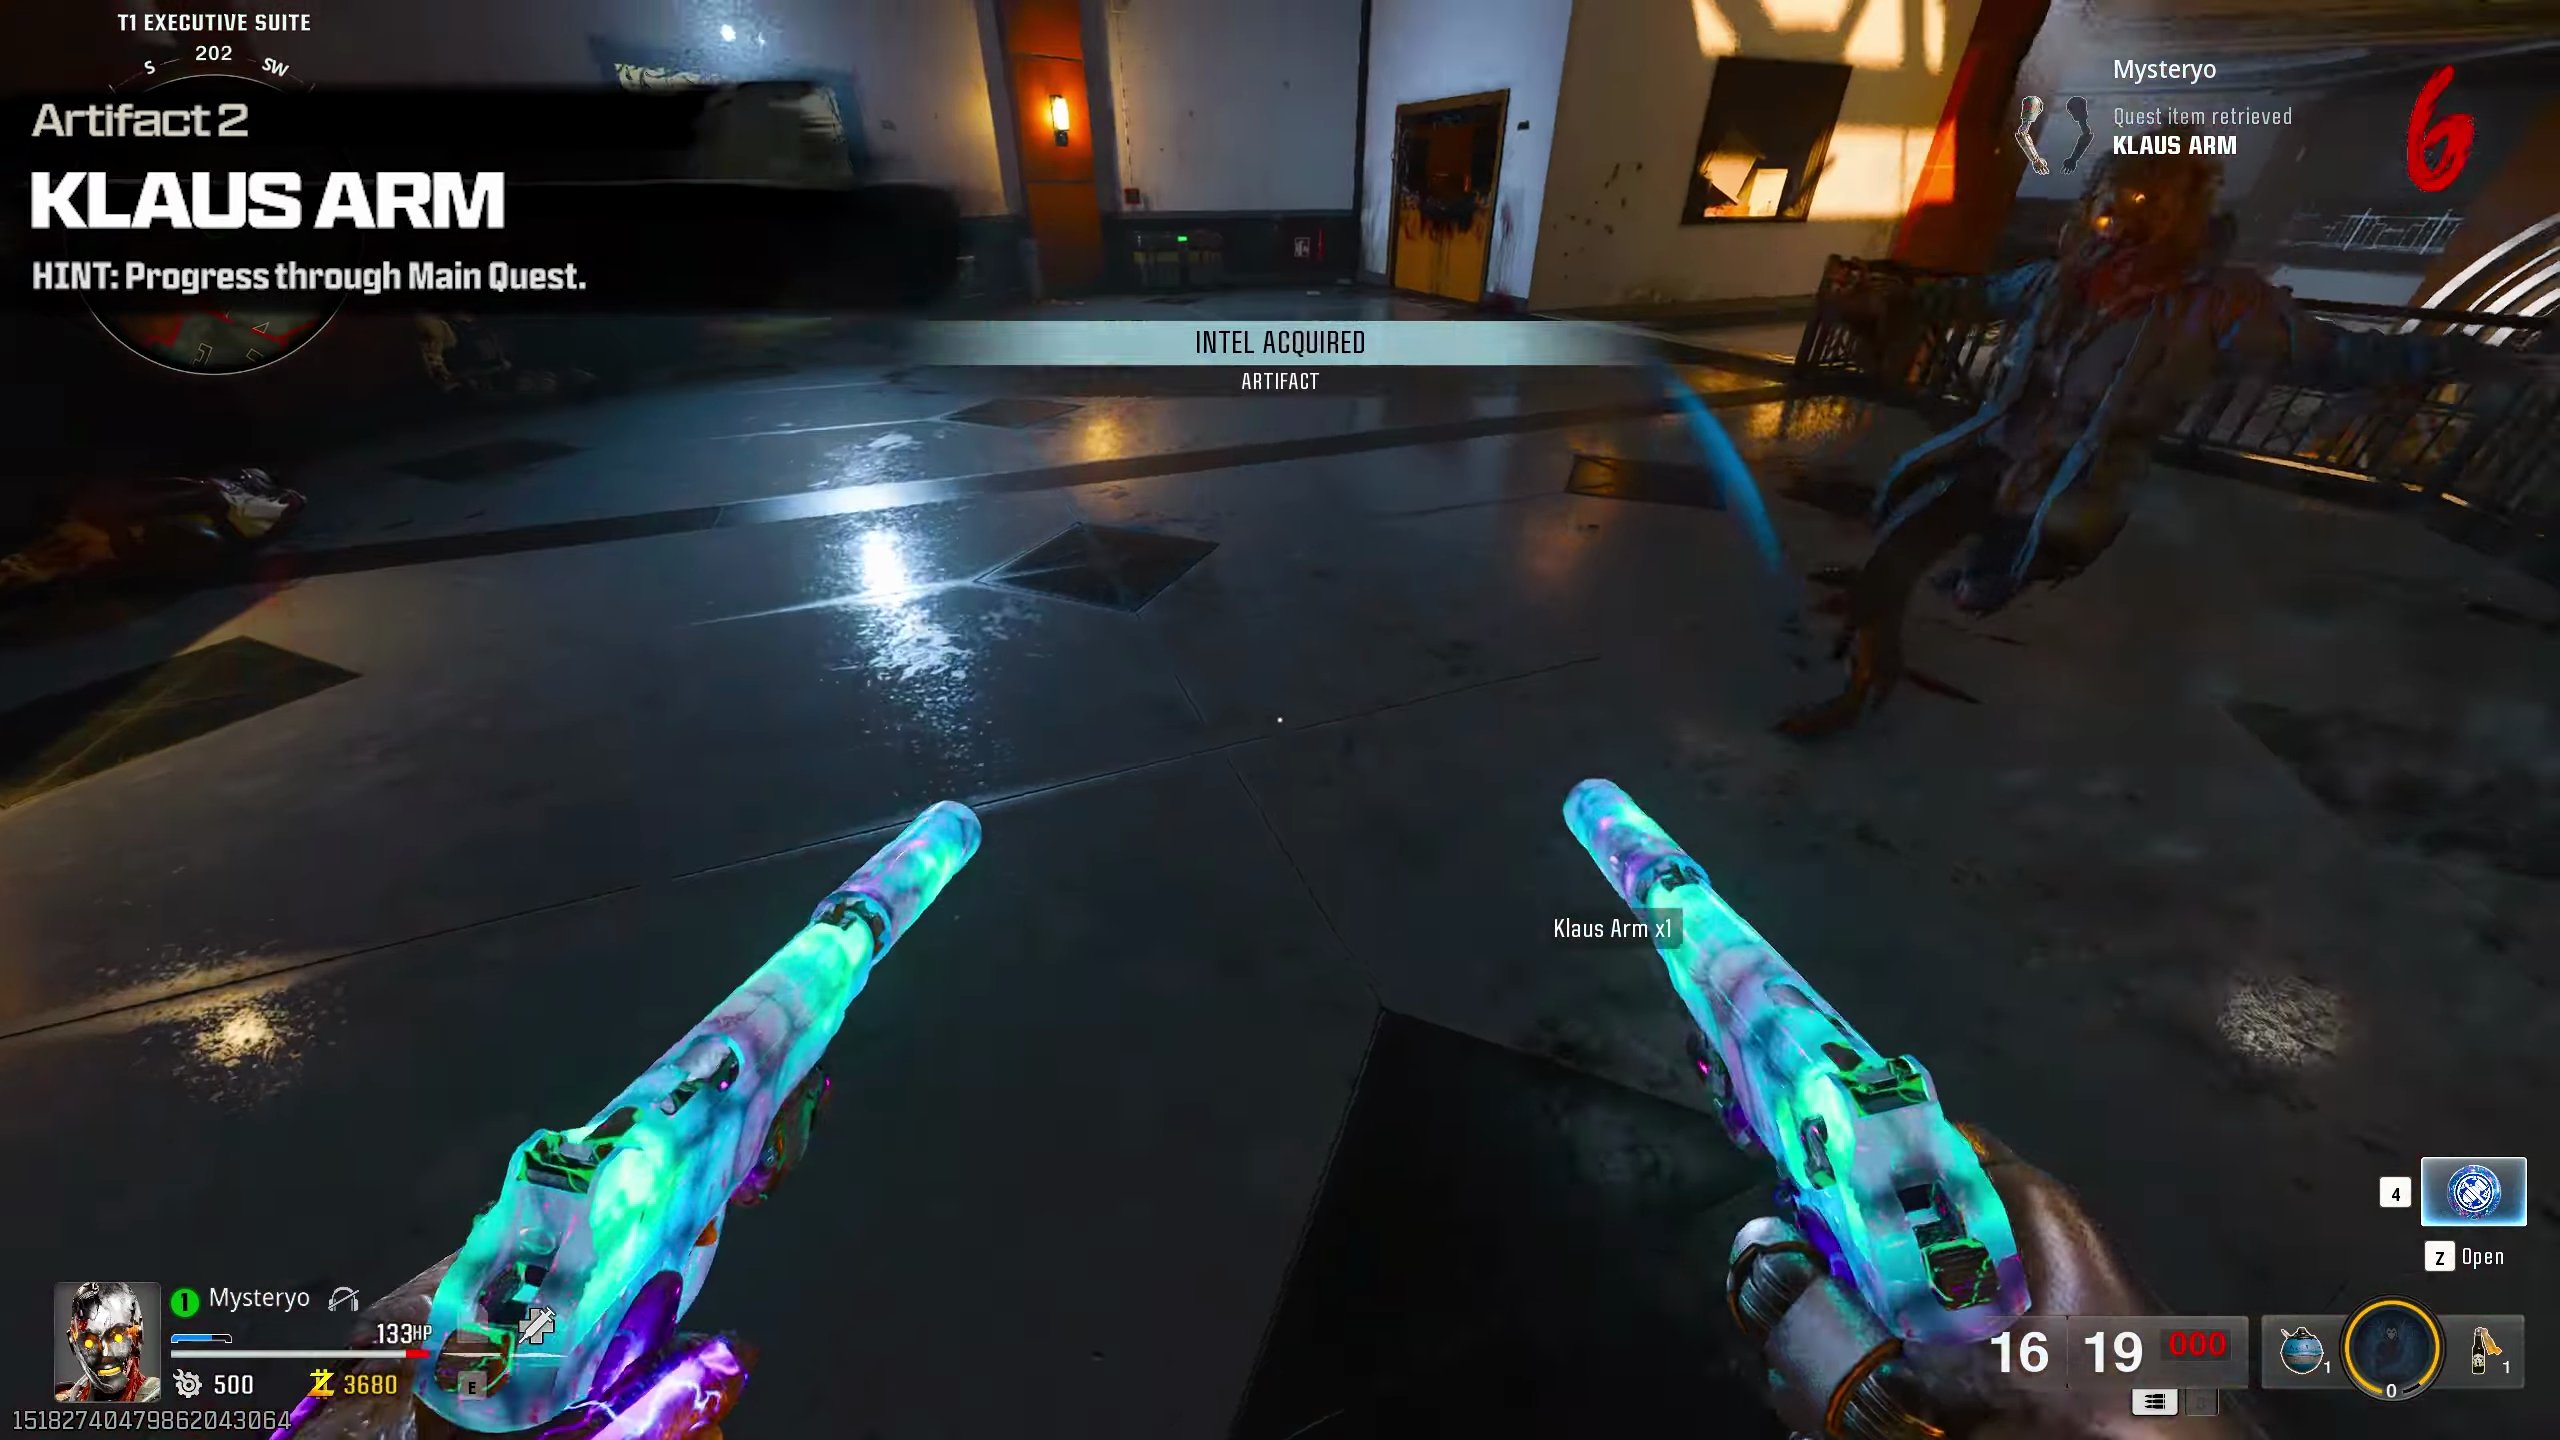
Artifact 2: Klaus Arm
- Kill smaller Klaus enemies and shoot off their arms during a Max Ammo round to collect this artifact.
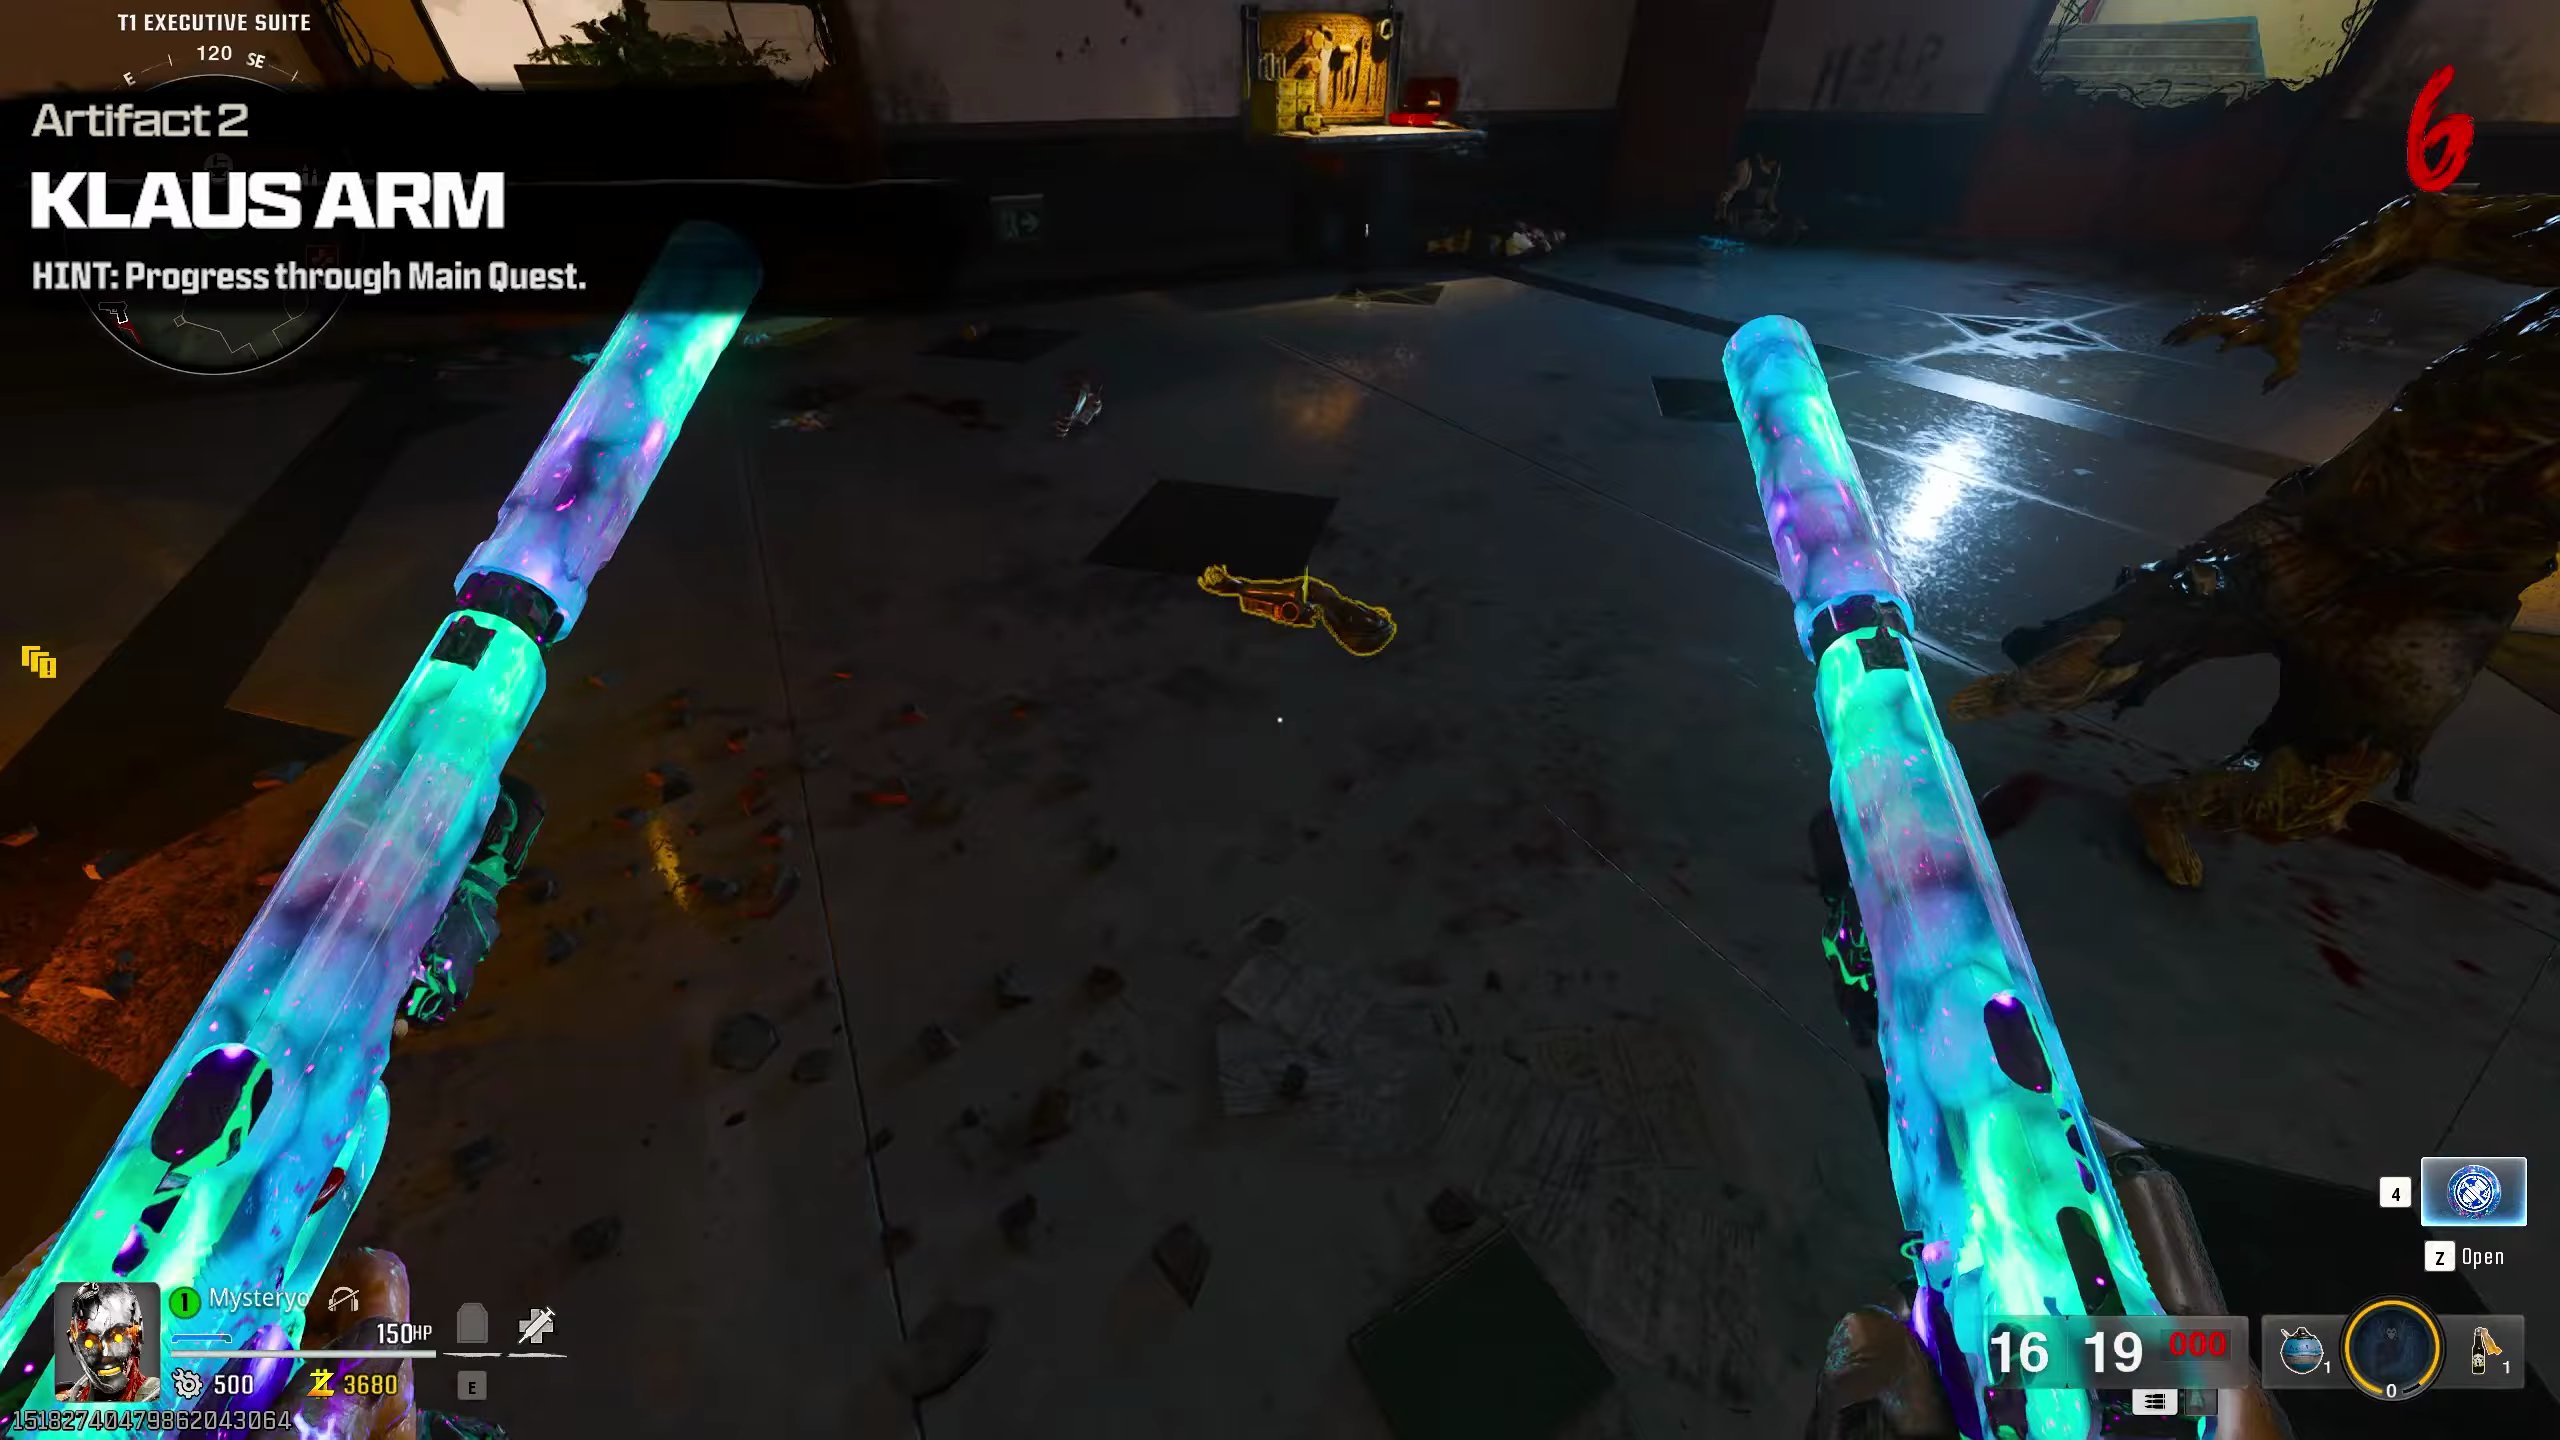
- The Klaus Arm will drop and can be acquired.
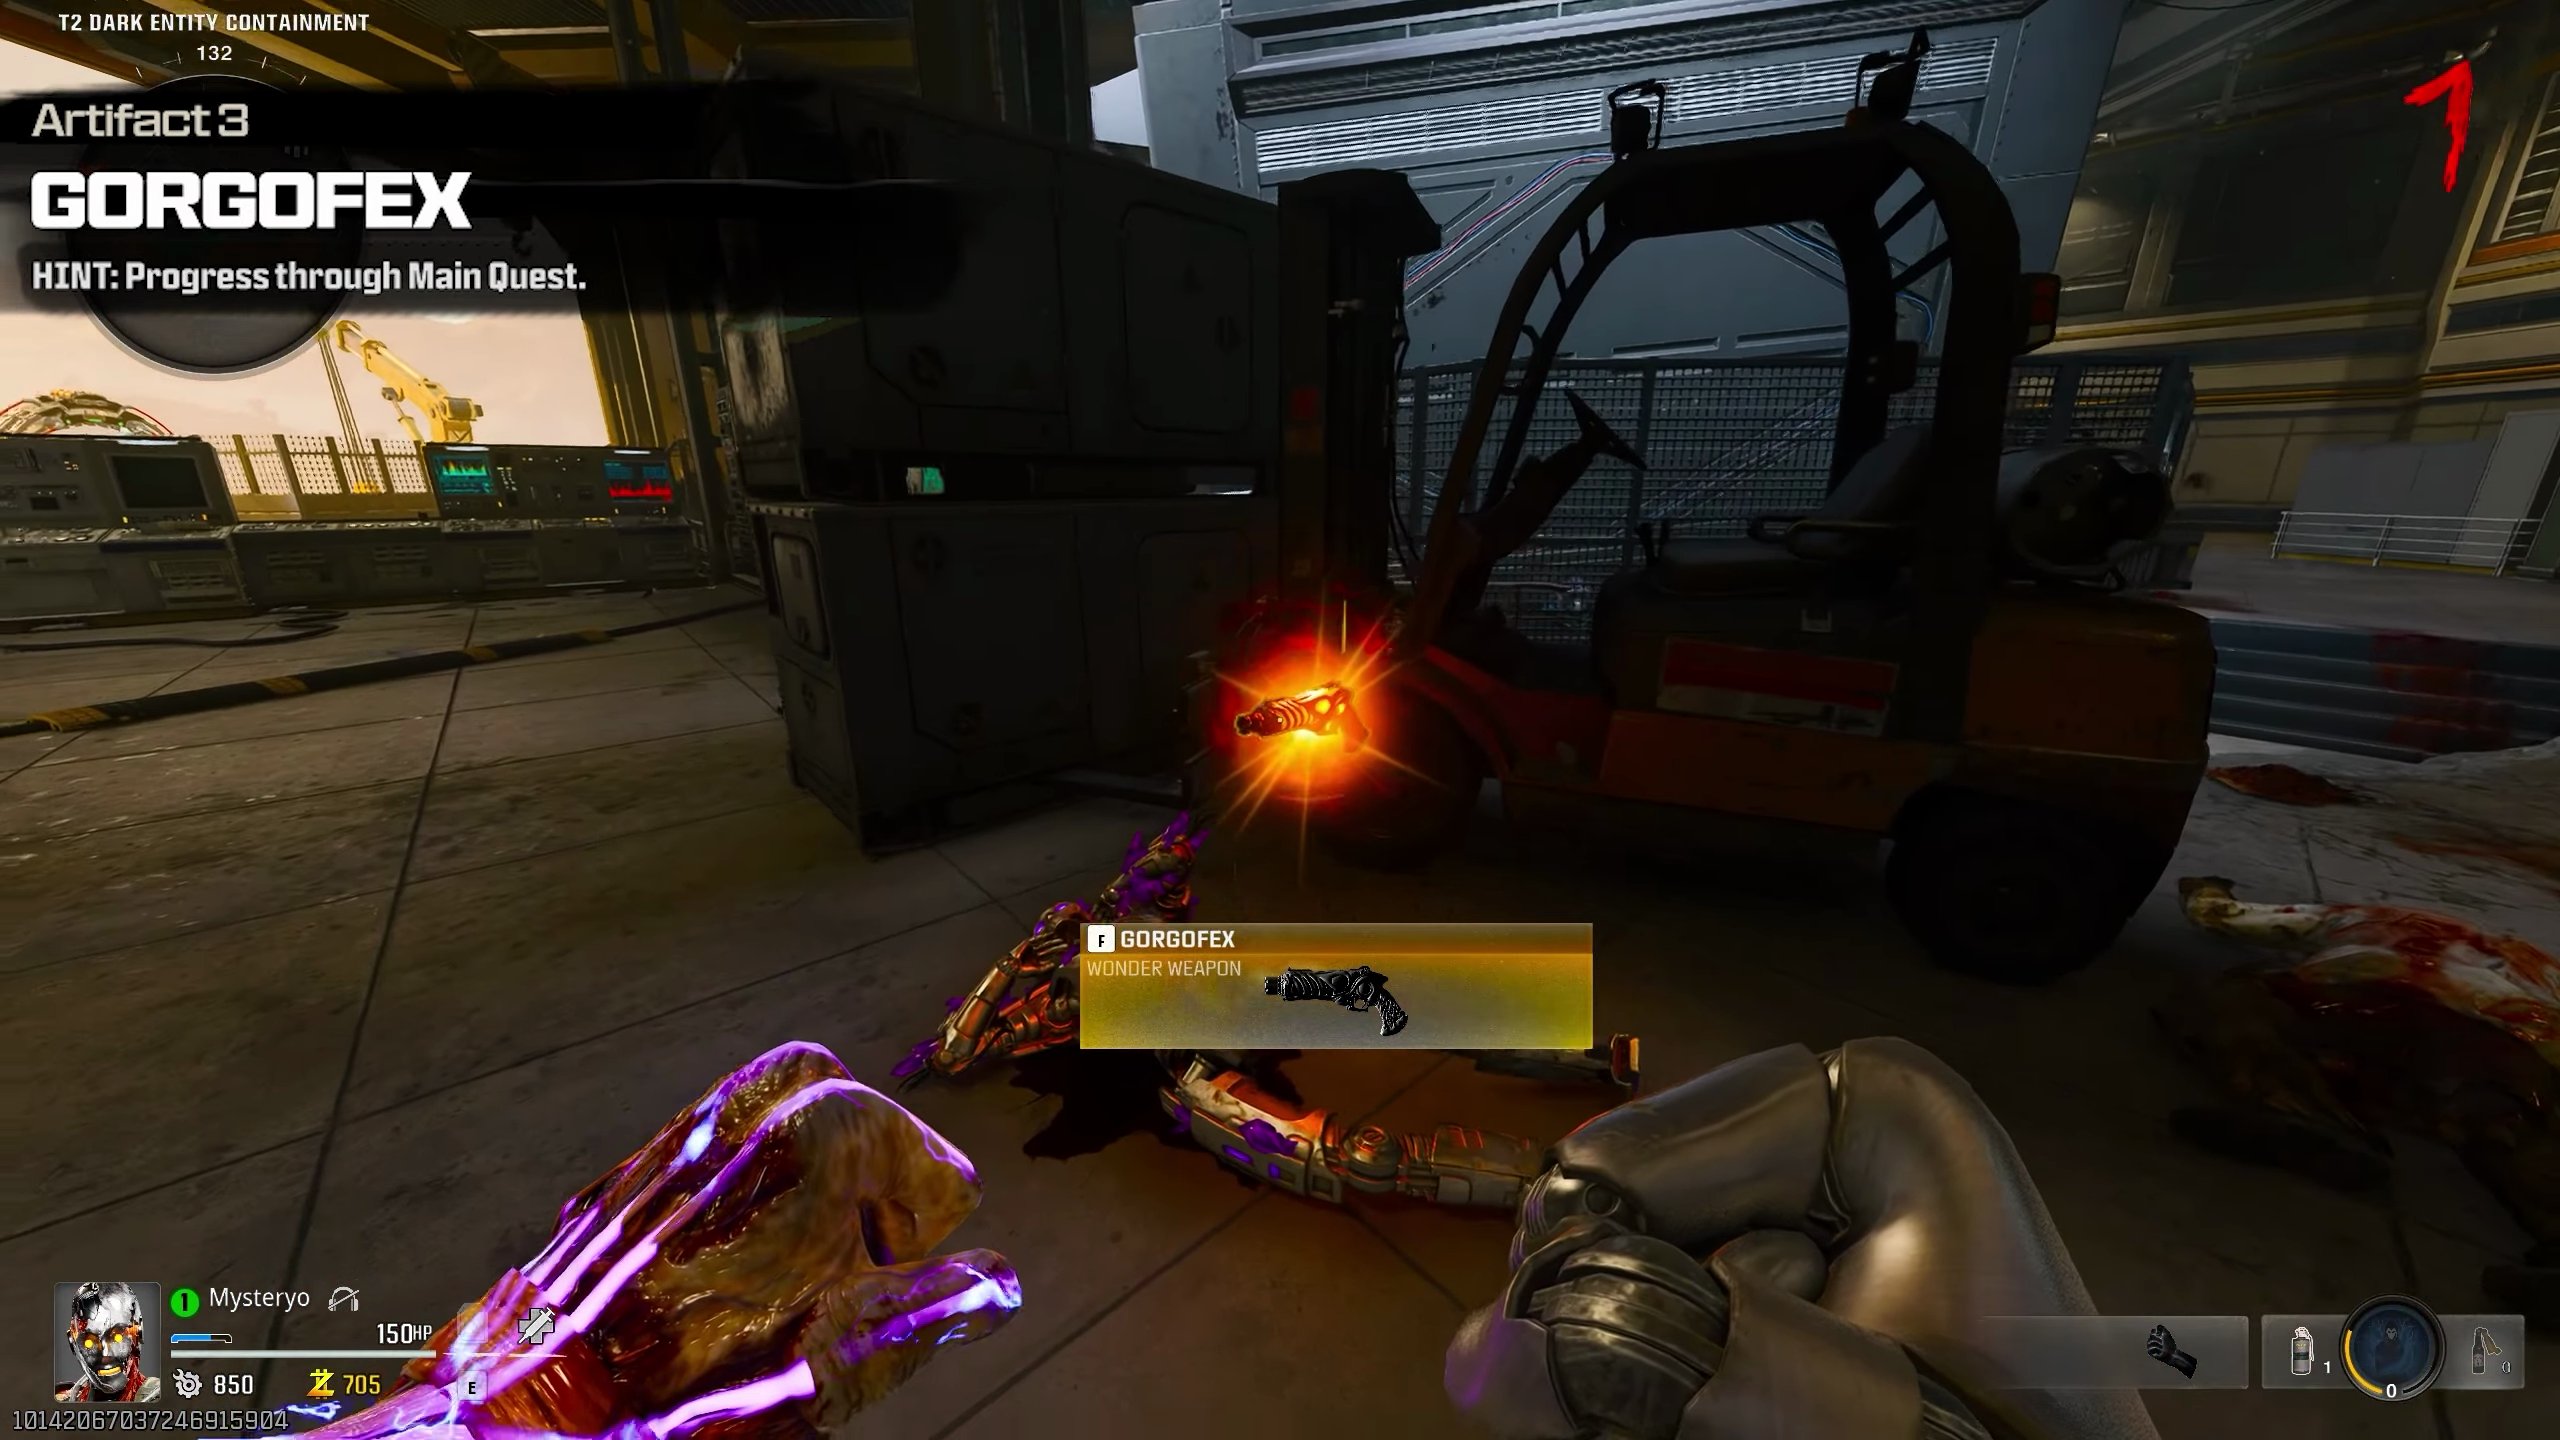
Artifact 3: Gorgofex
- Start the Gorgofex Wonder Weapon quest.
- Building the Gorgofex Wonder Weapon counts as acquiring this artifact.
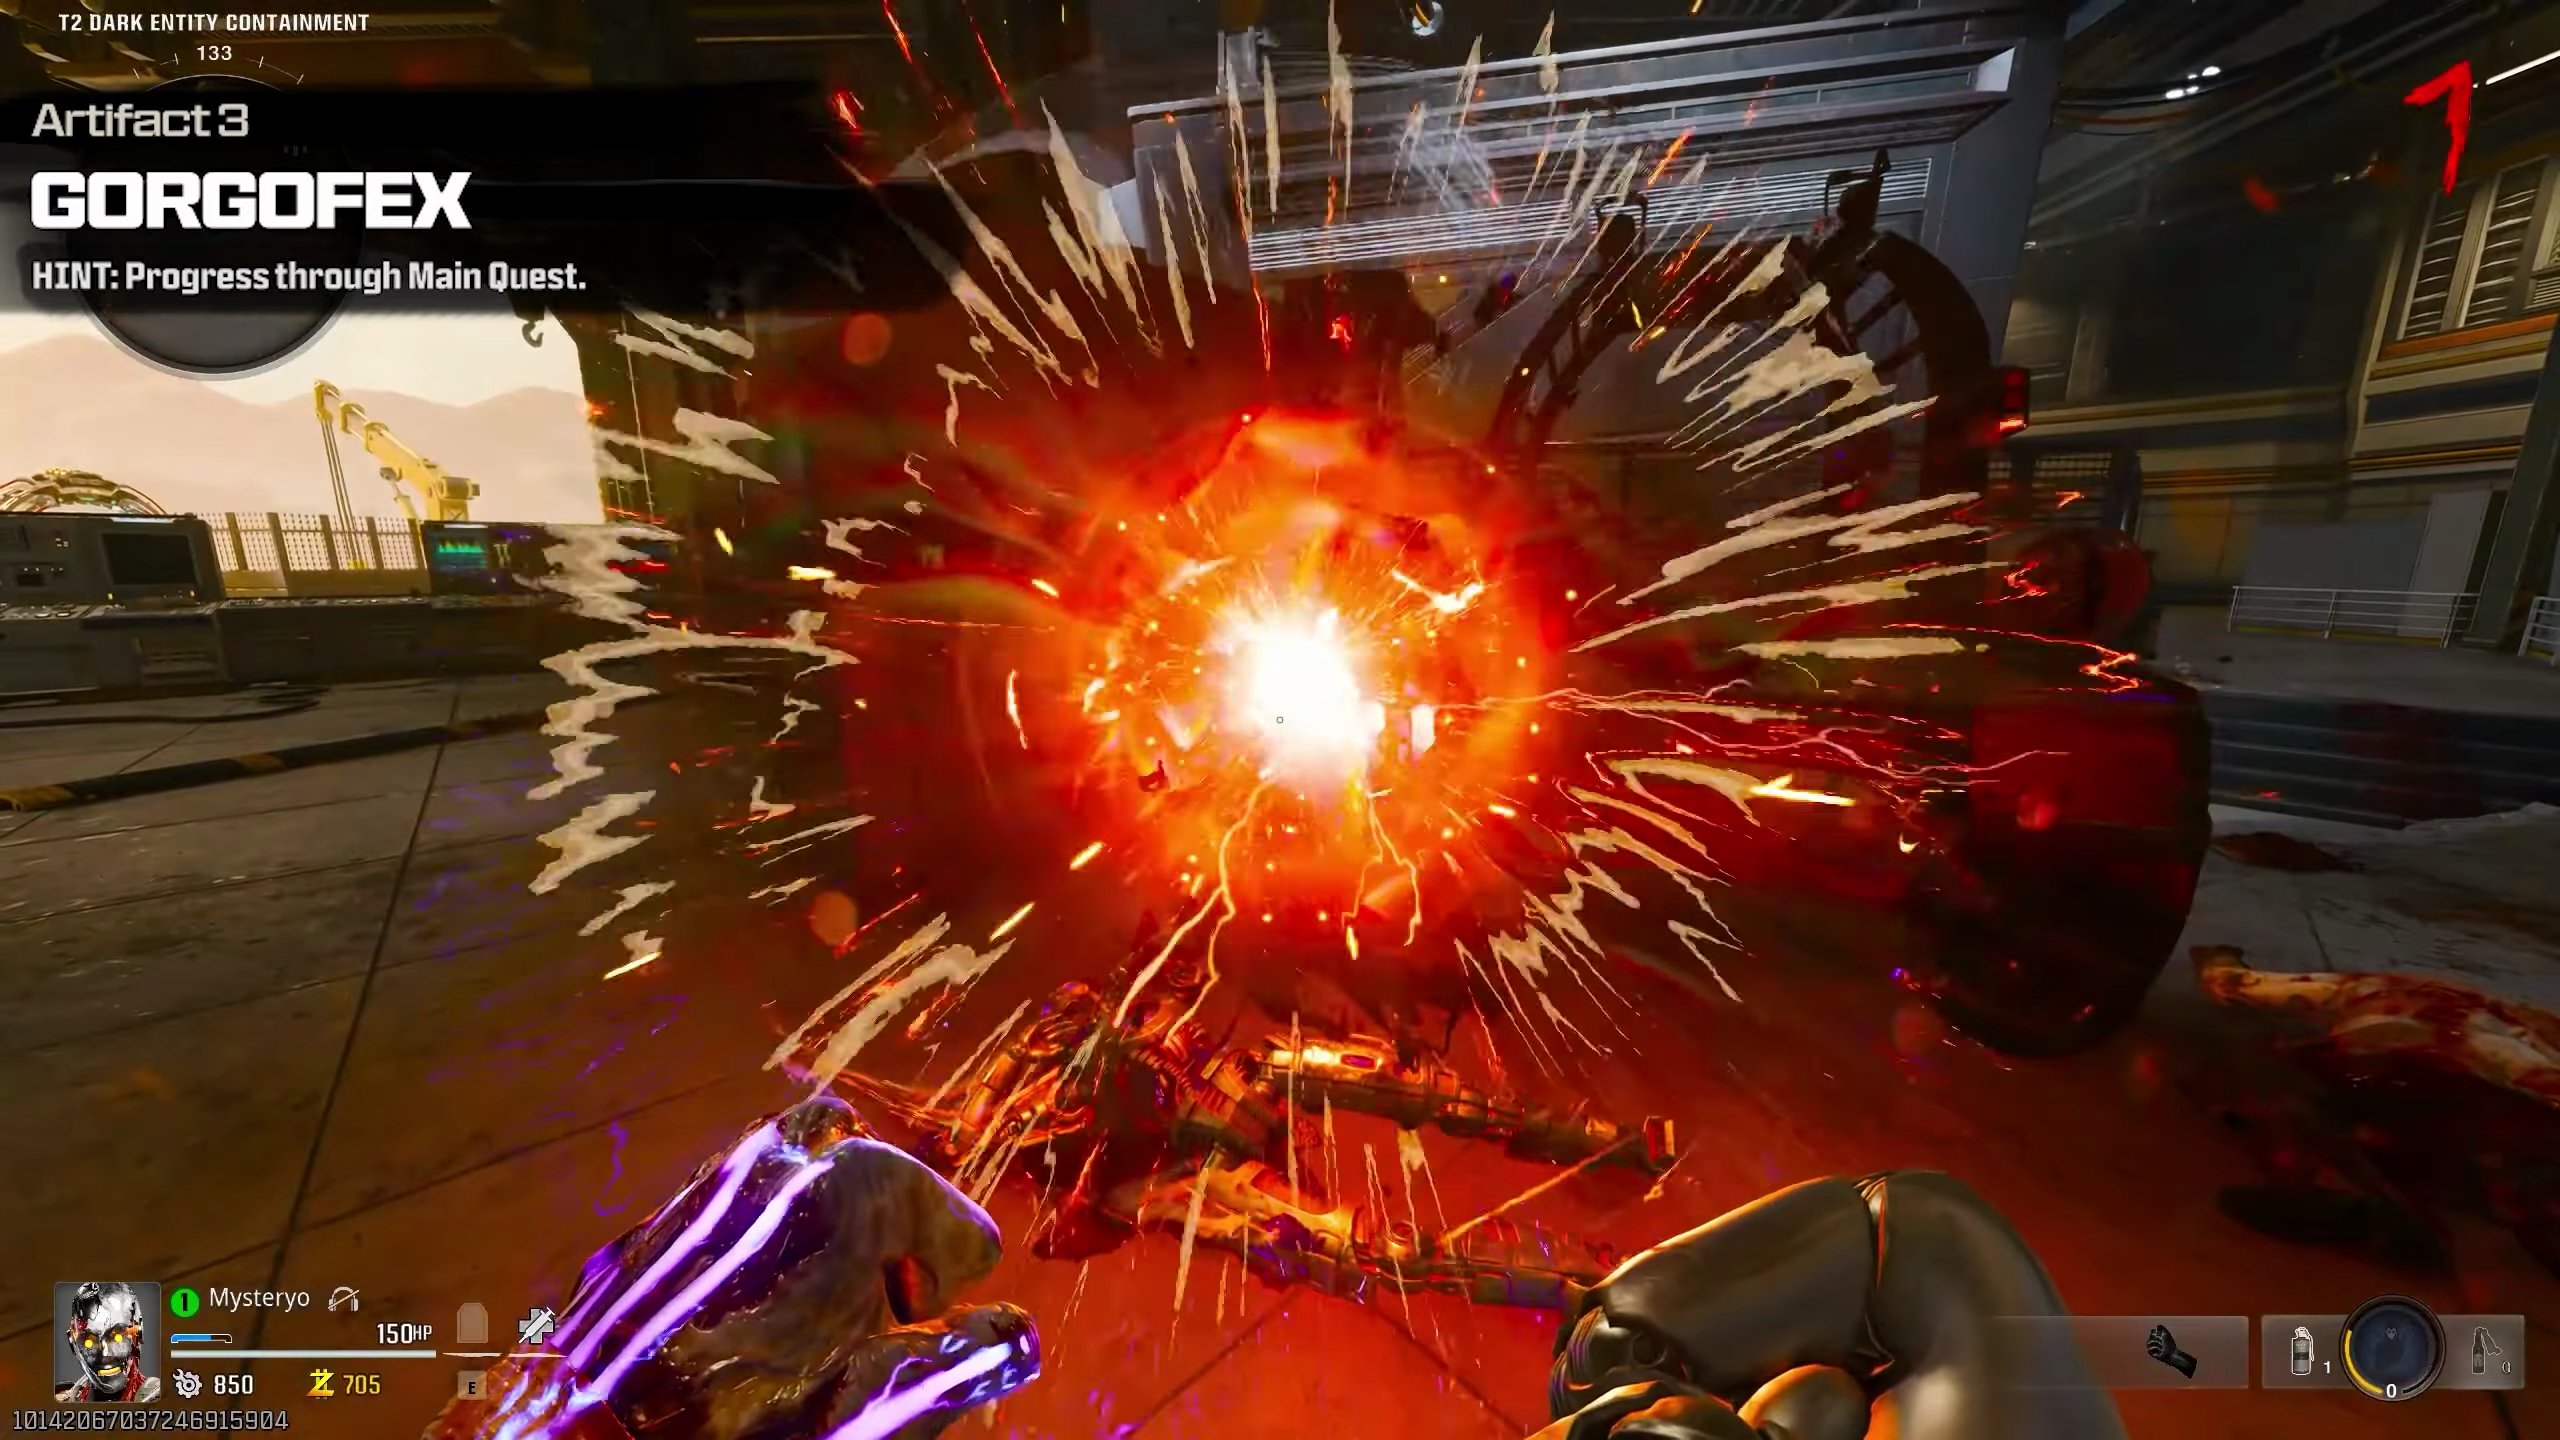
- Acquire the completed Gorgofex.
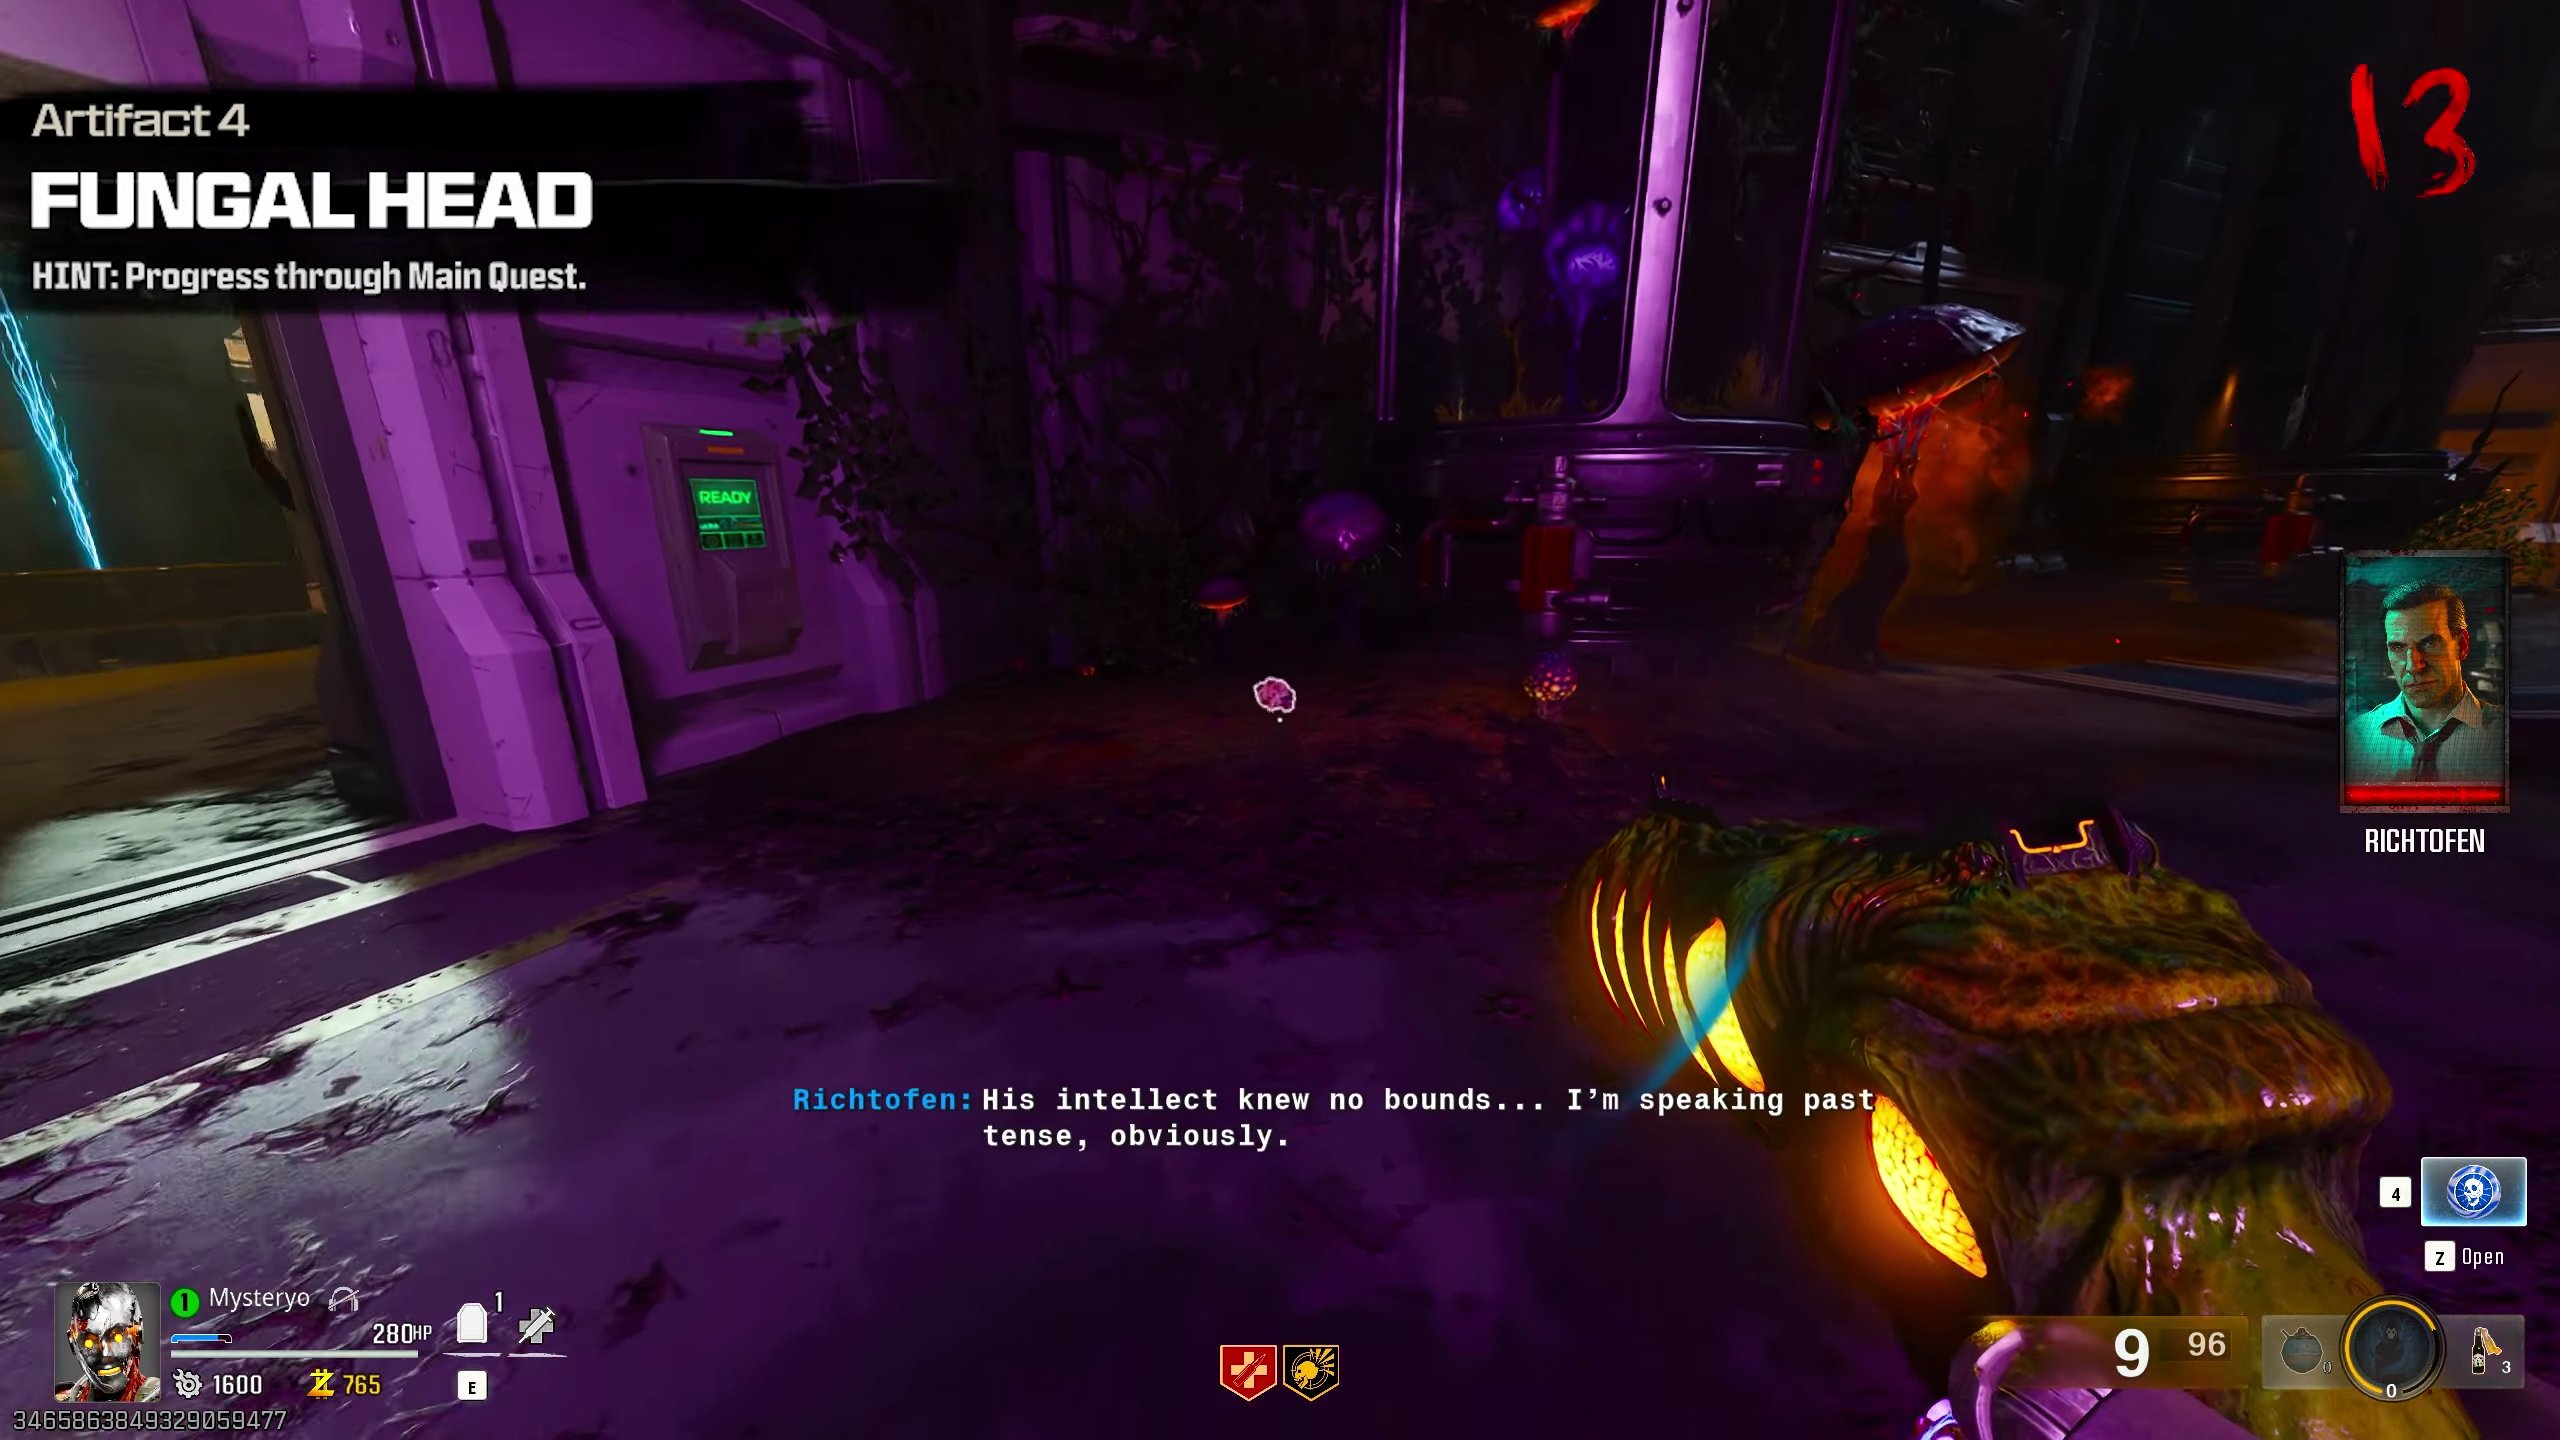
Artifact 4: Fungal Head
- Take the Gorgofex Wonder Weapon to Quantum Computing.
- Fire a charged shot at the railing near the mutated growth.
- A fungal-infested zombie head will drop for you to collect.
Artifact 5: Wish You Were Here
- Near Stamin-Up in Dark Entity Containment, locate a pile of electronics on the floor.
- Lure zombies next to this pile and drop a decoy on top of it.
- Activate the Caster Turret. The explosion will destroy the pile, revealing the artifact.
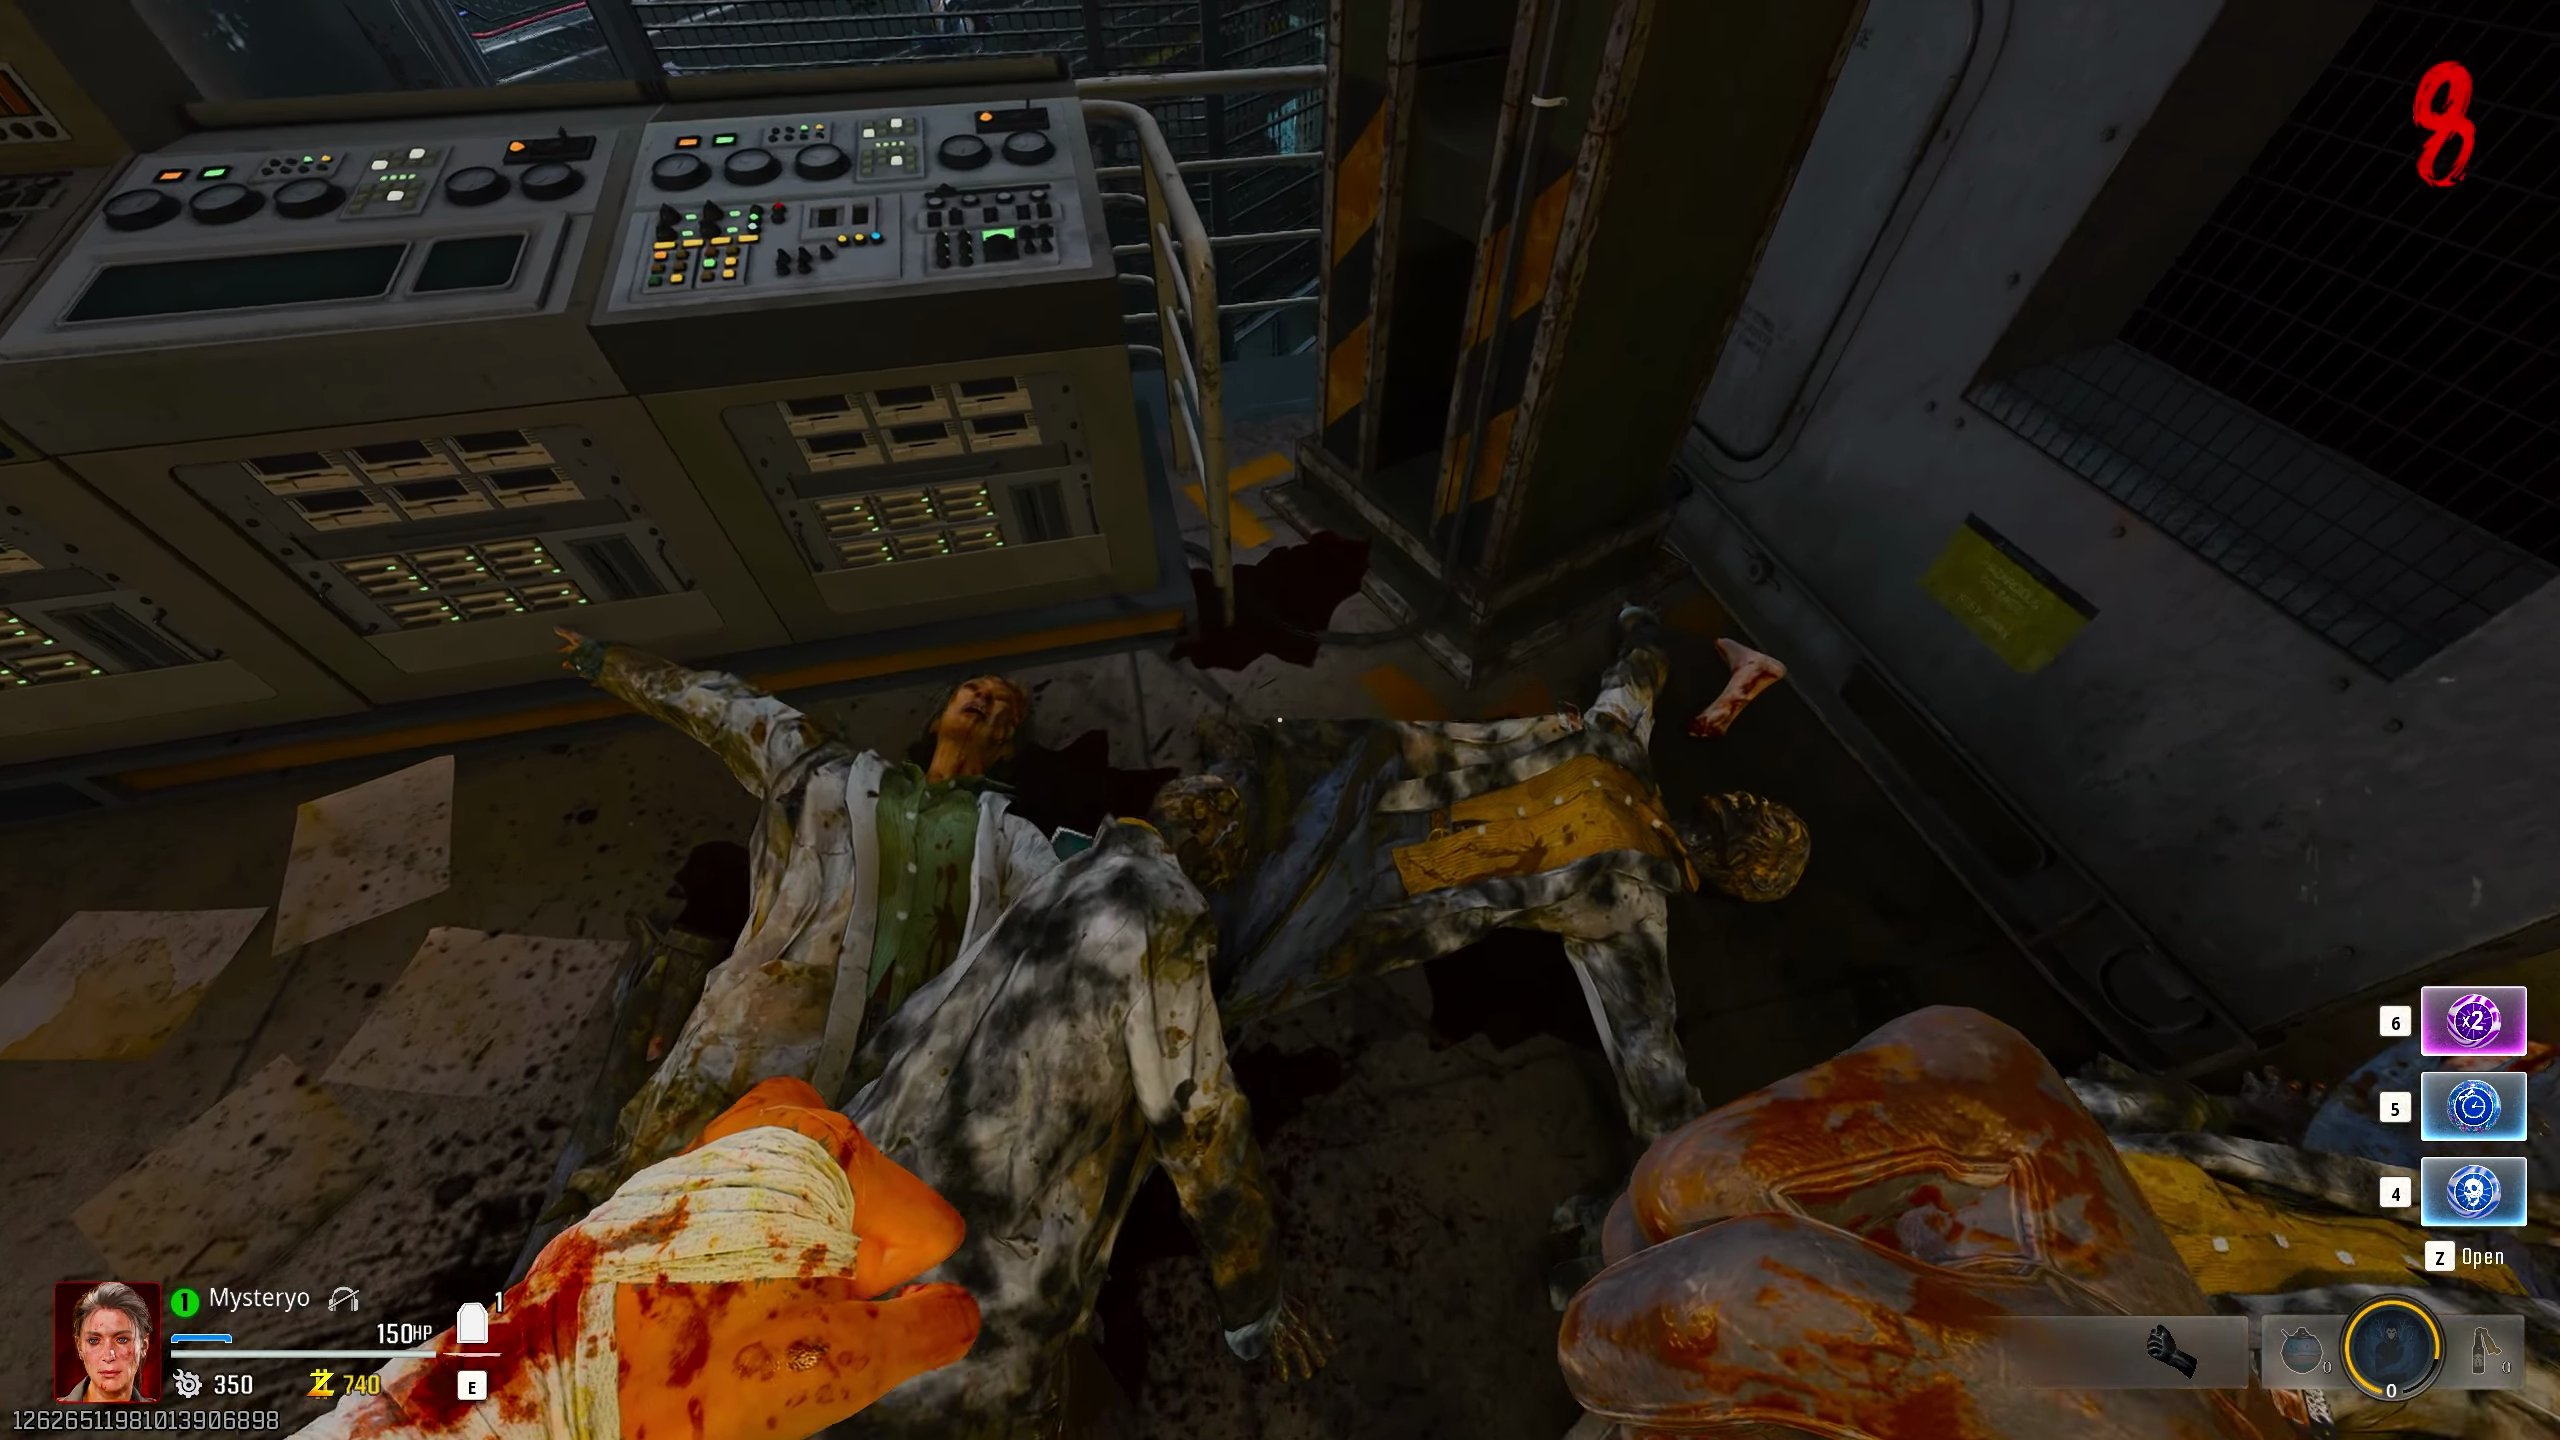
Final Intel: Audio Log 13 & Document 7 (Safe and Sound)
These two intel pieces are currently unobtainable as they require the 'Mr. Peeks' Field Upgrade, which is expected to arrive in a future update. The following steps demonstrate how to acquire them once the upgrade is available.
Step 1: Return Paintings
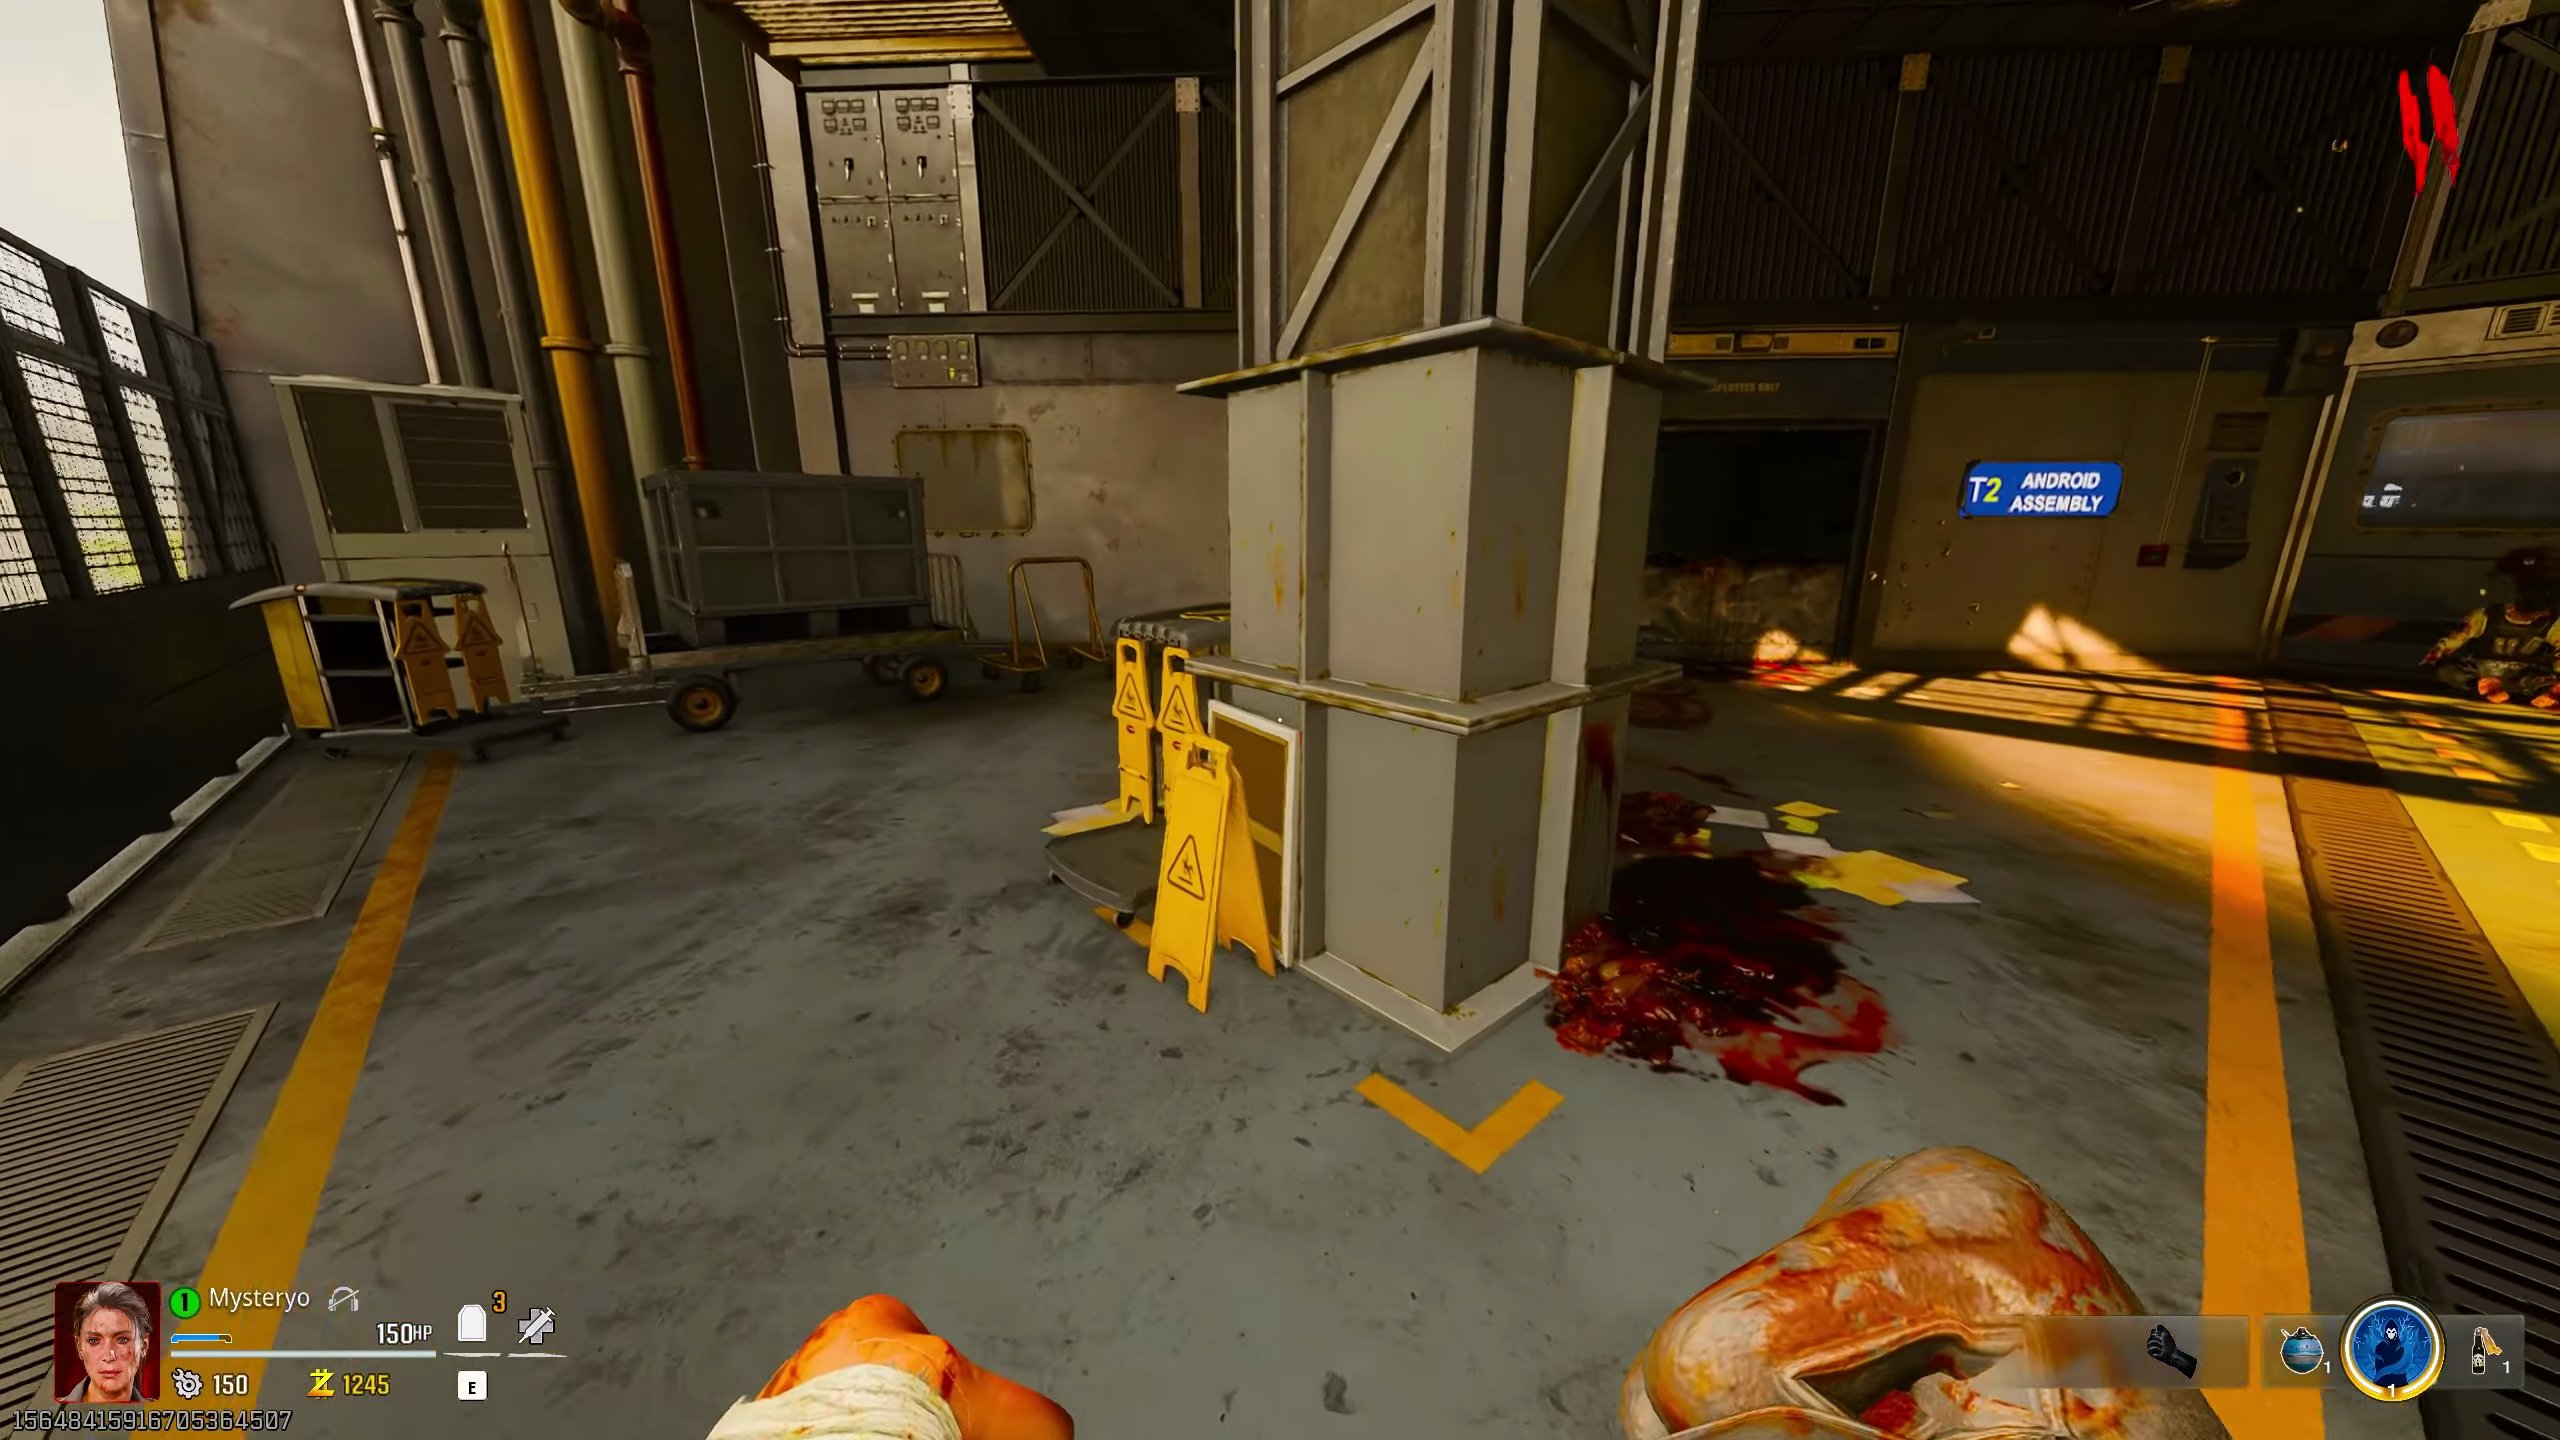
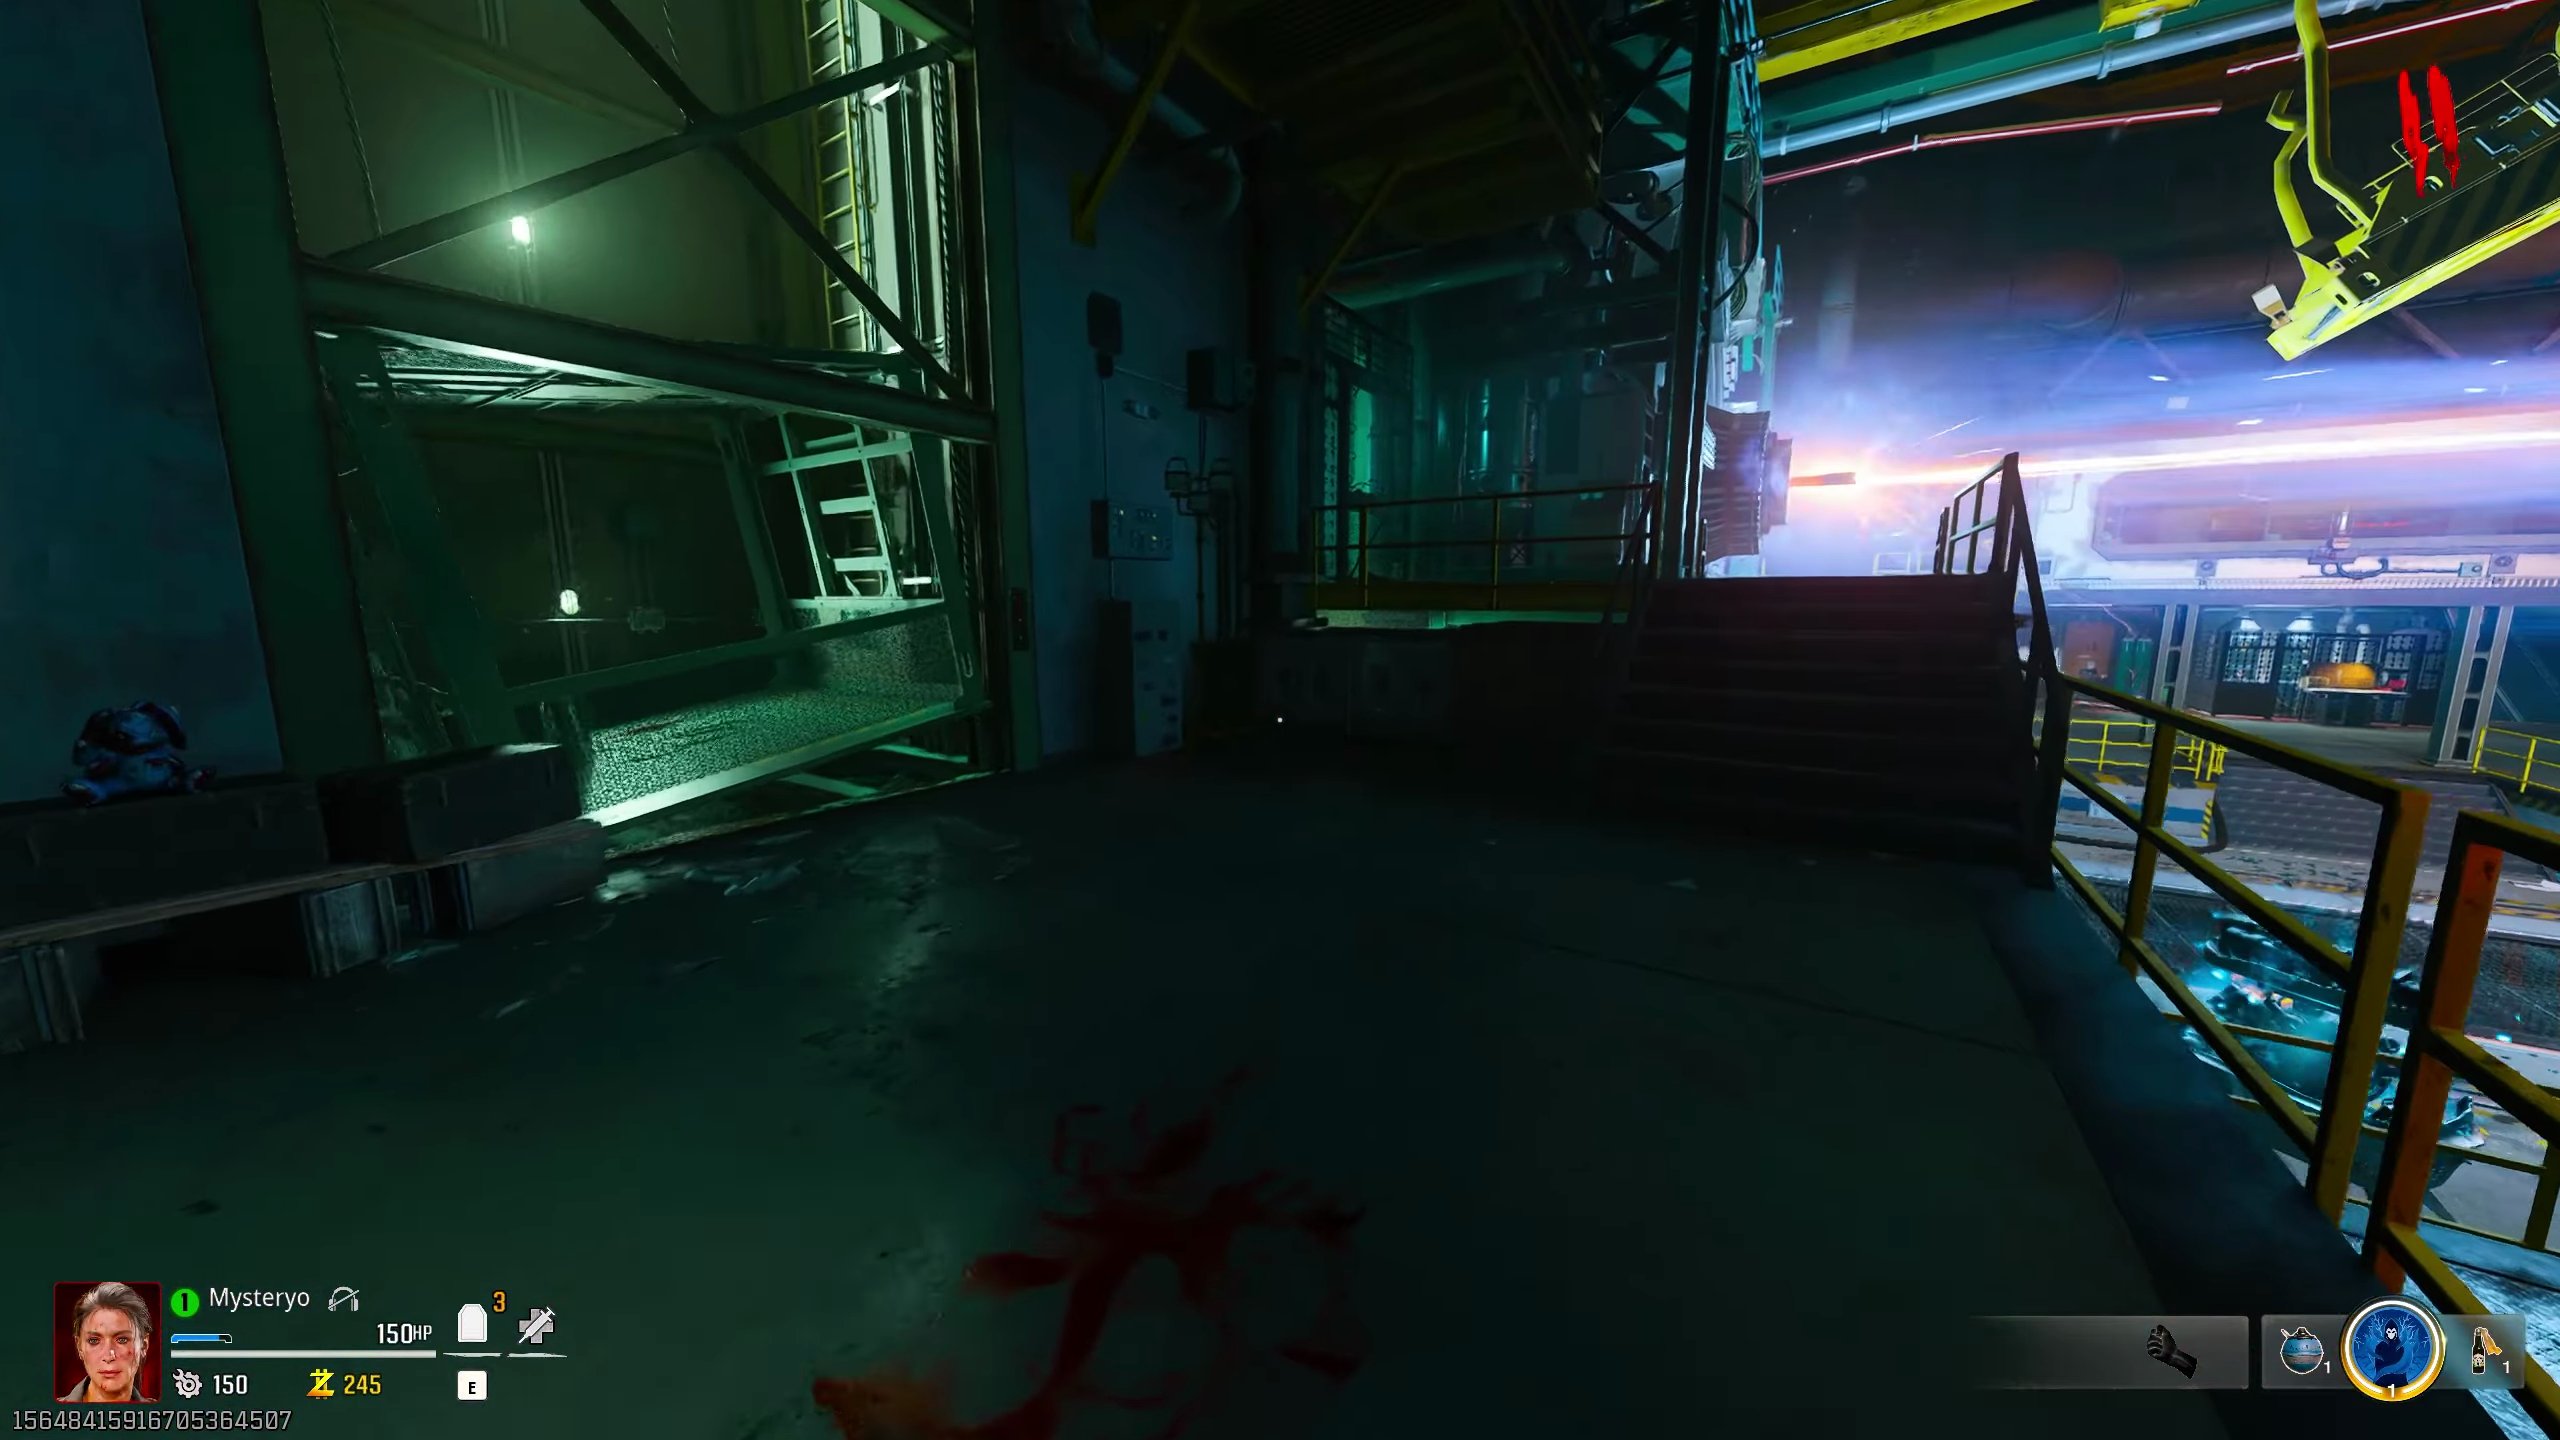
- Return three paintings to the Executive Suites.
- Find one painting behind the door with the portal to Sublevel 10 (in the spawn area).
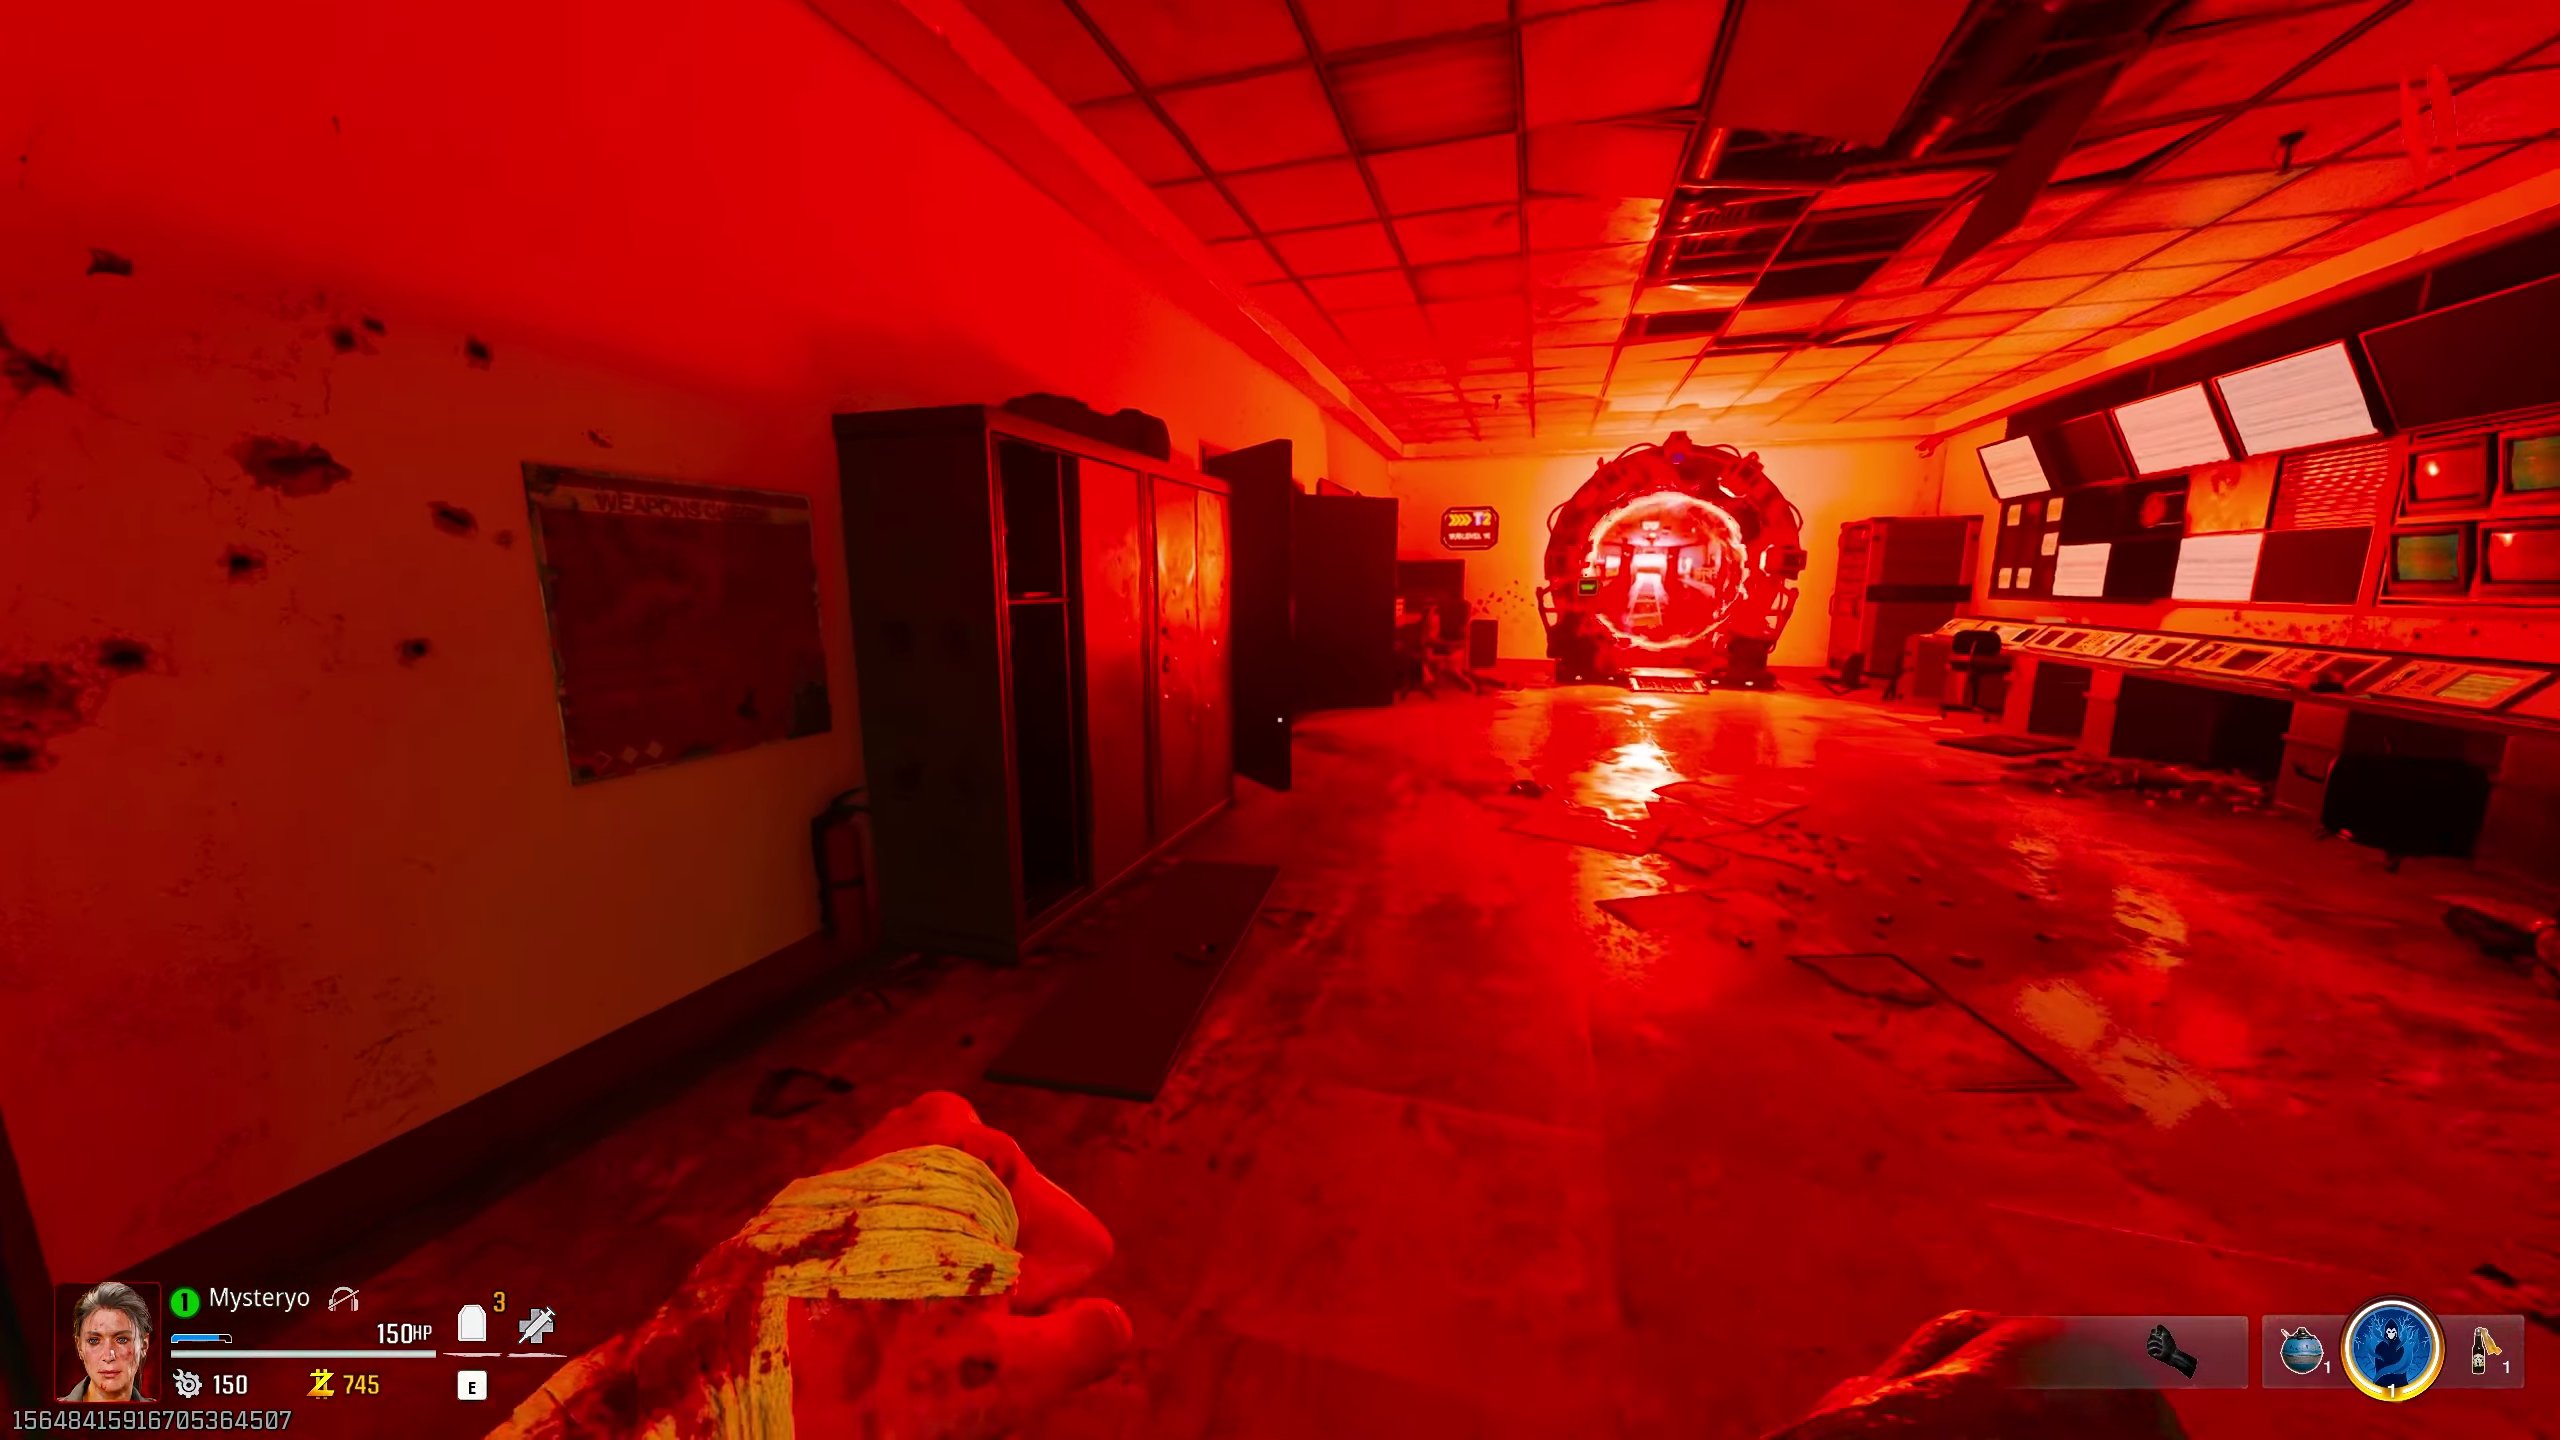
- Find another painting right before Android Assembly.
- Find the third painting in Sublevel 10, on the left side as you enter the area.
Step 2: Reveal Hidden Safe
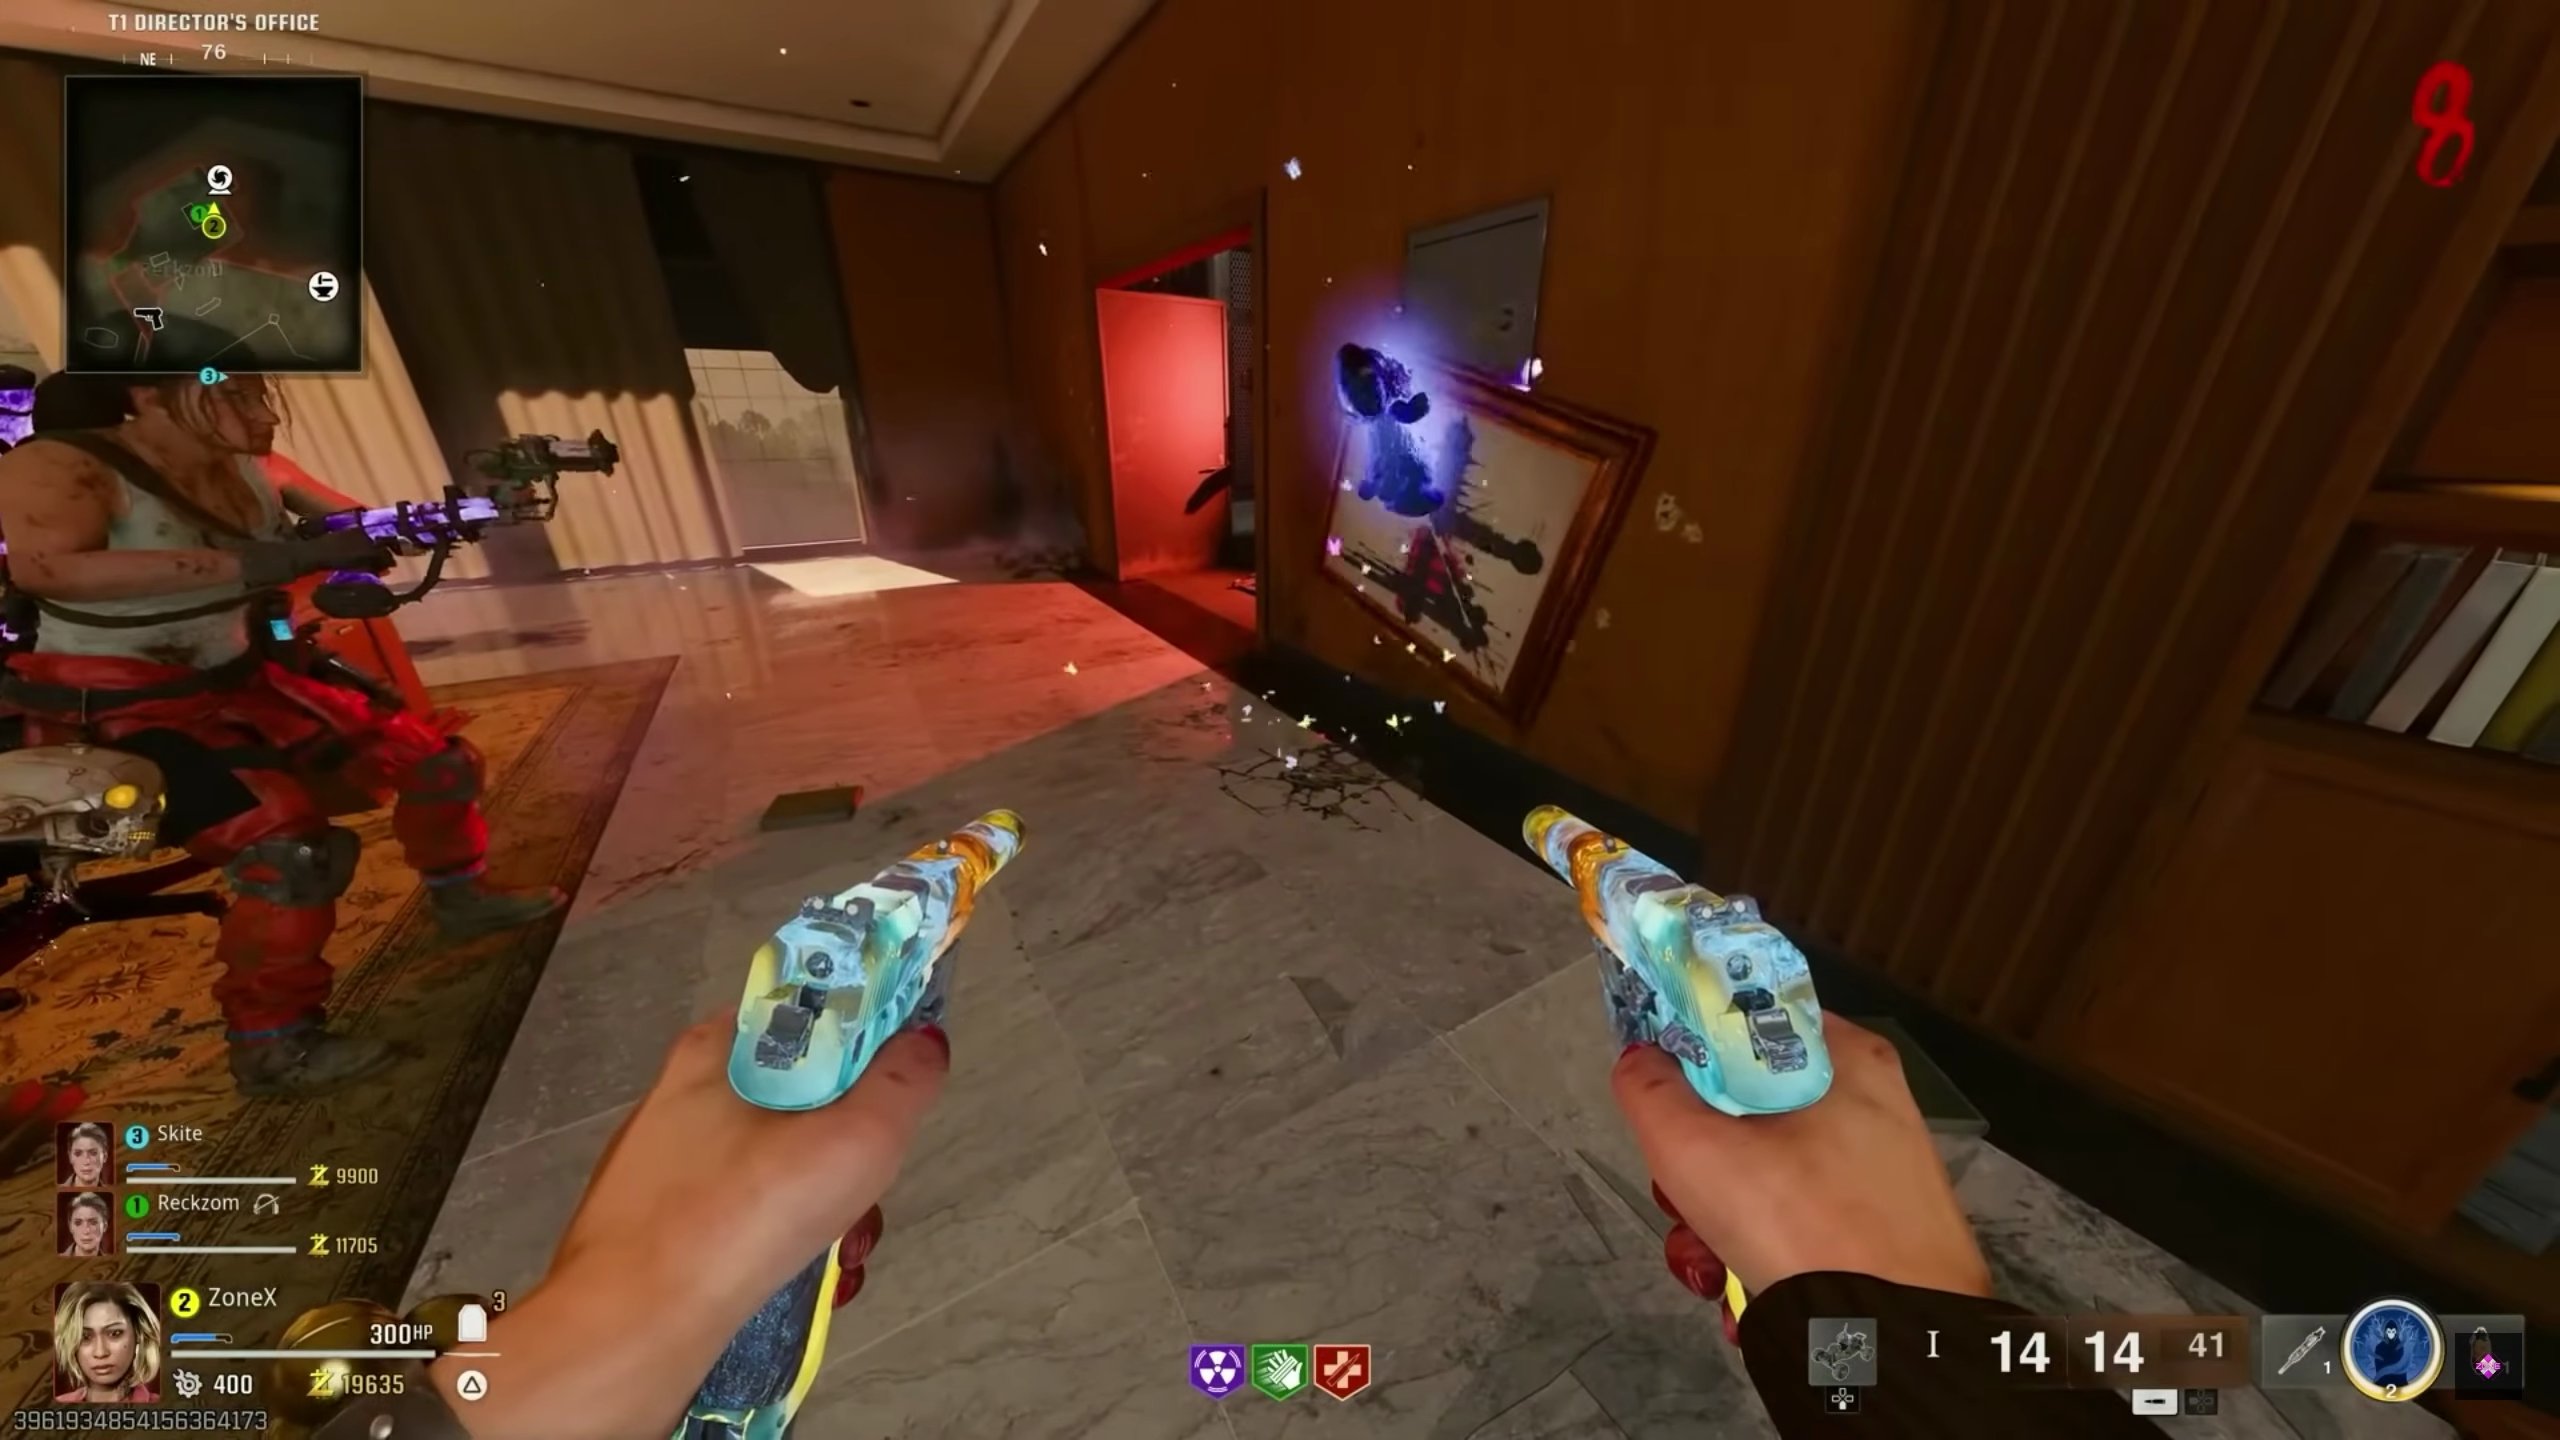
- Once all three paintings are placed, use the 'Mr. Peeks' Field Upgrade in front of the painting in the Director's Office to reveal a hidden safe.
Step 3: Obtain Safe Key
- Craft an RC-XD at the crafting table in Dark Entity Containment.
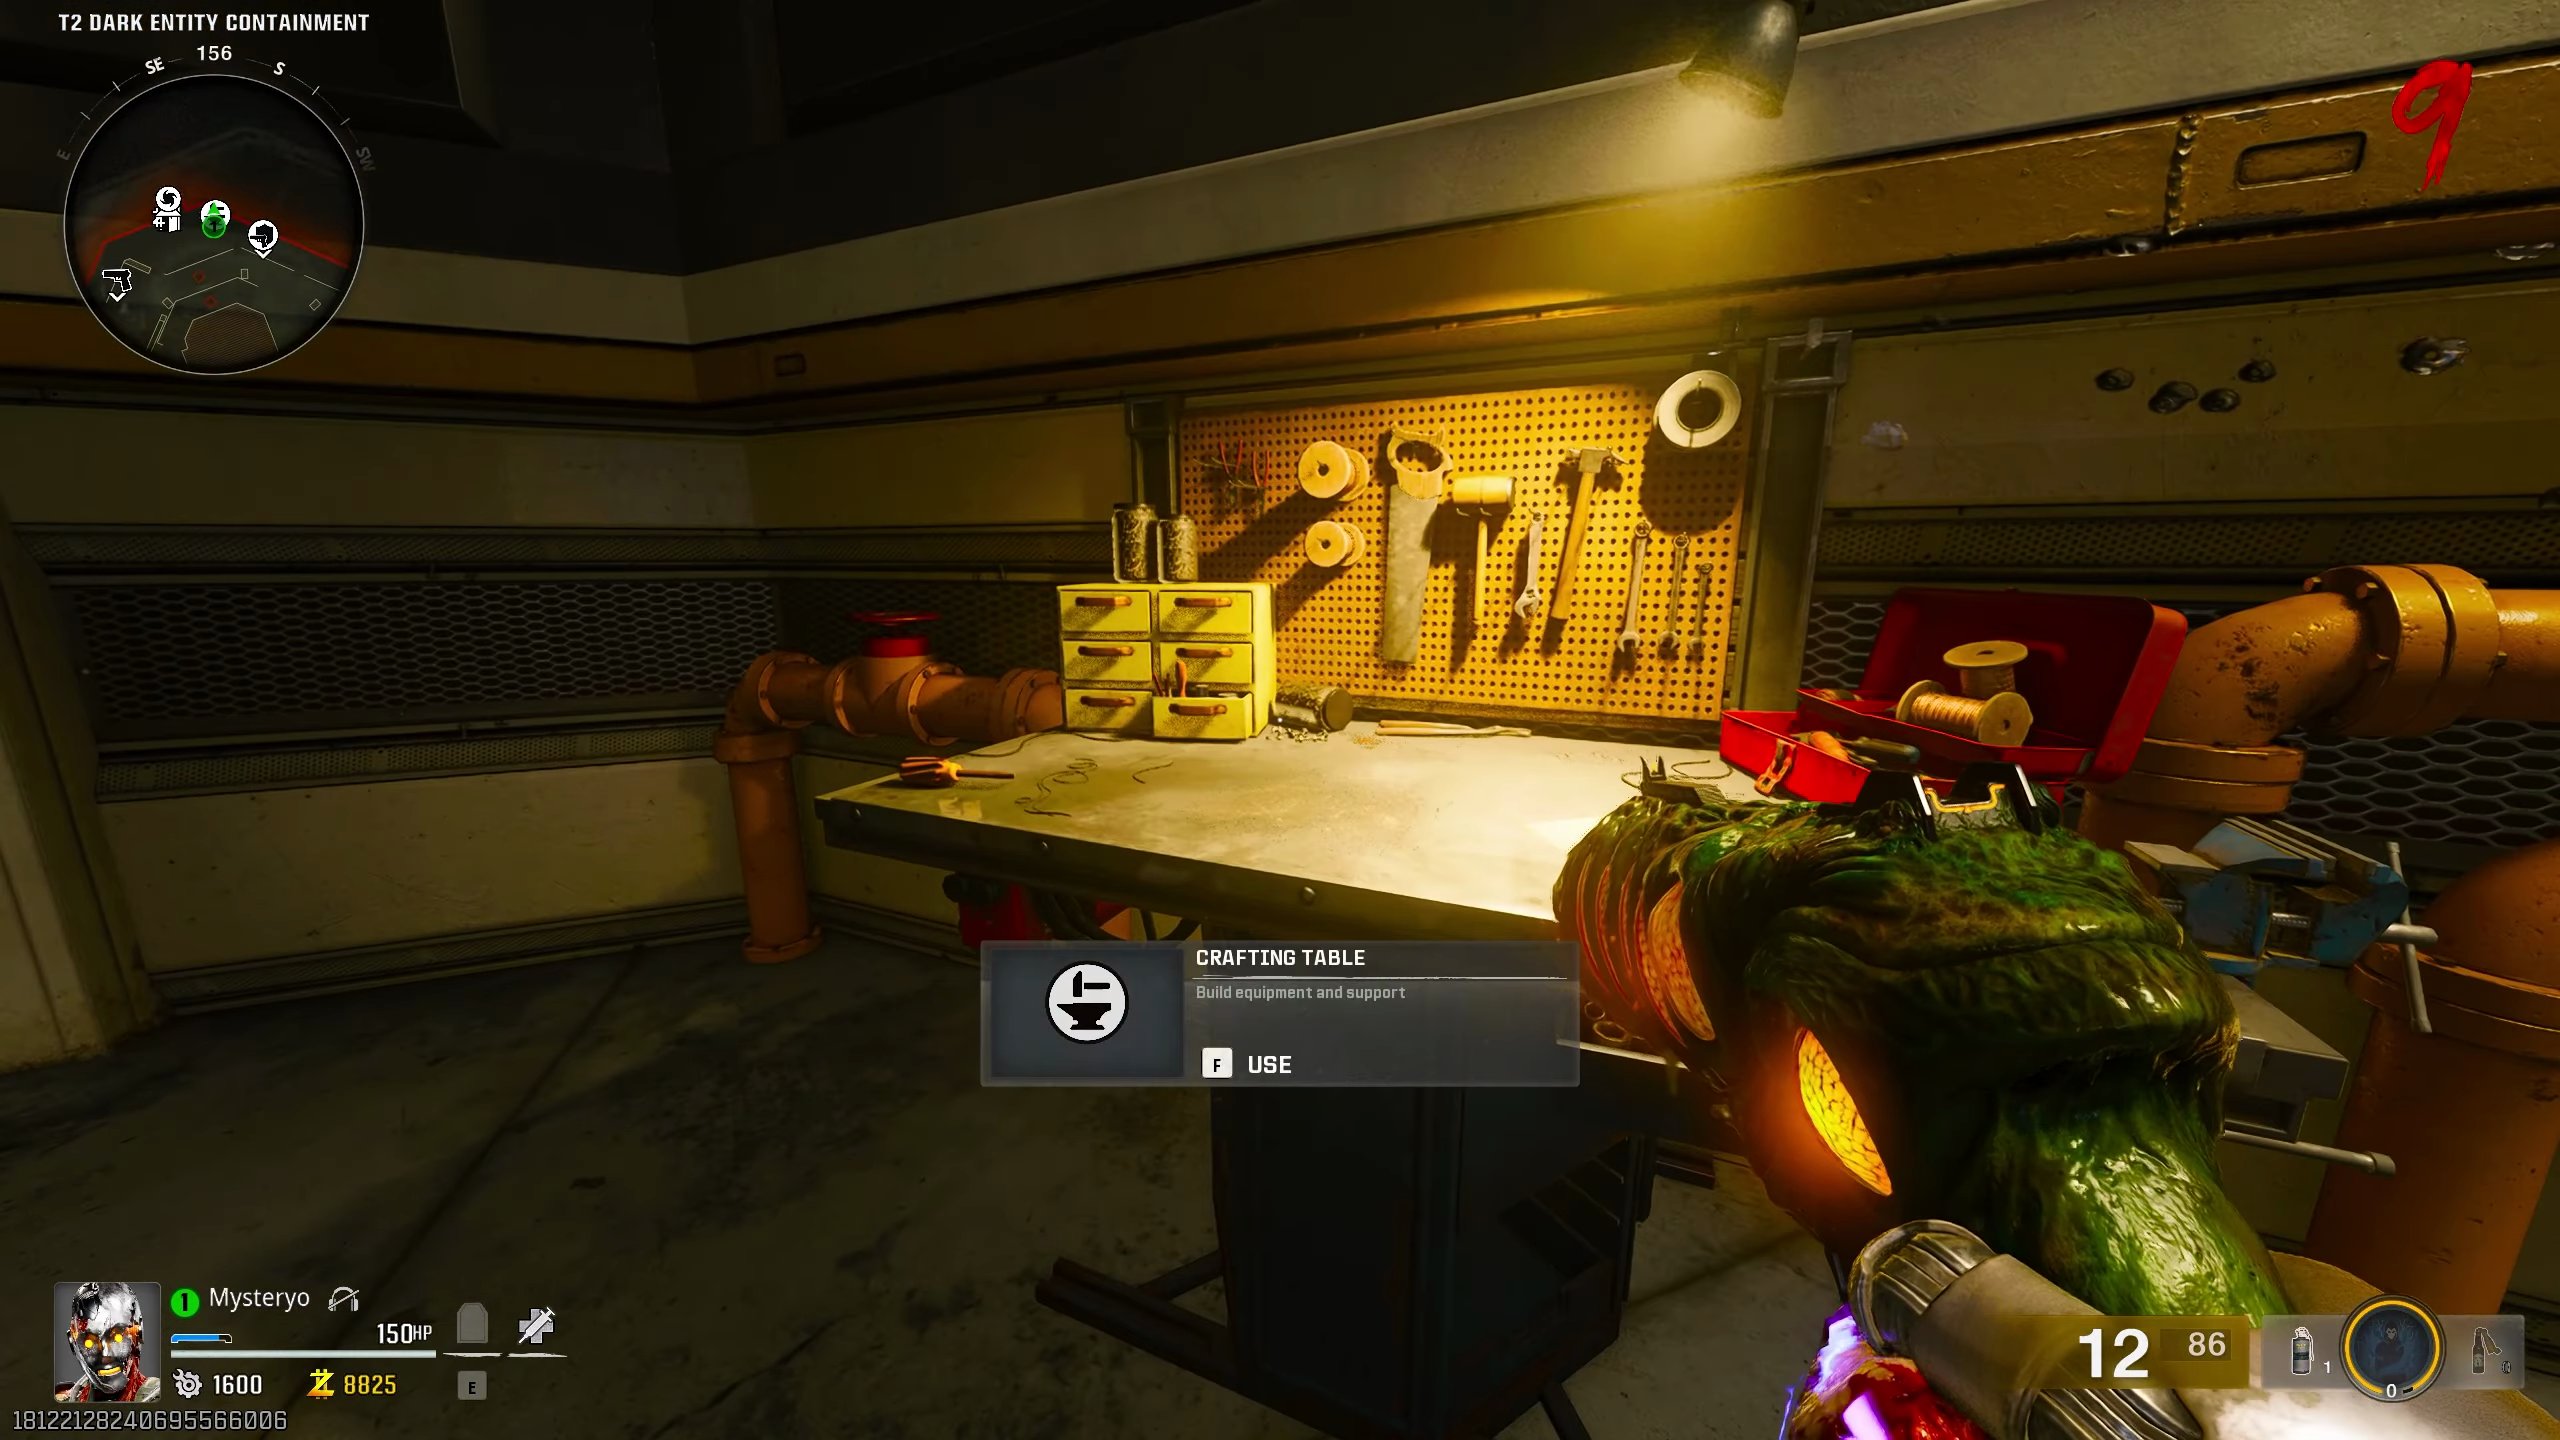
- Go to Dark Entity Containment, near the stairs there's a hole.
- Drive the RC-XD through the hole and blow up the crystal at the end.
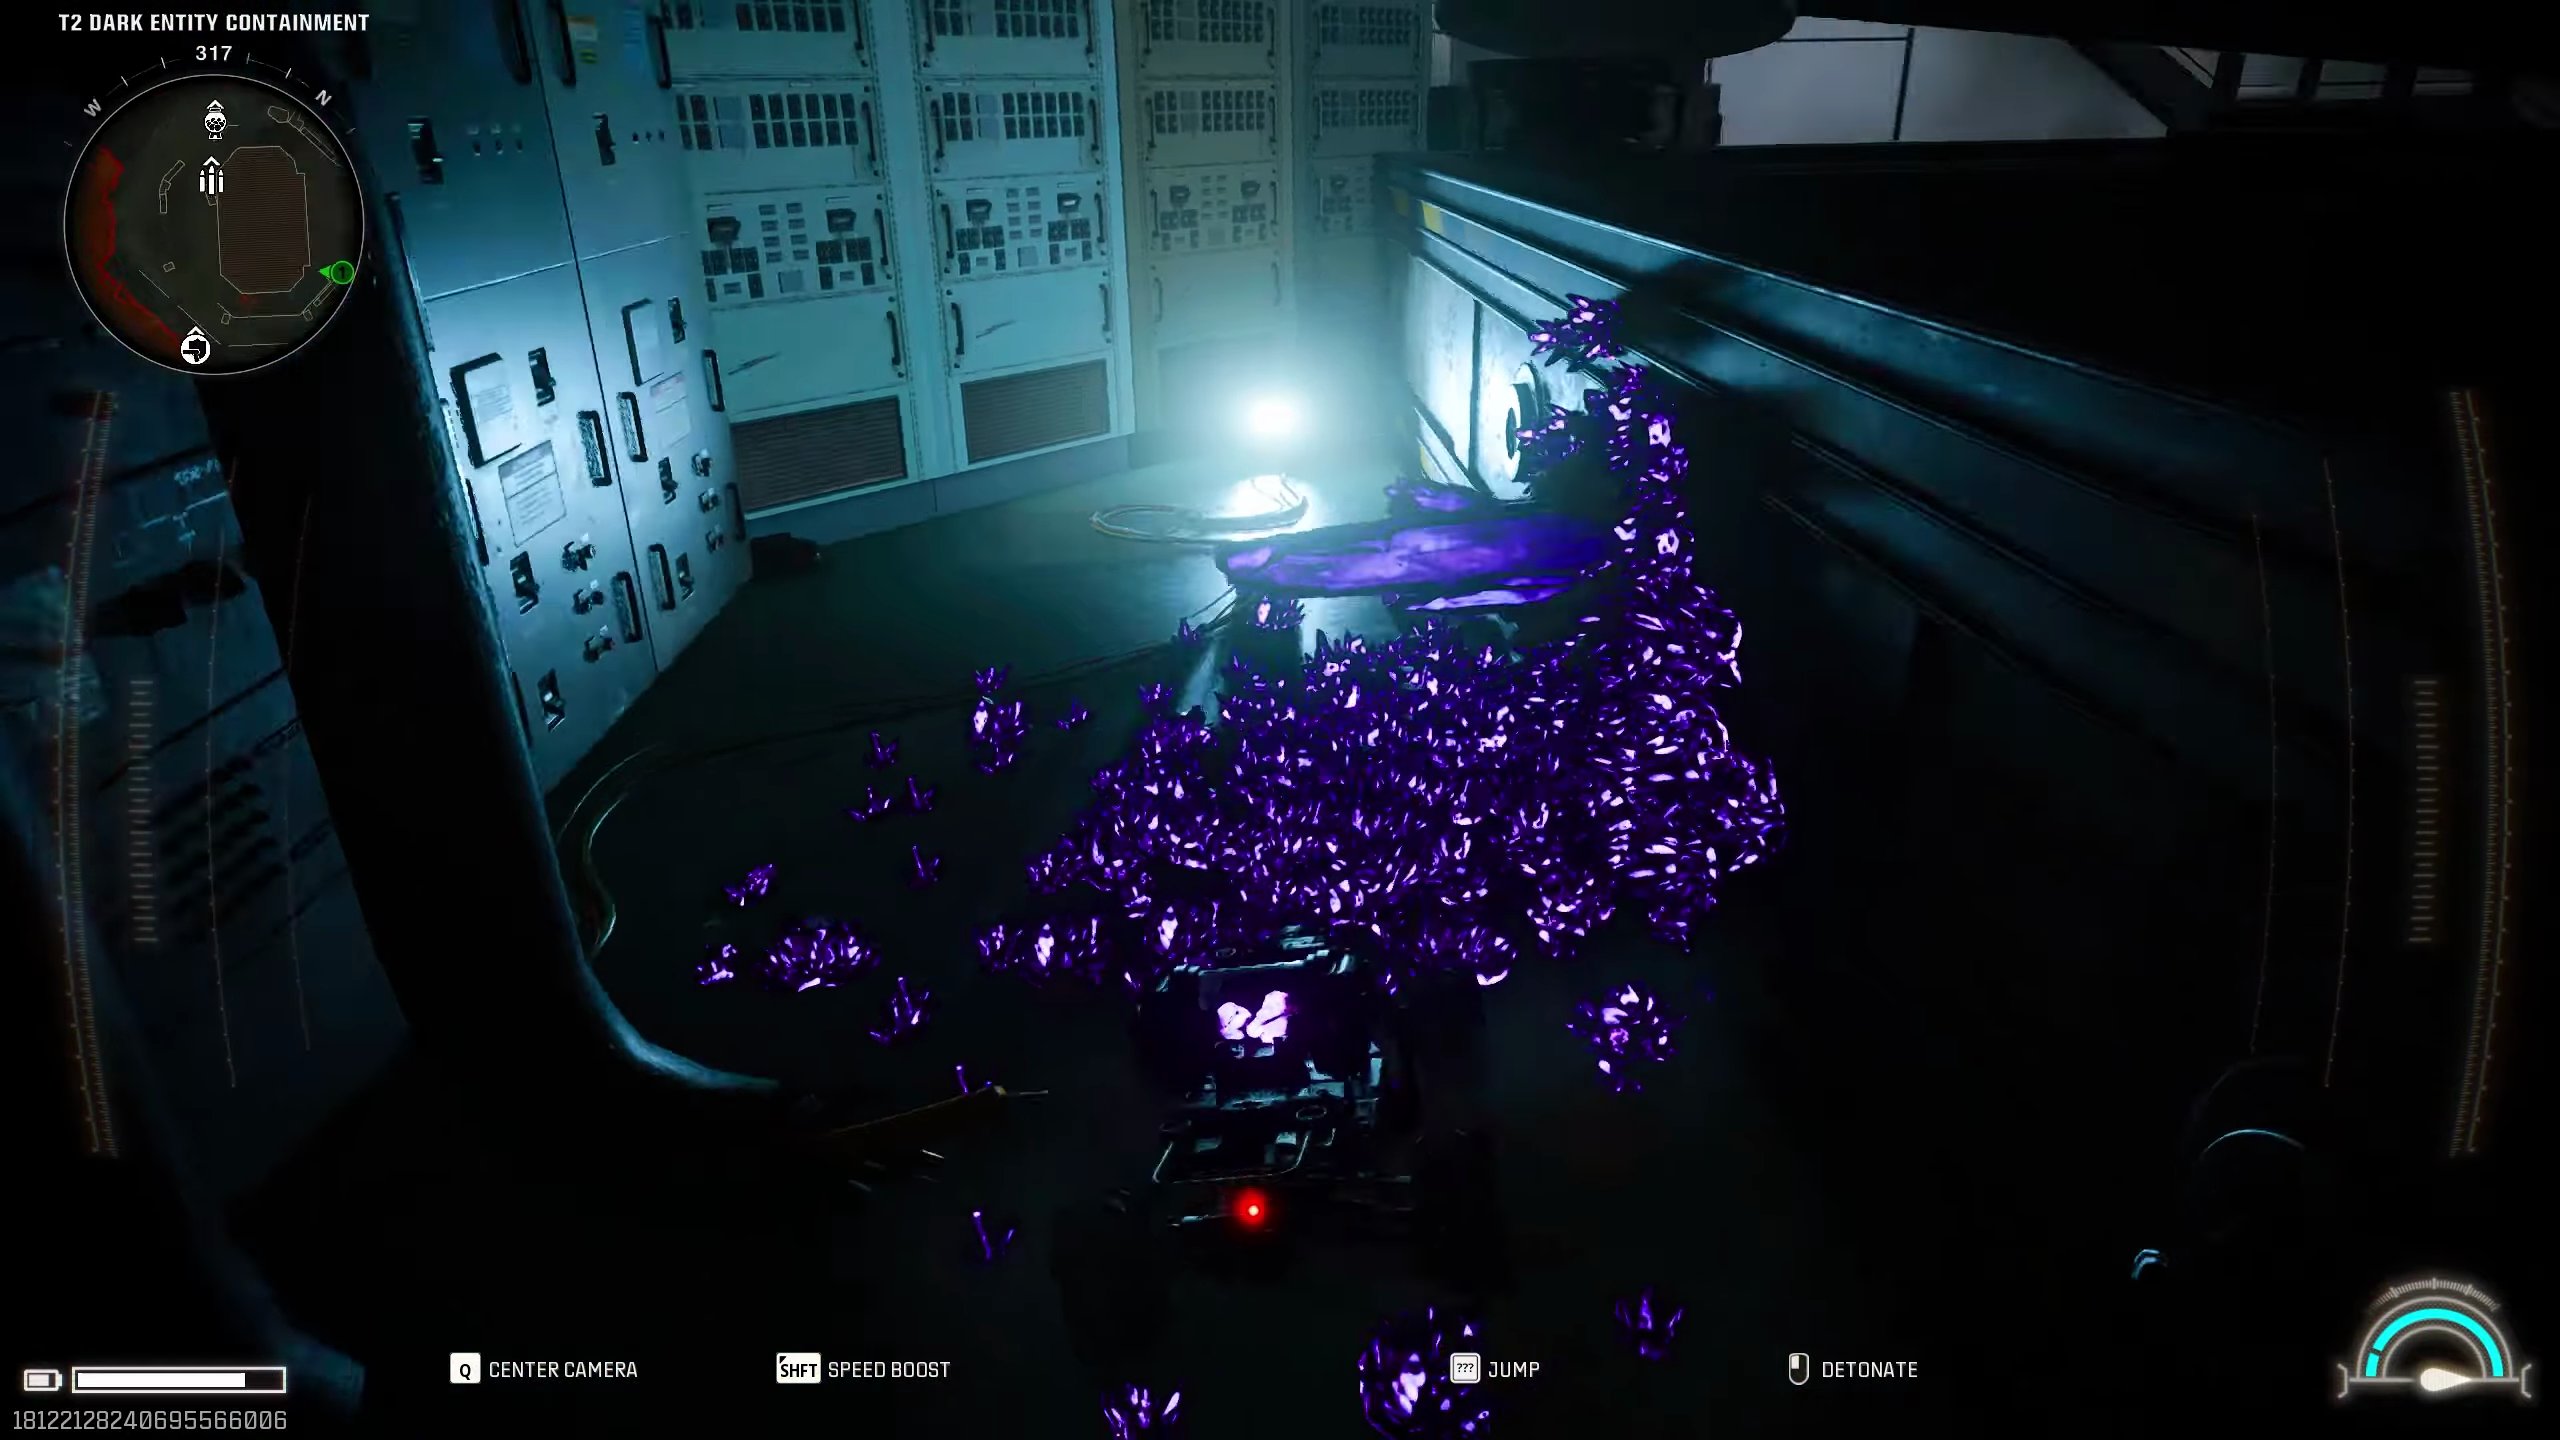
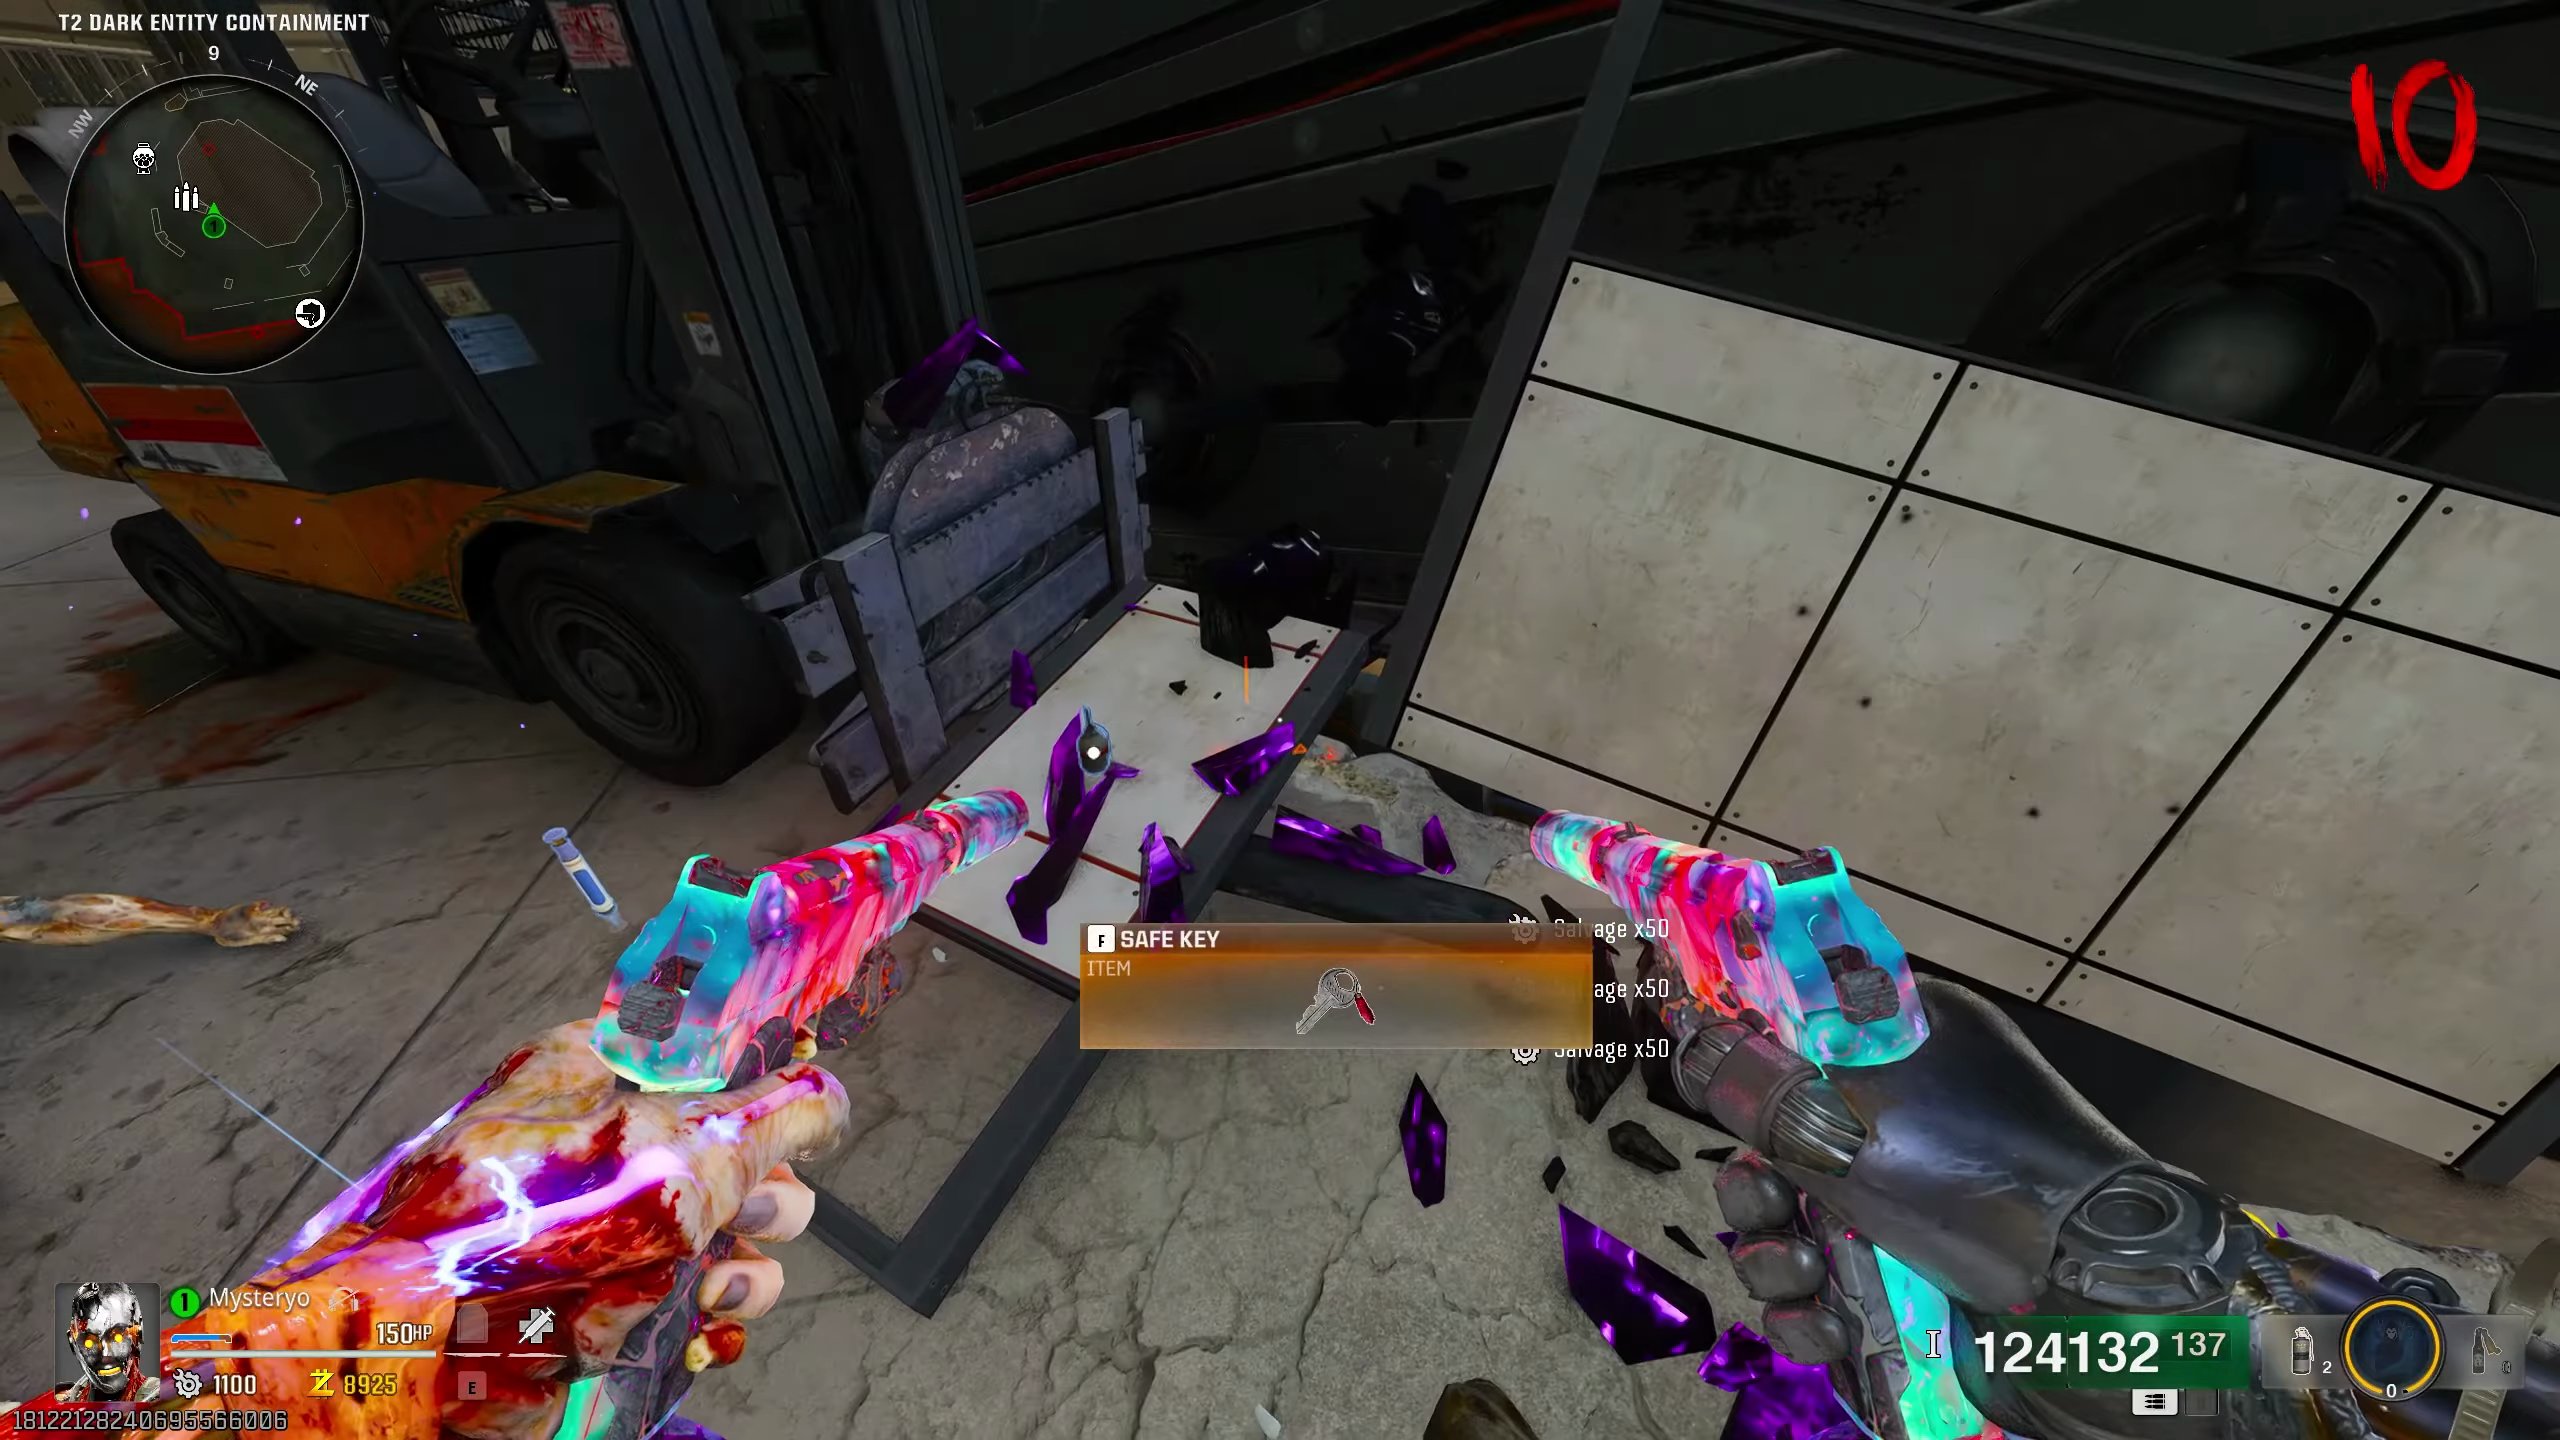
- Destroy more crystals behind the Force A.I. Containment Cube to get the Safe Key.
Step 4: Unlock Safe and Collect Intel
- Return to the Director's Office.
- Open the safe. A mini-boss will spawn.
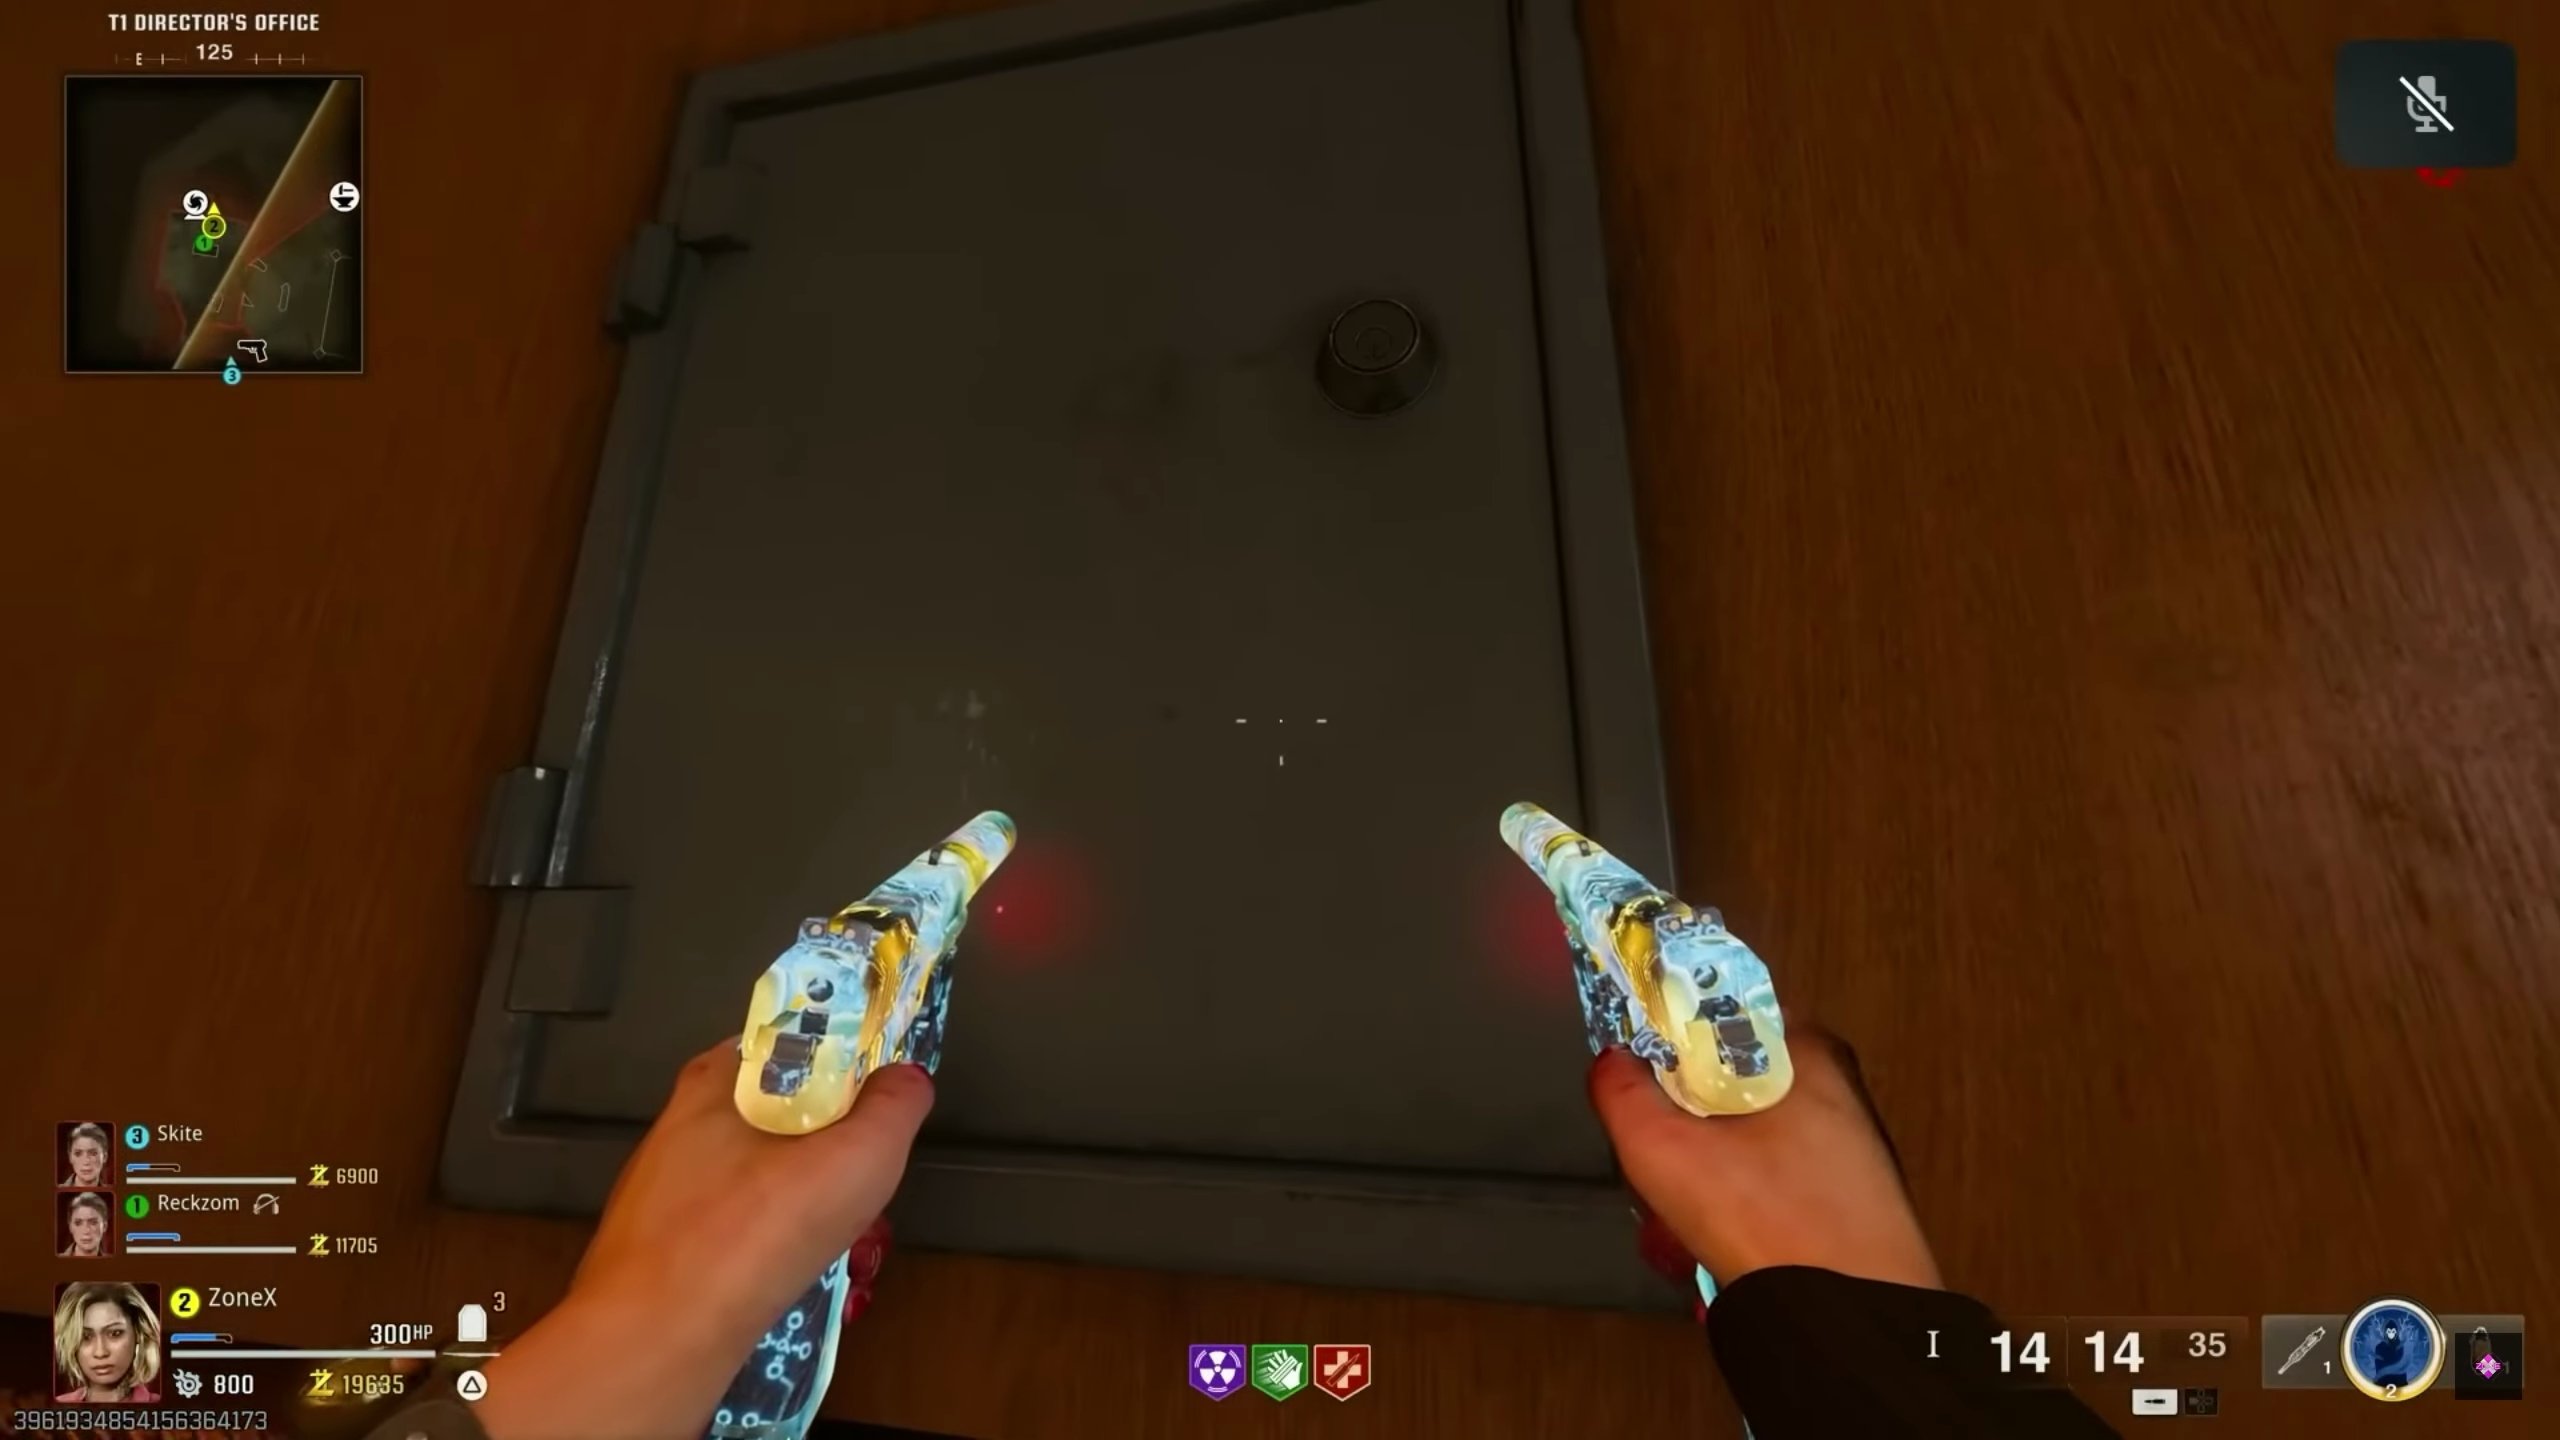
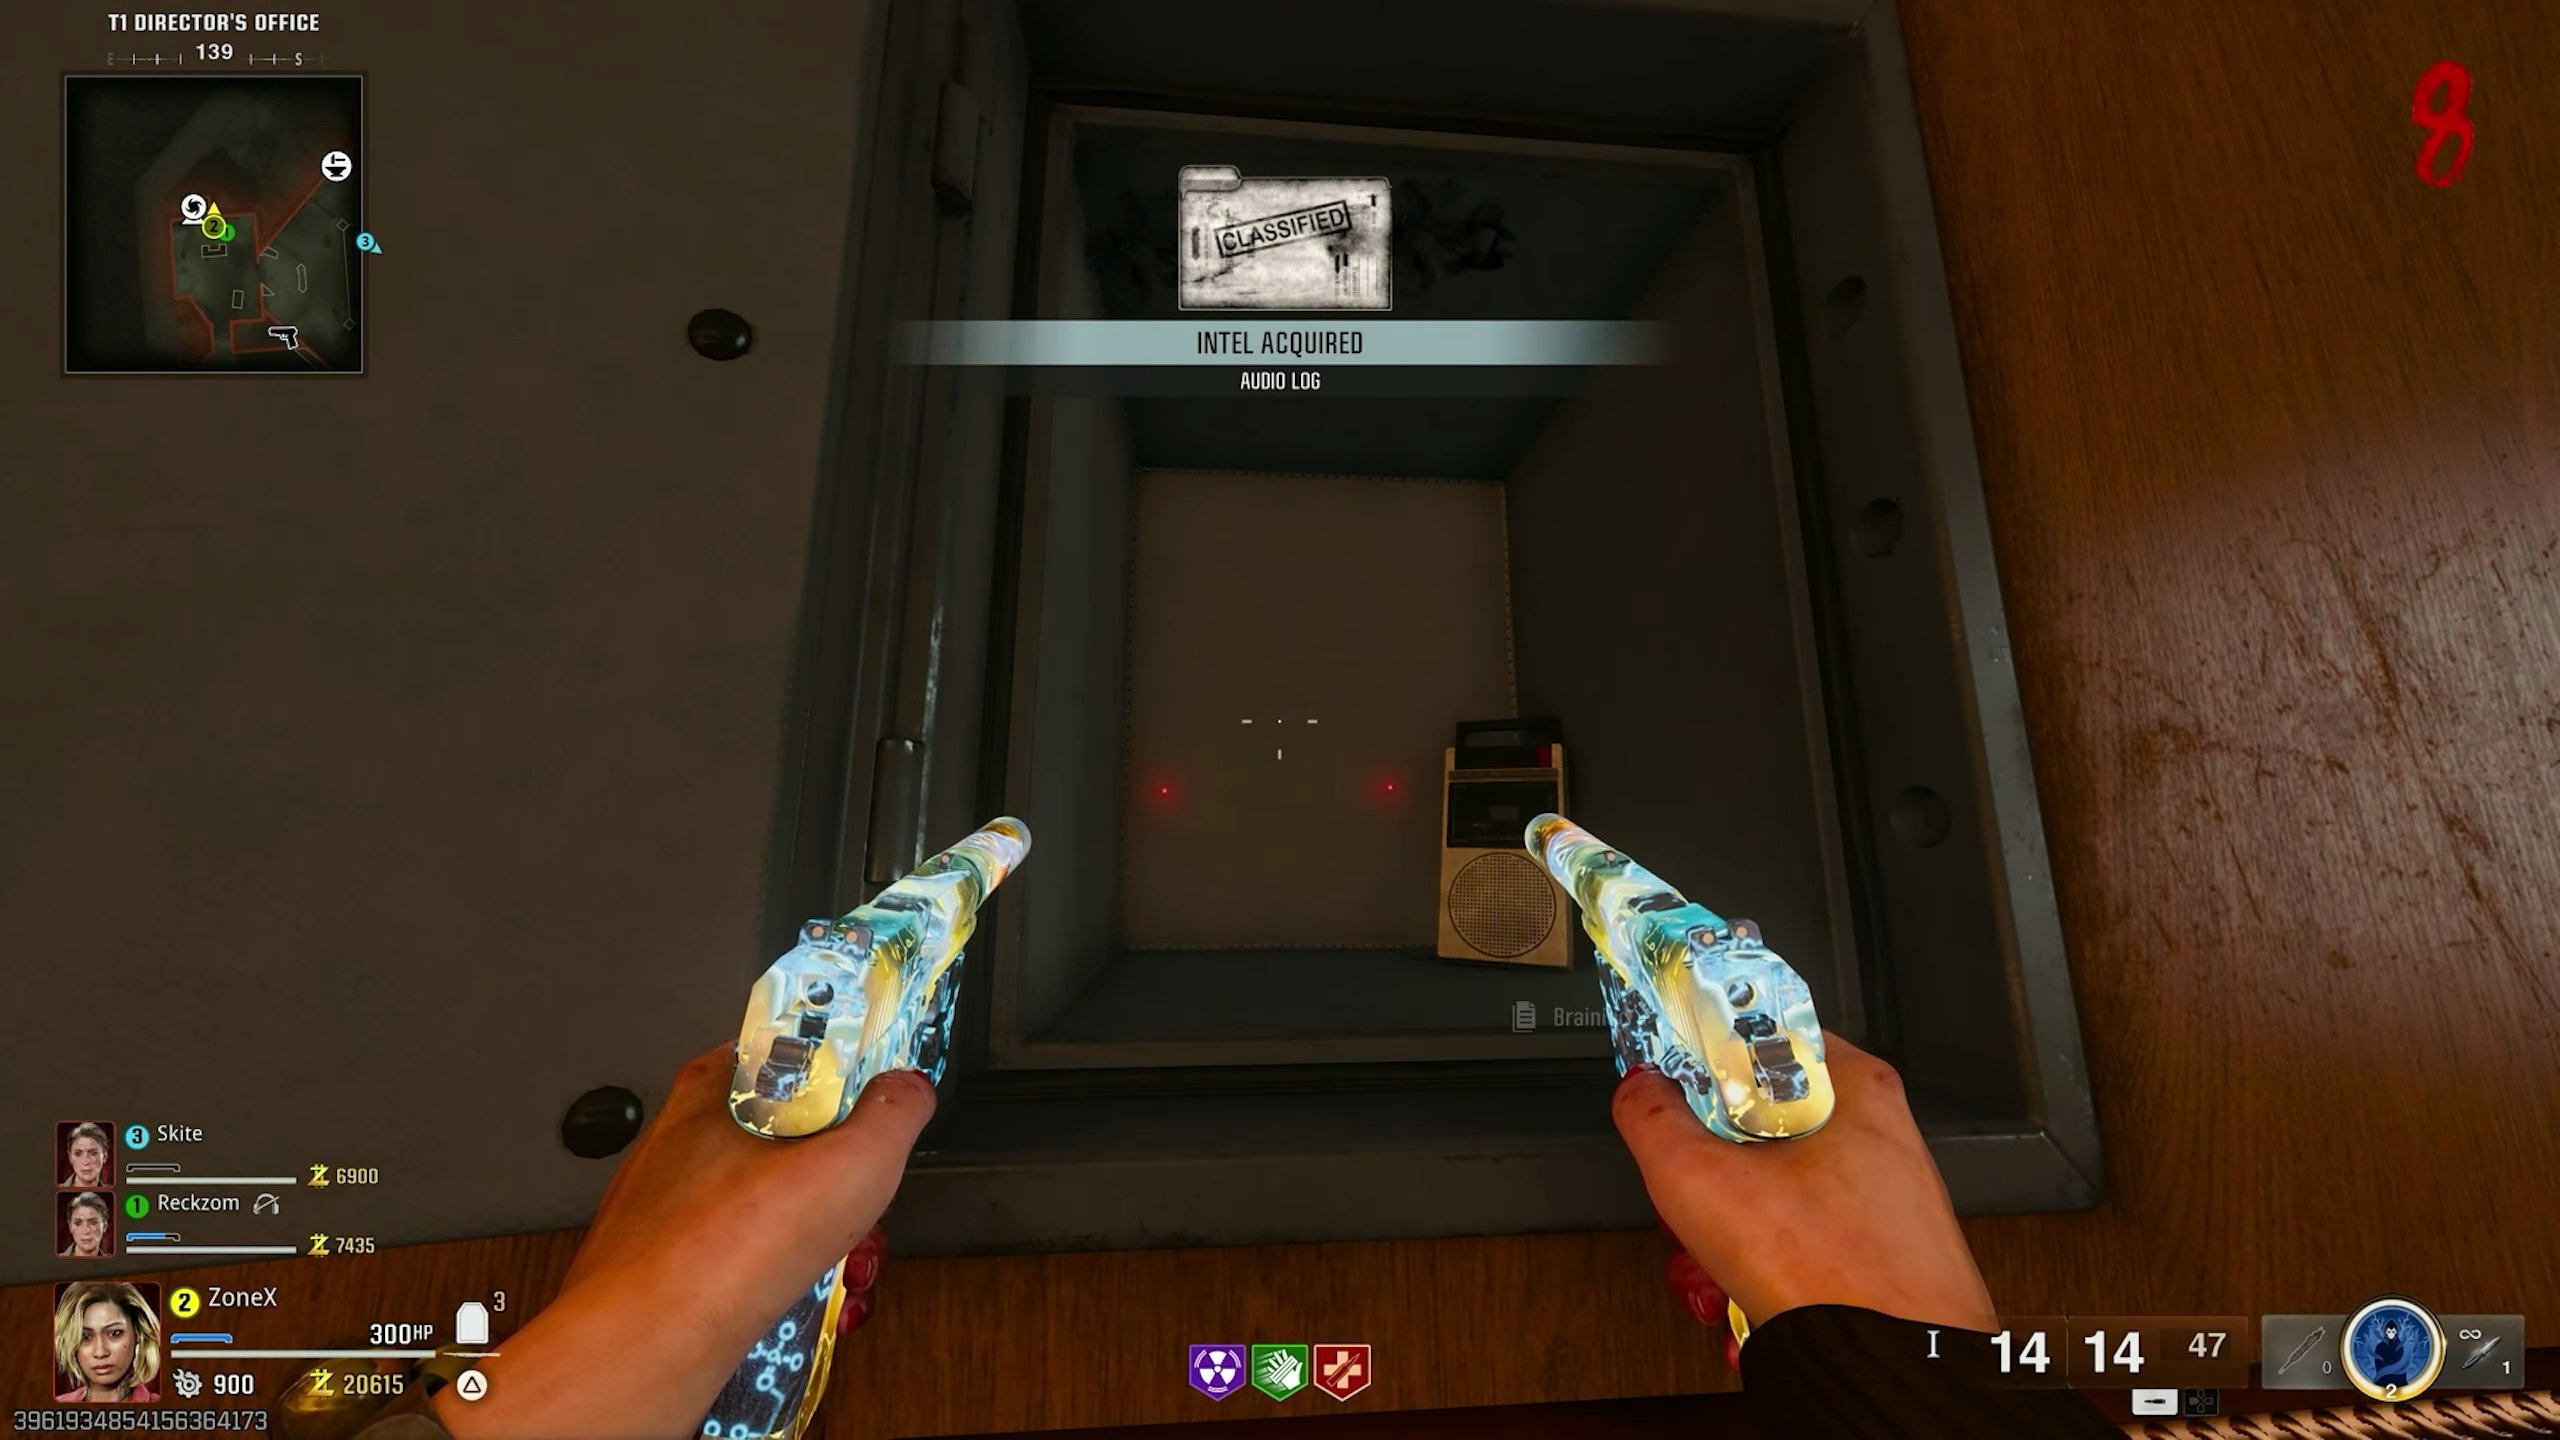
- Defeat the mini-boss to claim Audio Log 13.
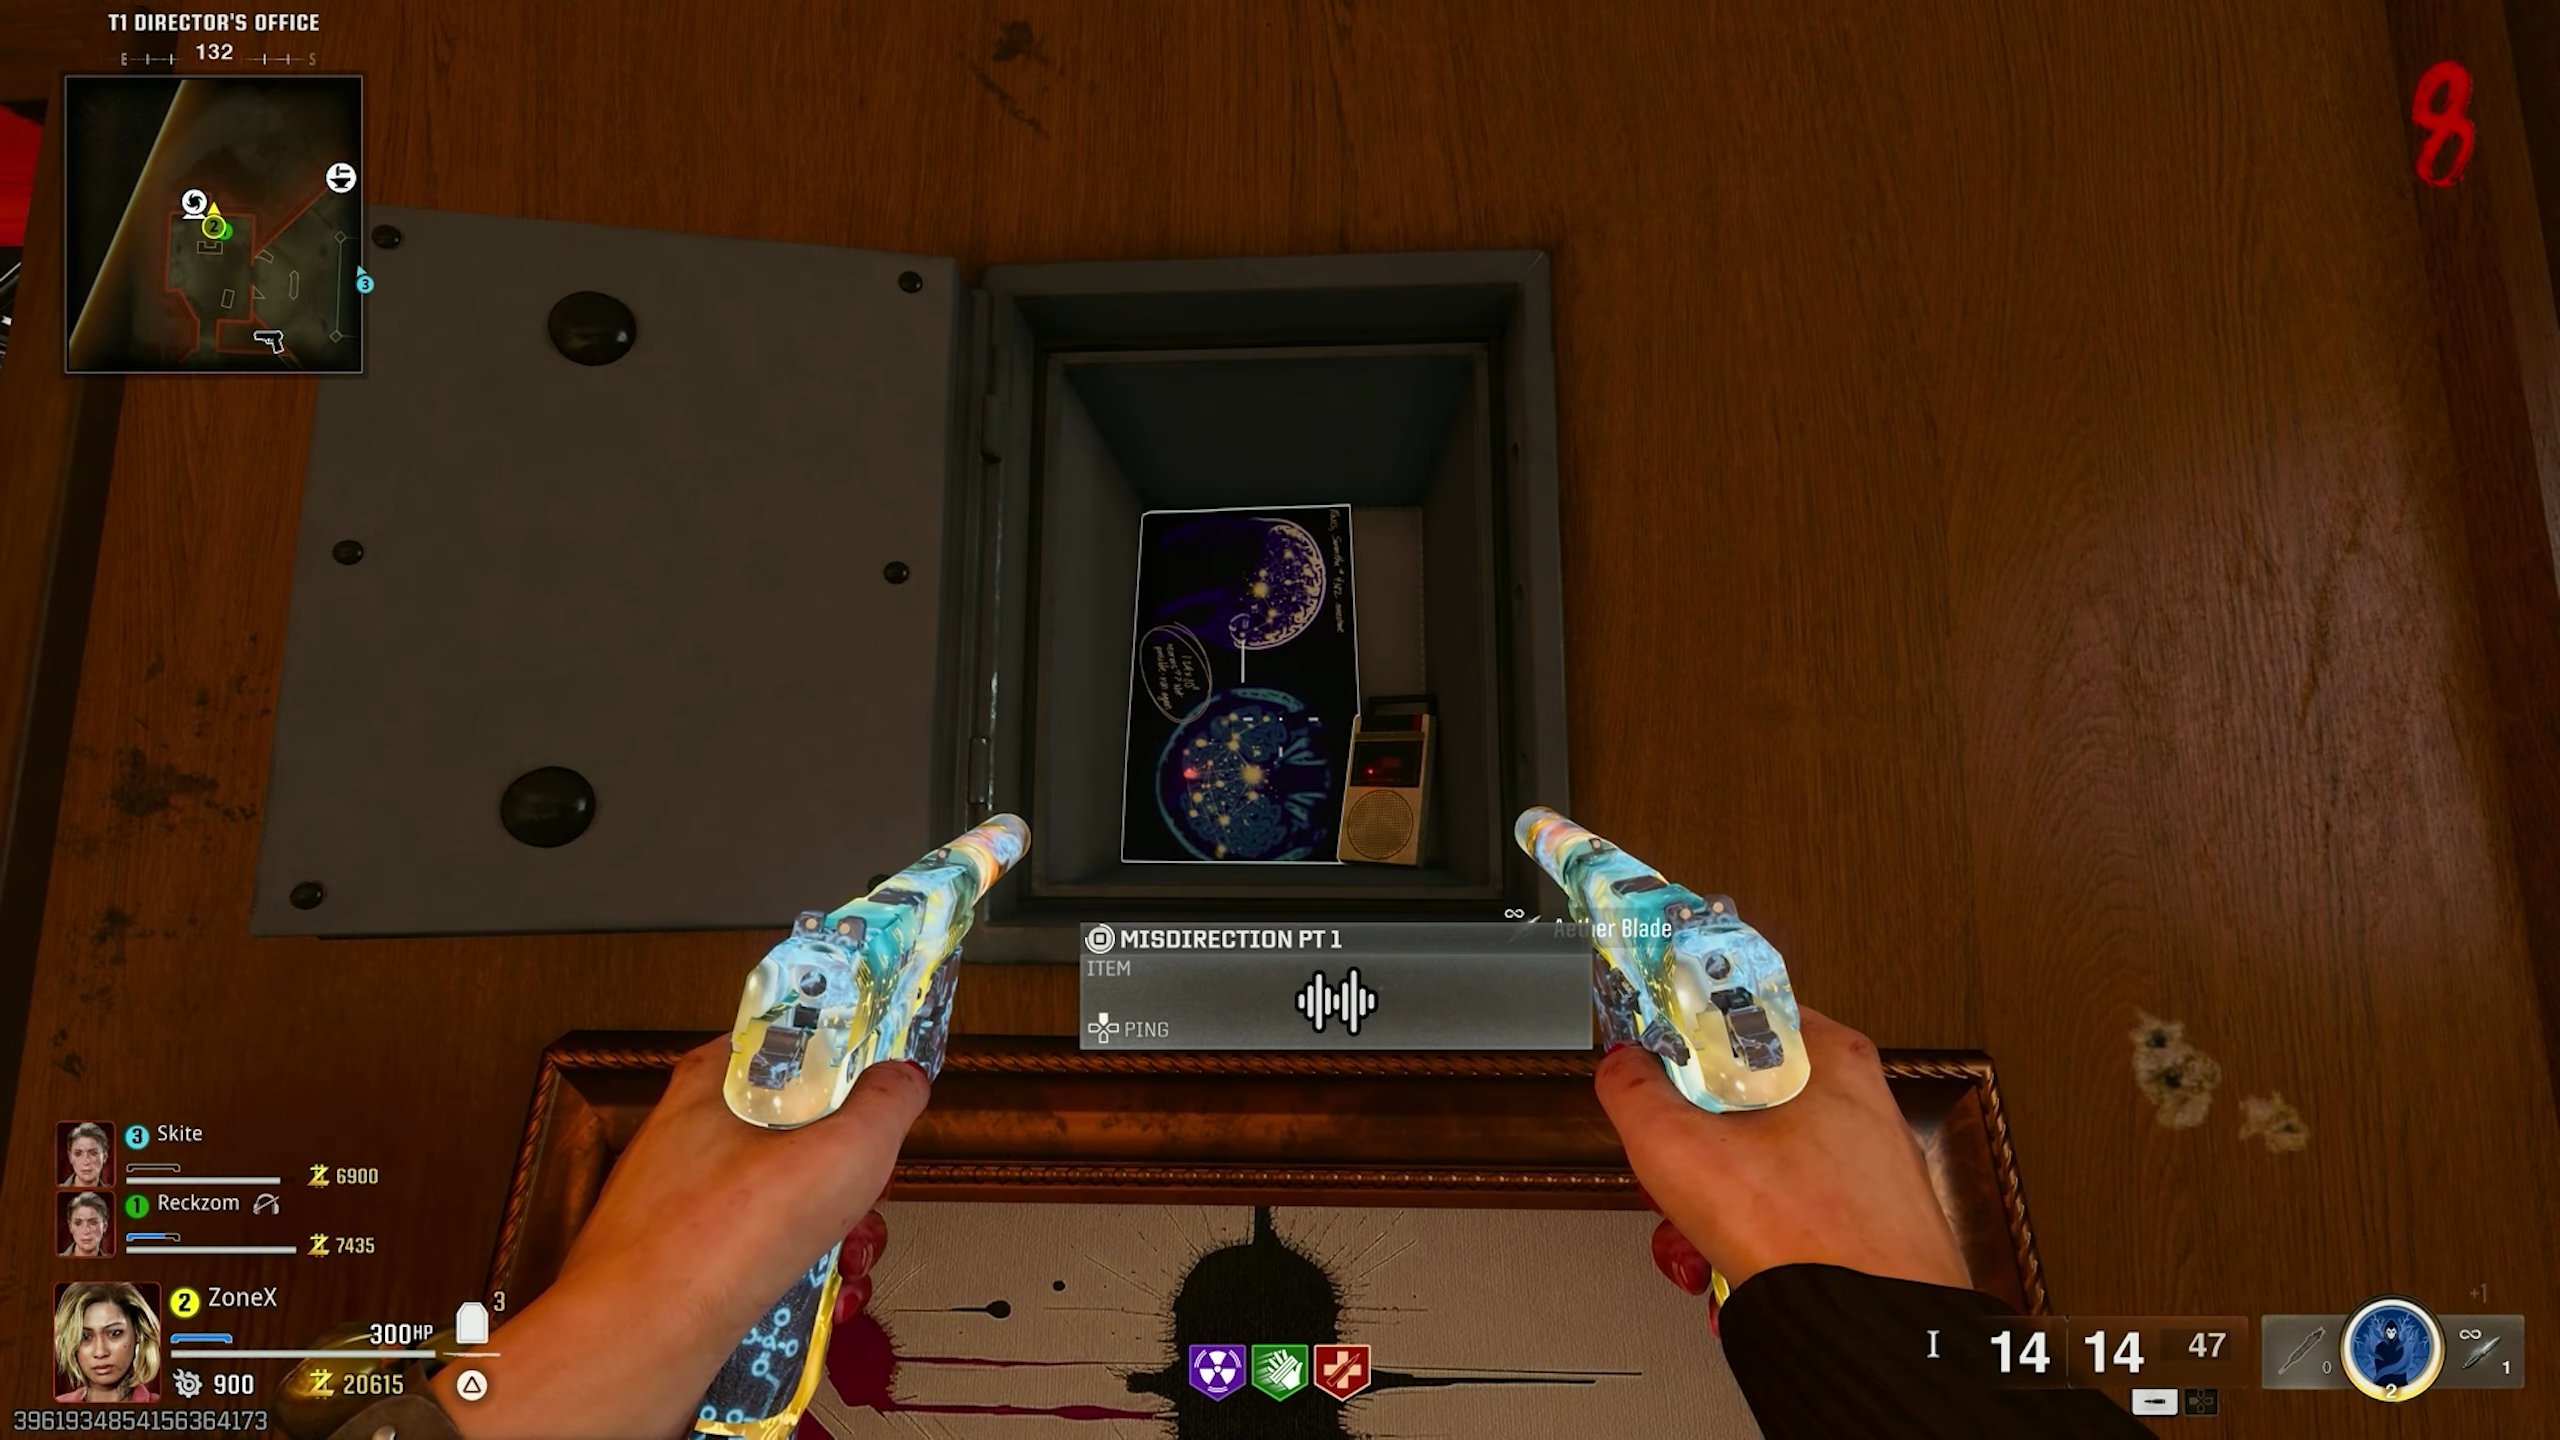
- After acquiring the audio log, collect Document 7 and the unique Ether Blade equipment.
Finished the Easter Egg?
Send this guide to your squad.