Main Quest
- Updated
- Jul 2, 2026
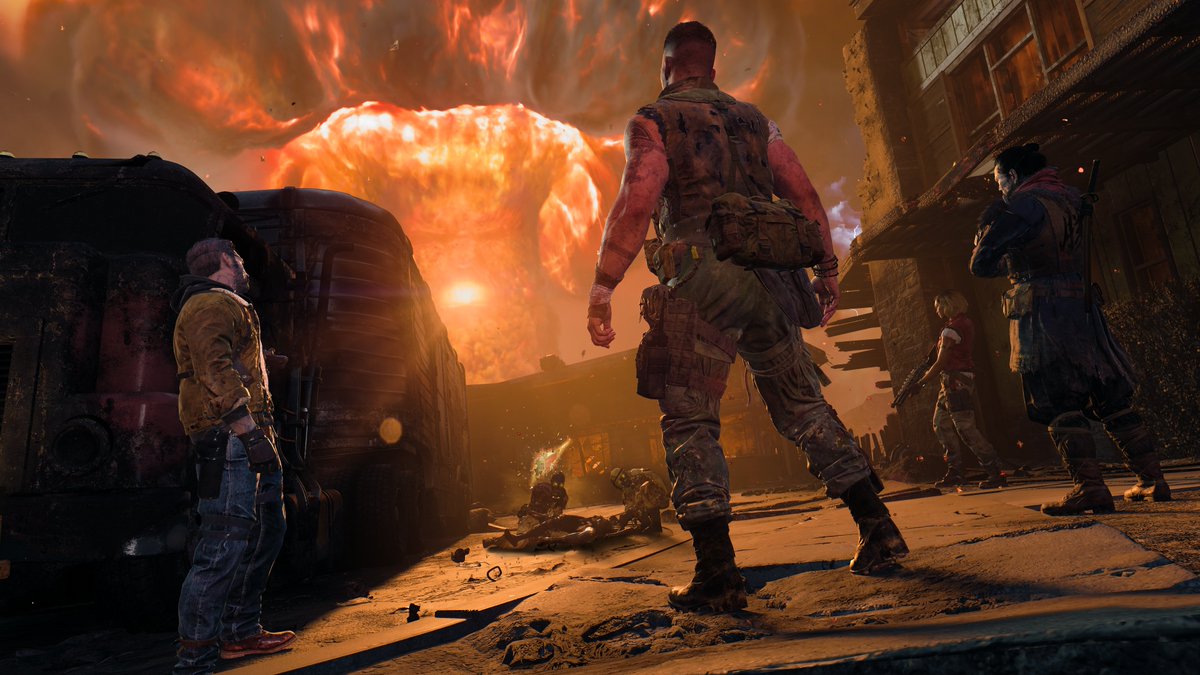
1. Loadout & Prep
The Easter Egg can be done solo or co-op, and many steps can be done in different orders. Dog rounds will change your map location between “Destroyed” and “Past” Nuketown.
1. Loadout & Prep
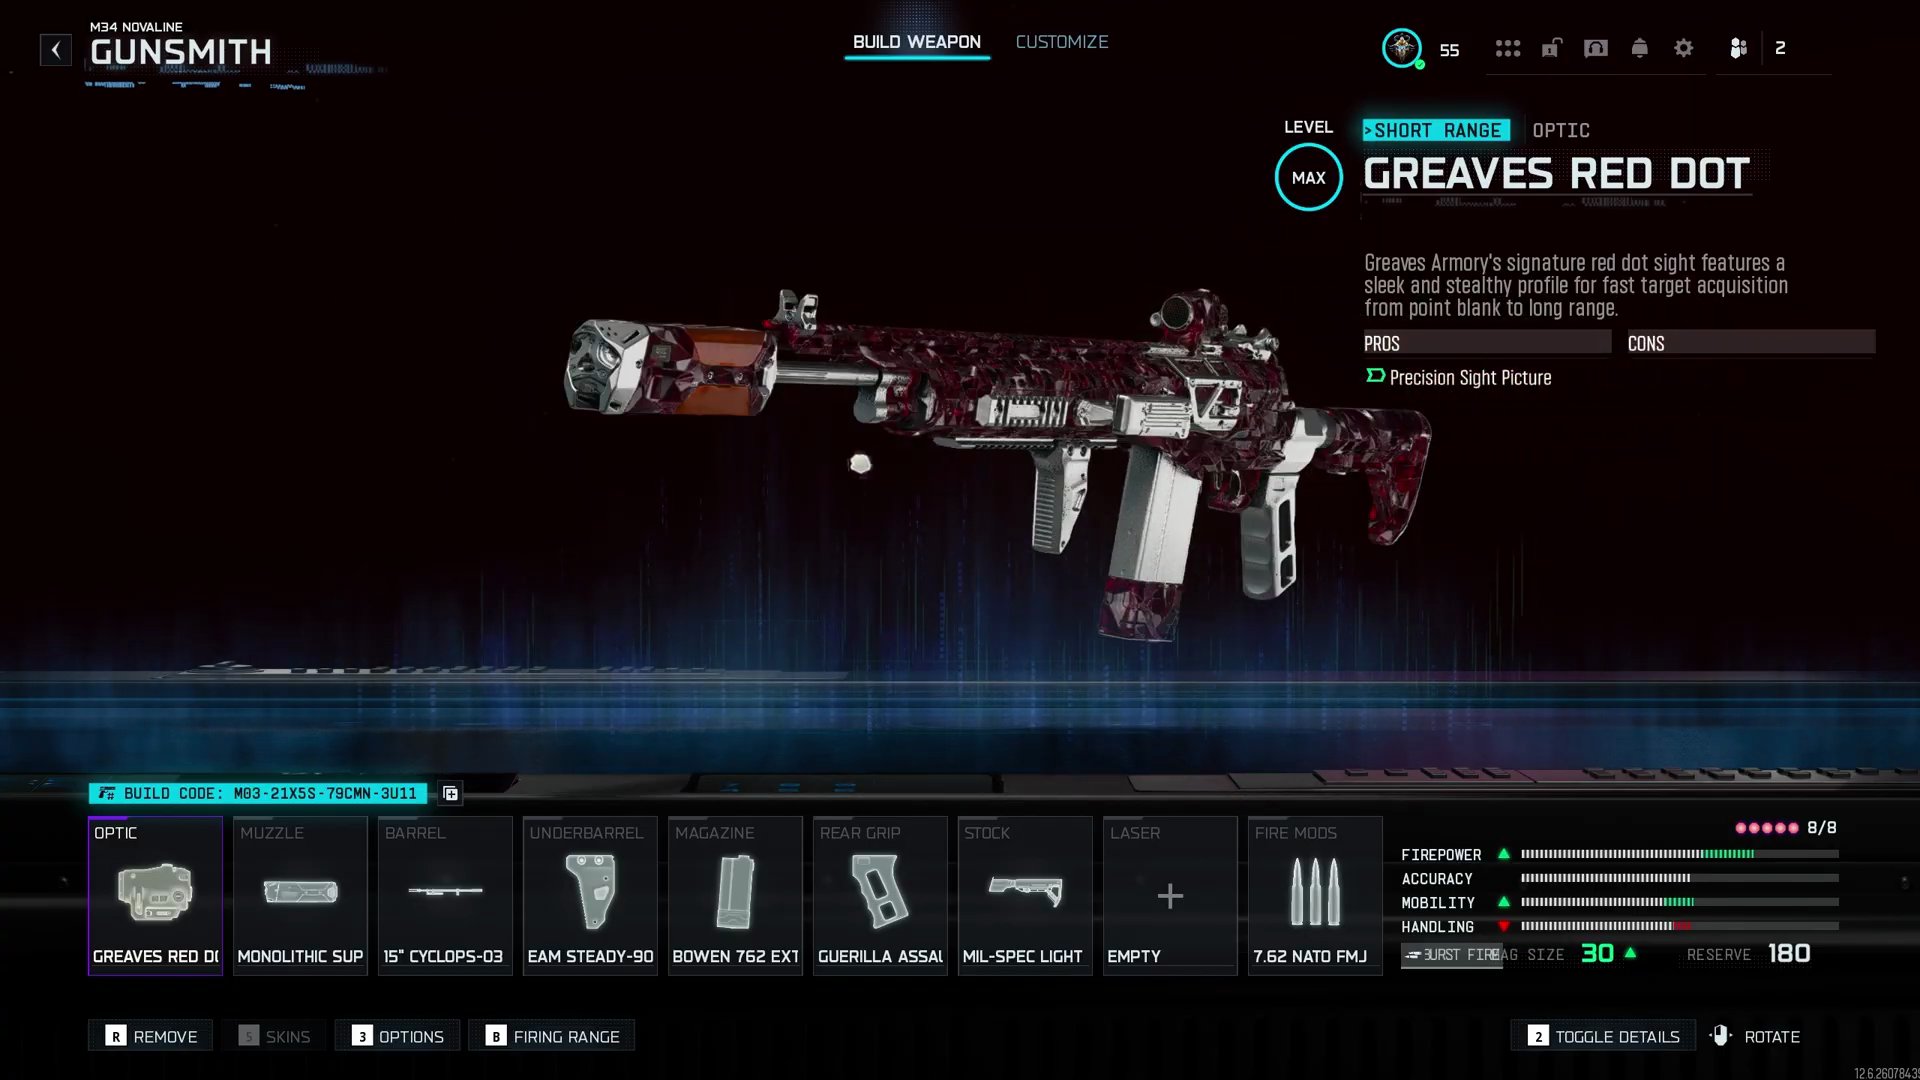
- **Weapon:** Novoline AR (or any preferred AR).
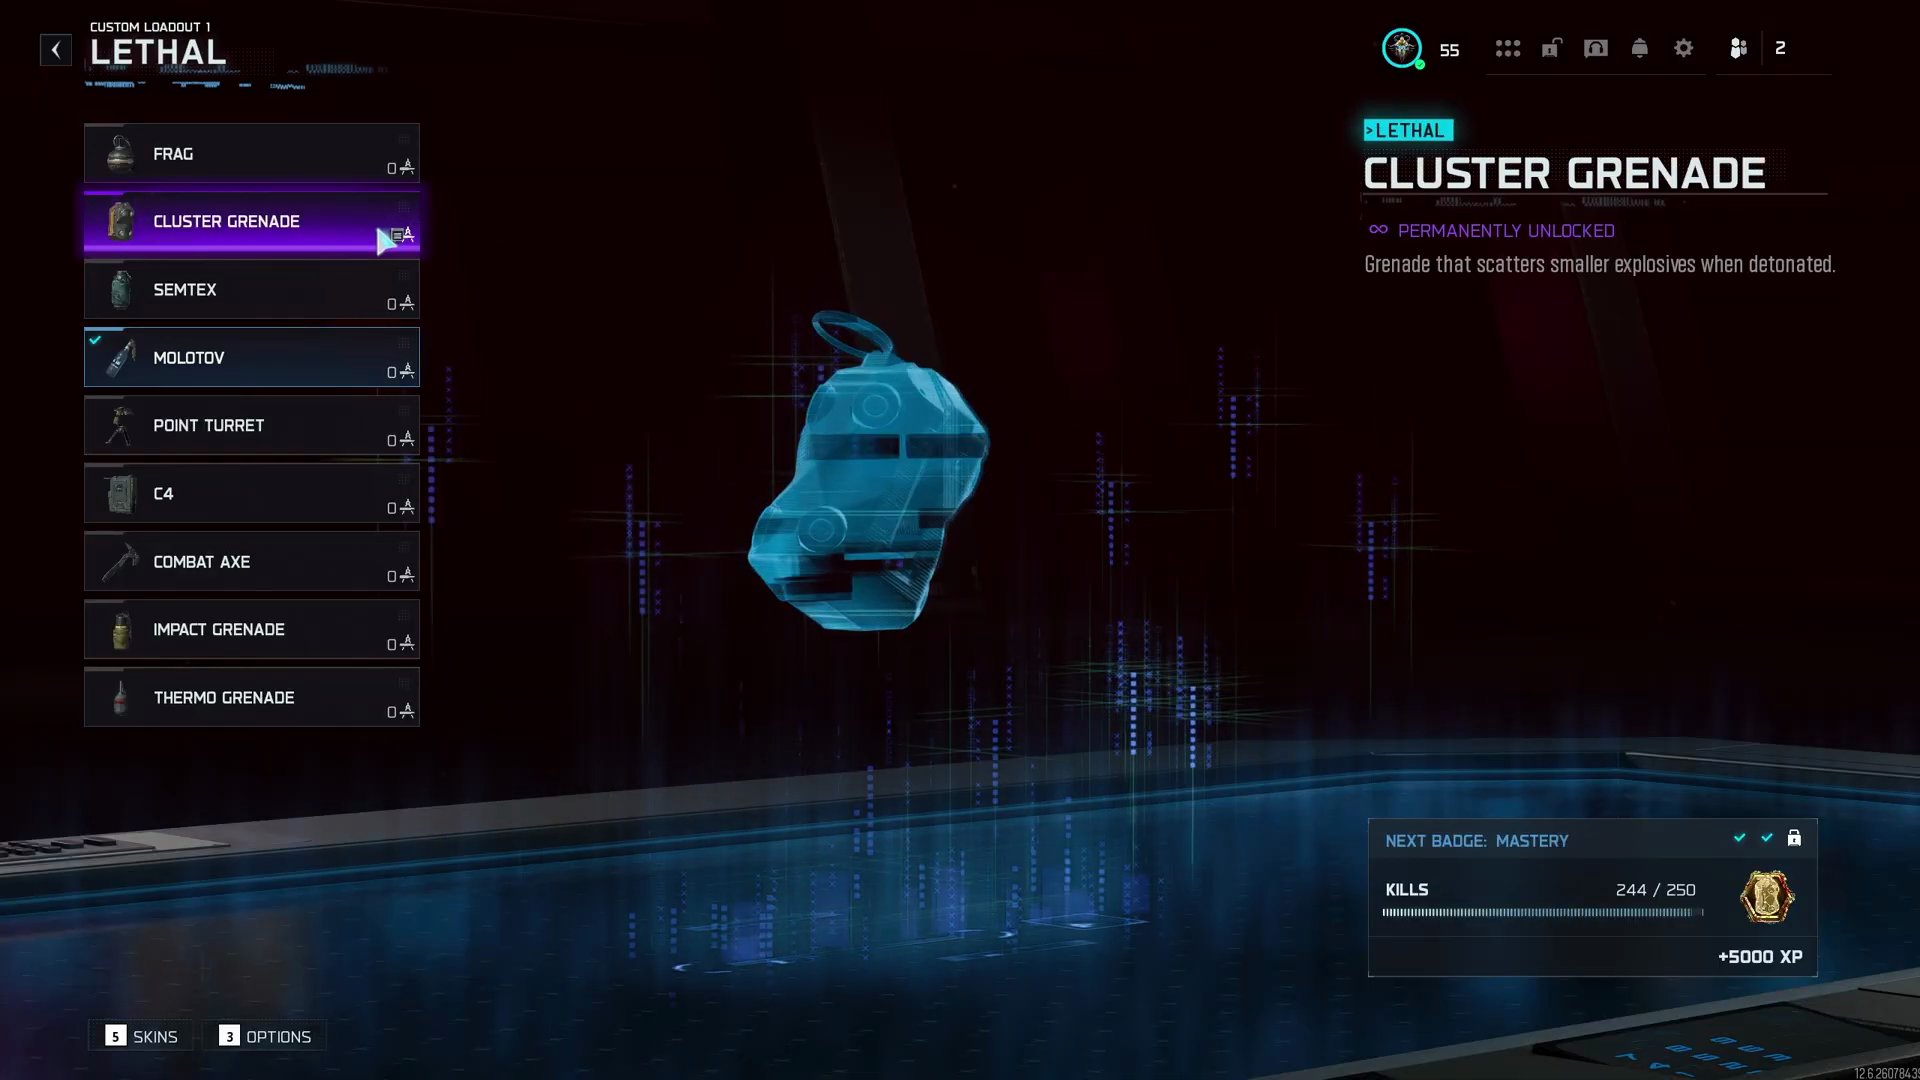
- **Lethal:** Tomahawk, Semtex, or Cluster Grenade.
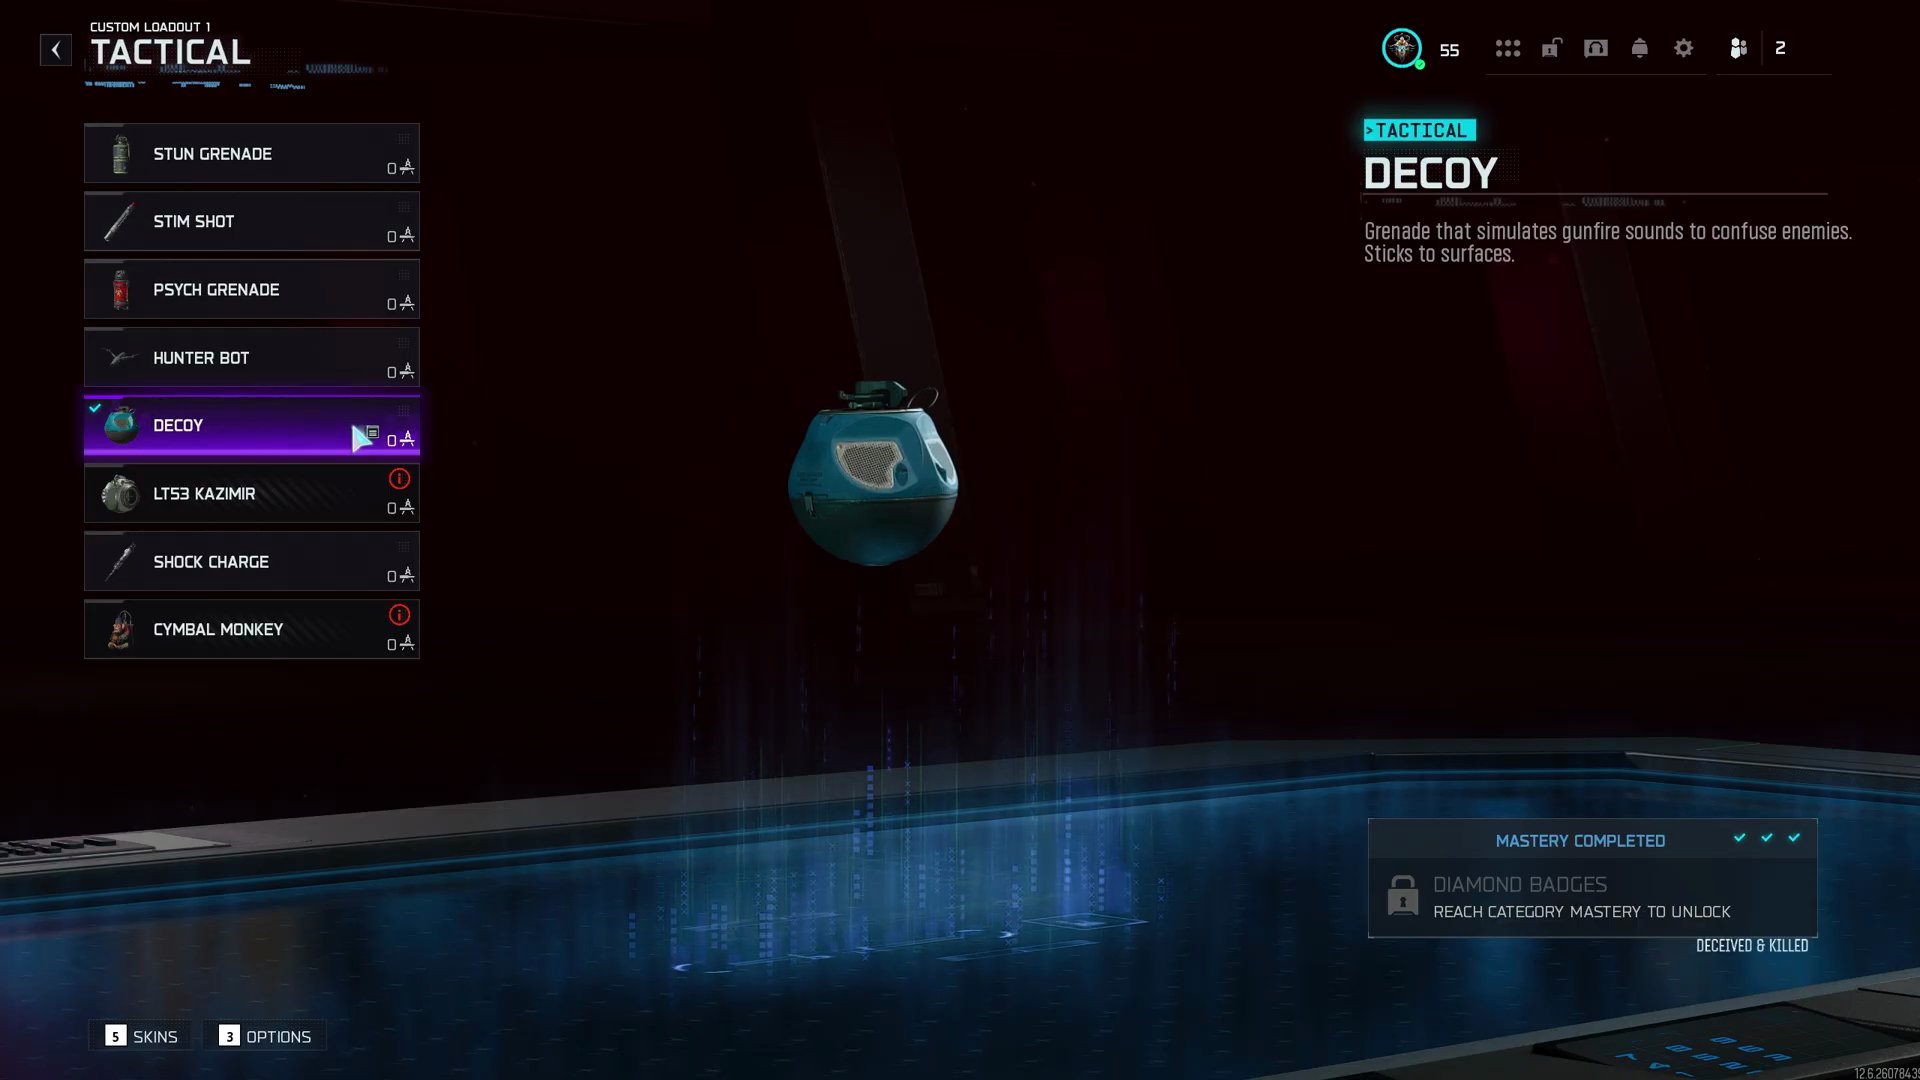
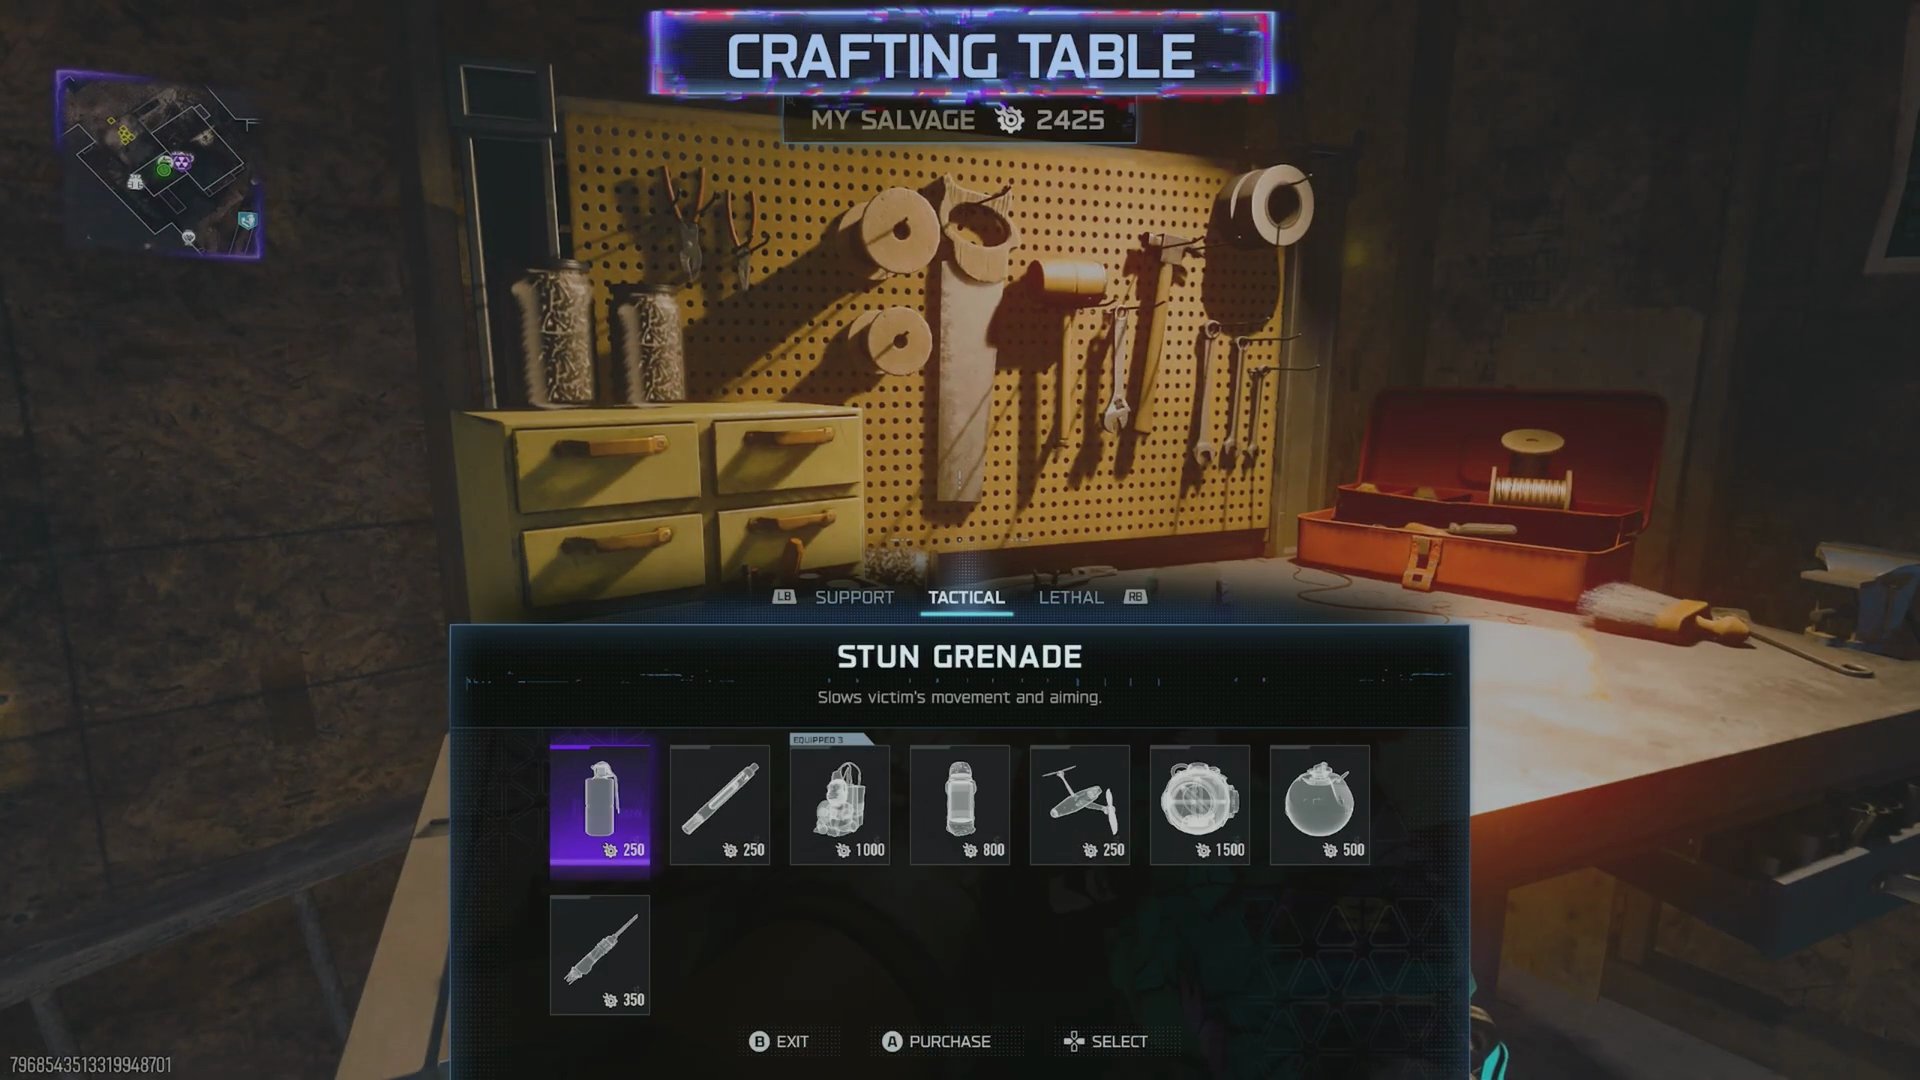
- **Tactical:** Decoys are recommended.
- **Gobblegums:** Shields Up, Aftertaste, and Power Keg are good choices.
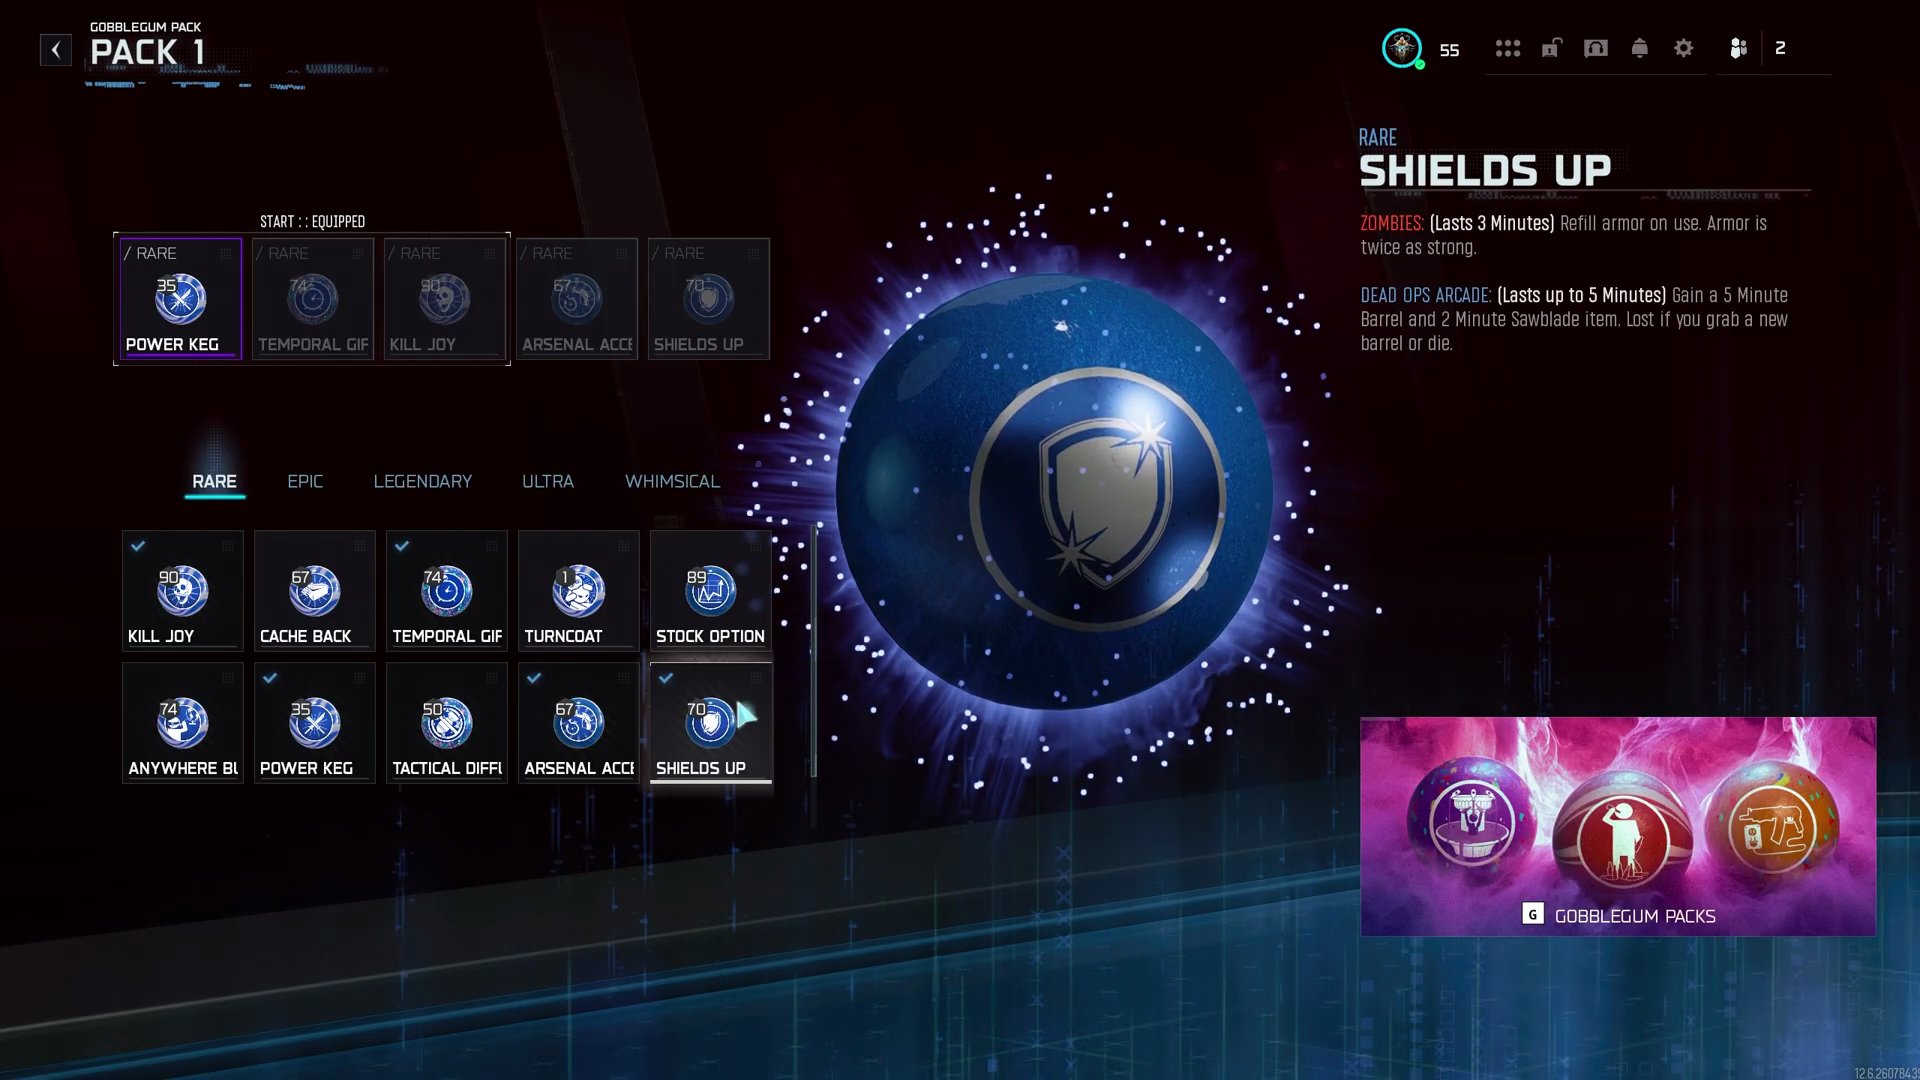
- The Easter Egg can be done solo or co-op, and many steps can be done in different orders.
- Dog rounds will change your map location between 'Destroyed' and 'Past' Nuketown. Always copy the version of Nuketown shown in the guide.
2. Early Game Setup (Destroyed)
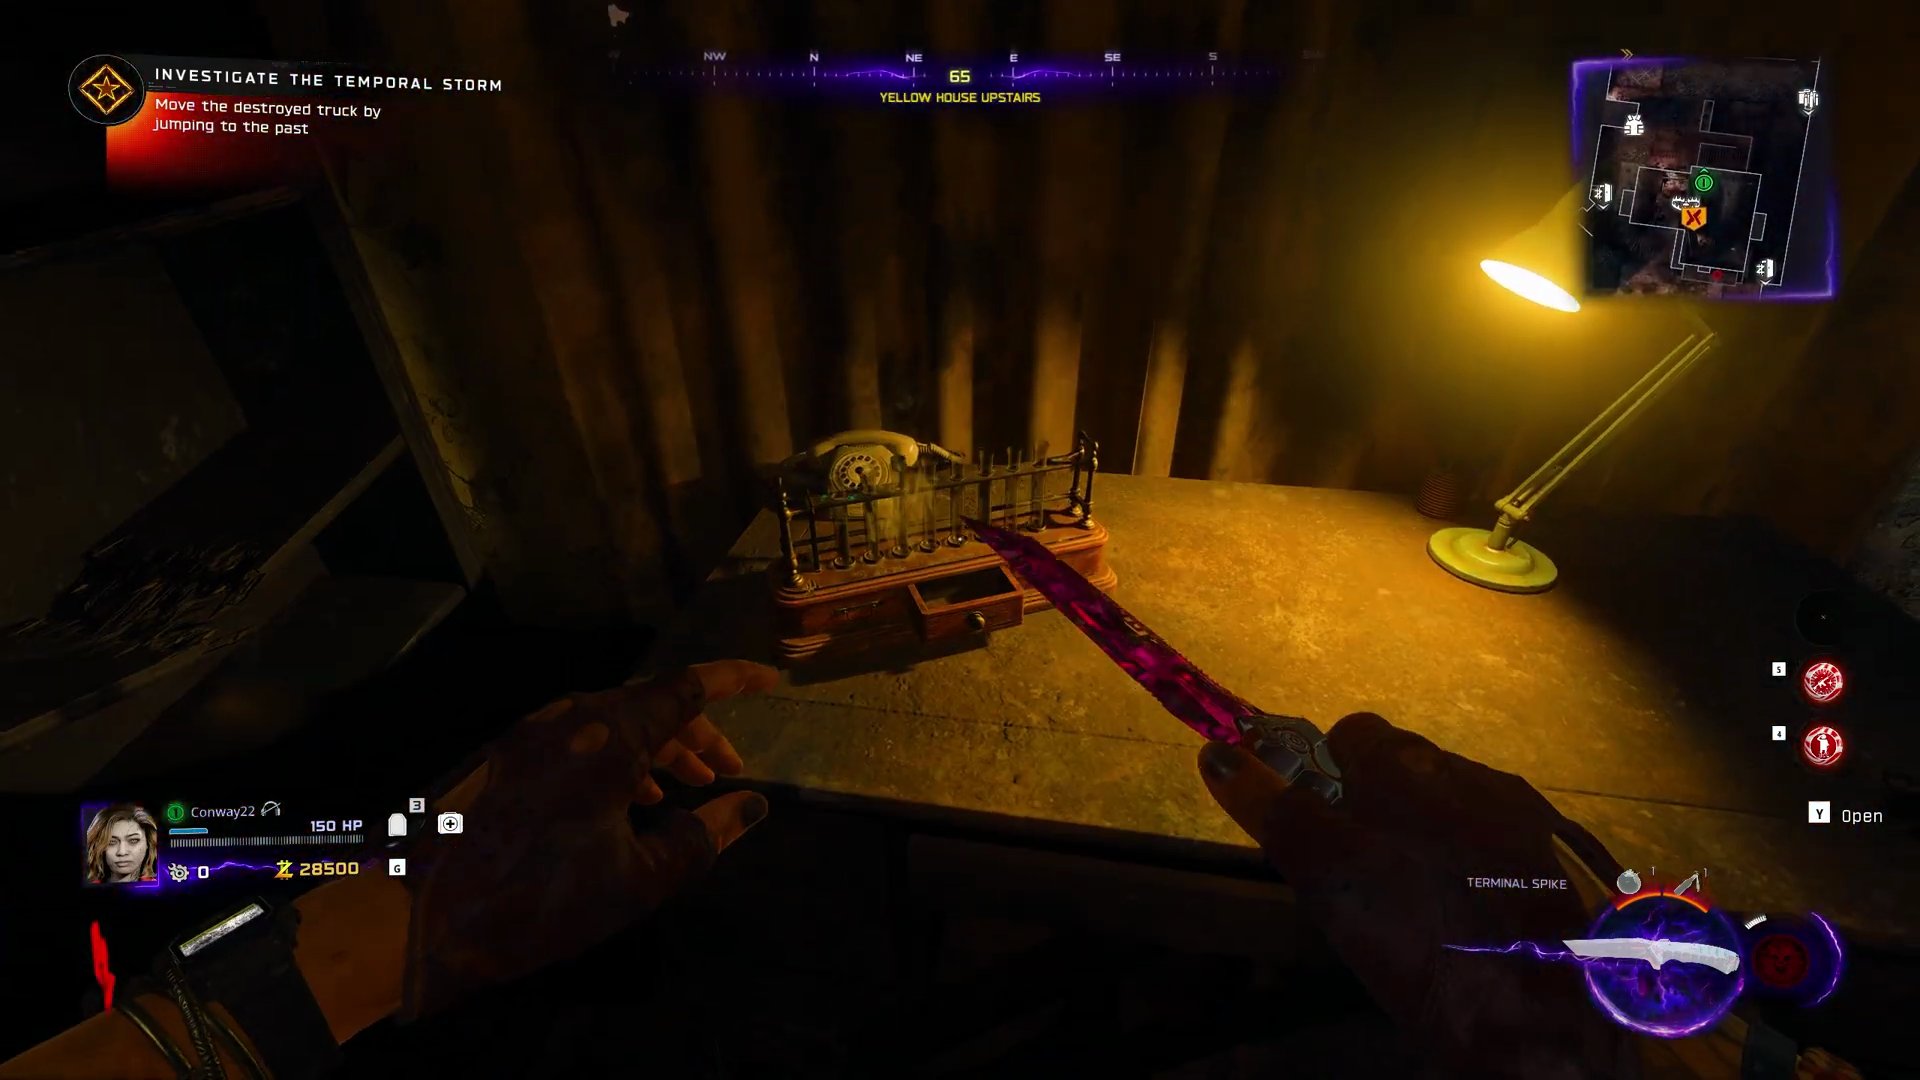
- **Collect Vials:** Head into the yellow house and pick up the vials from the upstairs desk.
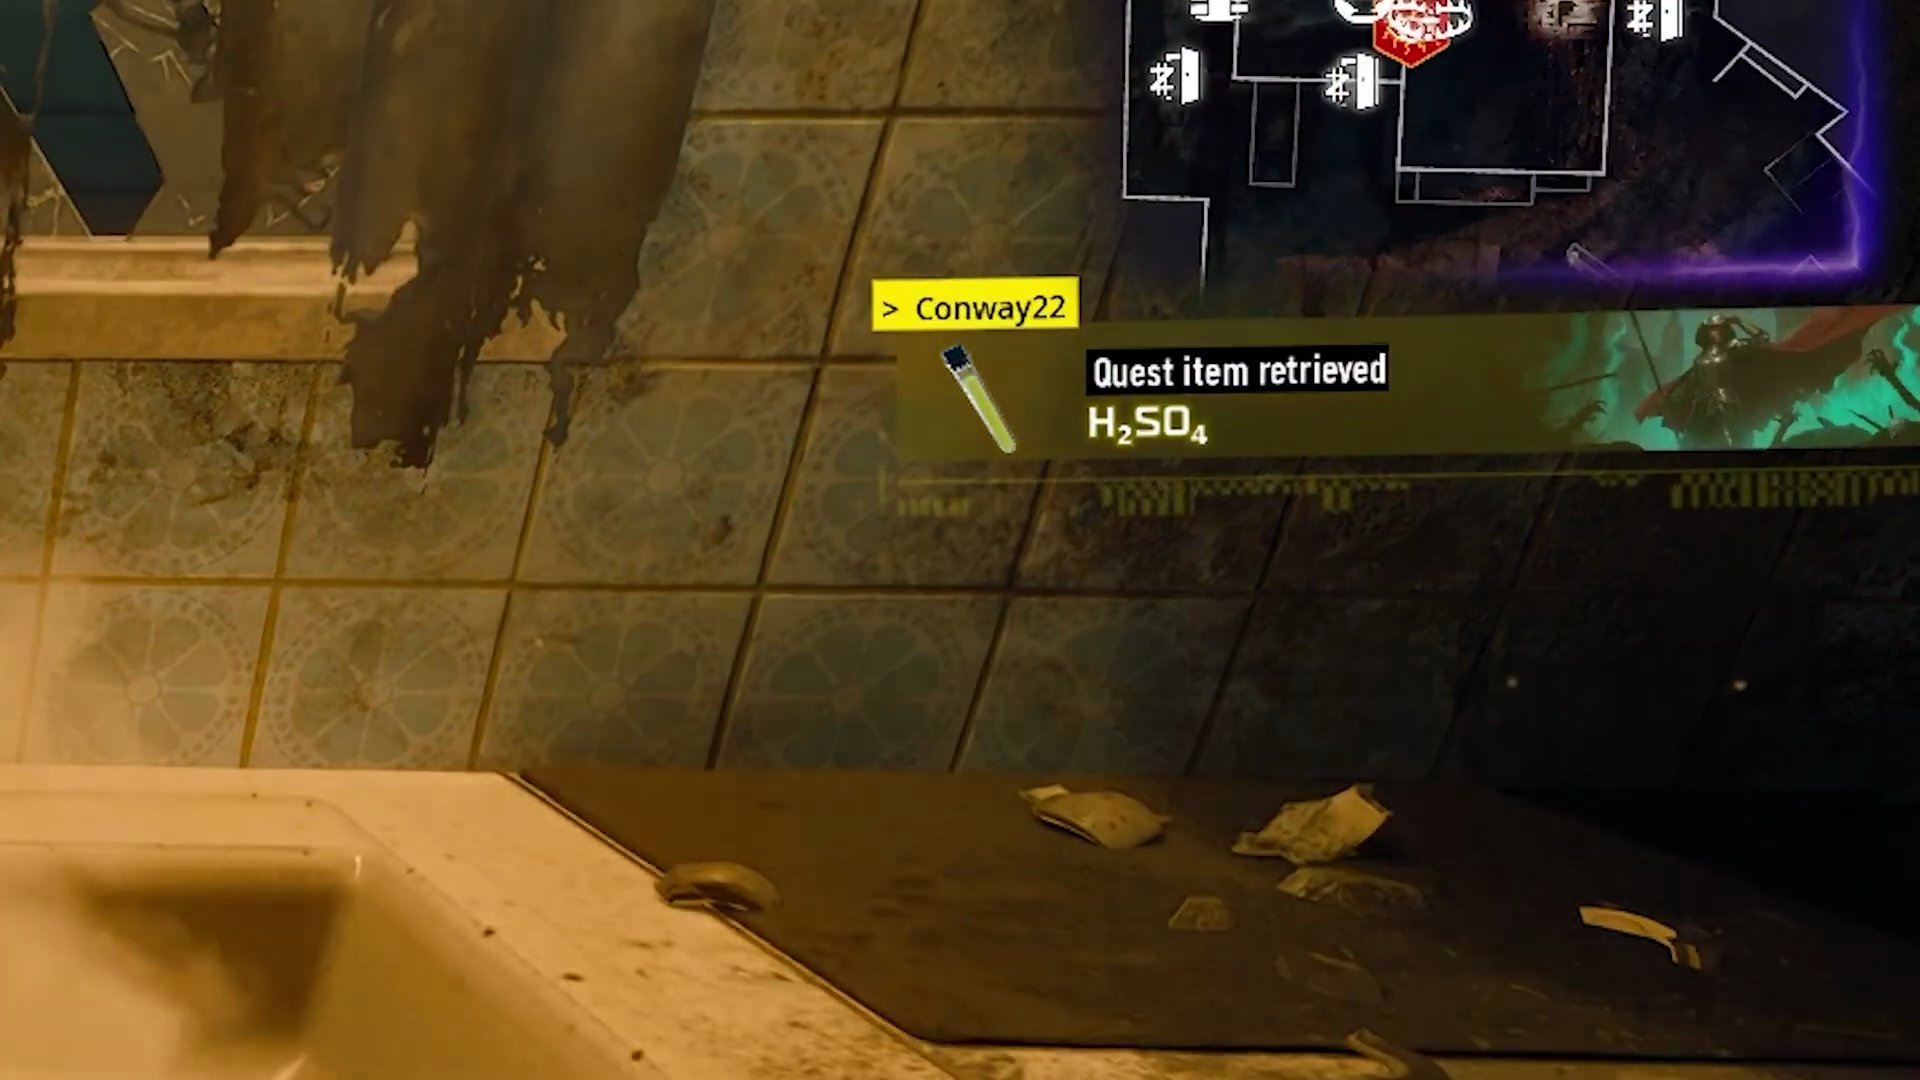
- **Fill Vials:** Go to the green house kitchen. Hold interact on the faucet to fill the vials with acid.
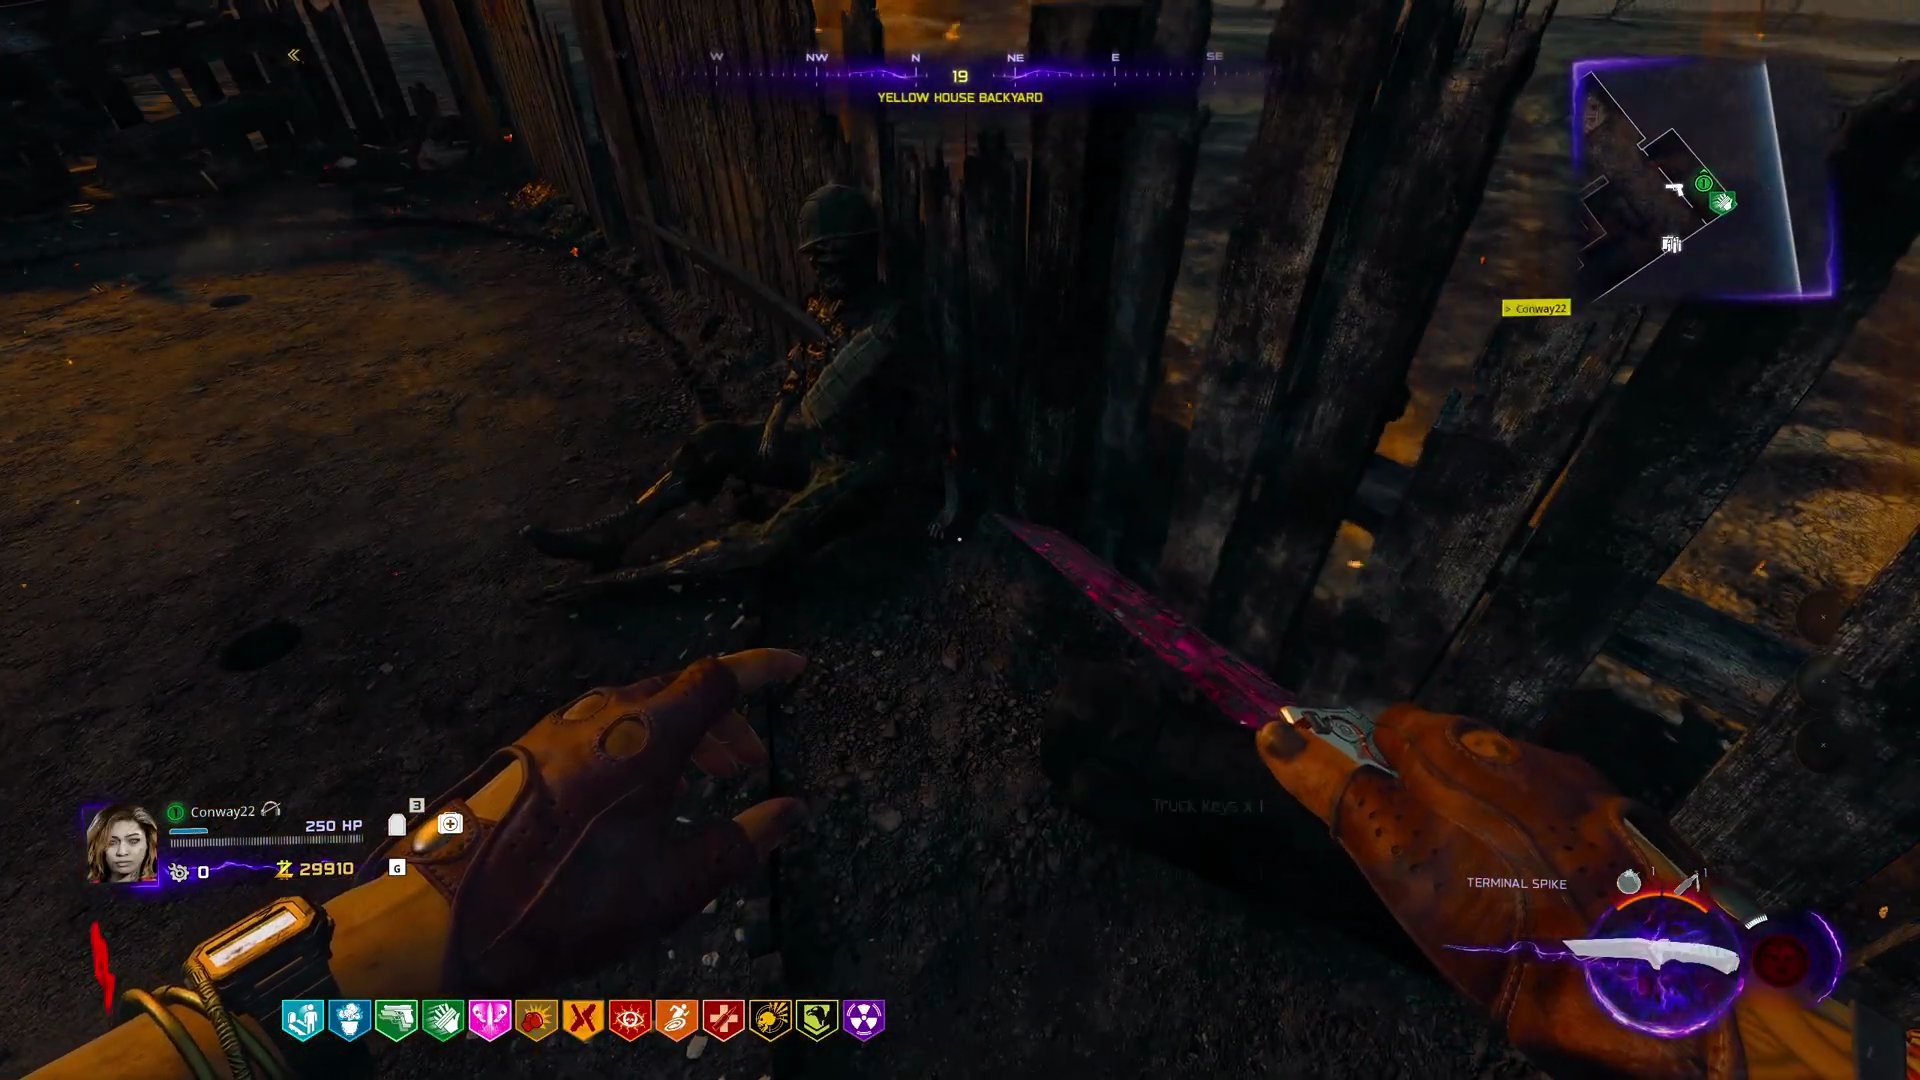
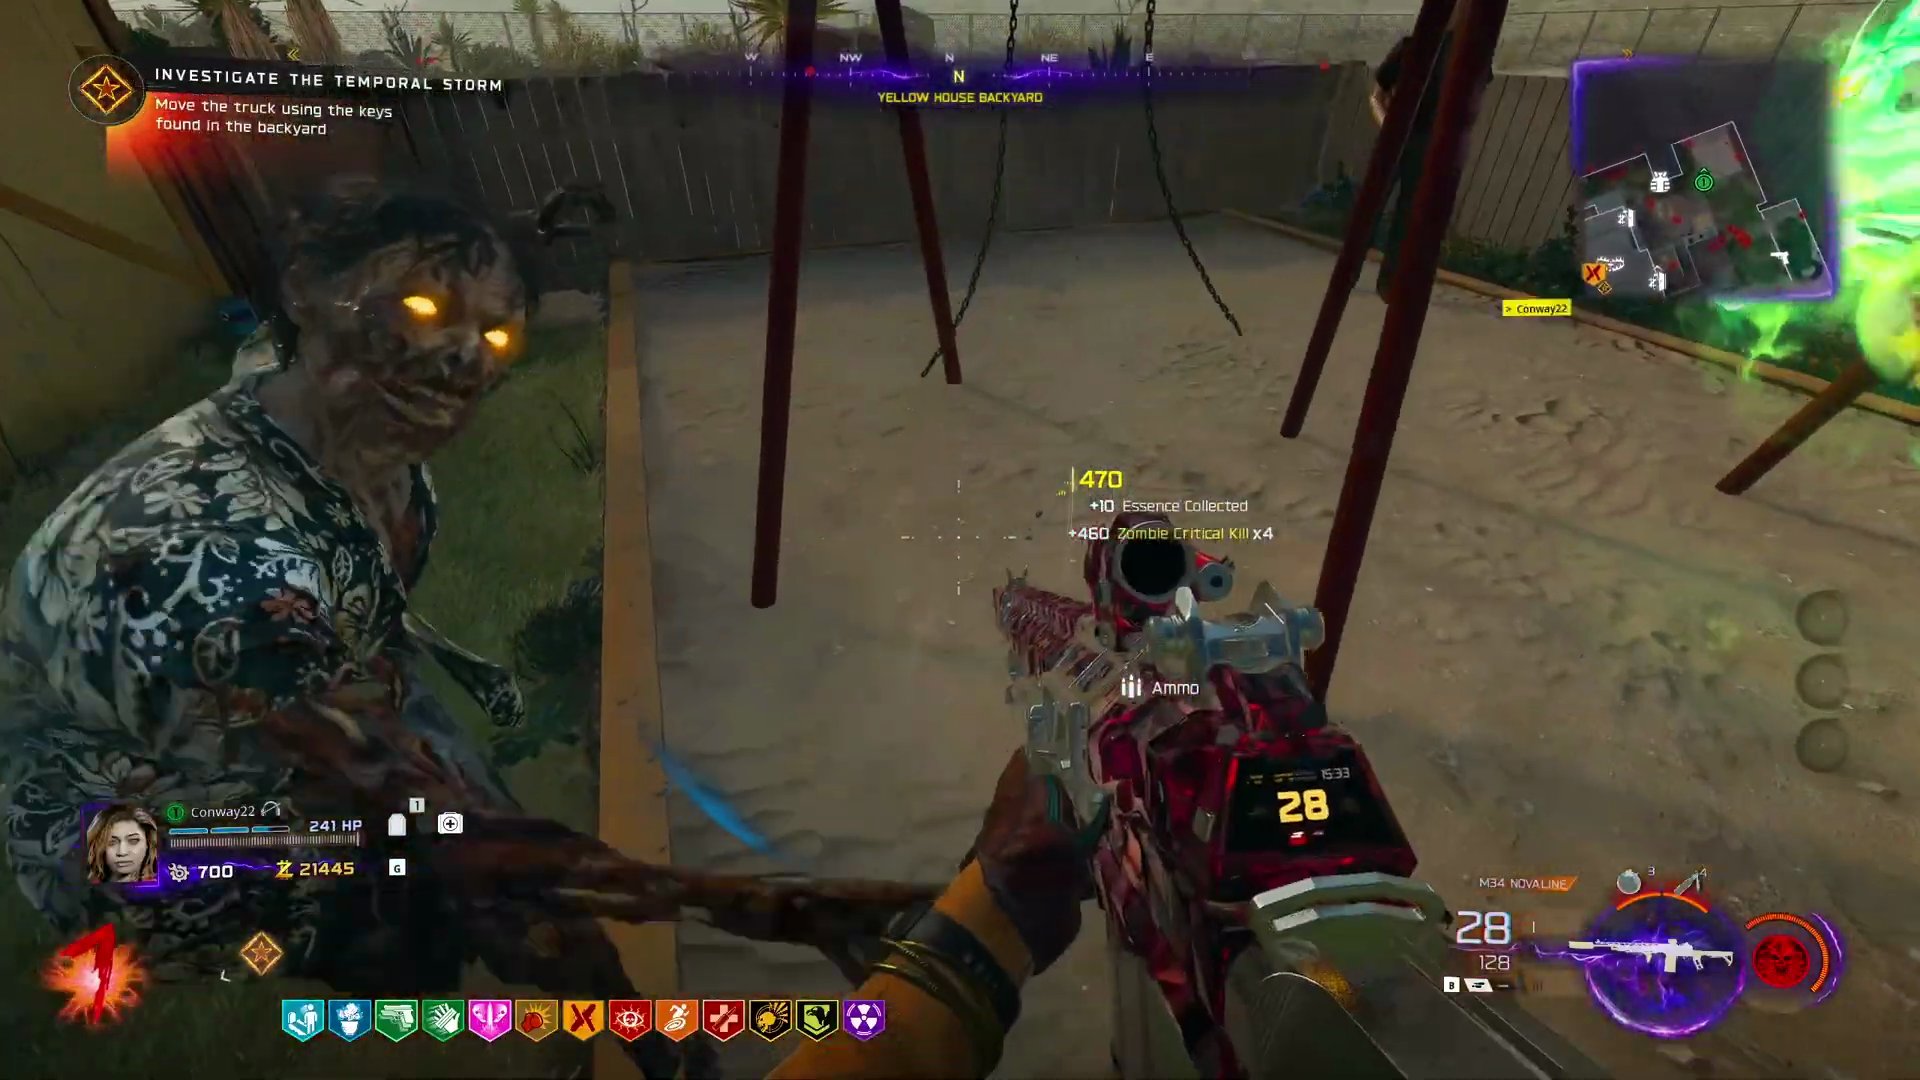
- **Gather Truck Keys:** In the yellow house backyard, pick up the truck keys from the character stabbed with a golf club.
3. Unlock Pack-a-Punch (Past)
- **Teleport to Past:** Kill zombies to trigger a dog round, which will teleport you to the 'Past' version of Nuketown.
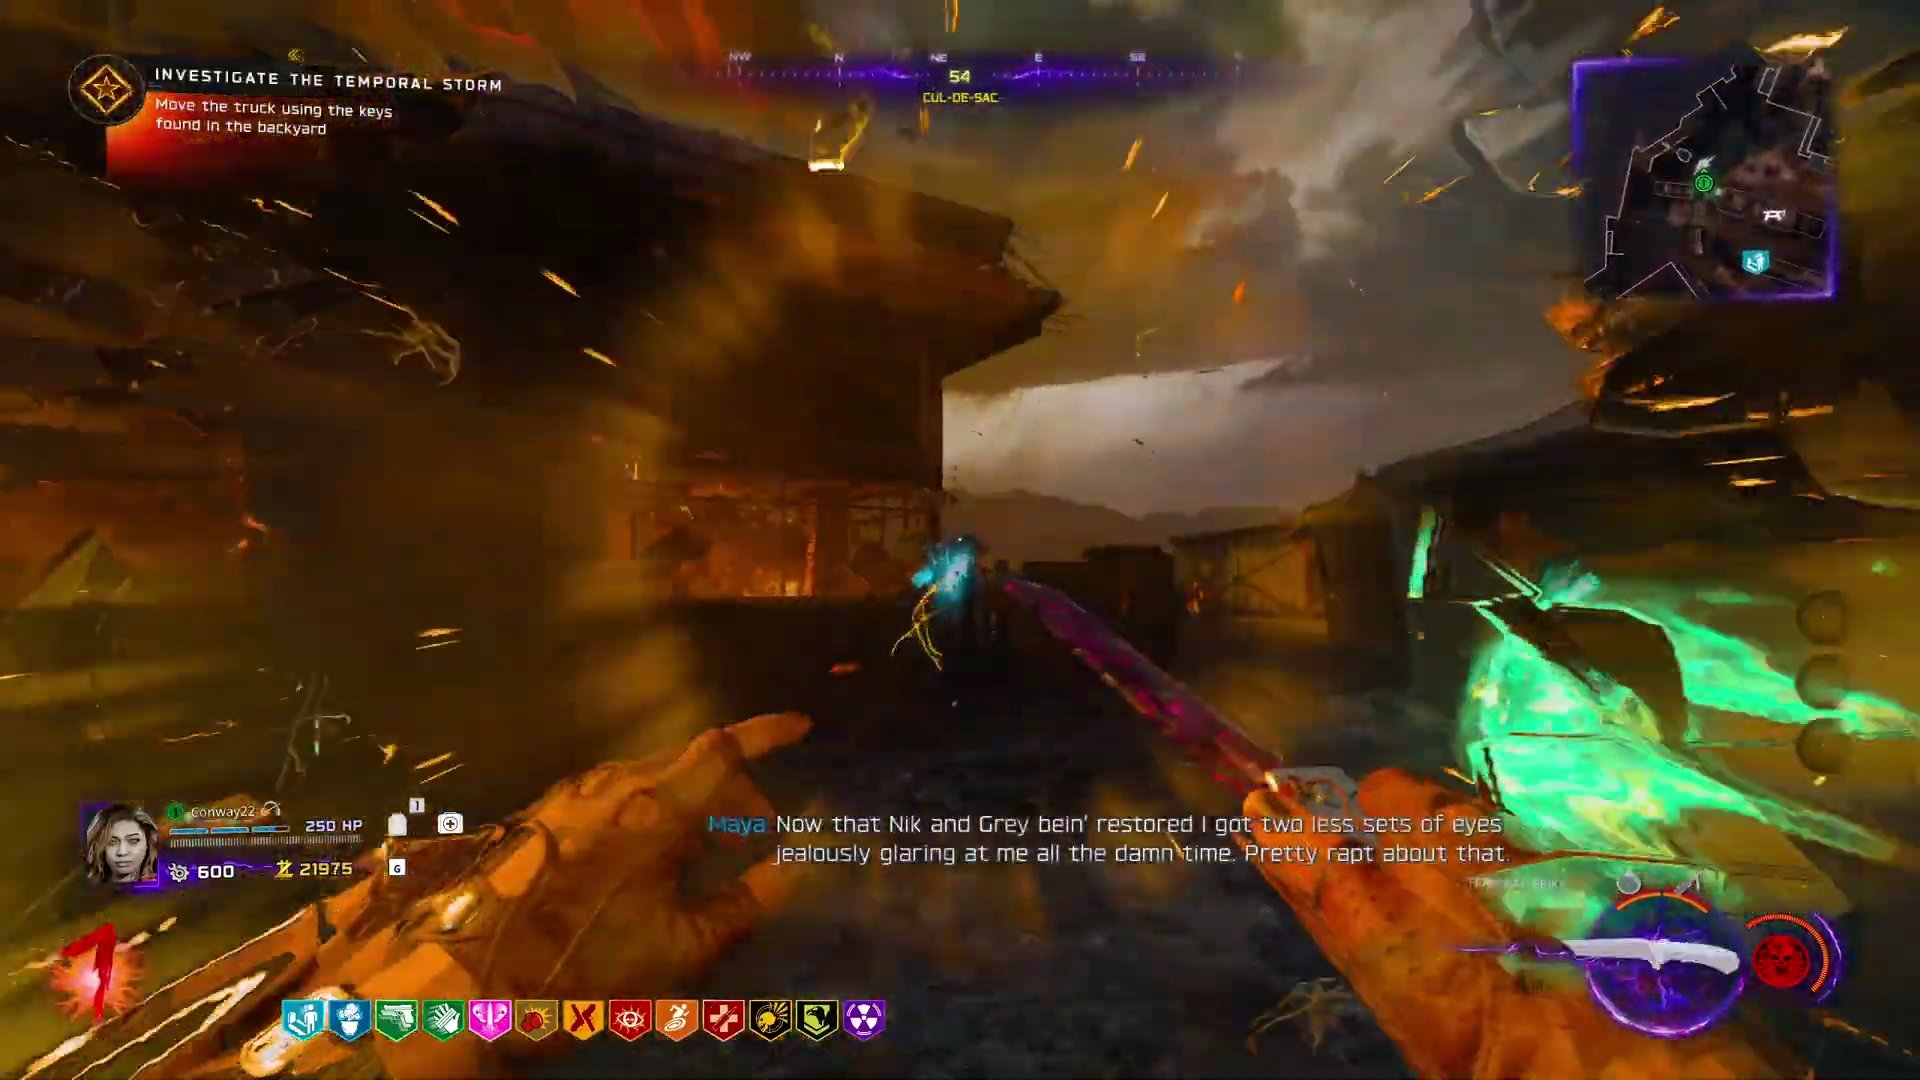
- **Move Truck:** Use the truck keys on the truck blocking the Pack-a-Punch machine to move it.
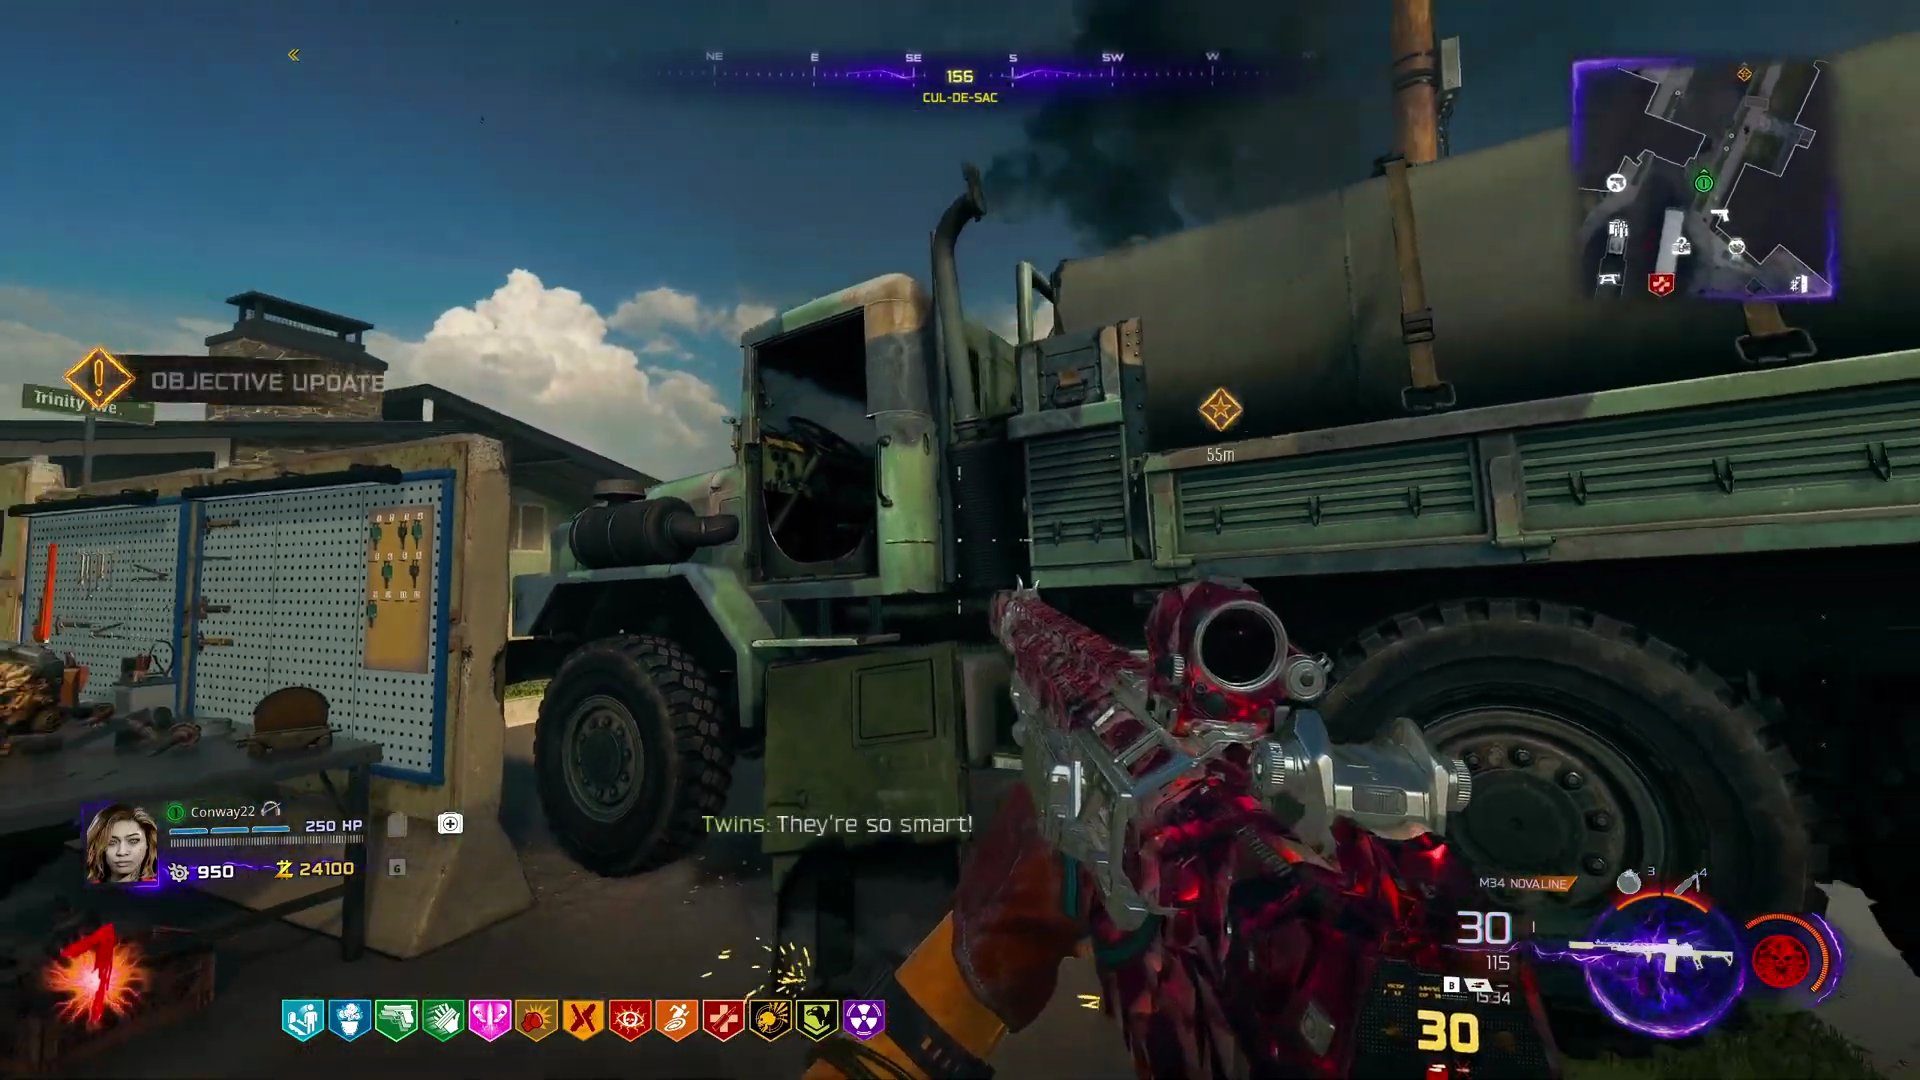
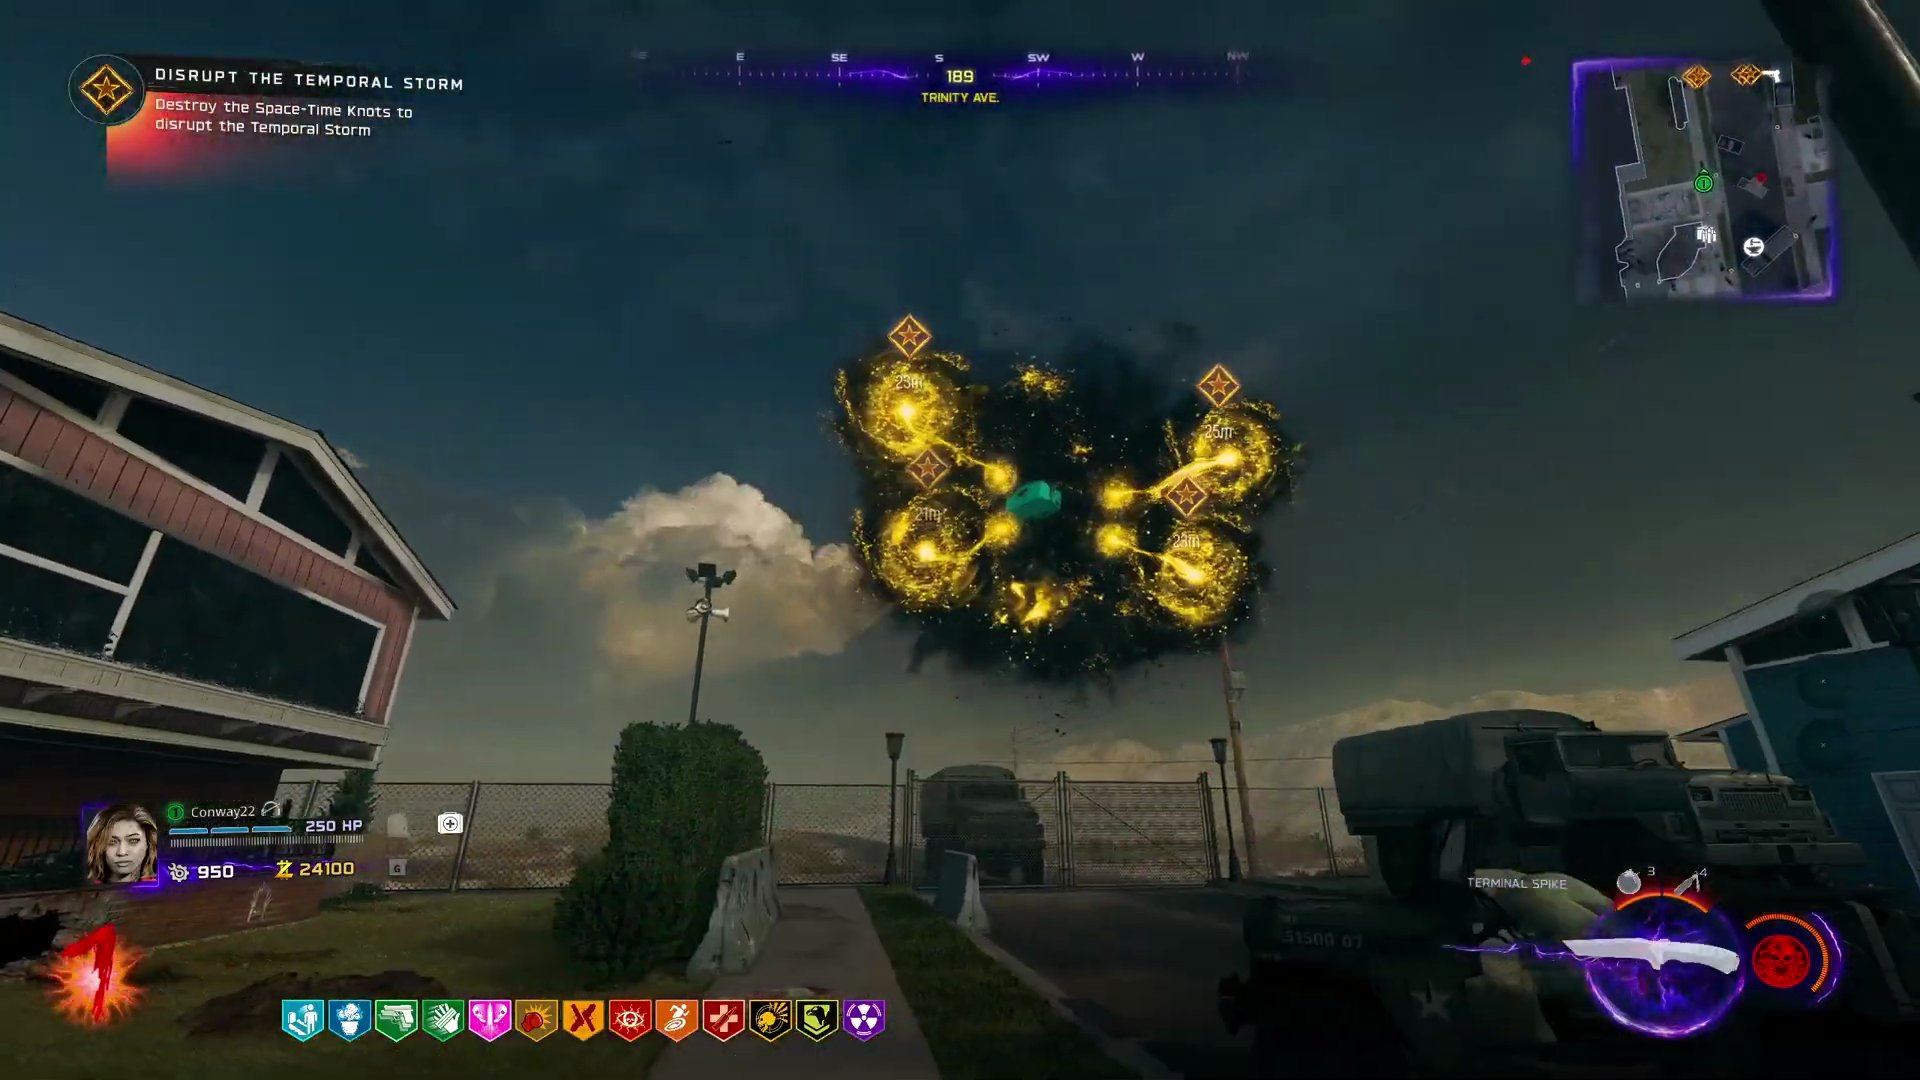
- **Activate Pack-a-Punch:** Shoot the yellow blobs surrounding the Pack-a-Punch machine until it's active.
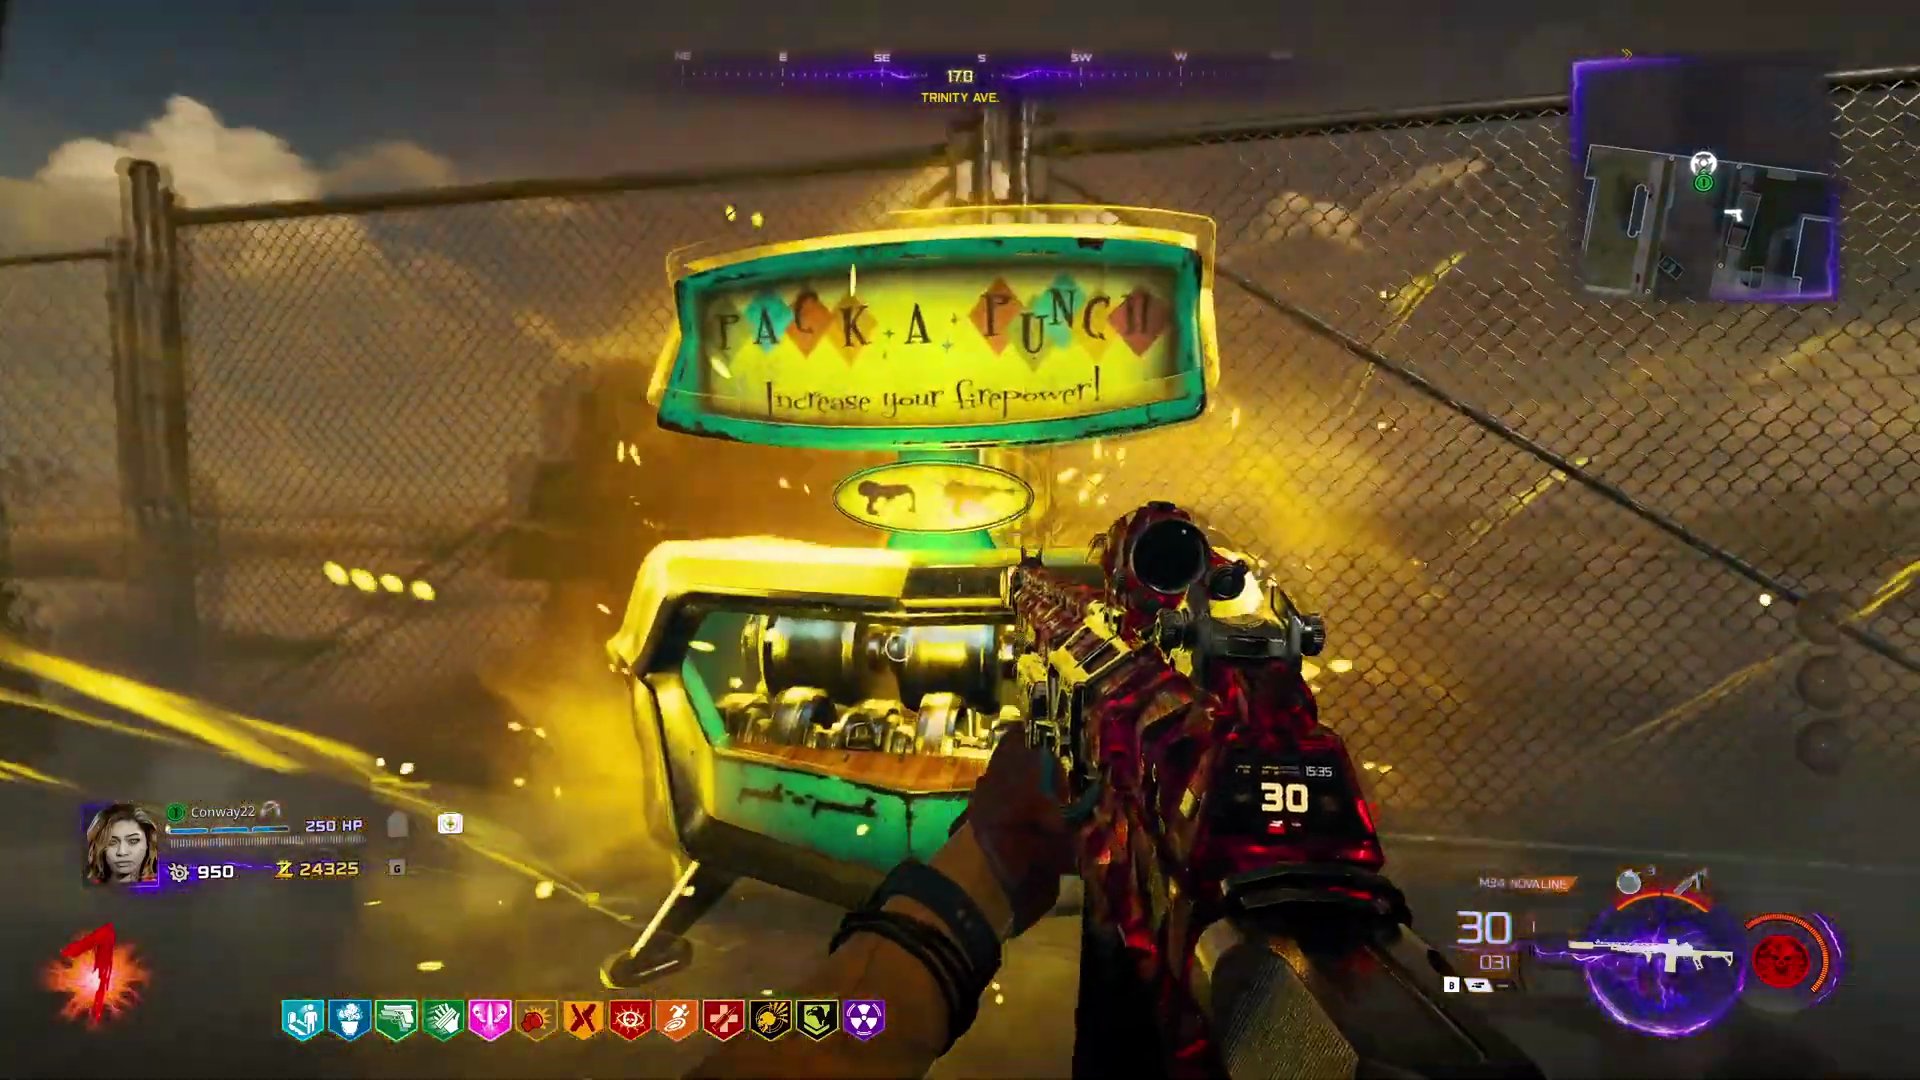
- **Use Pack-a-Punch:** Upgrade your weapon.
- The Trinity Avenue area of the map is now open.
4. Collect Wonder Weapon Parts
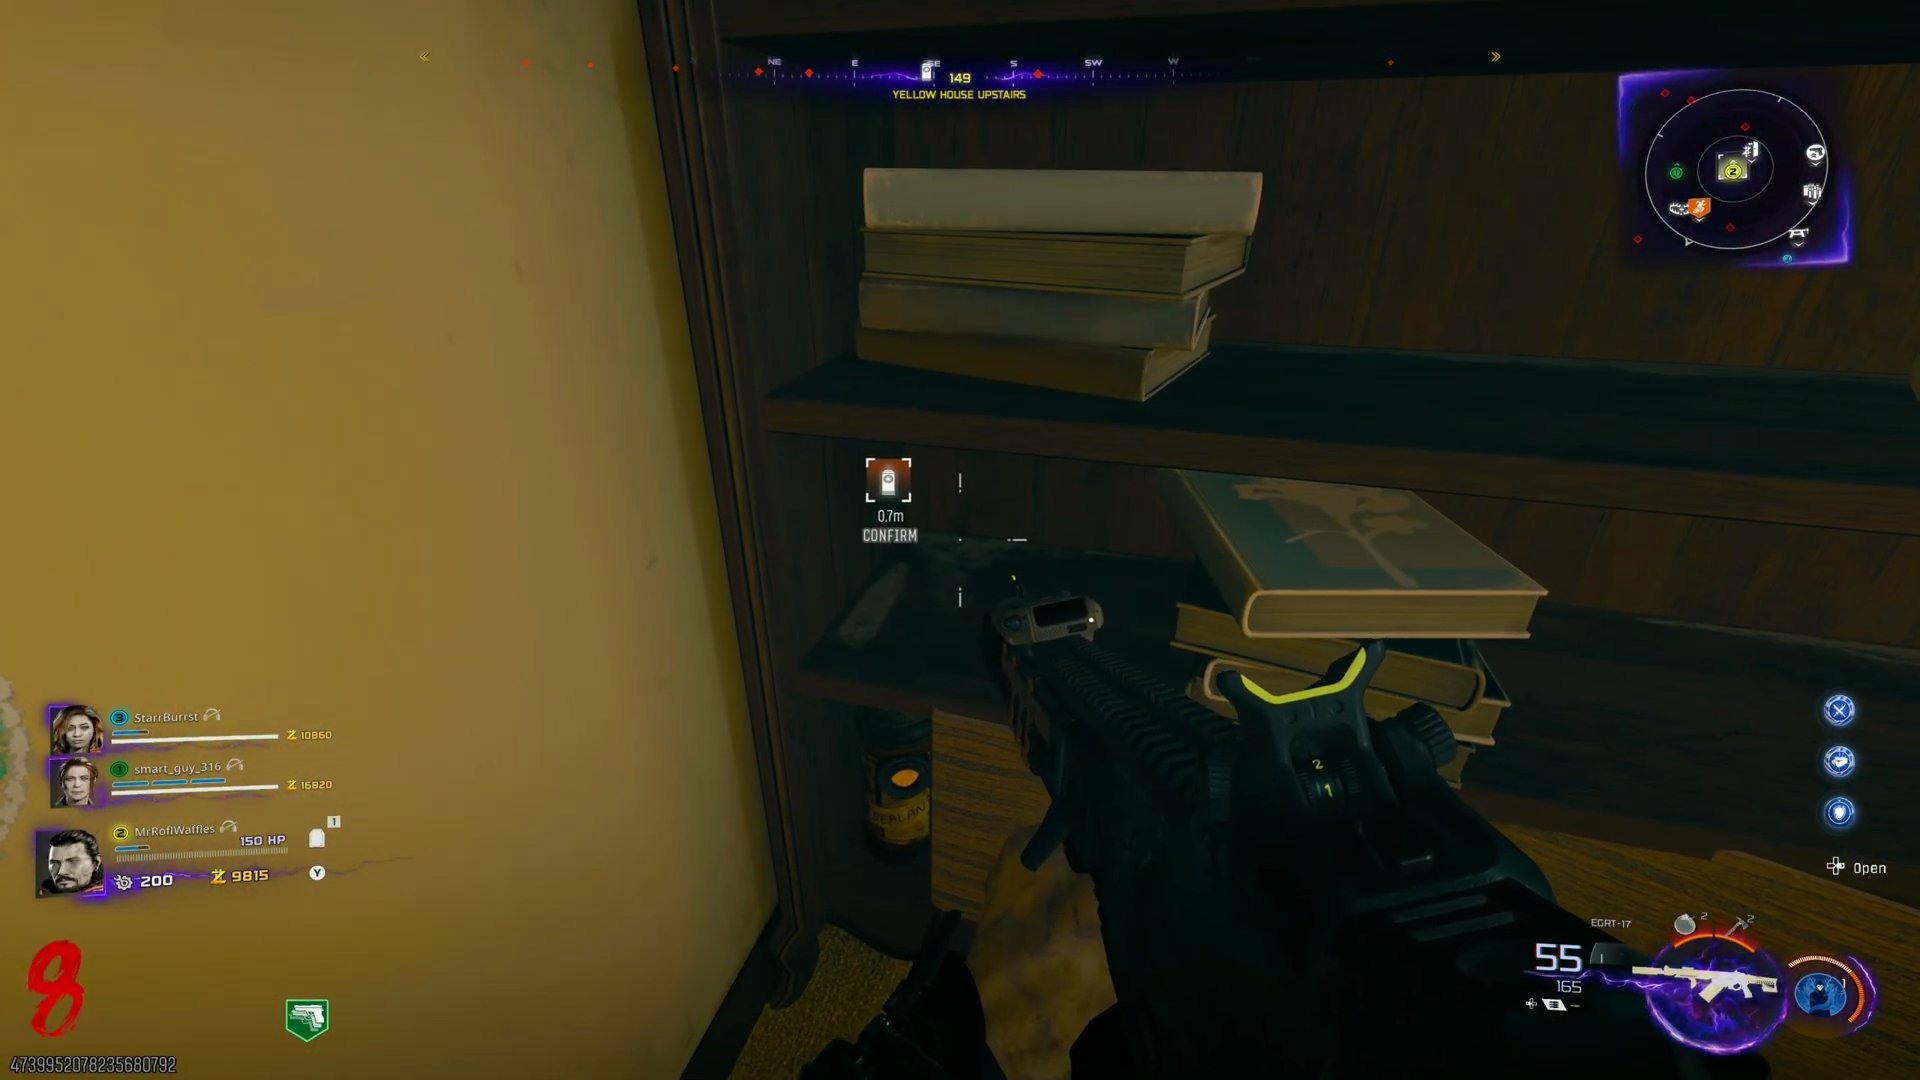
- **Obtain Sealant:** In the yellow house (Past), find the sealant on the shelves upstairs.
- **Break Swing Set:** In the yellow house backyard (Past), melee the swing set to destroy it. Pick up the swing seat that drops.
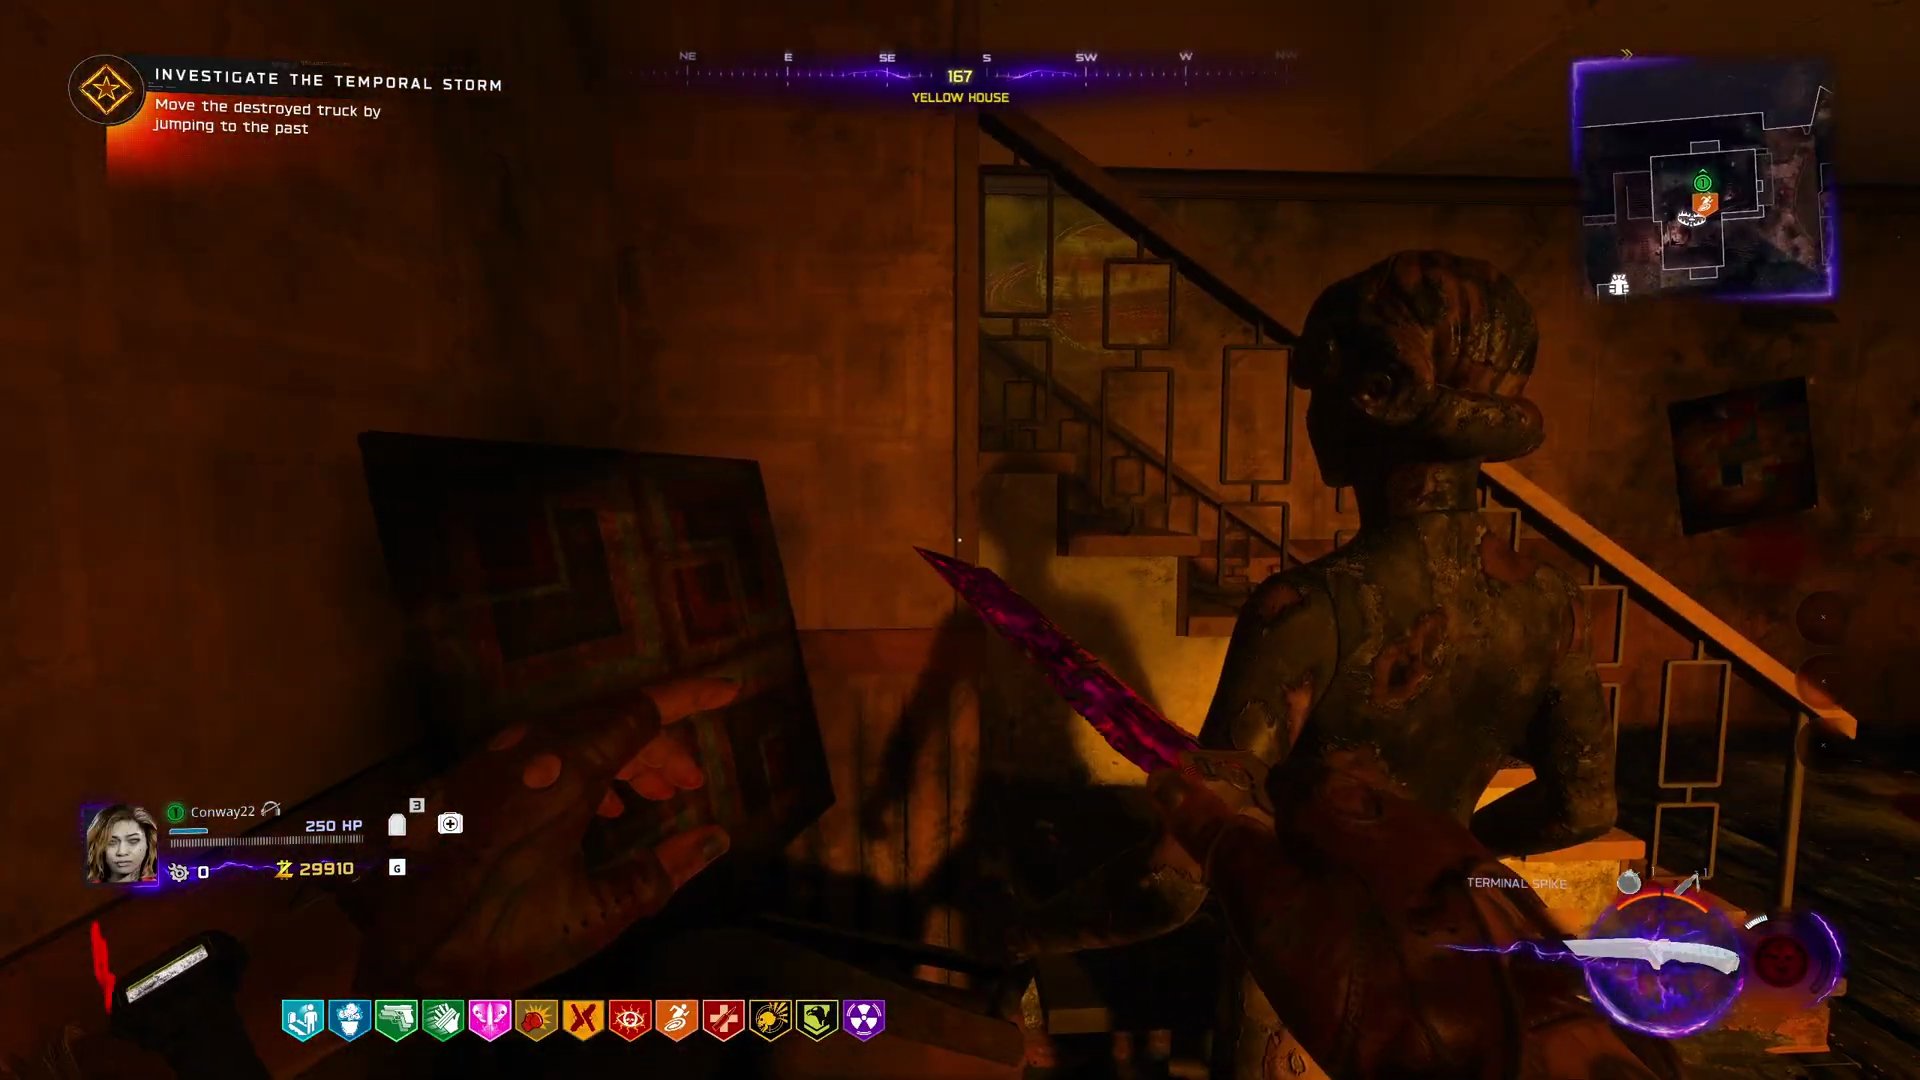
- **Find Ringing Mannequin (Destroyed):** Teleport back to Destroyed Nuketown via a Temporal Conduit. Find the mannequin making a distinct ringing sound.
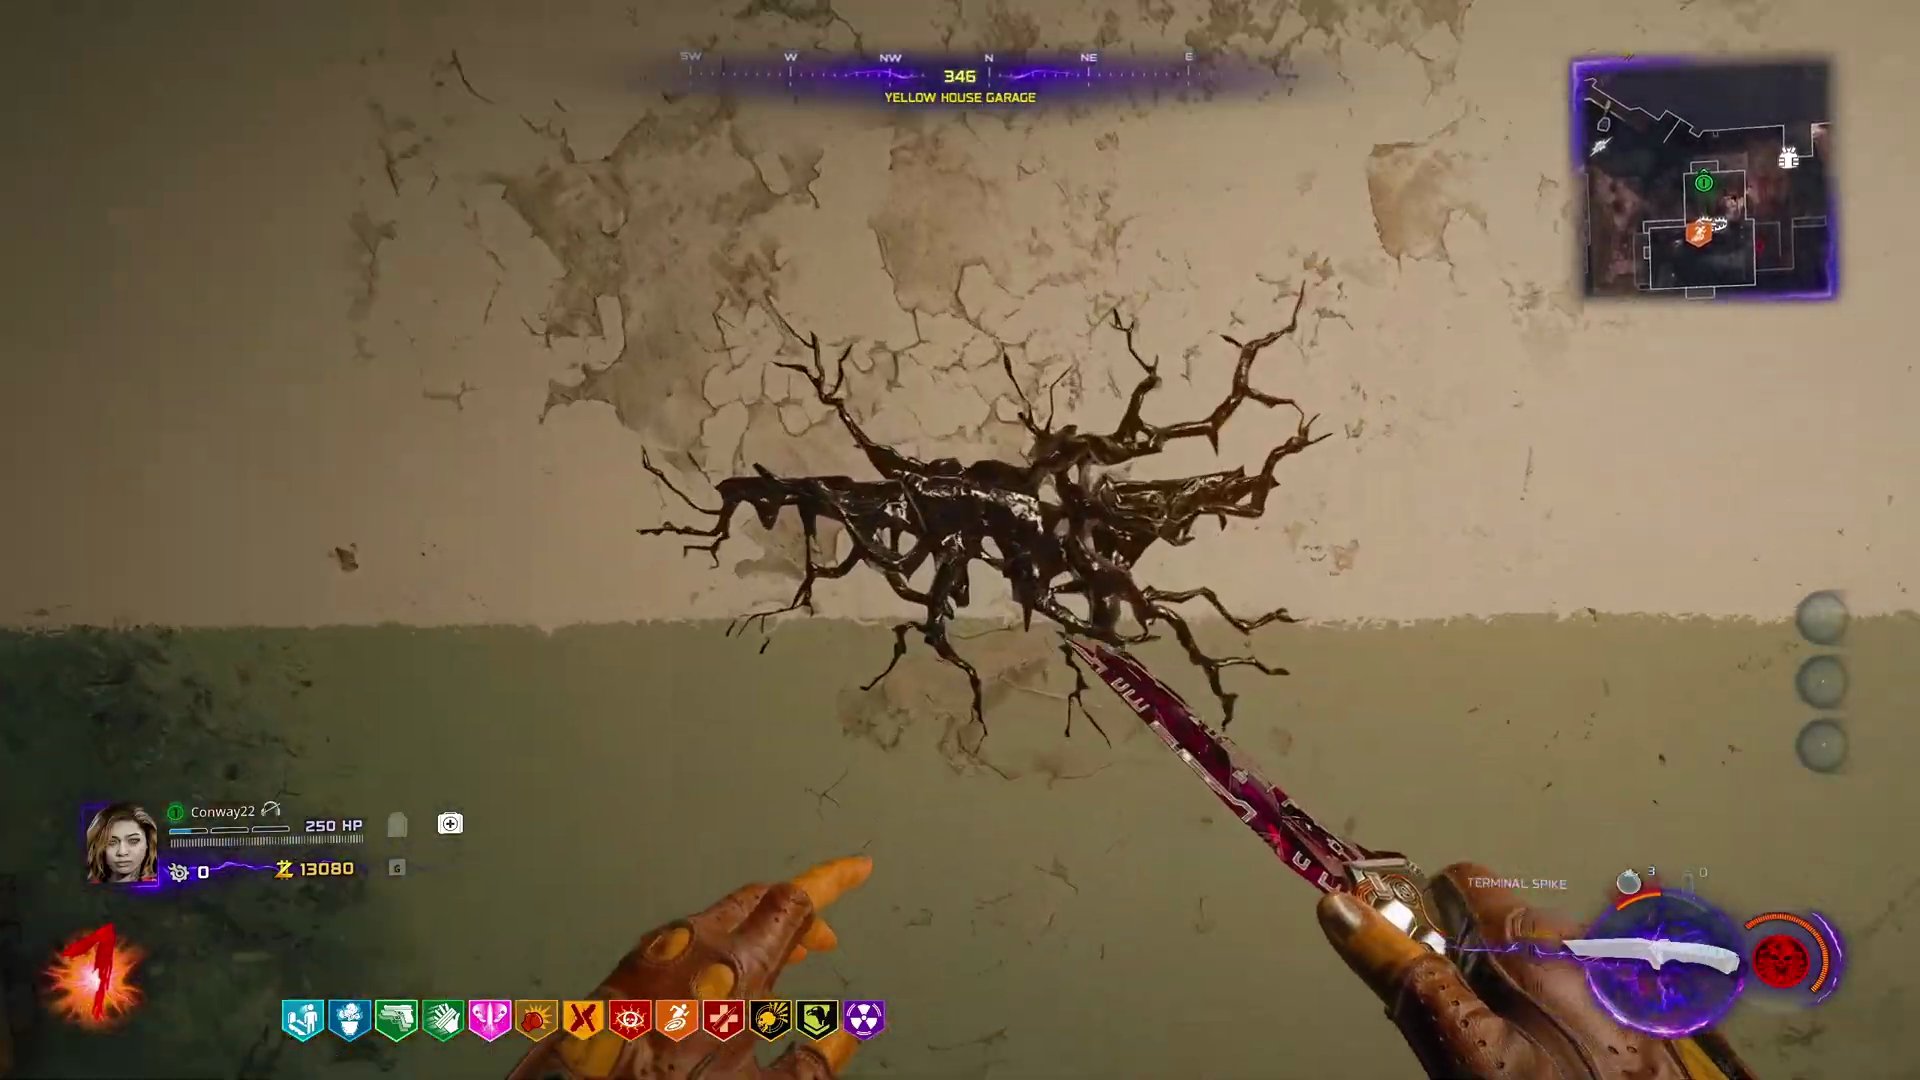
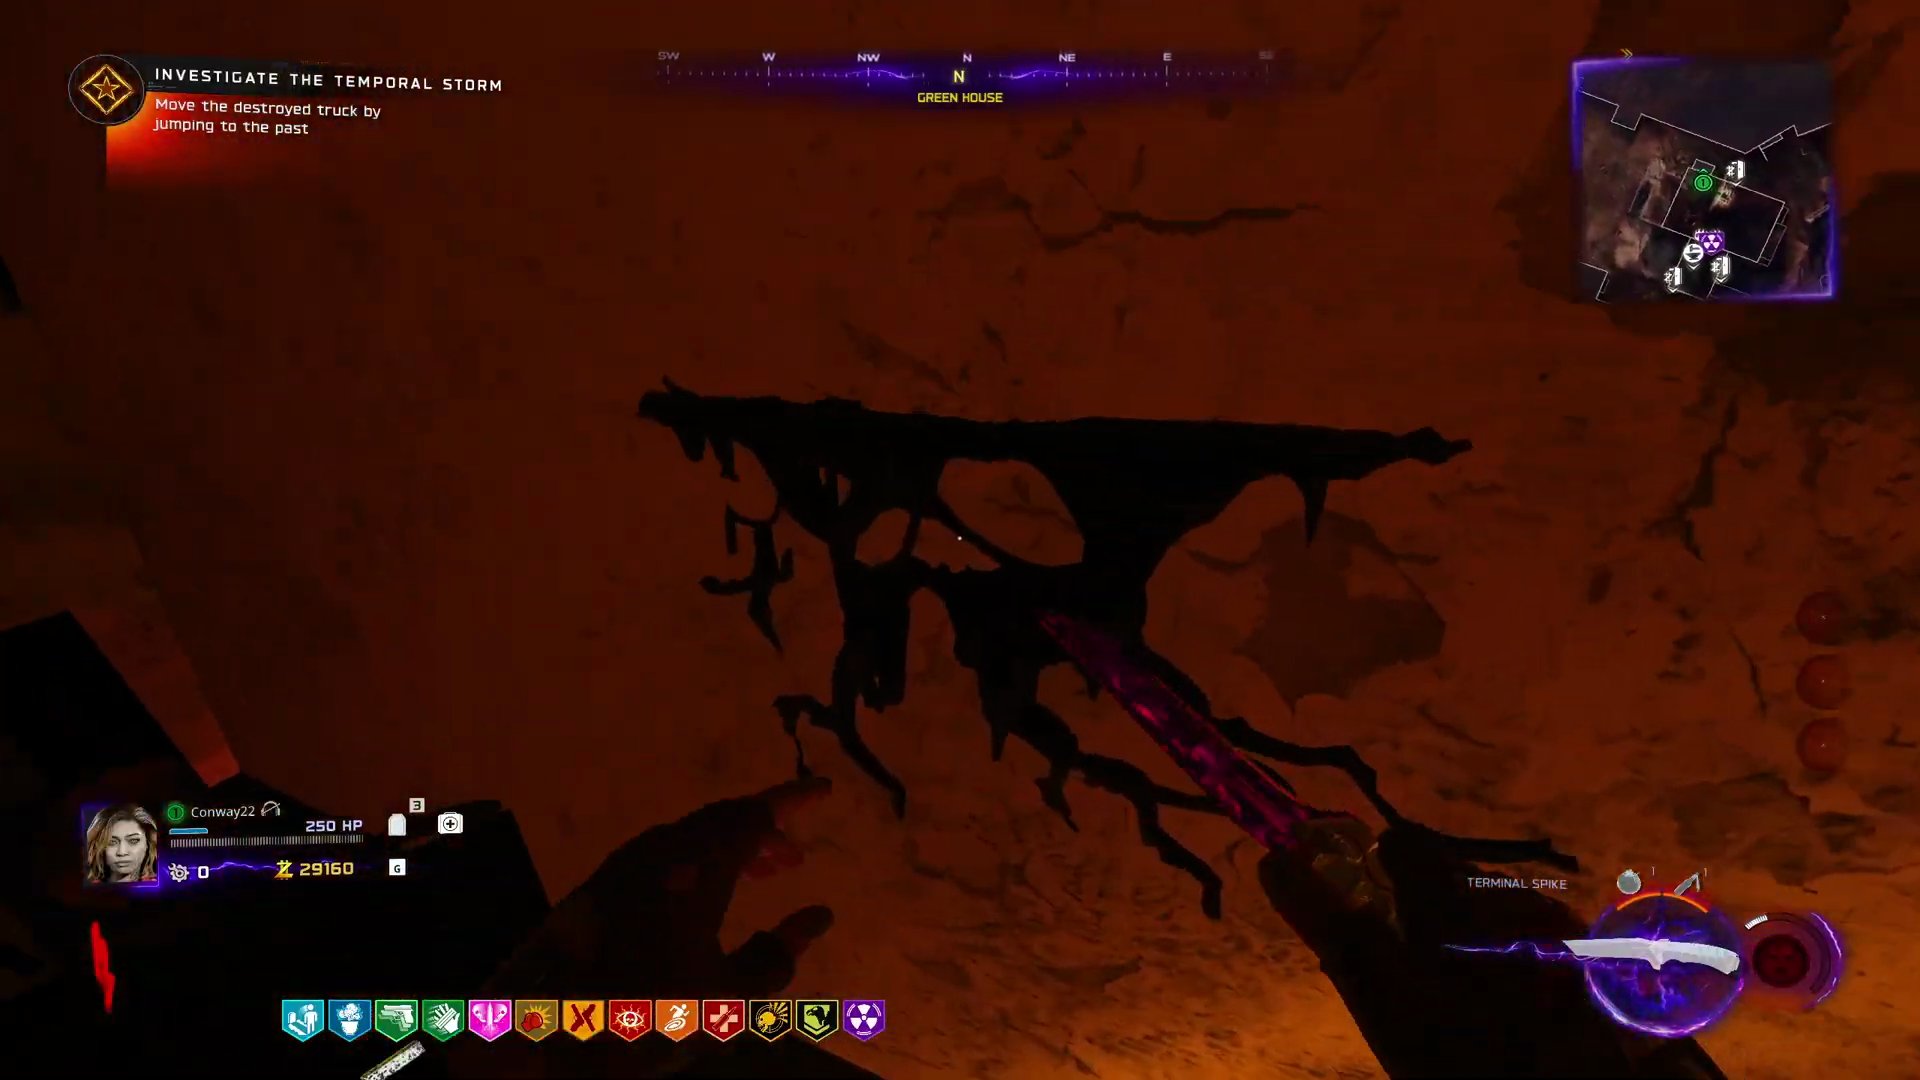
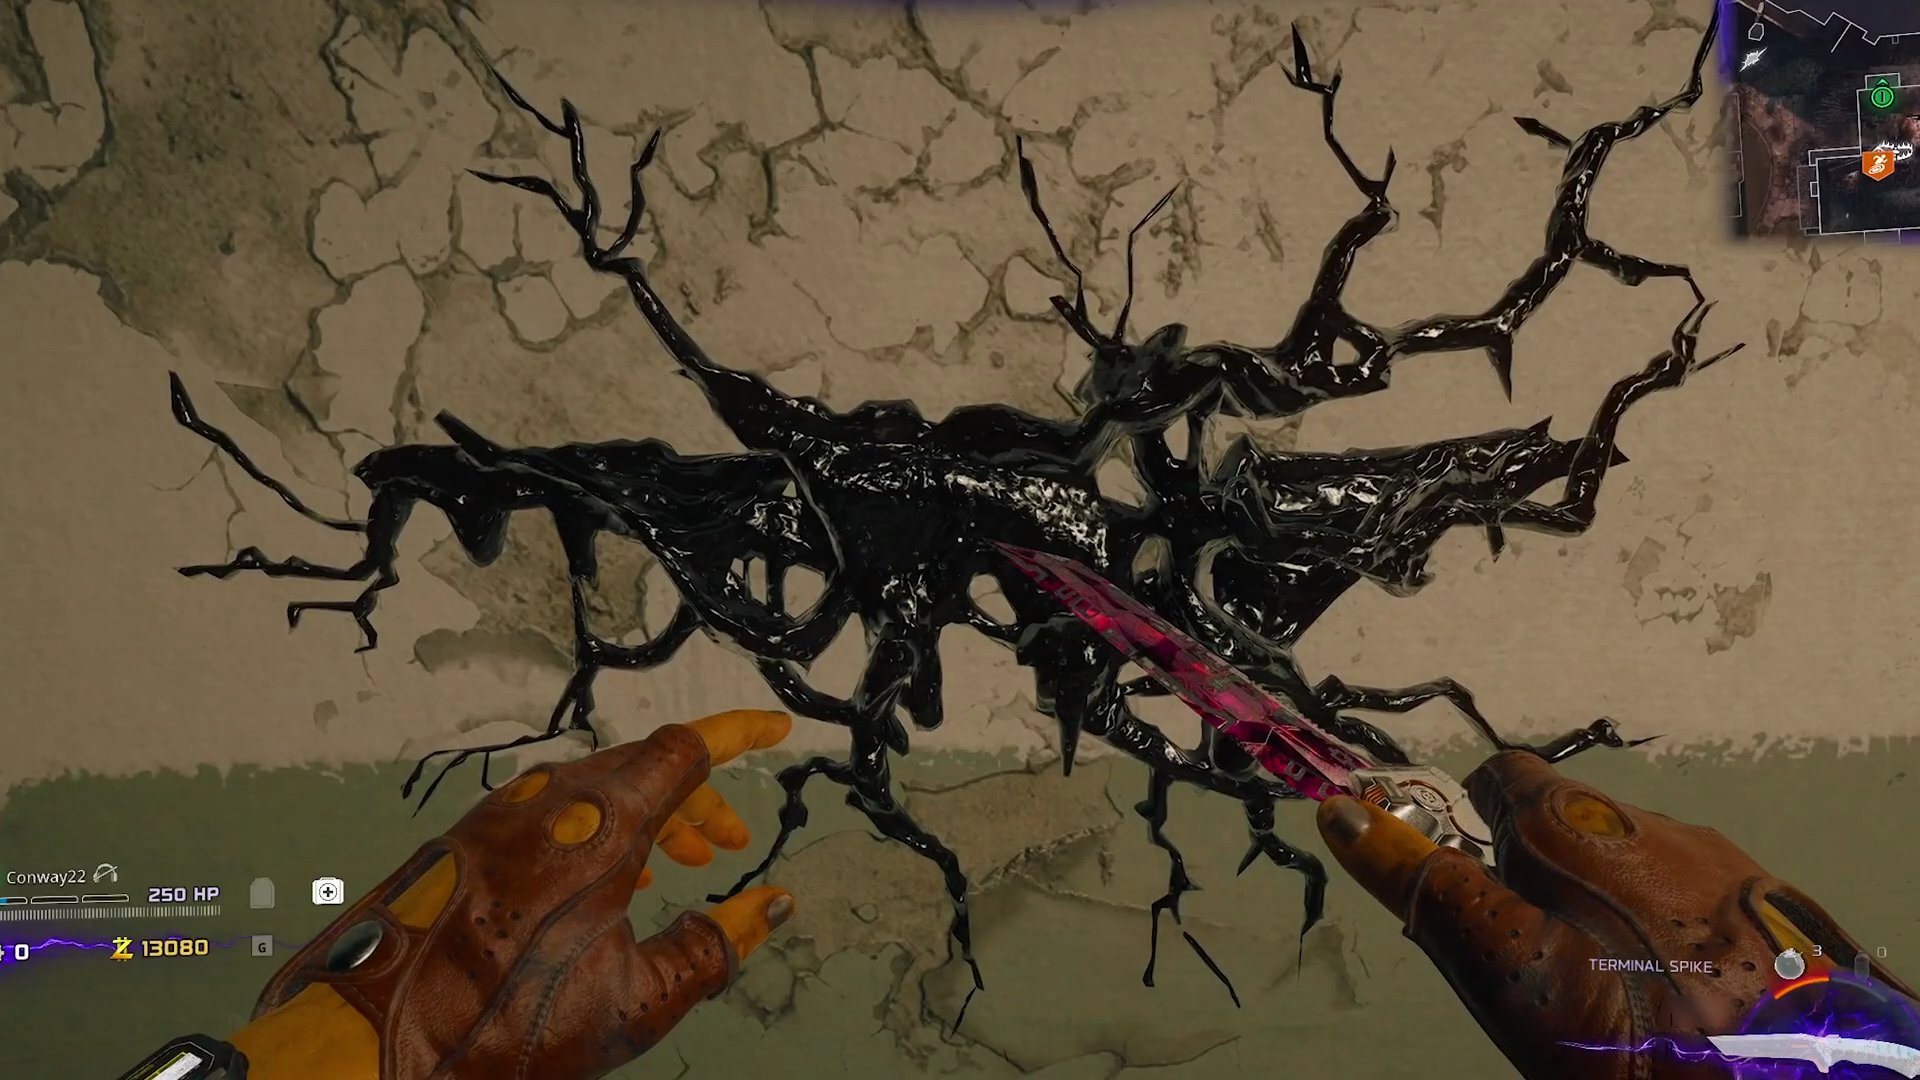
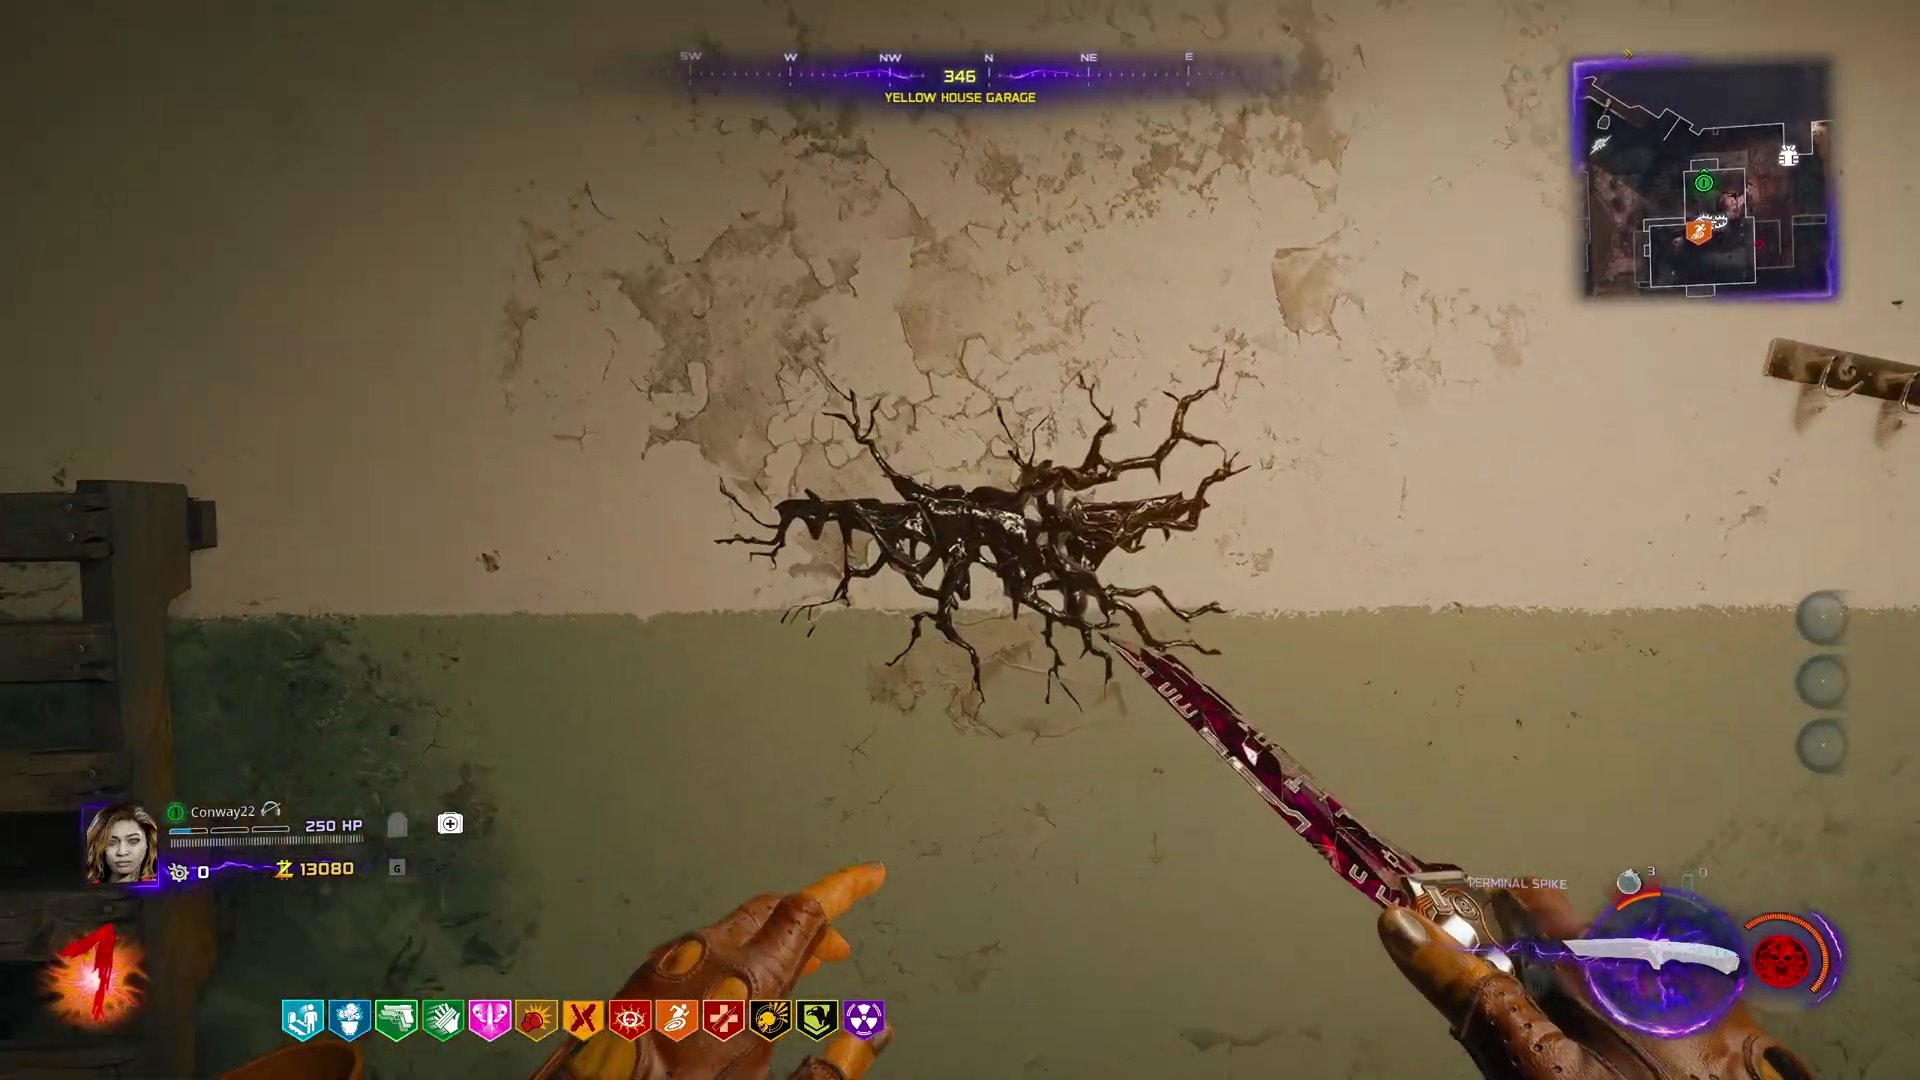
- **Find Ringing Wall Goo (Destroyed):** Locate the wall goo that is also making a ringing sound. (Locations include Yellow House Garage, Green House stairs, Trinity Ave).
 ,
 ,
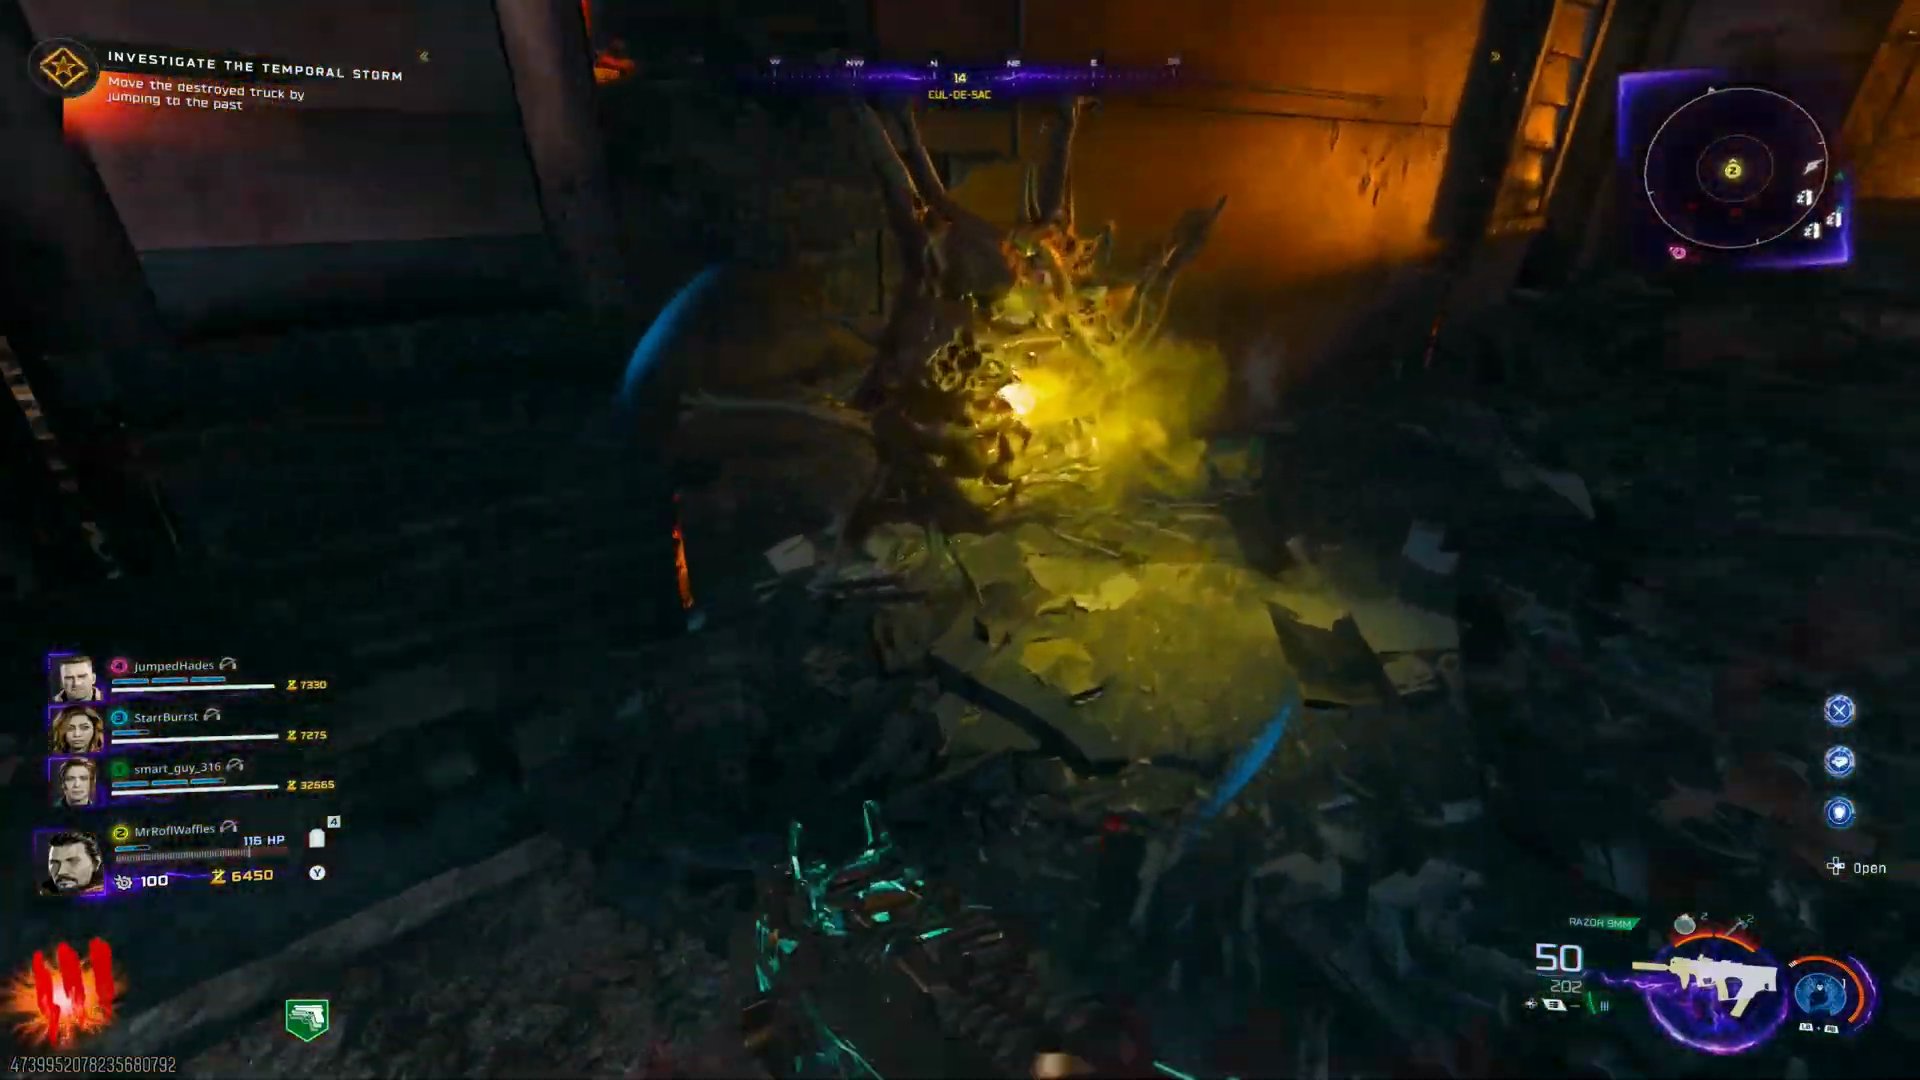
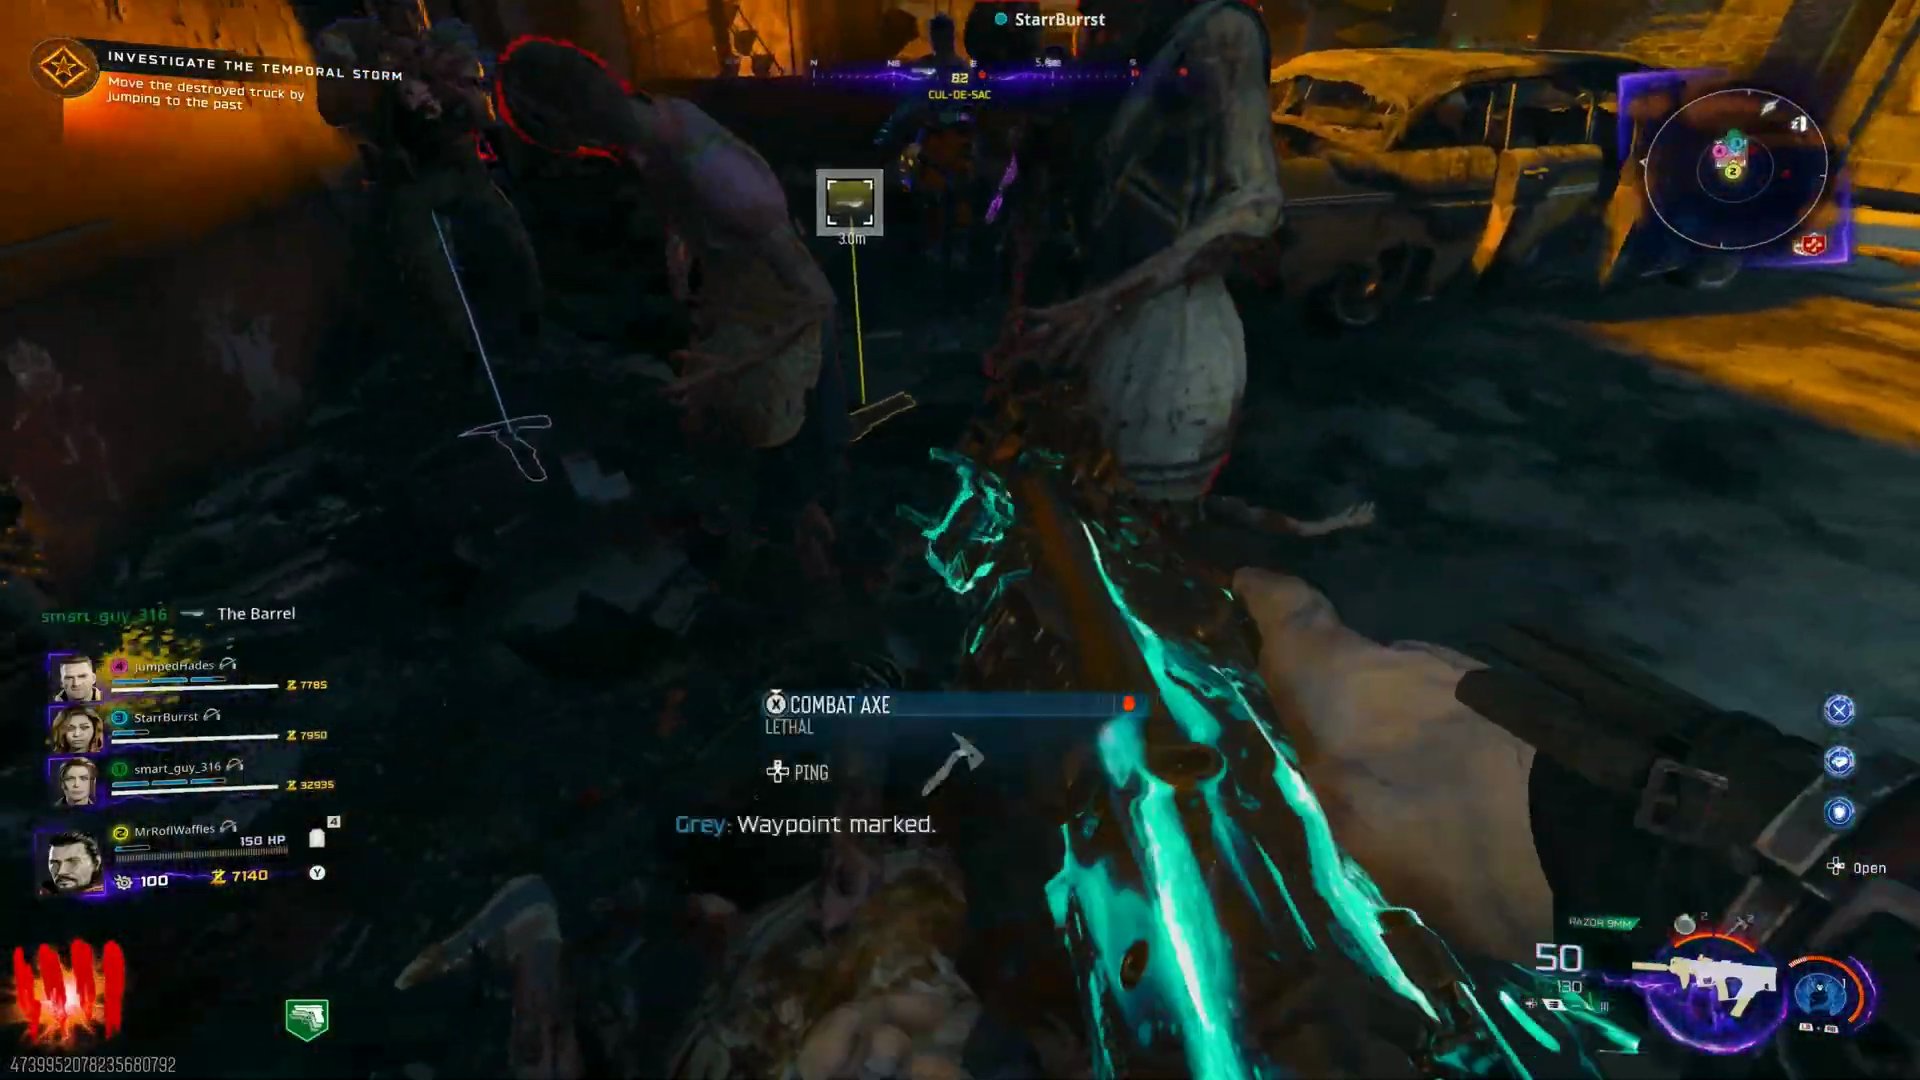
- **Find Ringing Yellow Cyst (Destroyed):** Locate the yellow cyst making a ringing sound. Kill zombies nearby to obtain a Barrel.
 ,
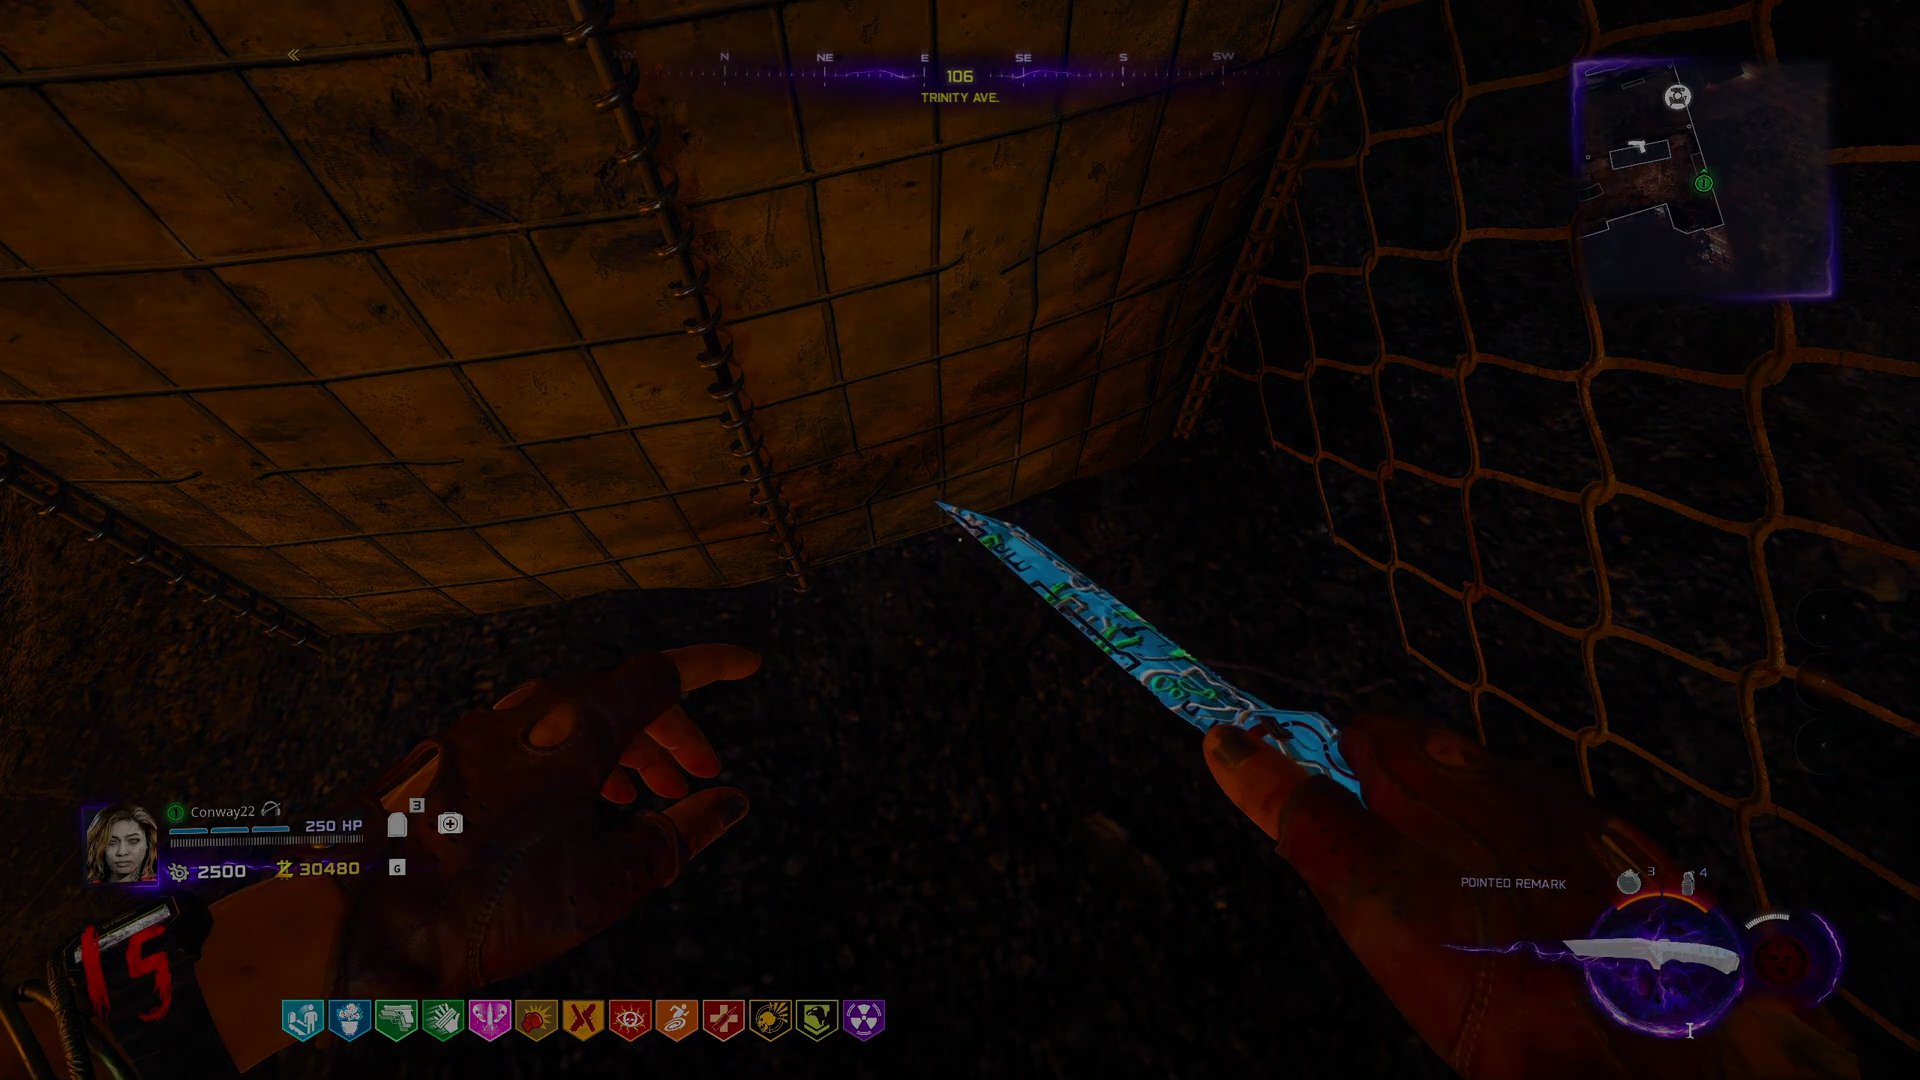
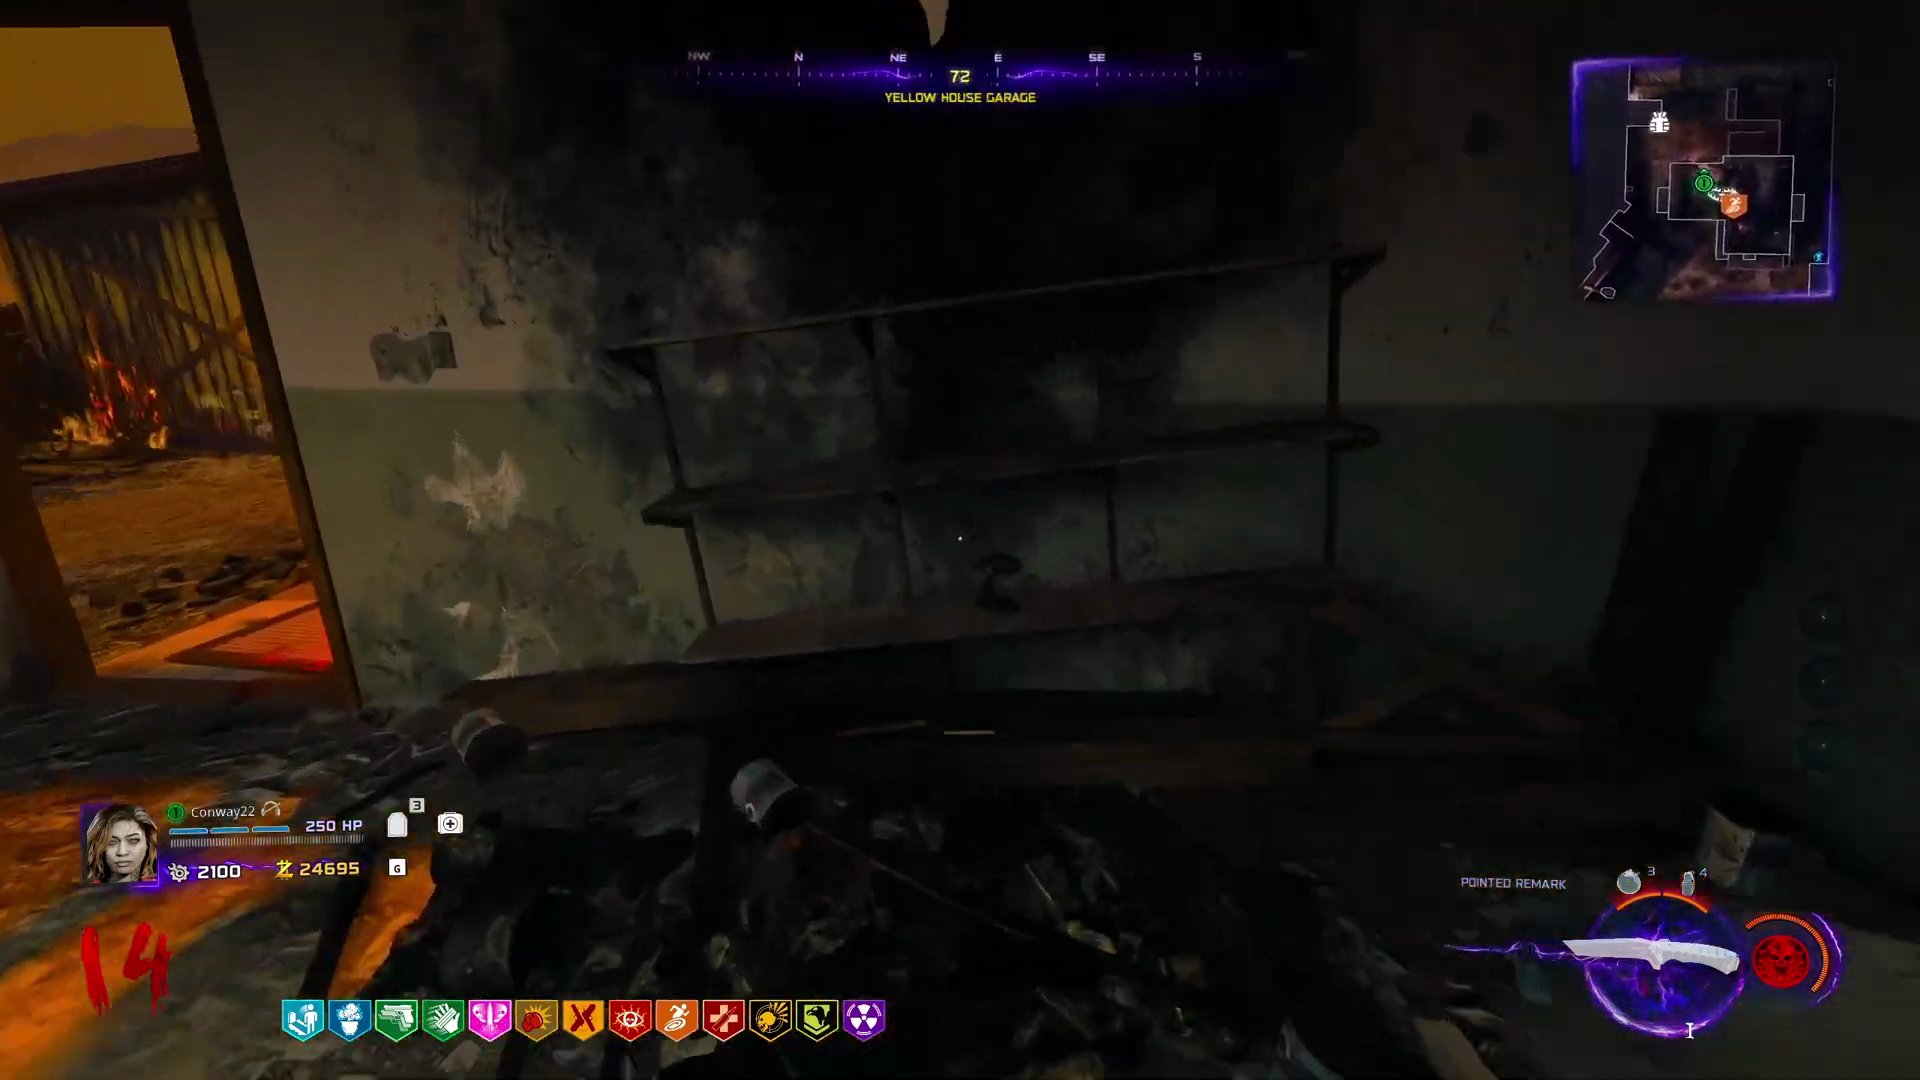
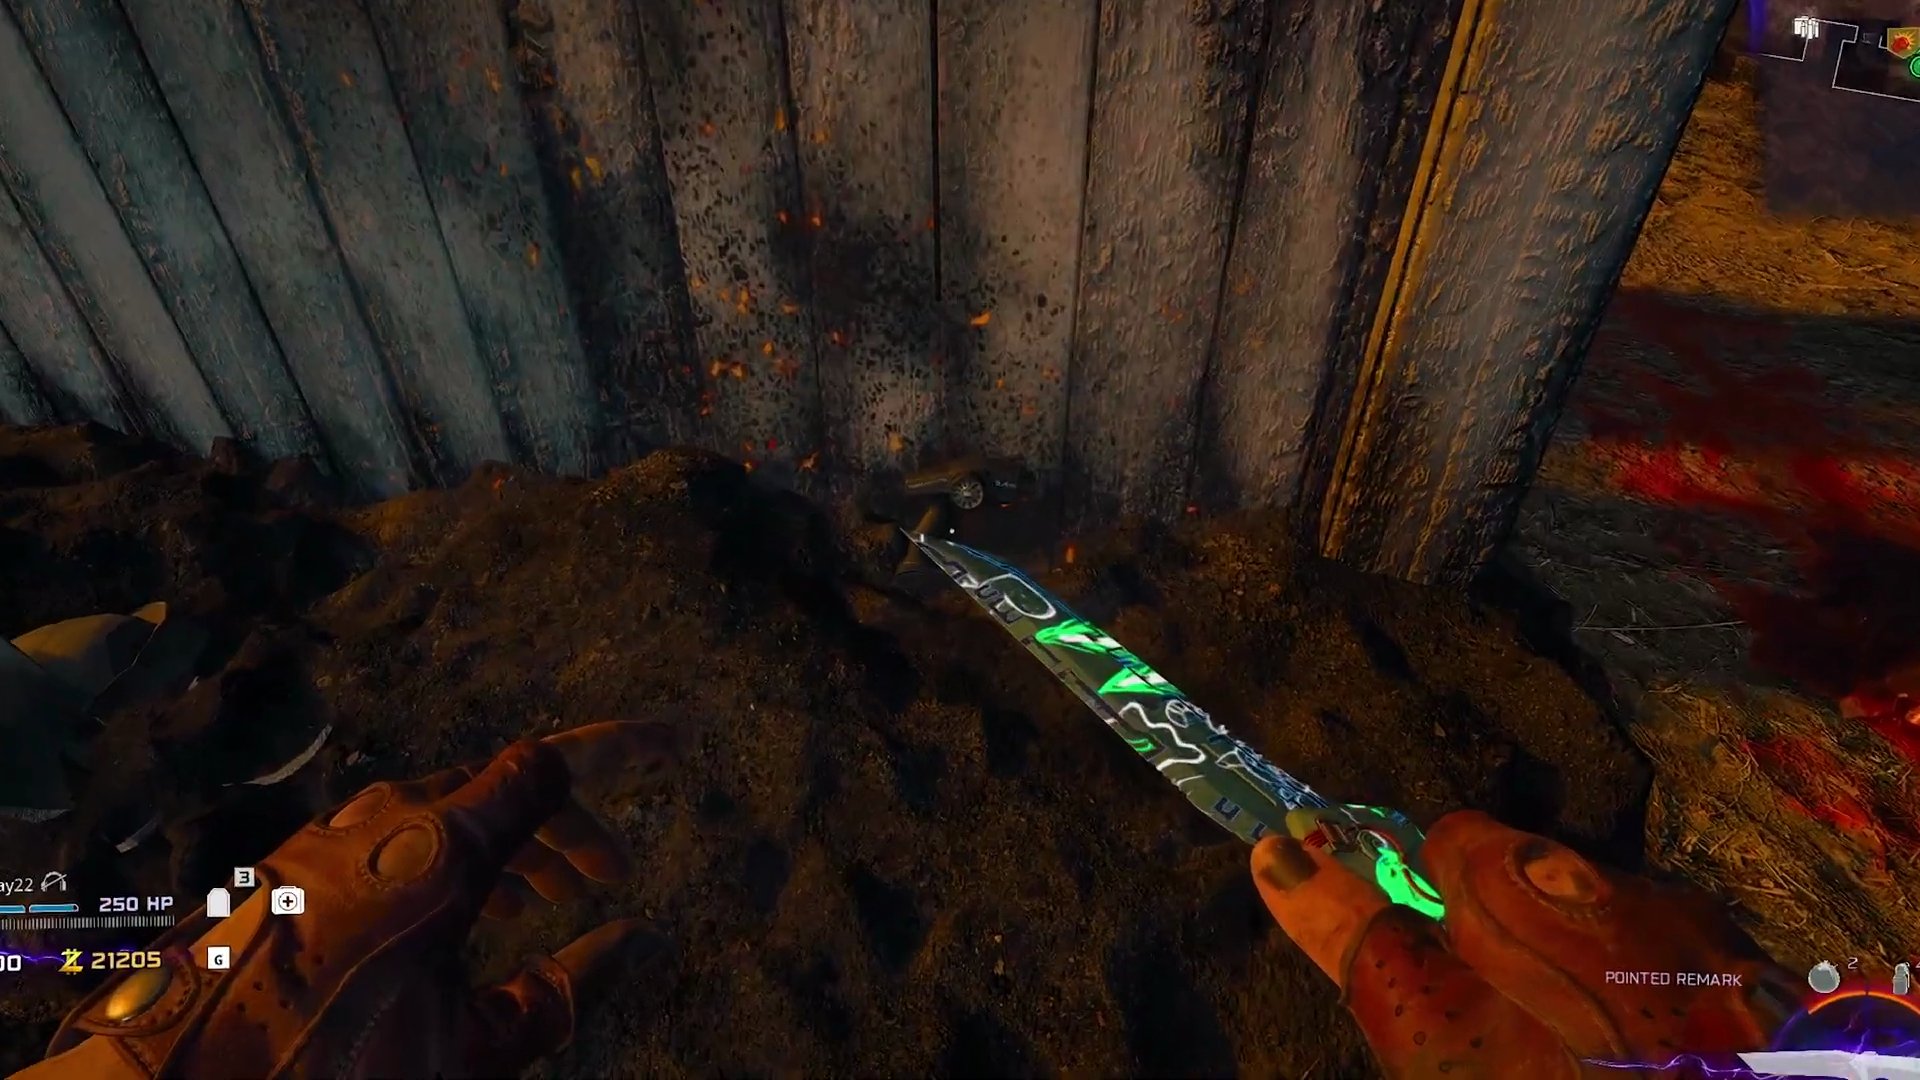
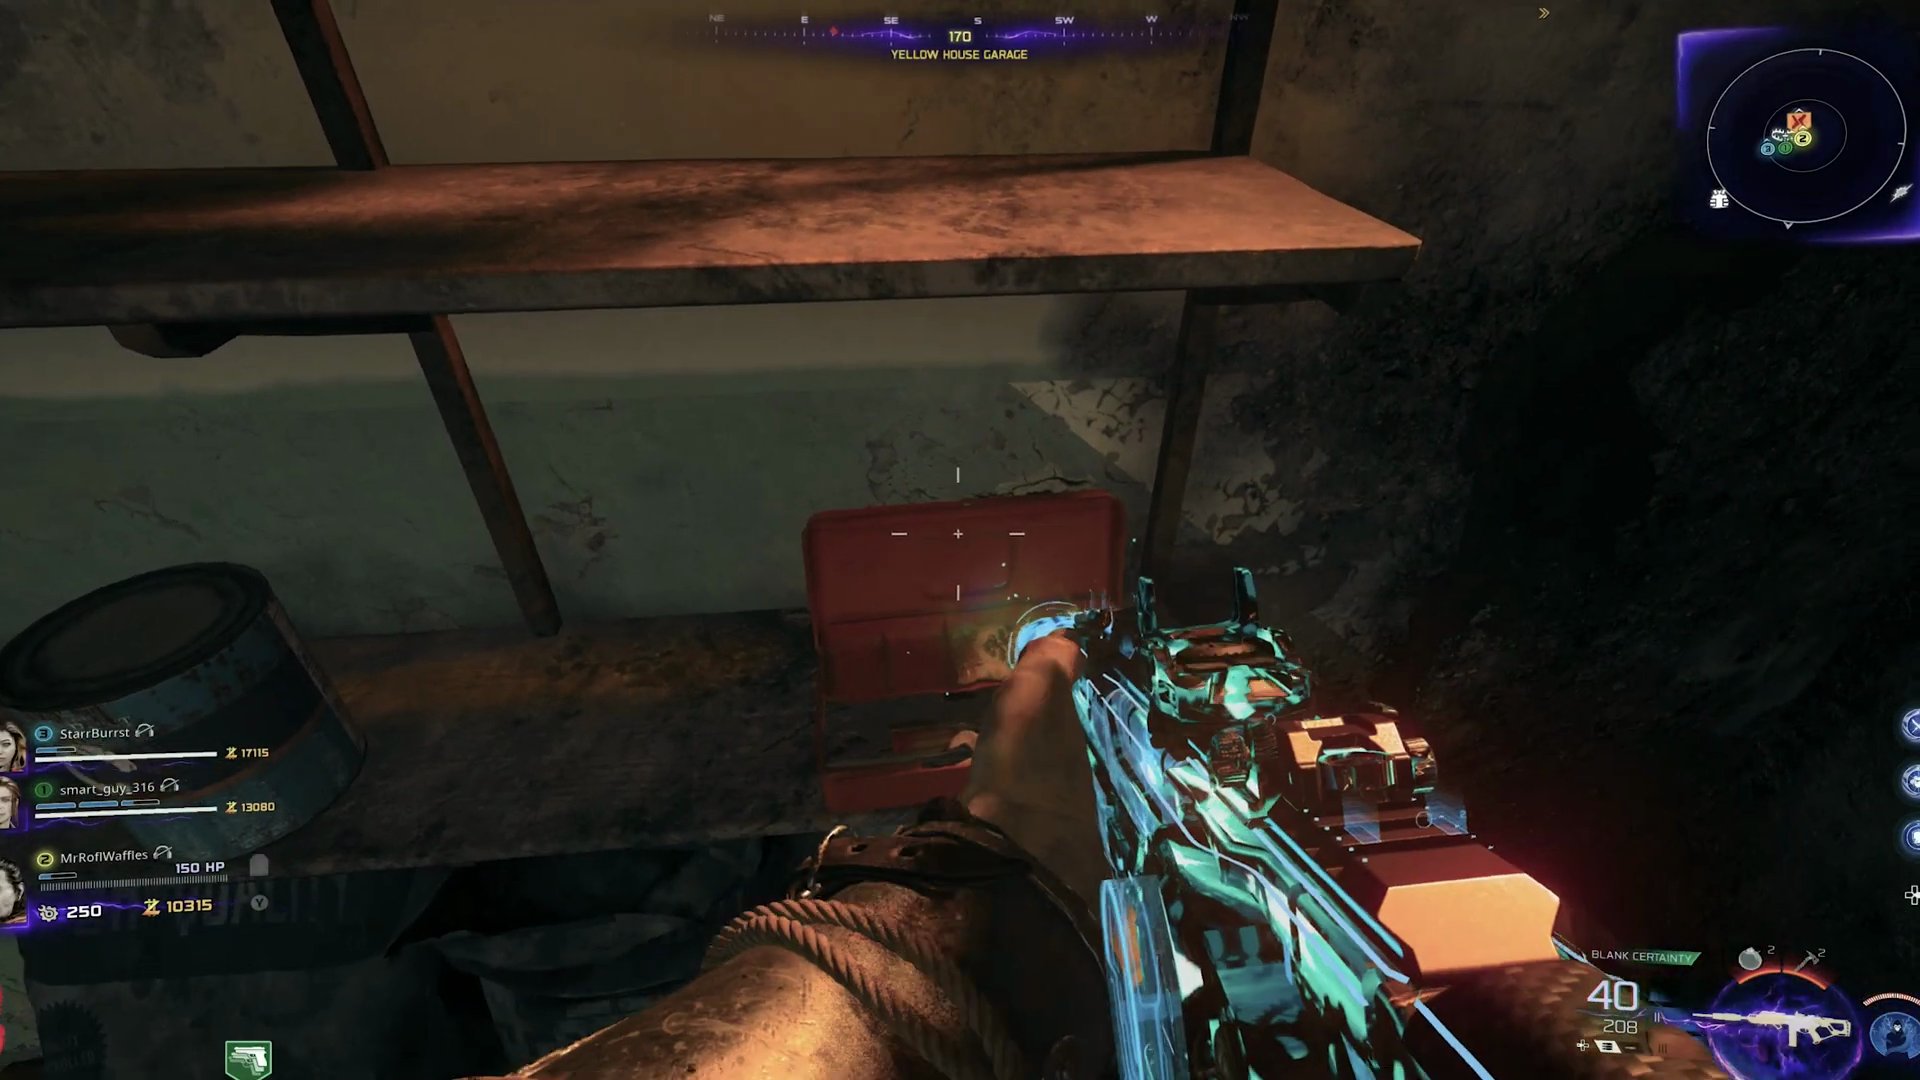
- **Locate RC Car Controller (Destroyed):** Find one of the three possible spawn points: behind Pack-a-Punch crates in Trinity Ave, on a broken shelf in the Yellow House Garage, or on a dirt pile in the Green House Backyard.
 ,
 ,
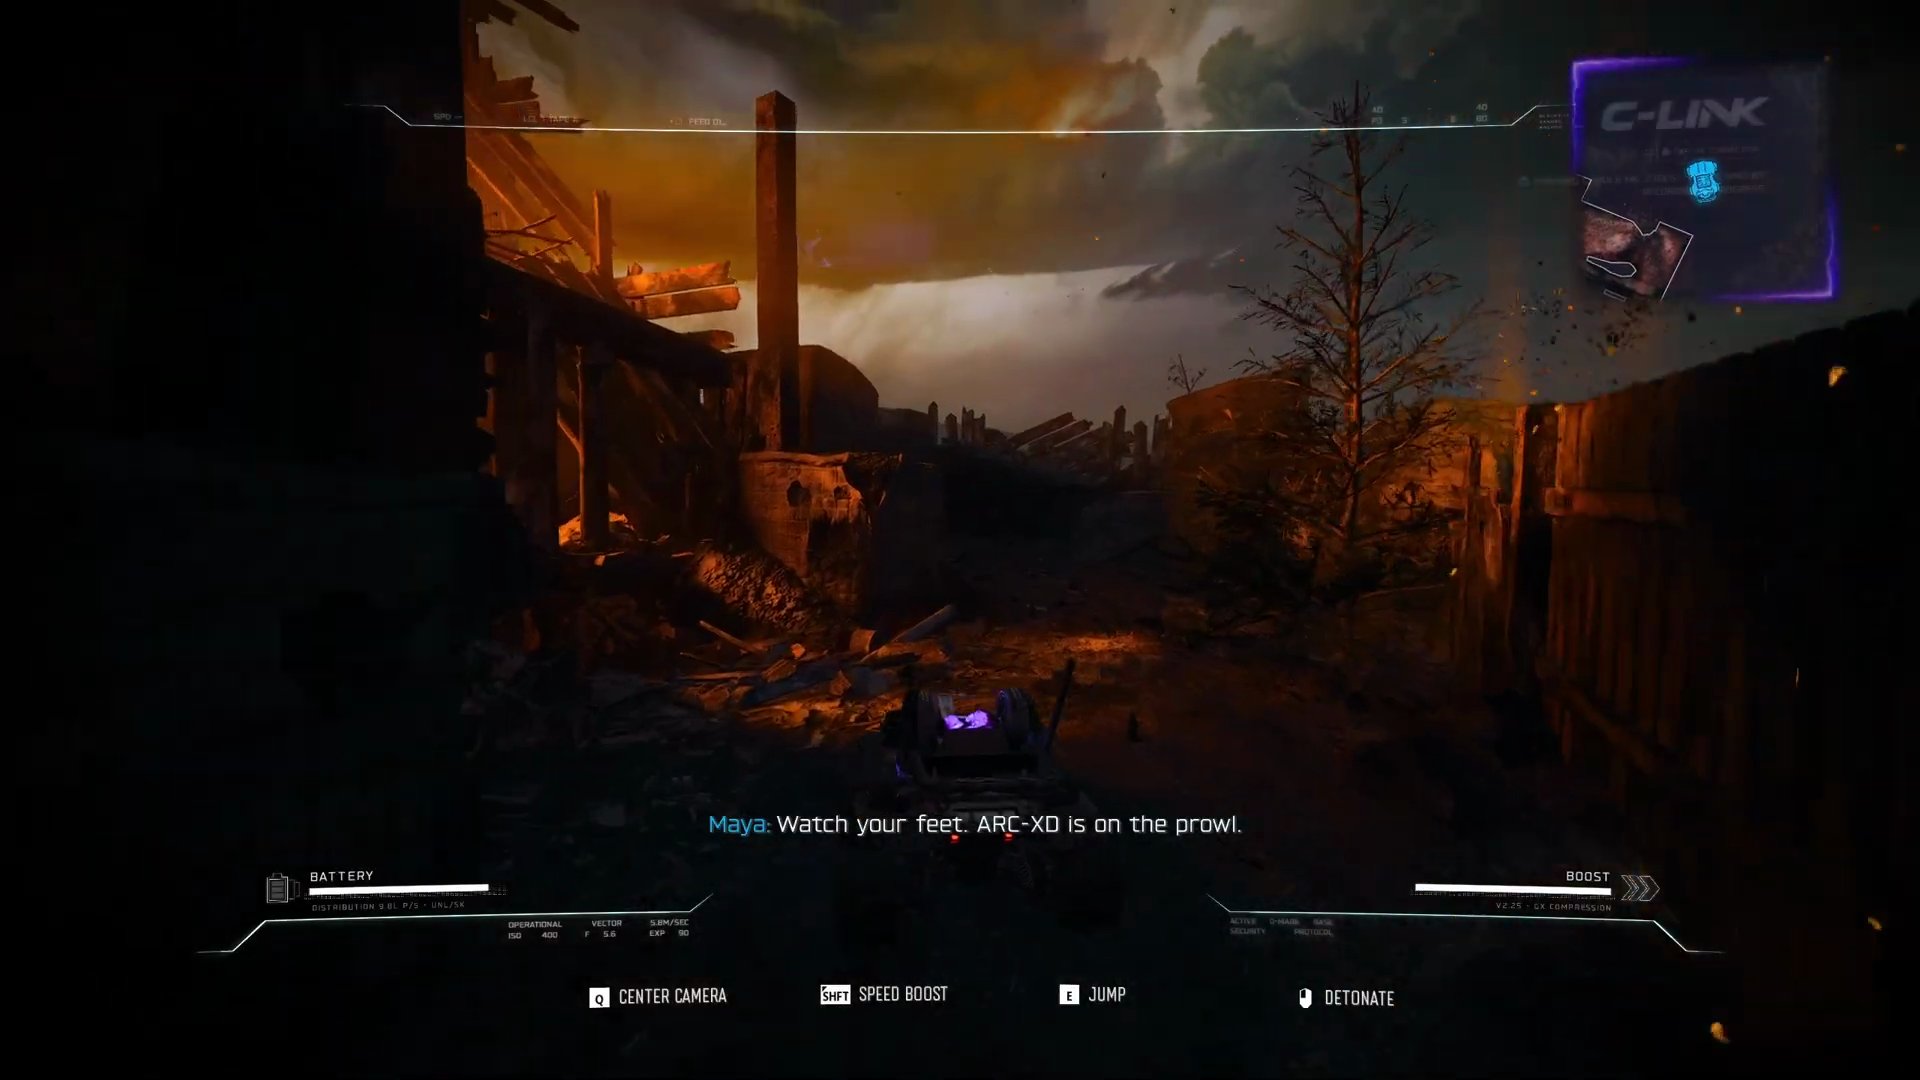
- **RC Car Mini-Game:** Use the RC car controller to drive the car through a specific path in Destroyed Nuketown and detonate it near a barrel in the Yellow House Garage.
 ,
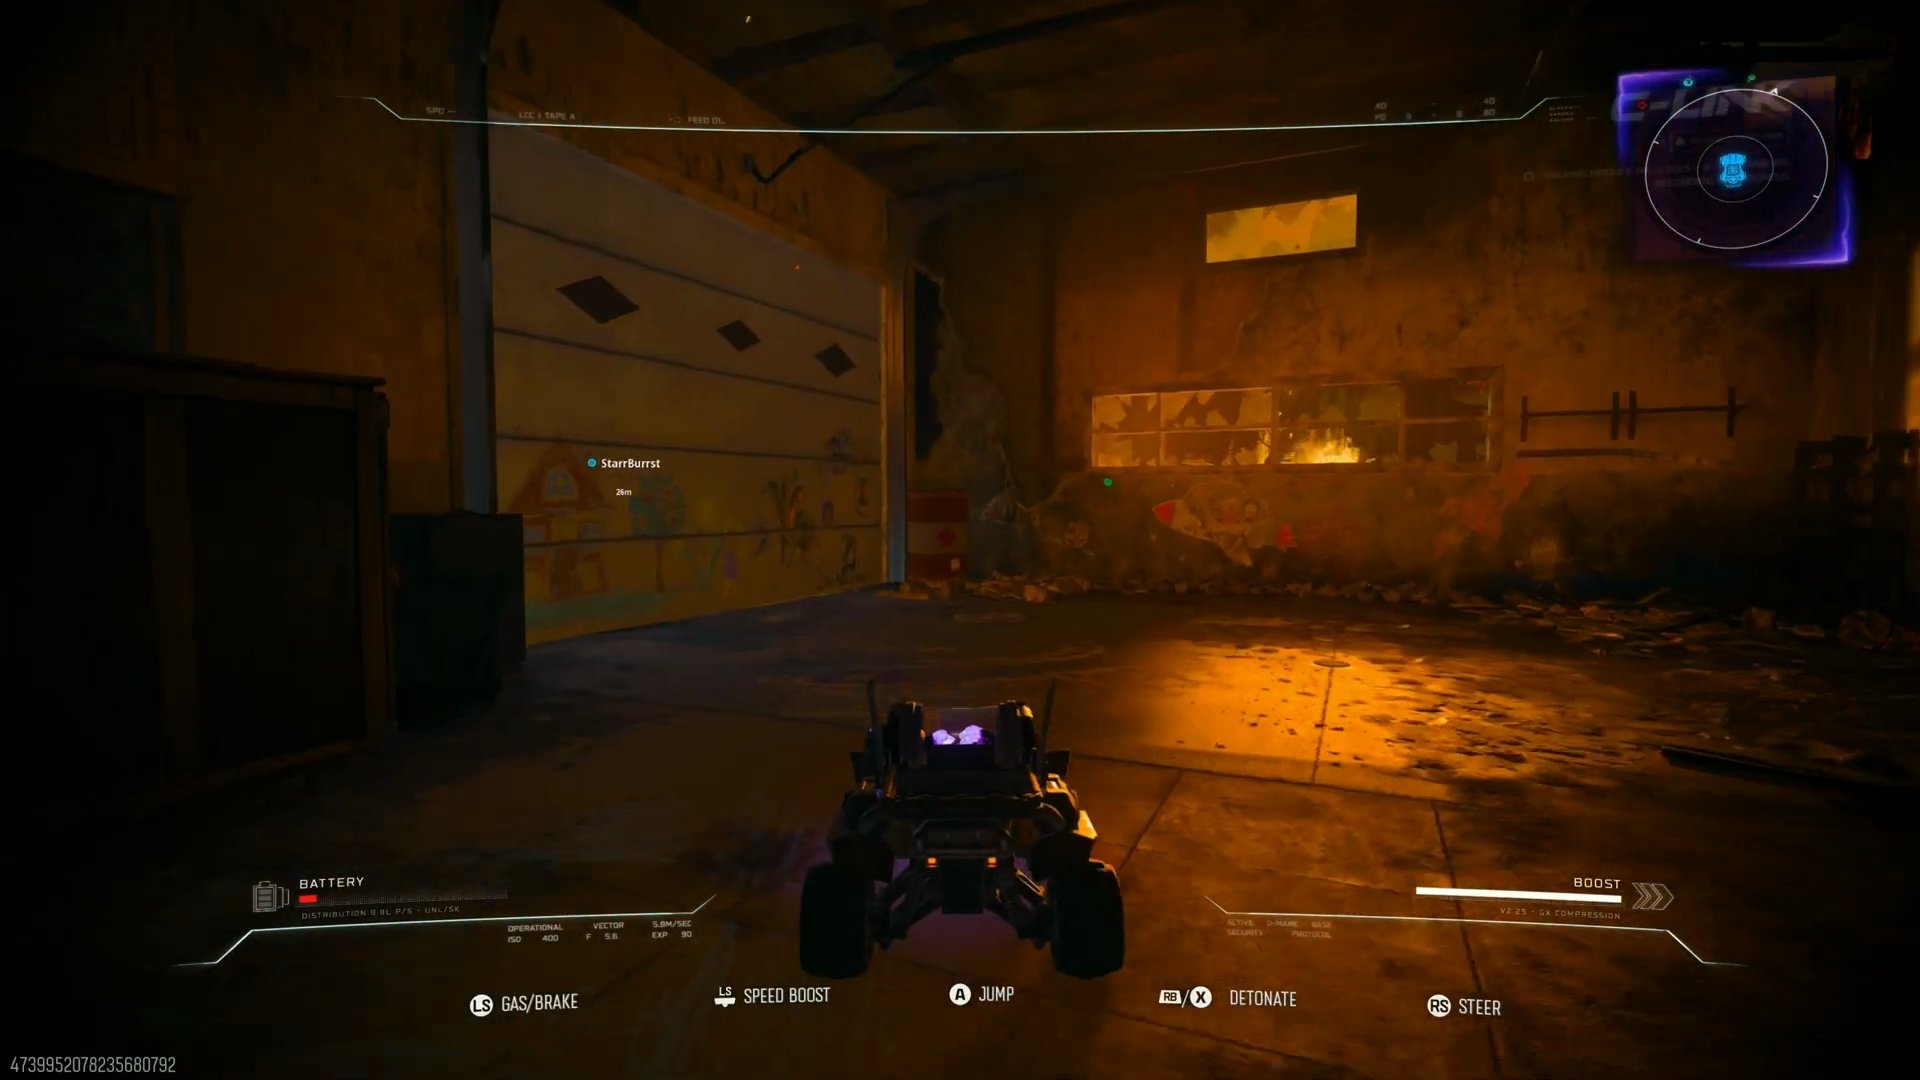
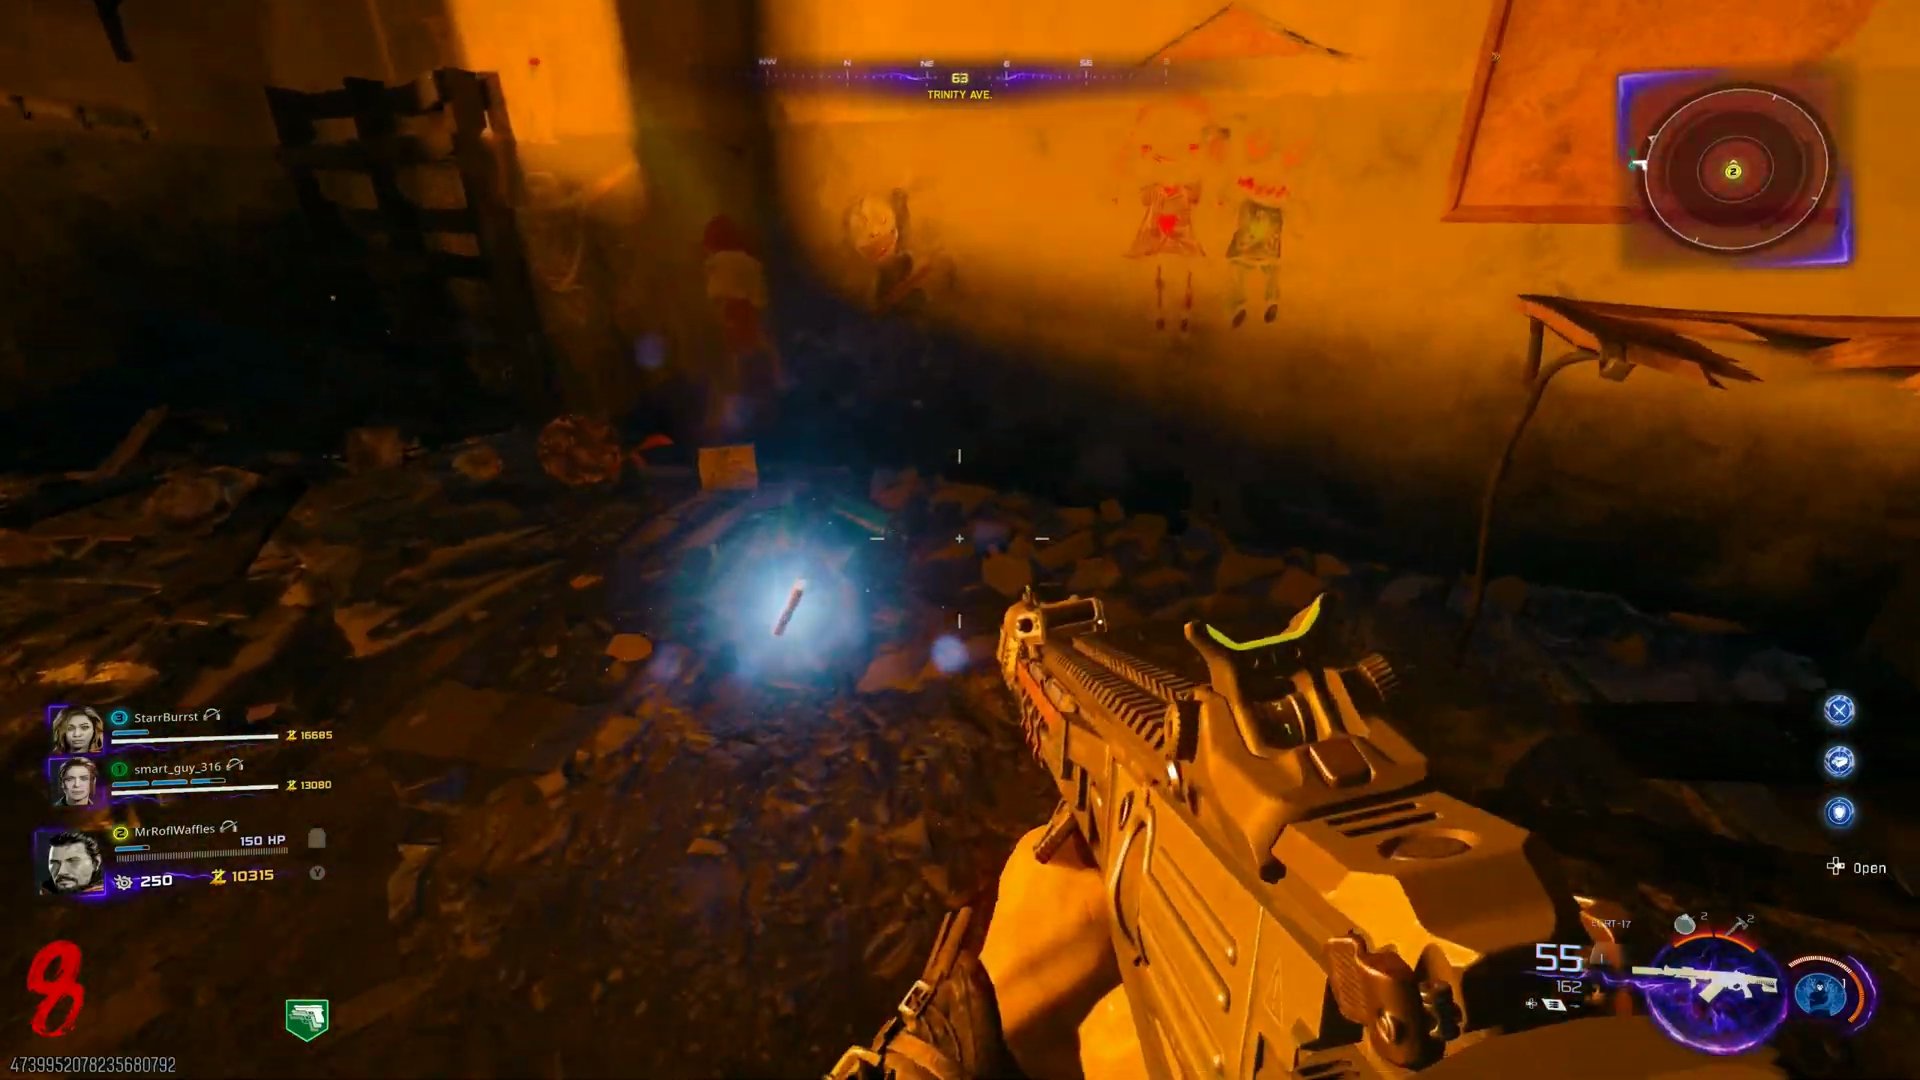
- **Collect Chalk:** After the RC car detonation, enter the Yellow House Garage (Destroyed) and pick up the chalk from where a stone-looking zombie faded.
5. Complete Piano Teacher Step (Destroyed/Past)
- **Spawn Piano Teacher:** Go to the Green House Backyard (Destroyed). Wait for the Piano Teacher zombie to spawn (can take ~2 minutes, check the back left arch area).
- **Turn Piano Teacher:** Use Brain Rot ammo mod or a Psych Grenade on her. She will run into the Green House.
 ,
 ,
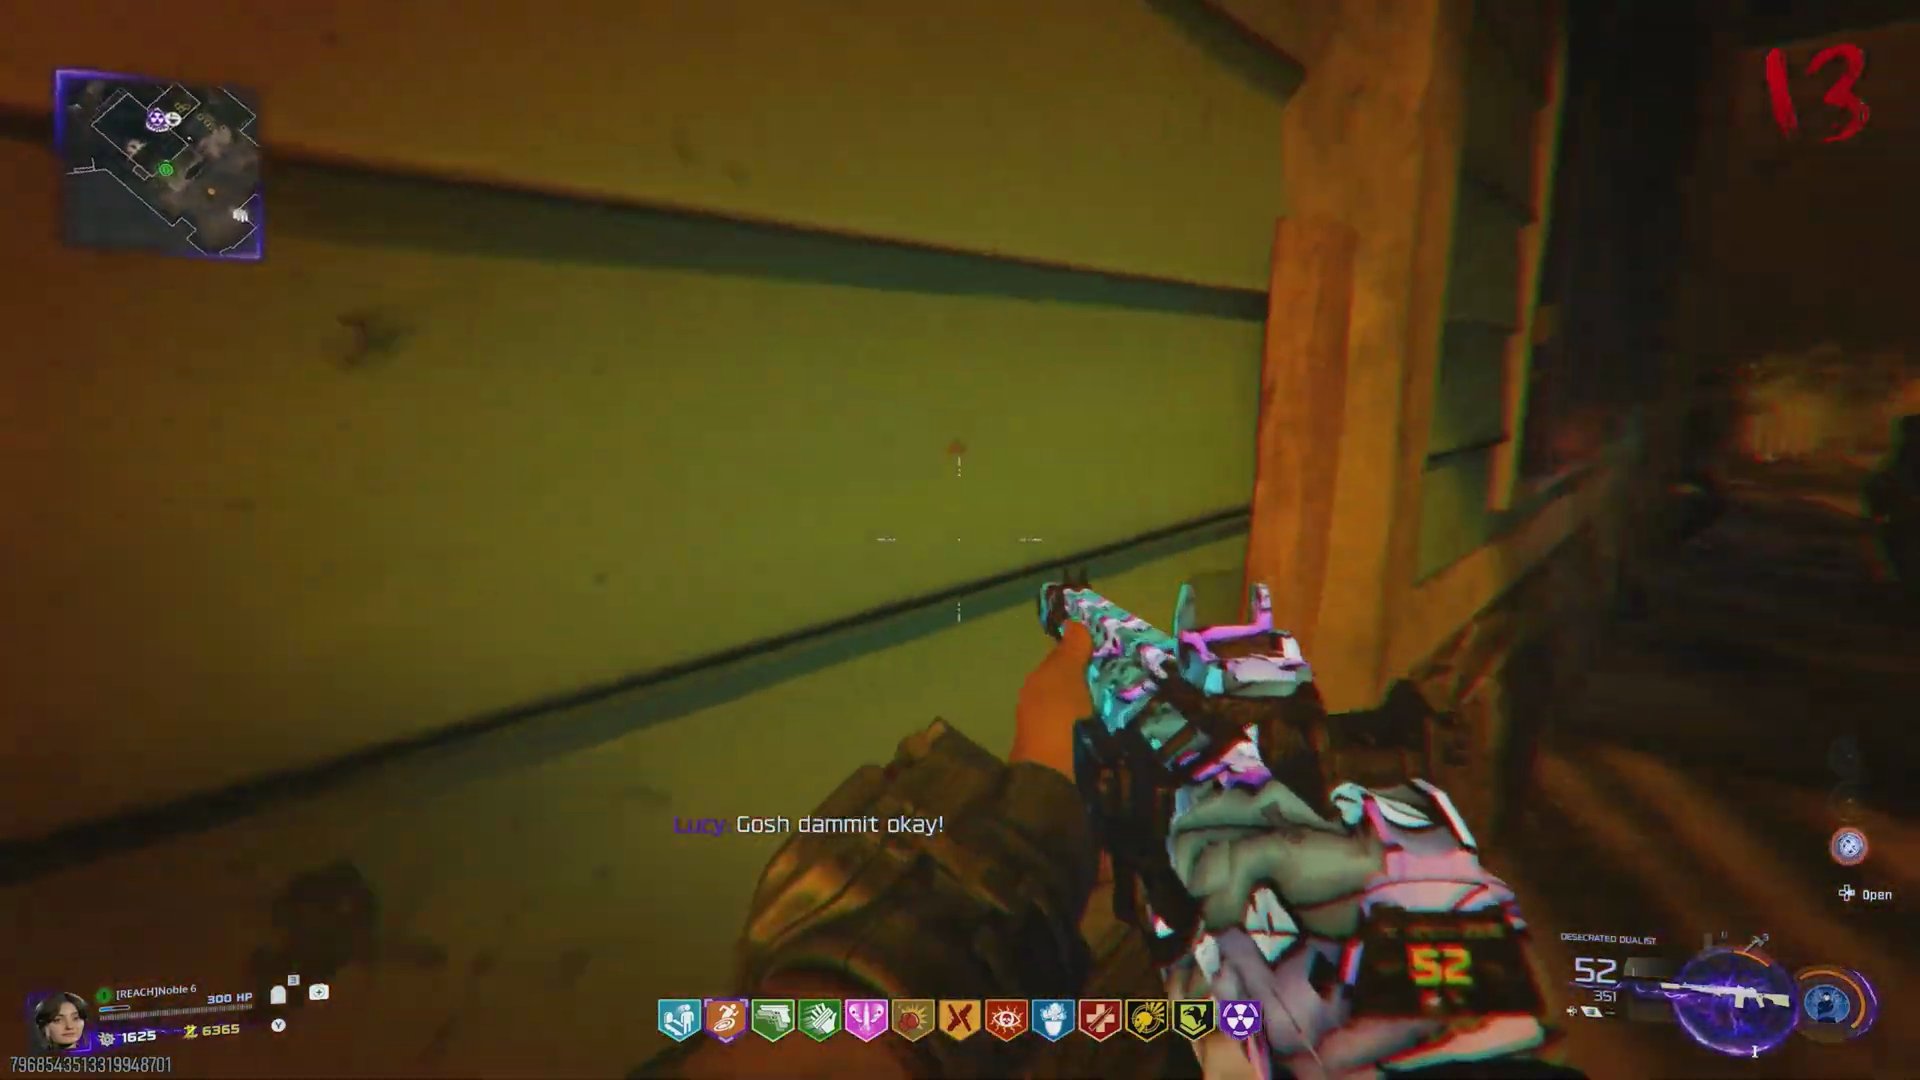
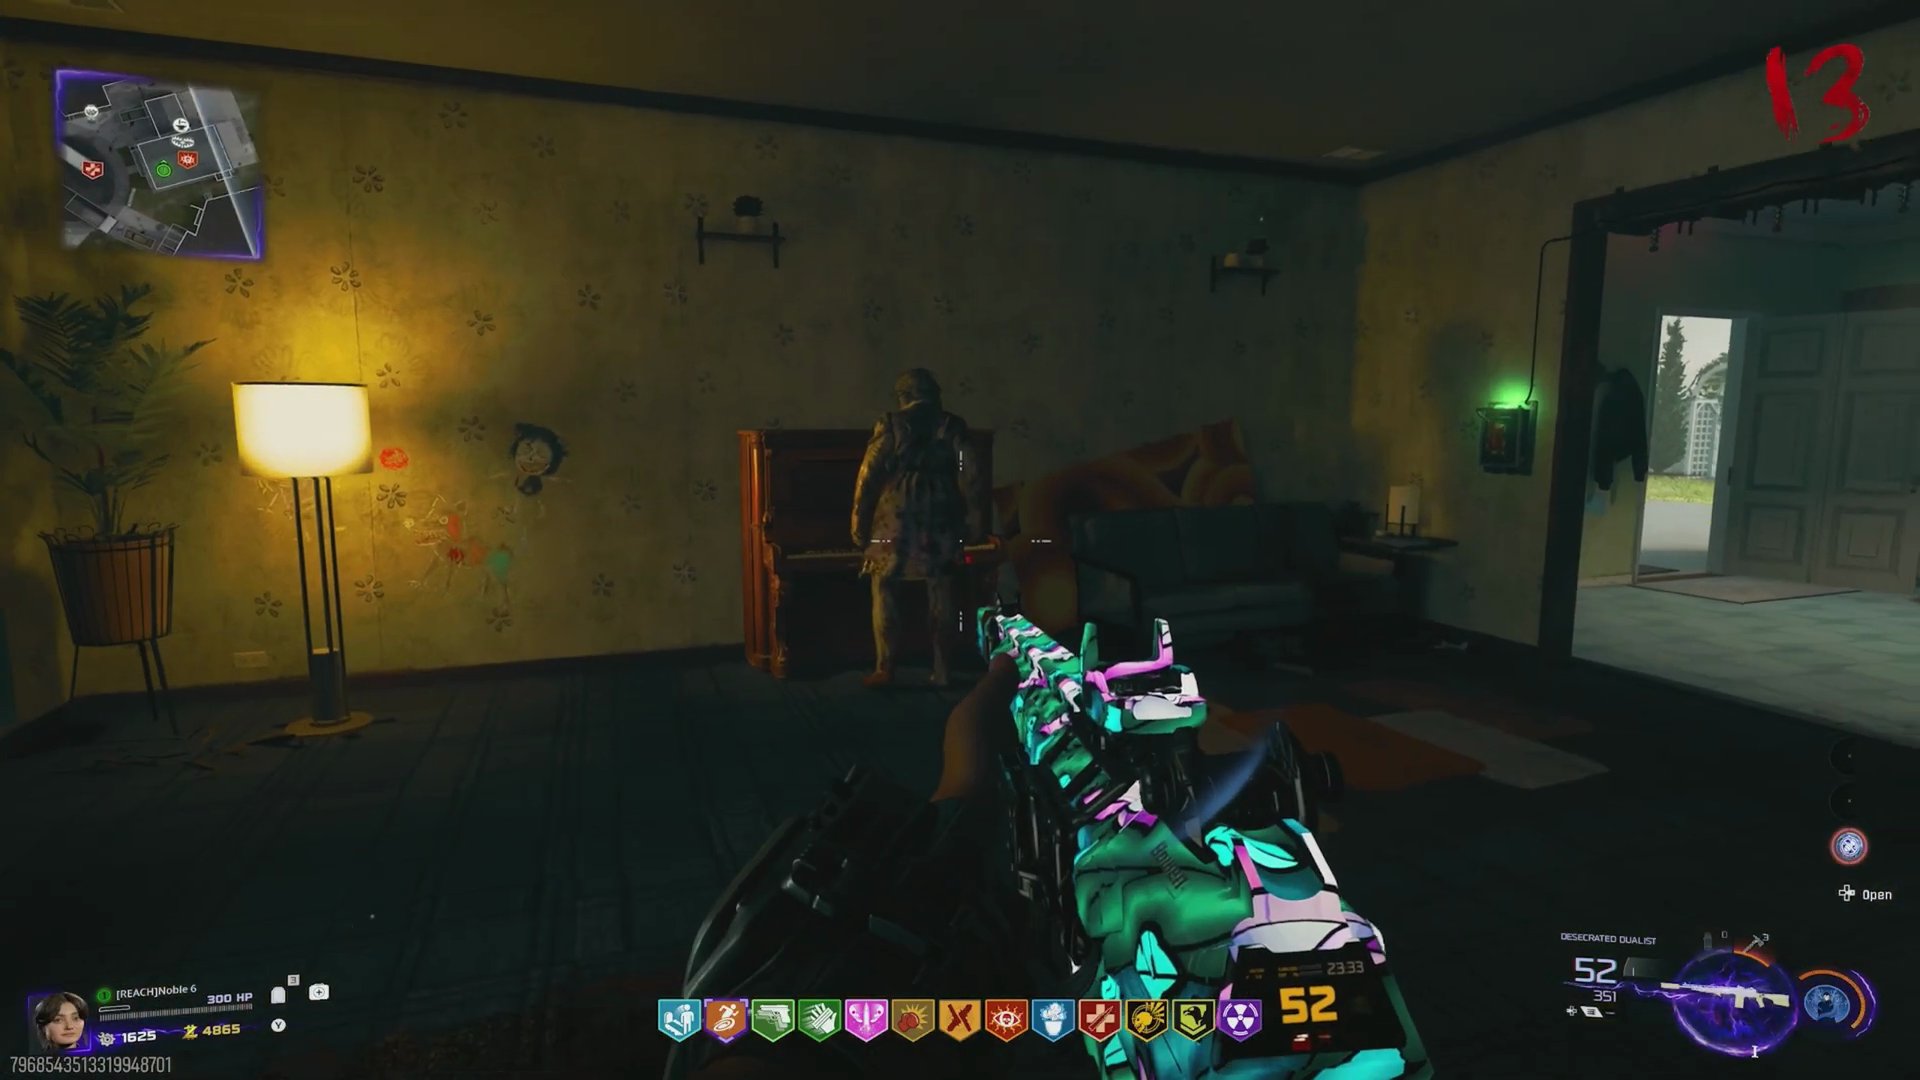
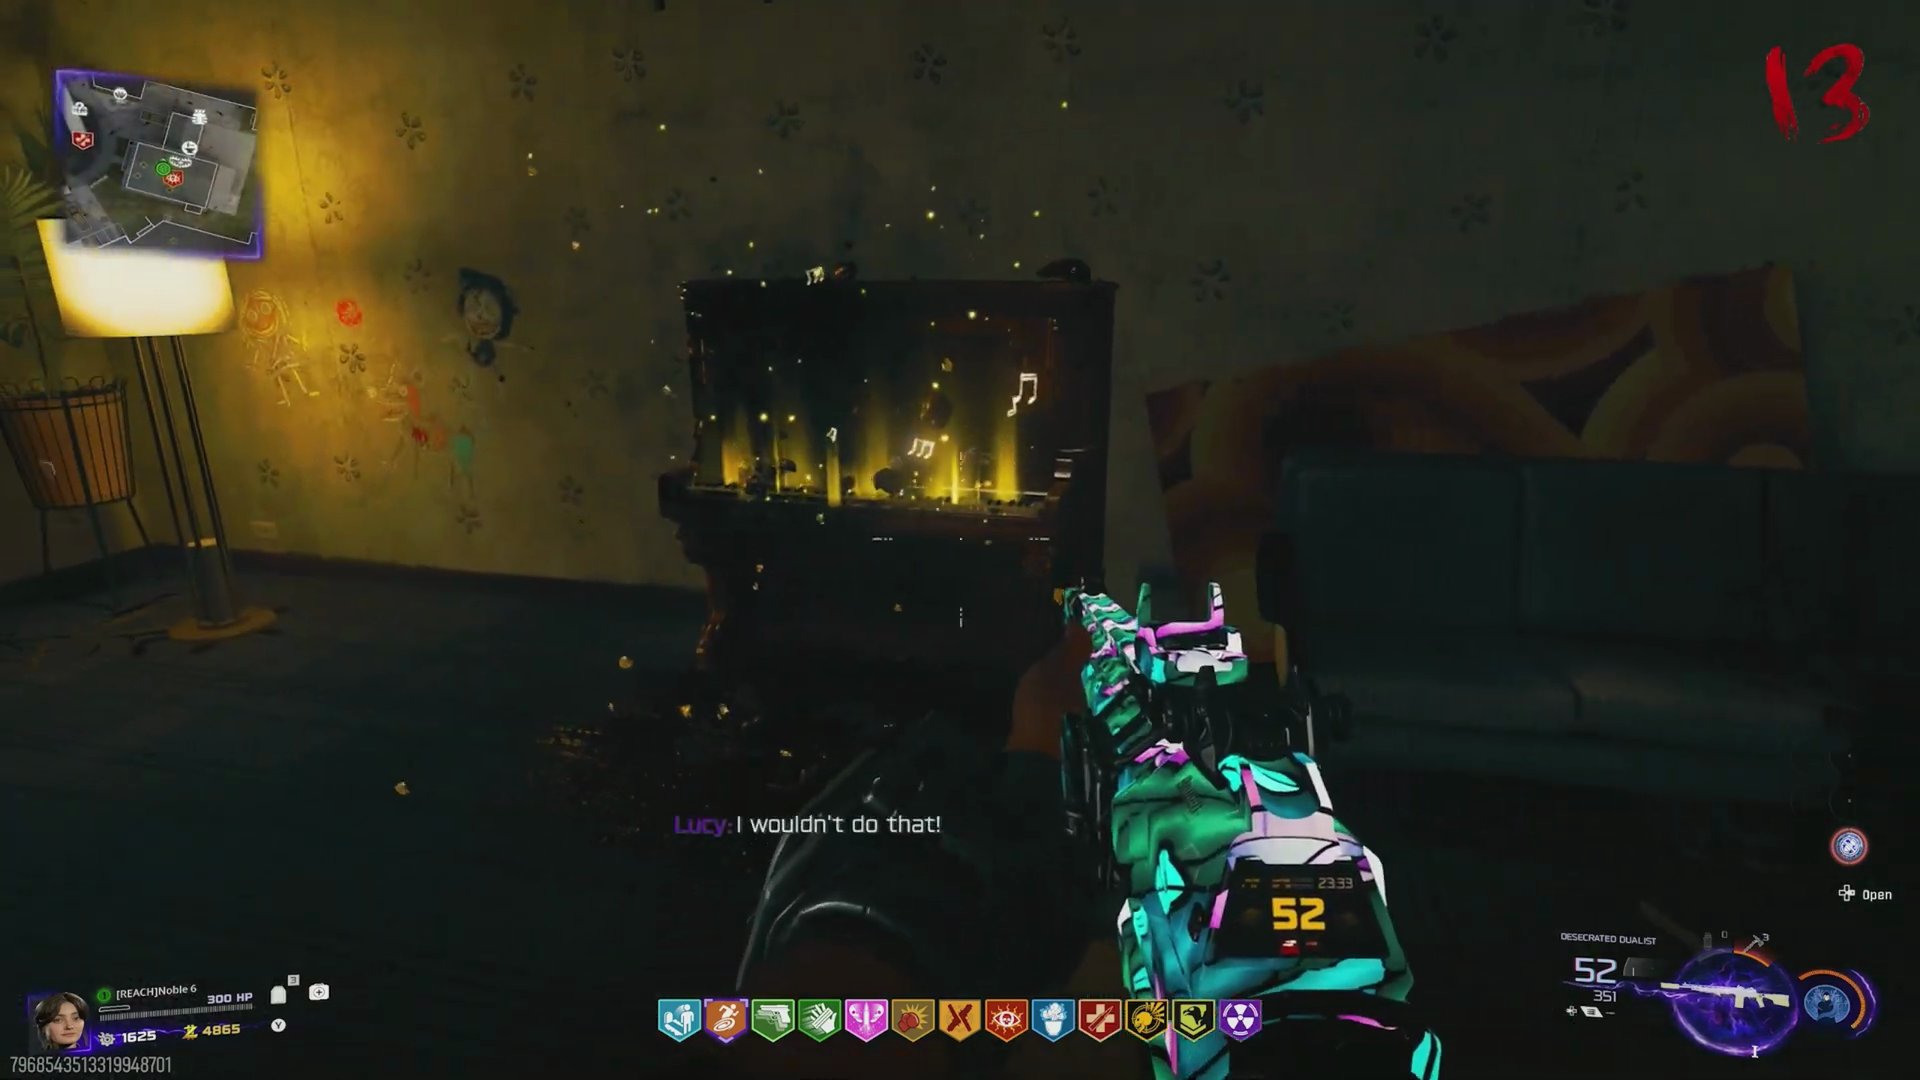
- **Activate Piano:** Teleport to Past. Enter the Green House. The Piano Teacher will be playing the piano. Run back to the portal and teleport to Past again.
 ,
6. Assemble Wonder Weapon & Upgrade Prep
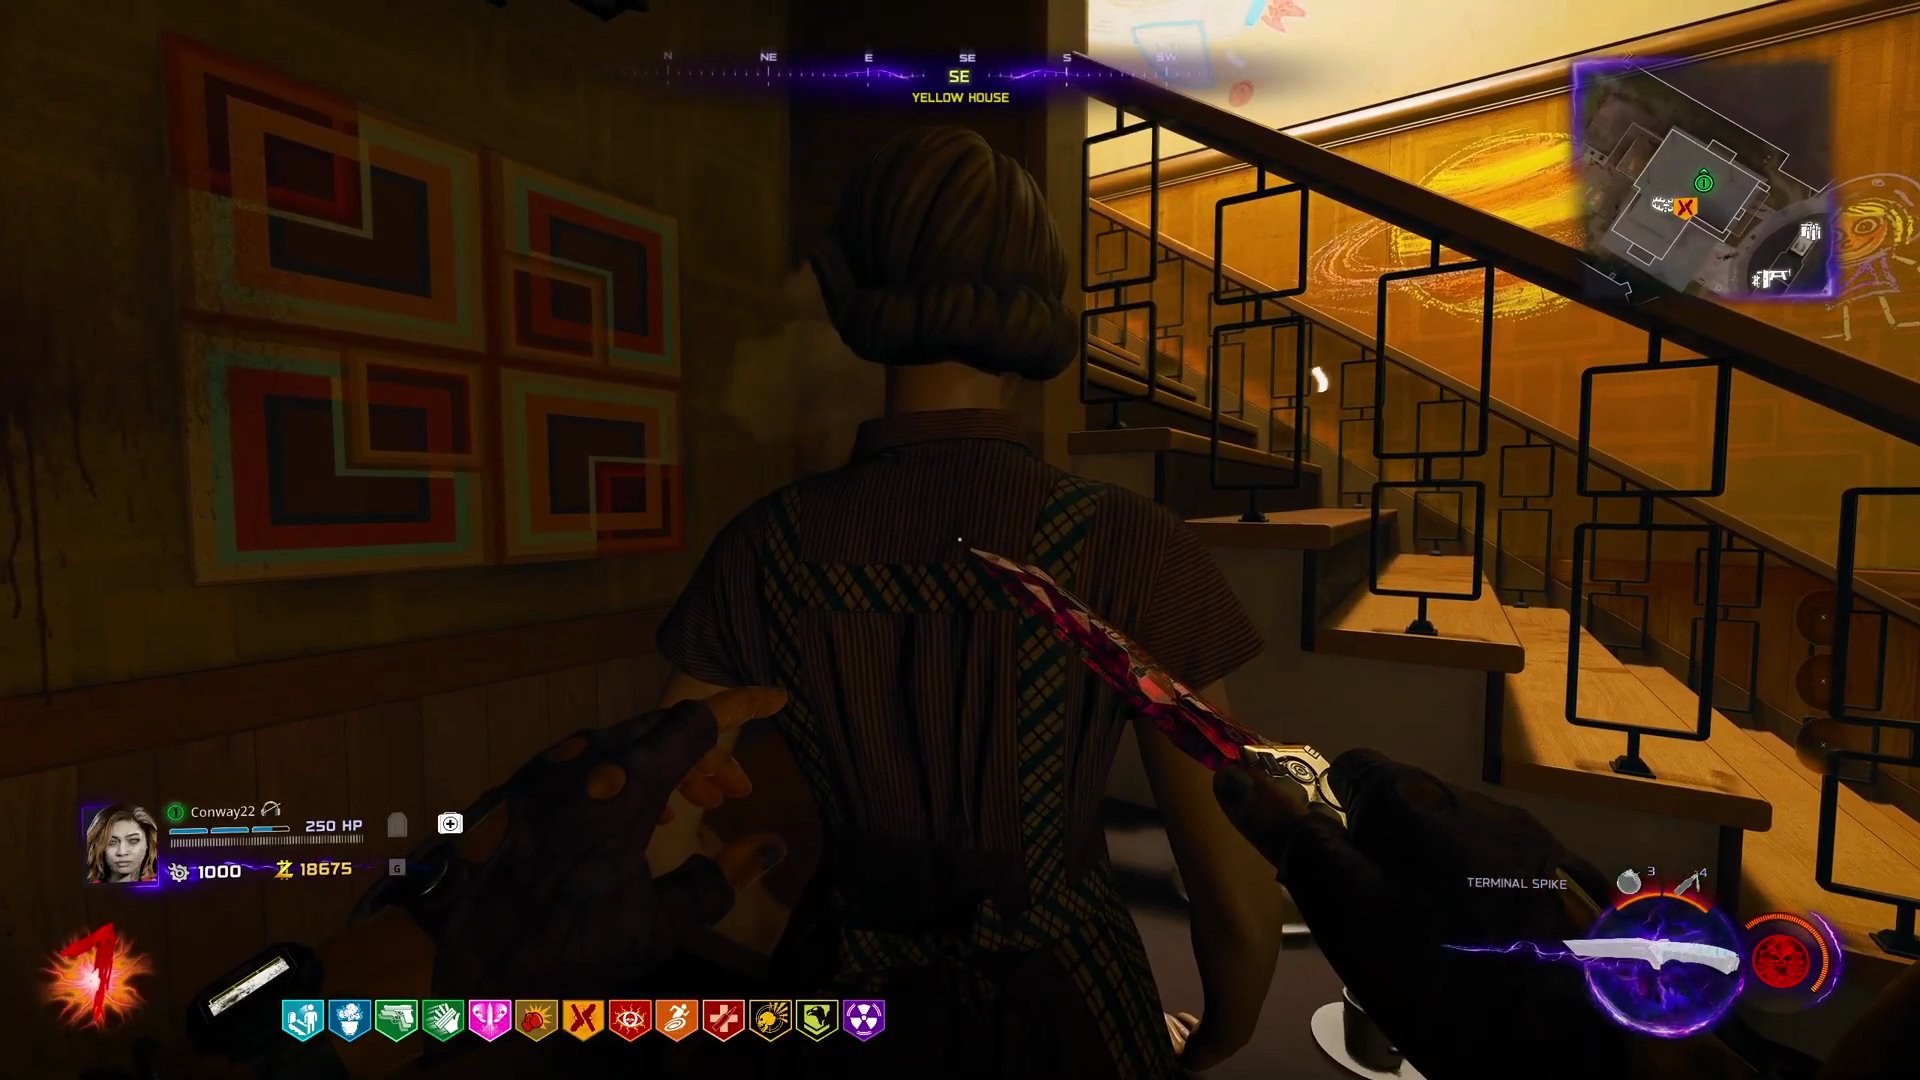
- **Apply Acid to Mannequin (Past):** Teleport to Past. In the Yellow House (Past), interact with the previously identified ringing mannequin. This will apply acid to its head.
- **Collect Hammer:** Teleport back to Destroyed. Collect the hammer (mannequin part) from the ground where the mannequin was.
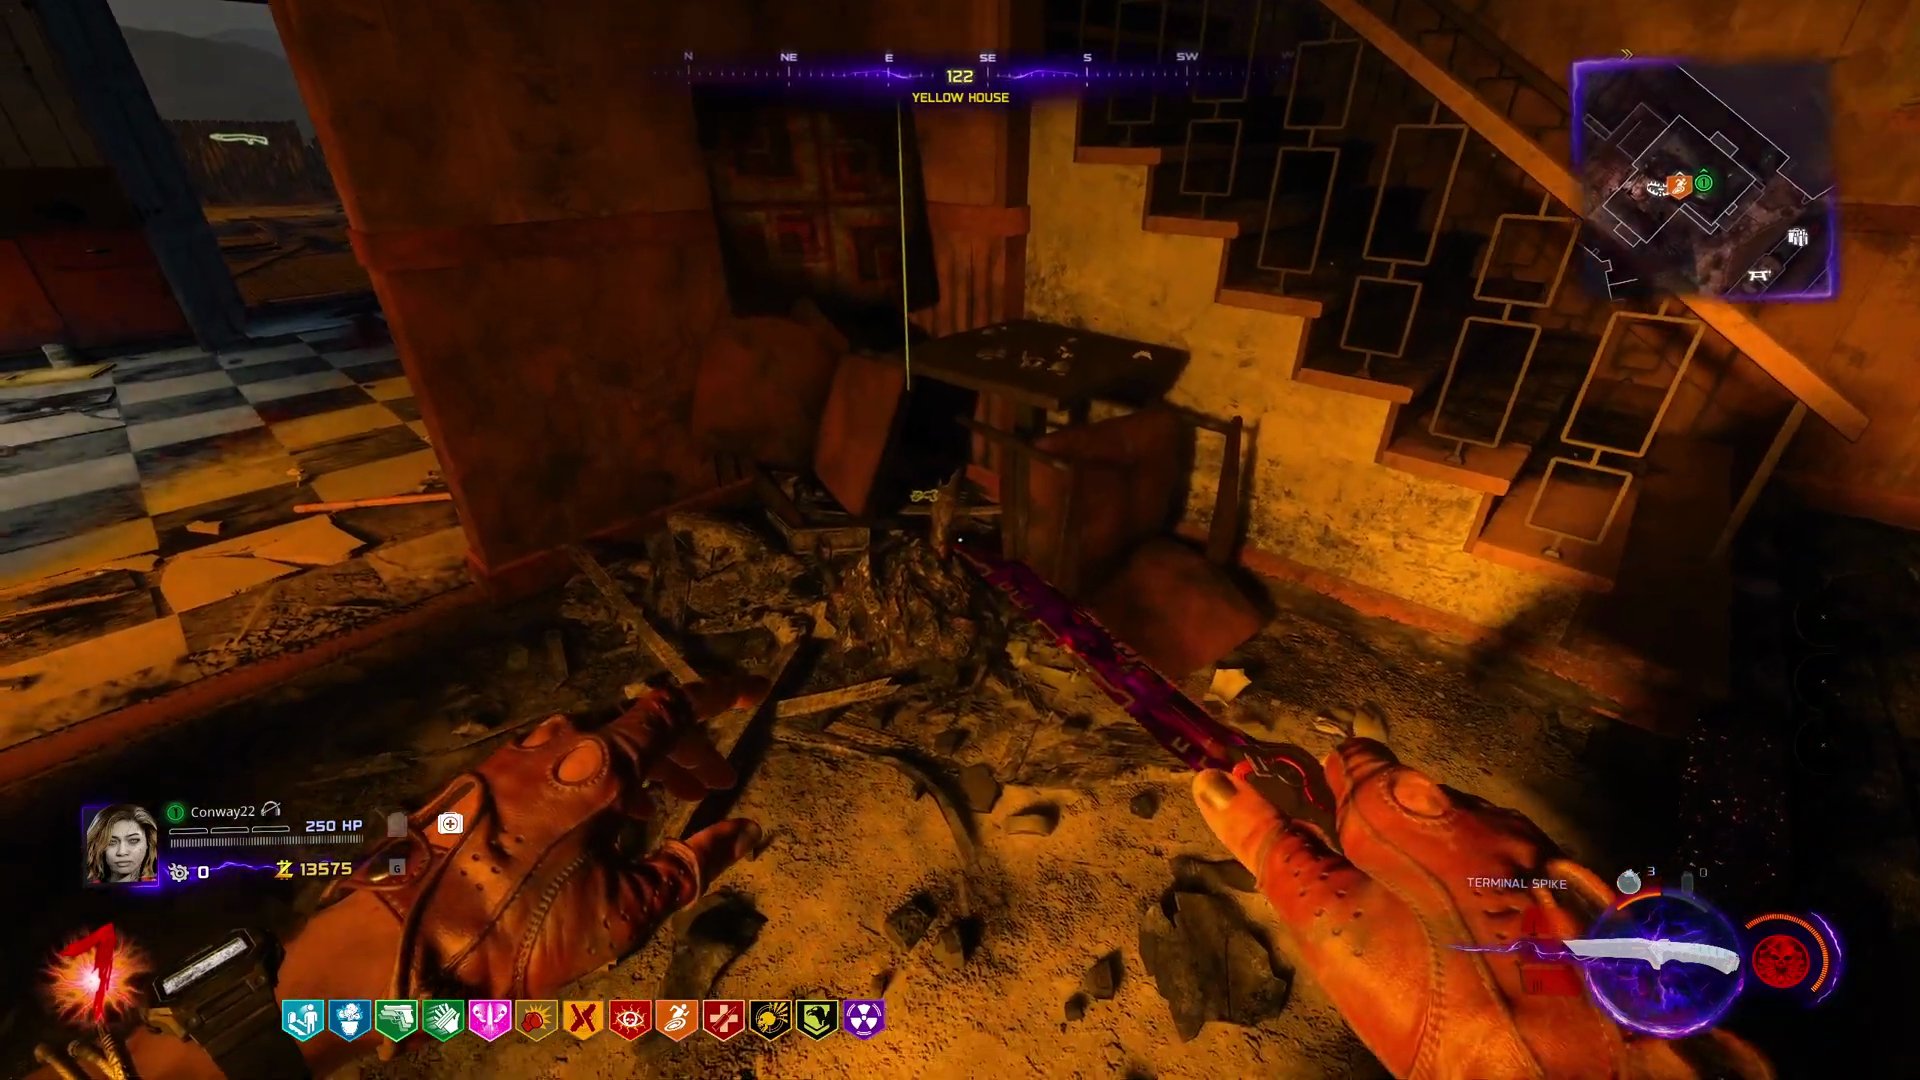
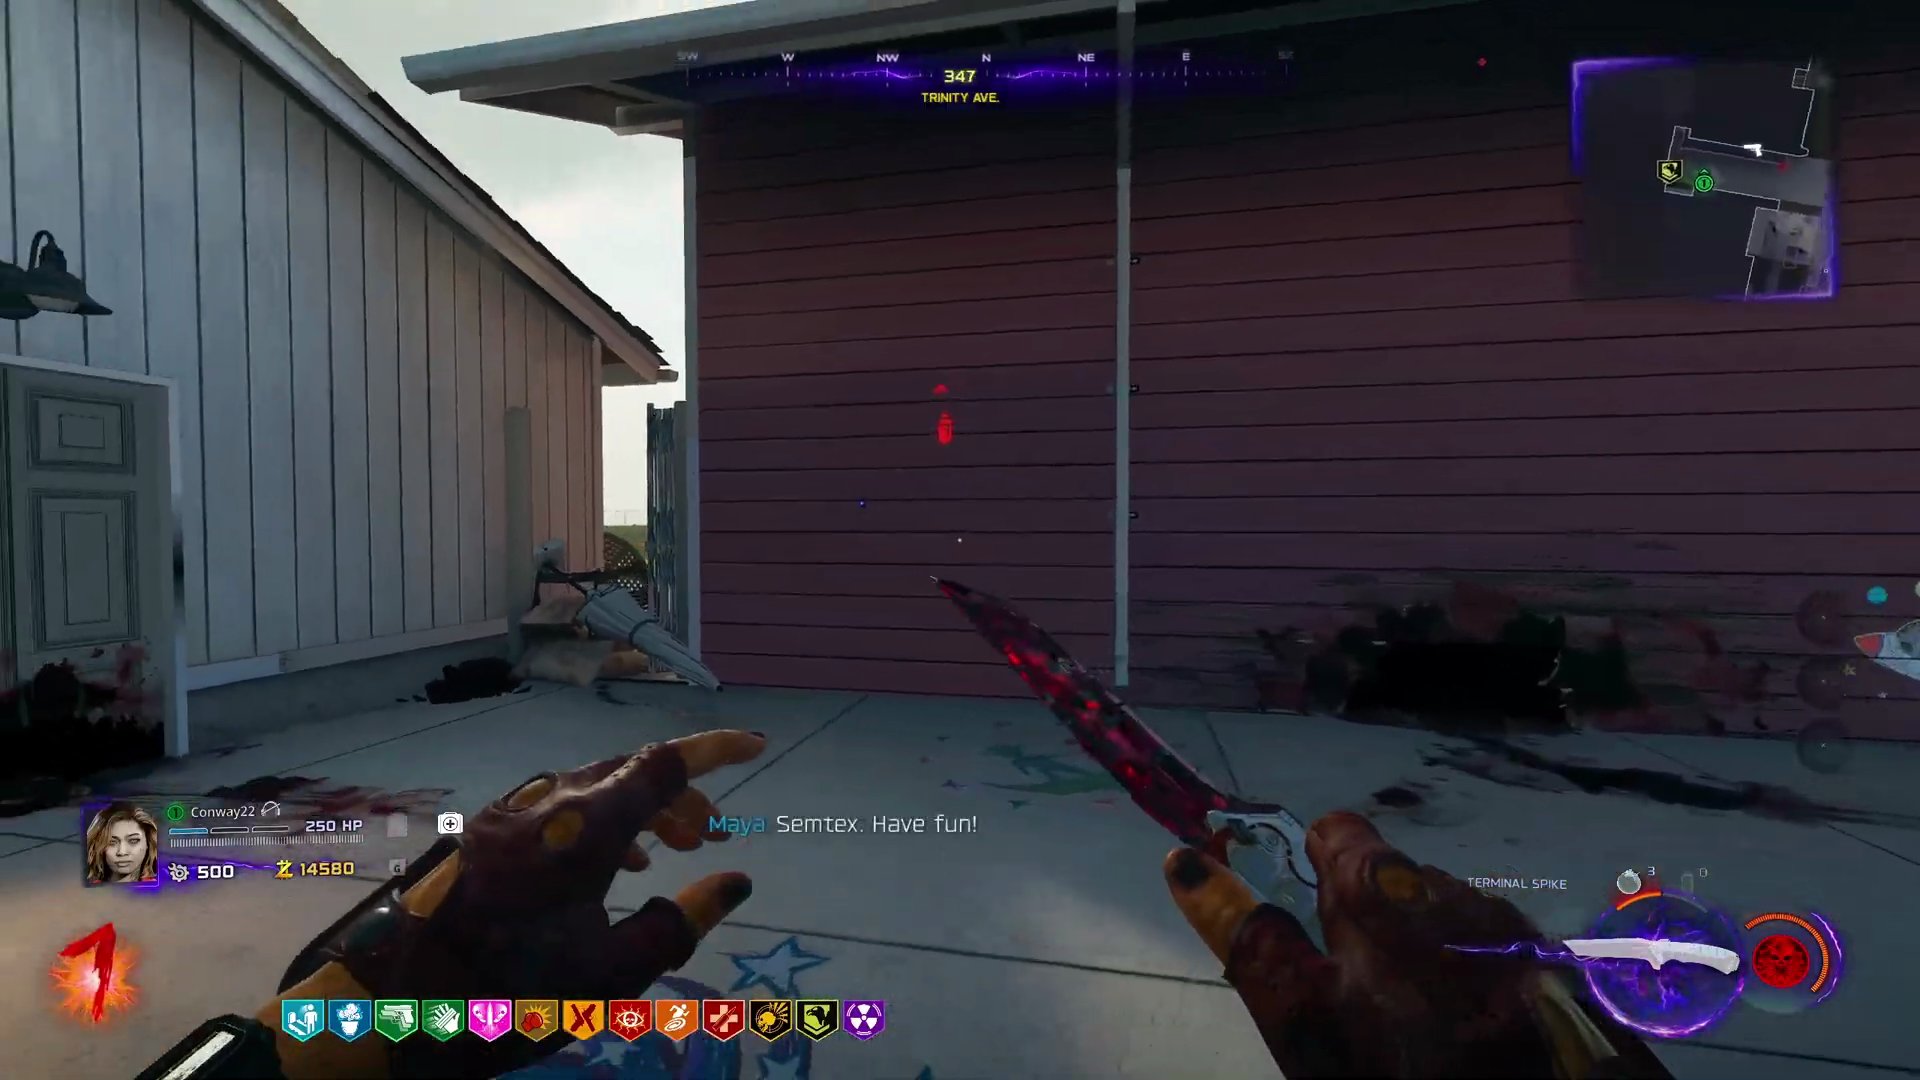
- **Destroy Wall Goo (Past):** Teleport to Past. In the Yellow House Garage (Past), use an explosive (Semtex, Cluster Grenade, or Molotov) to destroy the ringing wall goo.
 ,
 ,
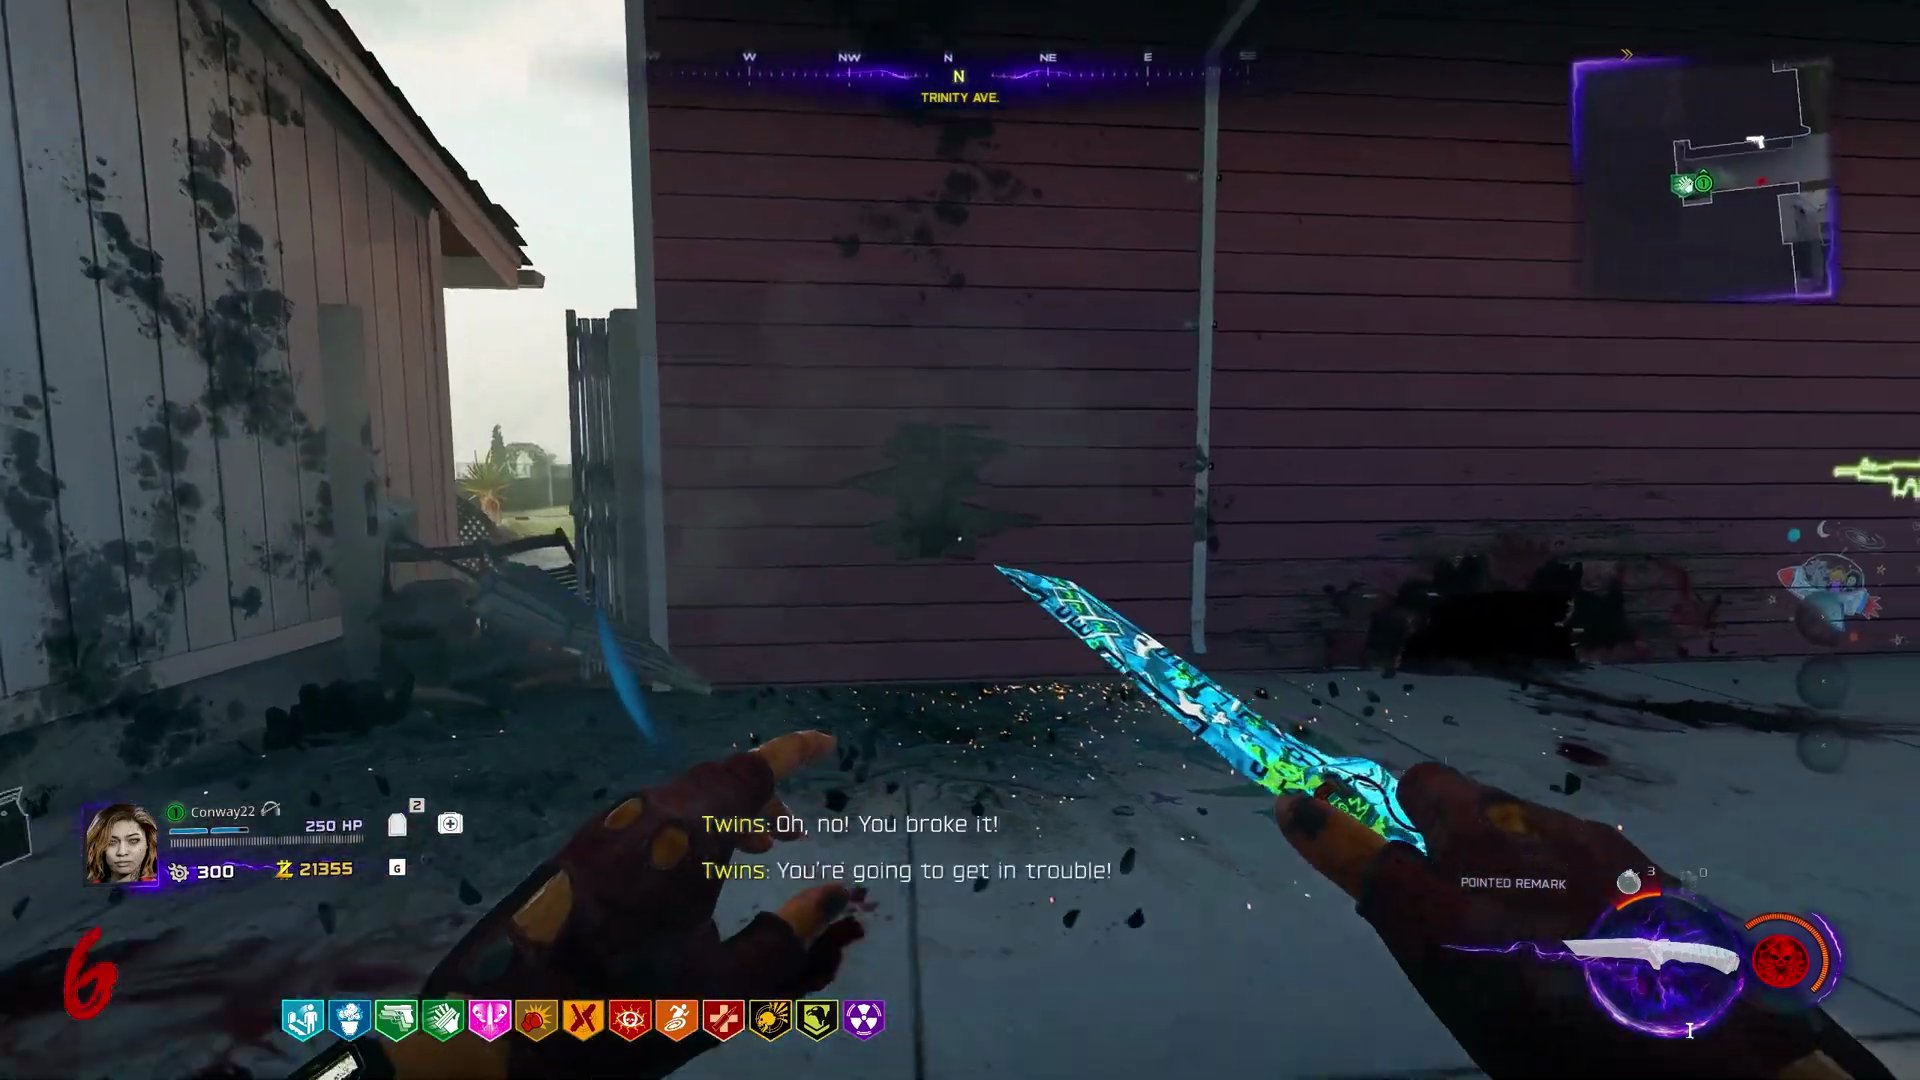
- **Collect Stock:** Teleport to Destroyed. Collect the stock (wall part) from the destroyed wall in the Yellow House Garage.
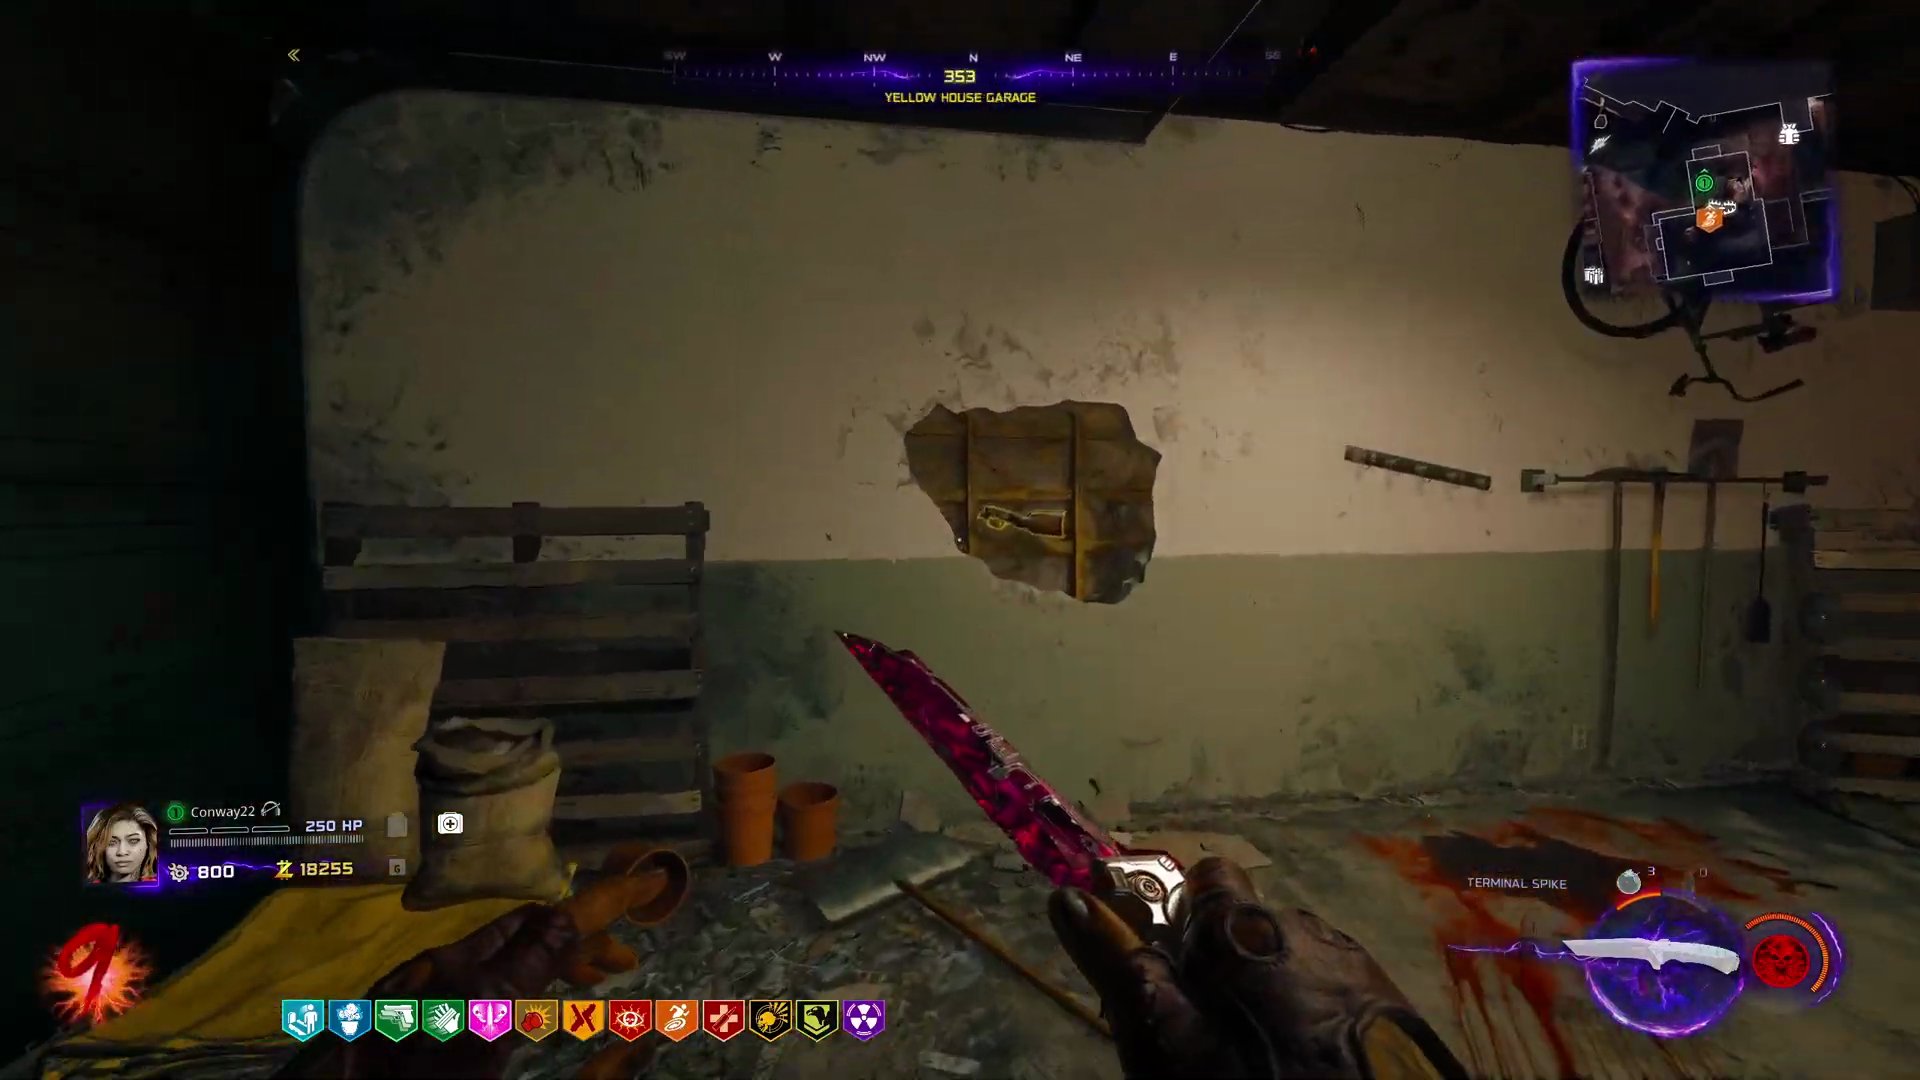
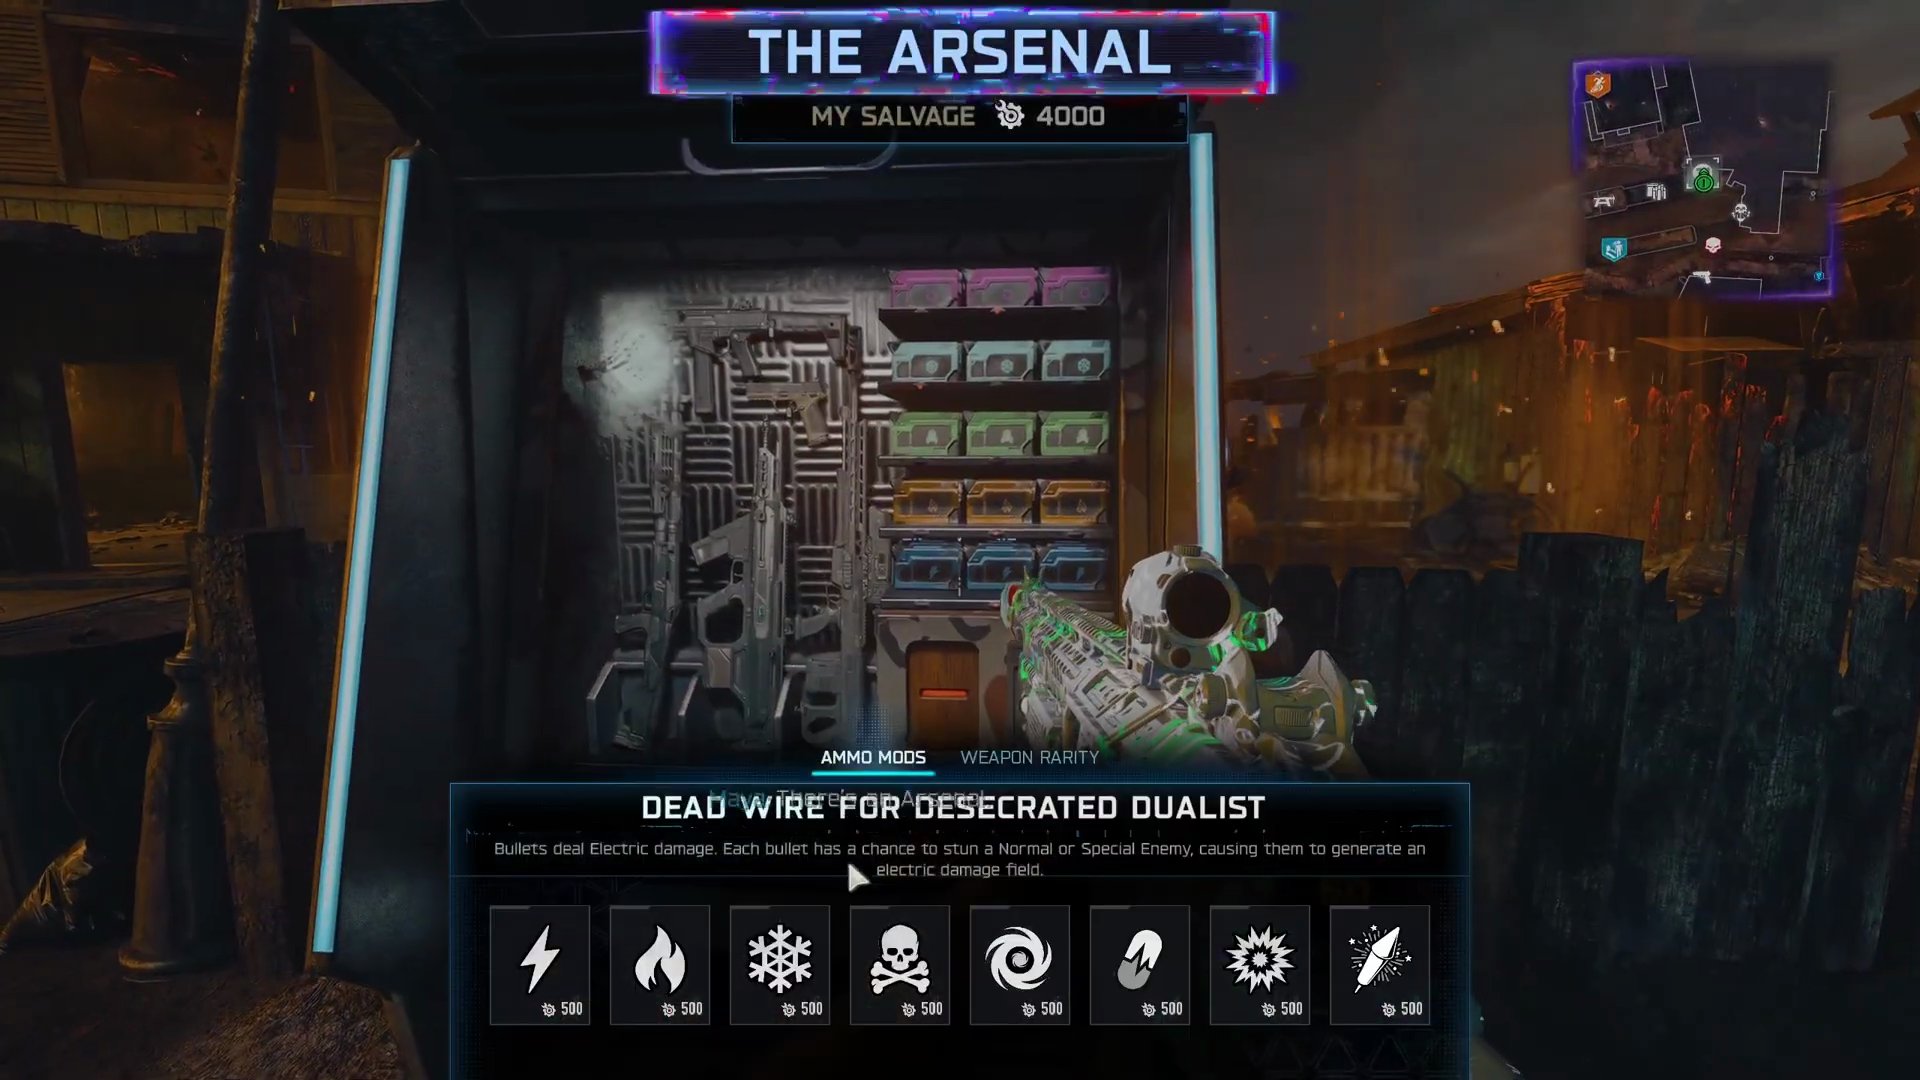
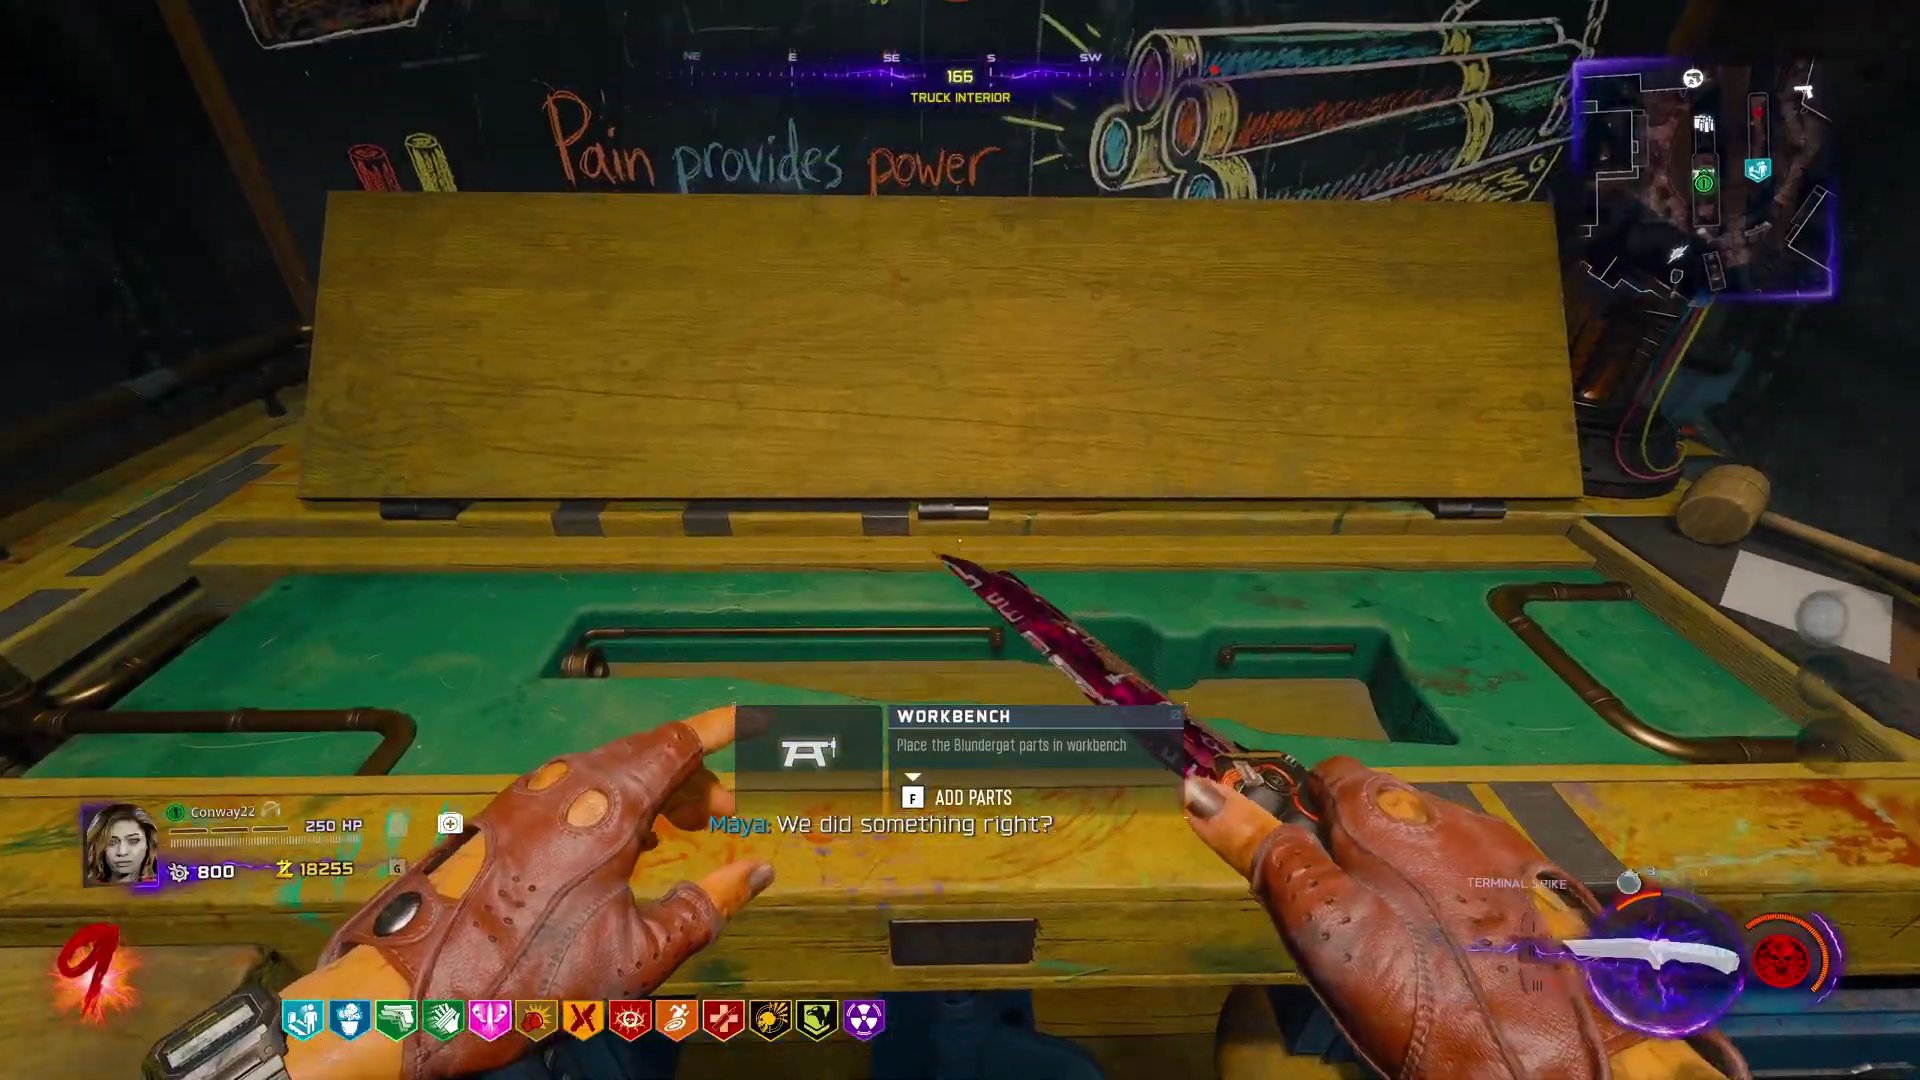
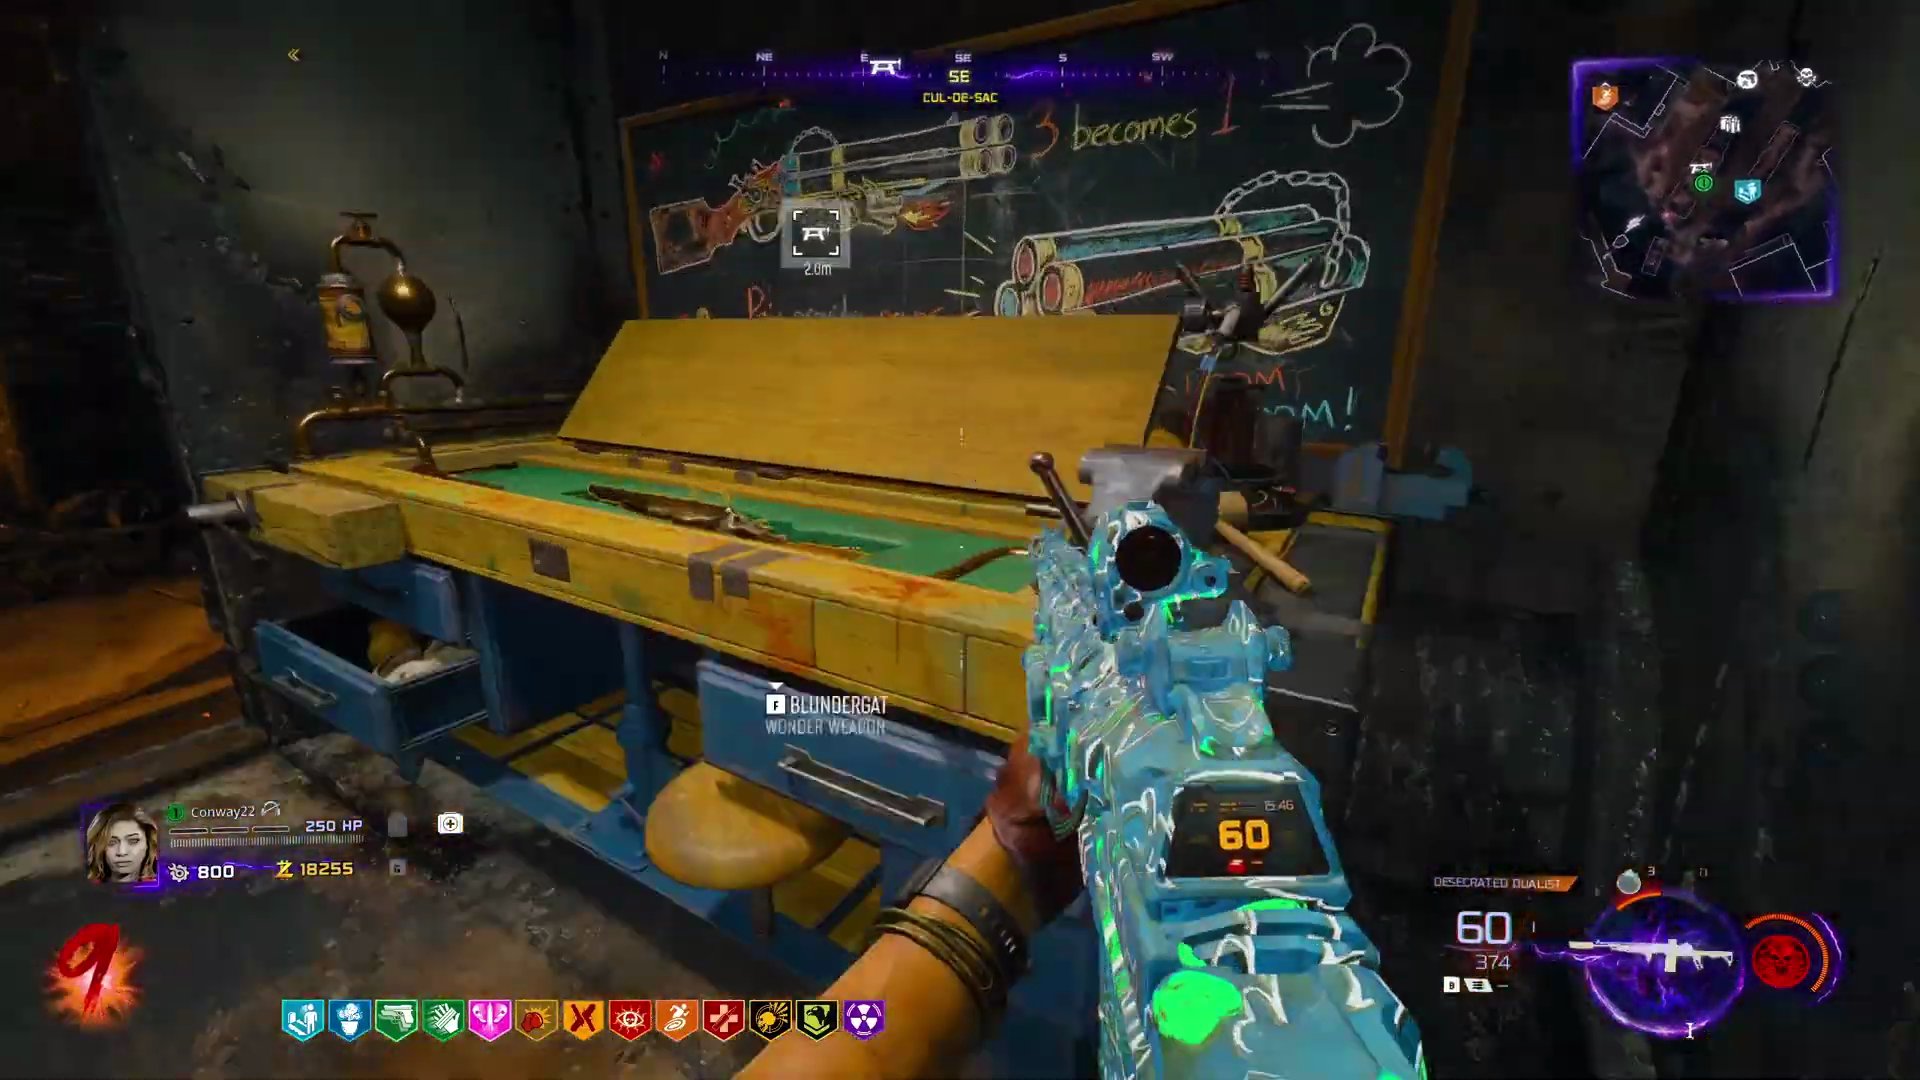
- **Craft Blundergat:** At the workbench in the destroyed van (Destroyed), open it and melee to assemble the Blundergat using the collected parts (Hammer, Stock, Sealant, Barrel).
 ,
7. Upgrade Wonder Weapon (Blundergat)
- **Plant Tree (Past):** Teleport to Past. Go to Trinity Avenue and plant the irradiated seeds in the hole in the ground.
 ,
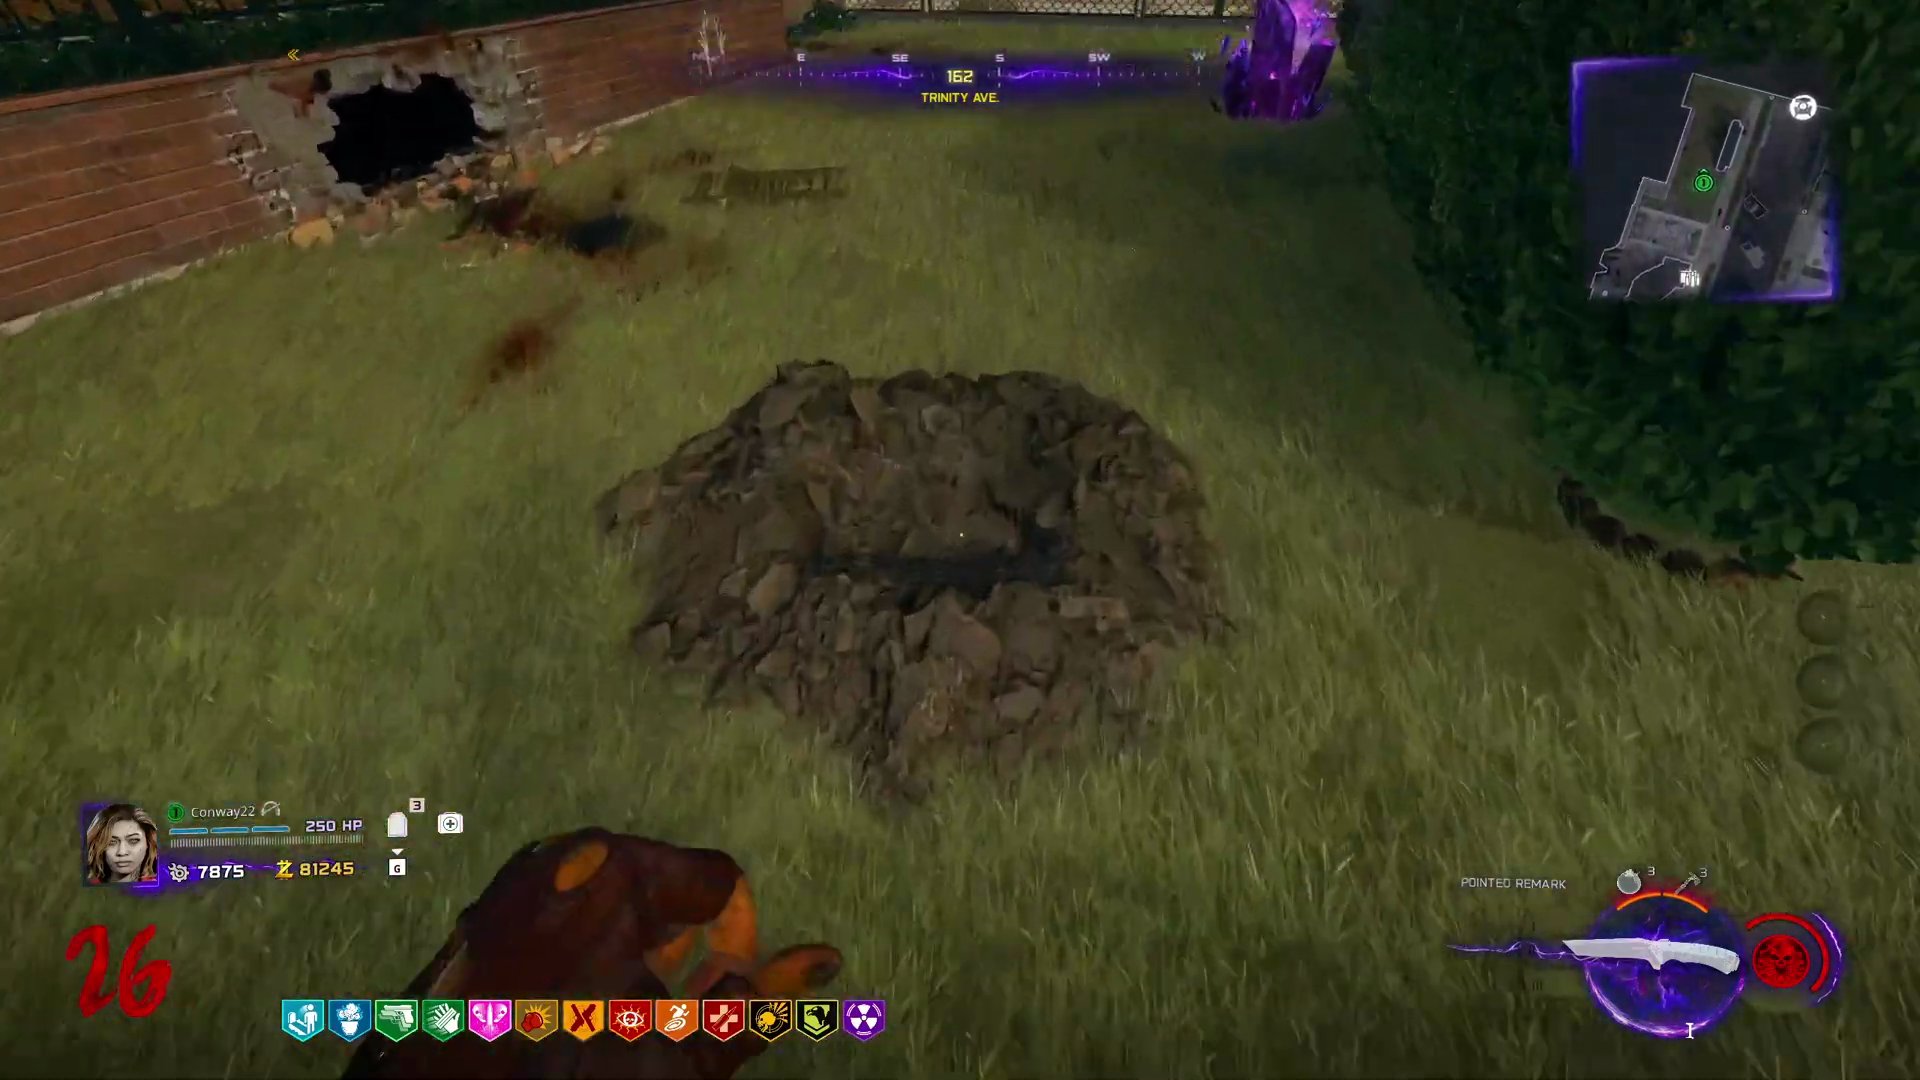
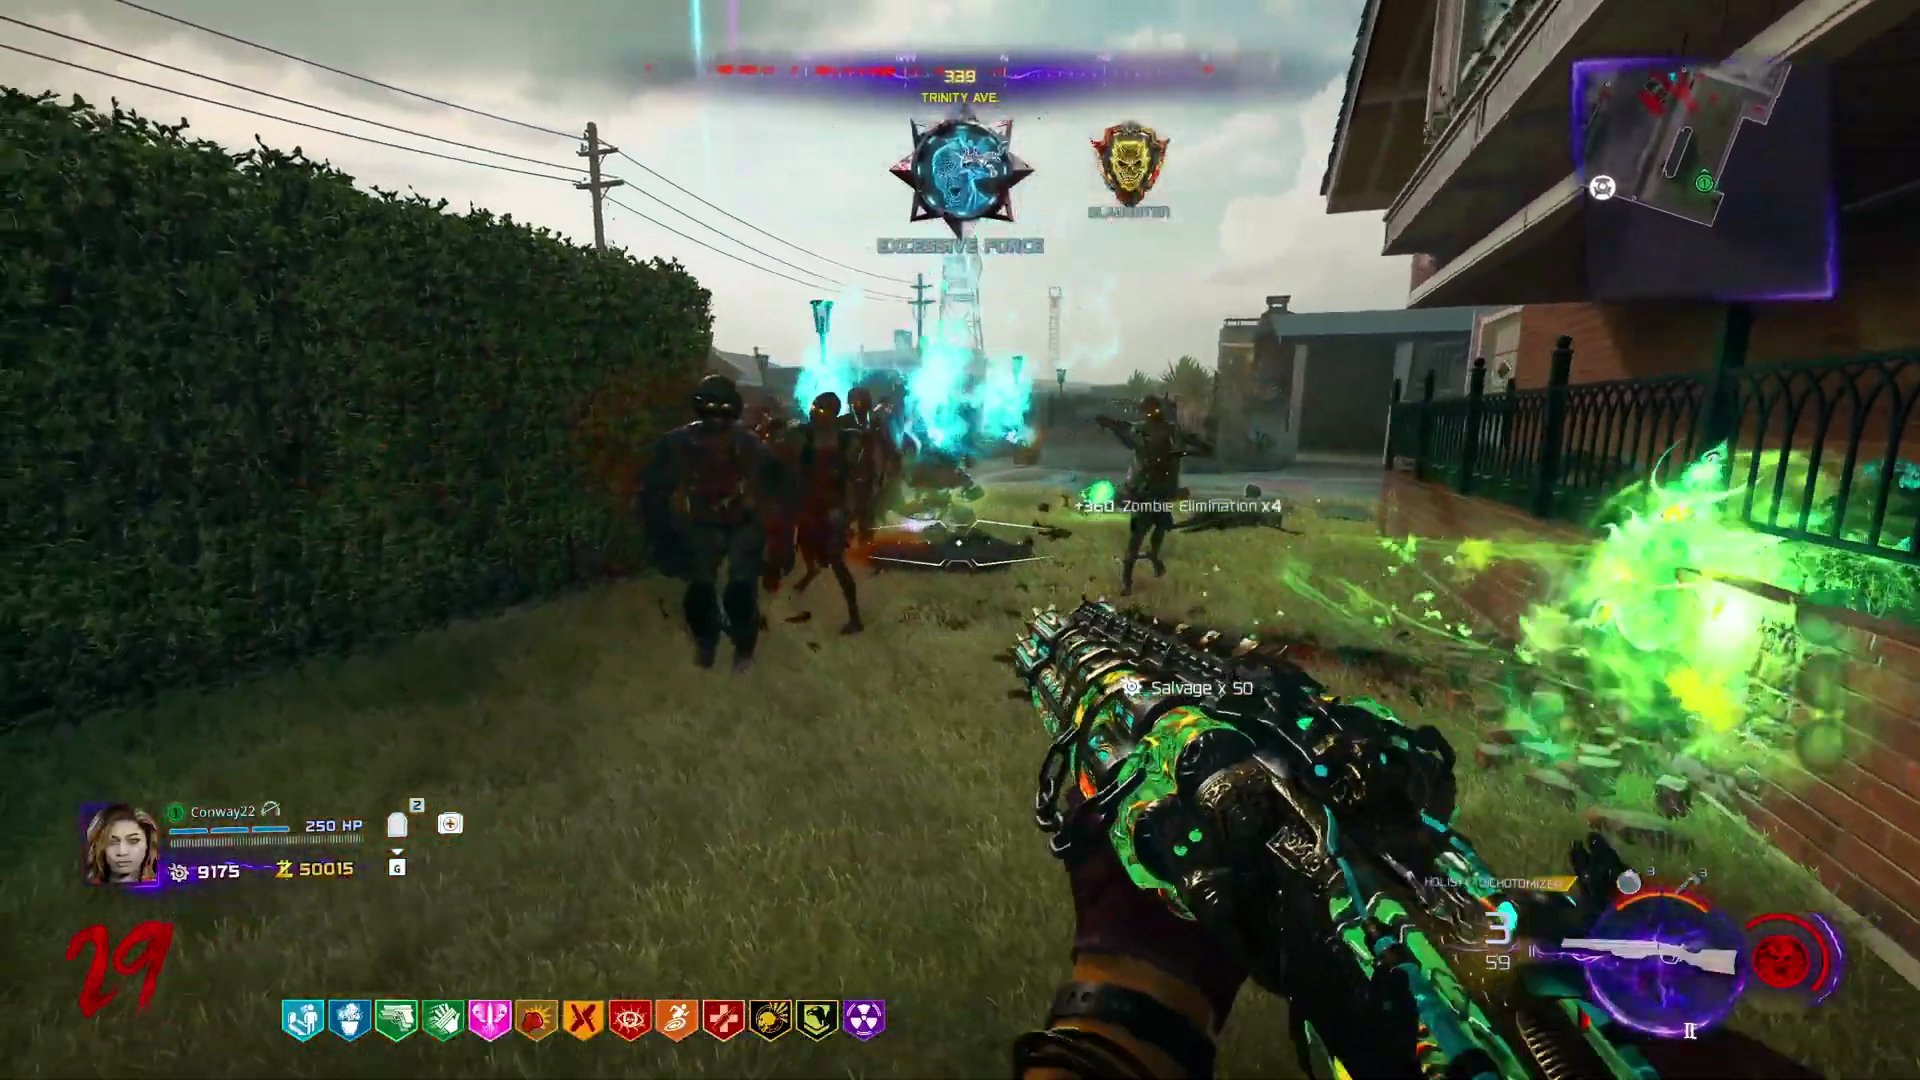
- **Grow Tree (Past):** Fill the tree with zombie souls by killing zombies nearby with the Blundergat.
- **Collect Firewood (Destroyed):** Teleport to Destroyed. Throw a Tomahawk at the grown tree three times to obtain Strange Firewood.
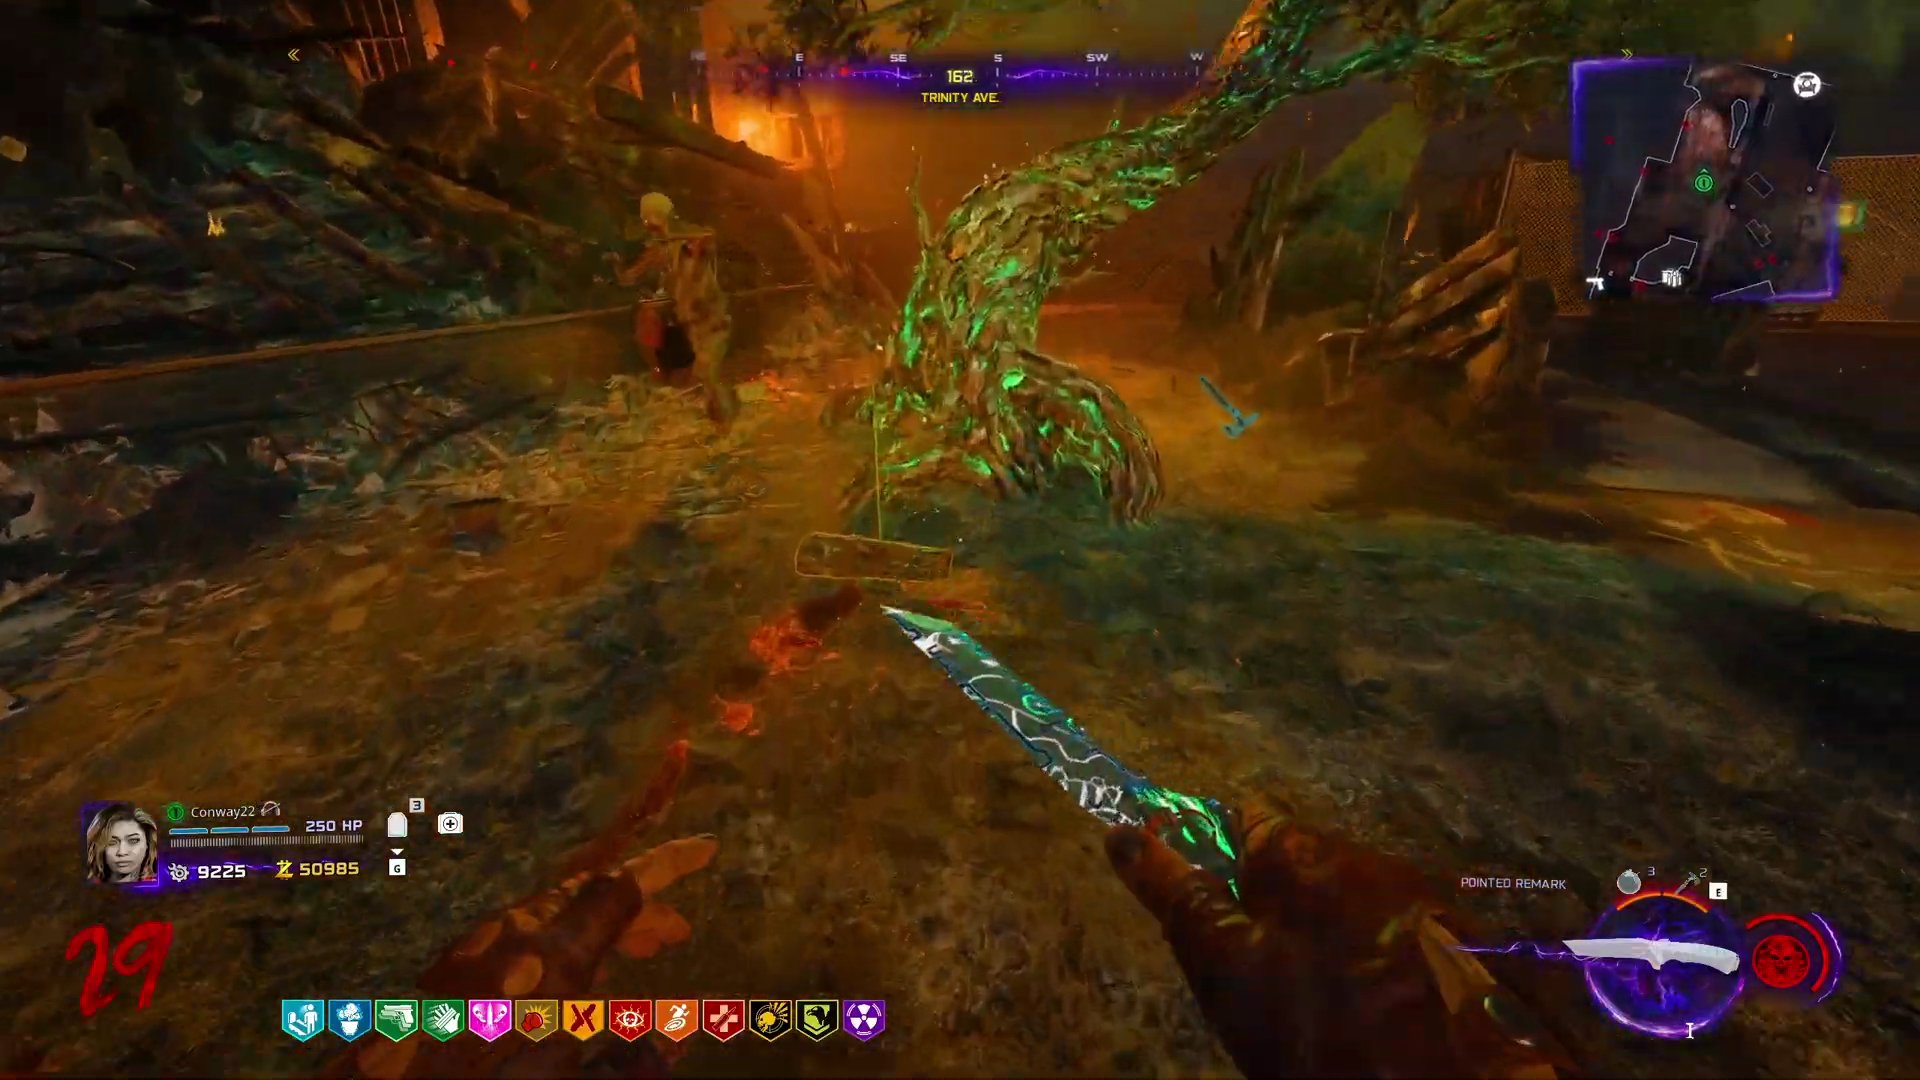 ,
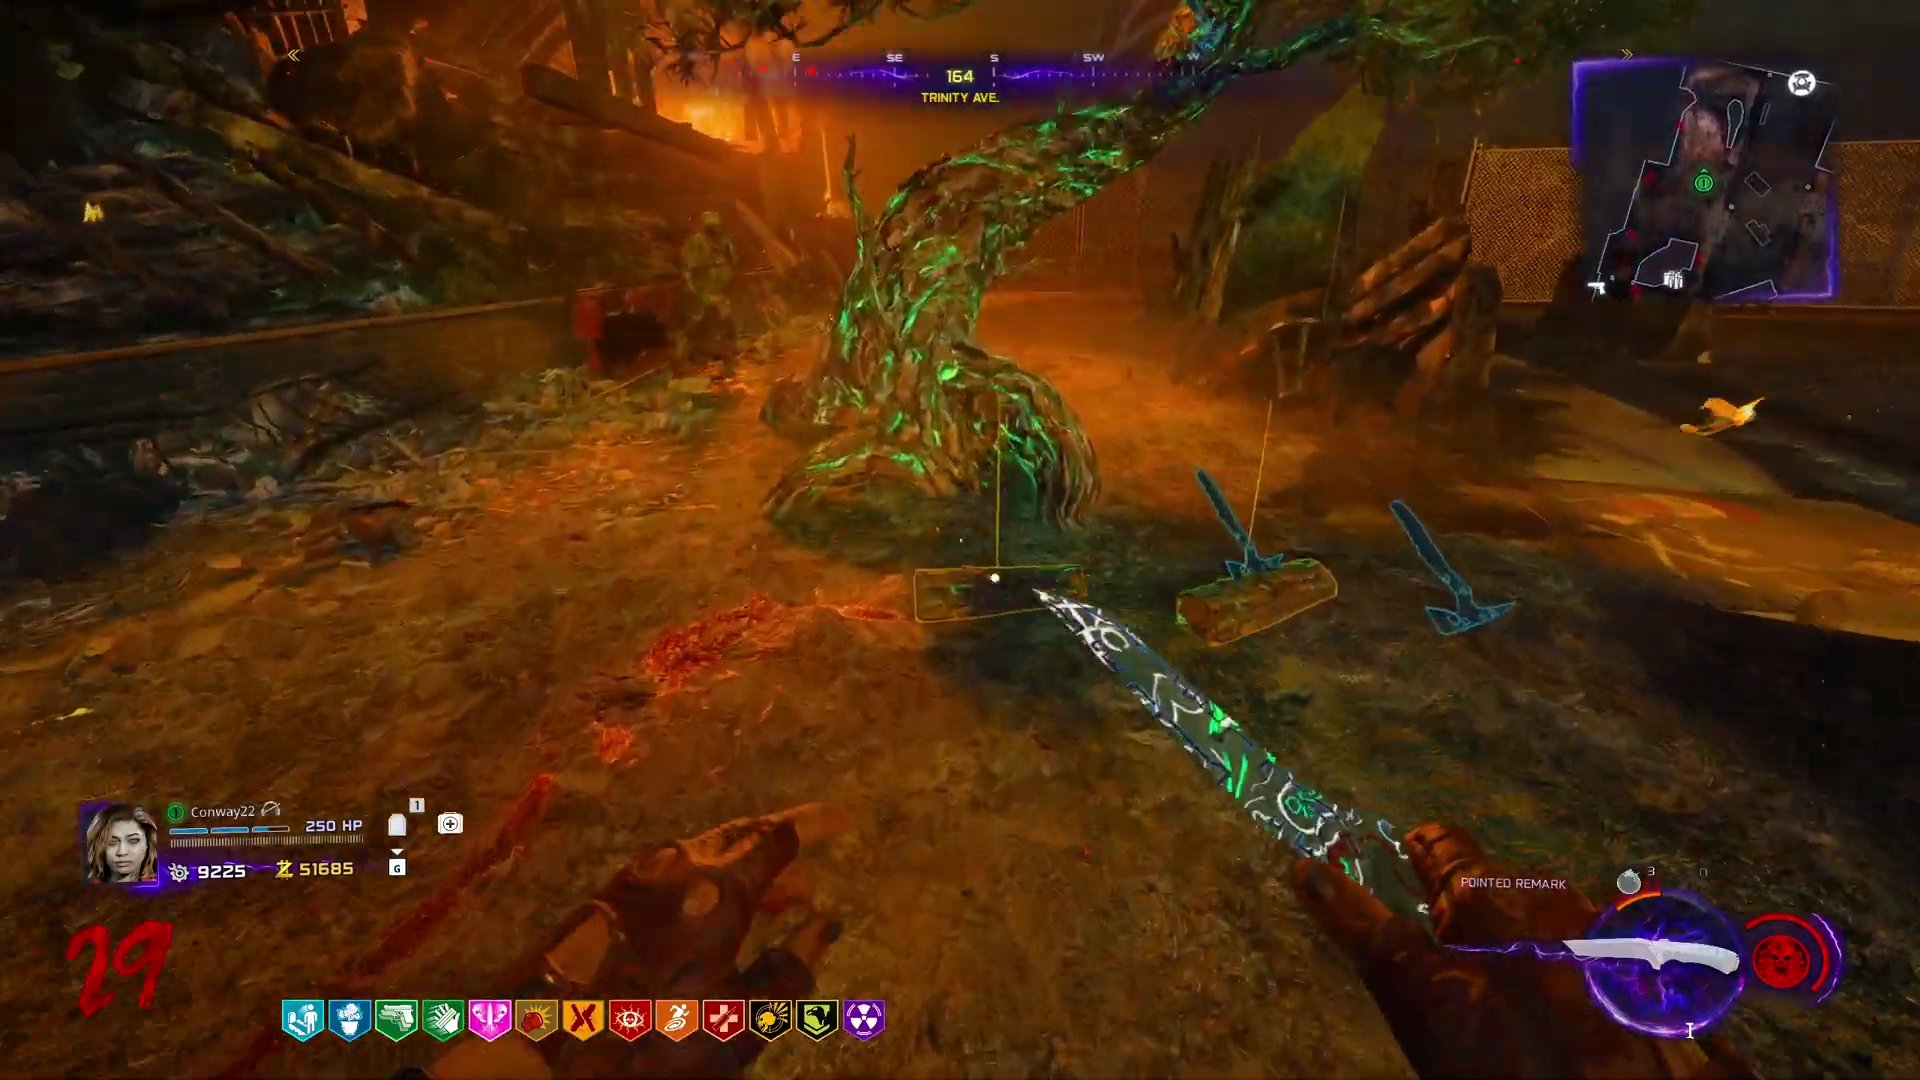
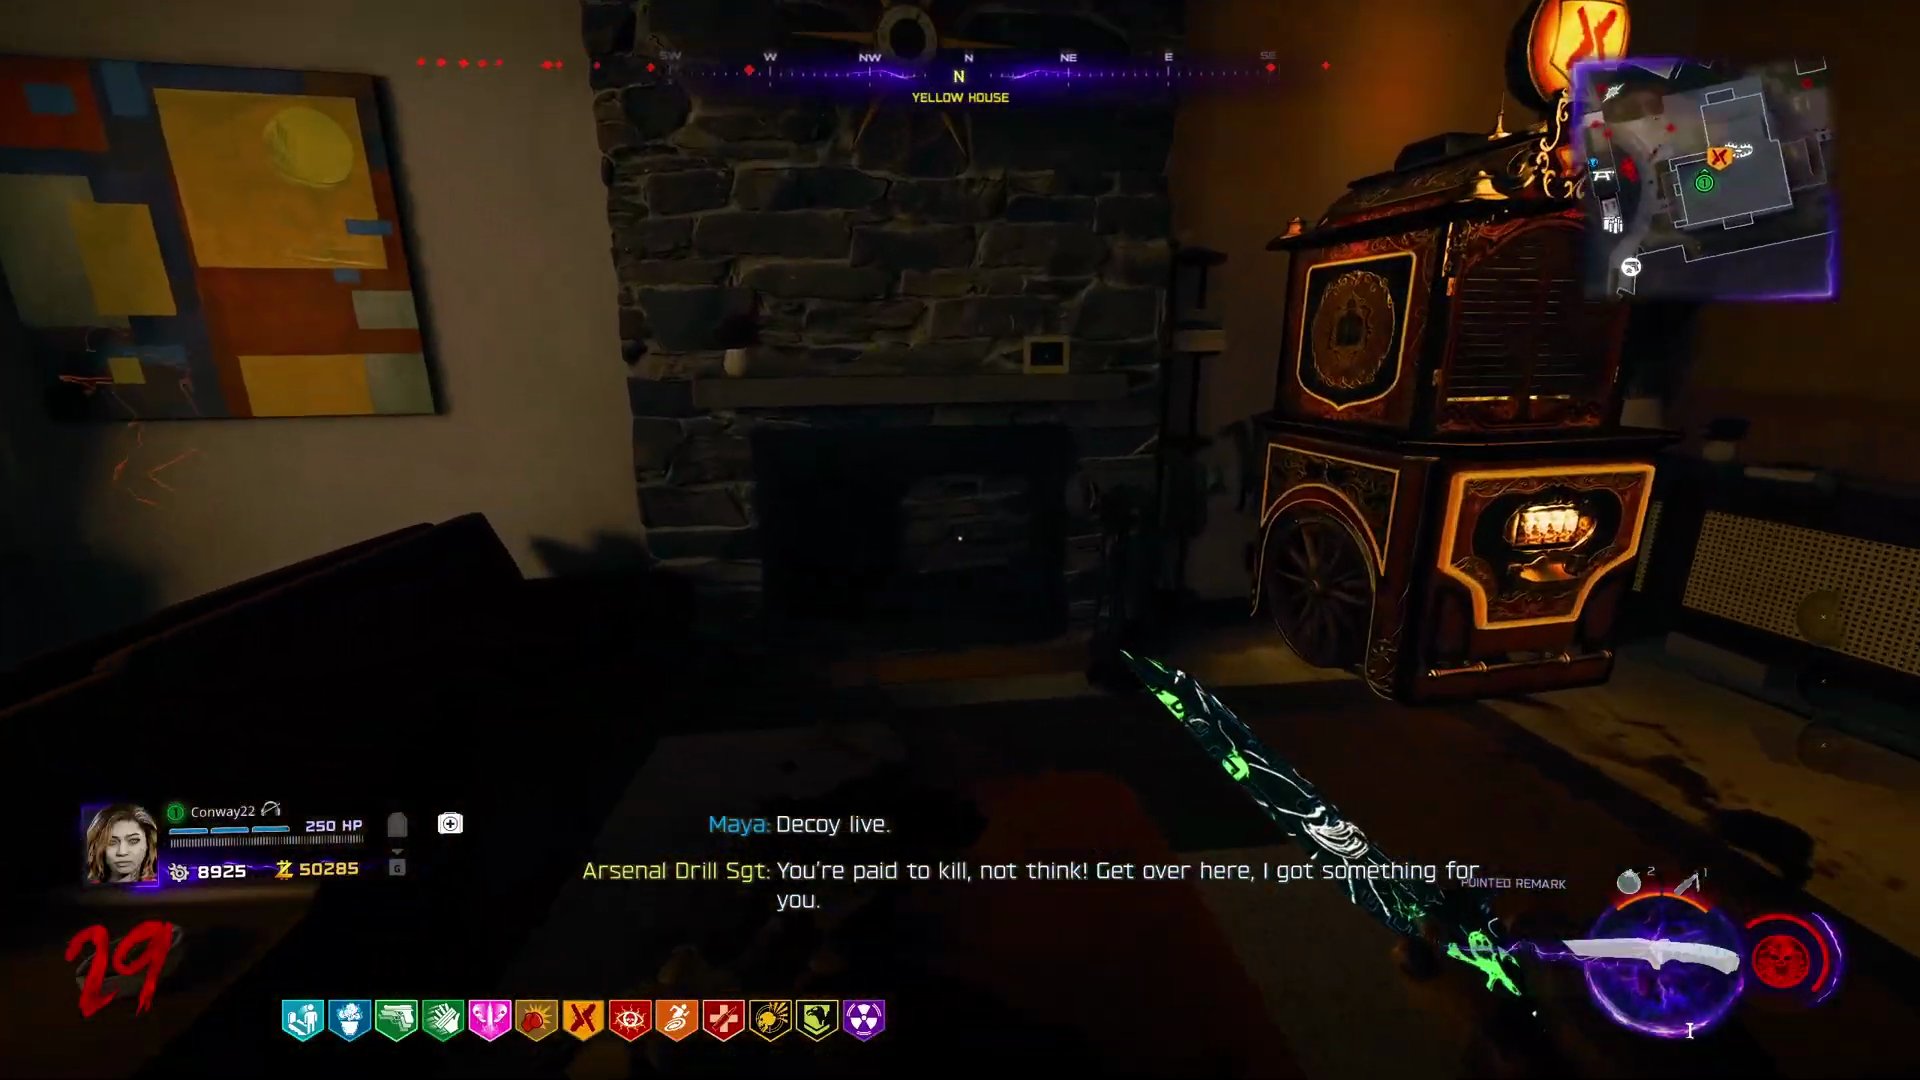
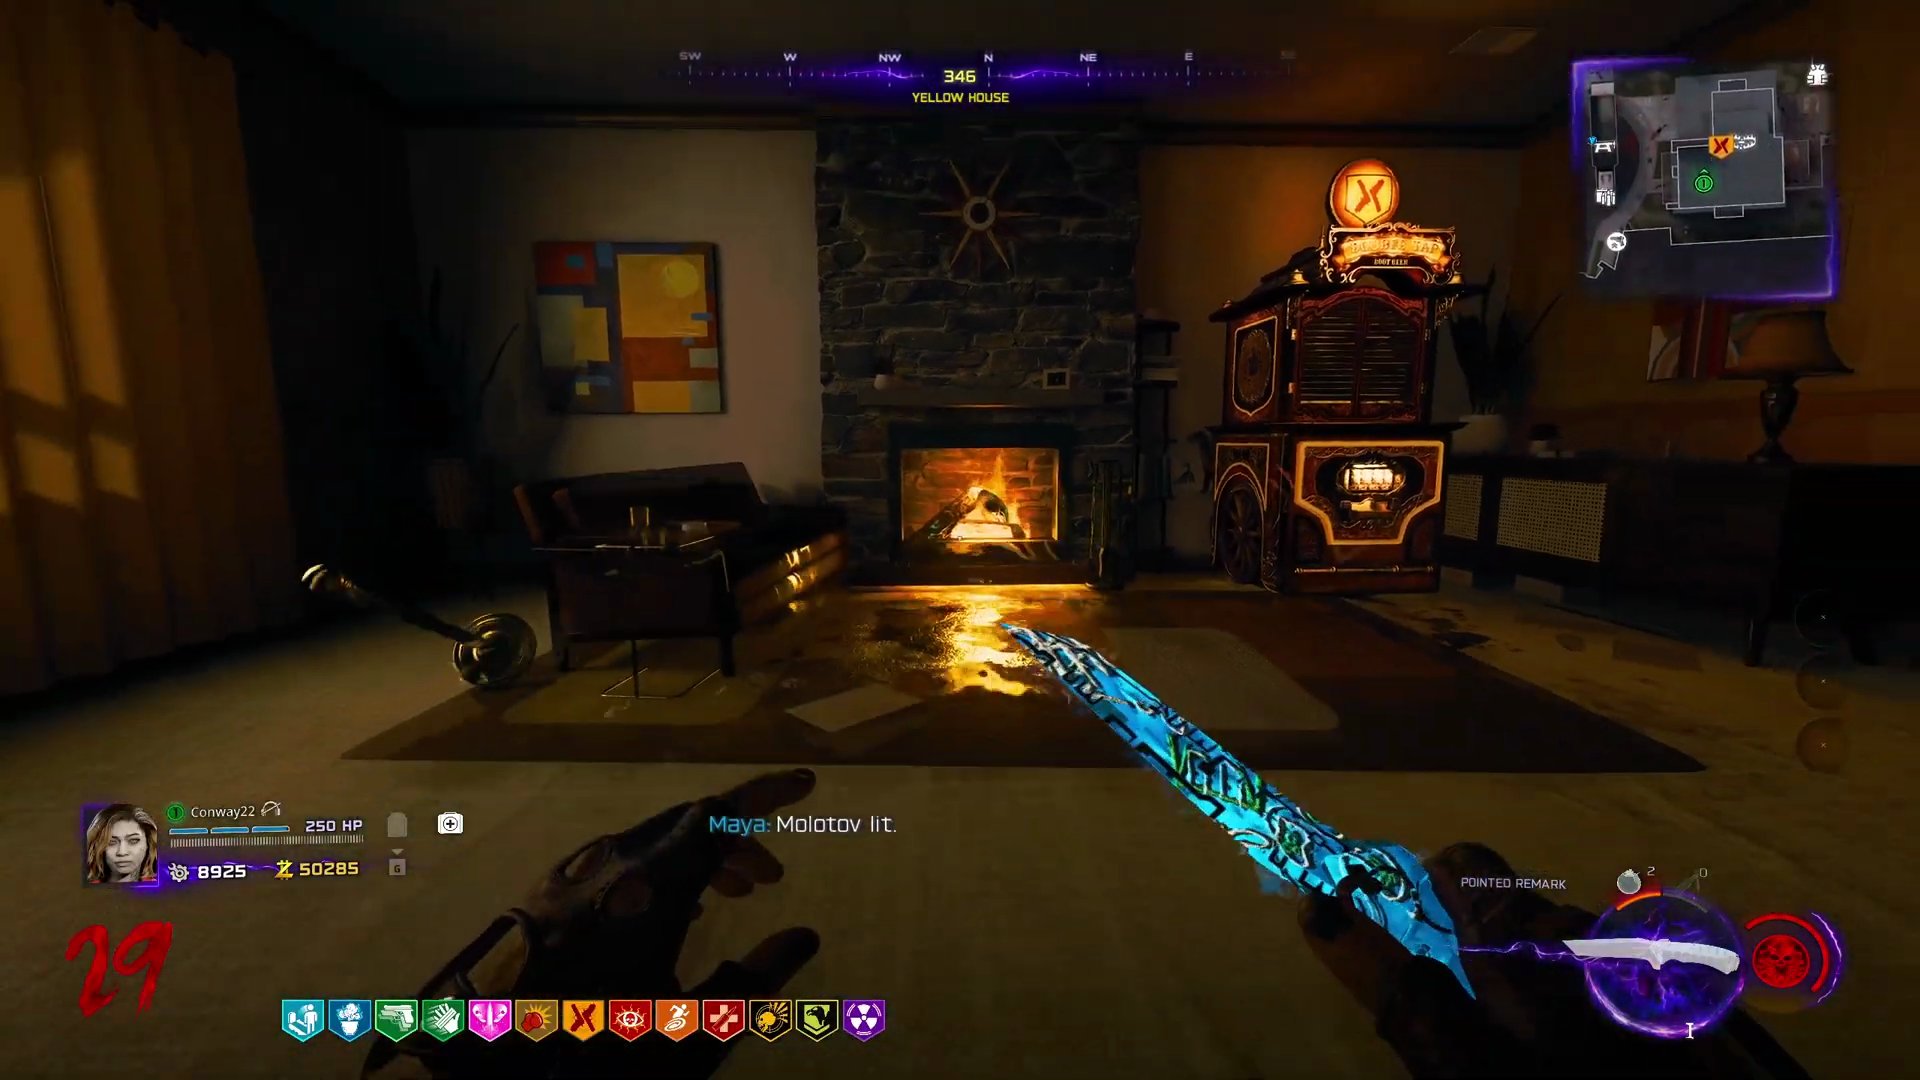
- **Light Fireplace (Past):** Teleport to Past. Place the firewood in the fireplace and ignite it with a Molotov.
 ,
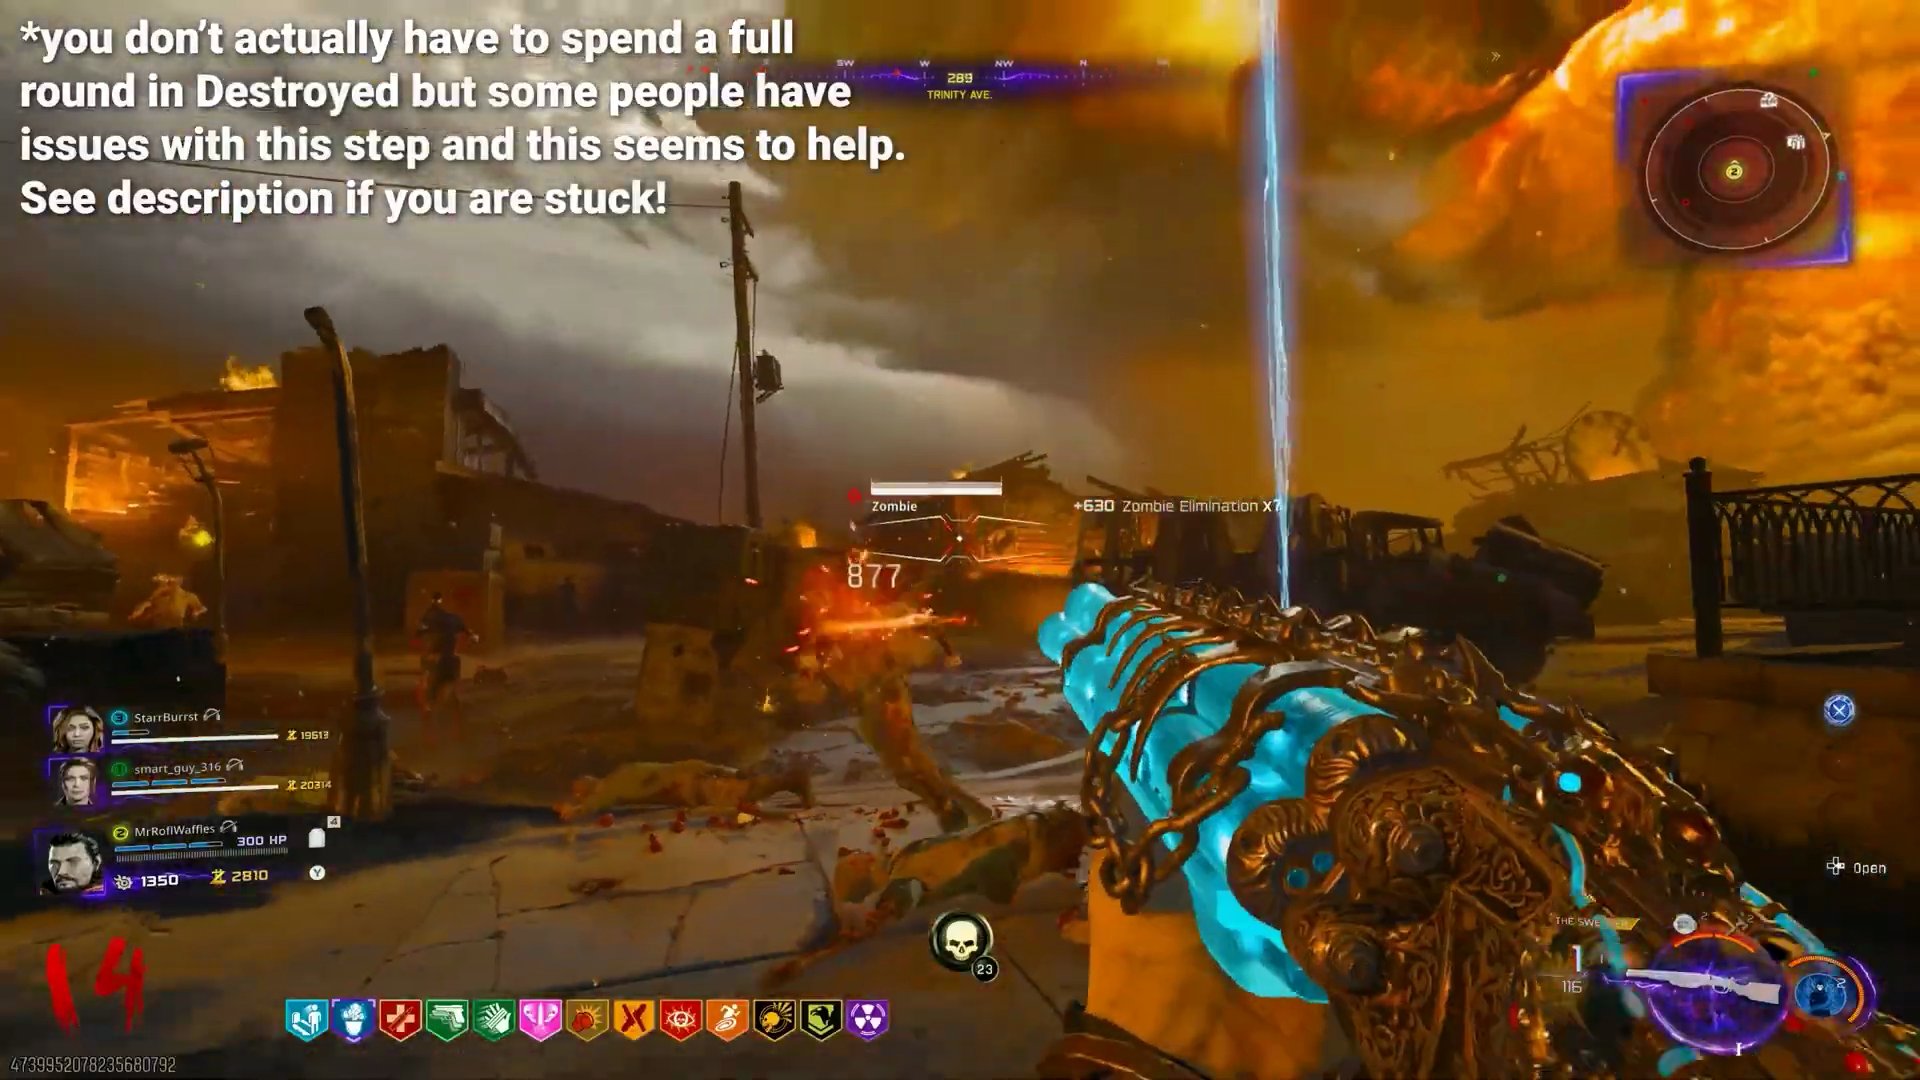
- **Start Soul Collection for Upgrade (Destroyed):** Teleport to Destroyed. Spend a full round in Destroyed. The next round, a Tortured Zombie spawns trapped in fire.
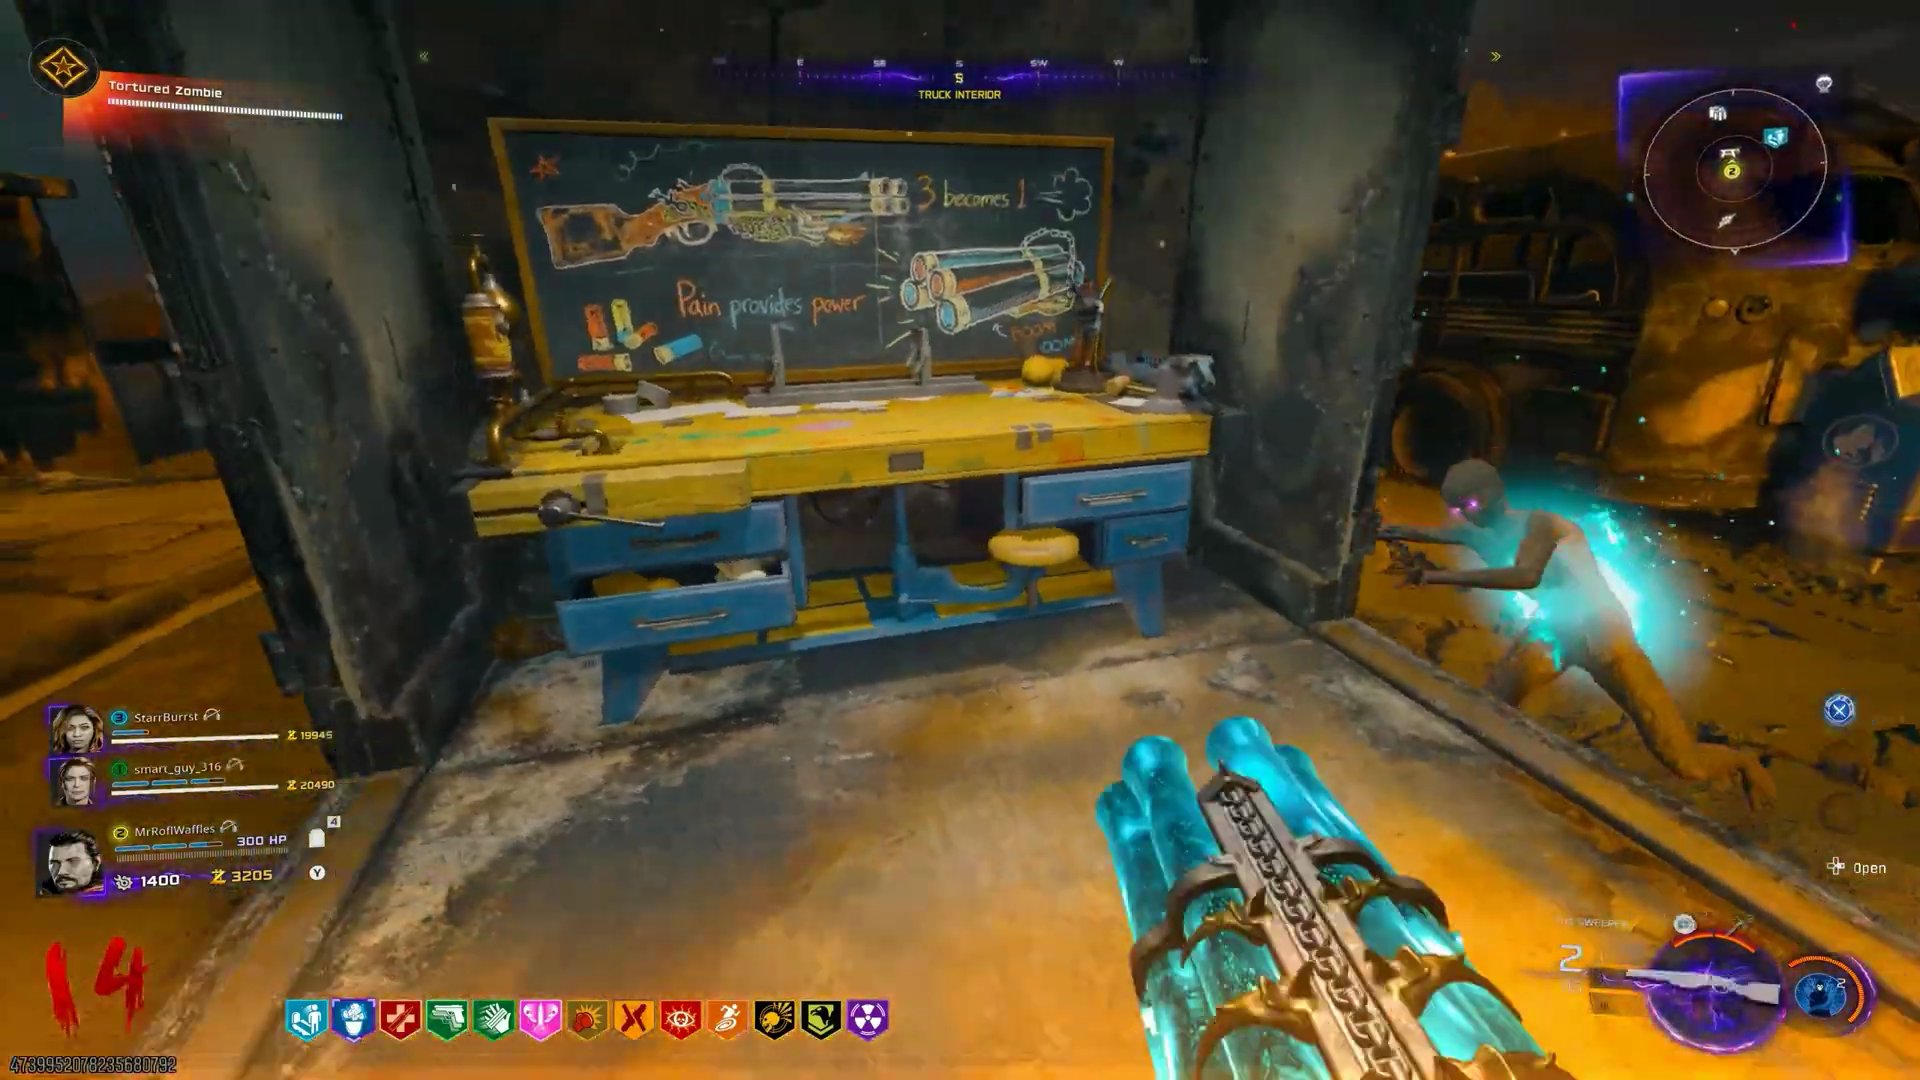
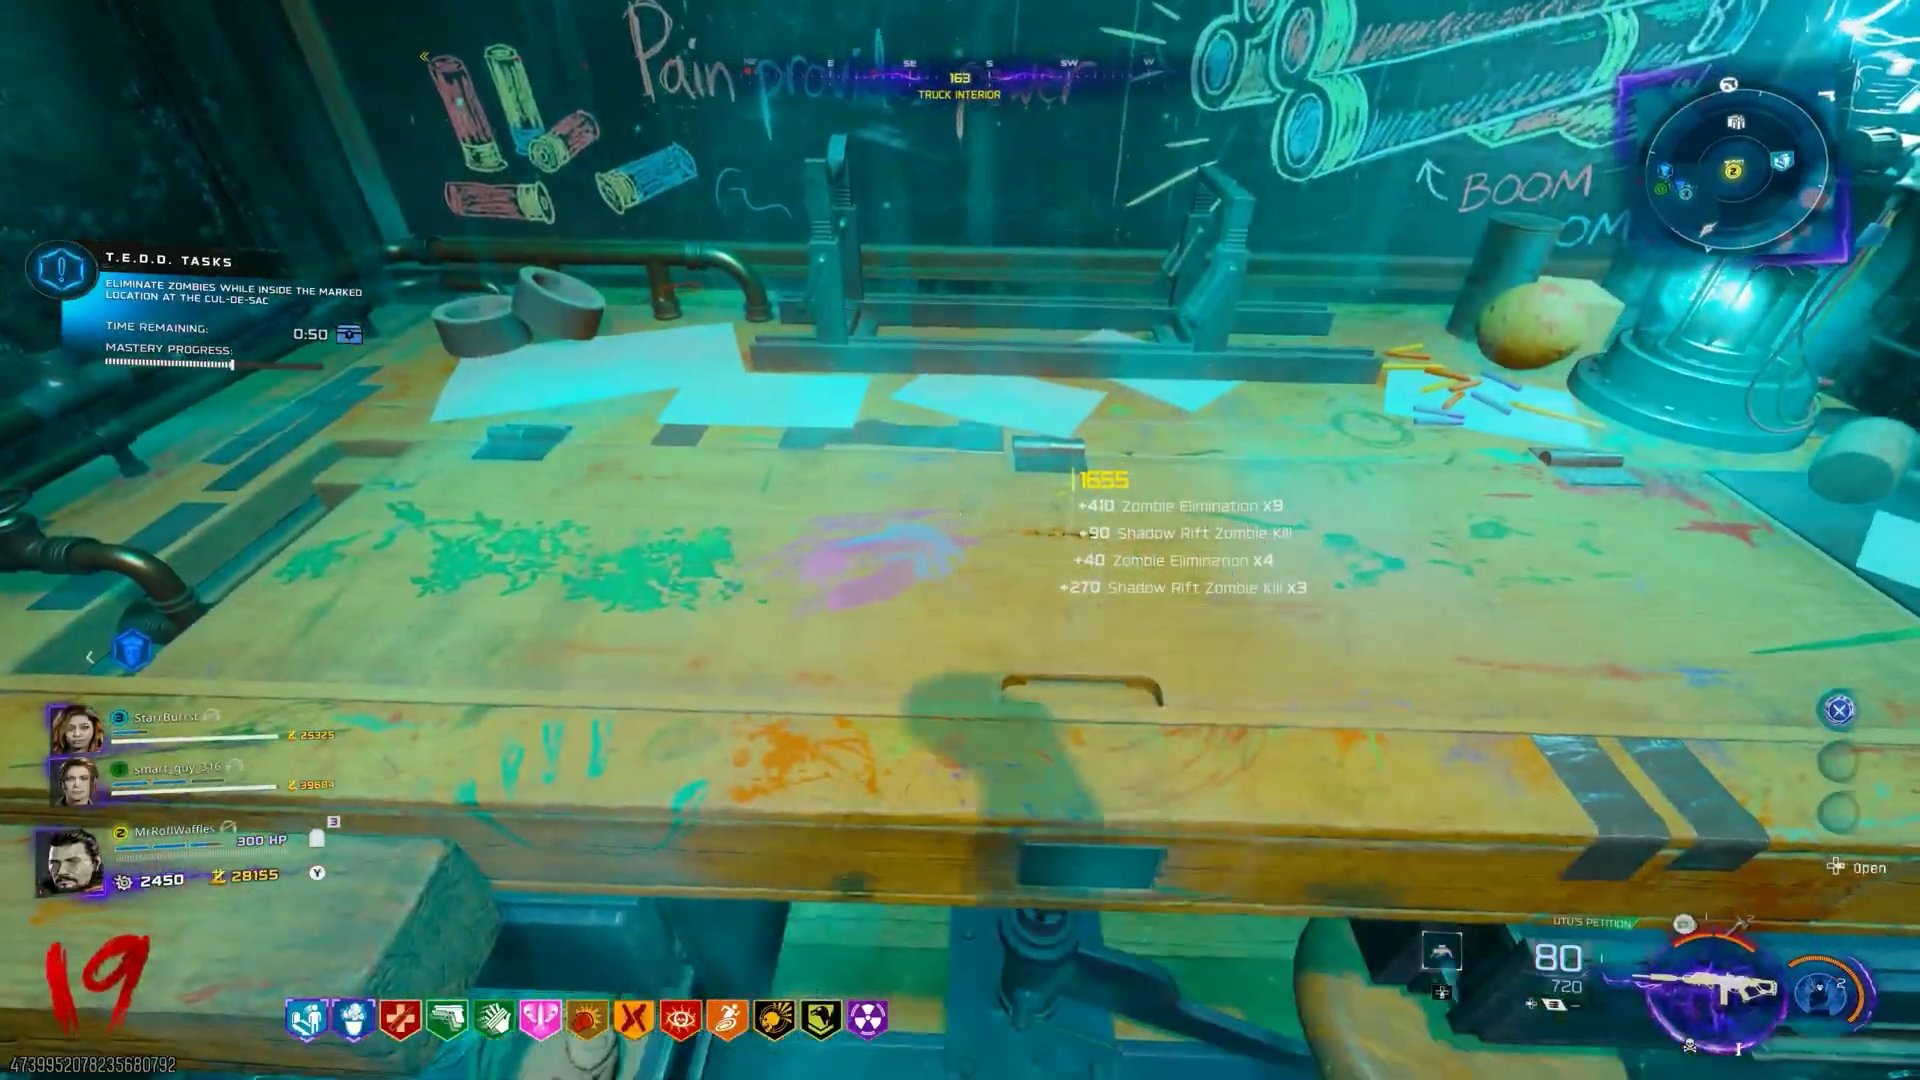
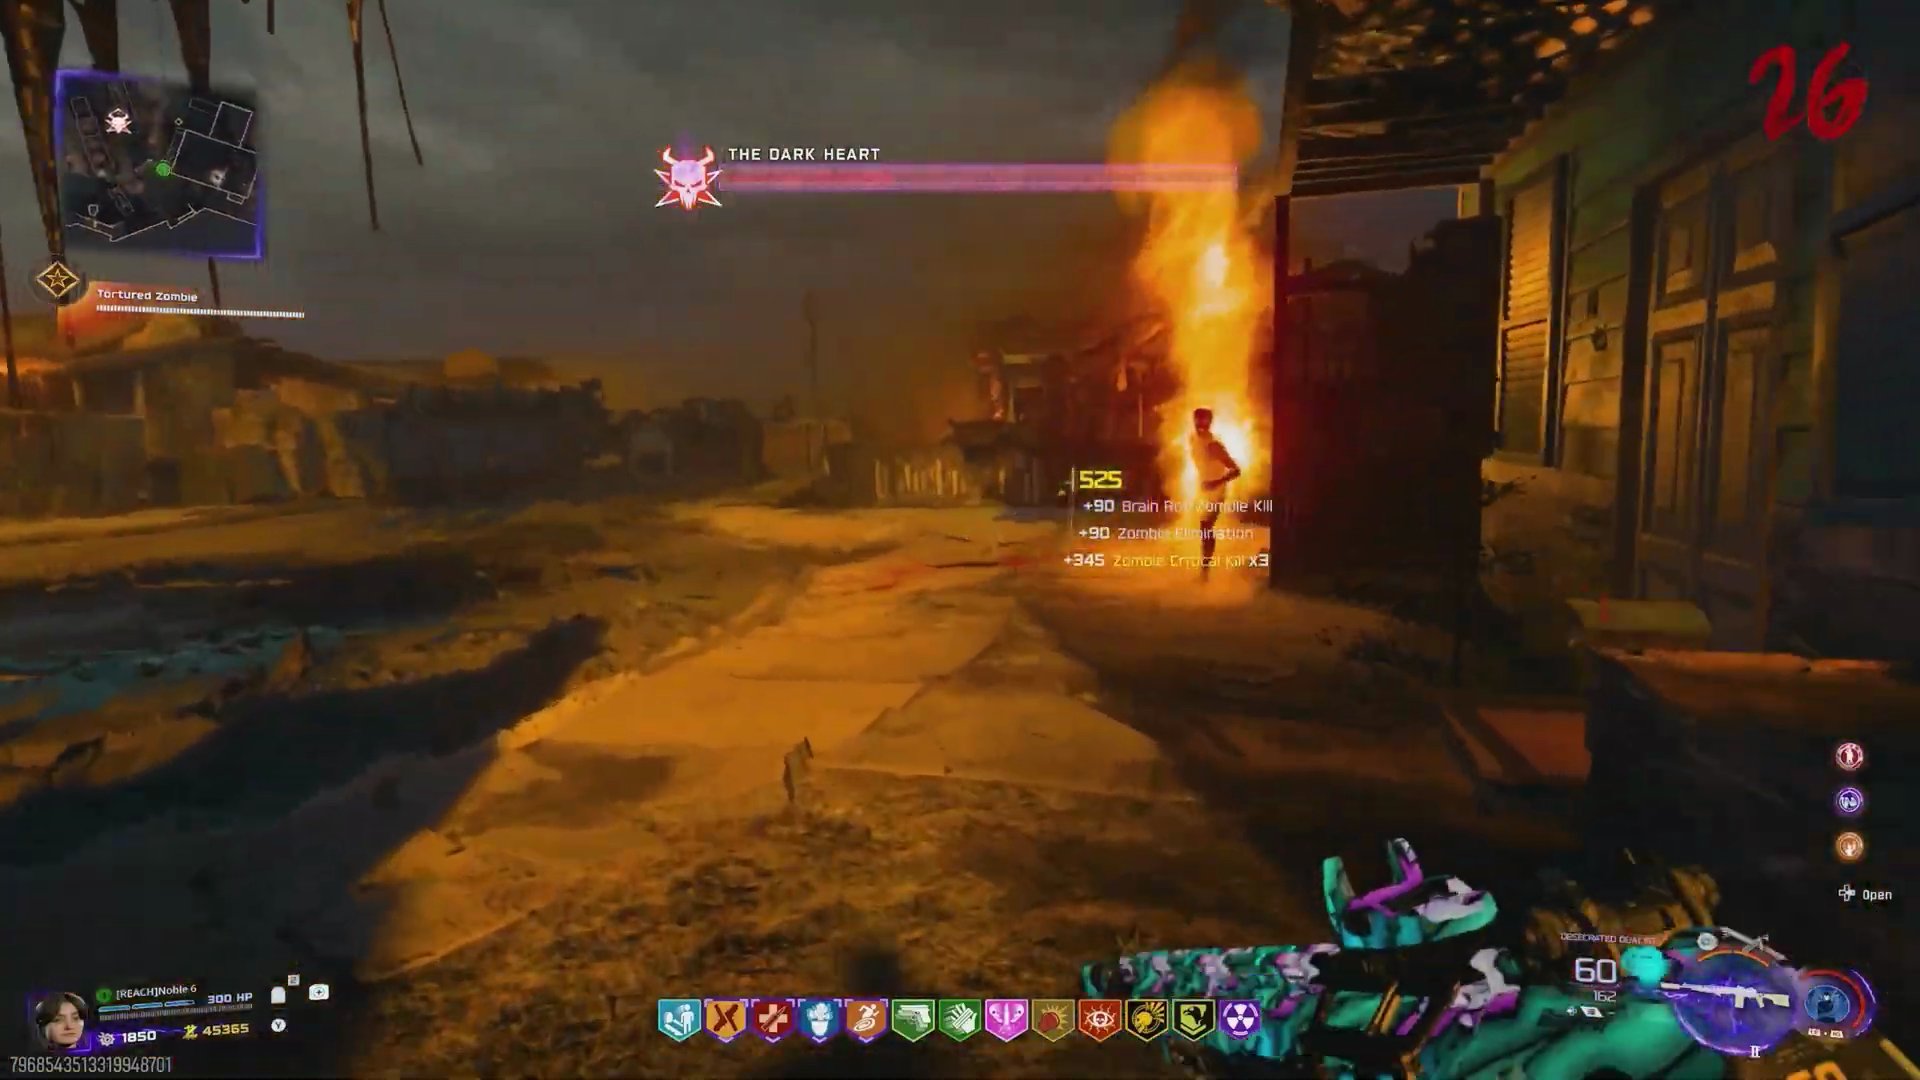
- **Collect Tortured Souls:** Lure the Tortured Zombie to the workbench in the destroyed van. Kill it with the Blundergat directly in front of the bench. Repeat this process two more times for subsequent Tortured Zombies.
- **Retrieve Upgraded Blundergat:** Teleport to Past. Melee the workbench. Then, teleport back to Destroyed and melee the workbench again to pick up your upgraded Blundergat.
8. Complete Children's Games (Past)
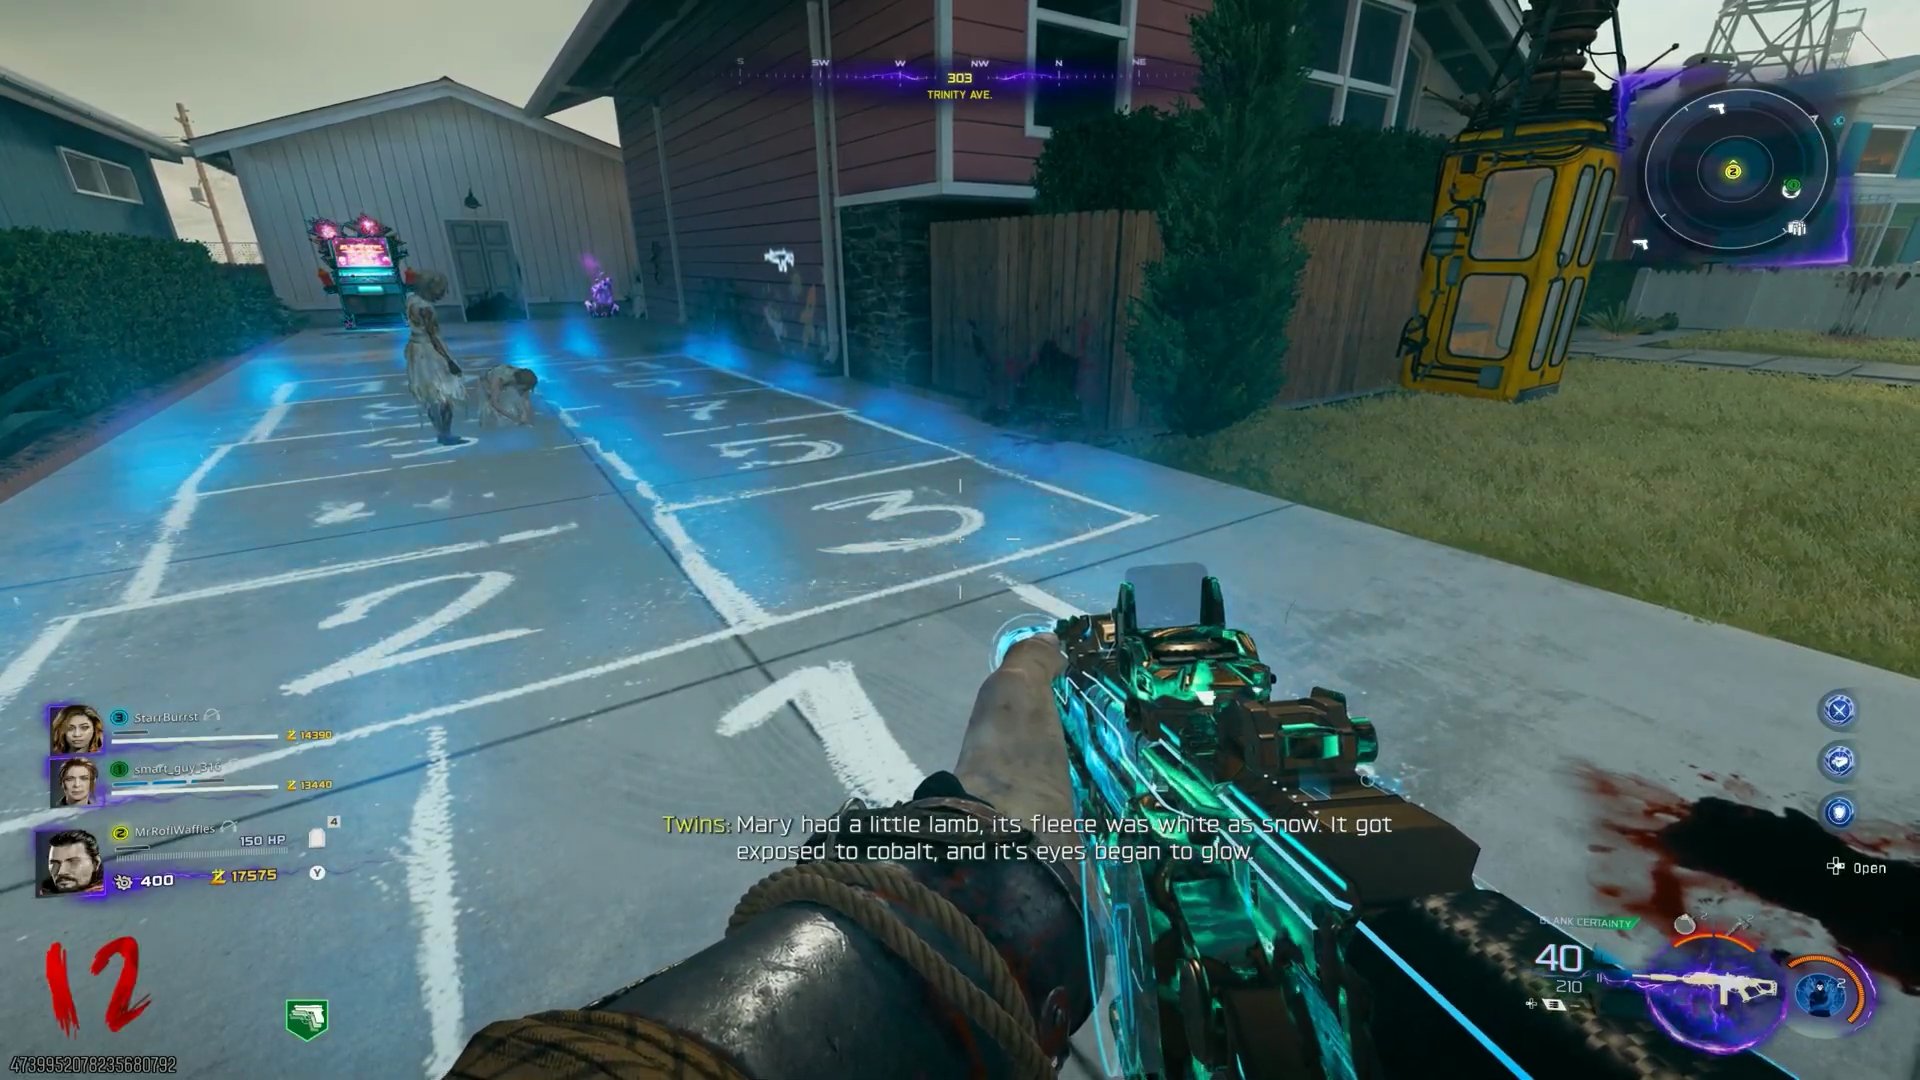
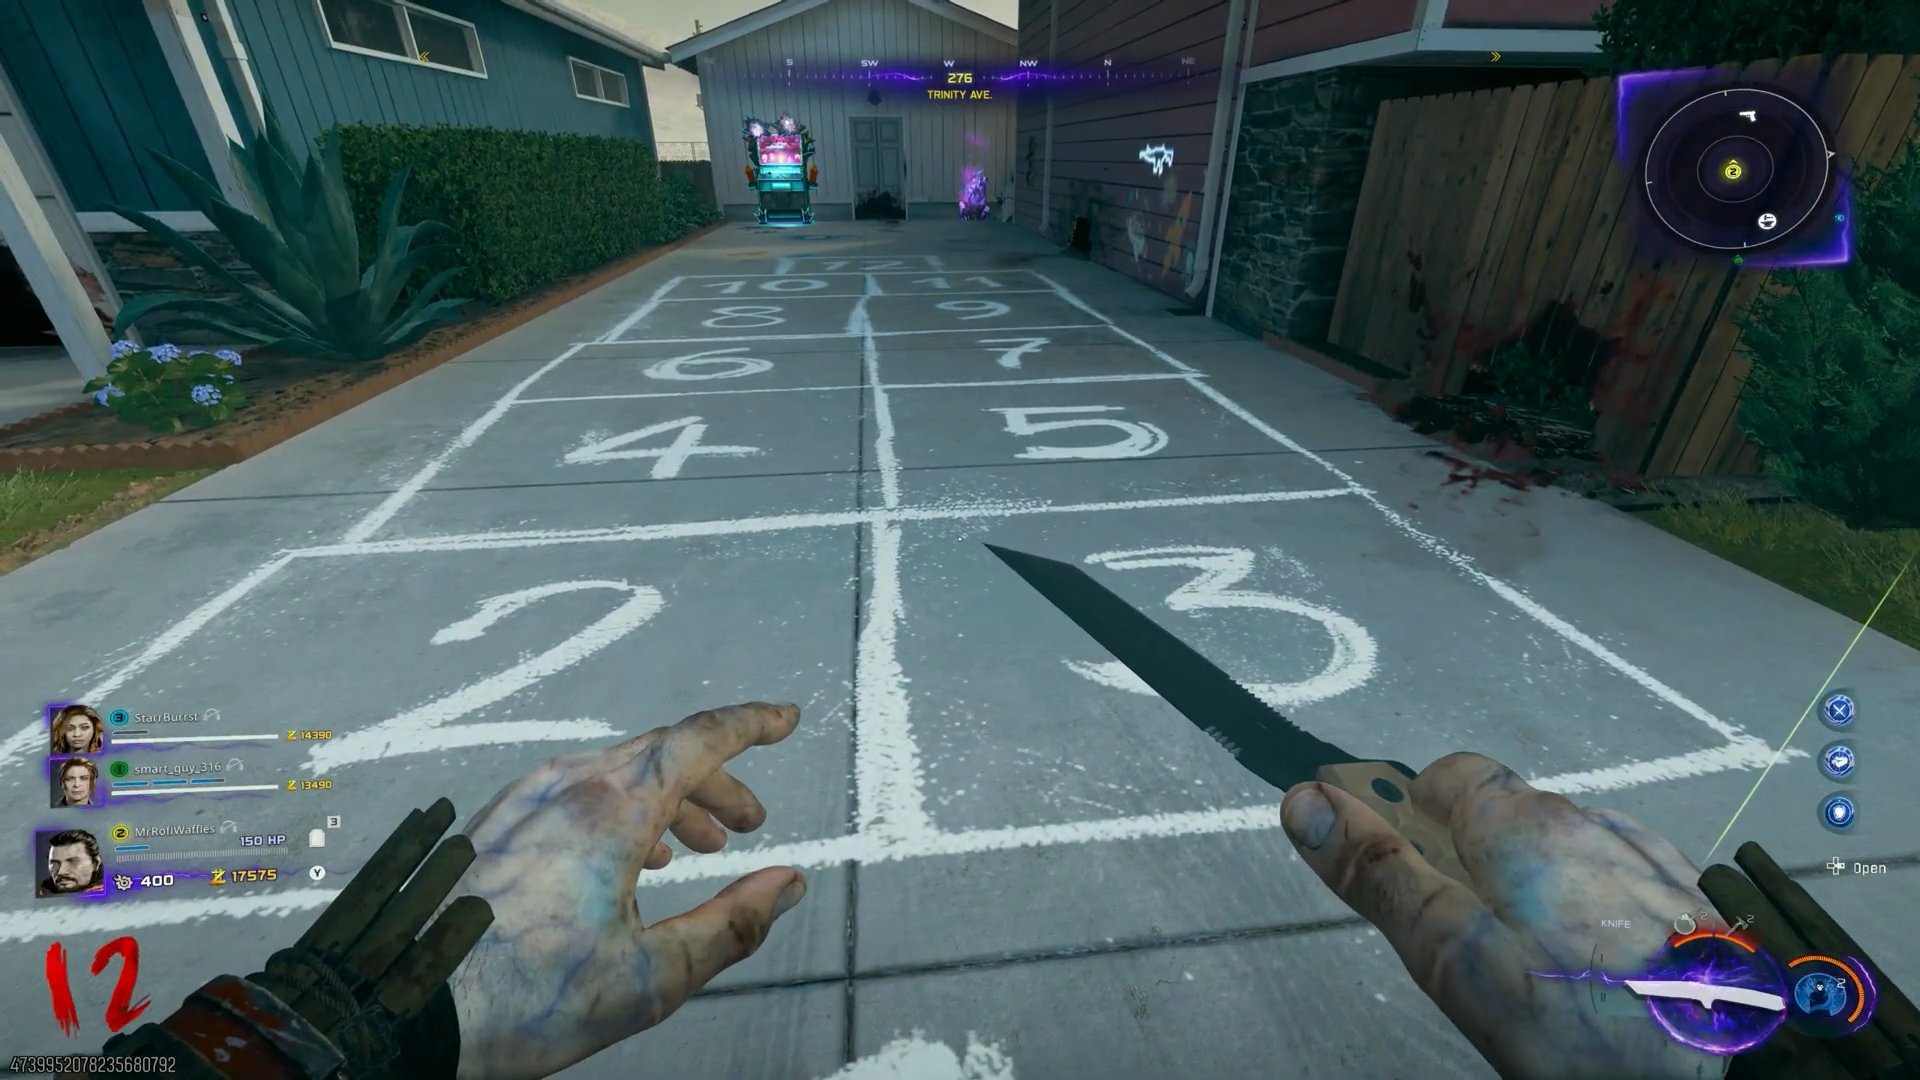
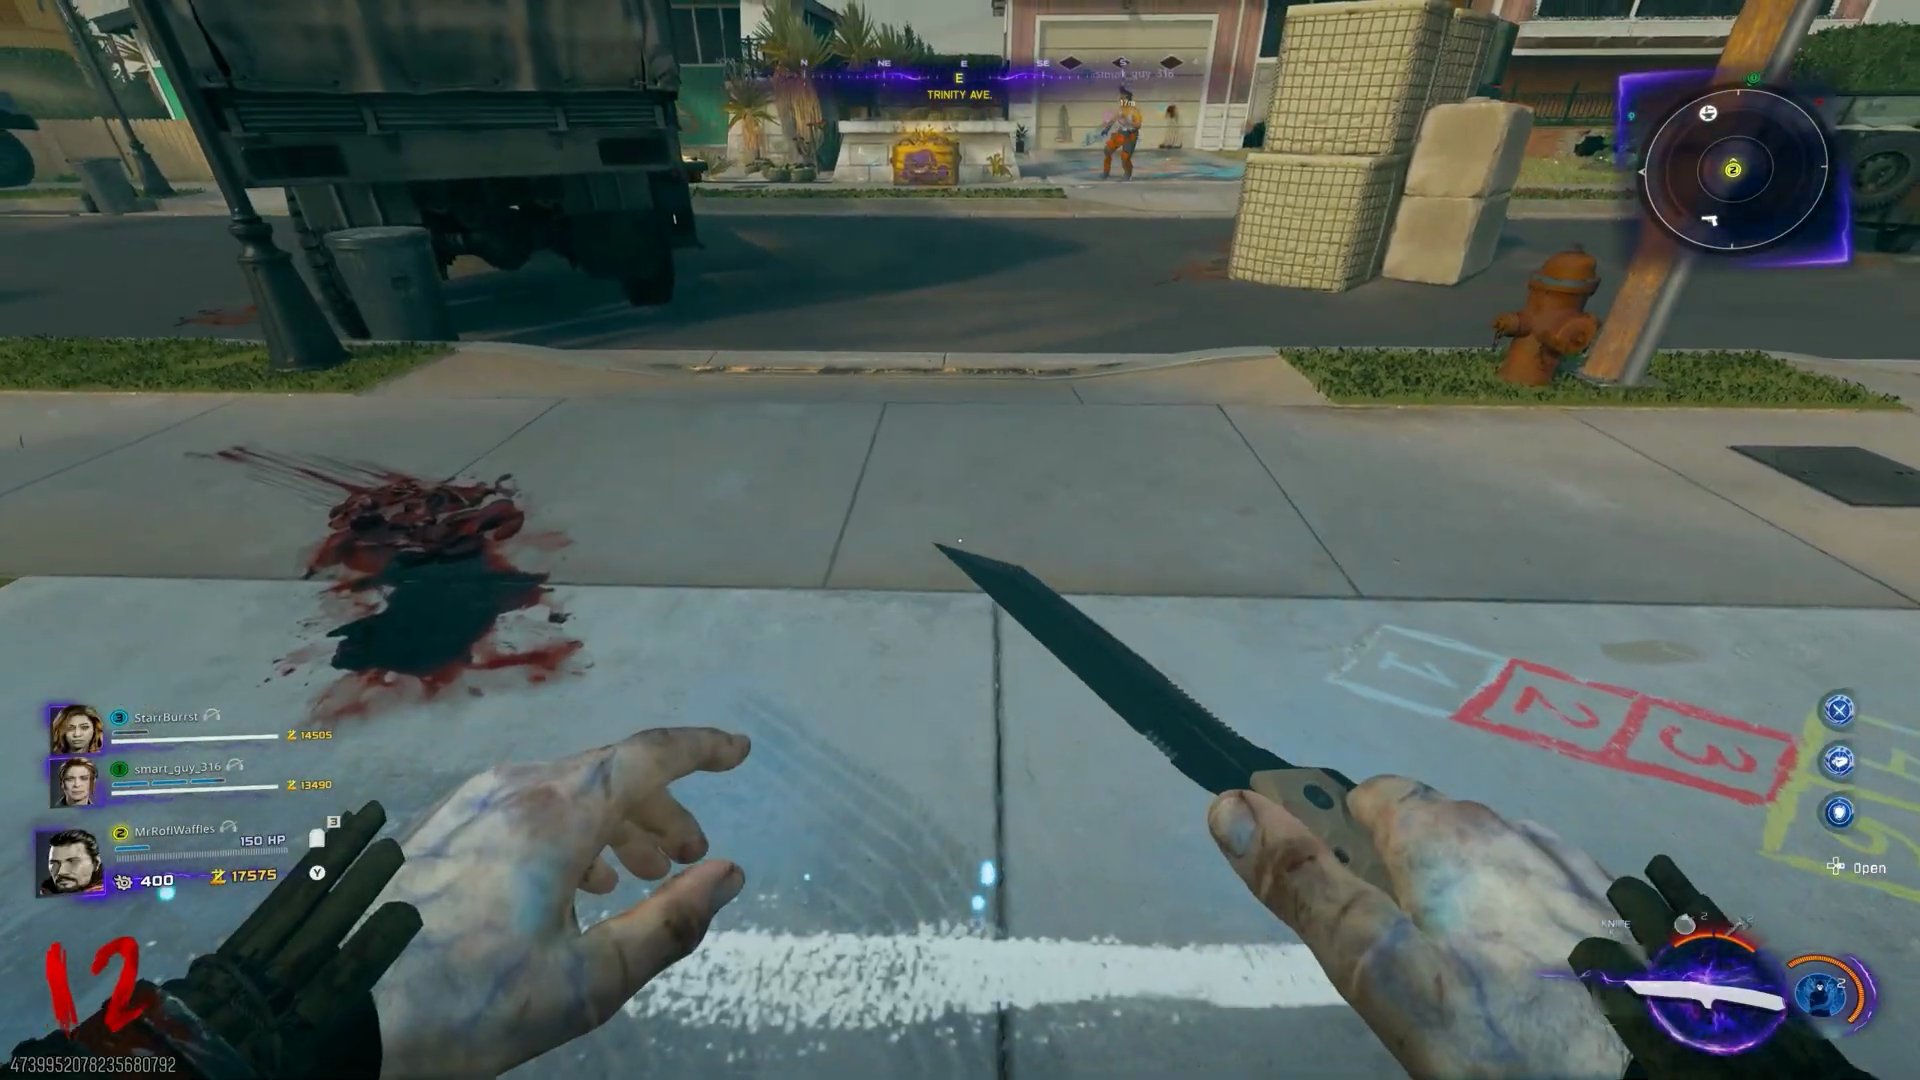
- **Hopscotch:** In Trinity Avenue (Past), stand on the chalk 'X'. Interact with the twins. Jump from square 2 to 12, timing your jumps to avoid the black square moving across the grid. If you fail, wait 60 seconds to restart.
 ,
 ,
- **Four Square:** Place the goggles (found with Wisp T perk) and the headset (found with Death Perception perk) into the toybox in Trinity Avenue (Past).
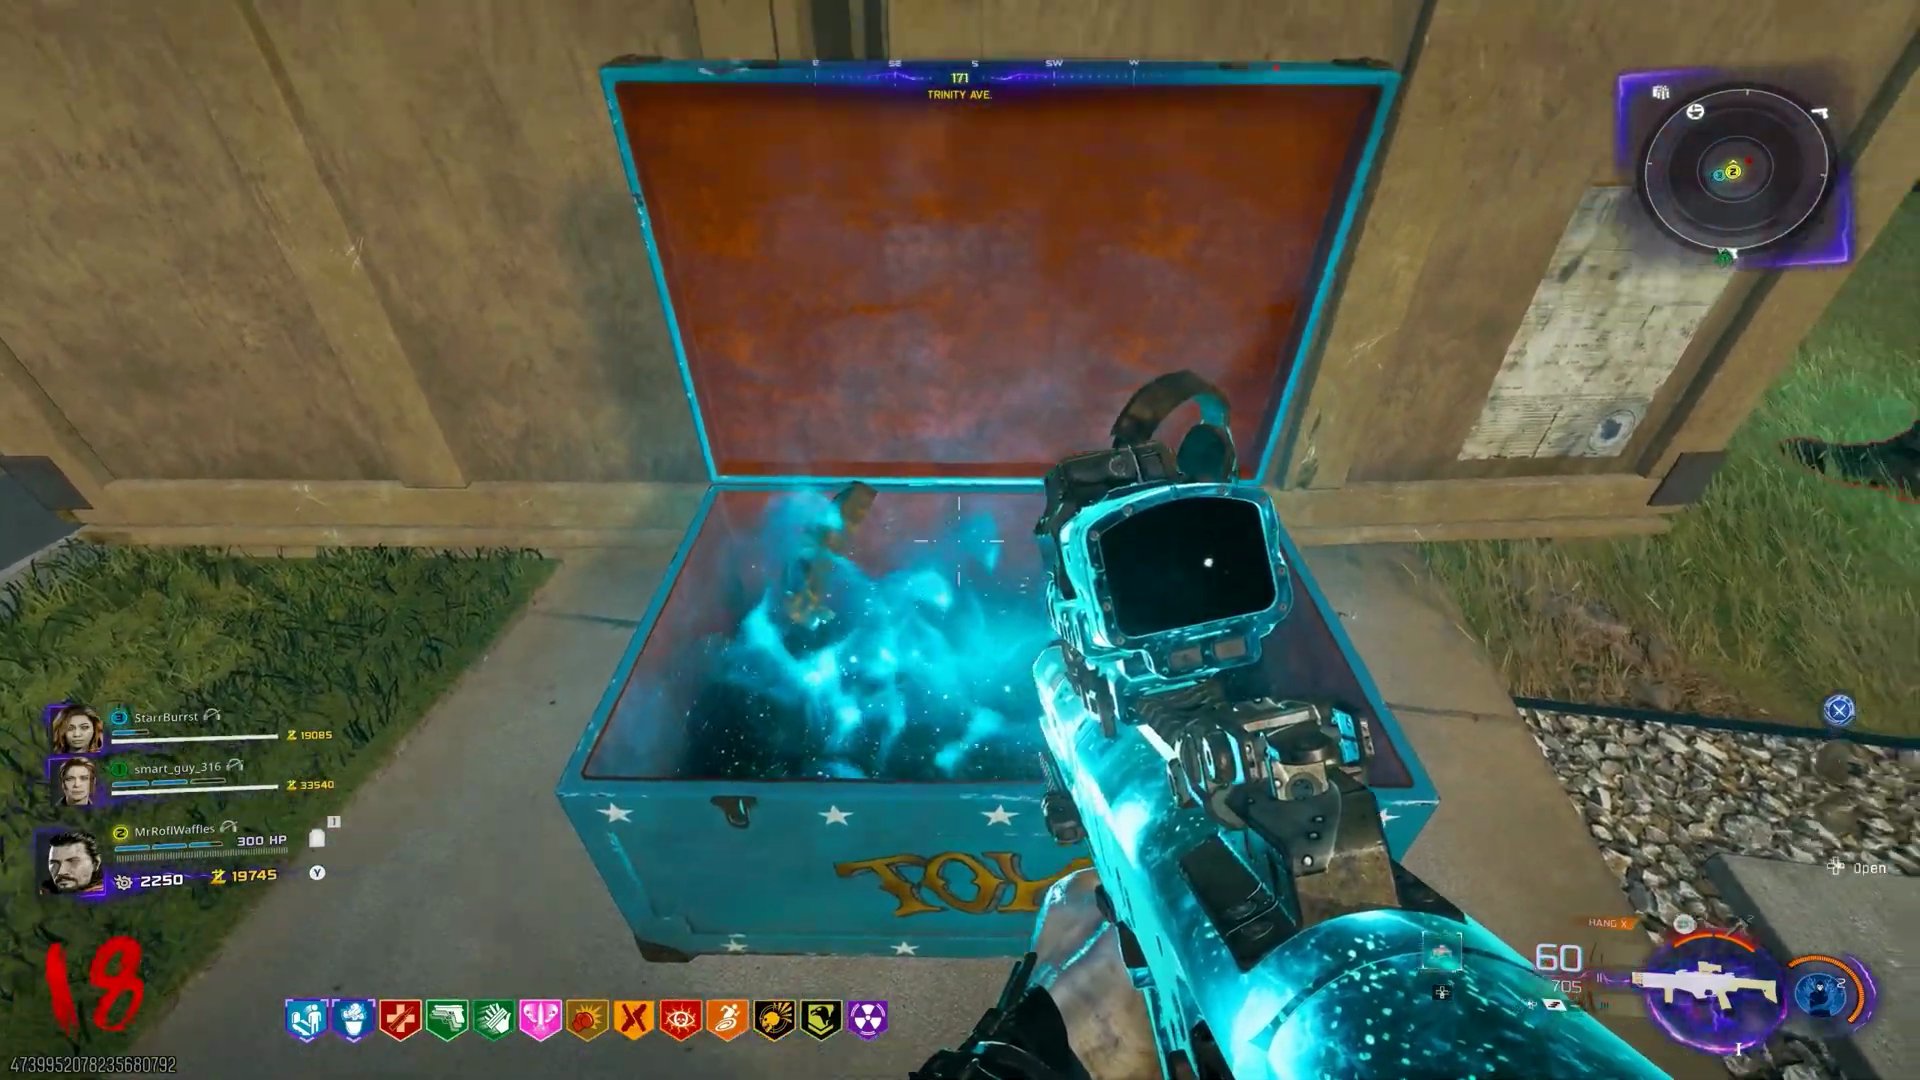 ,
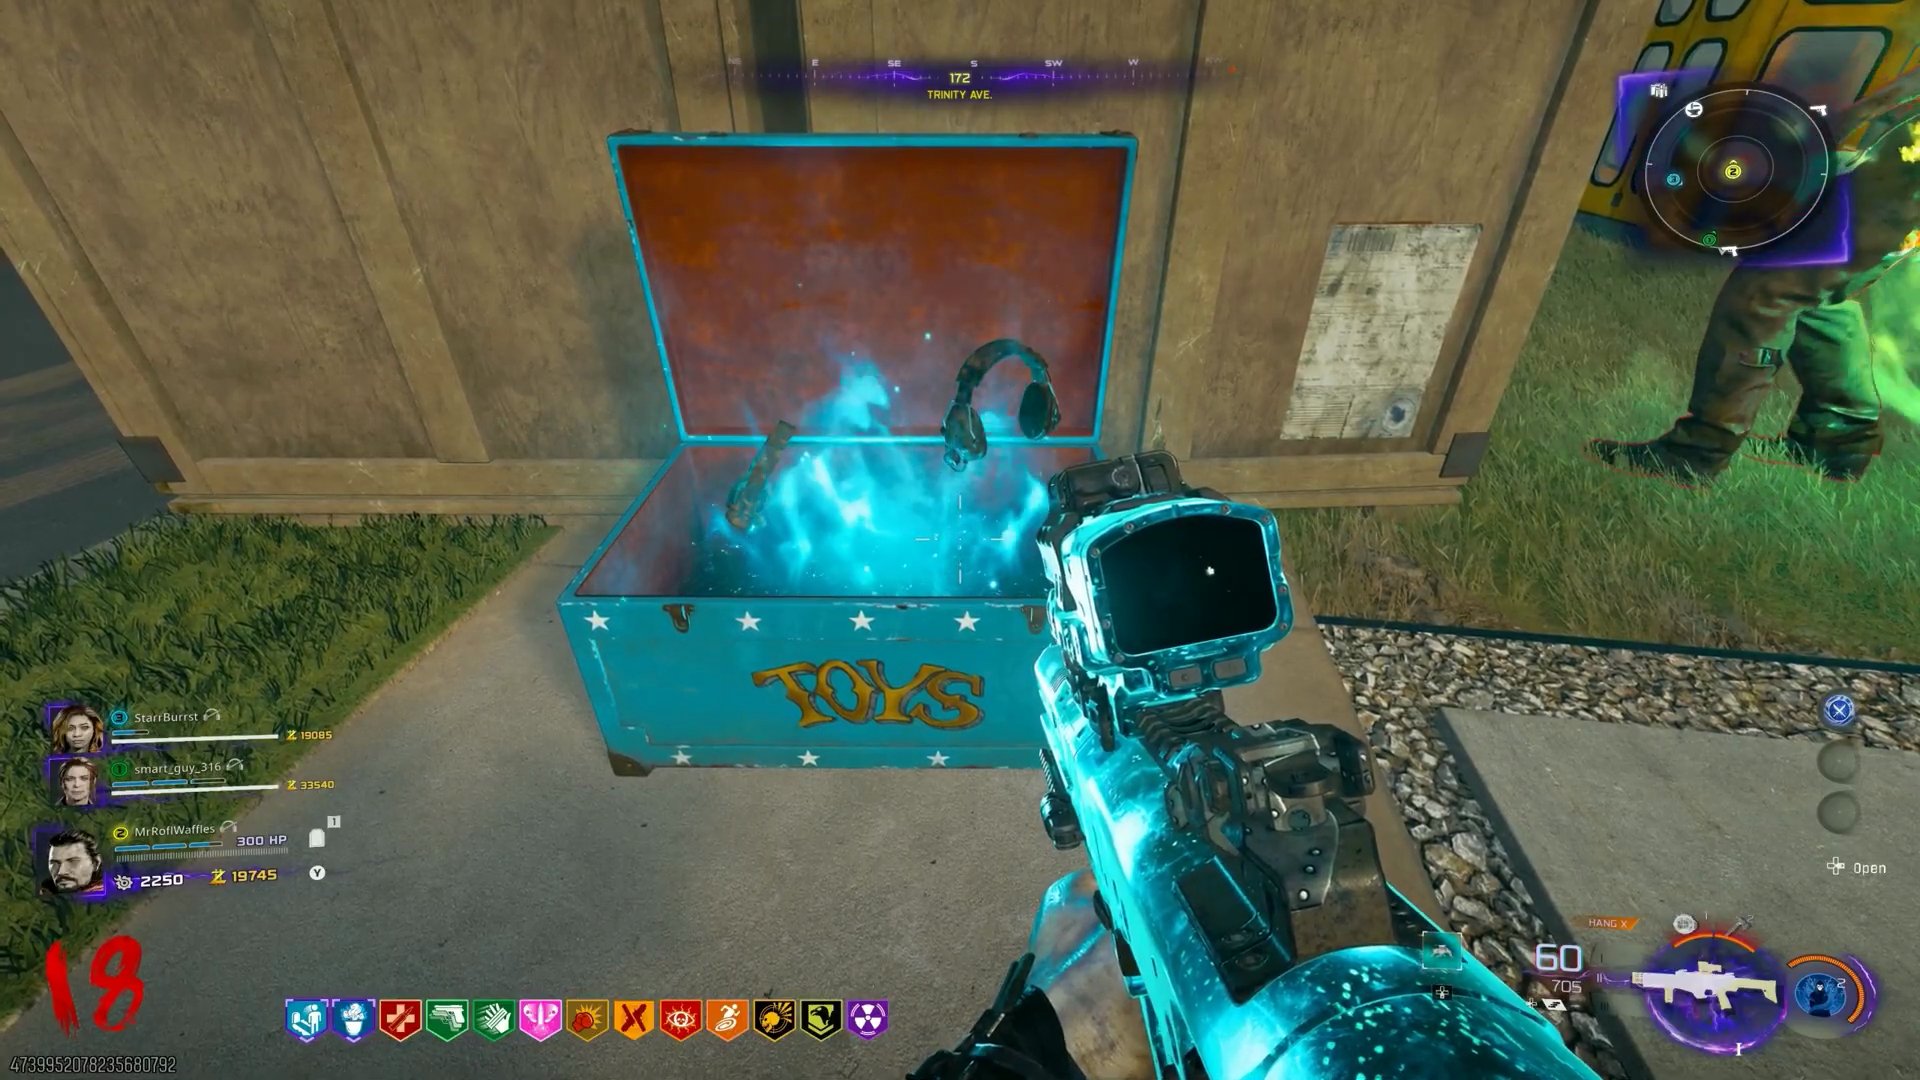
- **Play Four Square:** Interact to start. Melee or shoot the ball into adjacent squares without it landing on the same square twice.
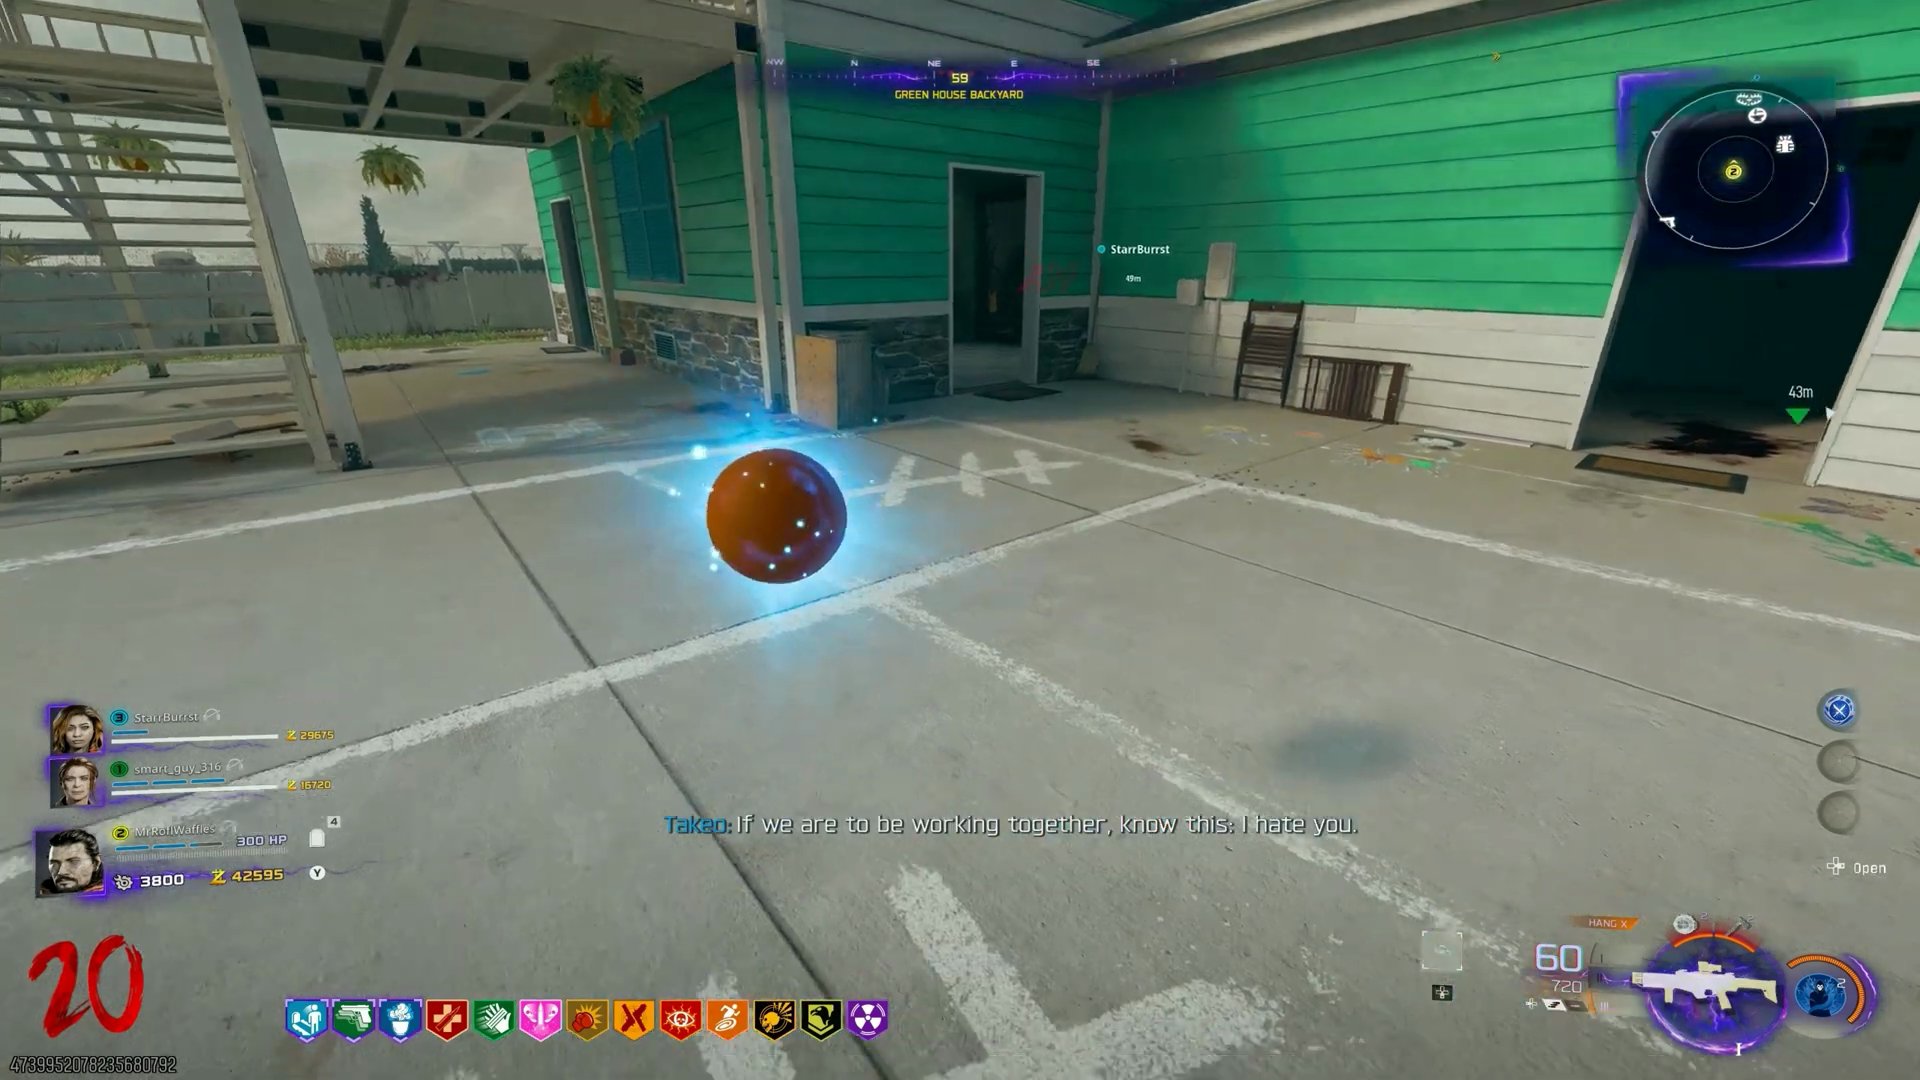 ,
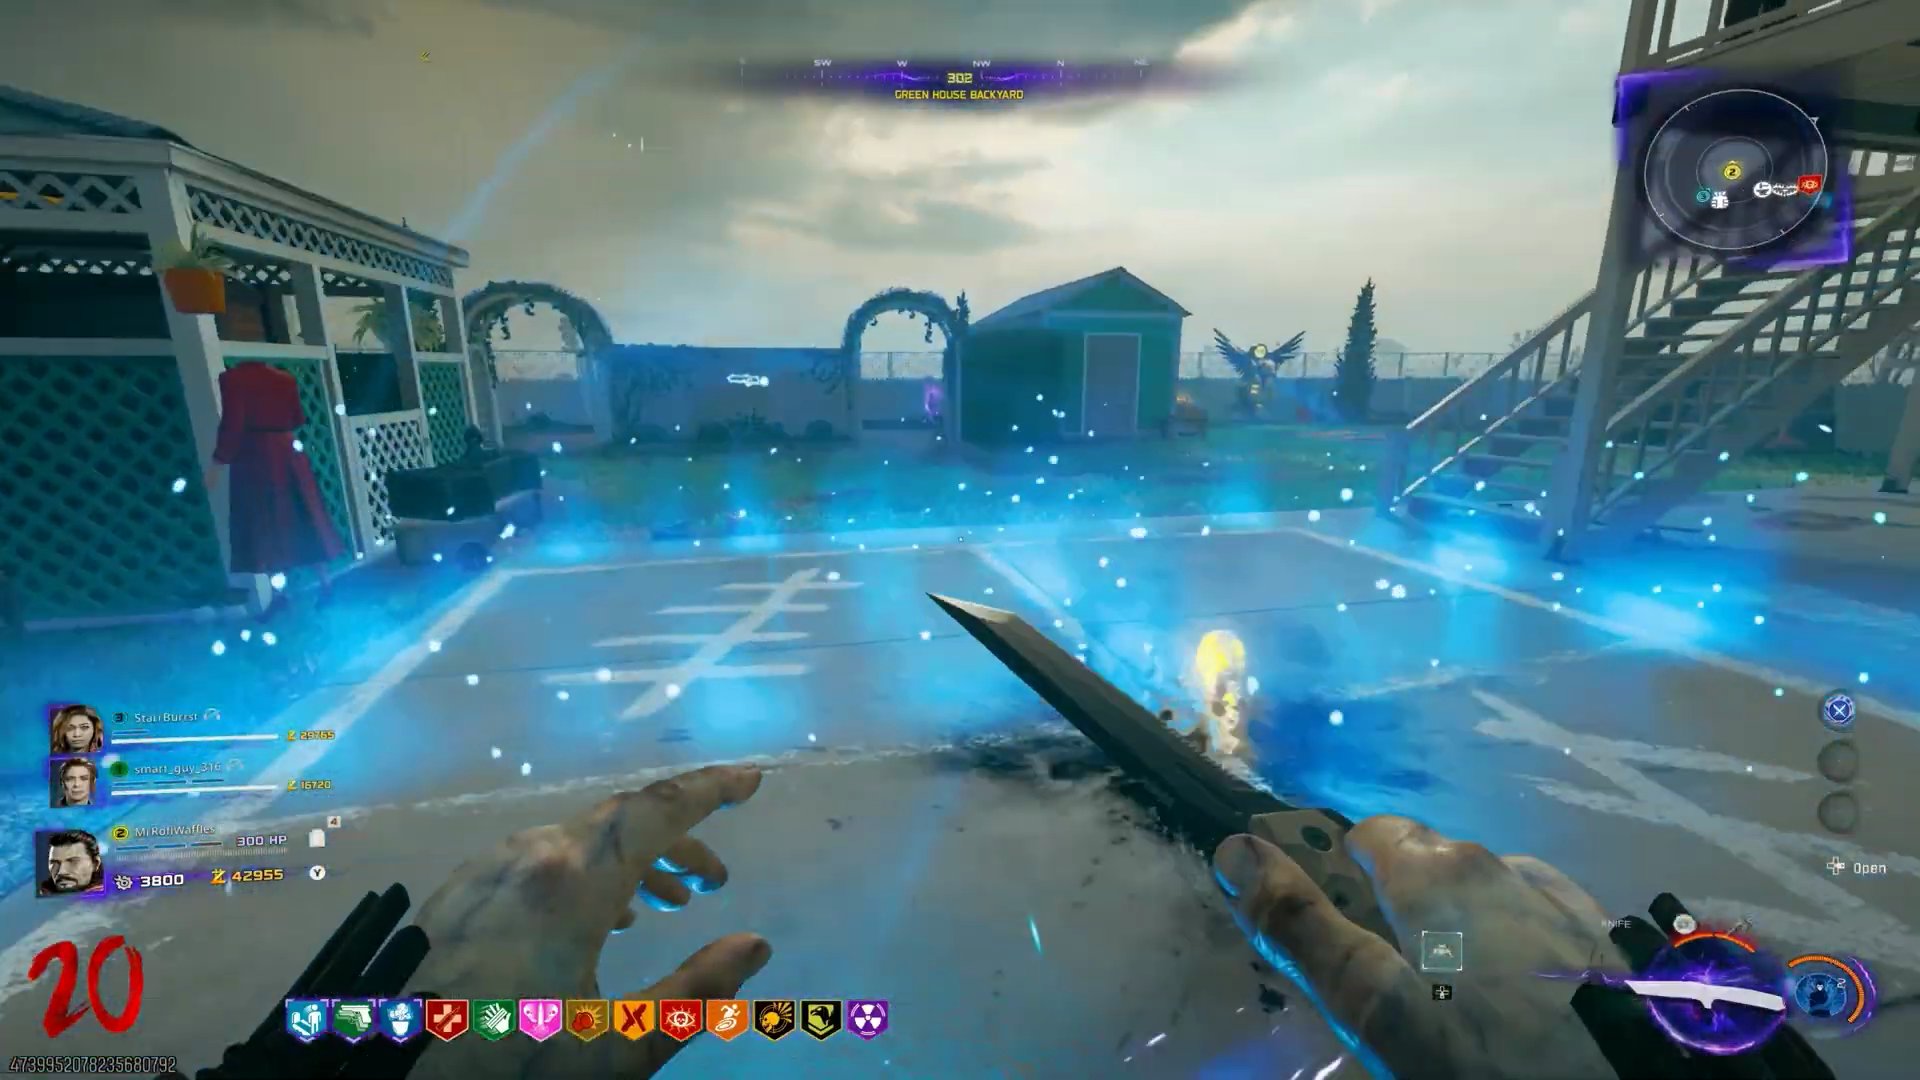
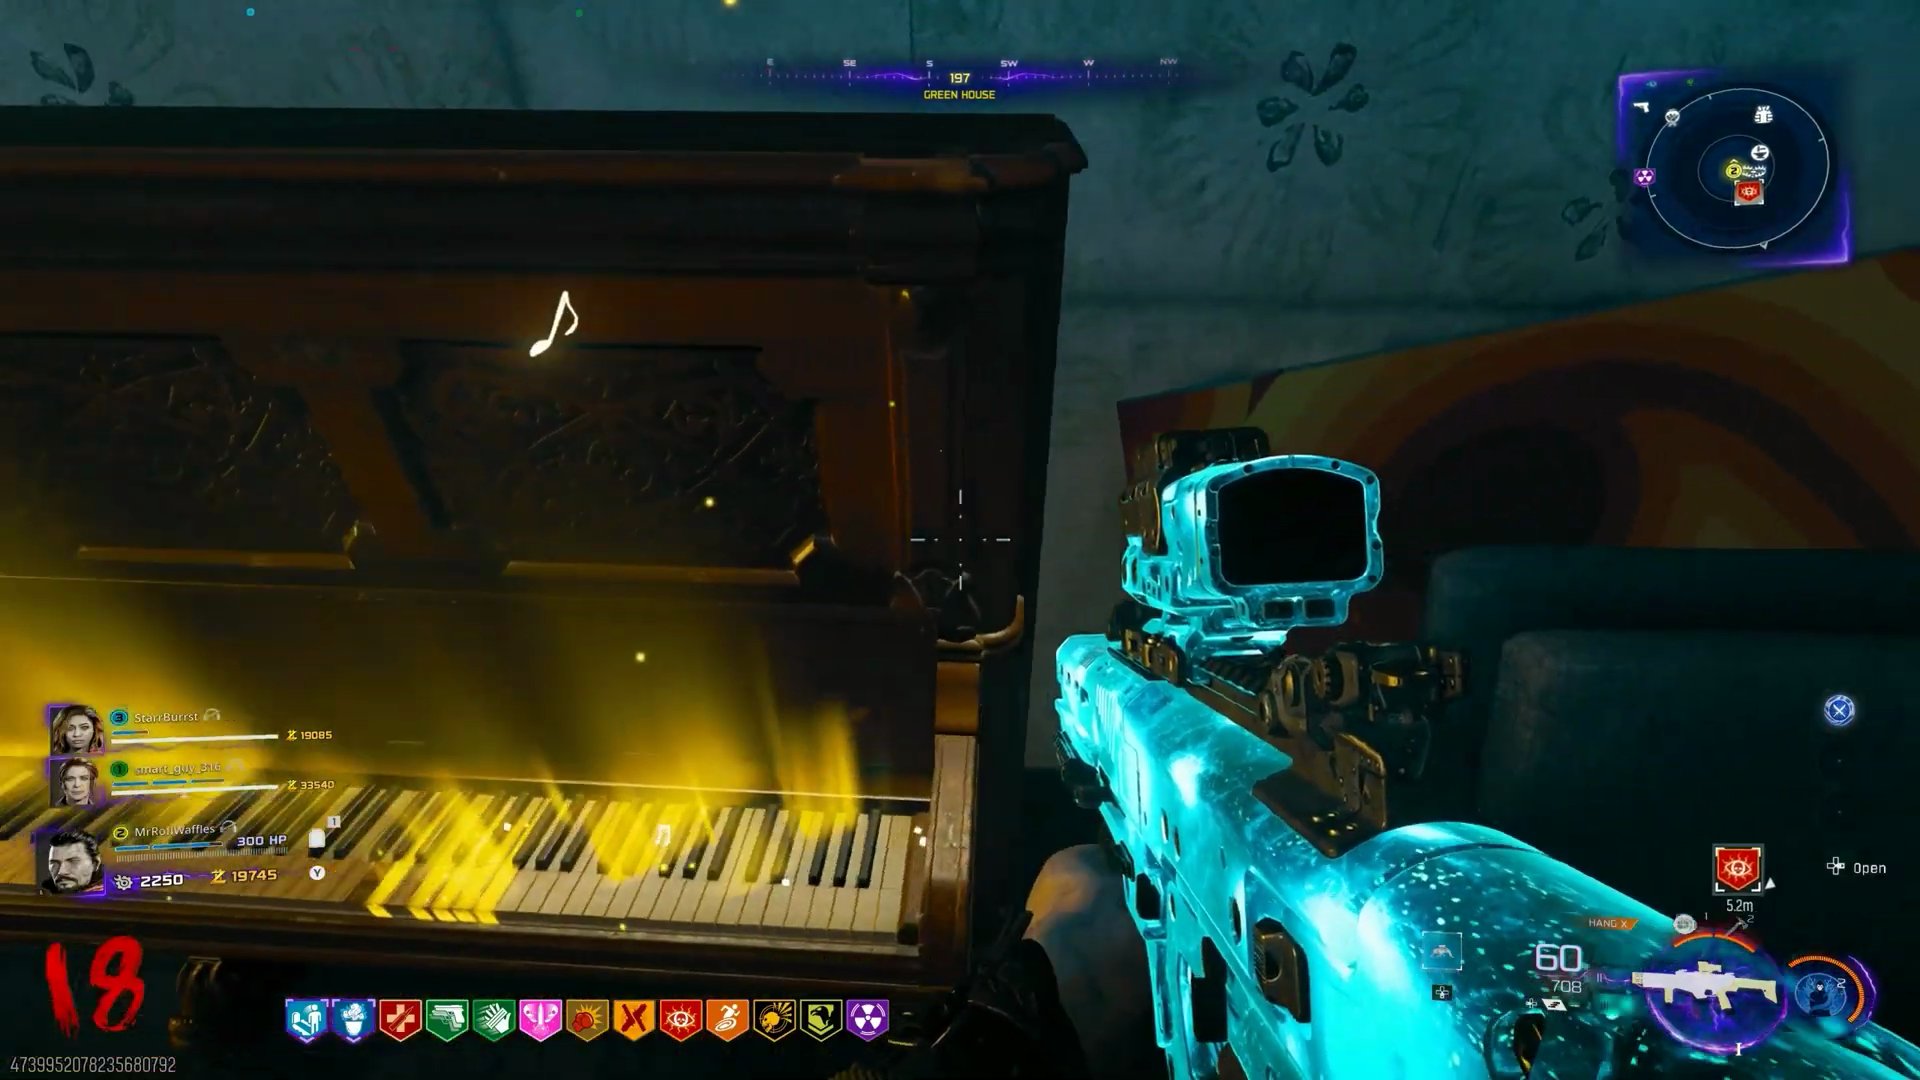
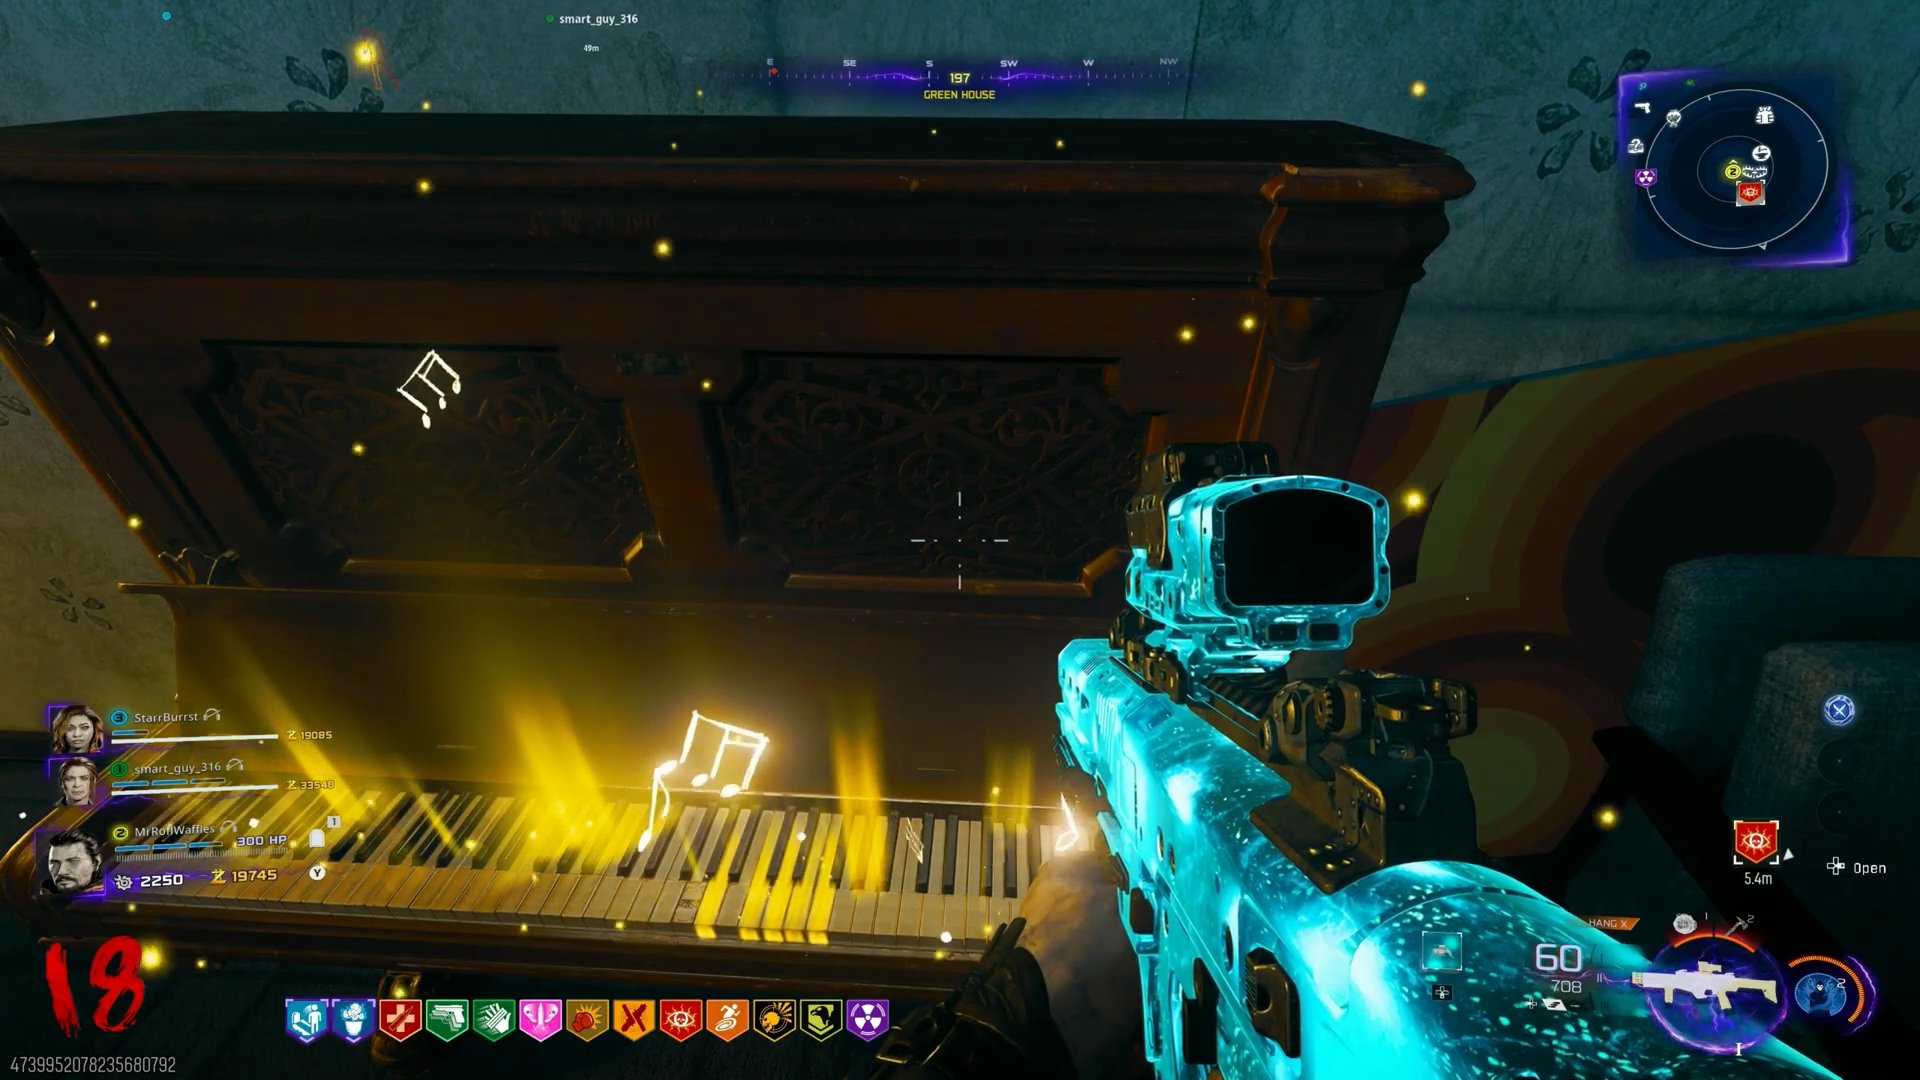
- **Jacks (Piano Game):** In the Green House (Past), activate the piano teacher (Brain Rot/Psych Grenade). Interact with the piano. Play the keys in the sequence: 8, 6, 7, 5, 6, 5, 3, 5 (or follow the on-screen numbers if shown).
 ,
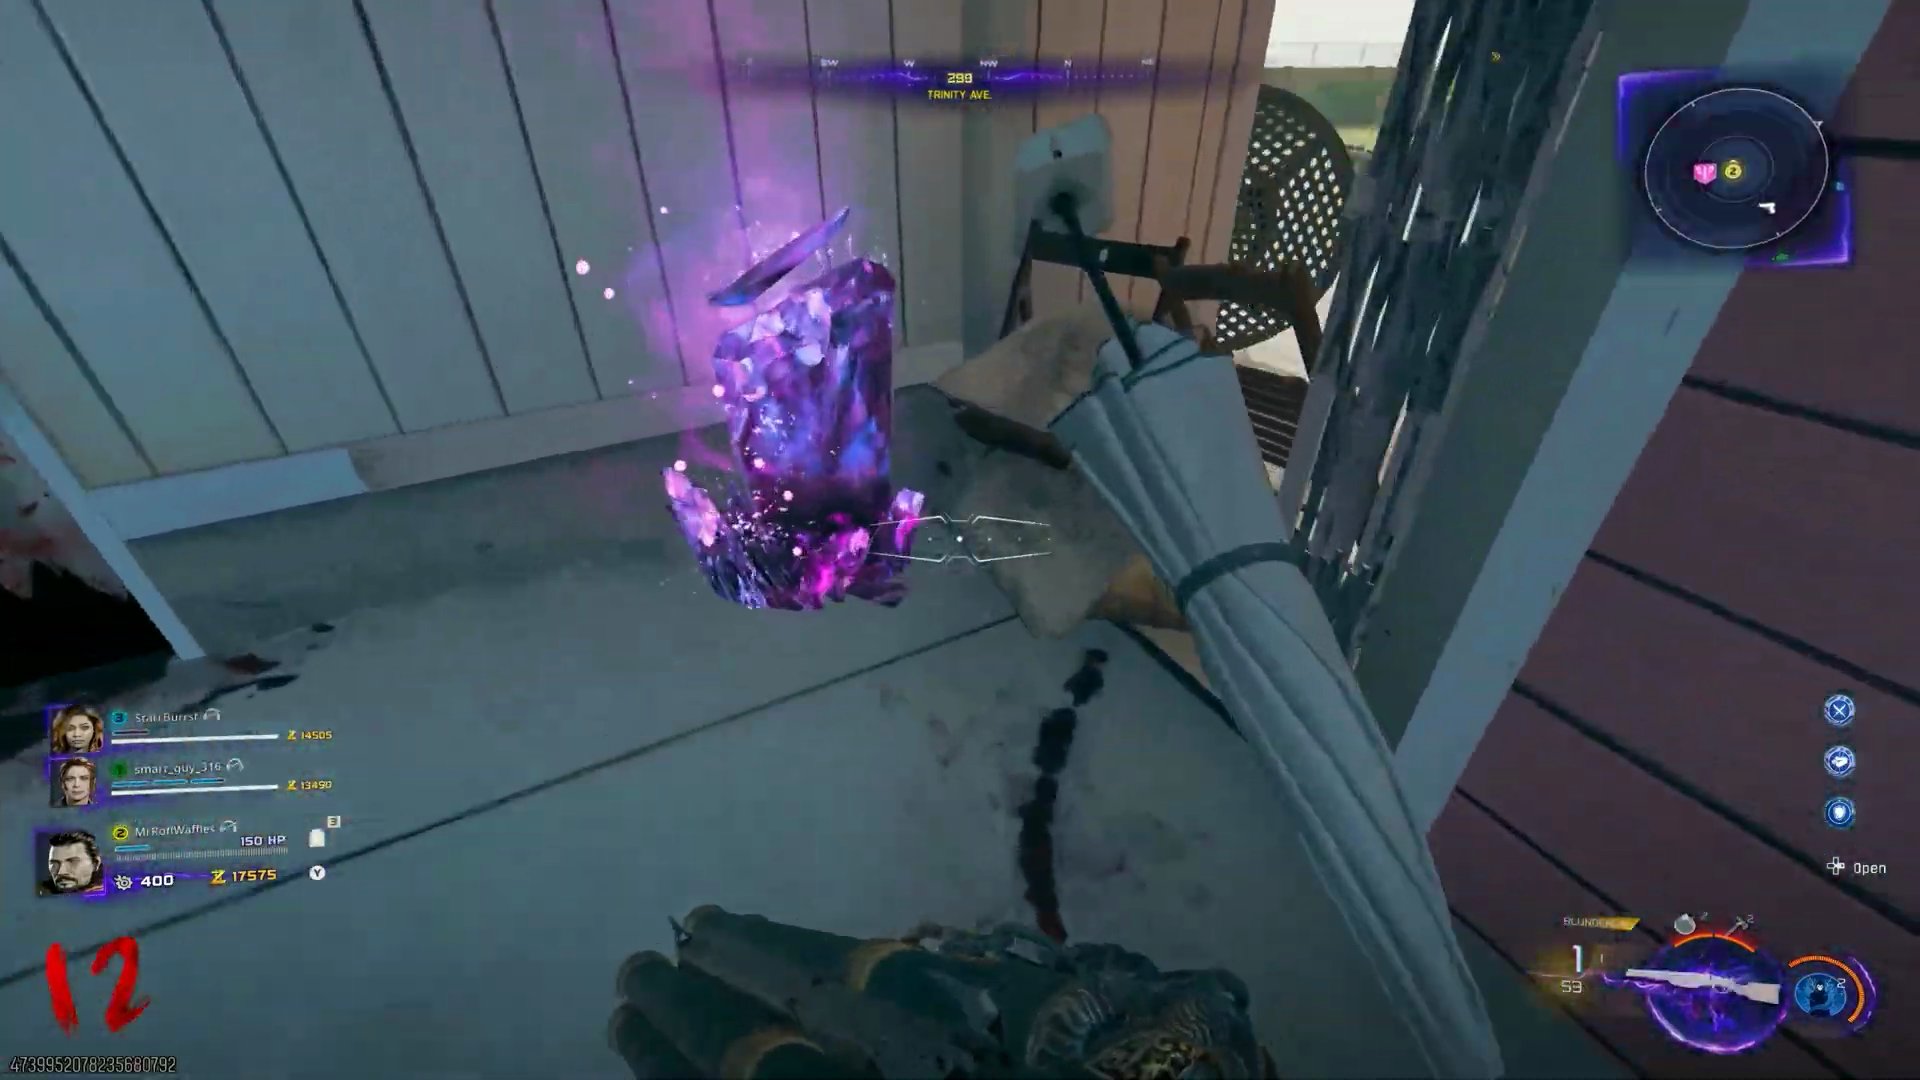
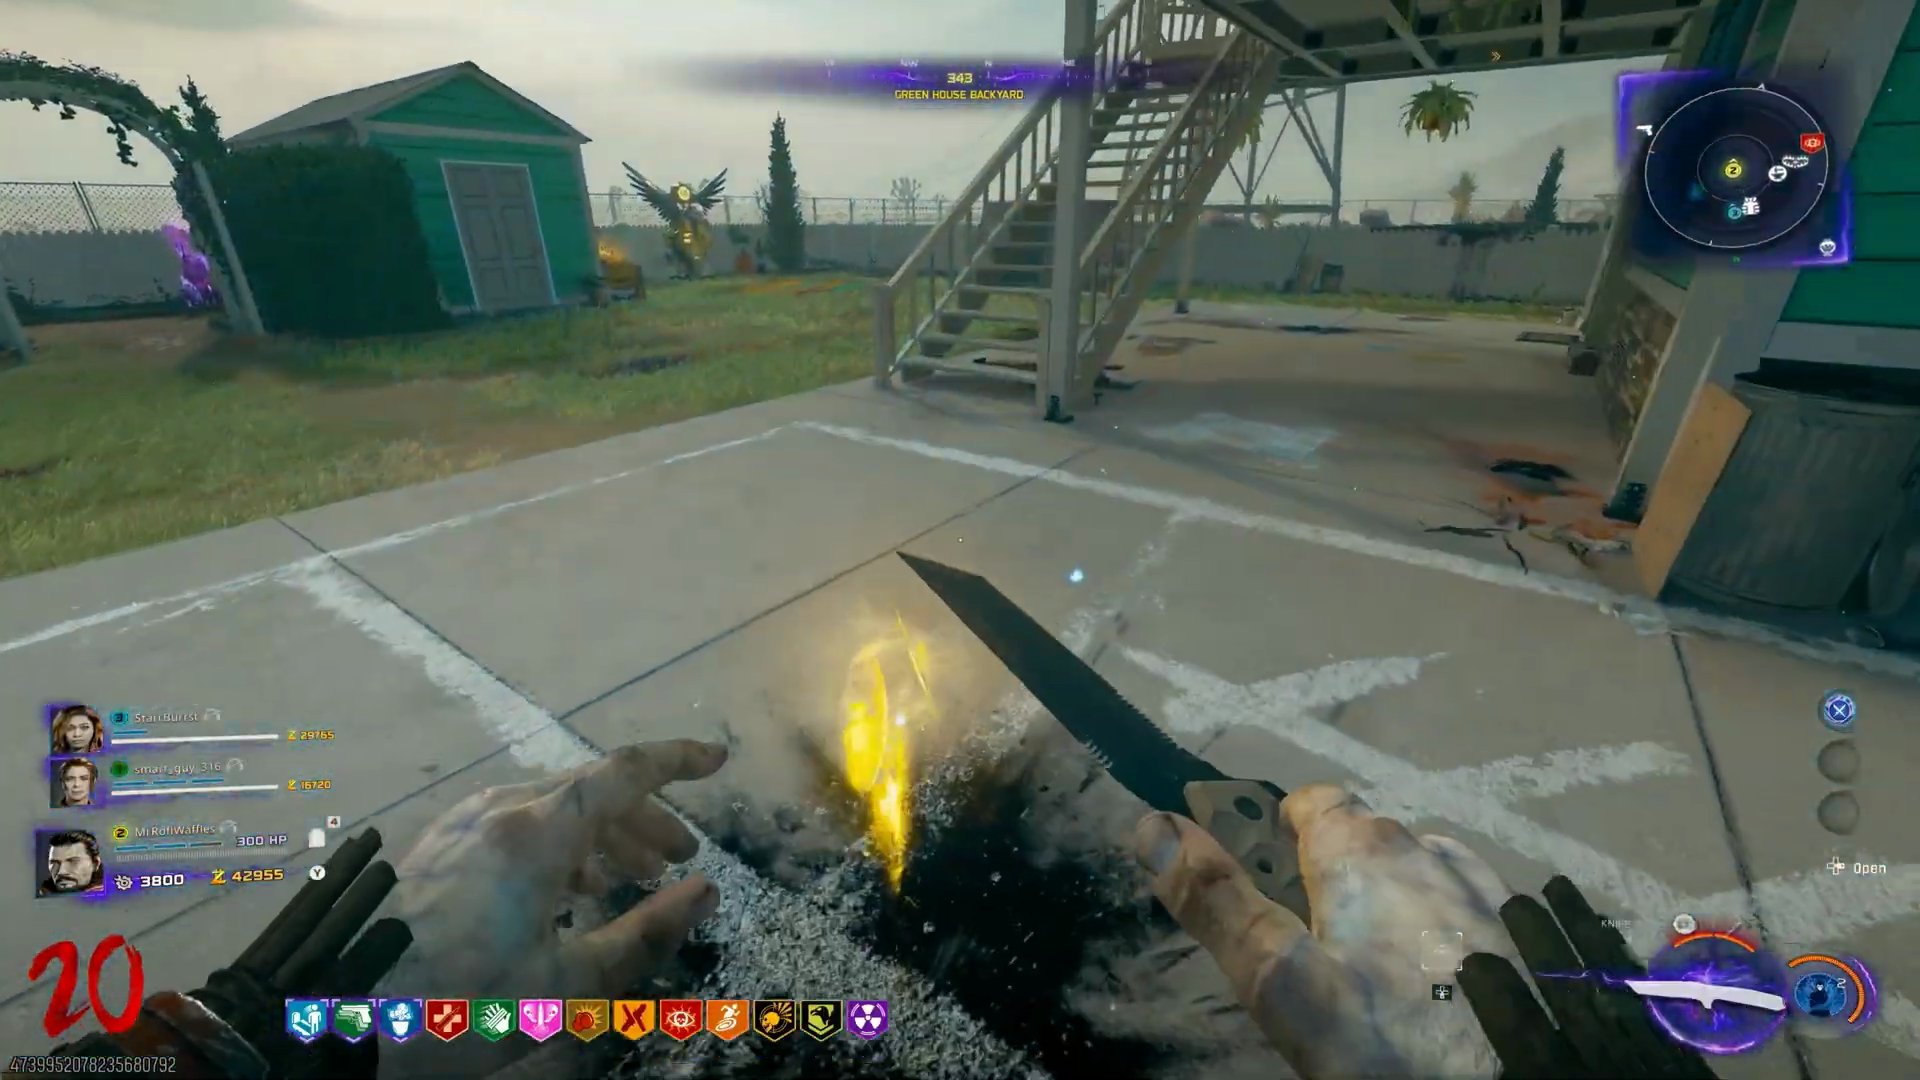
- **Fill Gold Items:** After each game is completed successfully, a gold glowing item (soul box) will appear. Fill each with souls by killing zombies with the upgraded Blundergat.
 ,
 , [SCREENSHOT:29:10]
9. Musical Notes (Destroyed)
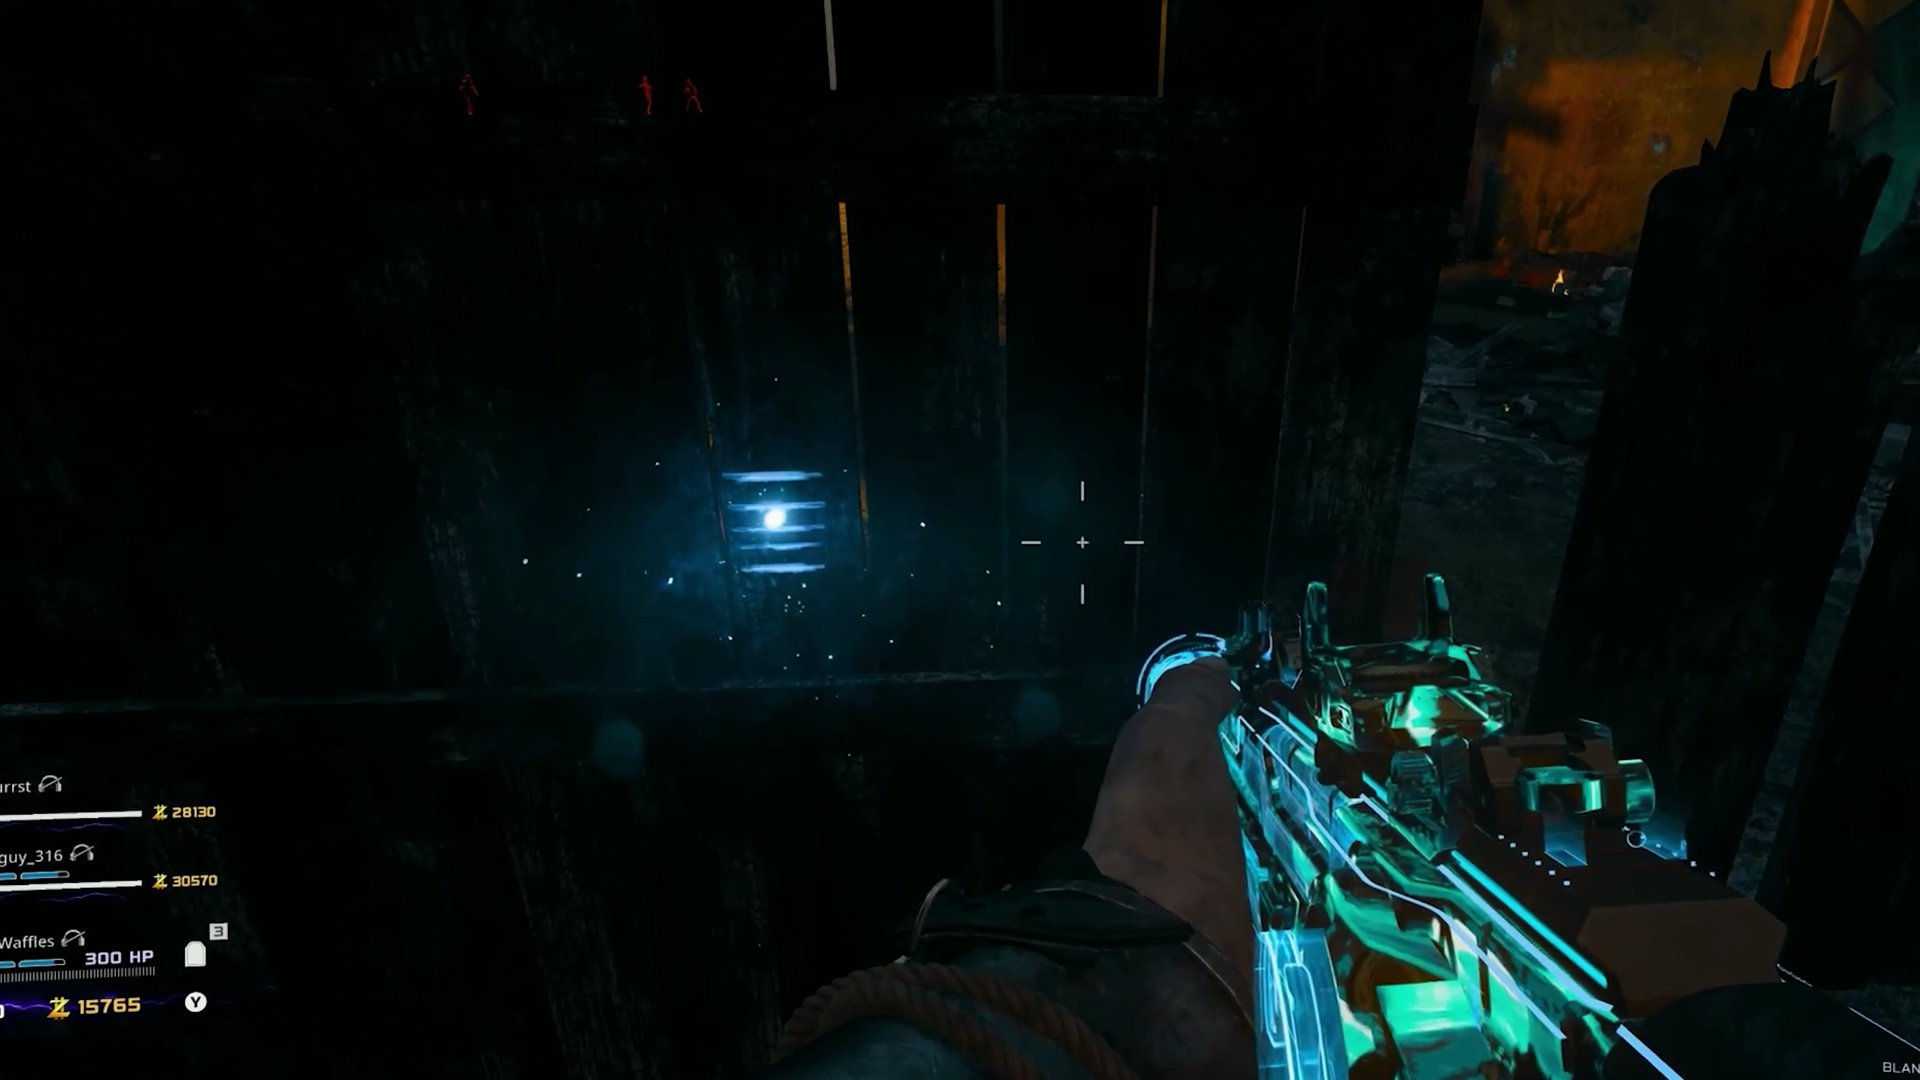
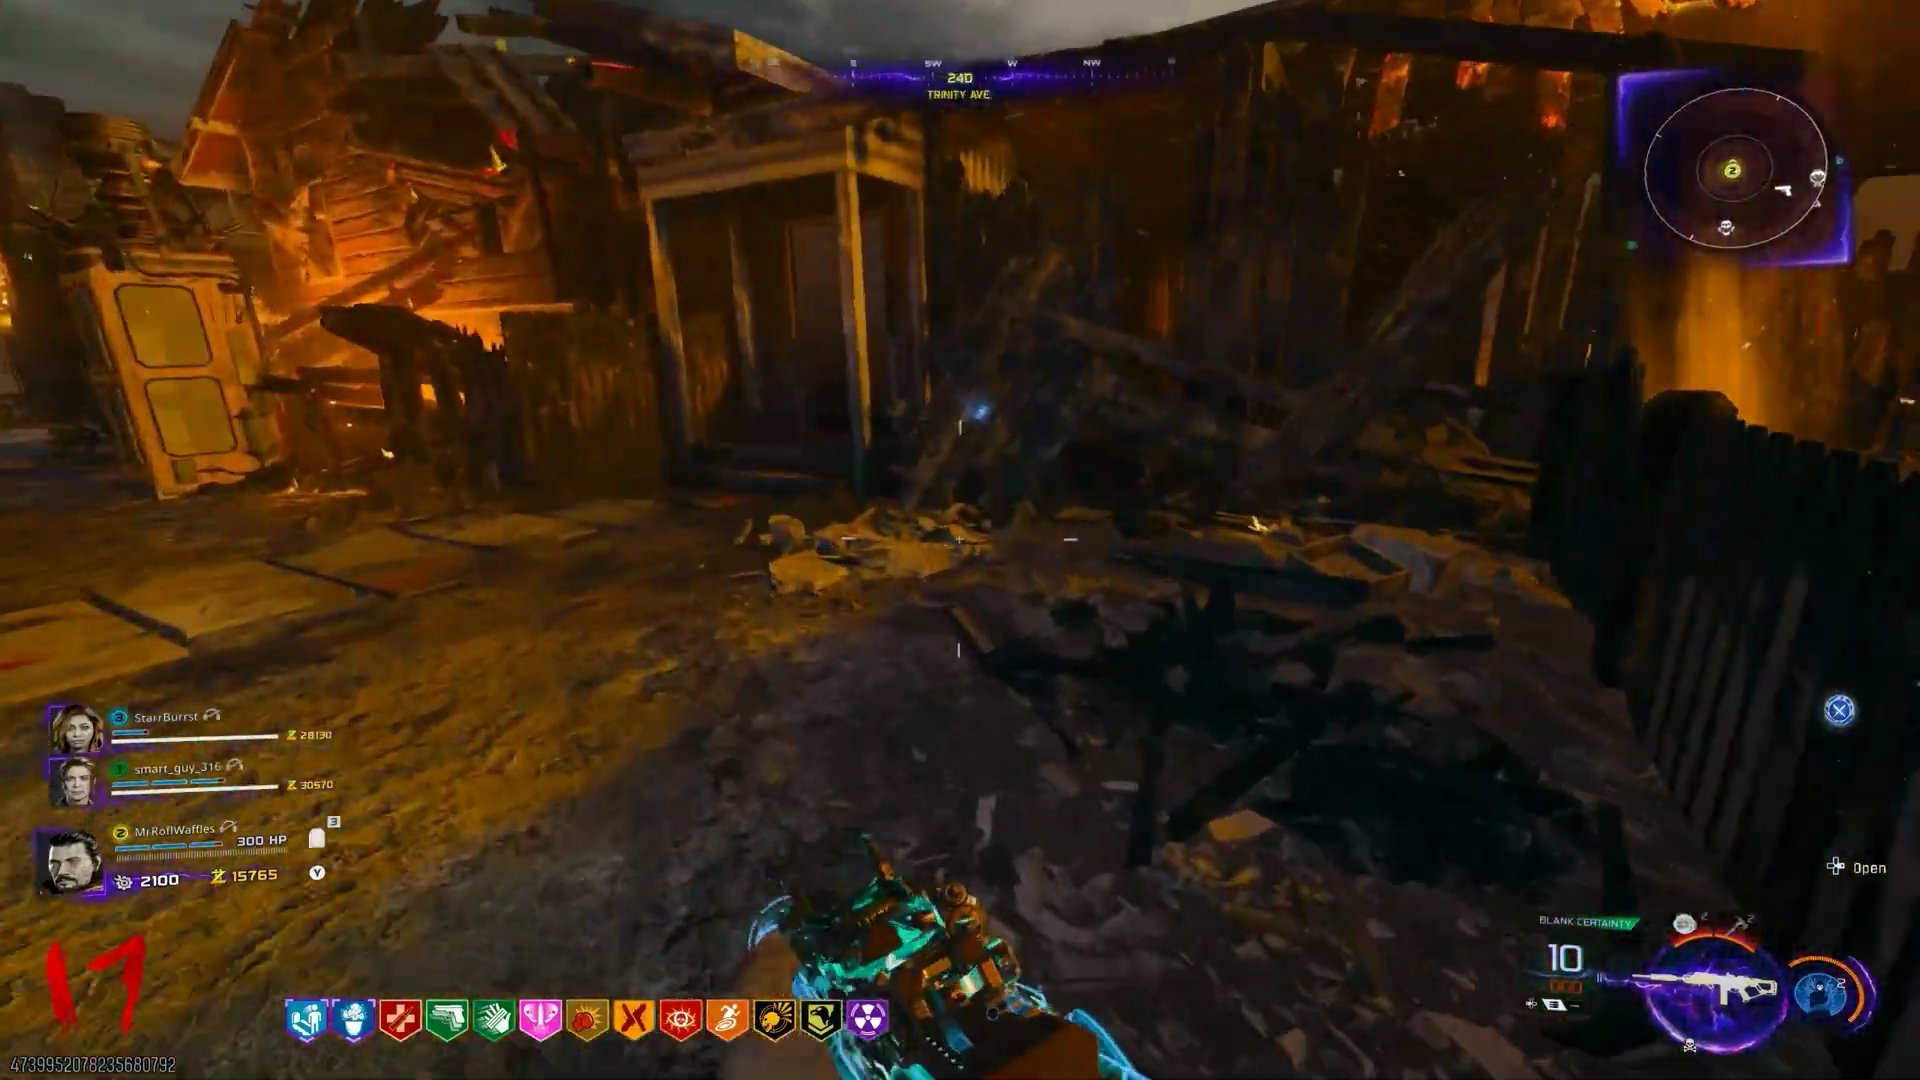
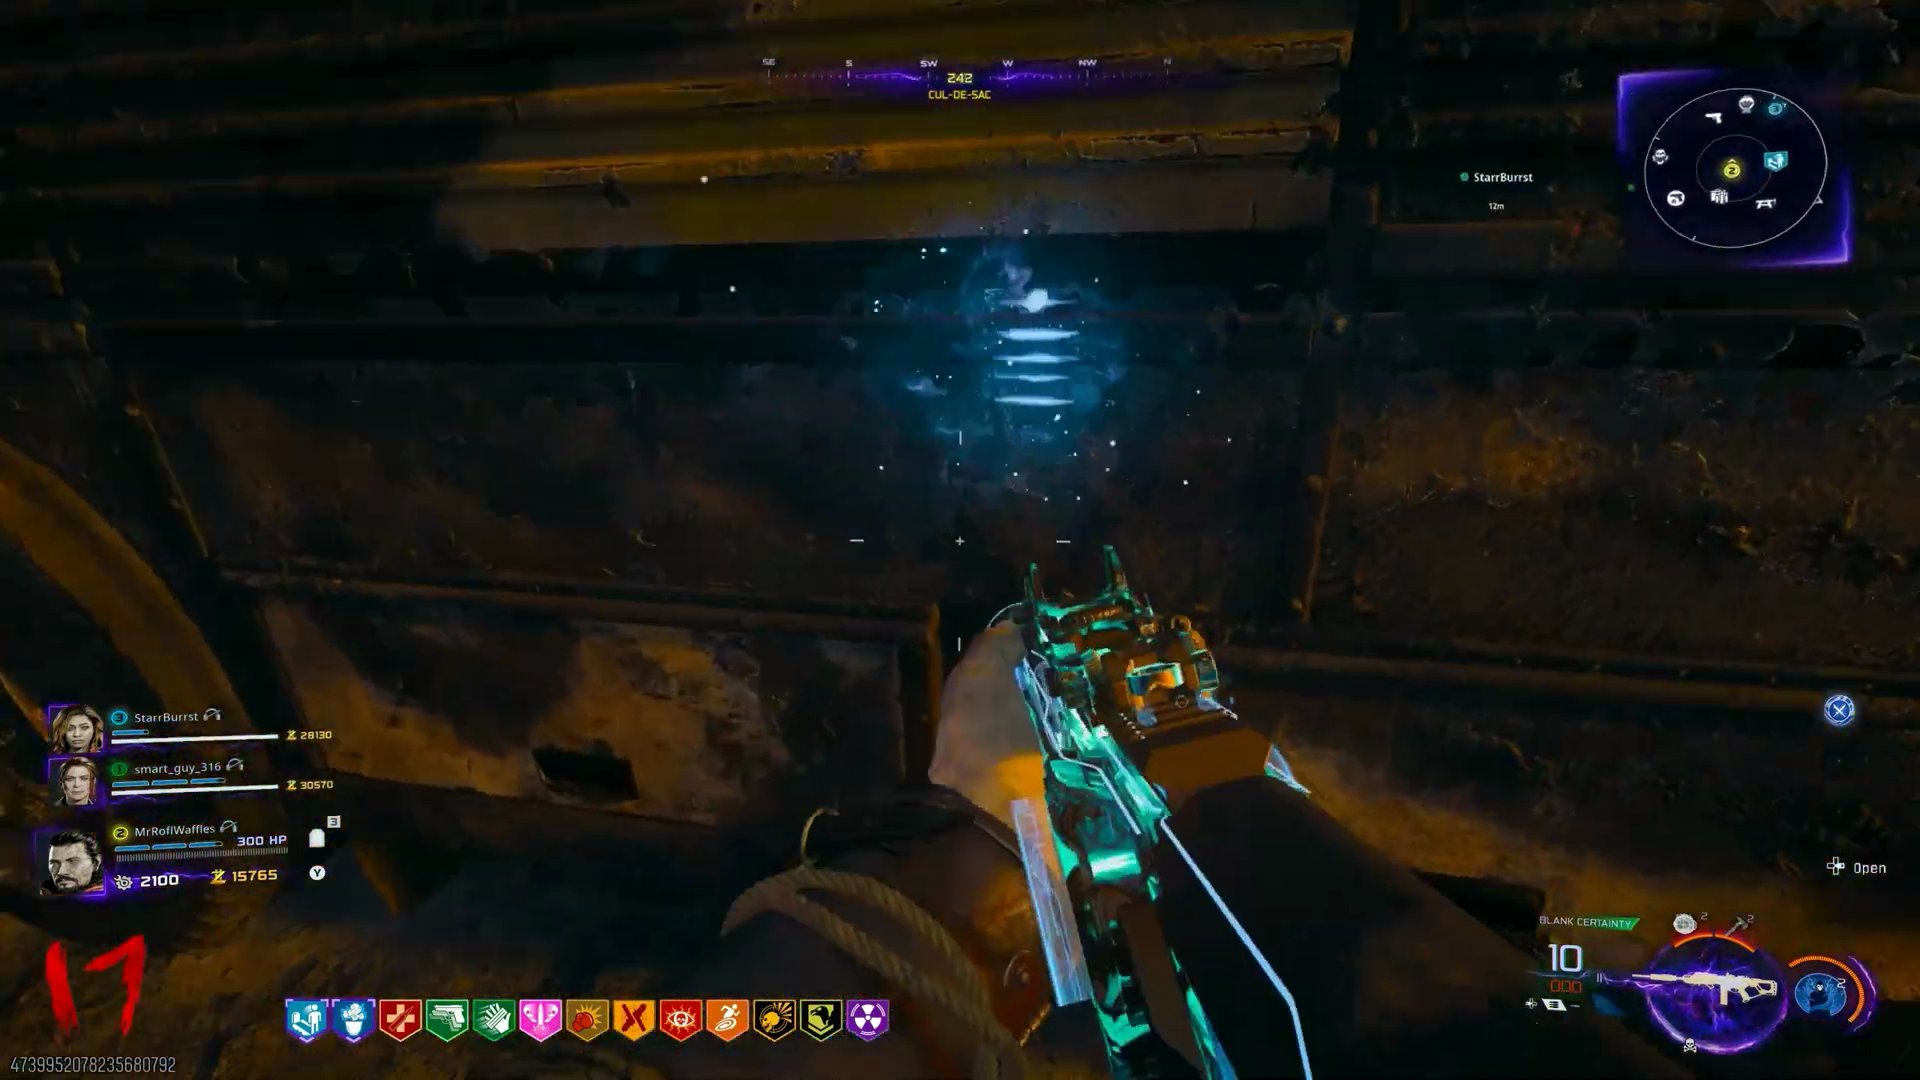
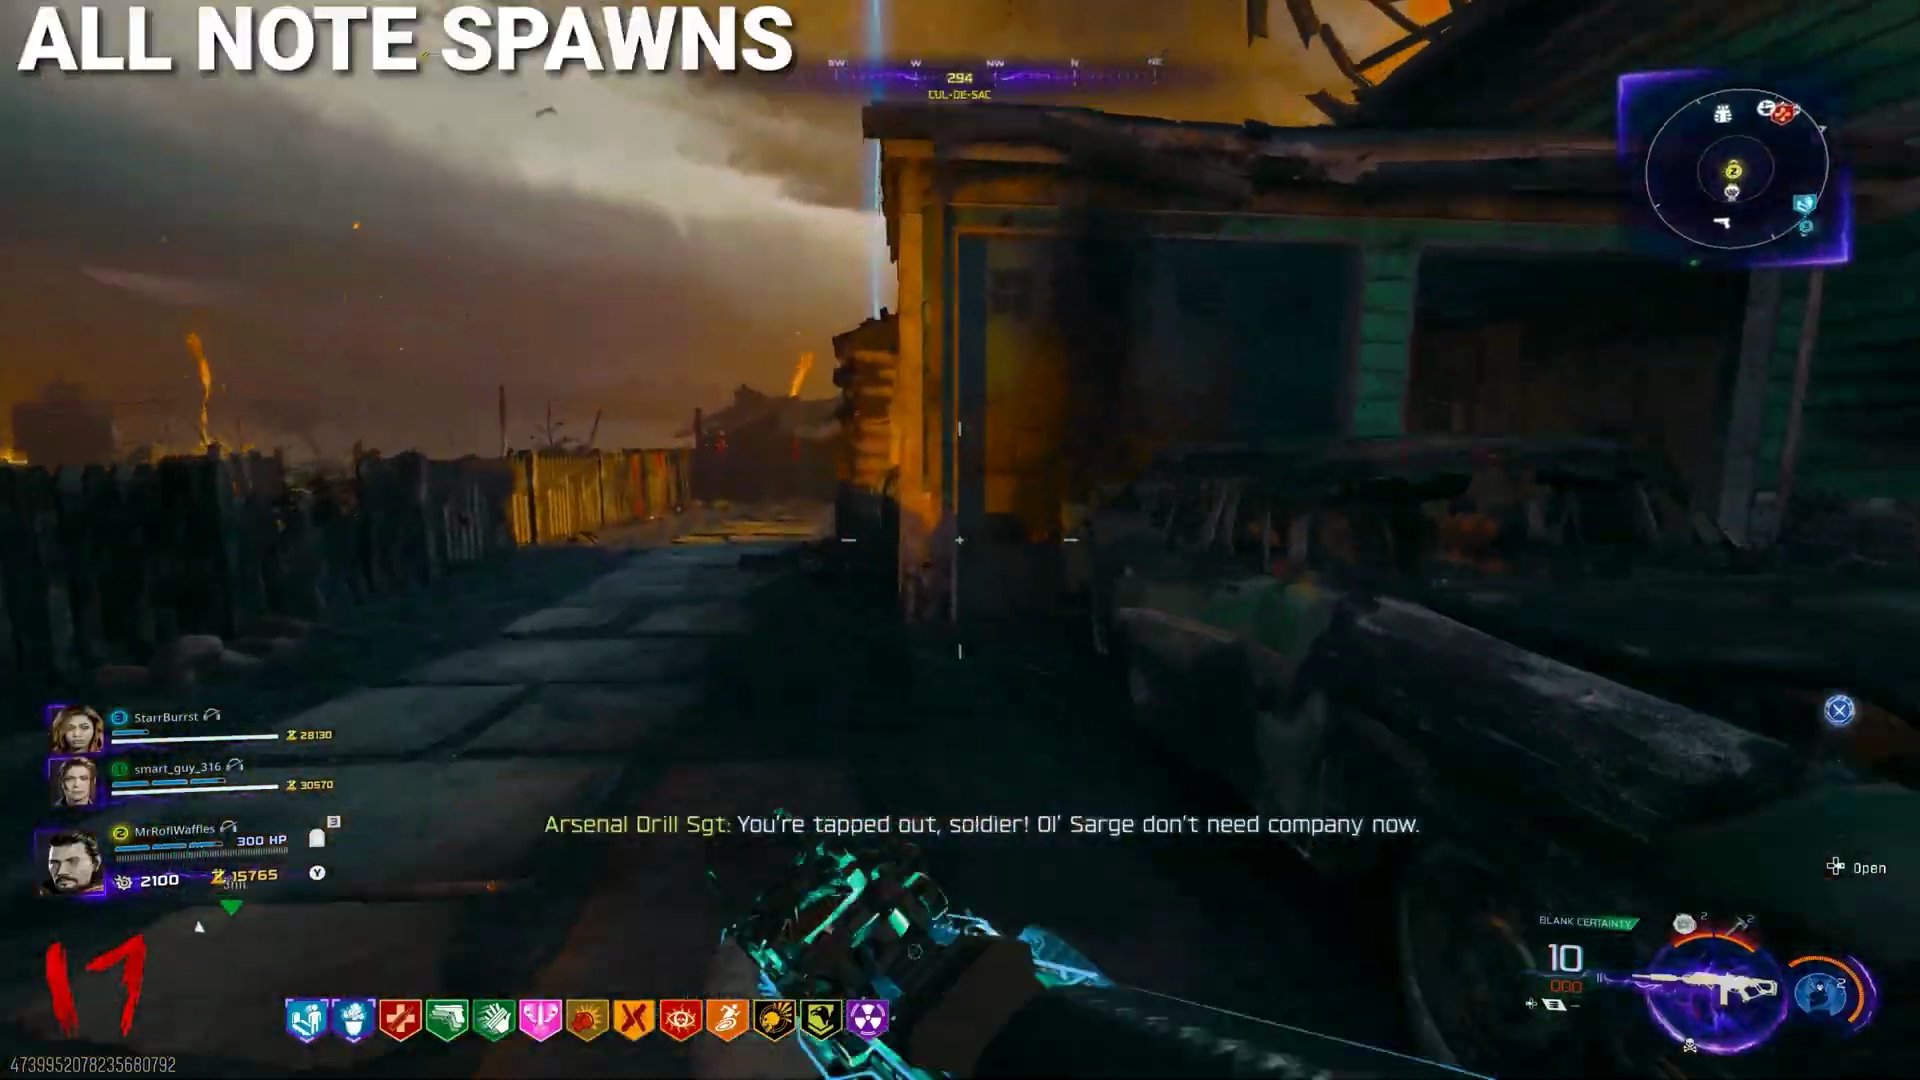
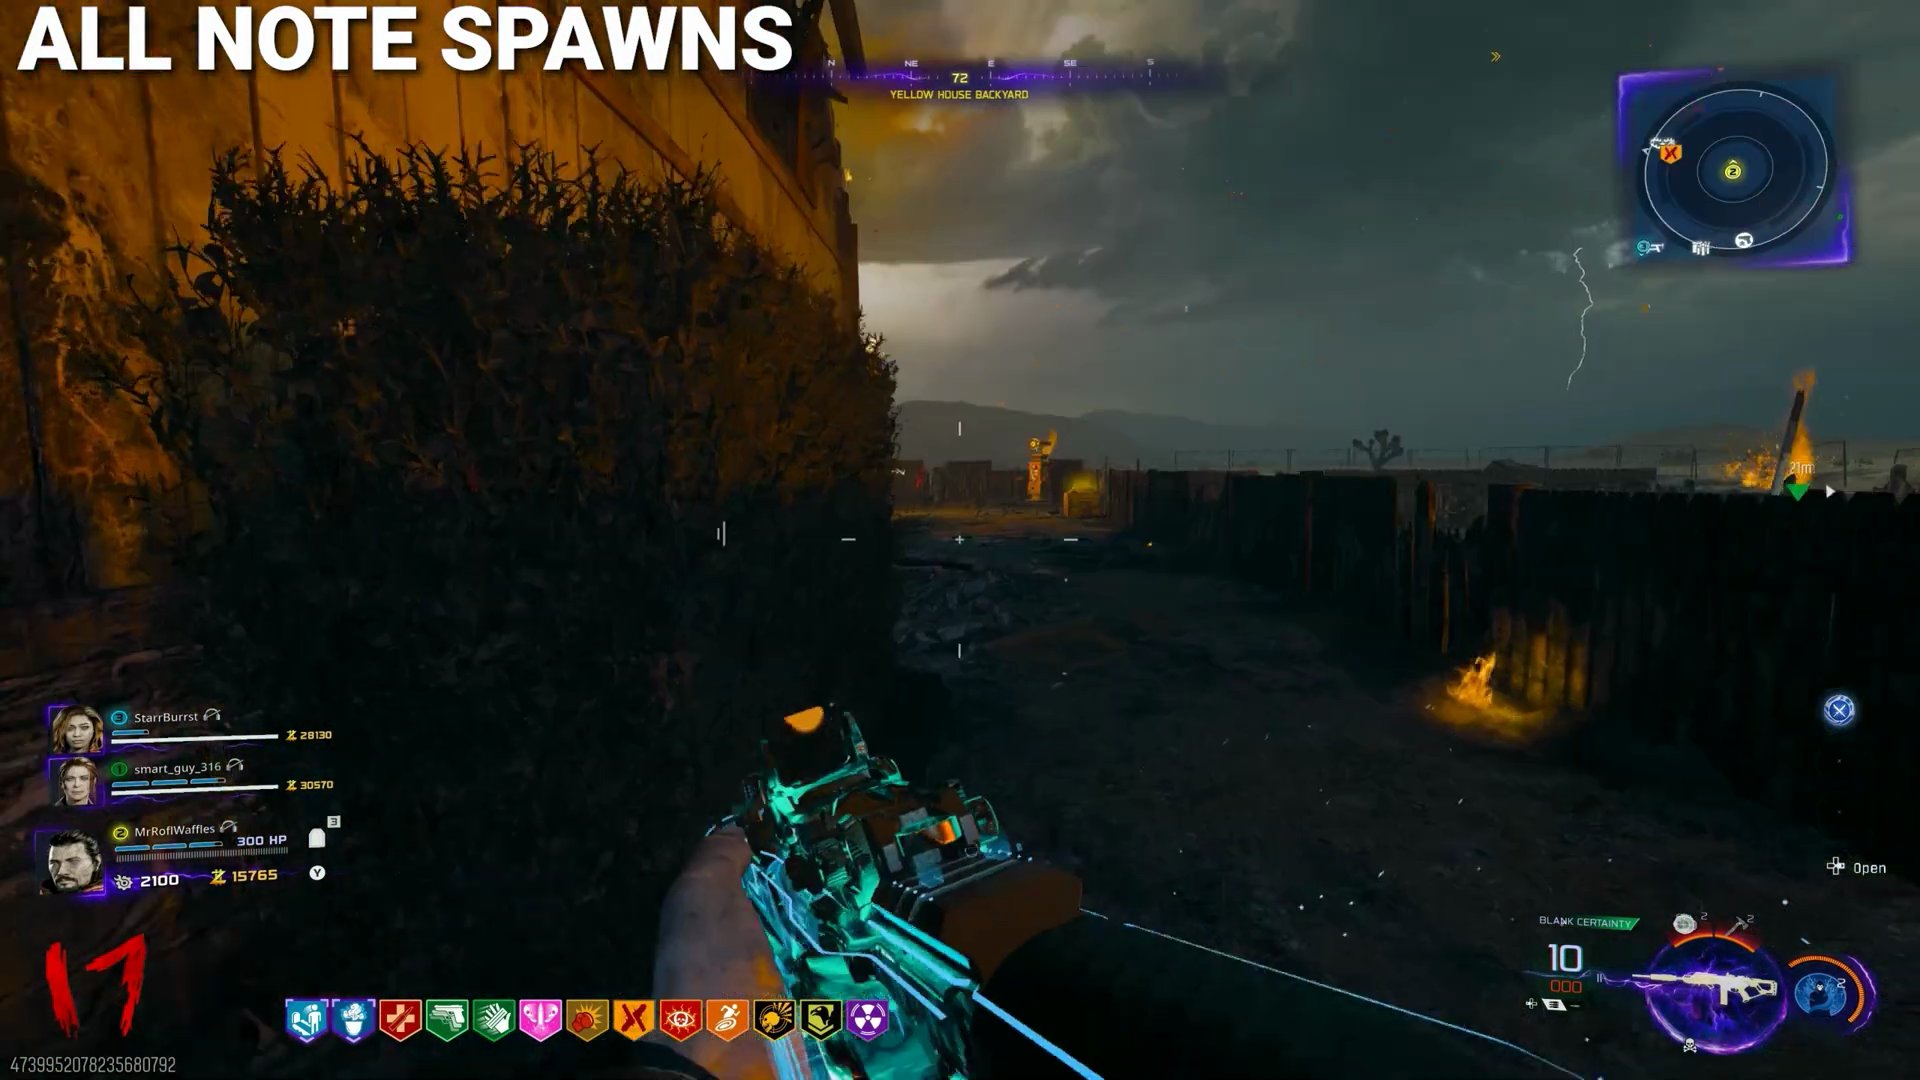
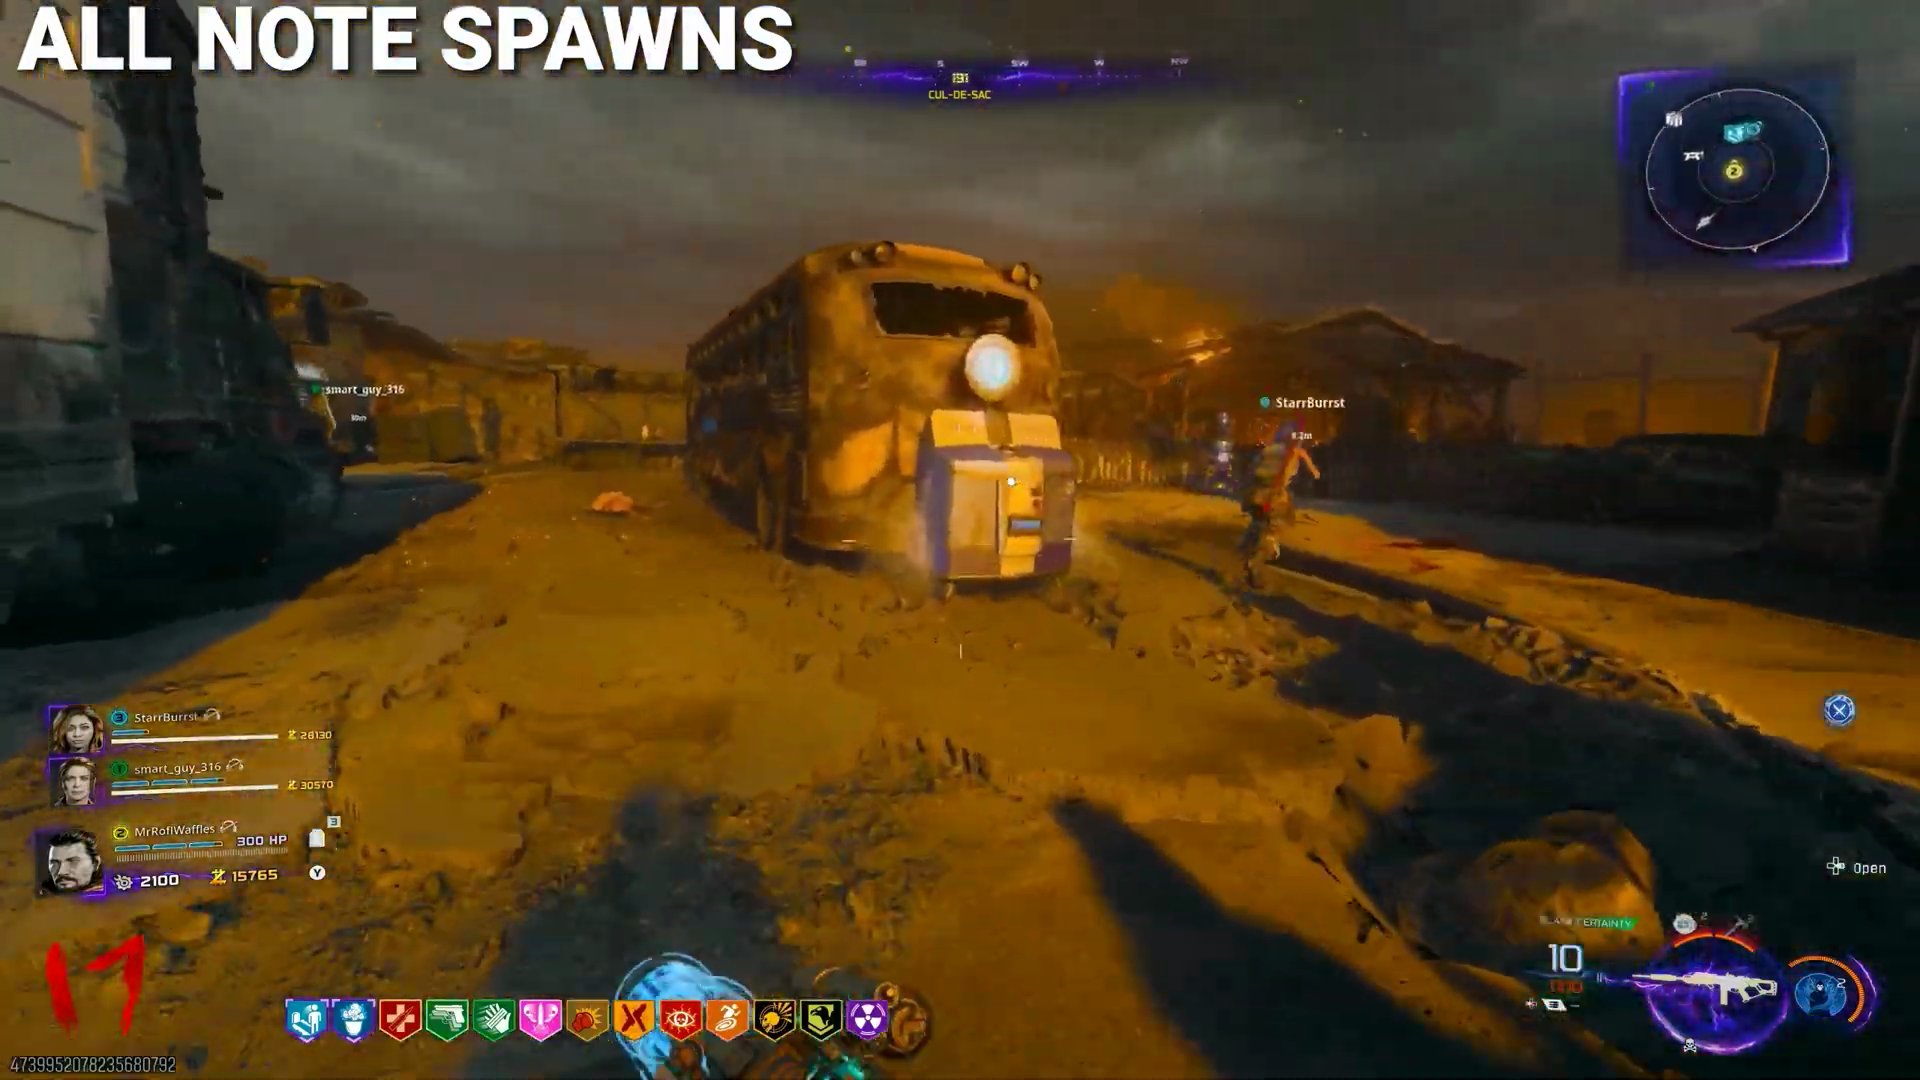
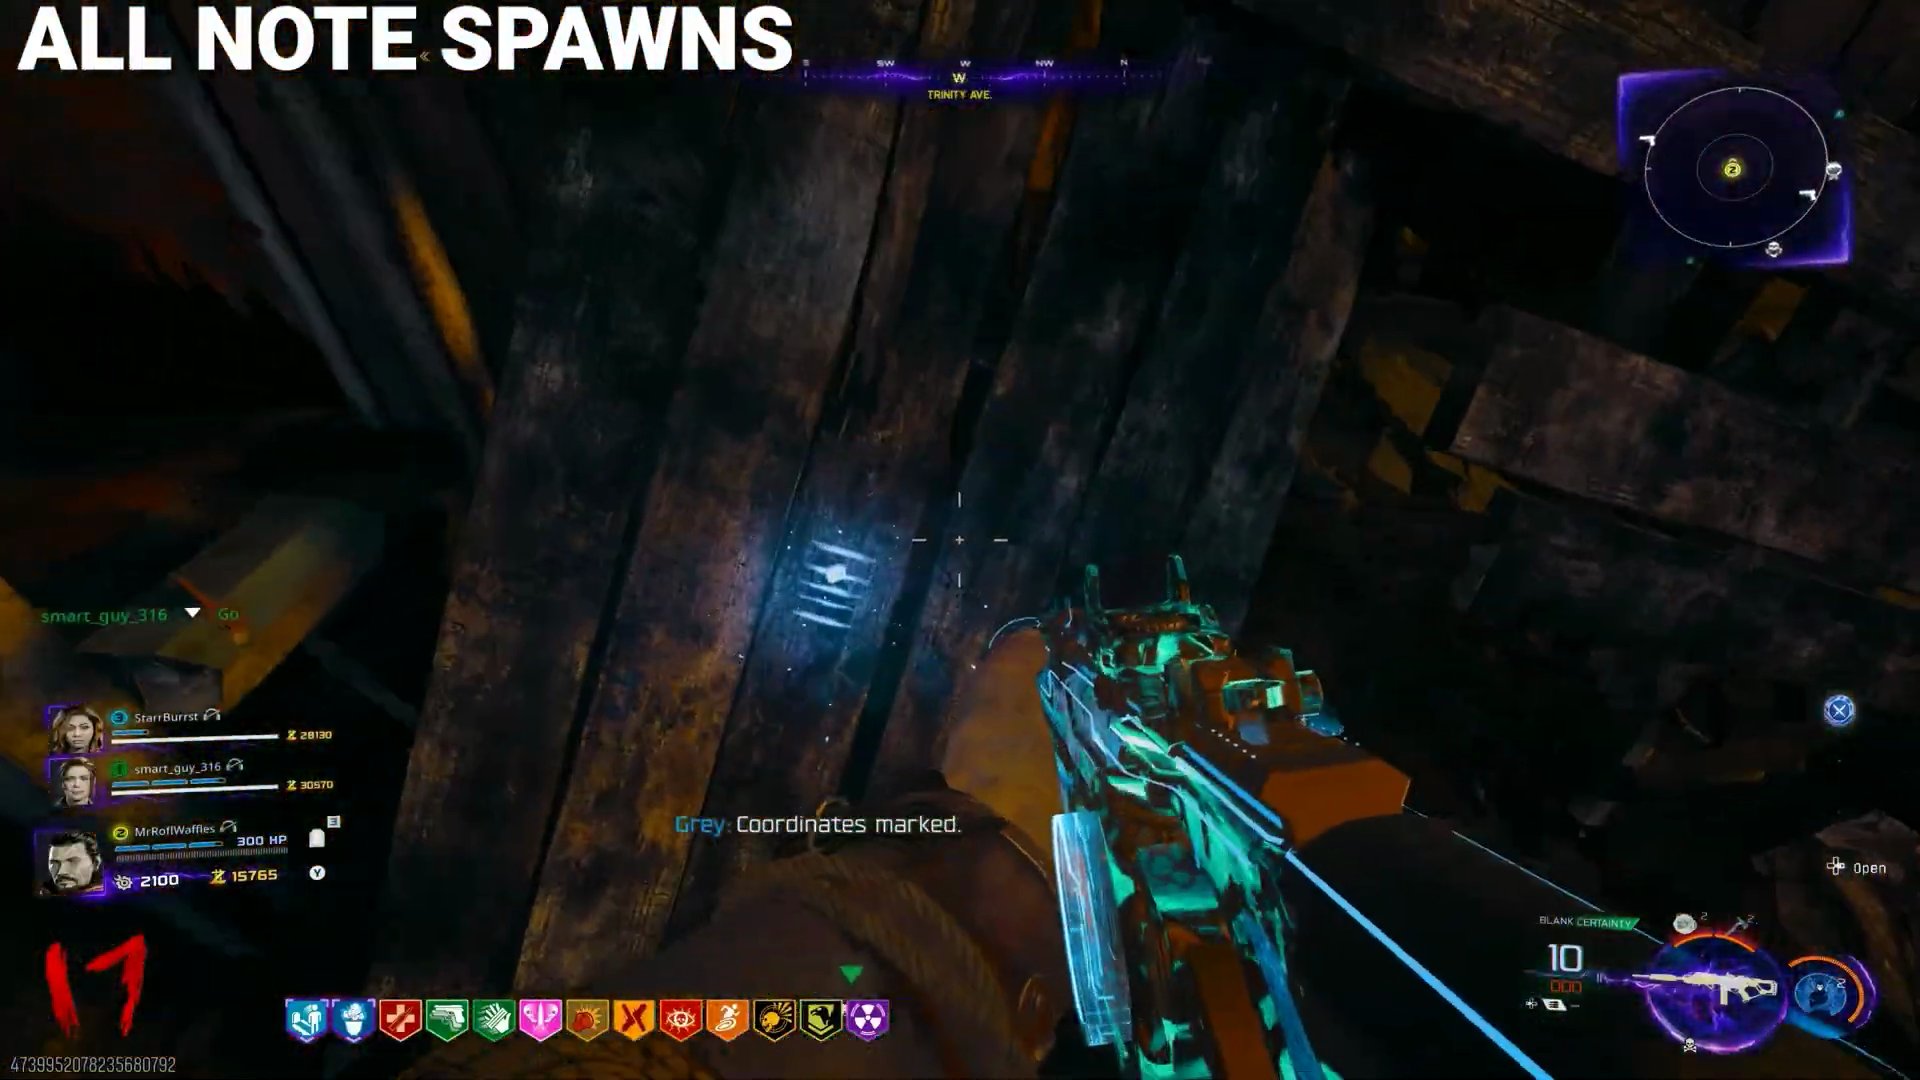
- **Find & Count Blinks:** Teleport to Destroyed. Locate the eight blue musical note symbols around the map. Count how many times each symbol blinks in a row.
 ,
 ,
 ,
 ,
 ,
 ,
 ,
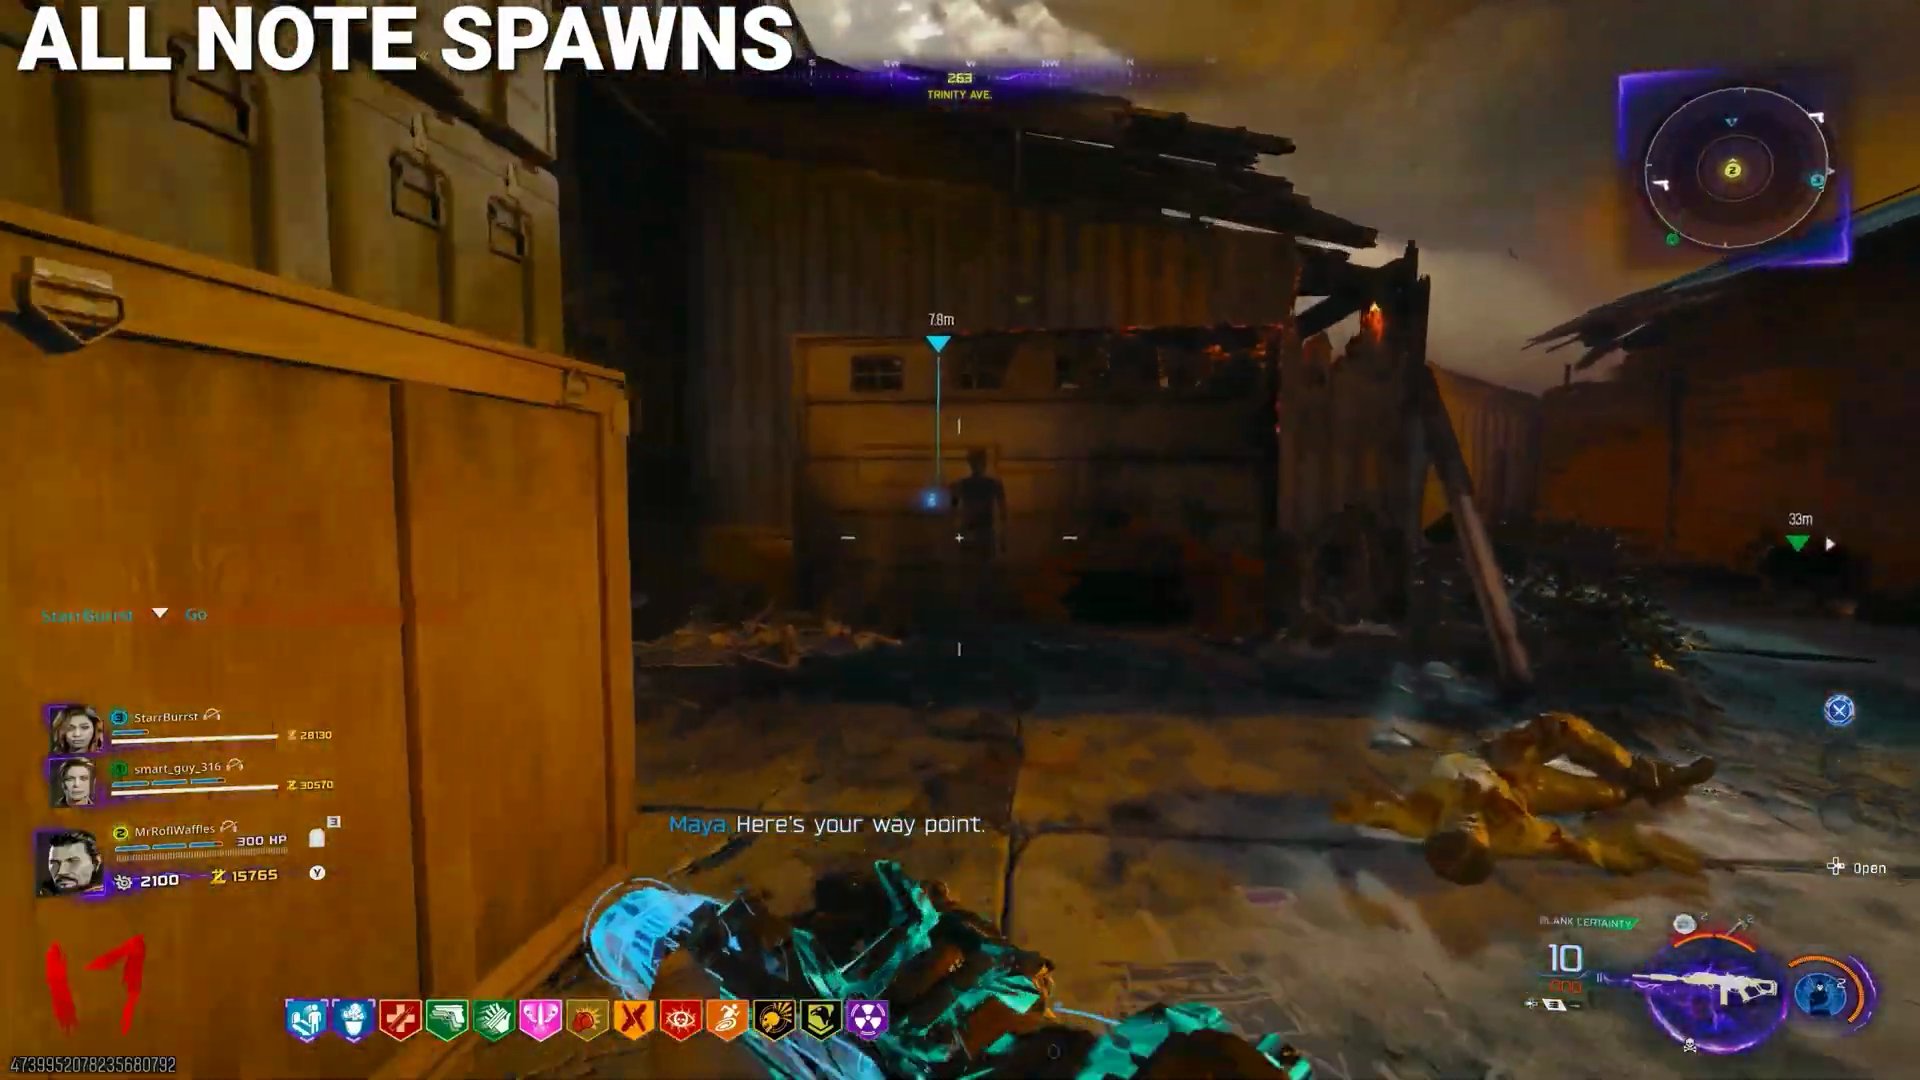 ,
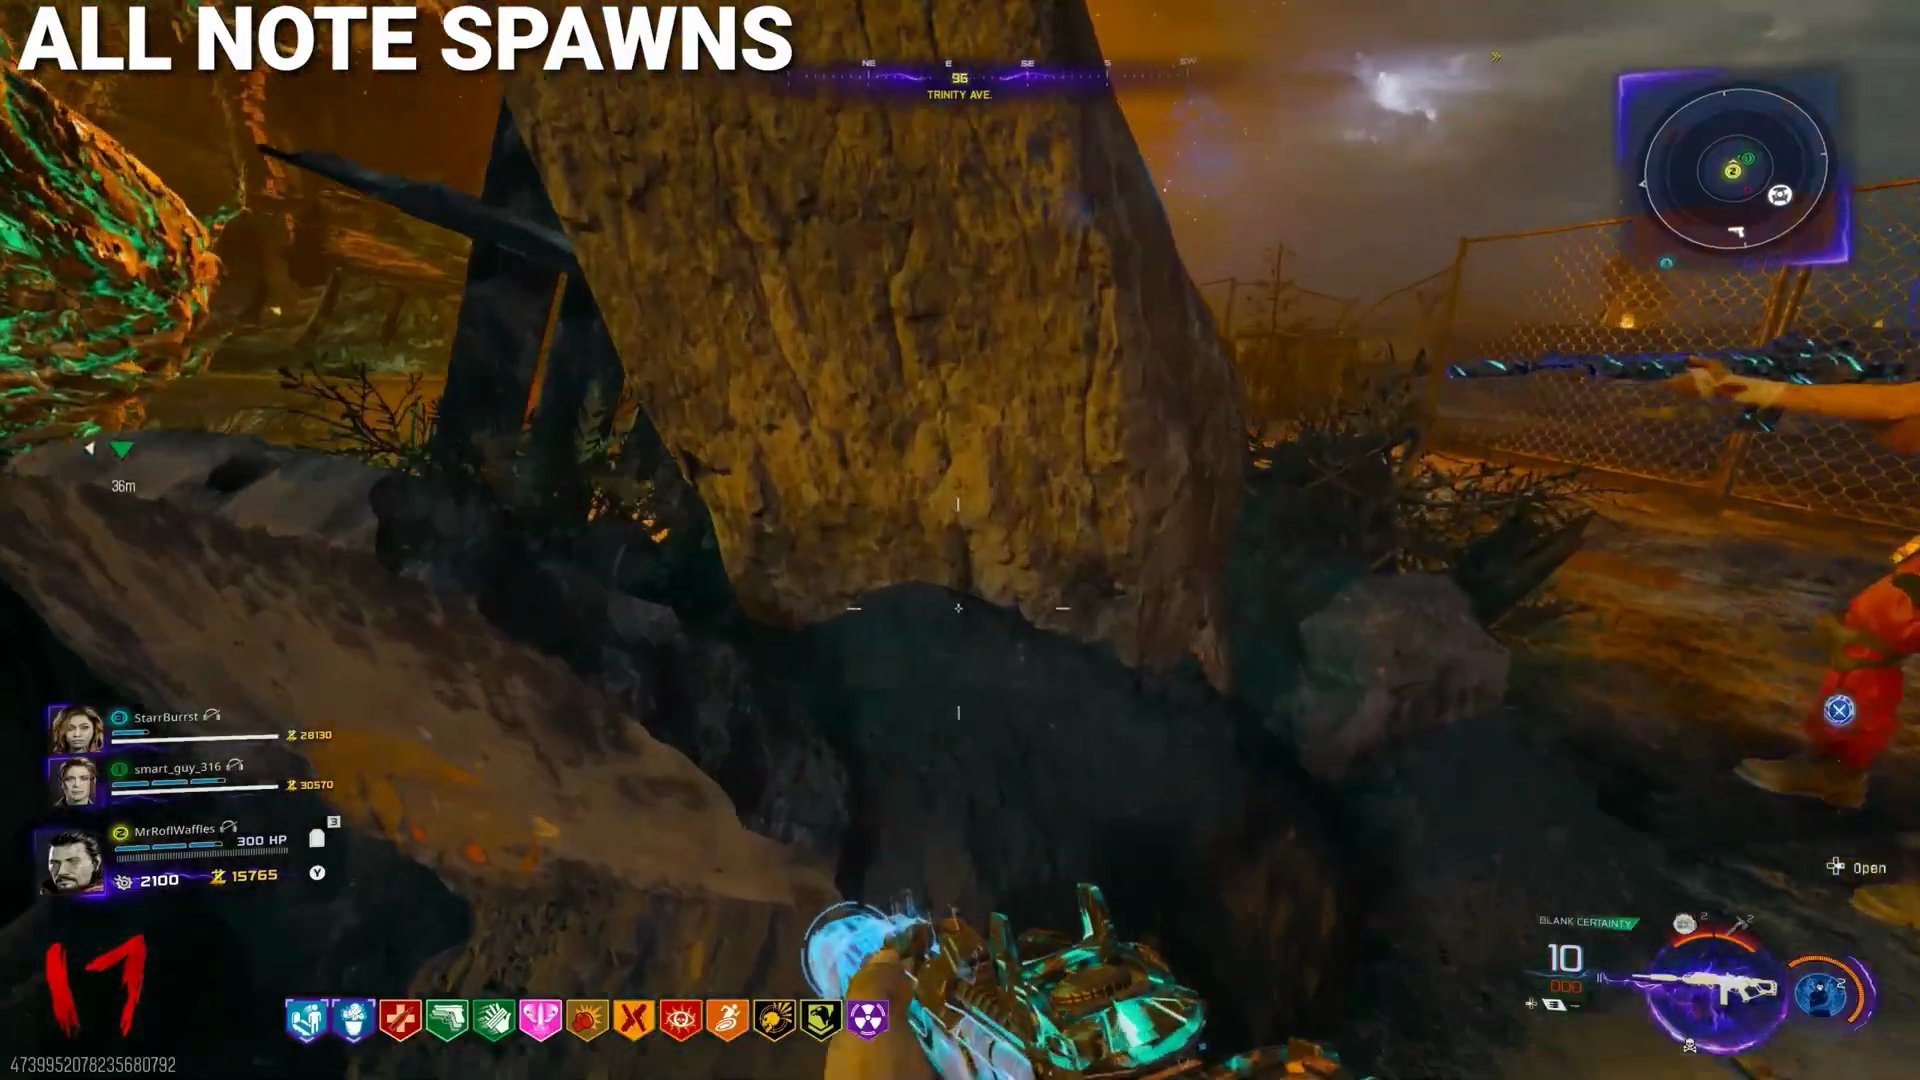
- **Activate Notes:** Interact with the symbols in increasing order of blinks (e.g., the 1-blink symbol first, then the 2-blink symbol, and so on up to 8). [SCREENSHOT:24:45]
10. Final Boss: The Dark Heart
- **Initiate Boss Fight:** Teleport to Past. In the Yellow House Backyard (Past), interact with the swing set to initiate a boss fight vote.
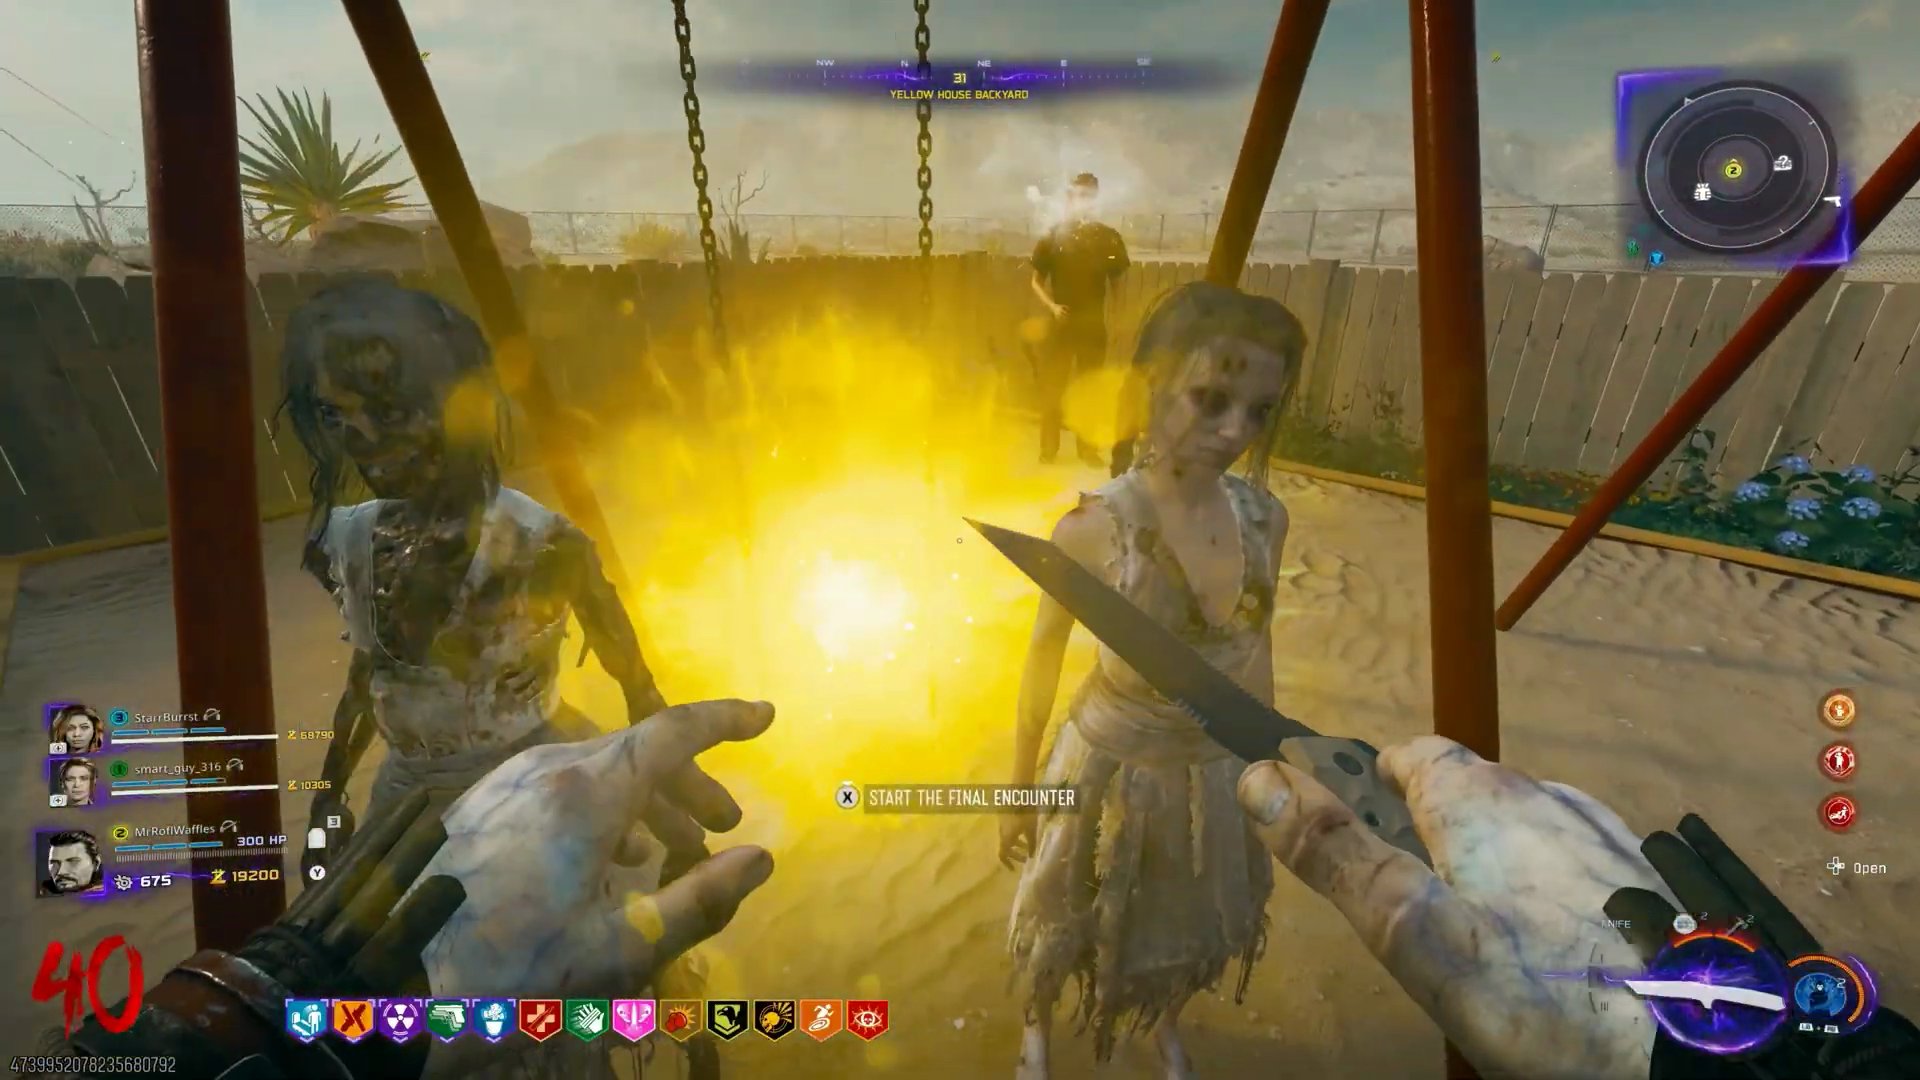
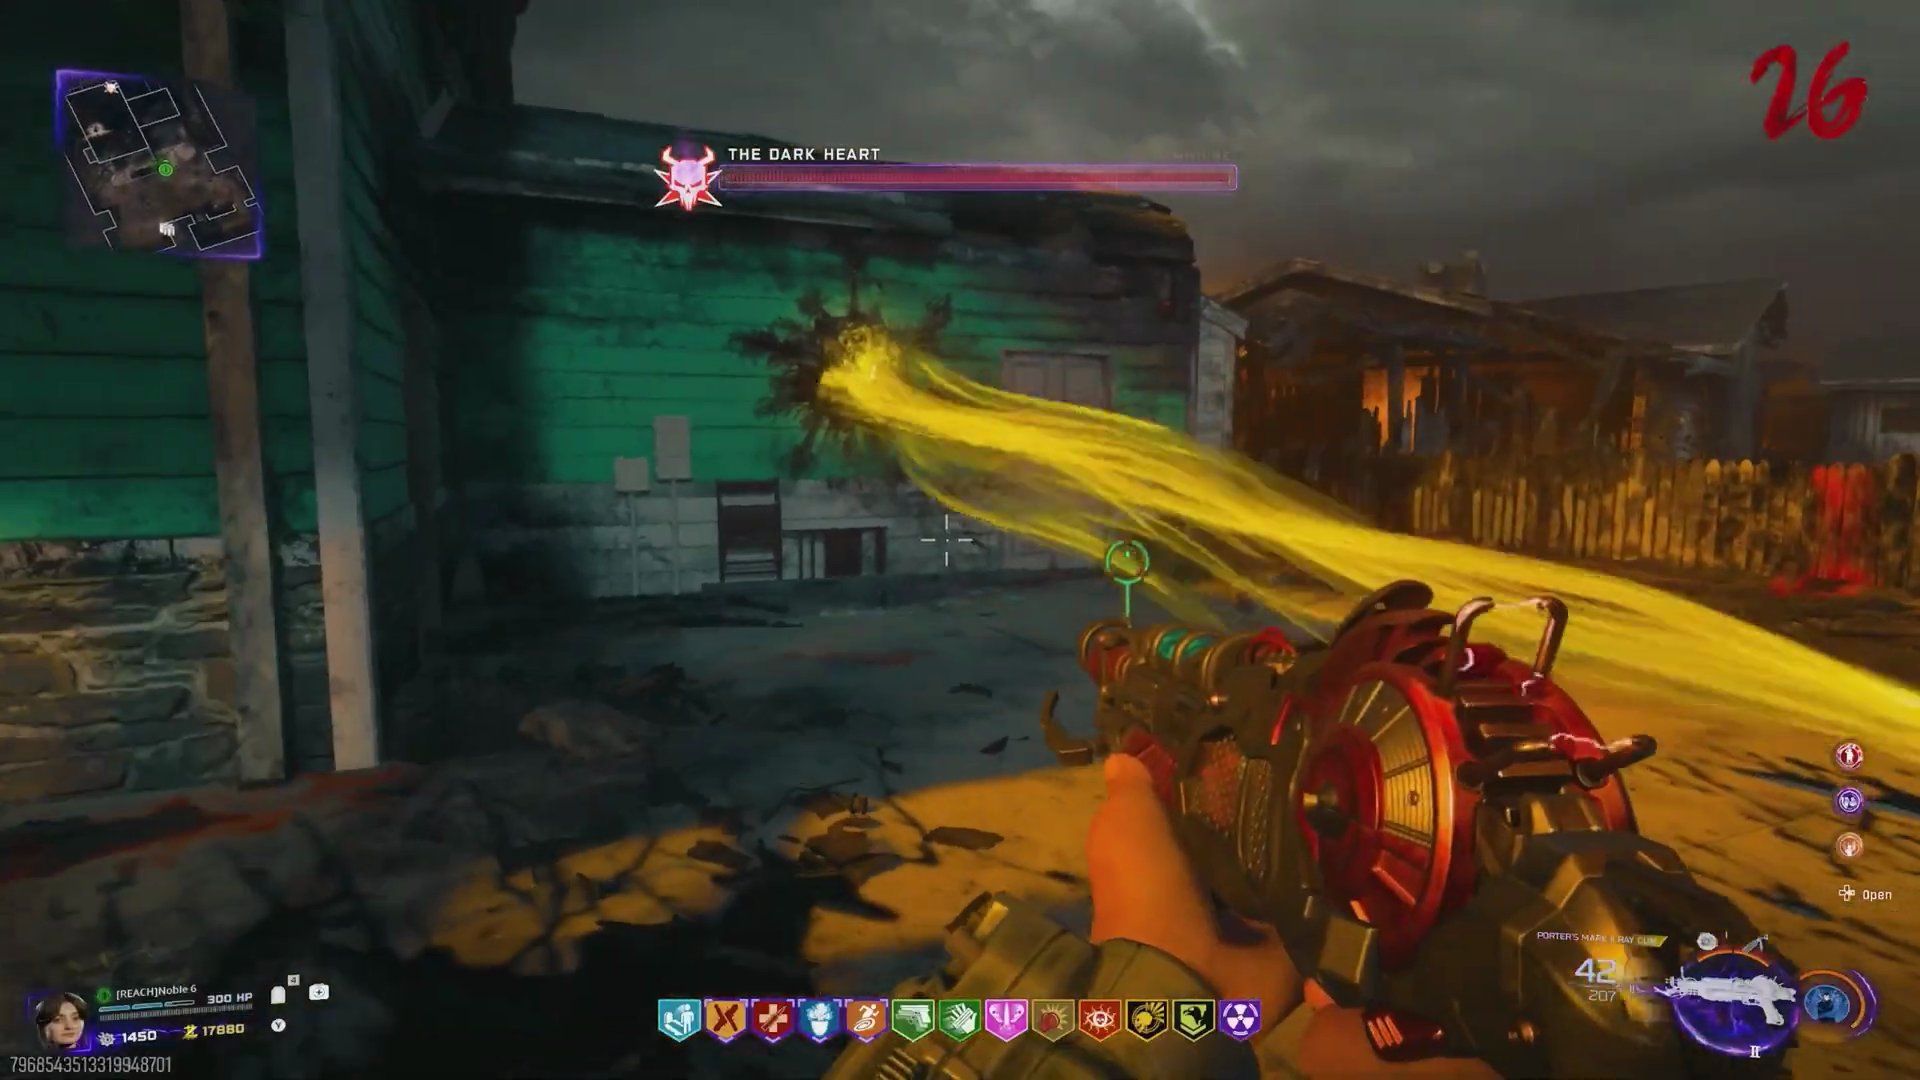
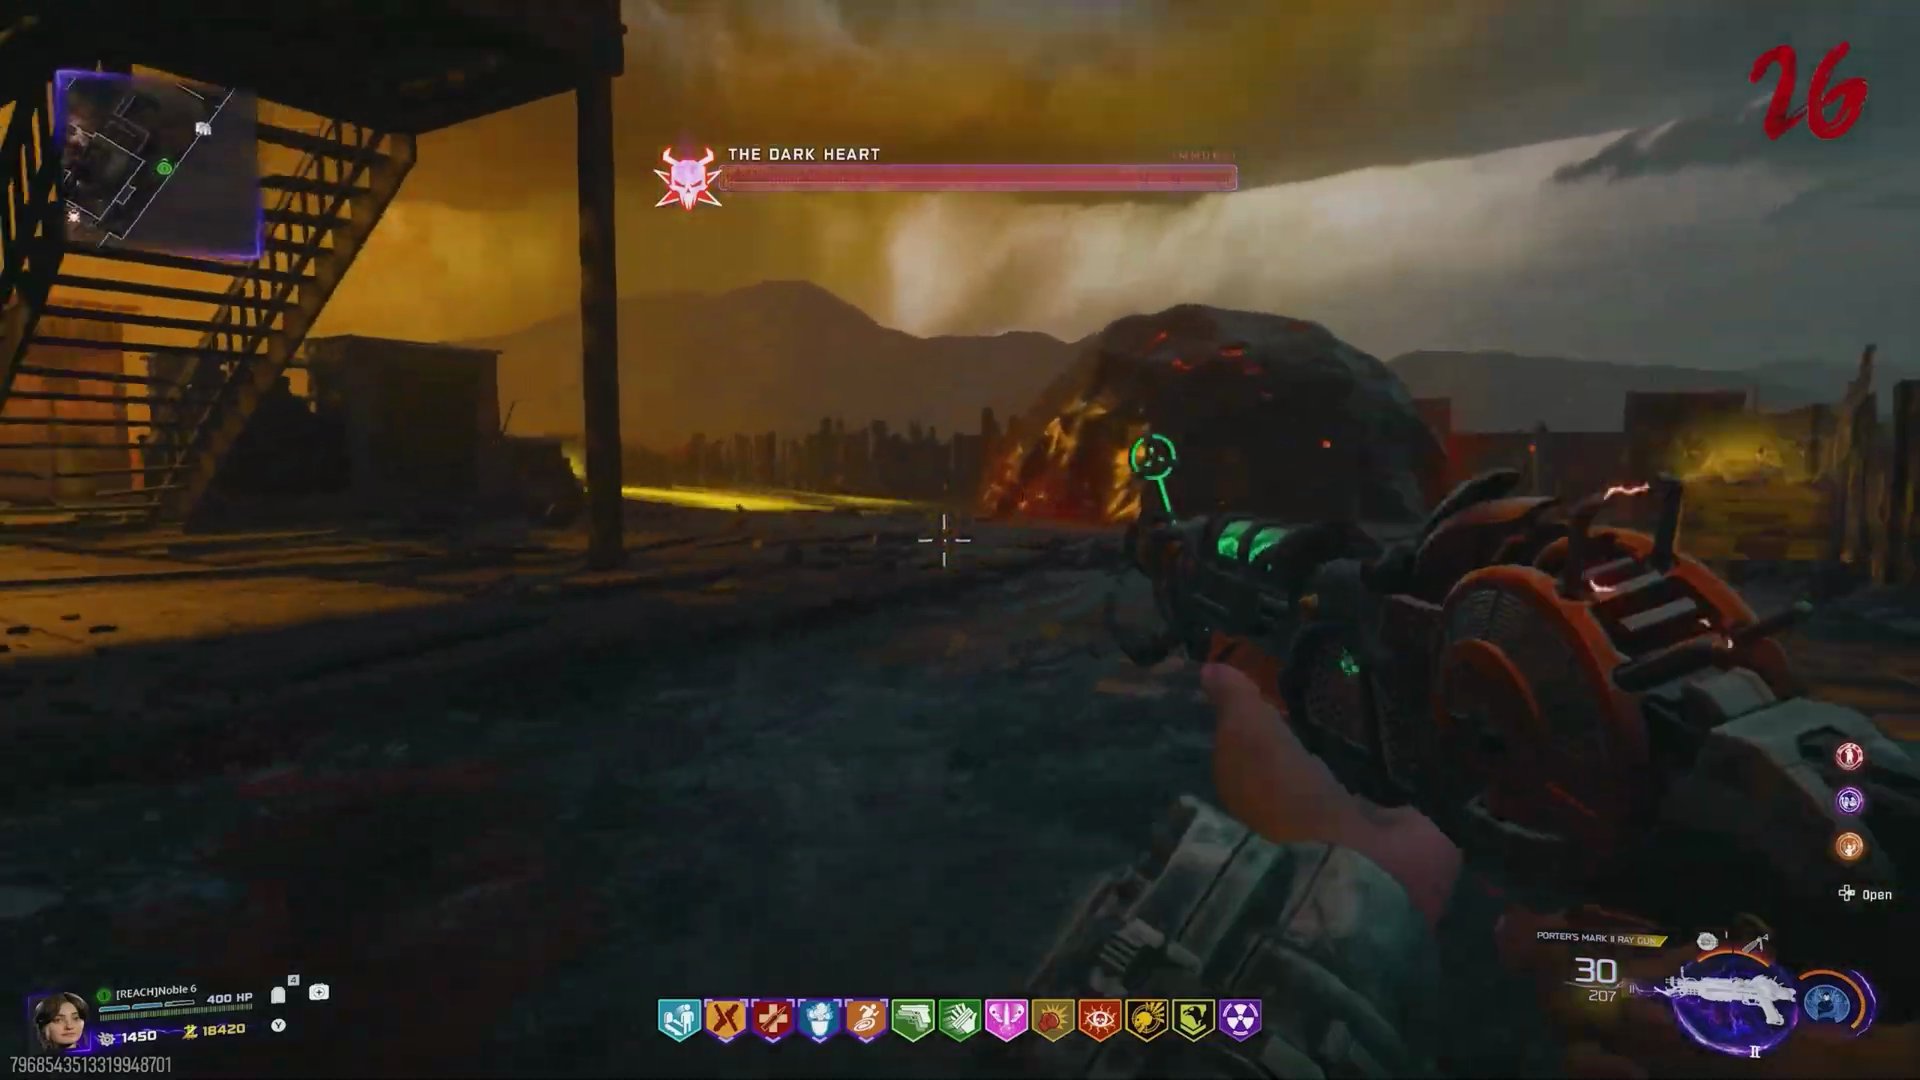
- **Phase 1 (Sists):** The boss, a large black heart, will appear. Kill zombies to fill yellow sists at three marked locations. This will break the surrounding black blobs and allow you to damage the boss.
 ,
 ,
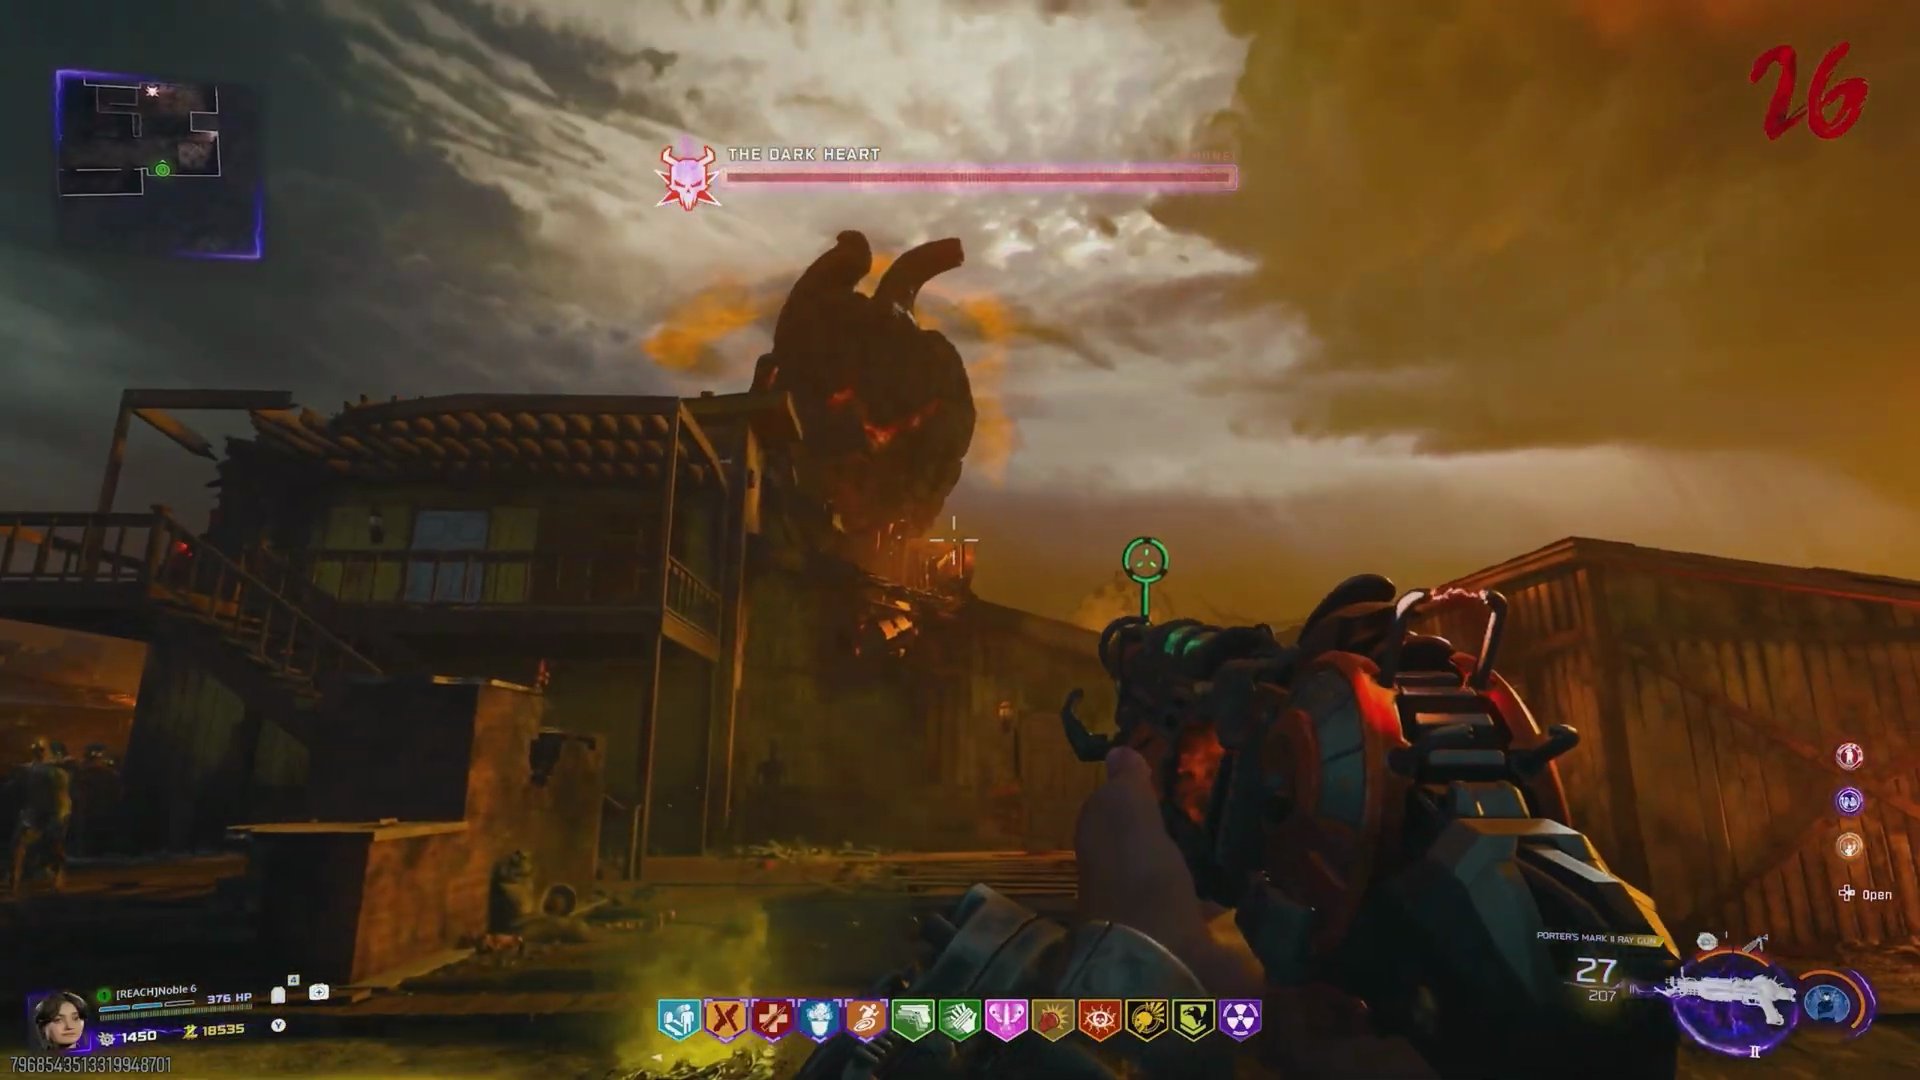
- **Phase 2 (Meteors & Defenses):** The boss becomes immune. Avoid orange circles on the ground indicating meteor strikes. Defend blue blobs at three marked locations for ~60 seconds each.
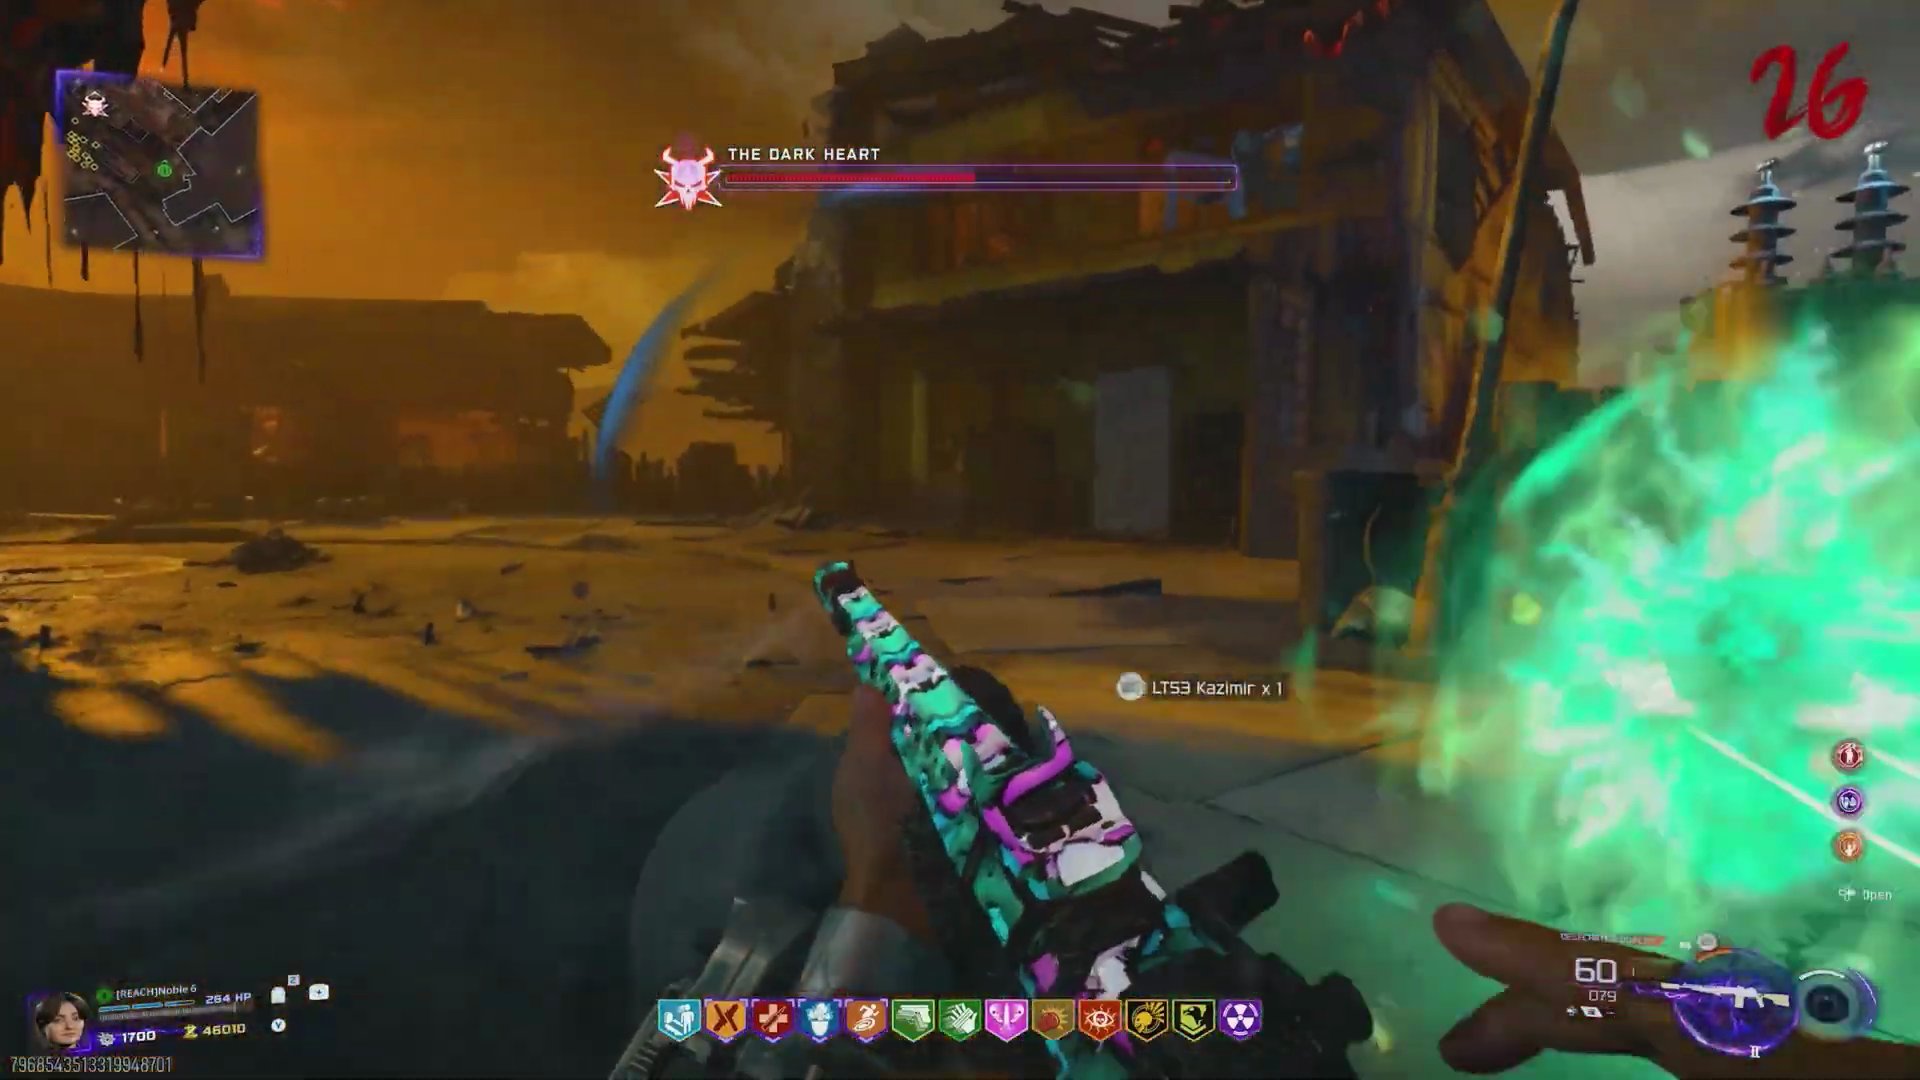
- **Phase 3 (Tethered Zombies):** The boss becomes immune. Lure tethered zombies to the three black blobs. Defend them until they tether, then shoot the tethered zombie with the Blundergat to destroy the blob.
 ,
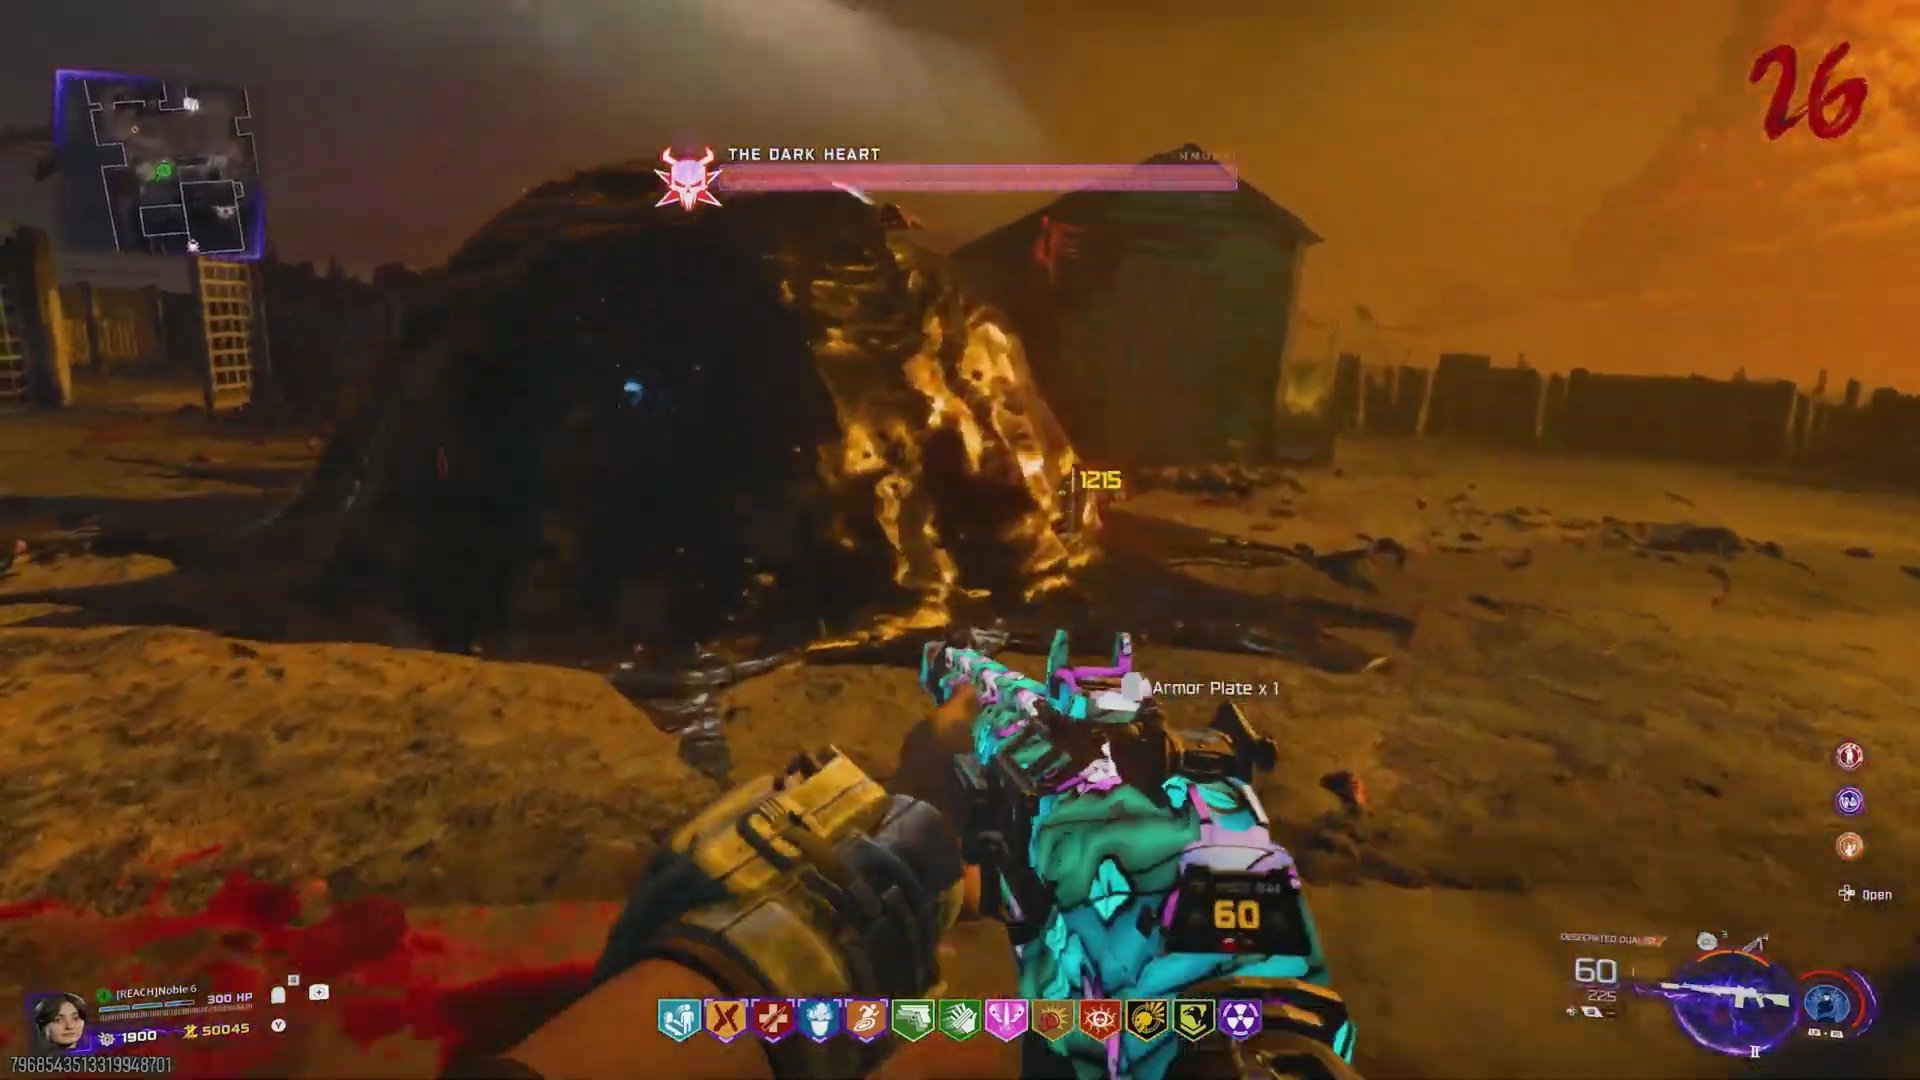
- **Damage Phases:** After each set of defenses, the boss becomes vulnerable. Shoot the glowing cracks in its heart for critical damage.
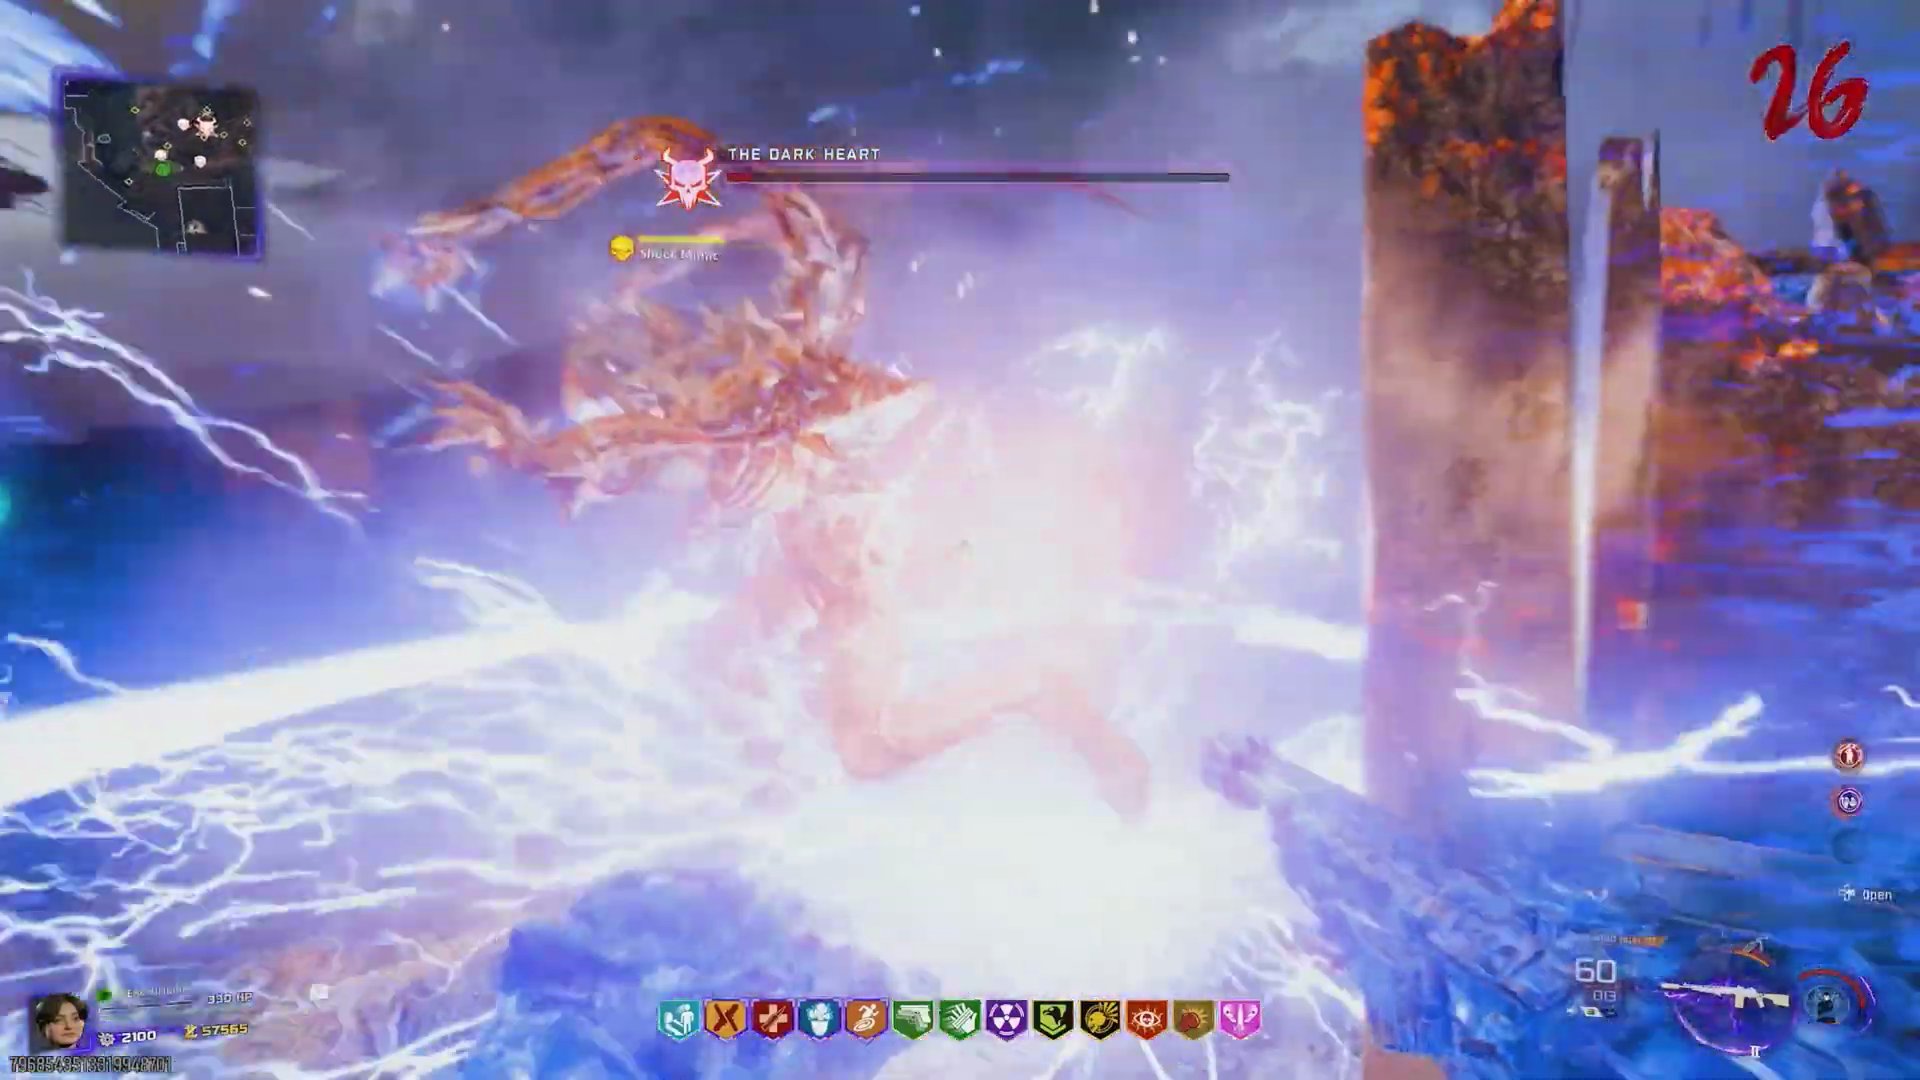
- **Victory!** Deplete the boss's health bar to complete the Paradox Junction Easter Egg!
Finished the Easter Egg?
Send this guide to your squad.