Trapped Person Easter Egg
- Updated
- Jul 2, 2026
Overview
This Easter Egg involves finding hidden papers around the map, interacting with a trapped character named Remus, and solving a series of riddles to eventually free him and reveal a cipher. It's a fun, riddle-based quest that rewards players with lore.
Step 1: Locate and Interact with Hidden Papers
The first part of the quest requires you to find and interact with three hidden pieces of paper in 'The Pit' area.
- Head into 'The Pit' area of the map. You can simply buy the door to enter.
- Once inside, locate the first piece of paper on the shield bench. Hold 'Square' (or your respective interact button) to pick it up. You don't need to get kills or do anything else in this room before picking it up.
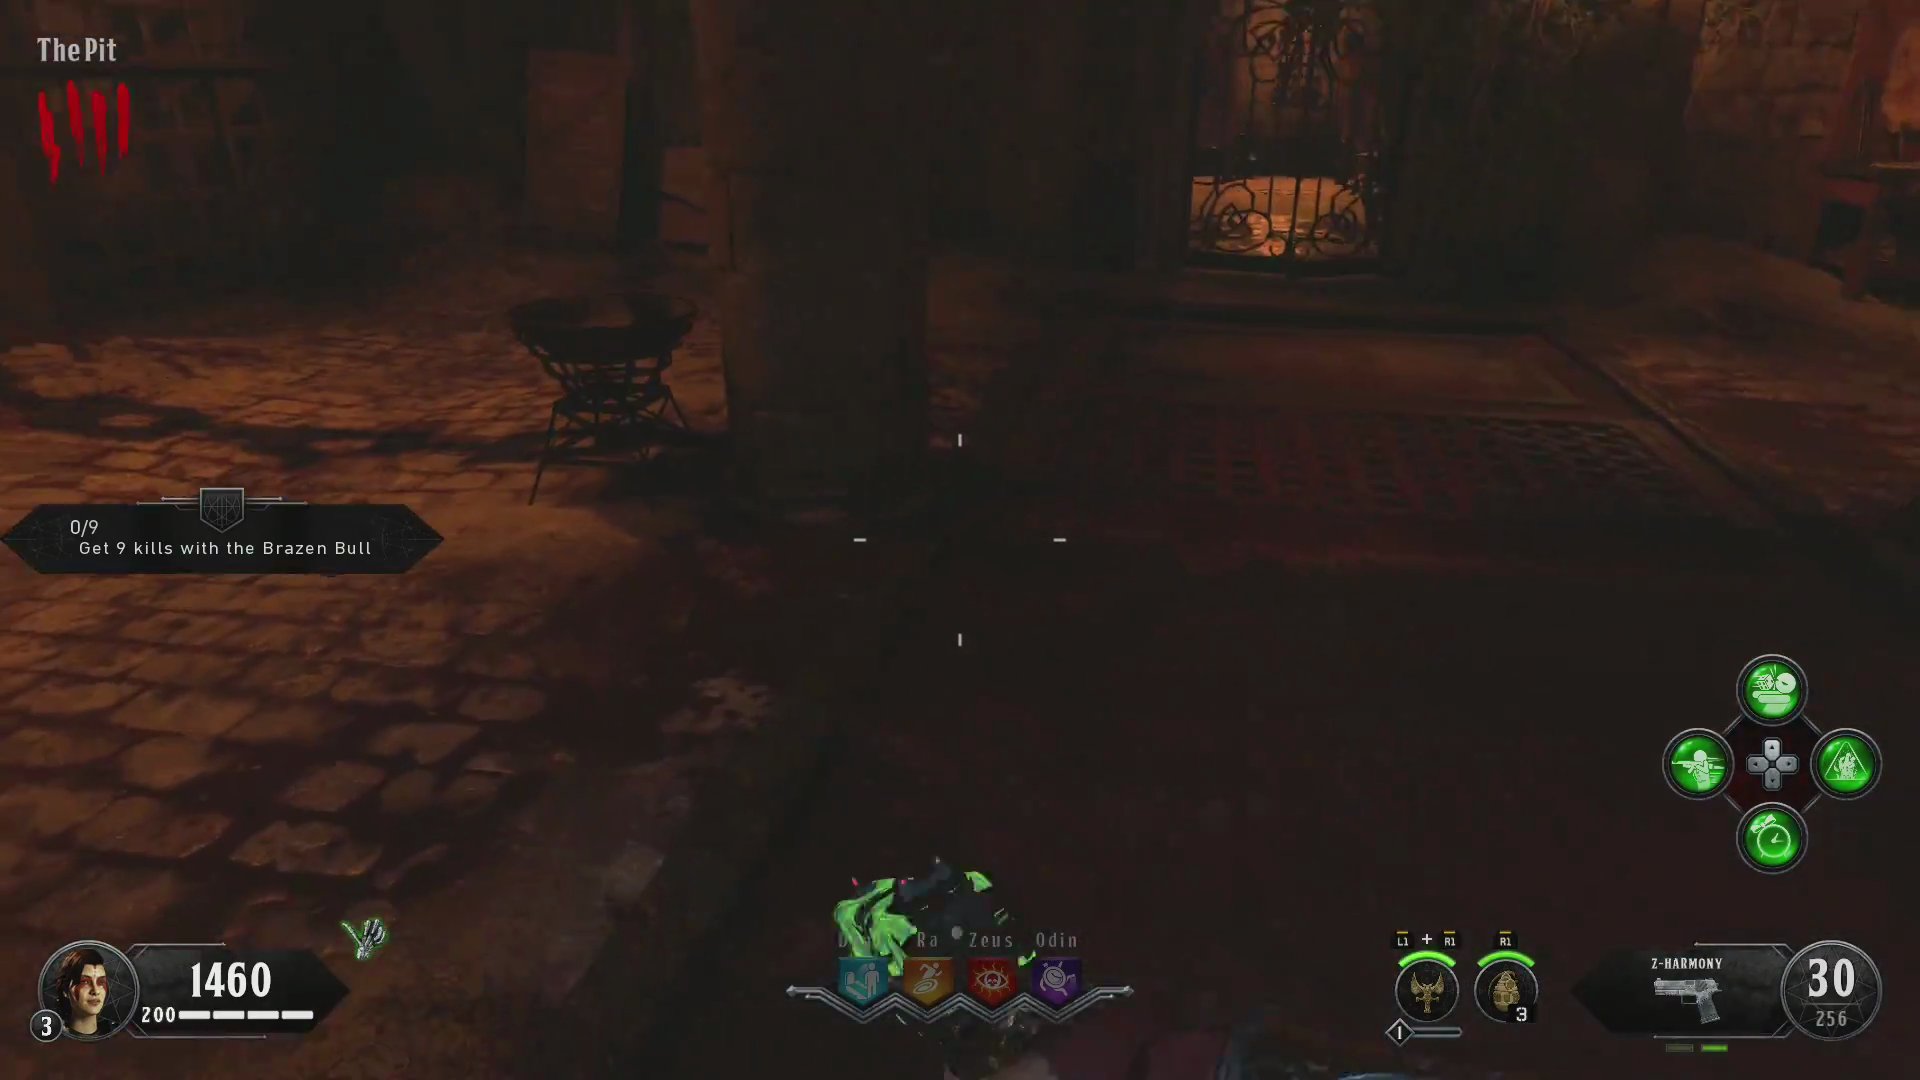
- After picking up the first paper, a second piece of paper will spawn in a grate on the floor. Interact with it by holding 'Square'.
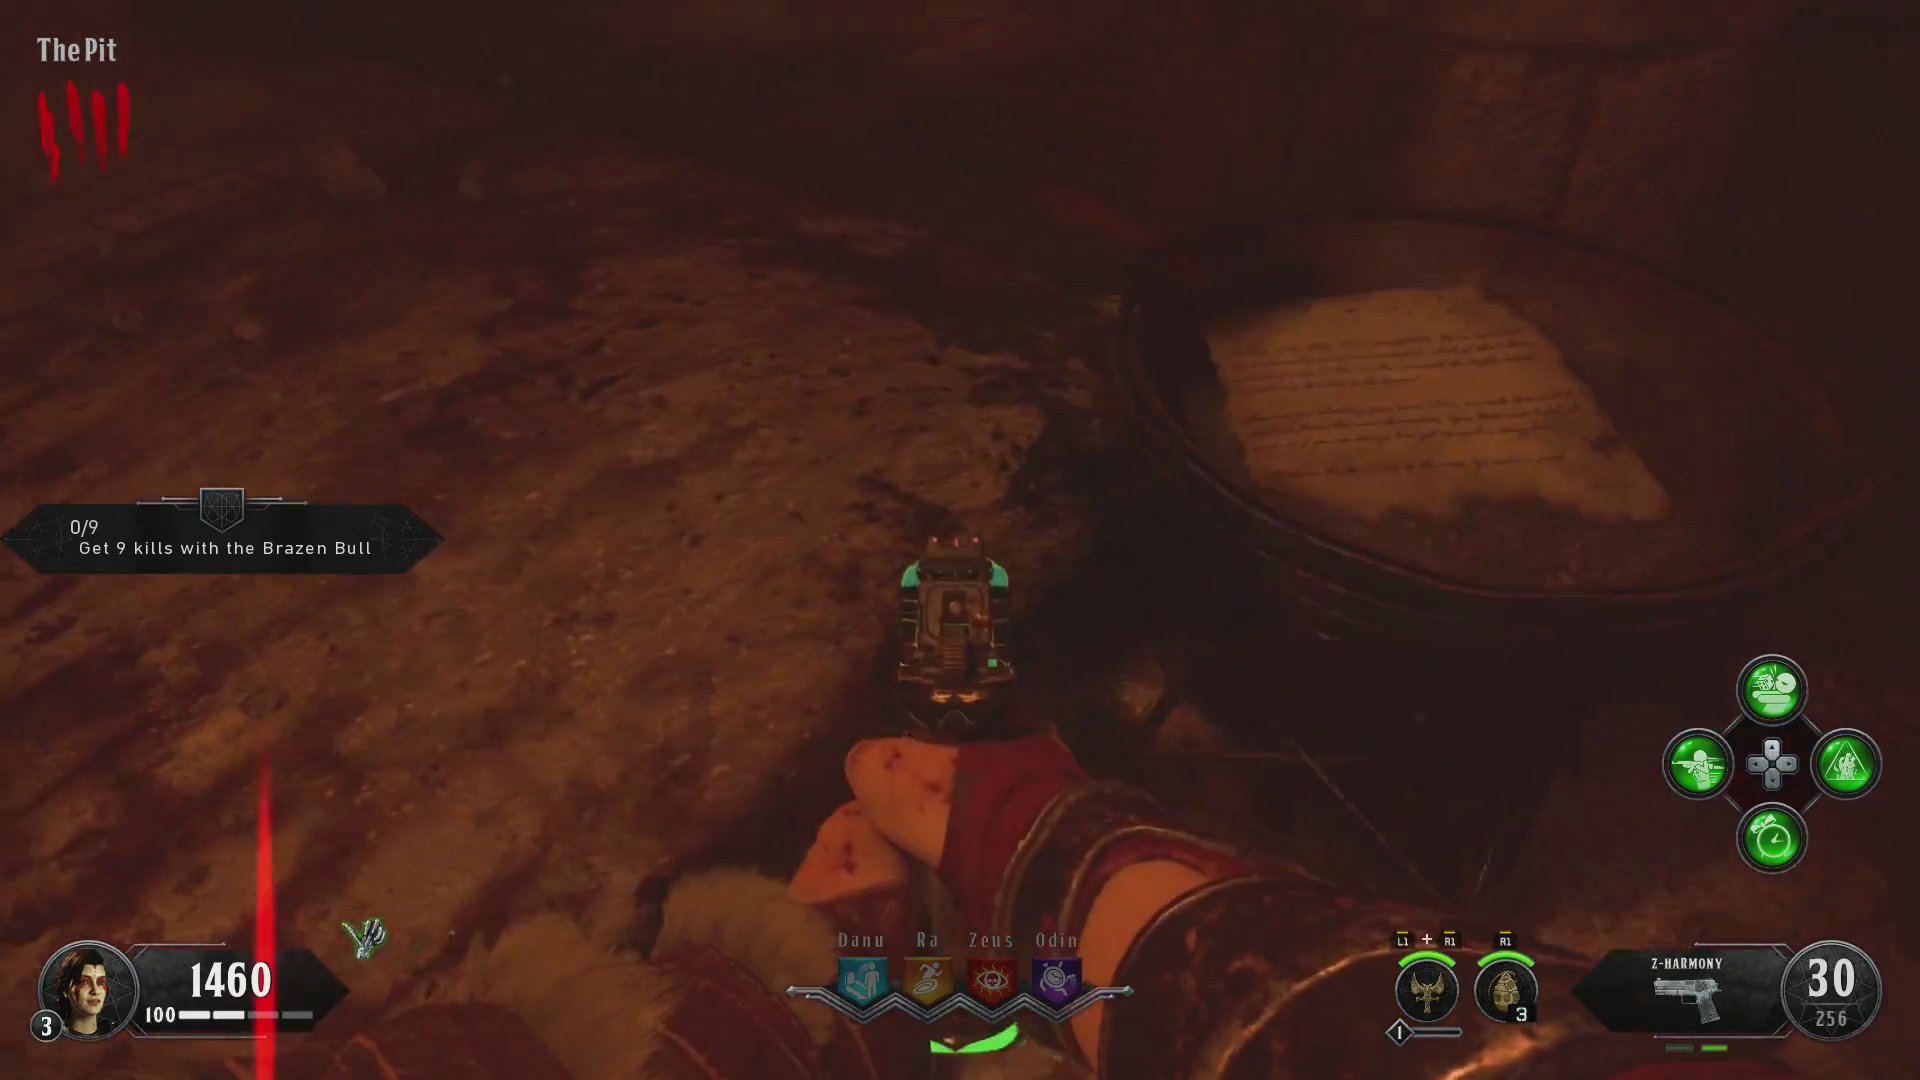
- The third piece of paper will appear in a nearby hallway. Hold 'Square' to interact with it.
Step 2: Interact with the Crying Character (Remus)
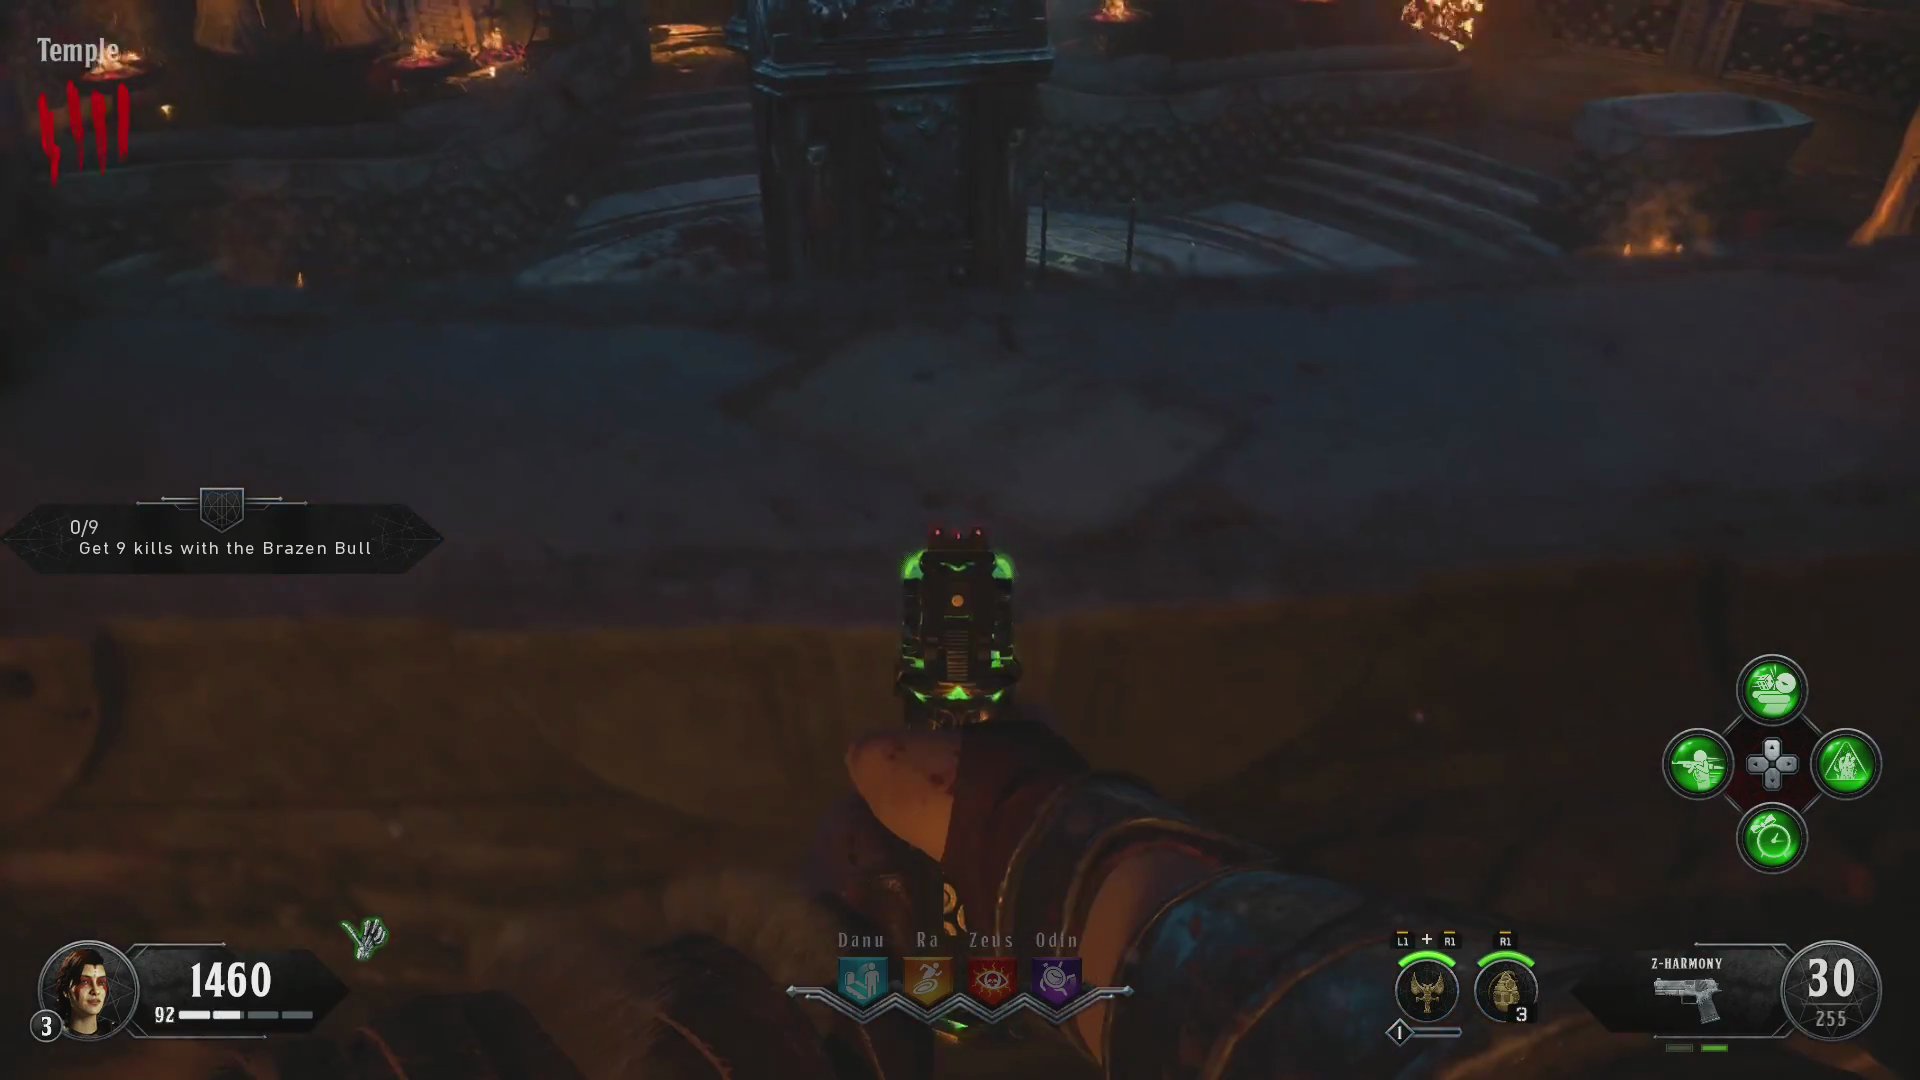
After collecting the papers, you'll start hearing crying in 'The Temple'. You need to find and interact with specific walls in different areas to progress Remus's dialogue.
- Go to 'The Temple' area. Listen for crying sounds, which will guide you to the correct walls.
- The first interaction point is near the Wolf symbol at the beginning of 'The Temple'. Hold 'Square' on the wall, and you'll hear the character say, "It's all my fault."
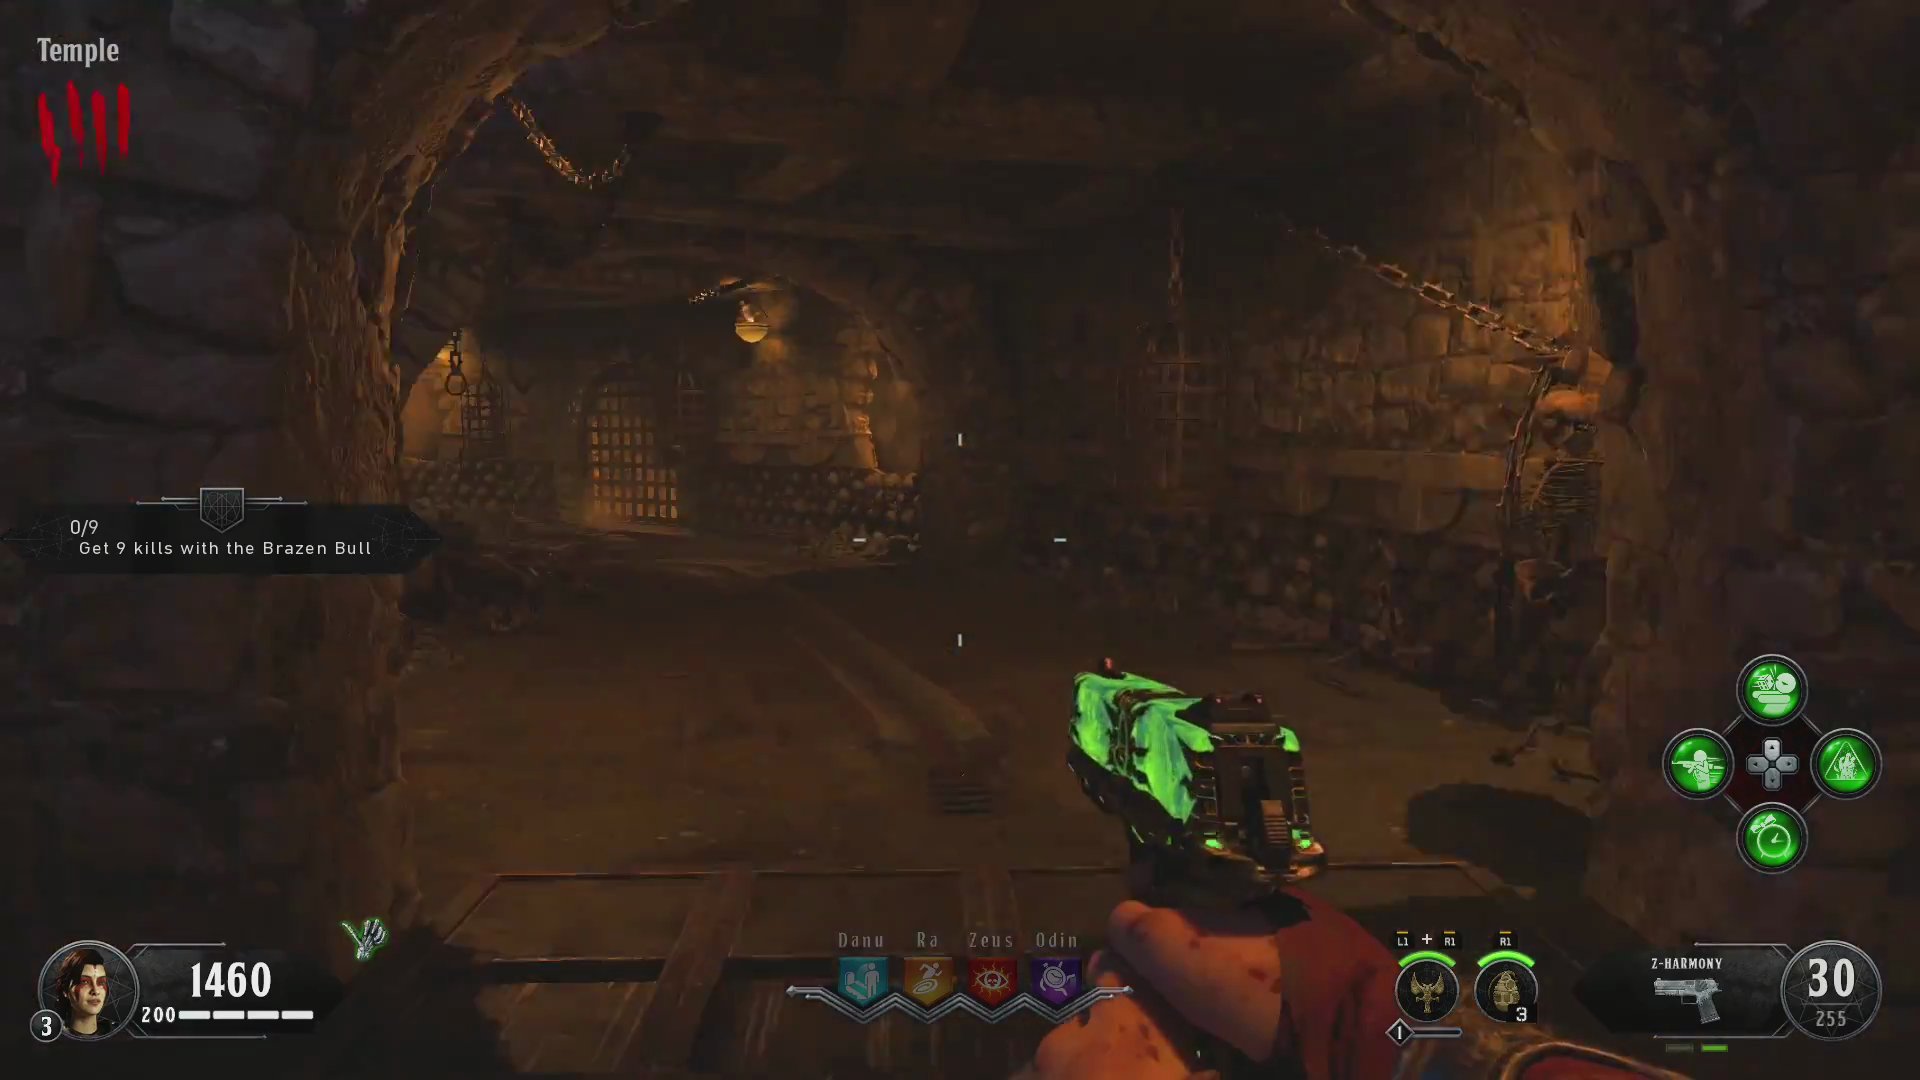
- Next, move to the wall at the exit of 'Odin Tower' area. Interact with it to hear a quote like, "Hold on, what was that?" or "Did I hear something?"
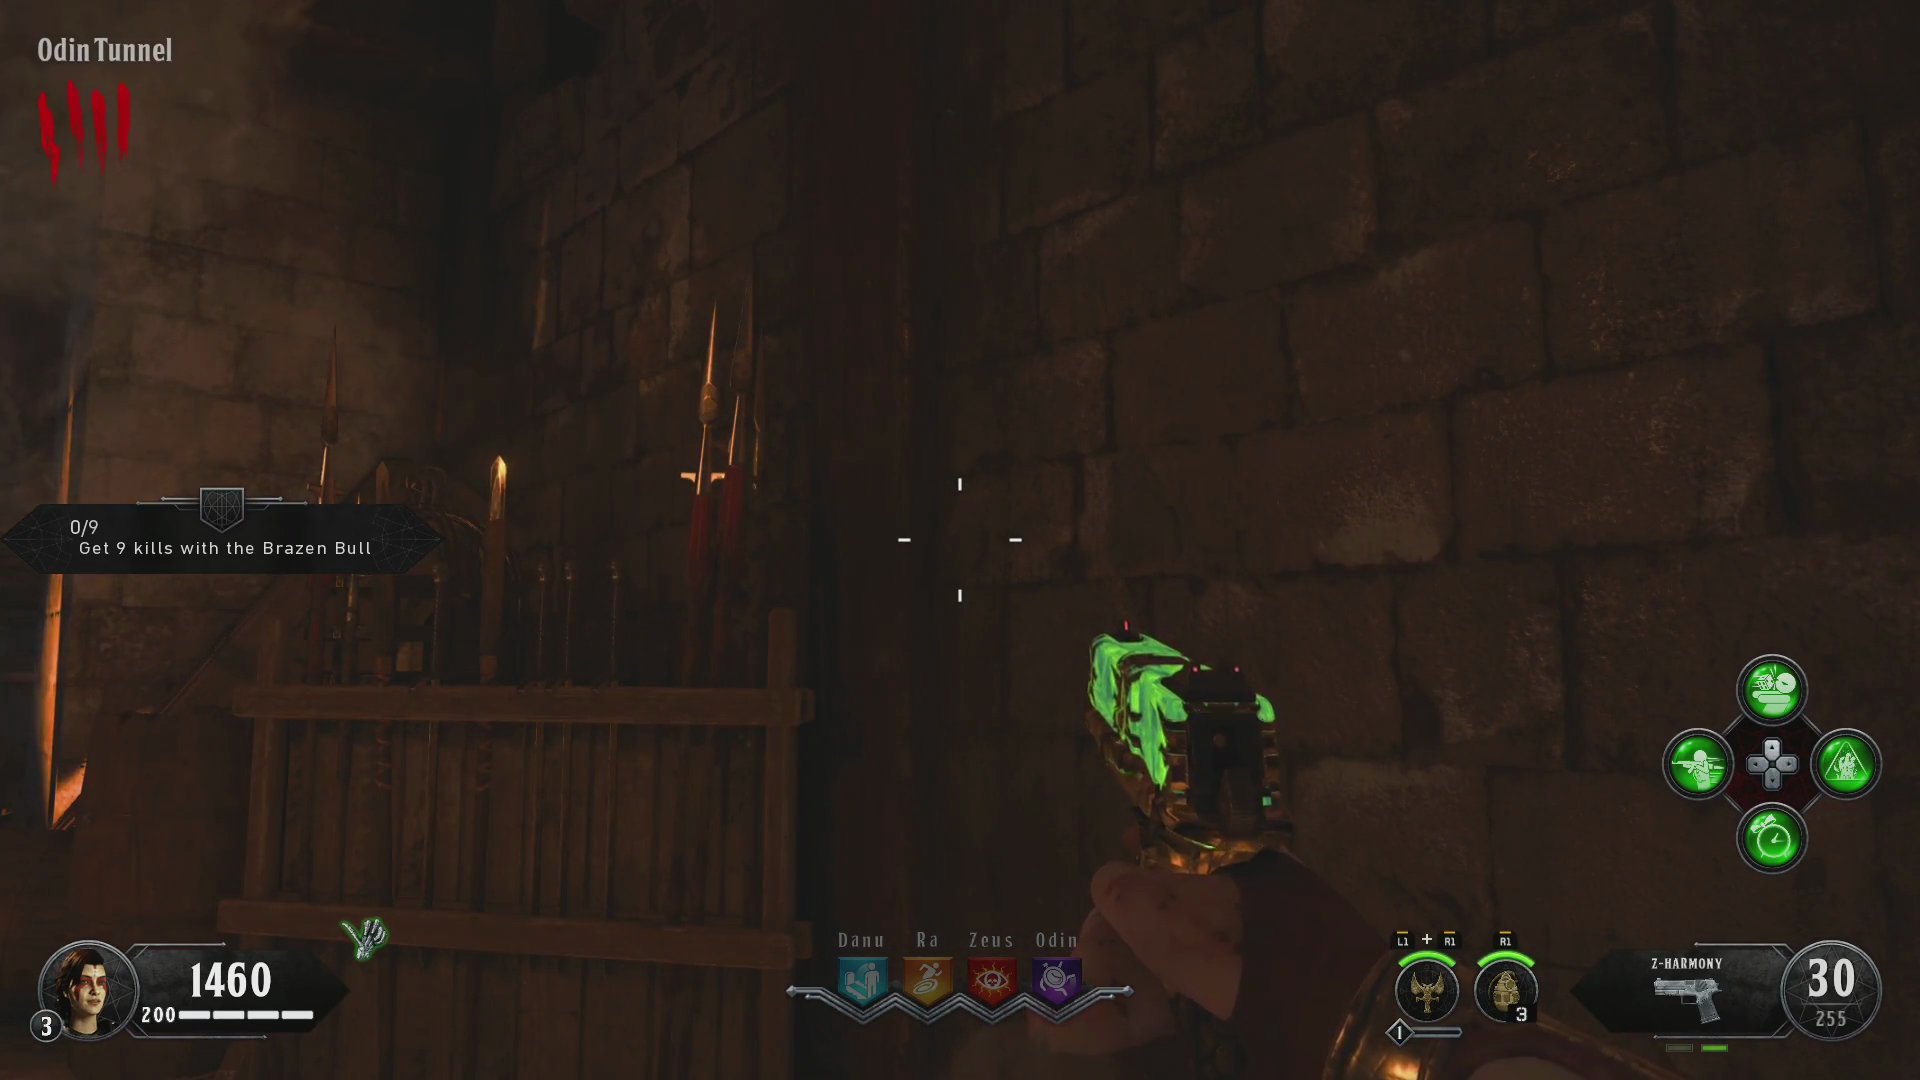
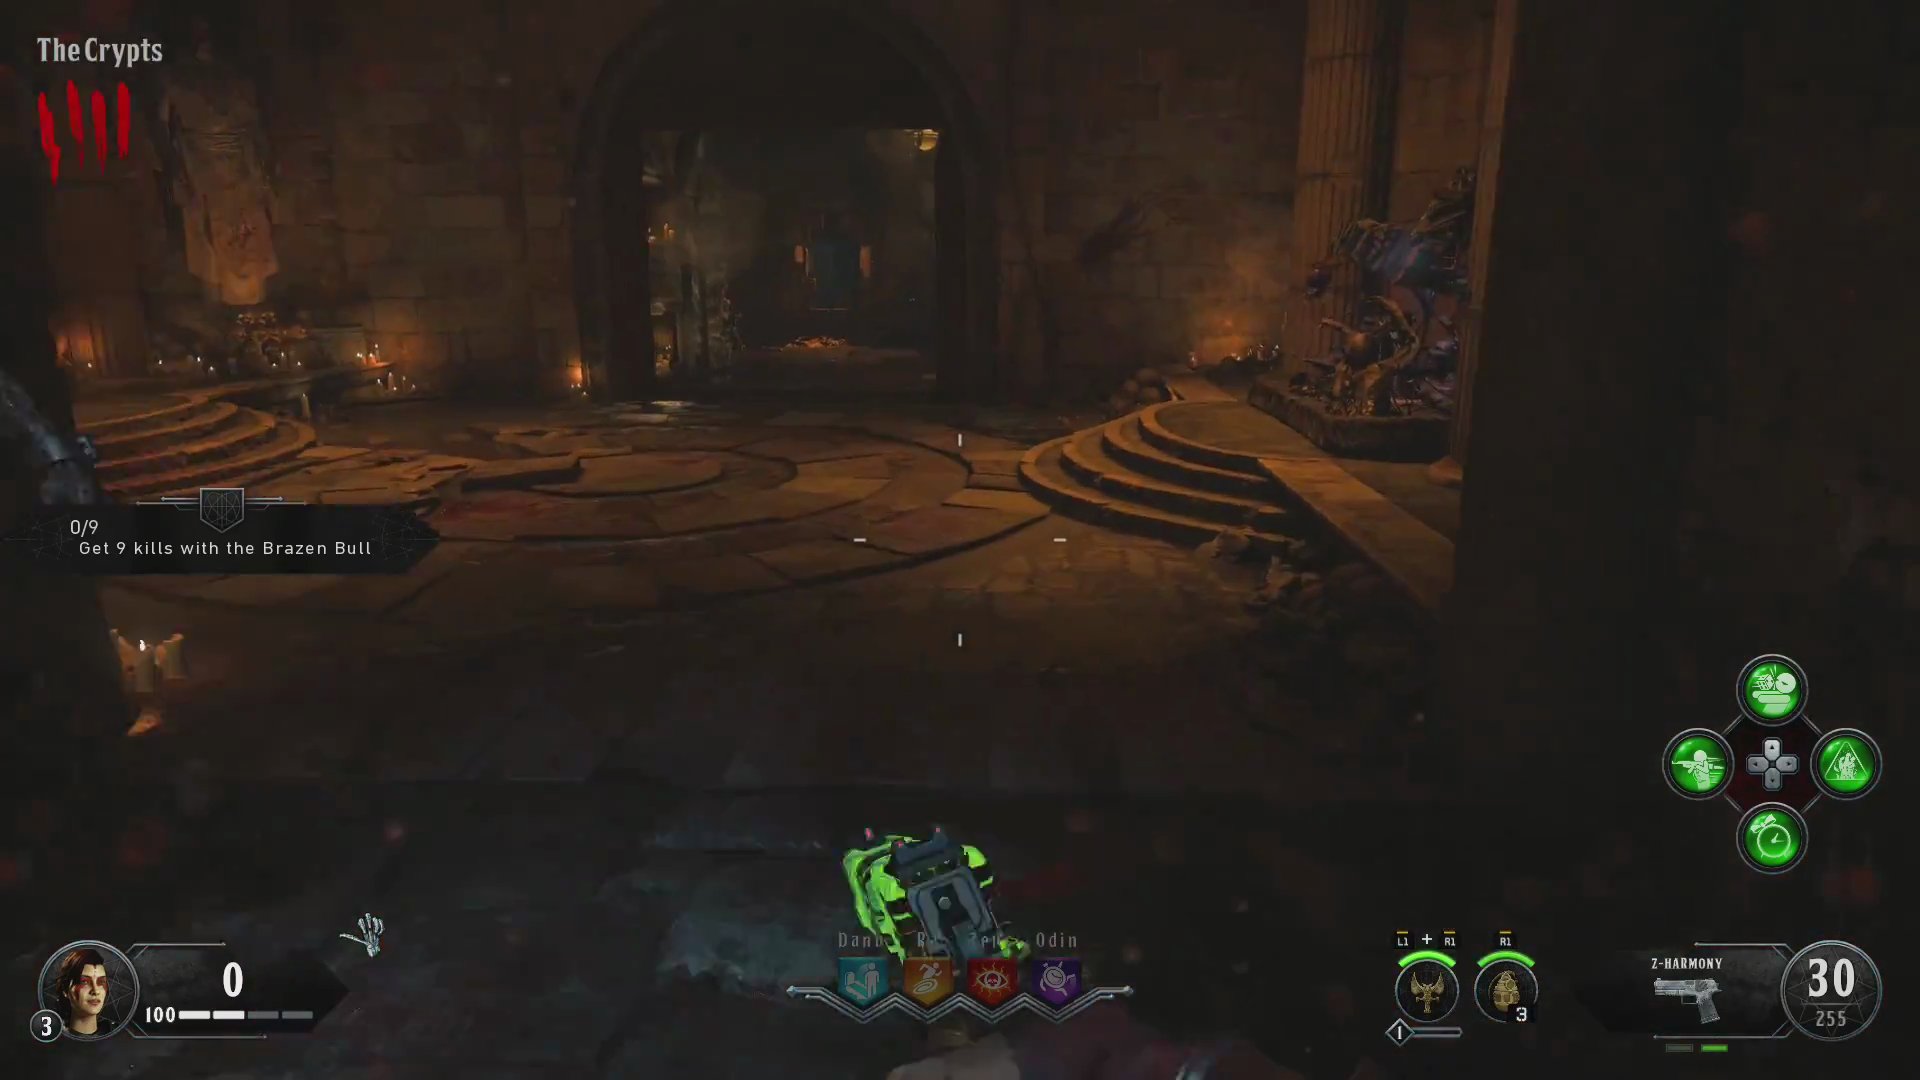
- Proceed to the 'Odin-Zeus Temple Entrance'. Between the two statues, interact with the wall. You'll hear the character say, "Hello, is somebody there? Can you hear me?"
- Finally, enter 'The Cursed Room'. In the center of the floor, lie down (crouch/prone). This will trigger a longer audio quote where Remus introduces himself and explains he's trapped, asking for help with riddles.
Step 3: Solve the Riddles
Remus will provide four riddles. Each riddle corresponds to a specific object on the map that you need to interact with.
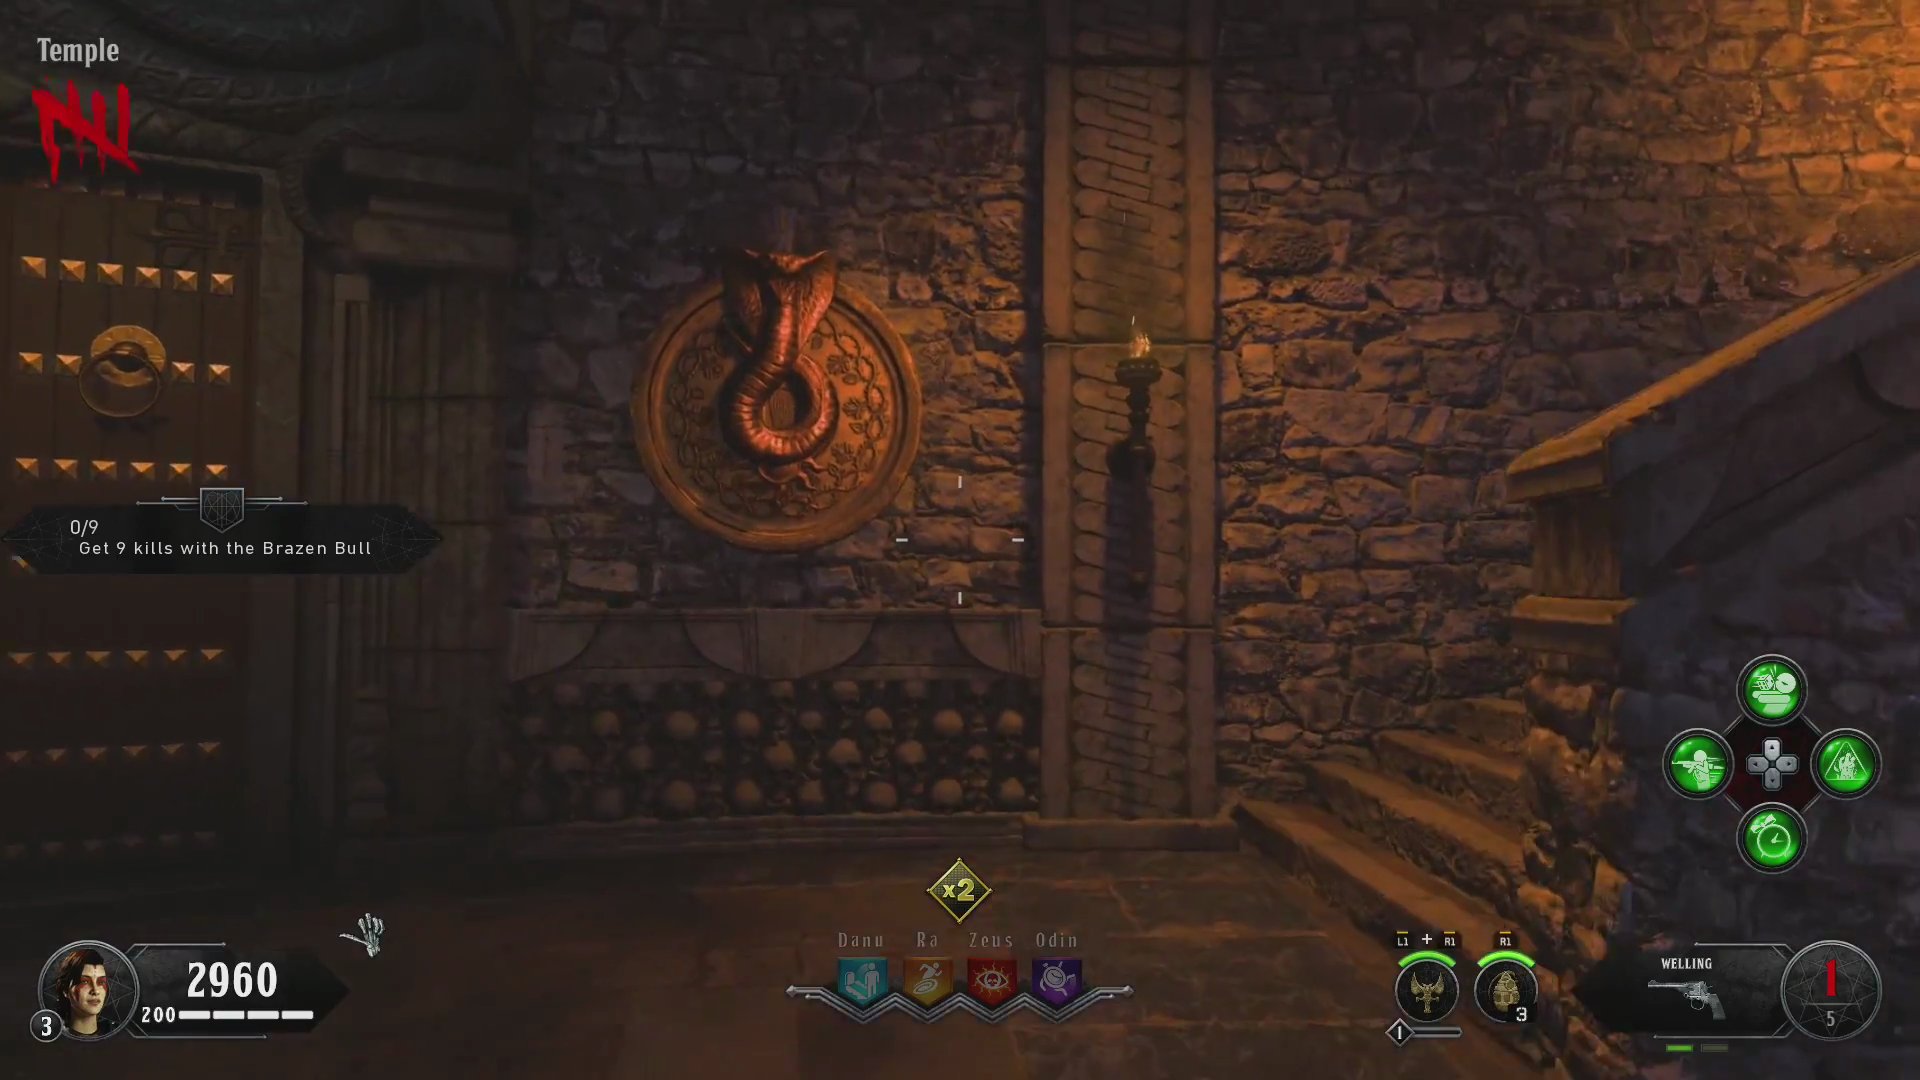
Riddle 1: "It sheds light on all animals, but prefers the serpent."
- The answer to this riddle is the torch next to the snake (serpent) symbol on the wall inside 'The Temple'.
- Interact with the torch by holding 'Square'. This will trigger the next riddle.
Riddle 2: "What is regal in nature, but still bathes by blood?"
- The answer is the lion statue spouting blood from its mouth in 'The Pit'.
- Interact with the lion by holding 'Square' to hear the next riddle.
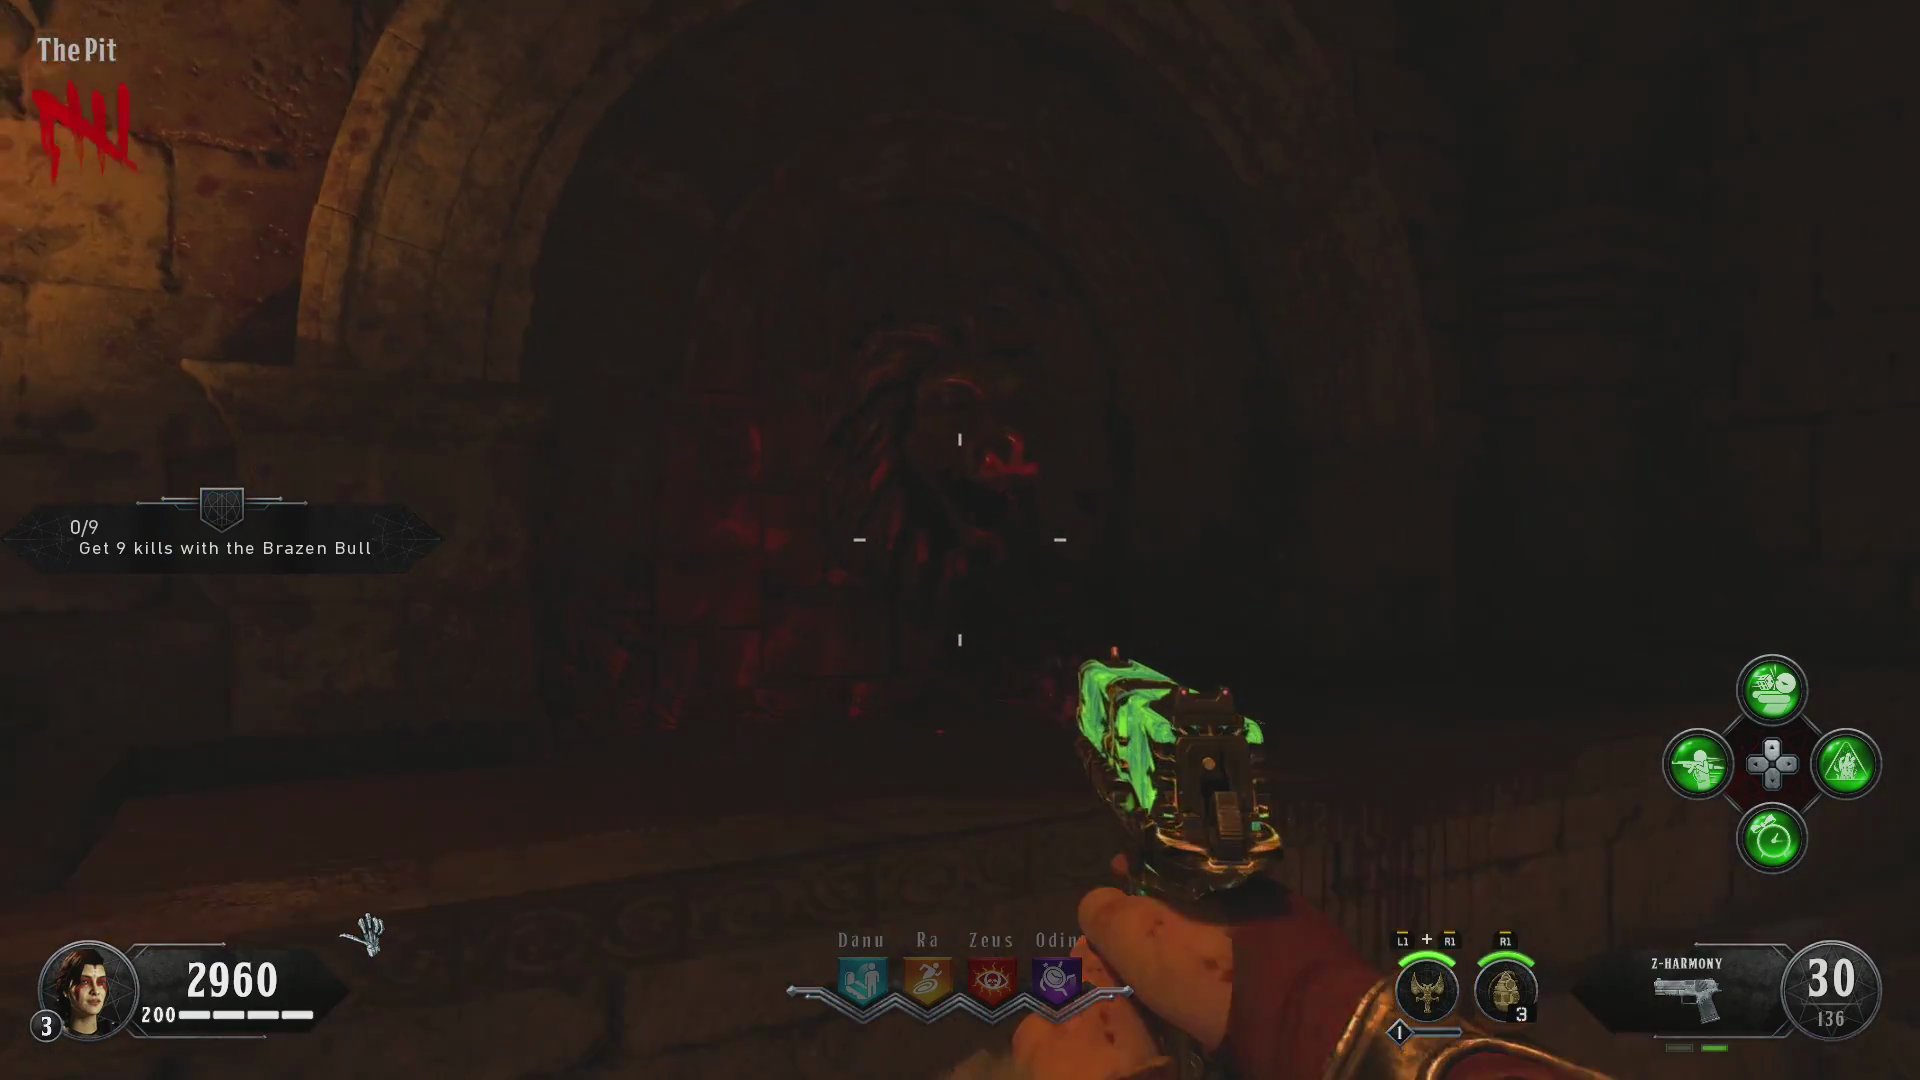
Riddle 3: "Its contents will be emptied, but is preferential to steel."
- This refers to the sarcophagus in 'Danne-Ku Temple Entrance' (often called the 'Burial Chamber'). Look for the side of the sarcophagus with a small bird-like figure.
- Interact with this side of the sarcophagus by holding 'Square'.
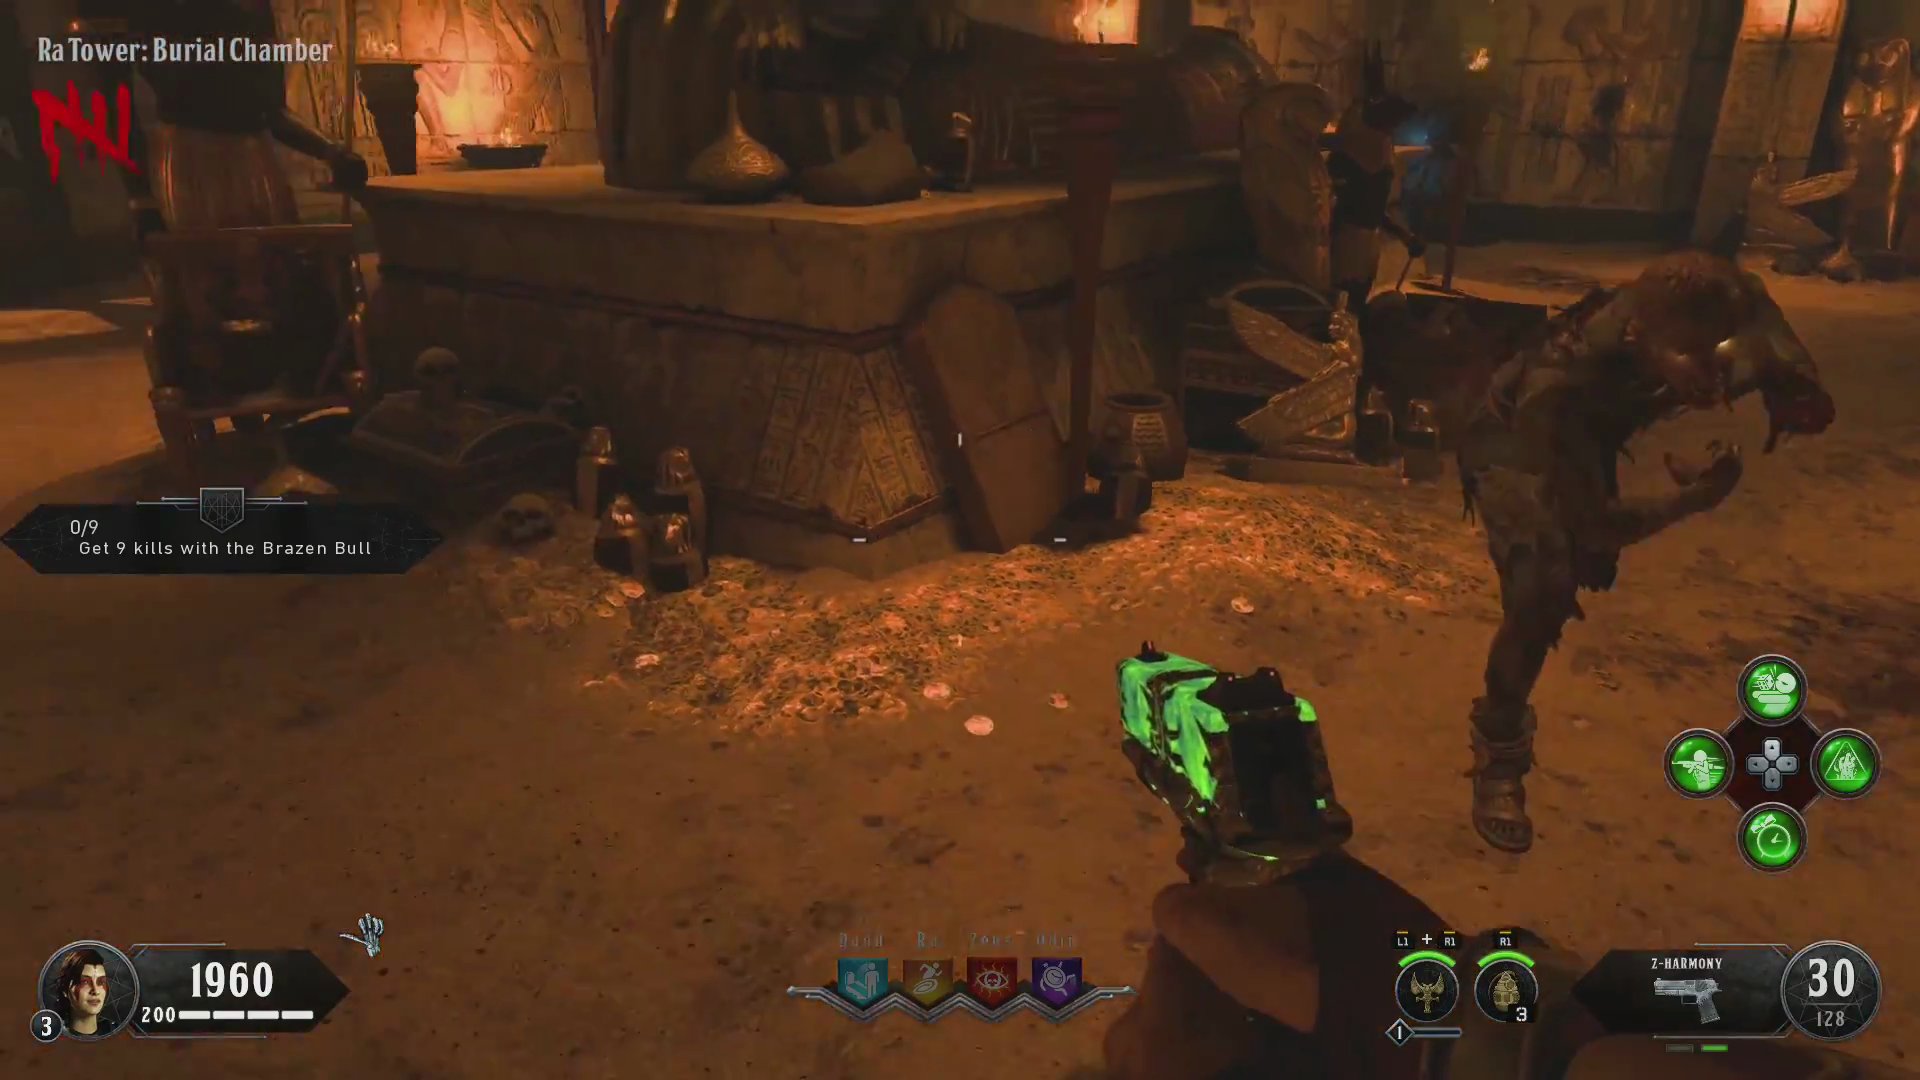
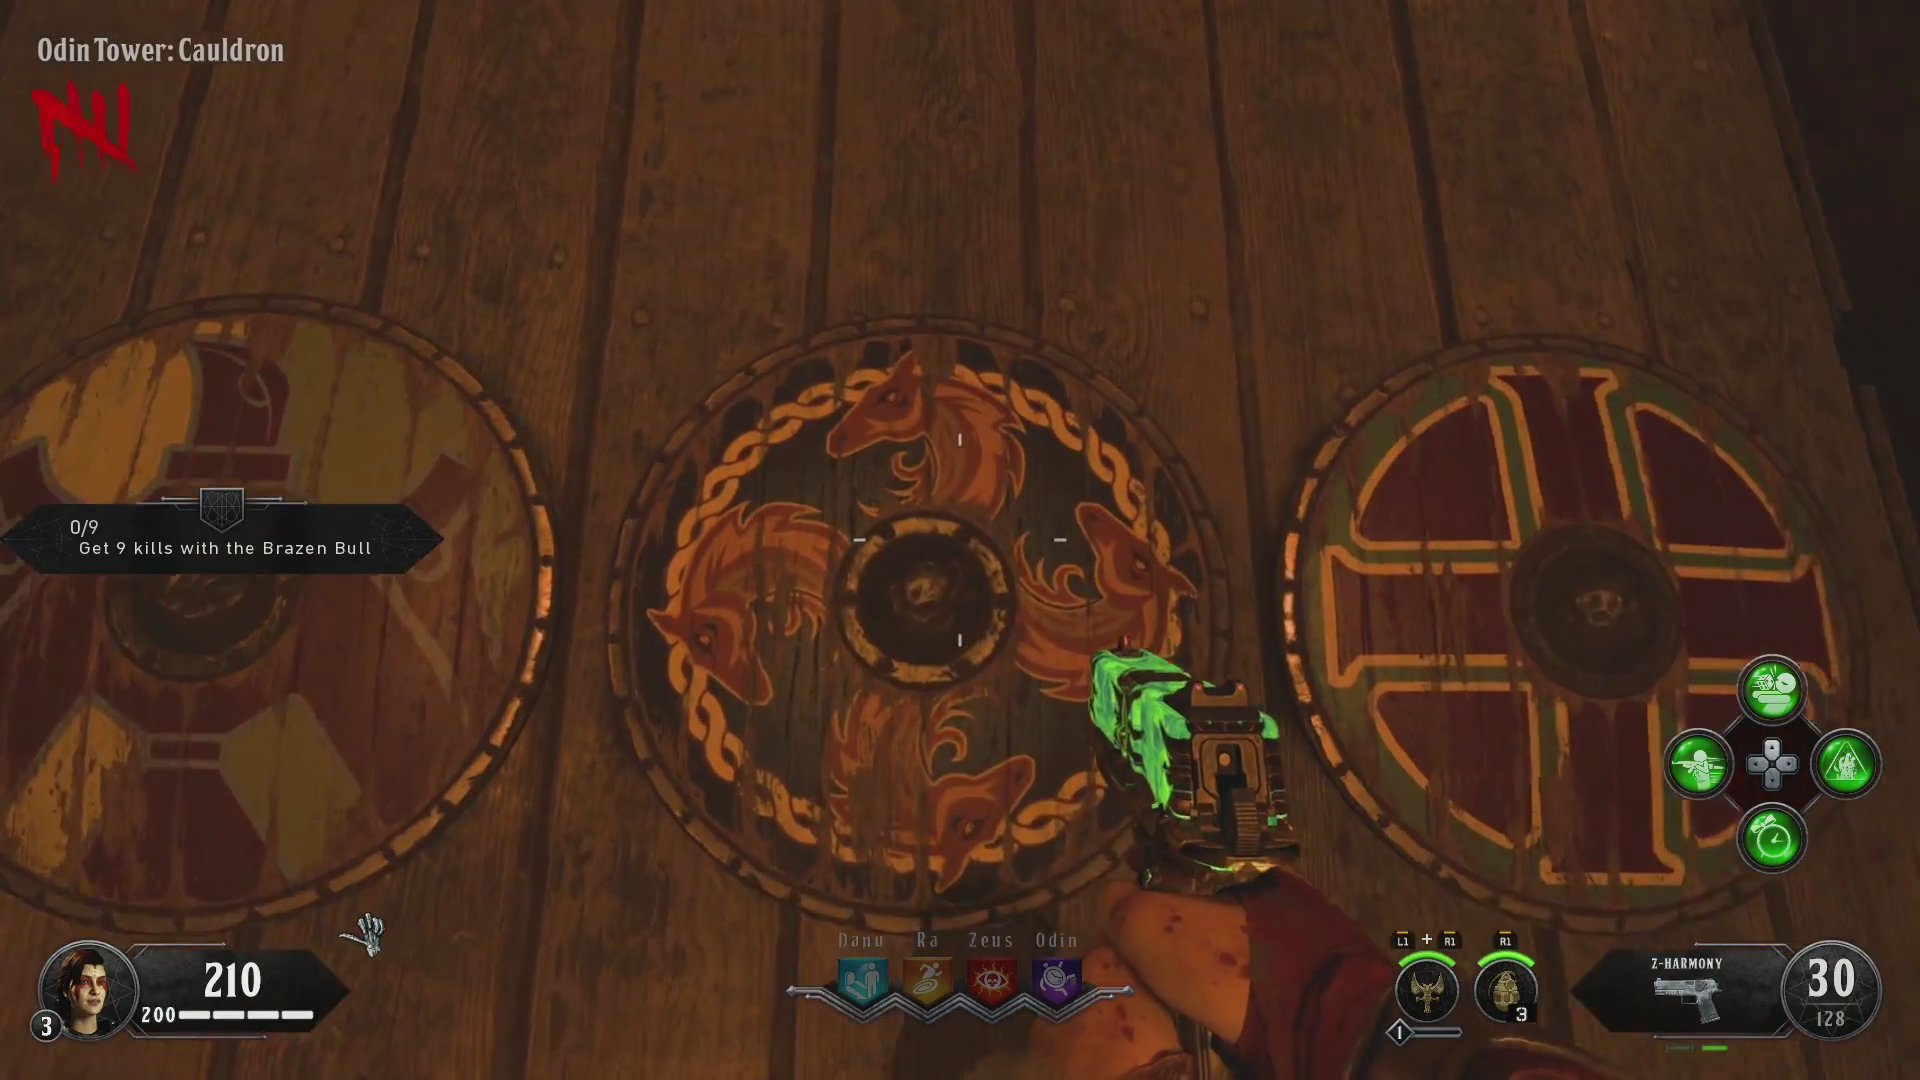
Riddle 4: "It once protected from horrors, now it observes them."
- The final riddle leads you to a shield with wolf heads in 'Odin's Temple'.
- Interact with this shield by holding 'Square'. This will trigger Remus's final quote, expressing his belief that he's finally being freed.
Step 4: Crumble the Wall and Find the Cipher
After solving all four riddles, the final step is to interact with a specific wall to free Remus.
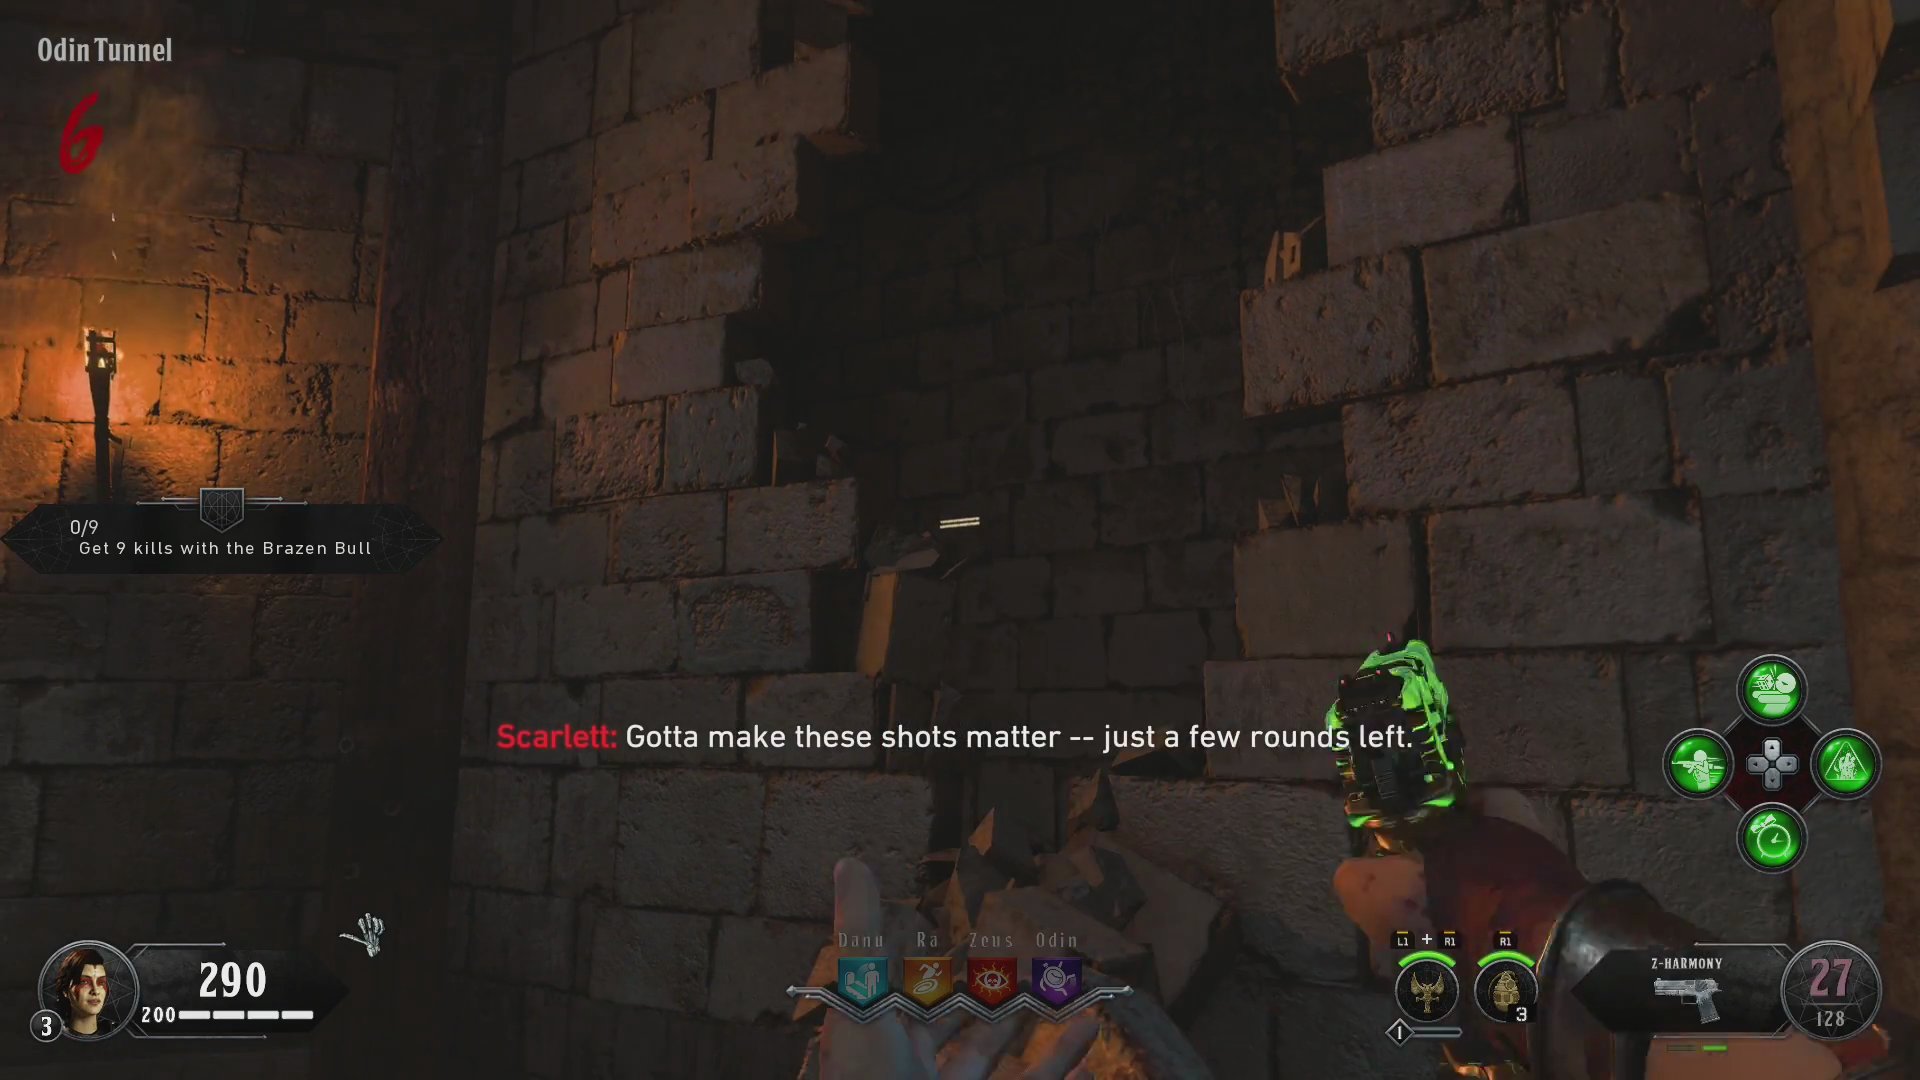
- Go to the exit of 'Odin's Temple' and locate a patch of light-grey wall.
- Hold 'Square' on this wall. It will crumble down, revealing a hidden area.
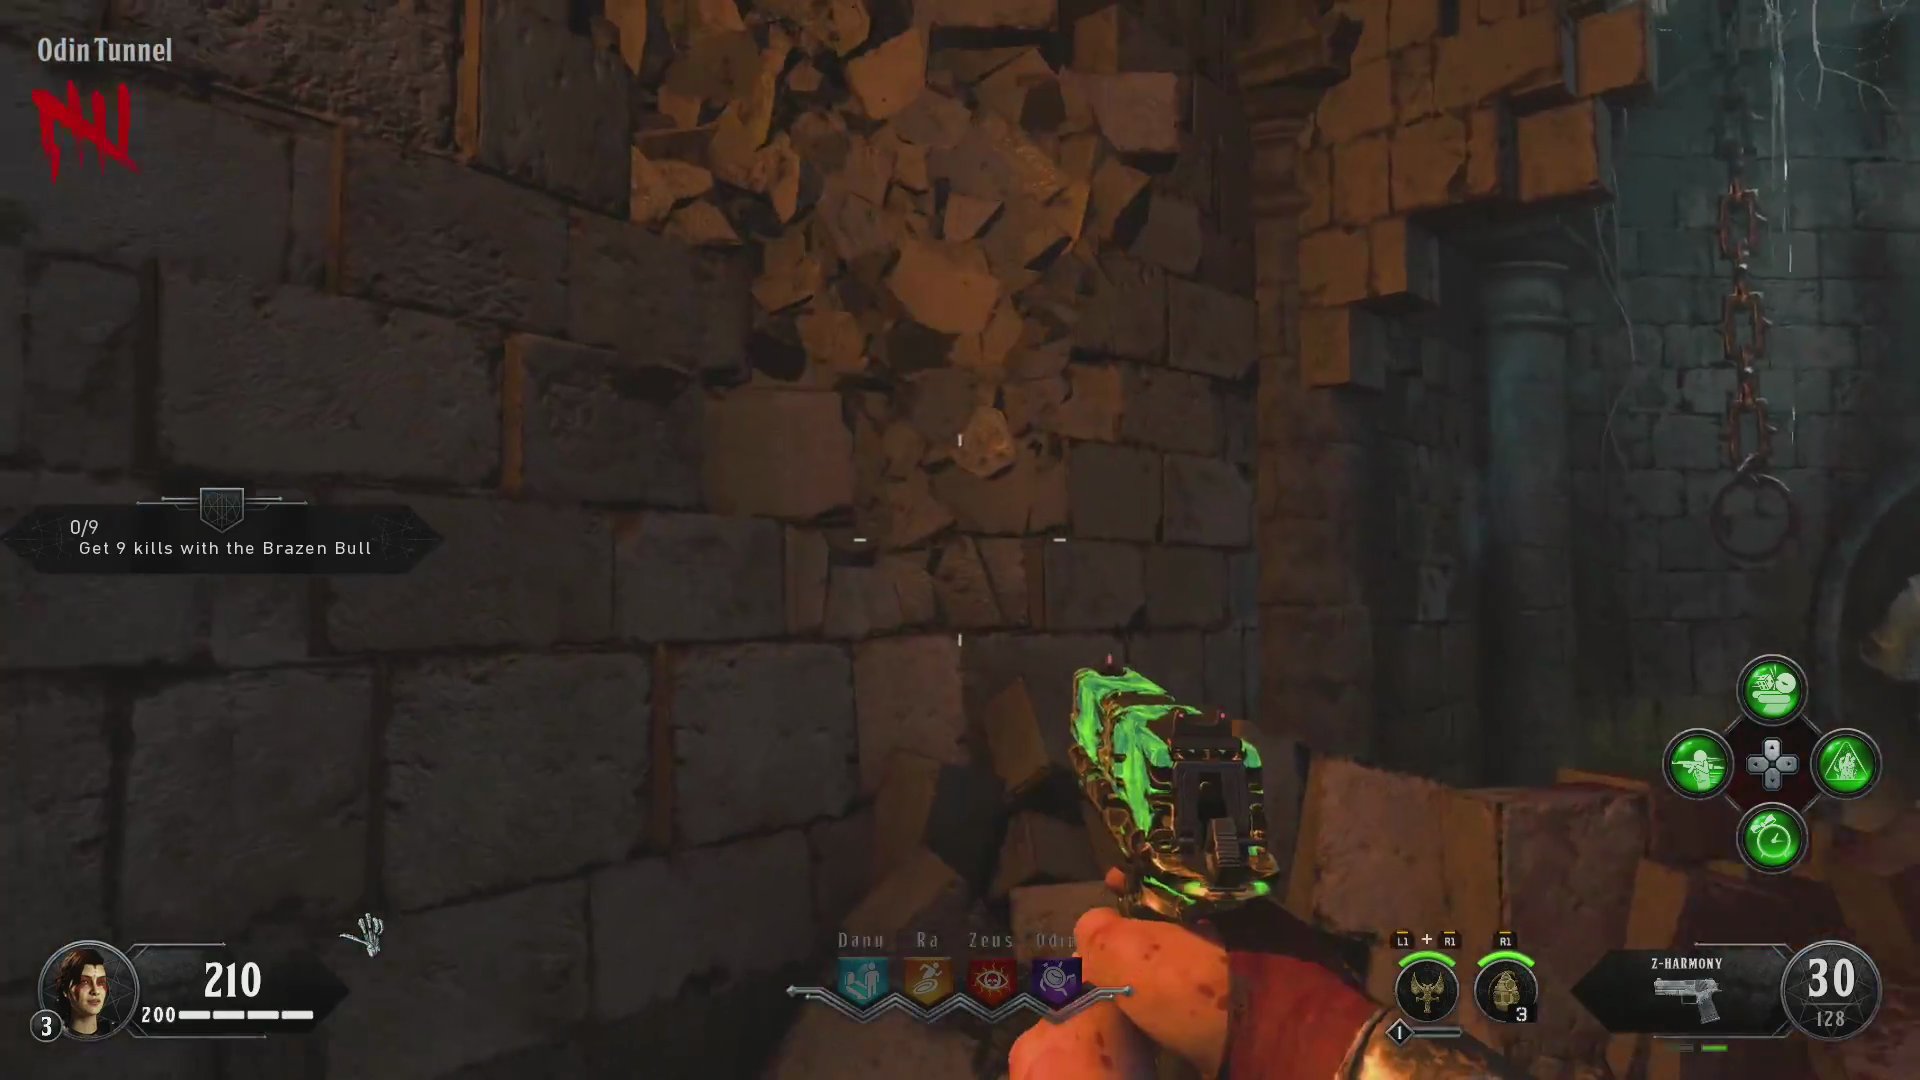
- Behind the crumbled wall, you will find a cipher. Interact with the cipher to complete this part of the Easter Egg.
Finished the Easter Egg?
Send this guide to your squad.