IX Trap & Fire Immunity
- Updated
- Jul 2, 2026

Overview
This guide will walk you through the steps to build the Acid Trap, use it to kill specific zombies, and then activate both fire immunity and reduced damage from all traps on the IX Zombies map.
Step 1: Build the Acid Trap
To begin, you must first construct the Acid Trap. This requires three distinct parts:
- The first part of the Acid Trap will be available for collection after you have successfully completed your first three challenges at the spawn point of the map.
- The remaining two parts are located within the Temple area. Search at each end of the two side rooms for a specific wooden cog and a chain.
Locate the Wooden Cog
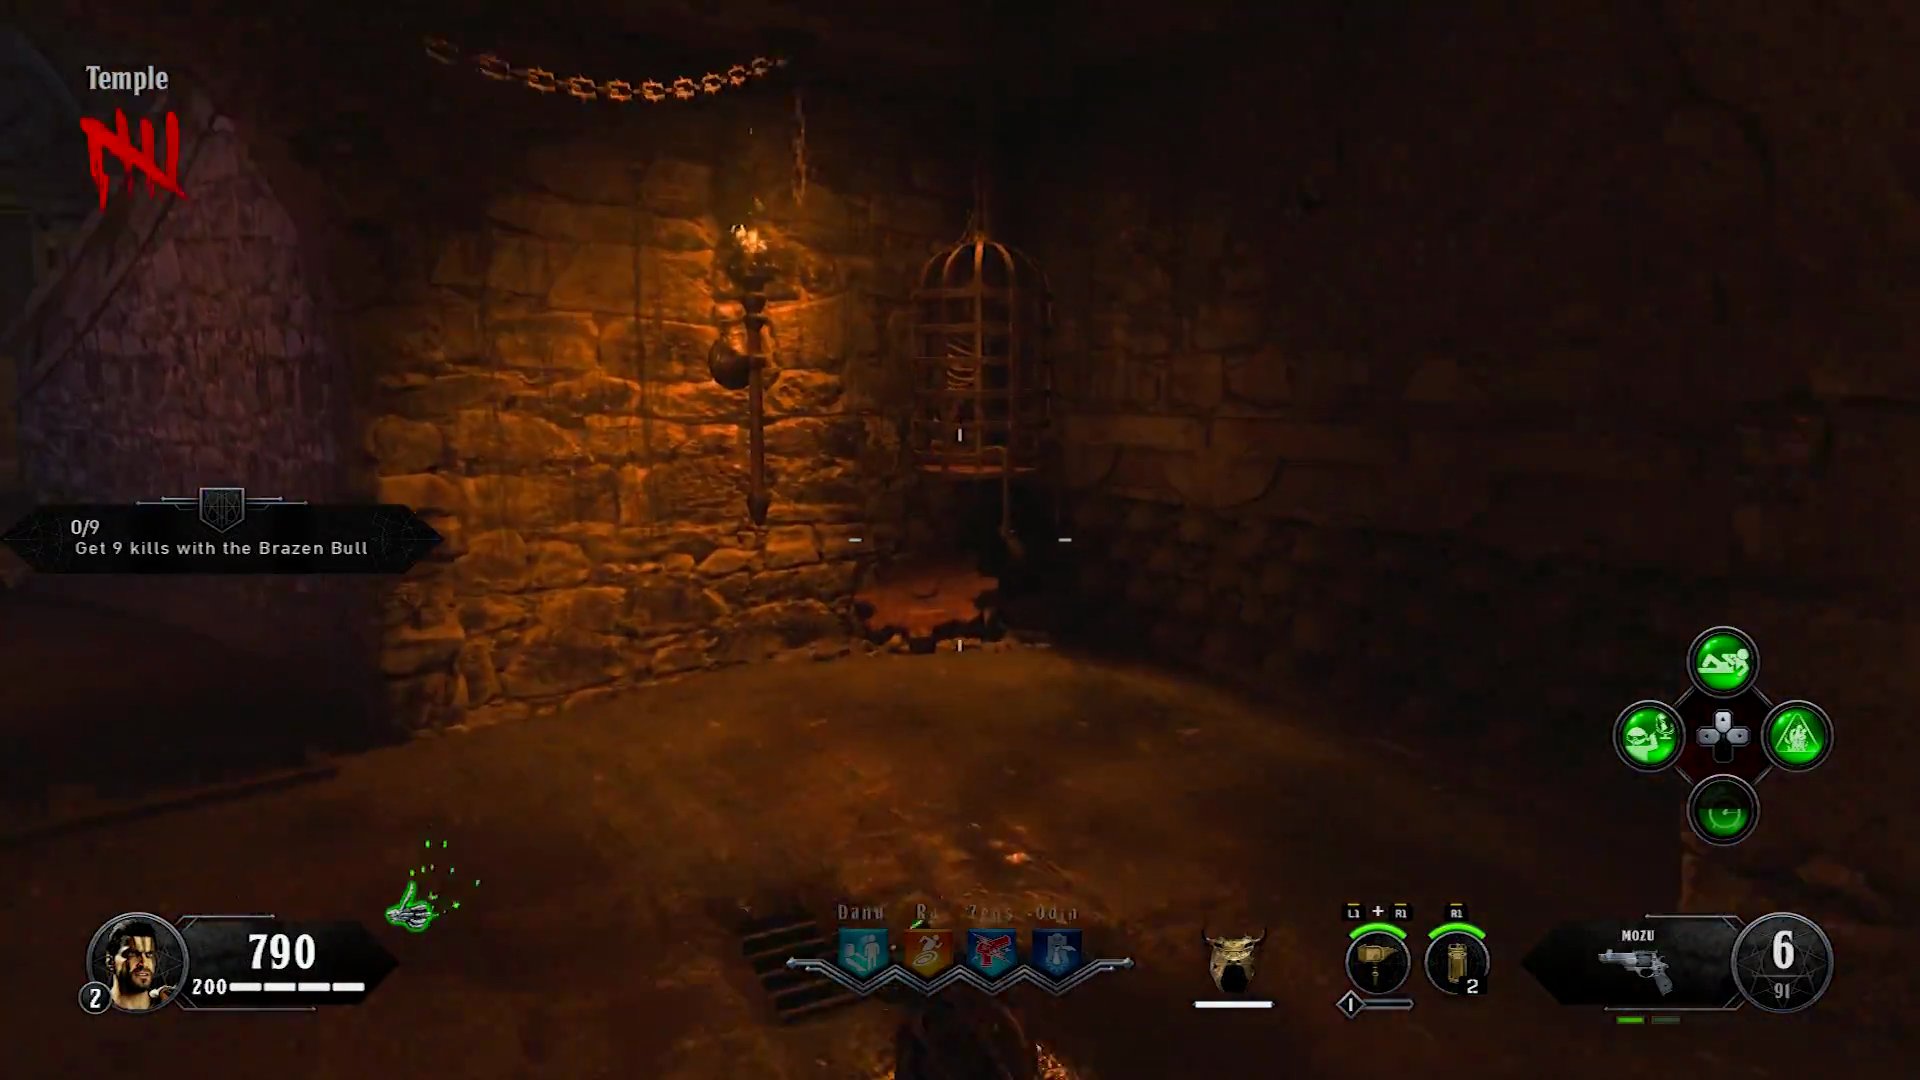
- Head into the Temple and look for a small side room. The wooden cog can be found on the ground near a basket.
Locate the Chain
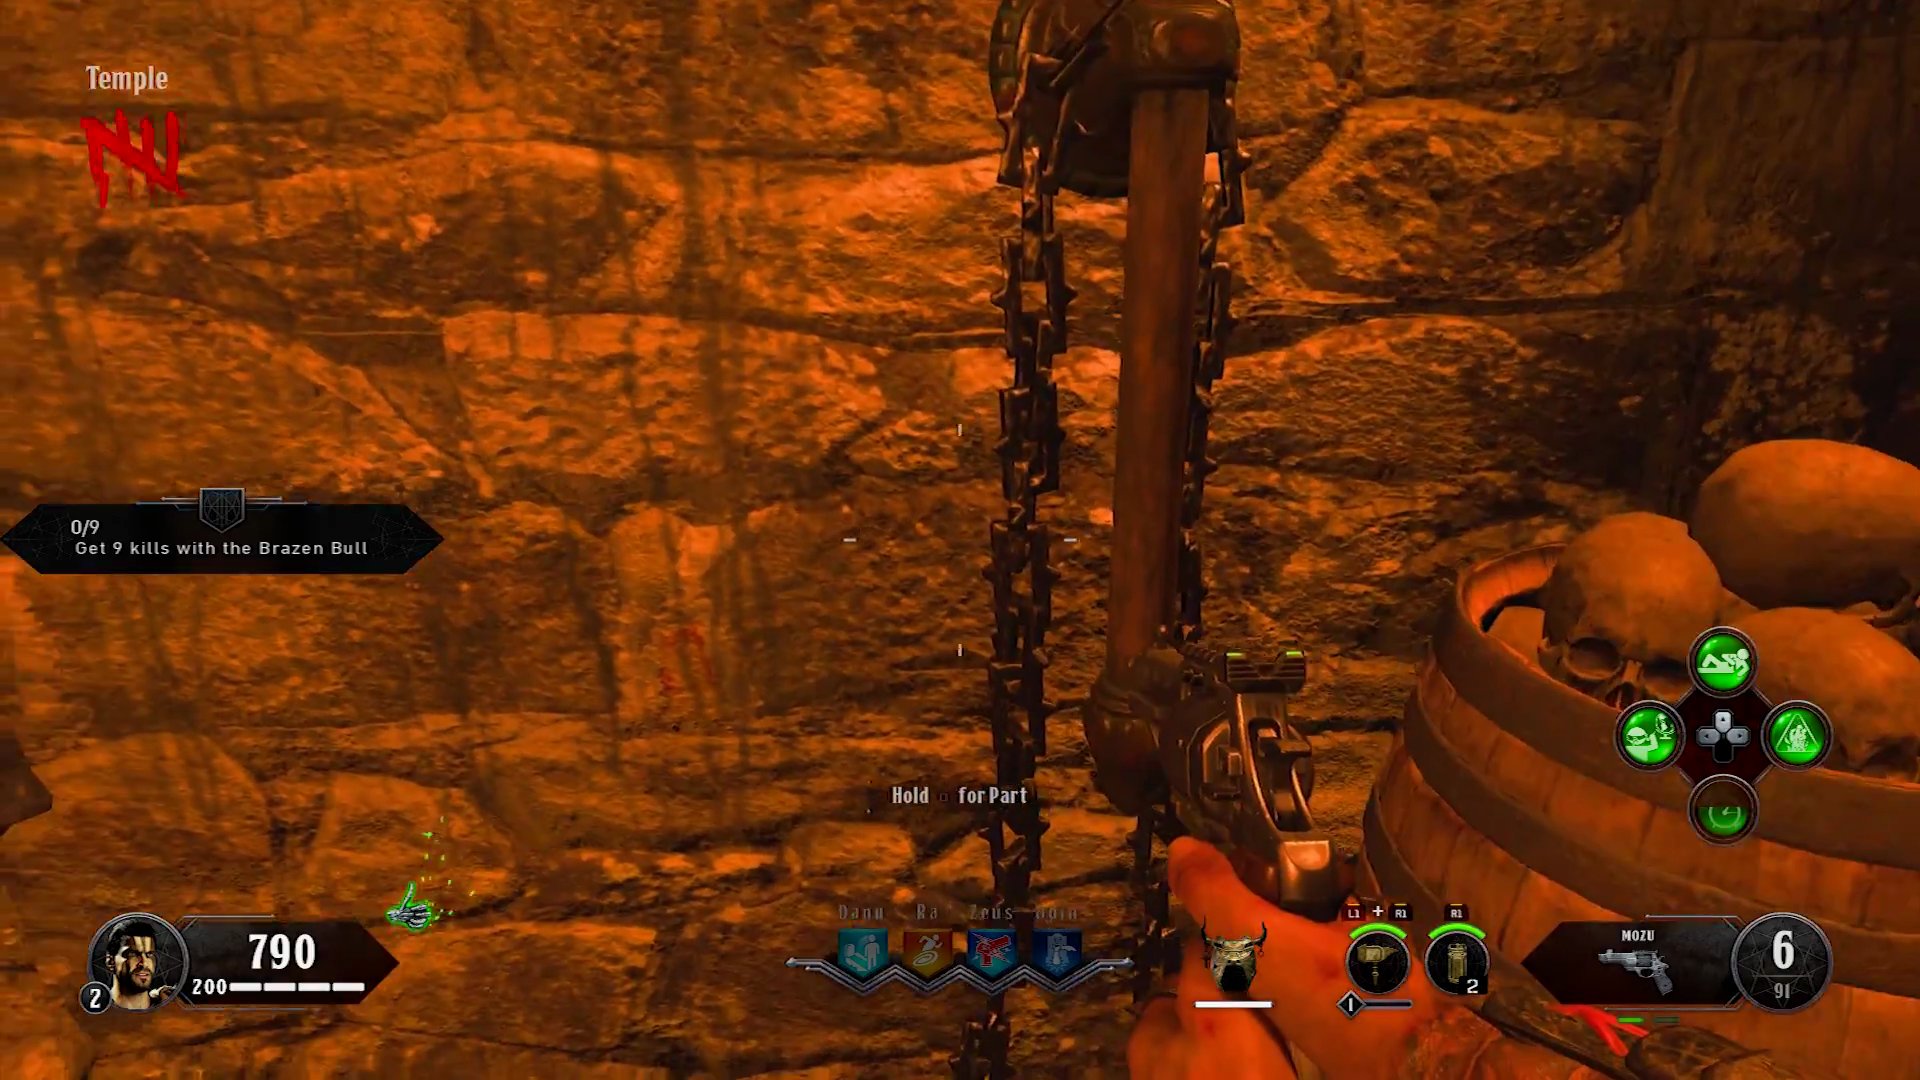
- In another side room of the Temple, you will find the chain hanging on the wall next to some barrels.
Install the Acid Trap
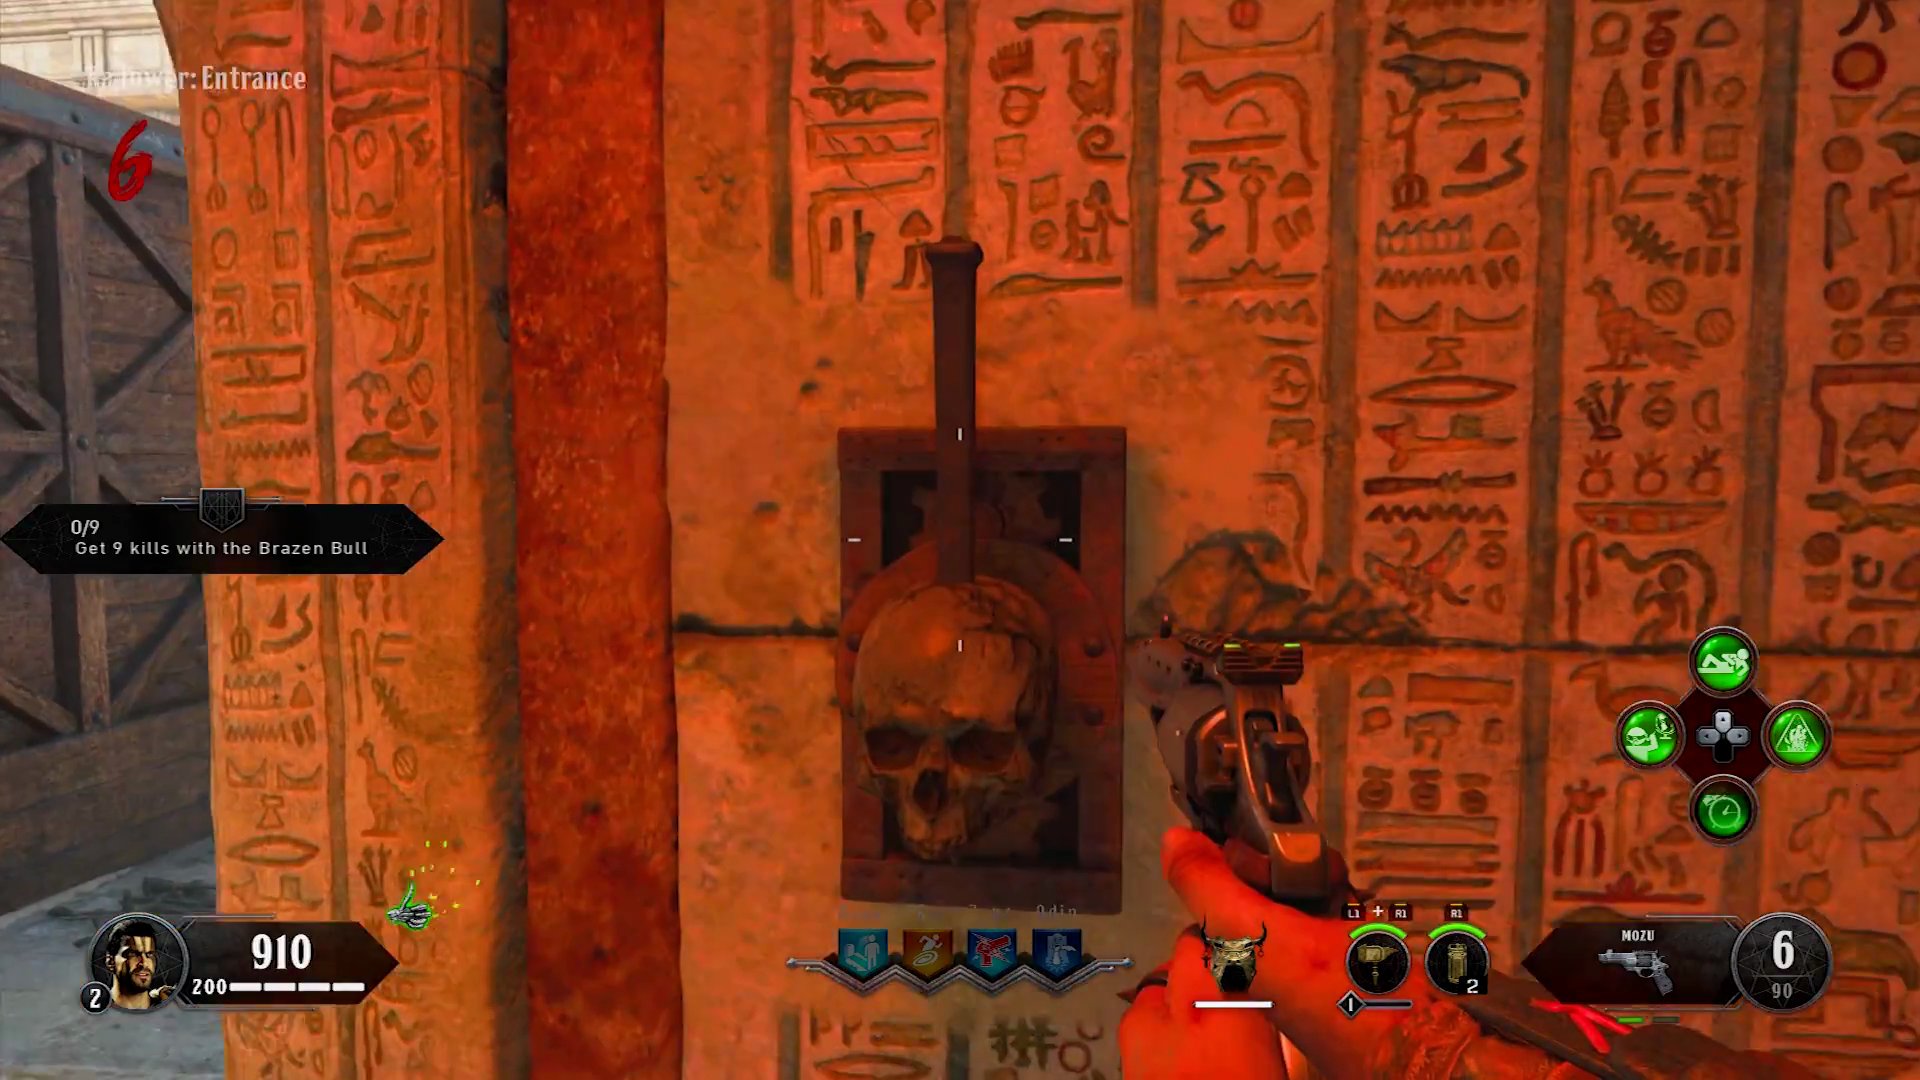
- Once you have all three parts, you can build the Acid Trap at either the entrance to the Ra Tower or the Danu Tower. The video demonstrates building it at the Ra Tower entrance.
Step 2: Utilize the Acid Trap
After installing the Acid Trap, you need to use it to kill specific enemies:
- You must kill a total of four Catalyst zombies and one Tiger zombie with the Acid Trap.
Eliminate Catalyst Zombies

- Lure the Catalyst zombies into the path of the Acid Trap and activate it to eliminate them.
Eliminate the Tiger Zombie

- Similarly, lure a Tiger zombie into the trap's path and activate it to kill it. The order in which you kill these enemies does not matter.
Step 3: Gain Trap Immunity - Spike Trap
Activate and Slide Under Spike Trap

- Purchase the Spike Trap to activate it.

- As the trap prepares to strike, slide underneath it to avoid taking any damage. This may require some practice with timing.
Step 4: Gain Trap Immunity - Acid Trap
Repeat the previous step with the Acid Trap:
- Return to the Acid Trap you built earlier.
Activate and Slide Under Acid Trap
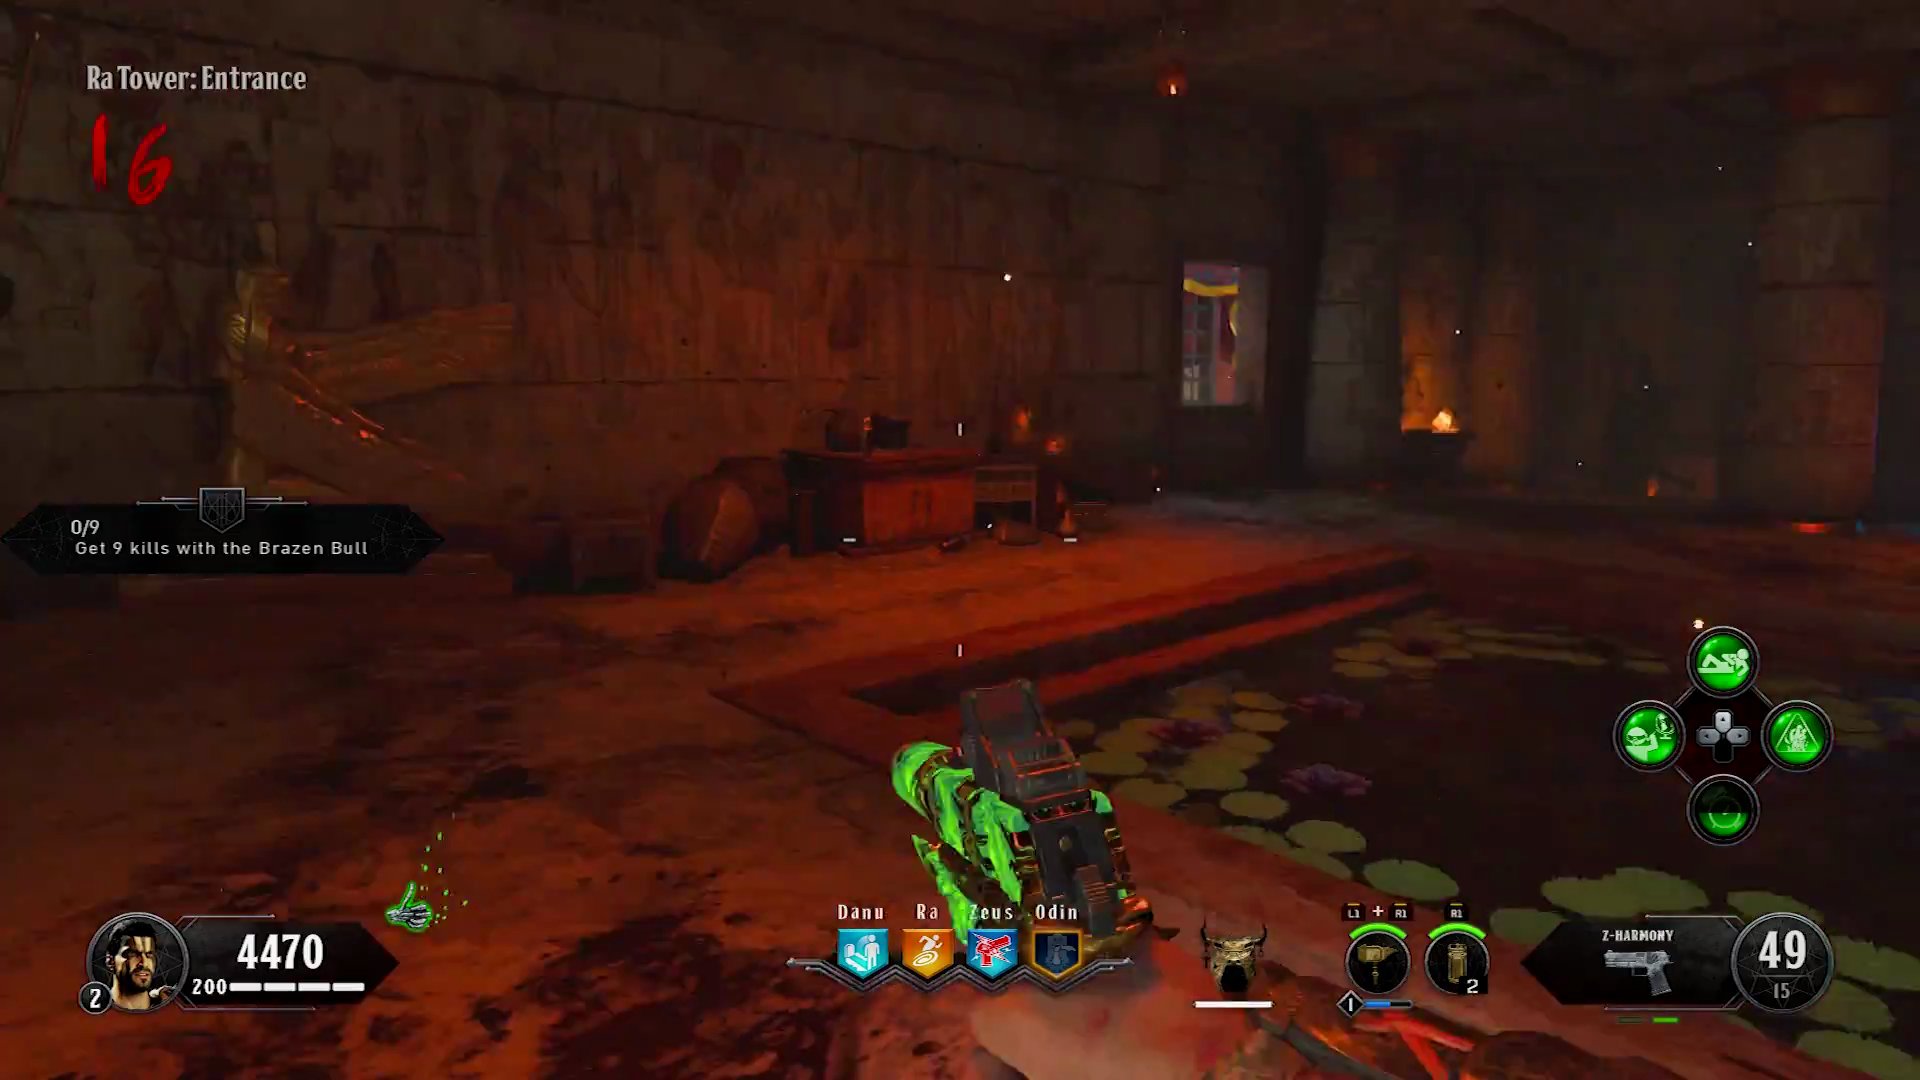
- Purchase and activate the Acid Trap.
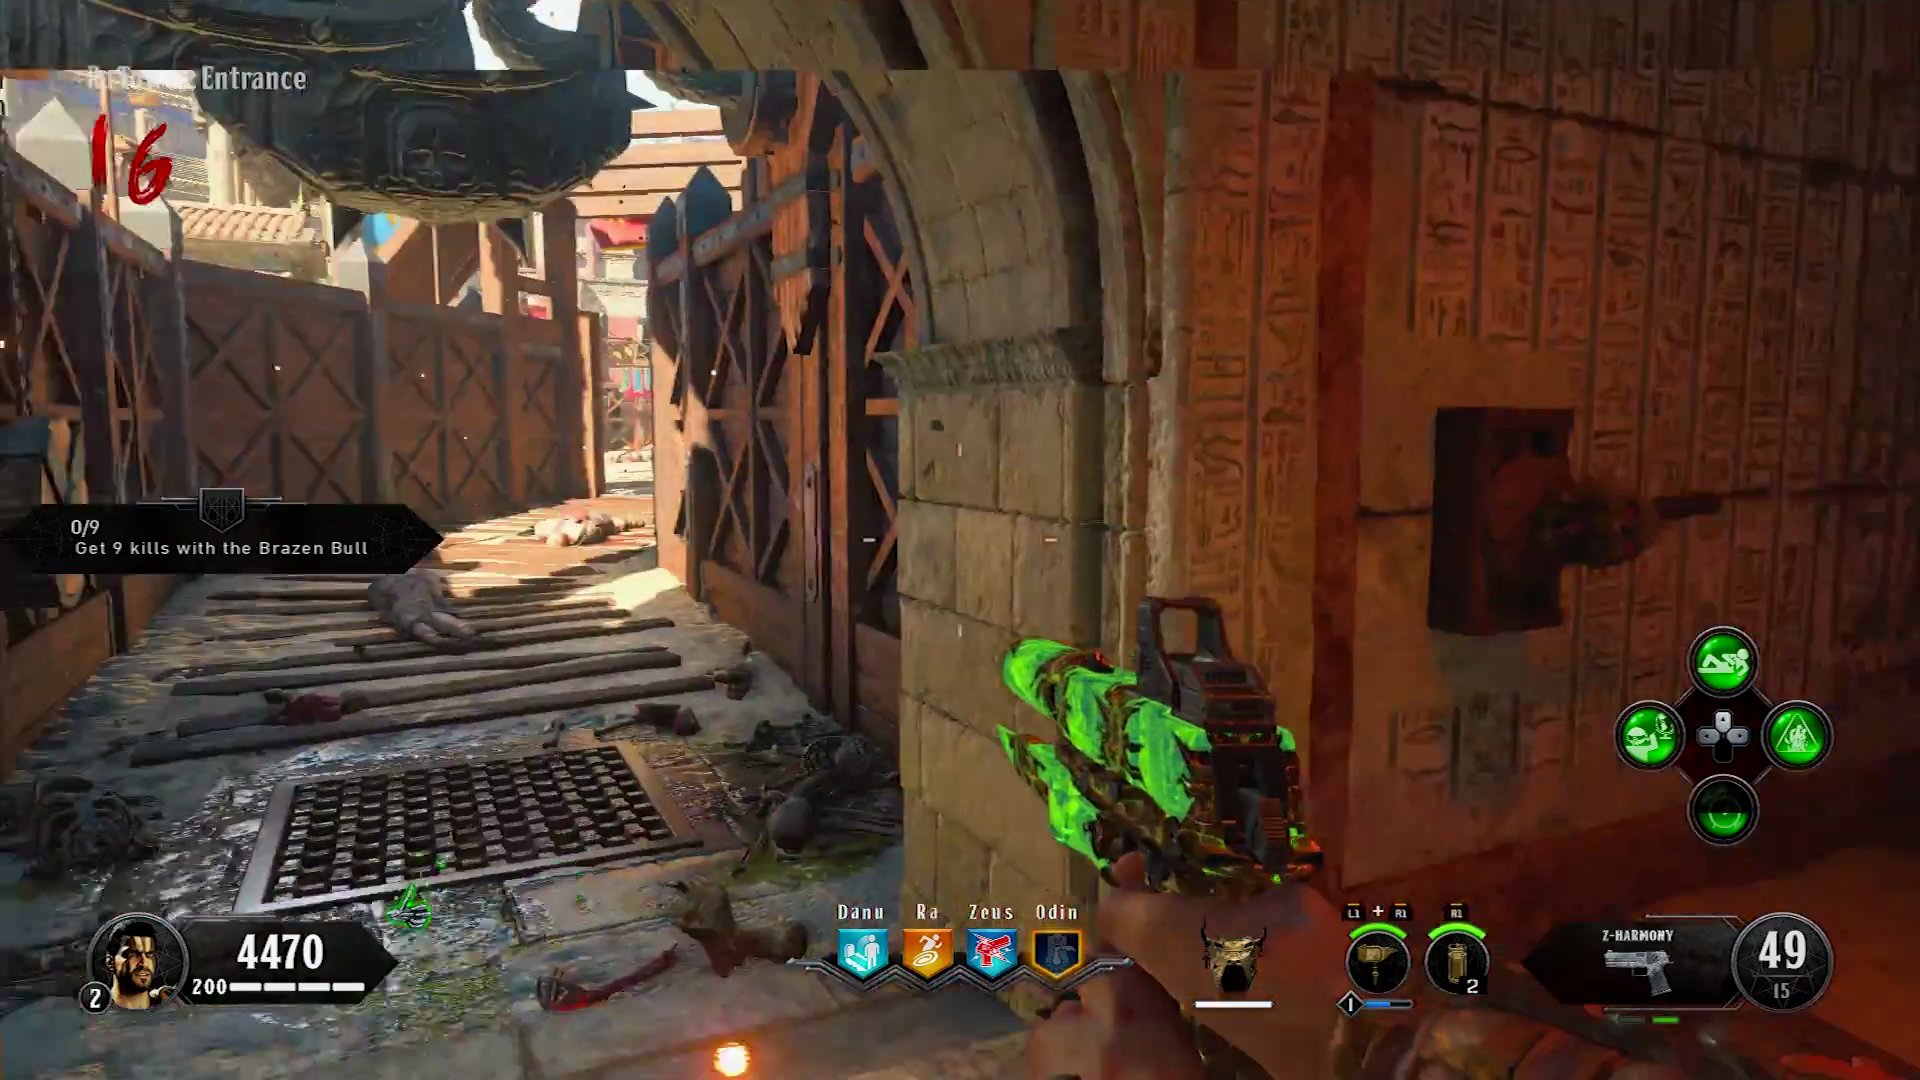
- Similar to the Spike Trap, slide underneath the falling acid without taking damage. A distinct audio cue will confirm successful execution.
Step 5: Activate Fire Immunity
With trap damage reduction active, you can now activate fire immunity:
- Go to any fire section in the Arena.
First Pass Through Fire
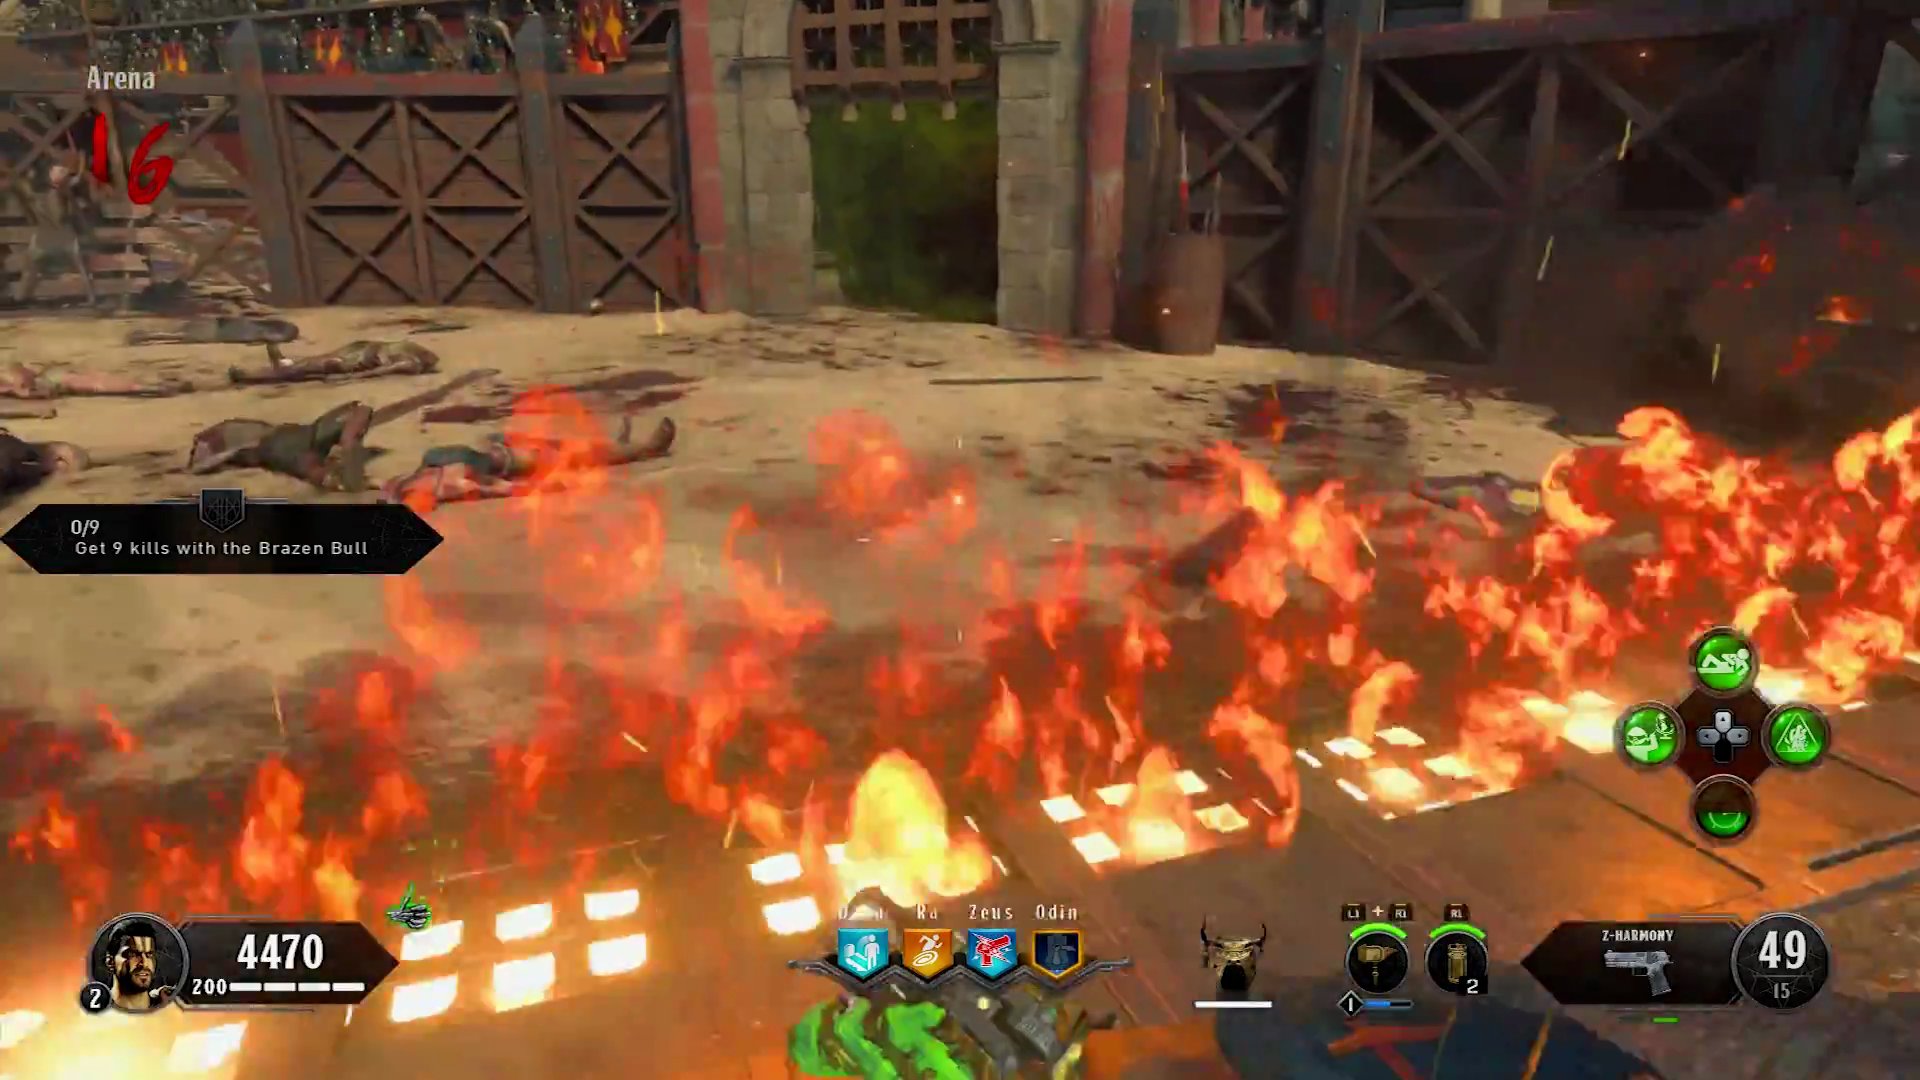
- Walk through a section of fire in the Arena. This will activate your immunity for that specific fire section. You will still take damage on this first pass.
Second Pass Through Fire
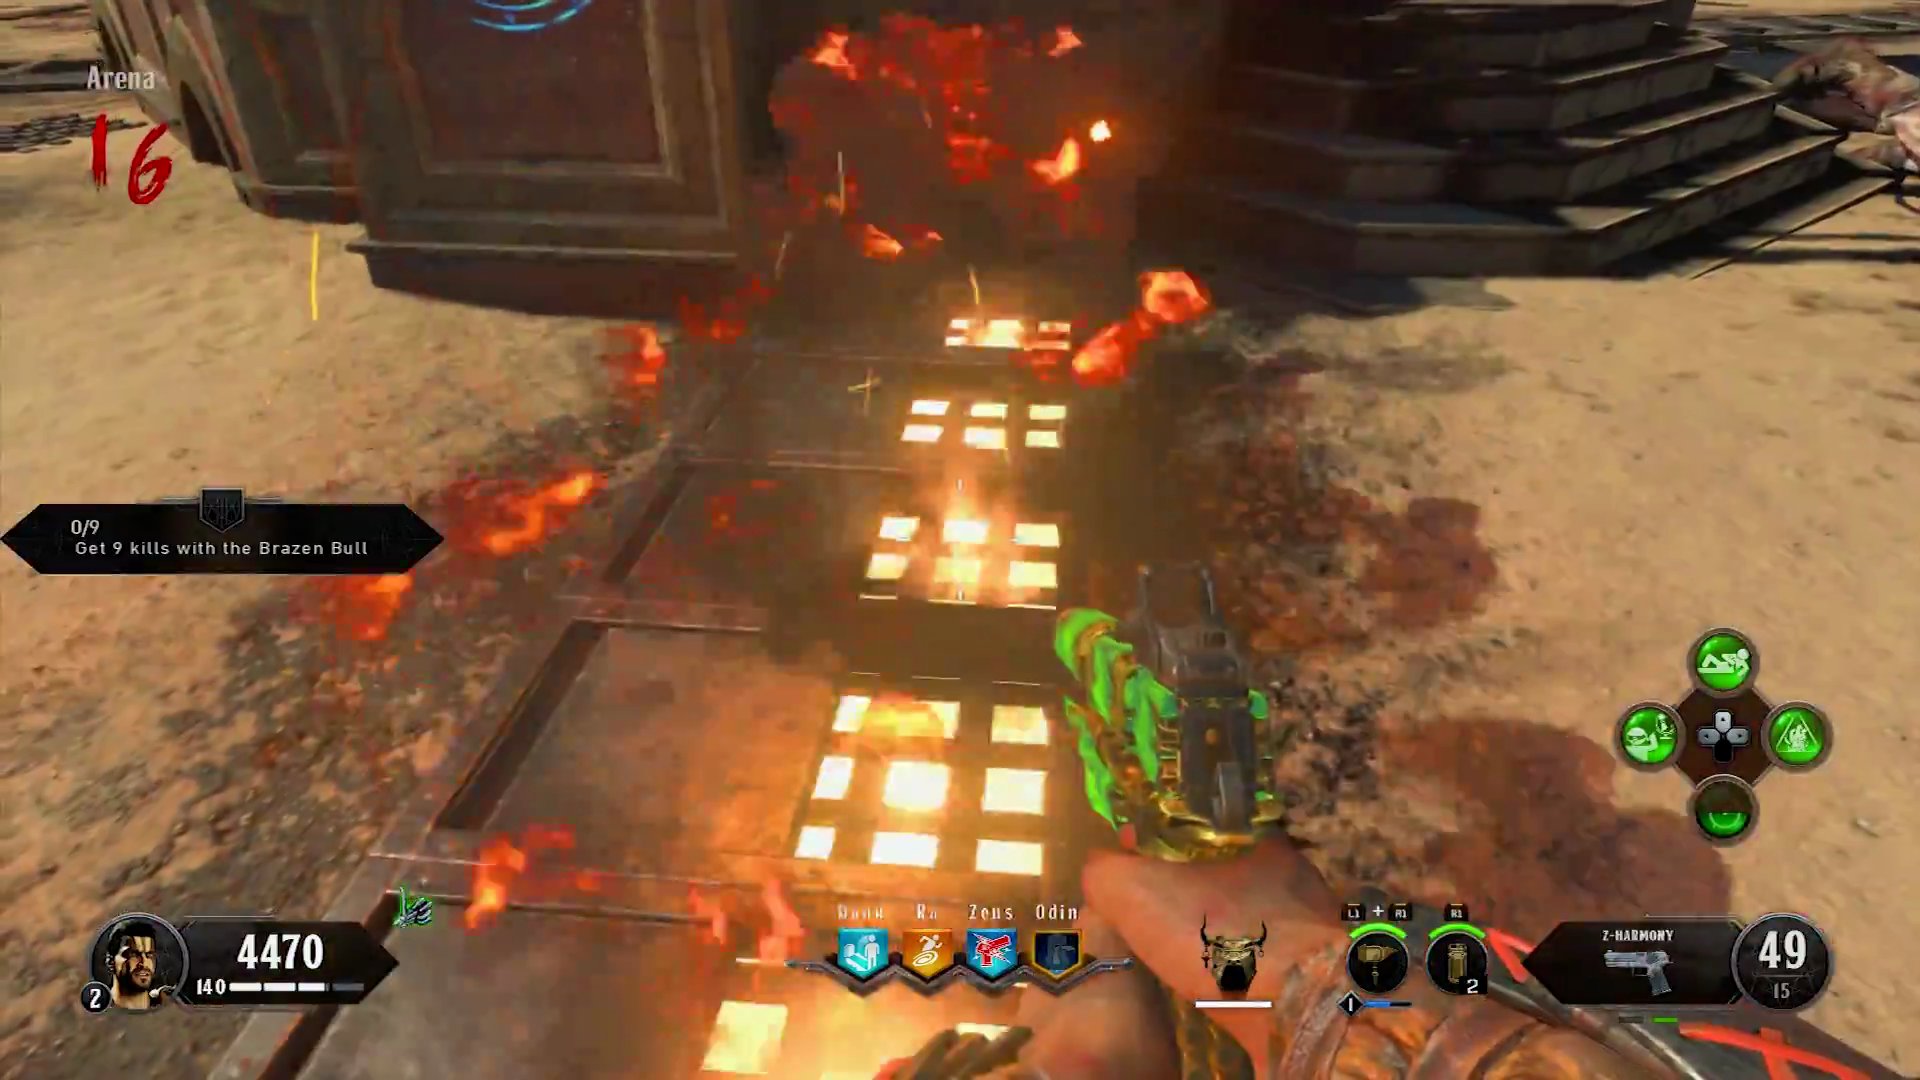
- Immediately walk through the same section of fire again. You should now take no damage.
Important: This activation process (walking through the fire twice) must be repeated for every section of fire on the map and for every new round to maintain full fire immunity.
Damage Reduction Demonstrated

- After completing the above steps, you will now take significantly reduced damage from both Acid and Spike traps, whereas previously they would instantly down you.
Finished the Easter Egg?
Send this guide to your squad.