Iron Bull Shield Upgrade
- Updated
- Jul 2, 2026
Overview
To acquire the powerful Iron Bull Shield on the Black Ops 4 Zombies map IX, you'll need to collect three distinct parts and combine them at a workbench. This guide breaks down each step, from building the initial shield to completing the final challenges for the upgrade.
Step 1: Build the Basic Shield
- Before you can upgrade, you must first build the base shield. If you haven't already, head to The Pit area and assemble the shield at the workbench.
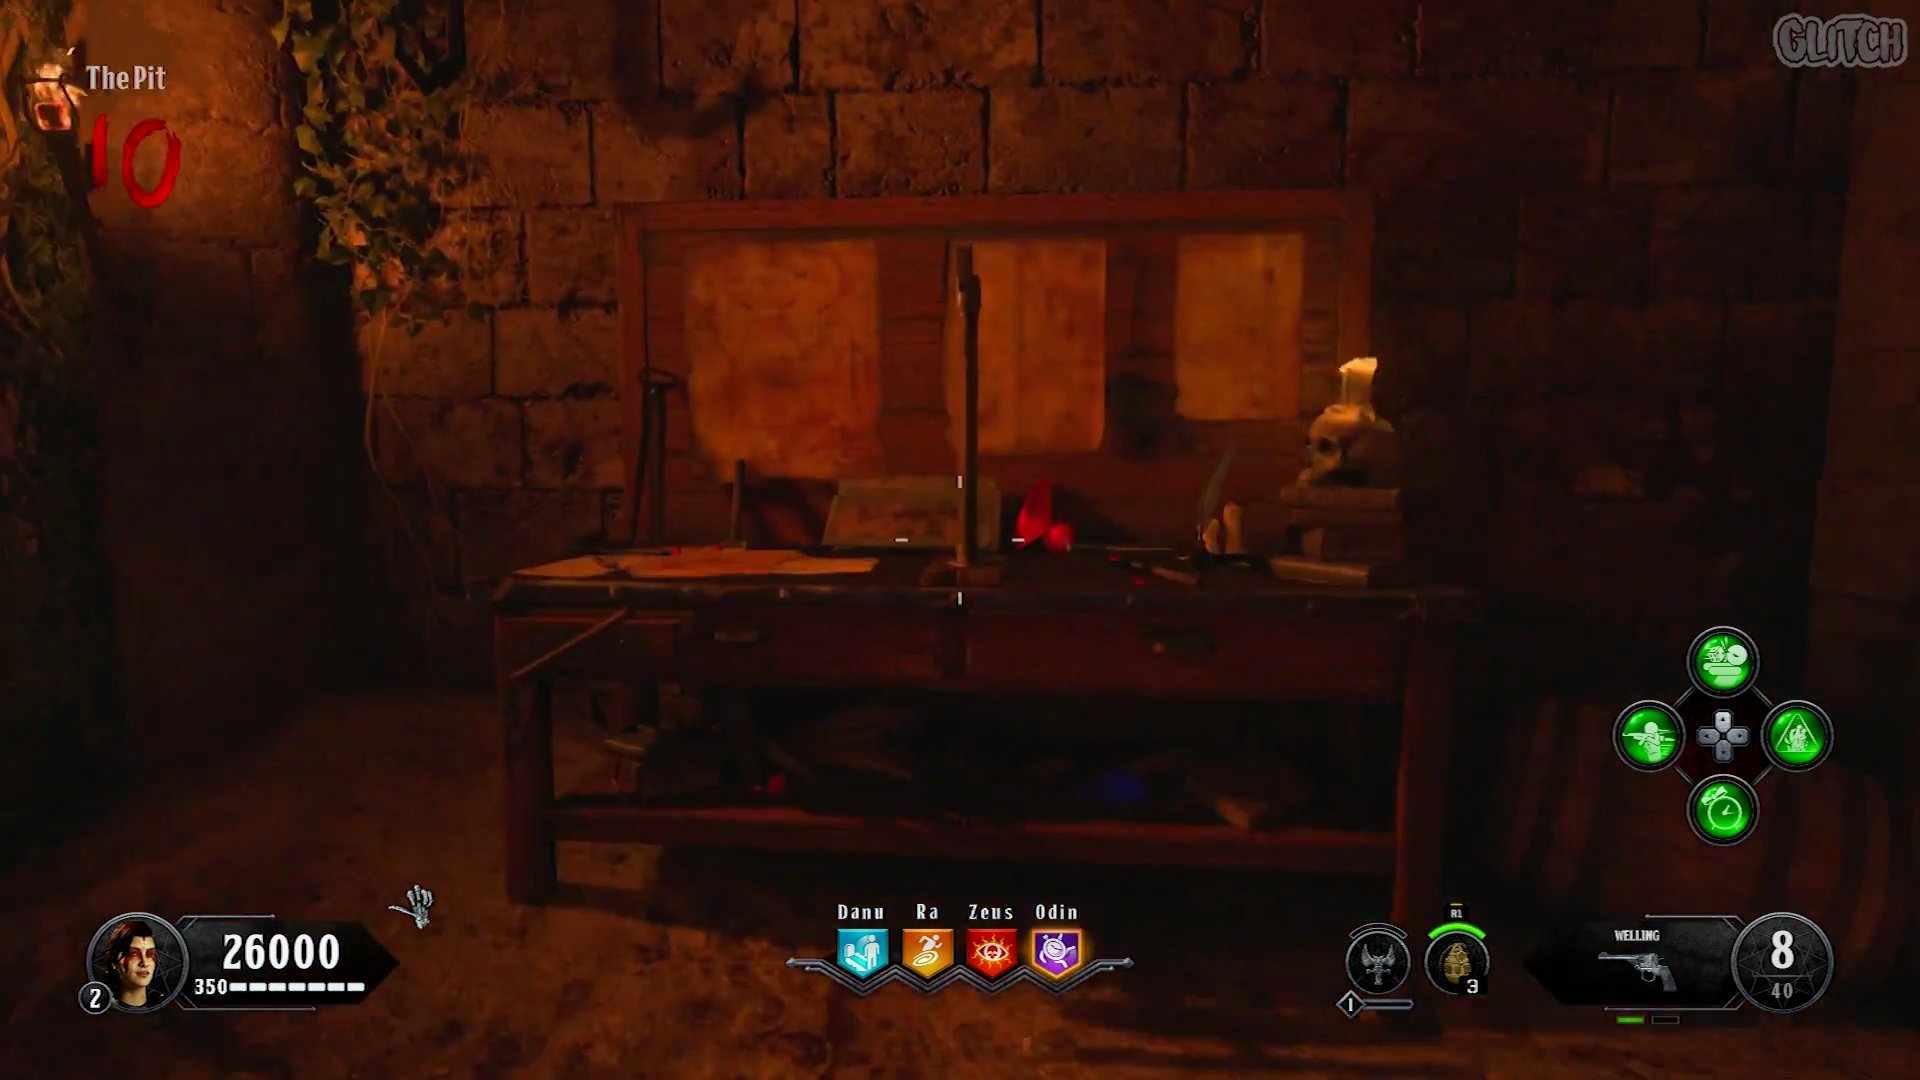
Step 2: Collect the First Shield Part - Bullheads
Locate Zeus Tower
- Make your way to the top level of the Zeus Tower Entrance area.
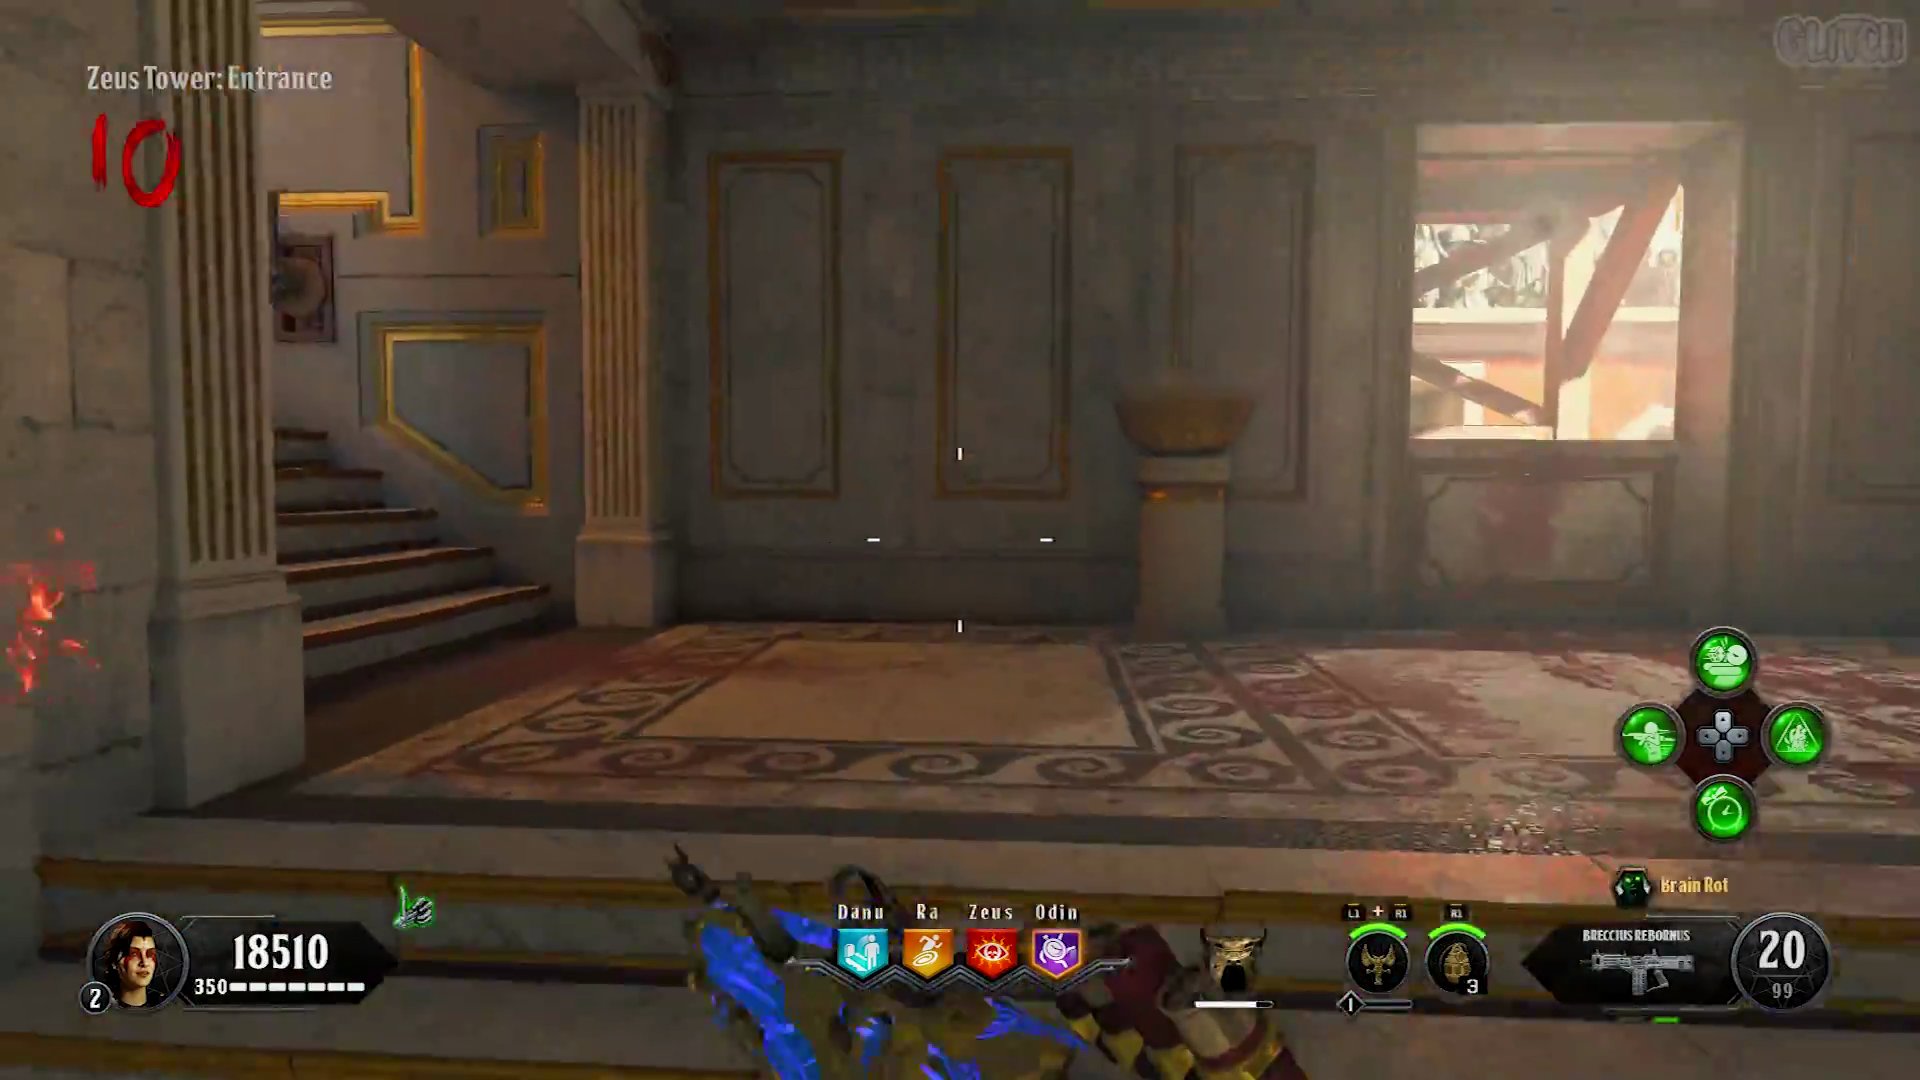
Shoot the Bullheads
- Once there, use your shield's special ability to shoot three bullheads around the area. Their eyes will light on fire when hit correctly.
- The first bullhead is to the left of the giant cauldron, high up.
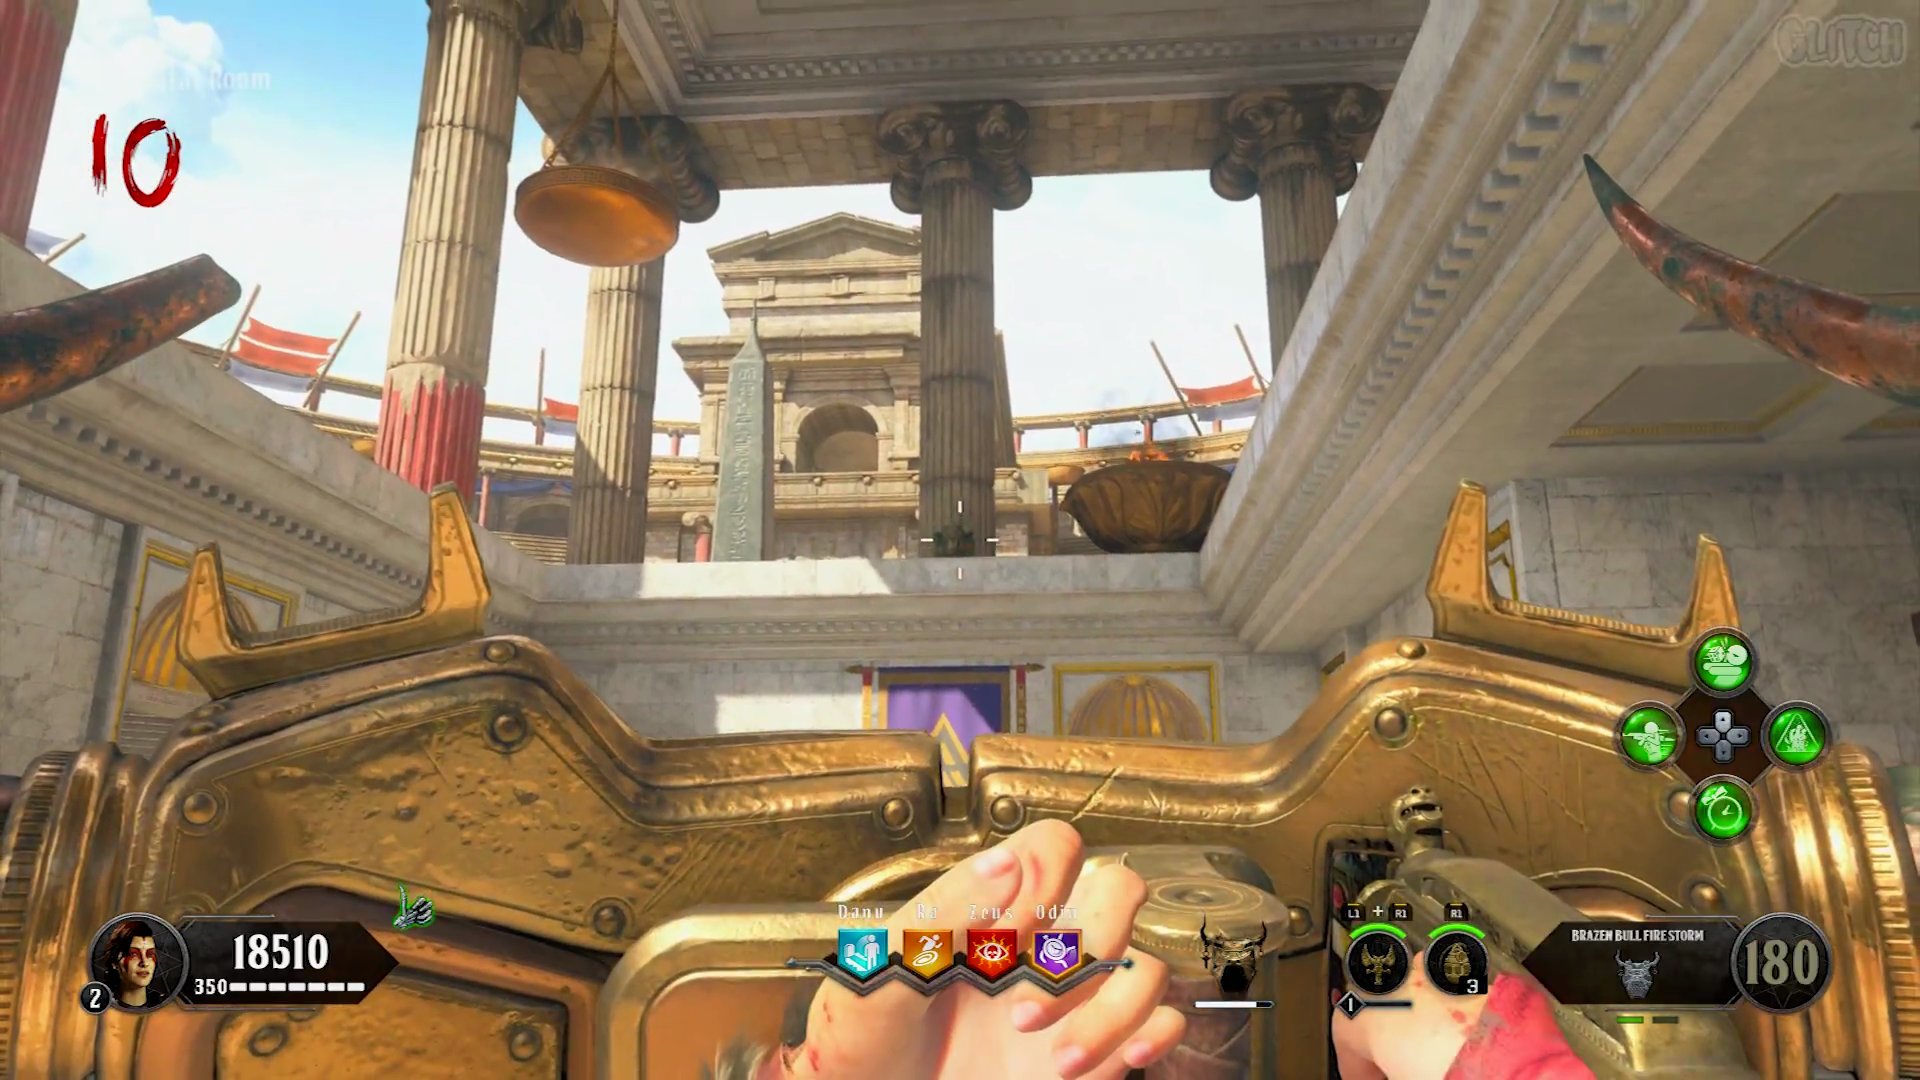
- The second bullhead is directly above you, in the middle of the ceiling.
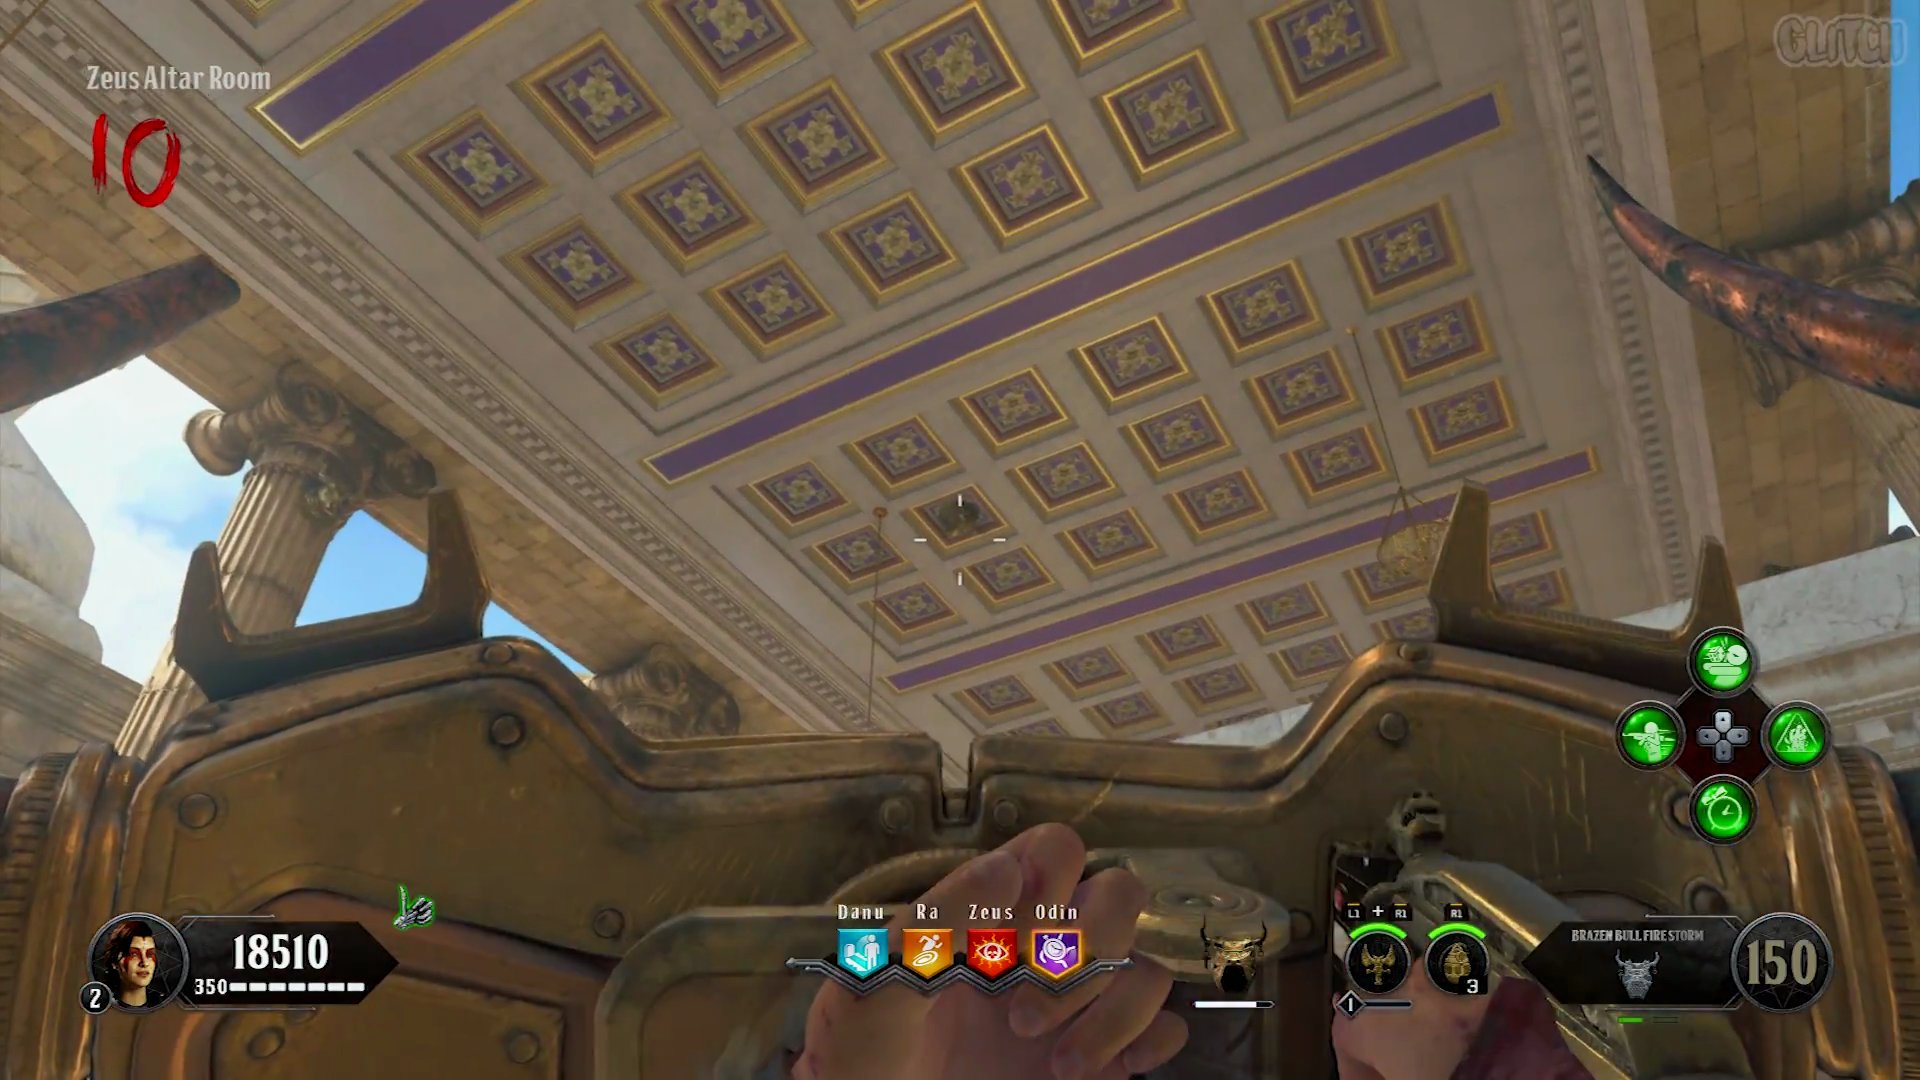
- The final bullhead is to the left of the ceiling bullhead, at the top of a pillar.
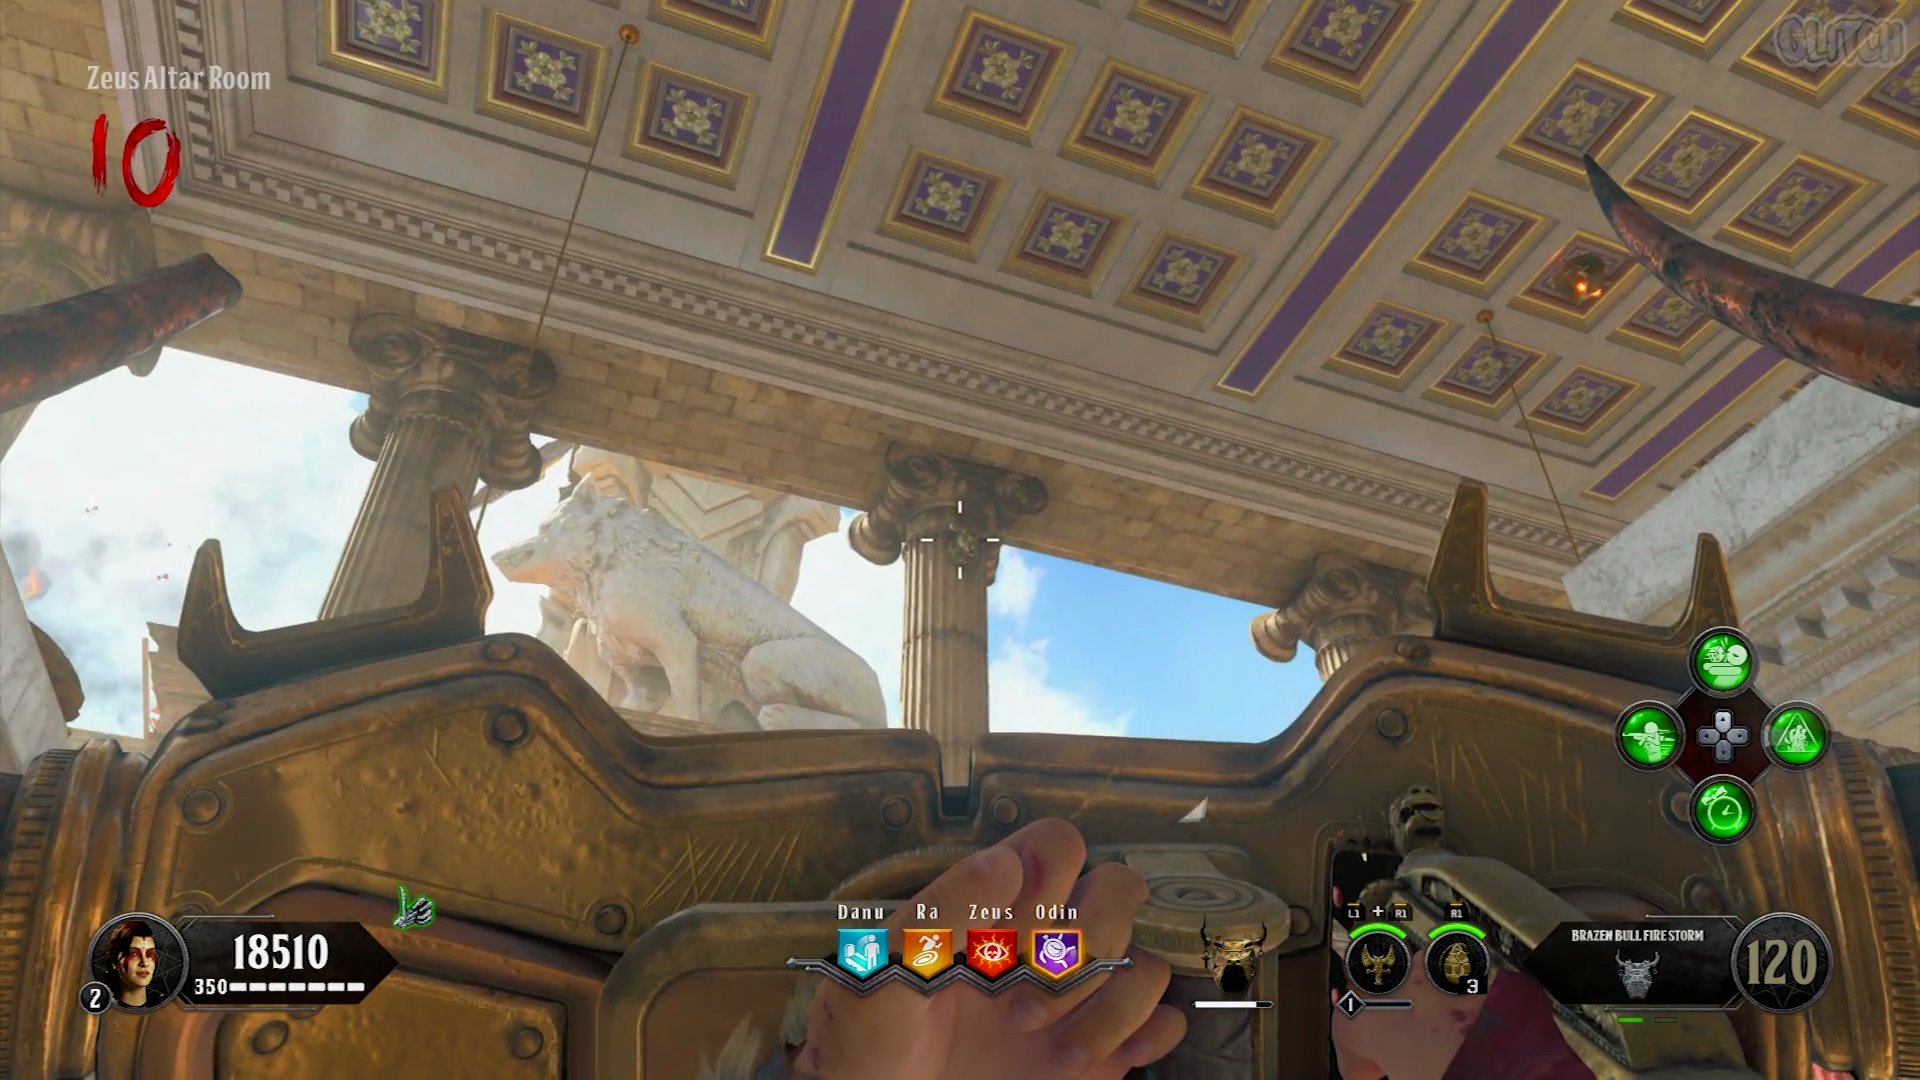
Collect the Piece
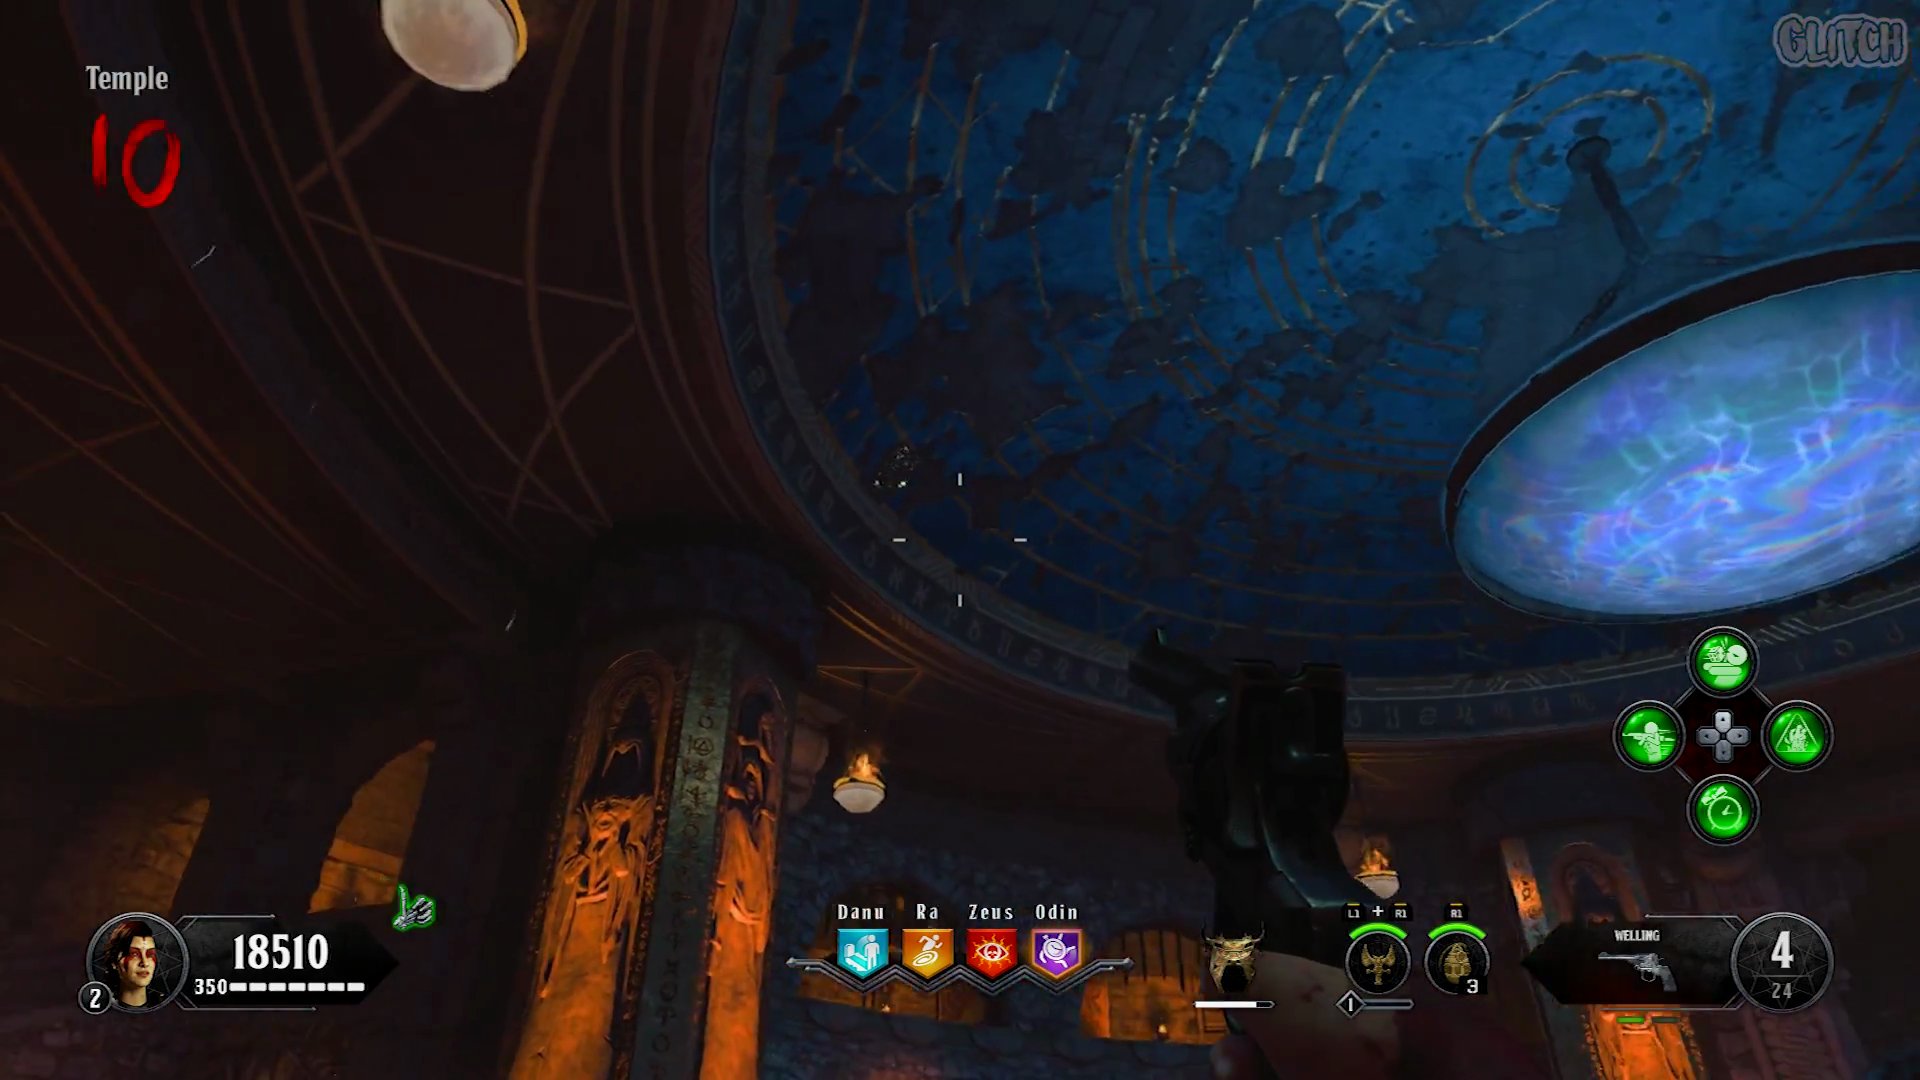
- After shooting all three bullheads, head down to the Temple. You will find a sparkling shield piece on the ceiling above the Pack-a-Punch machine. Shoot it down to collect.
Step 3: Collect the Second Shield Part - Blade Ignitions
Ignite the Shield's Blade
- To get the second part, you need to ignite your shield's blade four times by performing special enemy melee kills.
- Catalyst Zombies (Acid, Fire, Poison, Electric), Gladiators, and Brawlers count. Tigers do NOT count.
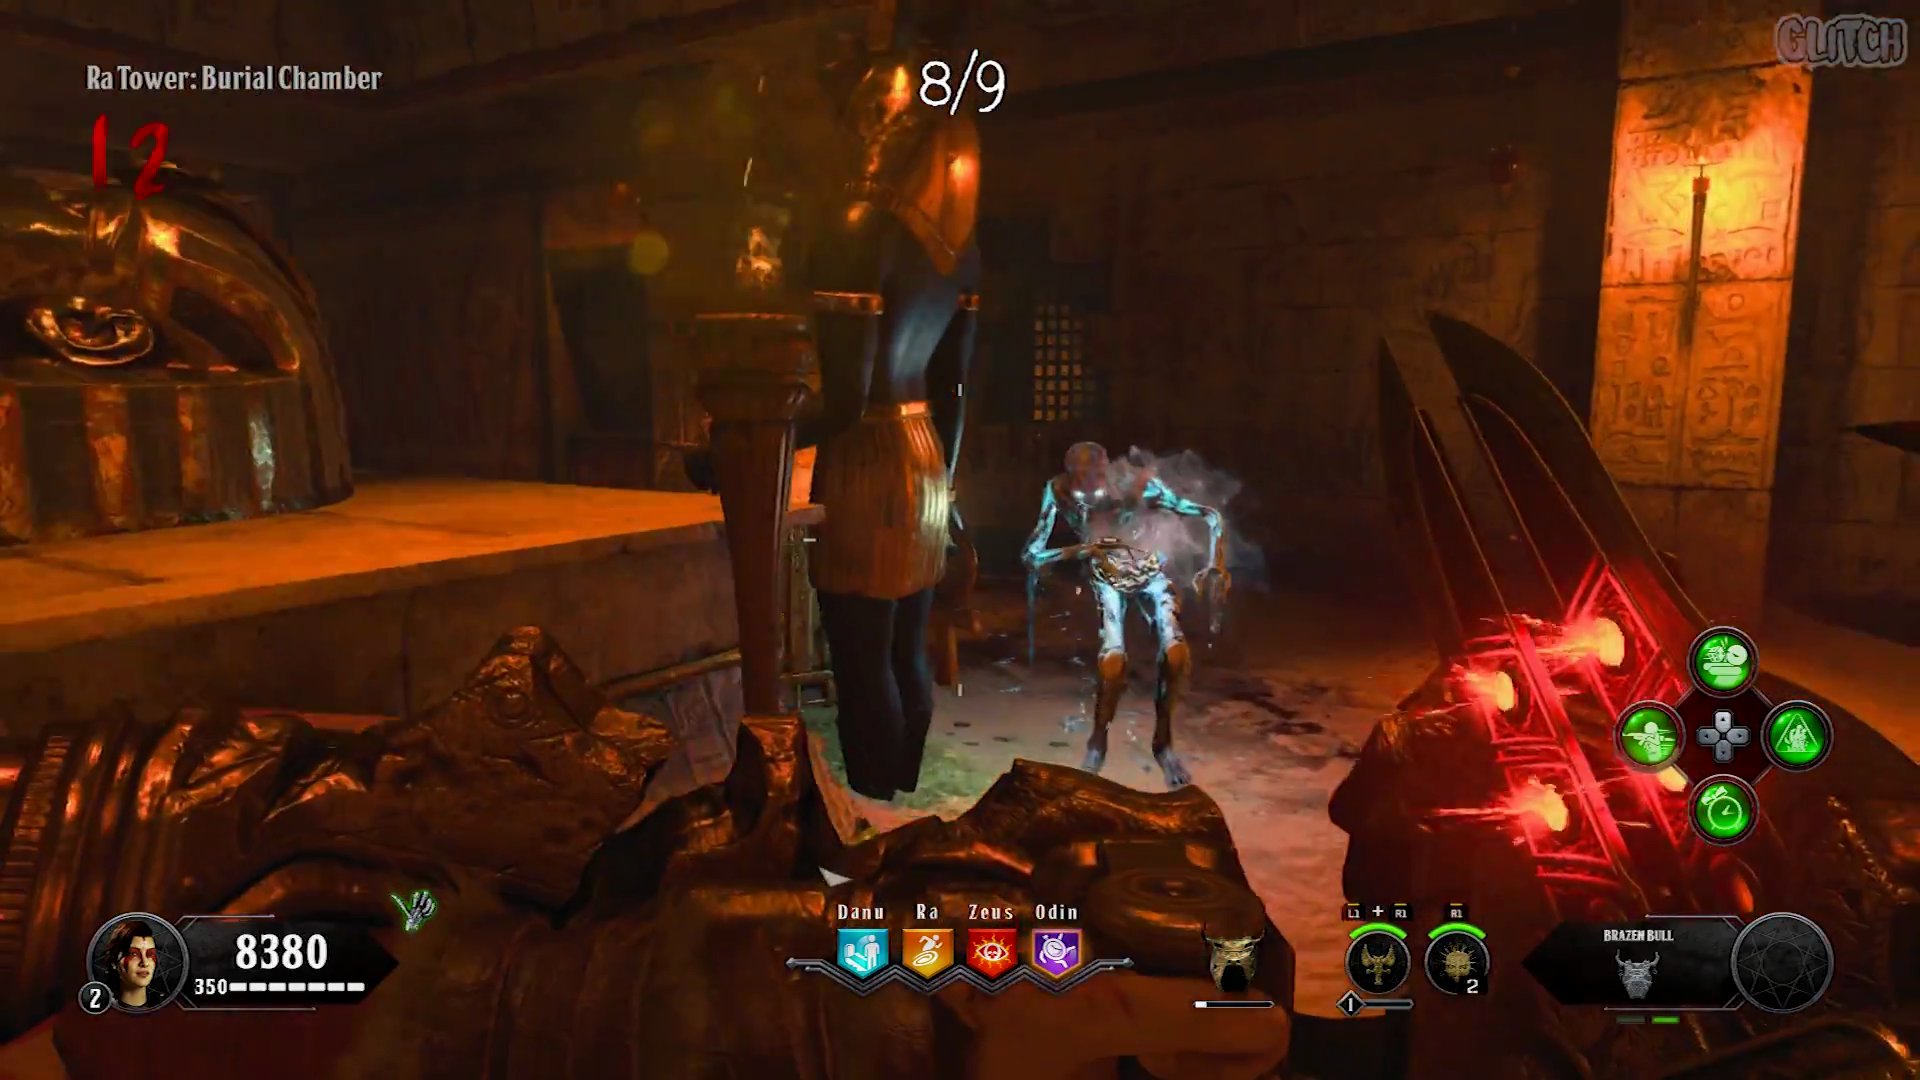
- Melee an eligible special enemy. For example, here's a melee kill on an Electric Catalyst zombie.
Strategy for Blade Ignition
- A recommended strategy is to melee 8 normal zombies to get your shield blade to 8/9 kills. Then, find a special enemy (Catalyst, Gladiator, or Brawler) and melee them to ignite your blade.
- After each ignition, let a normal zombie destroy your shield. This allows you to rebuild it and immediately start working towards the next ignition, as the blade's gems and kill count eventually reset otherwise.
- Try to single out the special enemy you need to kill to avoid accidentally igniting your blade on a normal zombie or tiger.
Collect the Piece
- Once you've ignited the blade four times, the second shield piece will spawn on a statue in the Odin-Zeus Temple Entrance area. Pick it up.
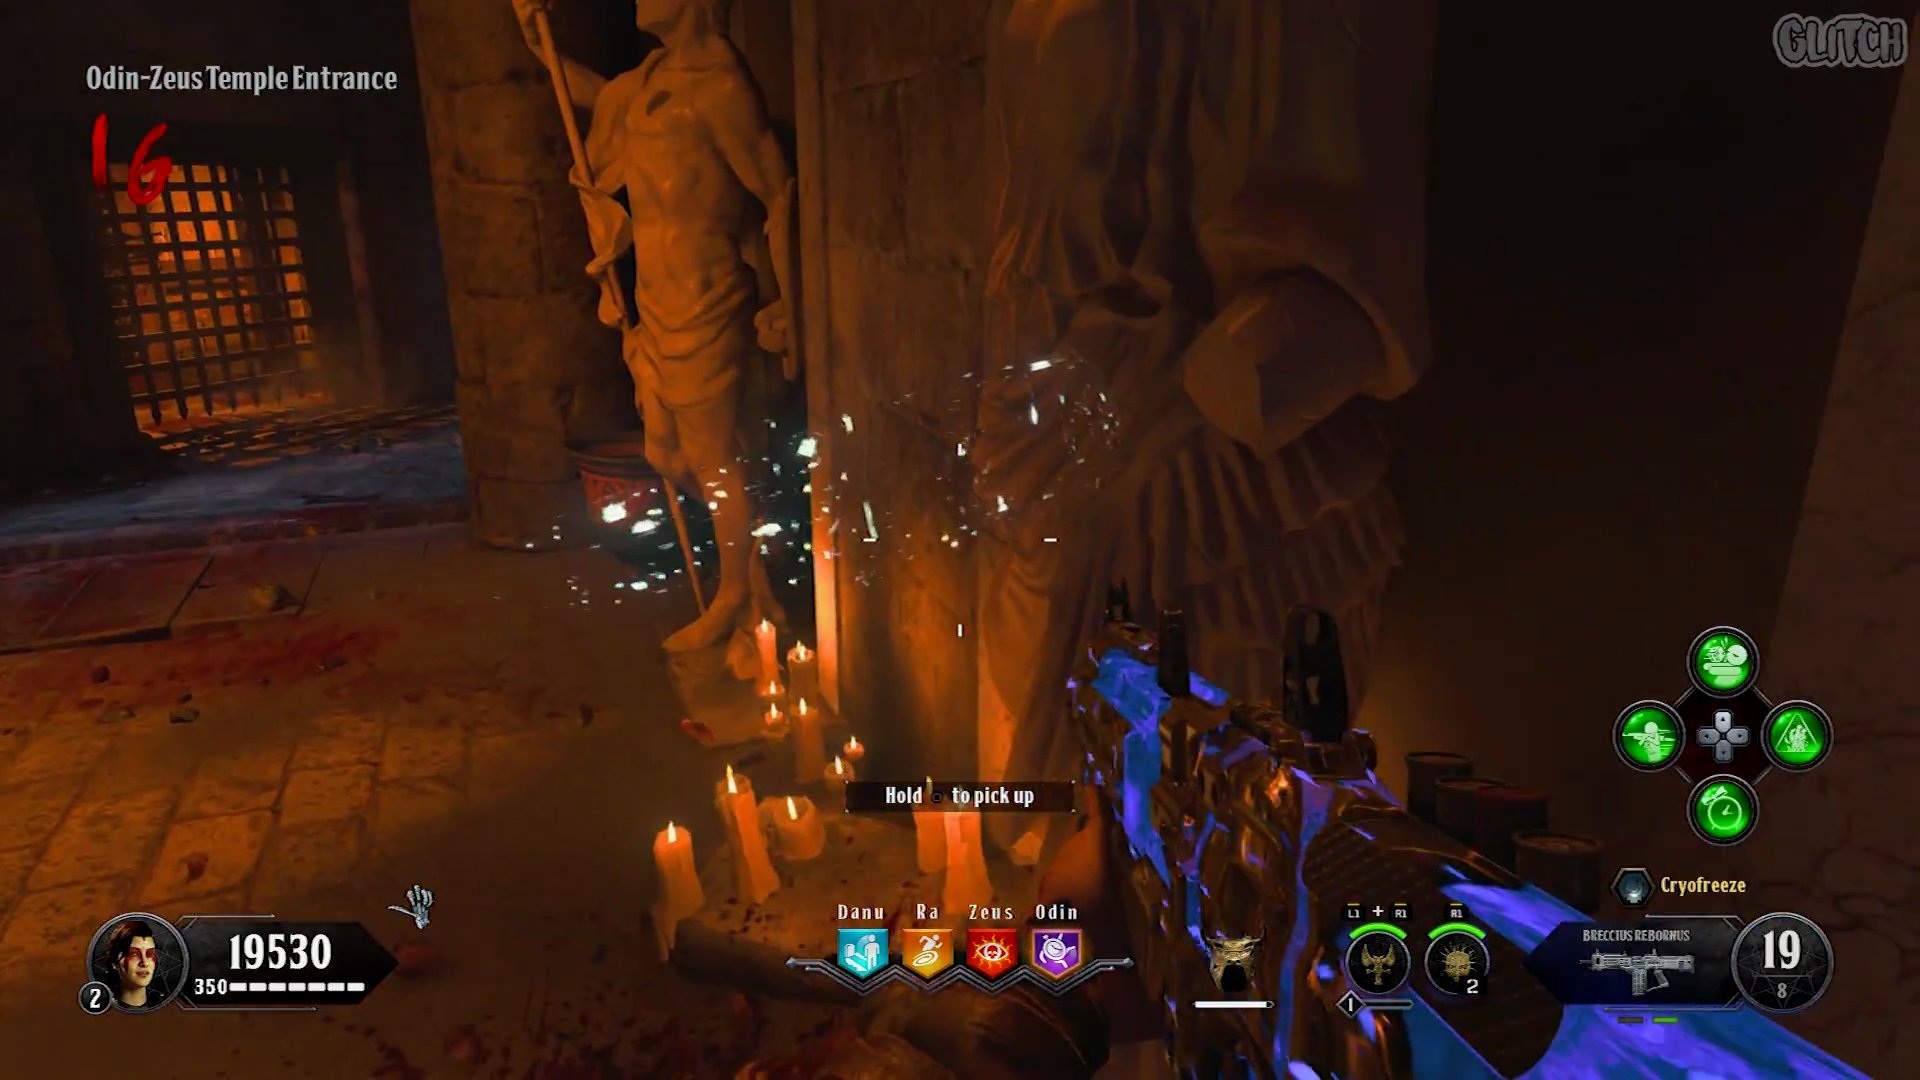
Step 4: Collect the Third Shield Part - Special Enemy Kills
Kill Specific Enemies with Ignited Blade
- For the final part, you must kill one Brawler, one Gladiator, and one Tiger using your shield's ignited blade. The order does not matter, and you can kill normal zombies in between without affecting your progress.
- Kill a Brawler with the ignited blade.
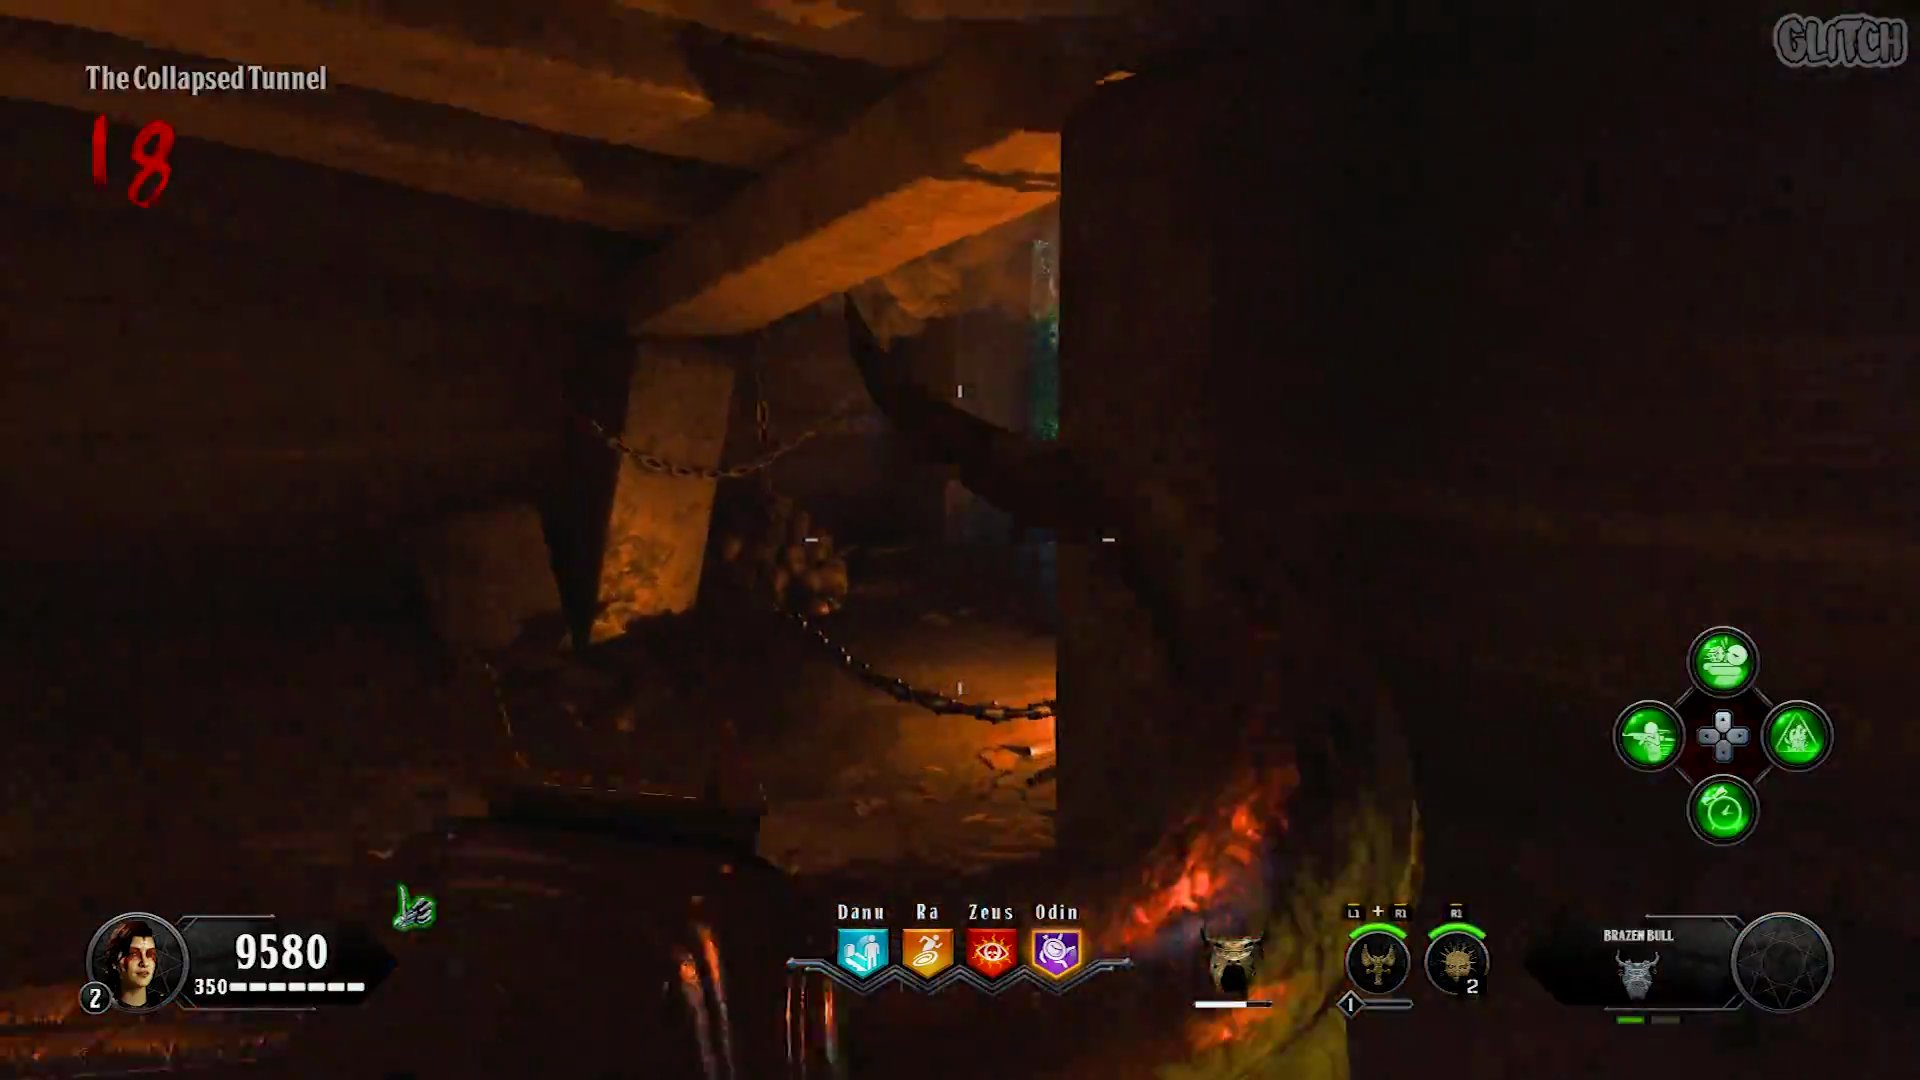
- Kill a Gladiator with the ignited blade.
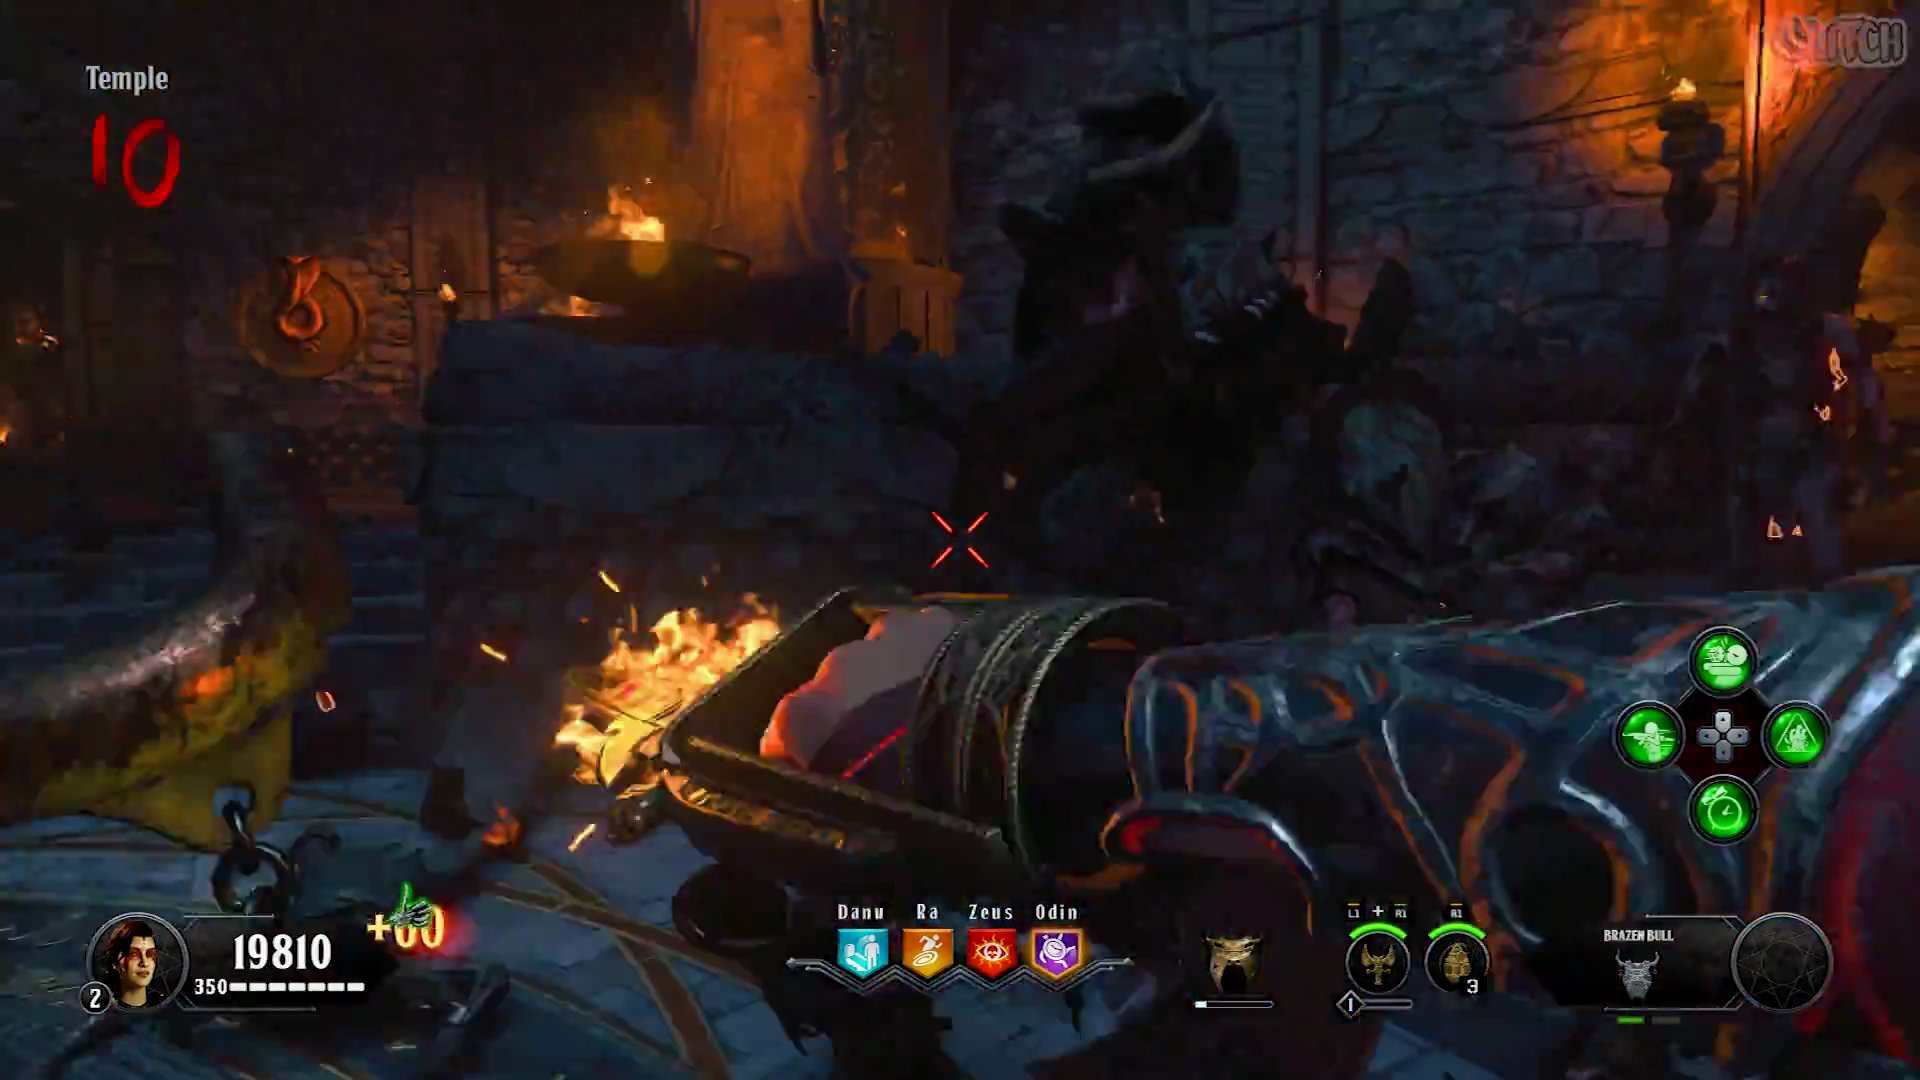
- Kill a Tiger with the ignited blade.
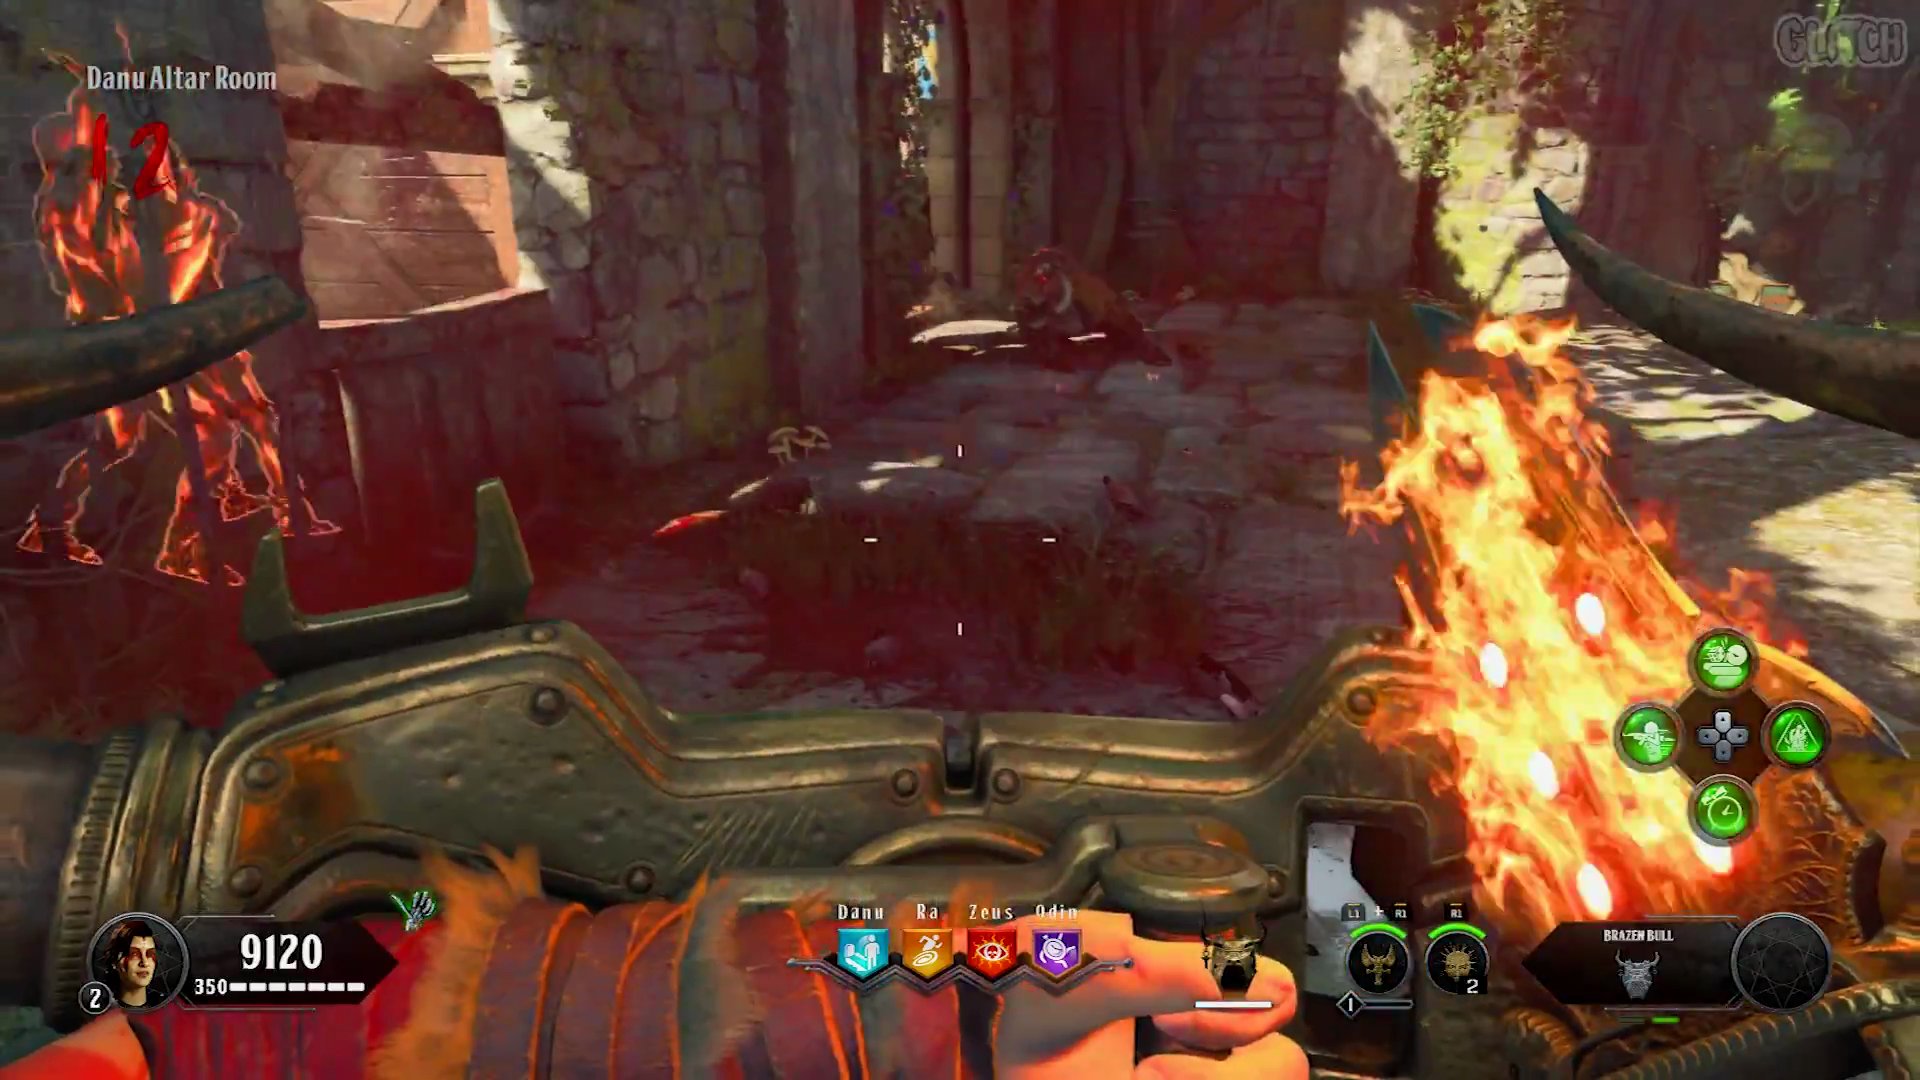
Collect the Piece
- After successfully killing all three special enemies with your ignited blade, the final part will spawn above the doorway leading out of the Fallen Hero area.
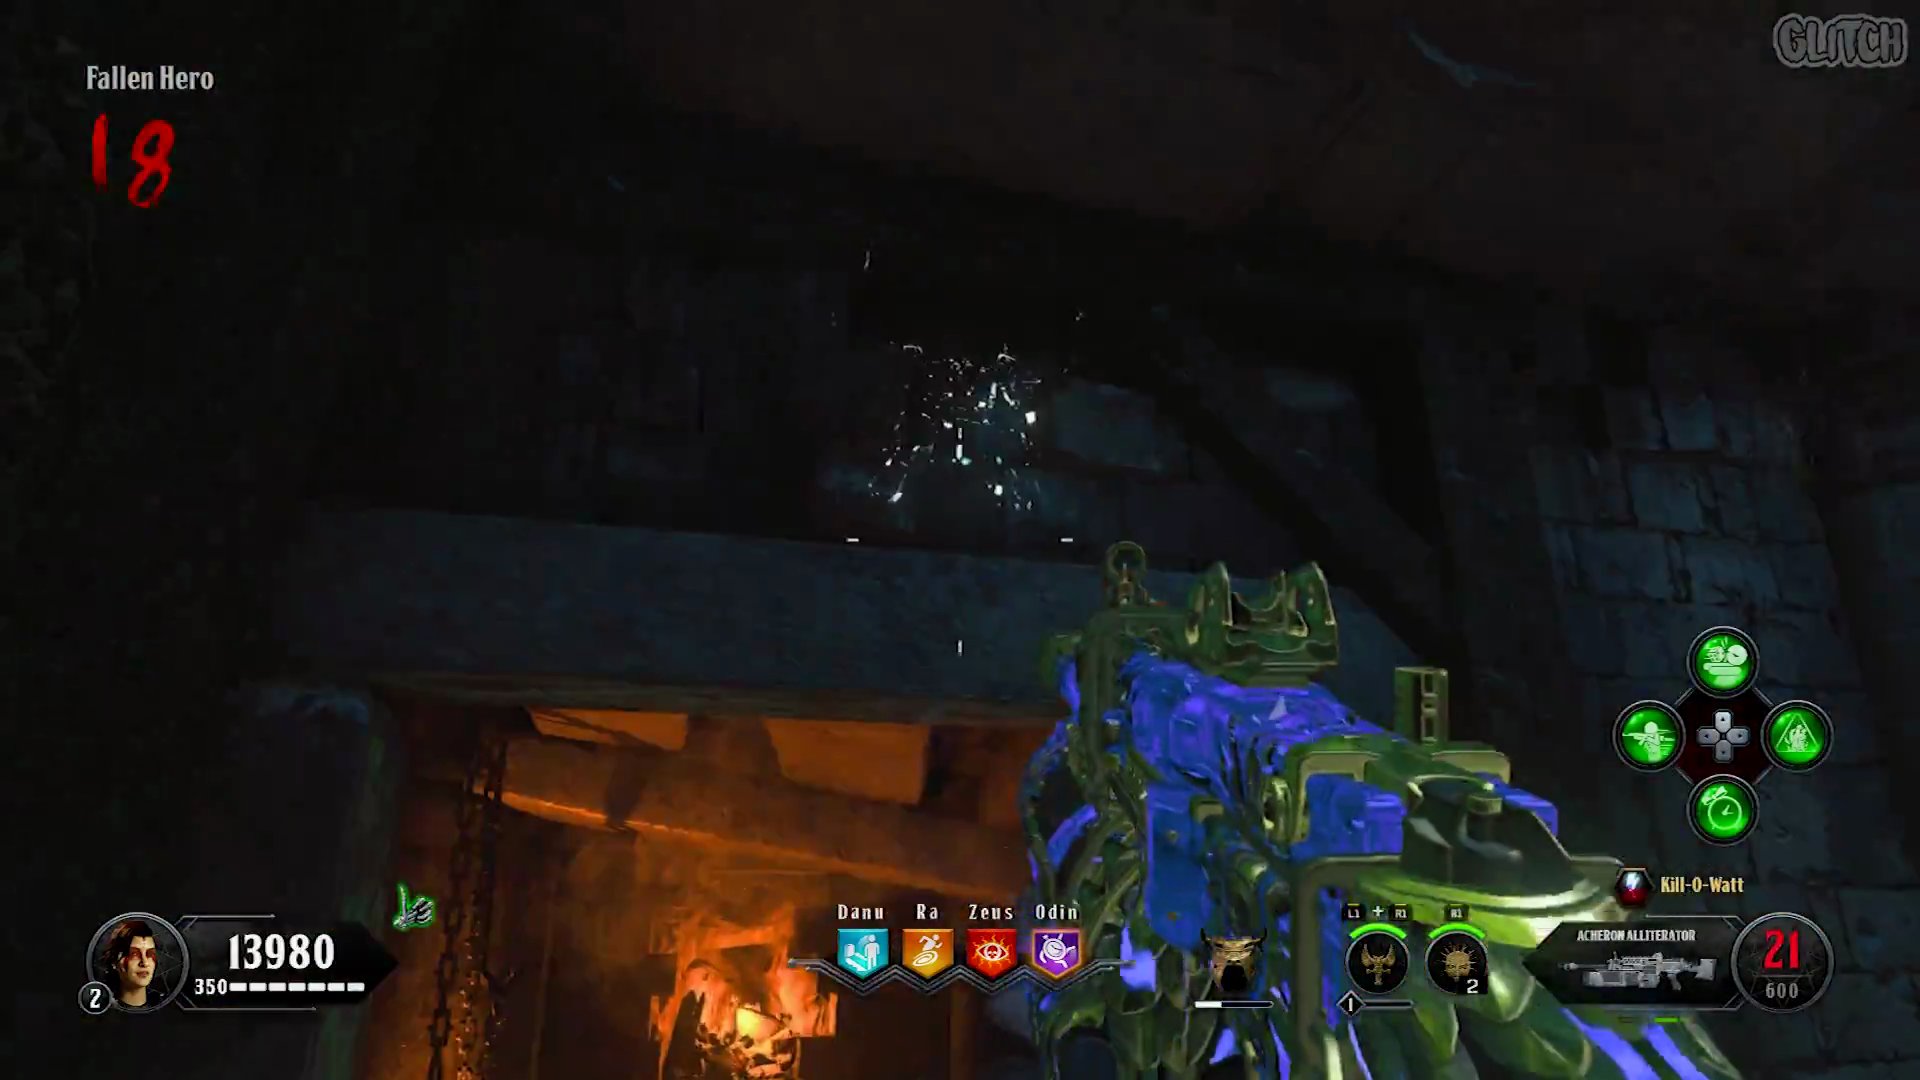
Troubleshooting
- If the part doesn't spawn immediately after getting the three kills, continue killing any Gladiators, Brawlers, or Tigers with the ignited blade until it eventually appears.
Step 5: Assemble the Iron Bull Shield
- With all three parts collected, return to the shield workbench in The Pit area. You can now craft the Iron Bull Shield upgrade.
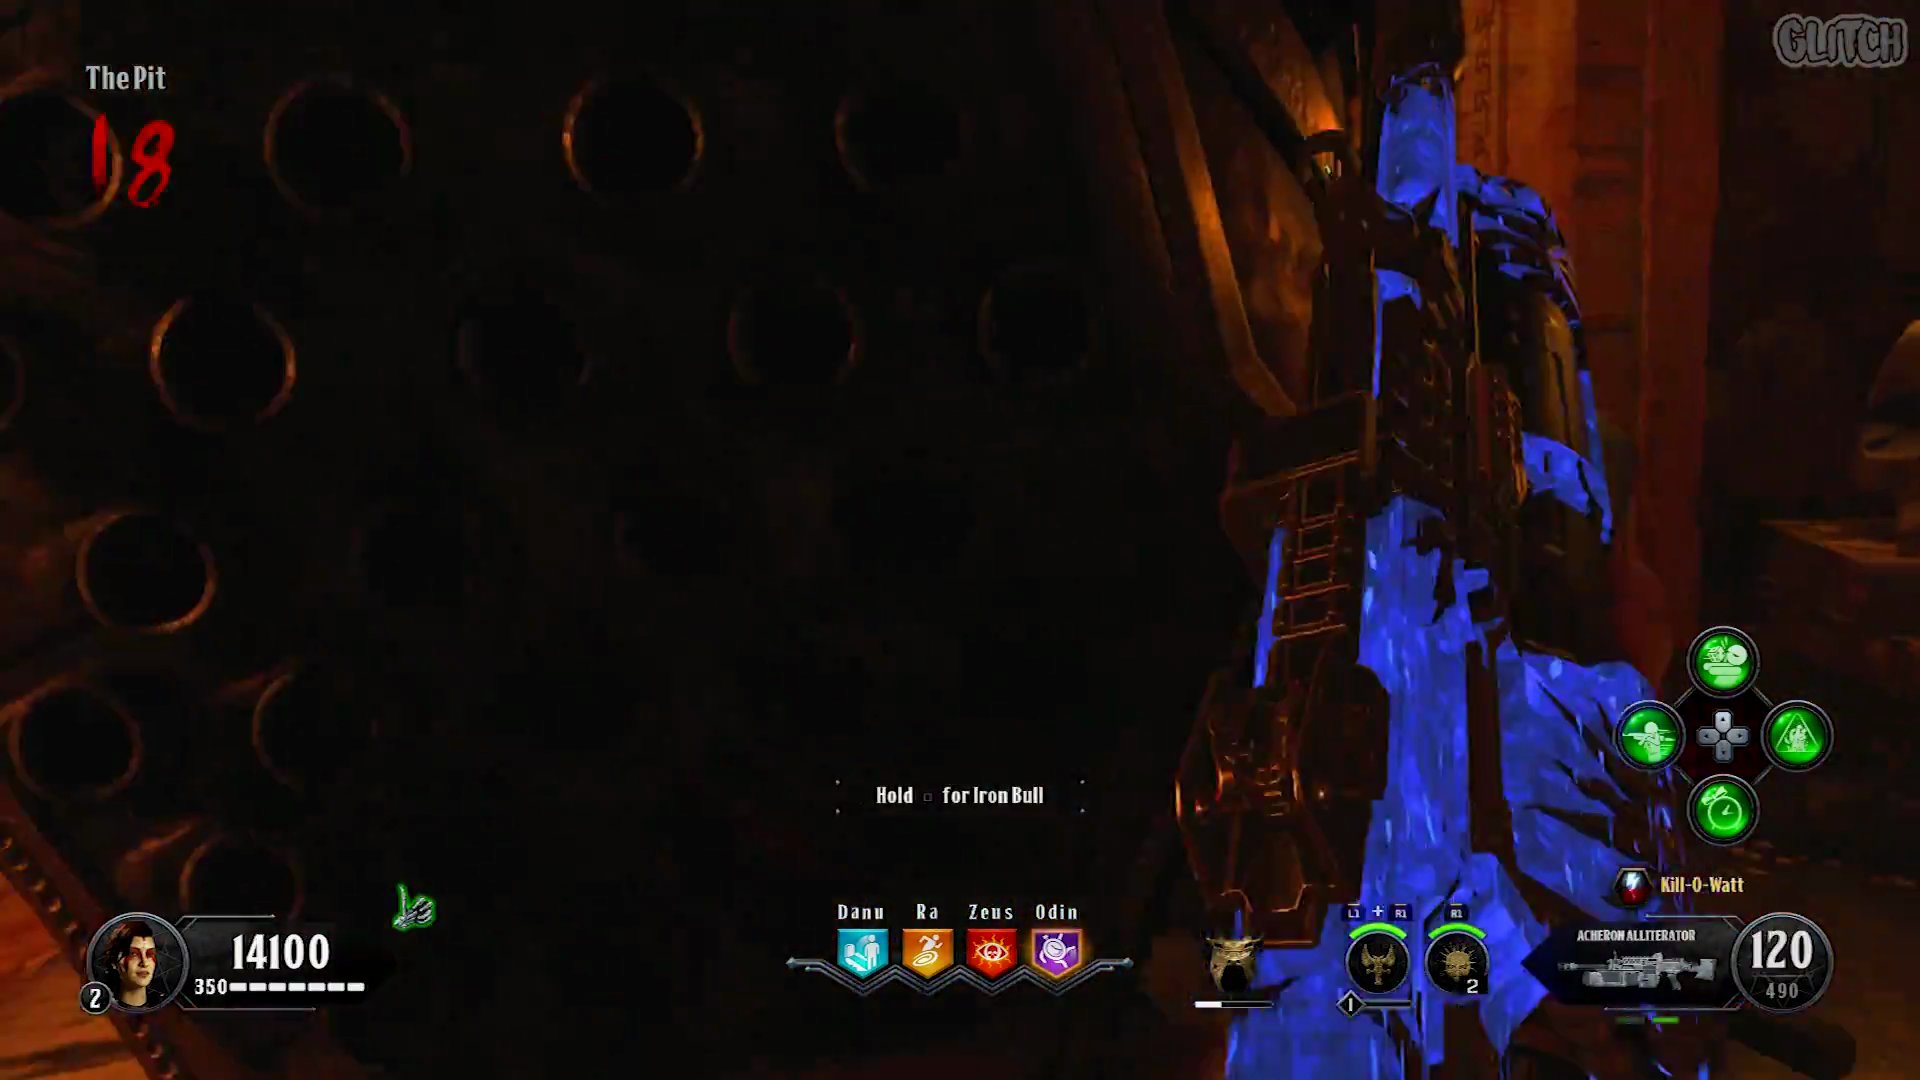
- Once crafted, your shield will be upgraded, featuring a distinctive green glowing blade, indicating its enhanced power.
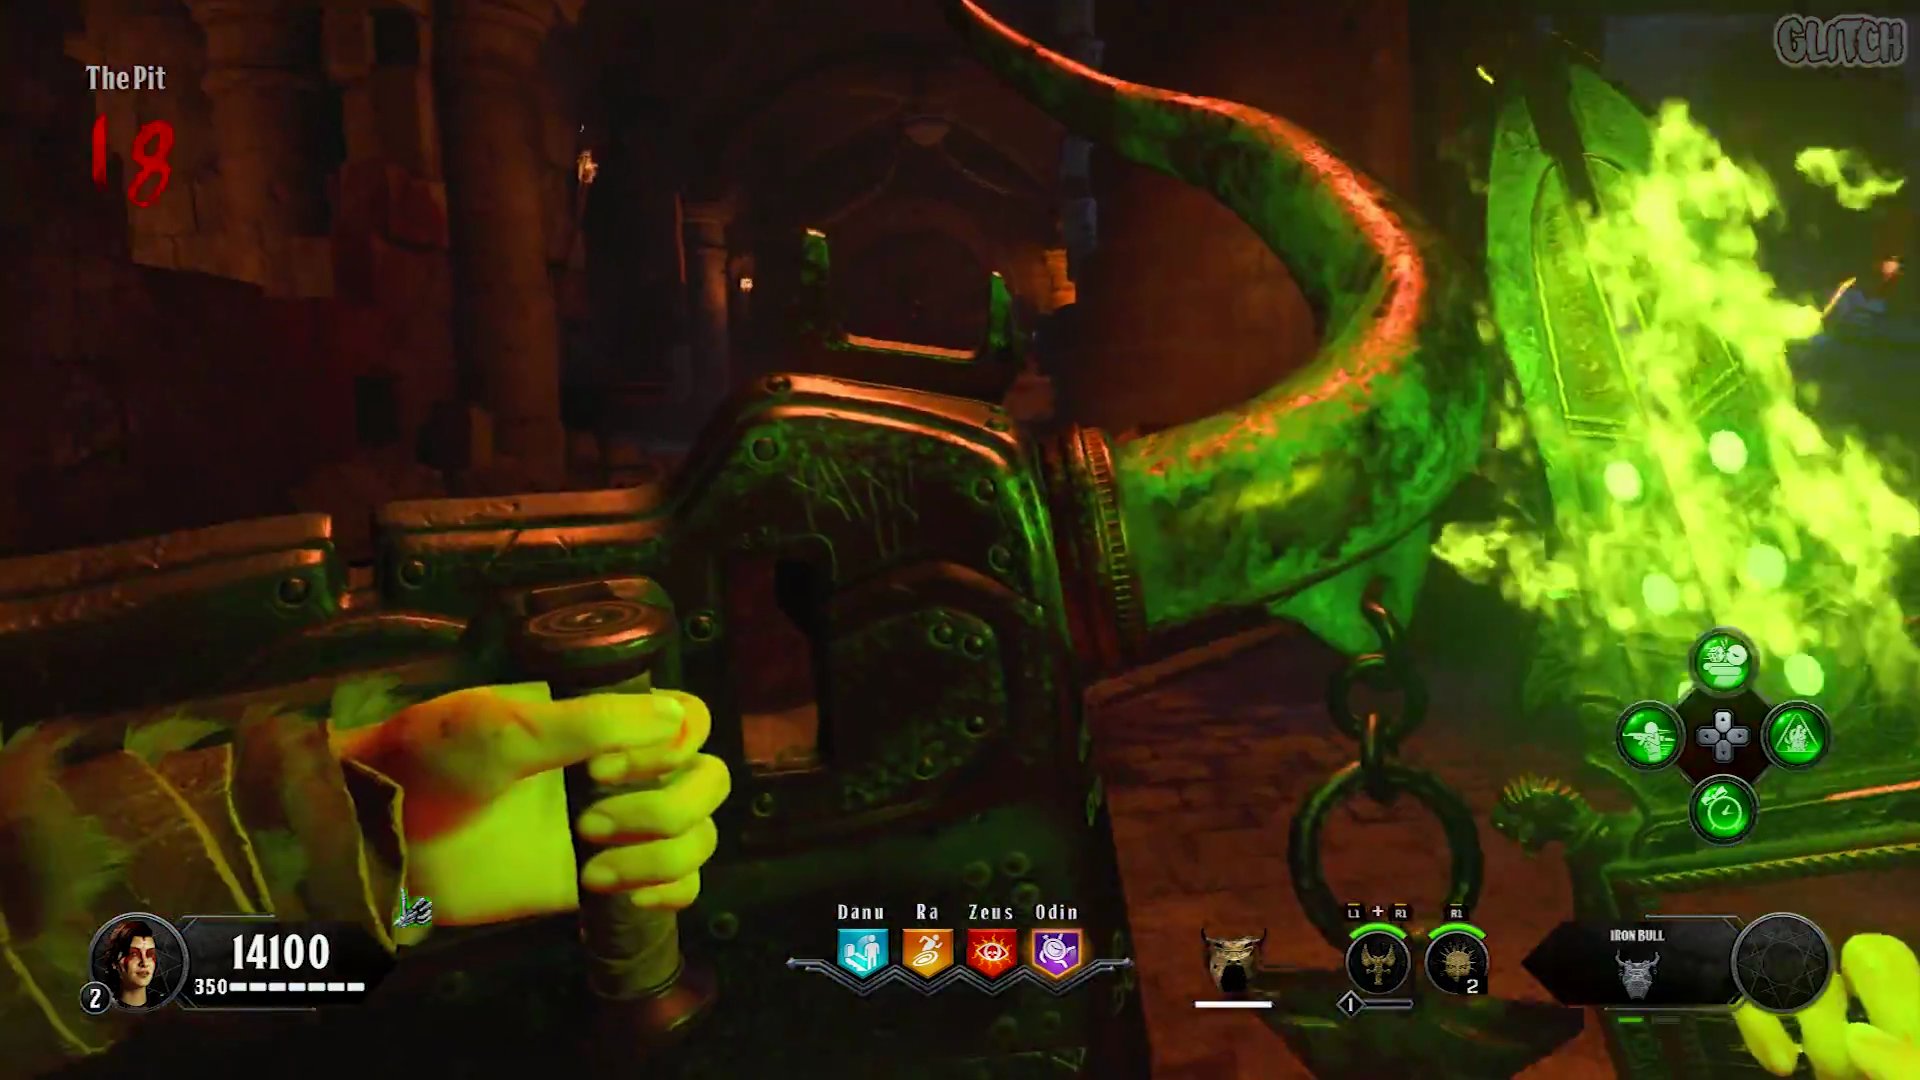
Co-op Note
- In co-op games, each player who wishes to have the upgraded shield must collect all of these parts for themselves. One player cannot do it for everyone.
Finished the Easter Egg?
Send this guide to your squad.