Acid Trap Build
- Updated
- Jul 2, 2026
Overview
Building the Acid Trap in 'IX' involves completing challenges in the Arena and locating specific parts within the Pack-a-Punch room. Once all parts are collected, you can assemble the trap at designated locations to unleash a torrent of corrosive acid on approaching zombies.
Step 1: Start Challenges in the Arena
Upon entering the 'IX' map, you will find yourself in the Arena. Look for four God statues overlooking the arena, each with a banner. To begin collecting parts, you need to initiate challenges by cutting one of these banner ropes.
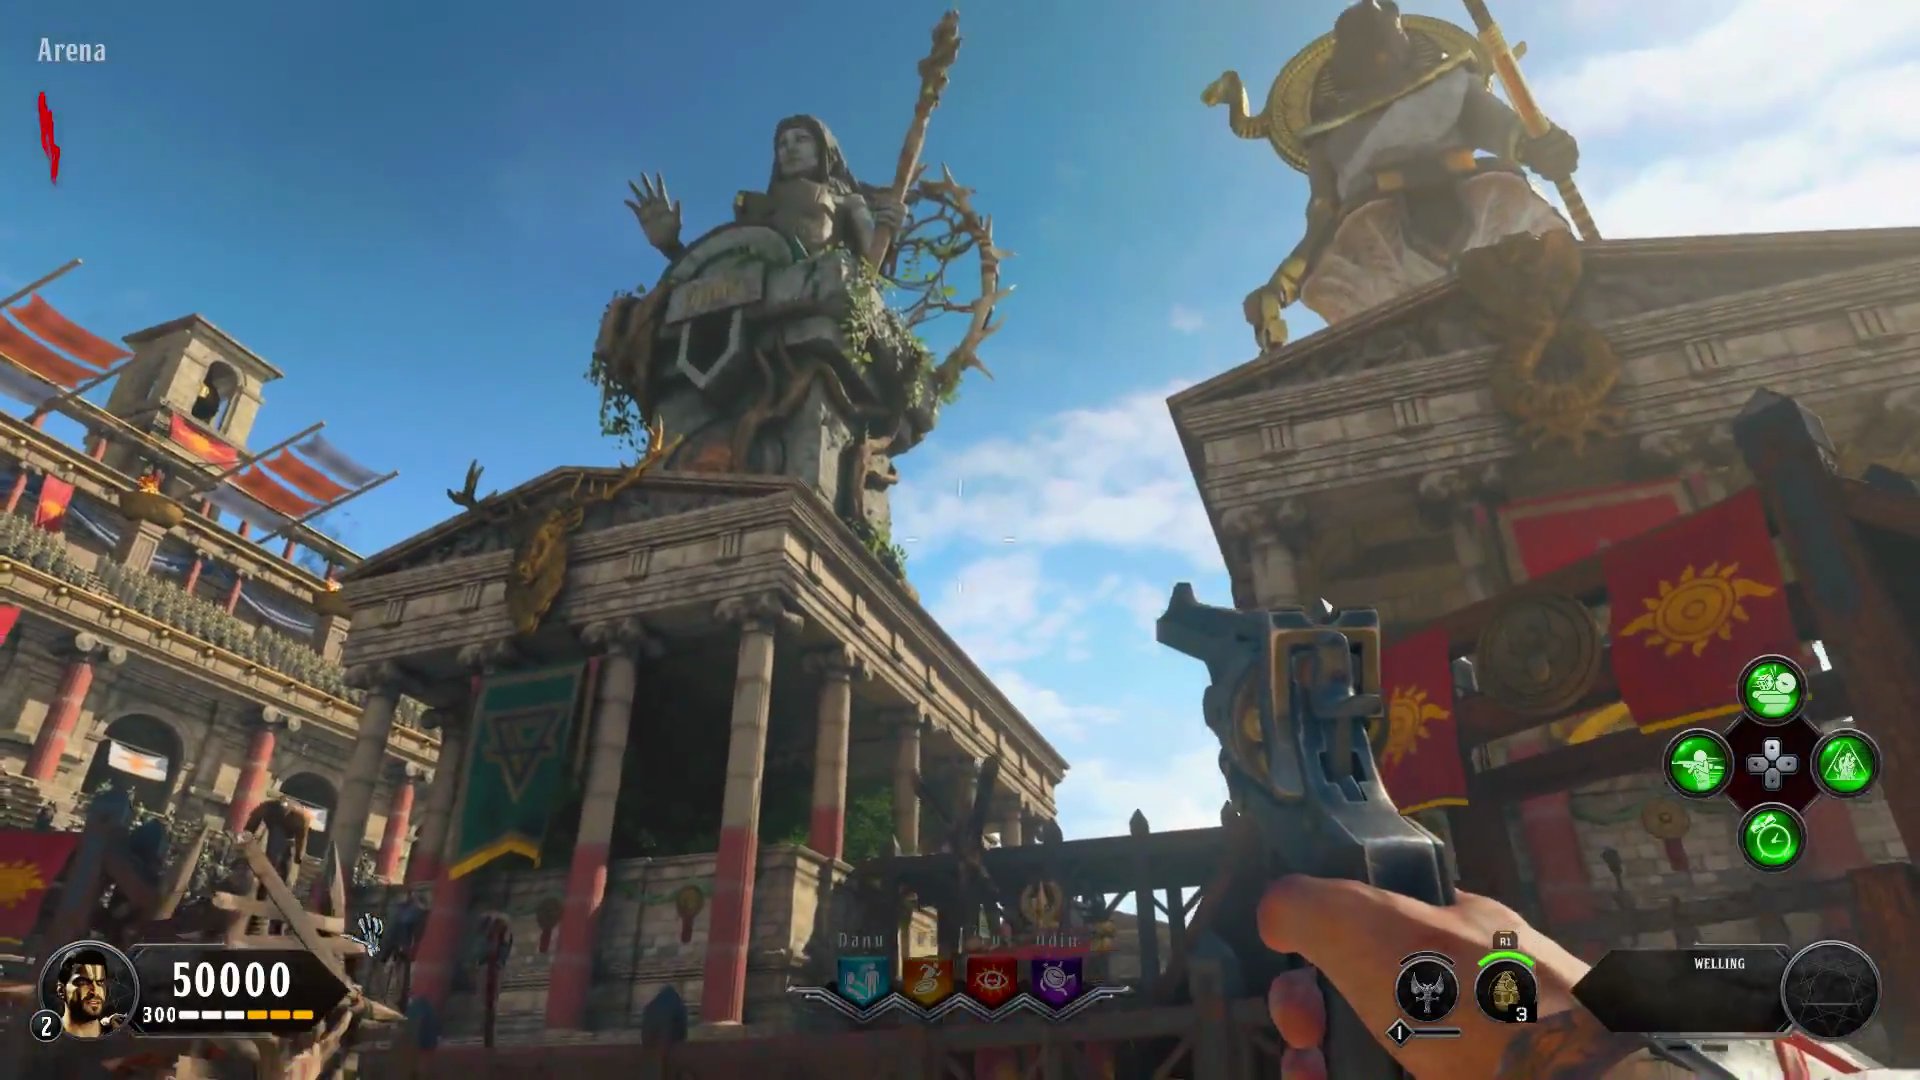
- Locate the Arena area with the four God statues.
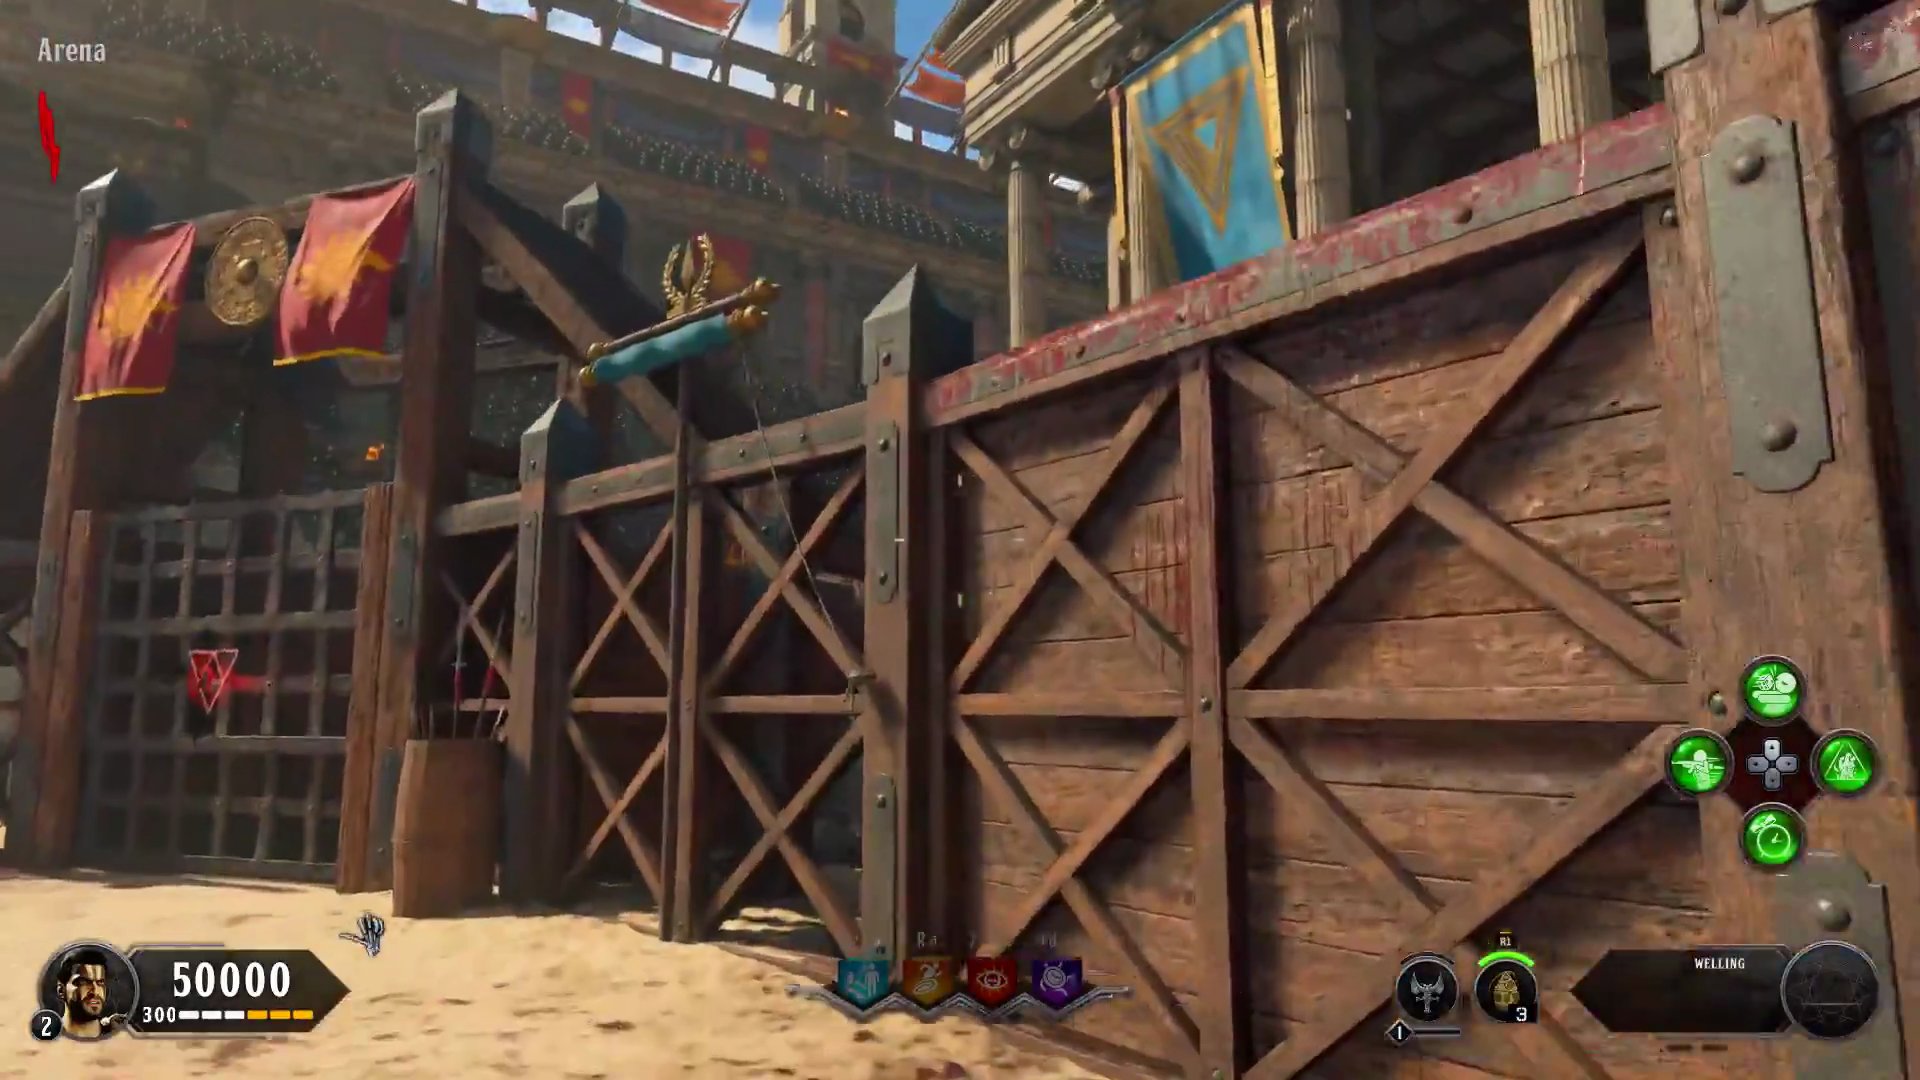
- Approach any of the four banners hanging down from the statues.
- Interact with the rope to cut it and initiate a challenge.
- A challenge prompt will appear on your screen, detailing the task you need to complete (e.g., 'Get 5 consecutive headshot kills').
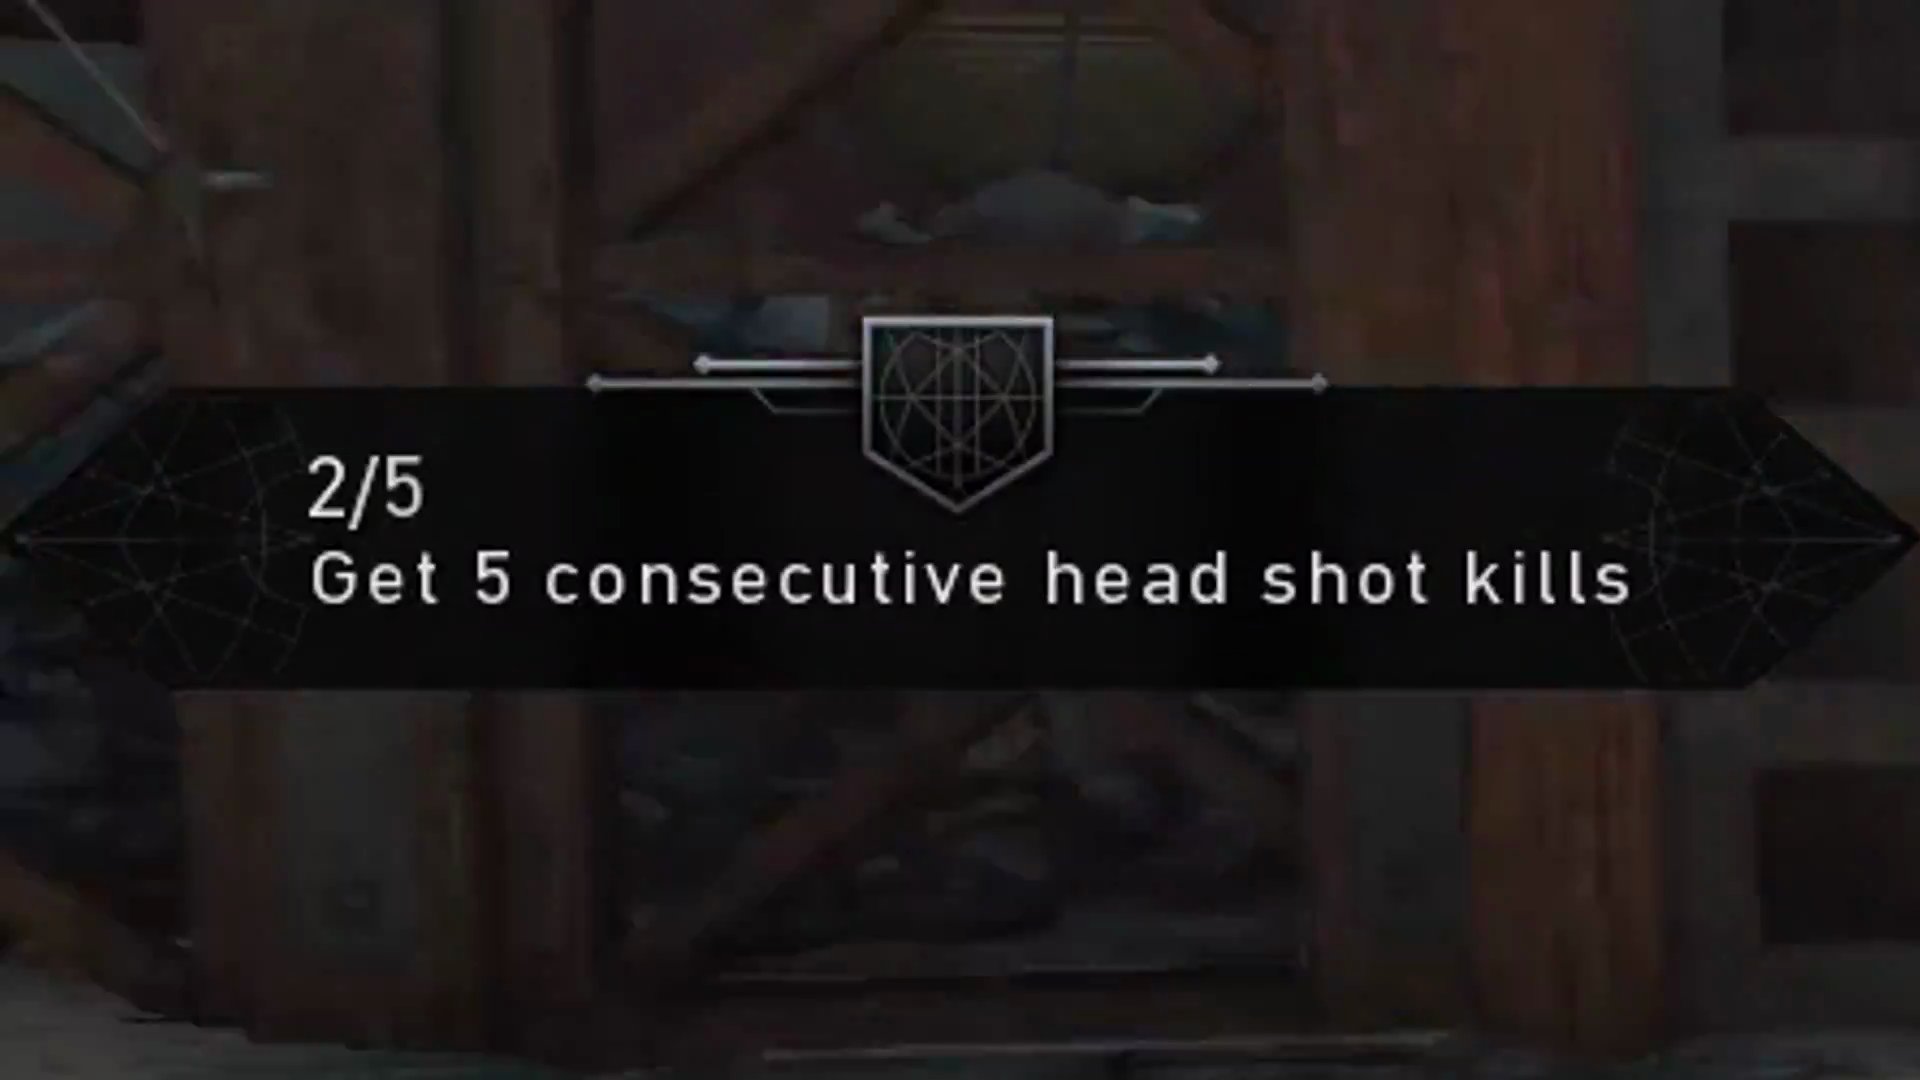
- Complete the assigned challenge. There are various easy challenges like headshots, equipment kills, or knife kills.
Step 2: Collect Acid Trap Part 1 (The Cauldron)
After successfully completing the third challenge, the first Acid Trap part, a cauldron, will spawn in the Arena.
- Once you've completed your third challenge, look at the central pedestal in the Arena.
- The first part, a cauldron-like object, will appear on this pedestal.
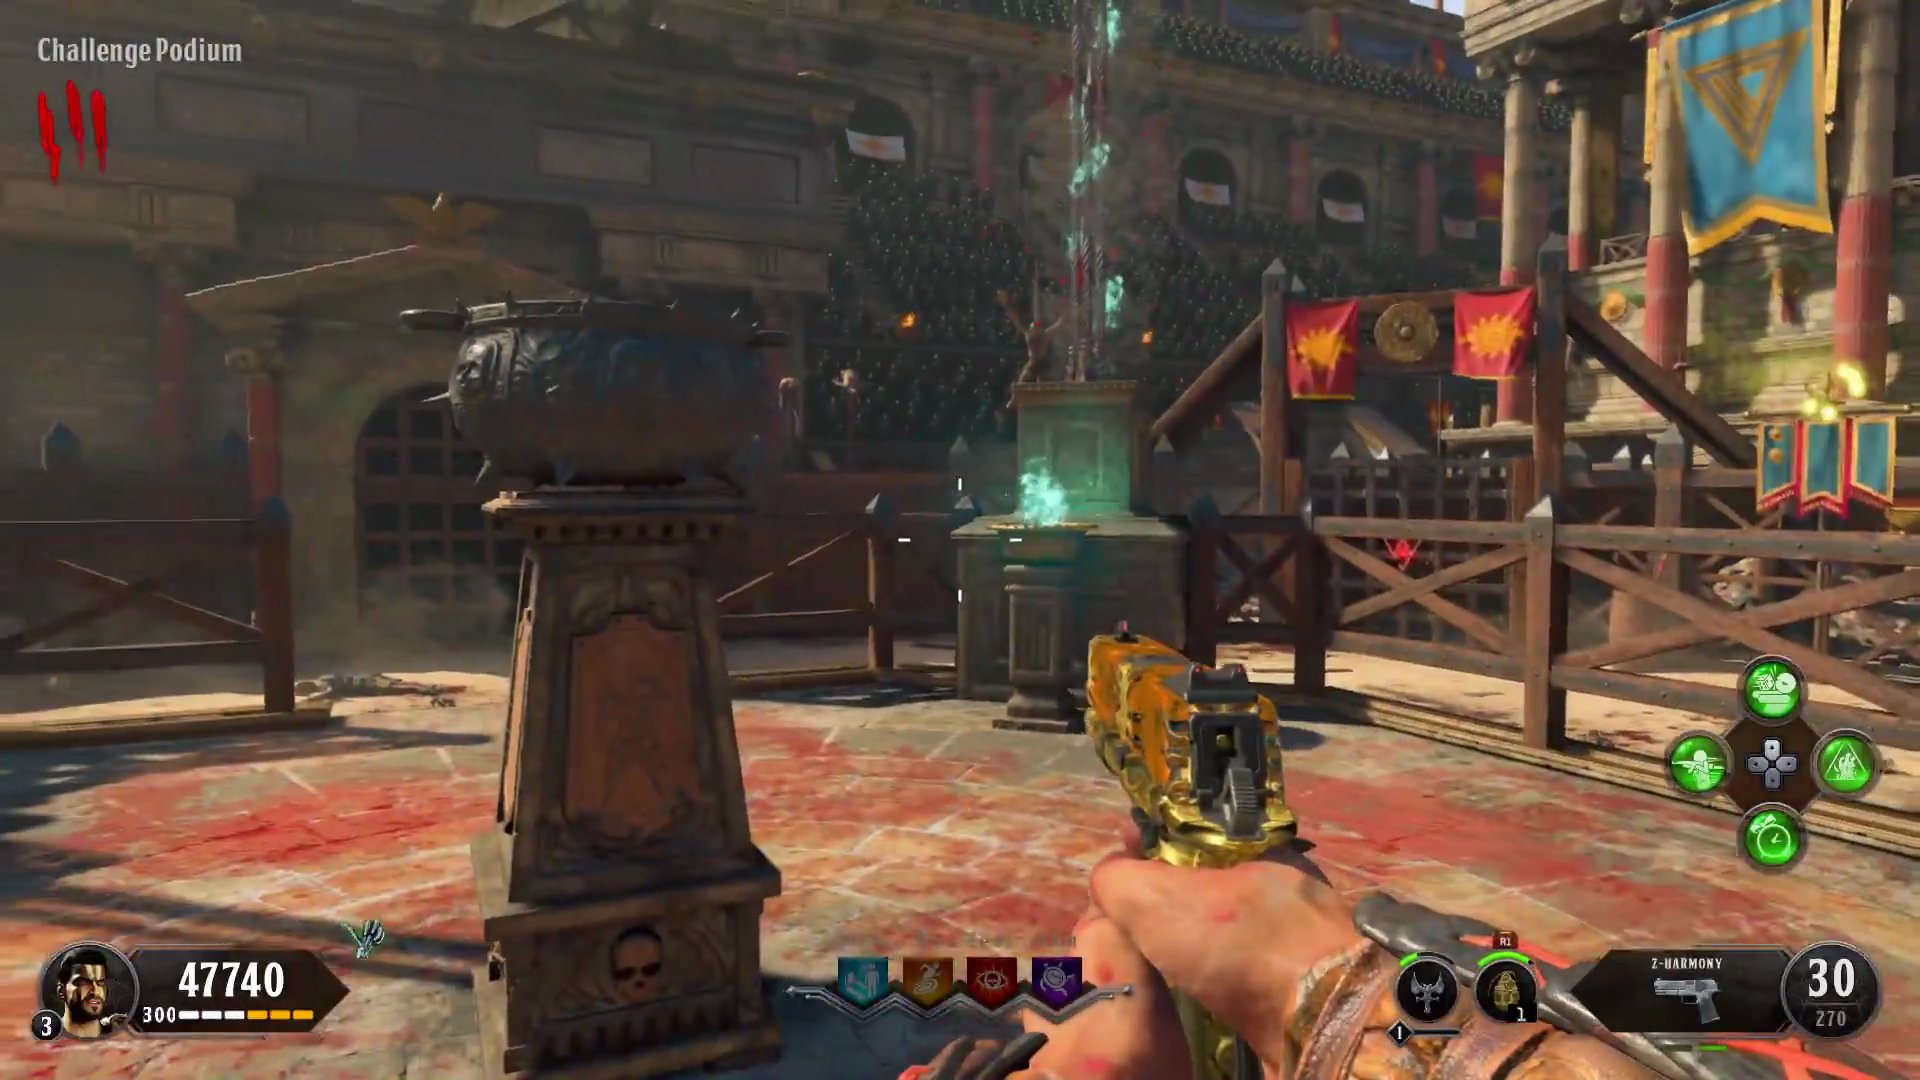
- Interact with it to pick up the part.
Step 3: Navigate to the Pack-a-Punch Room
The remaining parts for the Acid Trap are located in the Pack-a-Punch room. Follow this path to reach it from the Arena:
- From the Arena, head into the 'Ra Tower: Entrance'.
- Continue through the 'Danu: Burial Chamber'.
- Proceed through 'The Collapsed Tunnel' and 'Fallen Hero'.
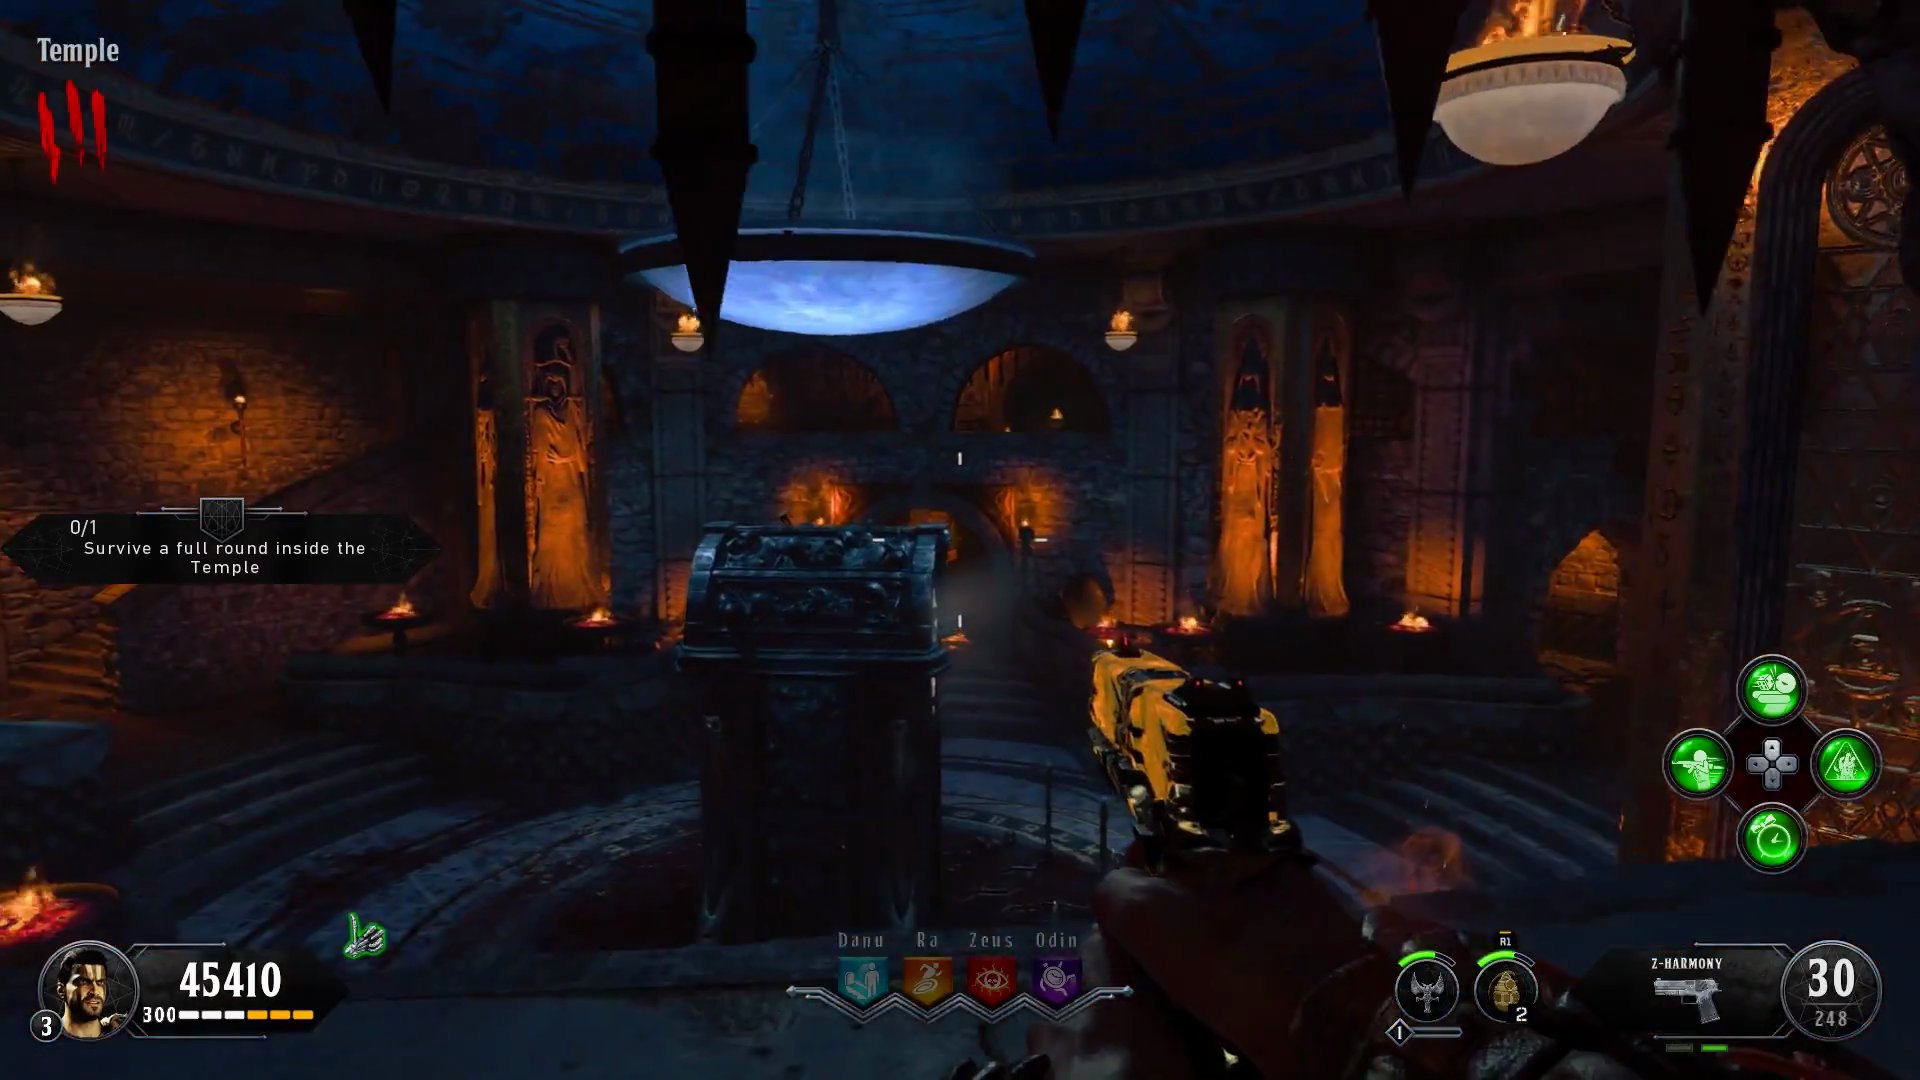
- Eventually, you will reach the 'Temple' area, which houses the Pack-a-Punch machine.
Step 4: Collect Acid Trap Part 2 (The Cog)
Once inside the Pack-a-Punch room (Temple), you'll need to locate the second part, a large cog.
- Hug the left wall as you enter the main Pack-a-Punch room.
- Look for a large cog lying on the ground near a table-like structure.
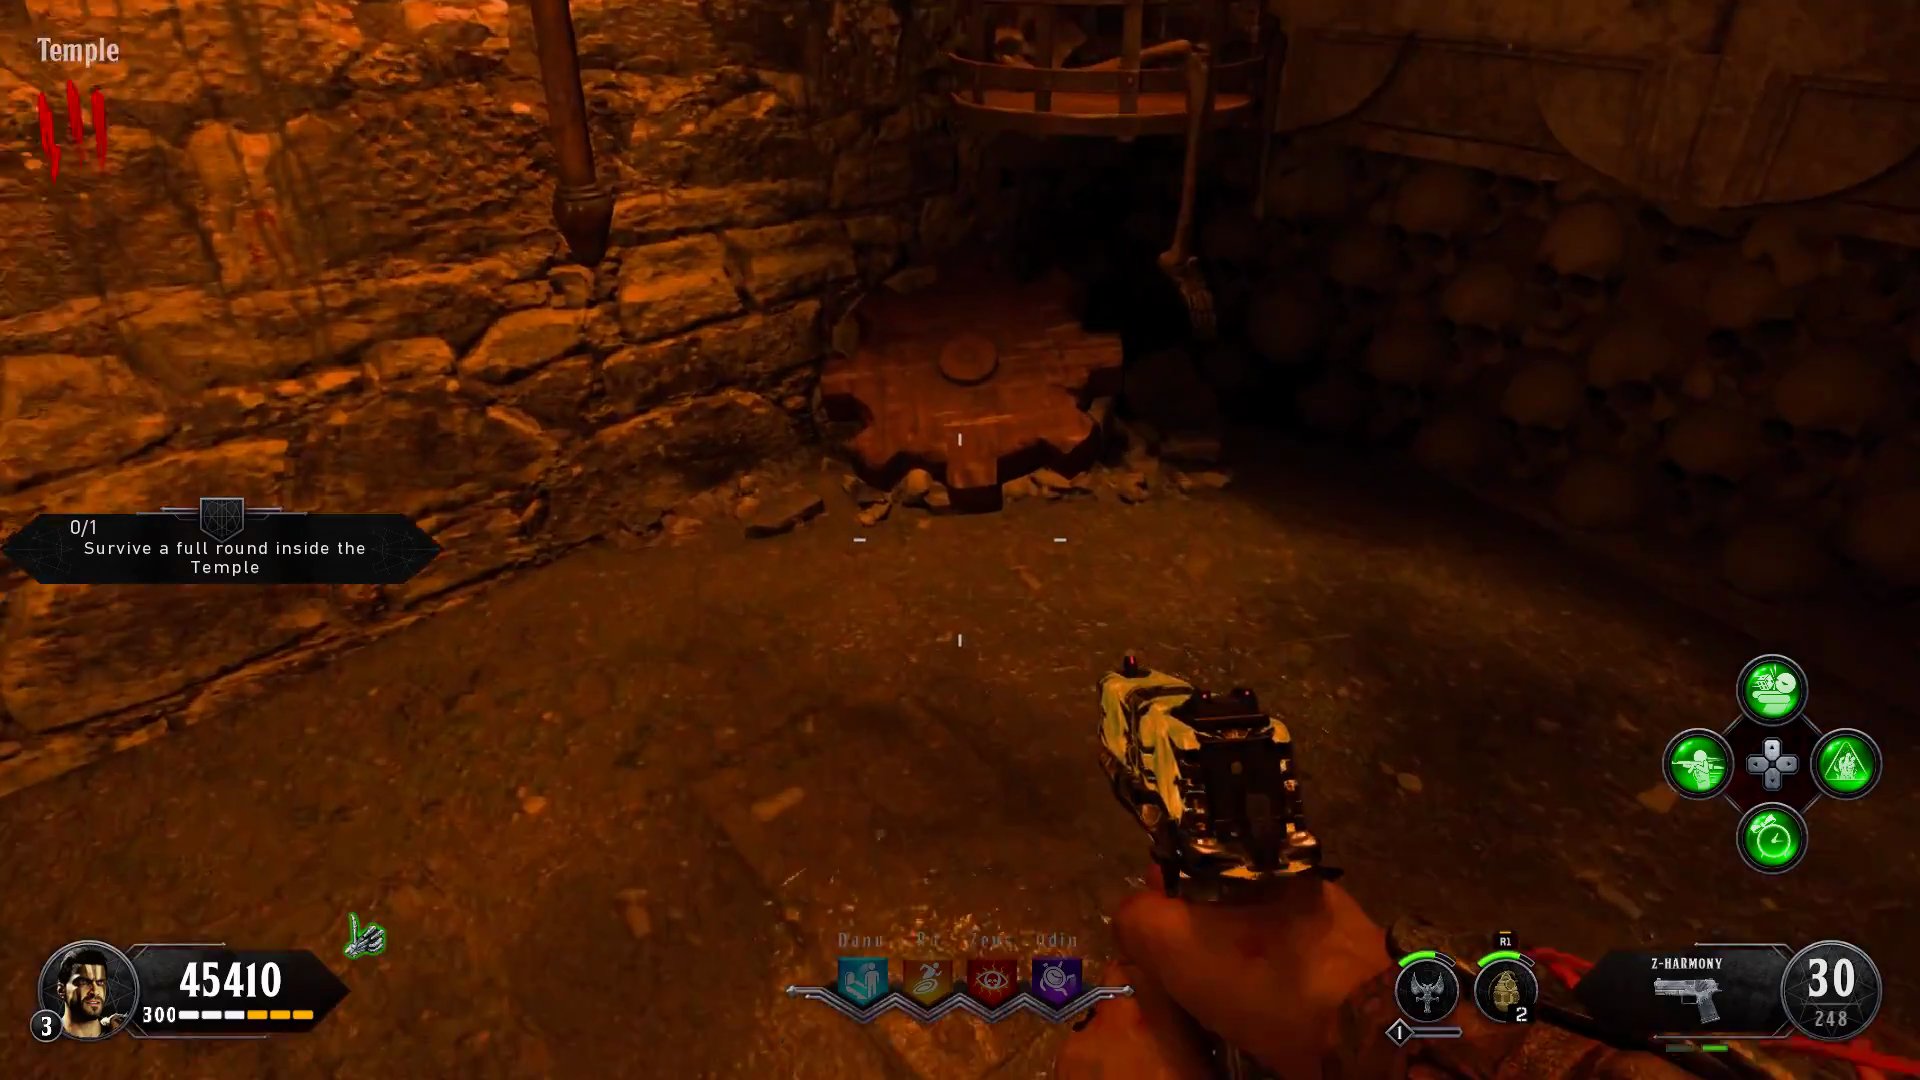
- Interact with it to pick it up.
Step 5: Collect Acid Trap Part 3 (The Blades)
The third and final part for the Acid Trap, a set of blades, is also located within the Pack-a-Punch room.
- From the location where you found the cog, continue hugging the same left wall.
- You will come across some barrels filled with skulls and a table with a skull.
- The final part, featuring blades, will be located in this area, typically within one of the barrels or near them.
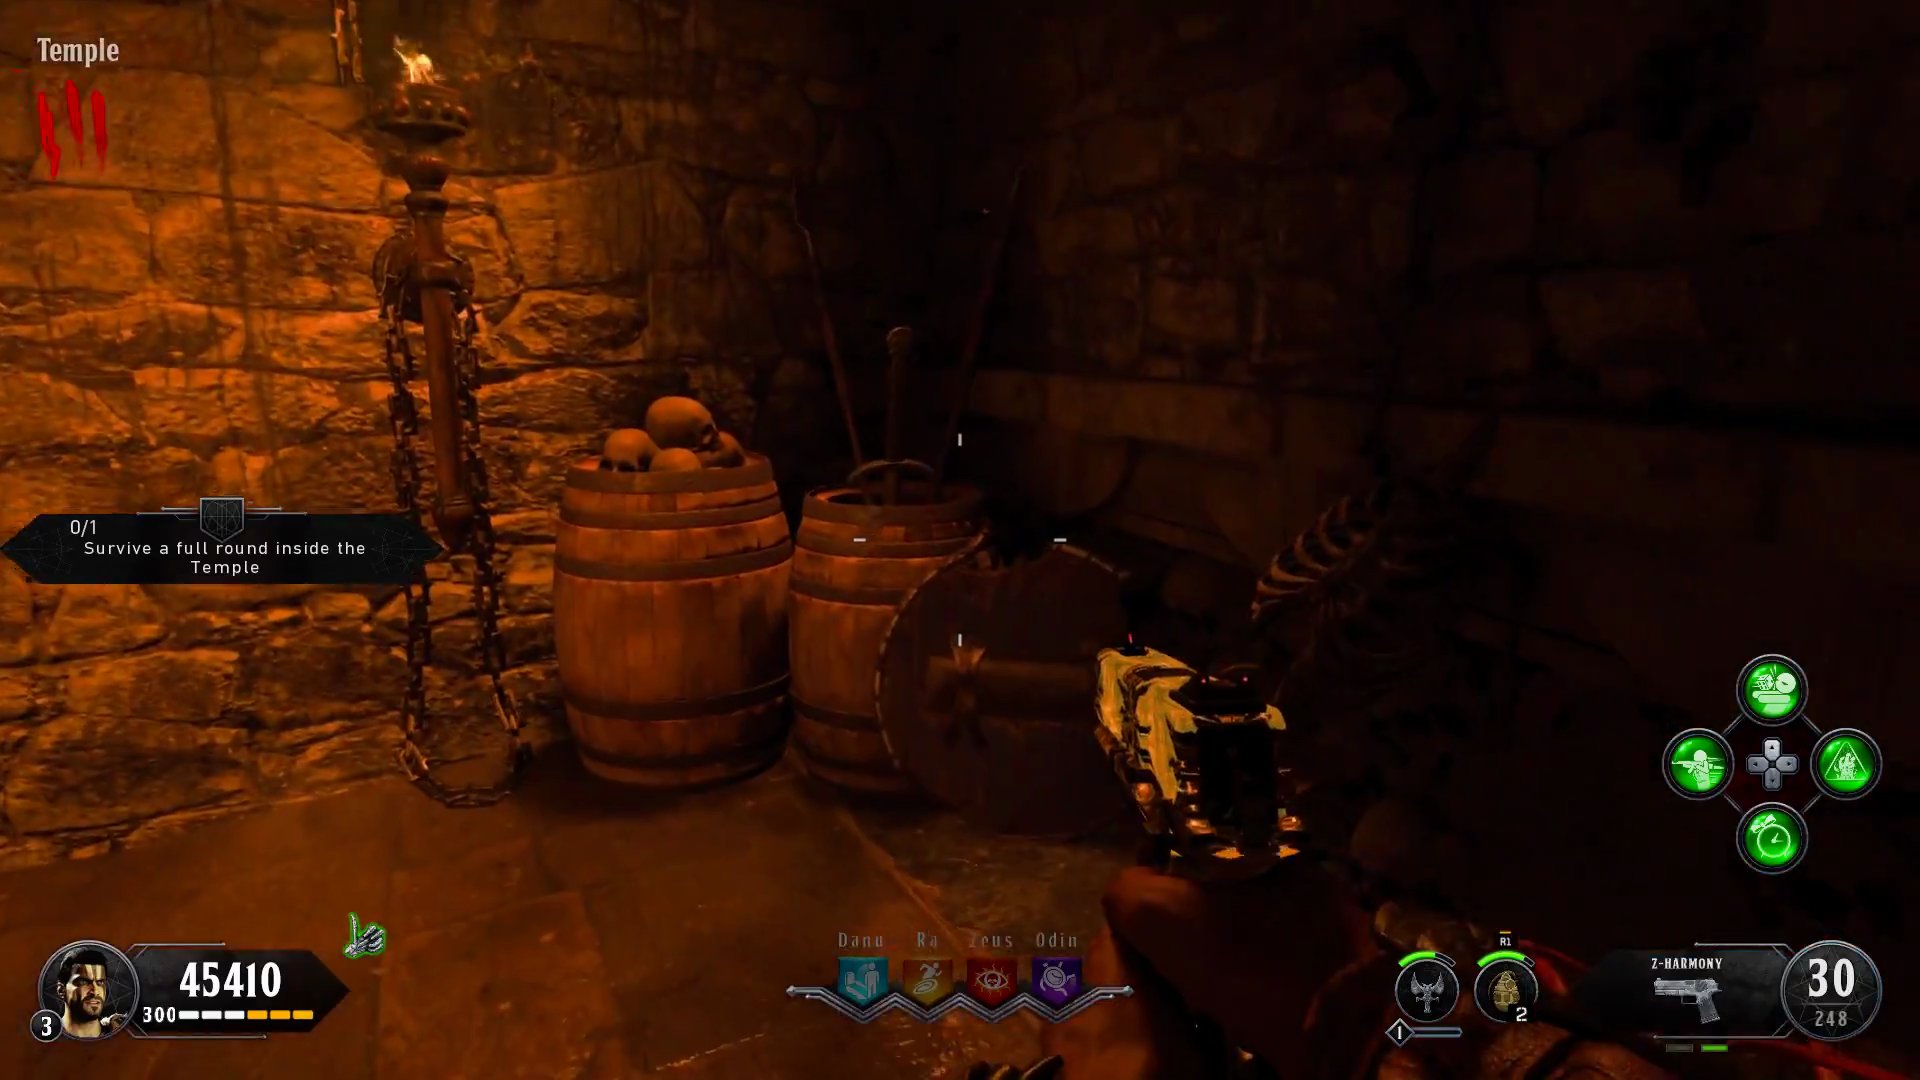
- Pick up the part. These parts do not typically move from these locations.
Step 6: Assemble and Activate the Acid Trap
With all three parts collected, you can now assemble the Acid Trap at any designated trap handle location around the map.
- Return to a trap handle, which often features a skull design, found in various areas of the map, including near the Ra Tower: Entrance where you started.
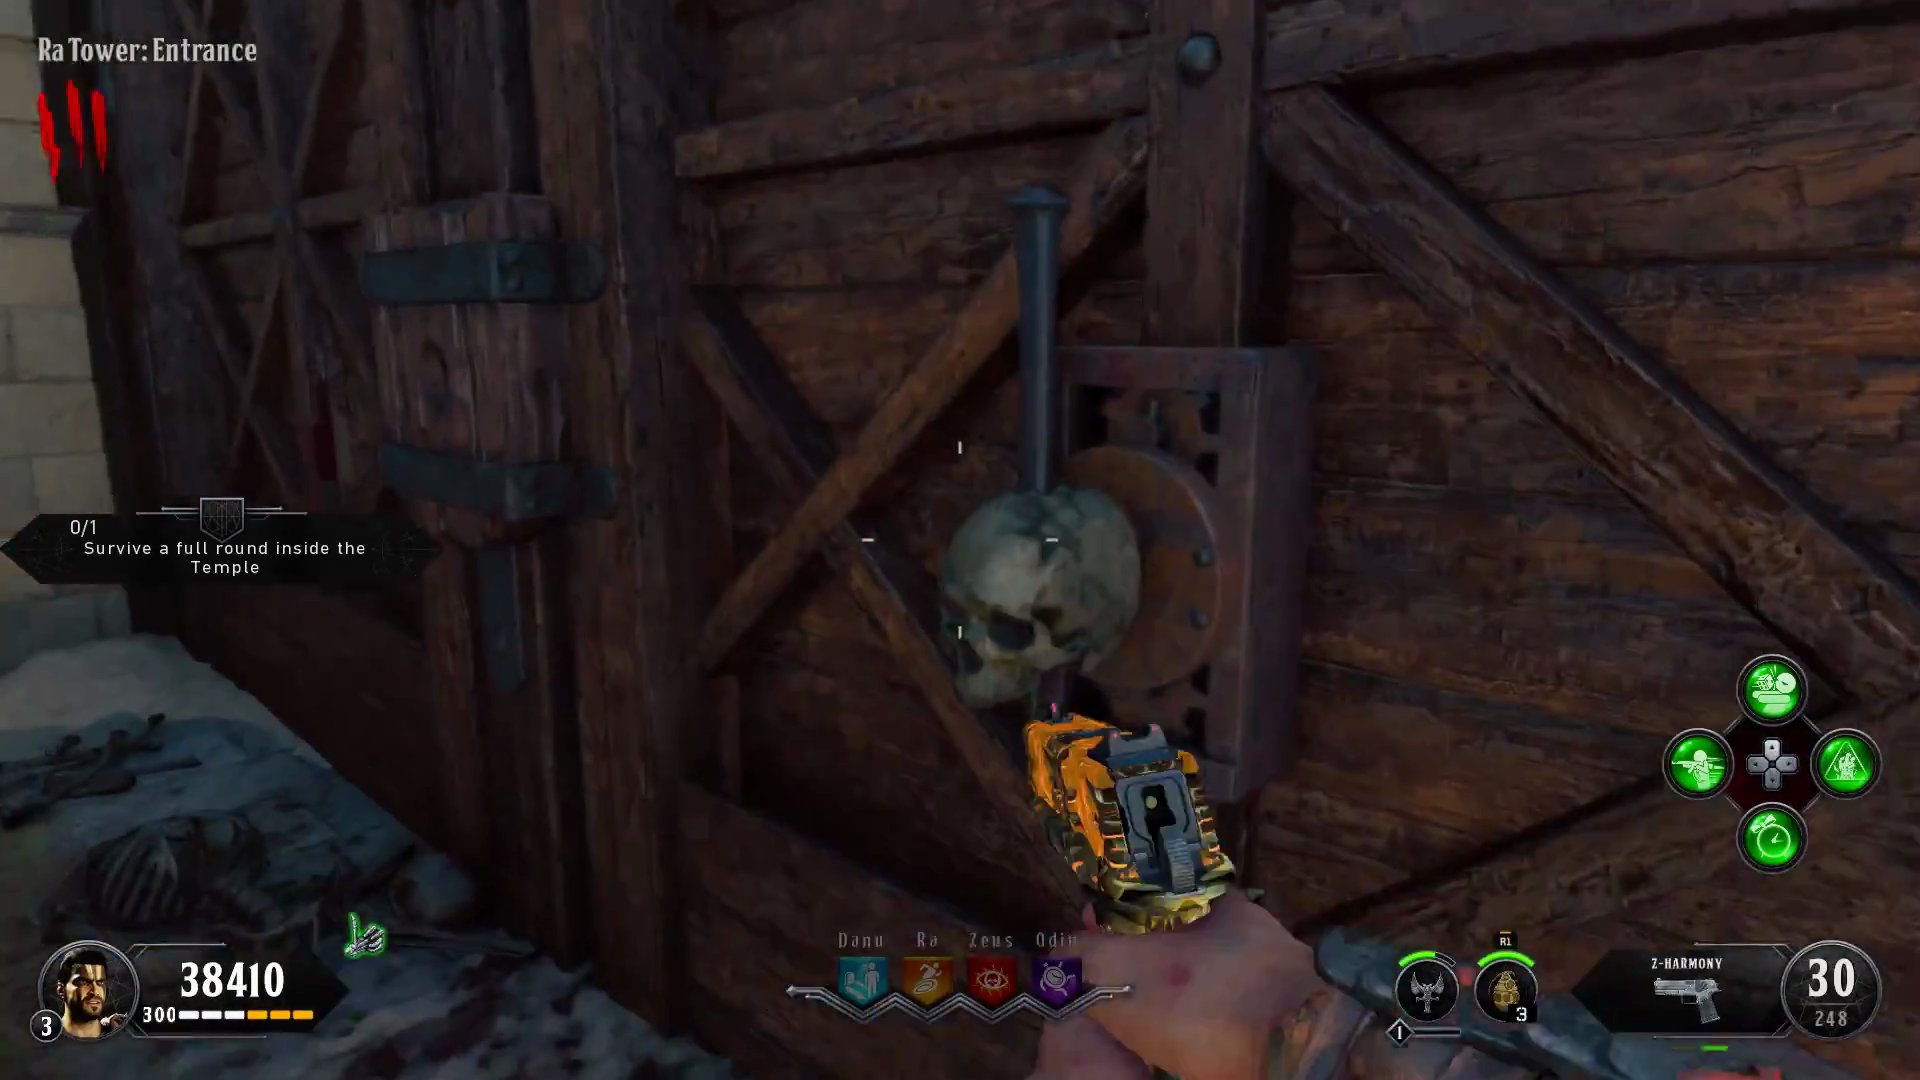
- Interact with the handle to assemble the trap. Be sure to choose a location you like, as the trap cannot be moved once placed.
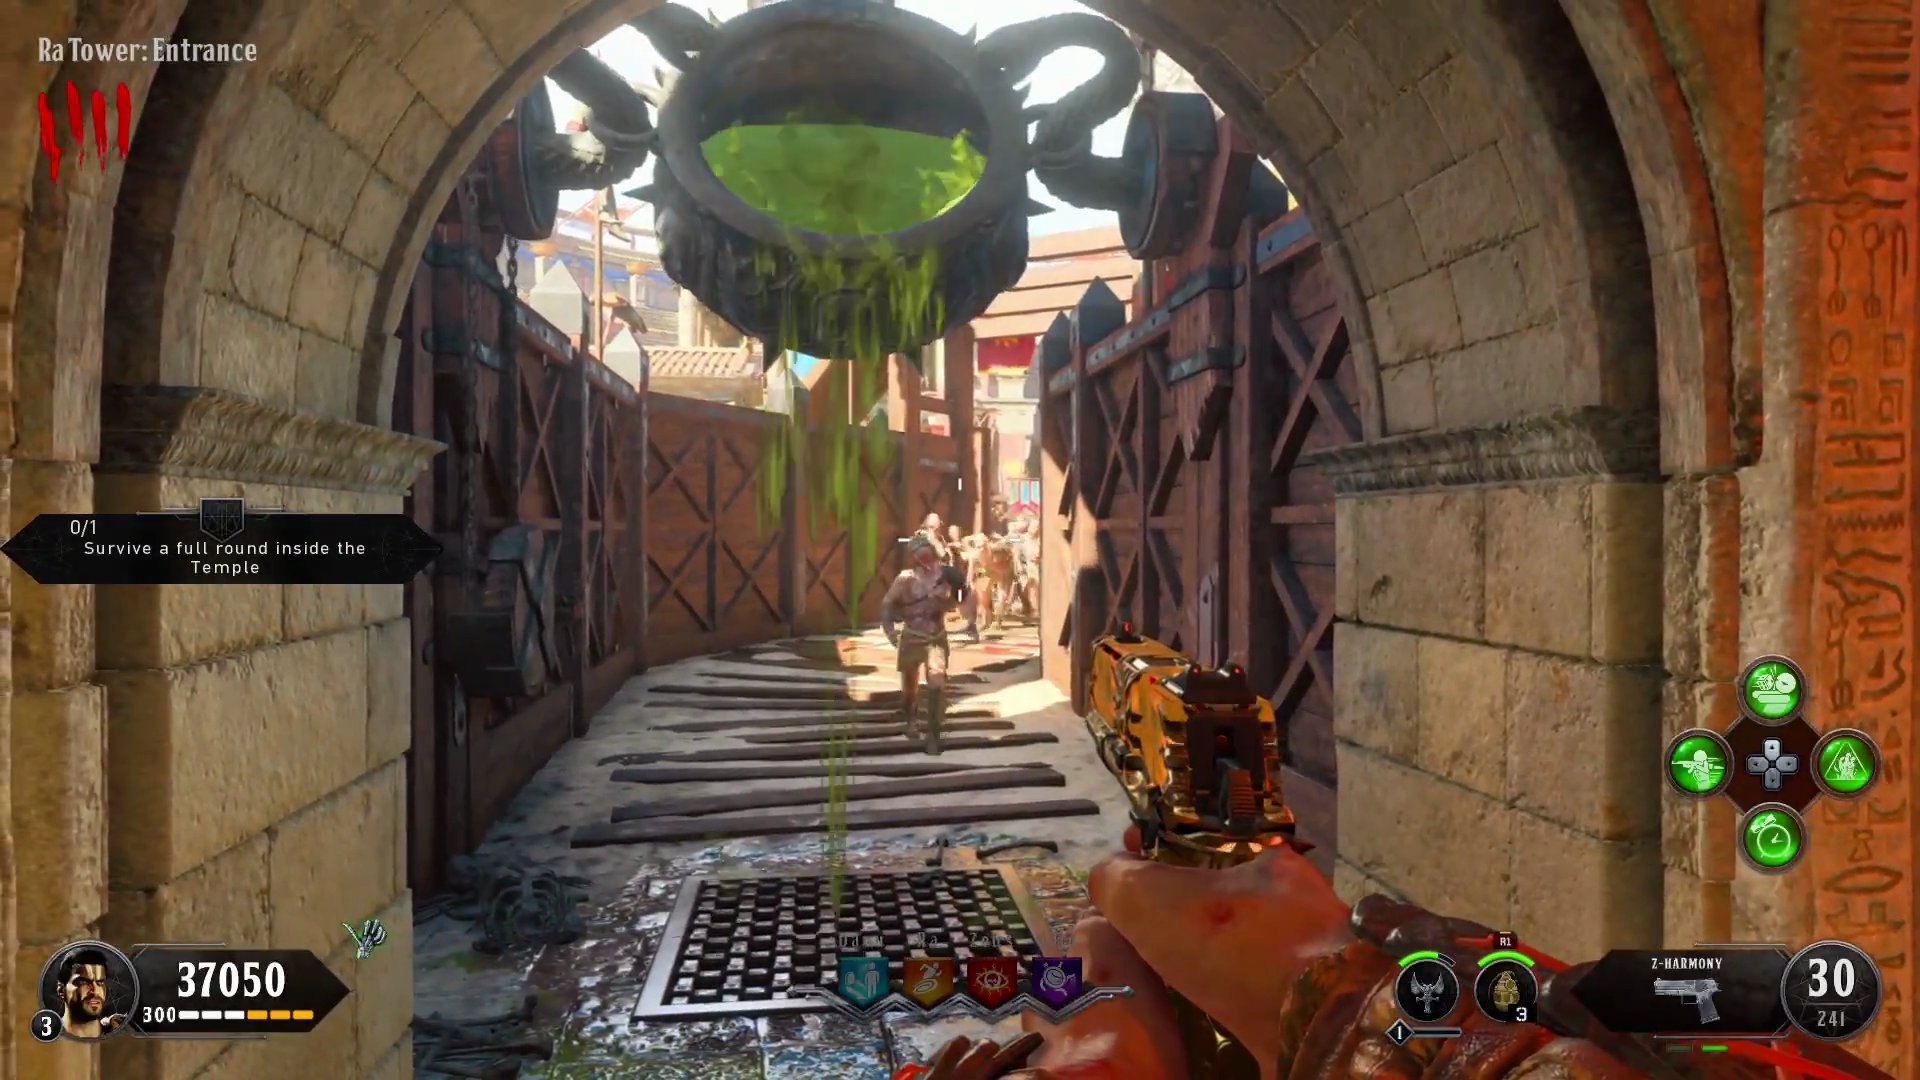
- Once assembled, you can activate the Acid Trap by interacting with the handle again for a cost of 1500 points.
- The trap will release a vat of hot, boiling acid onto the path below, damaging any zombies caught in its corrosive stream.
Finished the Easter Egg?
Send this guide to your squad.