My Brother's Keeper | Main Quest
- Updated
- Jul 2, 2026
Overview
This guide walks you through every step of the main Easter Egg from the video, from preparing your bows to defeating the final boss. Follow these detailed instructions and screenshot markers to successfully complete this challenging quest.
Step 1: Upgrade a Bow
- The very first step is to upgrade any one of the four elemental bows. This is a prerequisite to initiate the Easter Egg. Refer to specific bow upgrade guides if needed.
Step 2: Collect the Original Bow and Activate Orbs
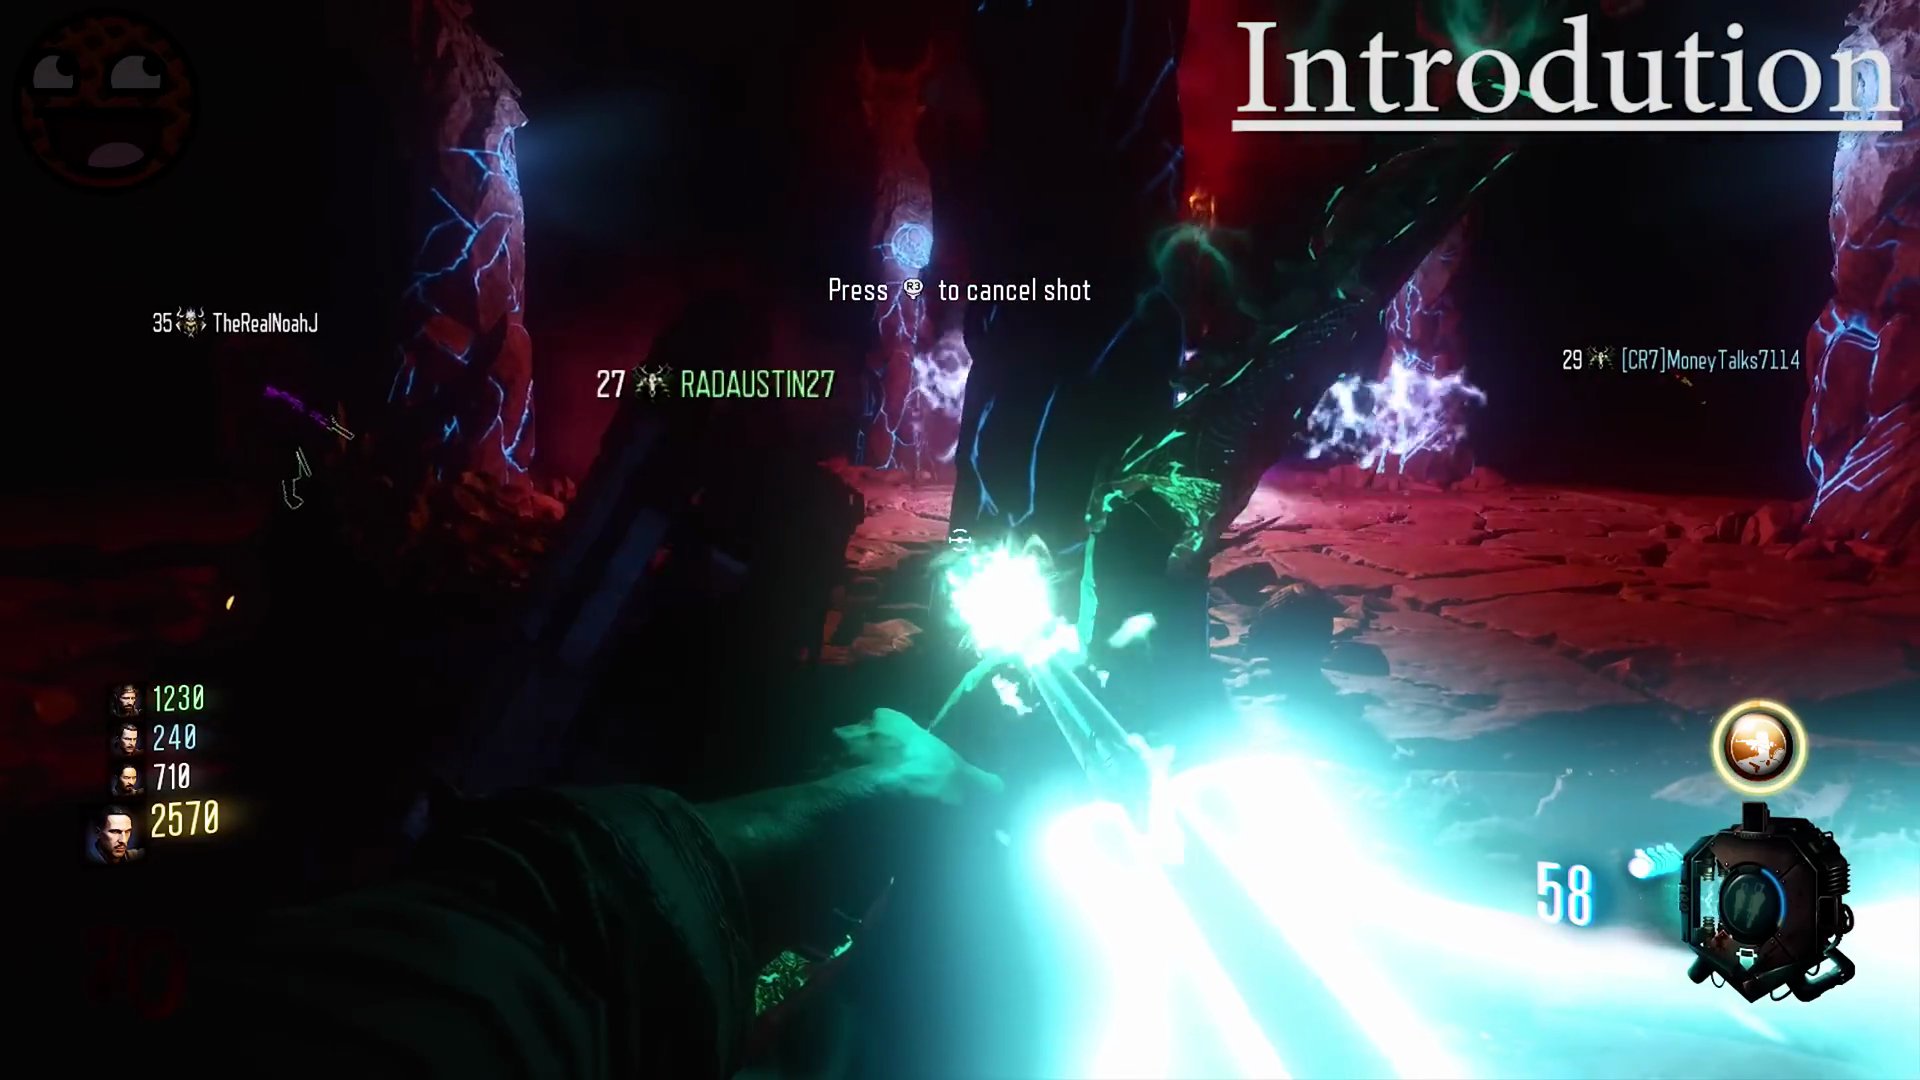
- Once an elemental bow is upgraded, return to the Knight's Tomb and retrieve the un-upgraded original bow.
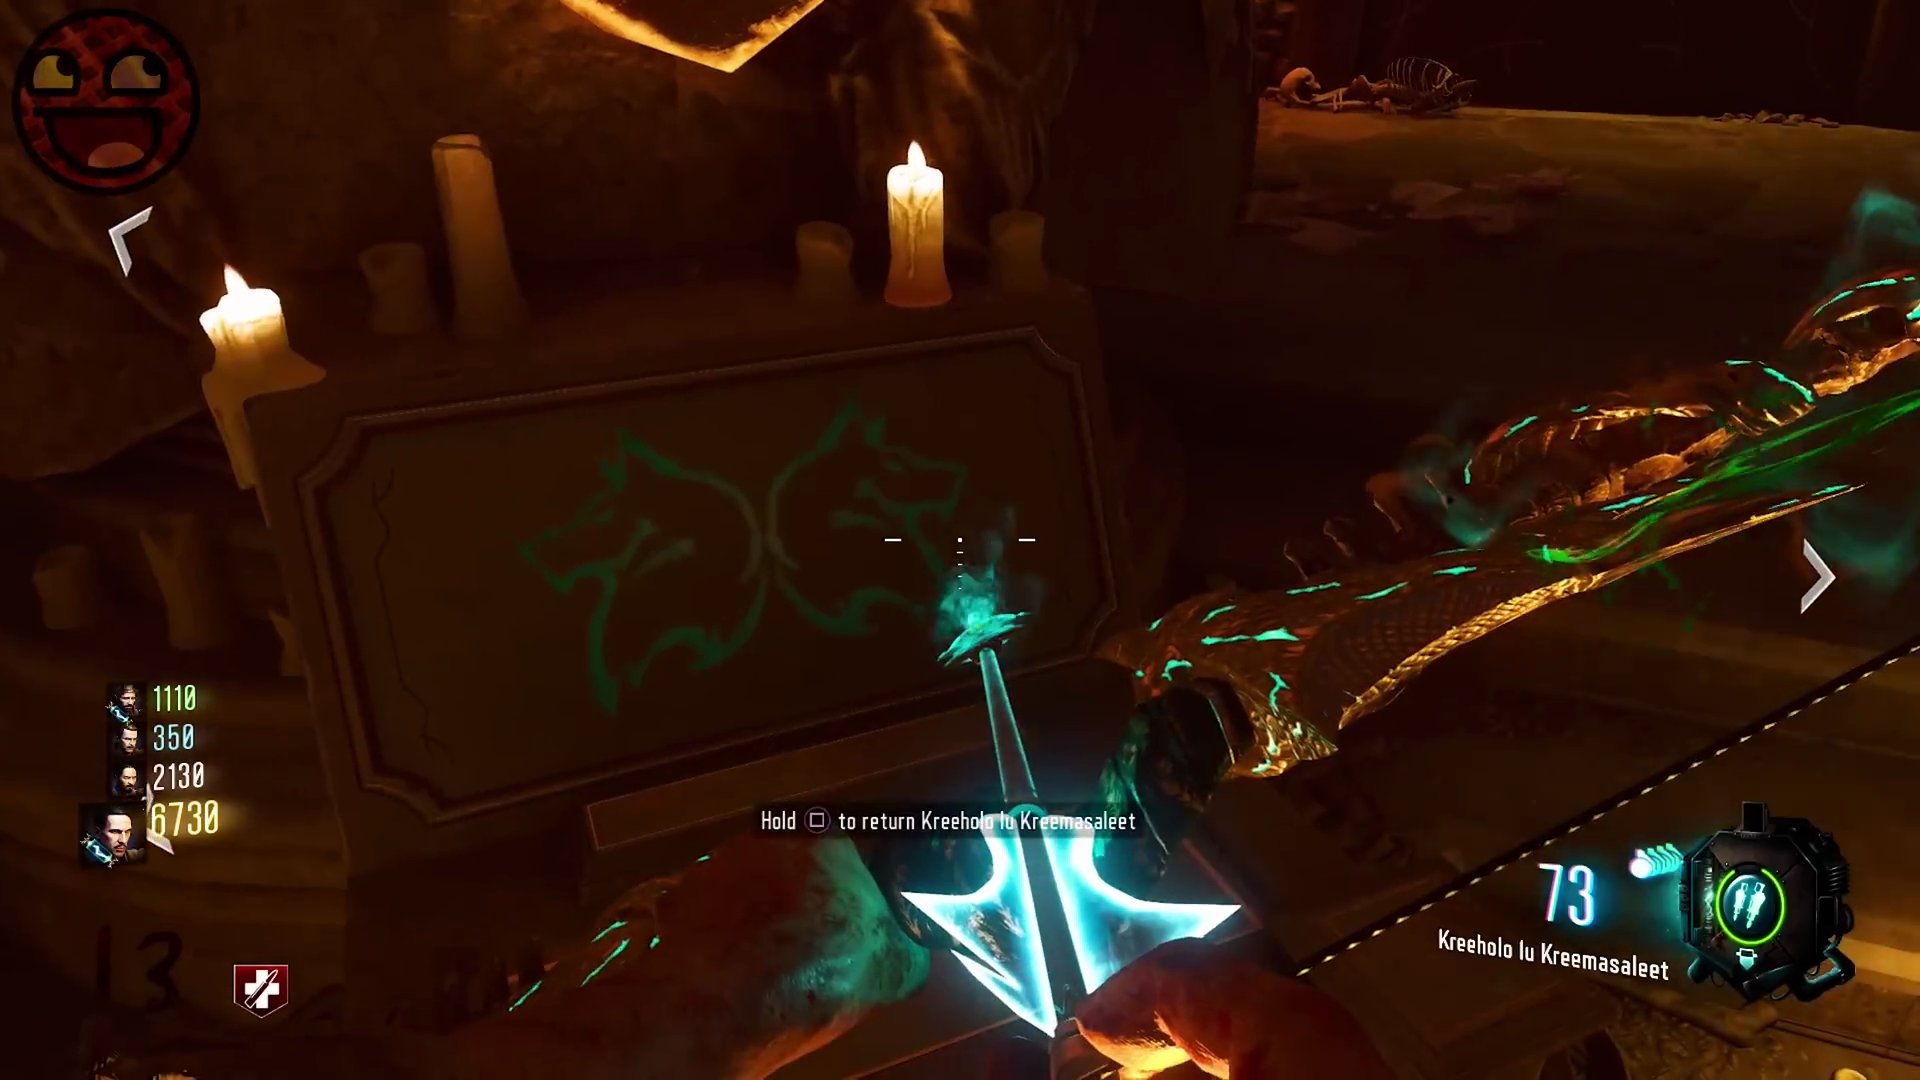
- With the original bow, shoot the three orbs located above the teleporter in the Undercroft. They will turn gold.
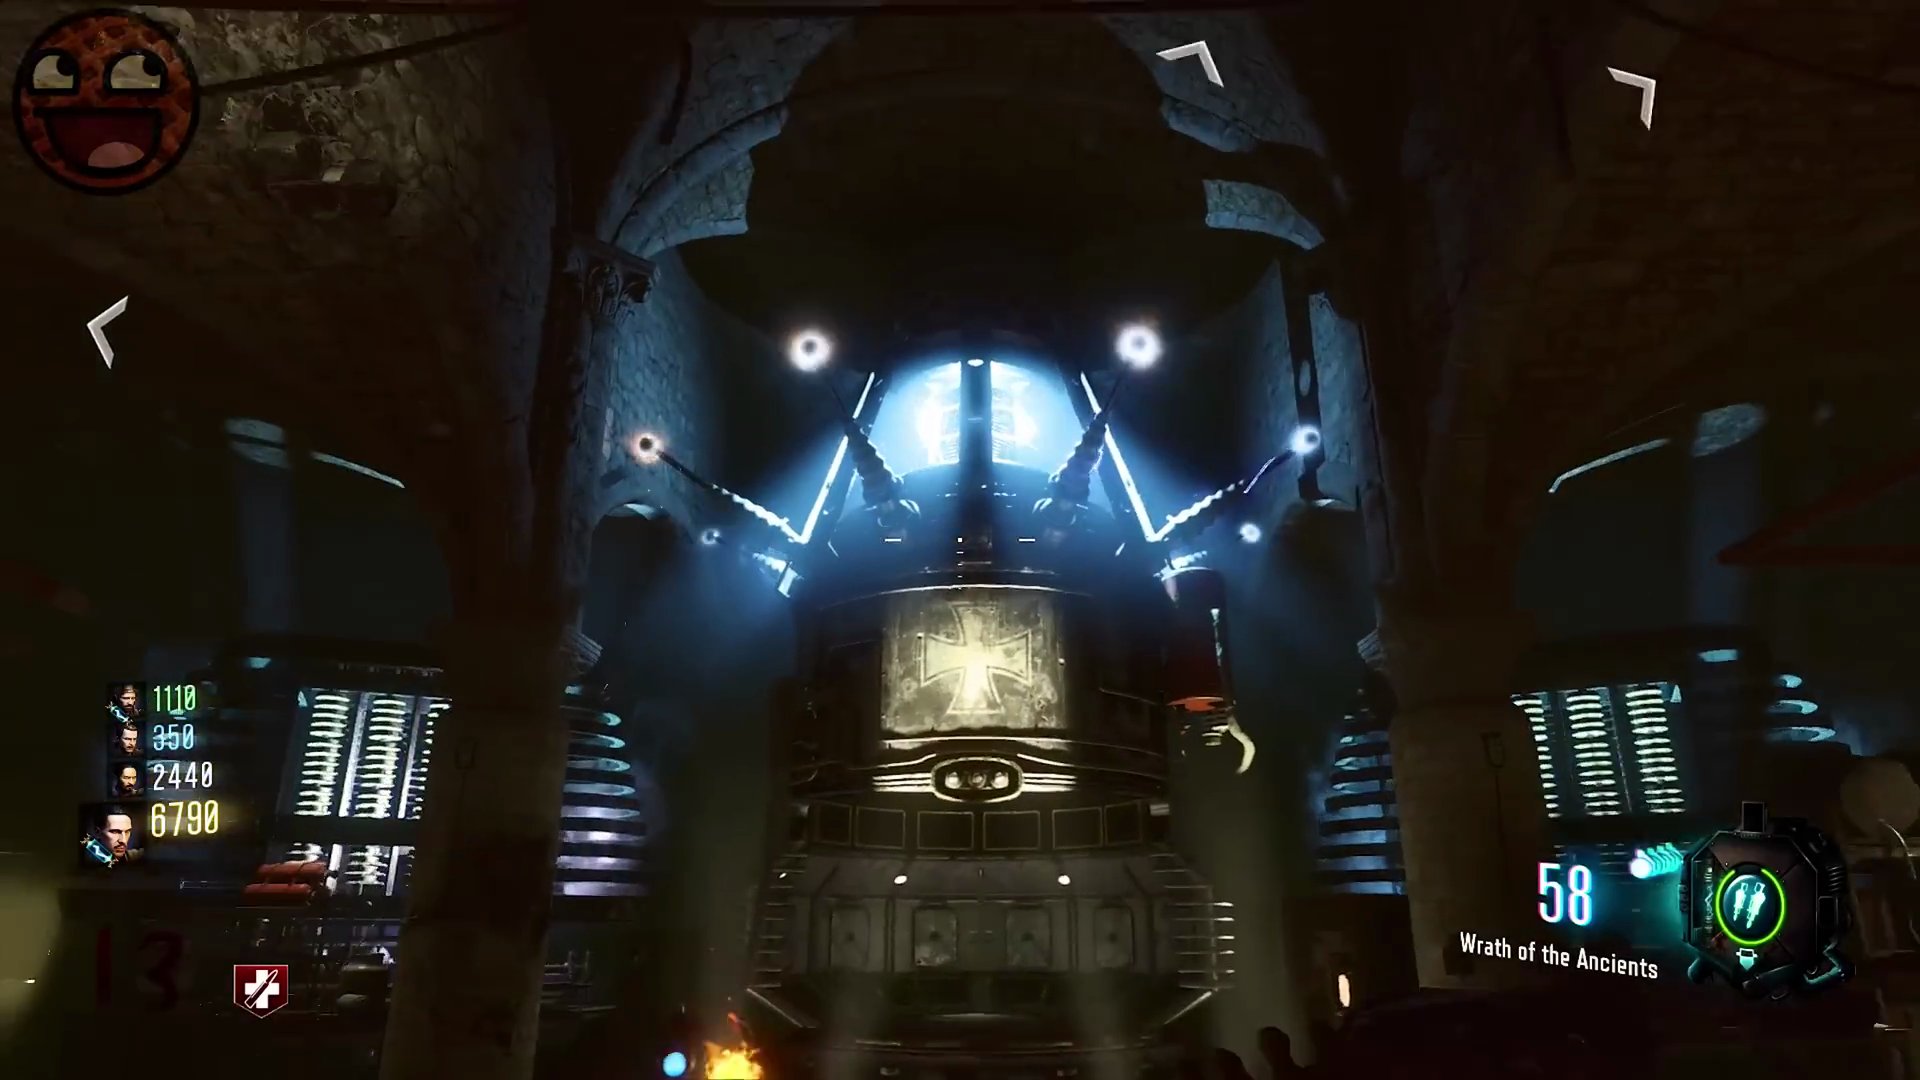
- Once all three orbs are gold, you will hear a distinct Margwa growling sound, signaling the start of the Wisps step.
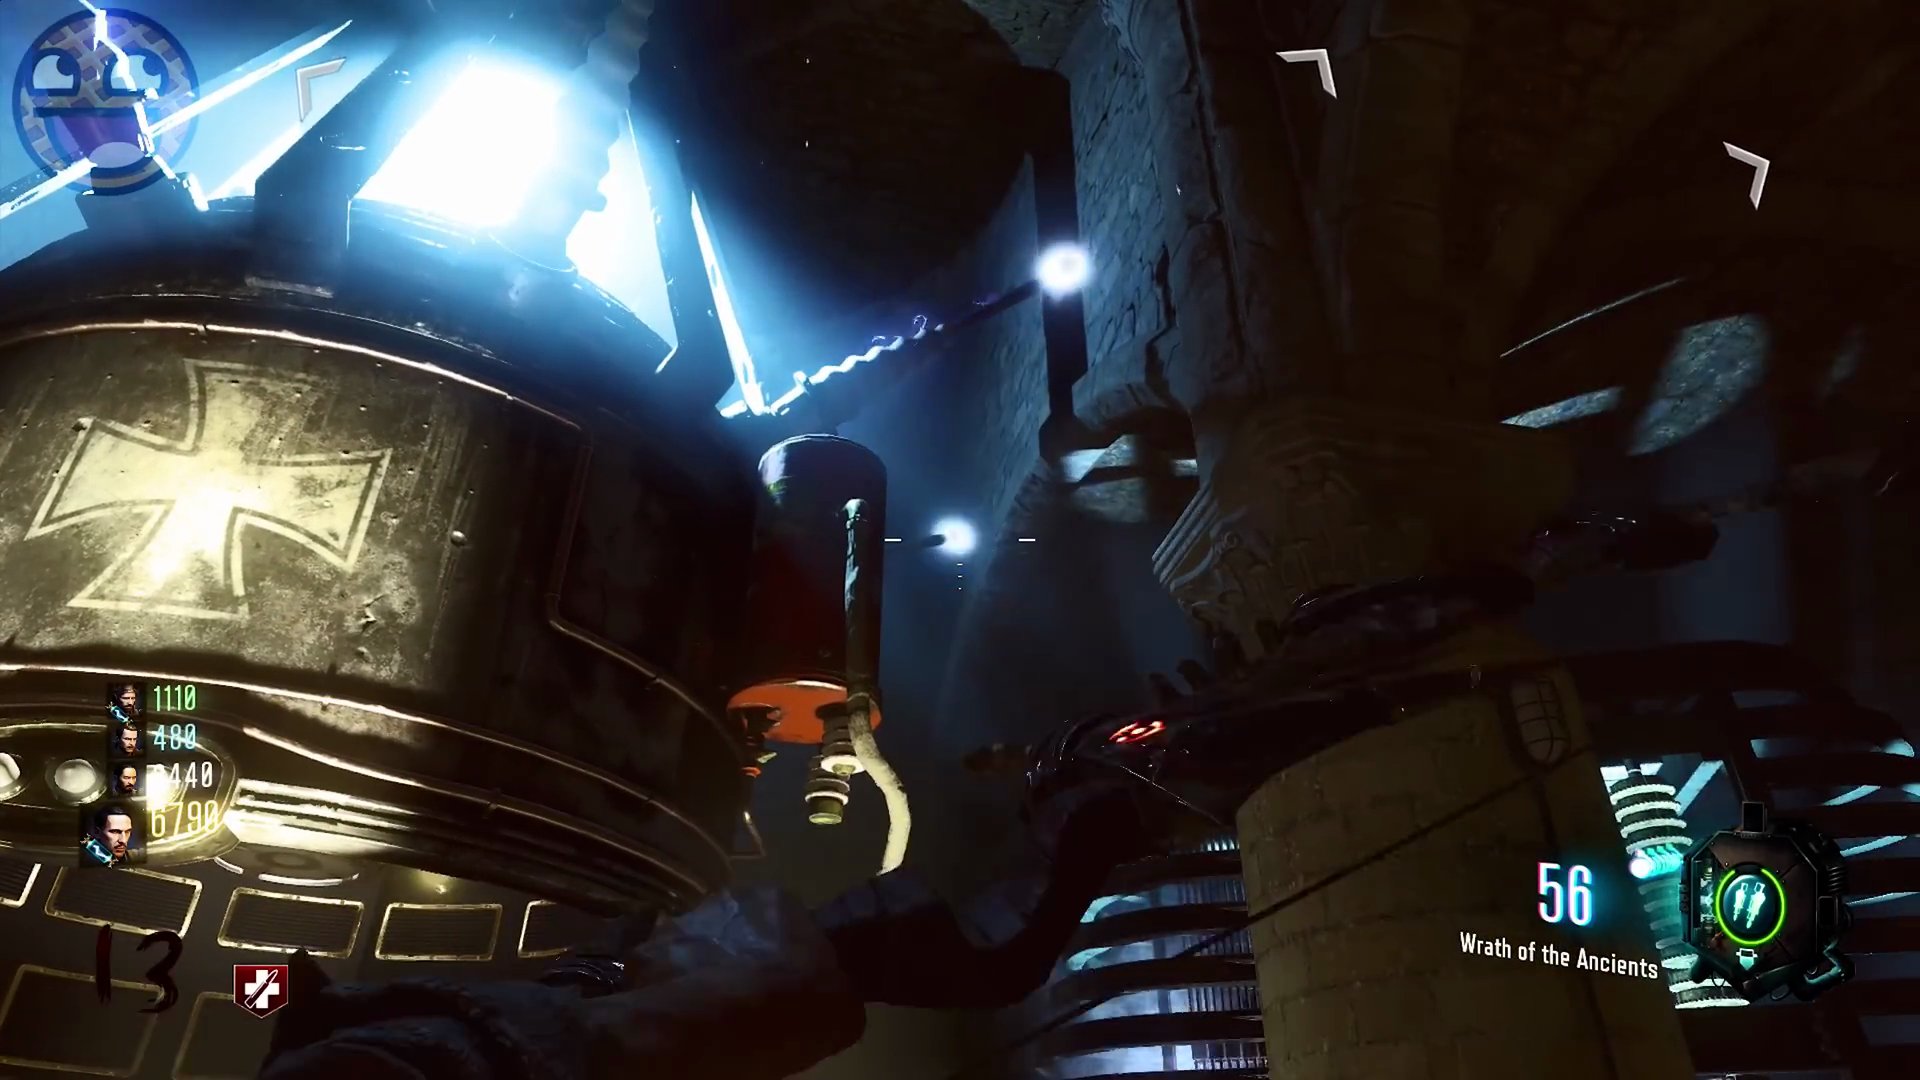
Step 3: The Wisps Challenge
- After the Margwa growl, an electrical blue wisp will spawn in one of several fixed locations across the map. You must find and shoot it with your bow before it despawns.
- There are various spawn points for the wisps. Common locations include:
- On a table opposite the Quick Revive machine in the spawn area.
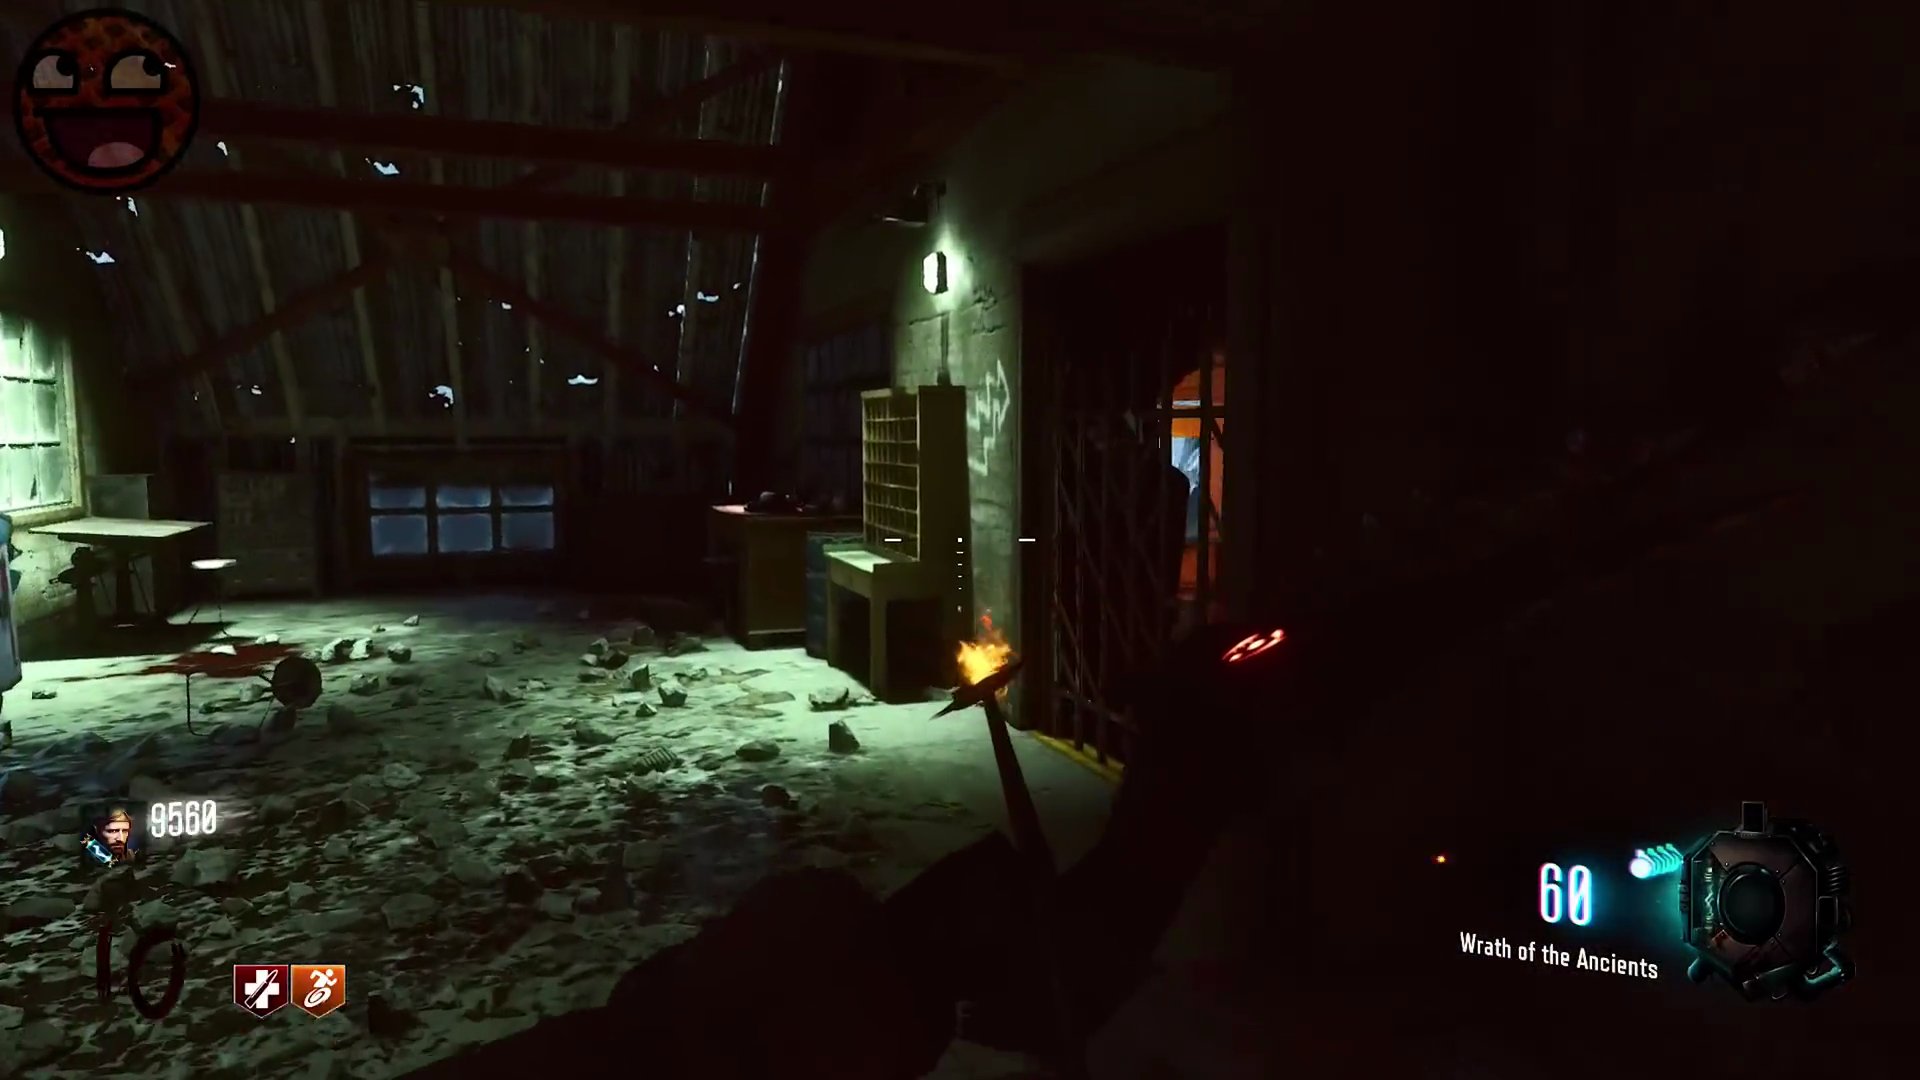
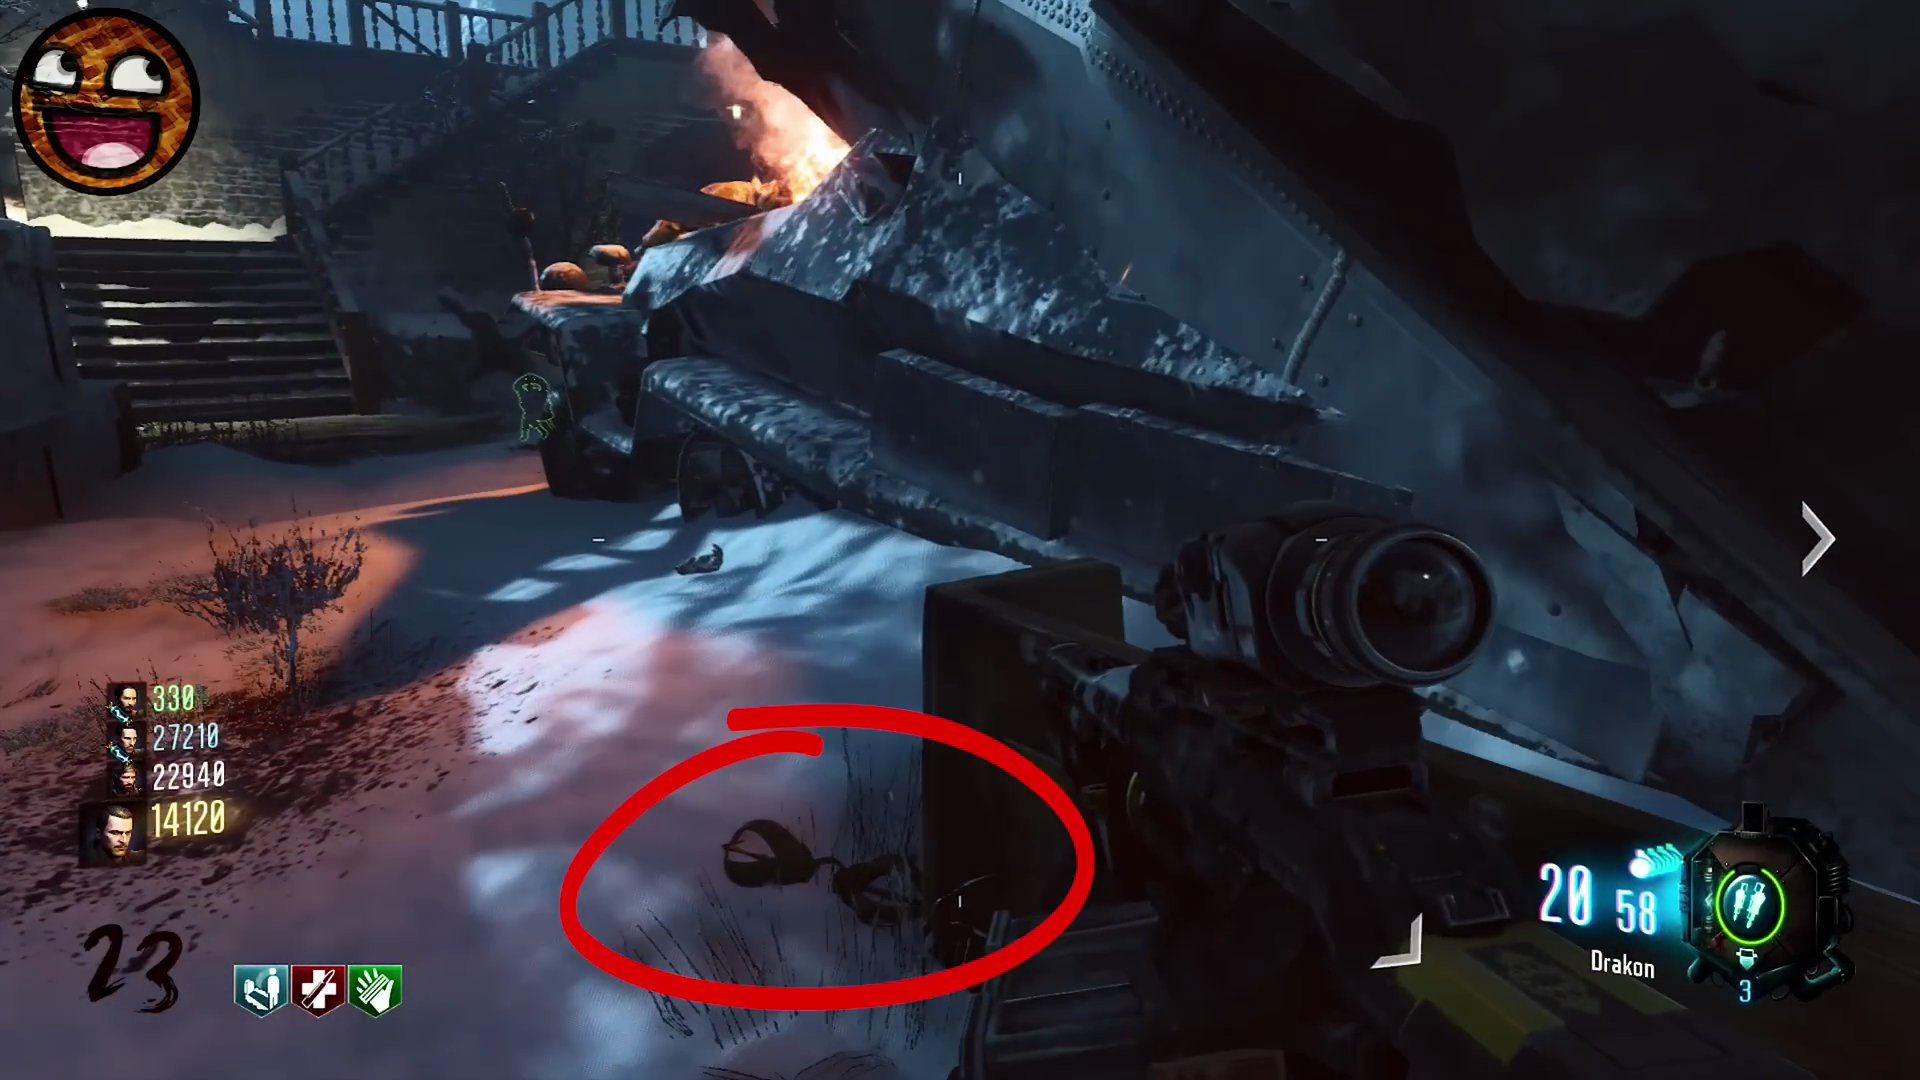
- Next to the broken car on the slope leading up to Double Tap.
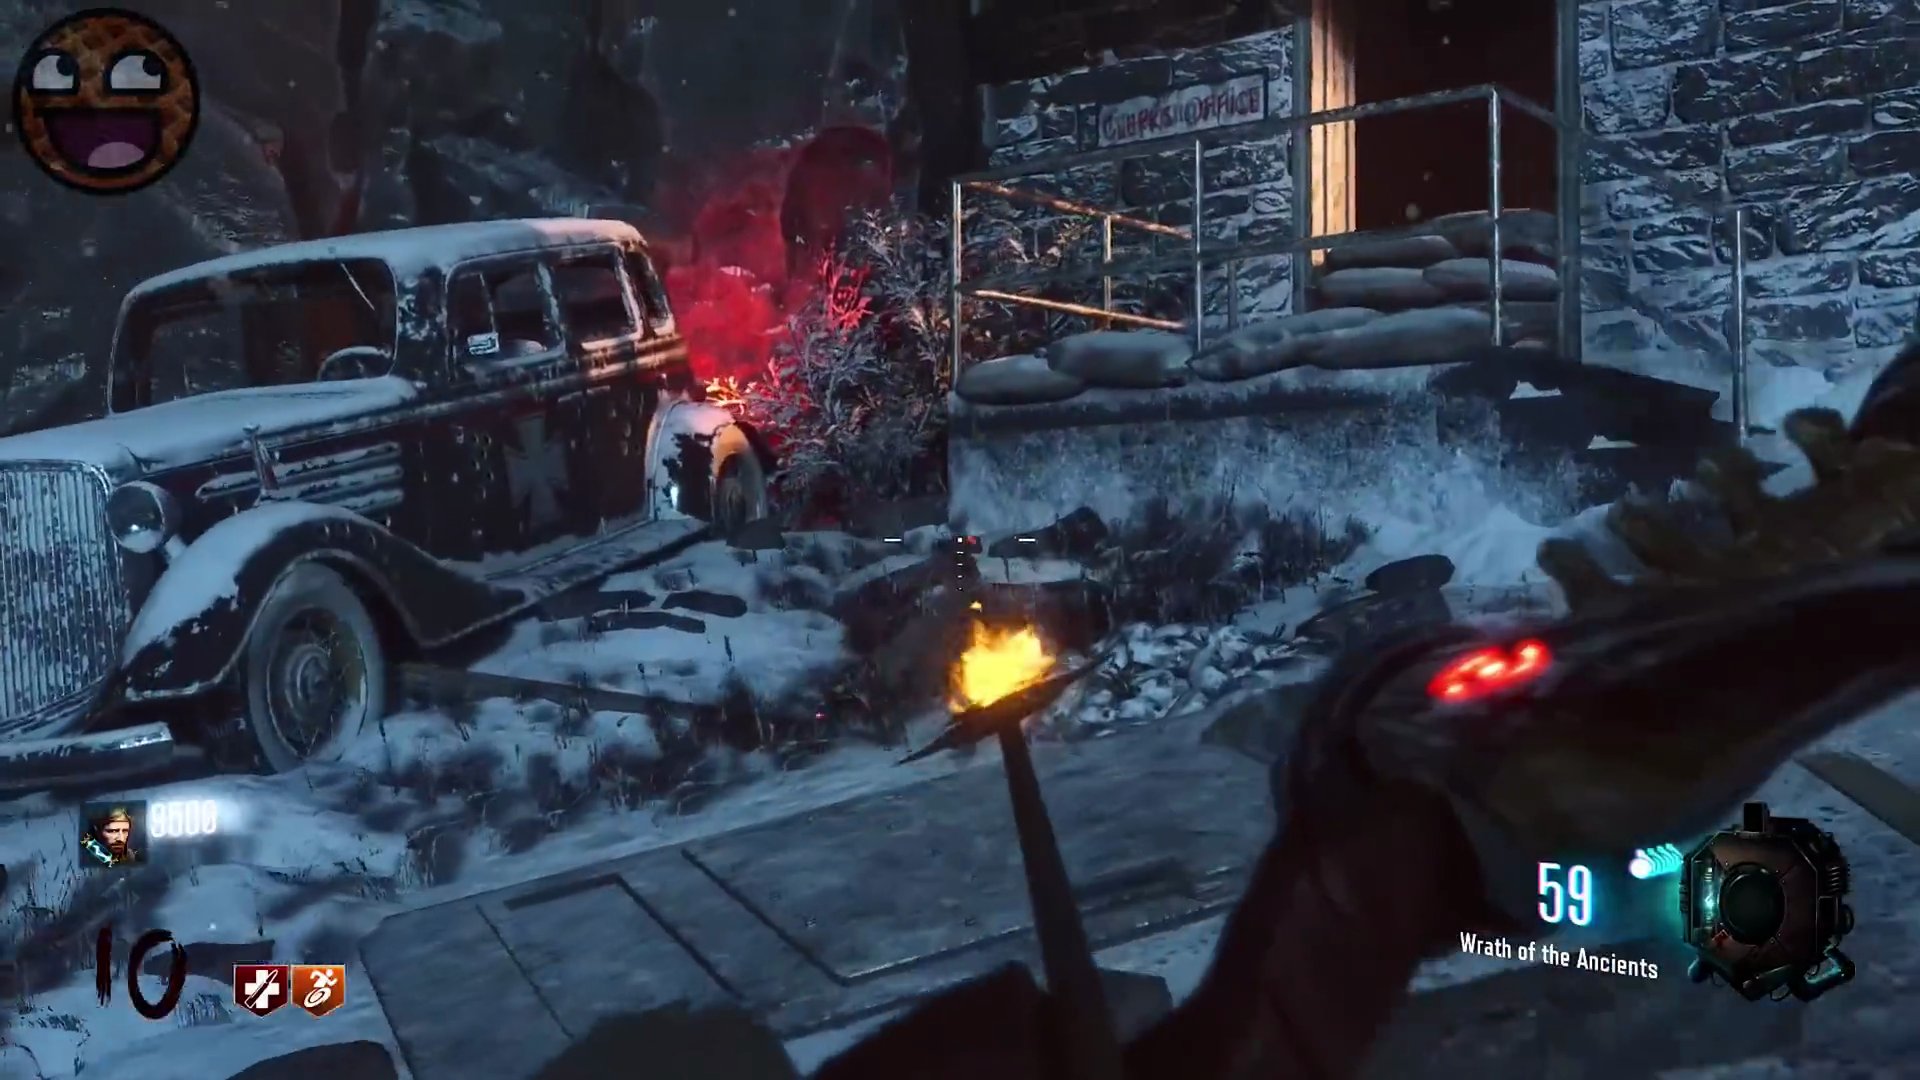
- Room above Double Tap, on a box near the Wondersphere entrance.
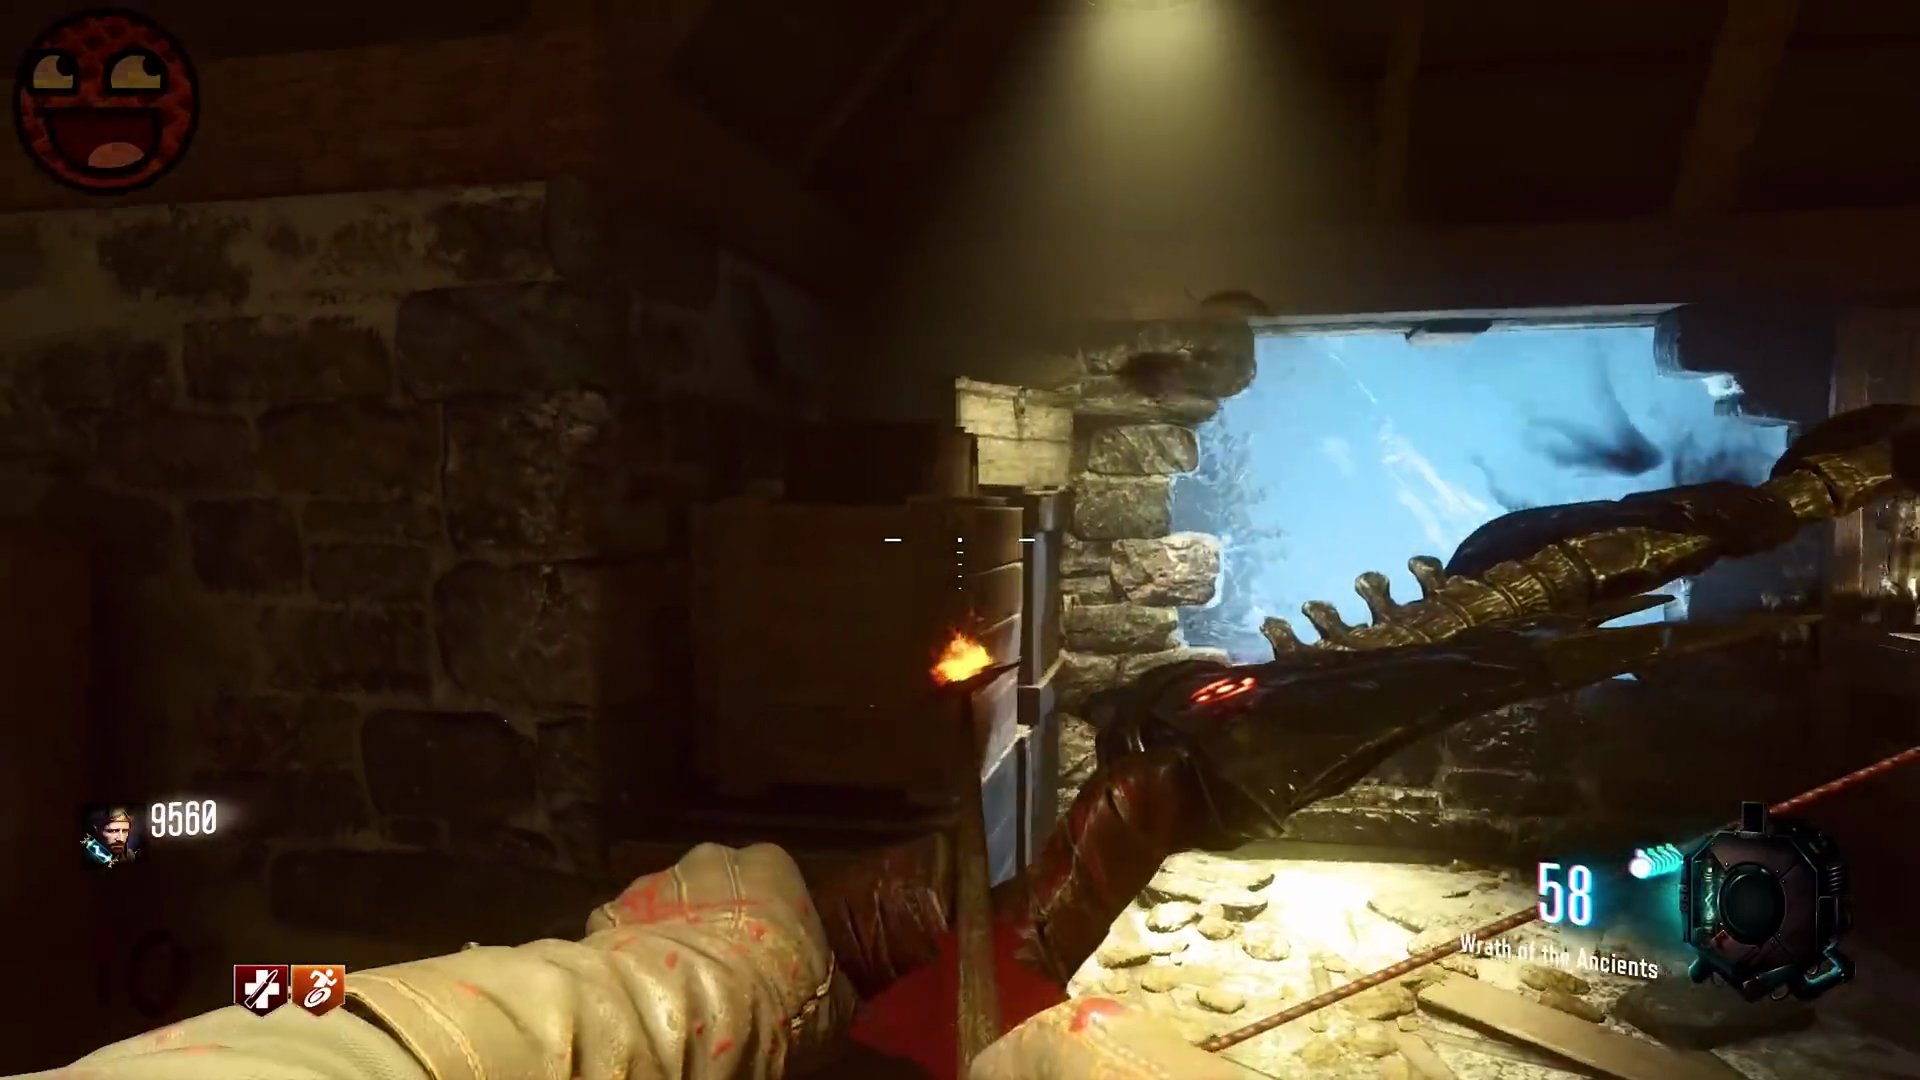
- On top of the globe in the room adjacent to Sam's room in Maxis's house.
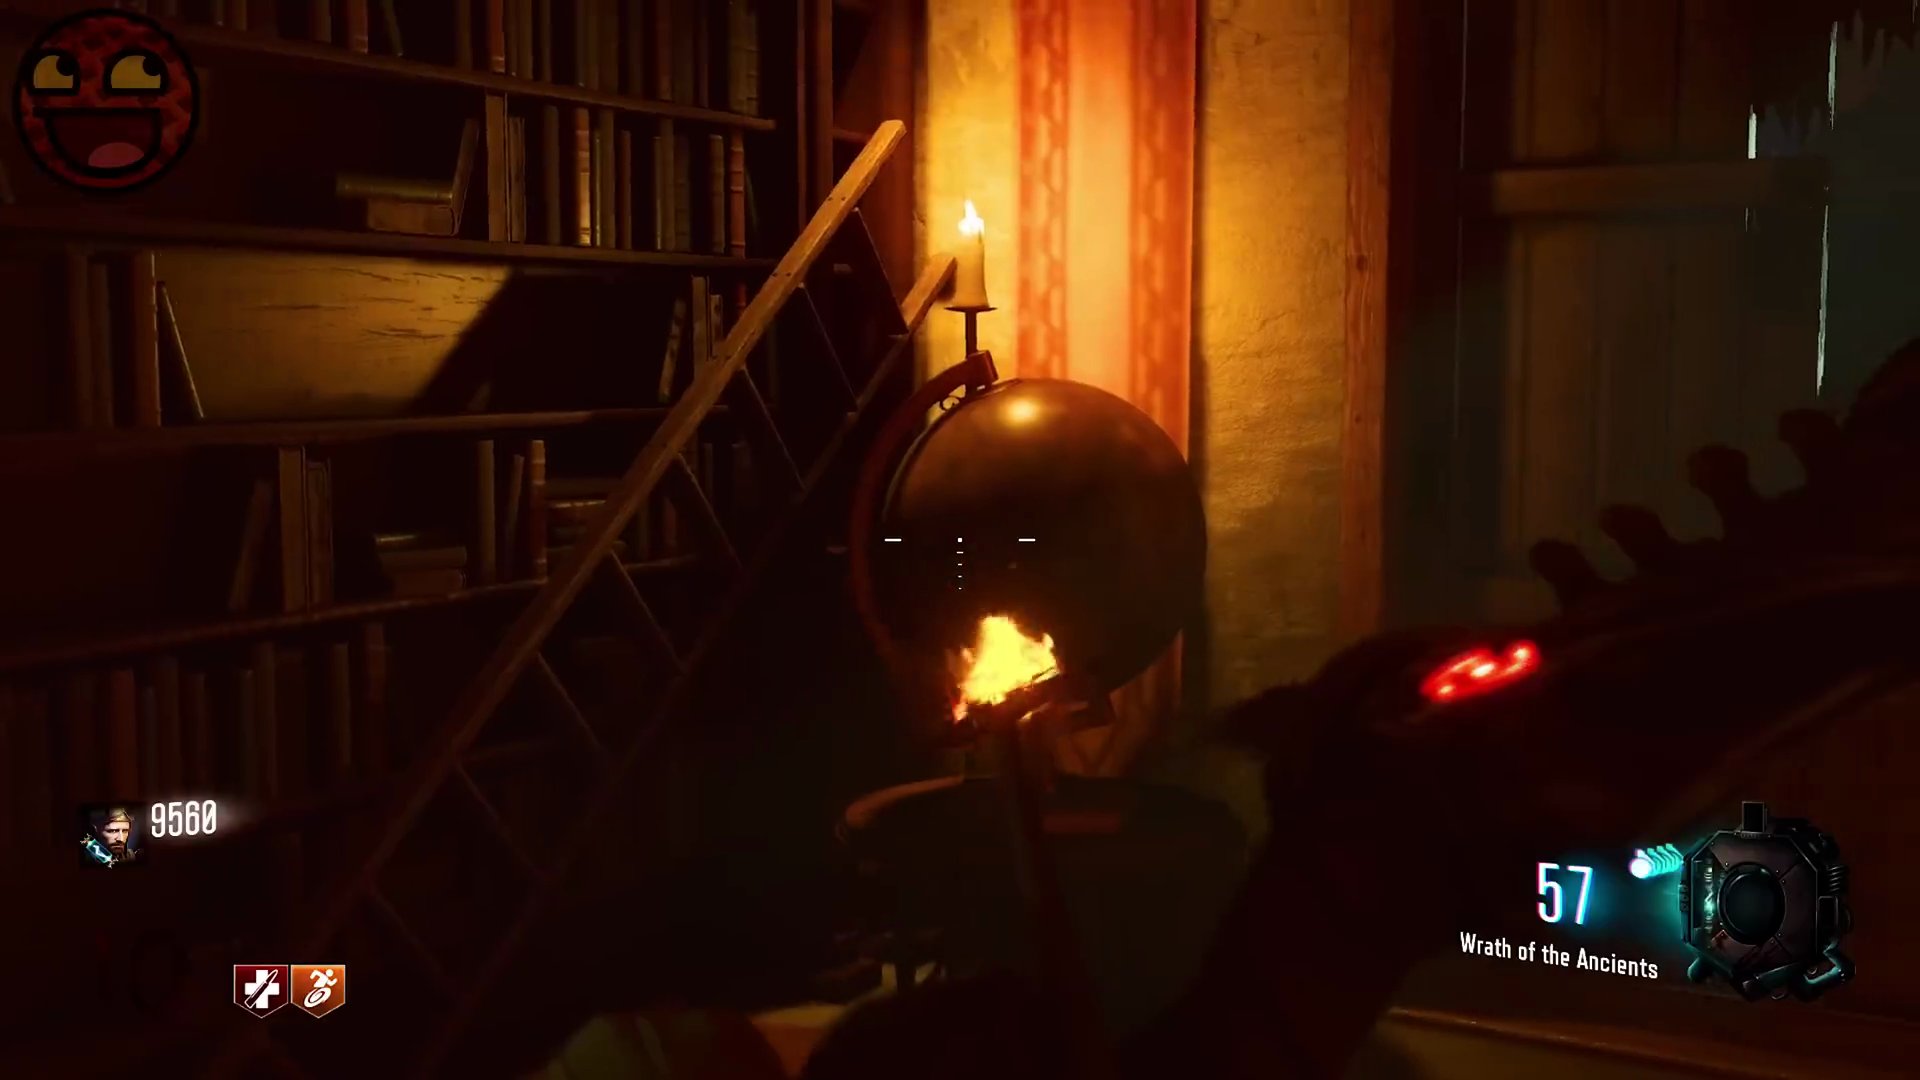
- On the telephone on the wall in the power switch room (barracks area).
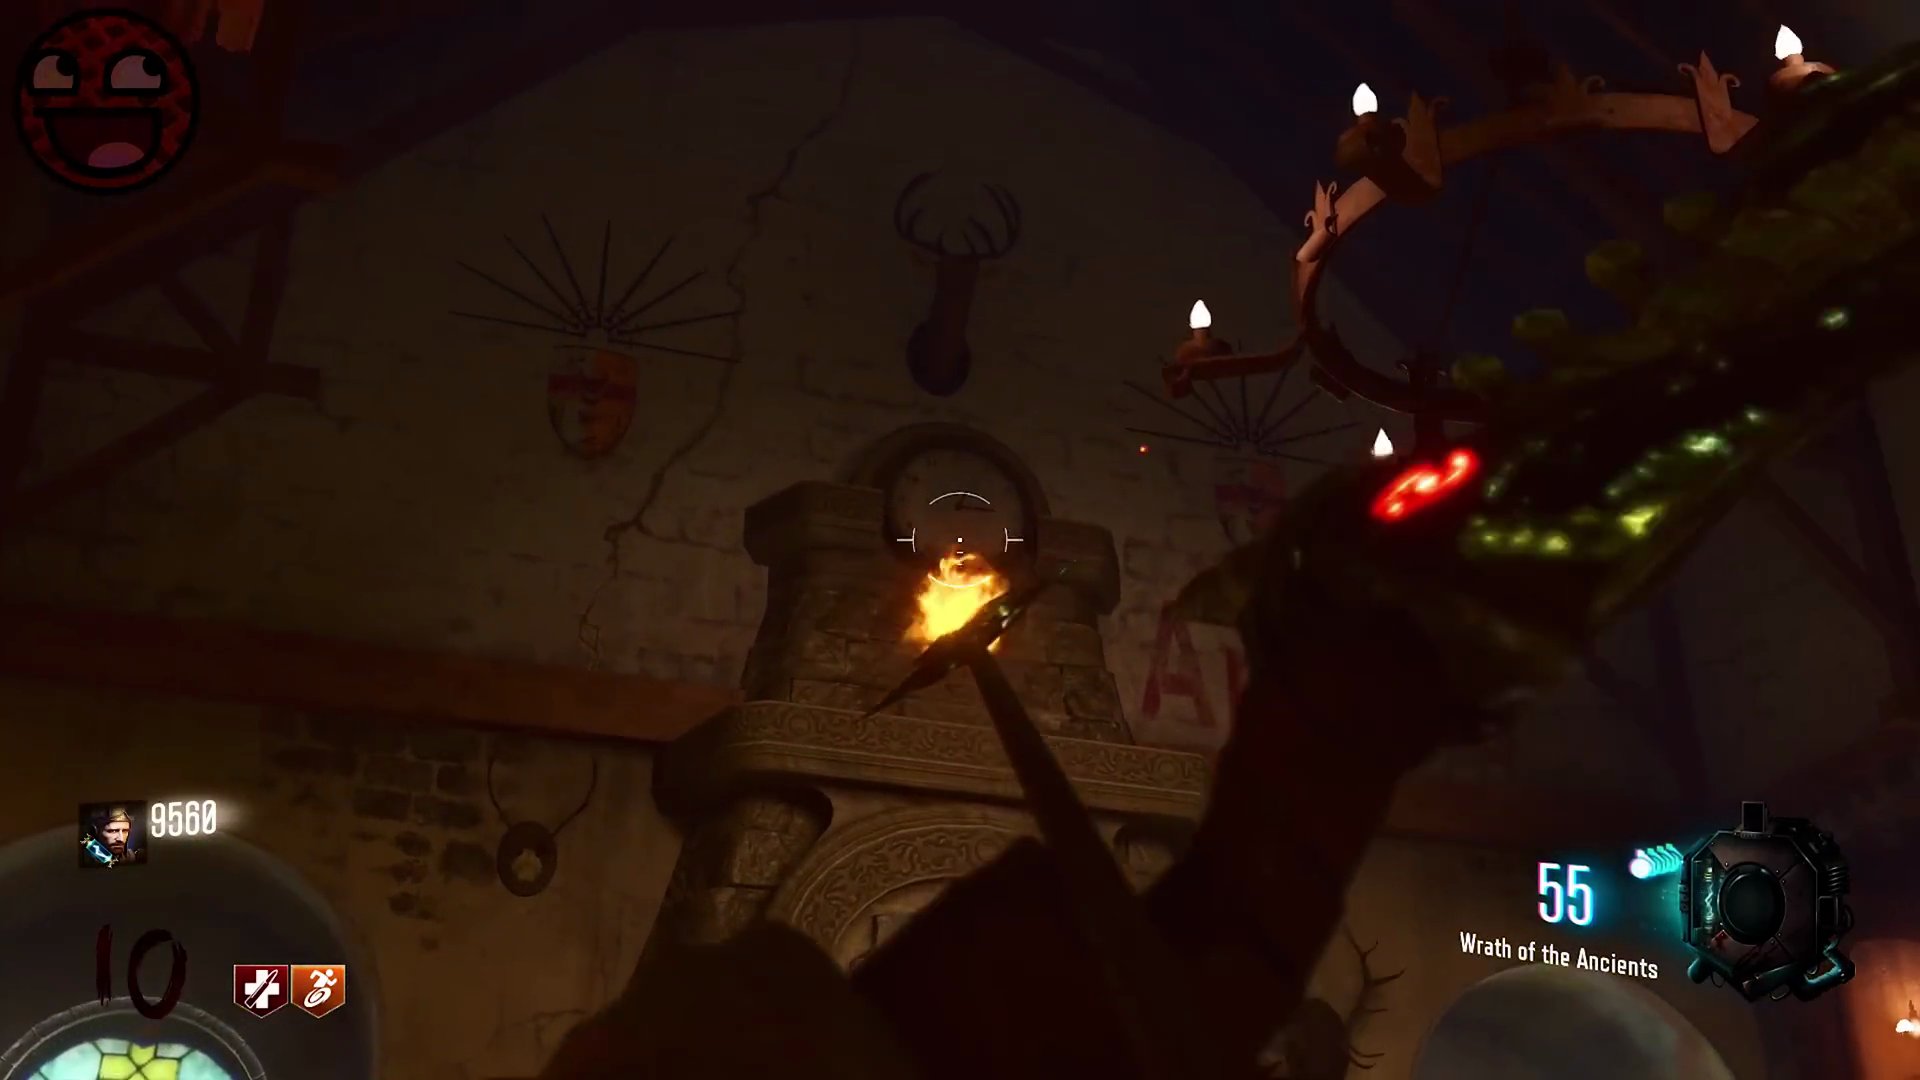
- On the clock above one of the dragon head locations inside the church.
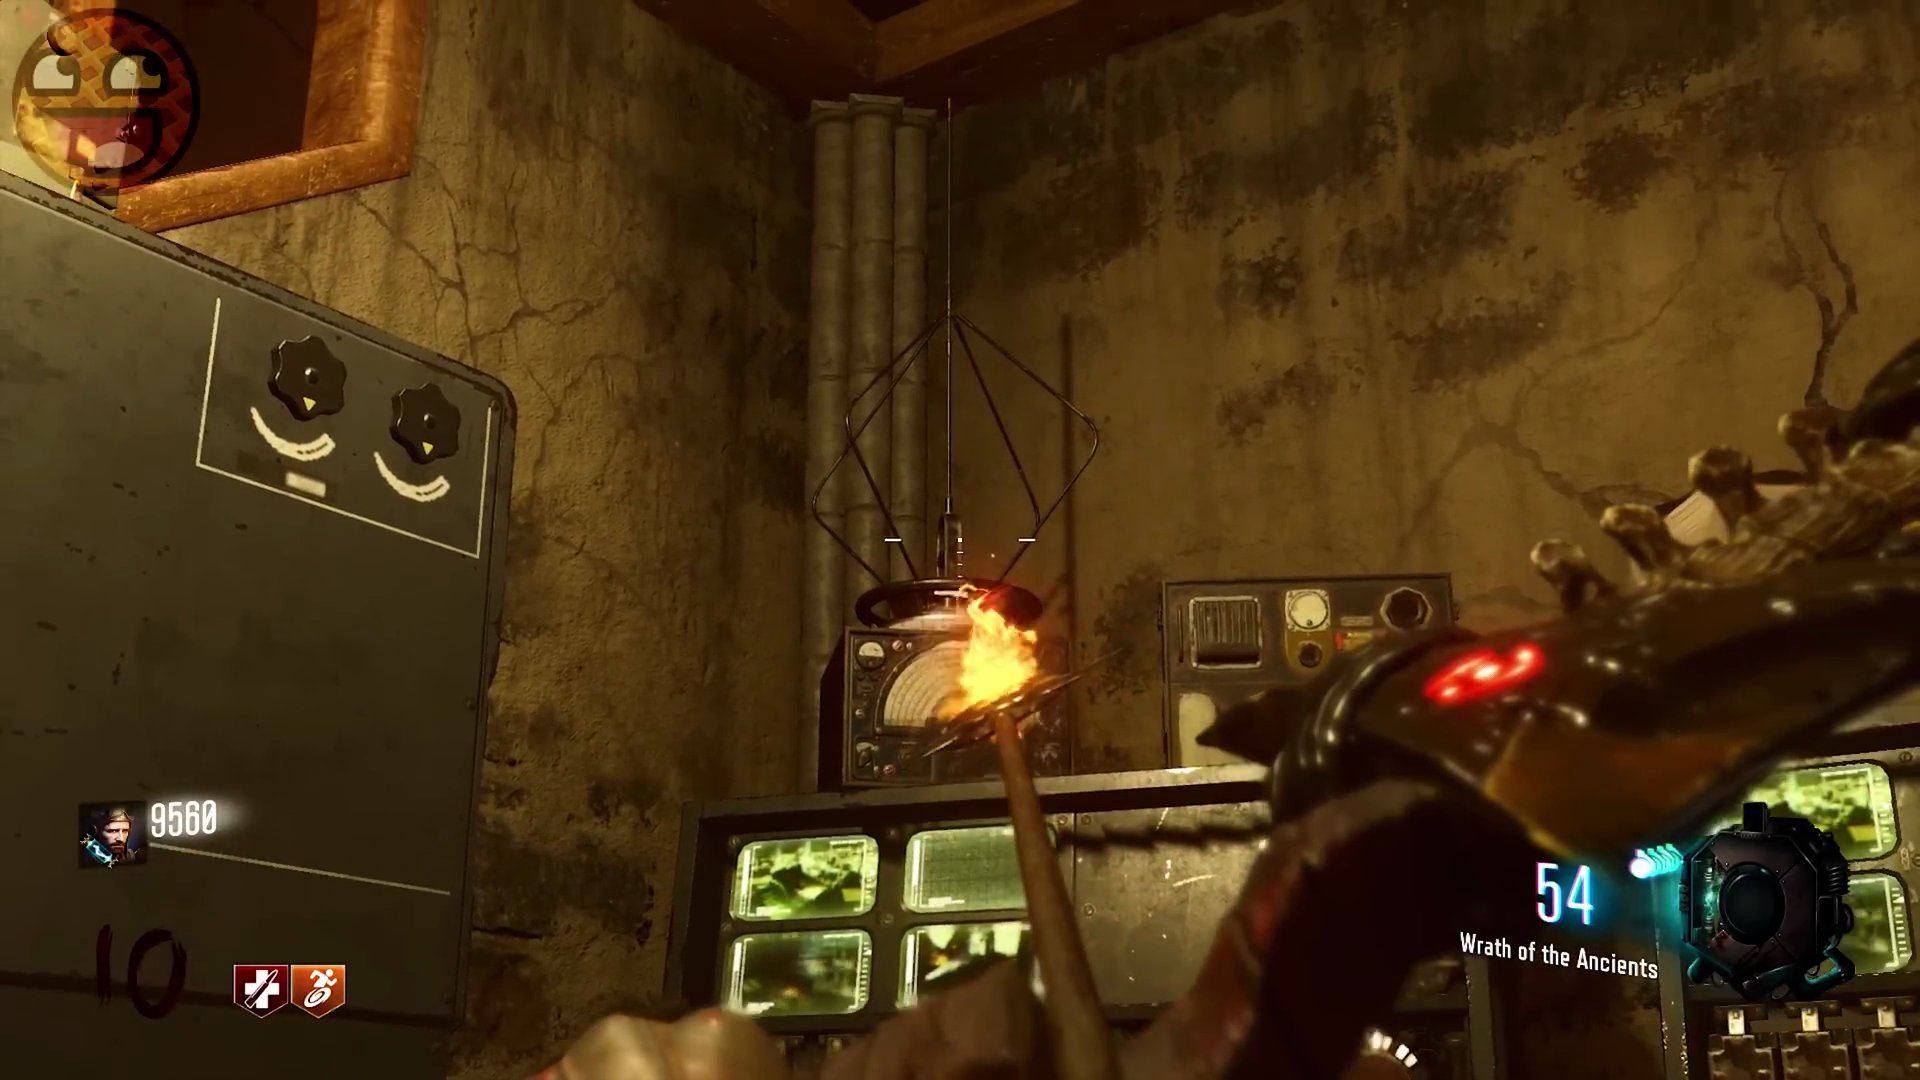
- On the antenna to the right when facing the M8A7 wallbuy inside the church.
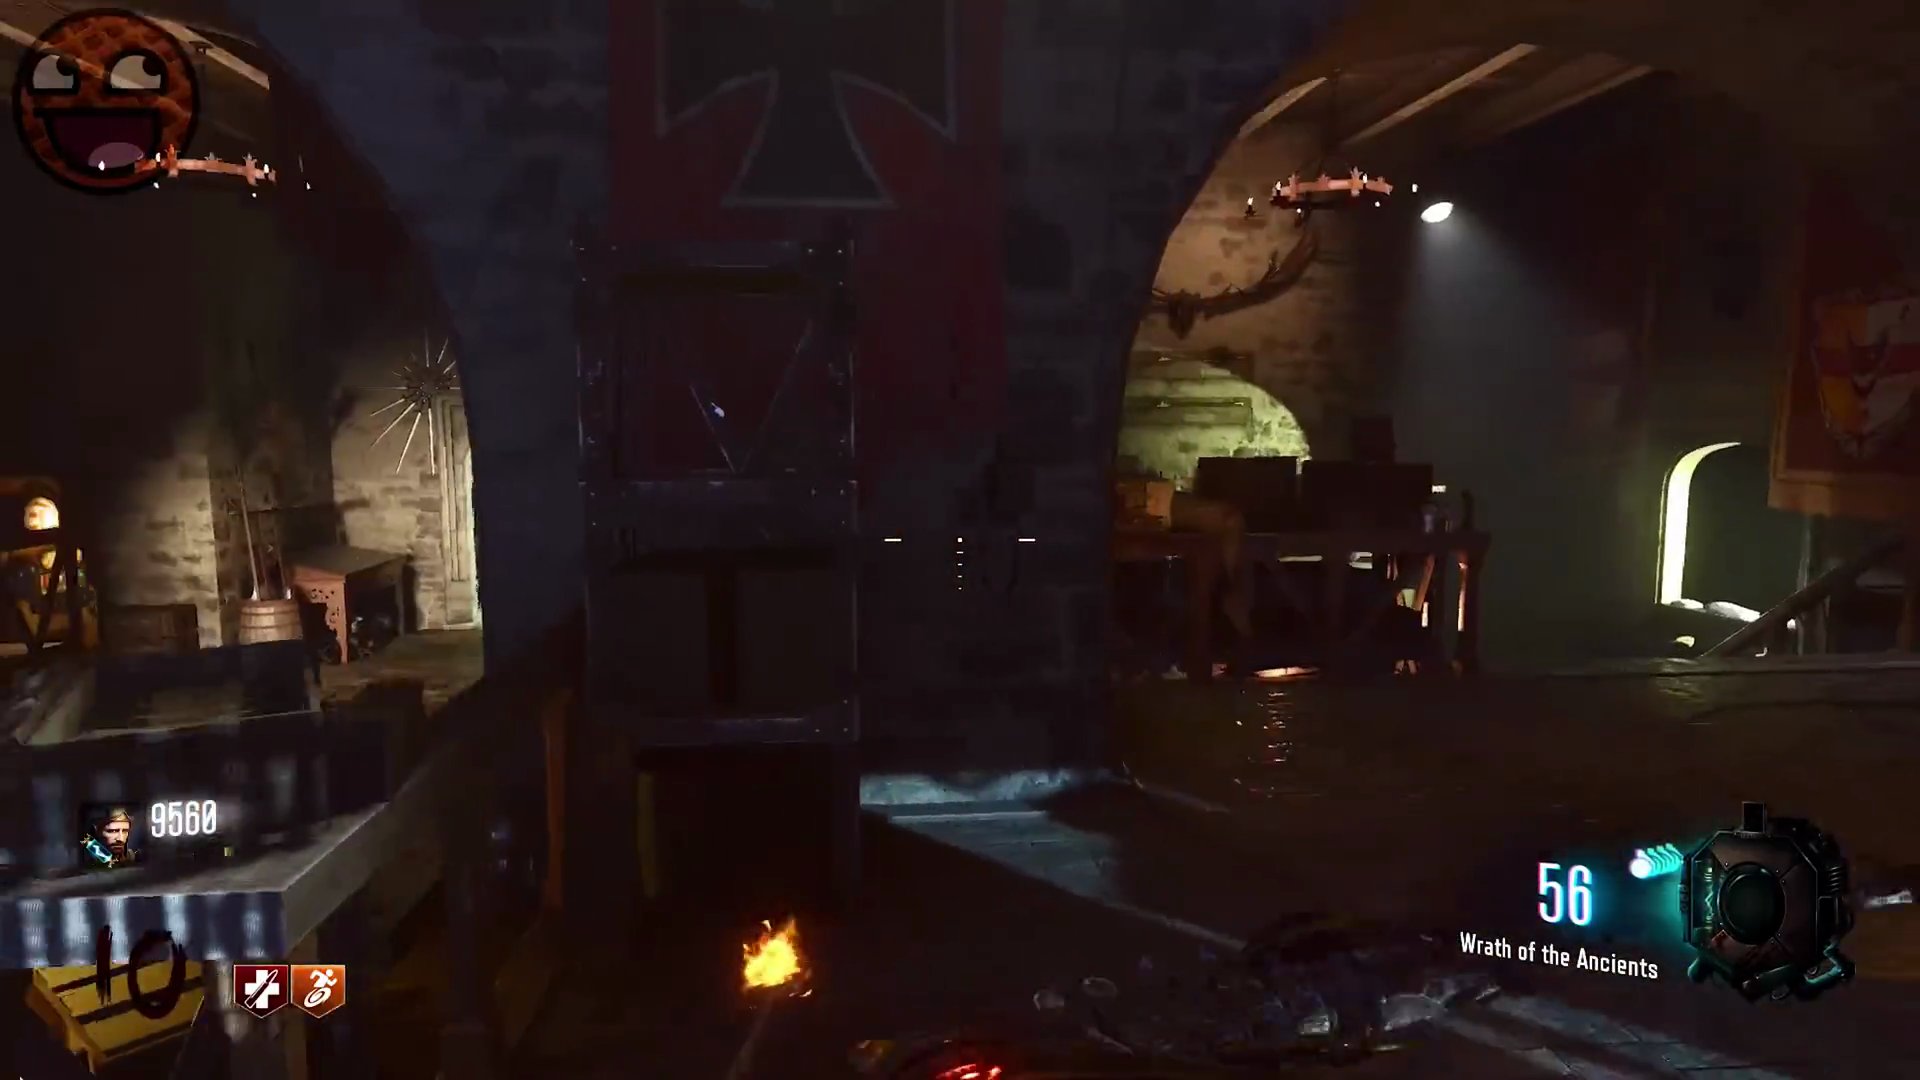
- On a shelf in the barracks building, on the path from the church to the clock tower.
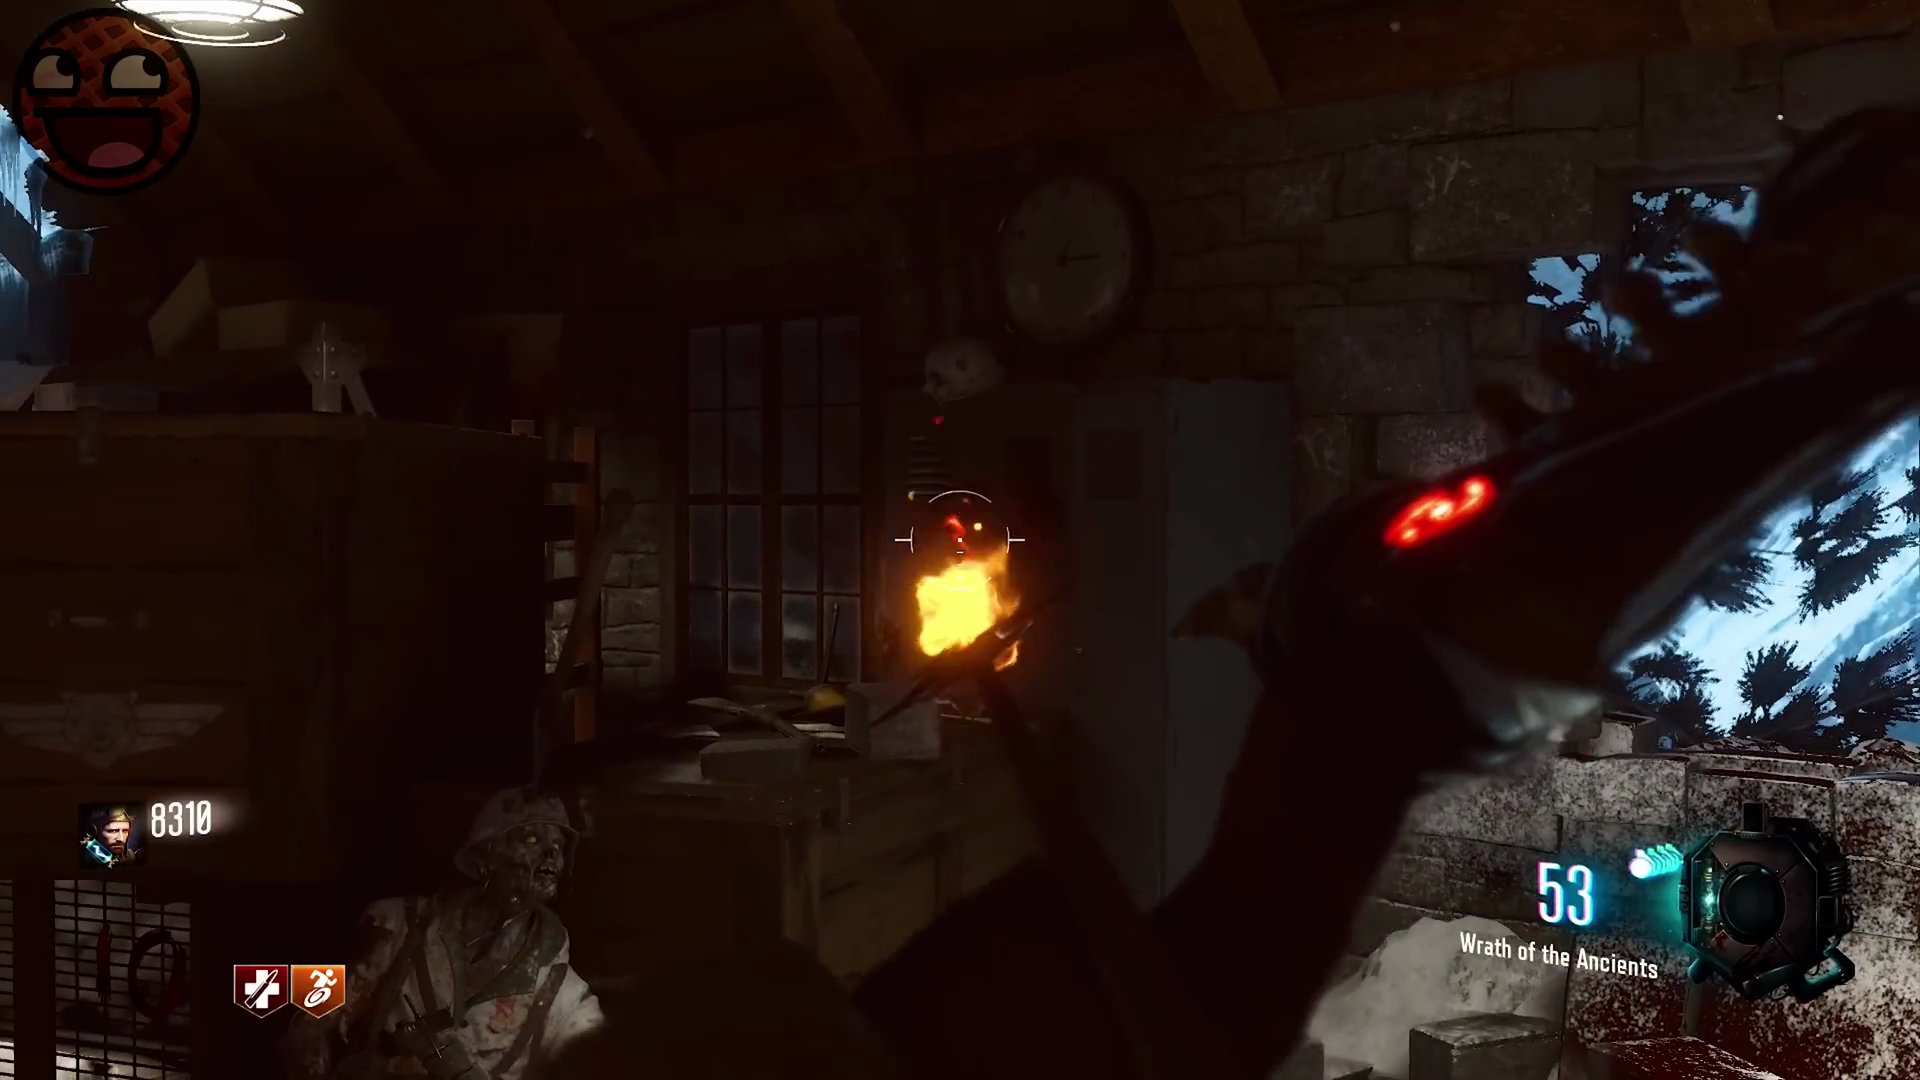
- After shooting a wisp, a Margwa growl will play again, and a new wisp will spawn in a different random location. You need to shoot a total of four wisps.
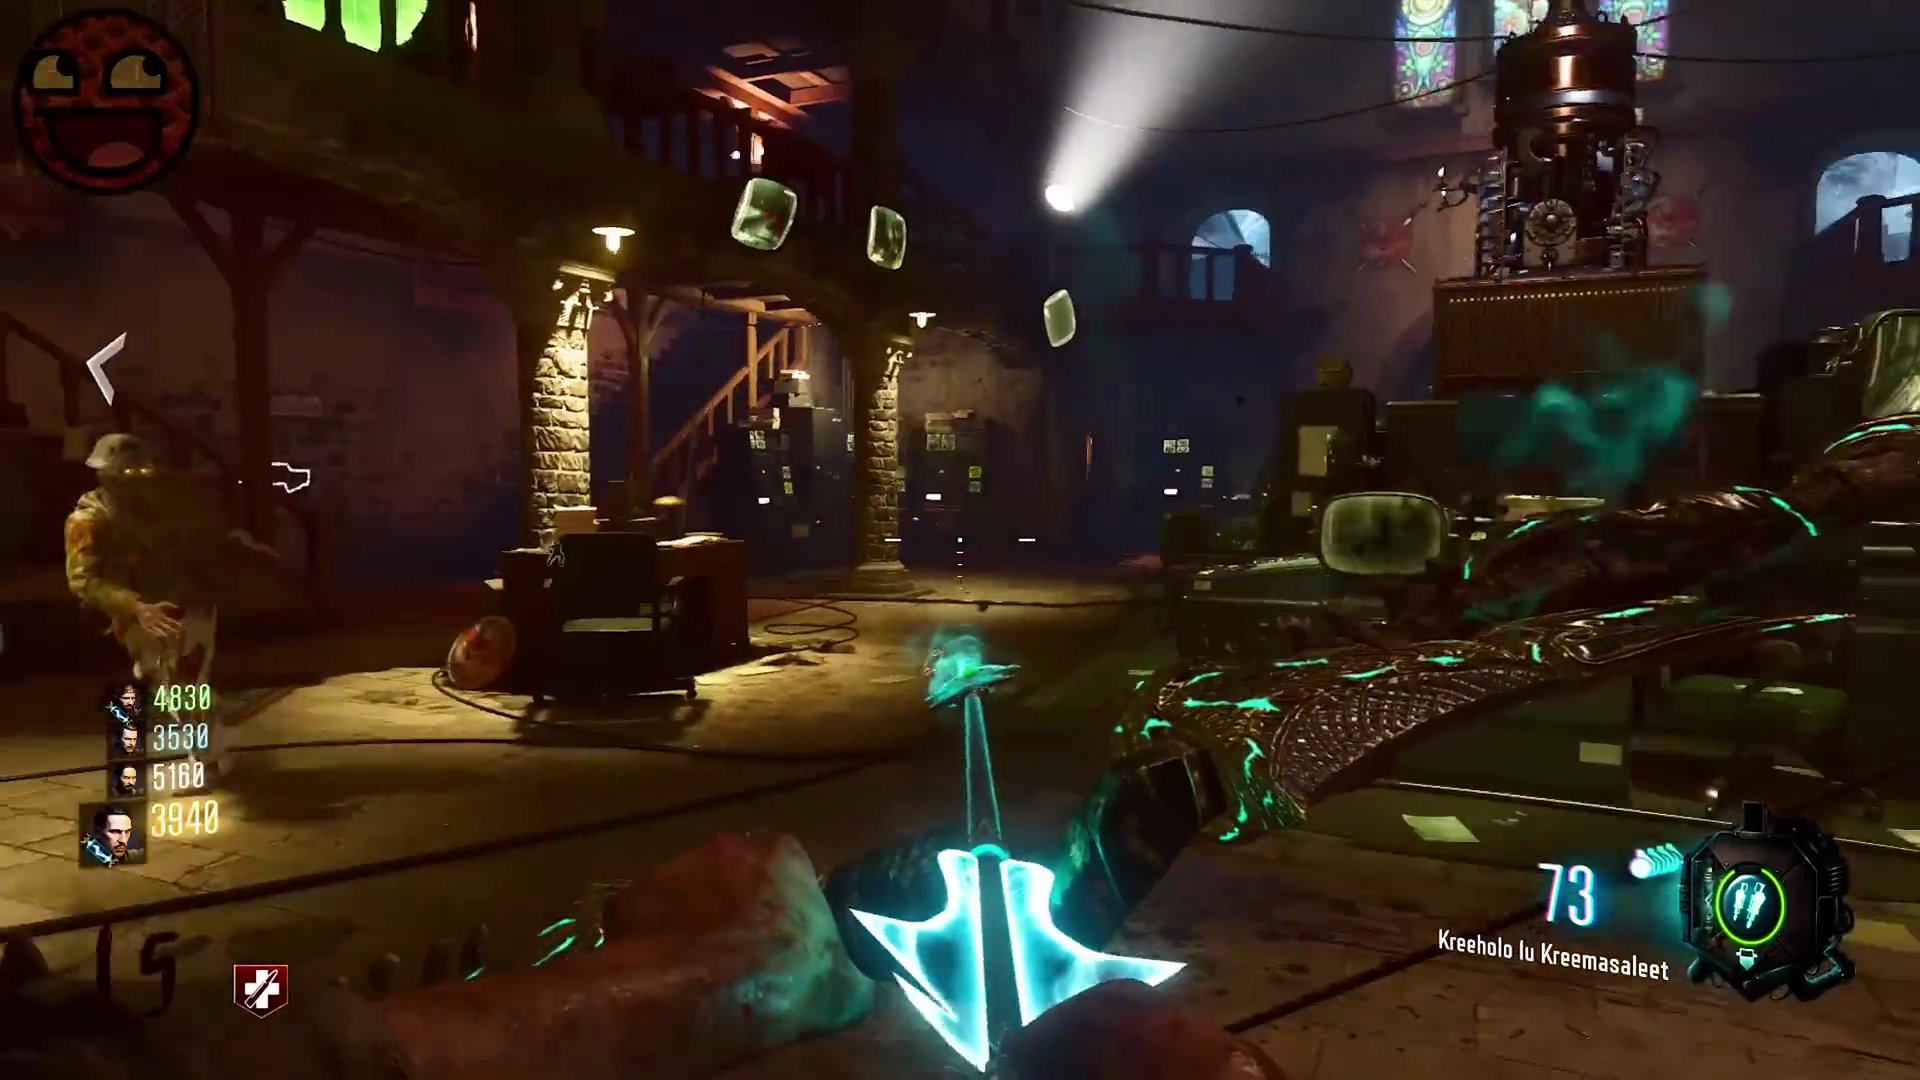
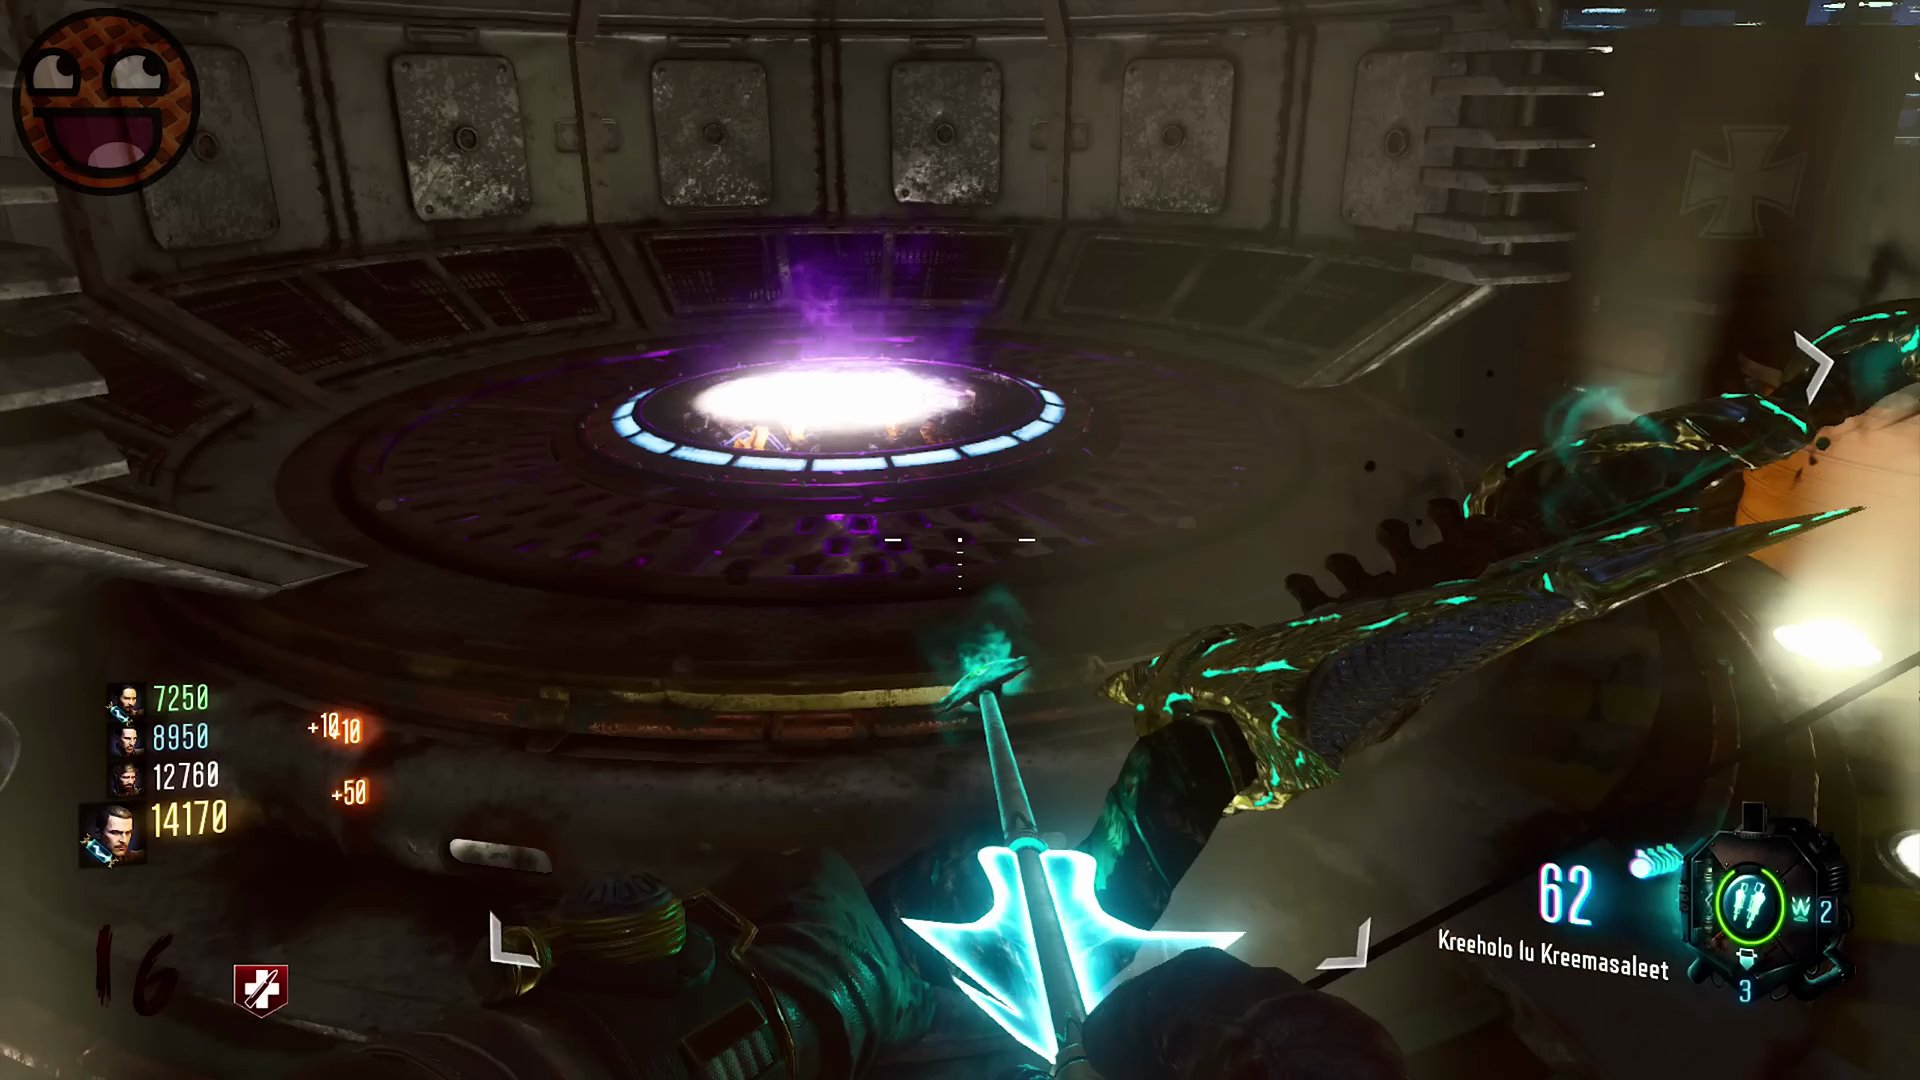
- If you fail to shoot a wisp in time, you will hear a failure sound, and you'll need to wait until the next round to restart the wisps challenge. Upon successful completion of all four wisps, the light on the Undercroft teleporter will turn purple.
Step 4: Teleport to Dr. Groff's Lab
- Gather all players on the teleporter in the Undercroft. It will automatically activate and transport you to Dr. Groff's black and white laboratory.
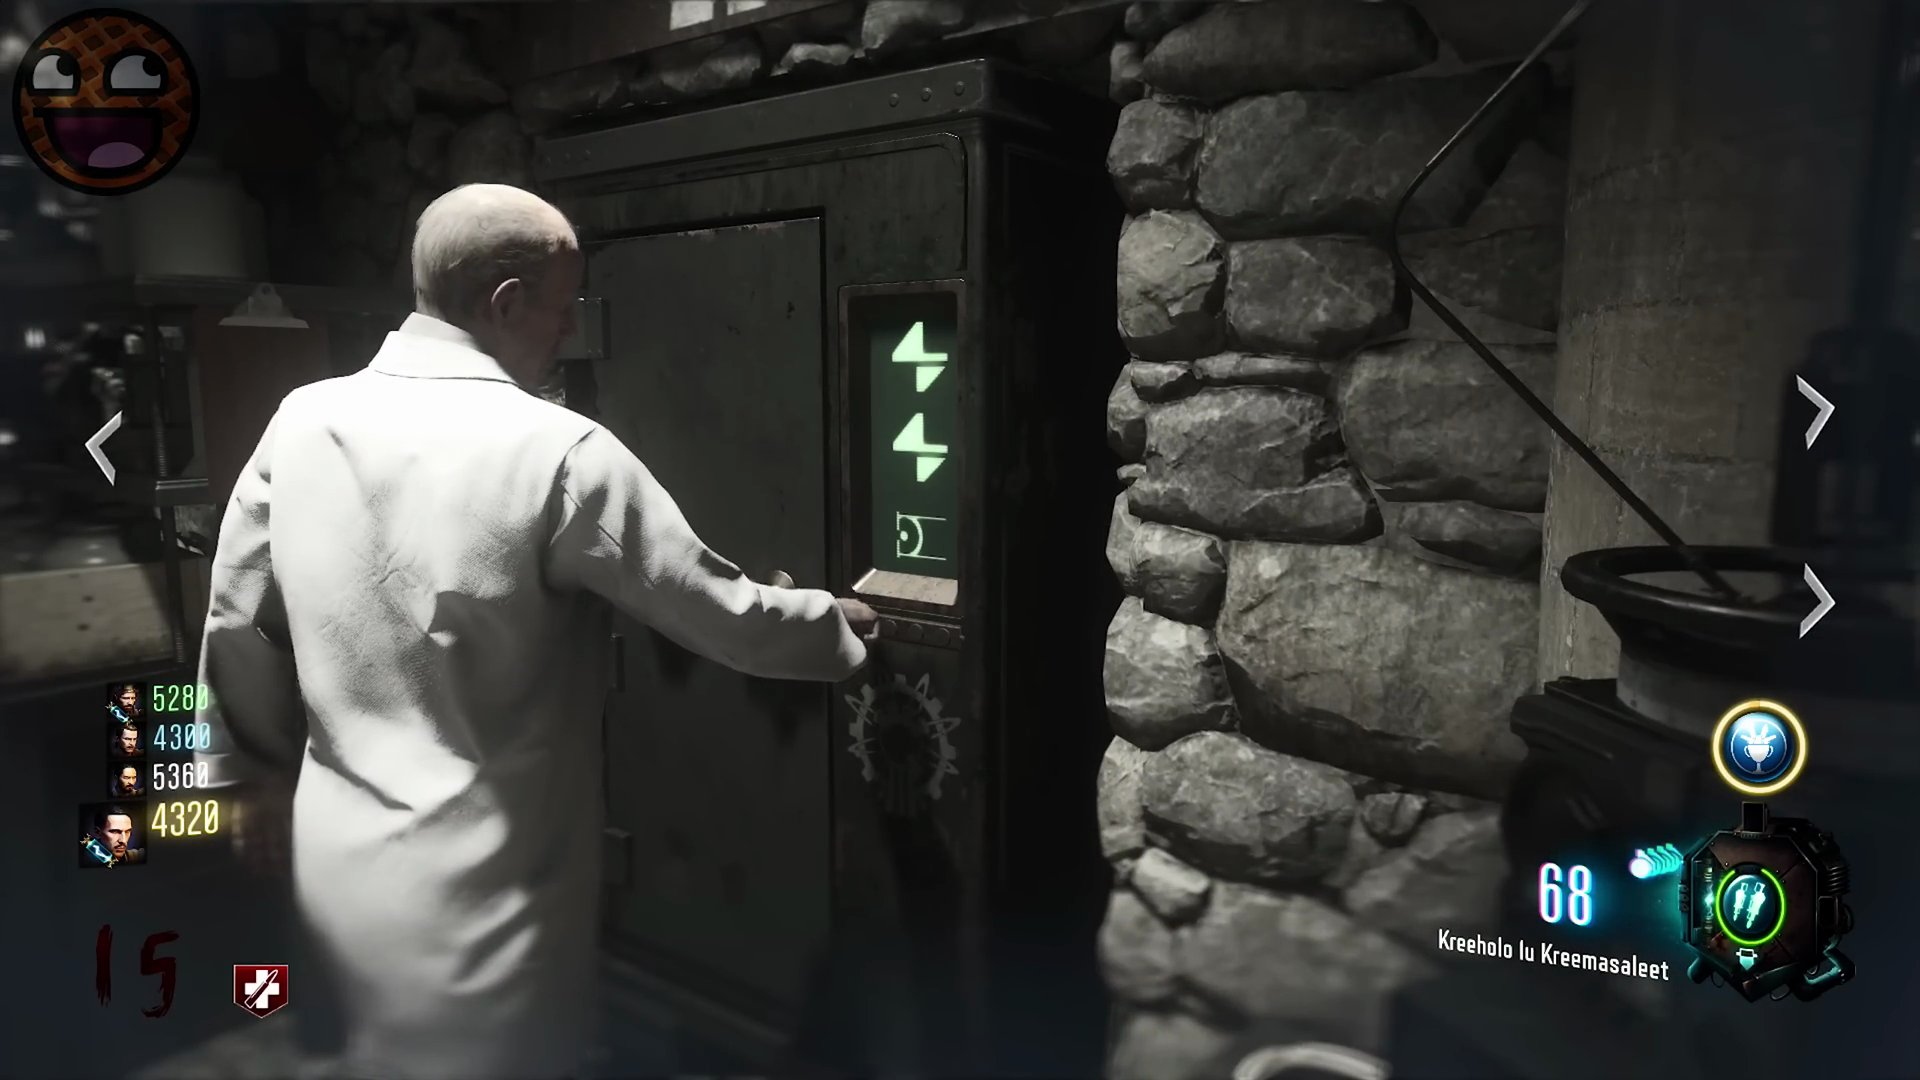
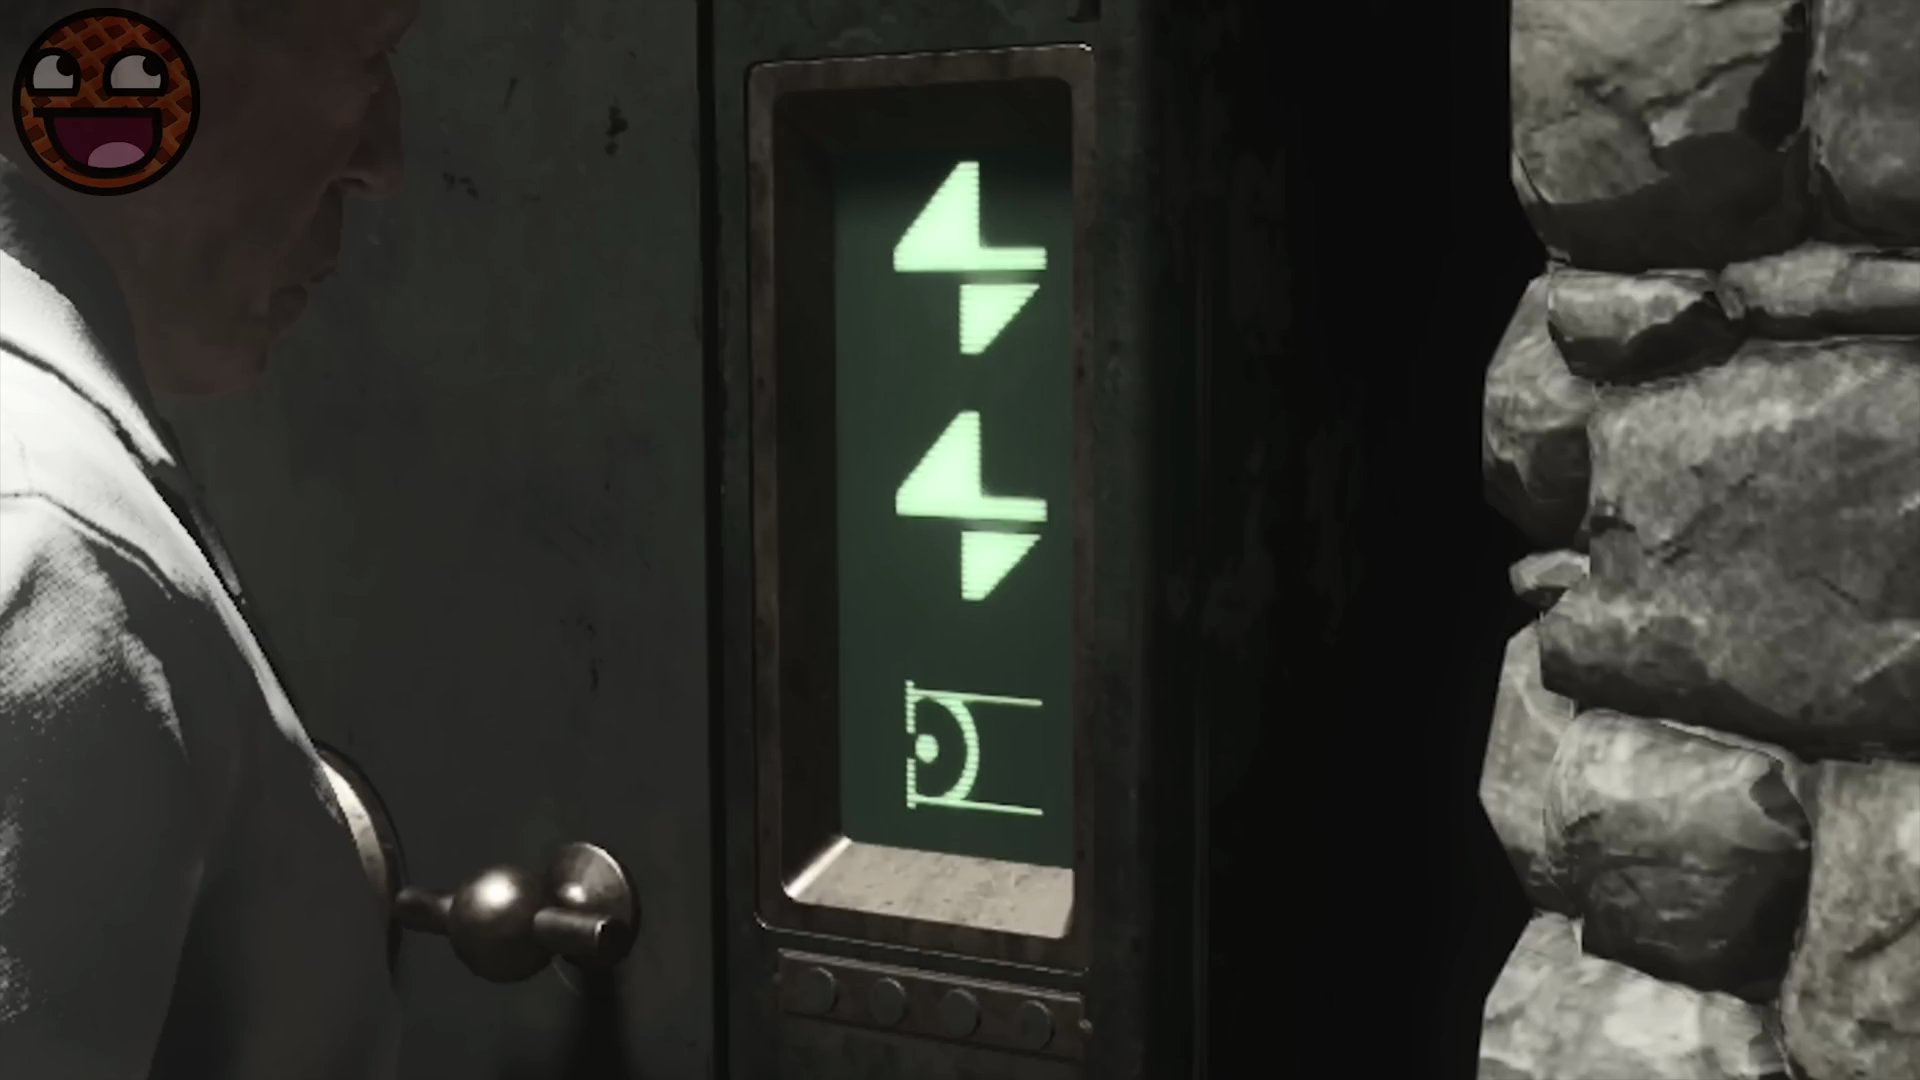
- In the lab, Dr. Groff will input a key code onto a screen next to a safe. One player should note down this code (e.g., Circle, Diamond, Lightning Bolt) from top to bottom.
- Collect two essential items from the lab:
- A blue canister of souls, which is easily visible.
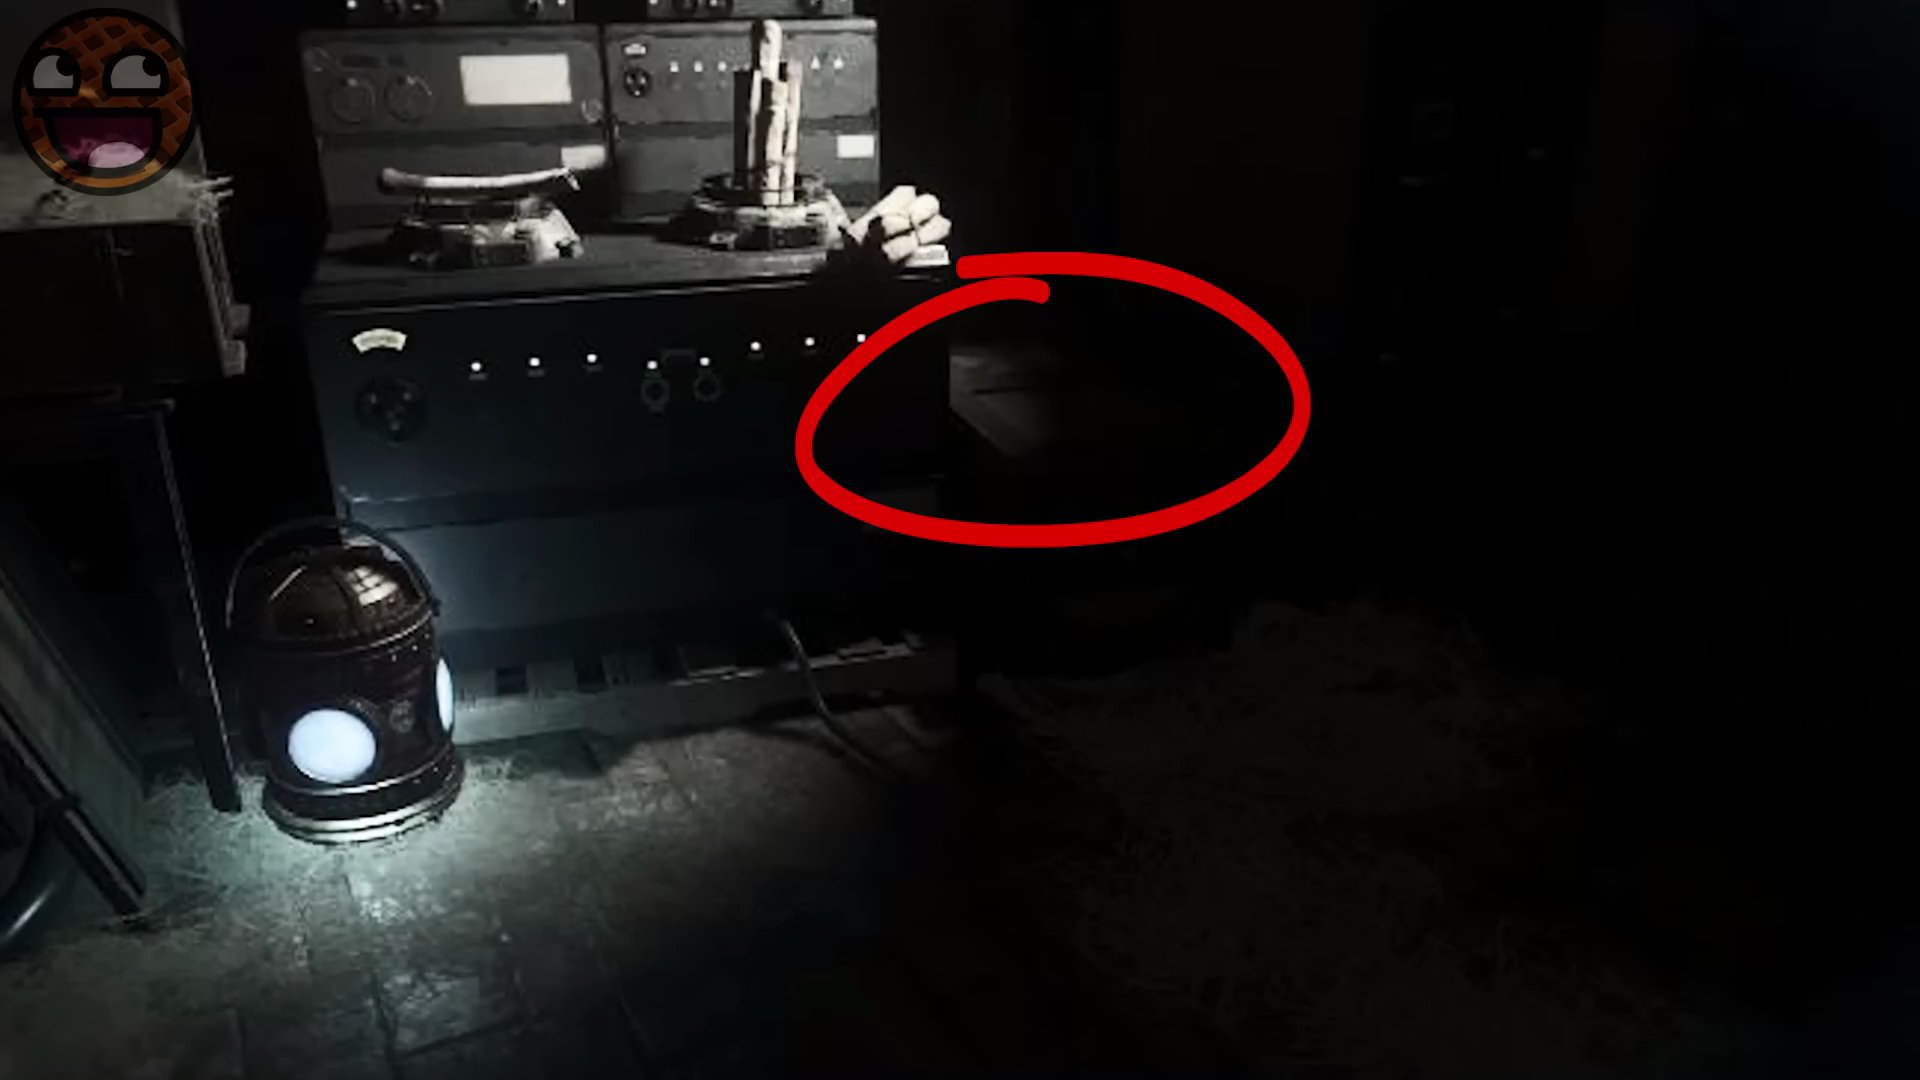
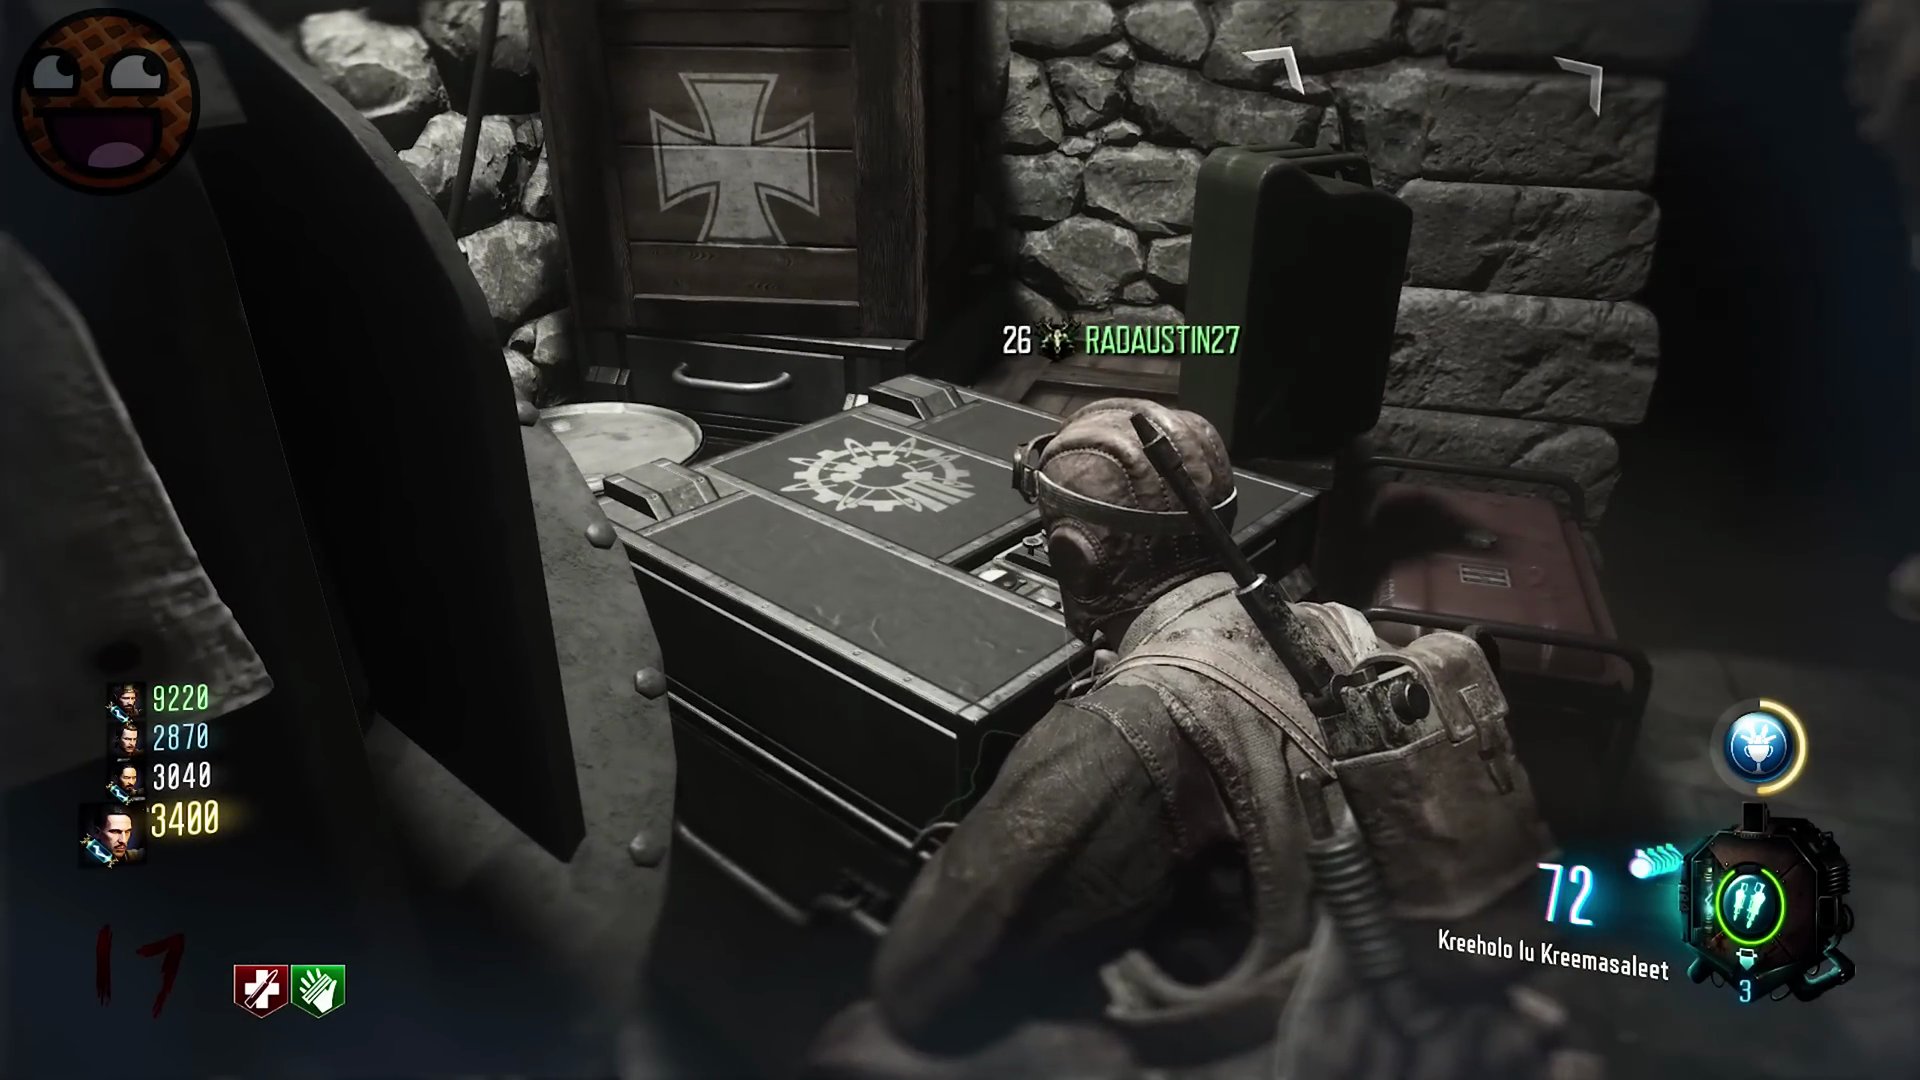
- A fuse, located on a shelf or box near the safe.
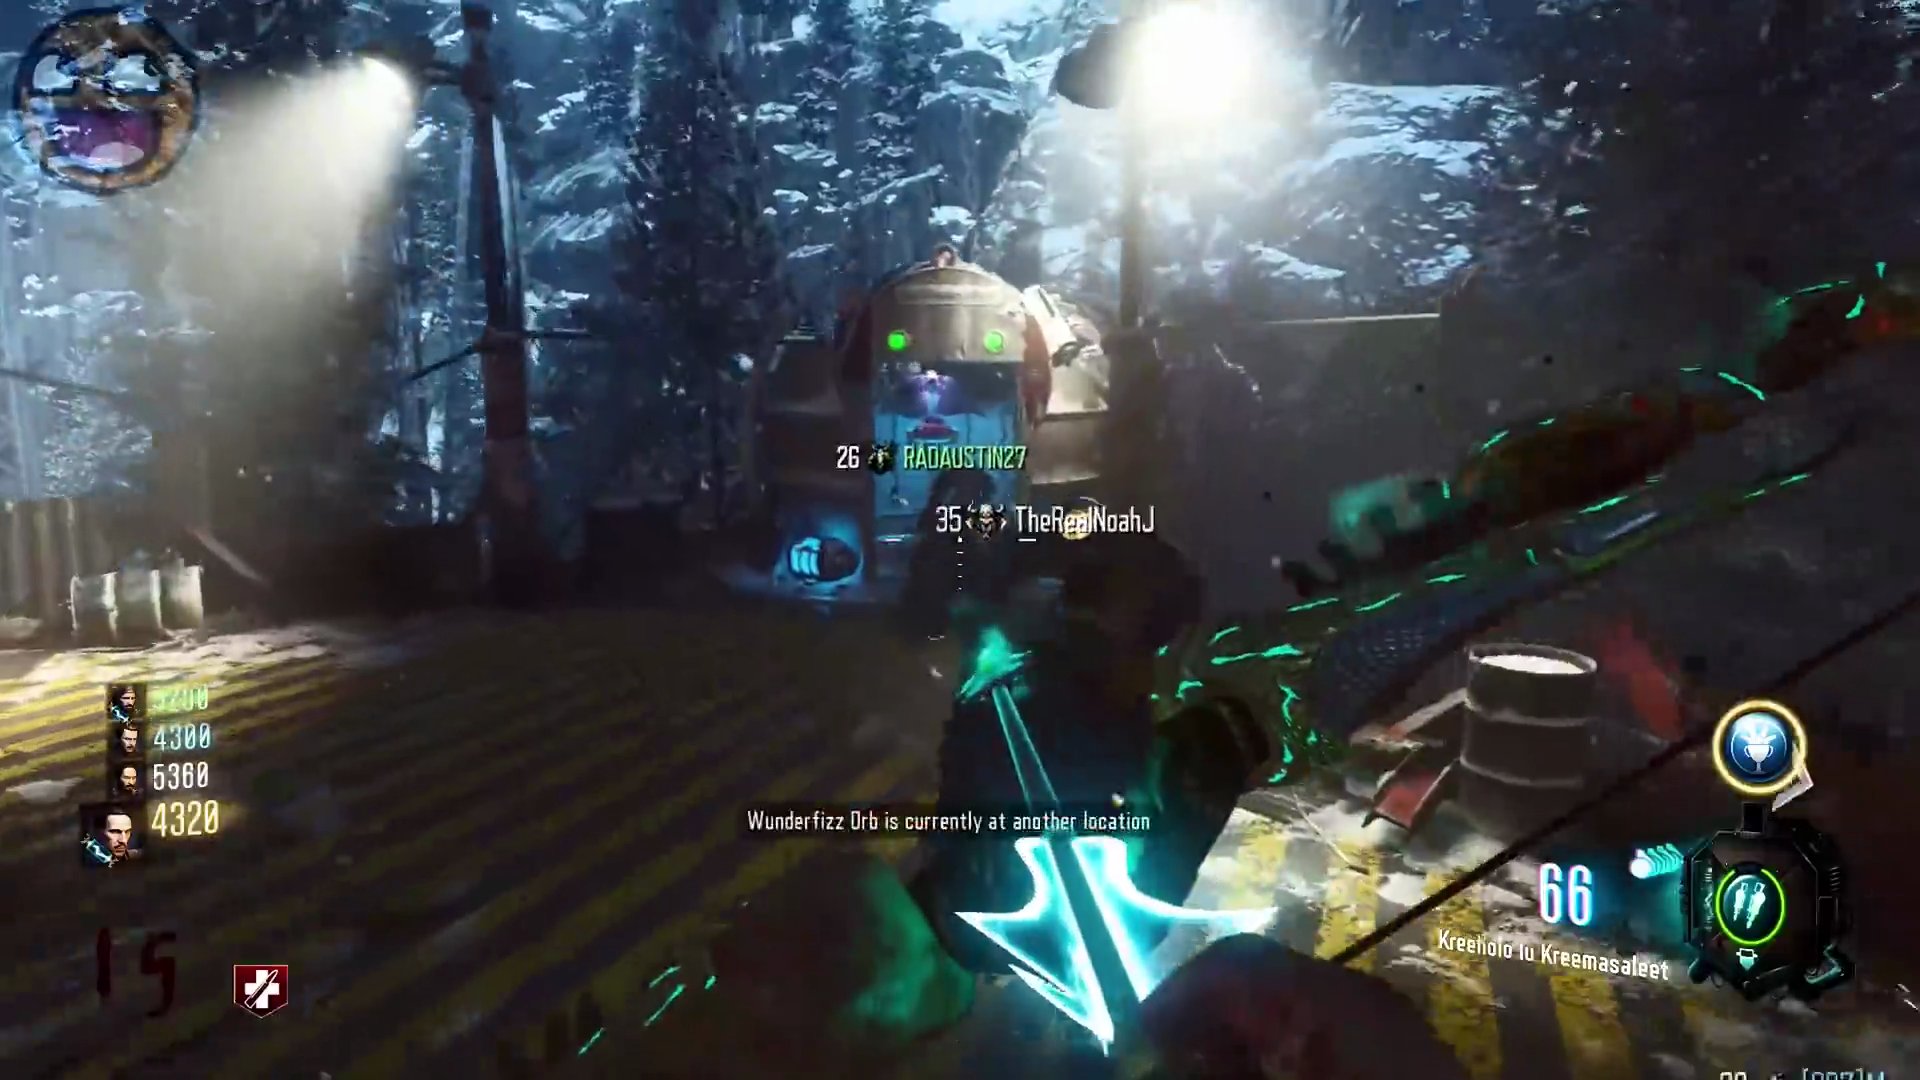
- If you miss any items or the code, you can repeat the teleportation process in a subsequent round. After collecting the items, you will automatically be teleported back to the Rocket Launch Zone. Be aware that a Panzer Soldat may spawn here. It is recommended to use the Wondersphere to quickly exit the area and engage the Panzer in a safer location like outside Double Tap.
Step 5: Activate the Death Ray and Input the Code
- Head to the Death Ray Generator. Insert the fuse you collected into the slot on the side of the generator.
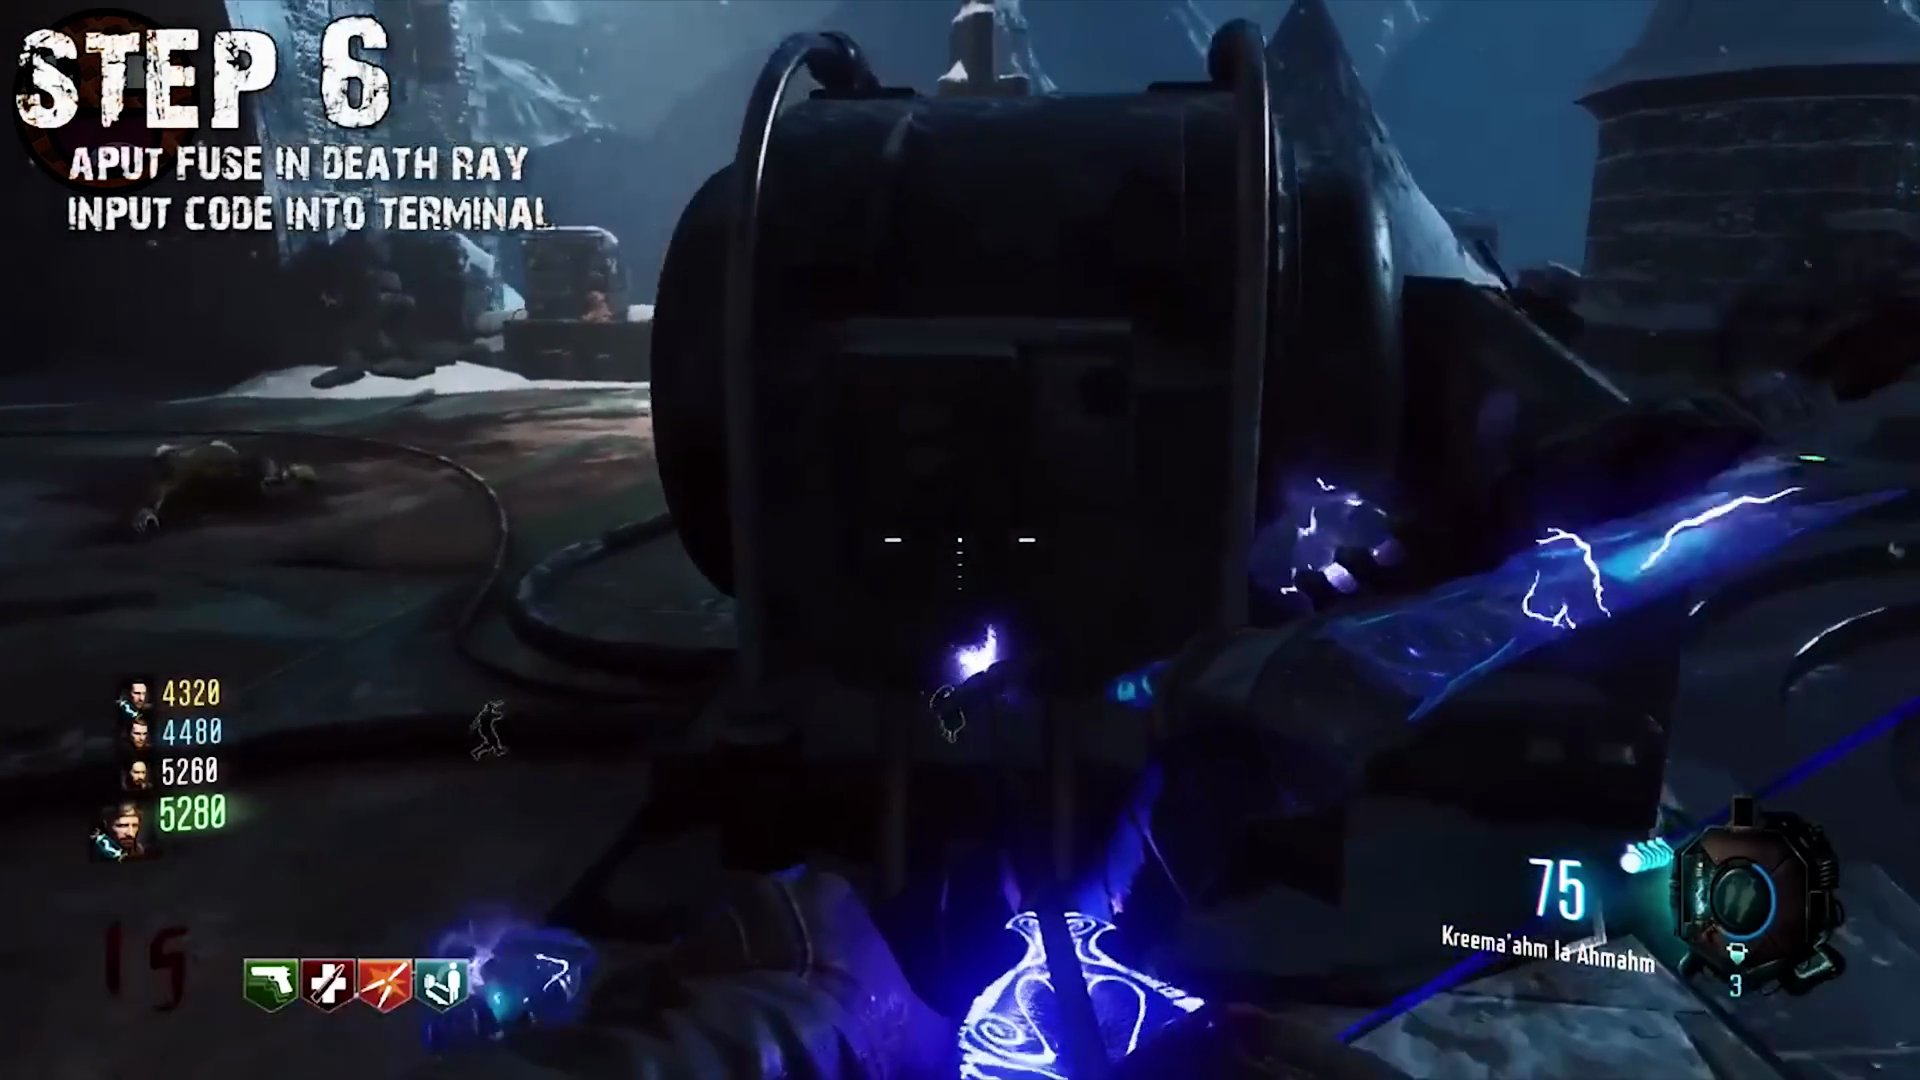
- Set the Death Ray Generator to 'Protect' mode. Then, go to the nearby computer panels and input the code you retrieved from Dr. Groff's lab.
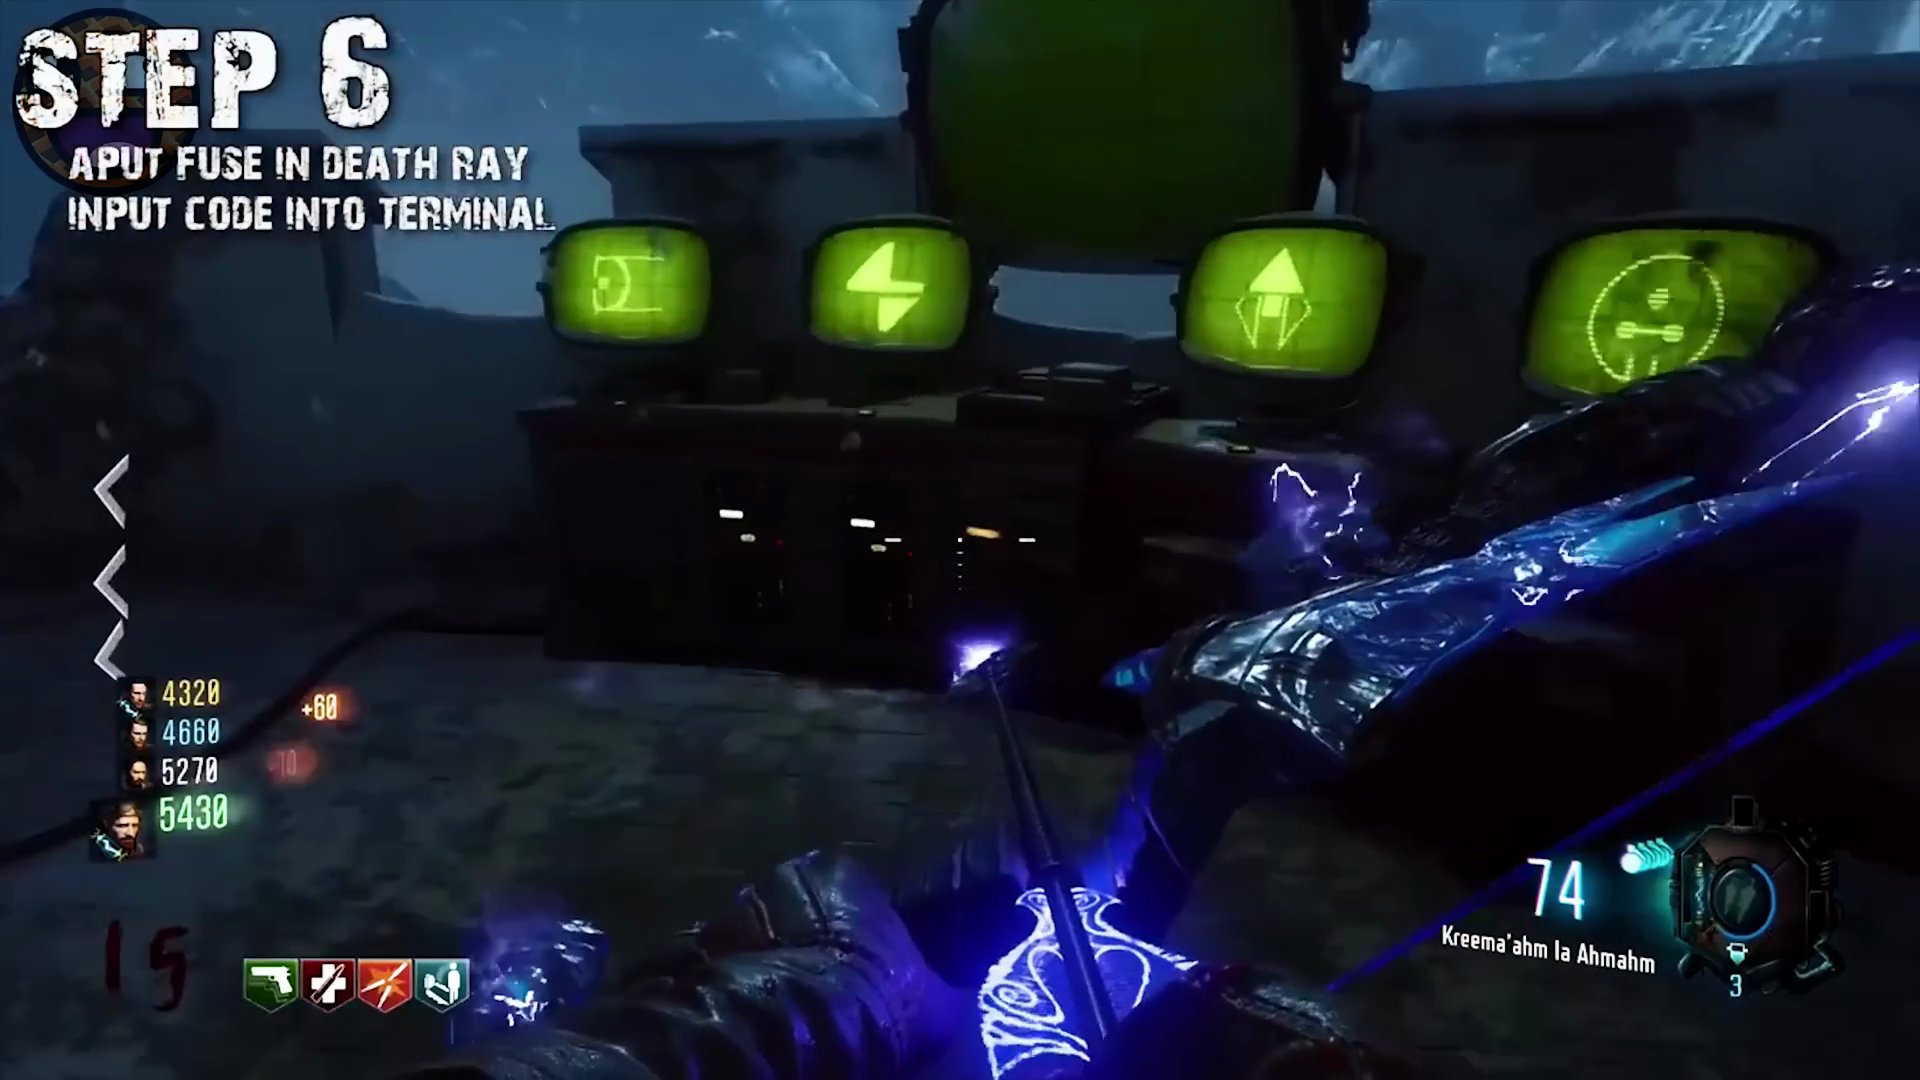
- If the code is entered correctly, Dr. Groff's safe in the Undercroft teleporter room will open. Return to the safe and collect two more items:
- A pair of tubes.
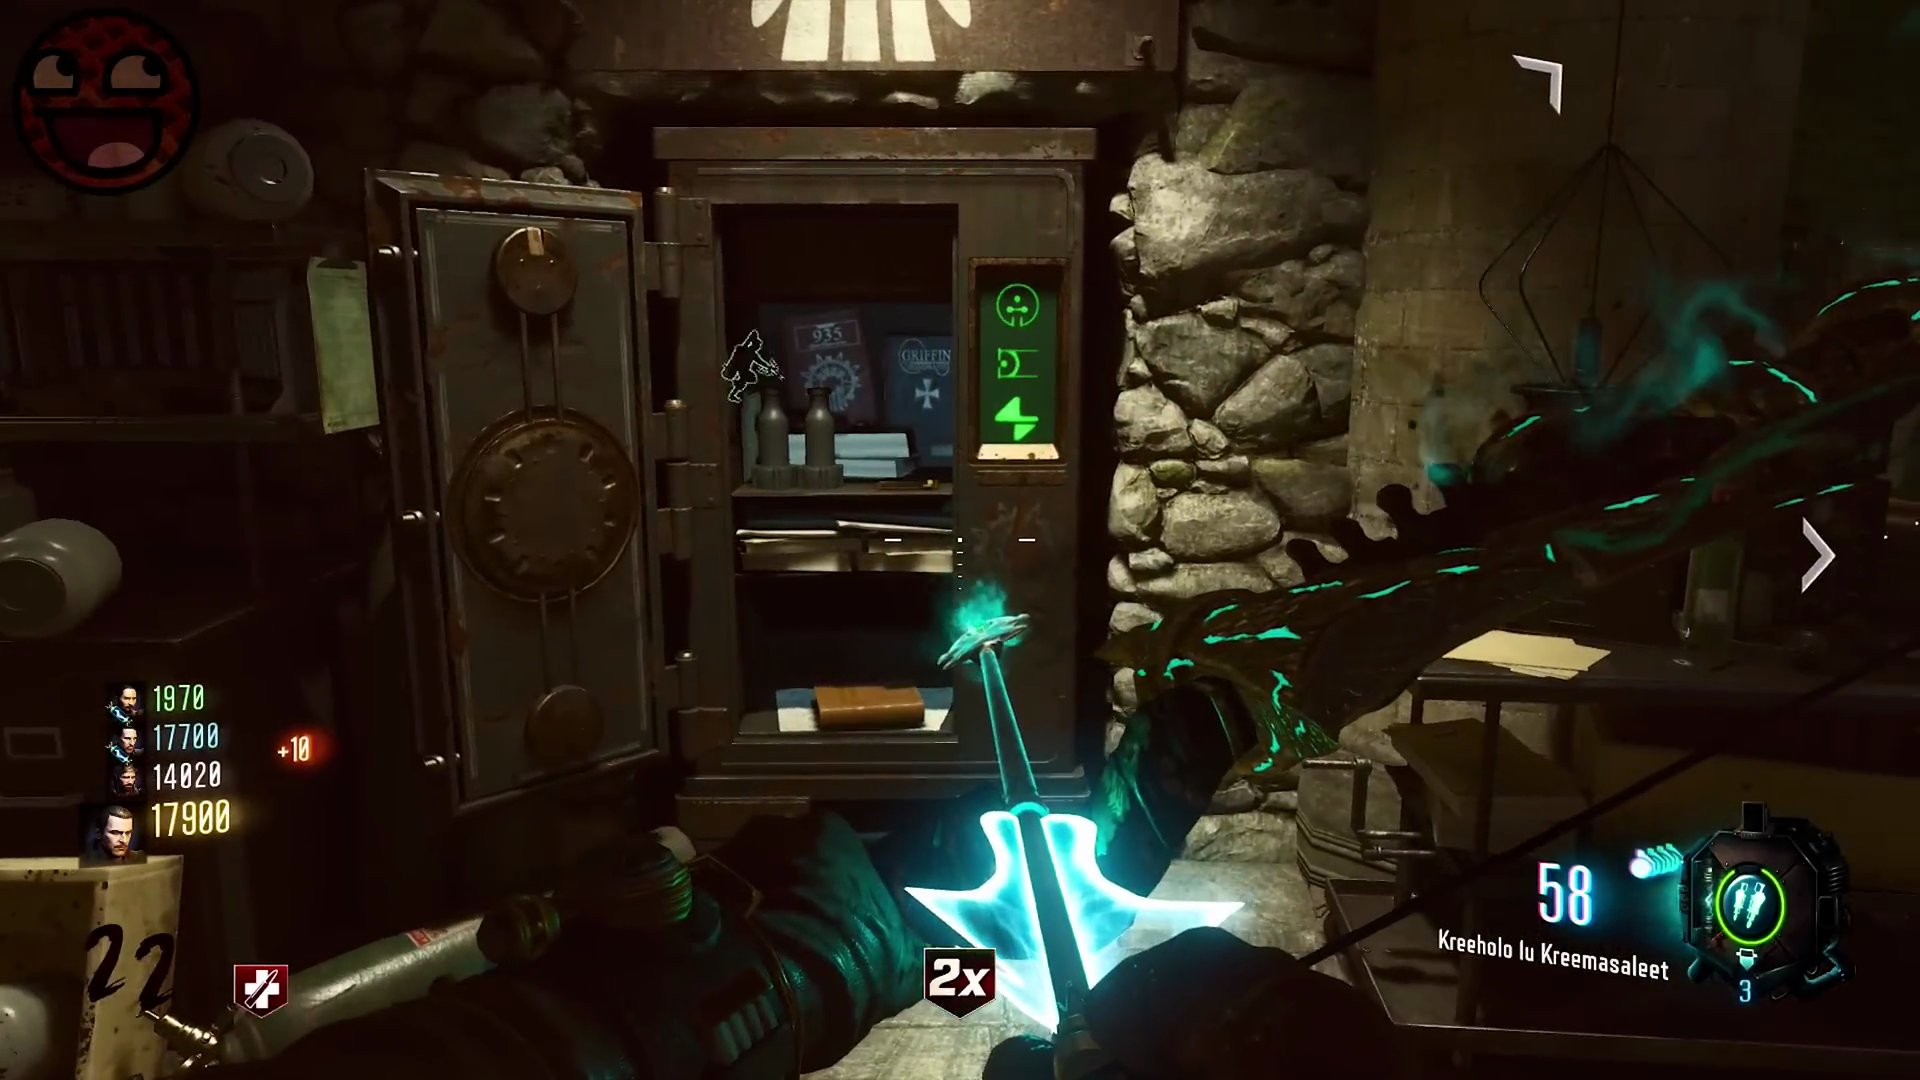
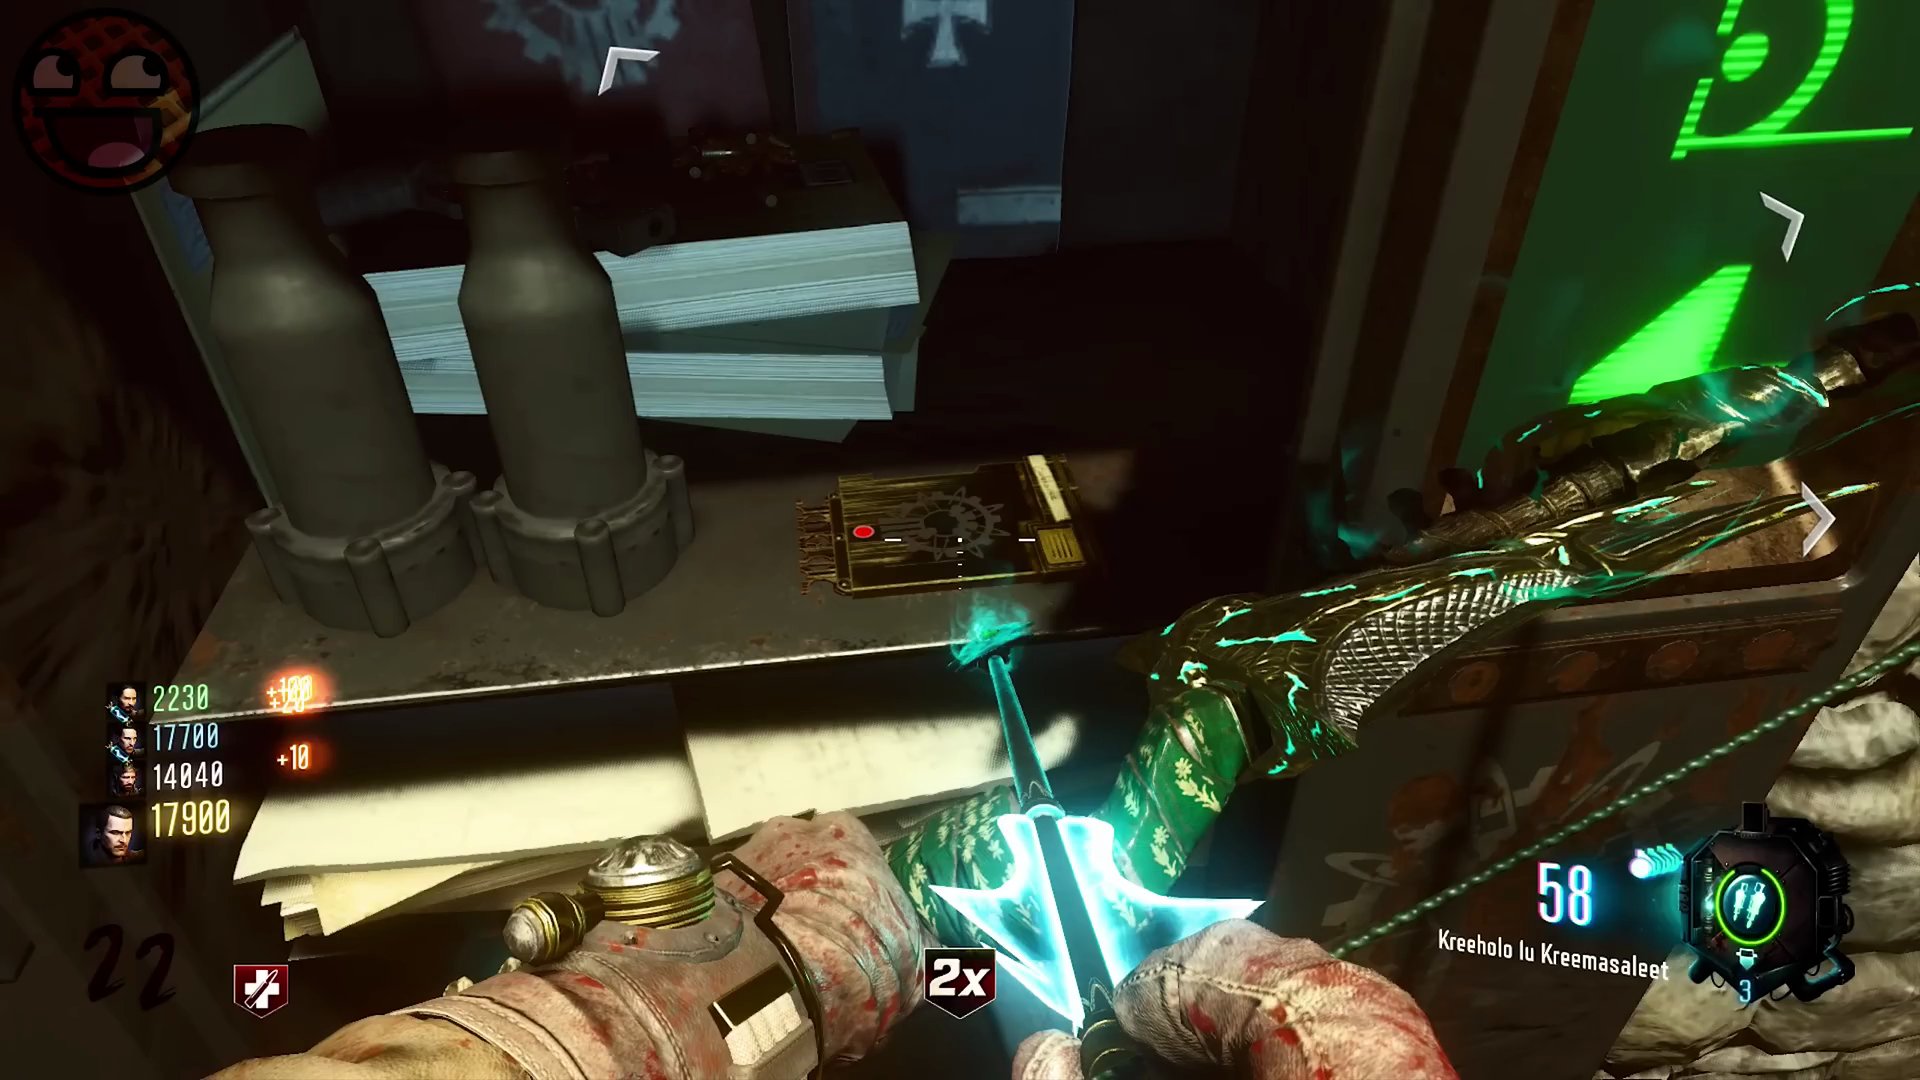
- A gold floppy disk (believed to contain rocket launch codes).
- Go back to the Death Ray Generator and insert the pair of tubes into the two pillars on either side of the Death Ray.
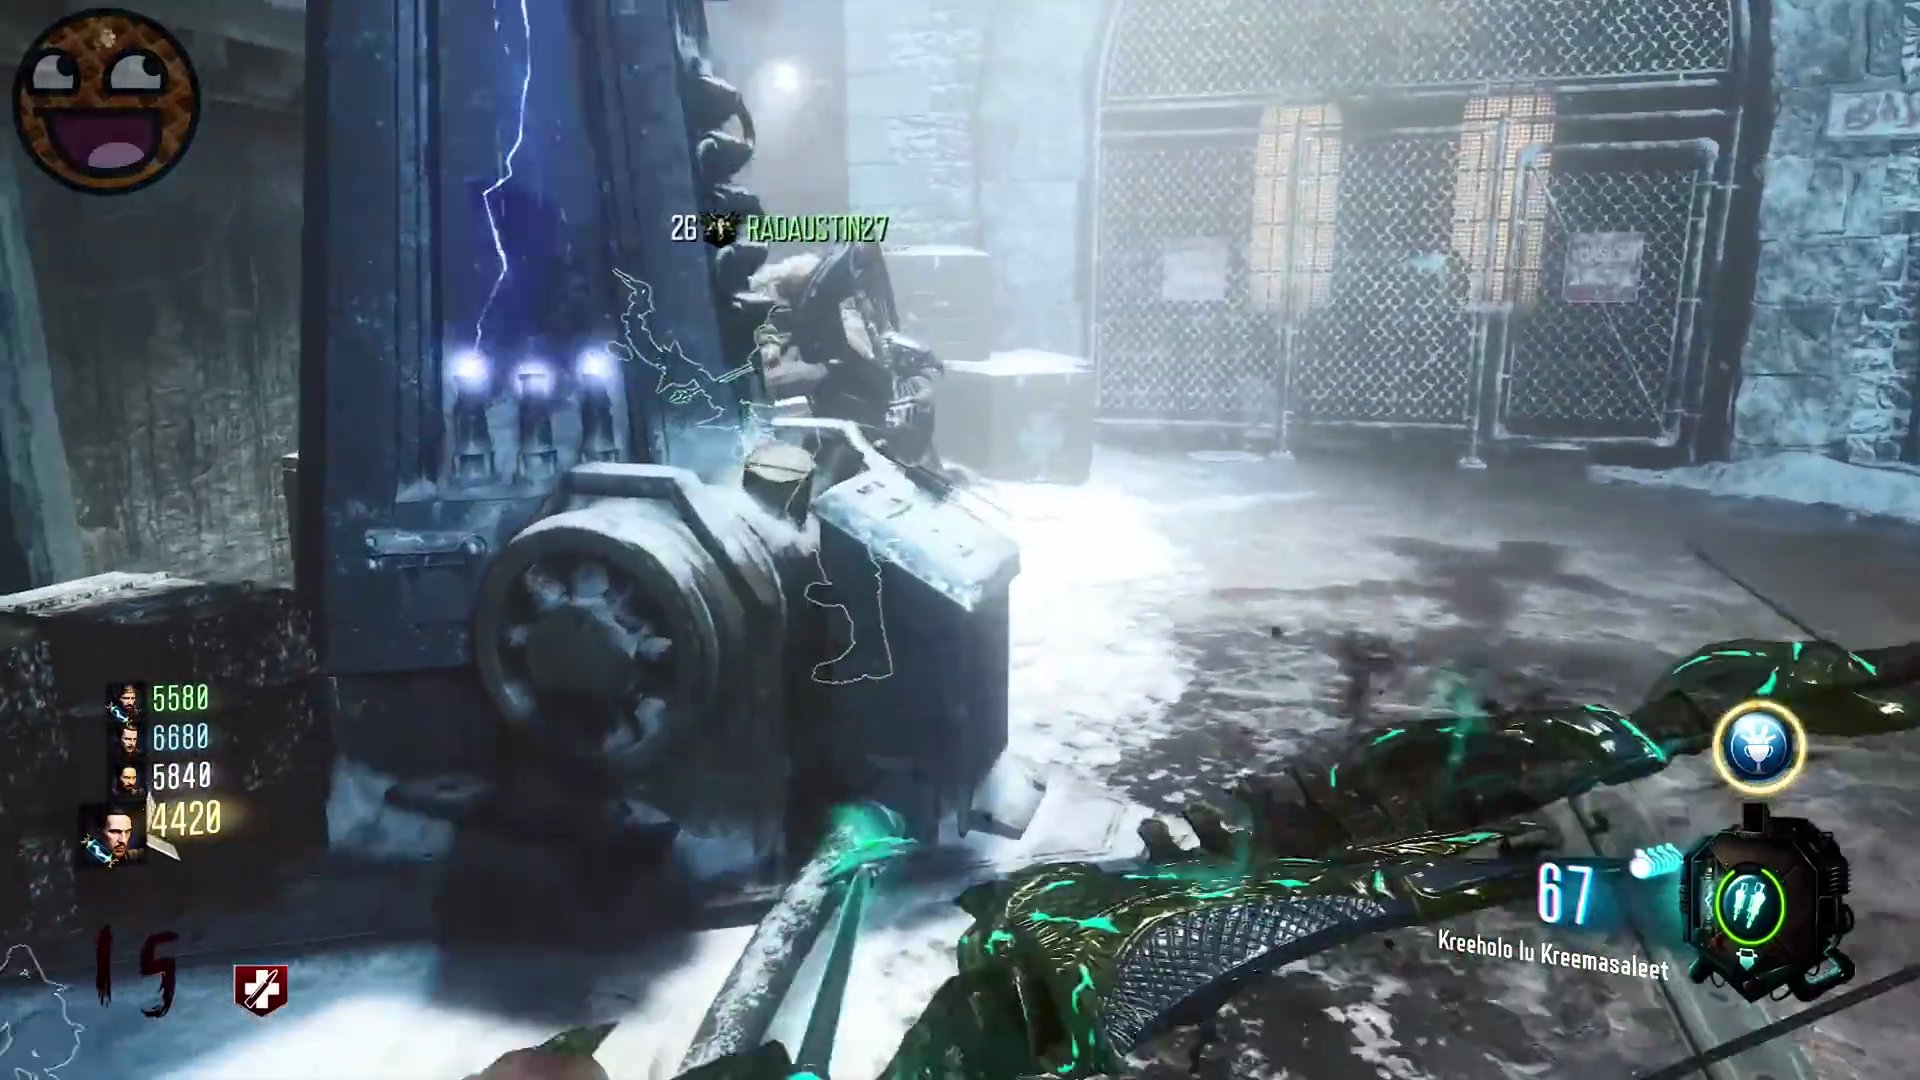
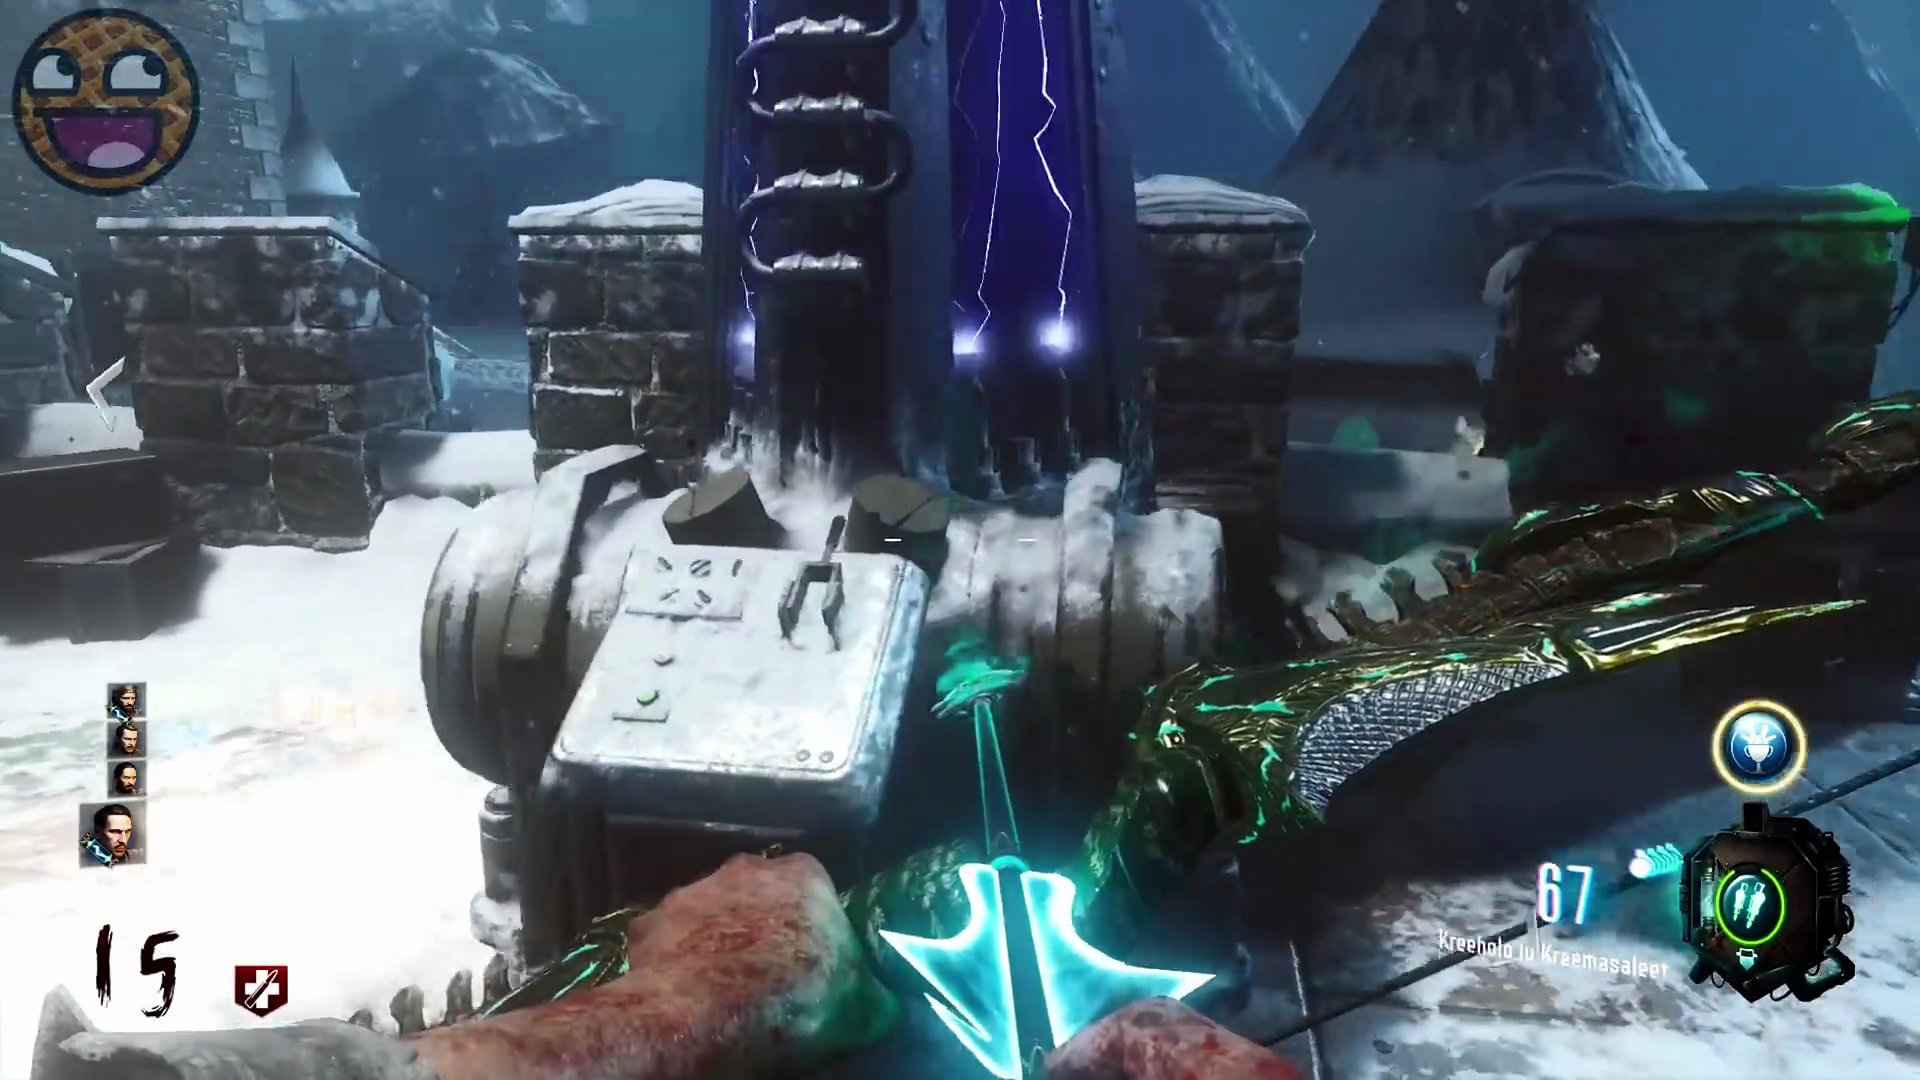
- Crucially, switch the Death Ray Generator's mode from 'Protect' to 'Destroy'.
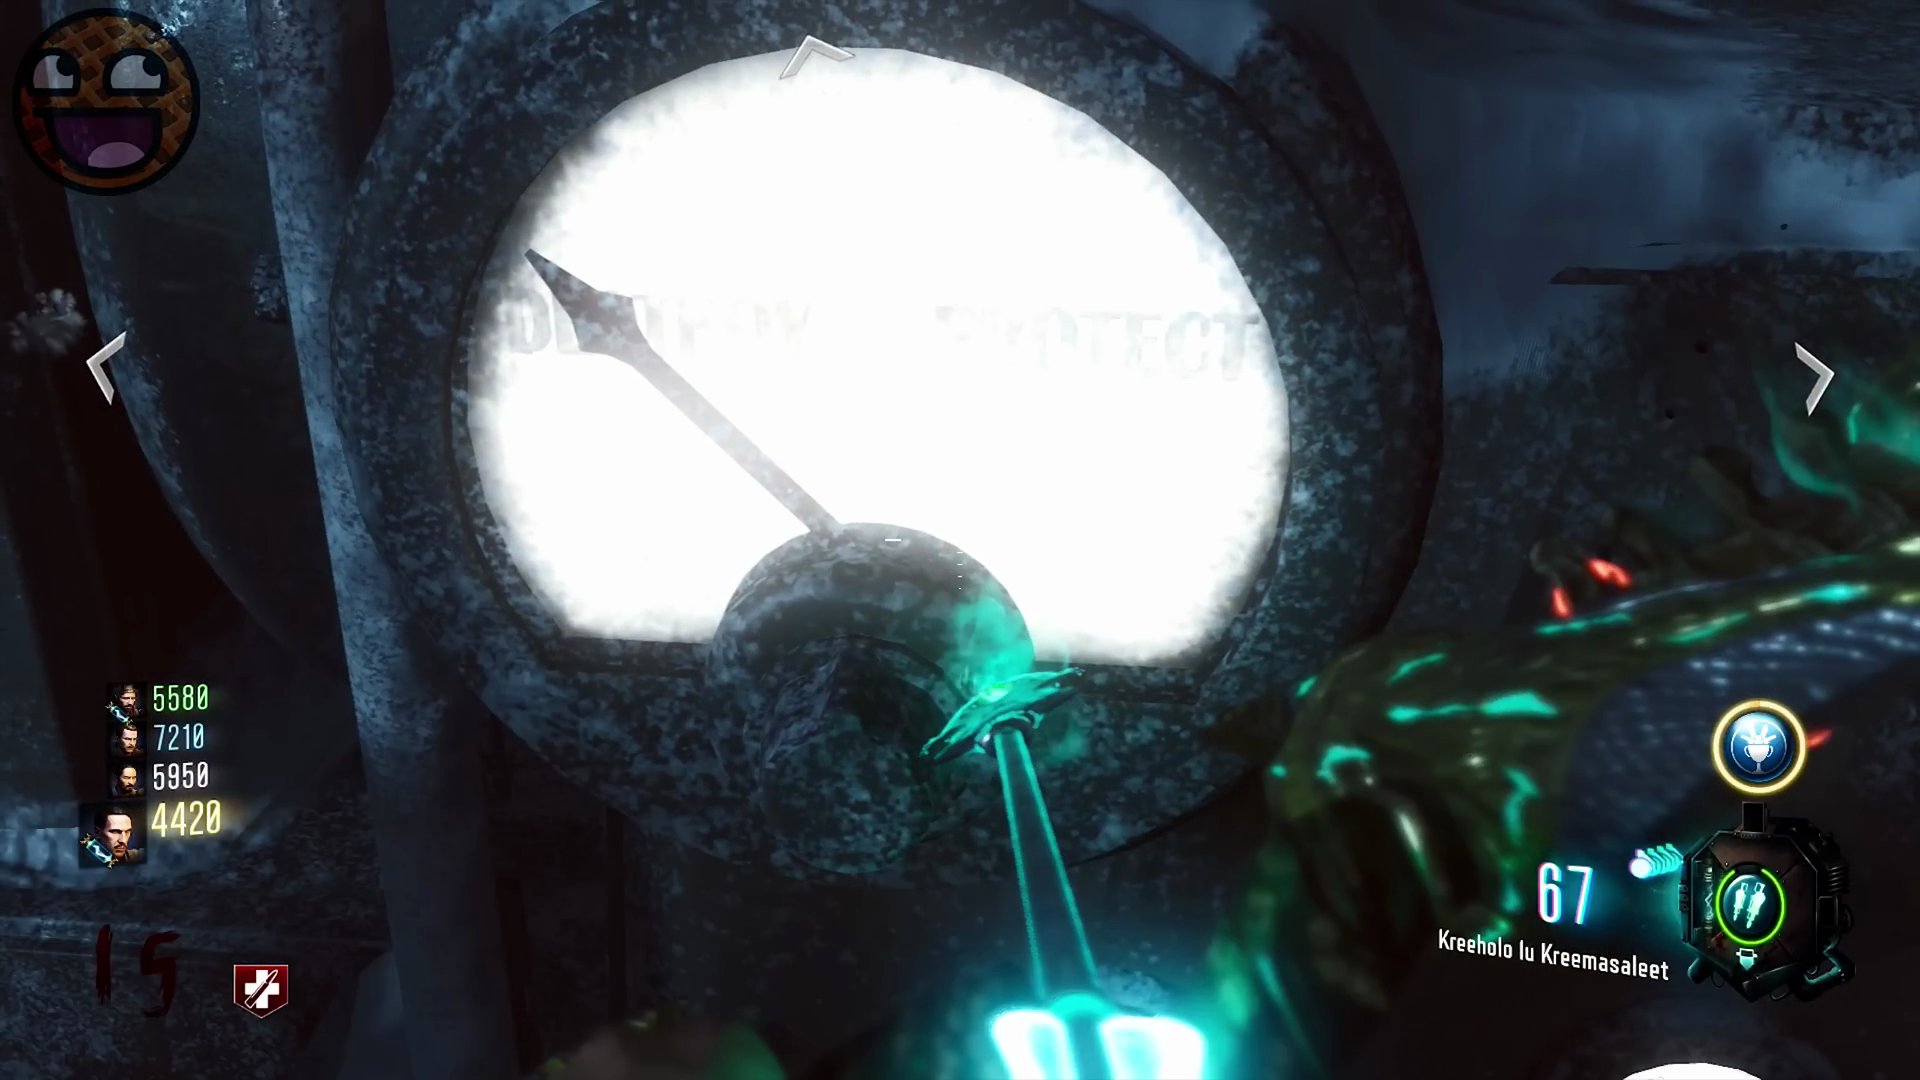
Step 6: Simon Says (Death Ray Activation)
- It's time for a second 'Simon Says' challenge. This one involves the computer panels located near the Clock Tower (Panel A) and the Rocket Launch Pad (Panel B).
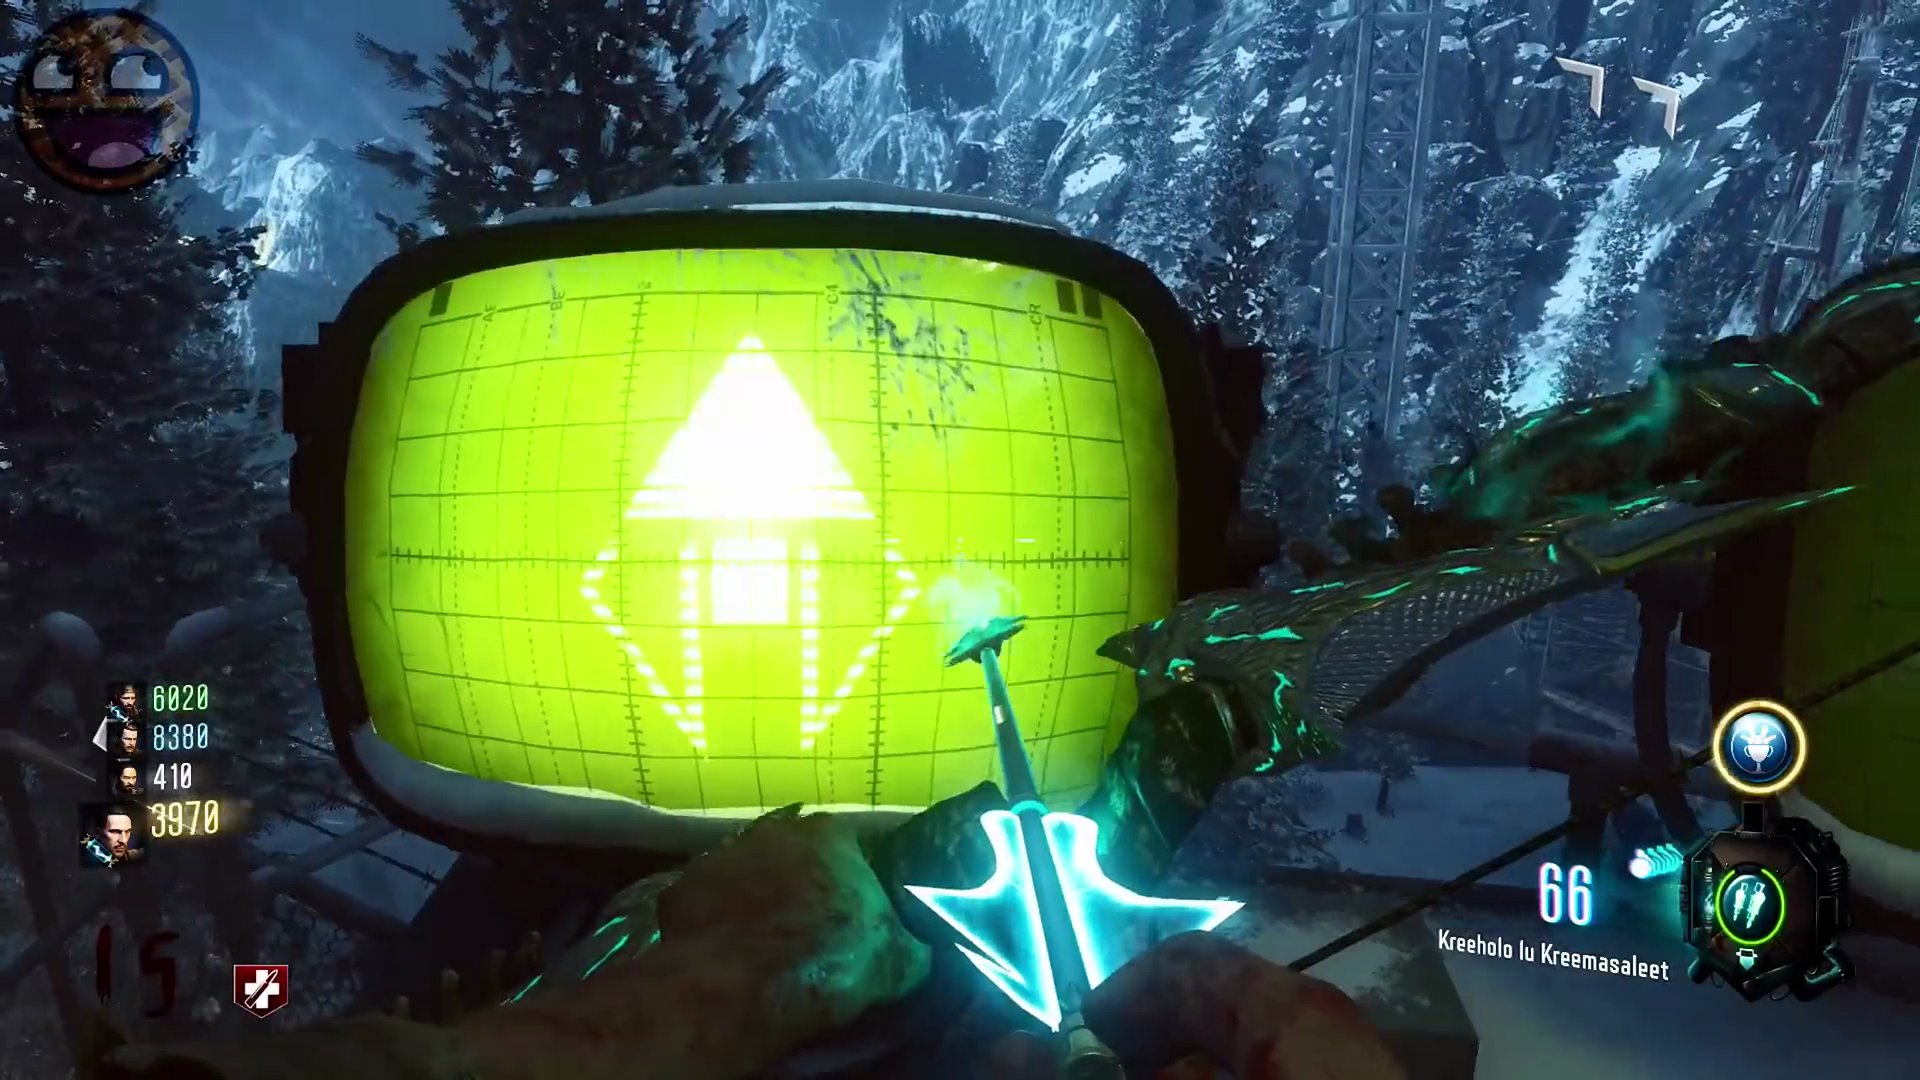
- Split your team into two pairs, A and B. Pair A handles zombie management, while Pair B interacts with the panels. (Note: This is possible solo but more difficult).
- Hold square on the panels to initiate the game. The four lower panels will display symbols. You must remember the sequence.
- Repeat the sequence by holding square on the corresponding panels. The game will present increasingly longer sequences.
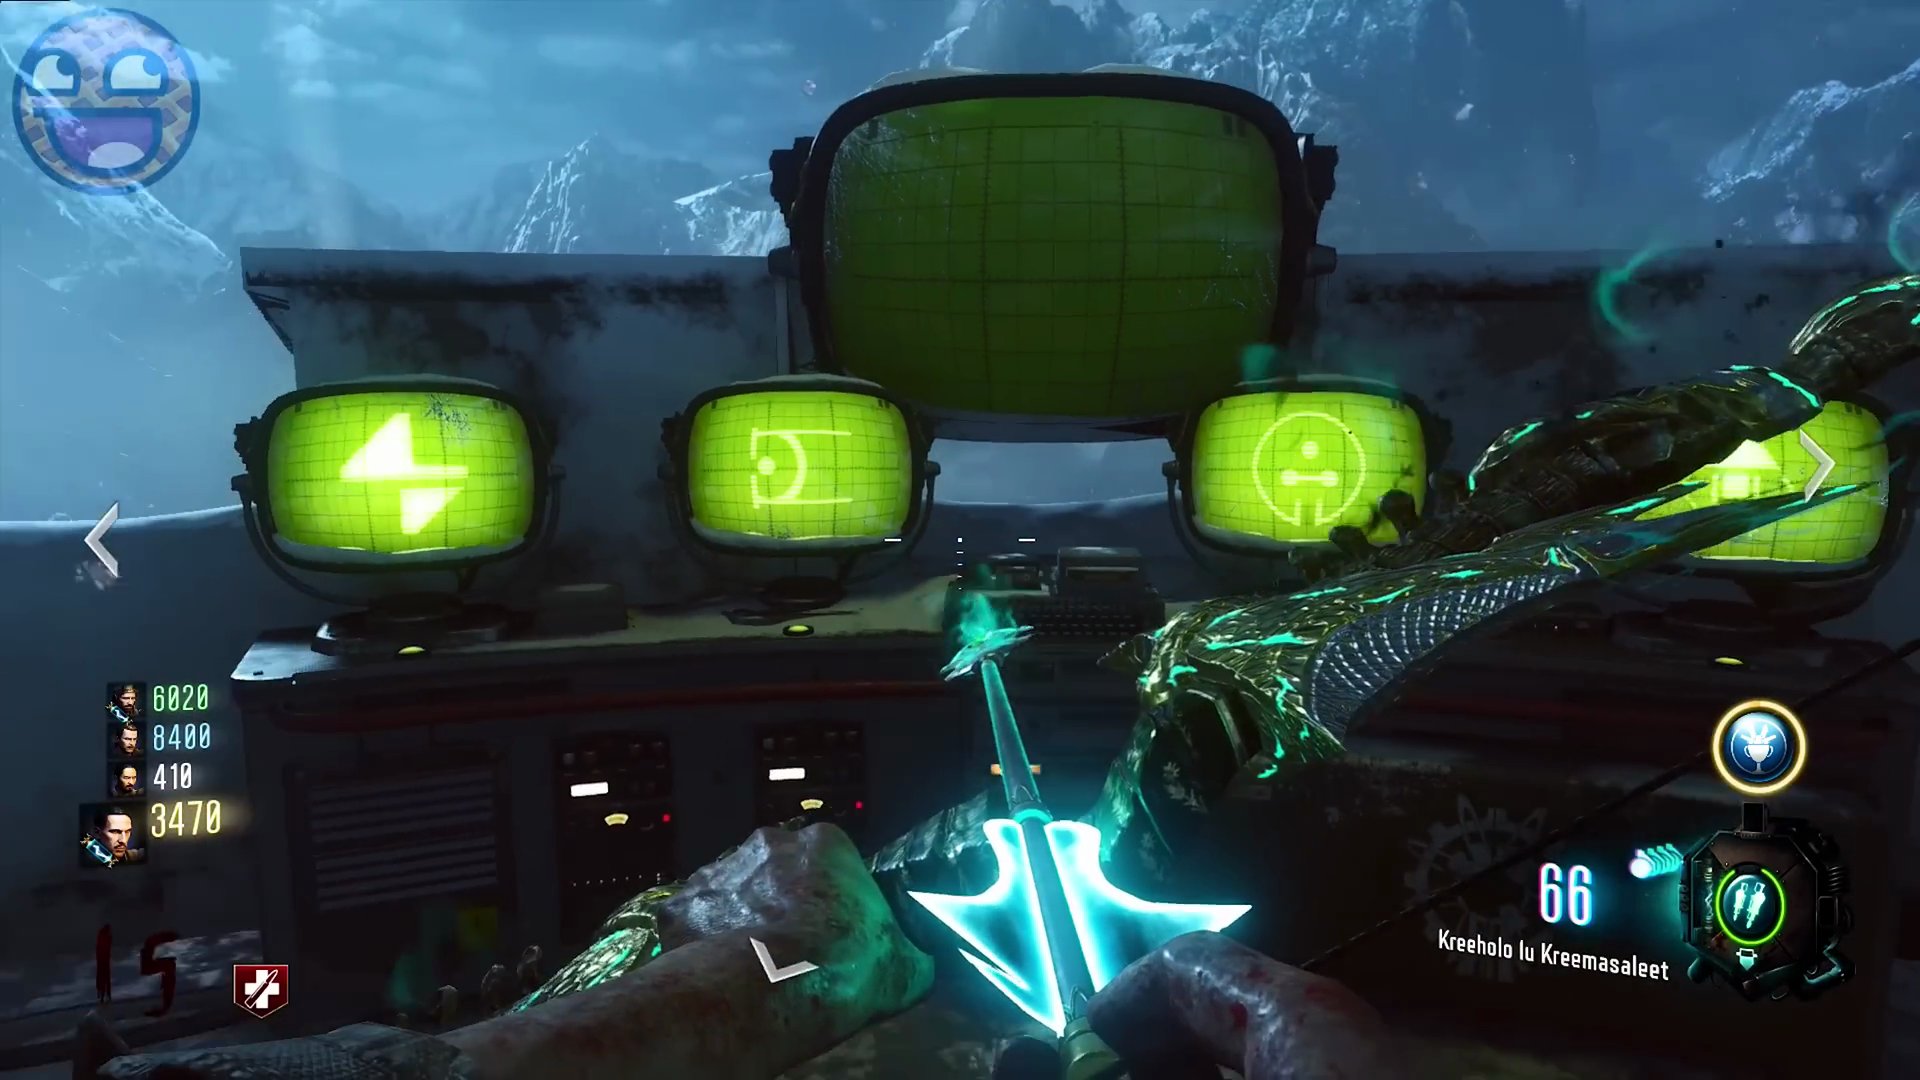
- Upon successful completion, a success chime will sound, and one of the spiked balls on the Death Ray will glow.
- If you fail, you'll need to restart this entire Simon Says sequence.
- Repeat the process for the second set of panels (if applicable for your setup). Once both Death Ray balls are lit, press the green button on the back of the Death Ray Generator.
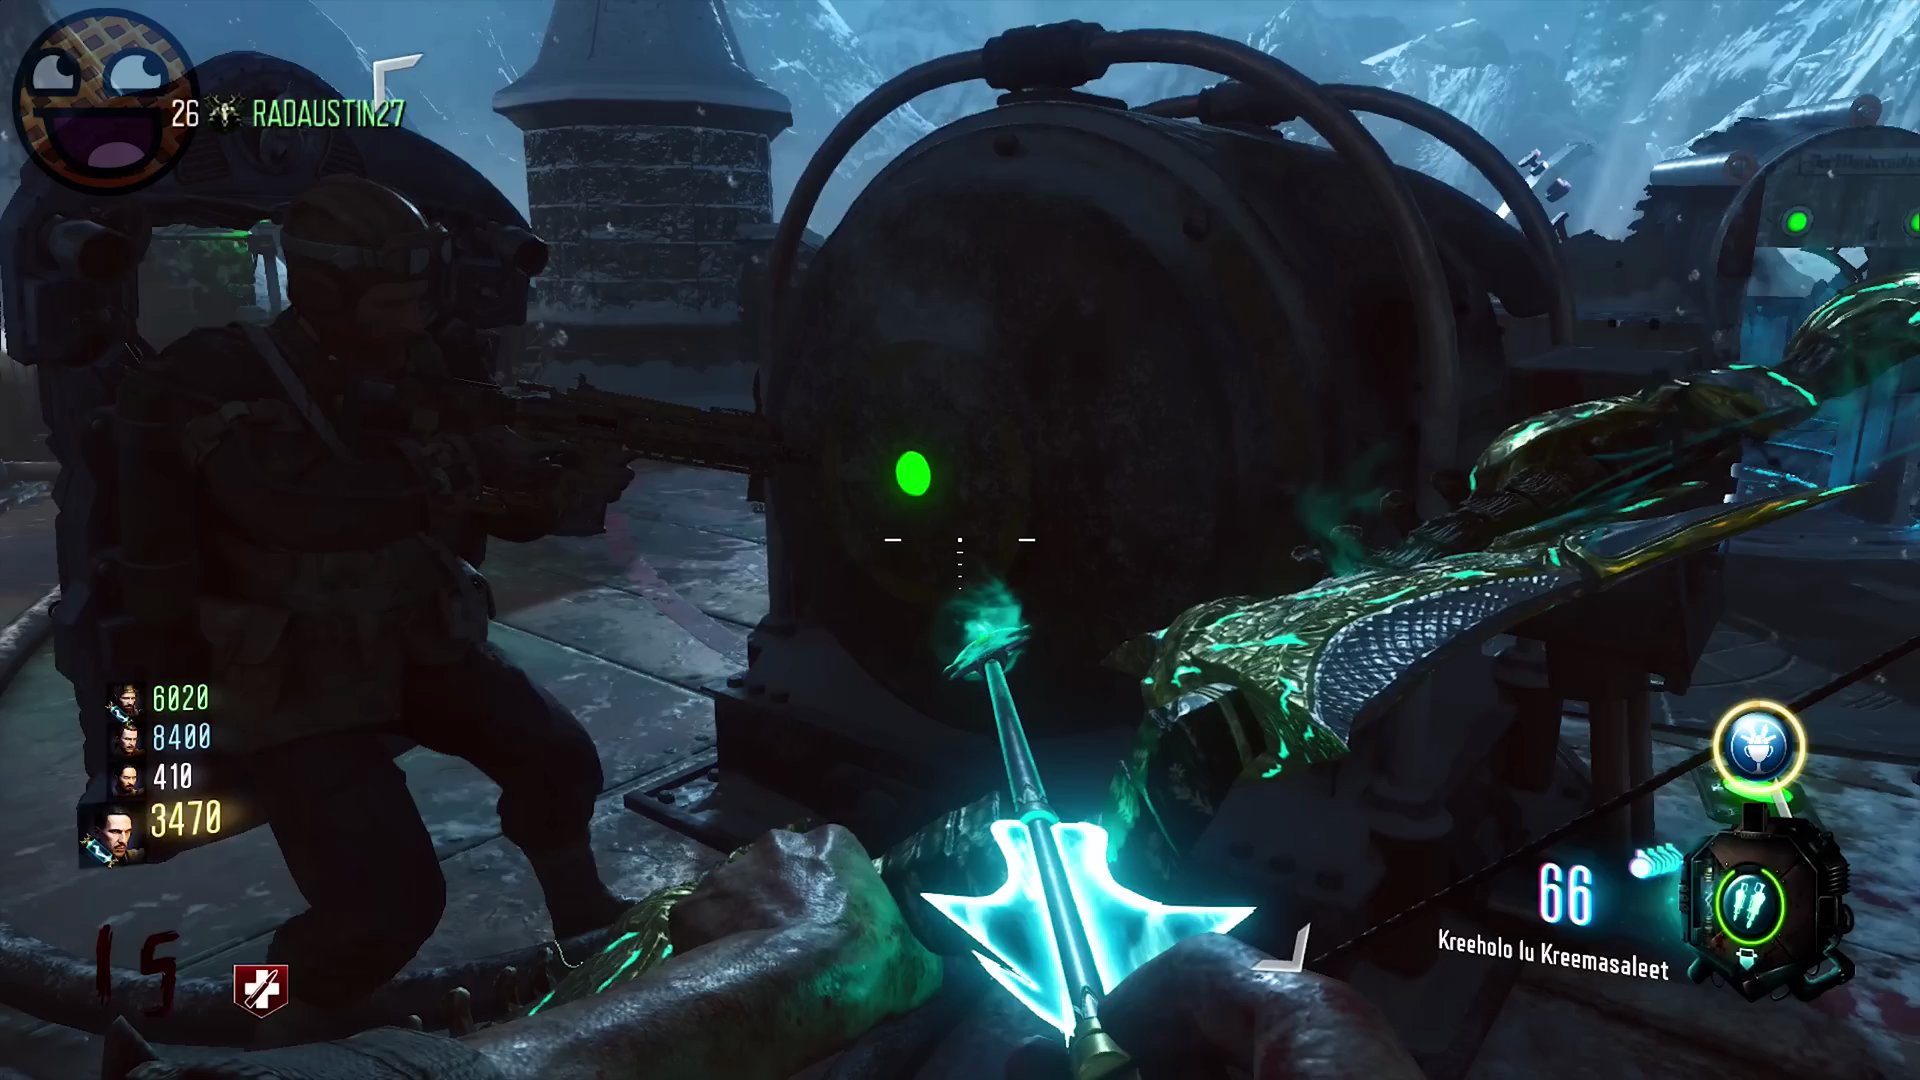
Step 7: Collect the Vrill Generator and Stone Slab
- After pressing the green button, Dempsey 1.0's capsule will appear in the sky.
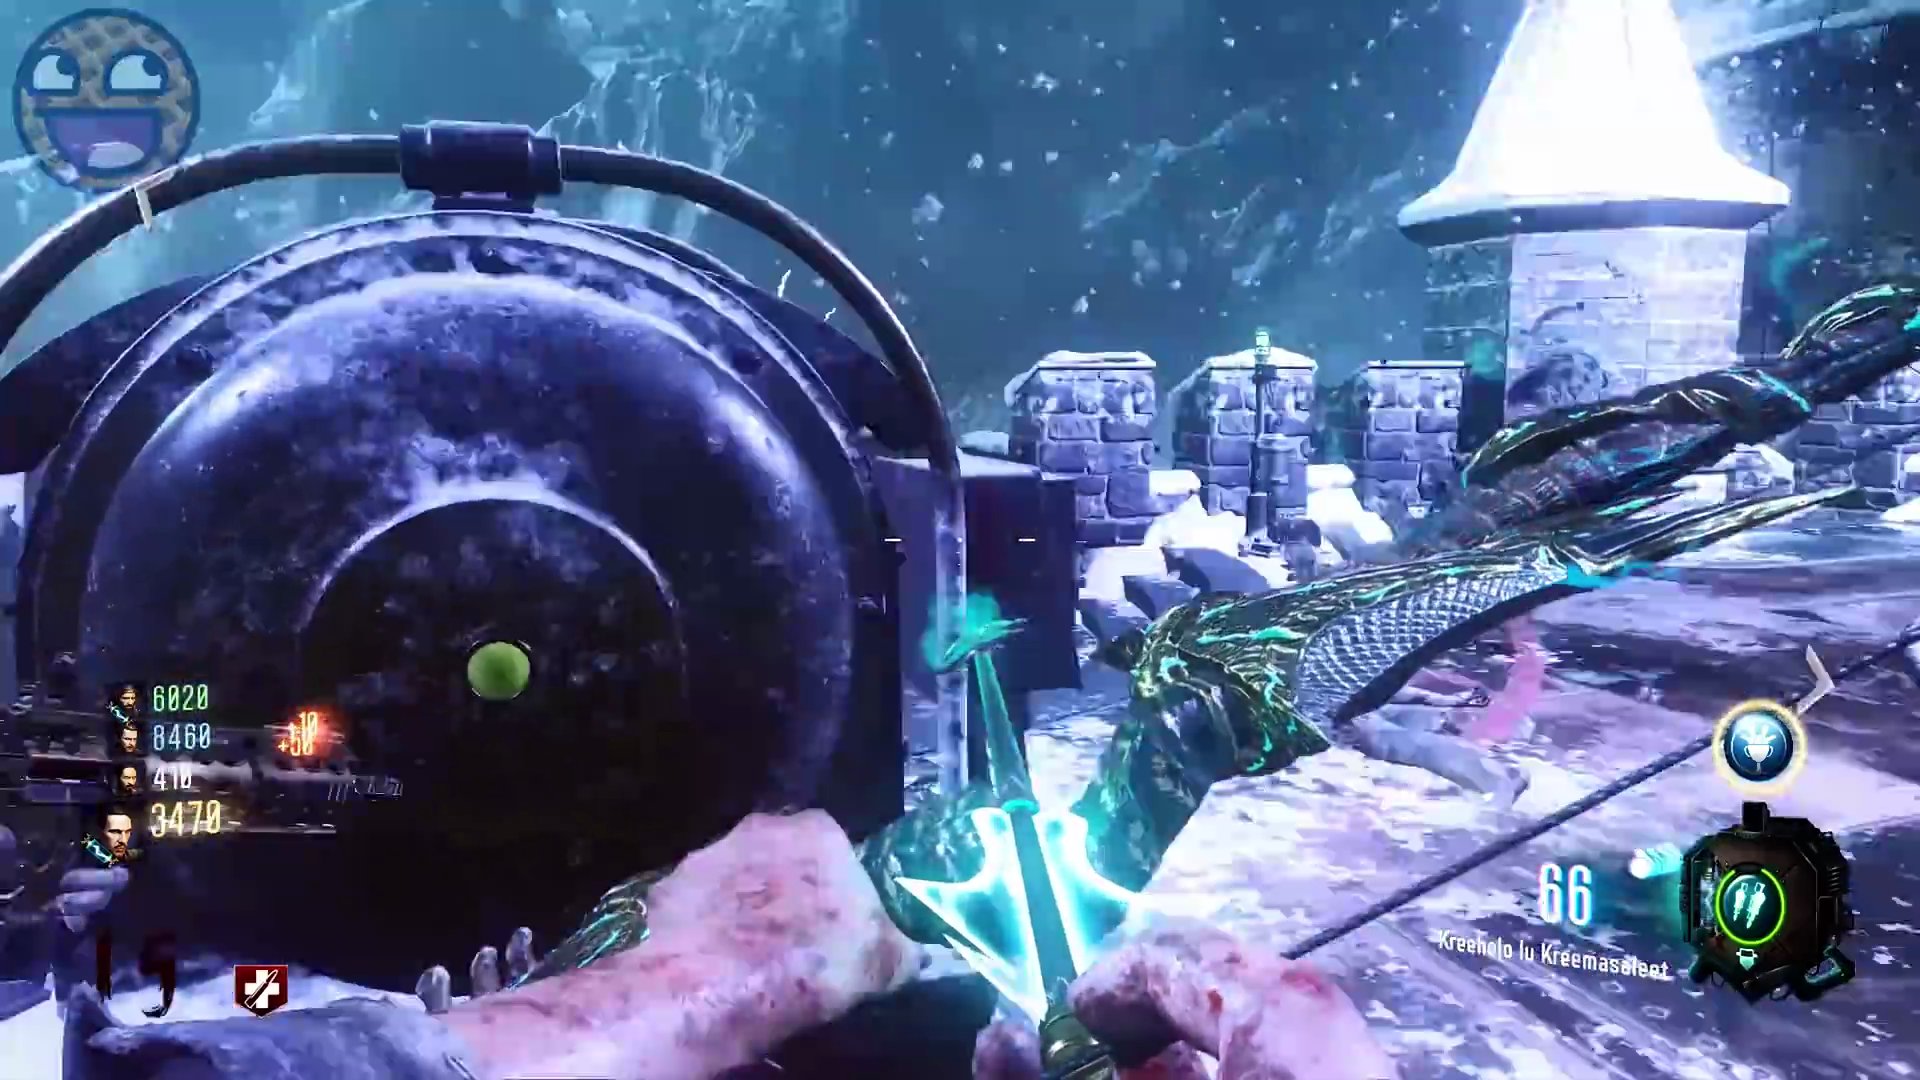
- The Vrill Generator will spawn on the snow next to the rocket. Collect it.
- You will now need to go back in time. Complete another Margwa step to activate the teleporter and return to Dr. Groff's lab. This time, Groff will be absent.
- After a short period, a container box in the lab will open. Inside, retrieve the Stone Slab. If the box is stubborn, keep spamming the interact button.
Step 8: The Keeper Soul Ritual
- Return to the Knight's Tomb. Place the Vrill Generator into the designated slot.
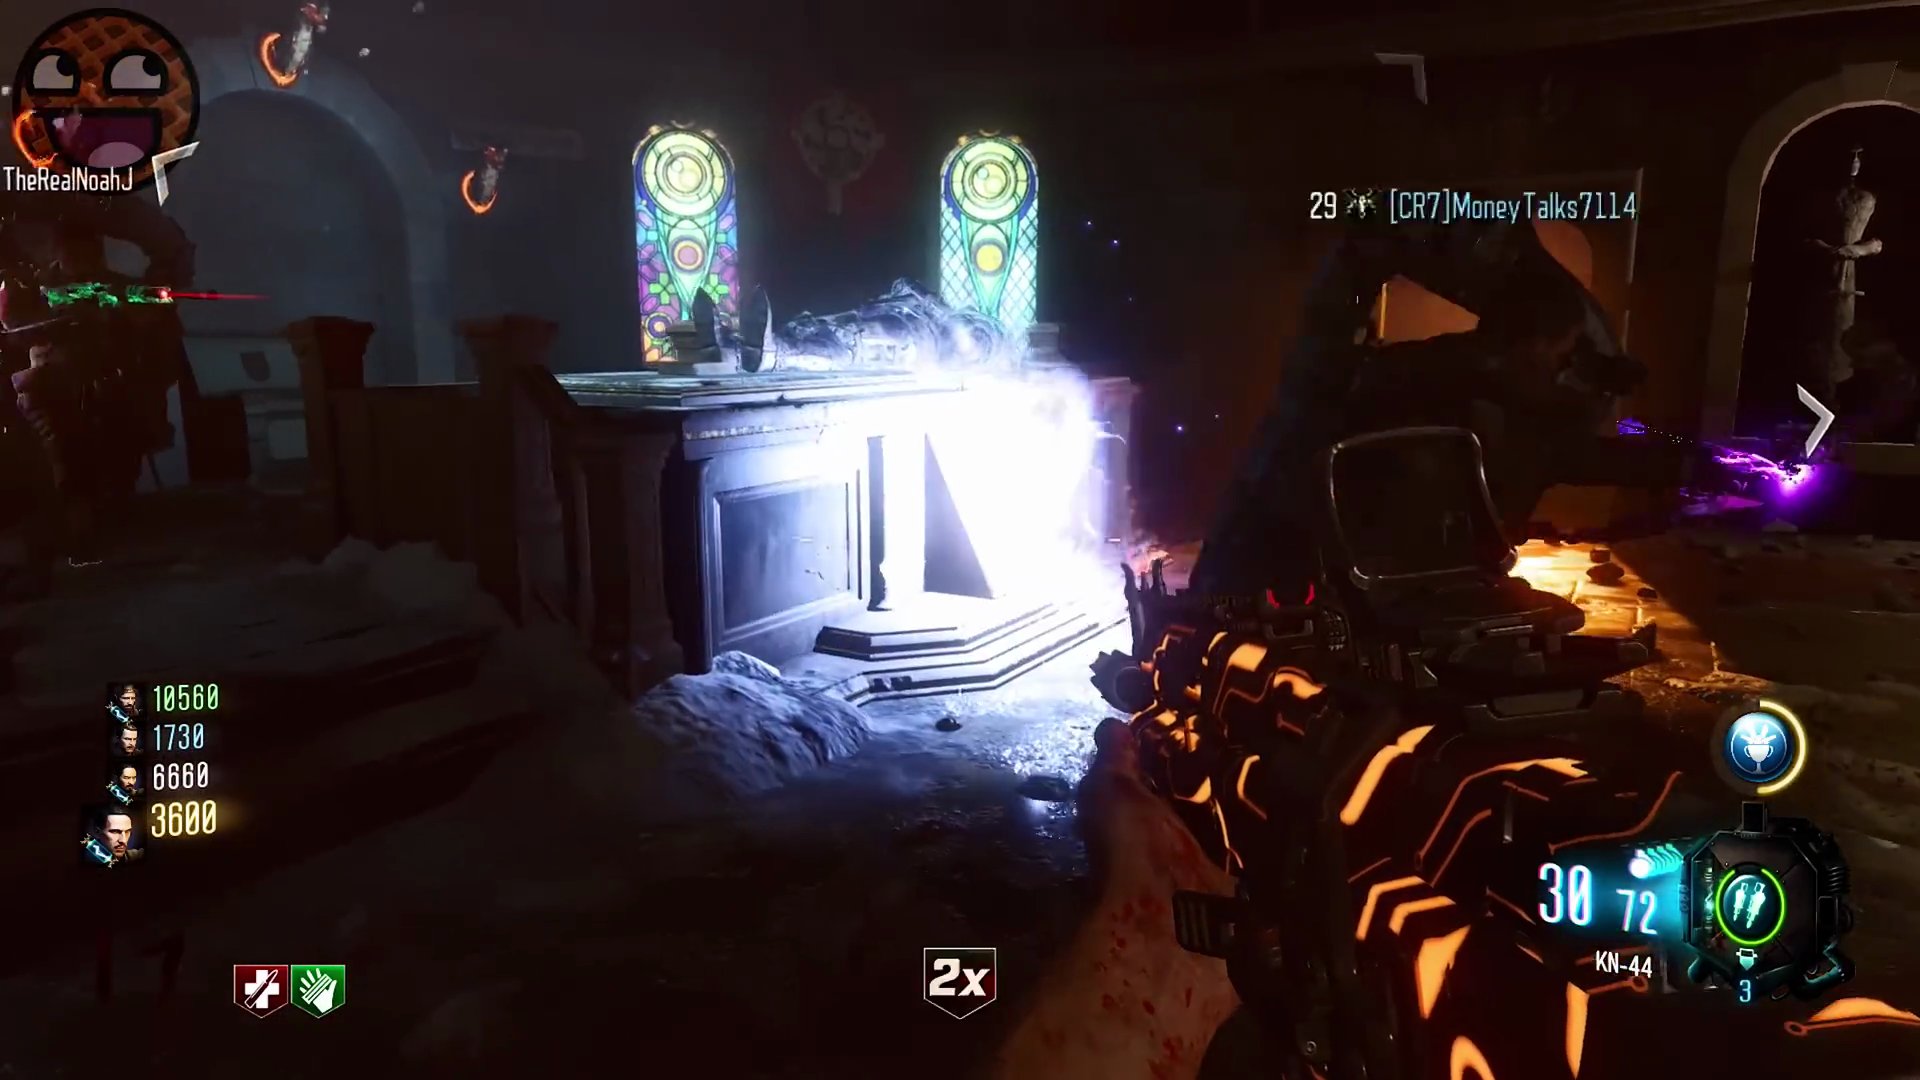
- An ethereal Keeper will spawn and begin to wander the map. It will stop at one of four specific locations (e.g., outside Double Tap).
- When the Keeper stops, a white circle will appear on the ground. Stand inside this circle. Your screen will gain a colored vignette, indicating which elemental bow (e.g., Fire, Void, Wolf, Lightning) is required for that phase.
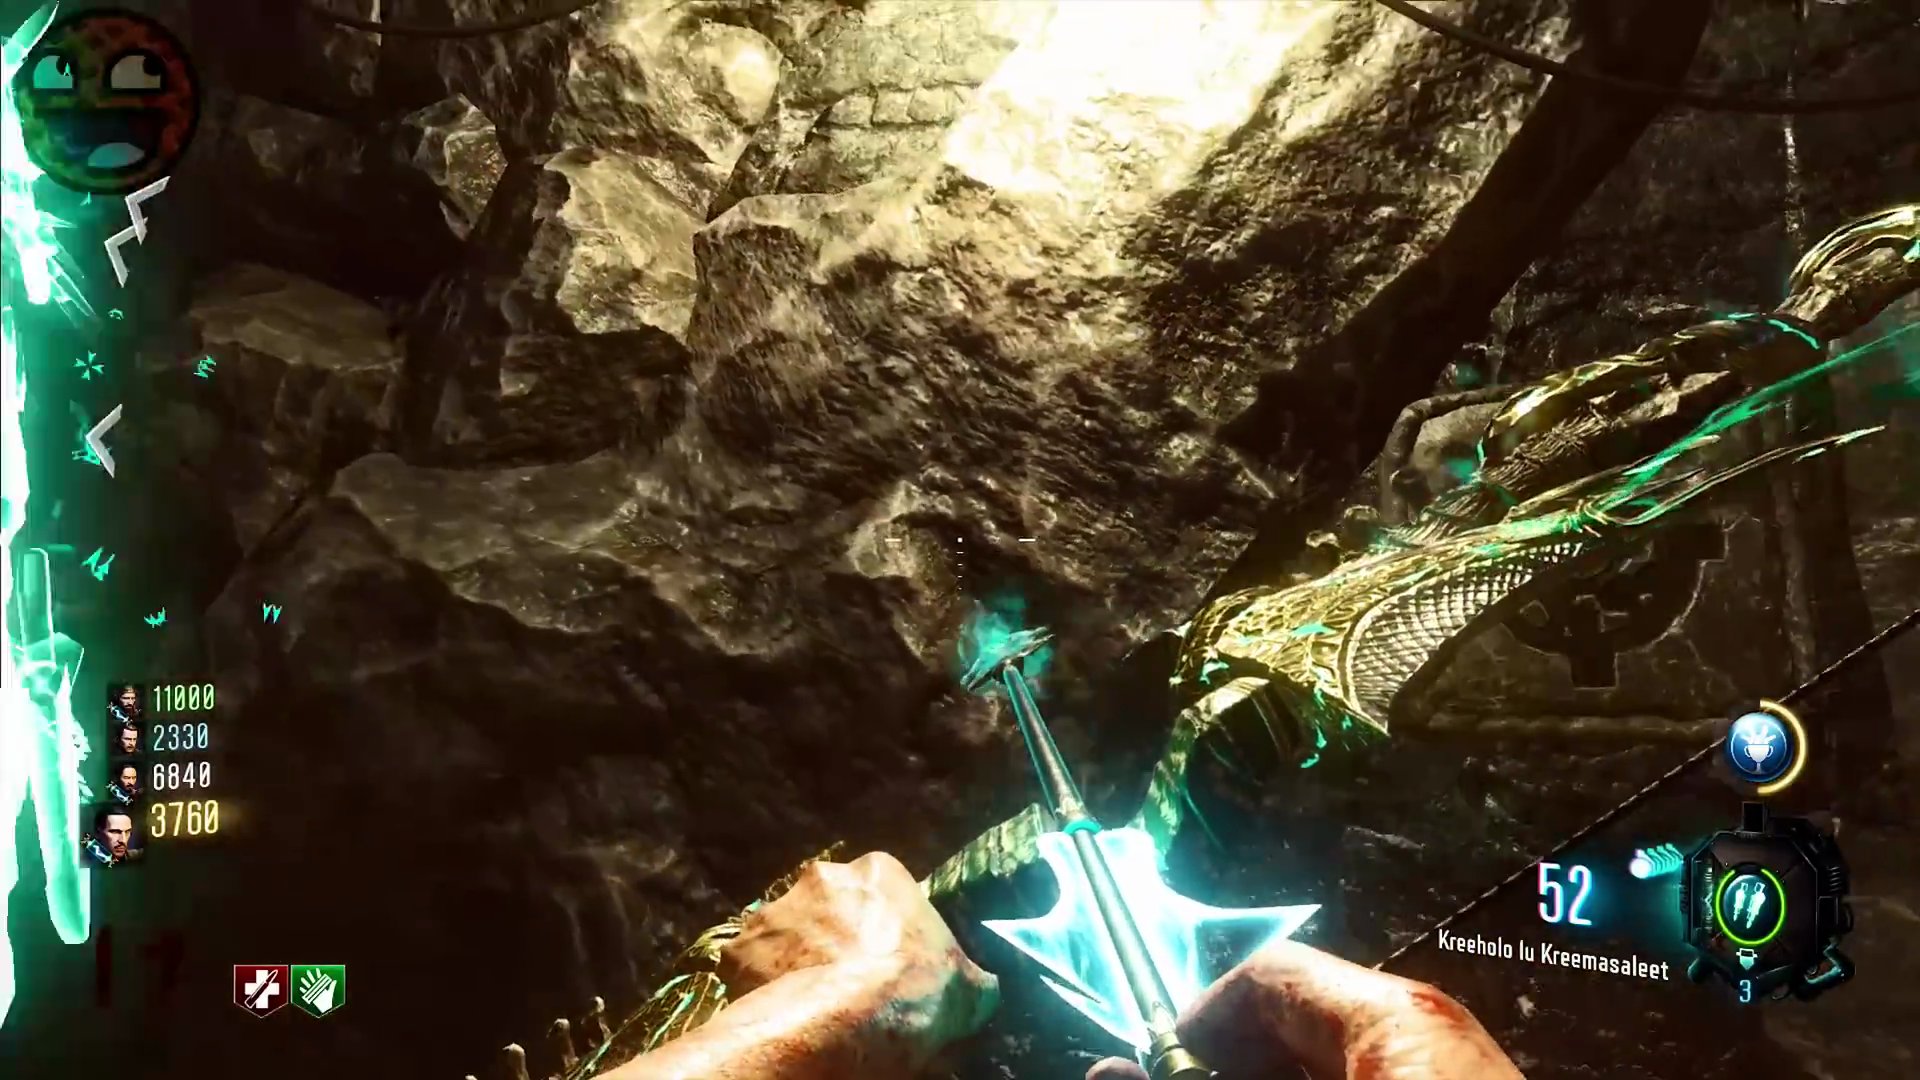
- Kill zombies within the circle using the corresponding elemental bow. The souls will flow into a tablet next to the Keeper. Each player's elemental bow corresponds to a tablet.
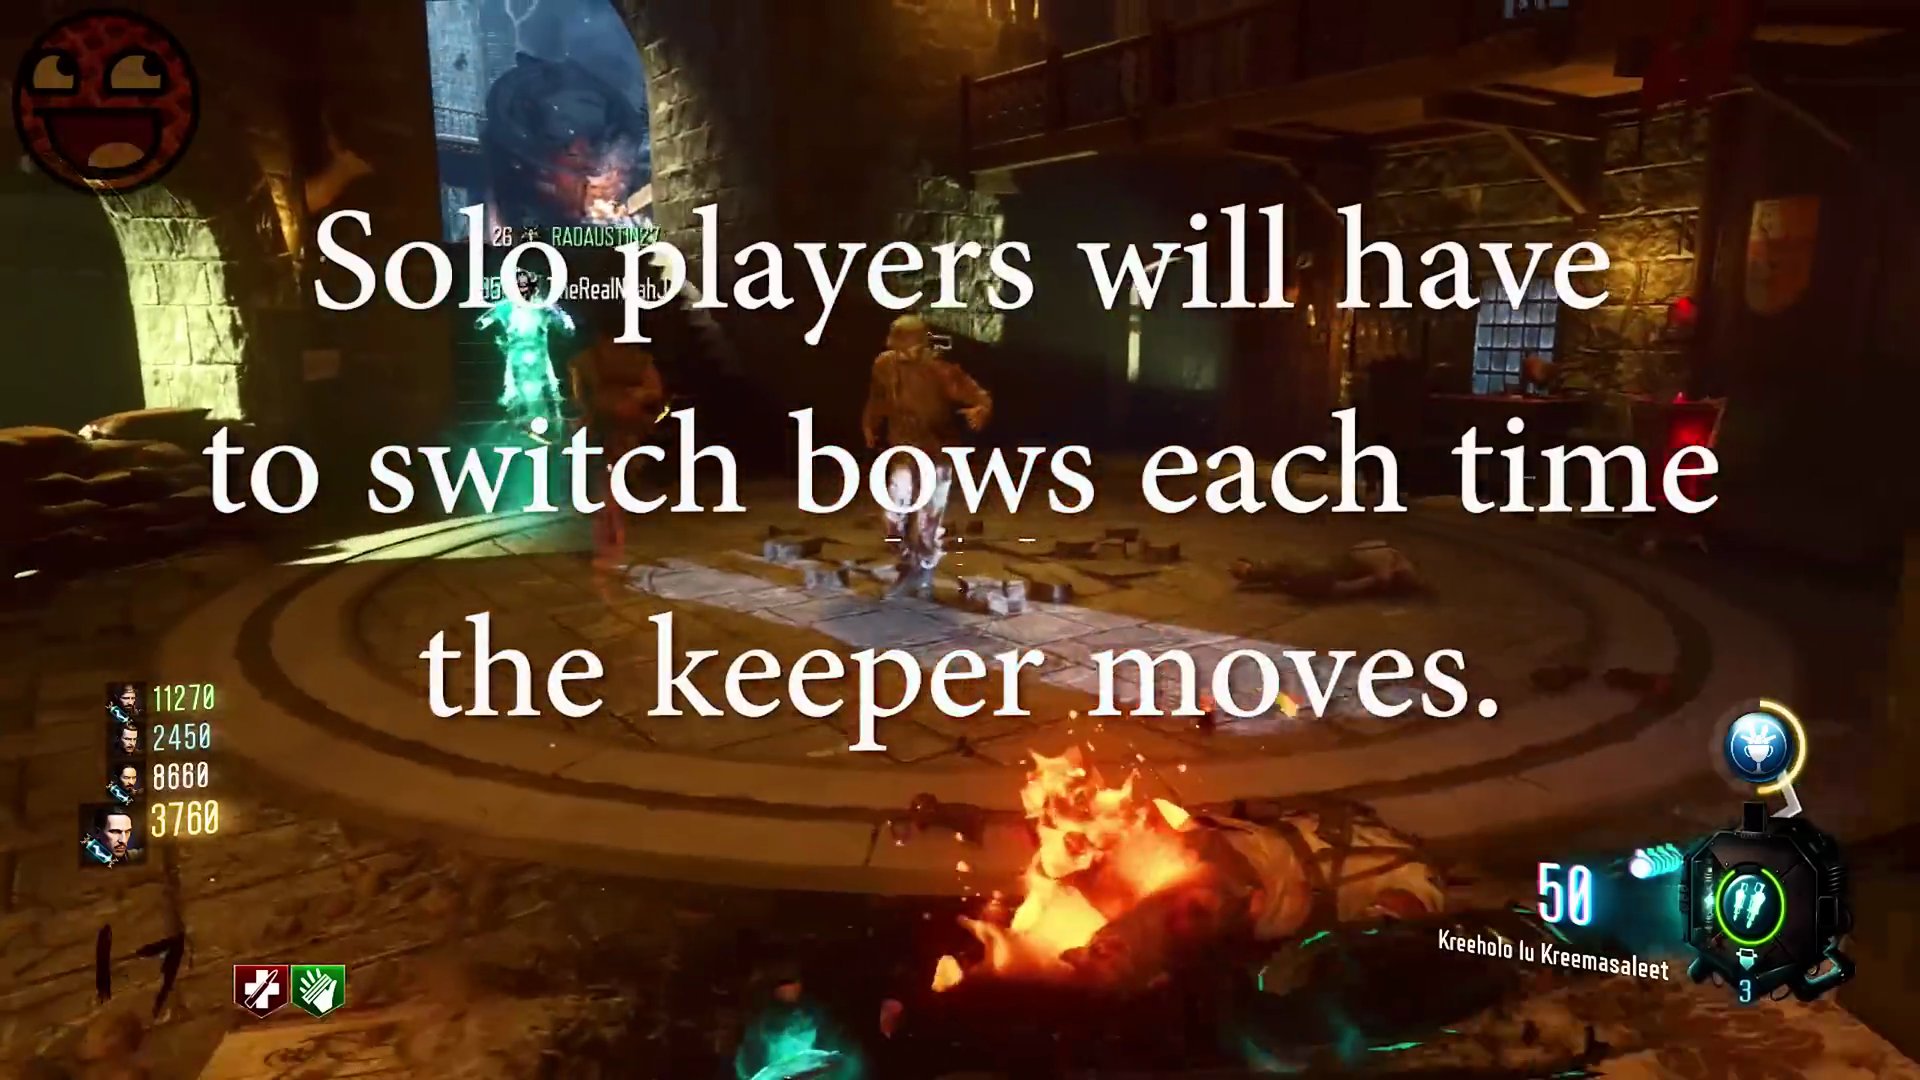
- Solo players will need to switch bows each time the Keeper moves and the vignette changes color. Keeping multiple players in the circle is advantageous for faster soul collection and zombie management.
- Once a tablet is filled, the Keeper will move to the next location. Repeat this process until all tablets are filled.
- After filling the final tablet, the Keeper will become solid and relocate to the Undercroft.
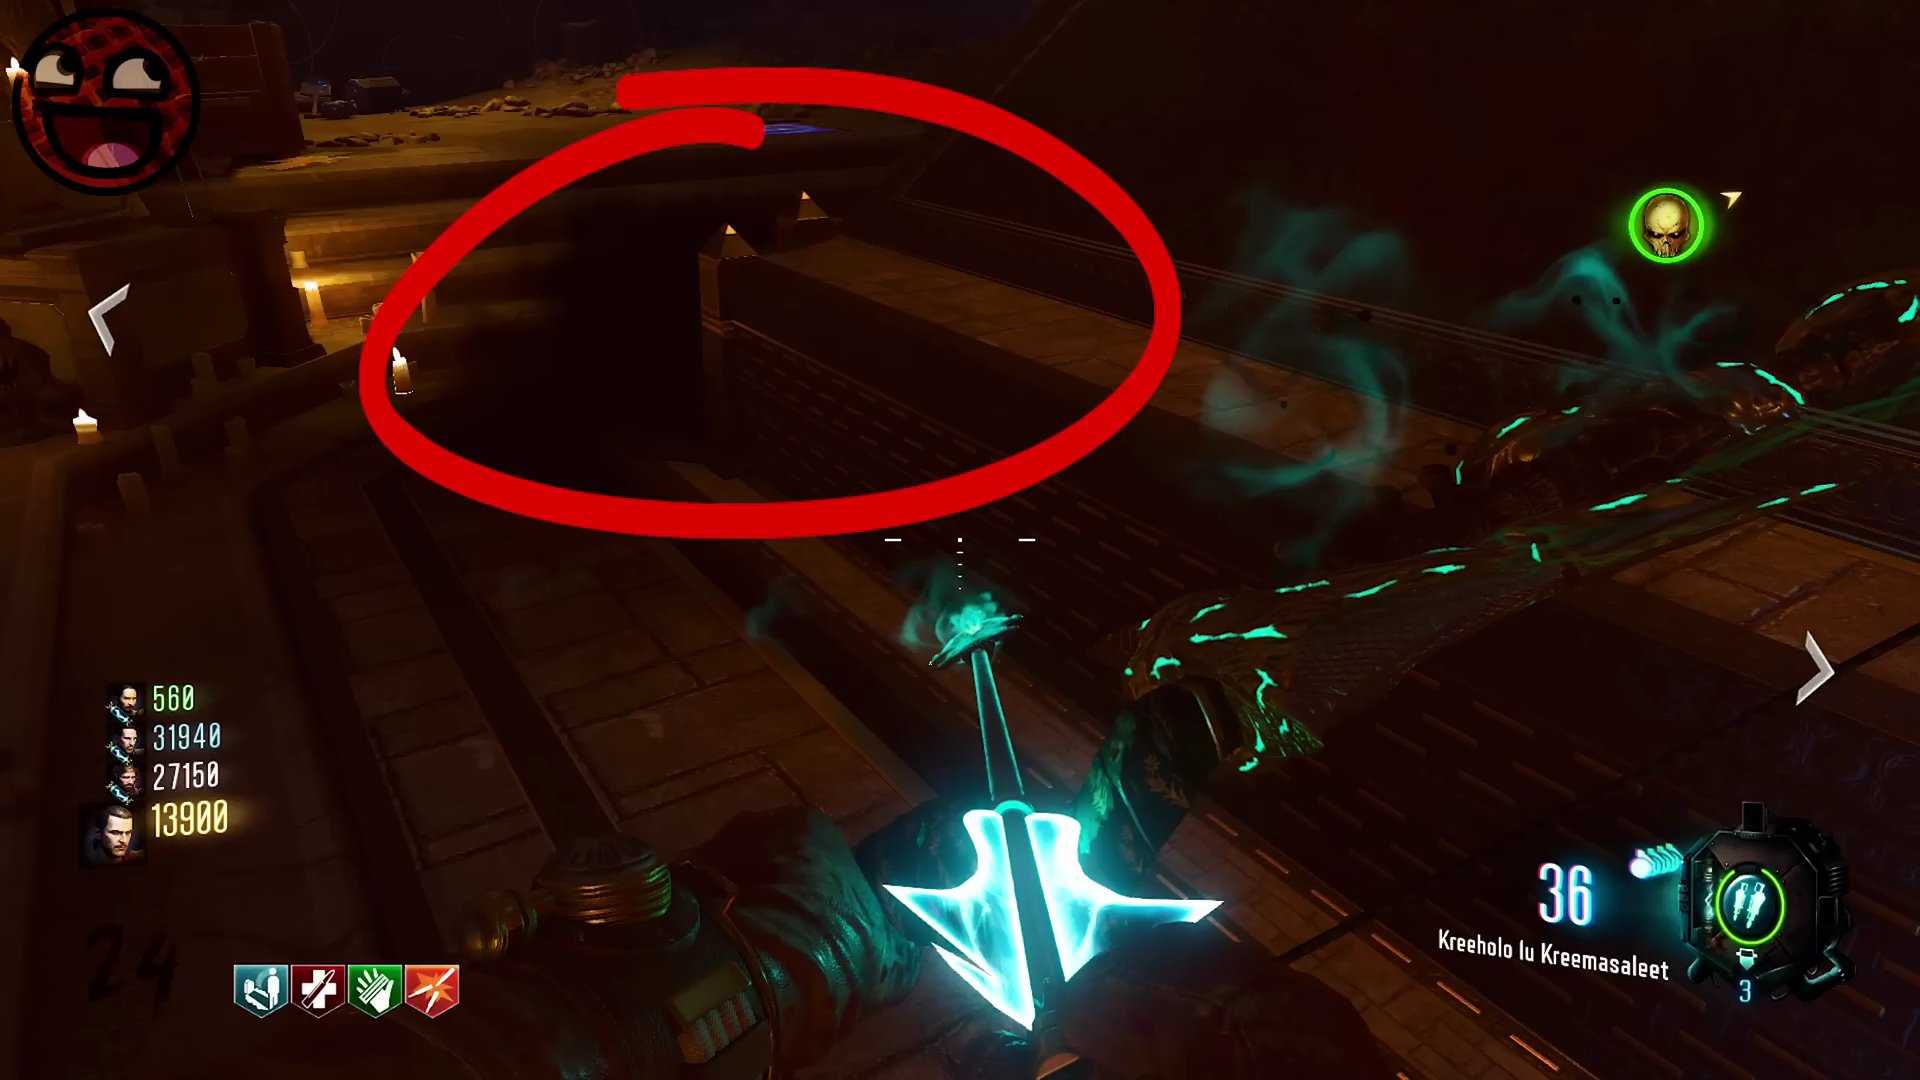
- Locate the missing souls canister slot in the MPD pyramid in the Undercroft (it's the one you picked up earlier). Interact with it to place the collected souls canister.
Step 9: The Boss Battle
- This is the final confrontation. Ensure all players have their Ragnarok DG4s fully charged, perks, Gobblegums, and shields.
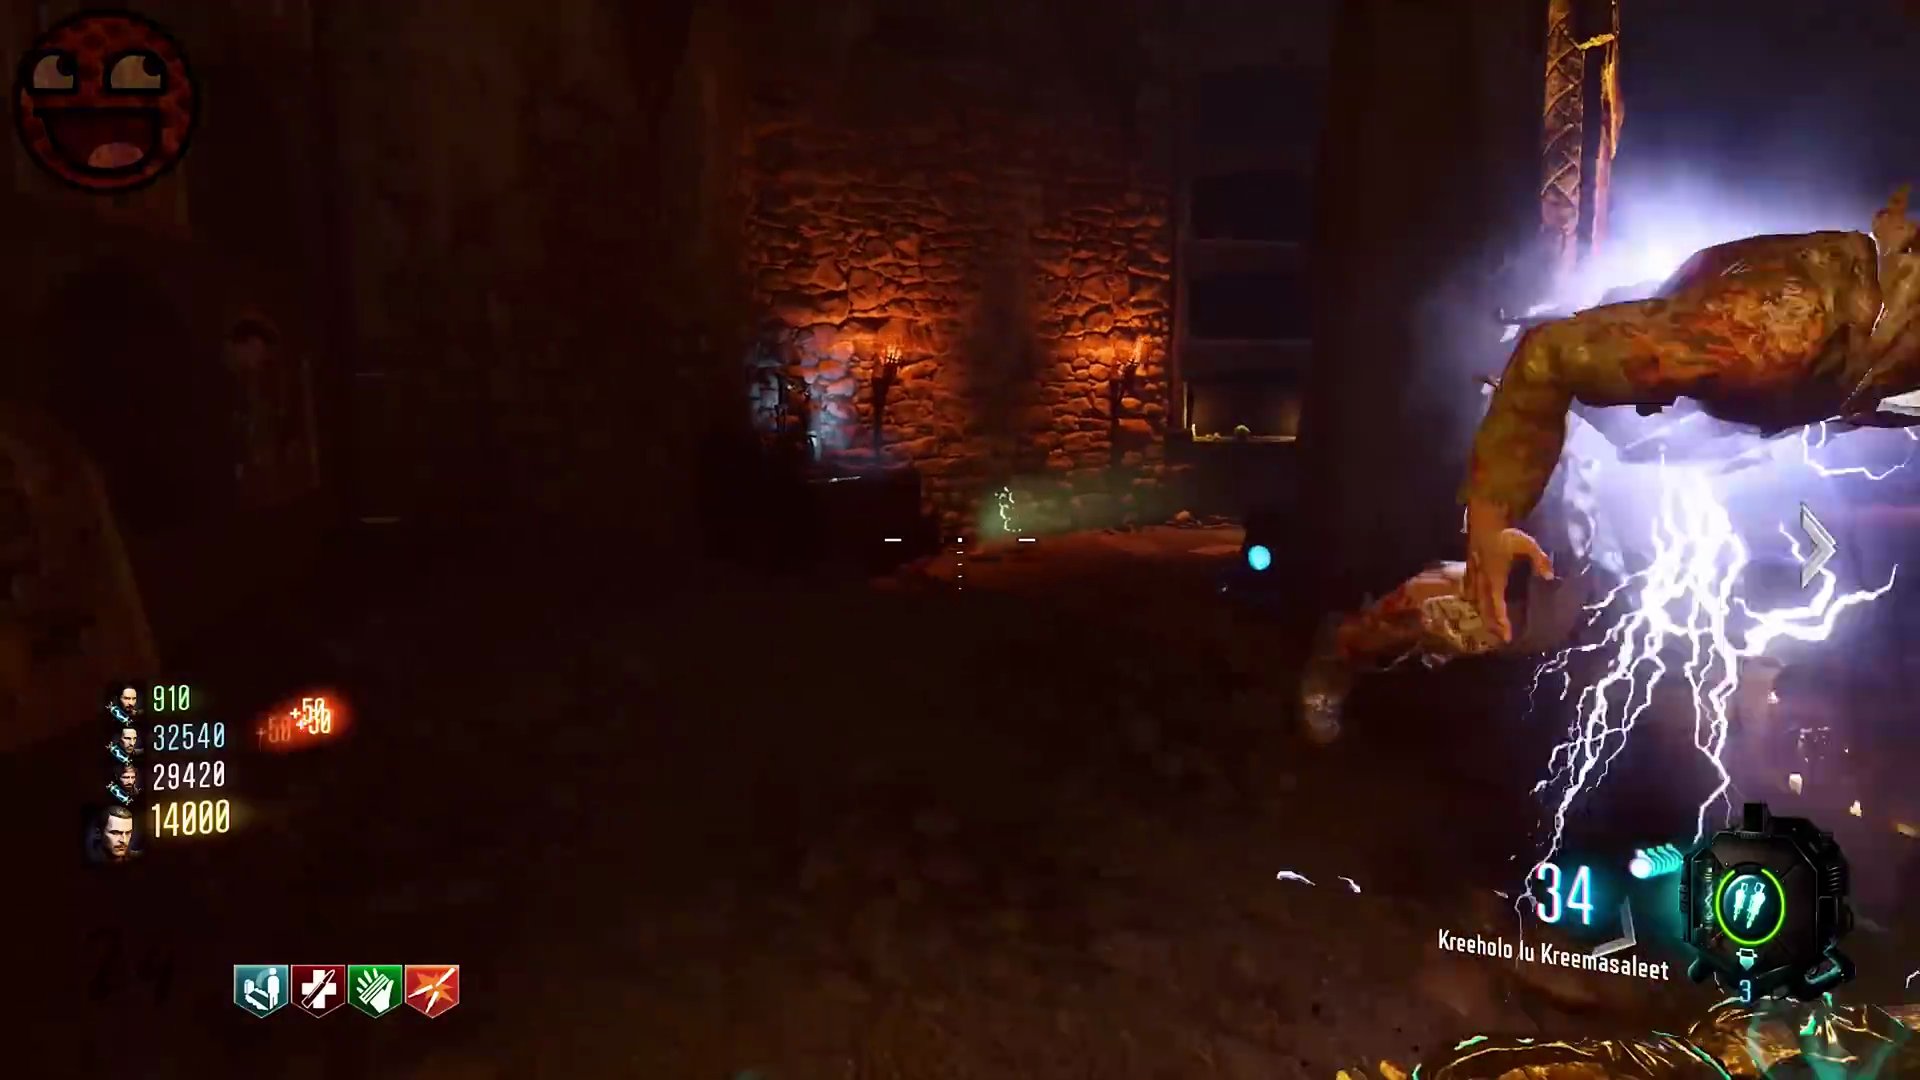
- Have all four players stand on the blue square panels around the MPD pyramid in the Undercroft. Once ready, simultaneously activate your Ragnarok DG4s by slamming them onto the ground.
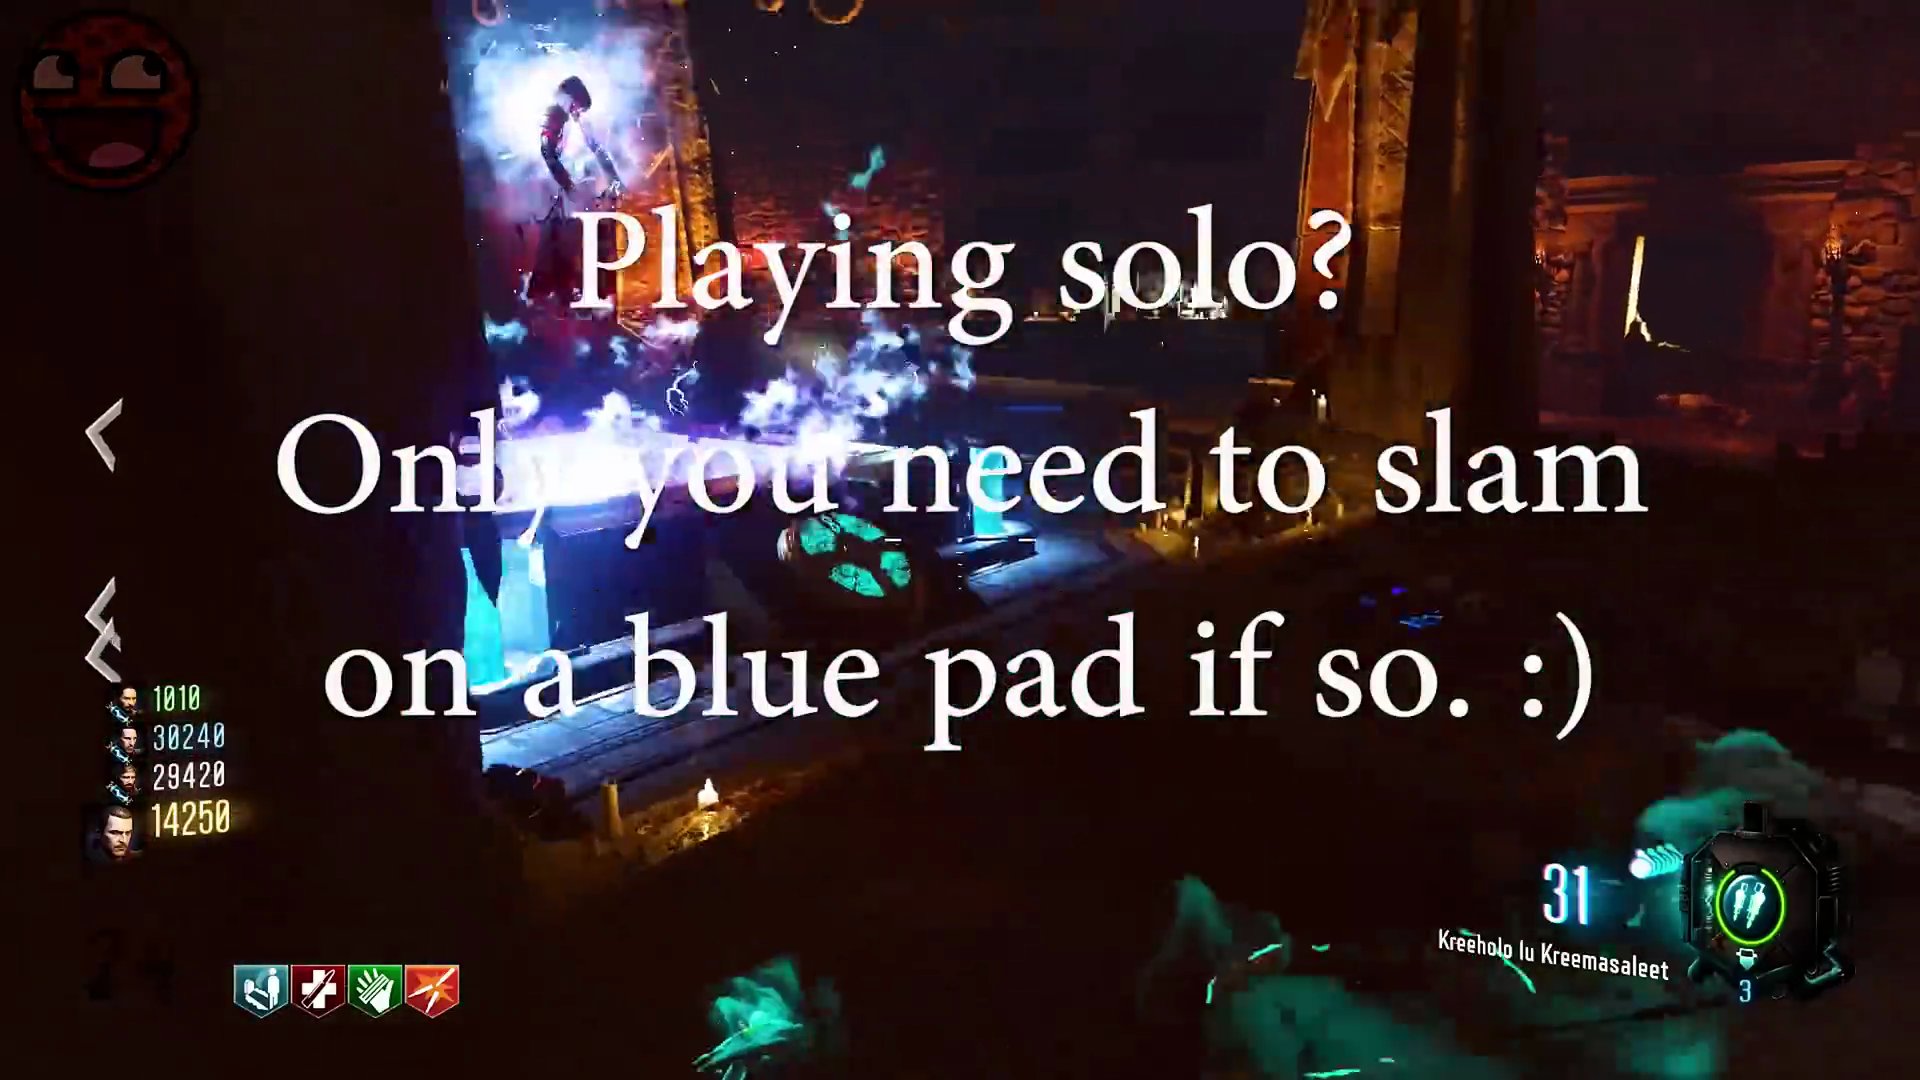
- This will teleport you to the boss arena, where a gigantic Keeper will appear.

- The Keeper will perform various attacks: sending skulls, spawning volcanic mounds (damage over time), and summoning skeletons.
- When electricity builds in the center of the room and the Keeper slowly descends, all players must hide behind one of the pillars in the shadows. Failure to do so will result in death.
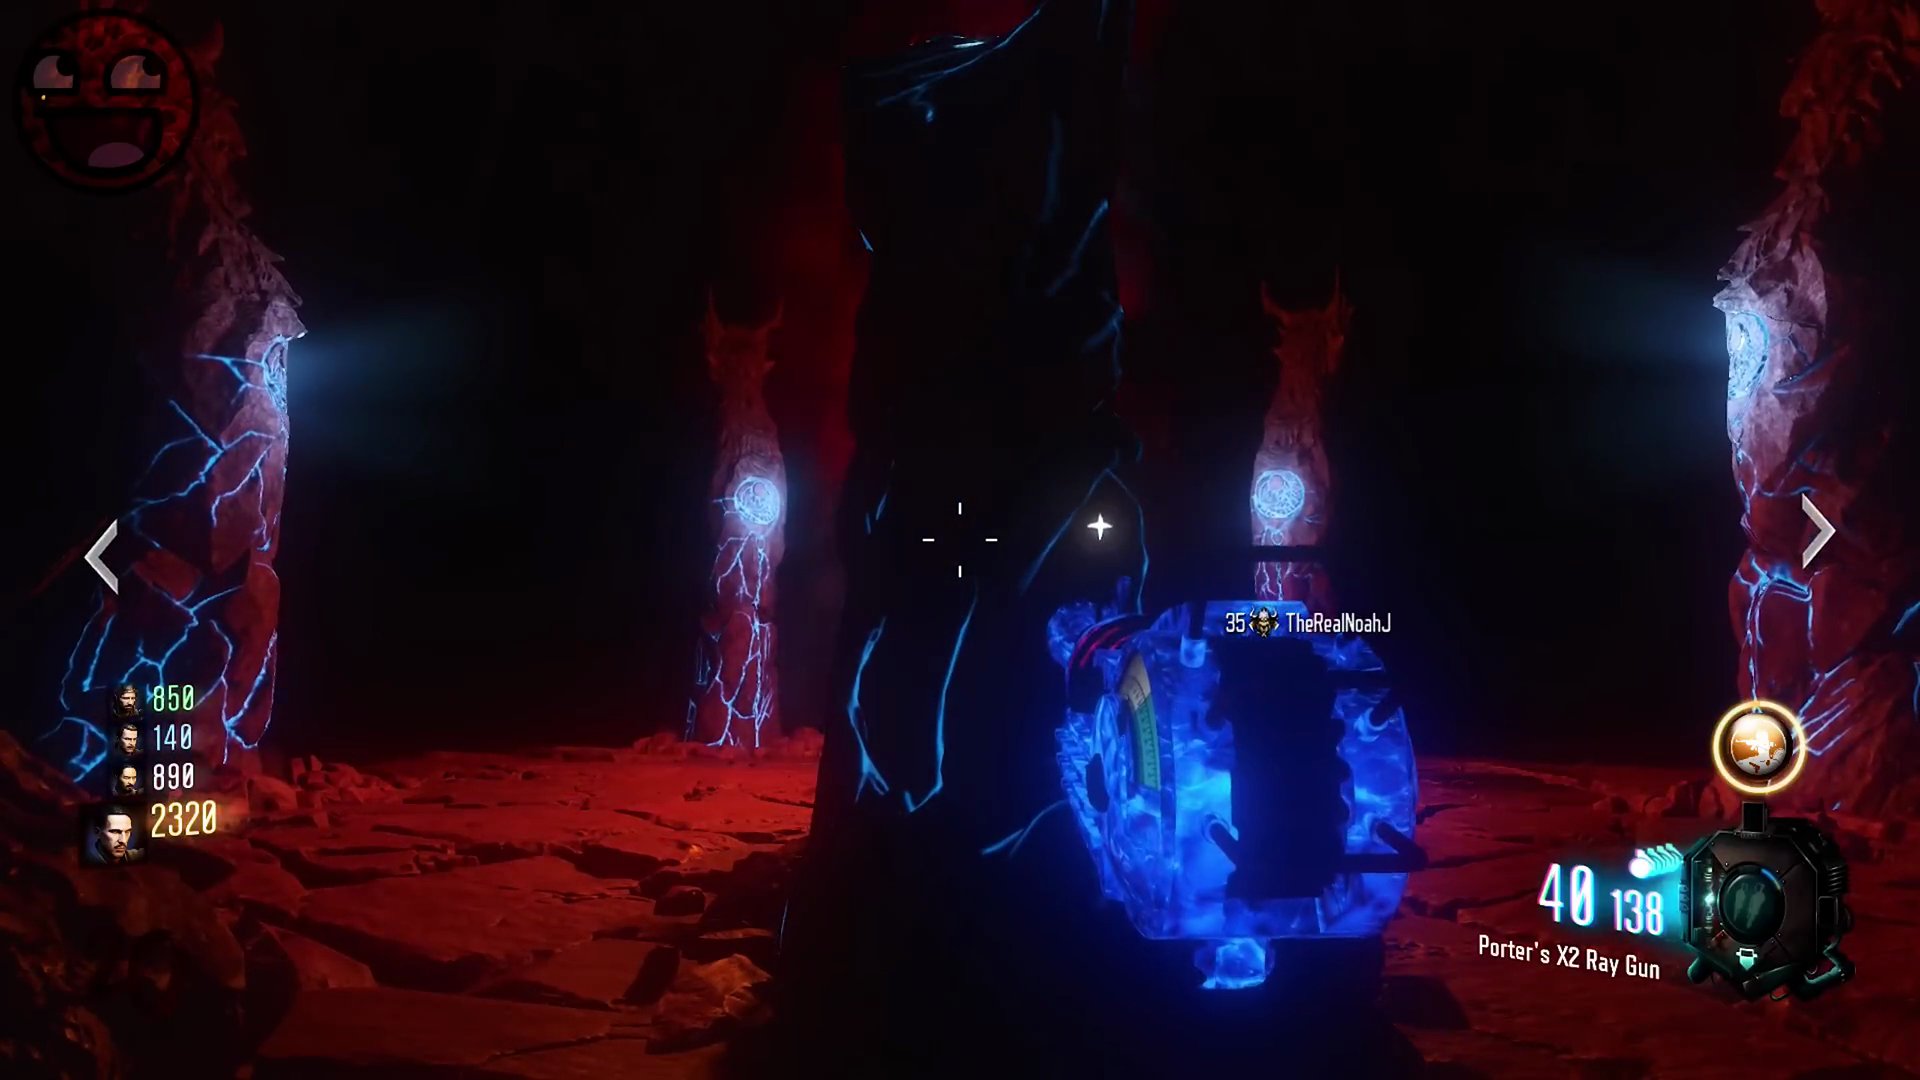
- To damage the boss: While the Keeper is descending and electricity is building, one player with a charged Ragnarok DG4 must slam it onto the ground directly beneath the Keeper.
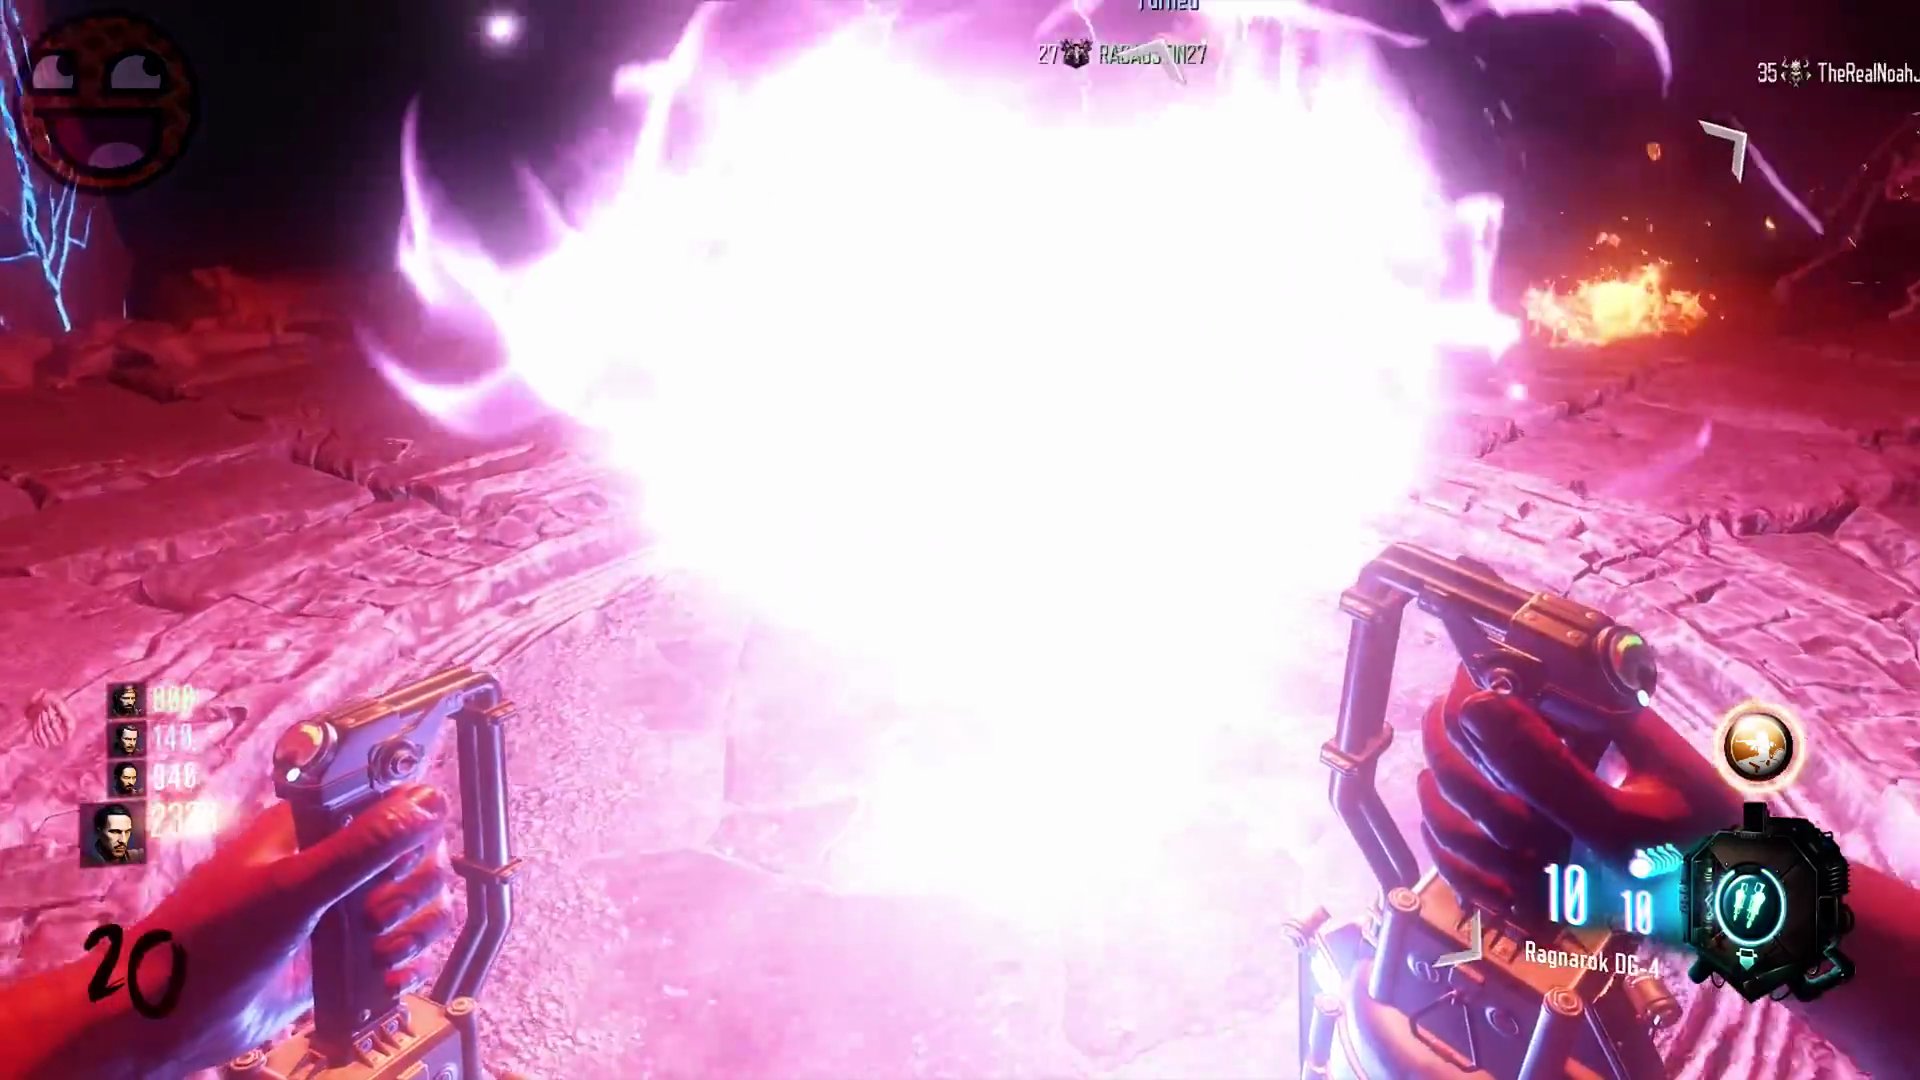
- This traps the Keeper and exposes its glowing chest symbol (heart). Focus all fire on this weak point.
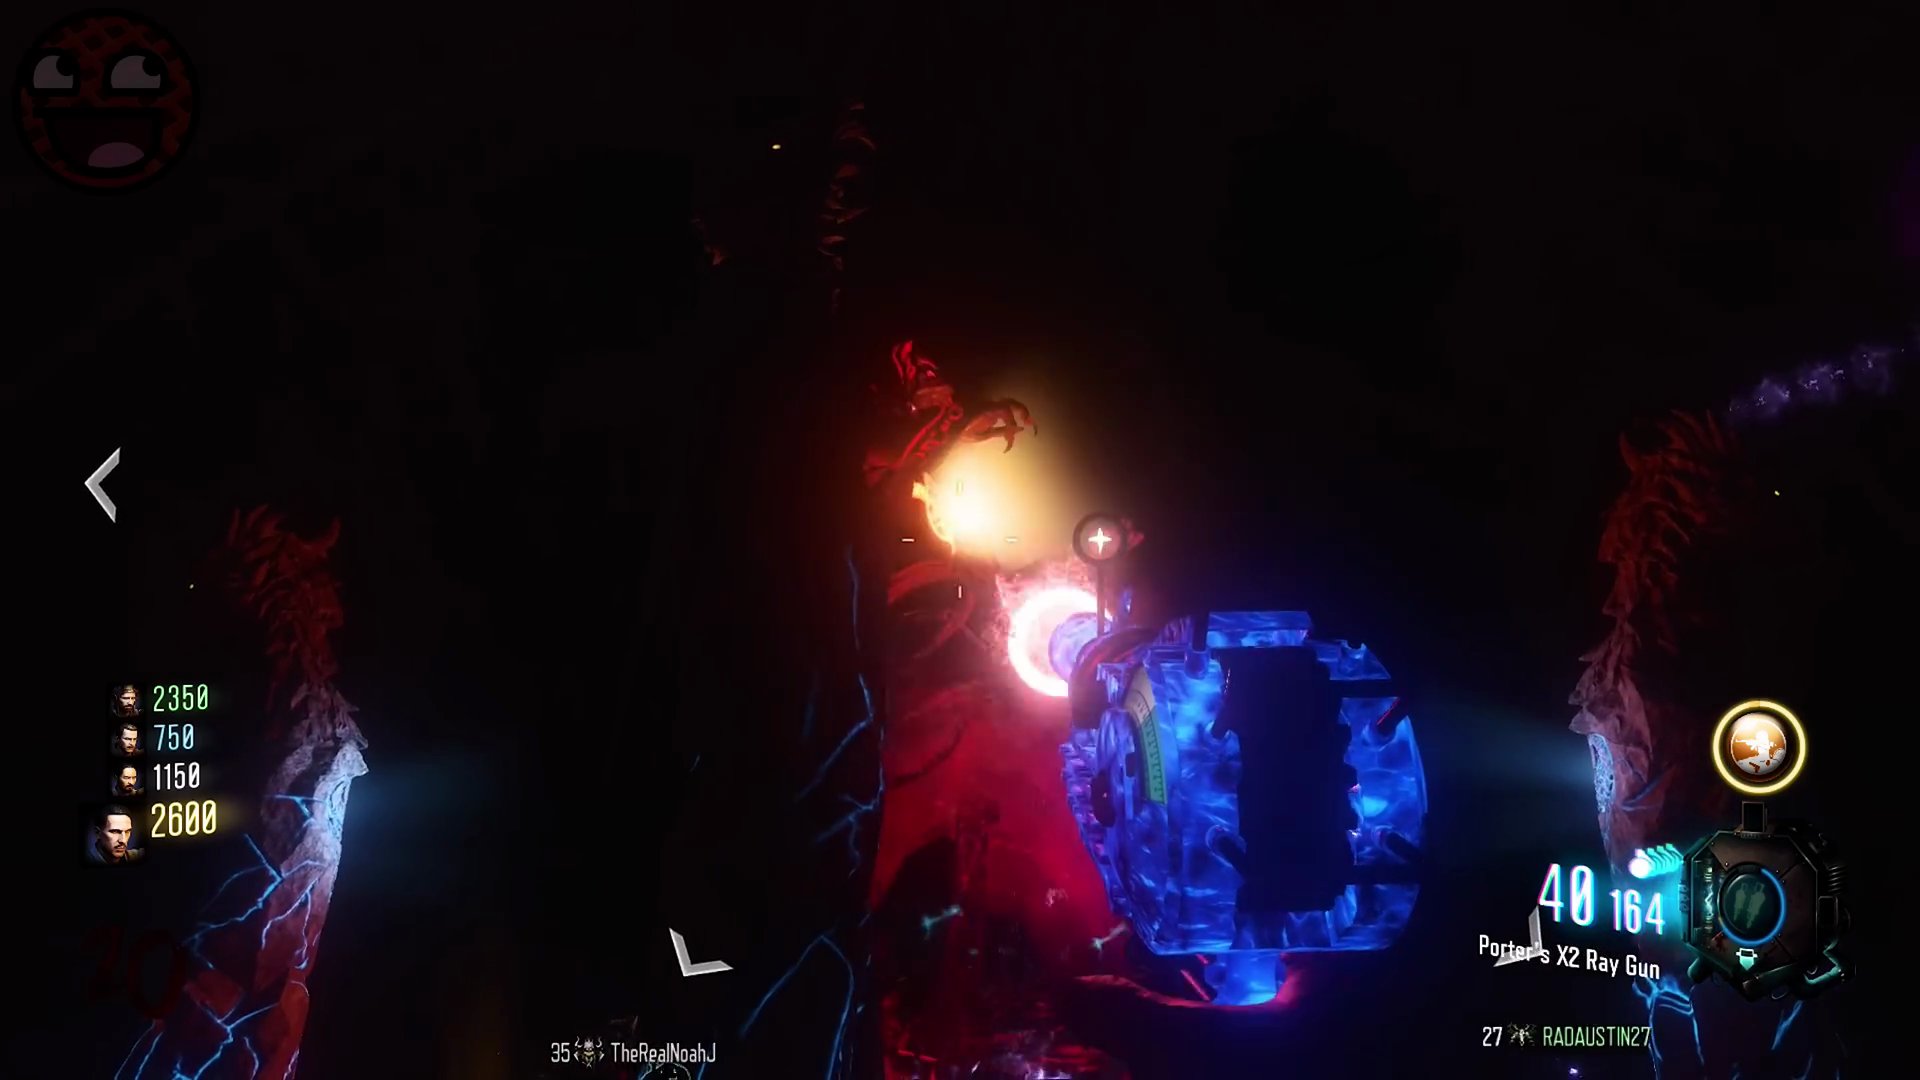
- After taking damage, the Keeper will rise, and the process will repeat. Eventually, Panzers will begin to spawn. Killing Panzers drops Max Ammos, which are crucial for this lengthy fight. Coordinate with your team to take down Panzers for ammo.
- Keep repeating the cycle of trapping, damaging, and managing Panzers until the Keeper is defeated.
Step 10: Launch the Rockets
- Upon defeating the Keeper, you will be teleported back to the pyramid room.
- Go to the square panel in front of the pyramid and hold square to interact.
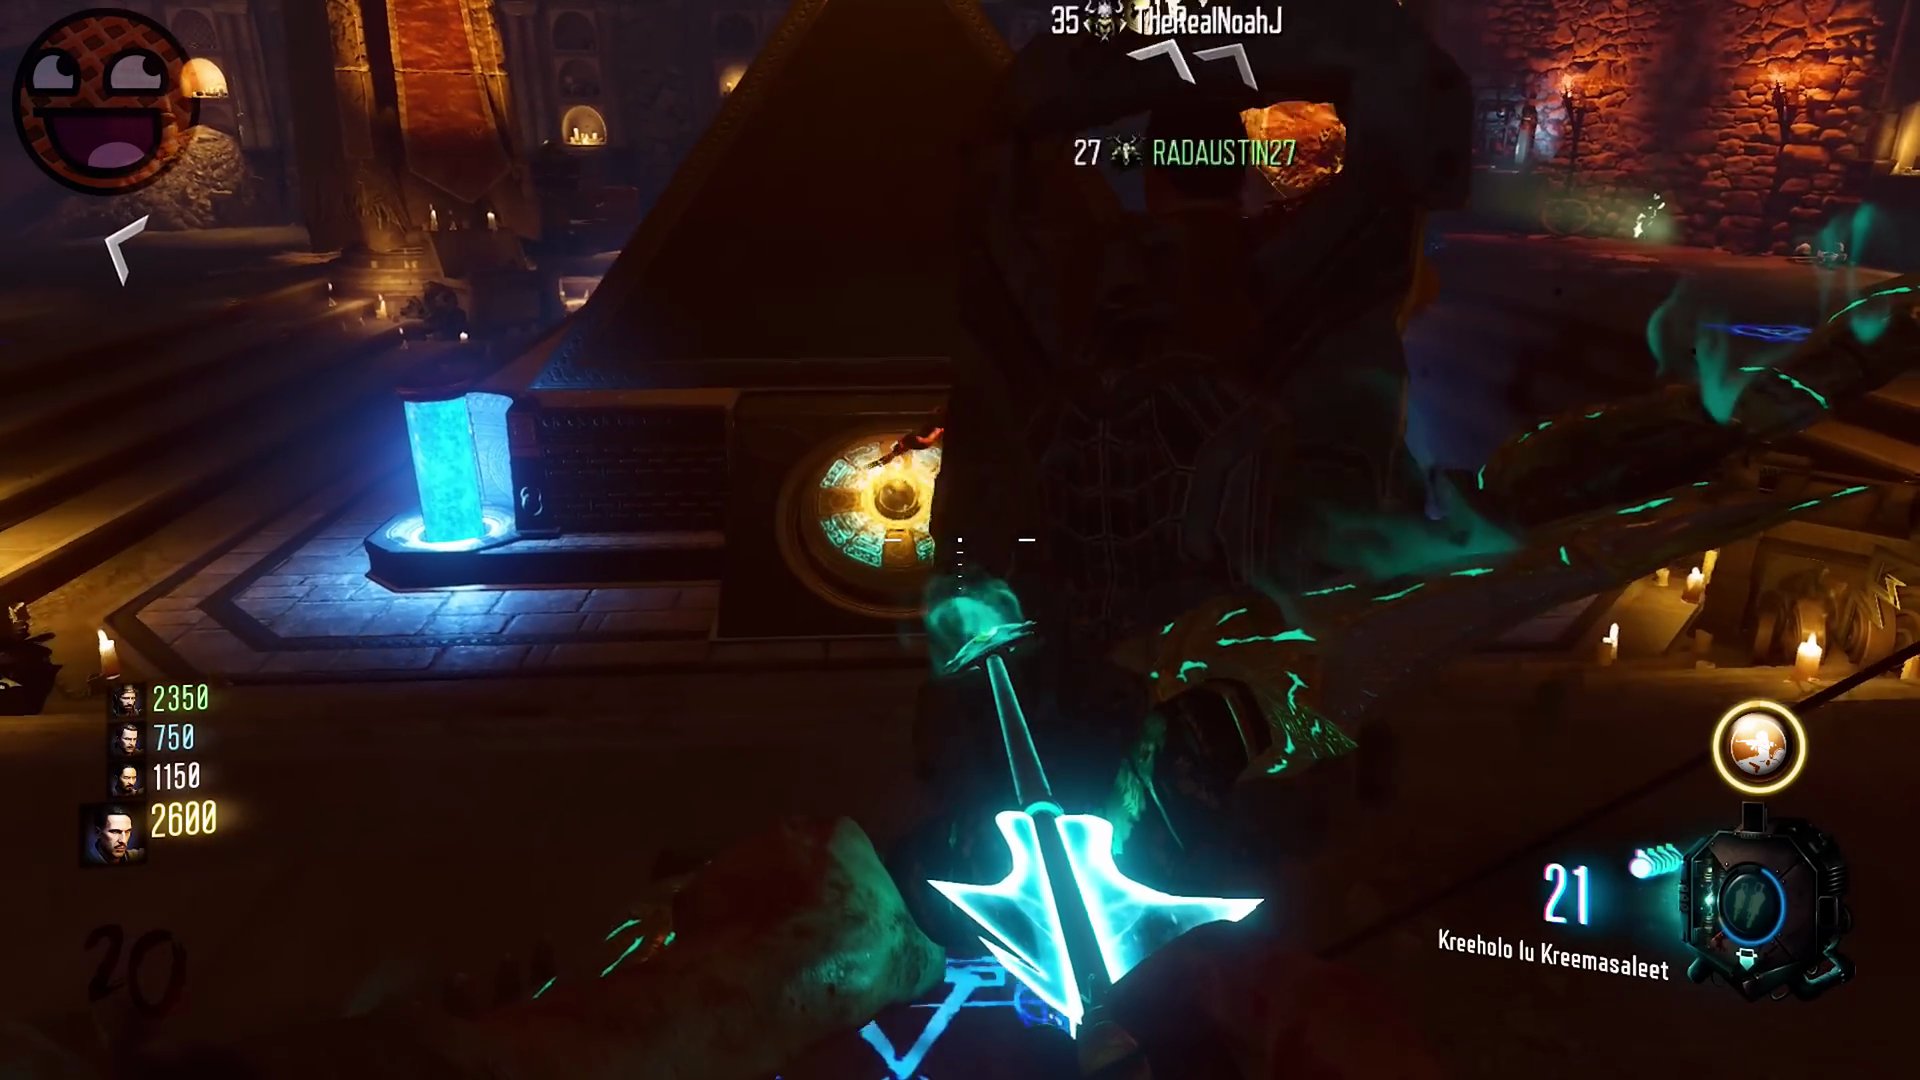
- This will cause the Summoning Key to appear. Pick it up.
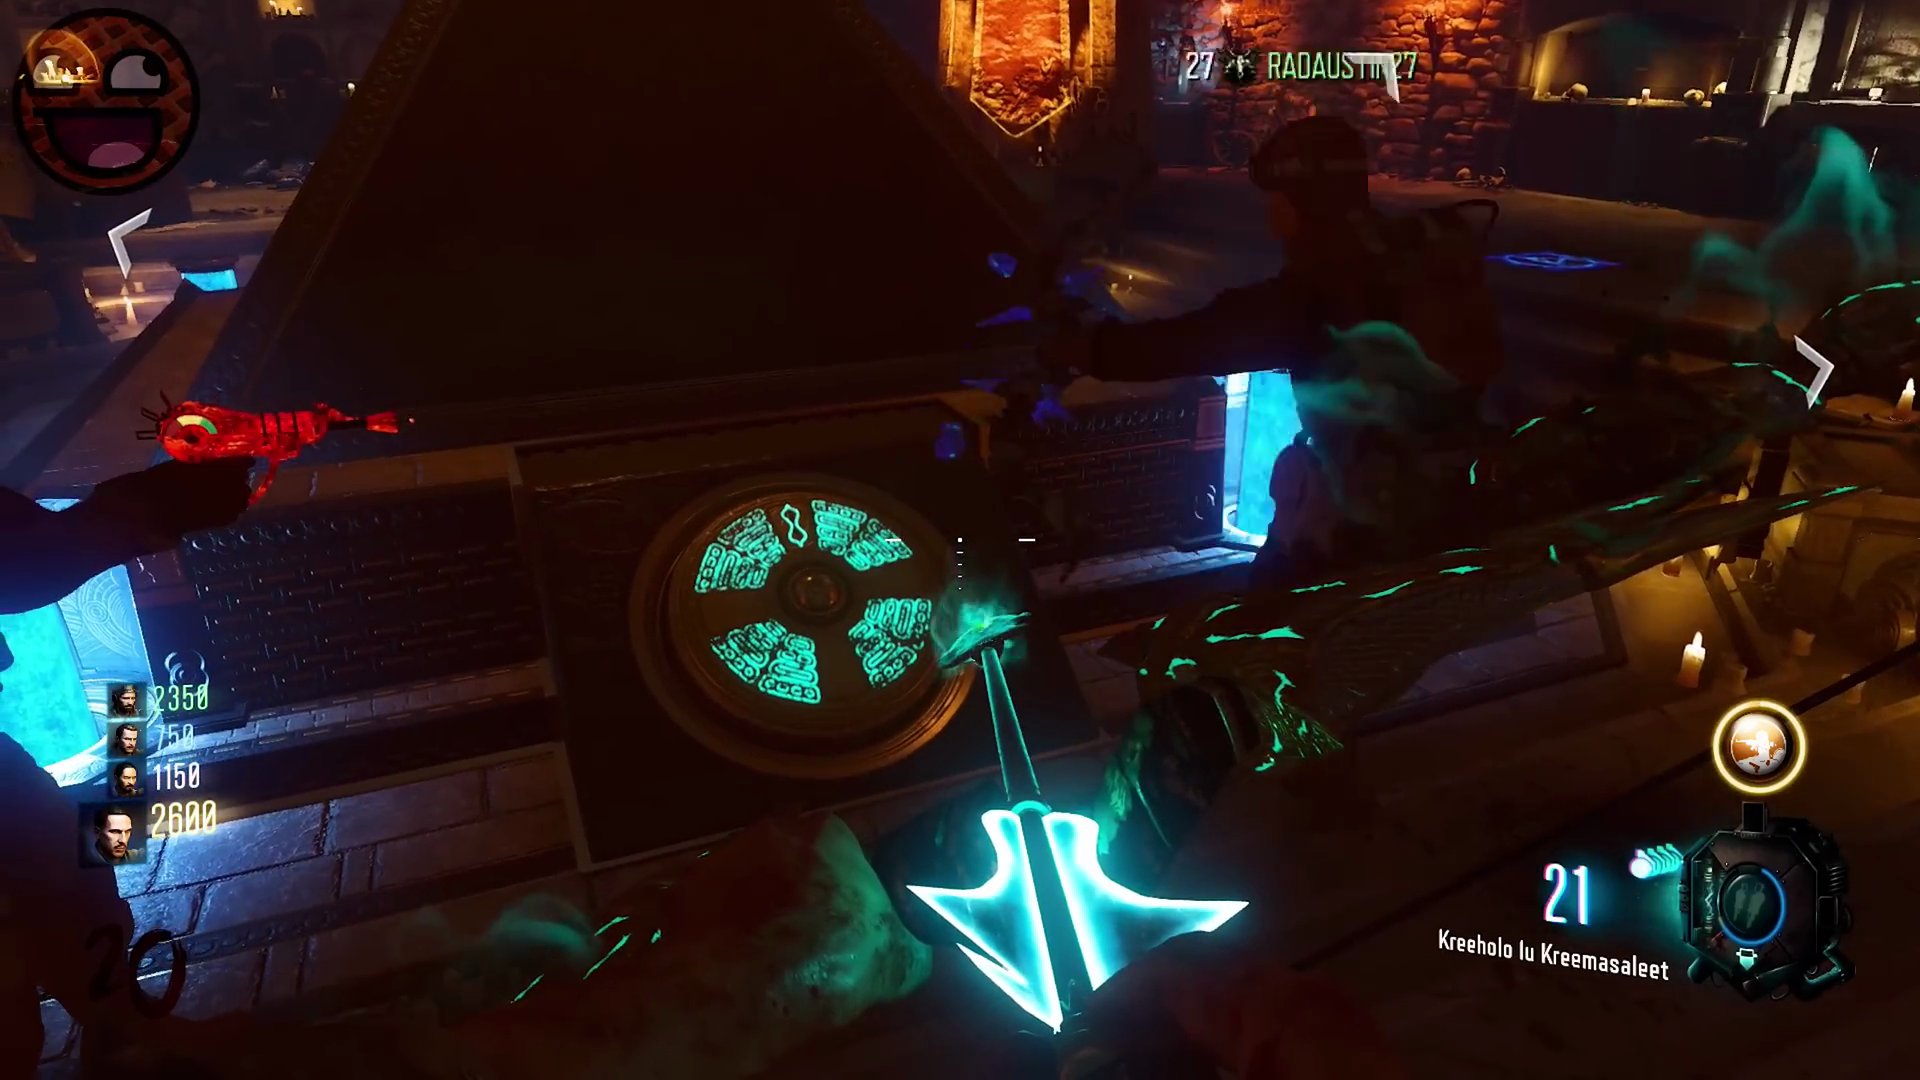
- Finally, bring the Summoning Key to the computer panel located near the Clock Tower. Hold square to interact with it.
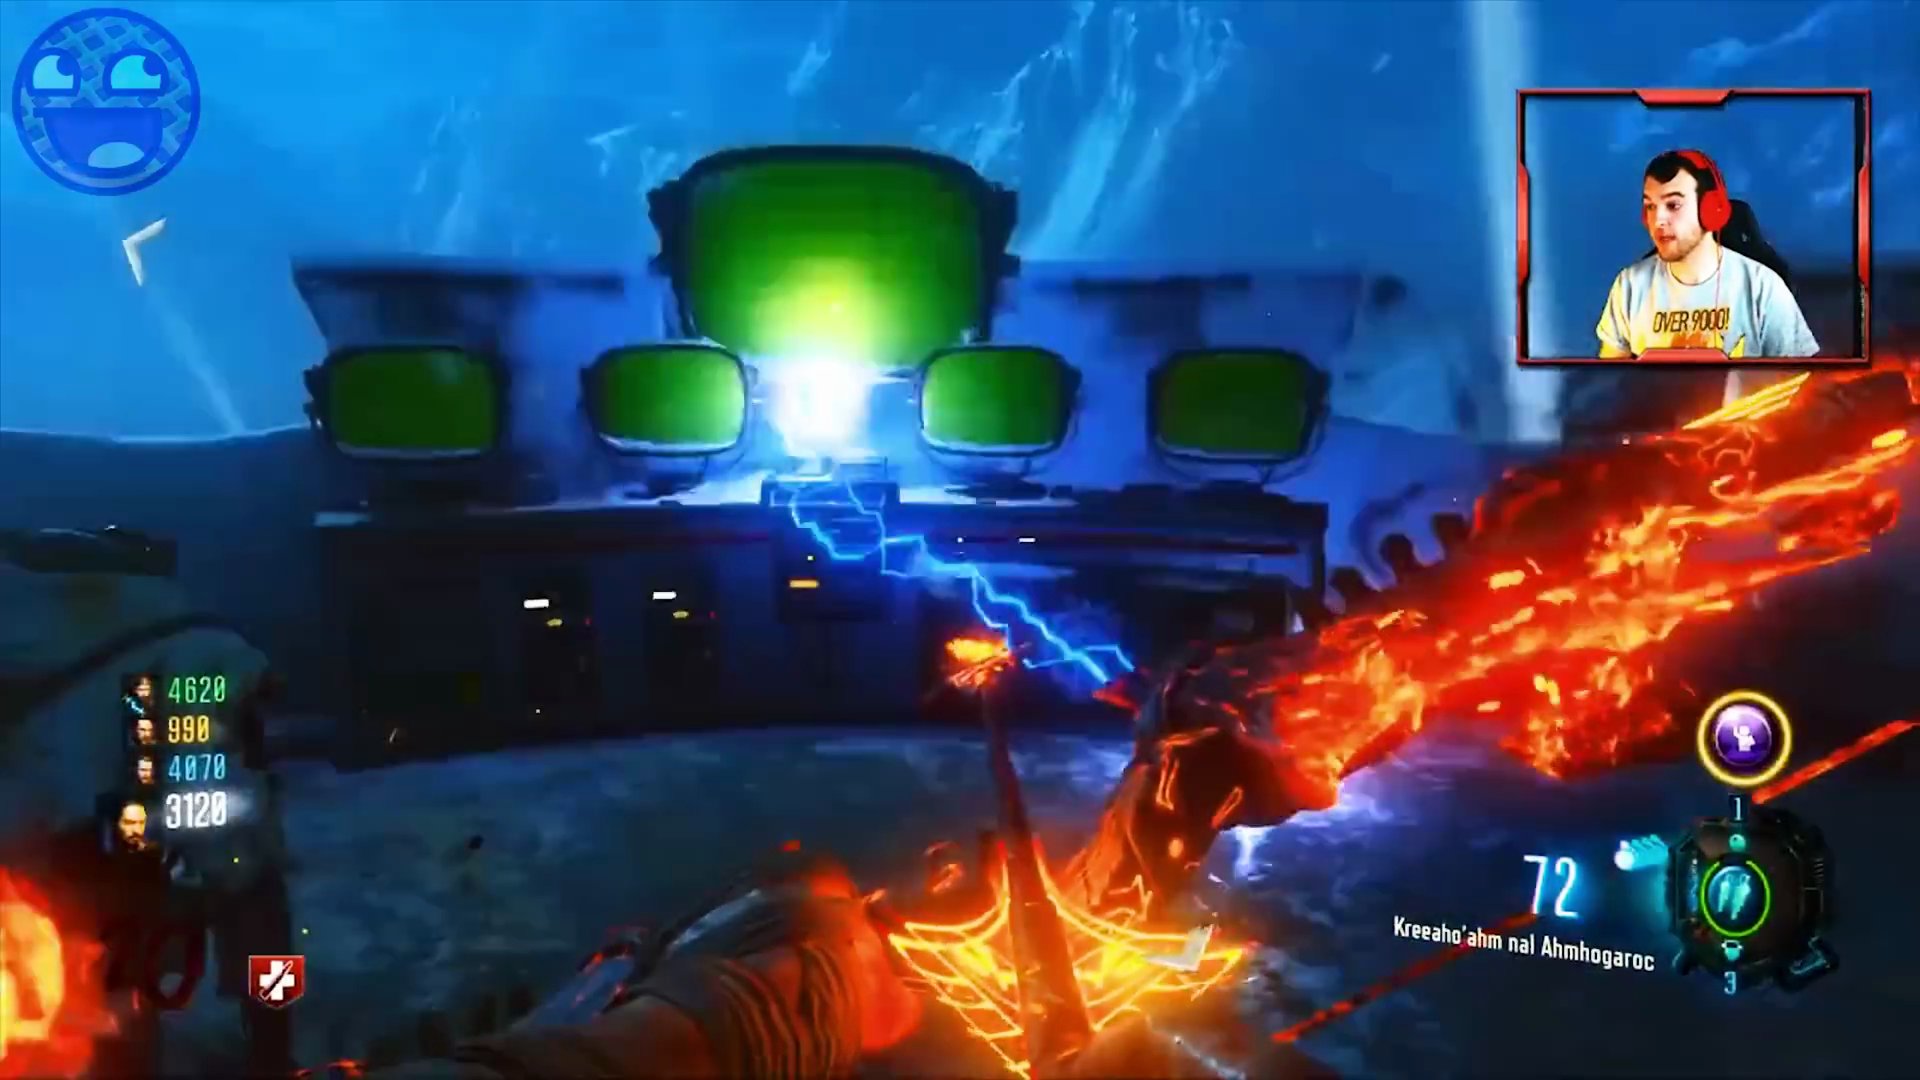
- The rockets will launch, signaling the successful completion of the Easter Egg. Congratulations!
Finished the Easter Egg?
Send this guide to your squad.