All Elemental Bow Upgrades
- Updated
- Jul 2, 2026
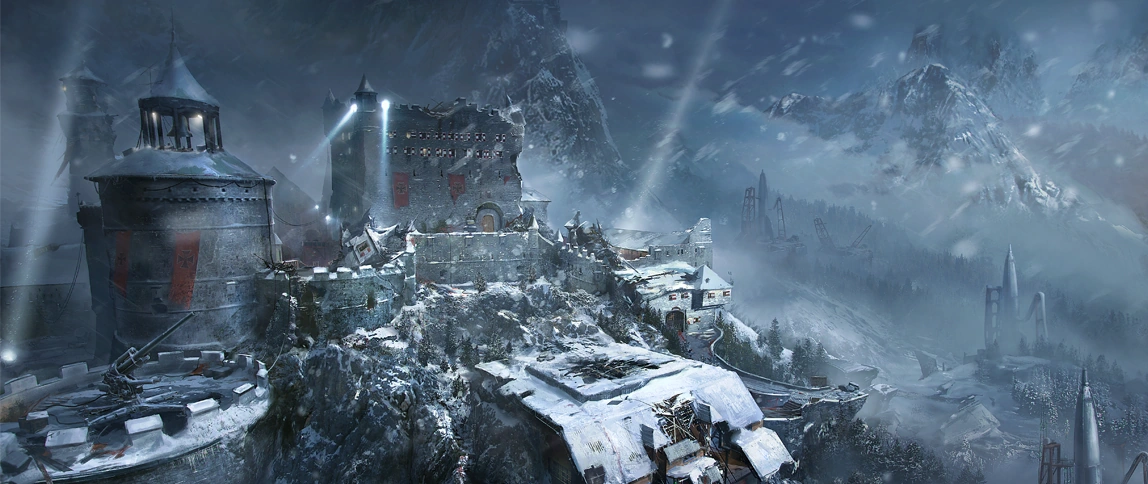
Der Eisendrache: All Bow Upgrades Guide
This guide will walk you through the process of obtaining and upgrading all four elemental bows in the Der Eisendrache Zombies map. Follow these detailed steps to master each powerful weapon.
Step 1: Activate the Wrath of the Ancients Bow
Before you can upgrade any bow, you must first obtain the base Wrath of the Ancients bow.
- Feed the Three Dragons: Kill zombies near each of the three dragon heads located around the map until they are fully fed and disappear.
- The first dragon is located at the side of the castle near the spawn area.
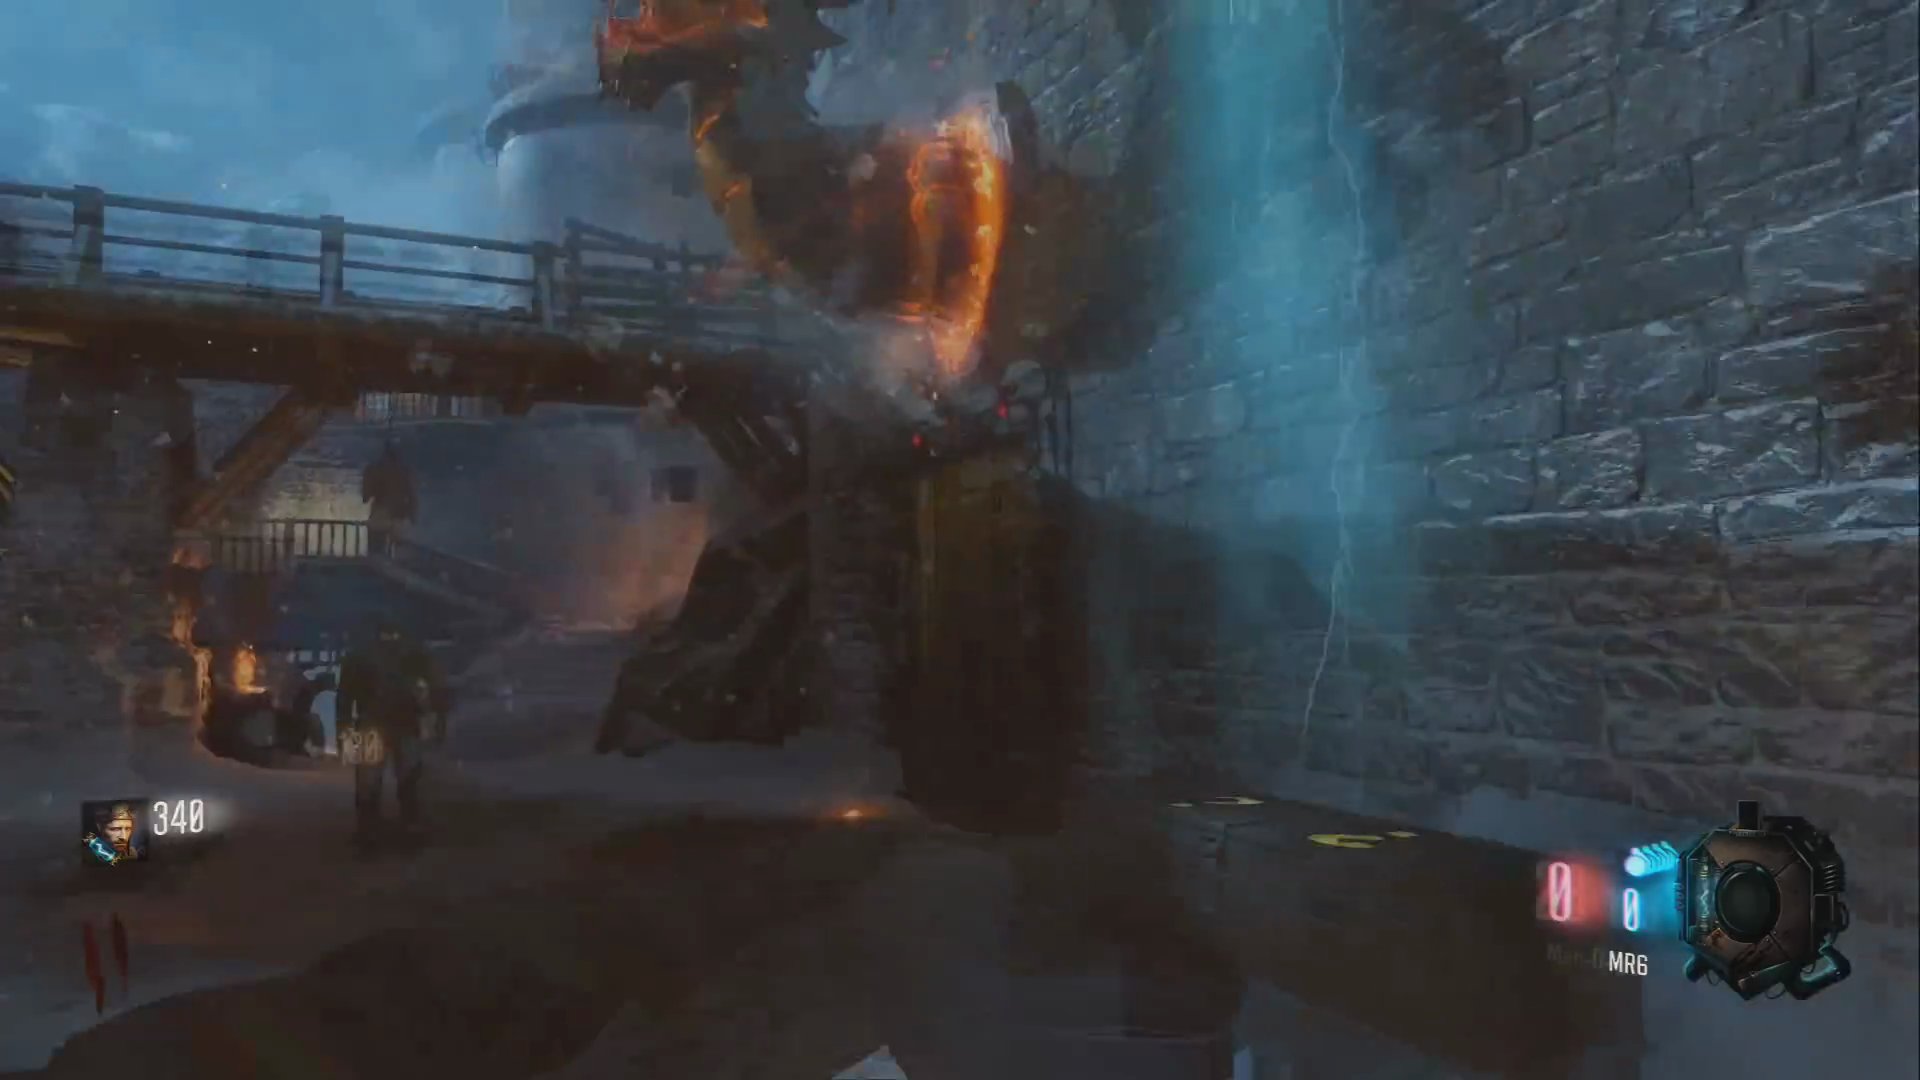
- The second dragon is in the main control room.
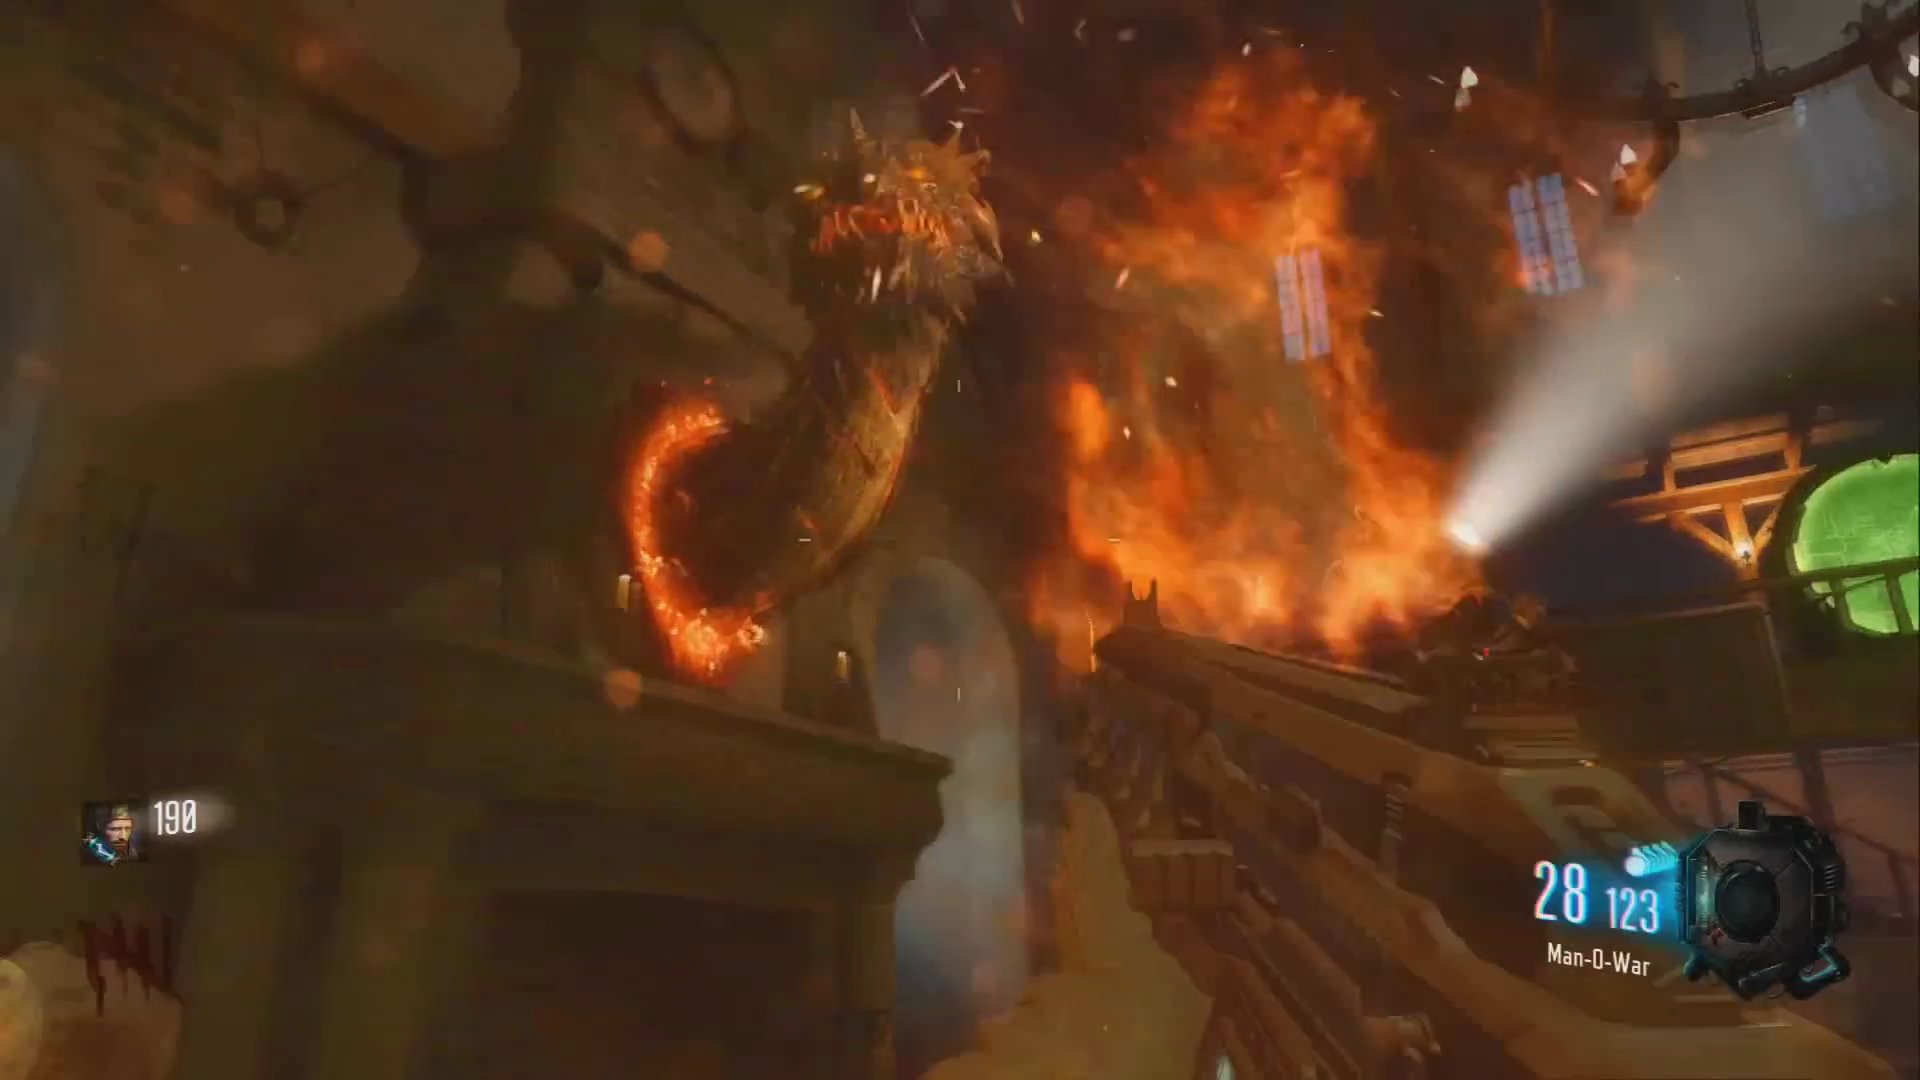
- The final dragon is located in the Pyramid room.
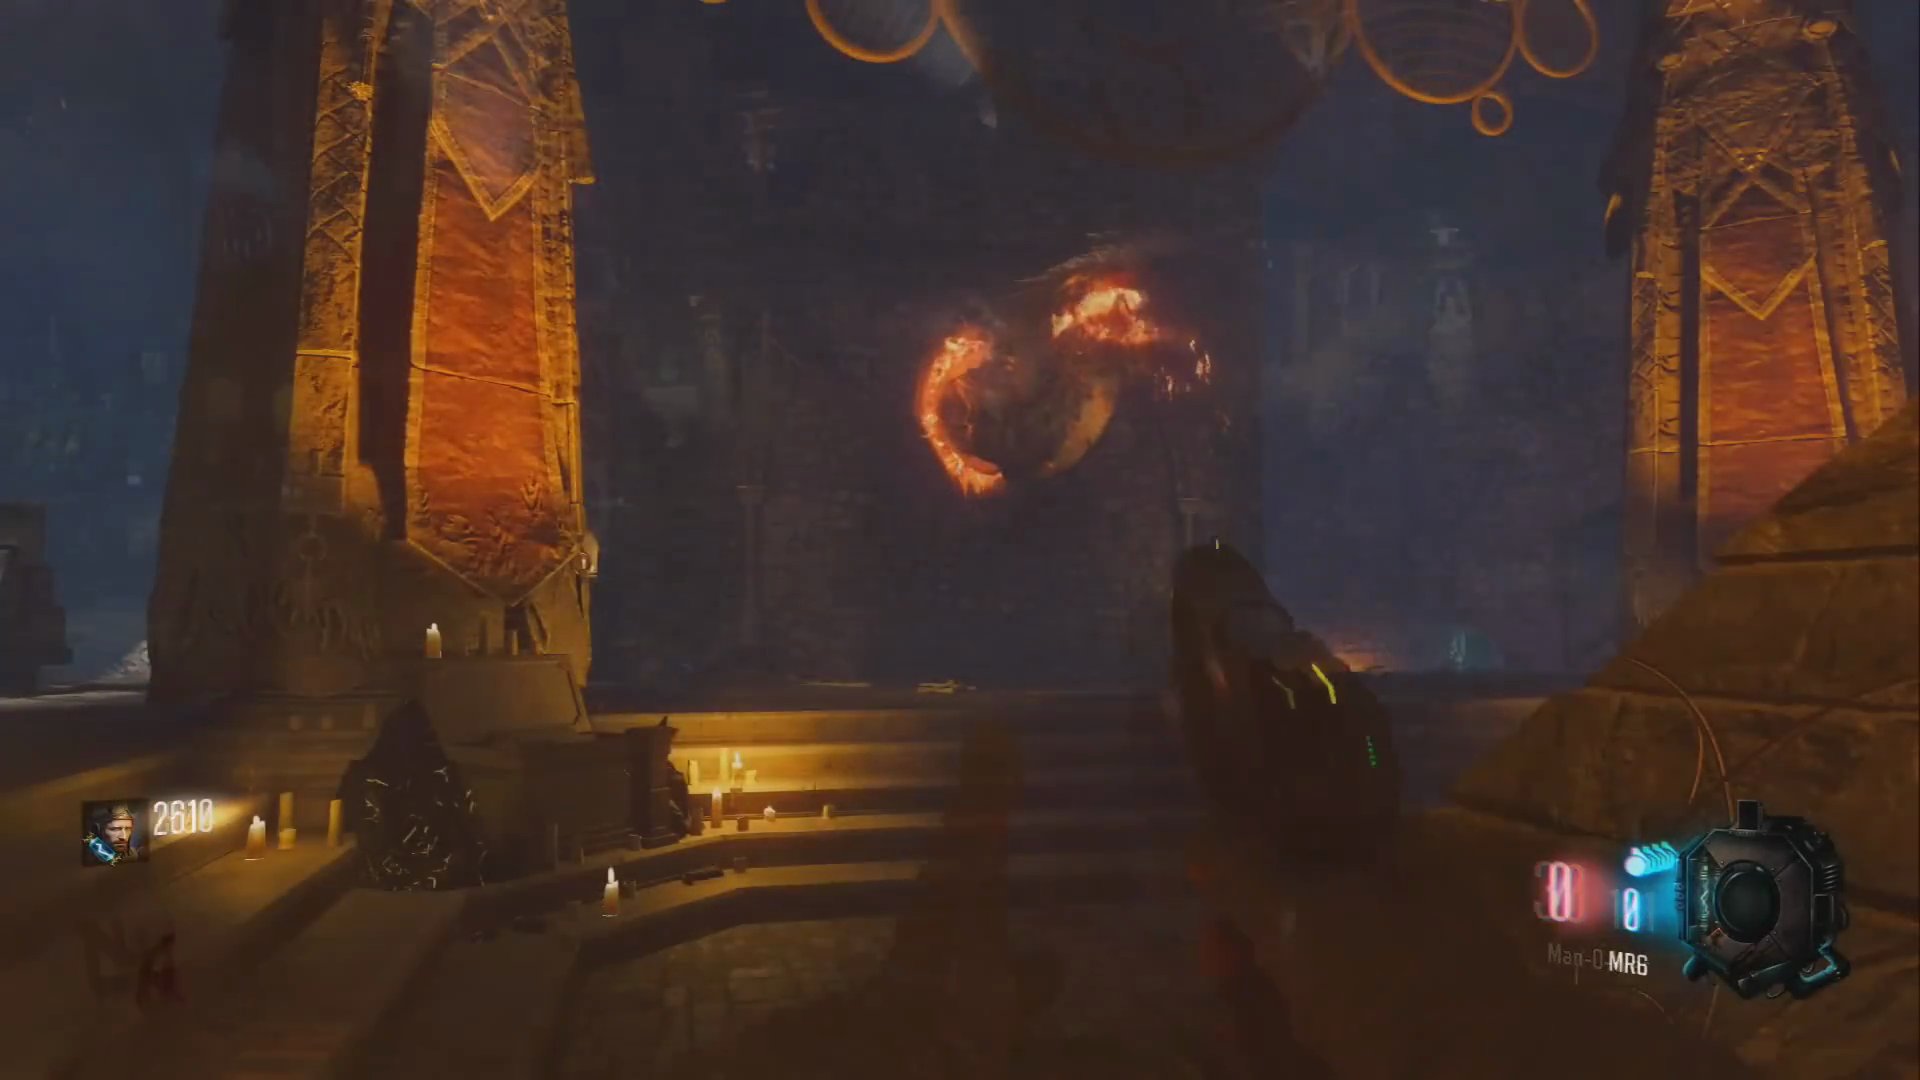
- Collect the Bow: Once all three dragons are fed, the Wrath of the Ancients bow will appear in the Pyramid room. Pick it up.
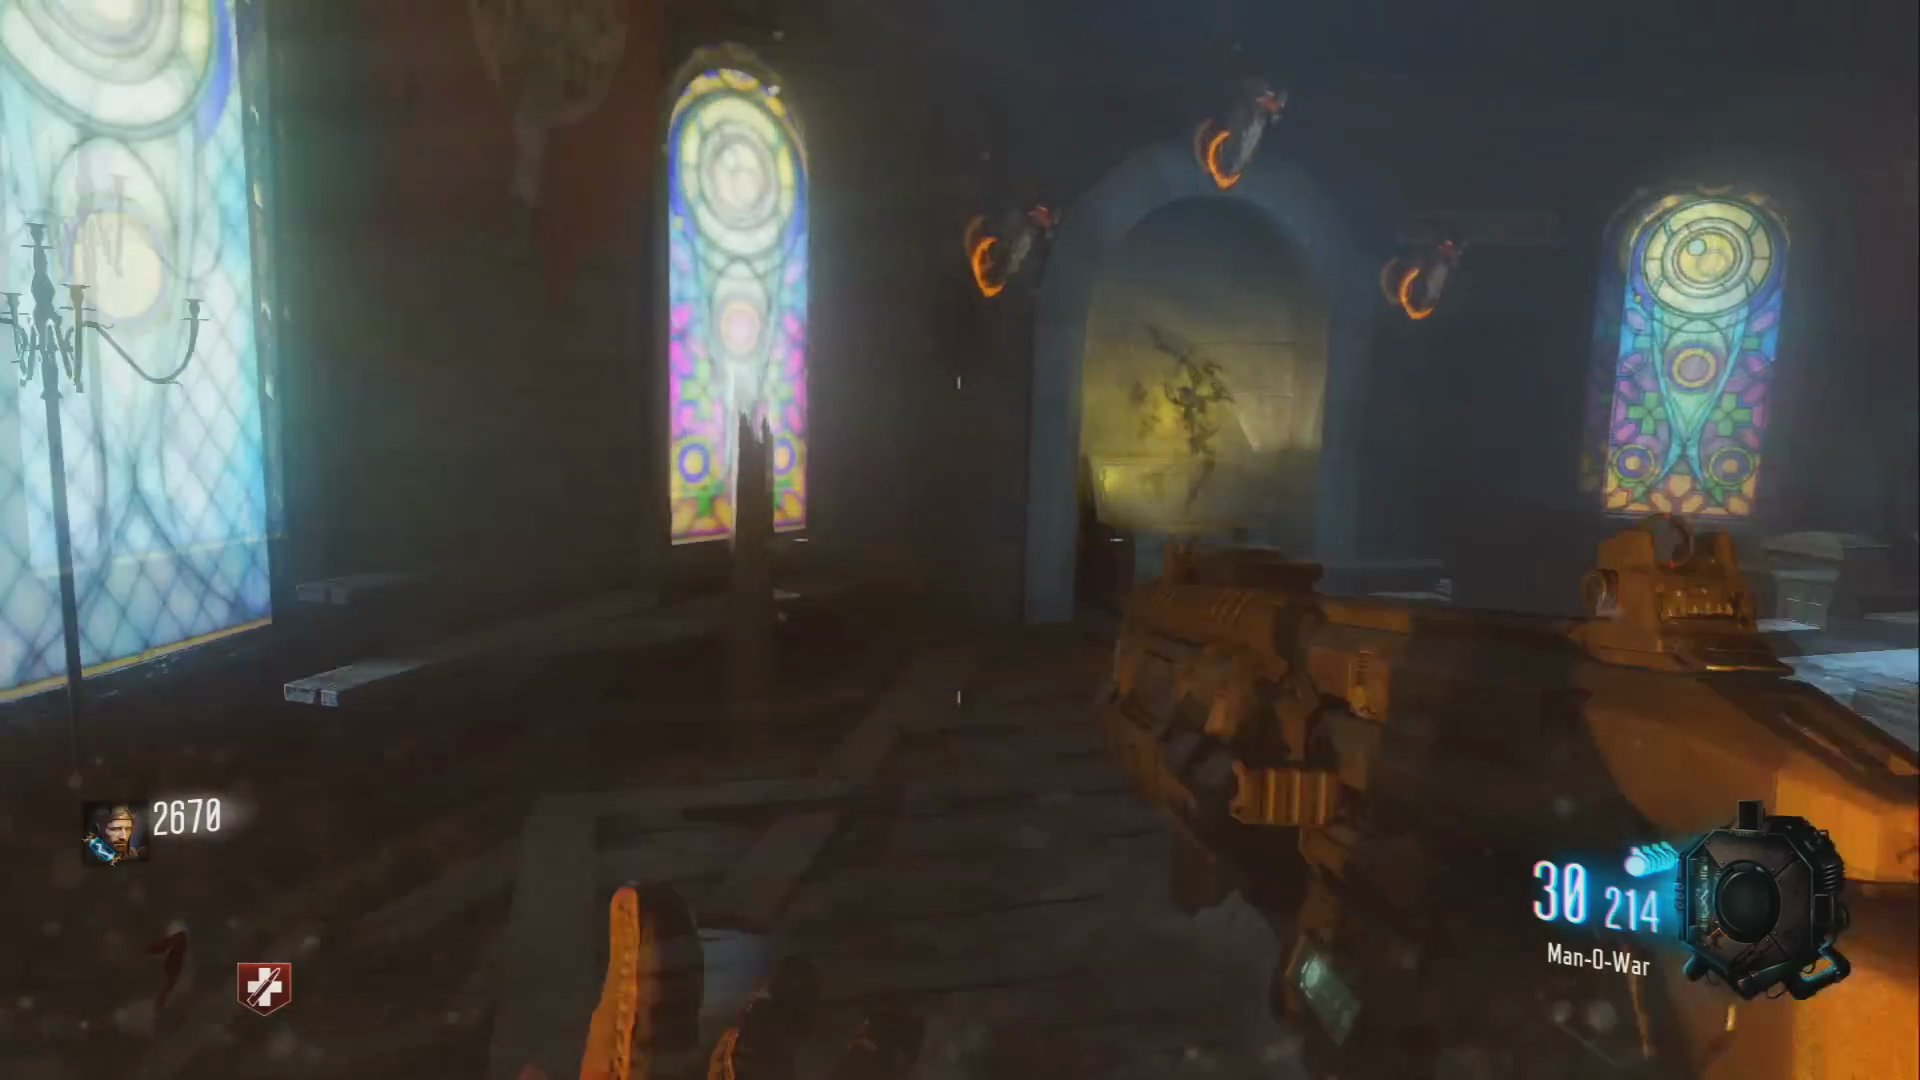
Lightning Bow Upgrade
The Lightning Bow, also known as the Storm Bow, requires precise shooting and wall-running skills.
Step 1: Collect the Lightning Arrow
- Locate the weather vane outside the castle, near the clock tower.
- Shoot the weather vane with your normal bow.
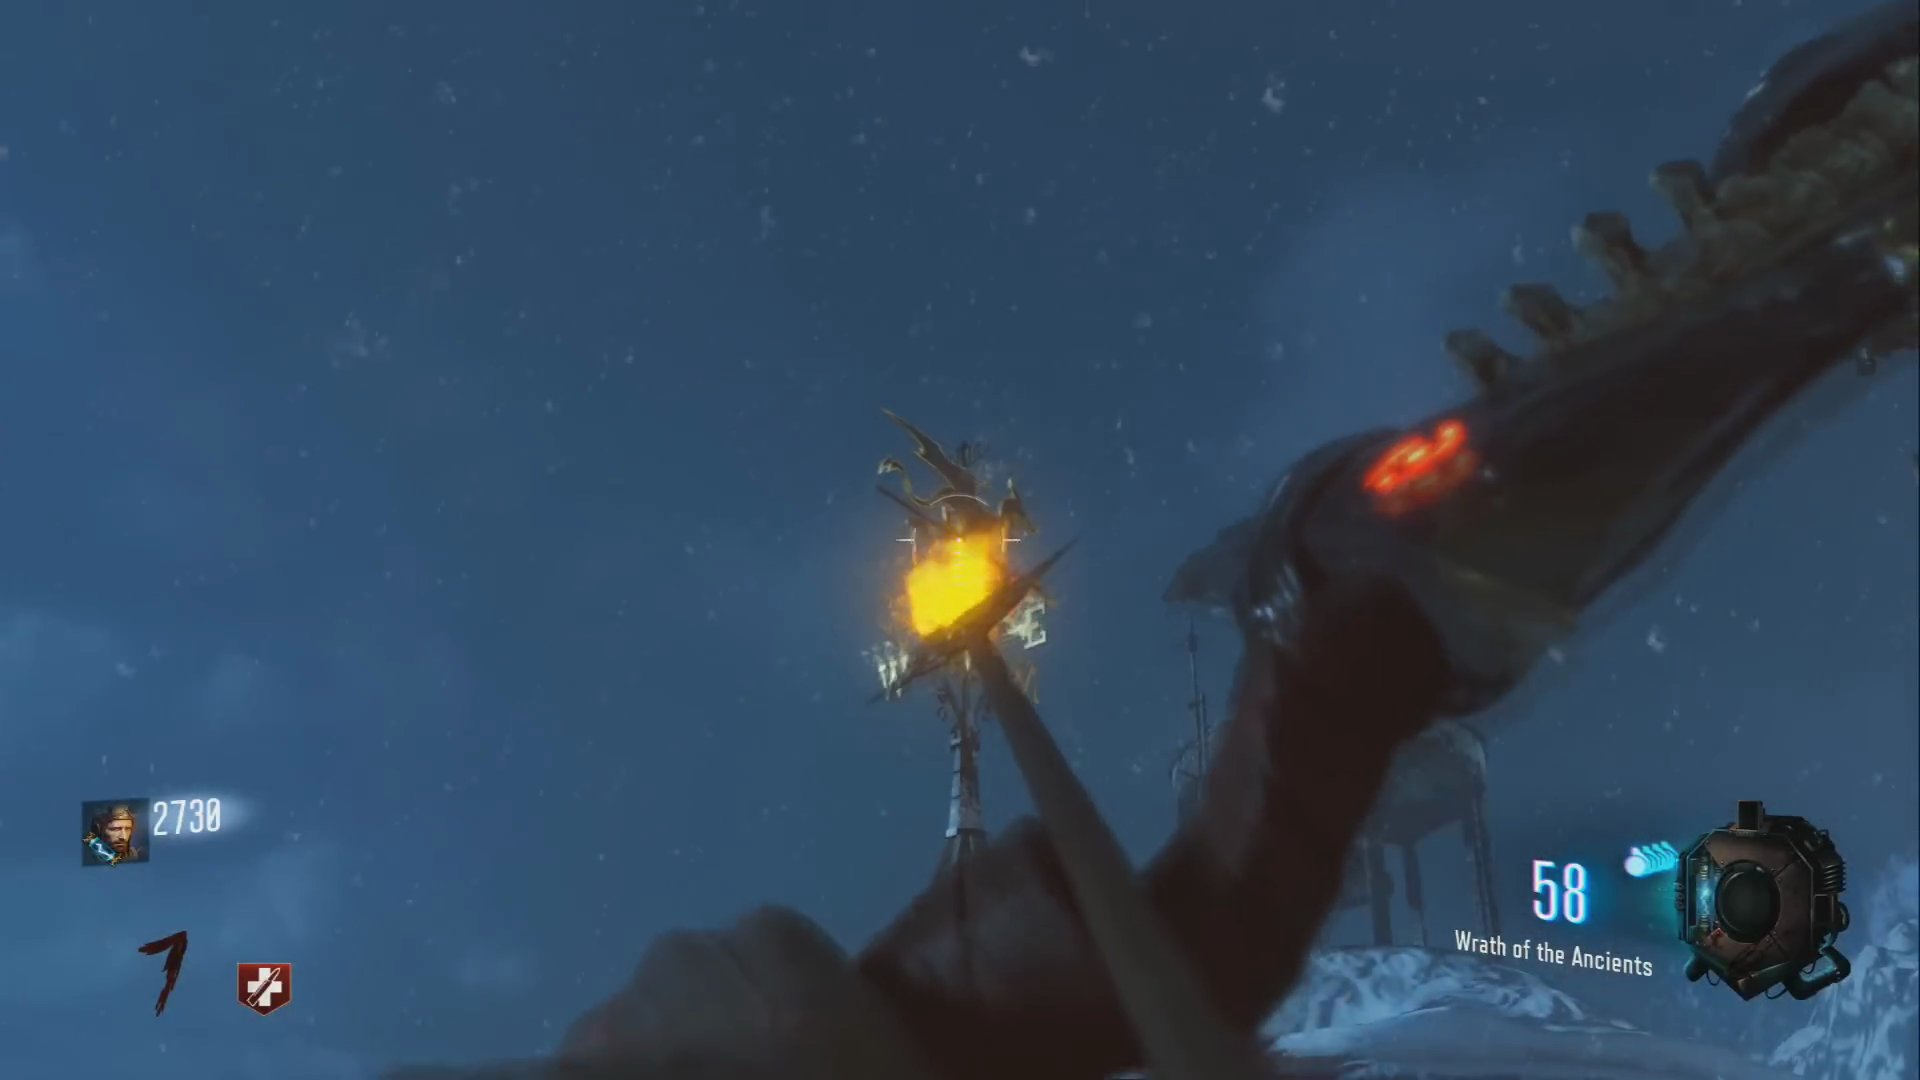
- A piece of the wall below it will break, revealing the lightning arrow. Pick it up.
Step 2: Charge Bonfires
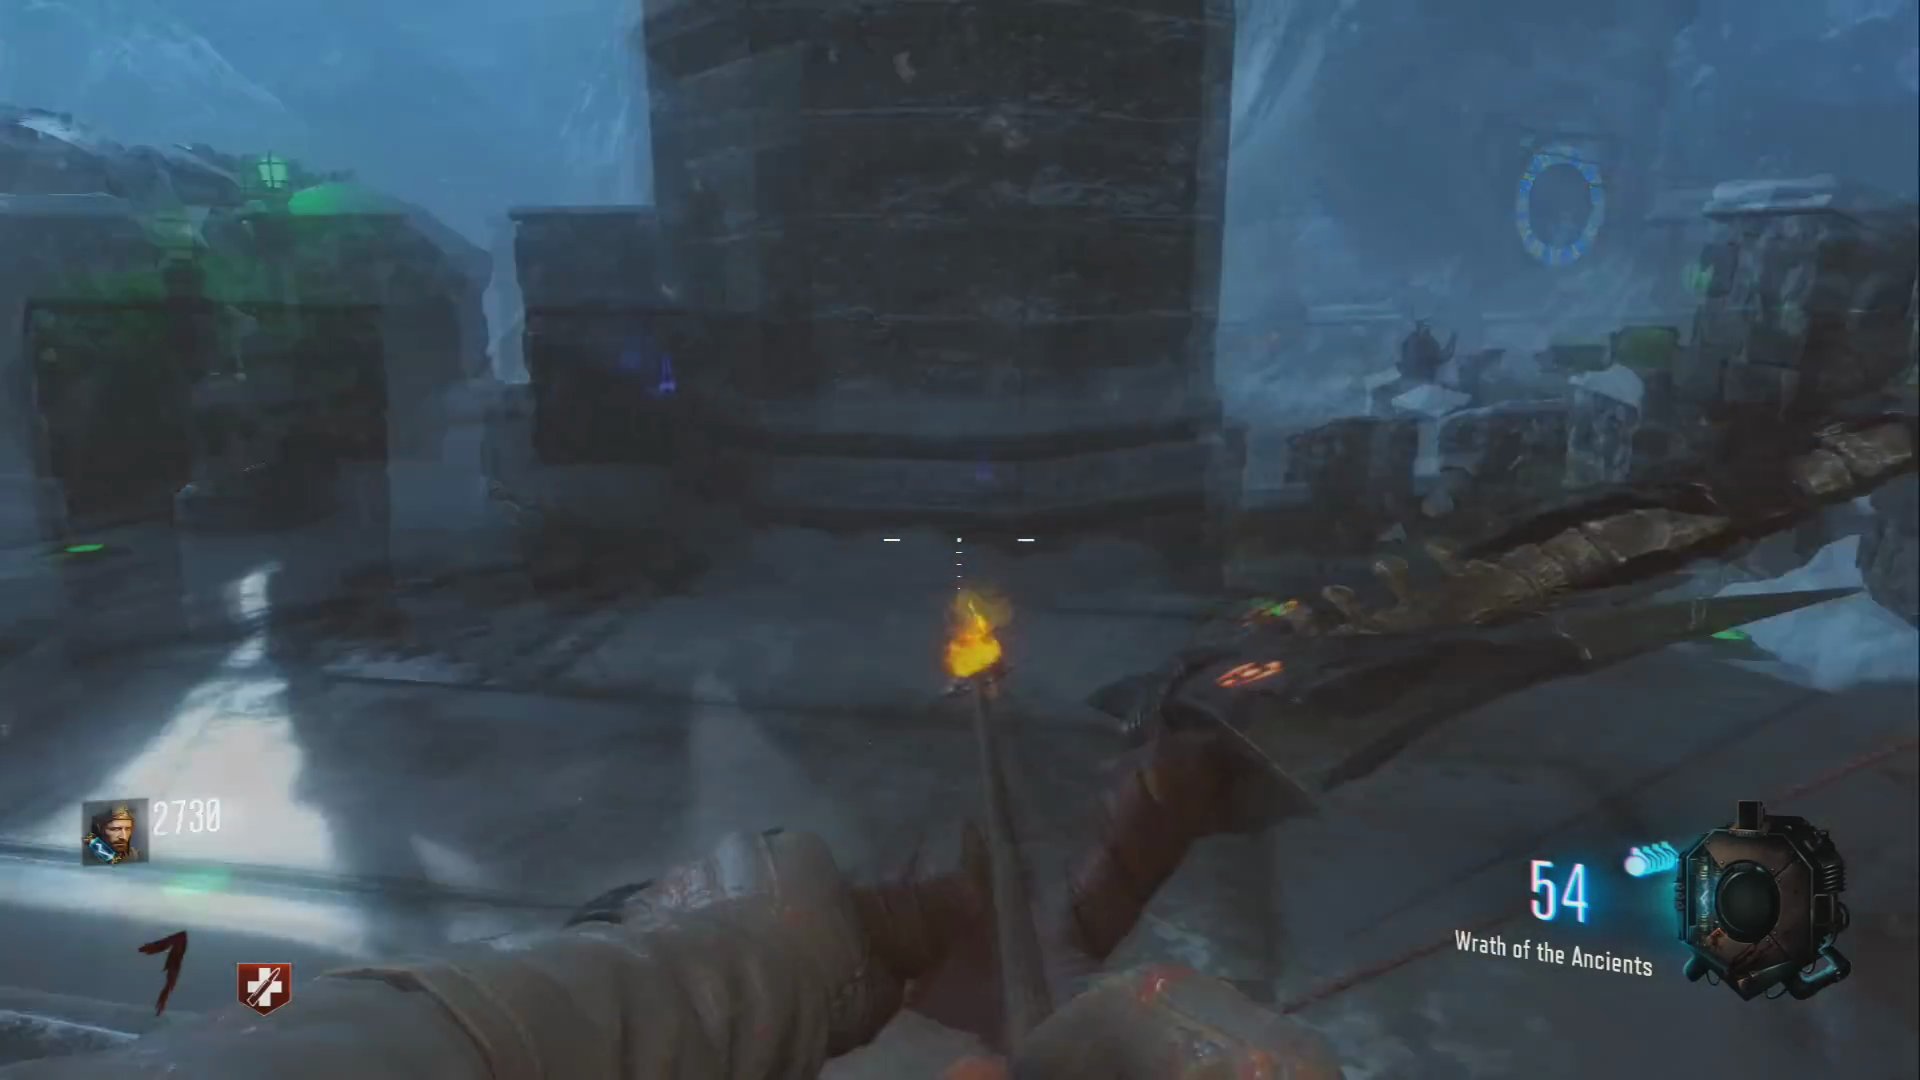
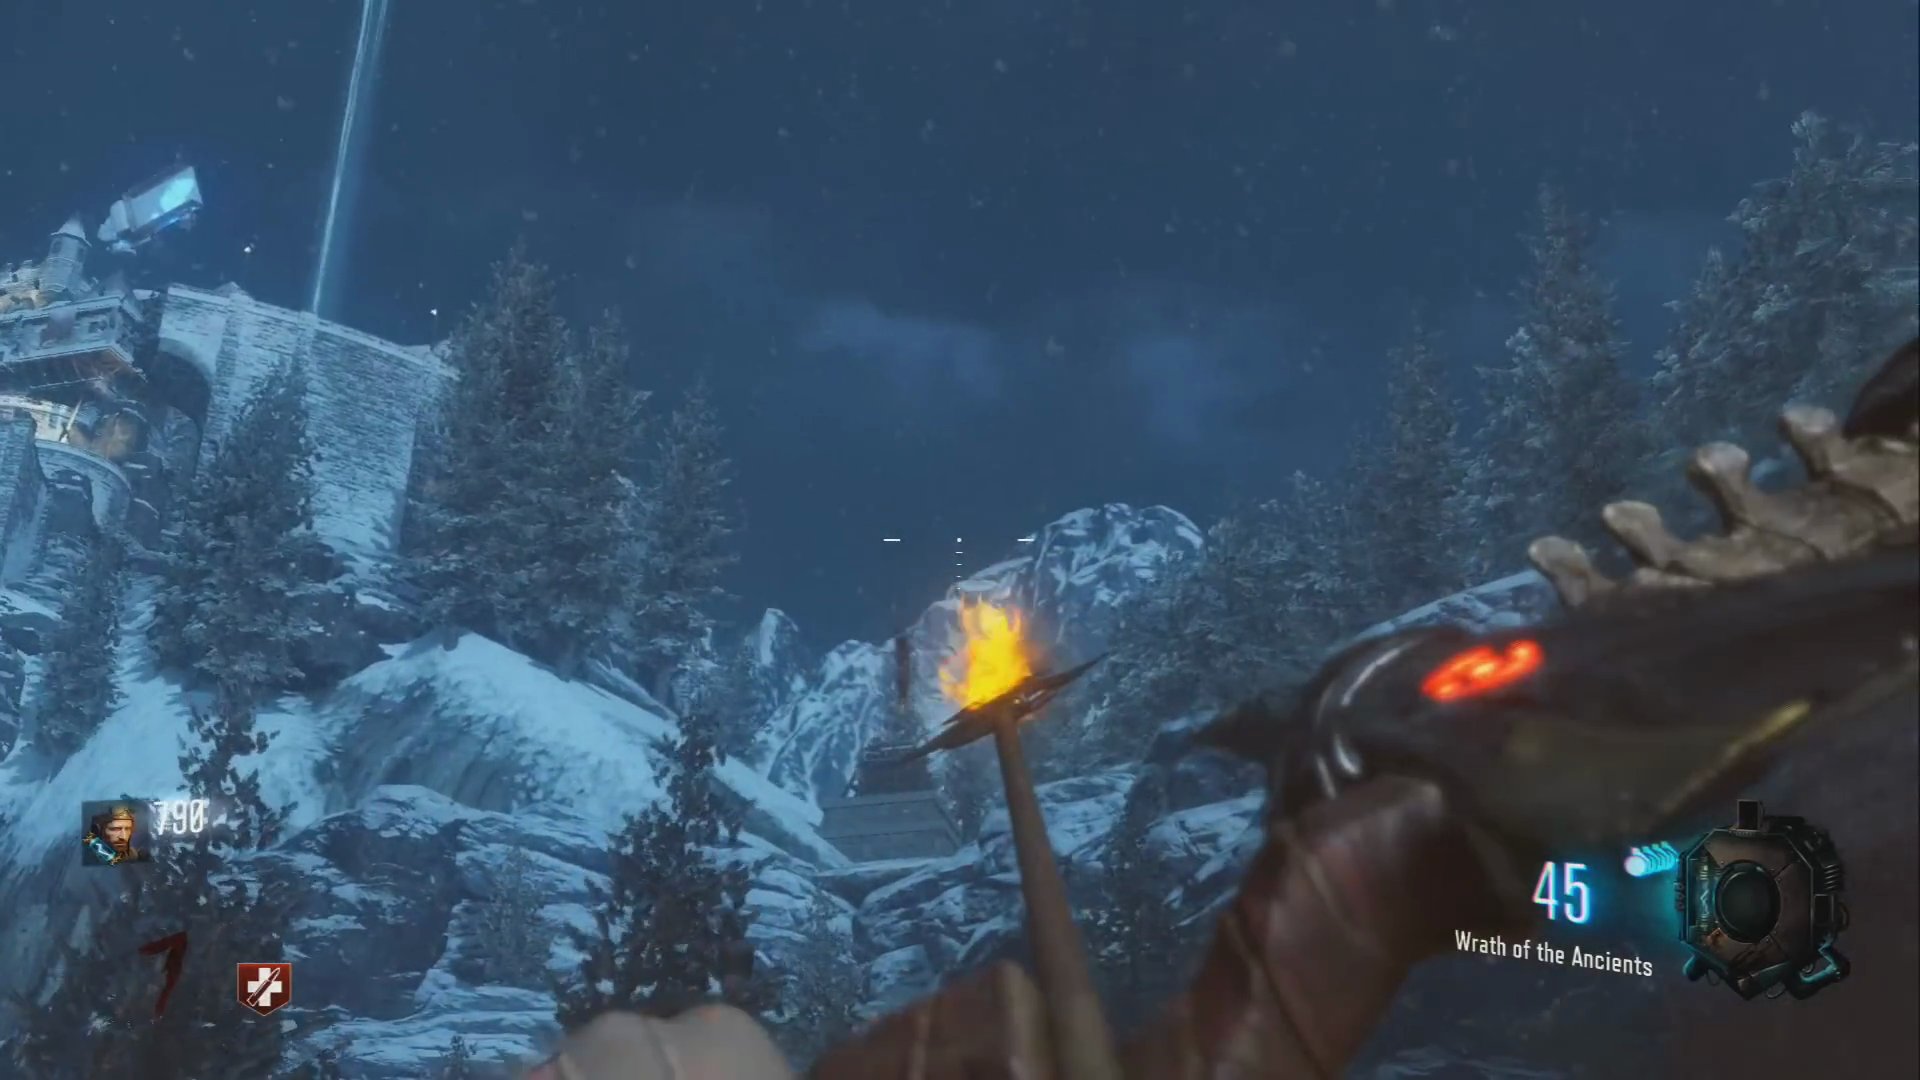
- Locate and shoot the three bonfires around the map using your lightning bow.
- The first bonfire is to the right of the clock tower.
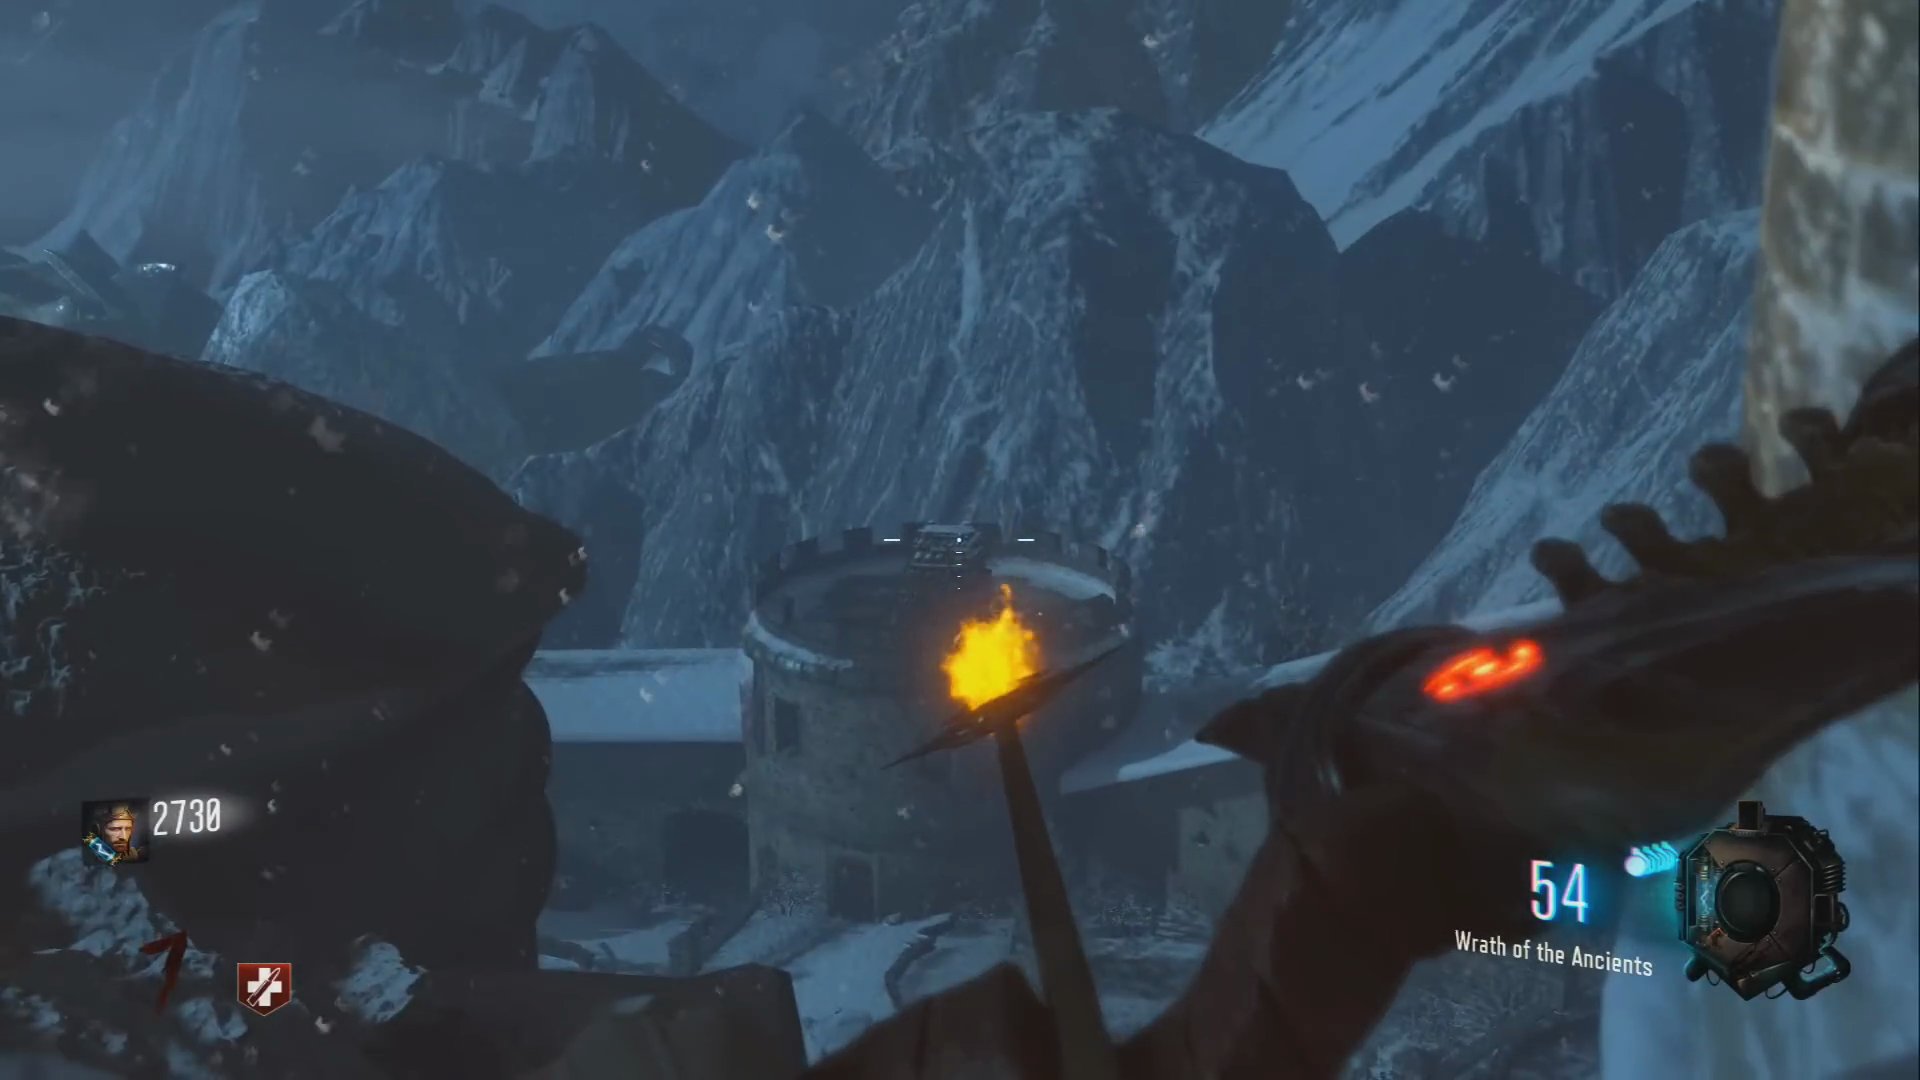
- The second bonfire is also near the clock tower, visible from near the Double Tap perk machine.
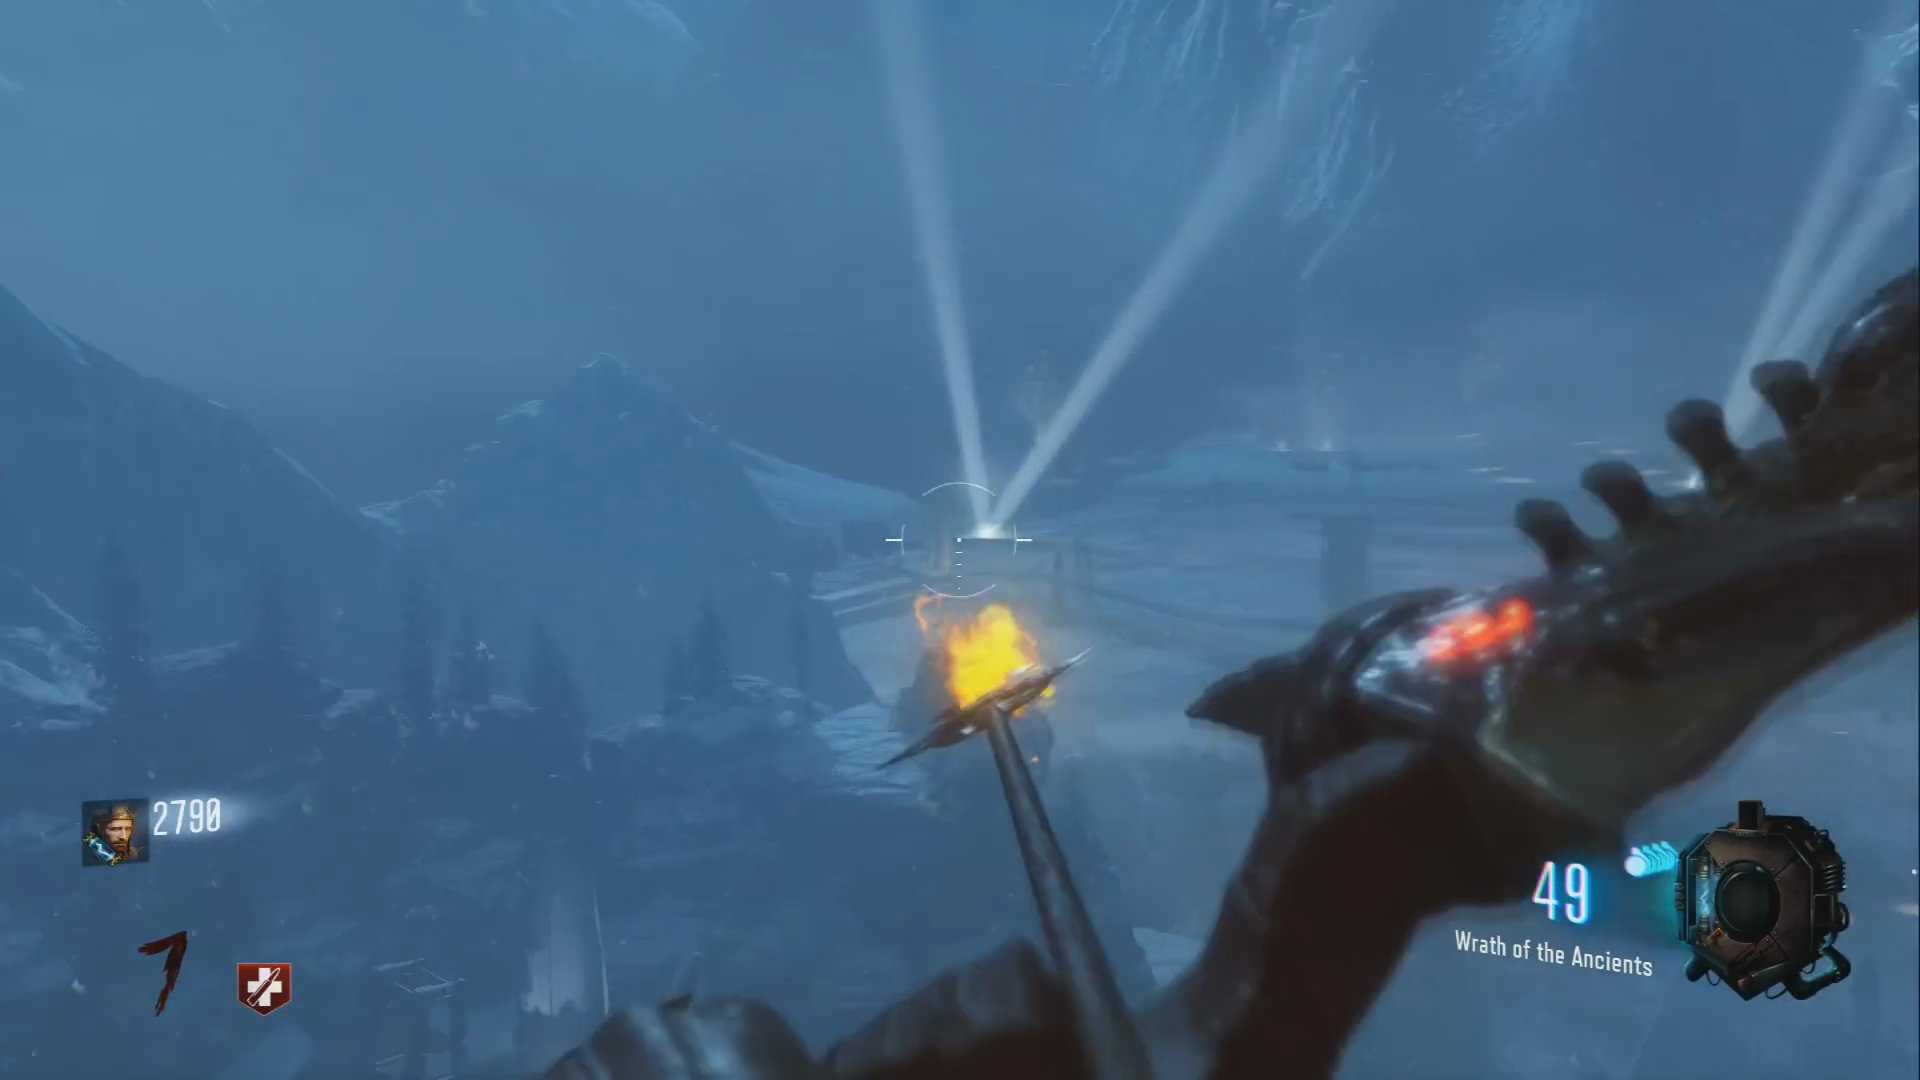
- The third bonfire is located near the Rocket Testing area.
Step 3: Wall Run the Symbols
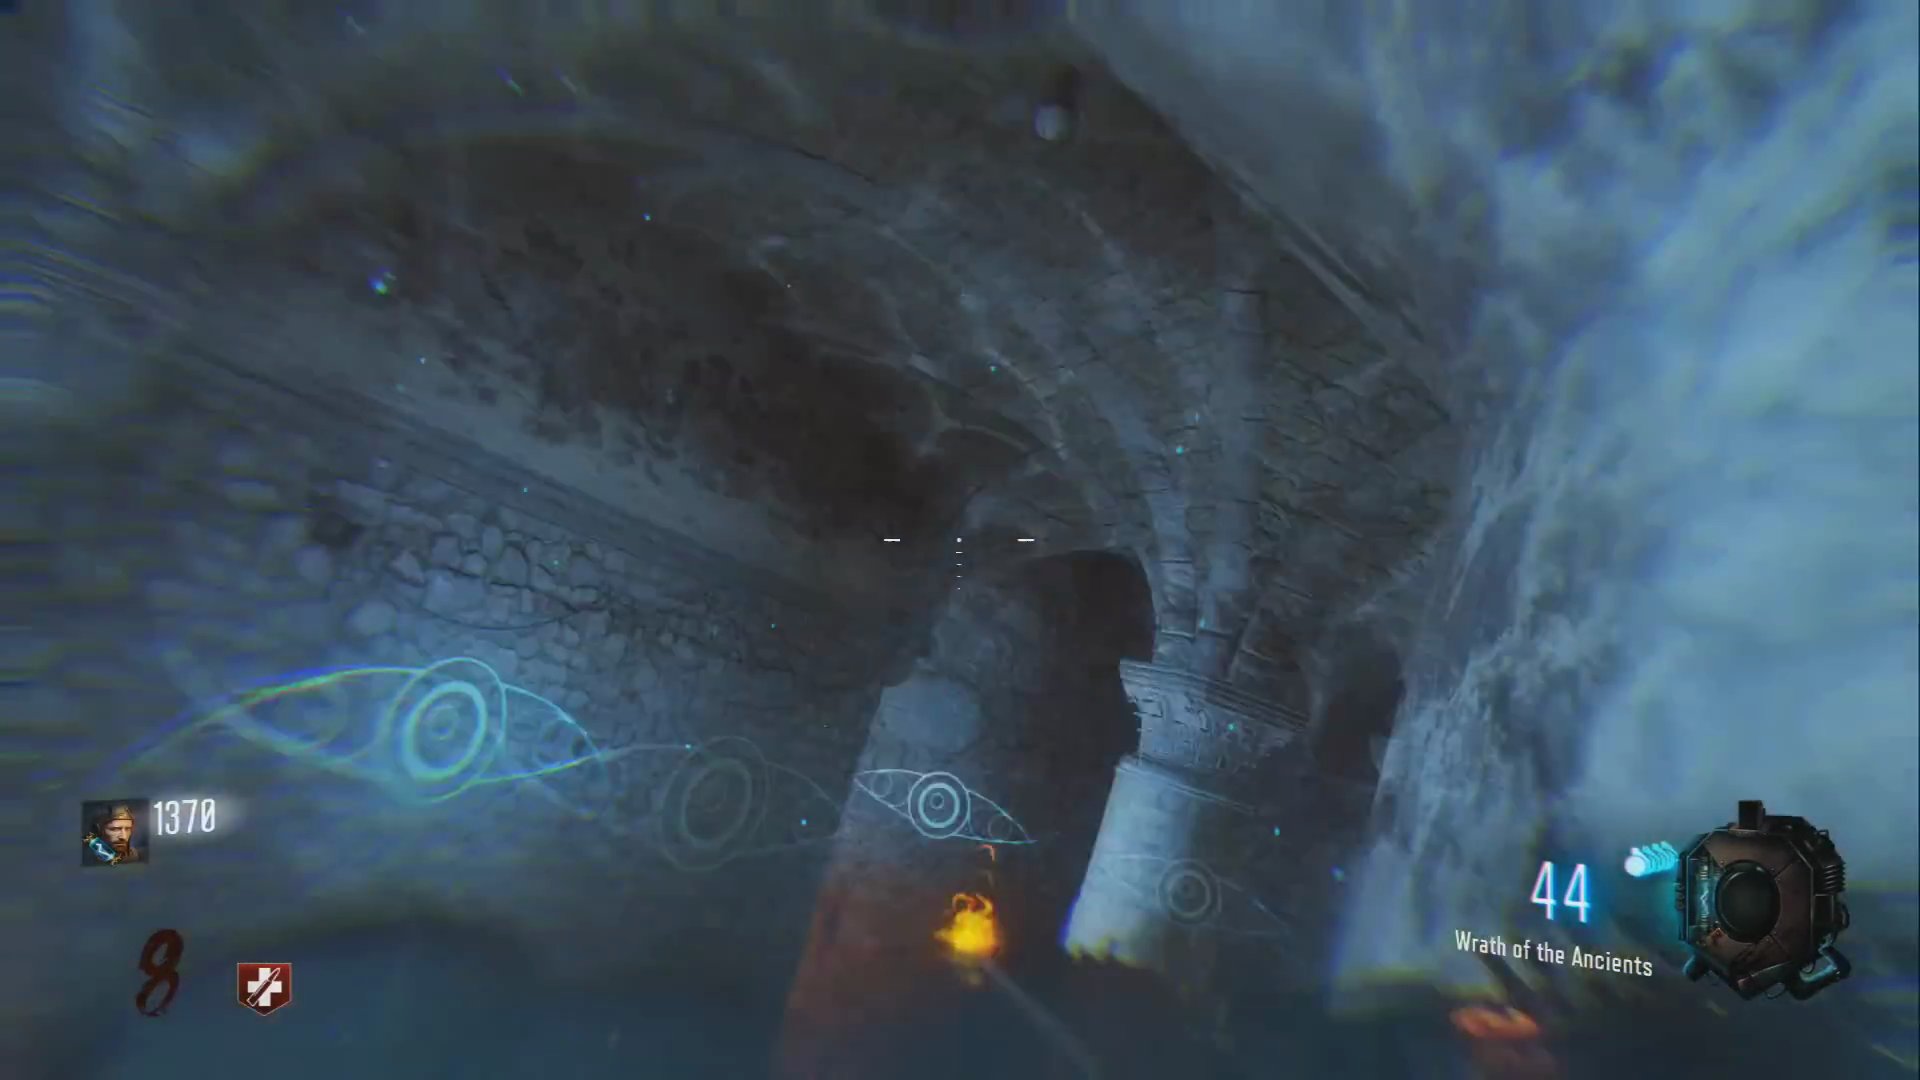
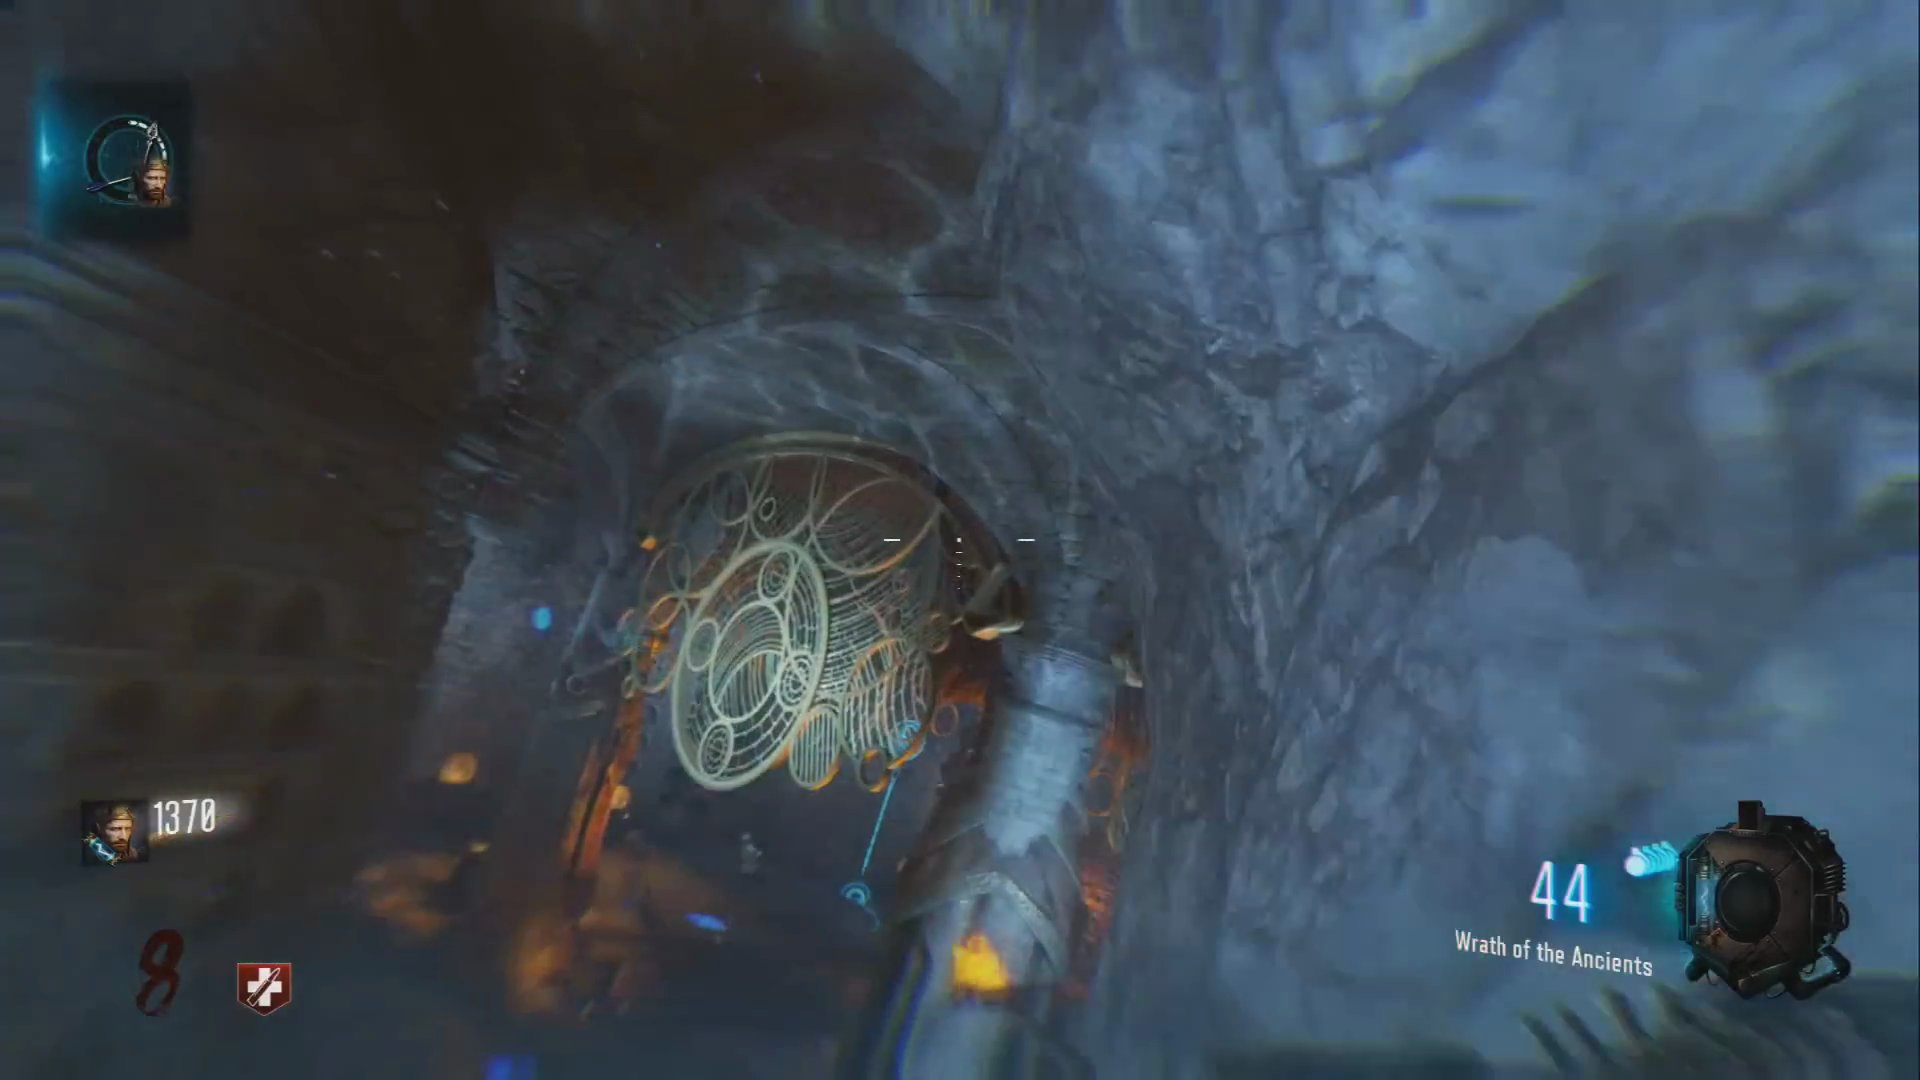
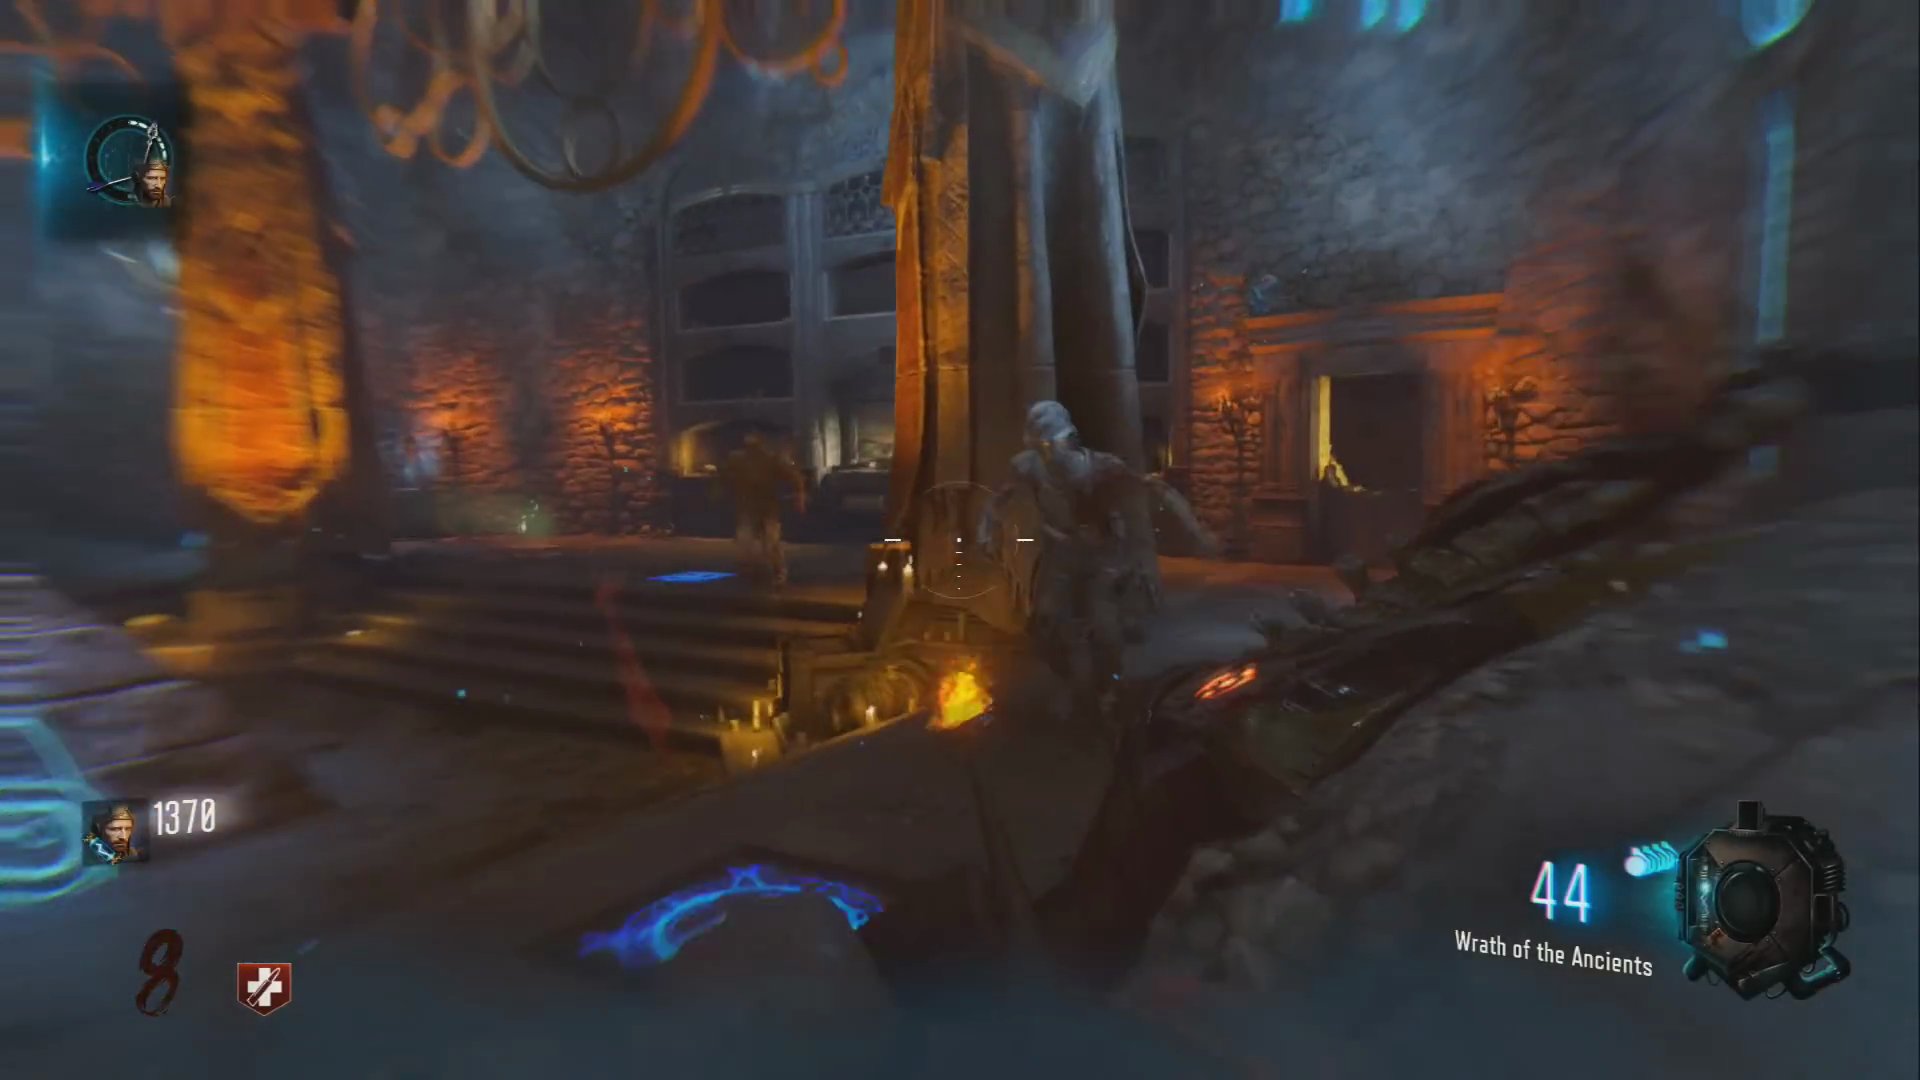
- Head back to the Pyramid room. Wait for the room to enter a zero-gravity state.
- Wall run along the blue gust-of-air symbols on the walls.
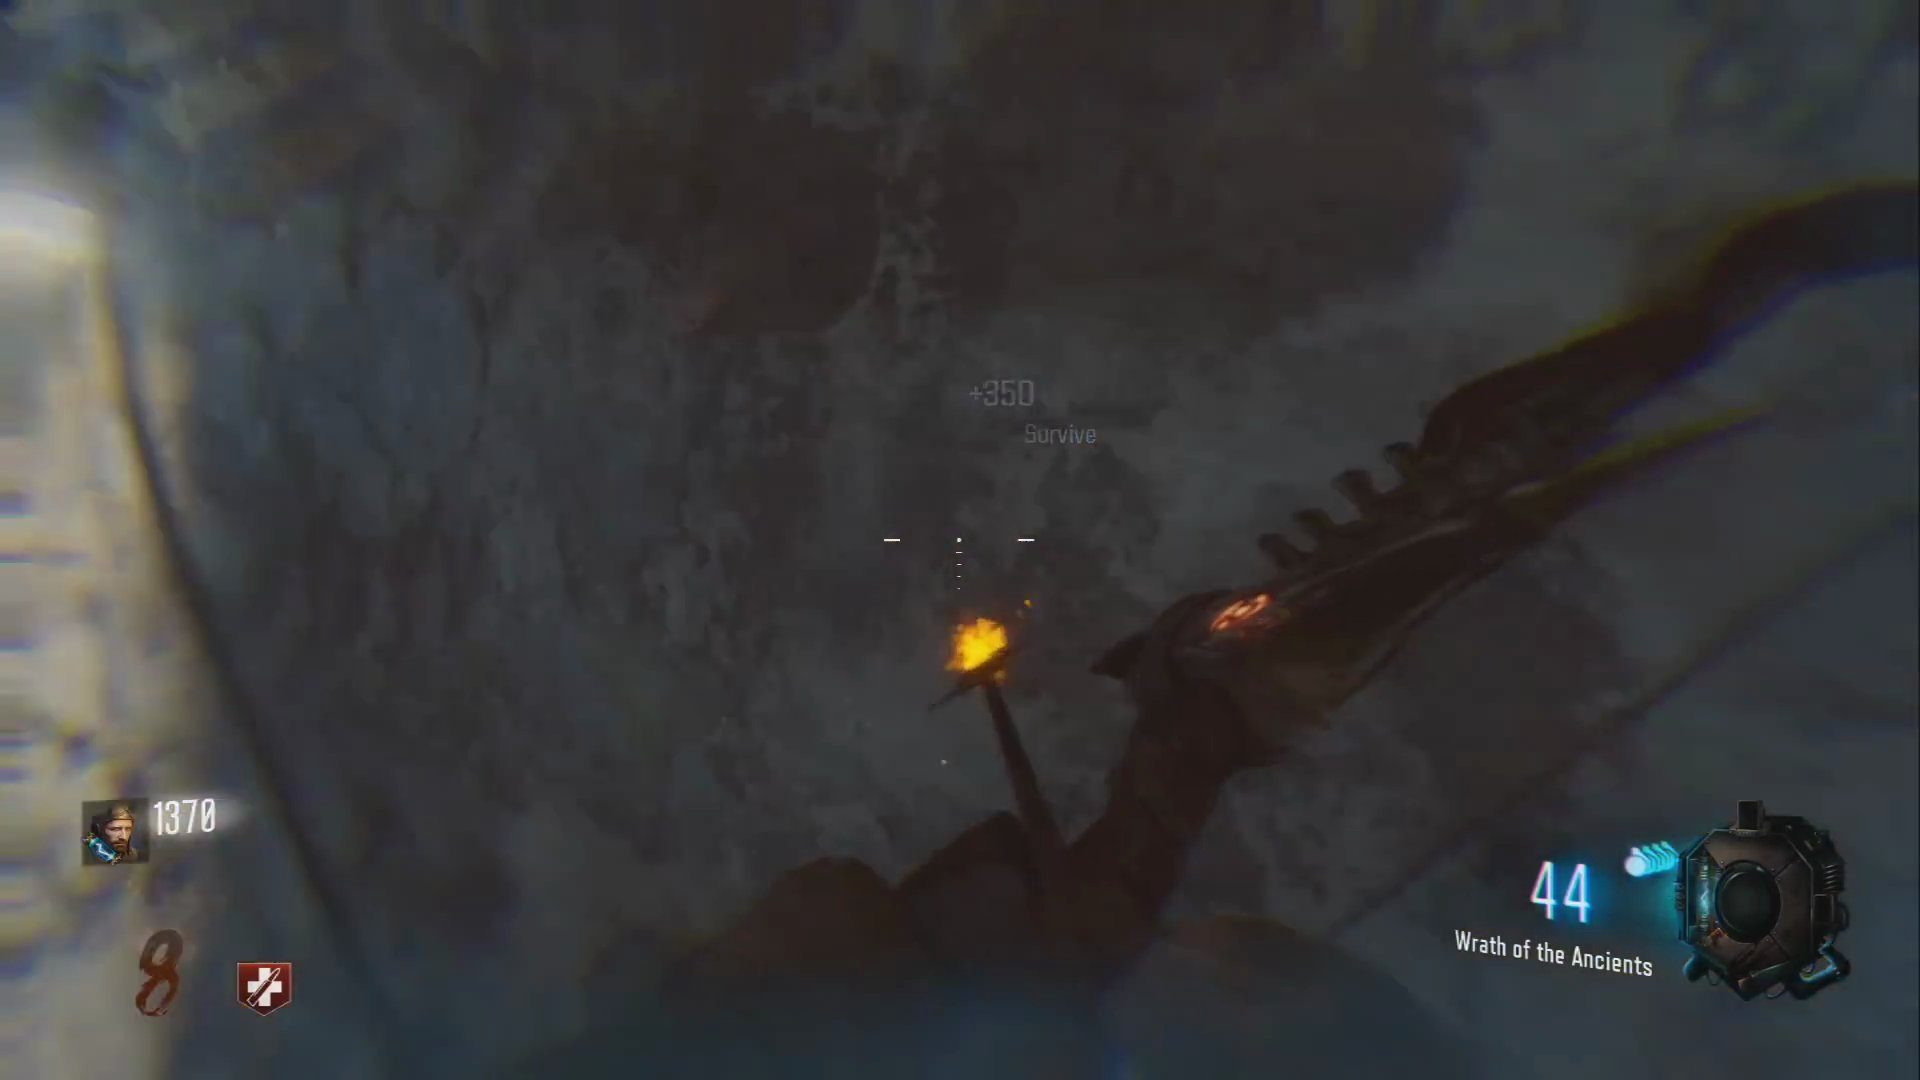
- You must hit all five symbols without touching the ground.
 ,
 ,
 If you touch the ground, you'll need to restart this step.
Step 4: Collect Souls from Urns
- Locate the three glowing blue urns around the map.
- The first urn is in the Bell Tower area.
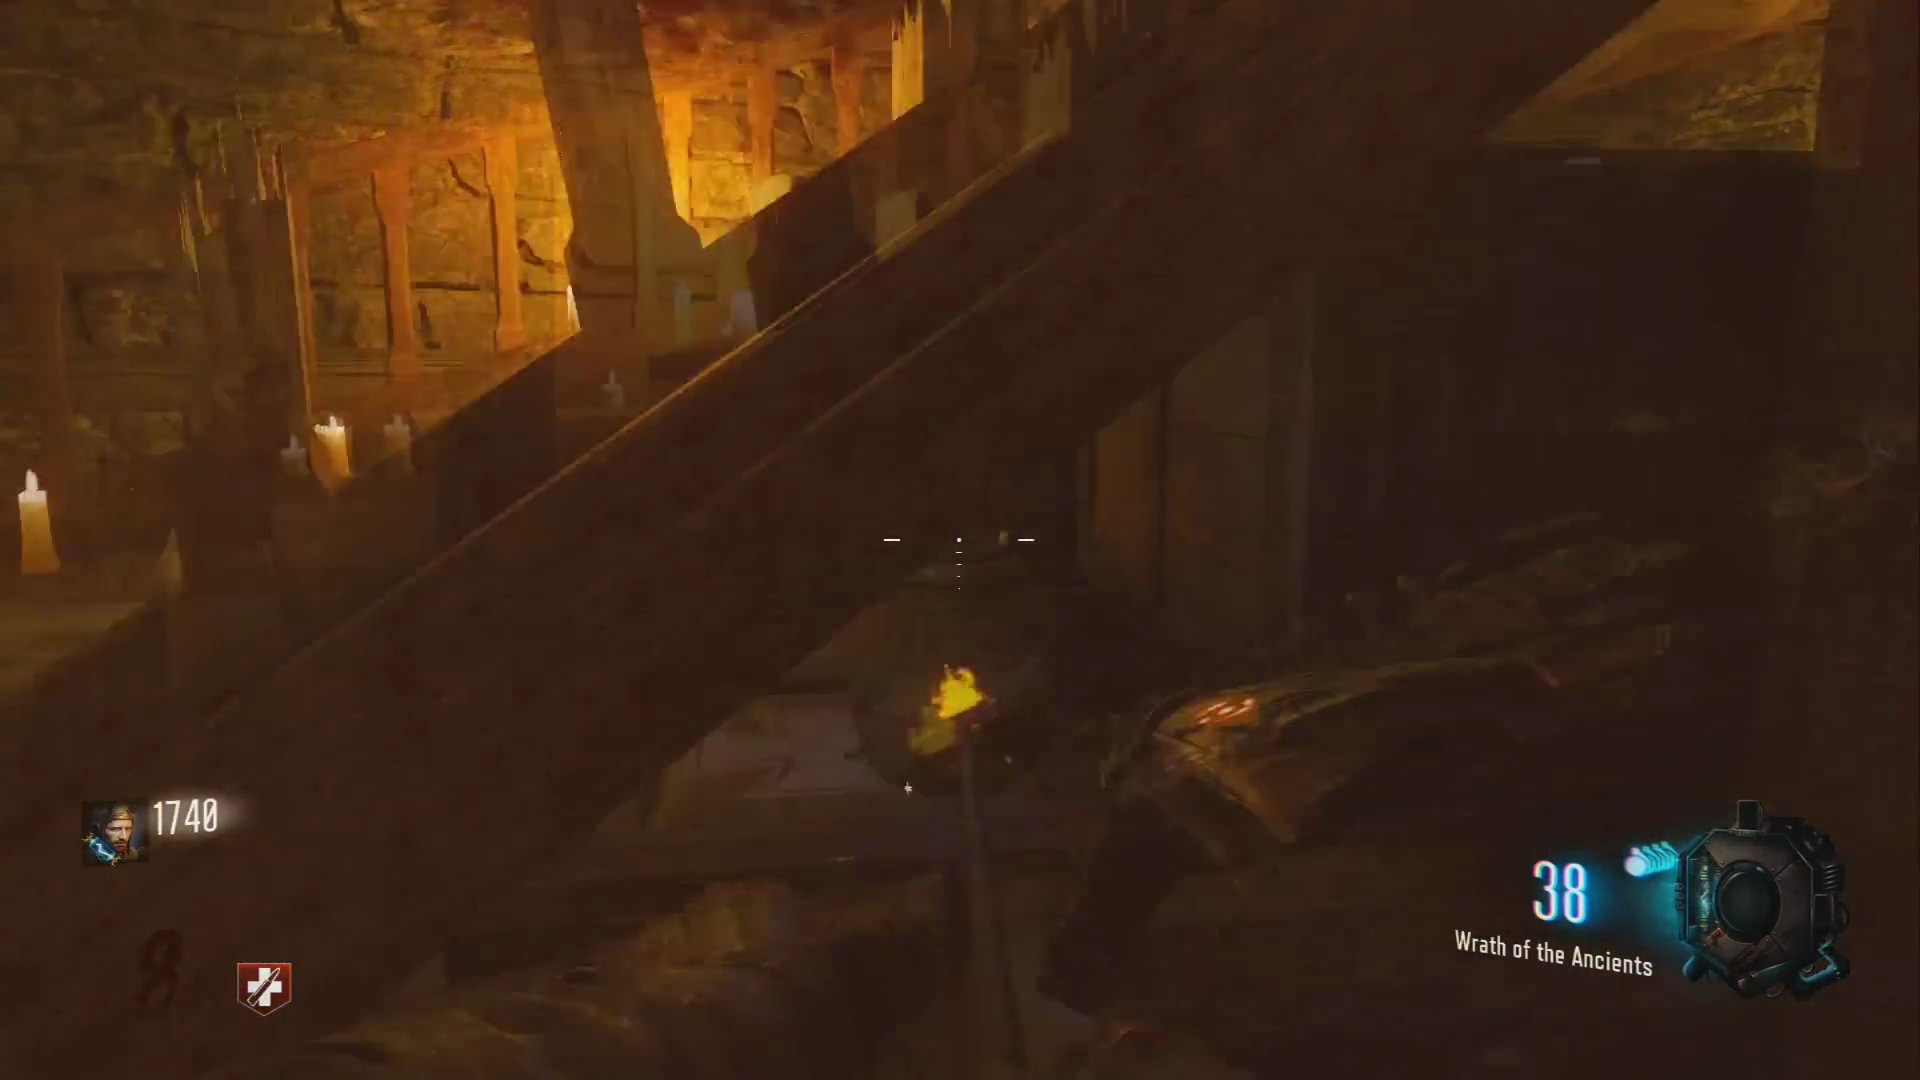
- The second urn is in the room above the Double Tap perk machine.
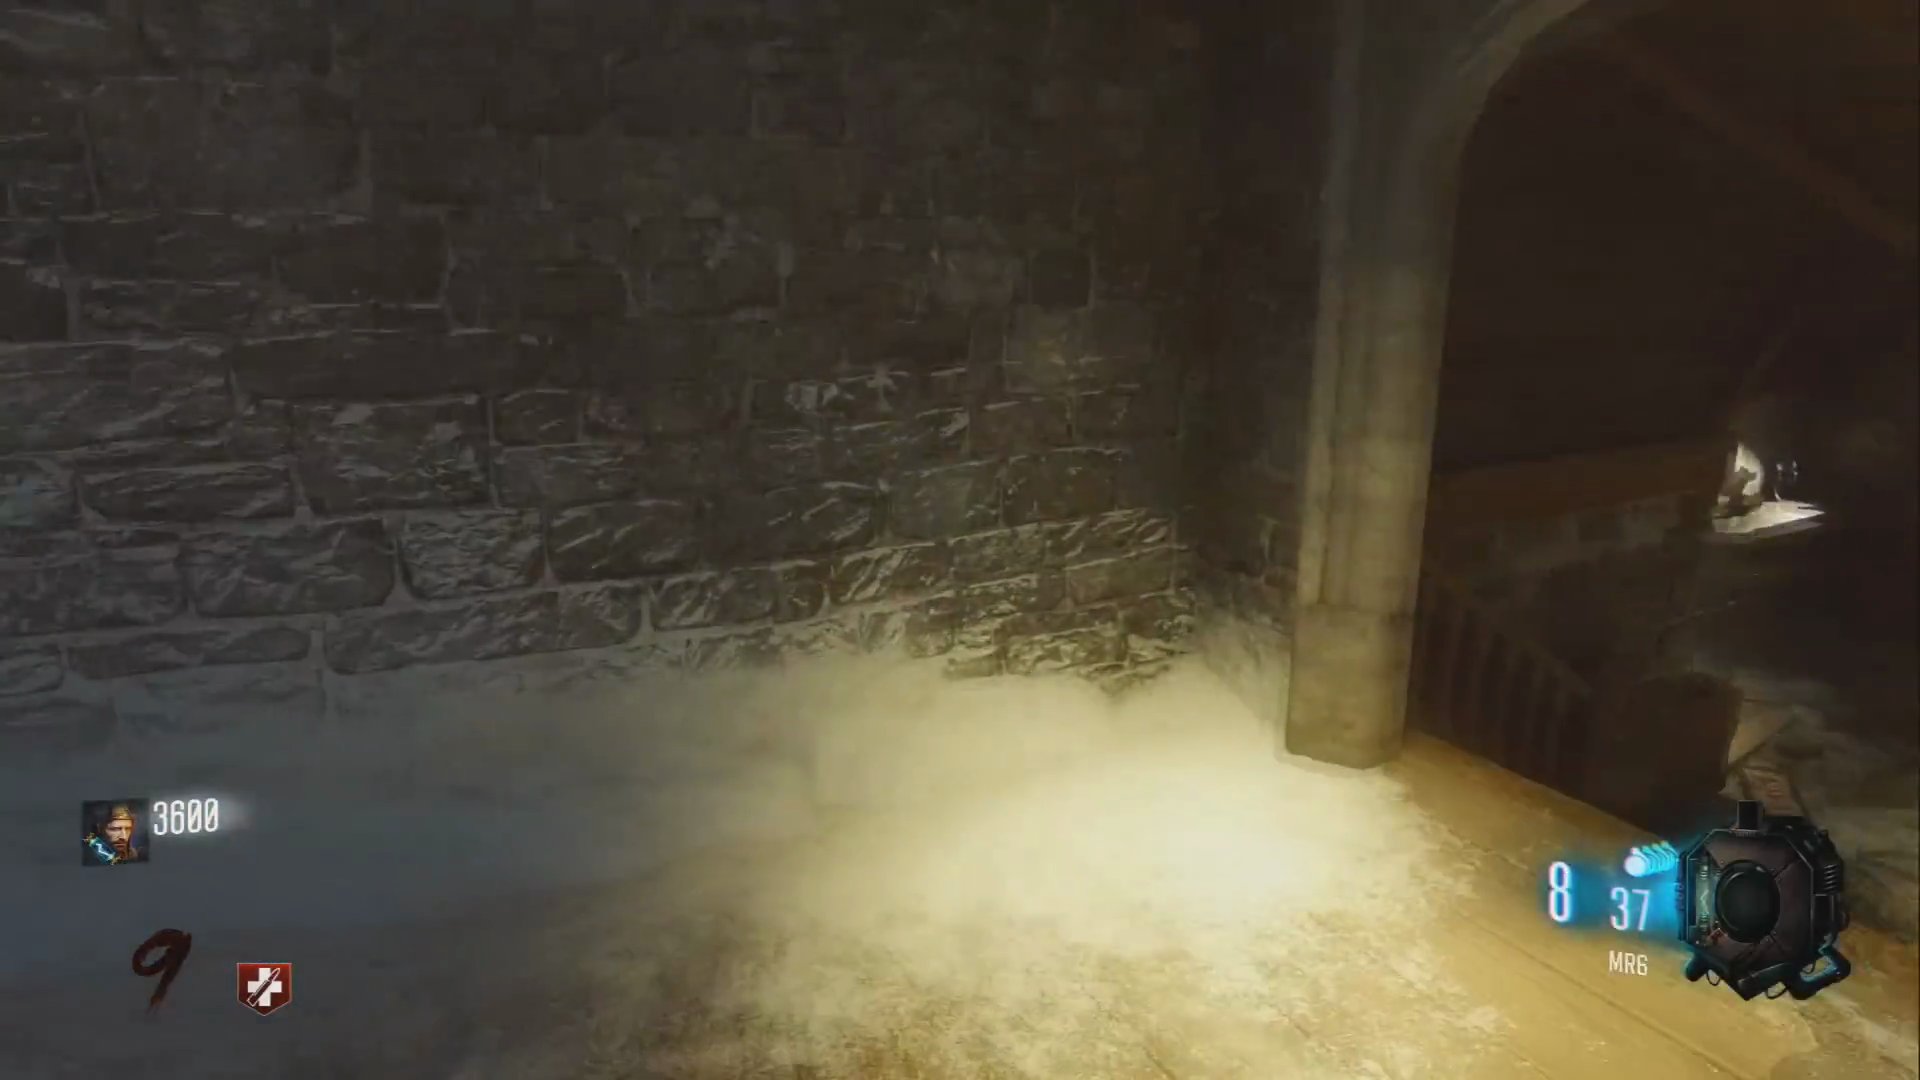
- The third urn is located in the Rocket Testing Facility area.
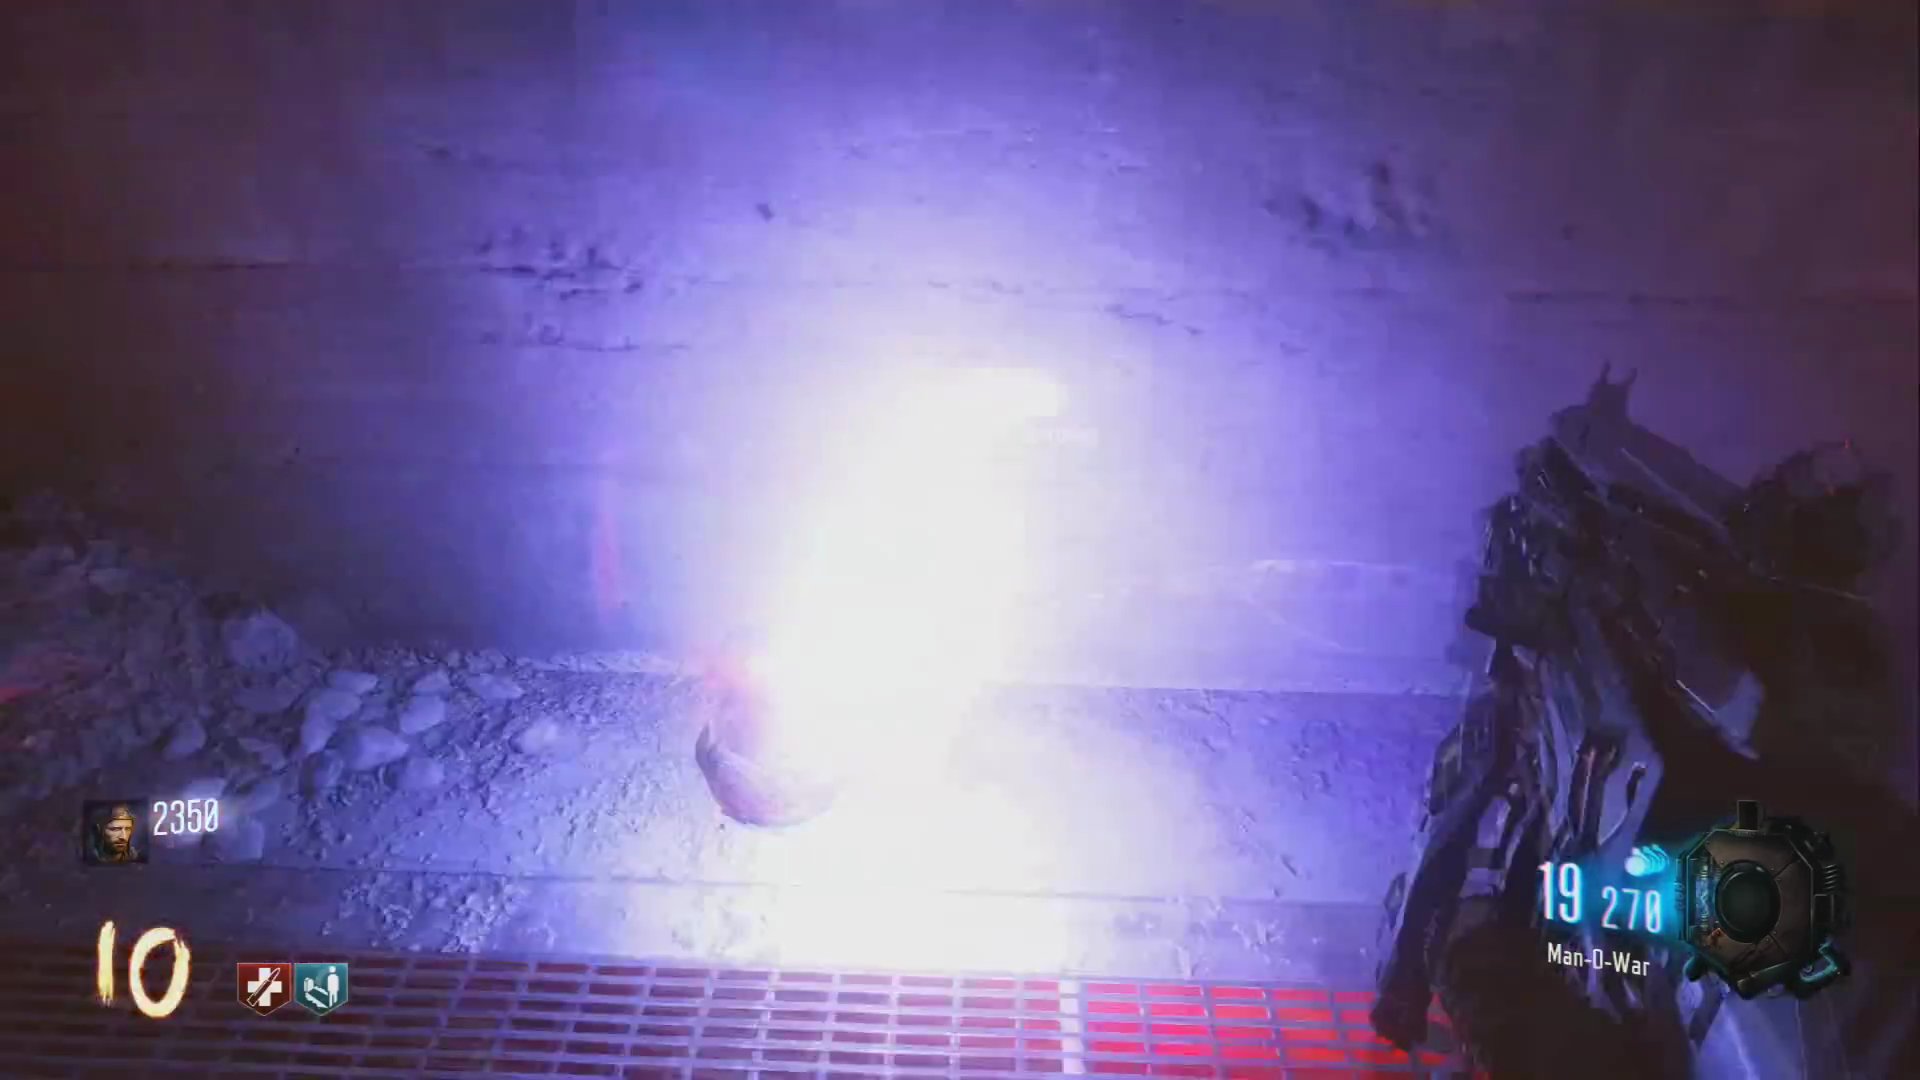
- Kill approximately 10 zombies near each urn to fill it with souls.
- Once filled, hold the action button (R2/RT) near each urn when it glows purple to charge your bow.
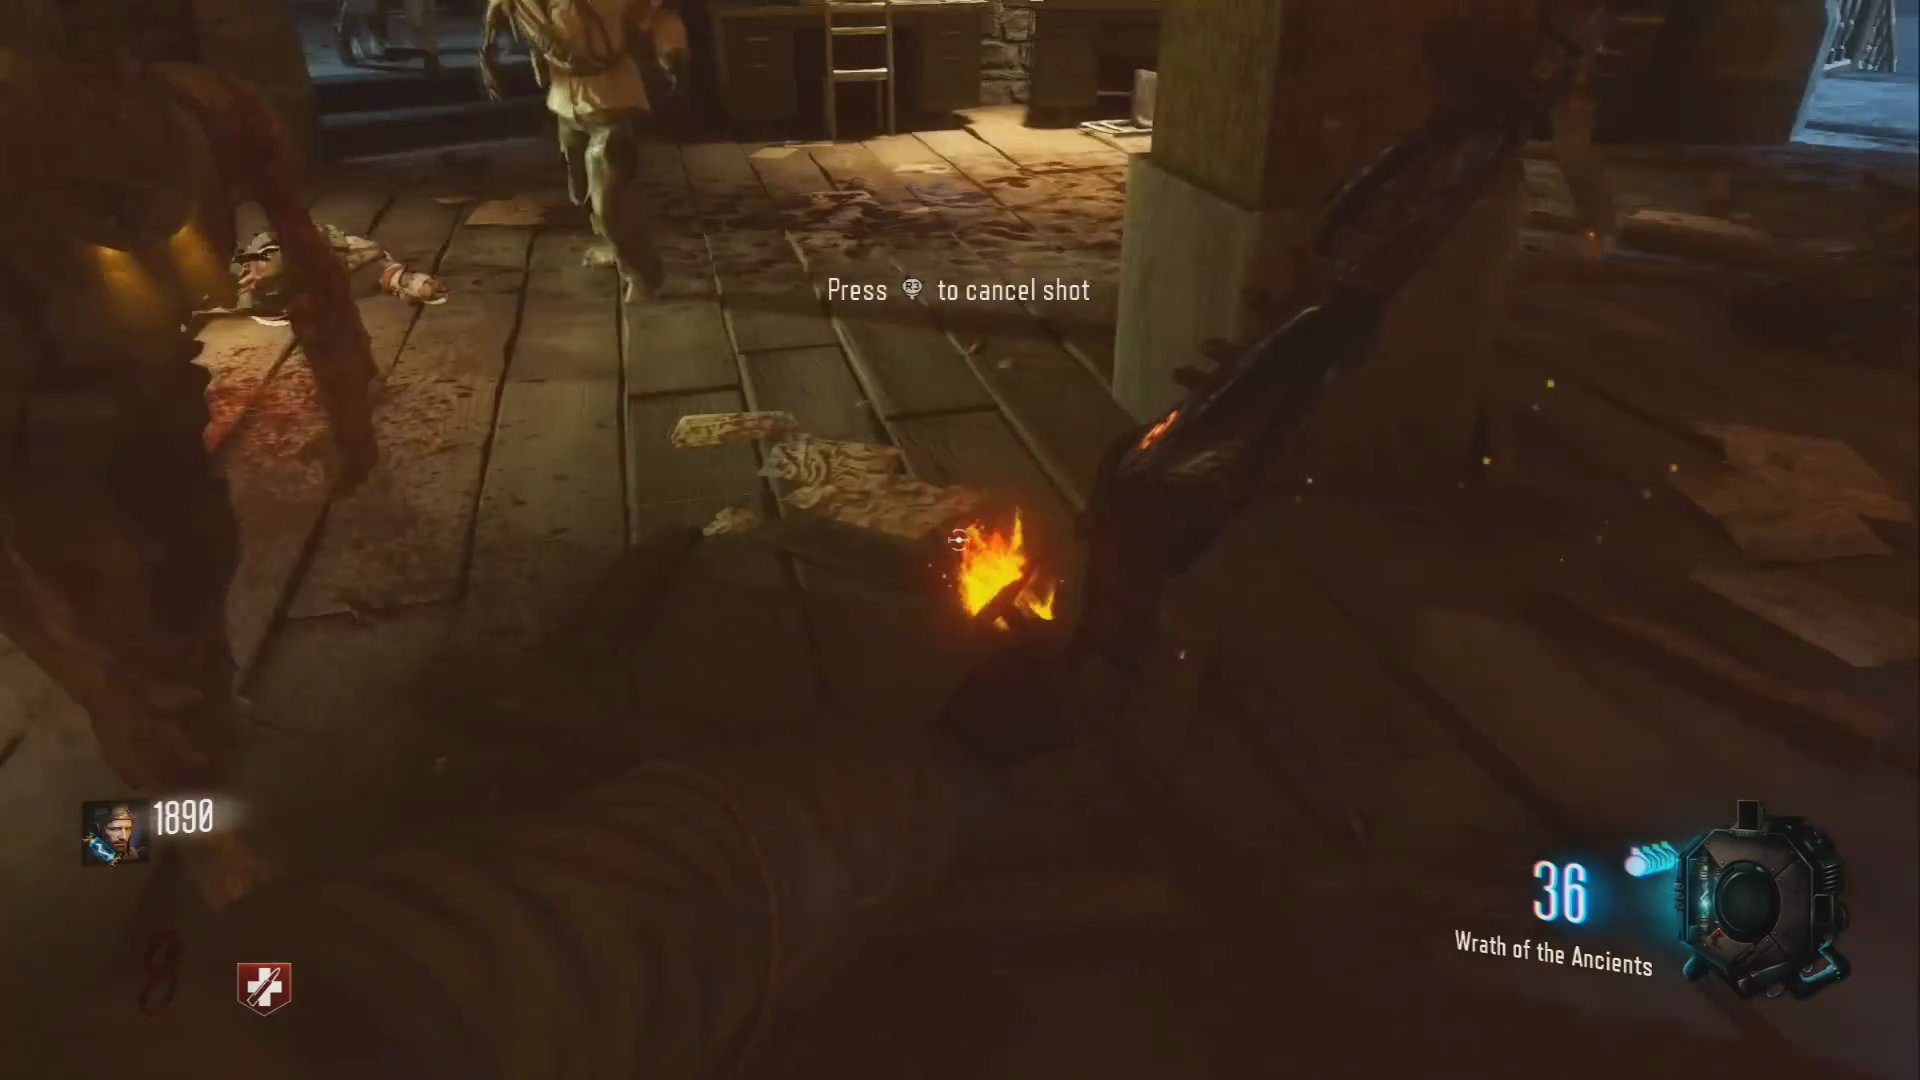 ,
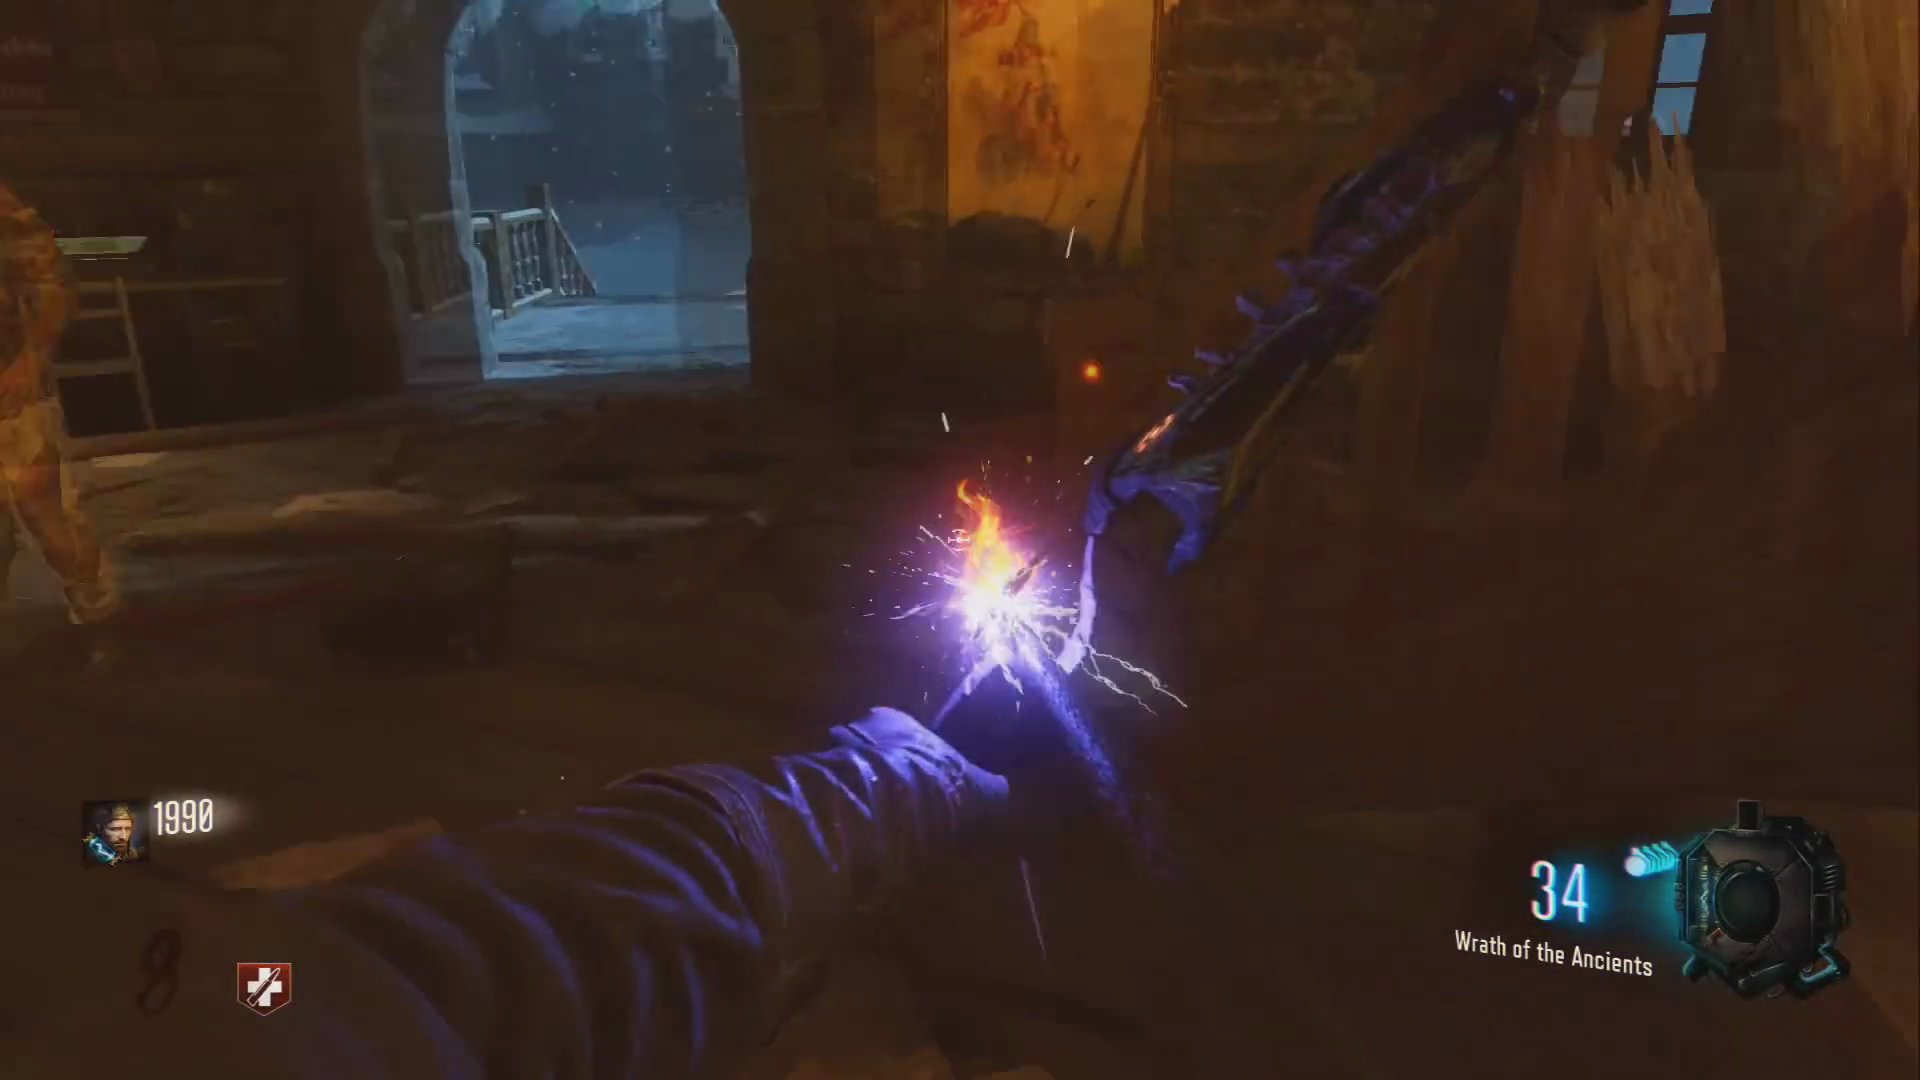 ,
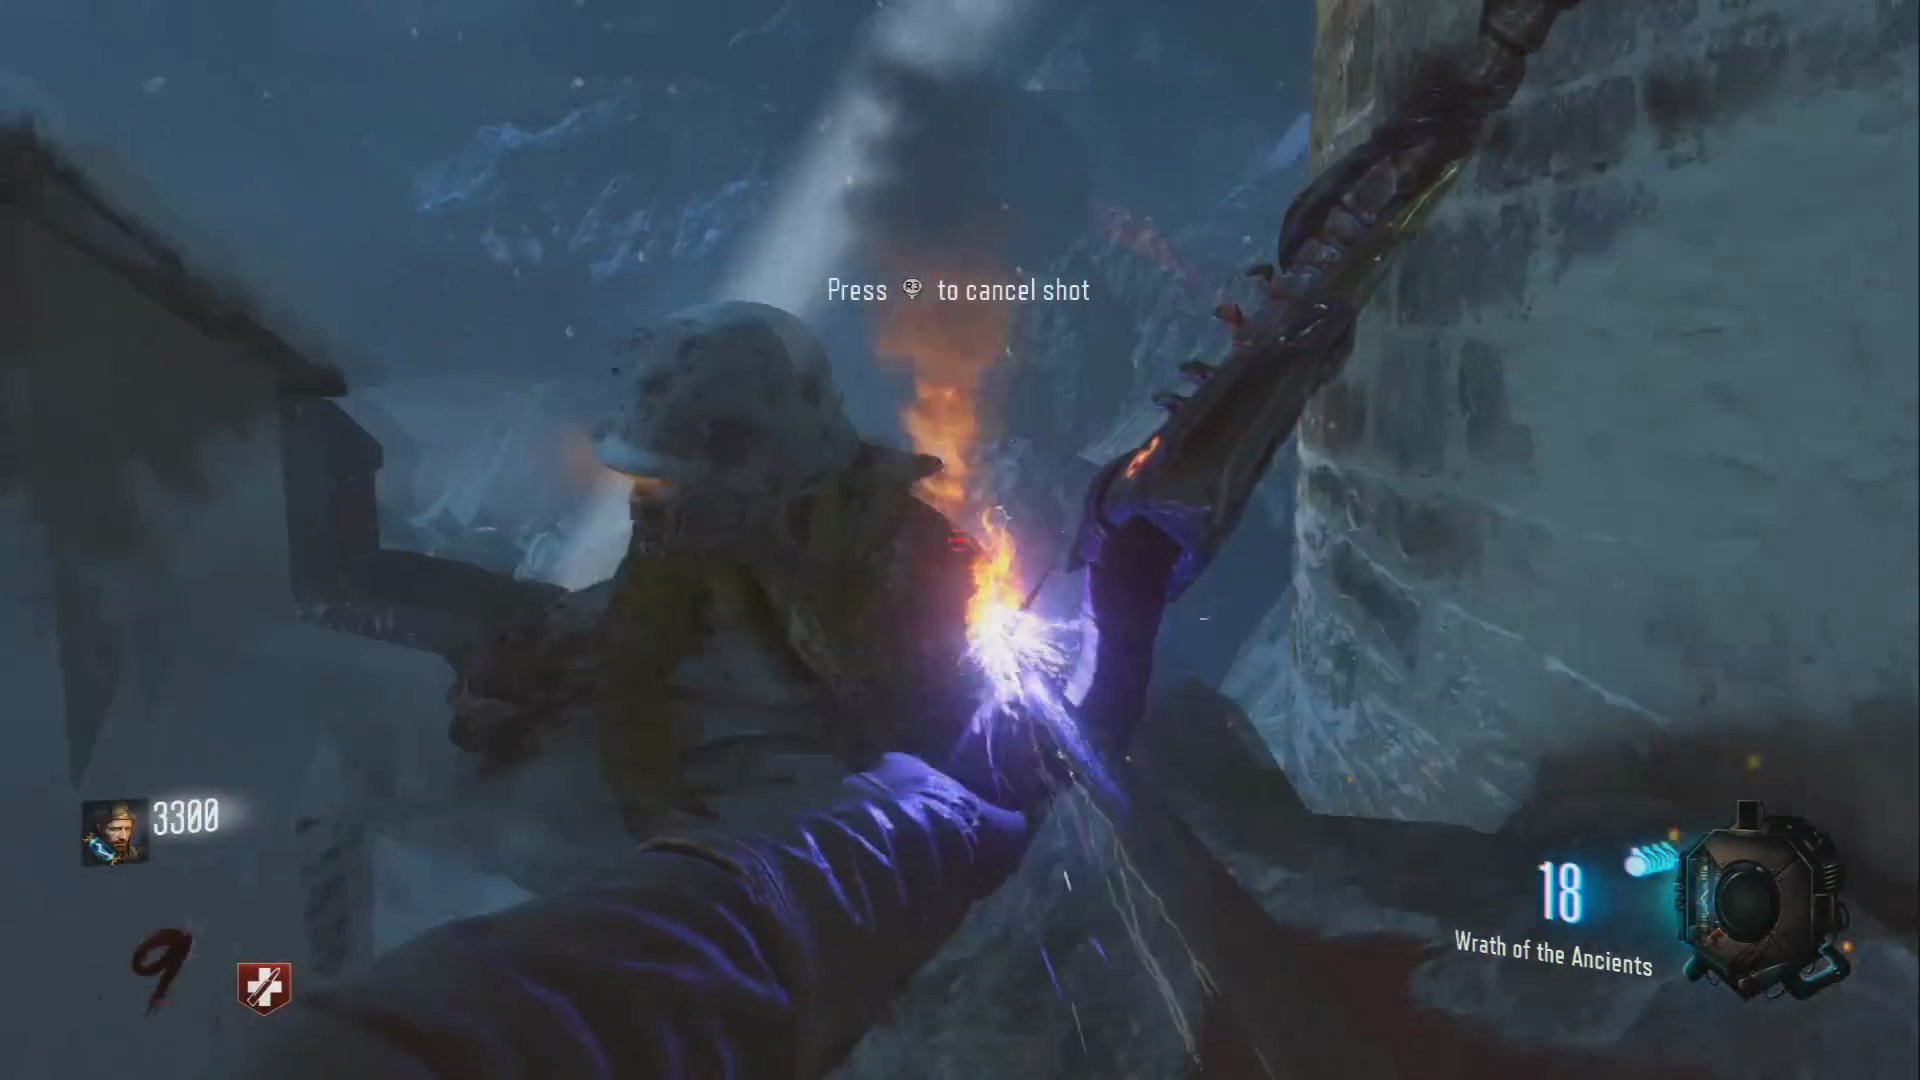
Step 5: Obtain the Upgraded Lightning Bow
- Return to the weather vane where you found the lightning arrow.
- Hold the action button on the weather vane until it transforms into a bow.
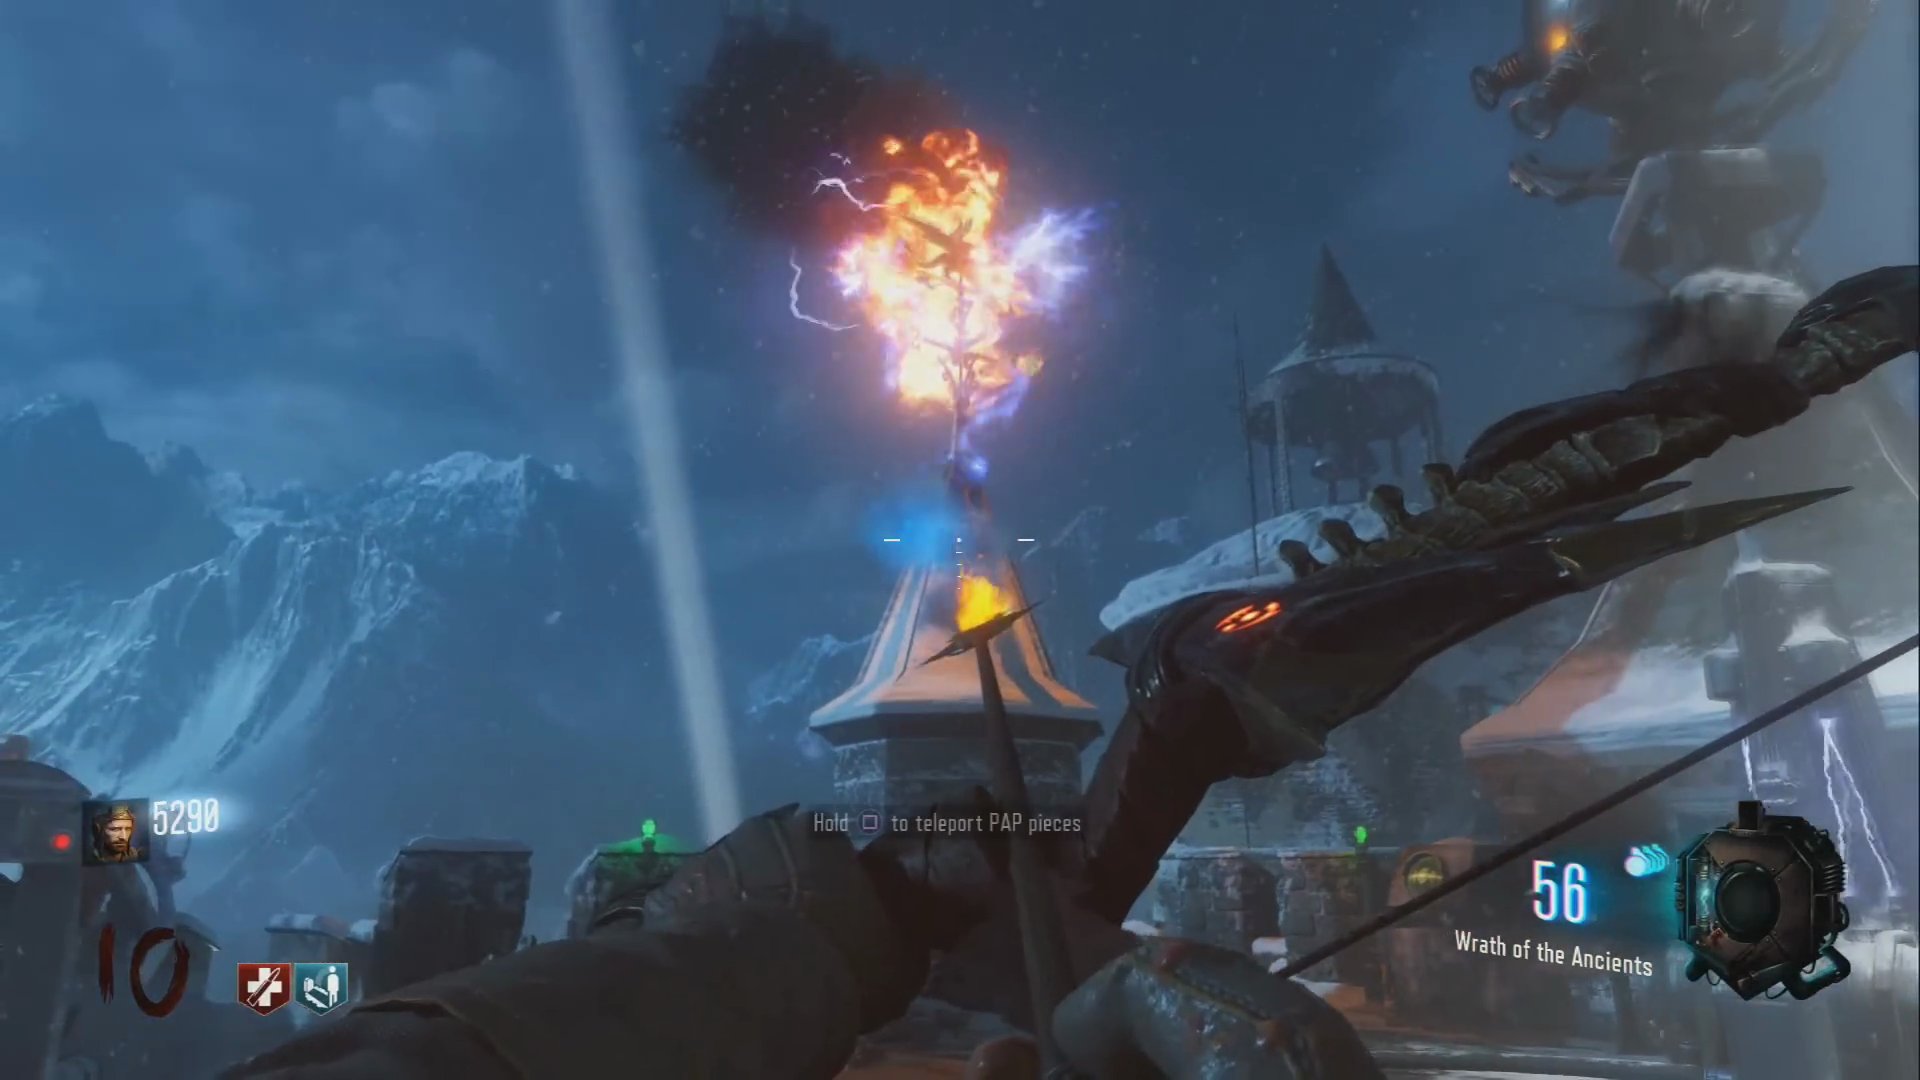
- Take this newly formed bow to the Pyramid room.
- Place it in the box with the blue symbol.
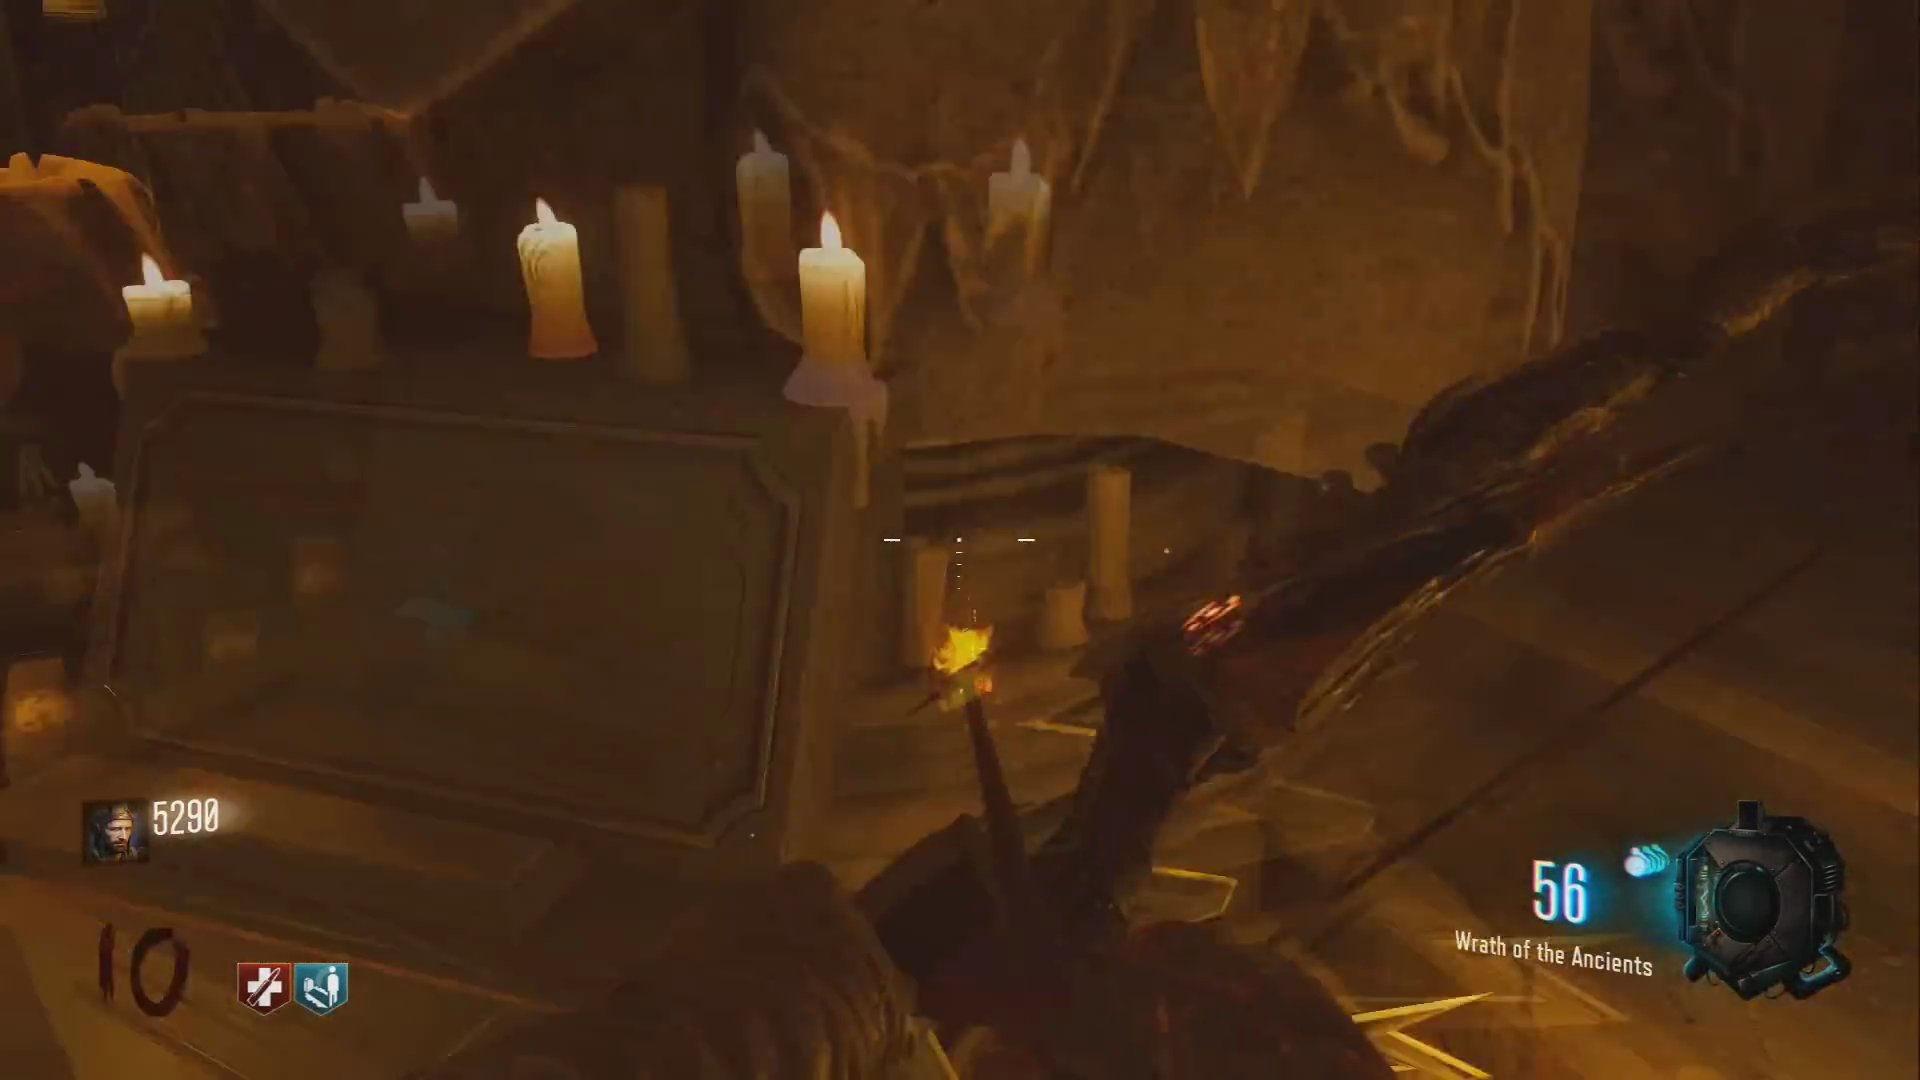
- Kill 15-20 zombies around the box to collect souls.
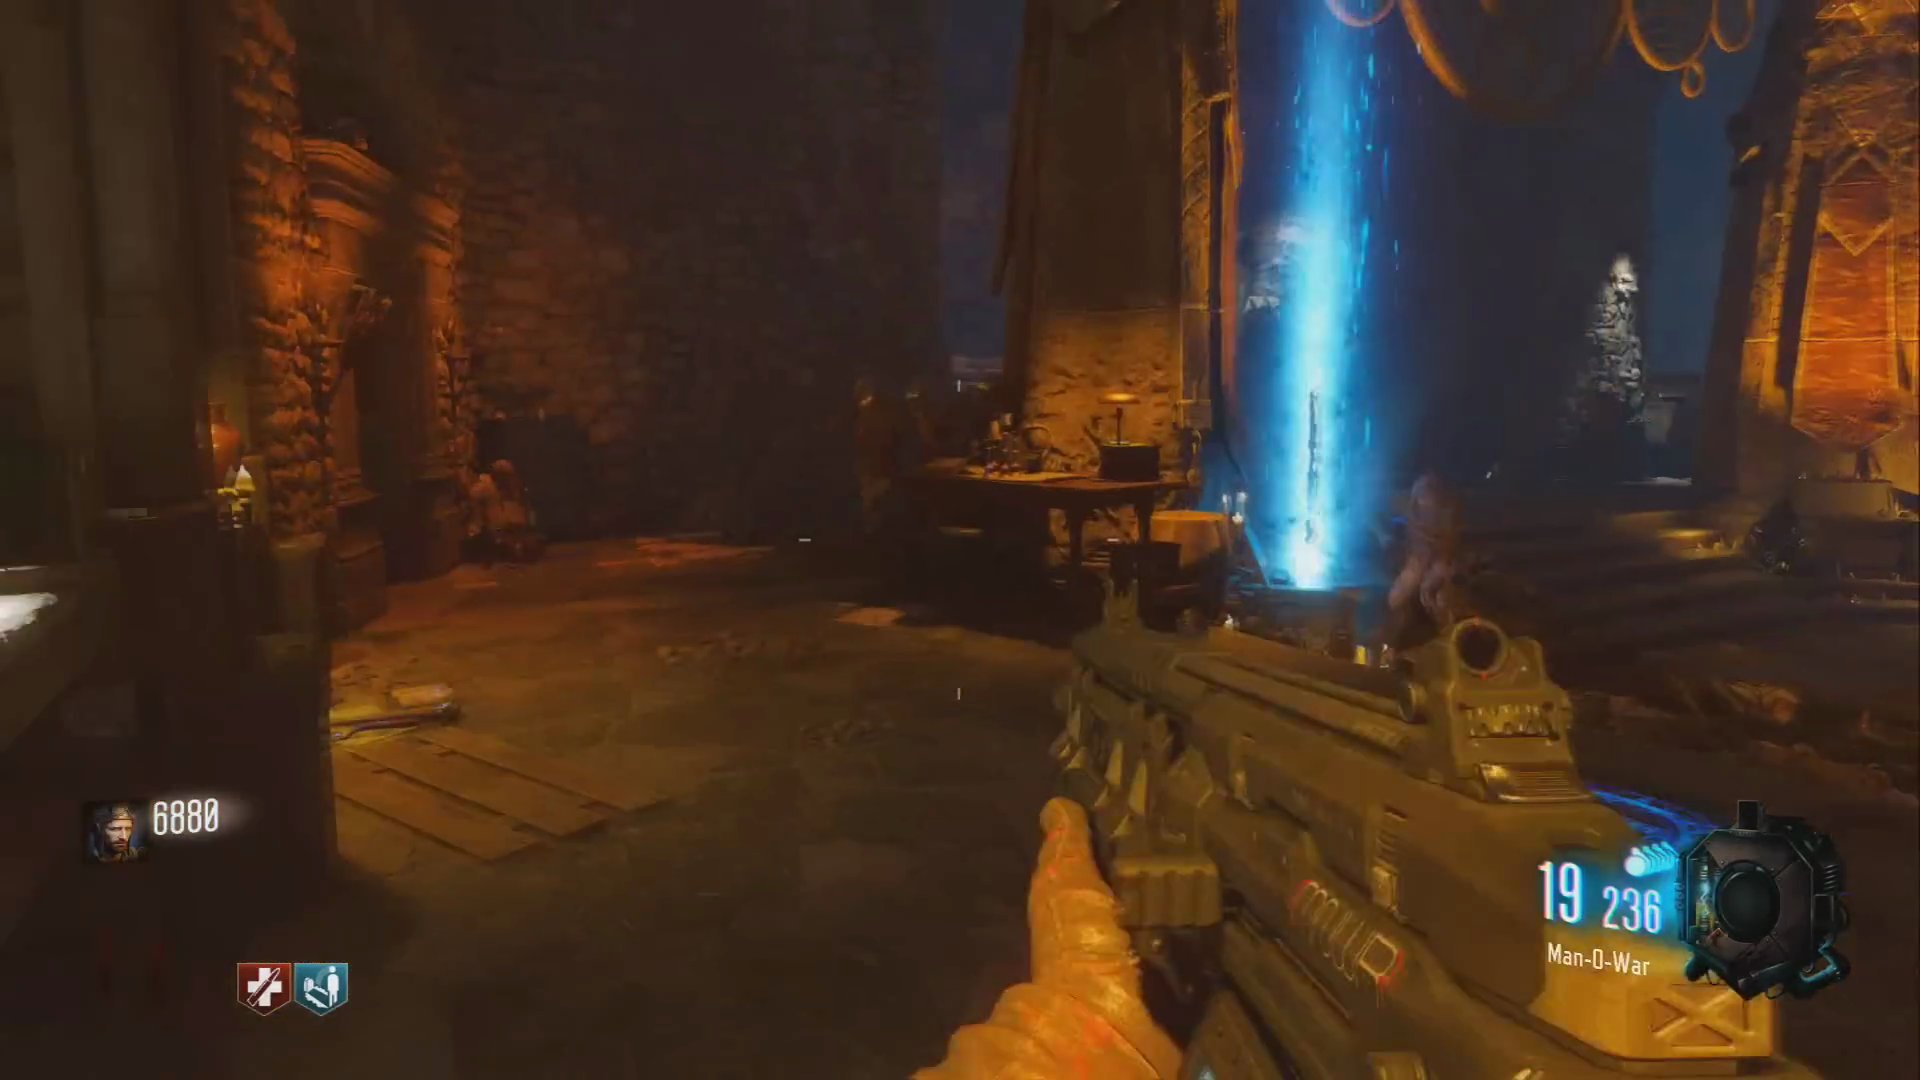
- Once the soul collection is complete, retrieve your upgraded Lightning Bow.
Wolf Bow Upgrade
The Wolf Bow, or Bow of the Ancients, requires solving a painting puzzle and following a ghostly canine.
Step 1: Activate the Paintings
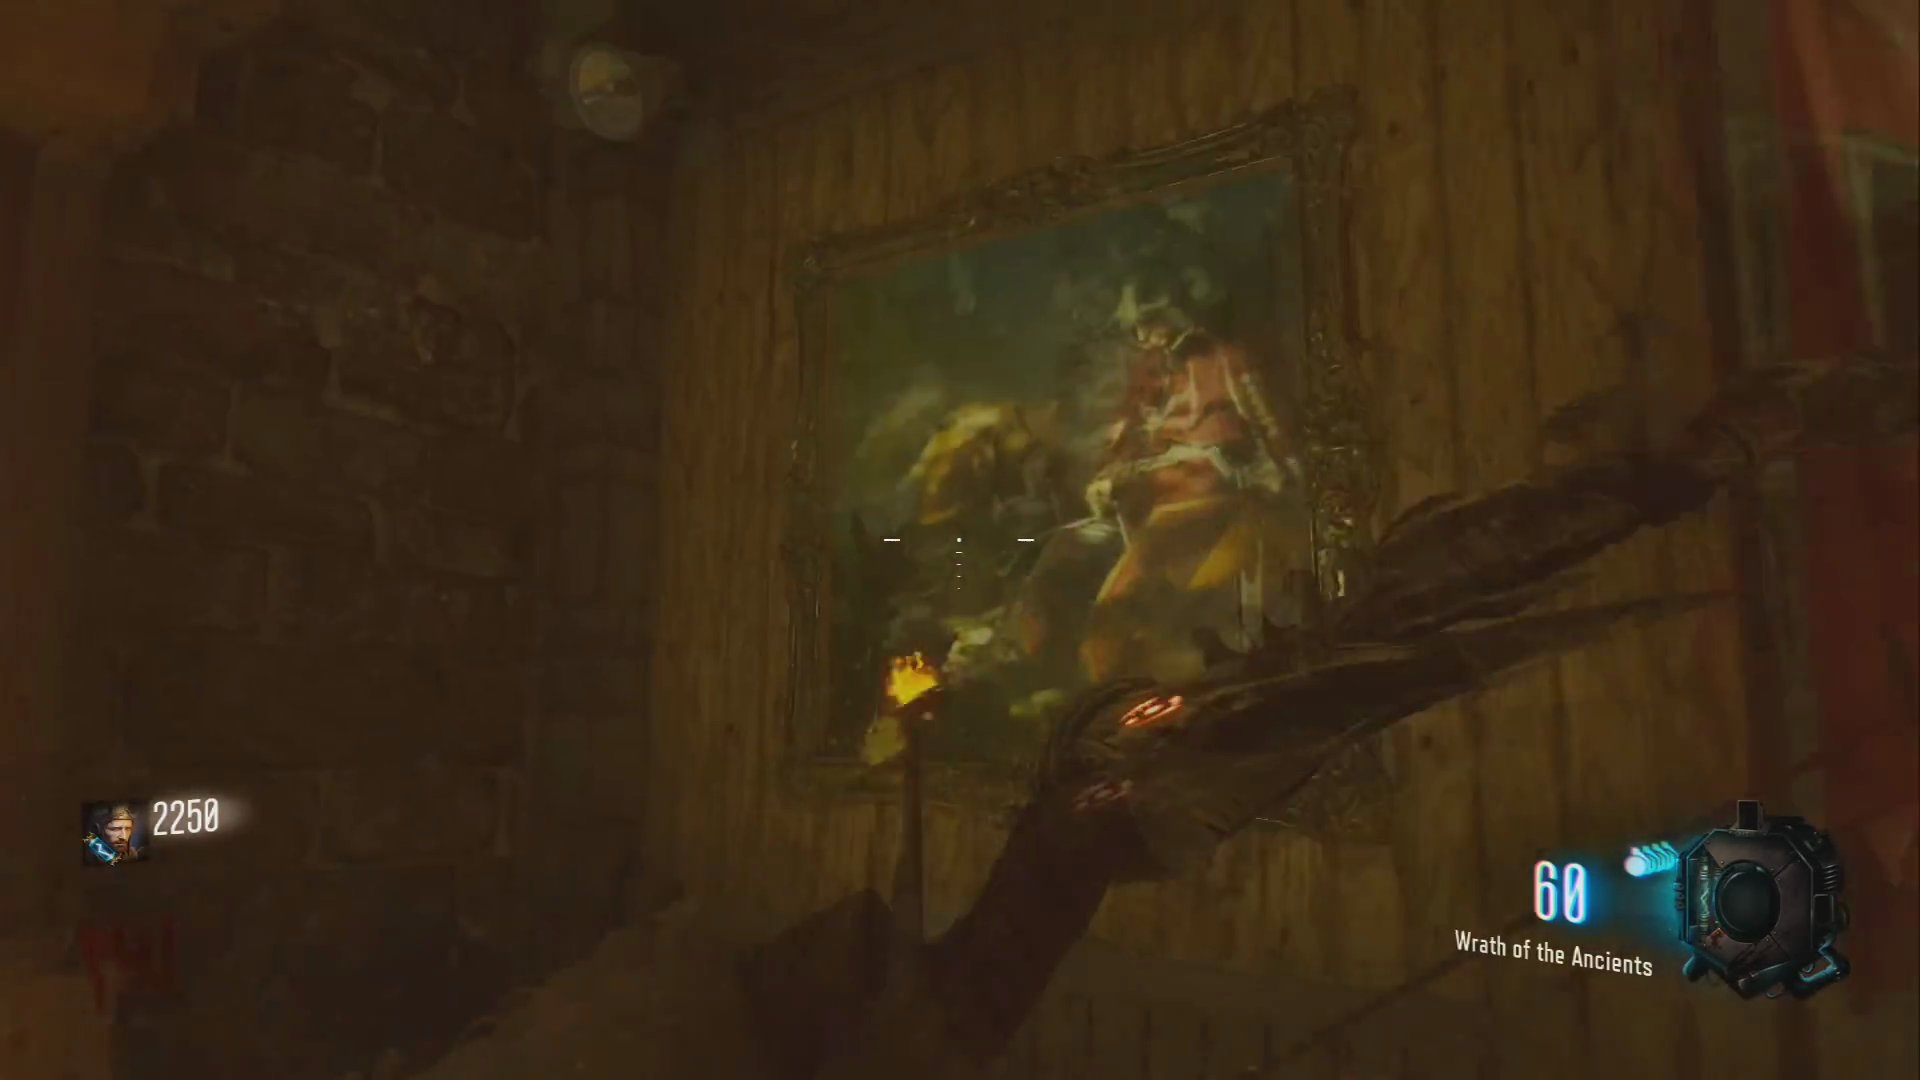
- Locate the four paintings scattered across the map. You need to activate them in a specific order, which changes each game. When you hold the action button on a correct painting, you'll hear a guitar strum sound. If incorrect, you'll hear a different sound, and the sequence resets.
- Painting 1 is in the Clock Tower.
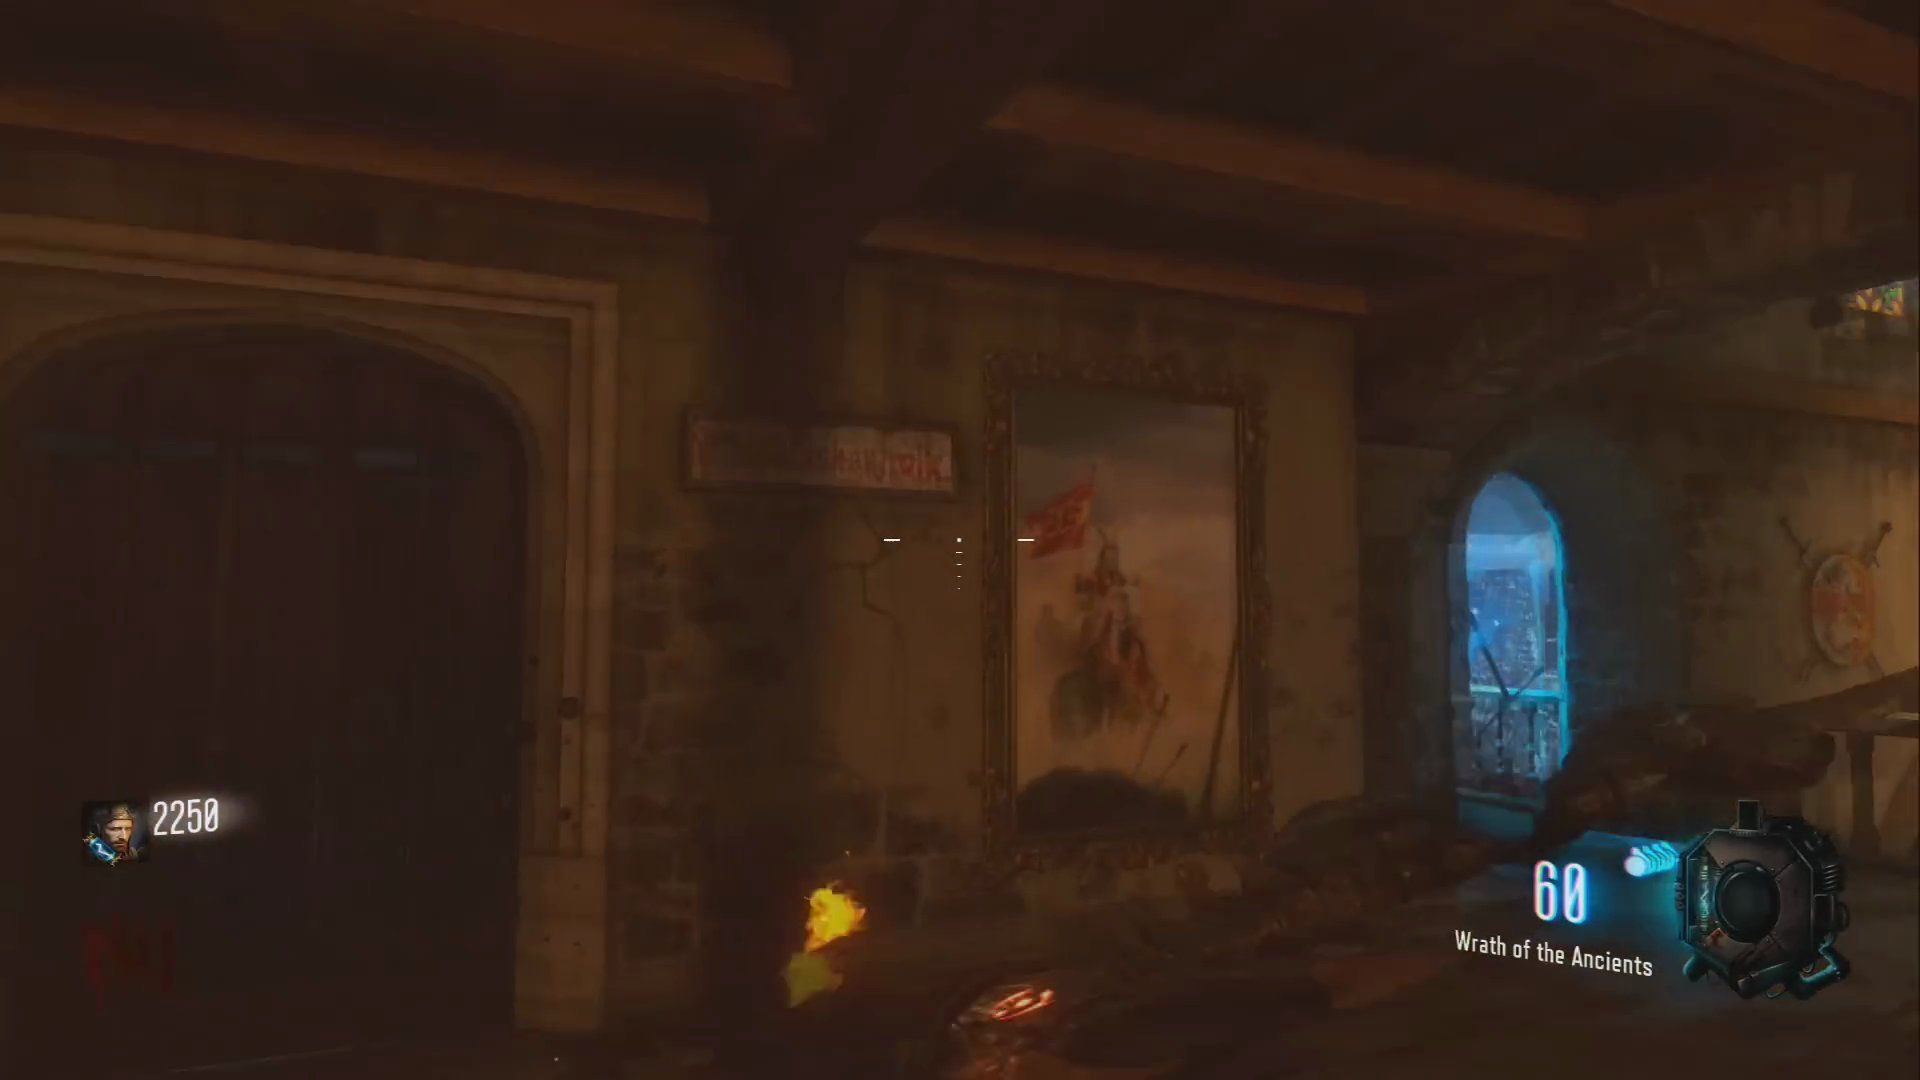
- Painting 2 is in the room beneath the Clock Tower.
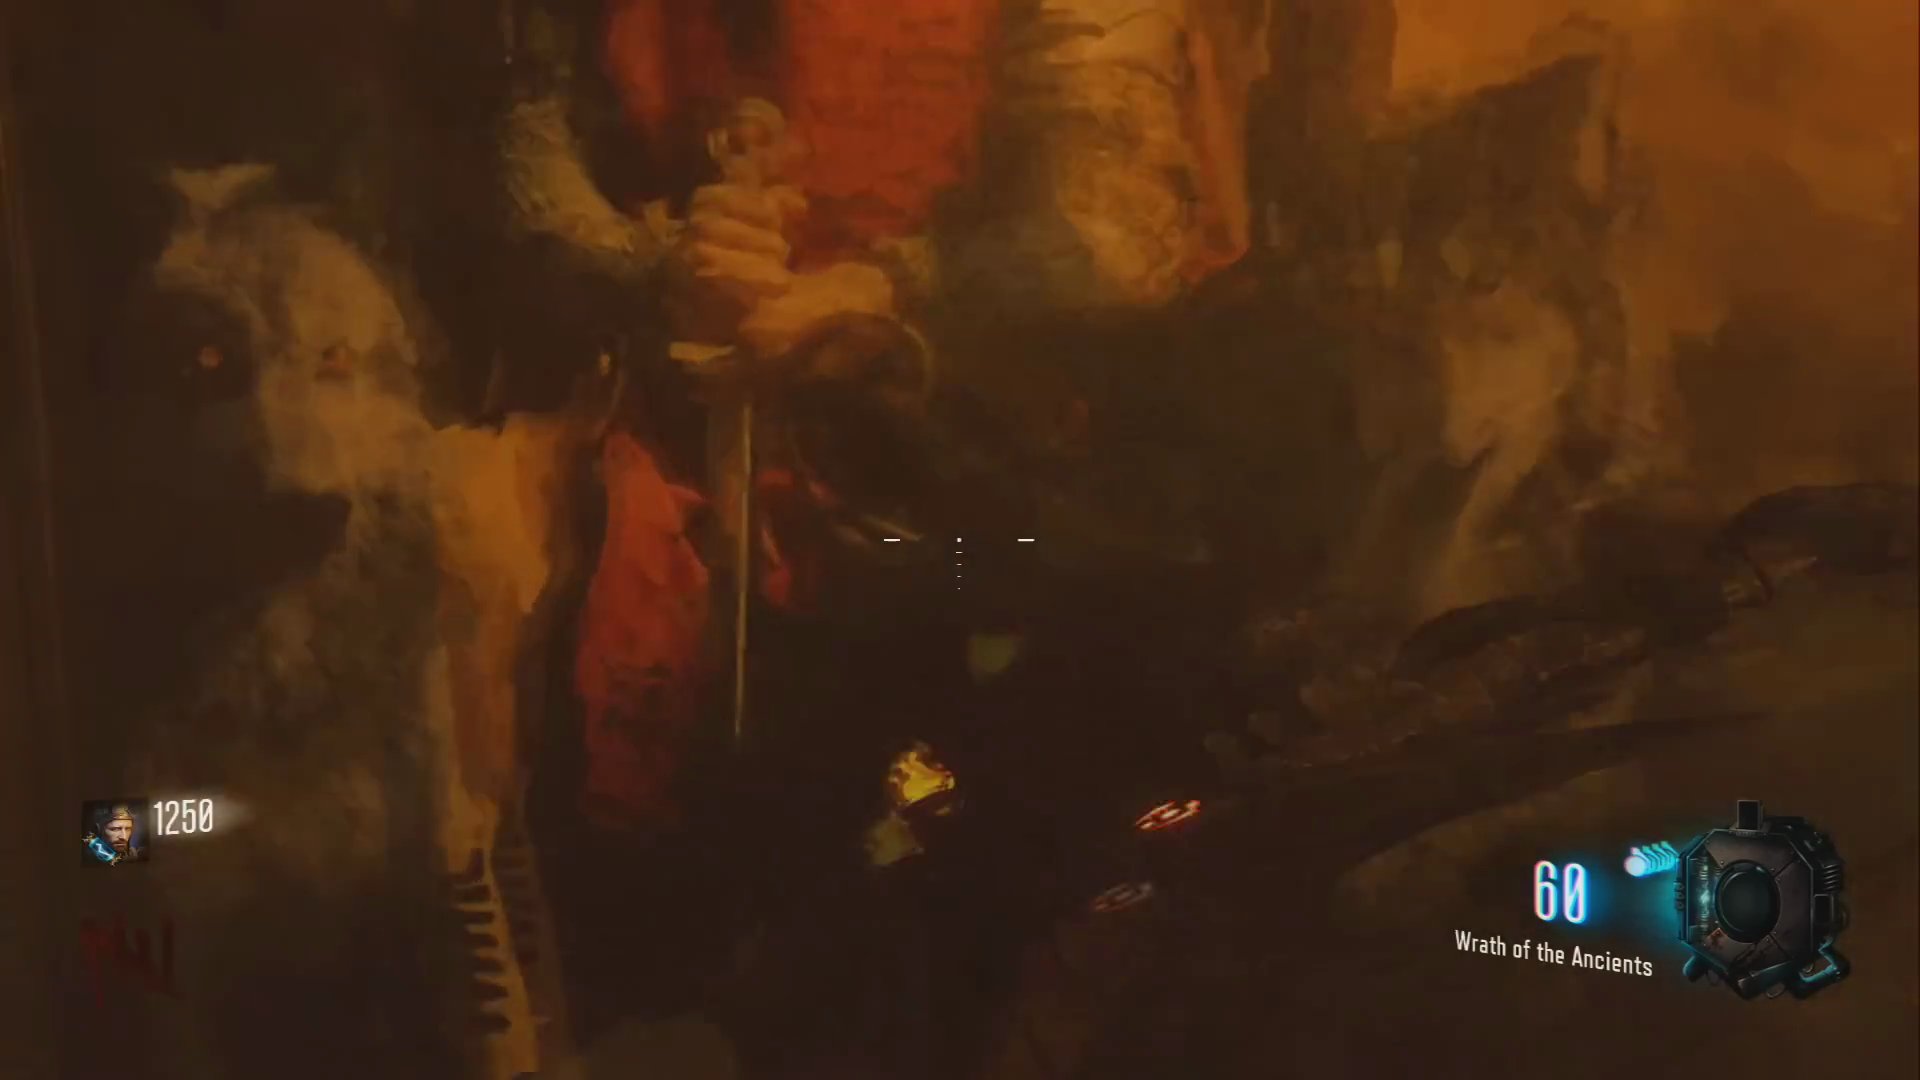
- Painting 3 is in the Main Control Room.
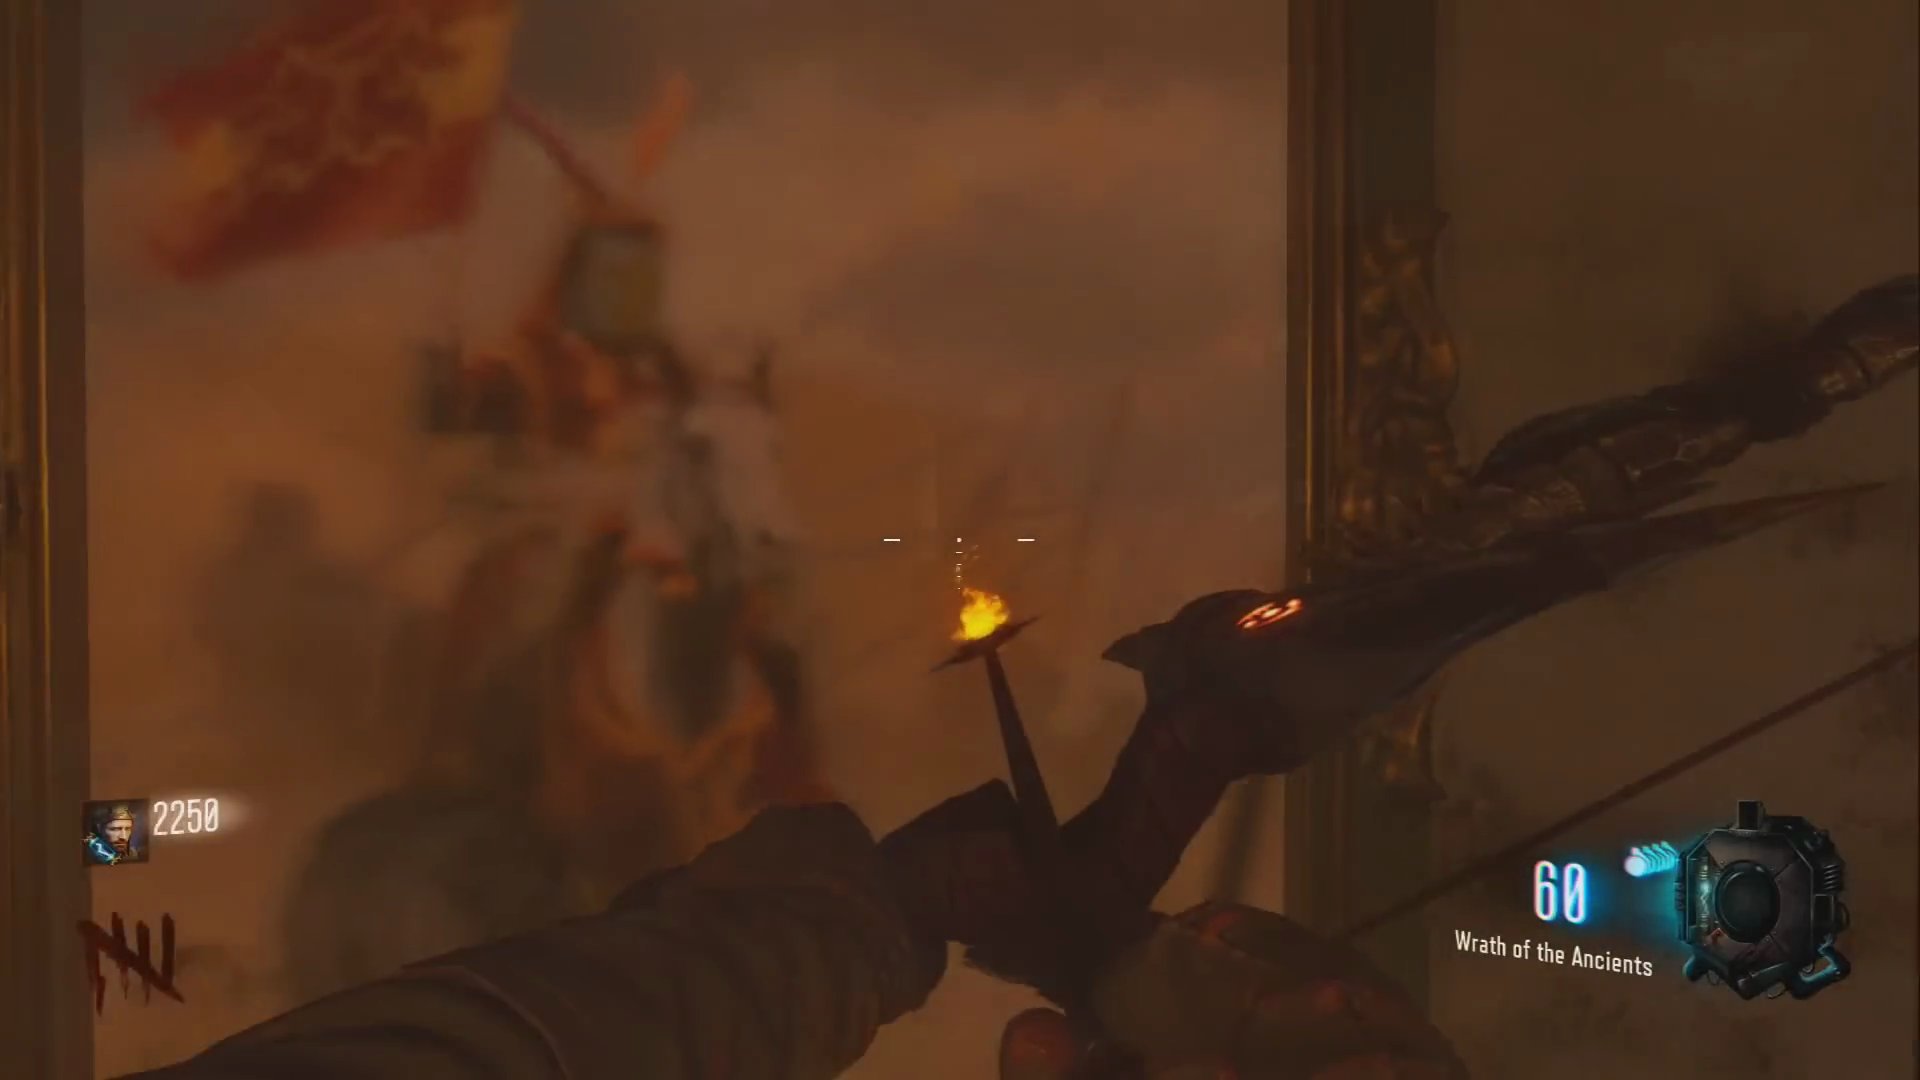
- Painting 4 is near Eddie's room, where the knight statues are.
Step 2: Collect the Wolf Element and Skull
- Return to the Pyramid room and collect the Wolf Element.
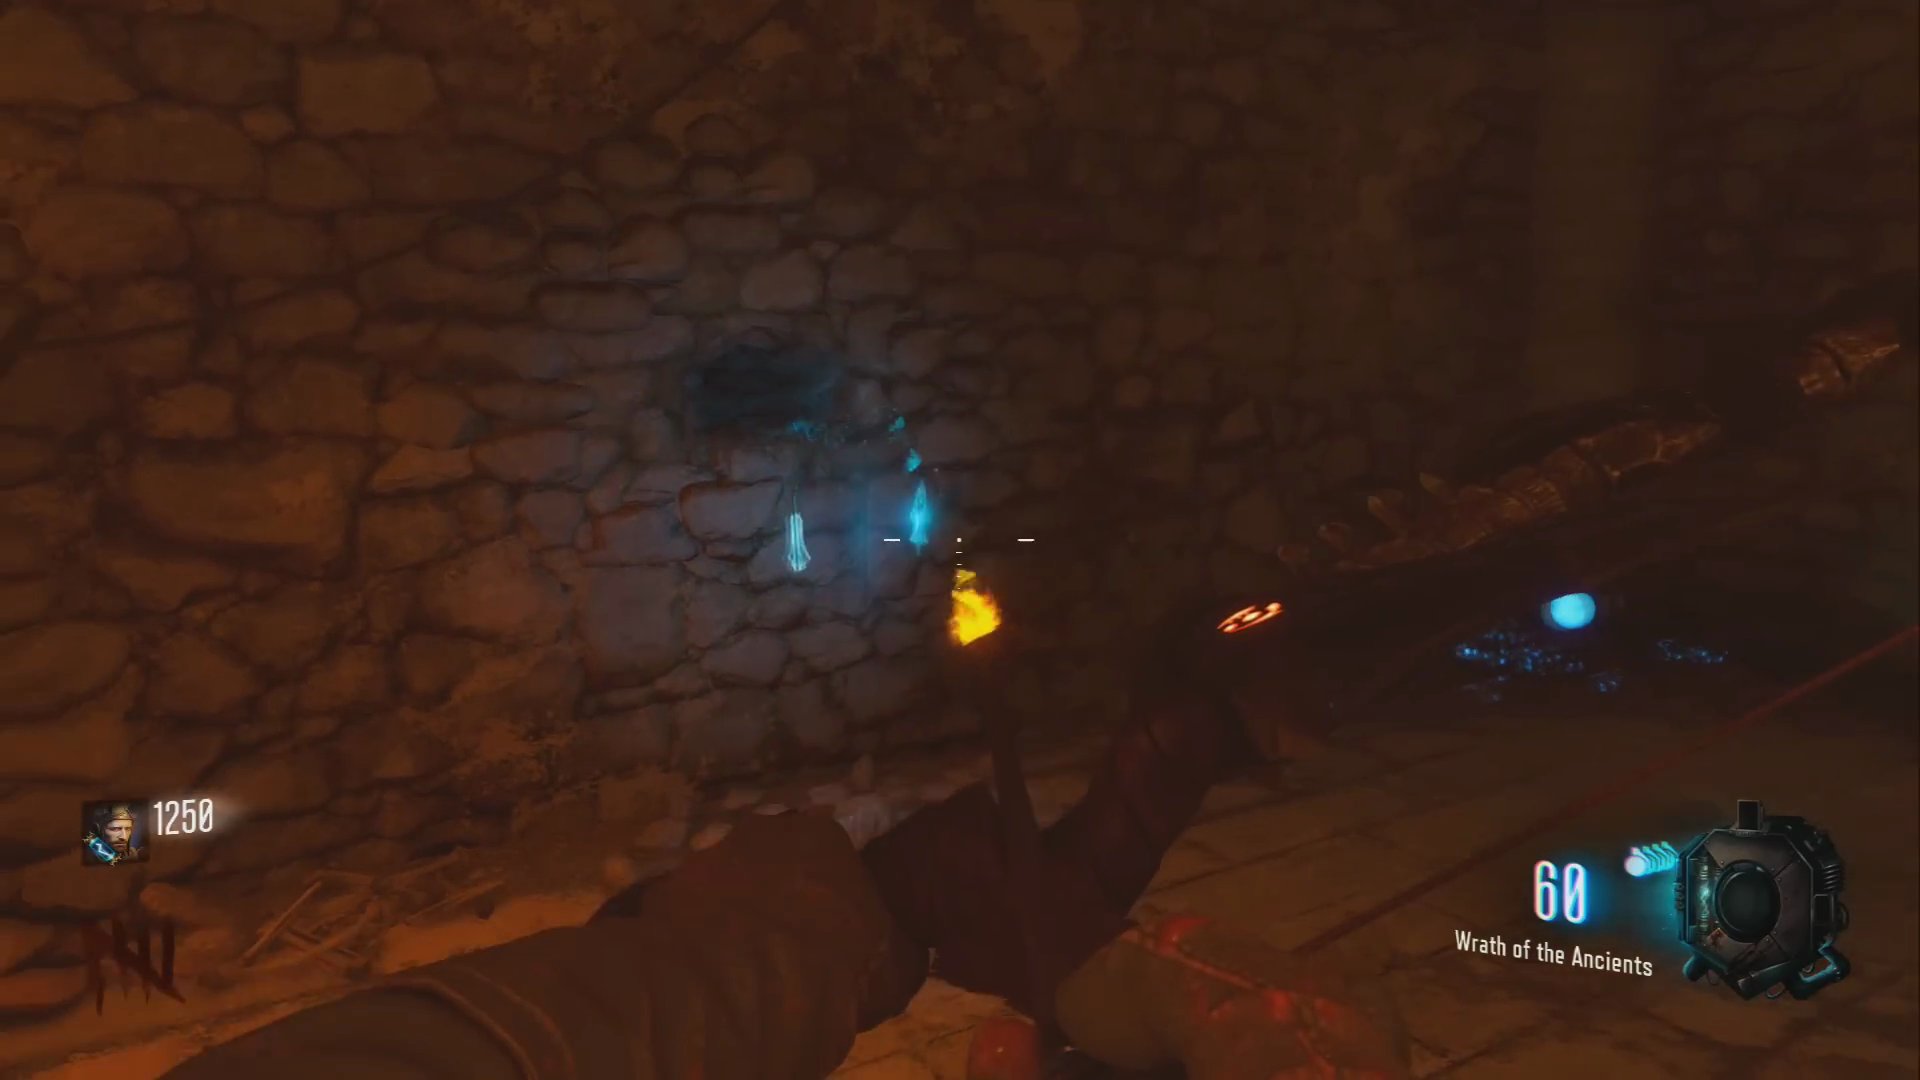
- Go to the Rocket Testing area. On a mountain, there will be a red flag. Shoot it with your bow.
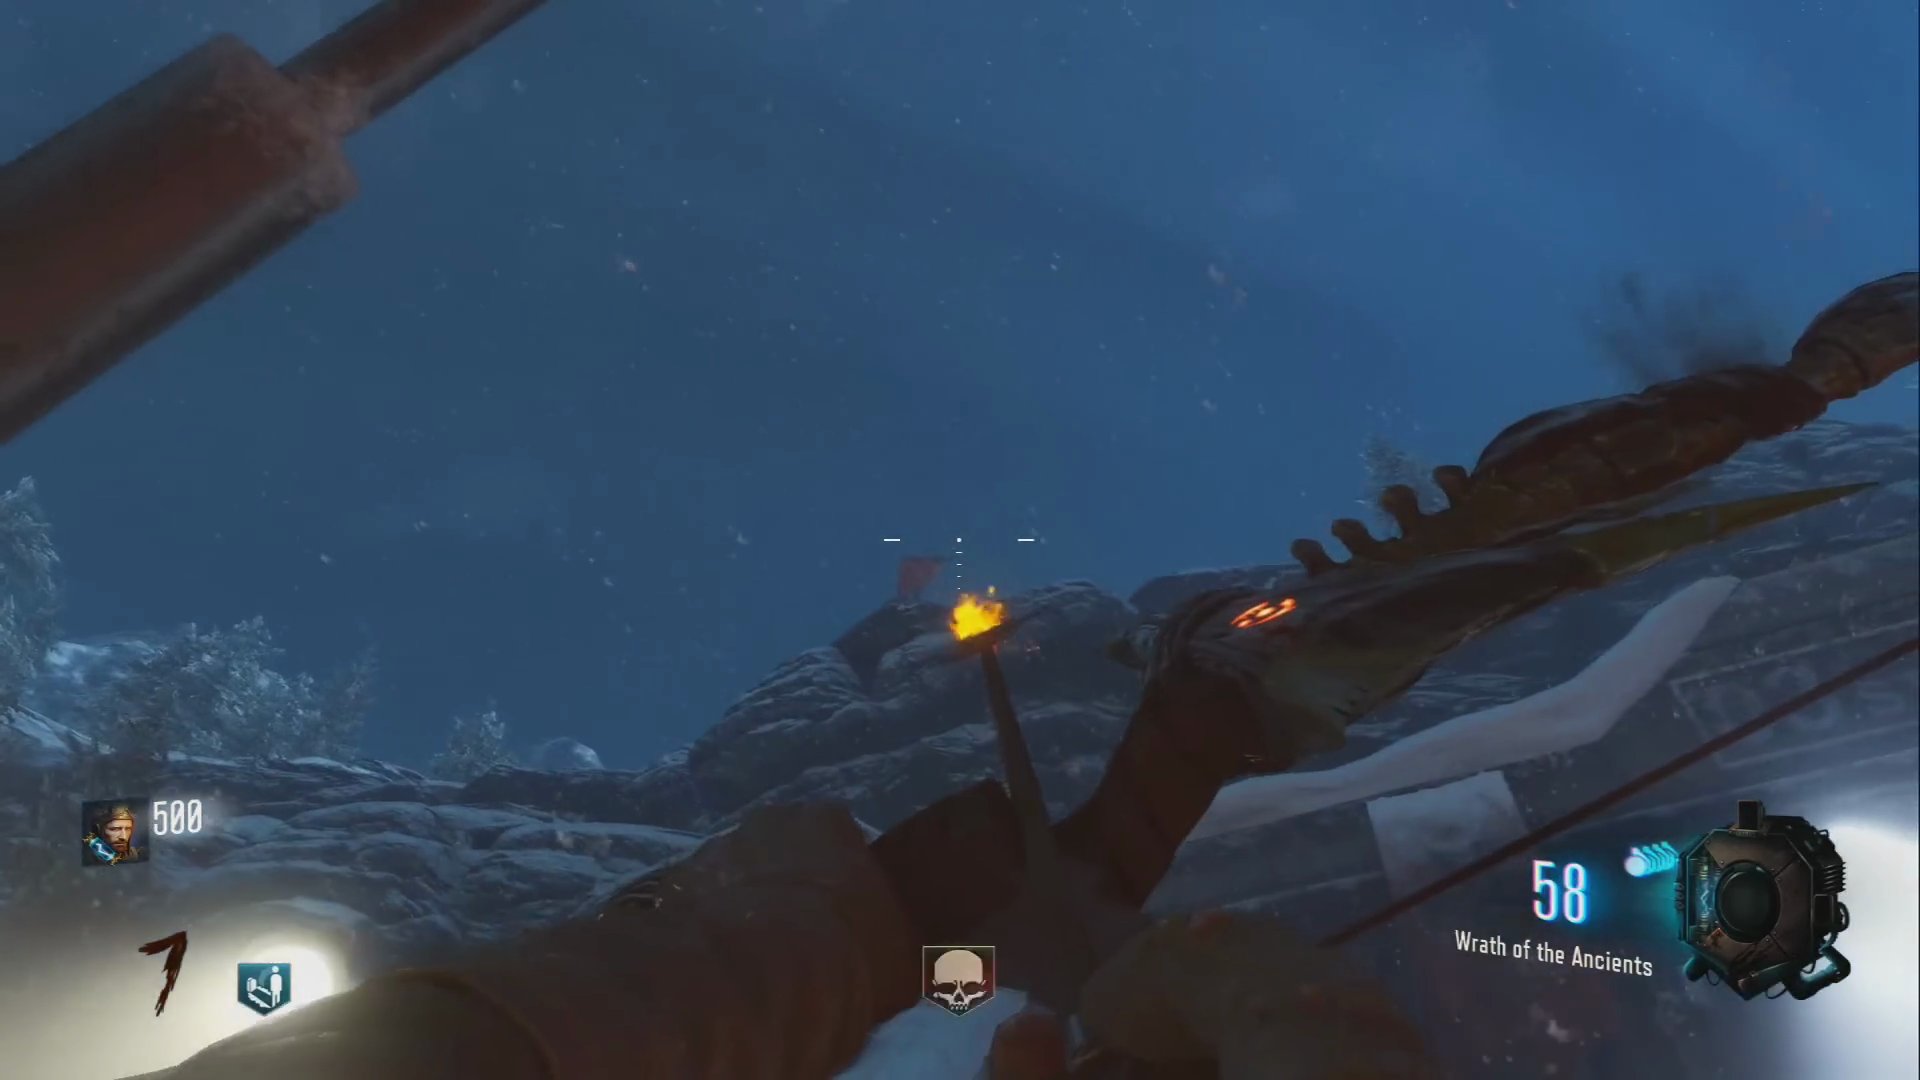
- A wolf skull will fall to the ground near the rocket. Pick it up.
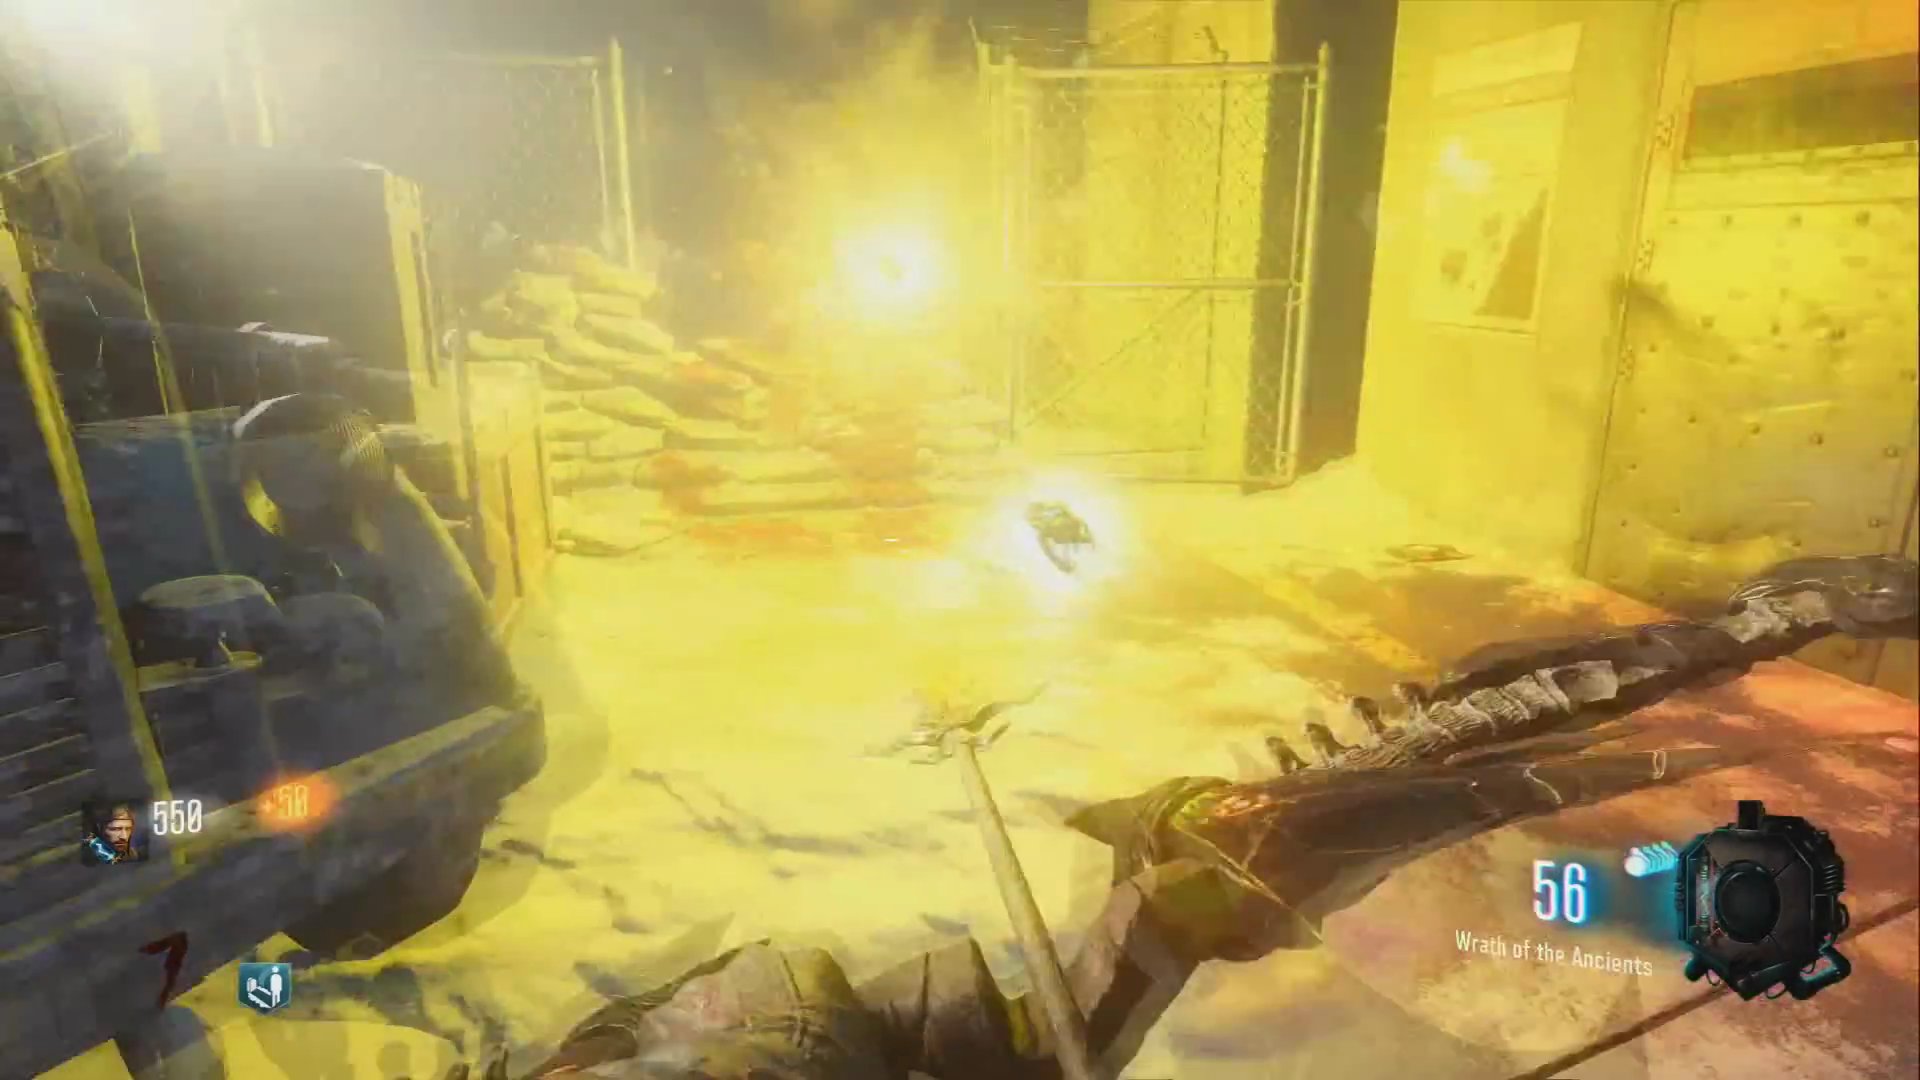
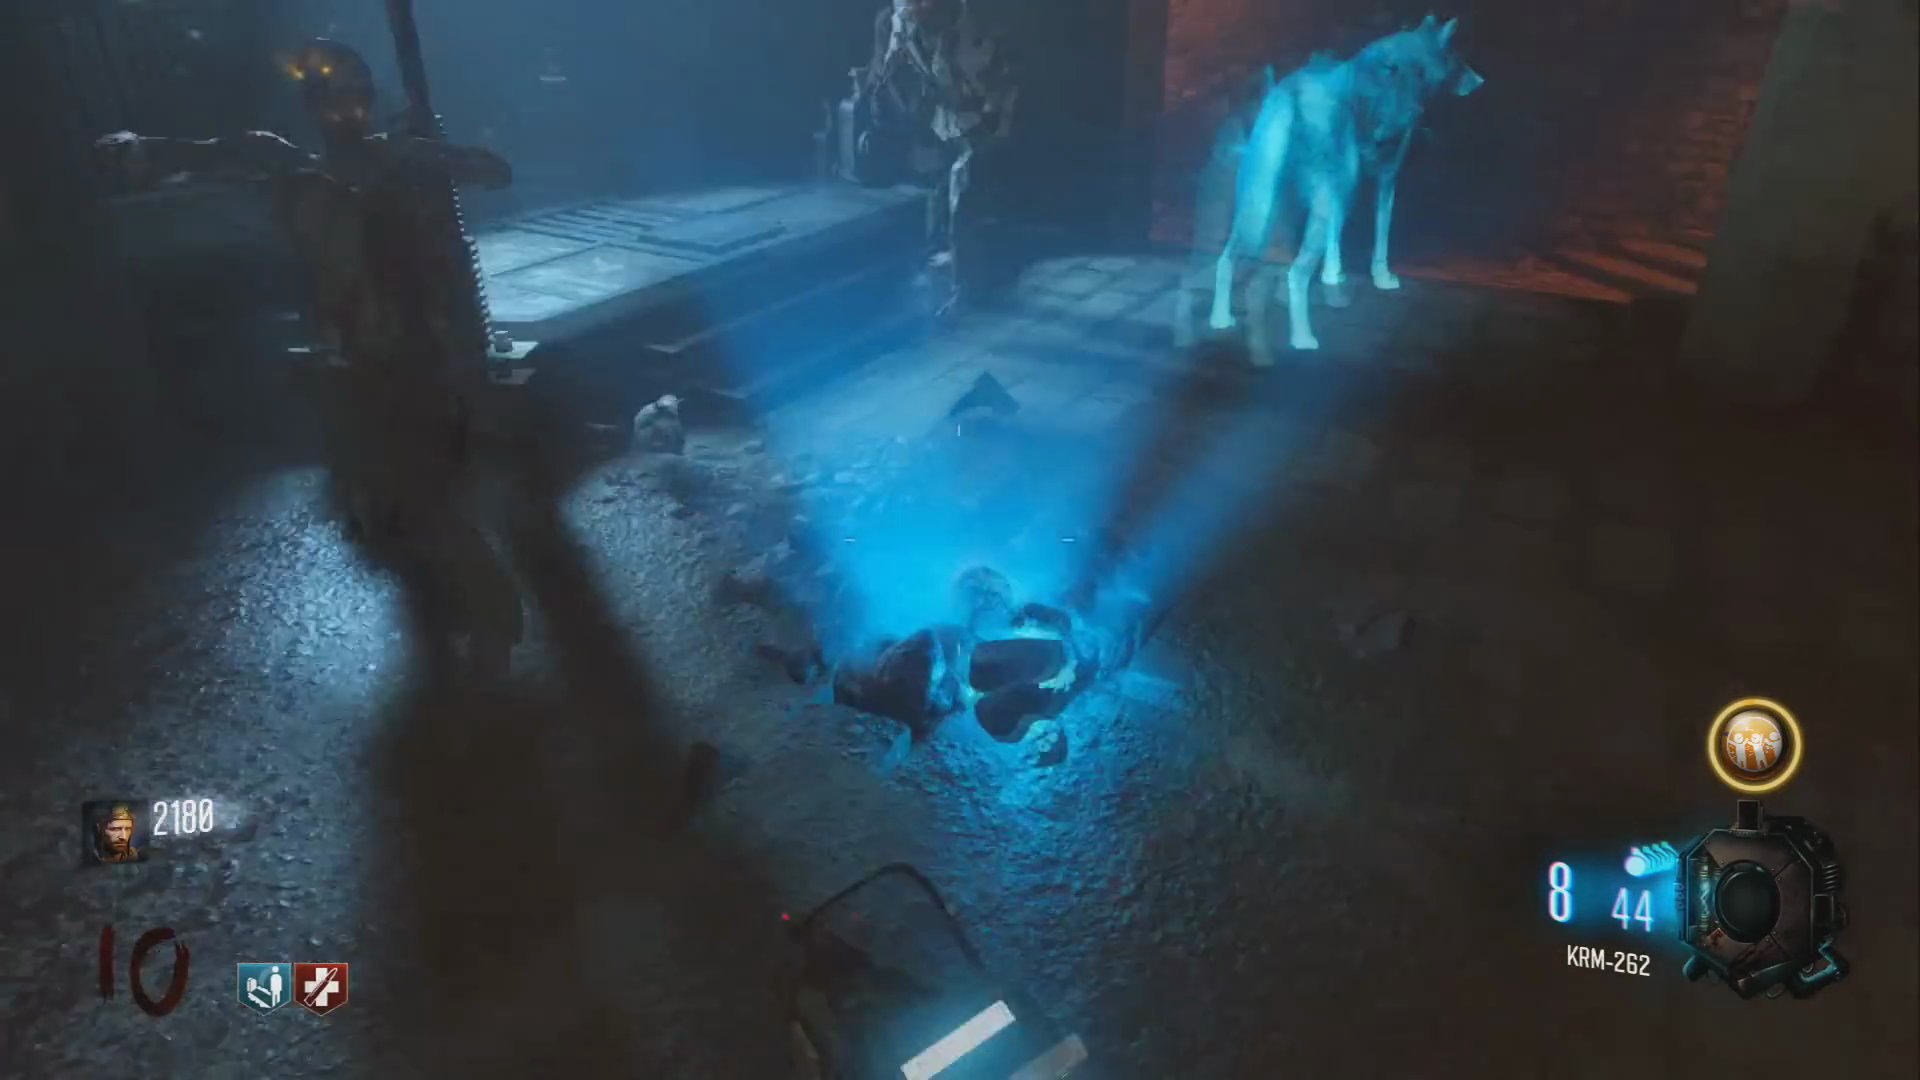
Step 3: Follow the Ghost Dog
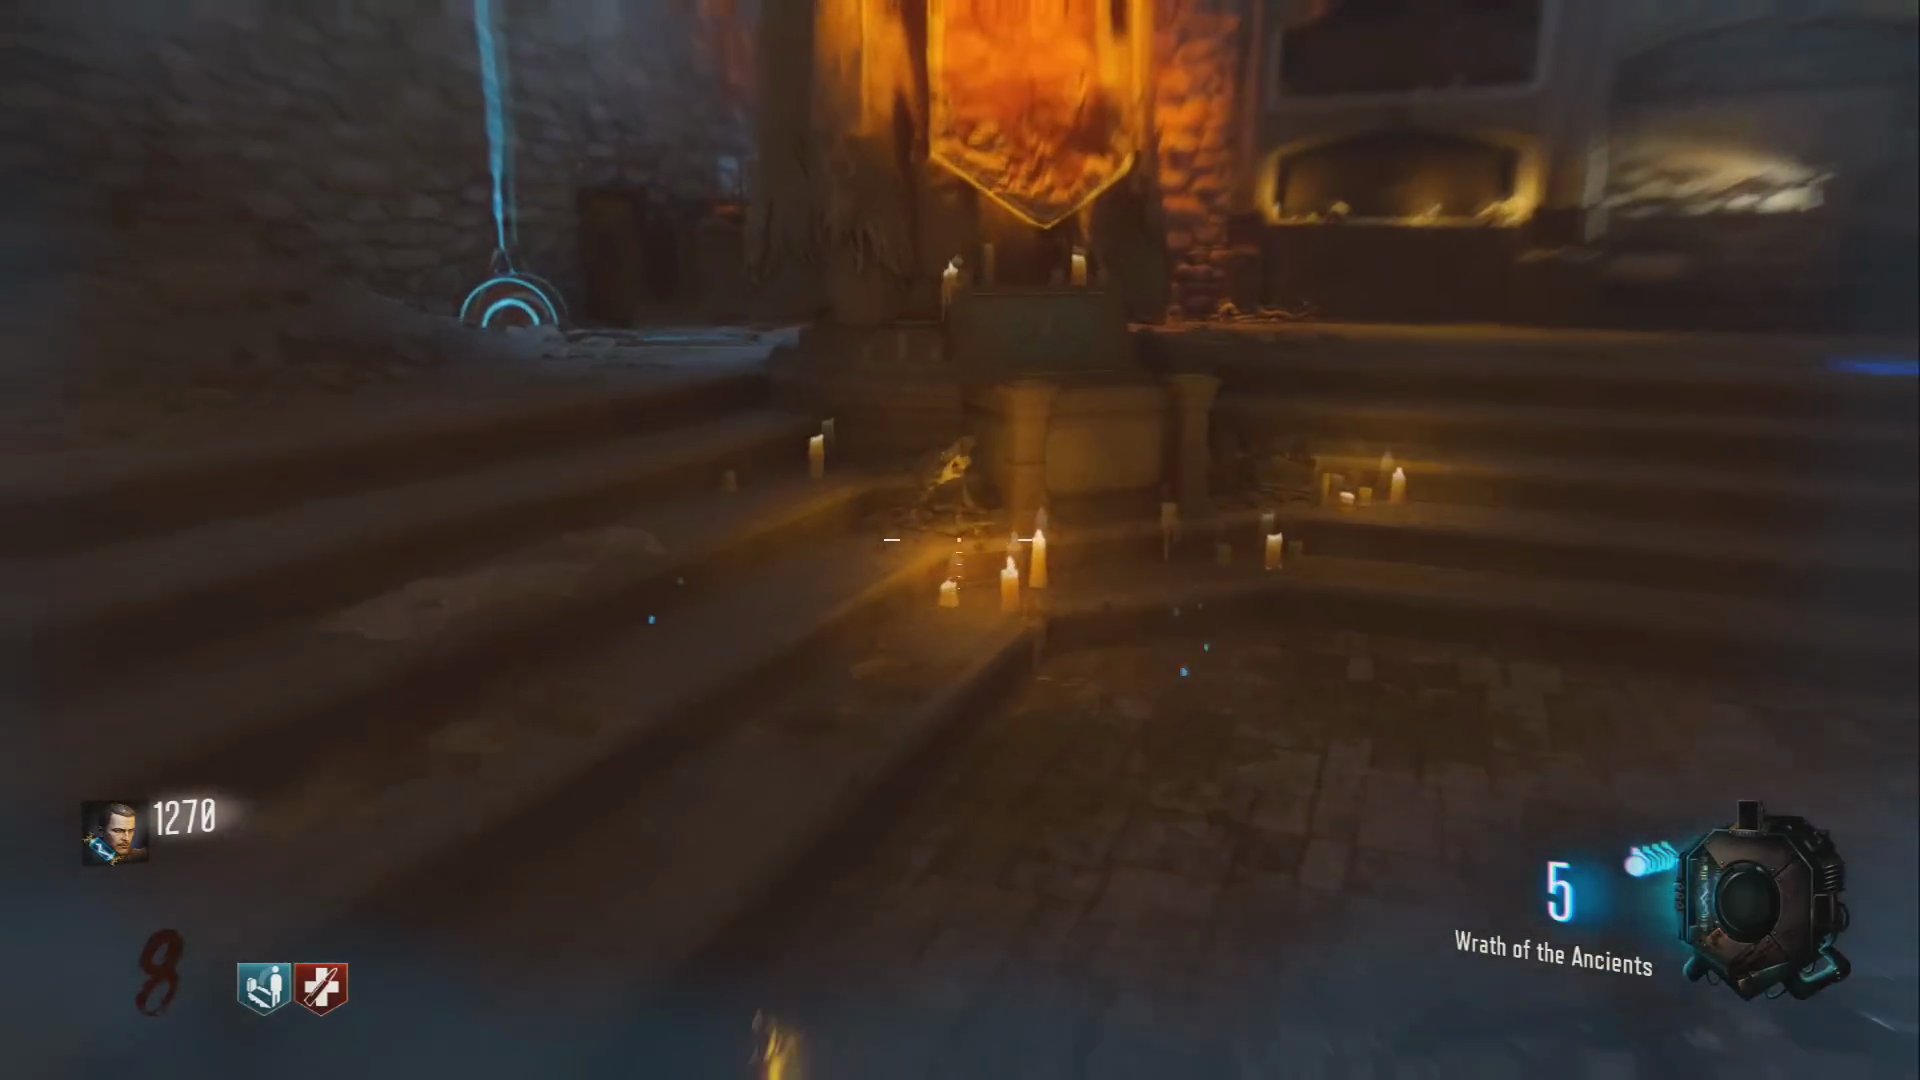
- Place the wolf skull onto the skeleton next to the wolf box in the Pyramid room.
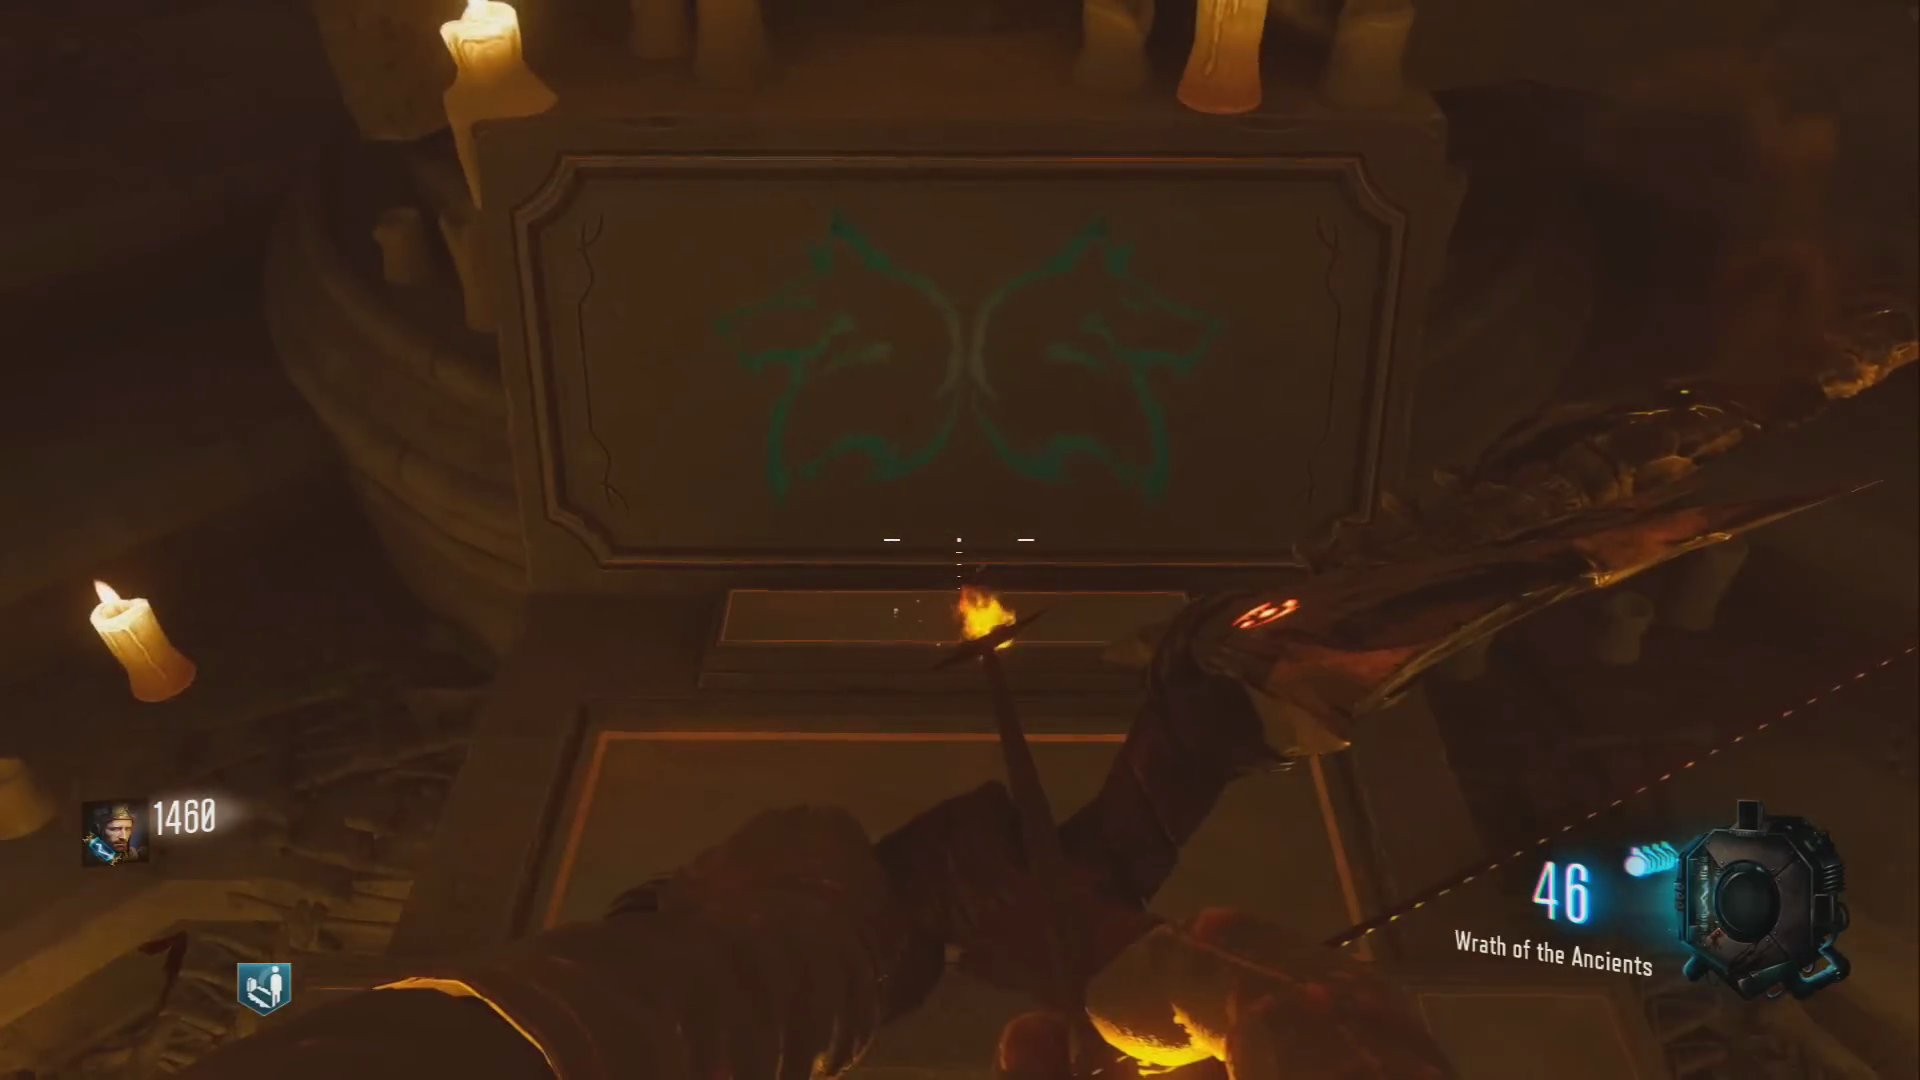
- A ghostly wolf will appear. Follow it as it moves to three different locations, trying to dig up bones.
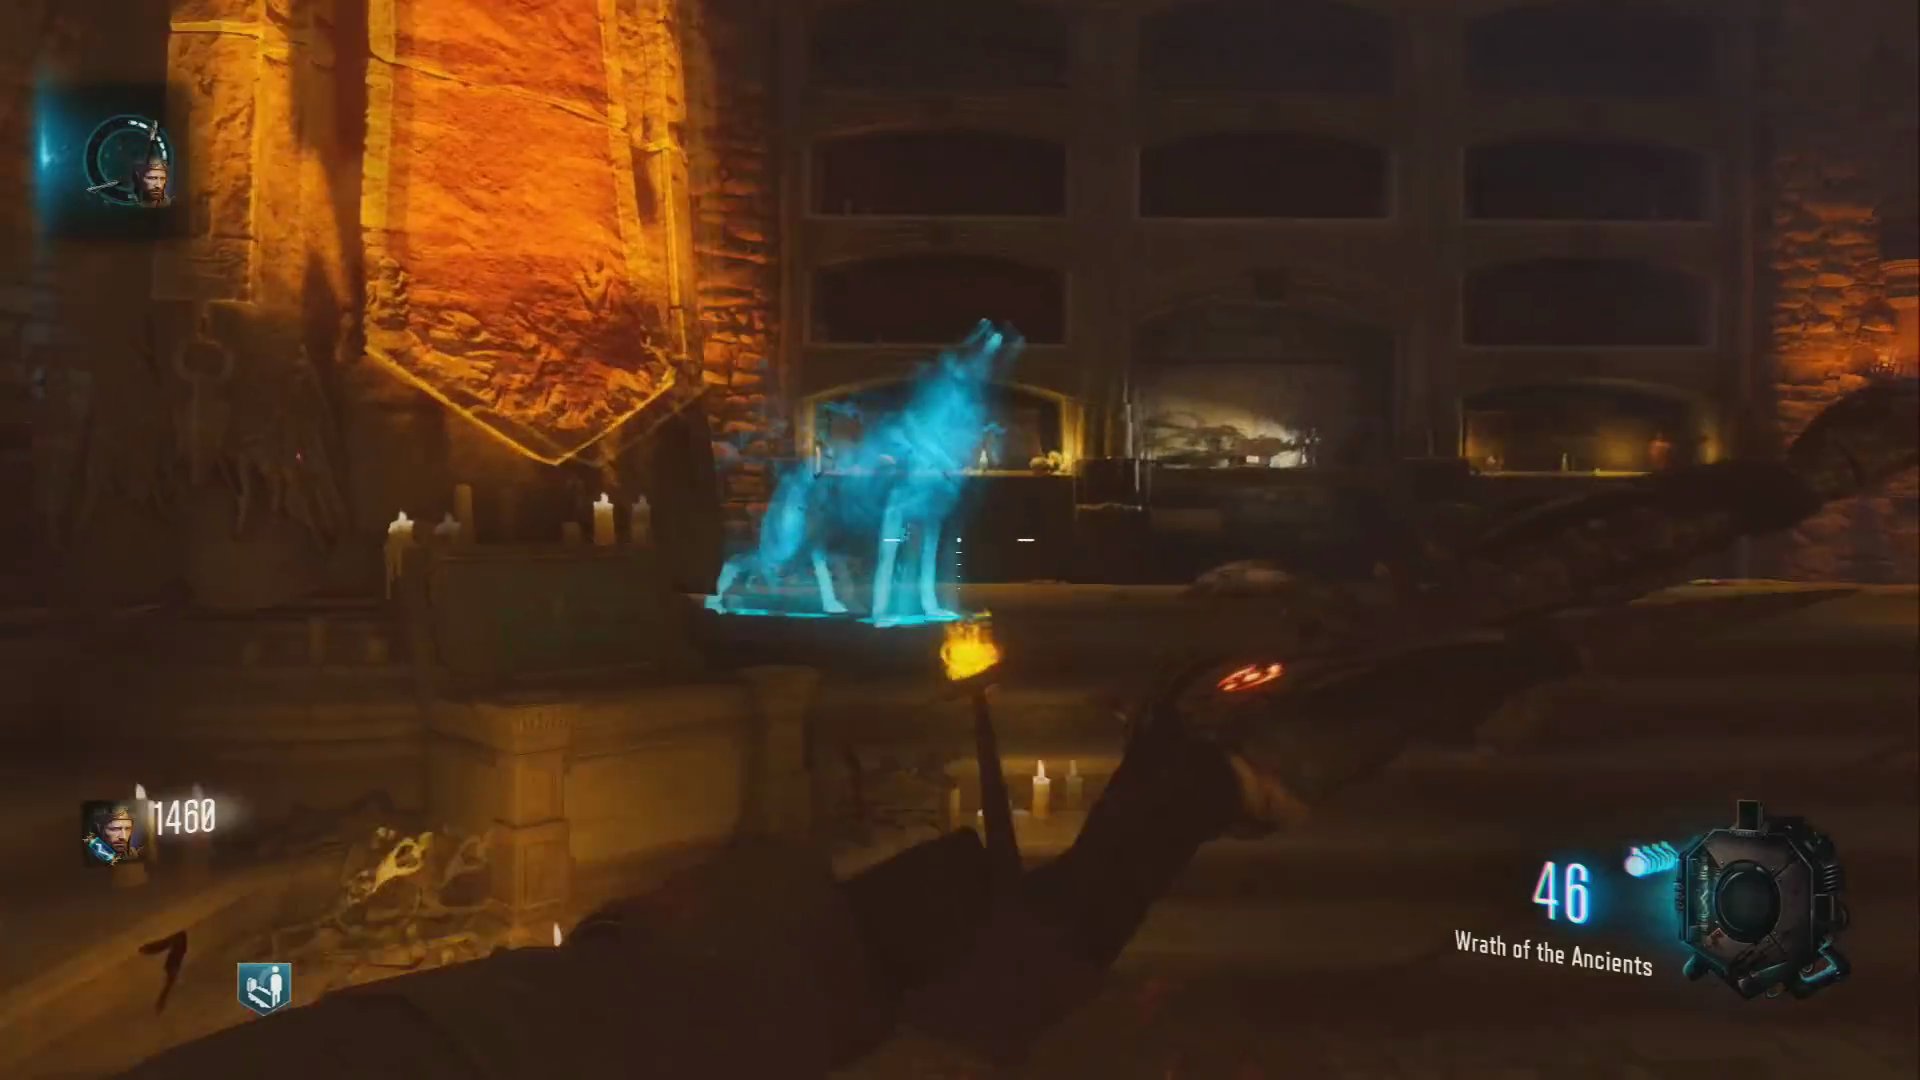
- At each location, kill zombies around the digging spot to fill it with souls.
- The first digging spot is in the main courtyard.
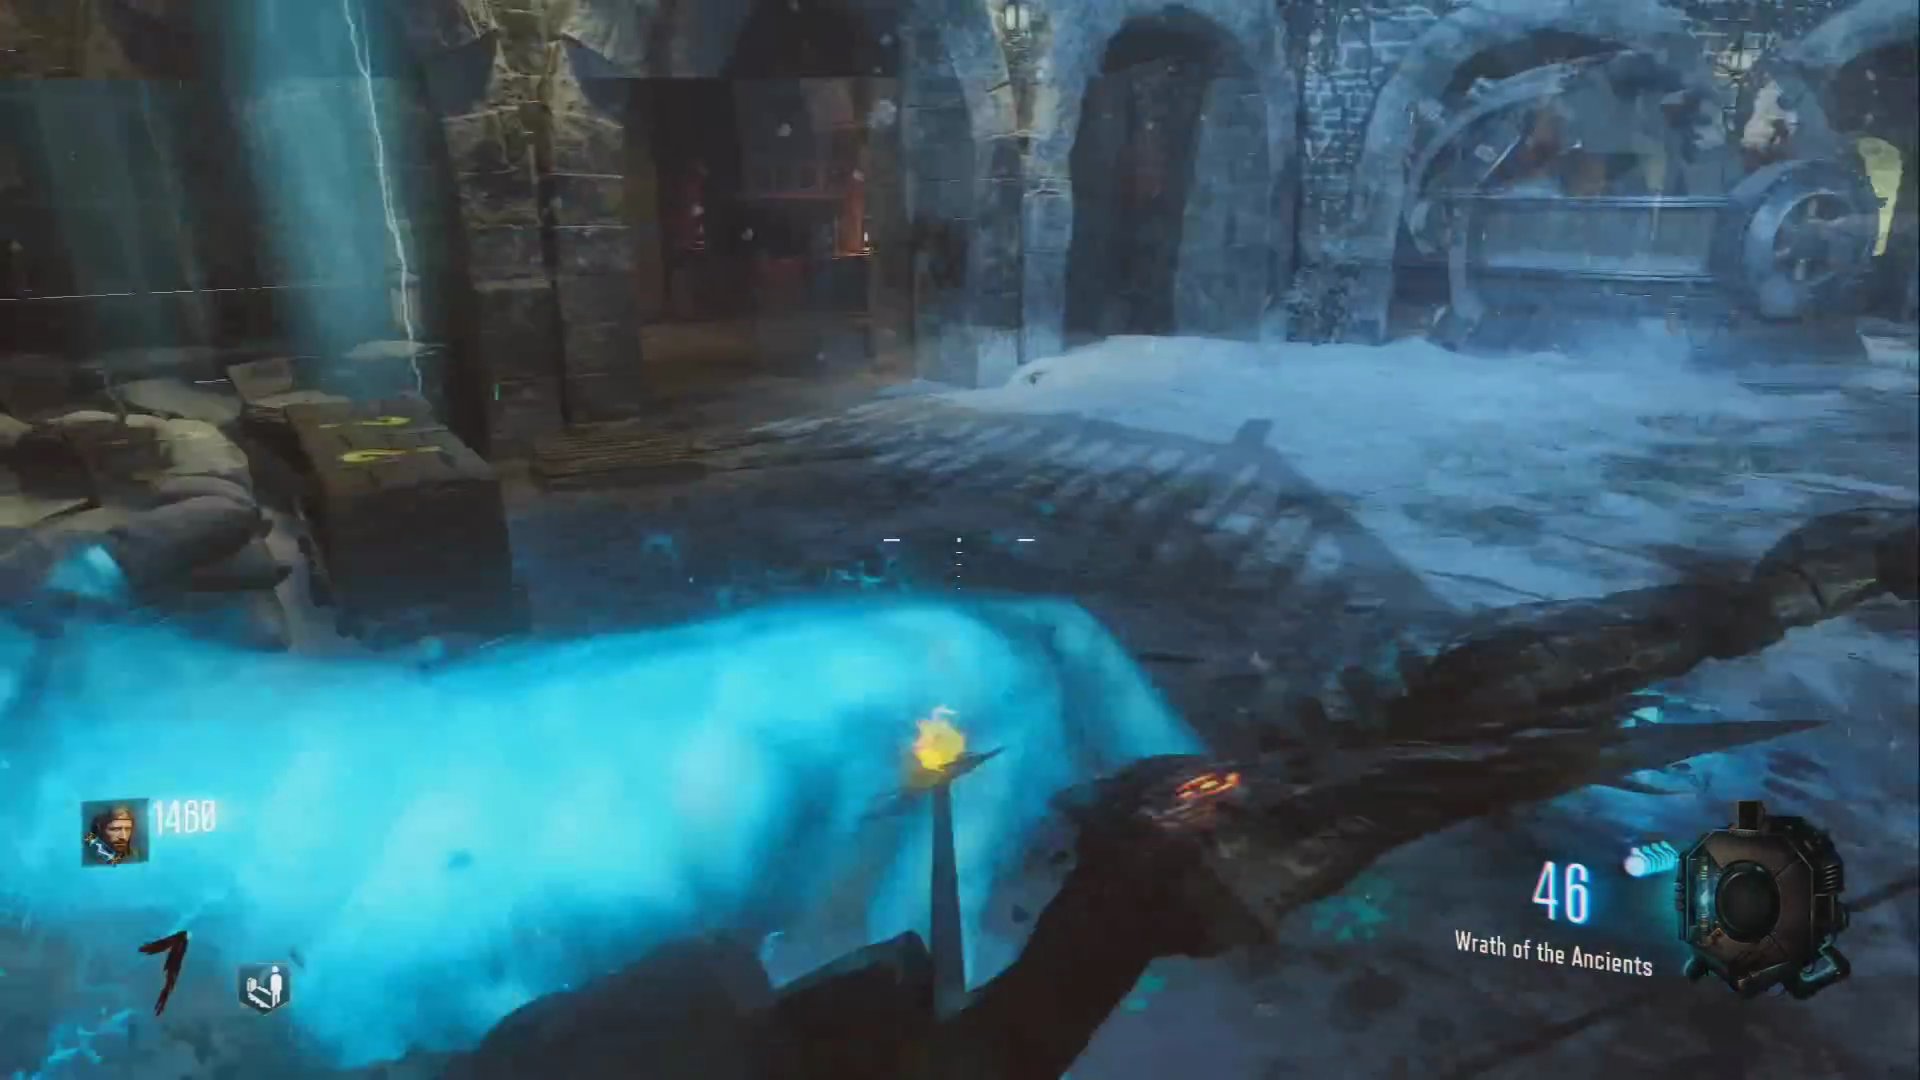
- The second digging spot is near the Double Tap perk machine.
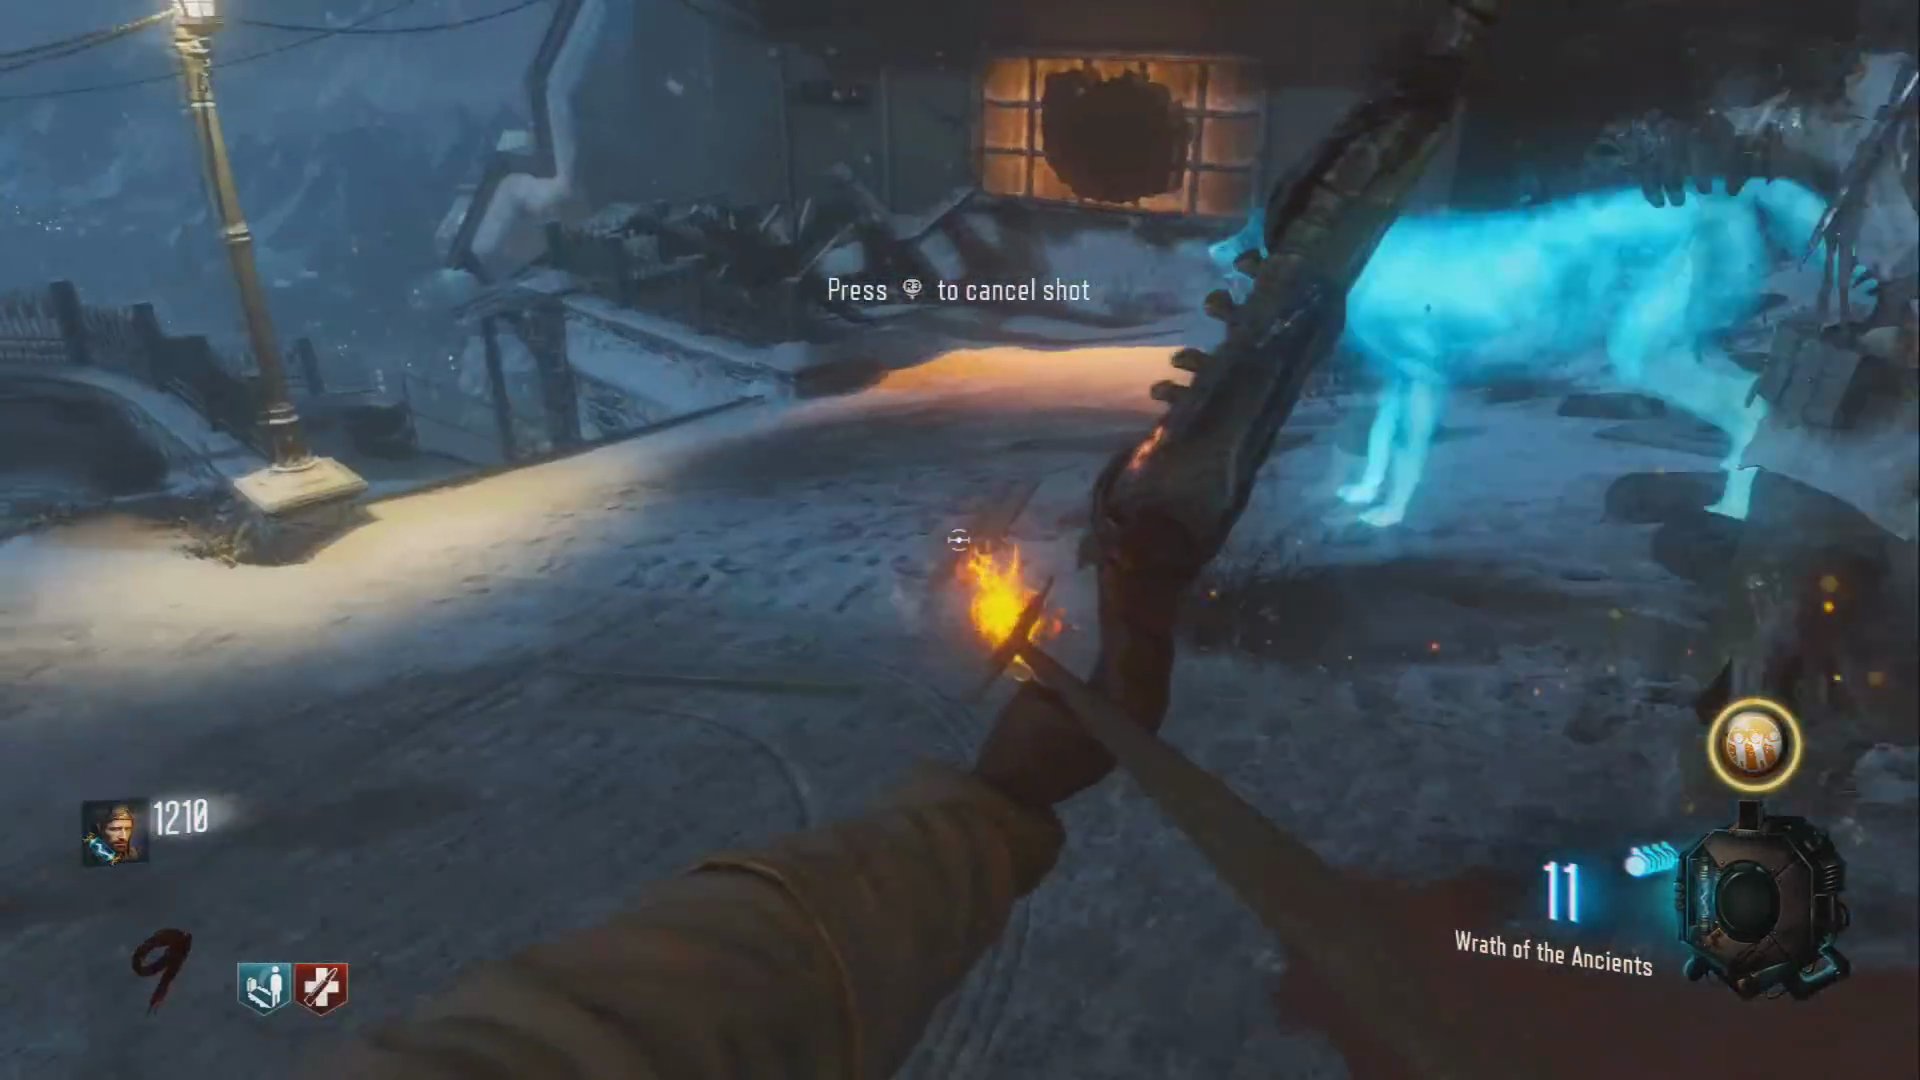
- The third digging spot is near the Pyramid room.
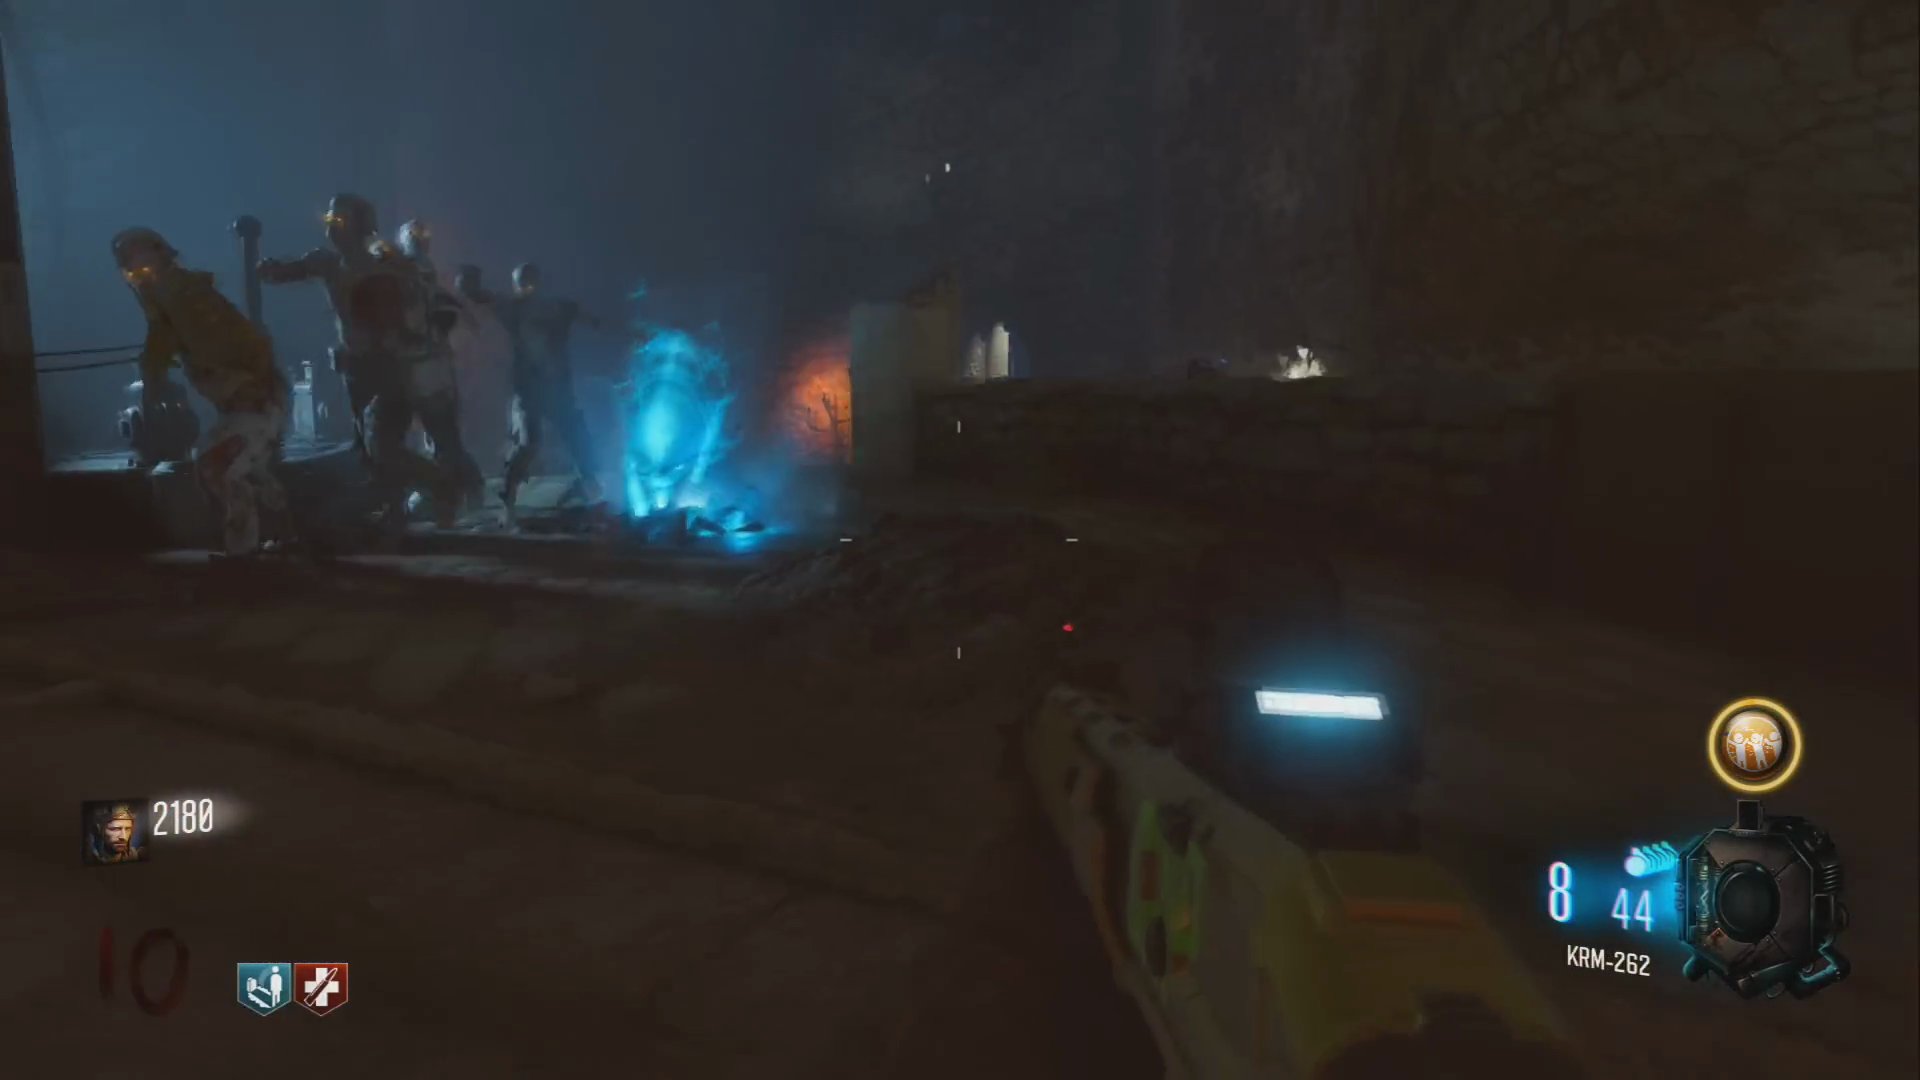
- After the wolf finishes digging and is filled with souls at each spot, collect the items it tried to dig up.
Step 4: Shoot the Wall Run Hole
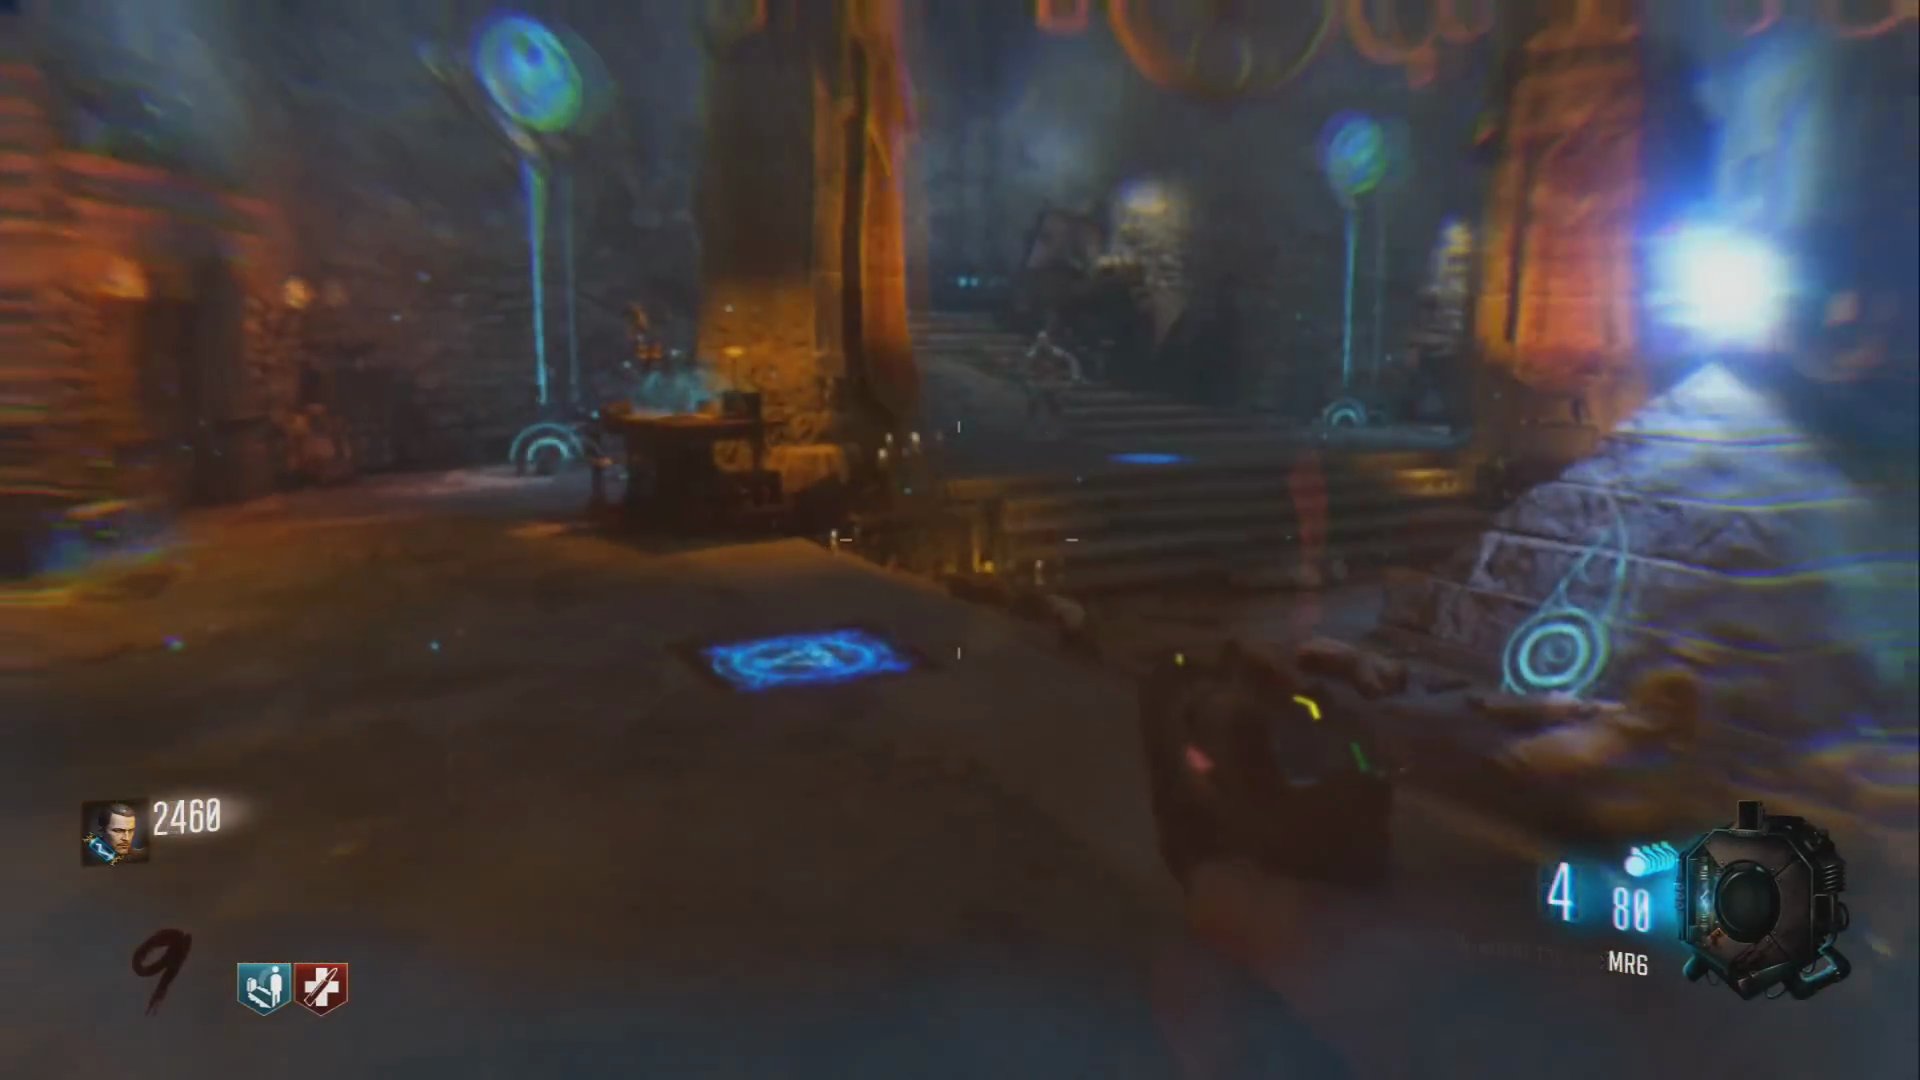
- Go back to the area where you performed the wall run for the Lightning Bow (near the Pyramid room).
- Wait for the zero-gravity state.
- While wall-running, shoot into the newly appeared hole in the wall.
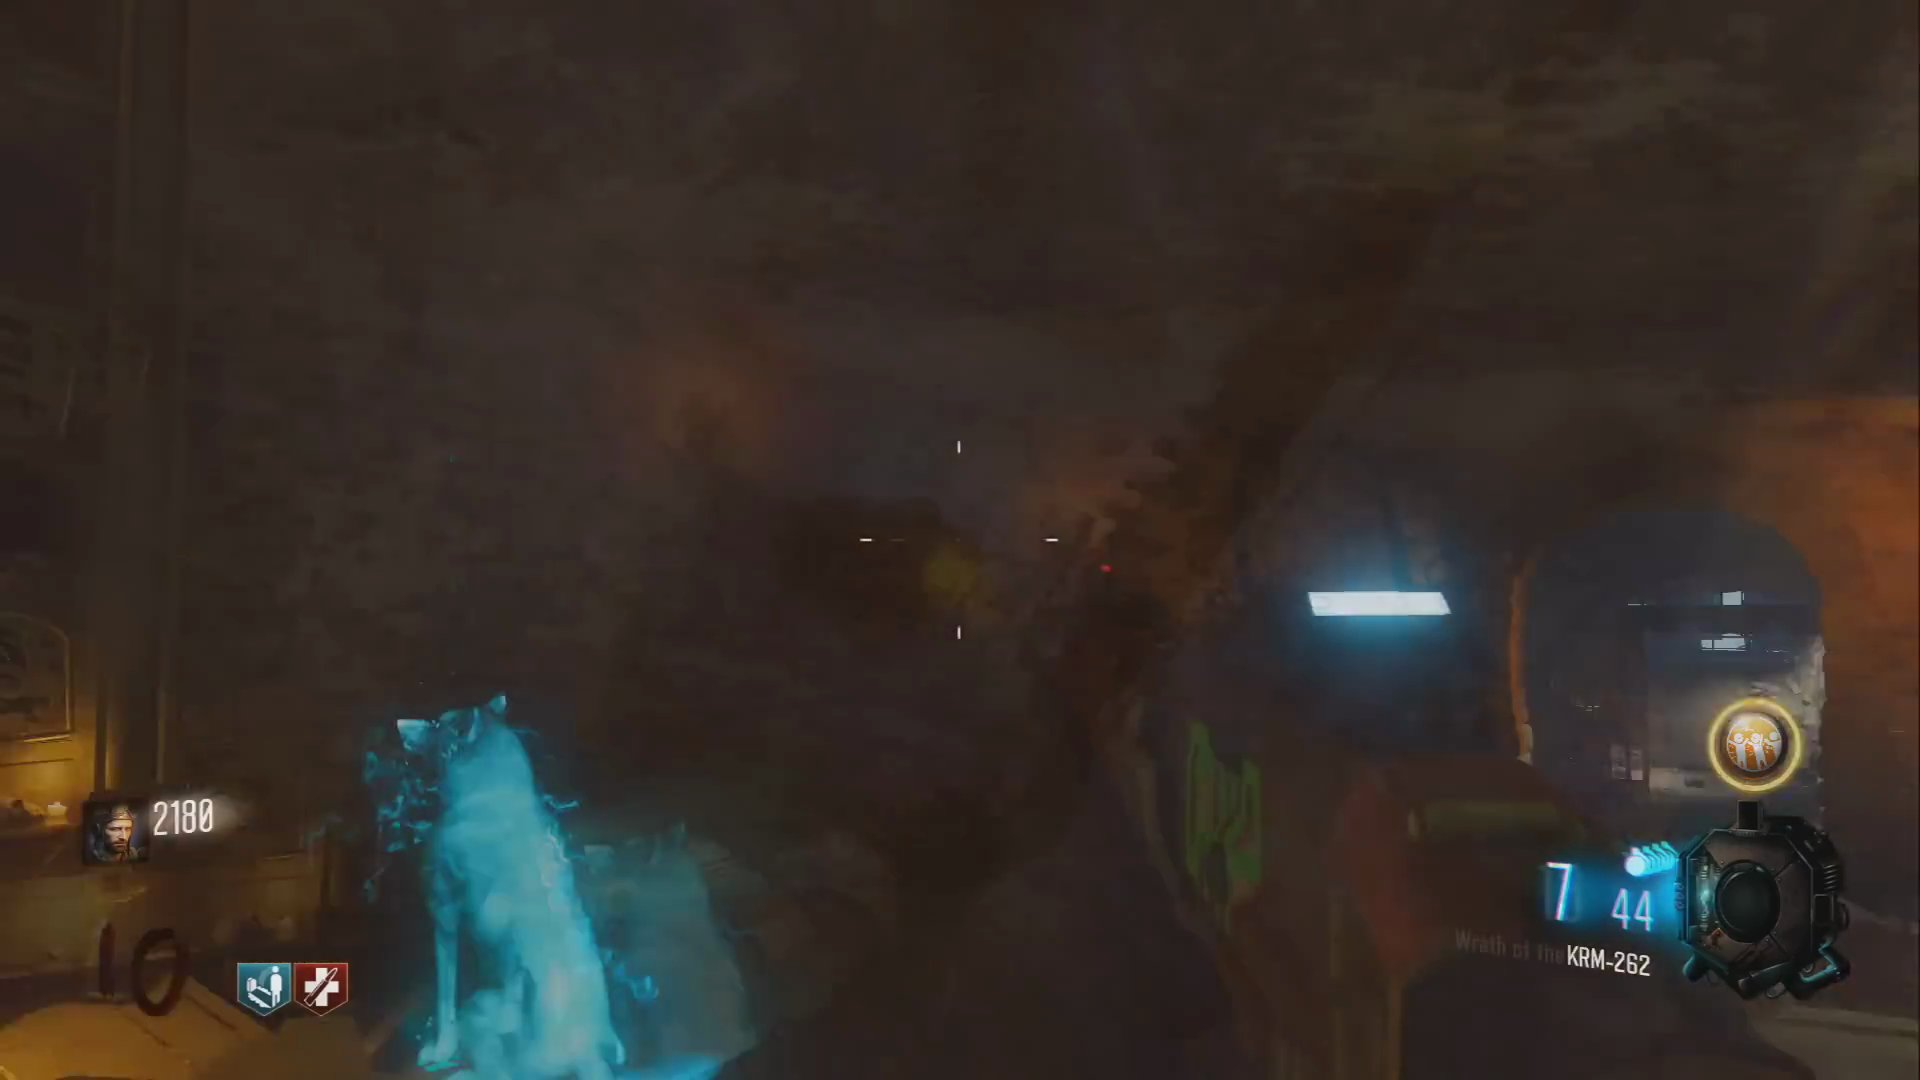
- If done correctly, a ledge will appear. Stand on it.
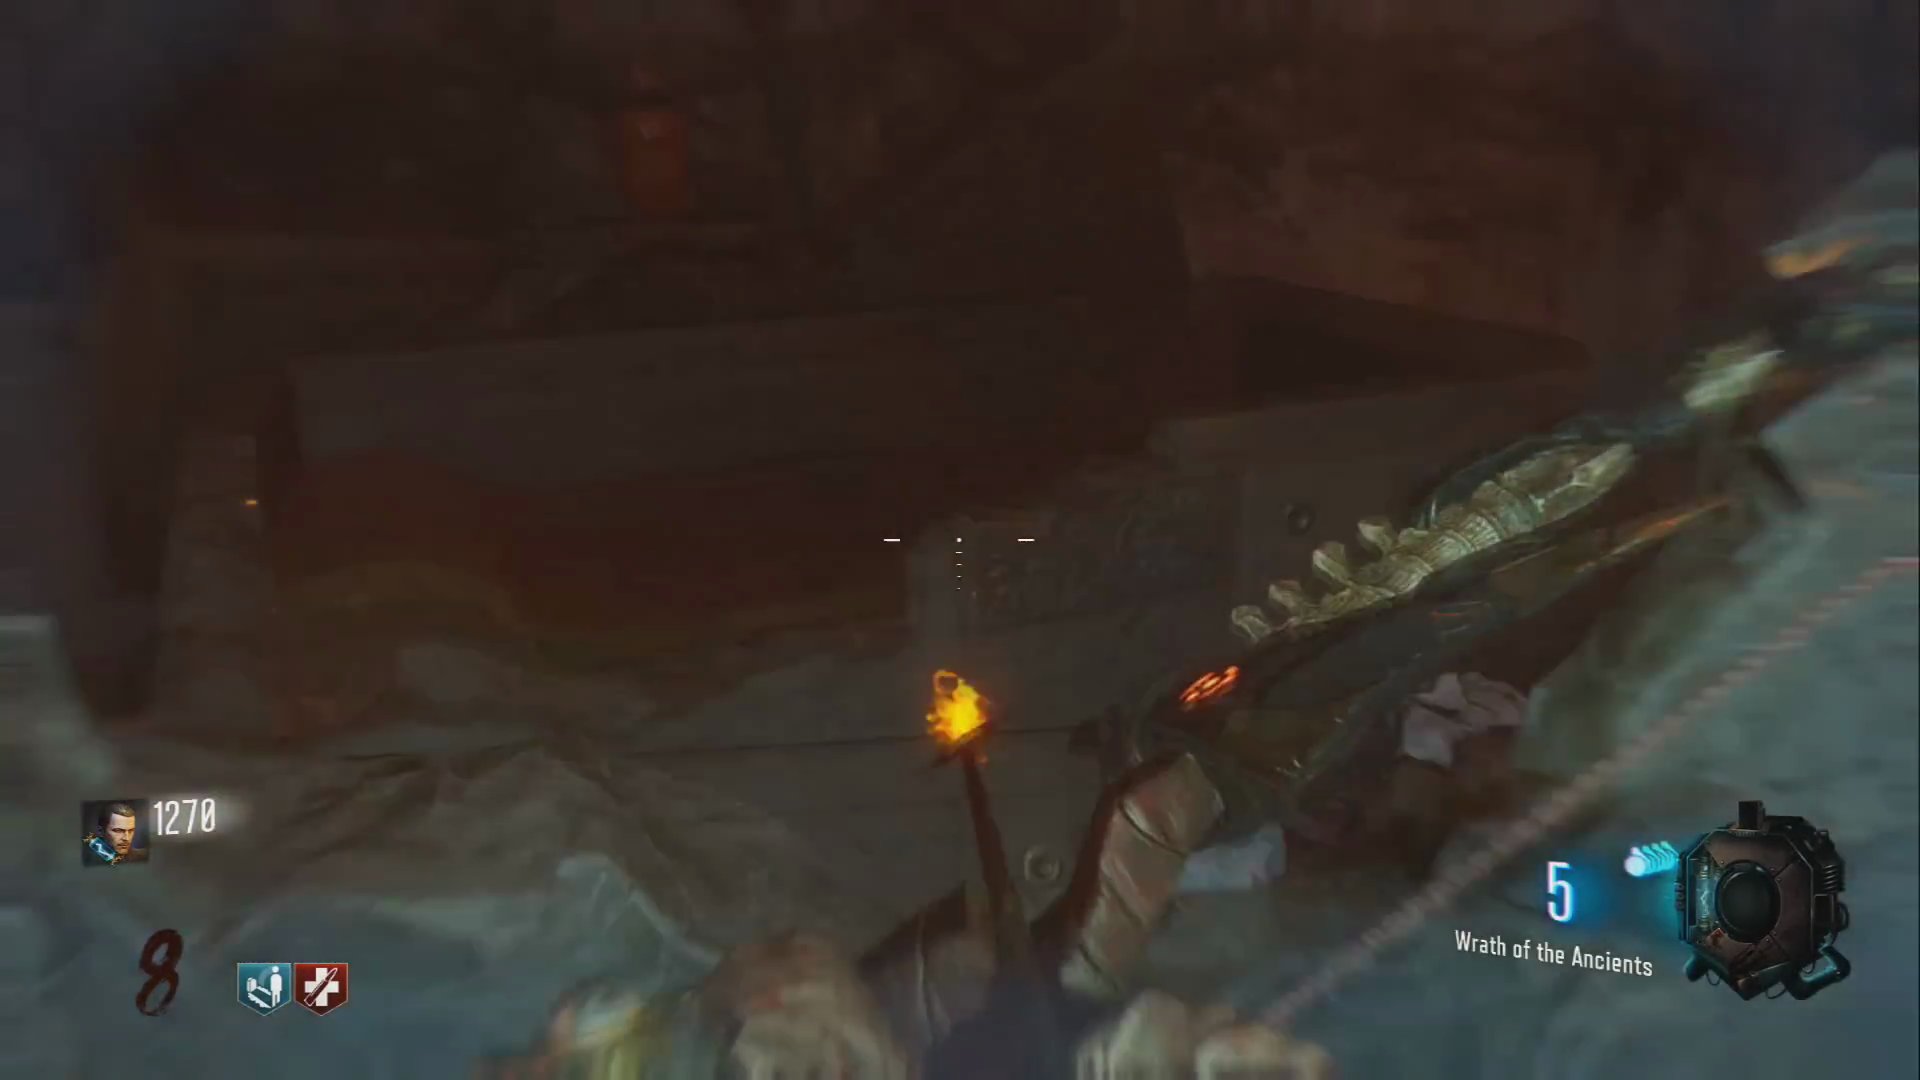
Step 5: Obtain the Upgraded Wolf Bow
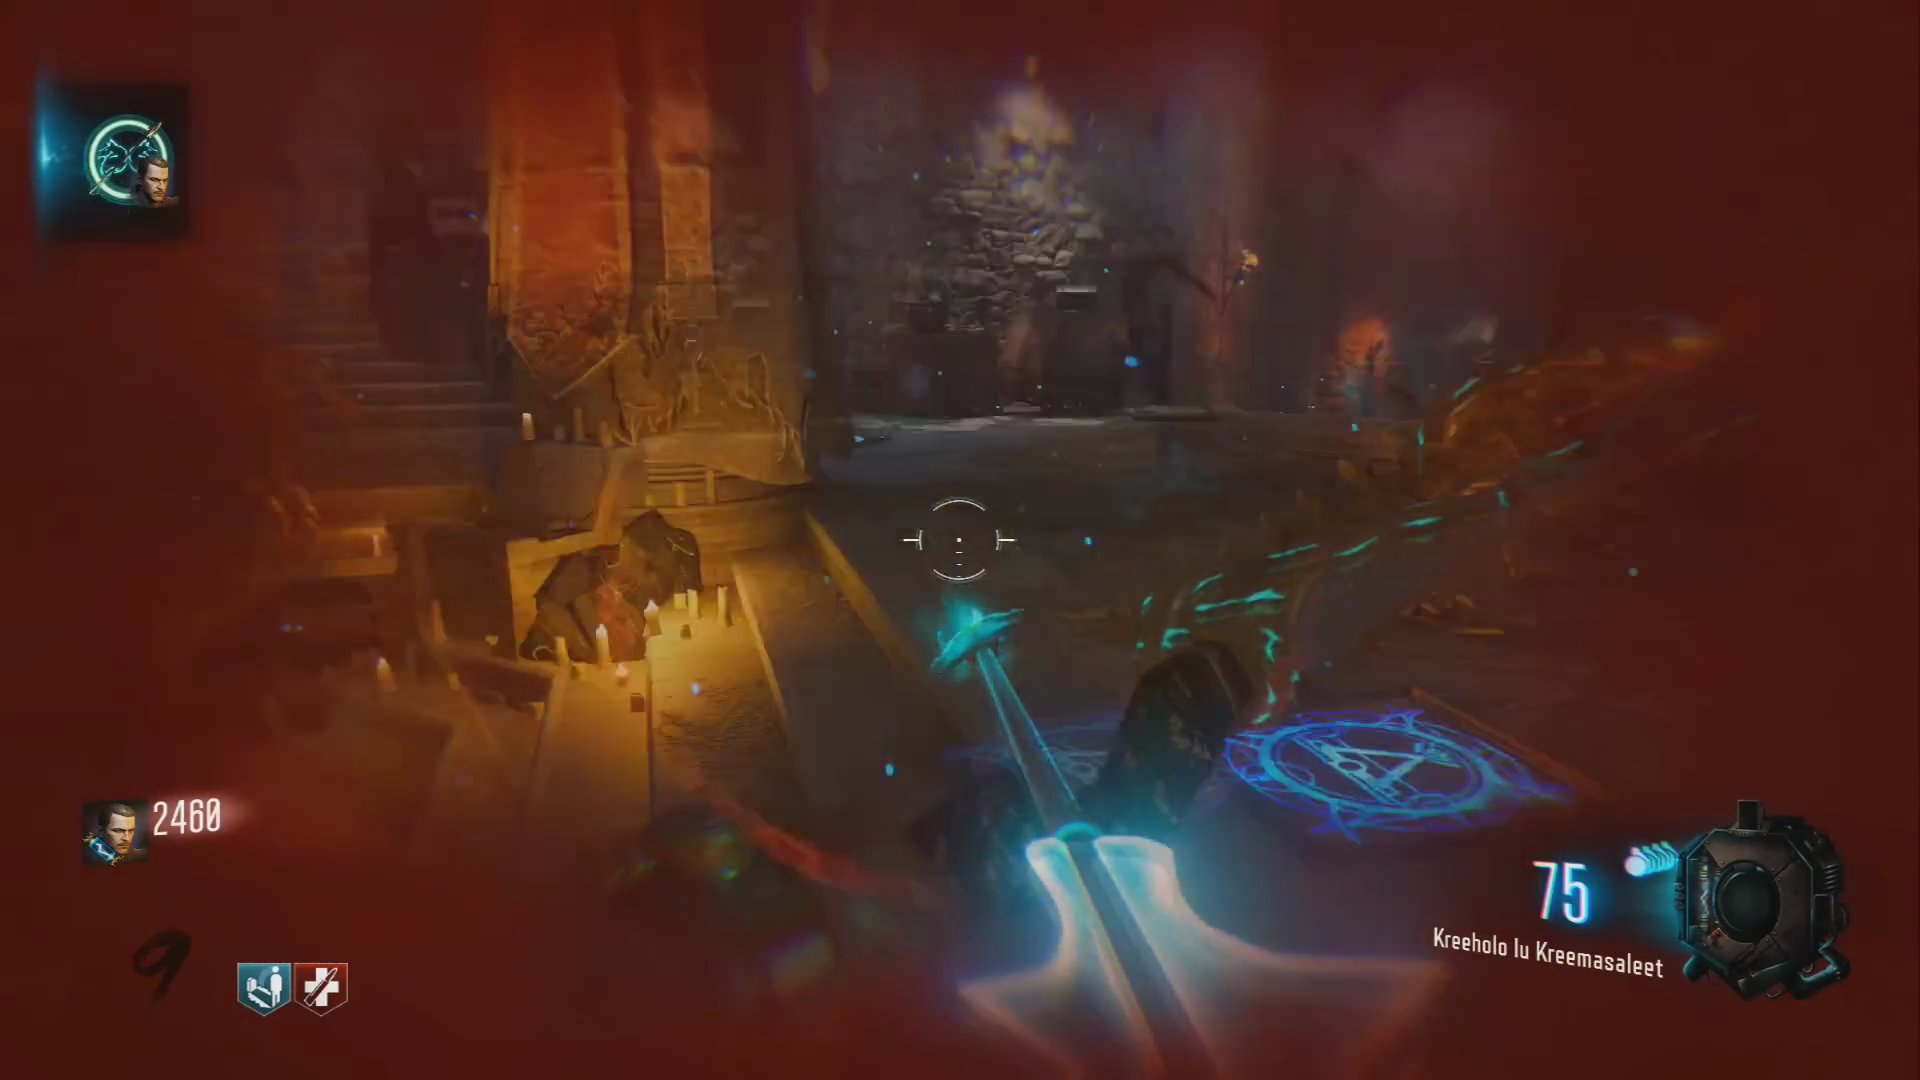
- Hold the action button on the skeleton holding an arrow that appears on the ledge.
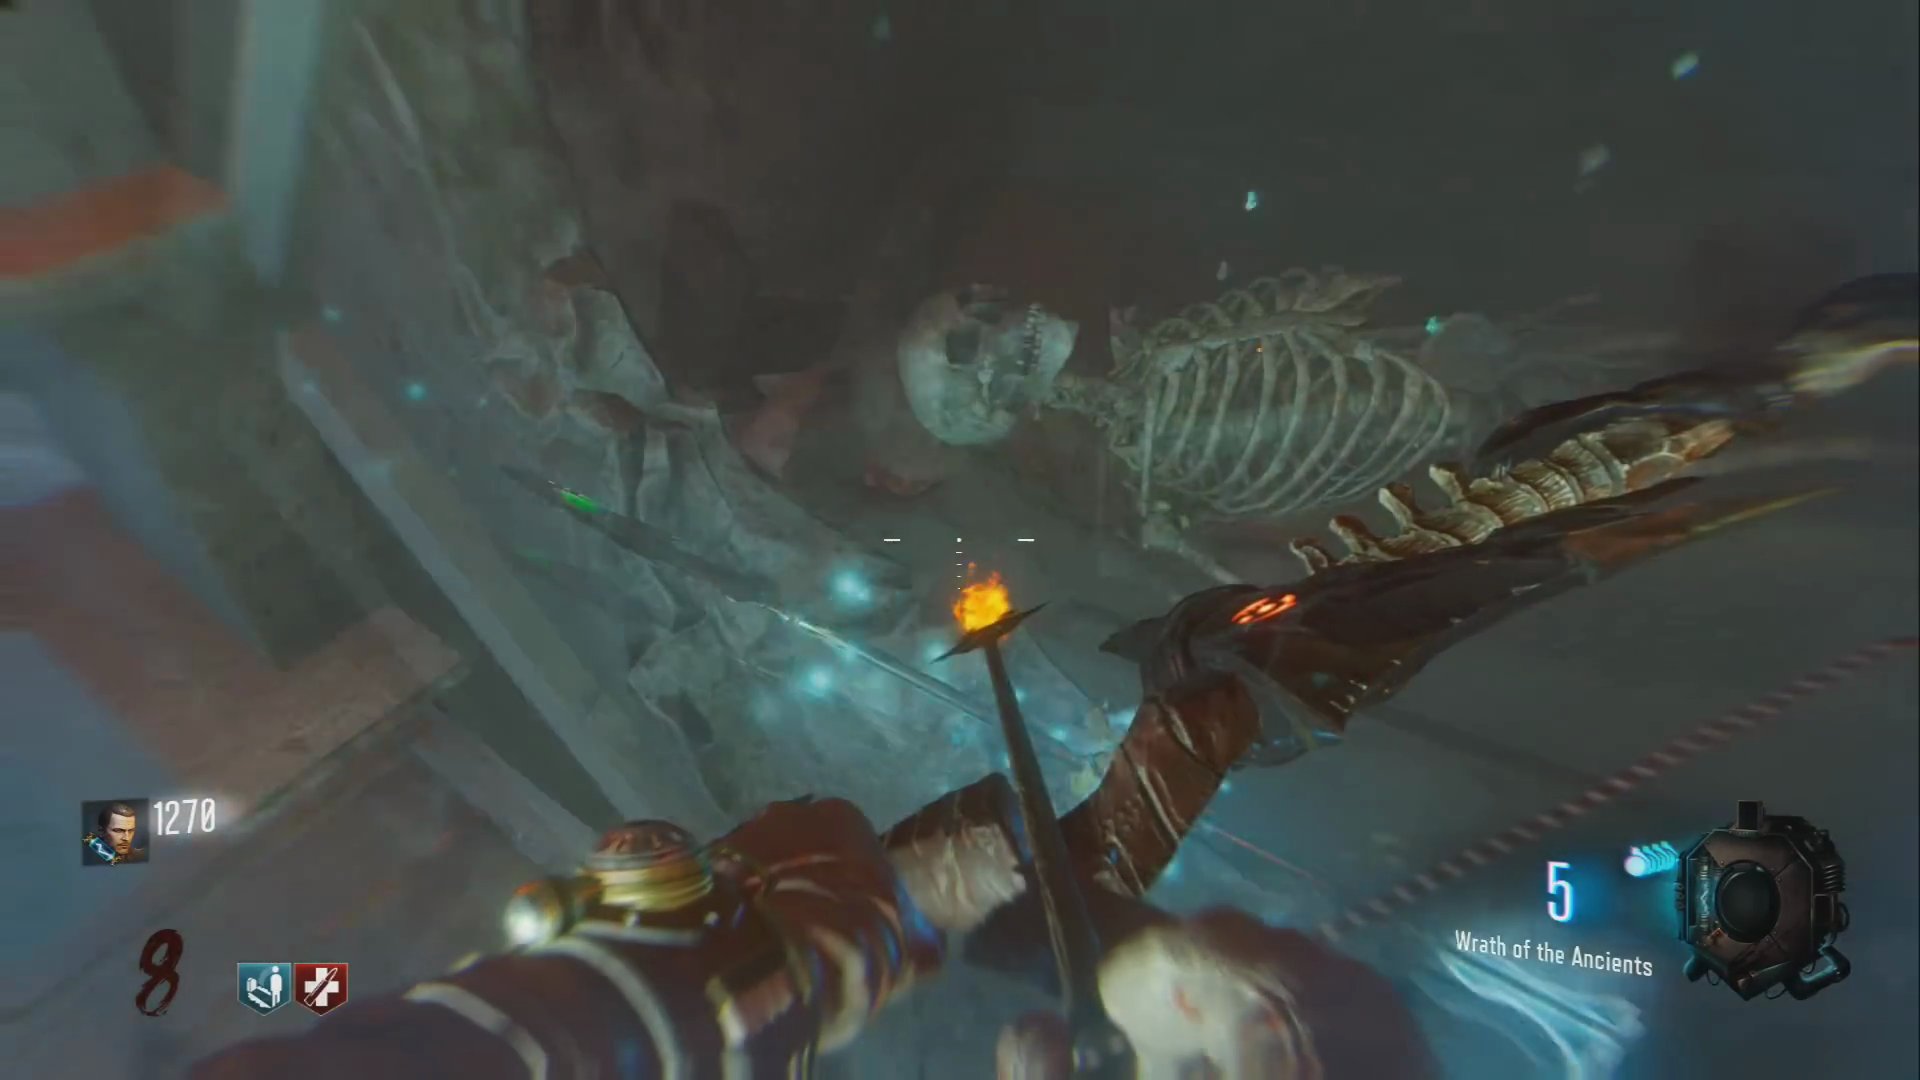
- Pick up the arrow.
- Return to the Pyramid room and place the arrow inside the wolf box.
- Kill zombies to collect souls for the box.
- Once full, retrieve your upgraded Wolf Bow.
Teleporting Bow Upgrade
The Teleporting Bow, or Void Bow, involves a melee kill, collecting skulls, and remembering a demonic name.
Step 1: Collect the Teleporting Arrow
- Head over to the area near the Double Tap perk machine.
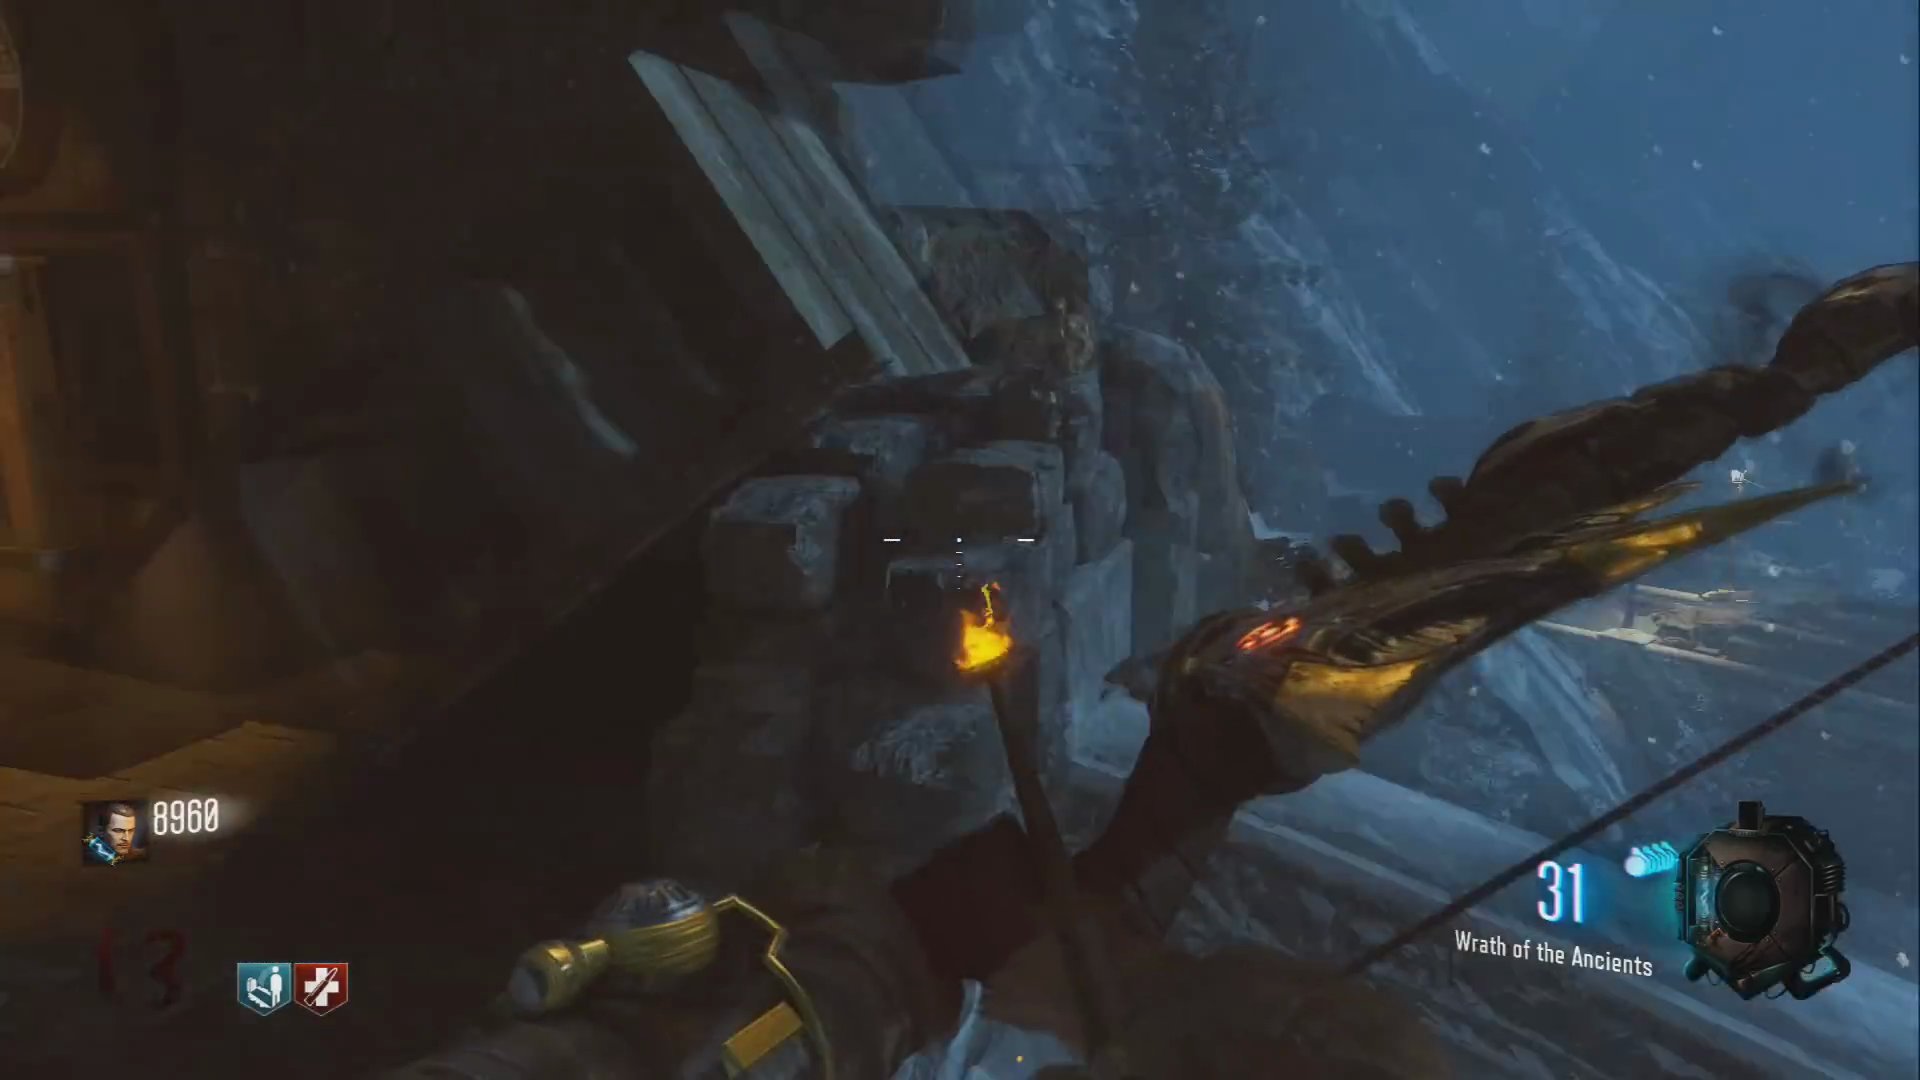
- Shoot the section of the roof with your normal bow.
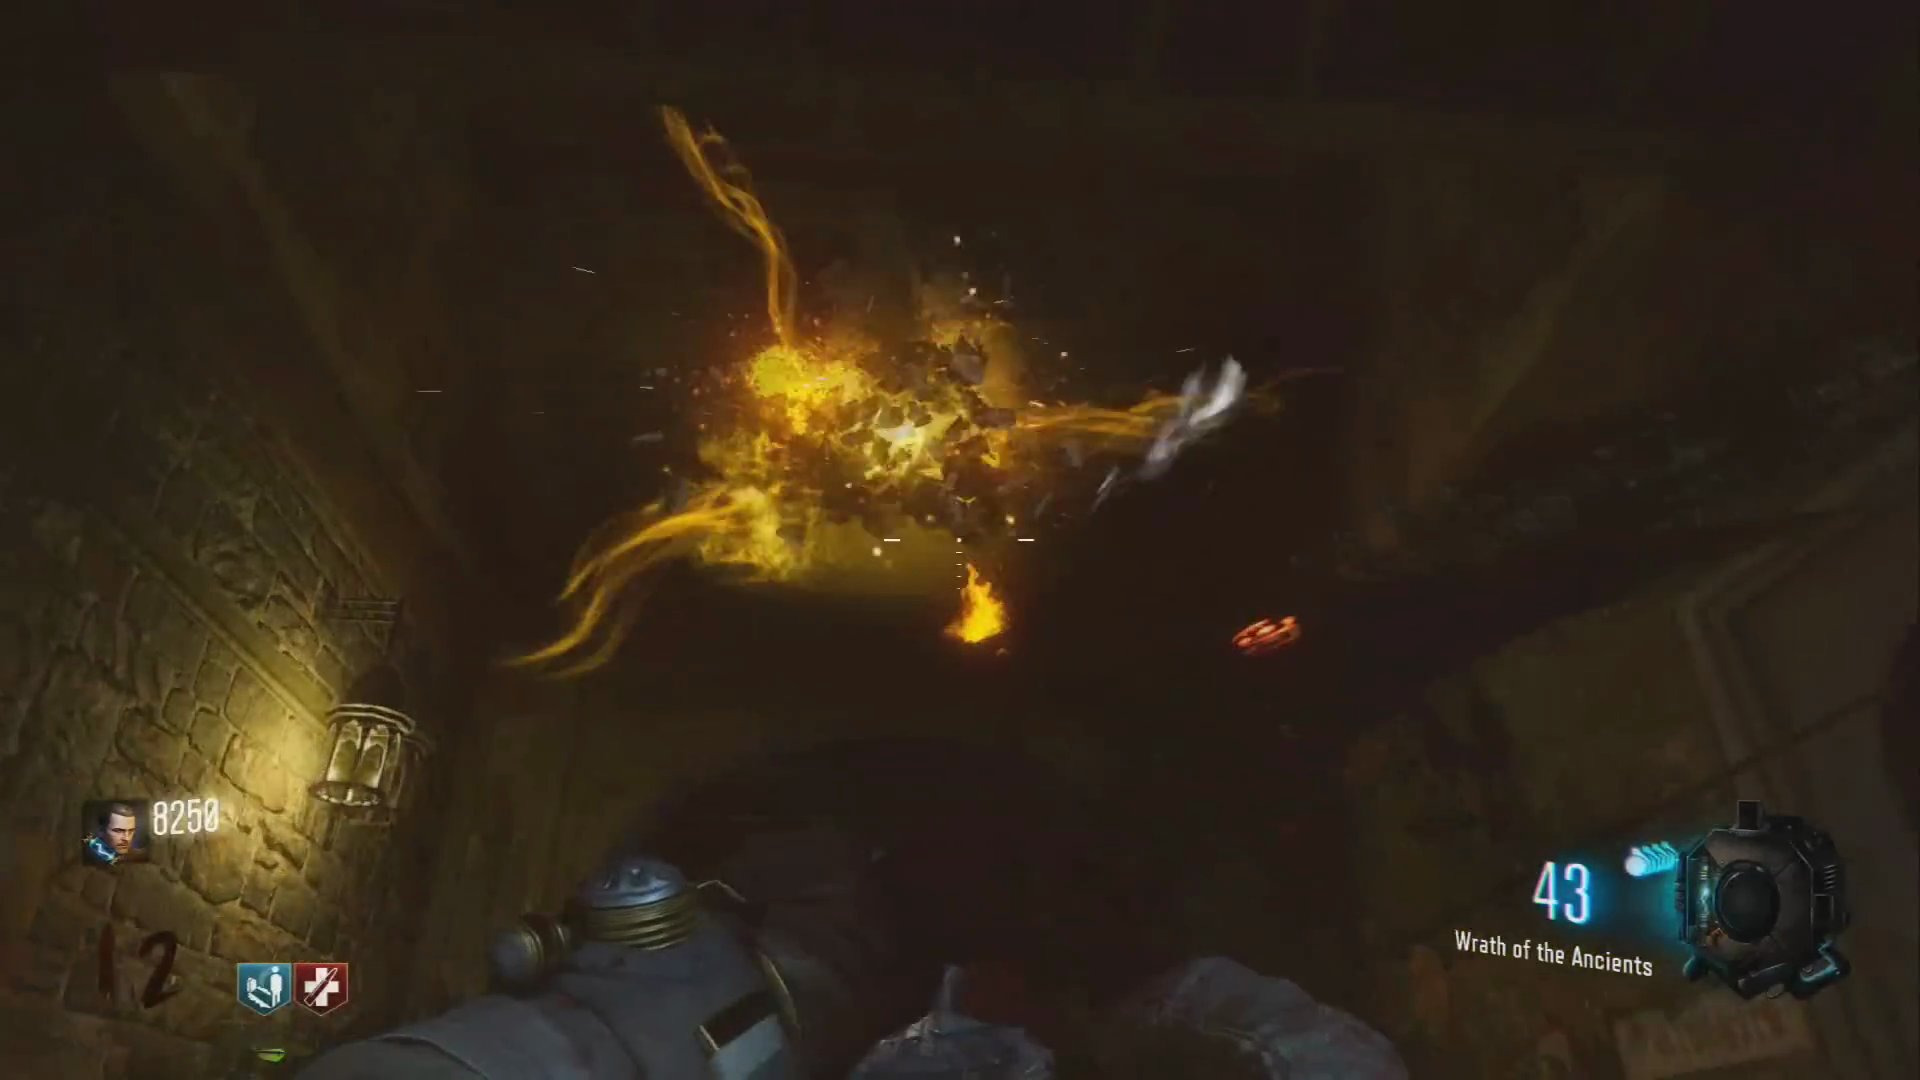
- The elemental arrow will drop. Pick it up.
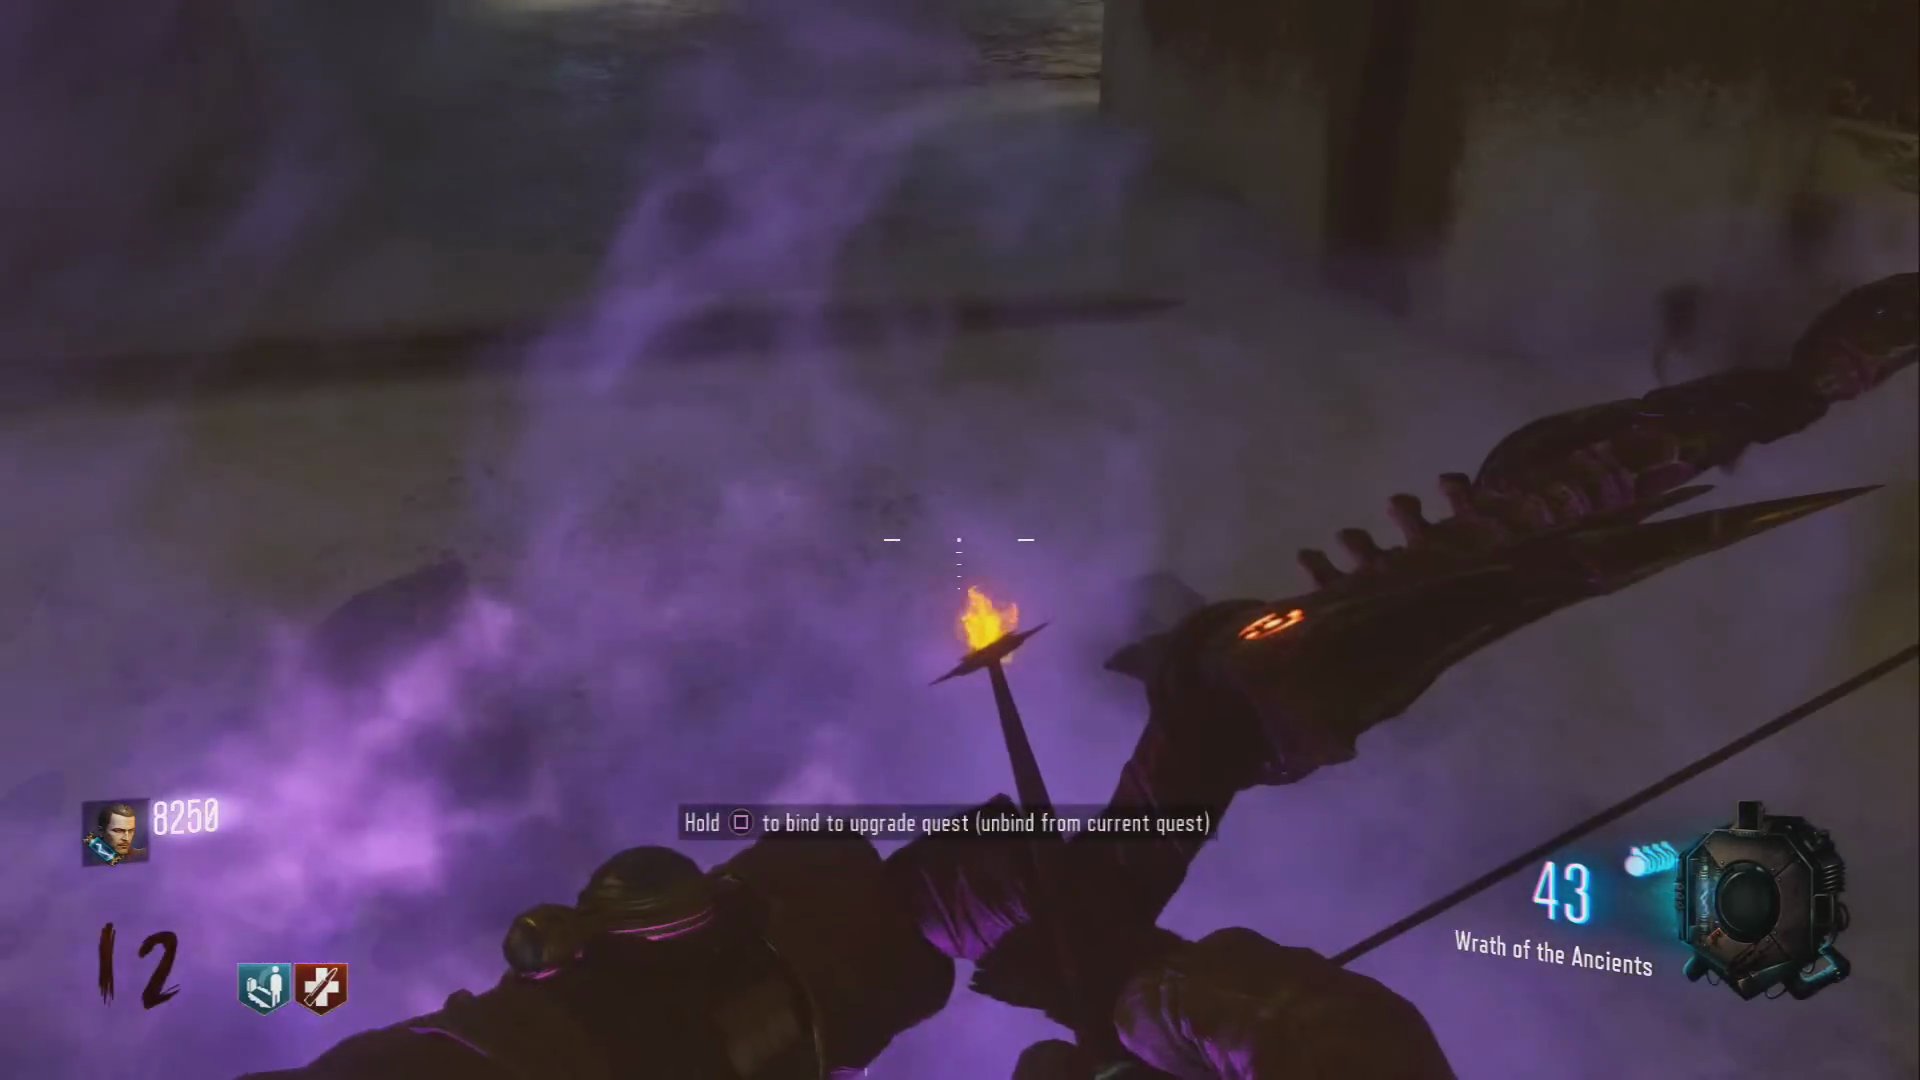
Step 2: Melee Kill and Collect Skulls
- Go to the room directly under the clock tower.
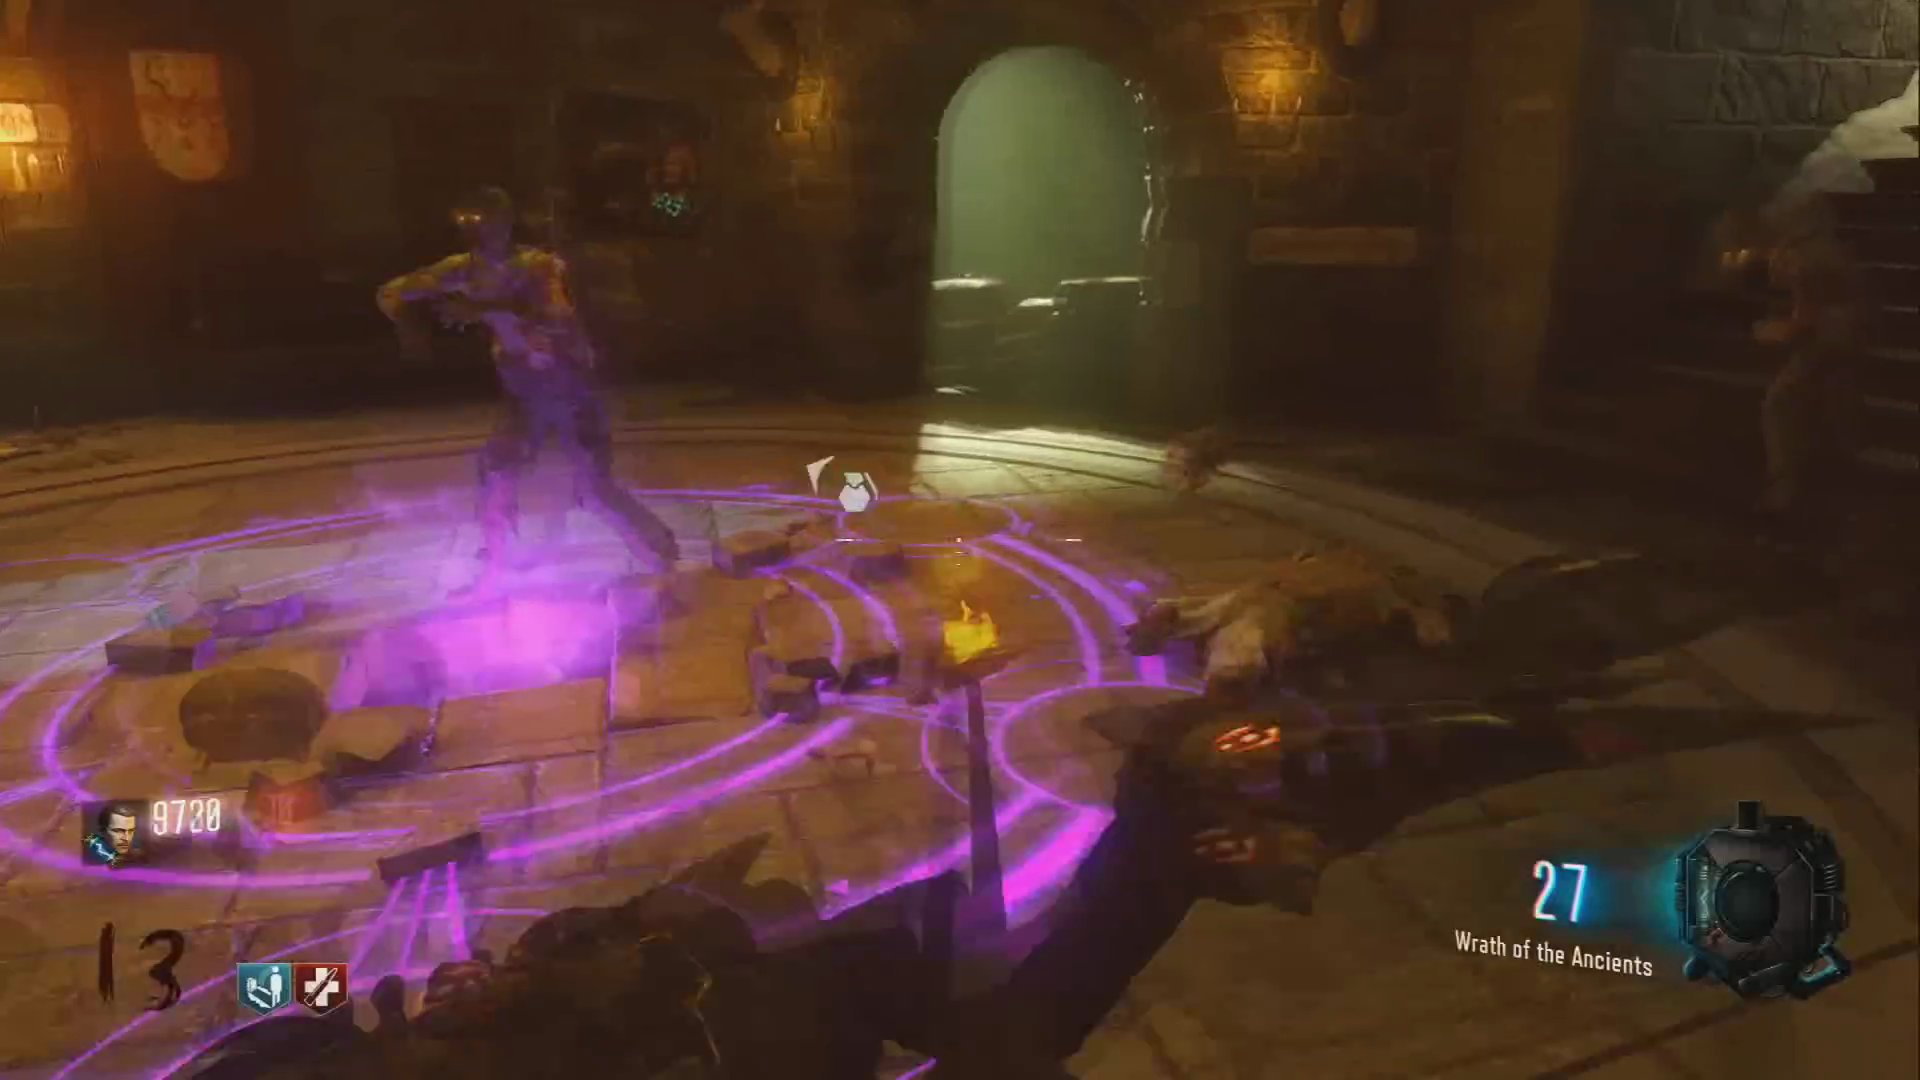
- Perform a melee kill on the glowing purple square on the floor with your arrow.
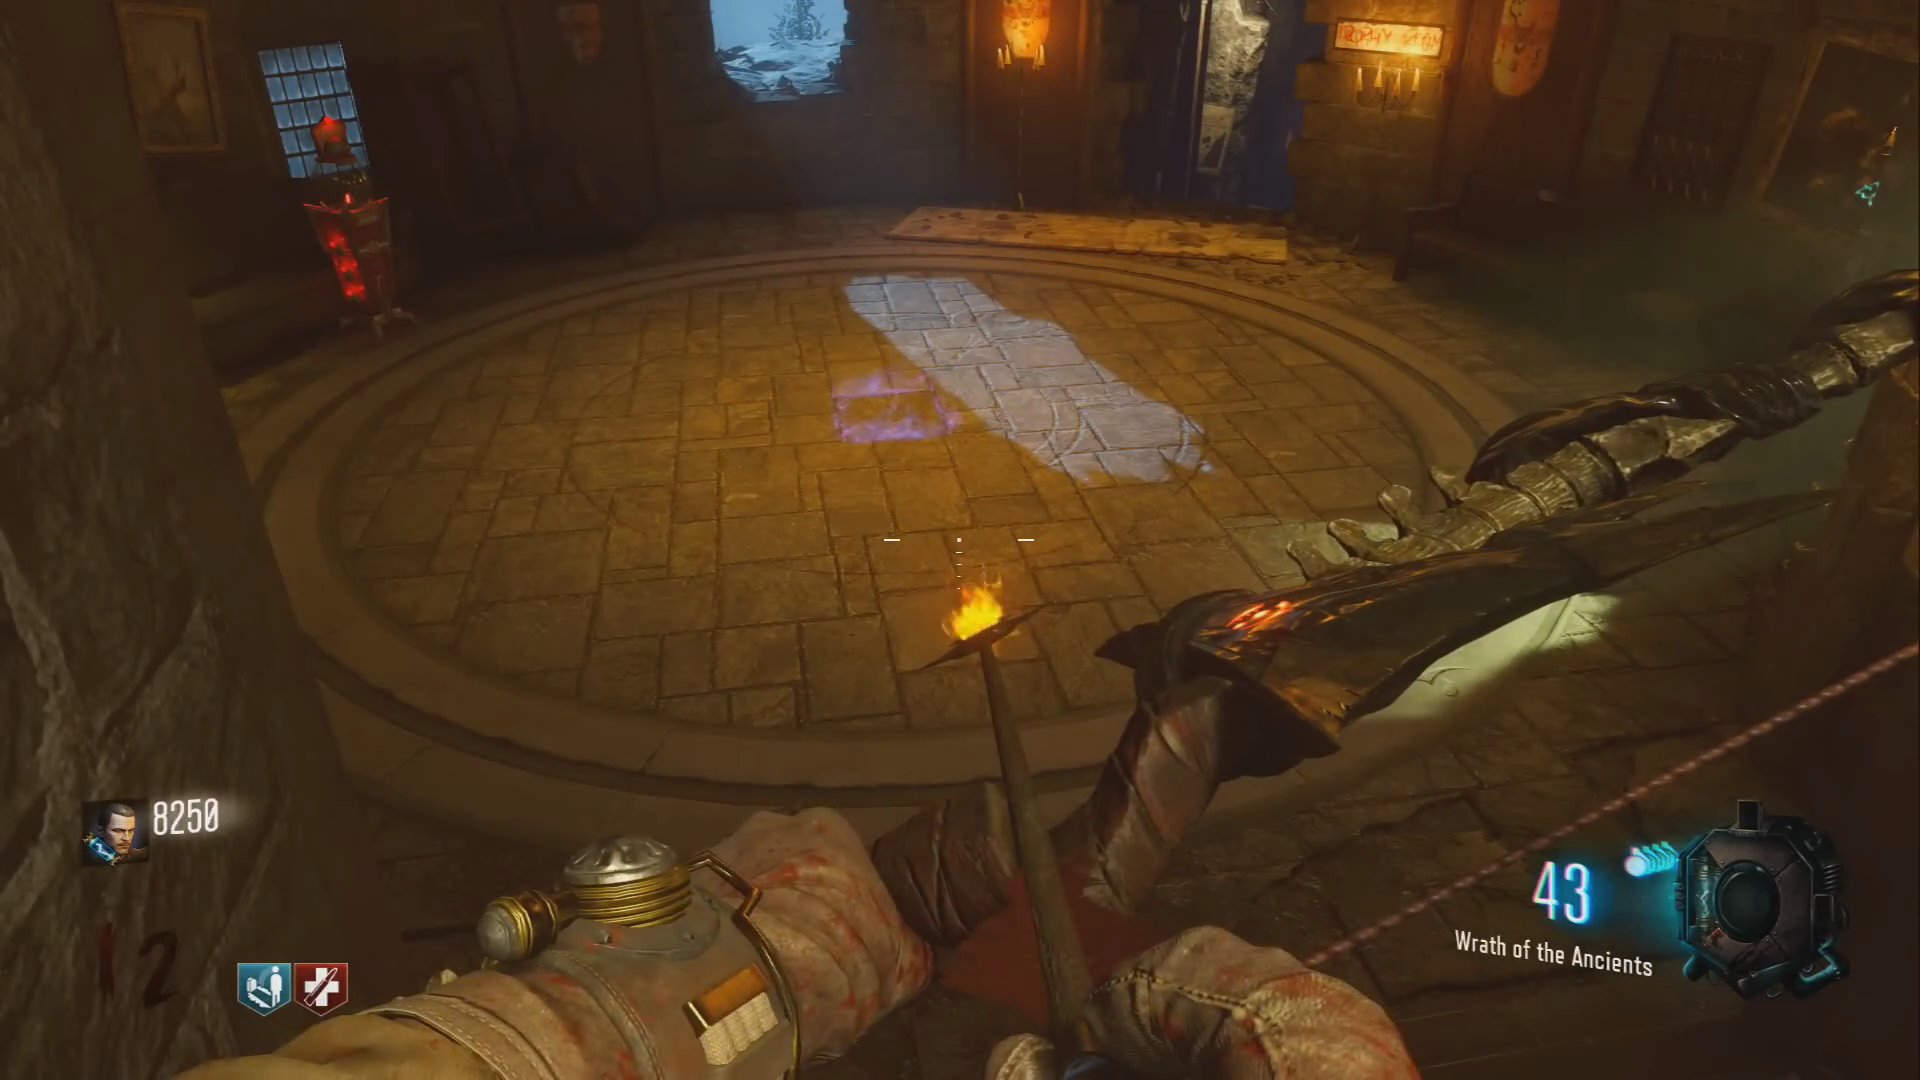
- The floor will break, and a vase will lift up to the ceiling, scattering skulls.
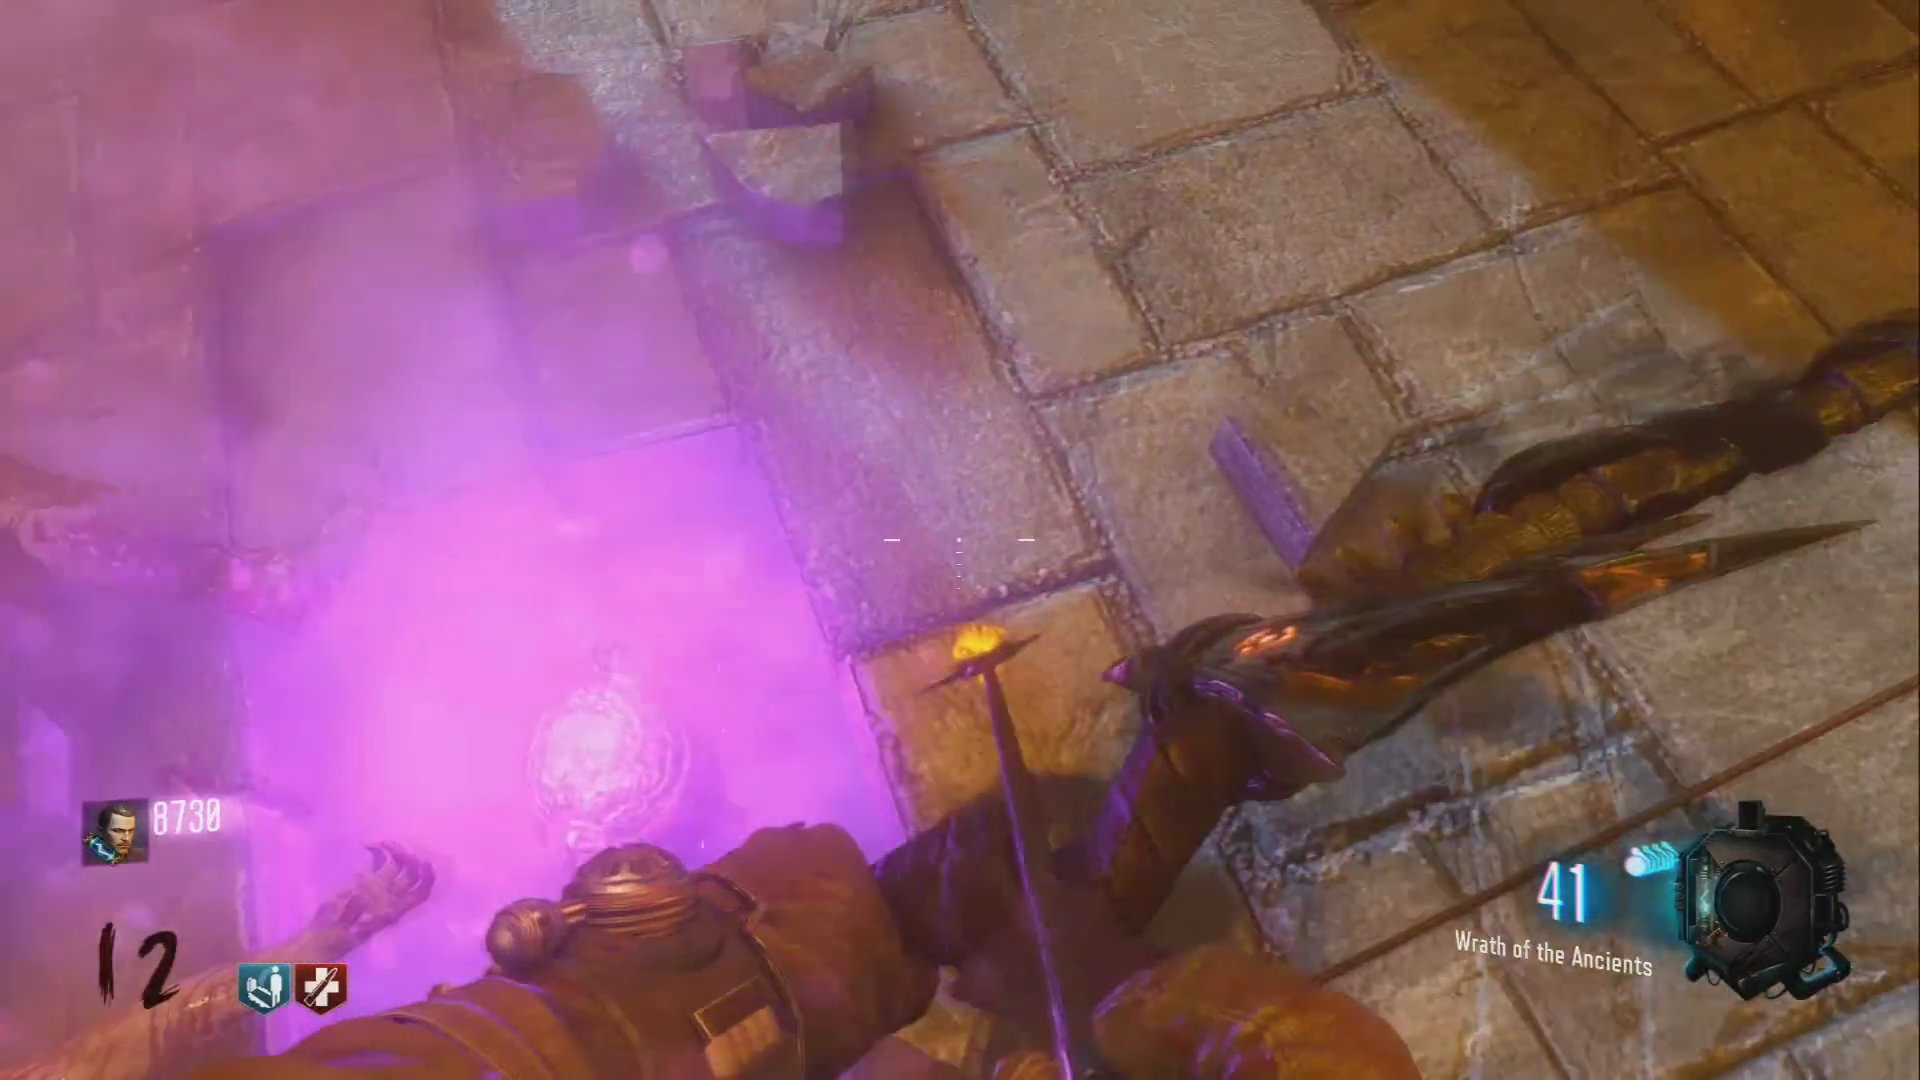
- The demonic voice will instruct you to collect what is scattered. You need to find six skulls:
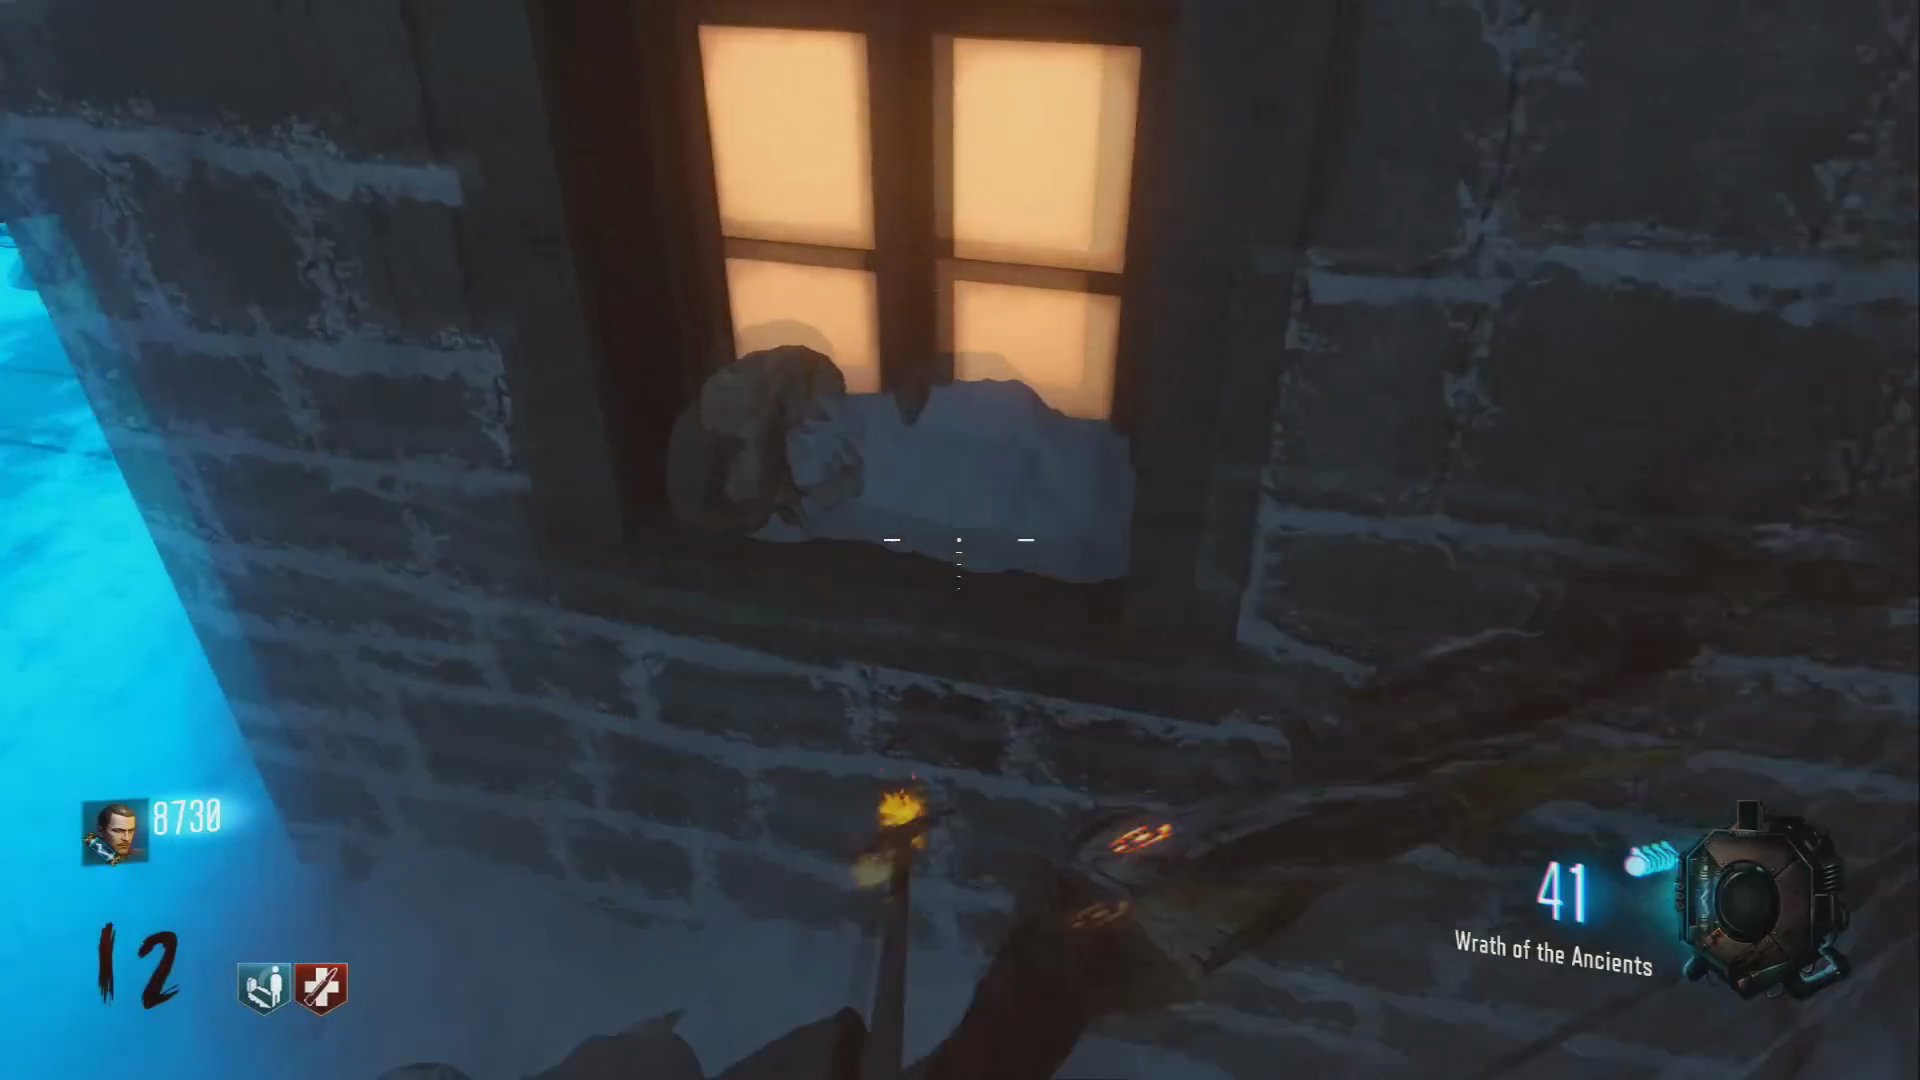
- Skull 1 is on a window ledge in the main courtyard.
- Skull 2 is in the sink near the teleporter.
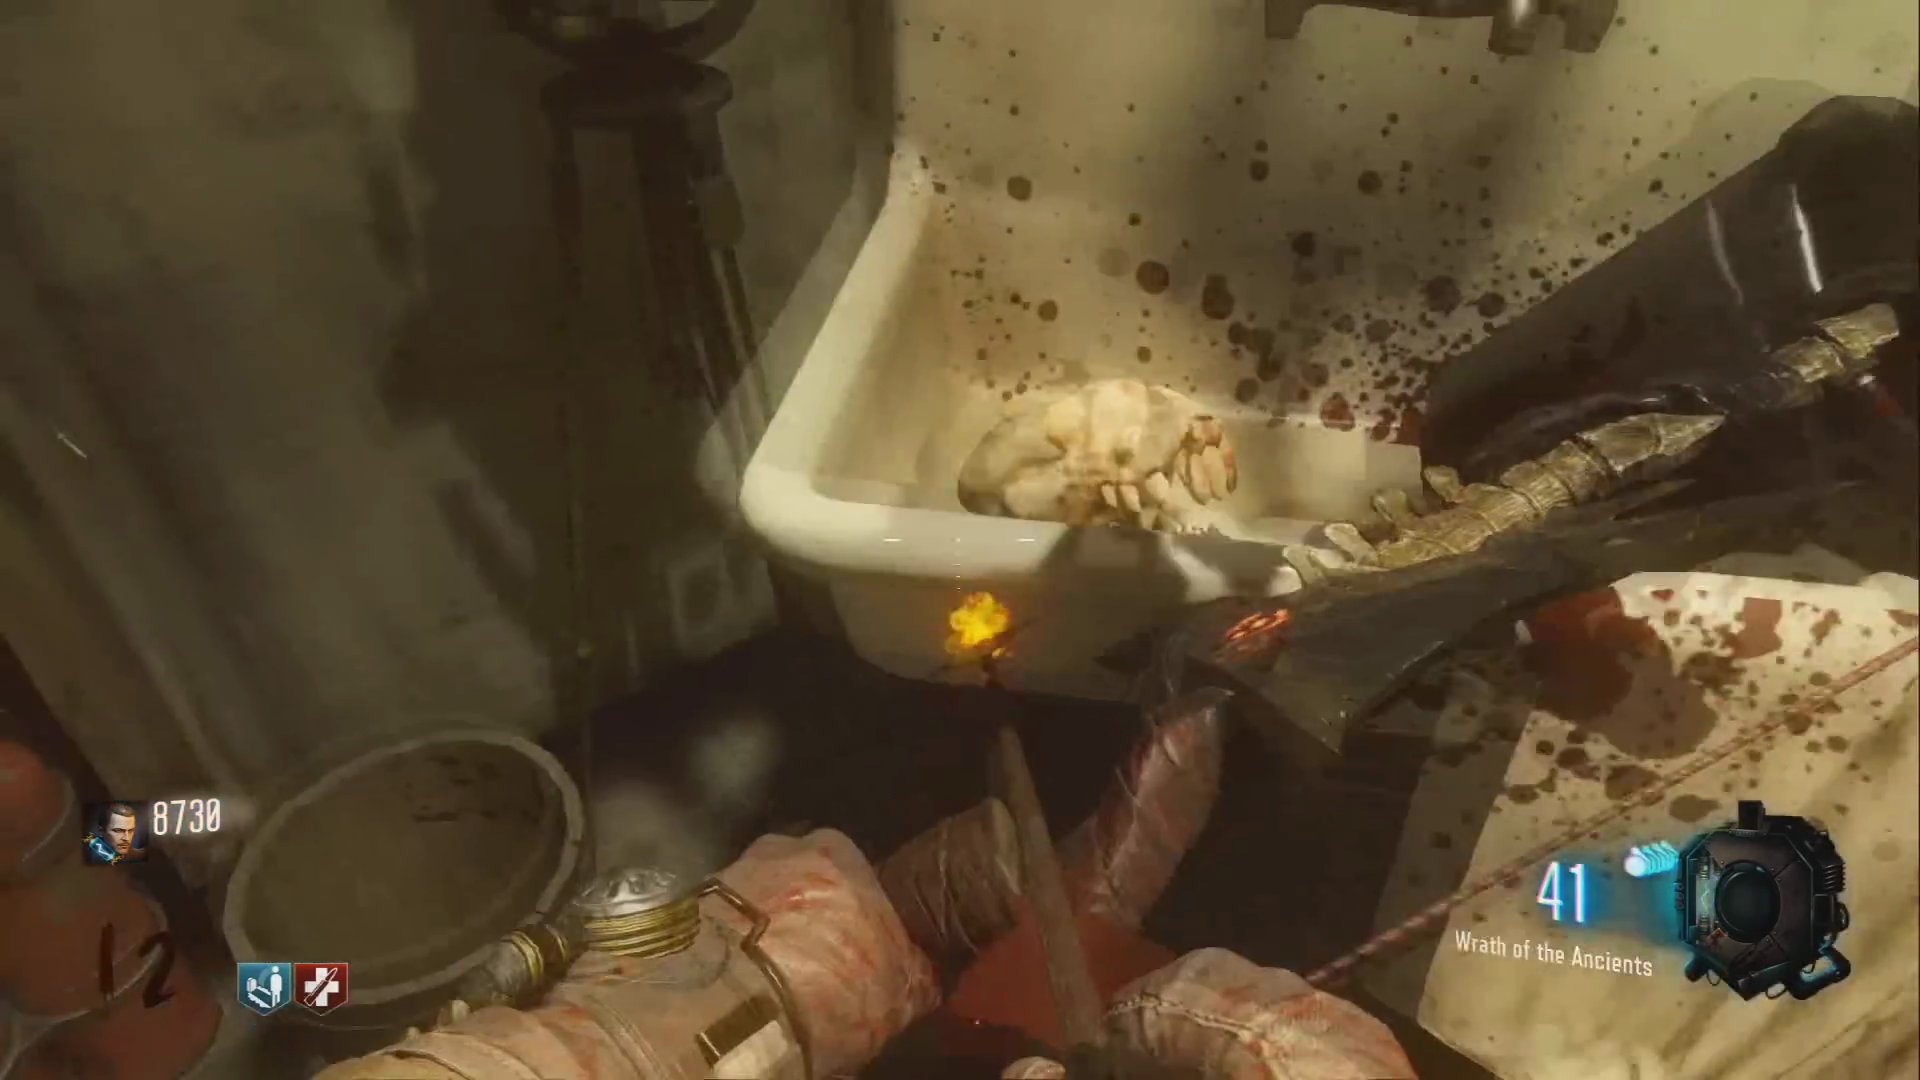
- Skull 3 is in the back of the truck near the Rocket Testing area.
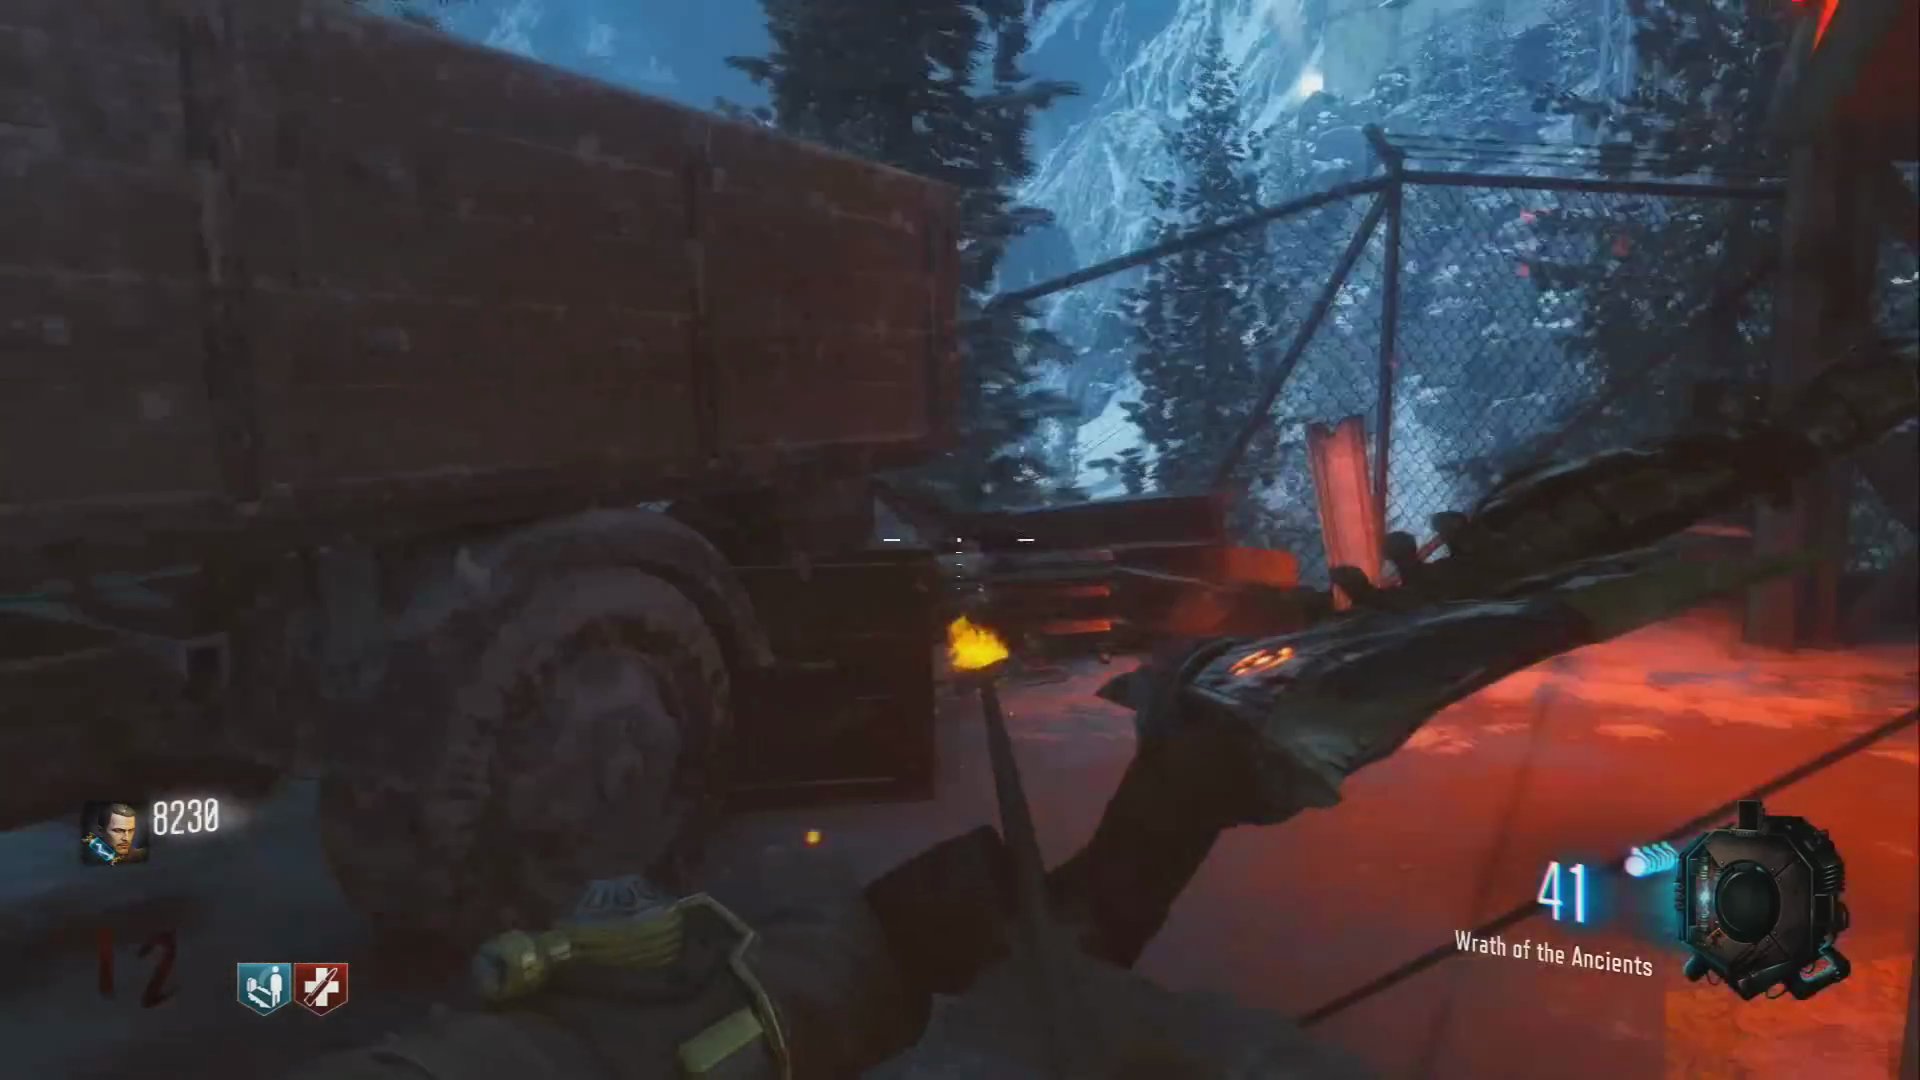
- Skull 4 is down a tunnel near the spawn area.
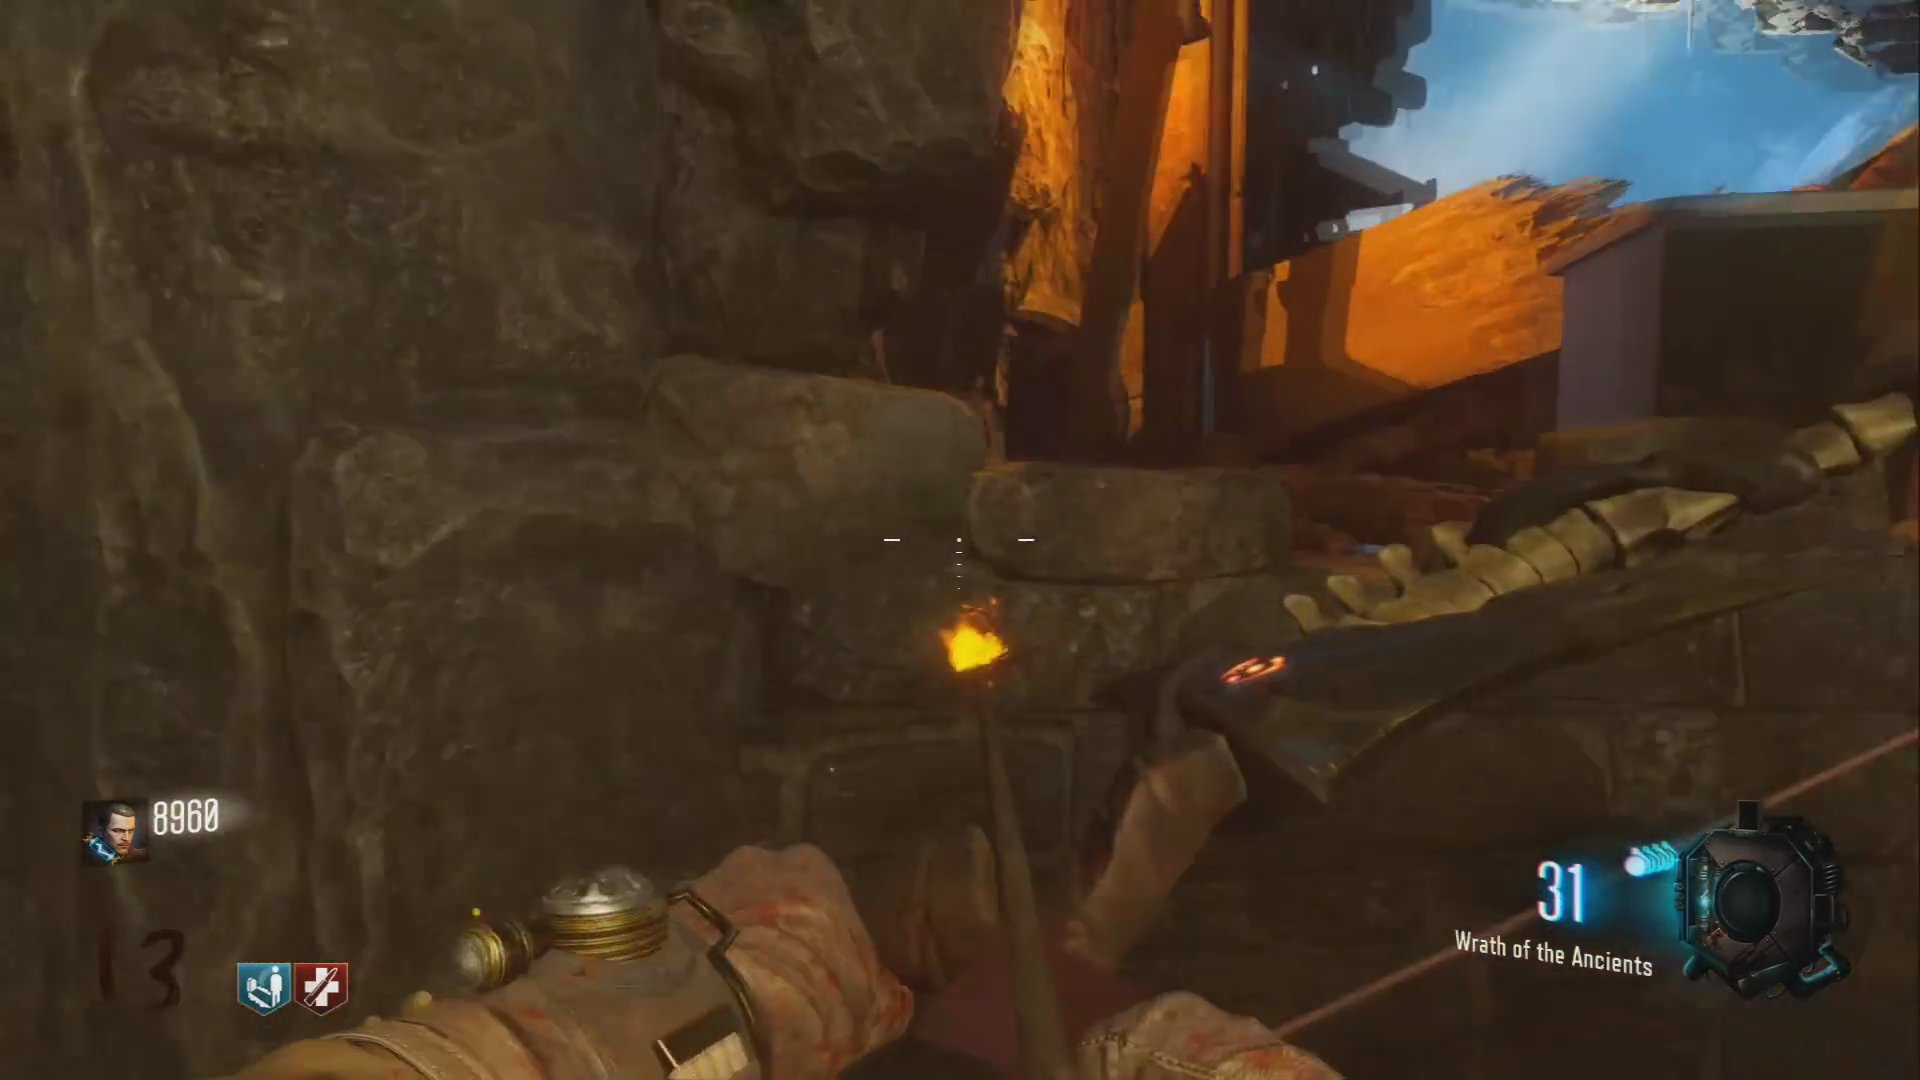
- Skull 5 is in Samantha's bedroom.
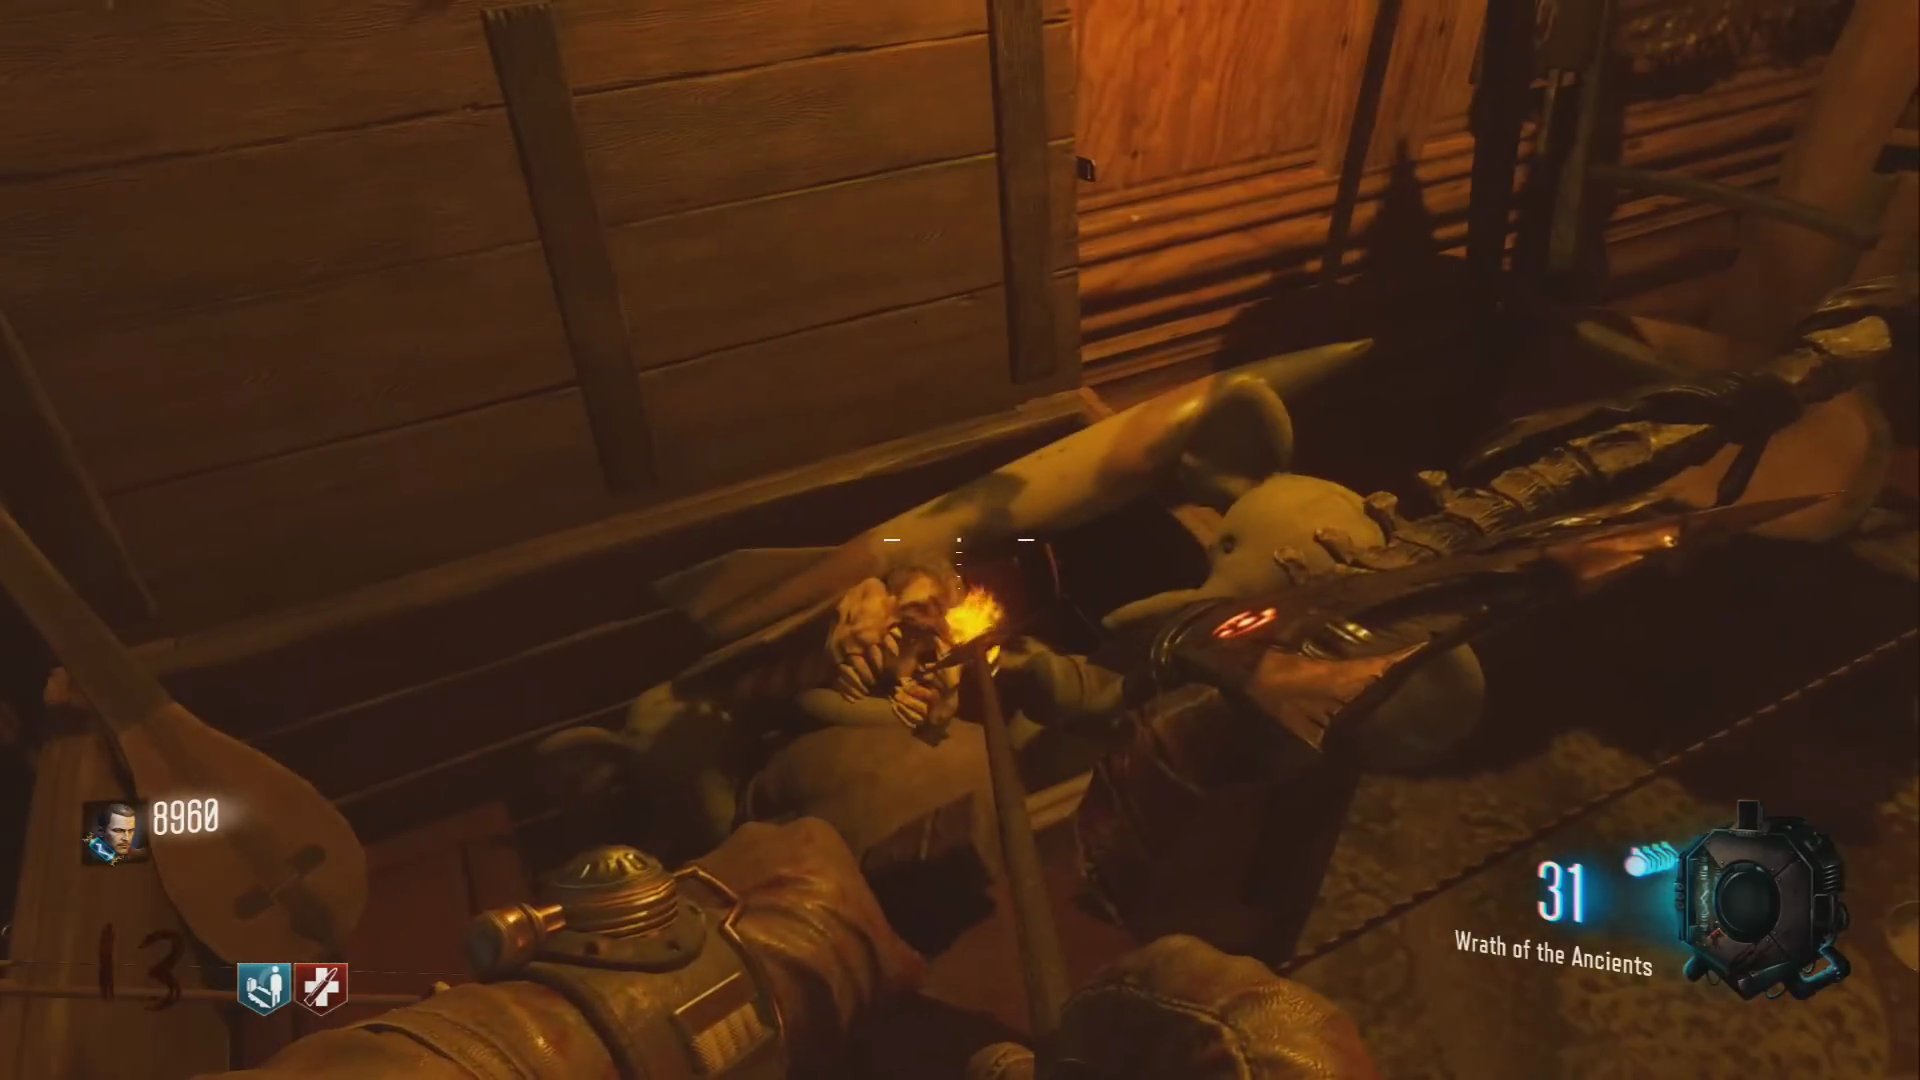
- Skull 6 is near the Double Tap perk machine.
Step 3: Sacrifice Crawlers
- Return to the vase room (under the clock tower).
- Create six crawlers (zombies that crawl after losing their legs) and lead them into the purple sacrificing area.
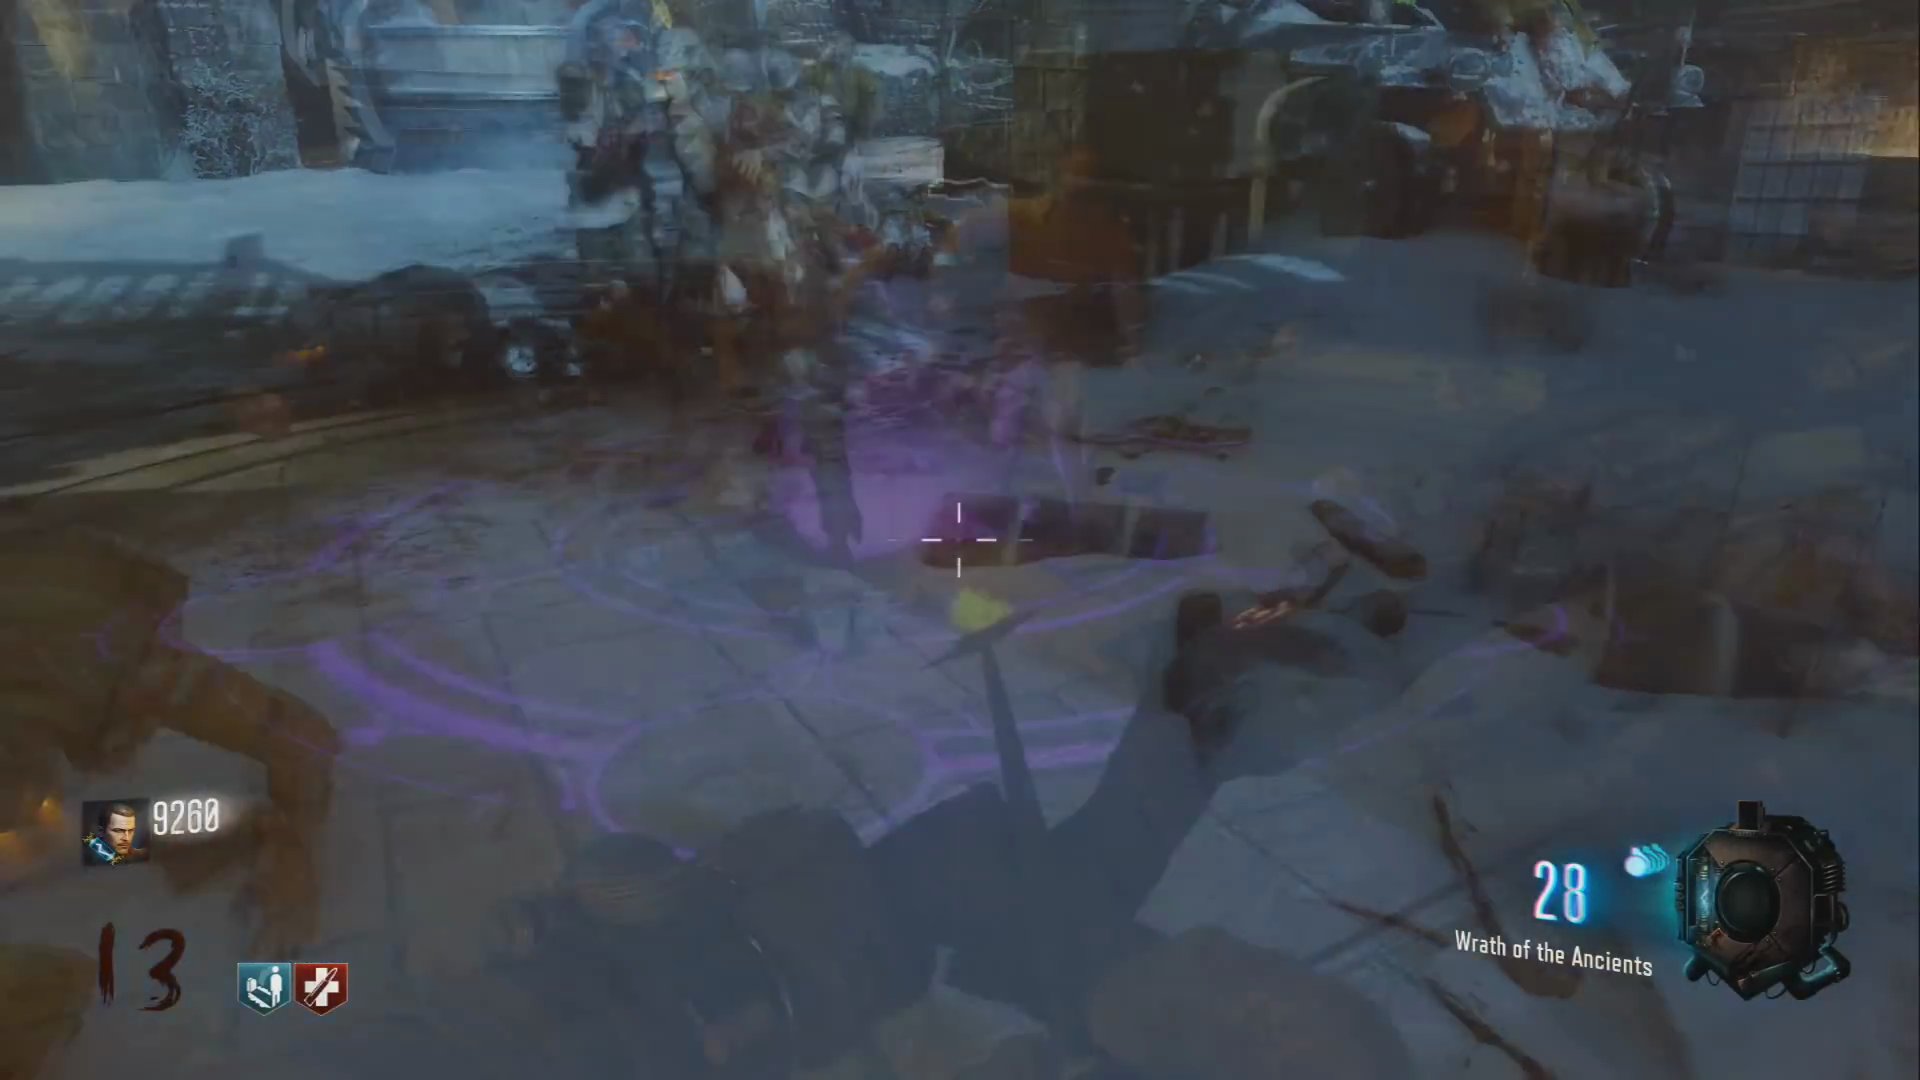
- The skulls will kill them.
Step 4: Decipher the Demonic Name
- The demonic voice will then reveal its name (e.g., 'Crown Door Heart', 'Griffin Door Horn'). Write this down as it will be unique to your game.
Step 5: Activate Knight Statues in Order
- Go to the knight statues. These statues correspond to symbols and the demonic name you recorded.
- Click on the knight statue that represents the first word of the demonic name (e.g., if the name was 'Horn Door Griffin', click on the 'Horn' knight). A purple light will appear above the statue.
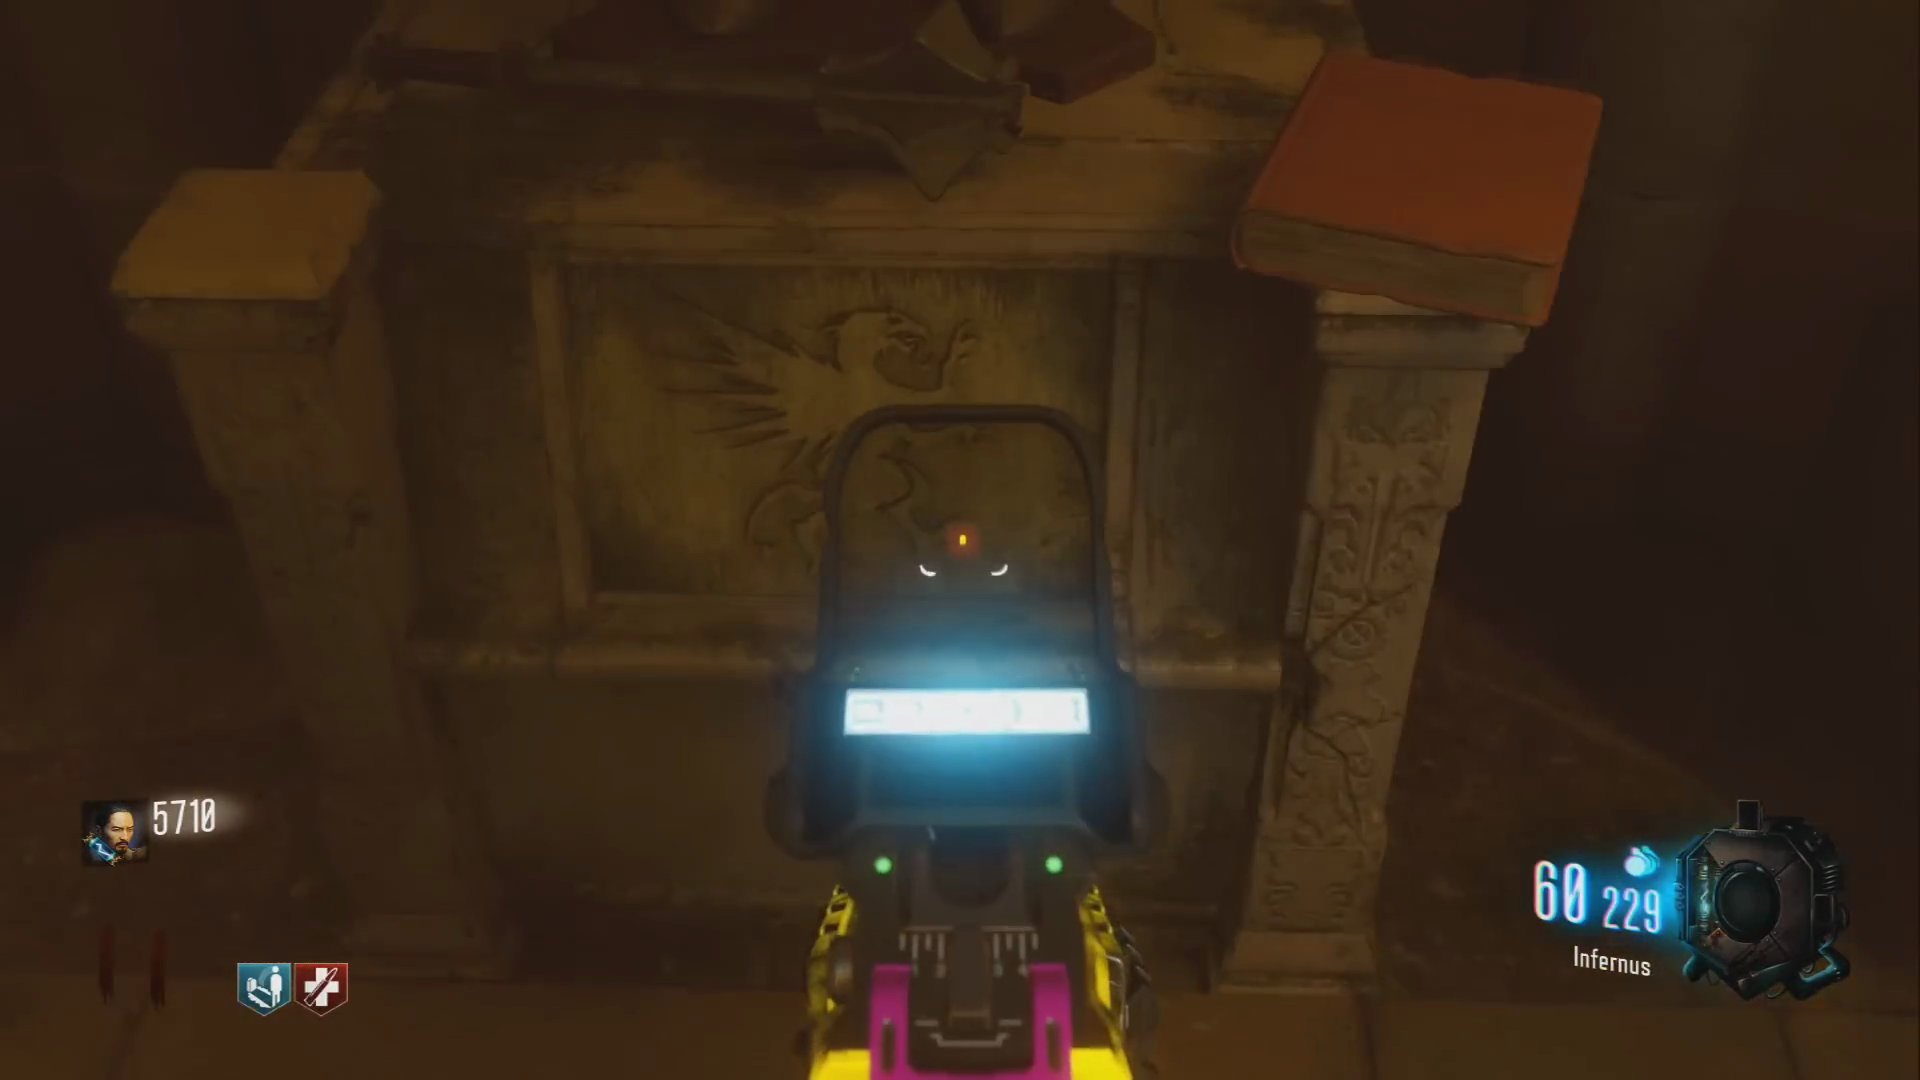
- Then click on the knight statue representing the second word (e.g., 'Door' knight).
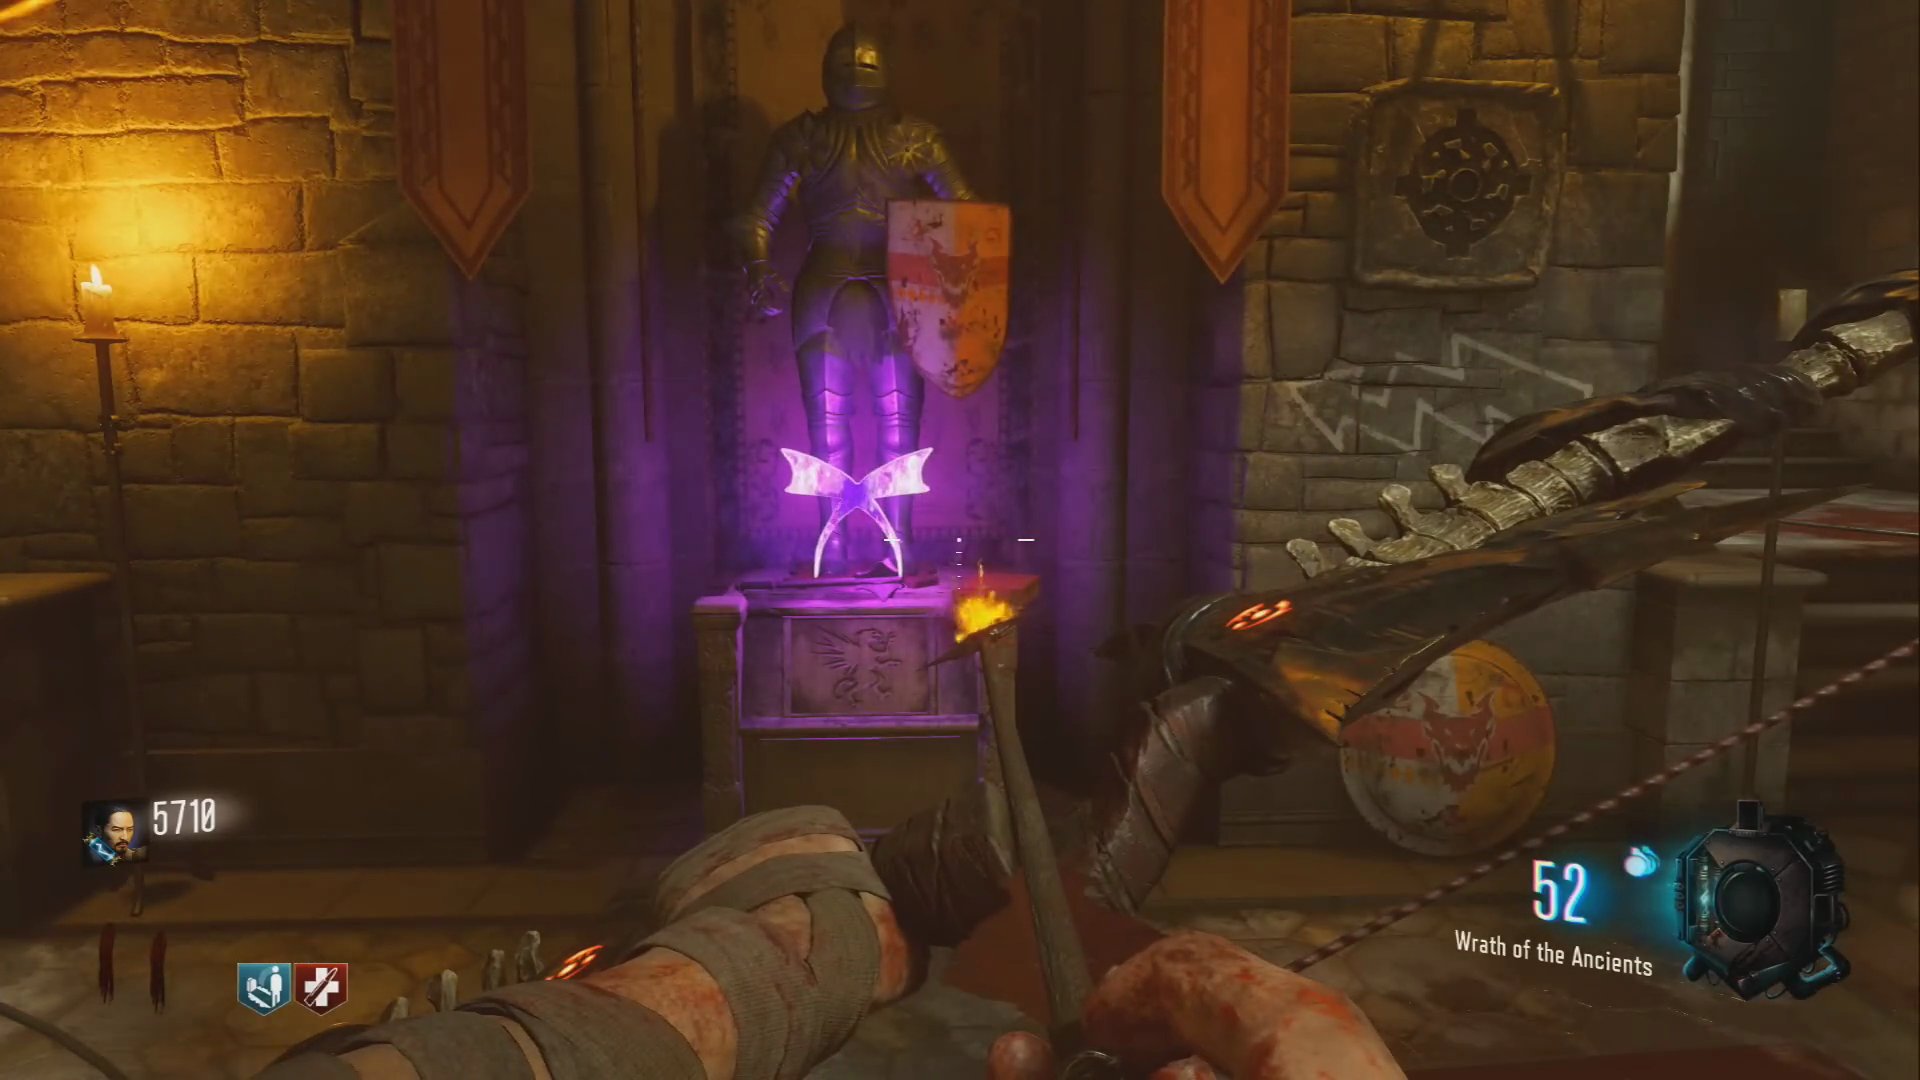
- Finally, click on the knight statue representing the third word (e.g., 'Griffin' knight).
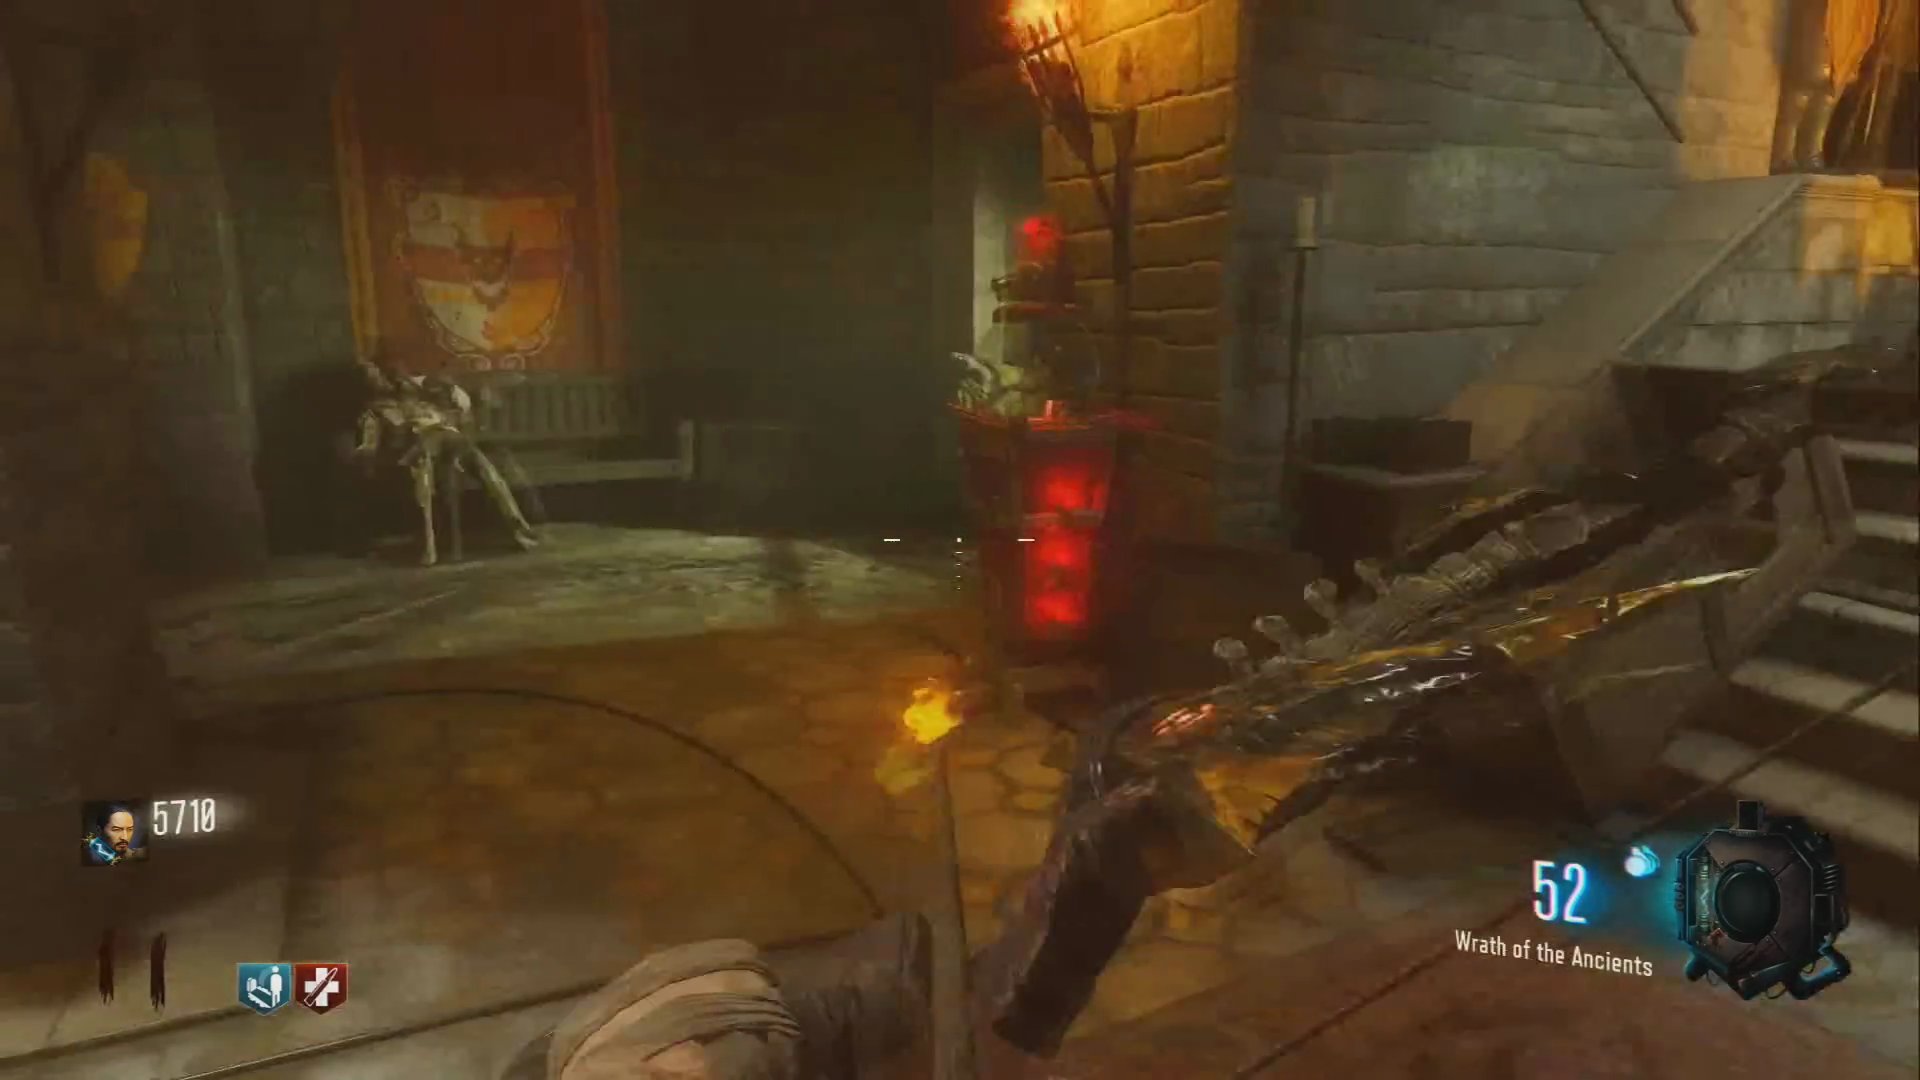
Step 6: Obtain the Upgraded Teleporting Bow
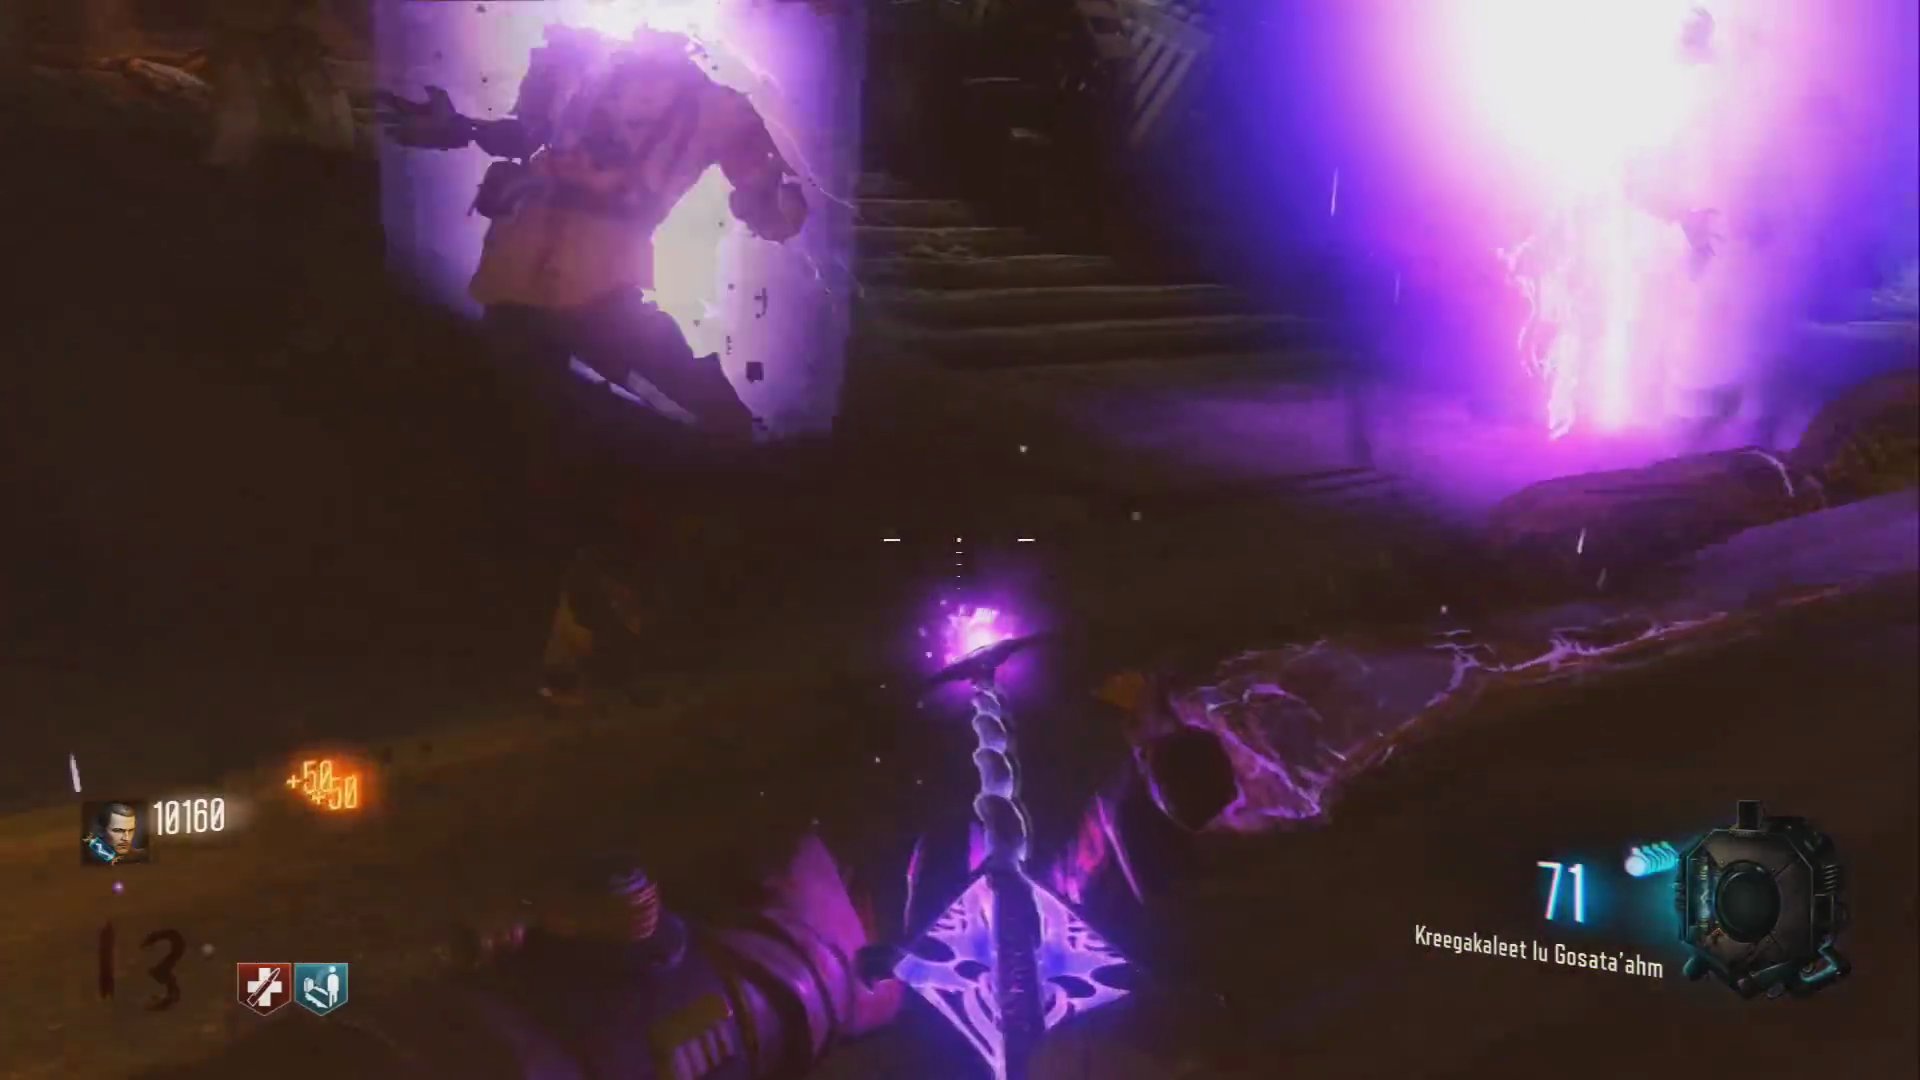
- Head back to the purple circular area where you sacrificed the crawlers.
- Shoot the correct symbols on the ground in the order of the demonic name.
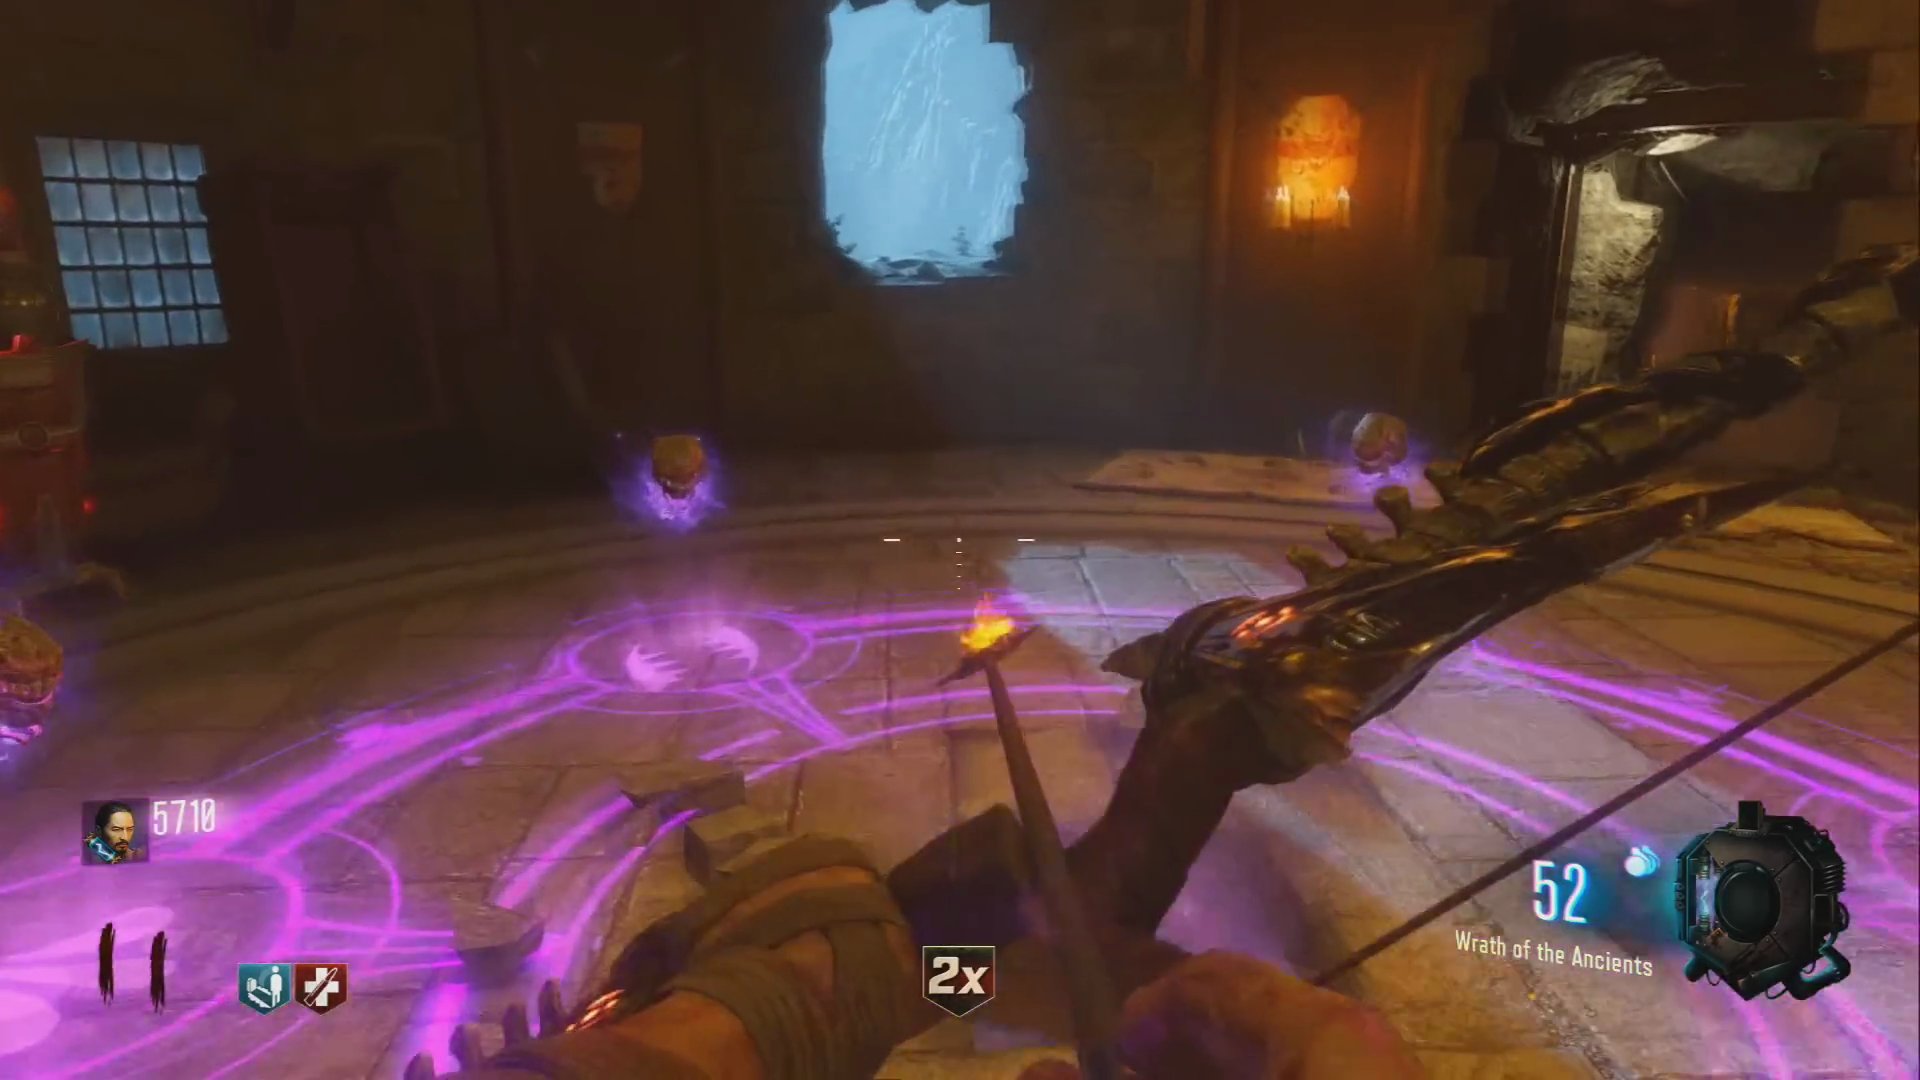
- The skulls will fly, and a purple light will appear in the center.
- Hold the action button on this purple light to receive your arrow.
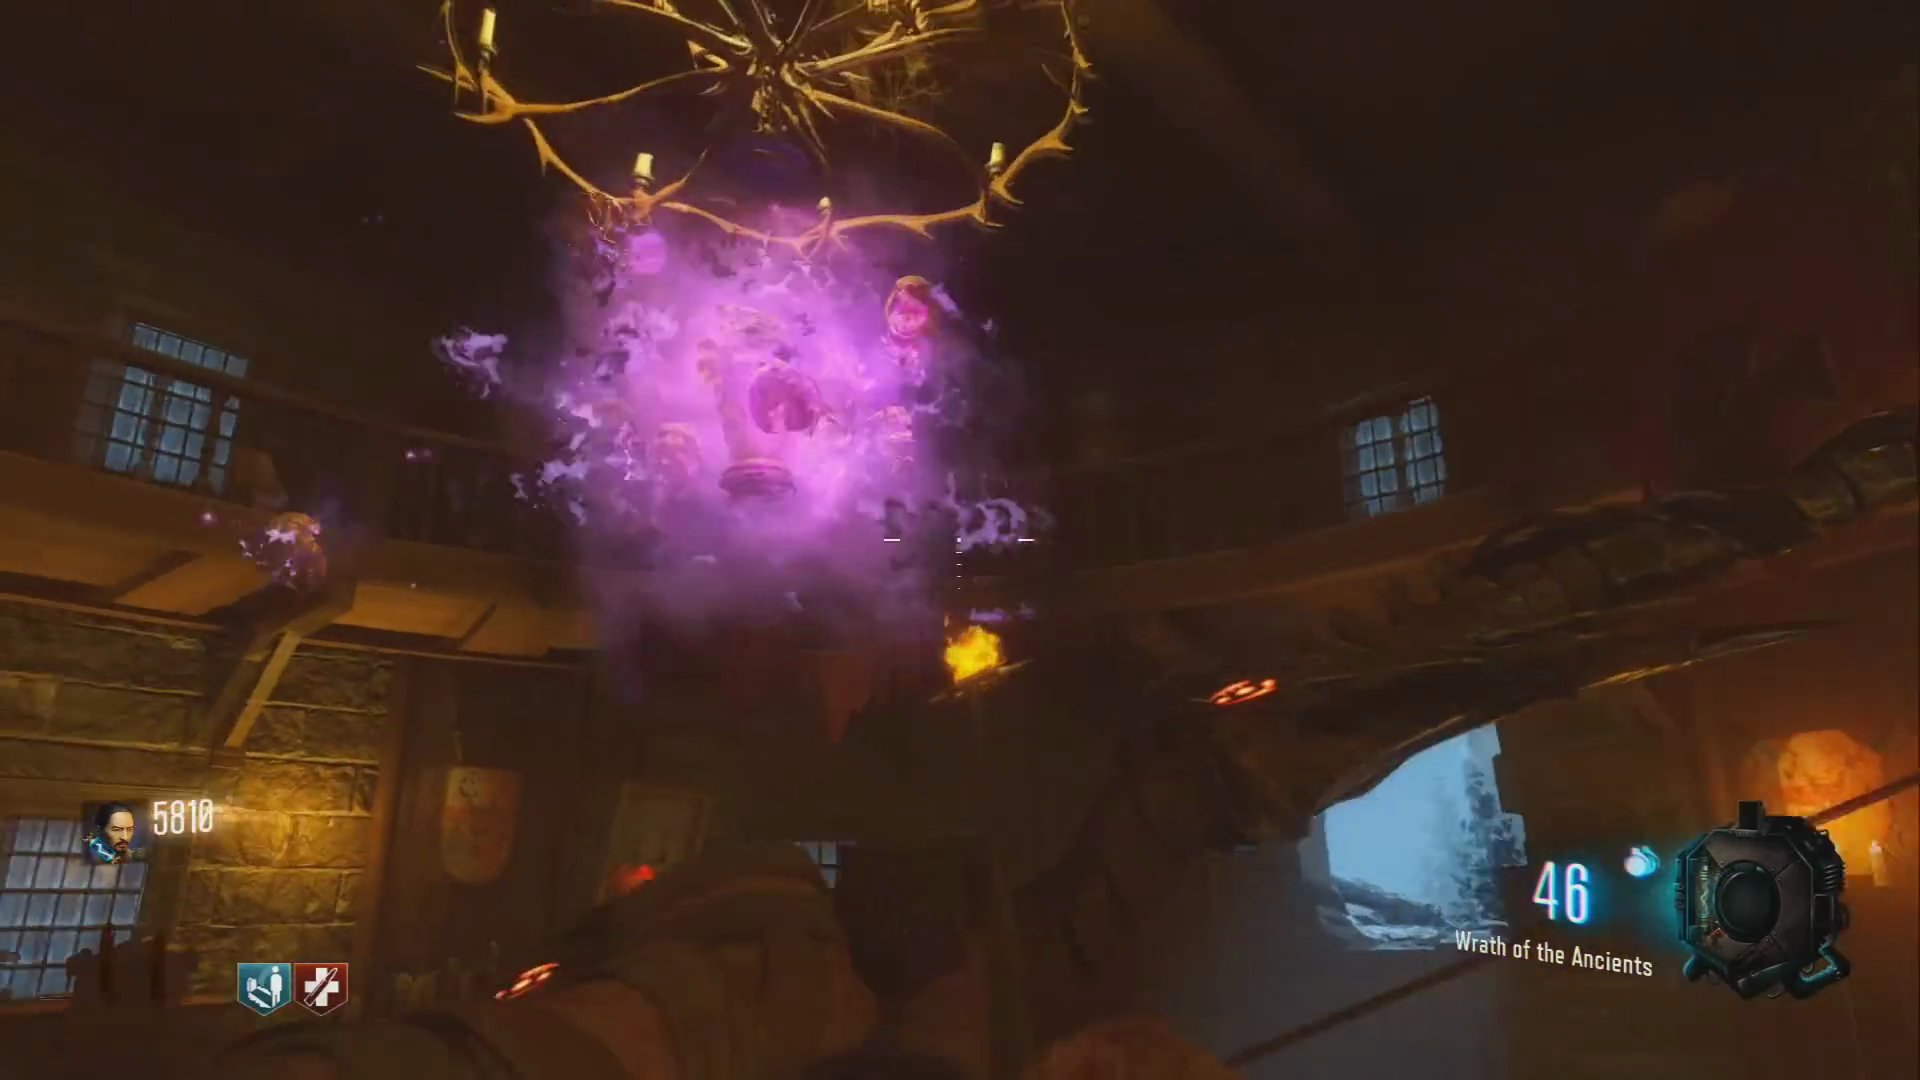
- Go back to the Pyramid room and place the arrow in the box with the purple symbol.
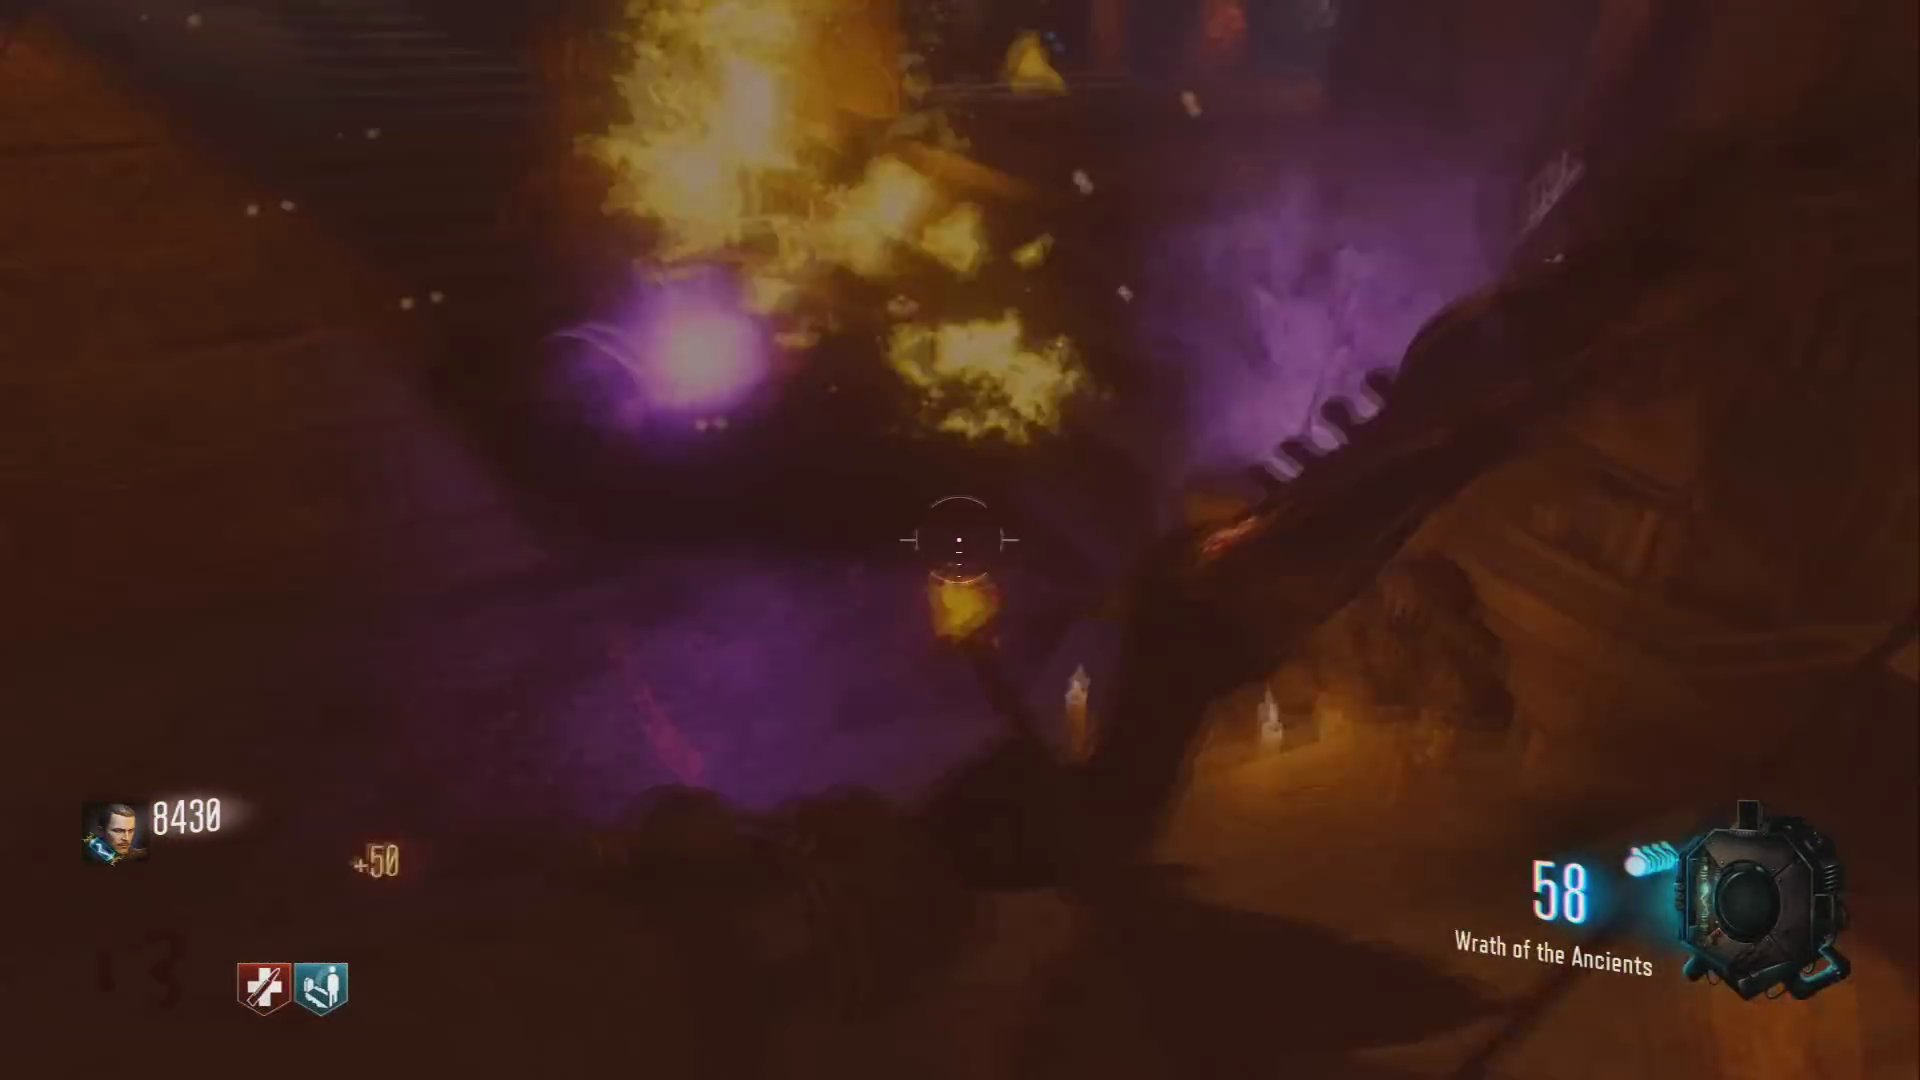
- Kill zombies to collect souls for the box.
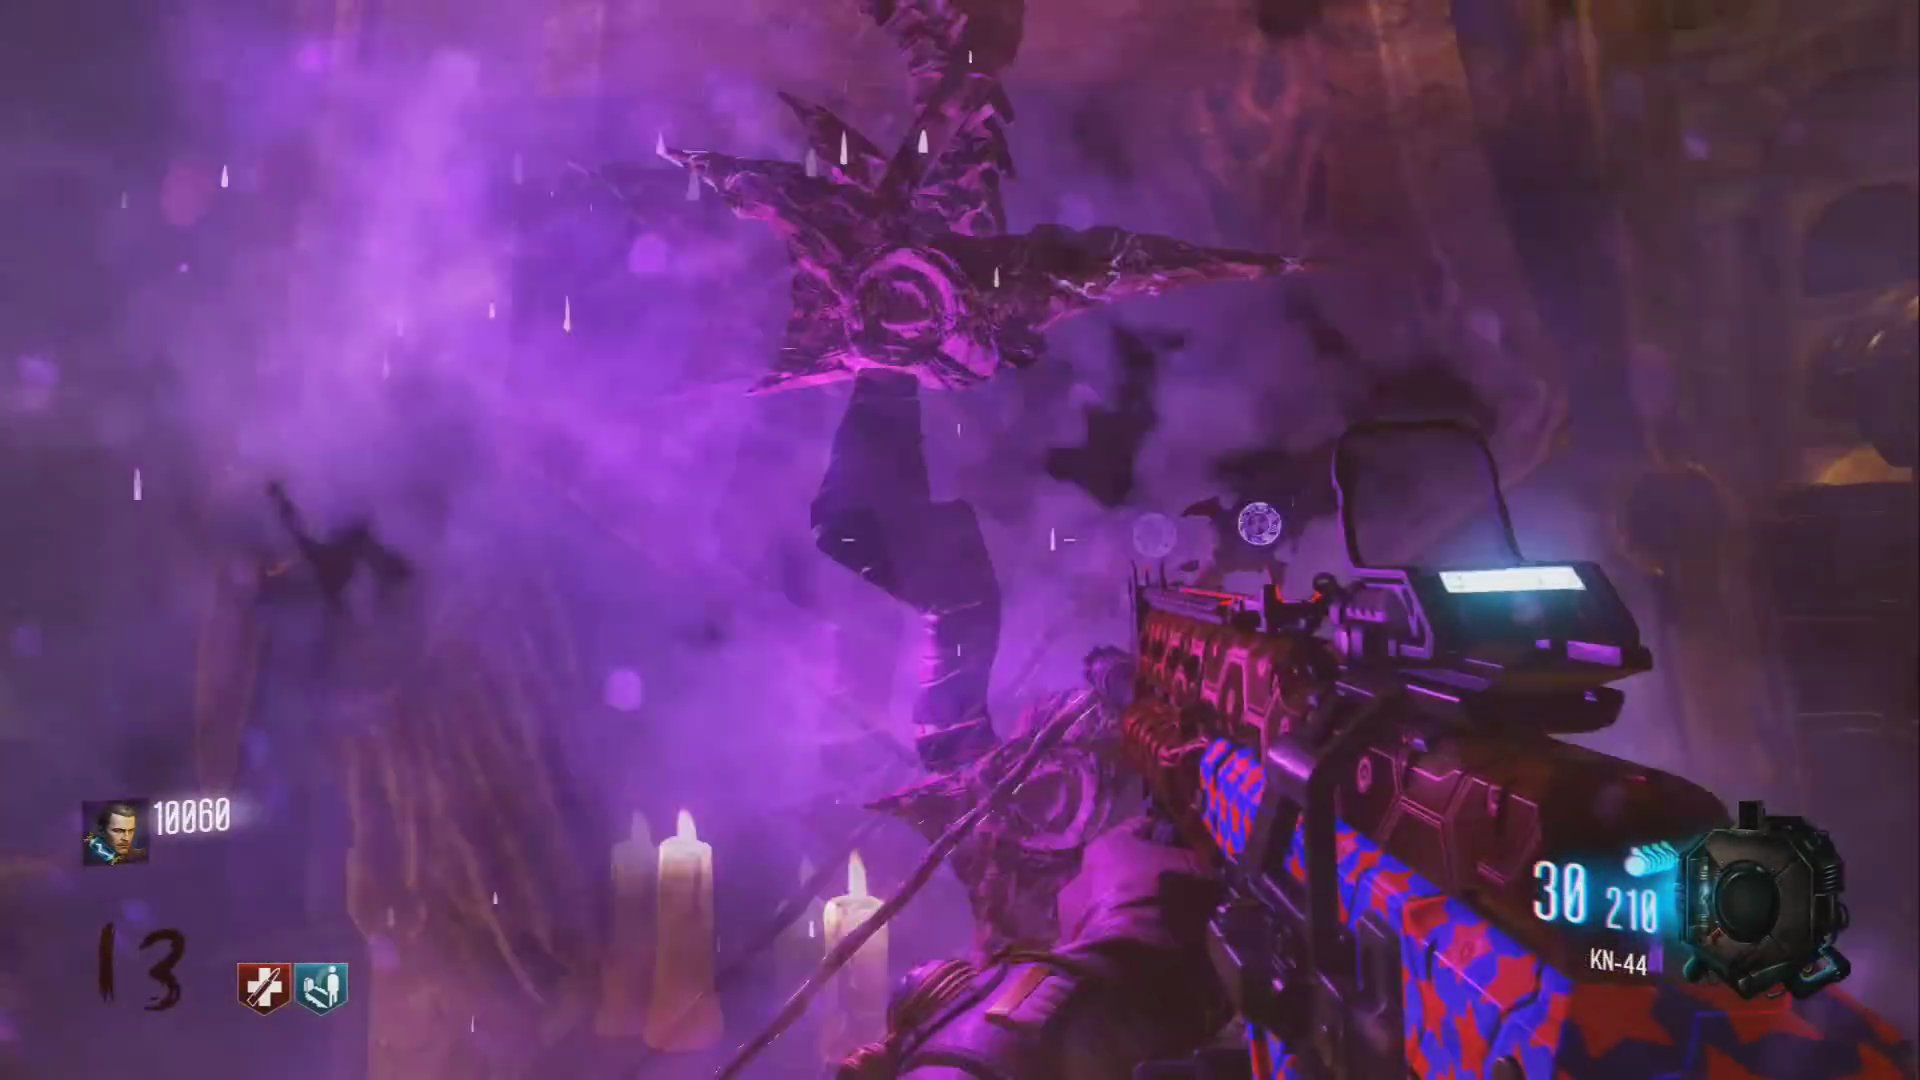
- Once full, retrieve your upgraded Teleporting Bow.
Fire Bow Upgrade
The Fire Bow, or Wolf Bow, involves shooting a wall, activating launch pads, and some fiery challenges.
Step 1: Collect the Fire Arrow
- Go to the top of the clock tower.
- Shoot the wall with your normal bow.
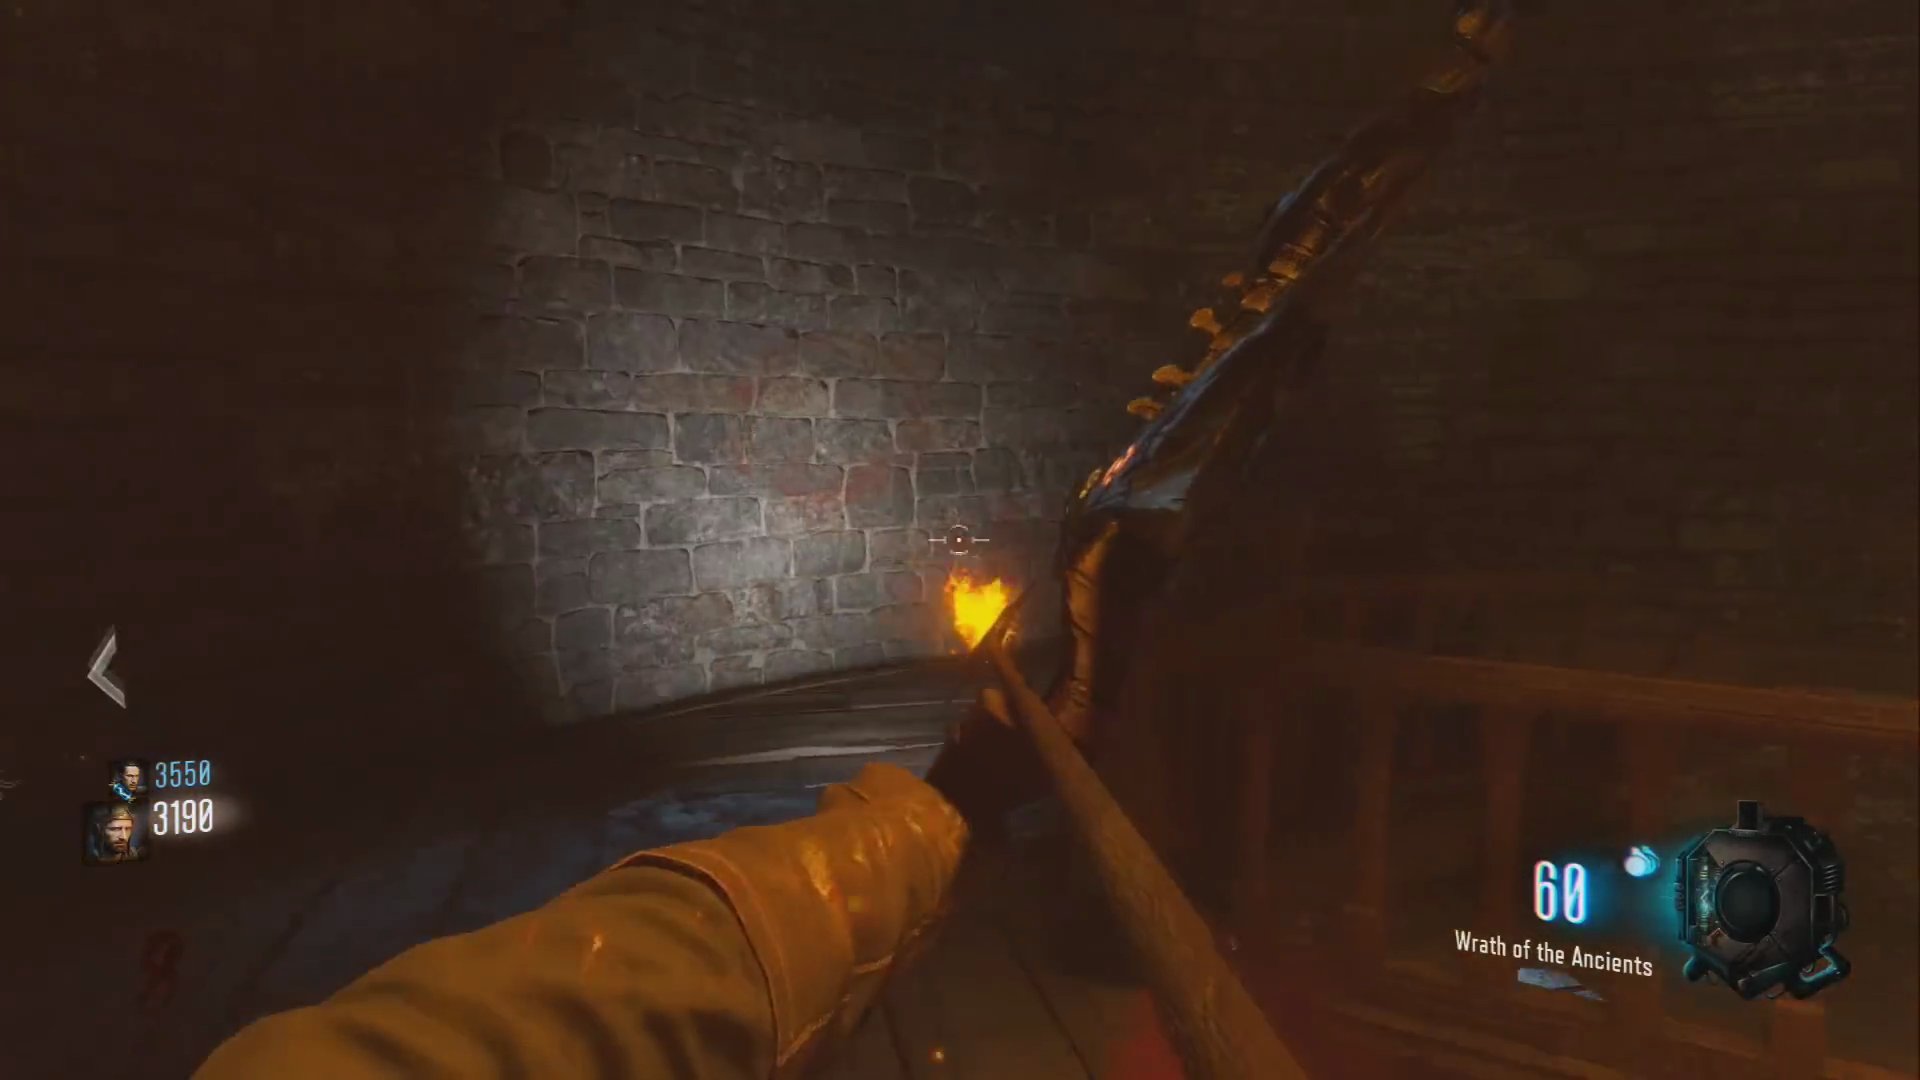
- The elemental arrow will appear. Pick it up.
Step 2: Shoot Glowing Rock with Rocket
- Head to the Rocket Testing area.
- Wait for the rocket to launch and the doors to open.
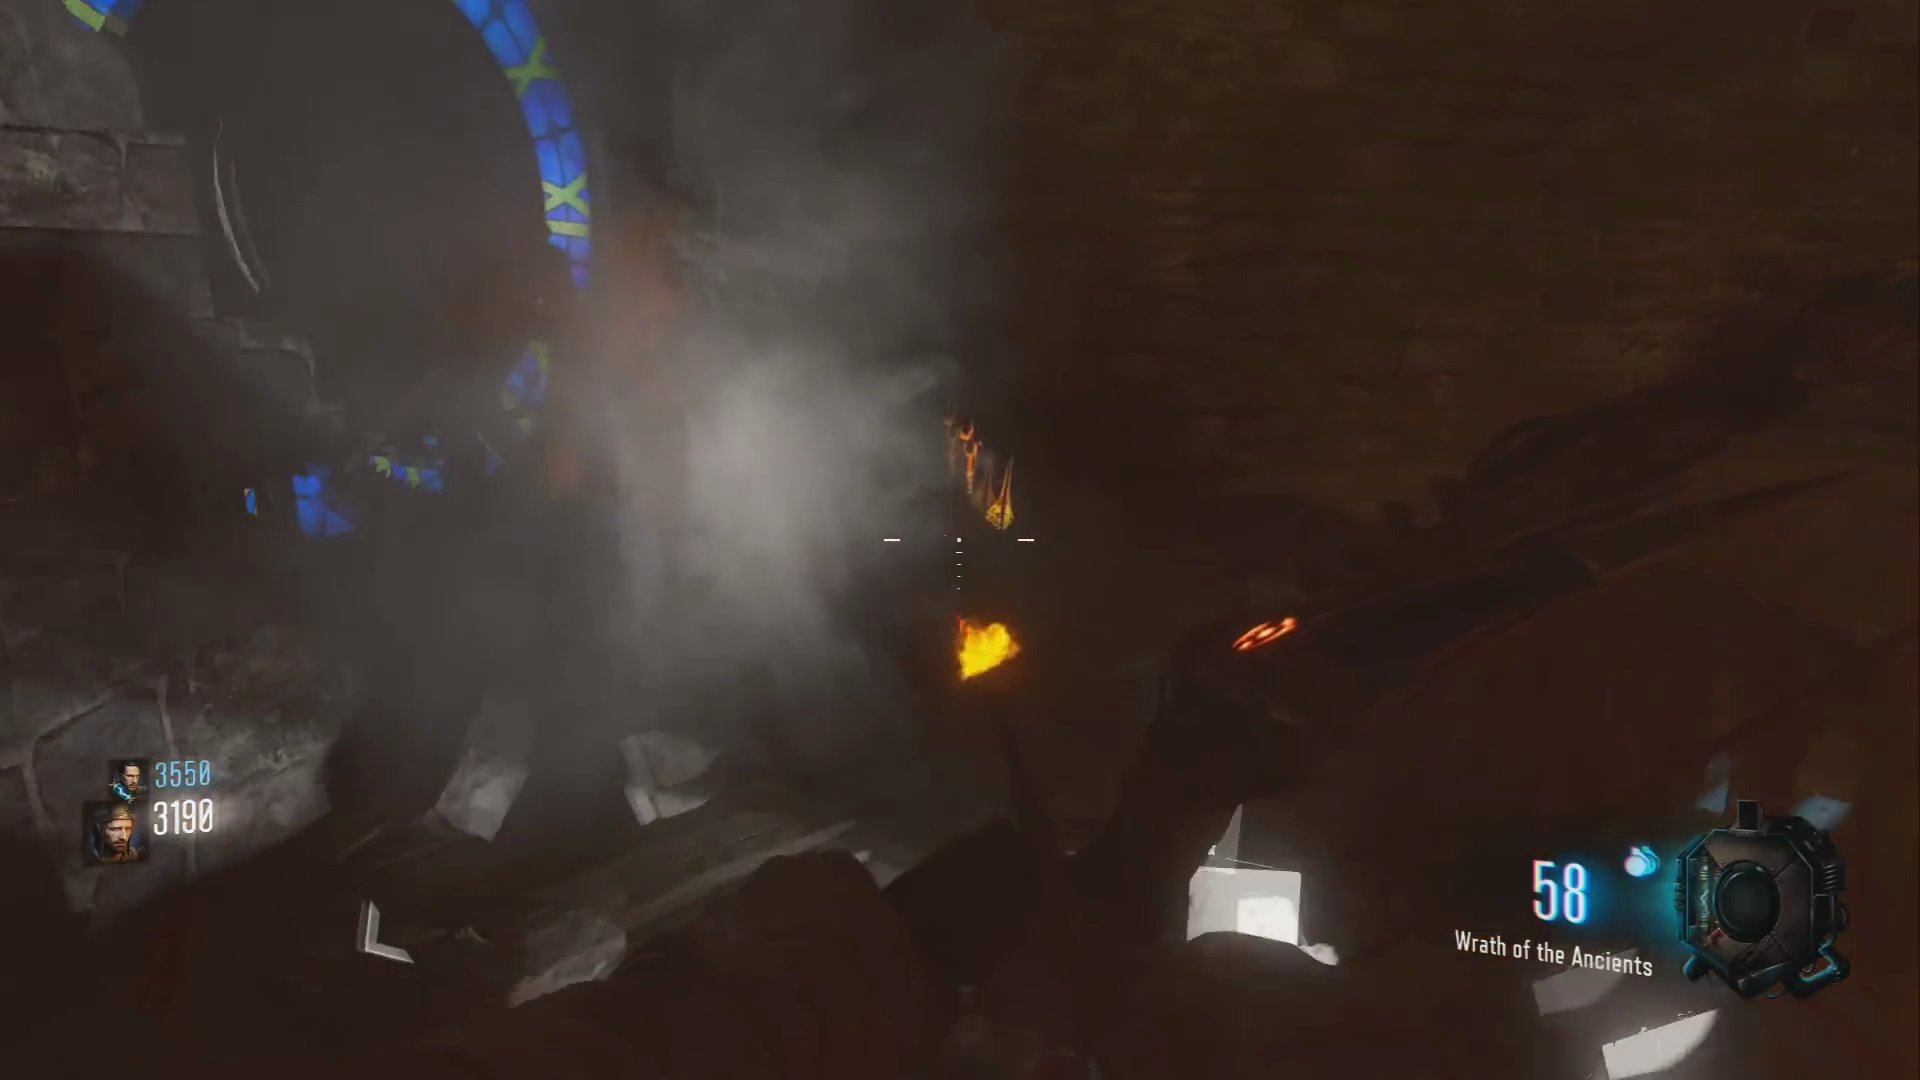
- As soon as the doors open, quickly shoot the glowing rock that is revealed behind the rocket with your fire bow.
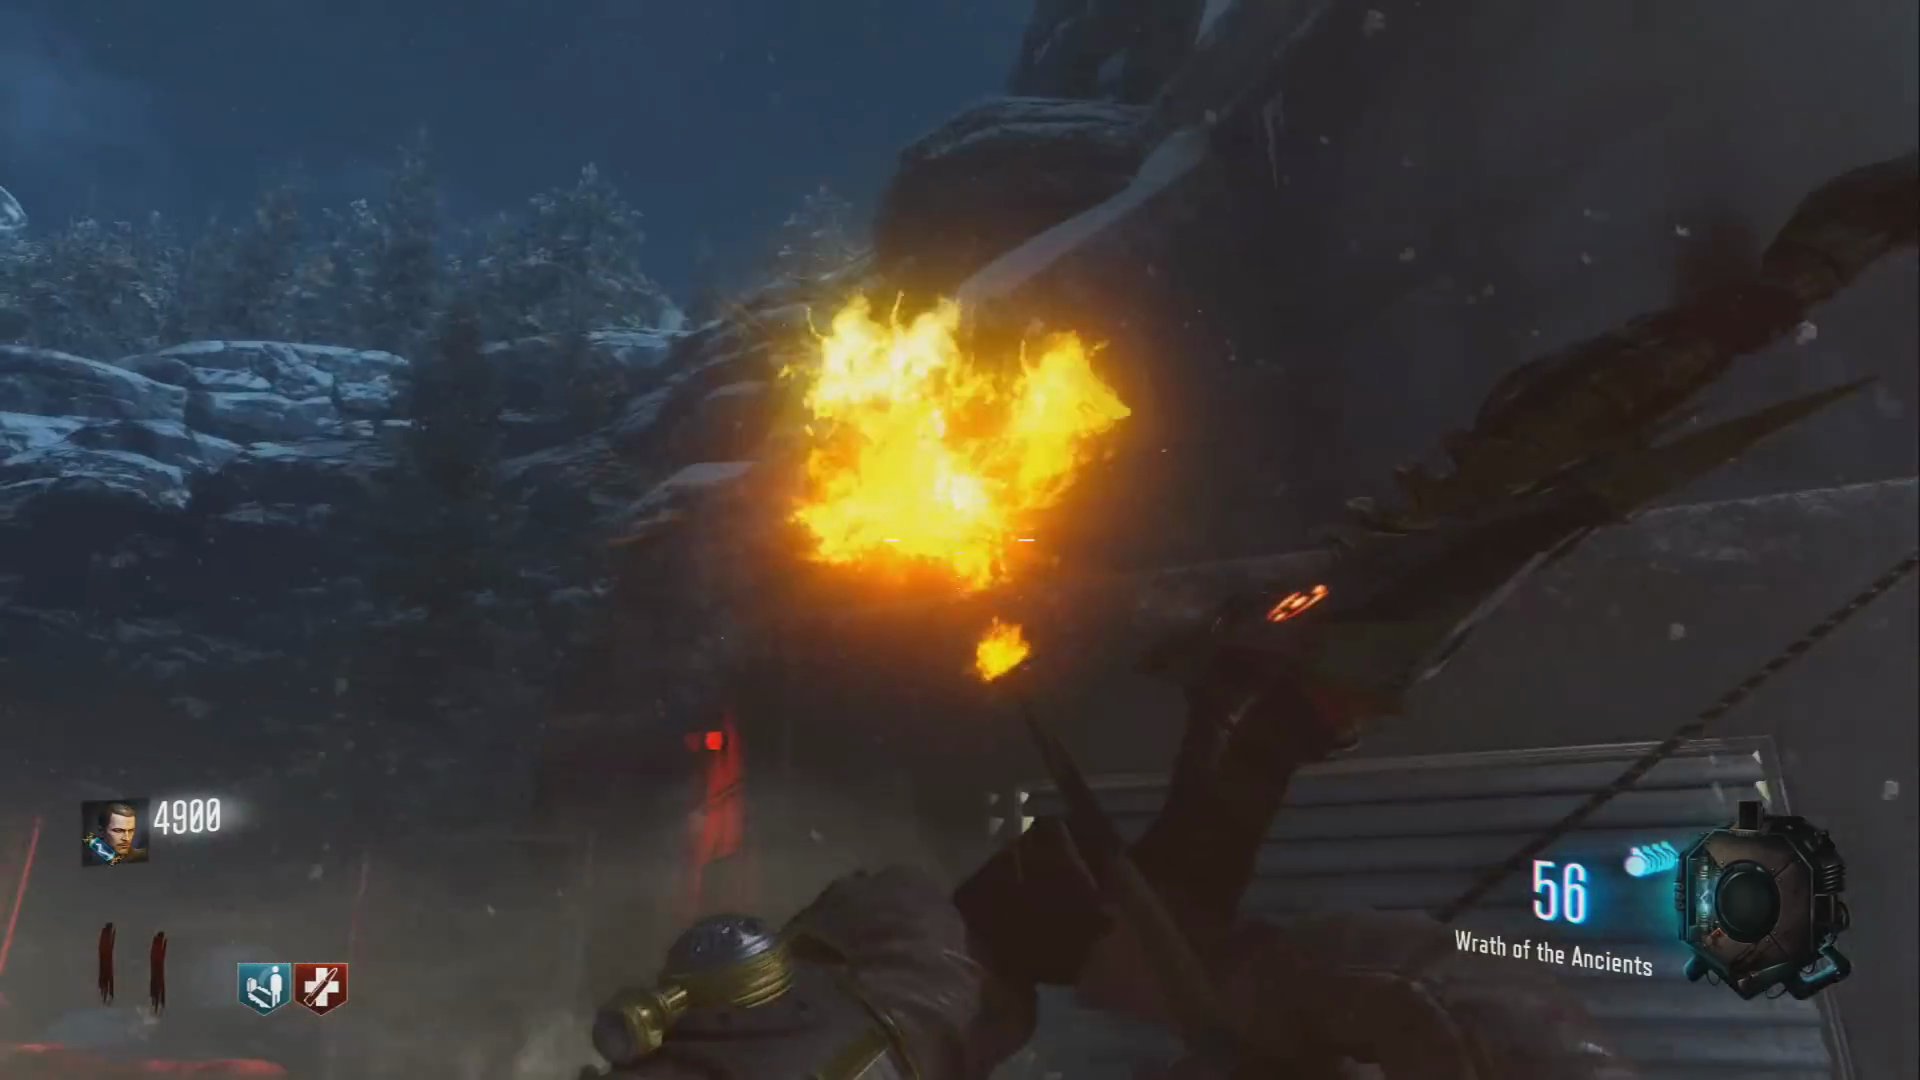 ,
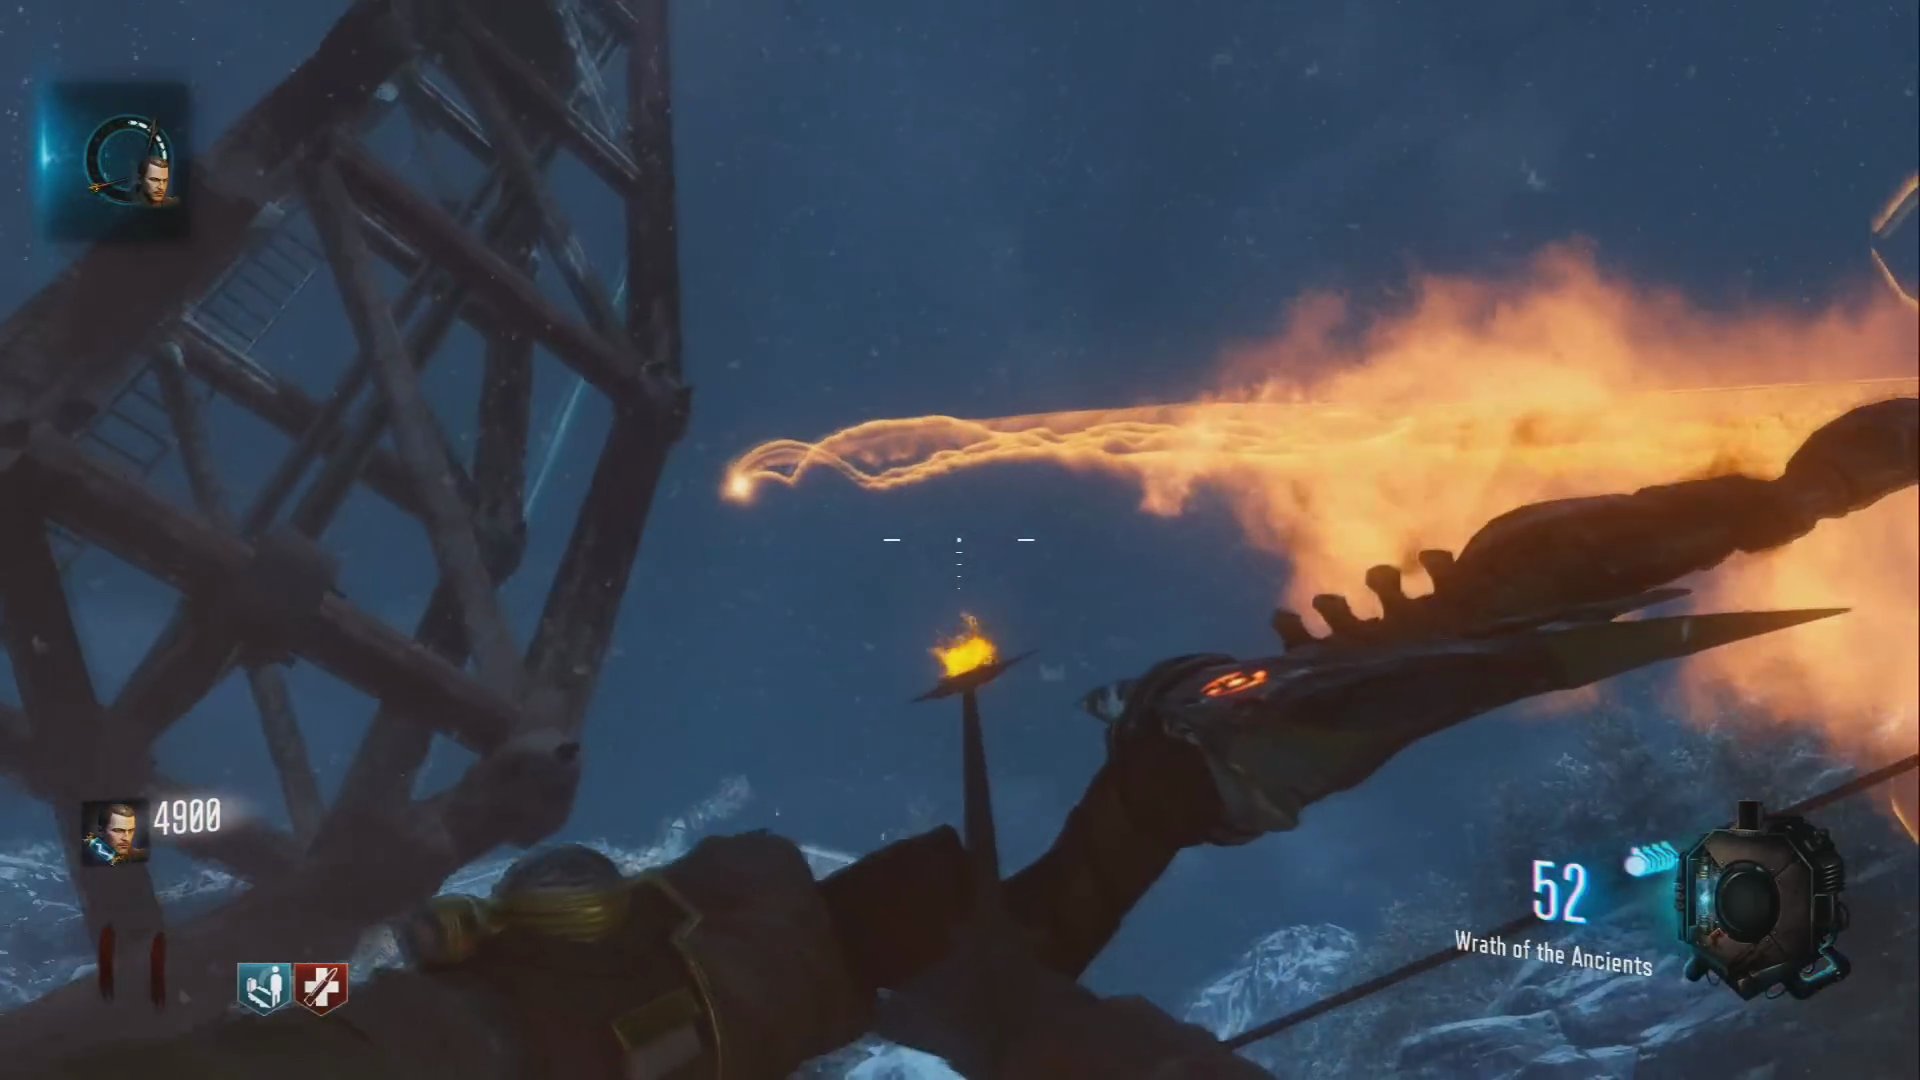
- If successful, a large fireball will shoot into the sky.
Step 3: Shoot Red Circles from Launch Pads
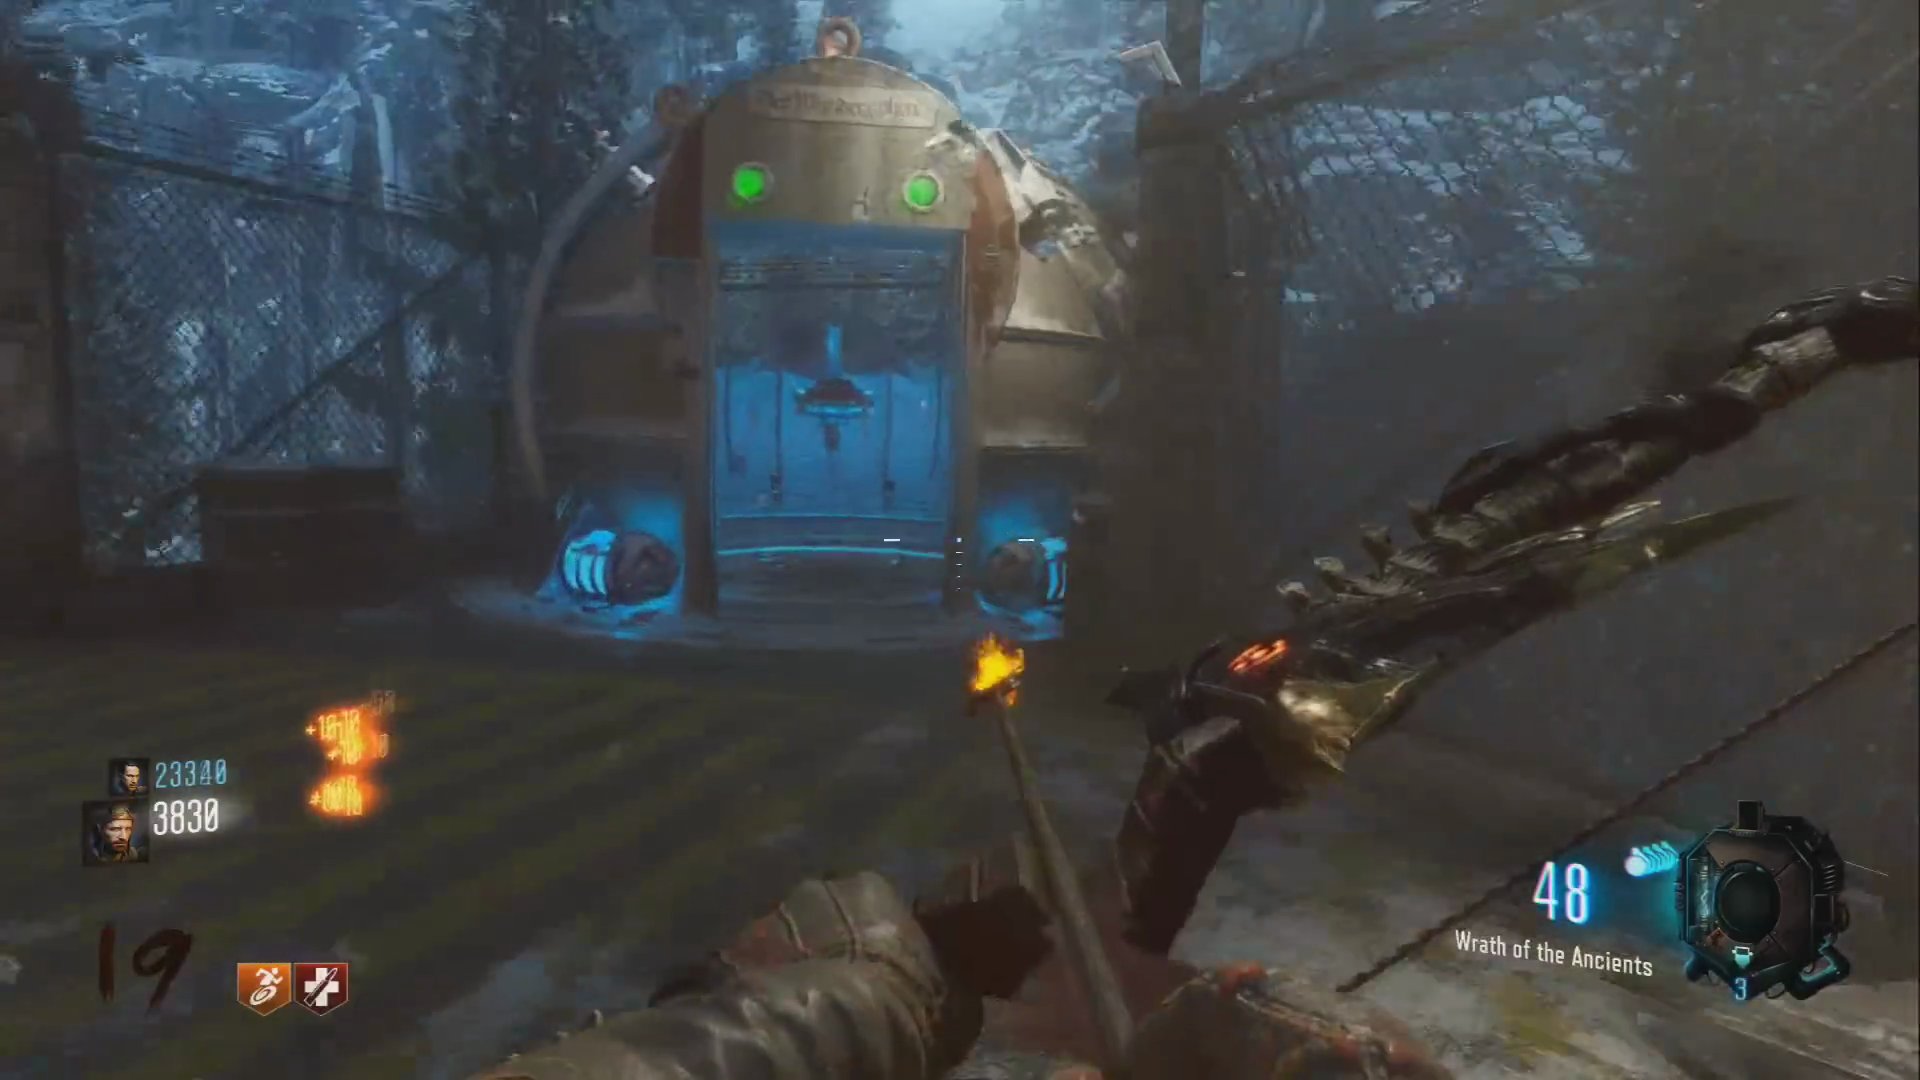
- Ensure all the launch pads are activated (glowing blue).
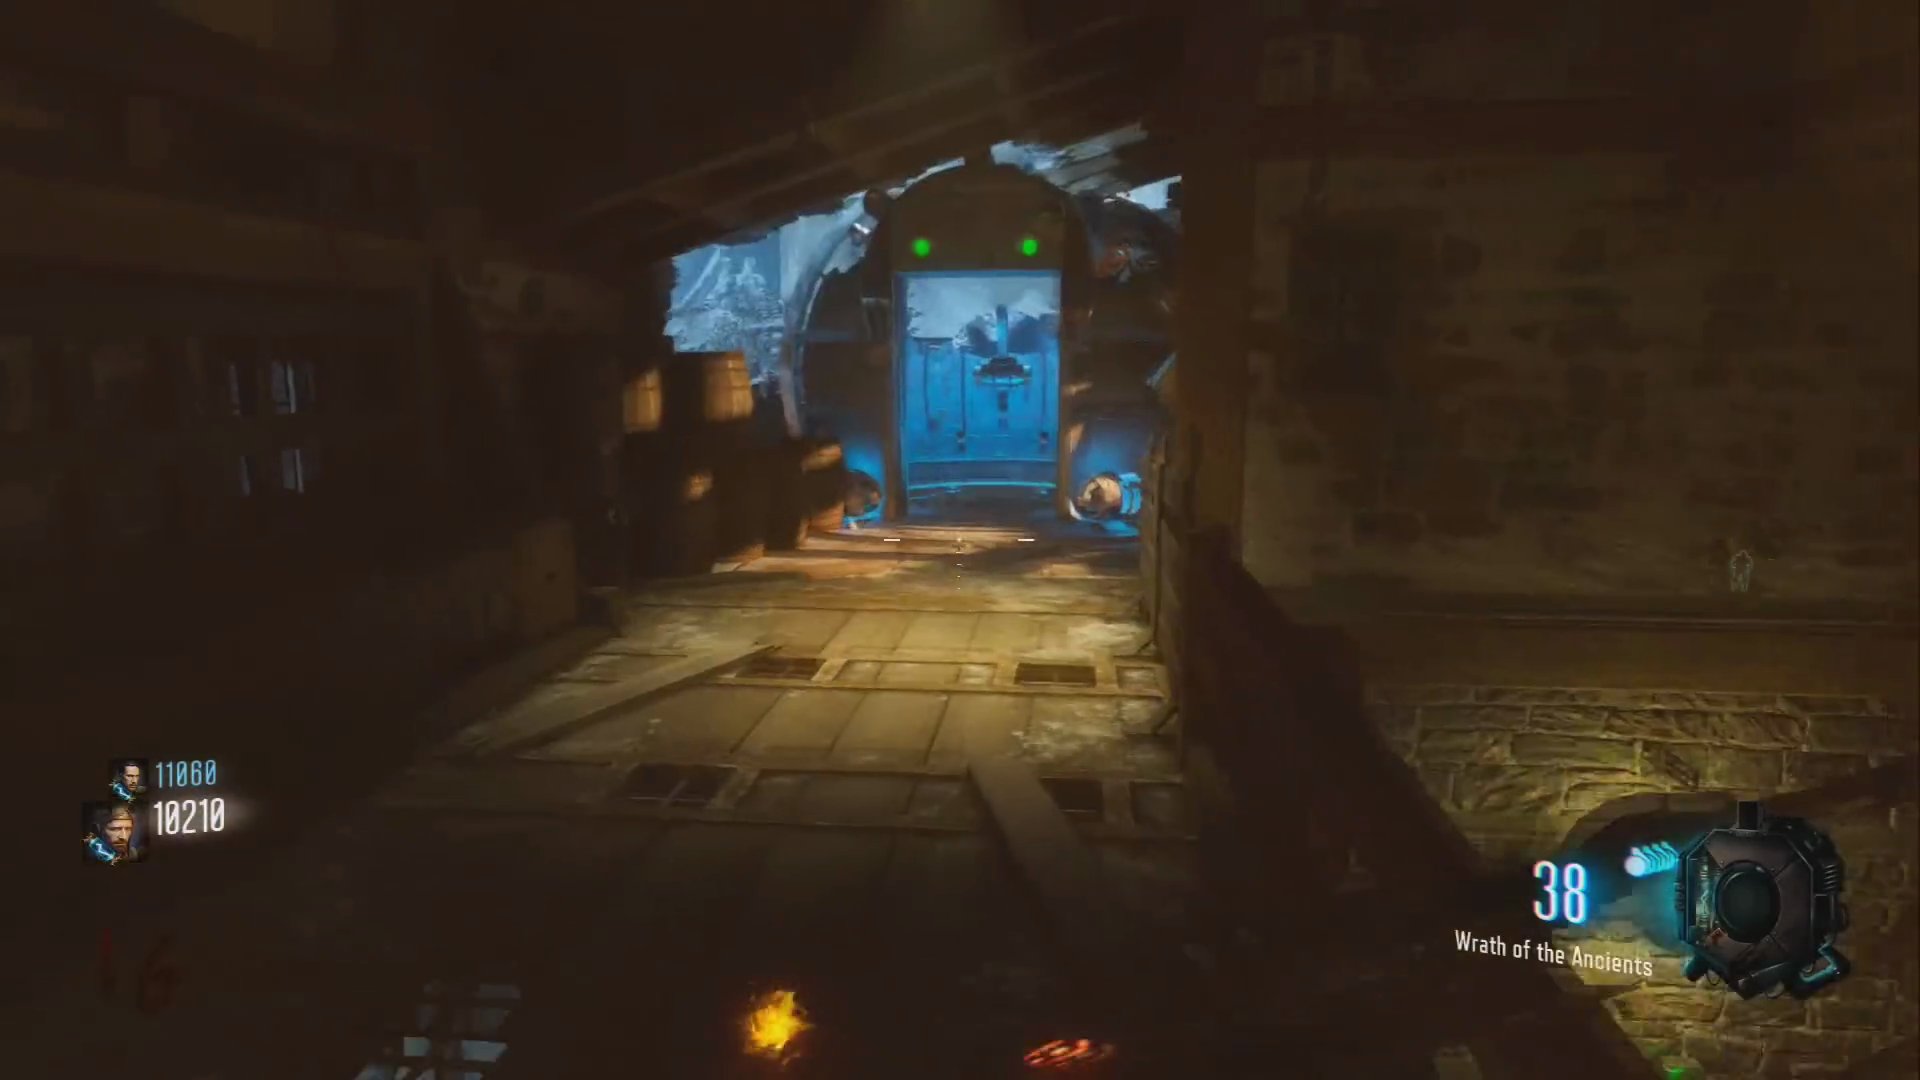
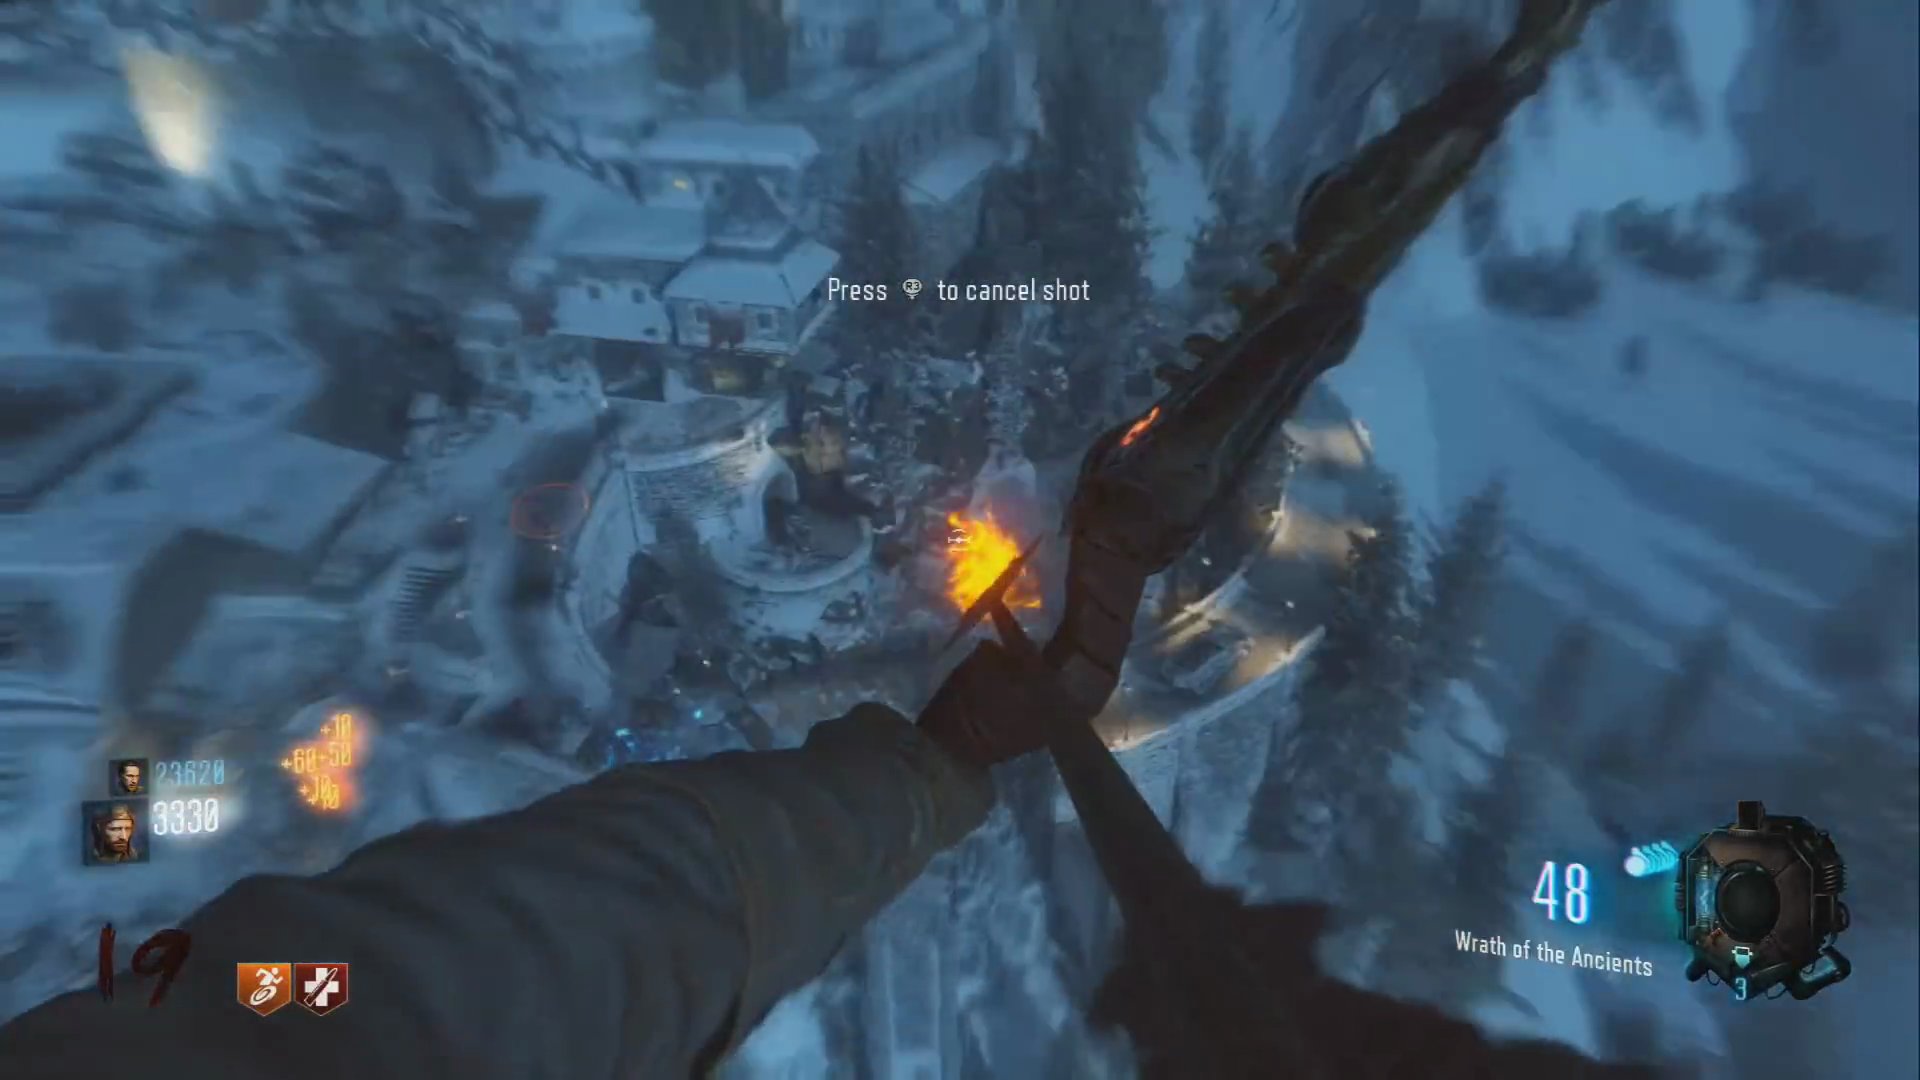
- Use one of the launch pads. While in mid-air, shoot the red fire circle on the ground below with your bow.
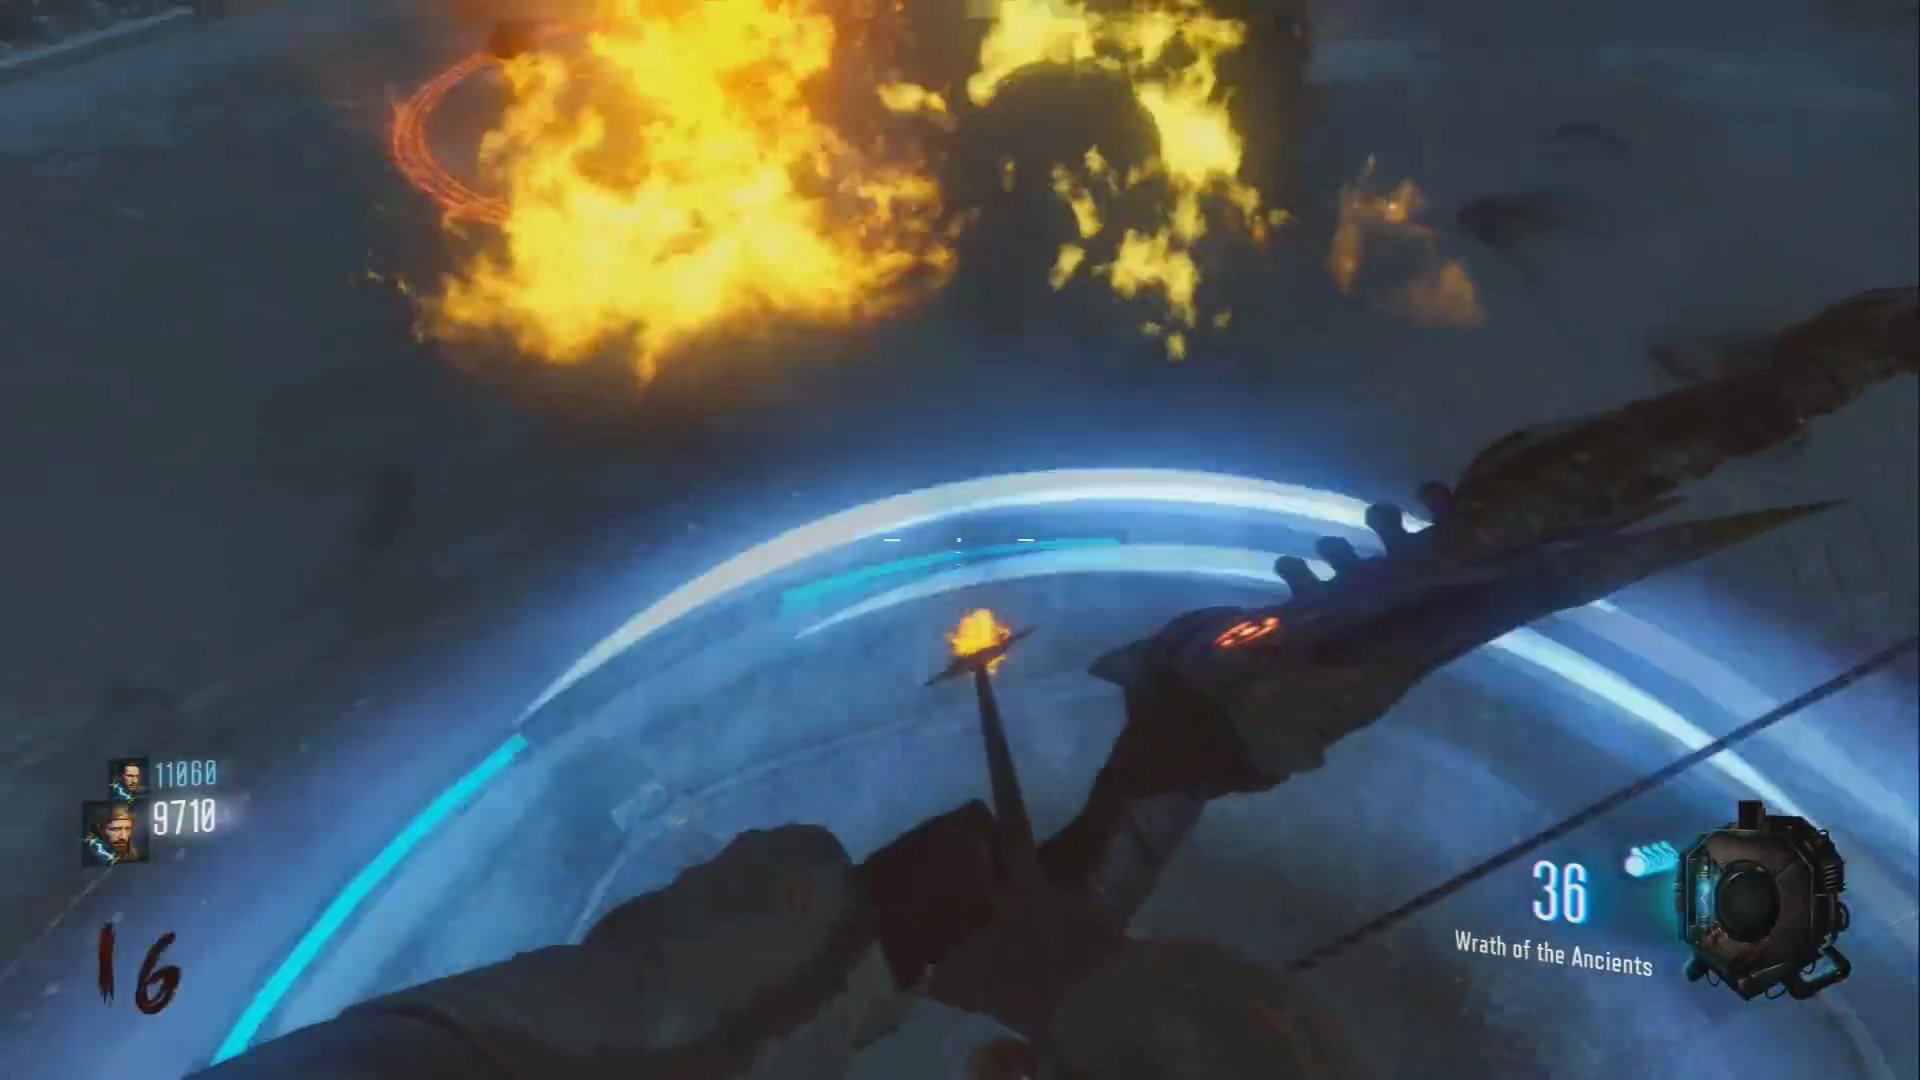
- Repeat this process for the other two red circles using the other two launch pads.
 ,
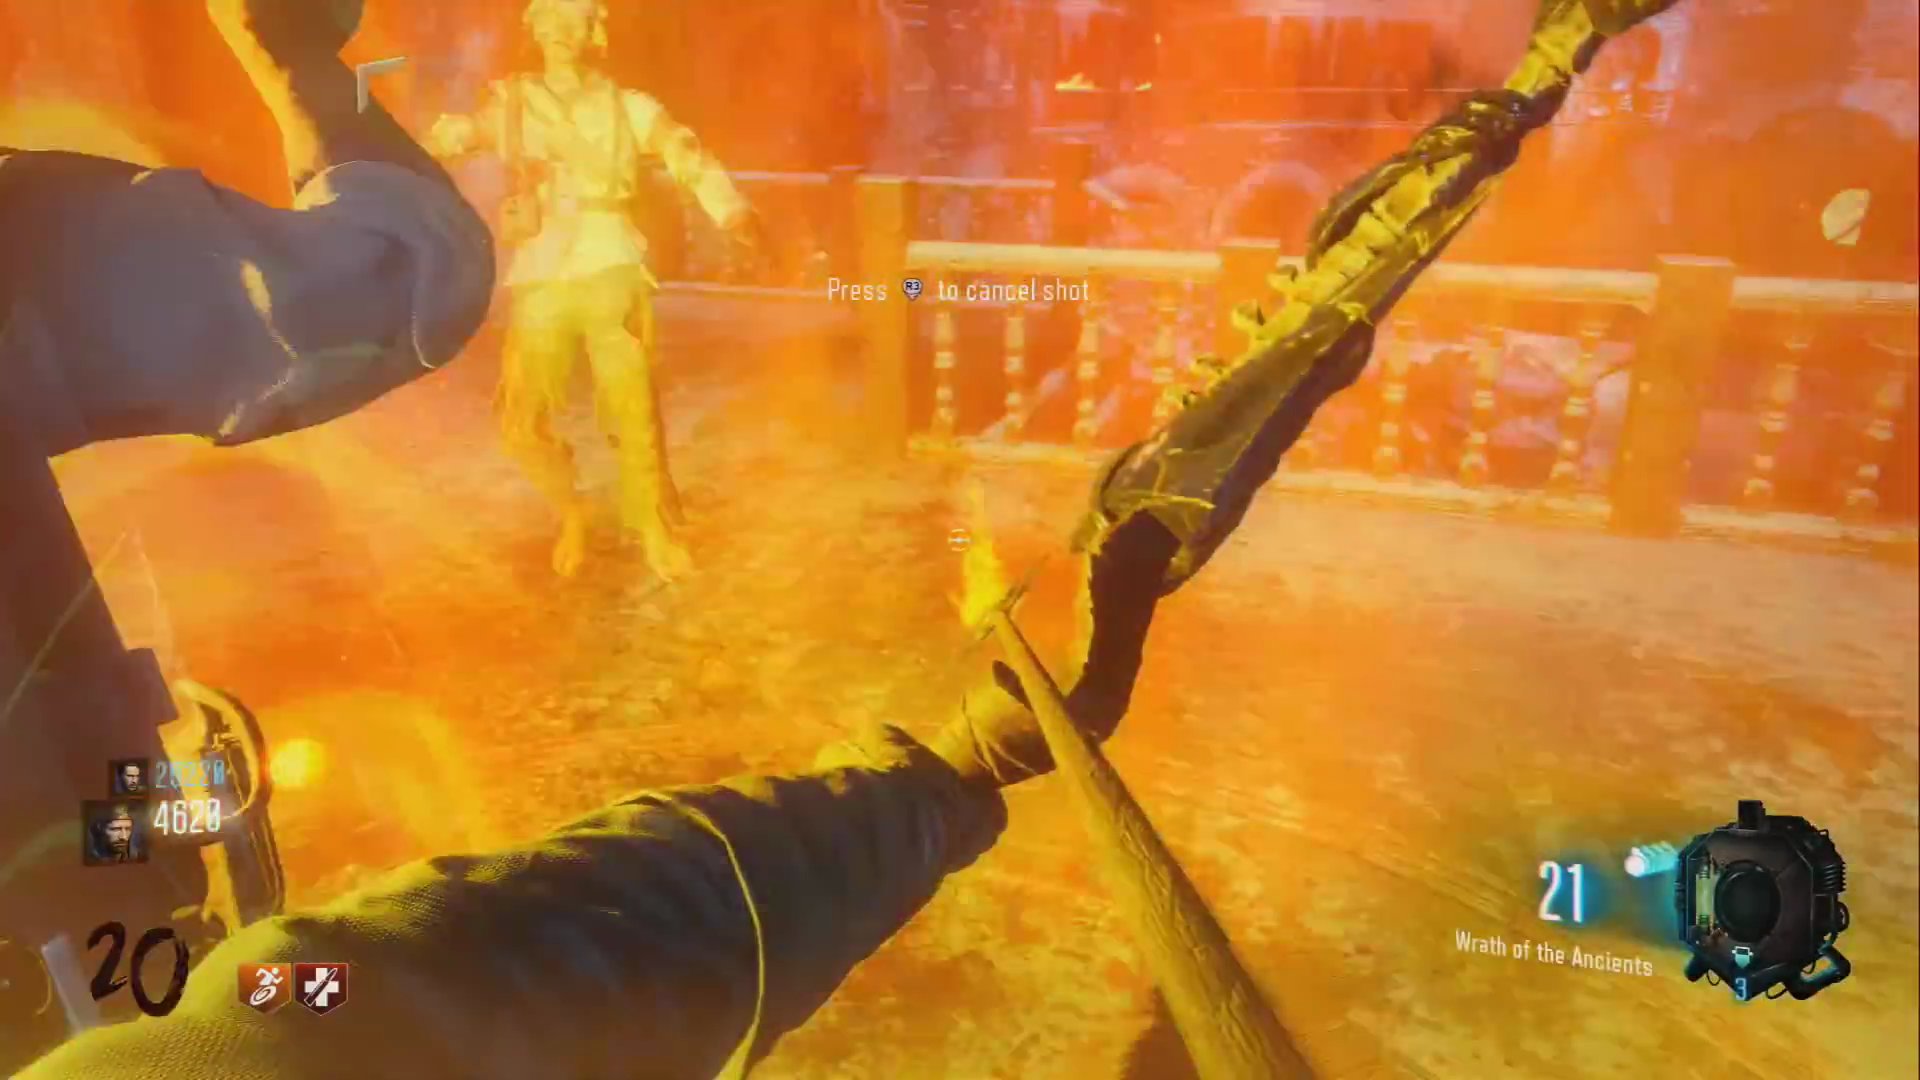
Step 4: Collect Souls from Circles
- Stand on each of the three glowing red circles and kill zombies within them to collect souls.
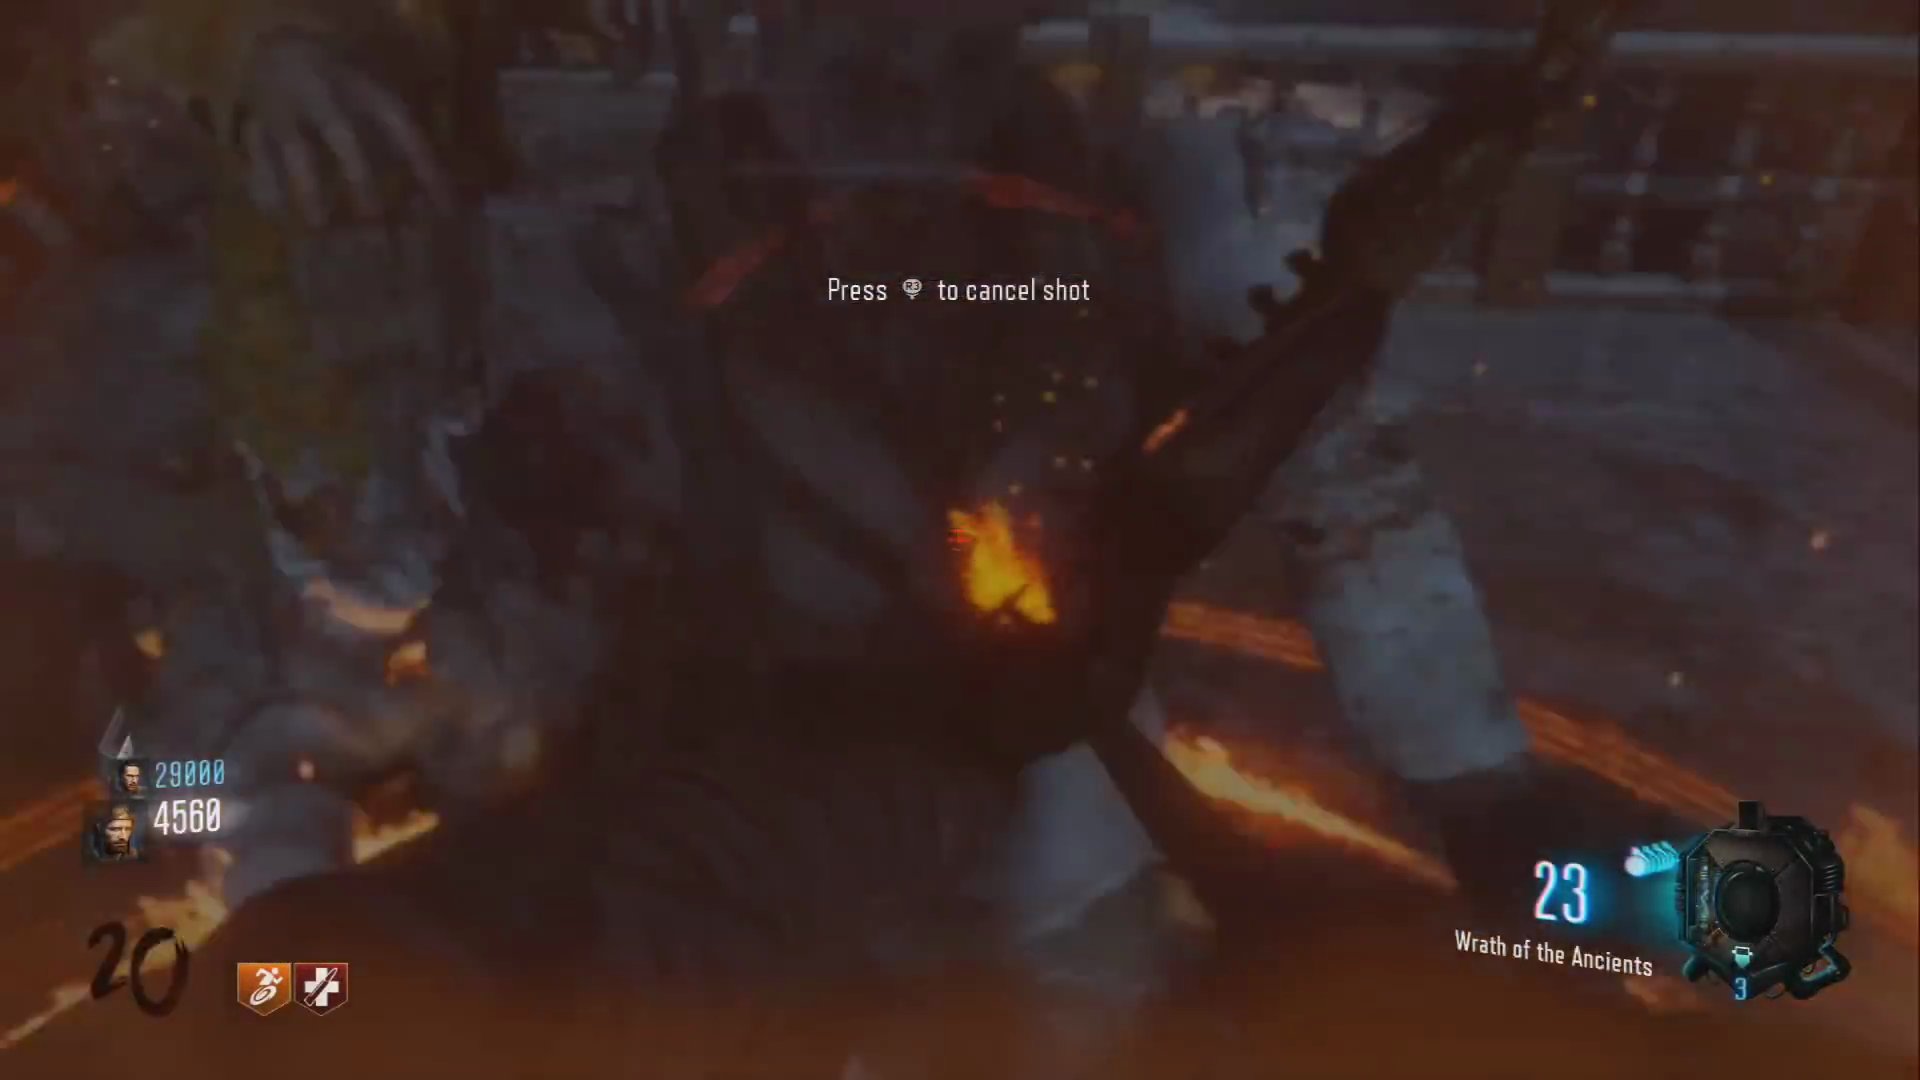
- You'll know you've done it correctly when an orange light fills up the circle.
Step 5: Activate Clock Tower Cogs and Fireplaces
- Return to the clock tower.
- Hold the action button on the clock tower cogs. This will display a symbol.
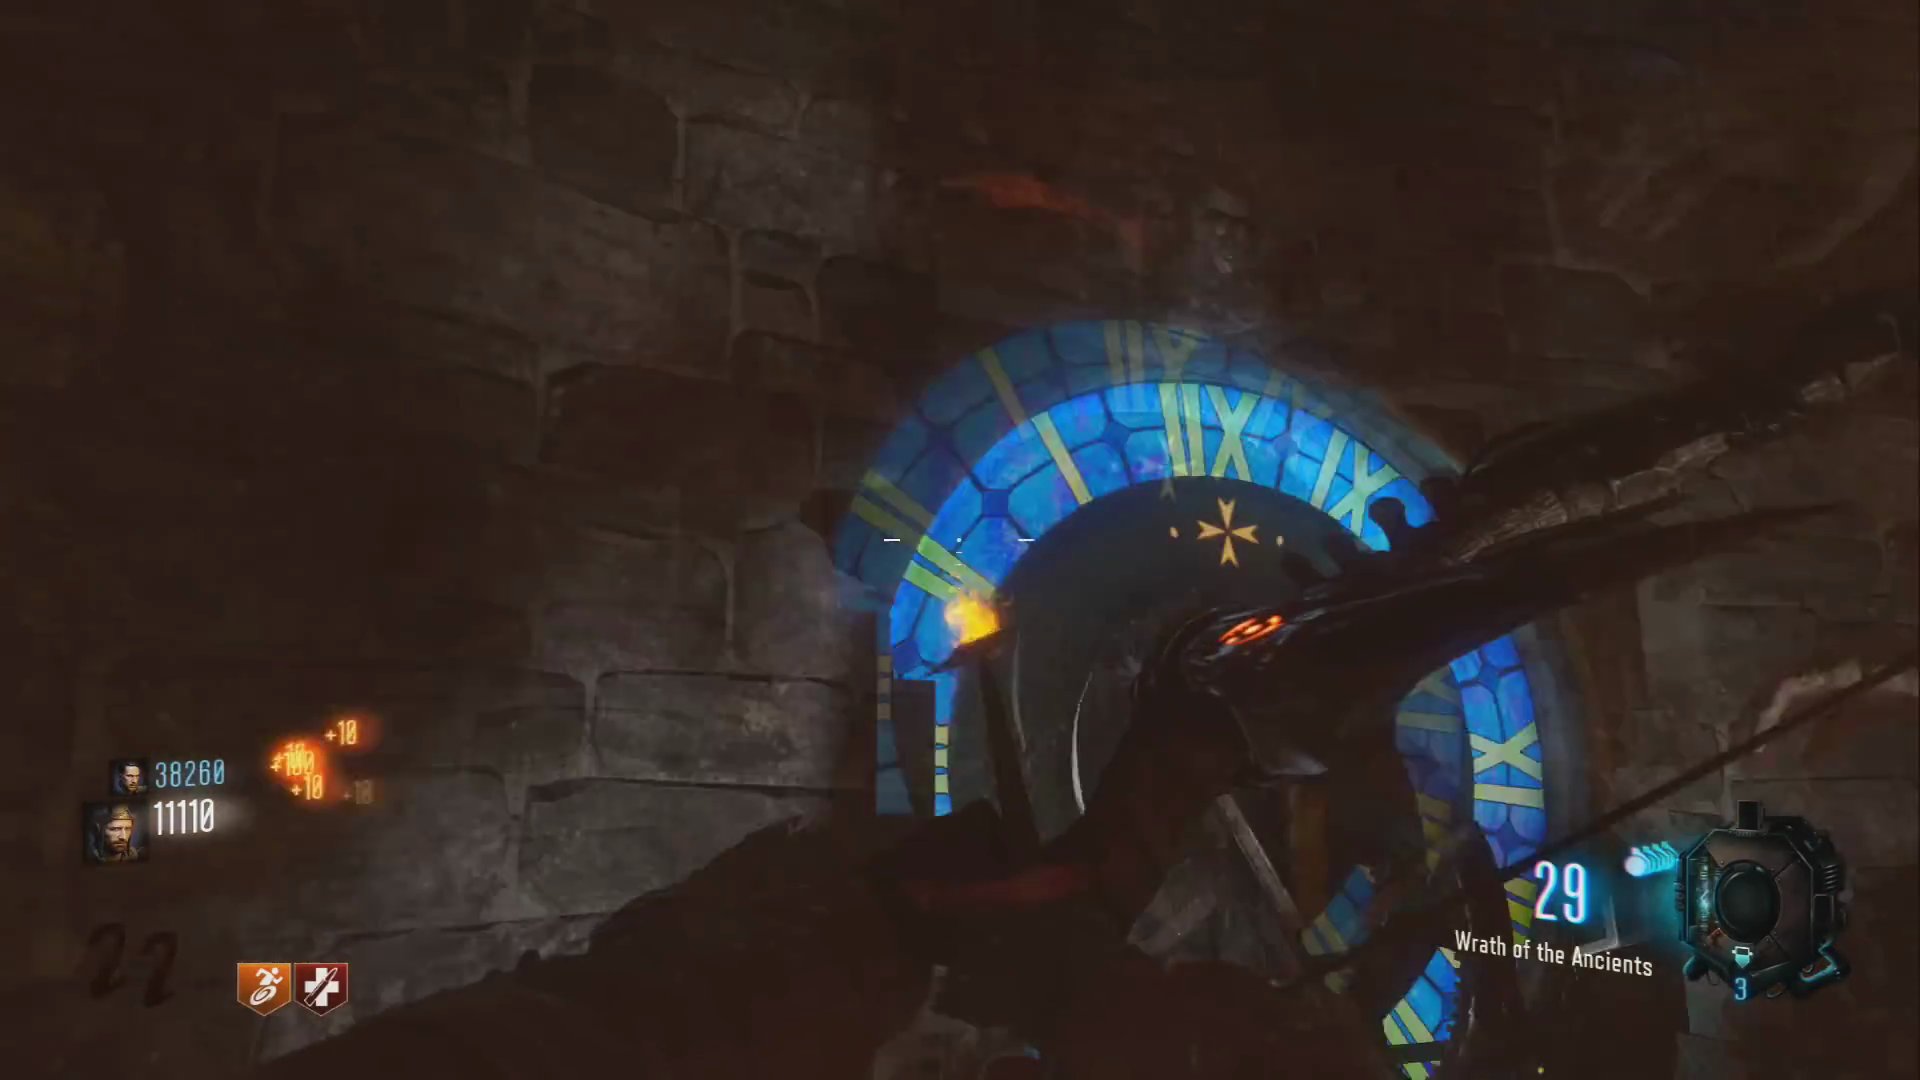
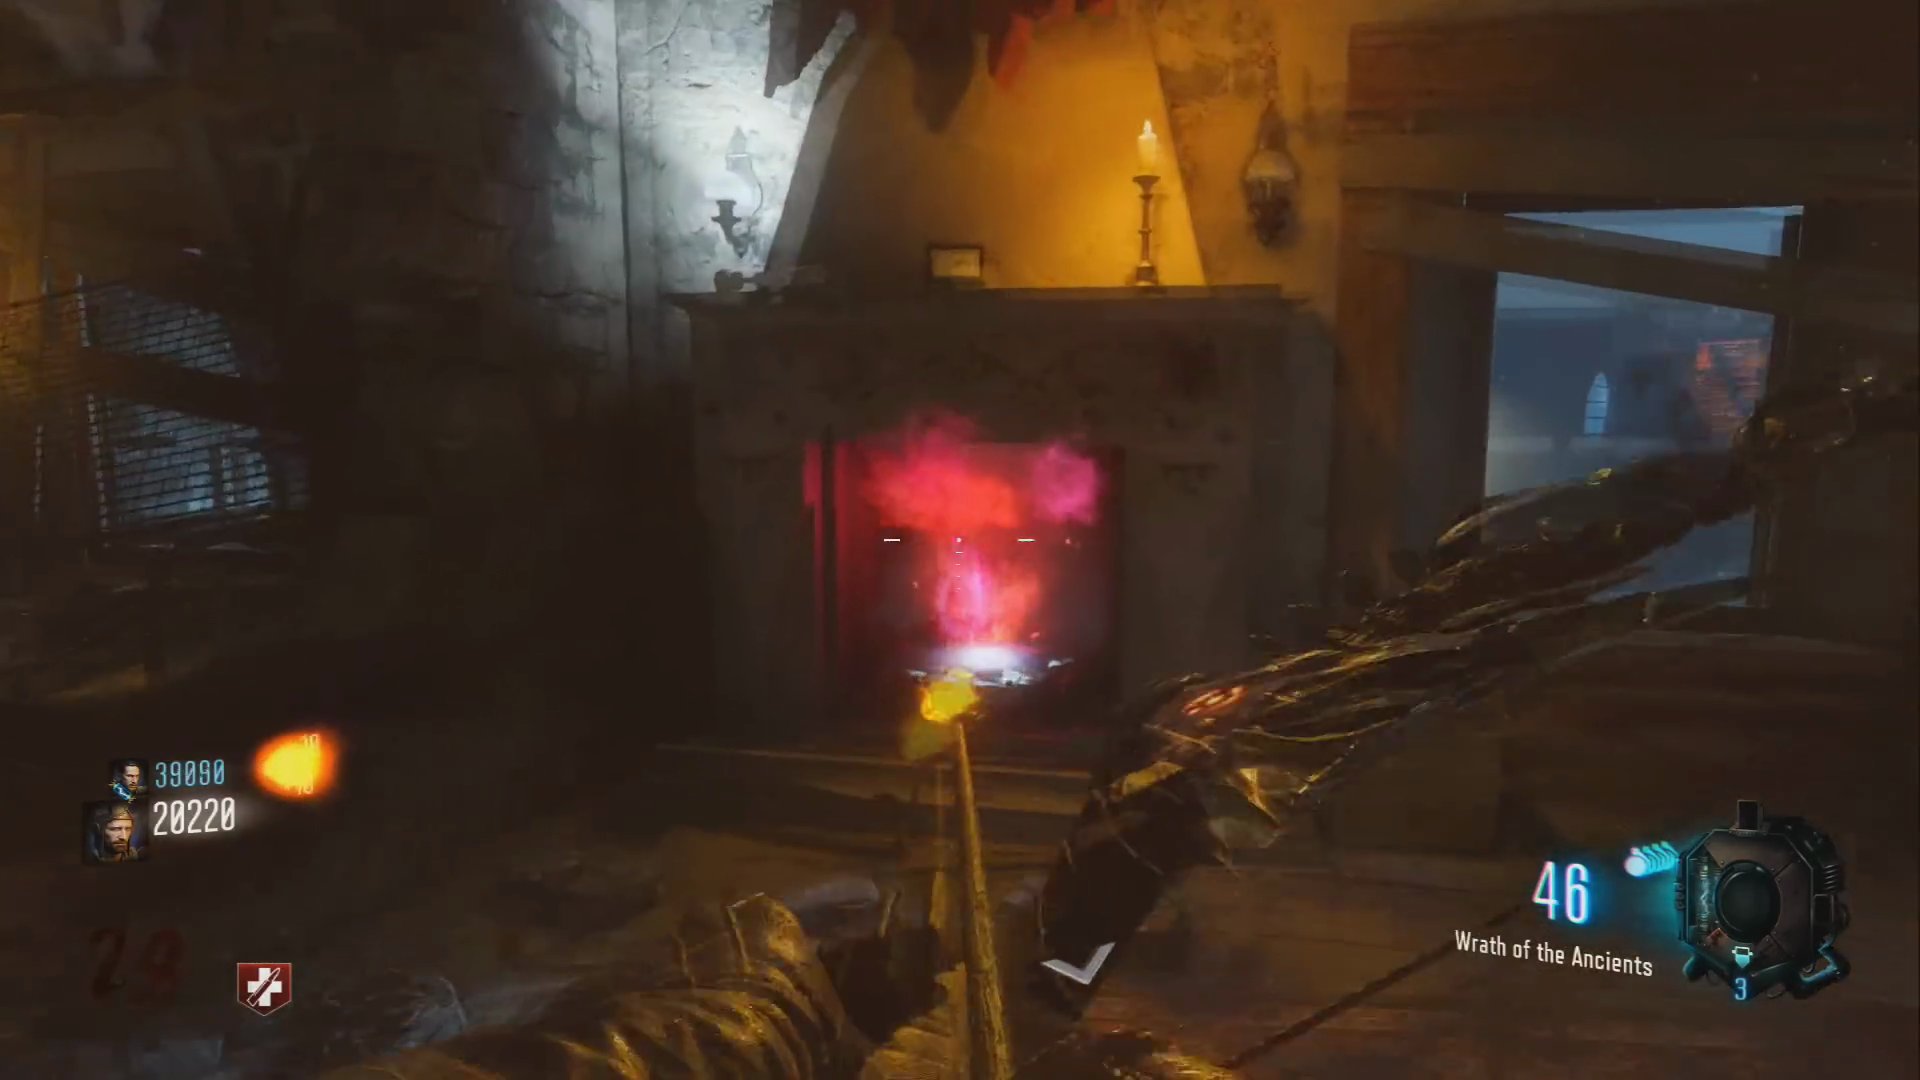
- This symbol corresponds to one of the fireplaces around the map. Locate the correct fireplace (e.g., the one in Eddie's room if your symbol corresponds to it).
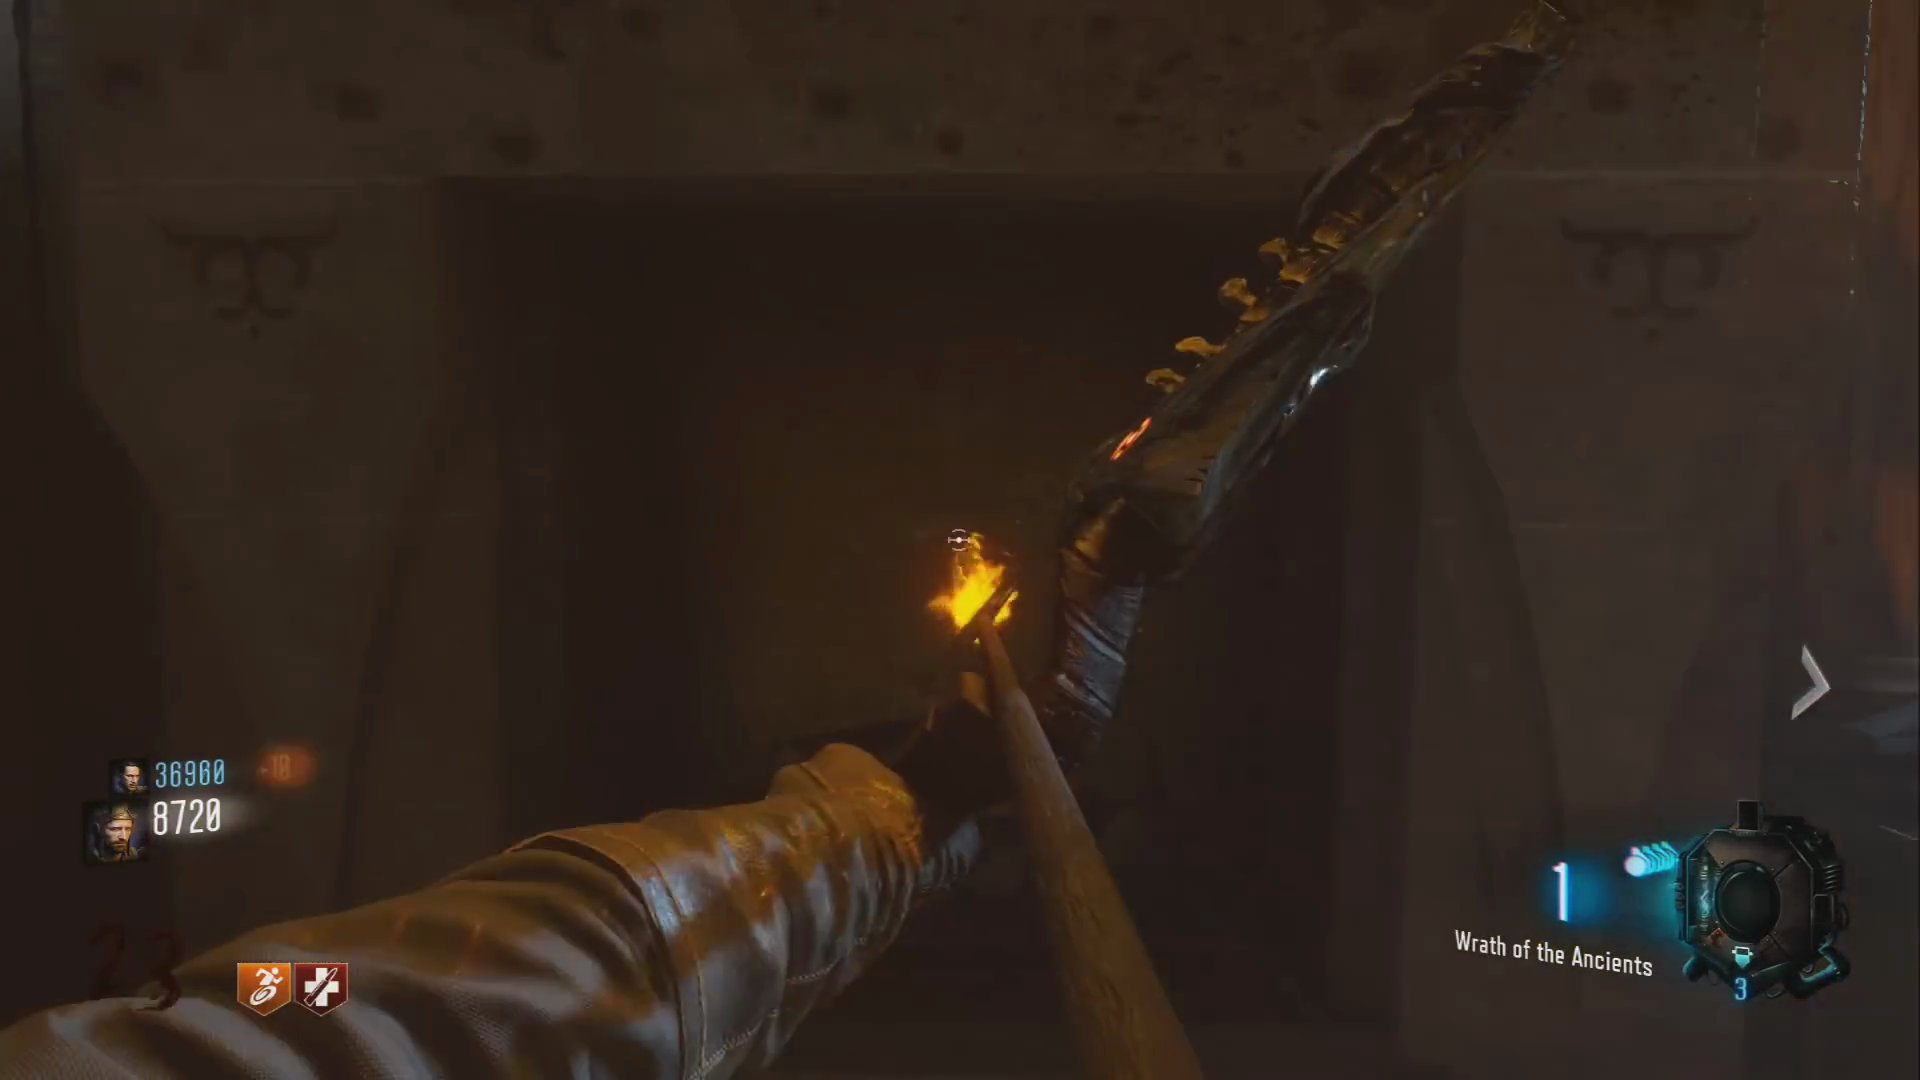
- Shoot the corresponding fireplace with your fire bow.
Step 6: Volcano Fire Shot
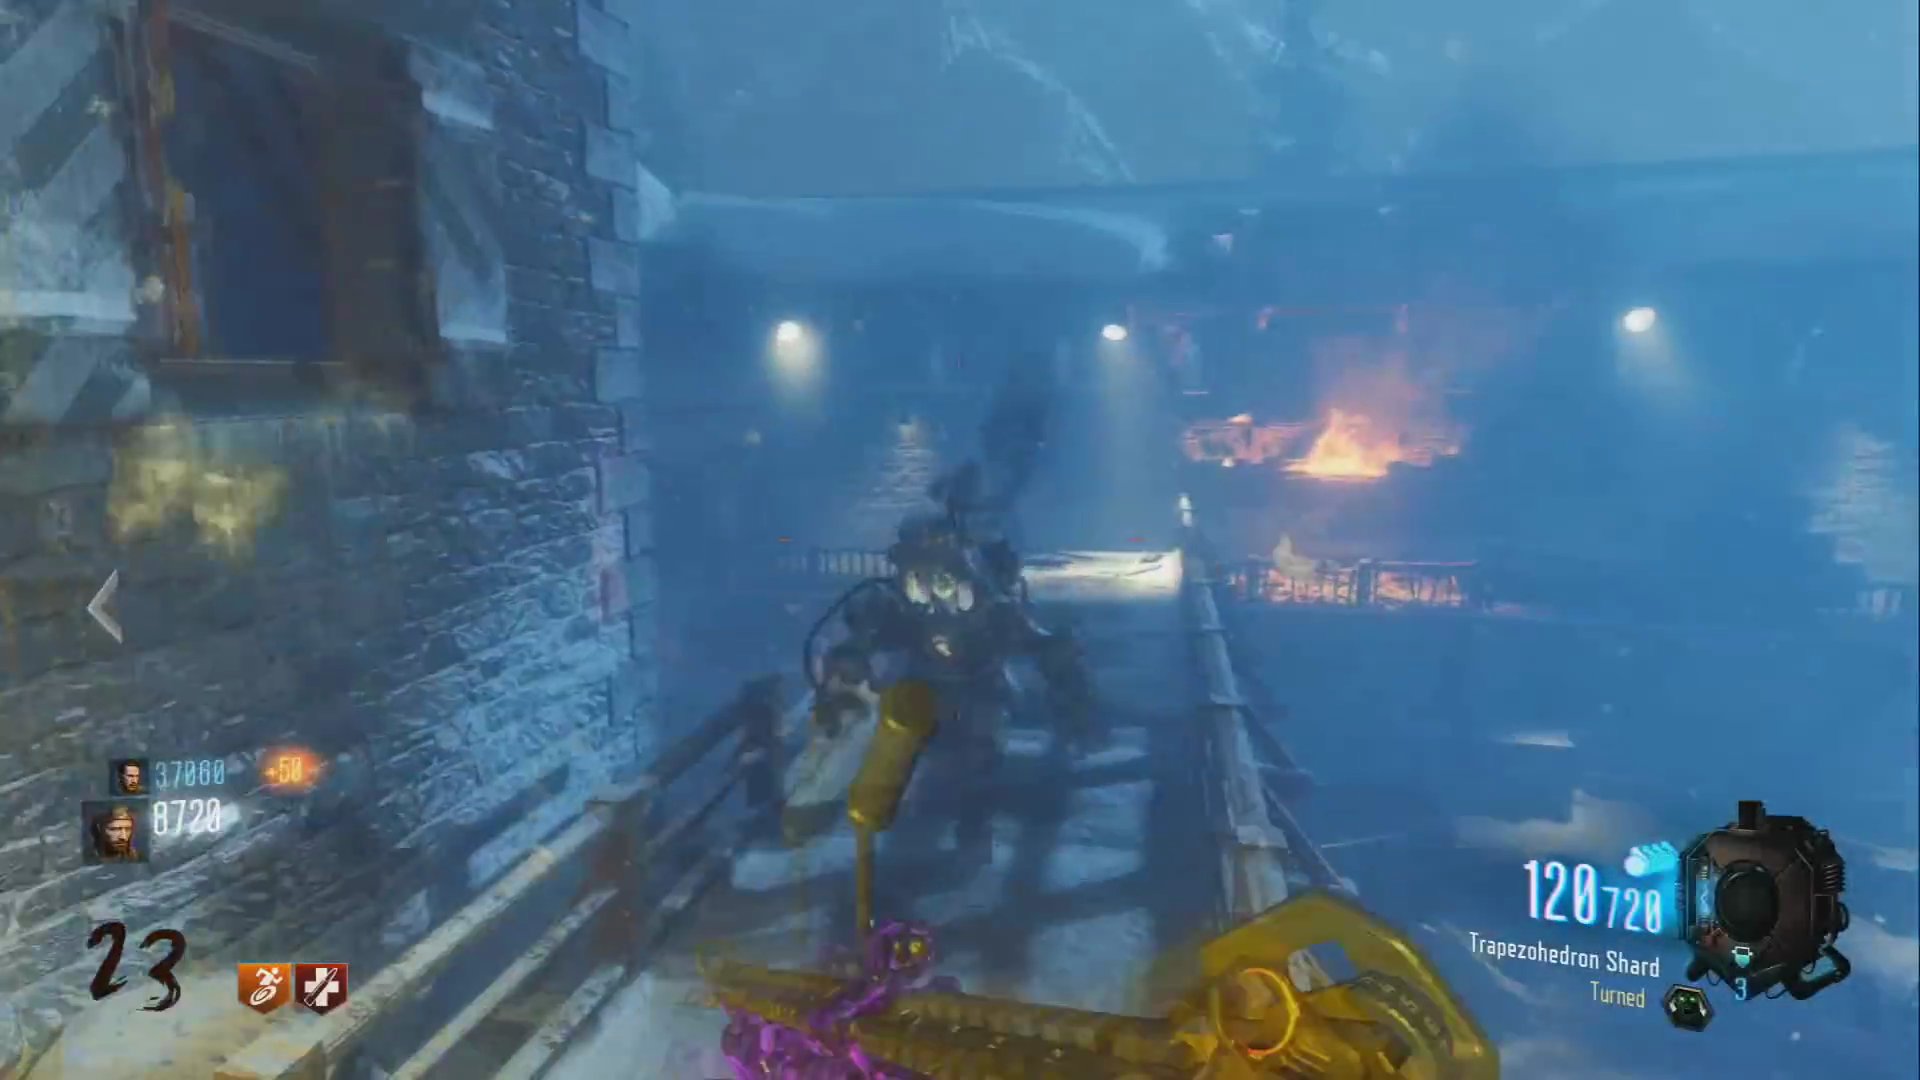
- Proceed to the next round. A small volcano will appear at one of the three fire circles (located around the clock tower area).
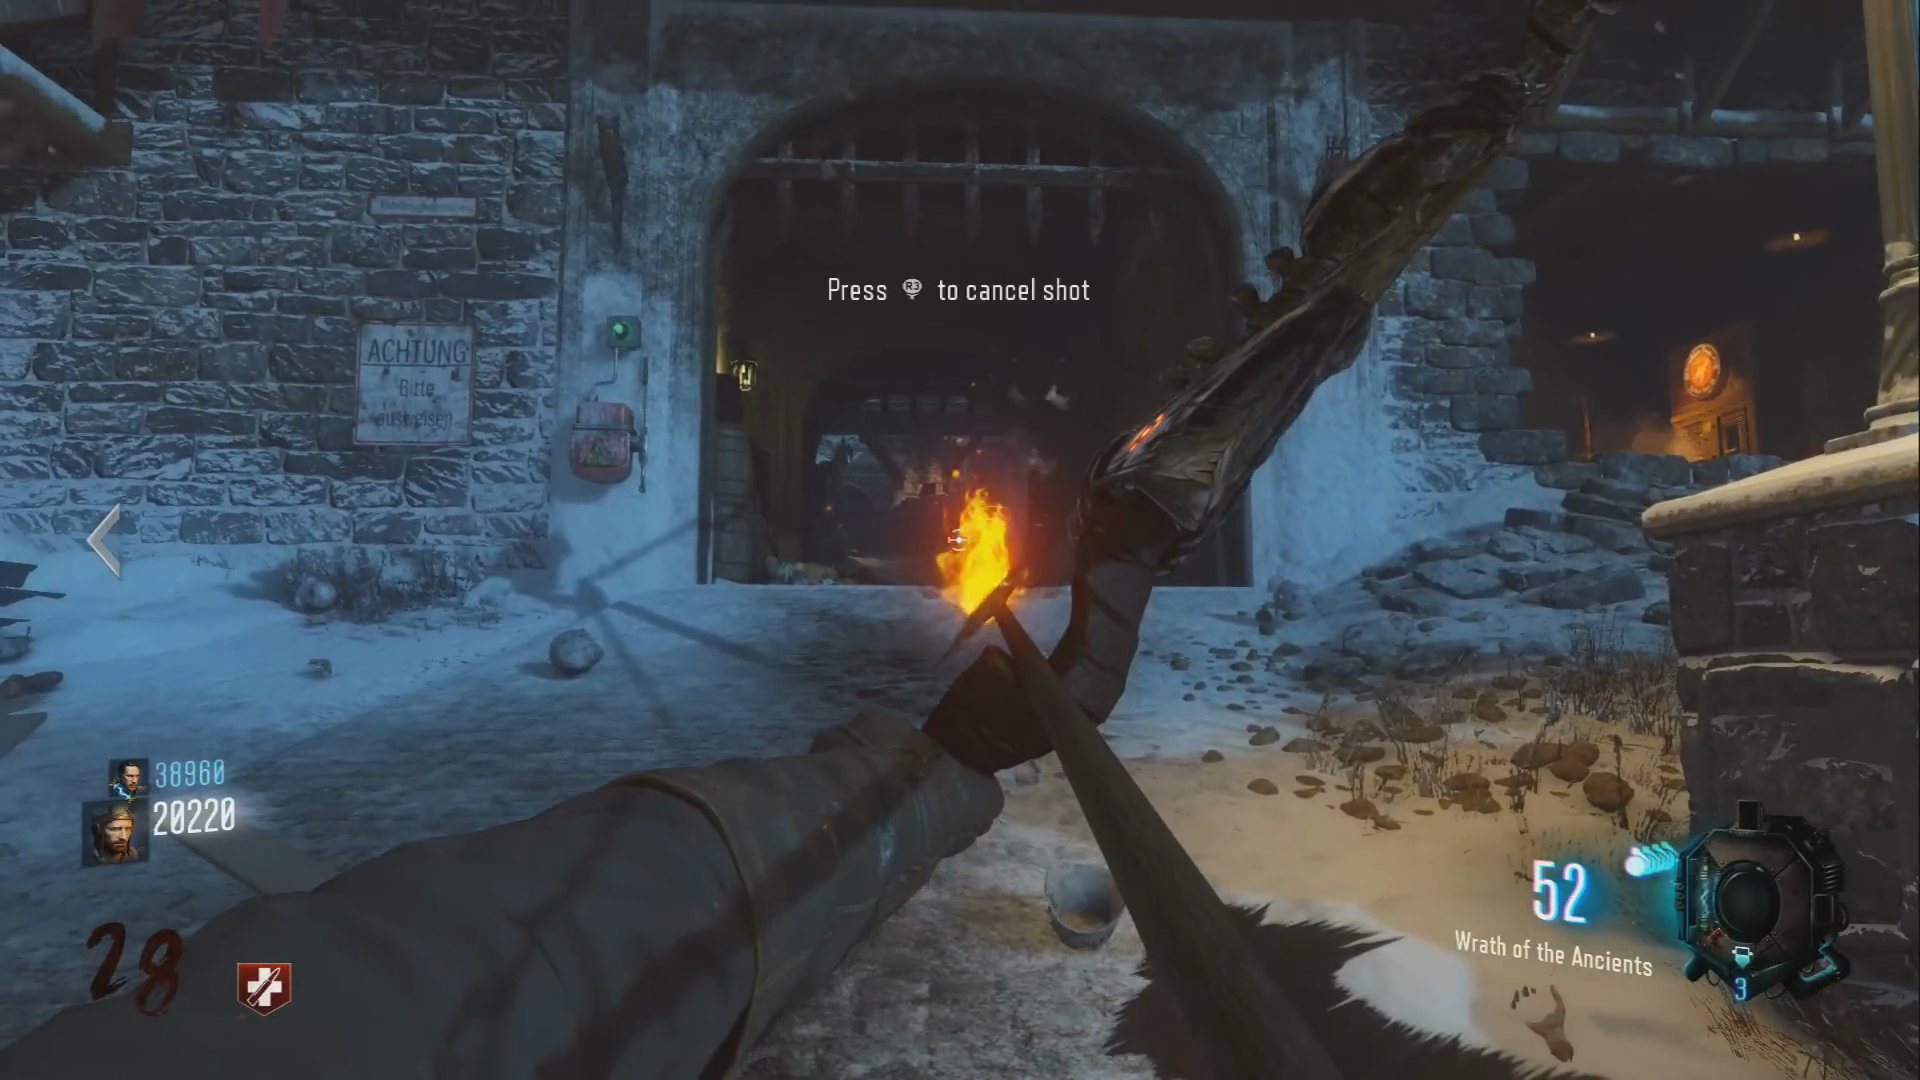
- You have four shots with your fire bow to direct the volcano into the corresponding fireplace (identified in the previous step).
- Stand in one of the circles and take your first shot. The volcano will reappear where your shot landed.
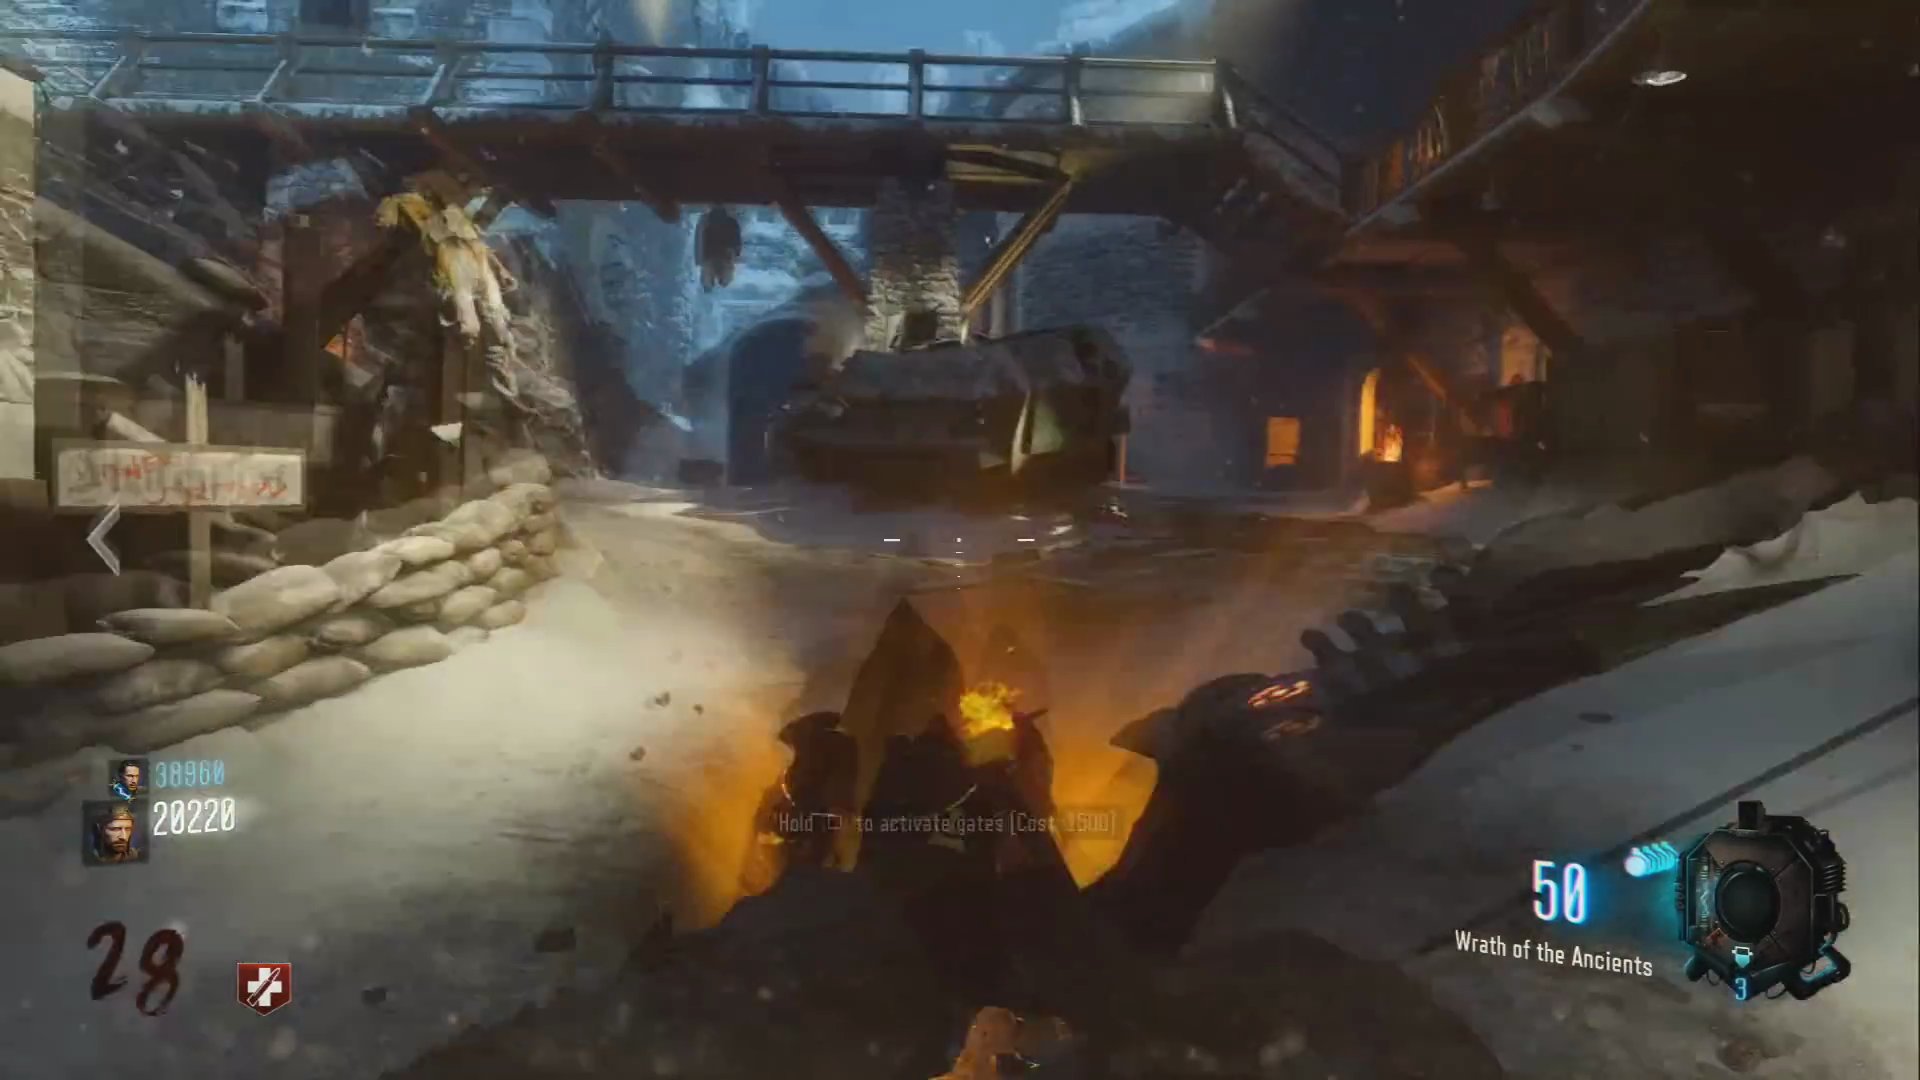 ,
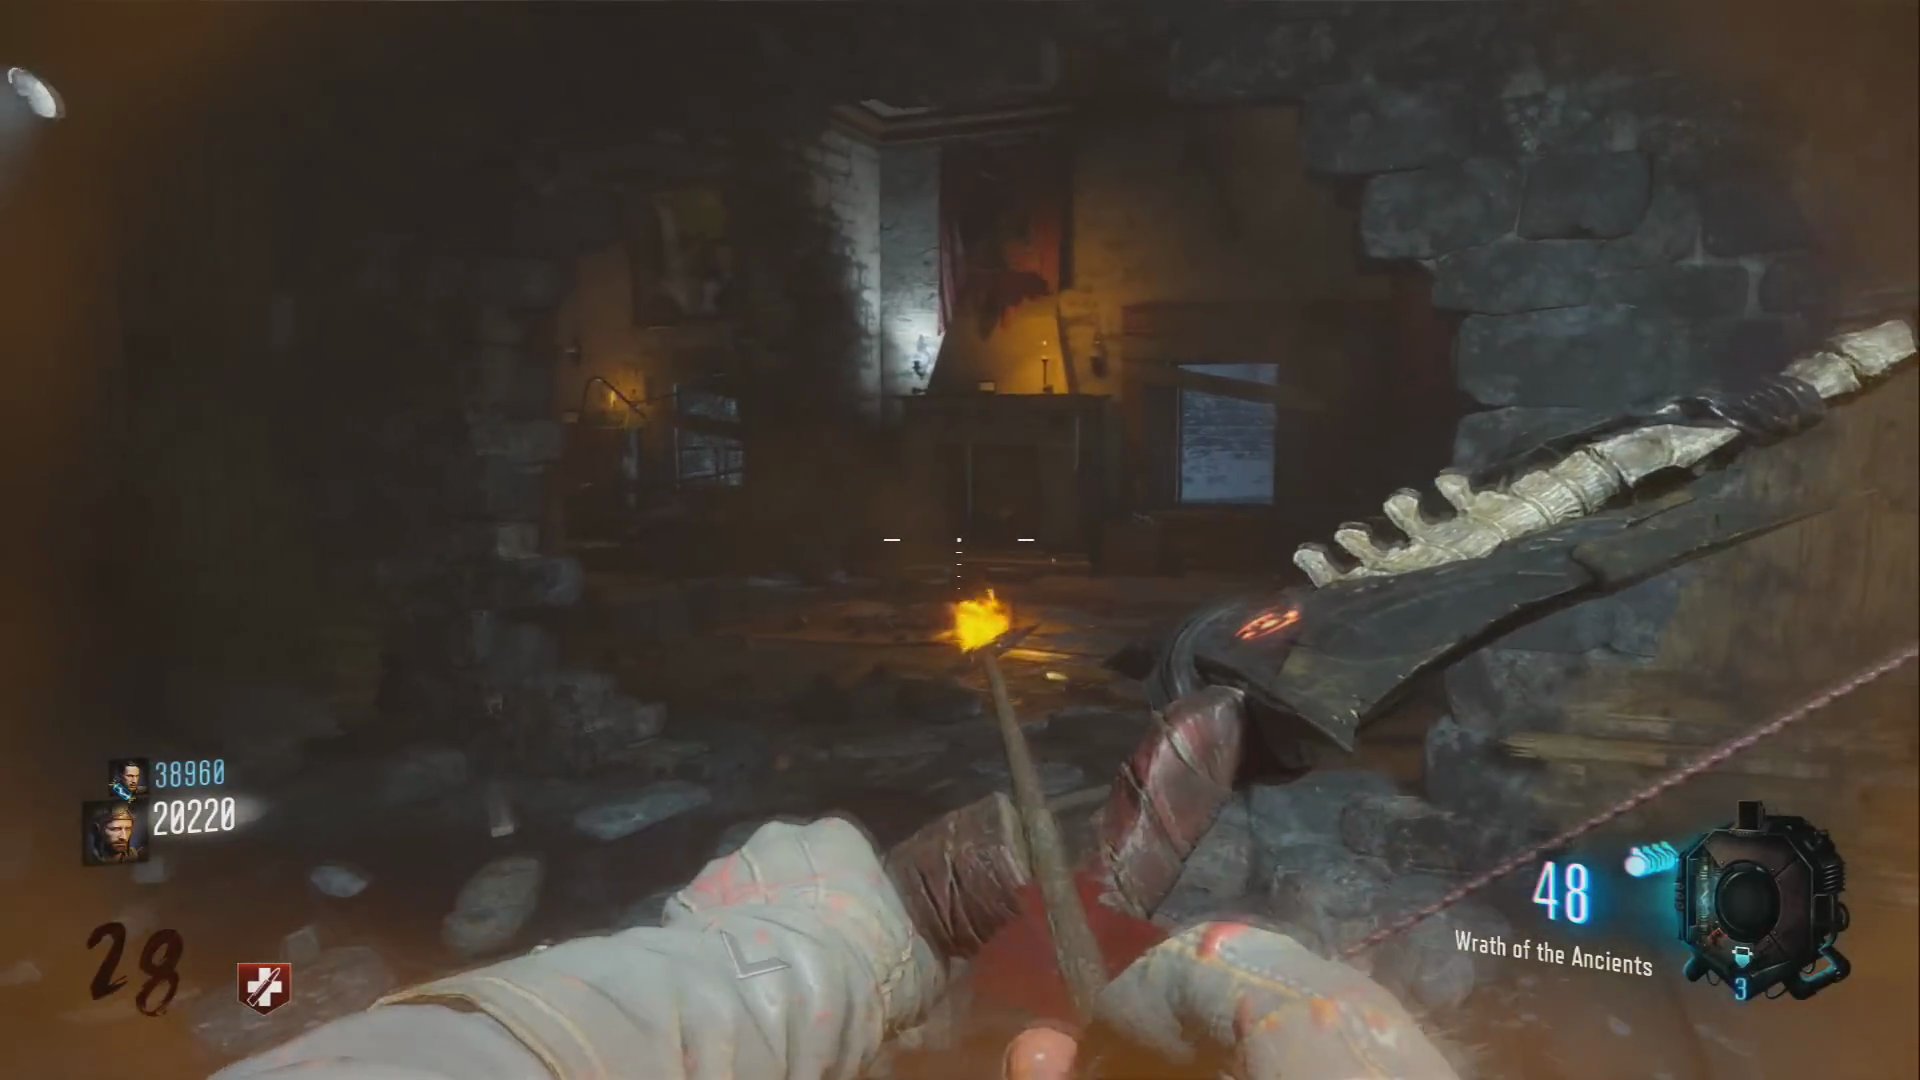
- Continue shooting until the volcano lands in the correct fireplace.
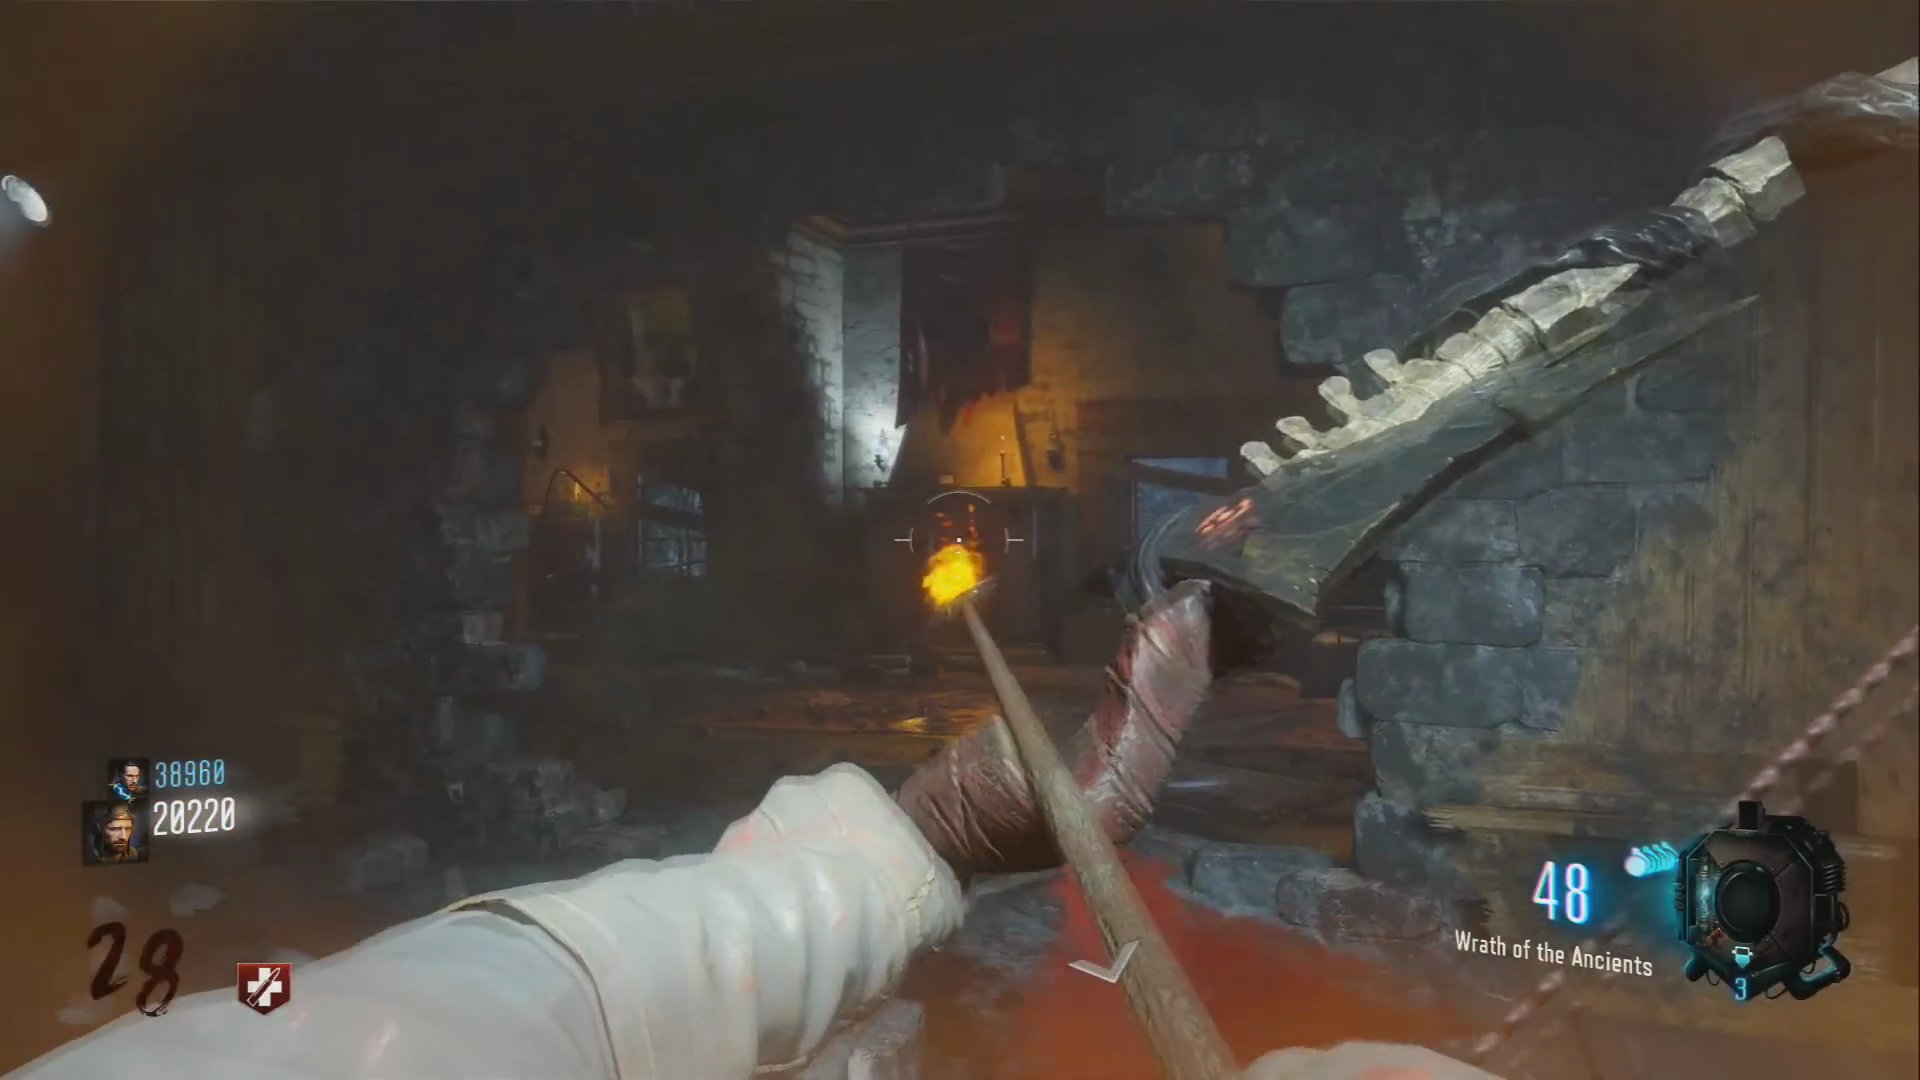
- Once it's in the fireplace, hold the action button on it.
Step 7: Obtain the Upgraded Fire Bow
- Head back to the large fireball in the sky (near the Death Ray).
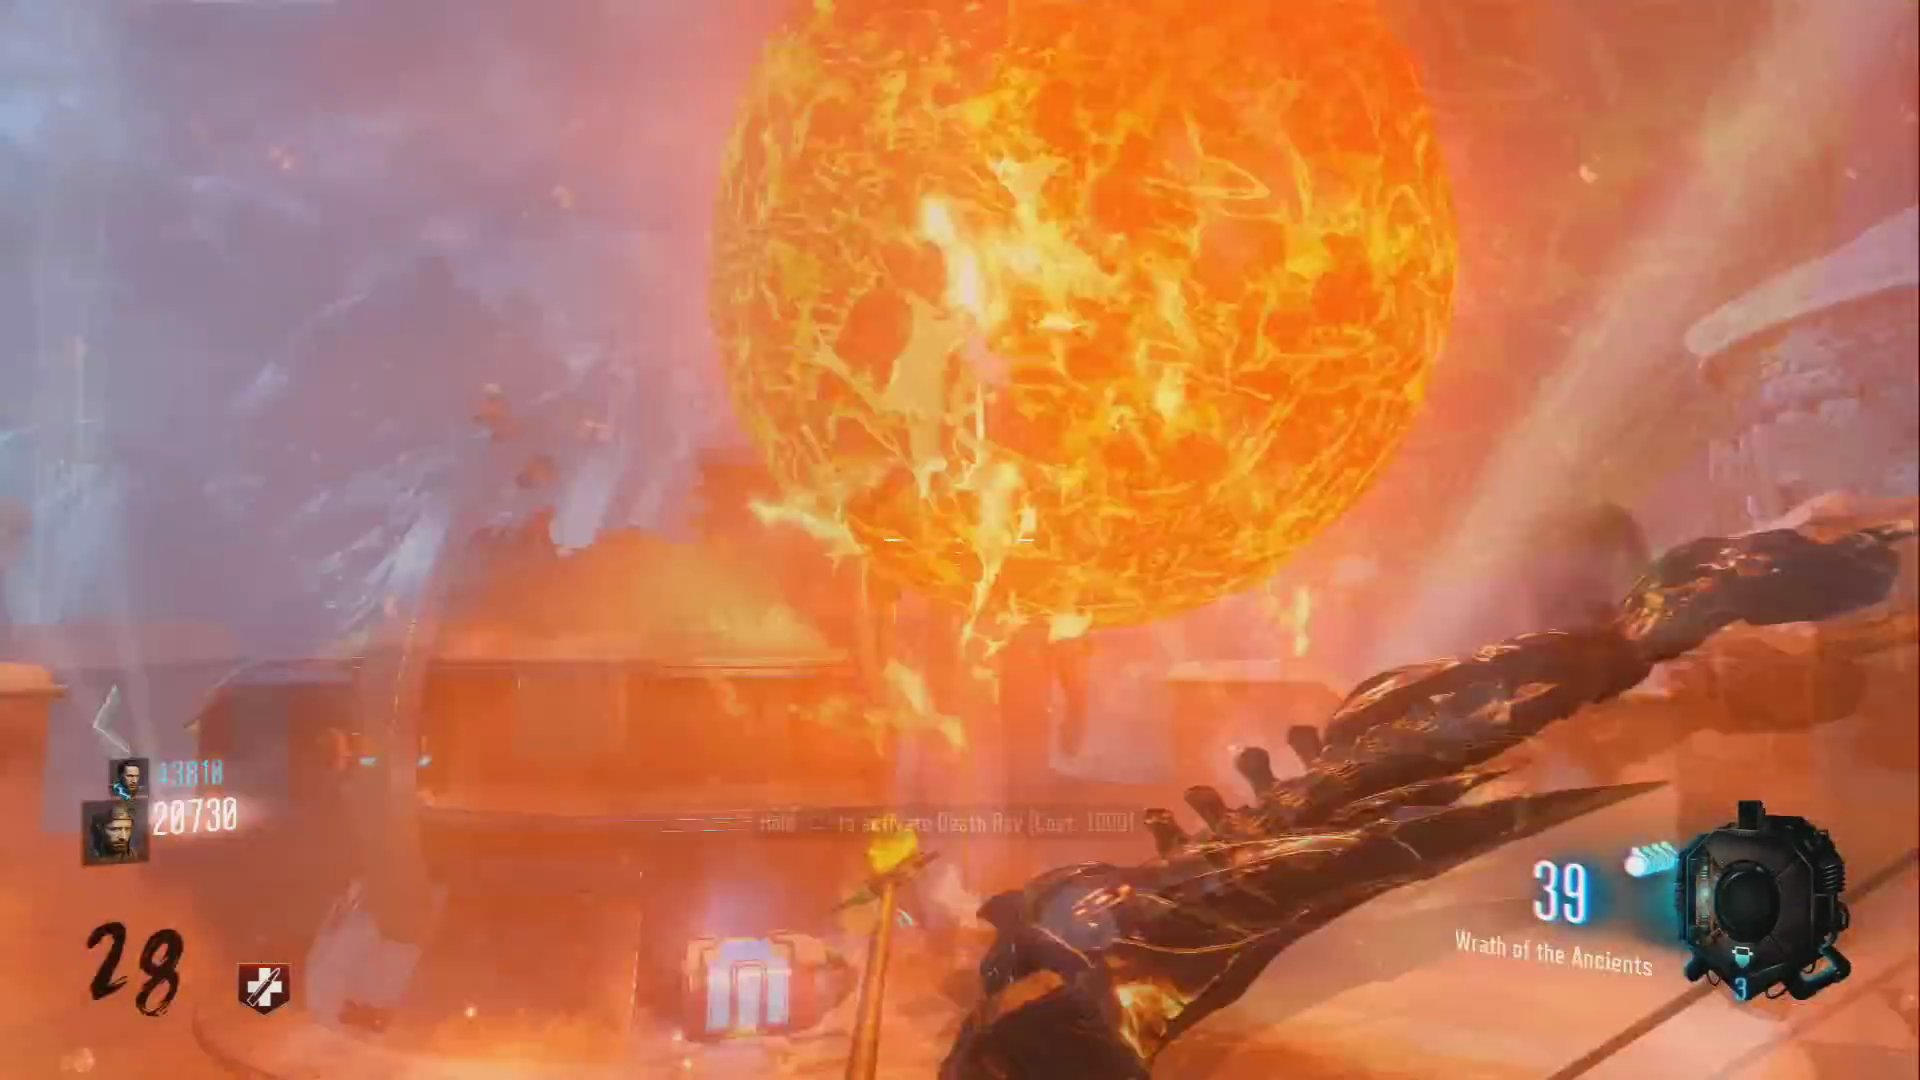
- Lure a single zombie directly under the fireball and kill it.
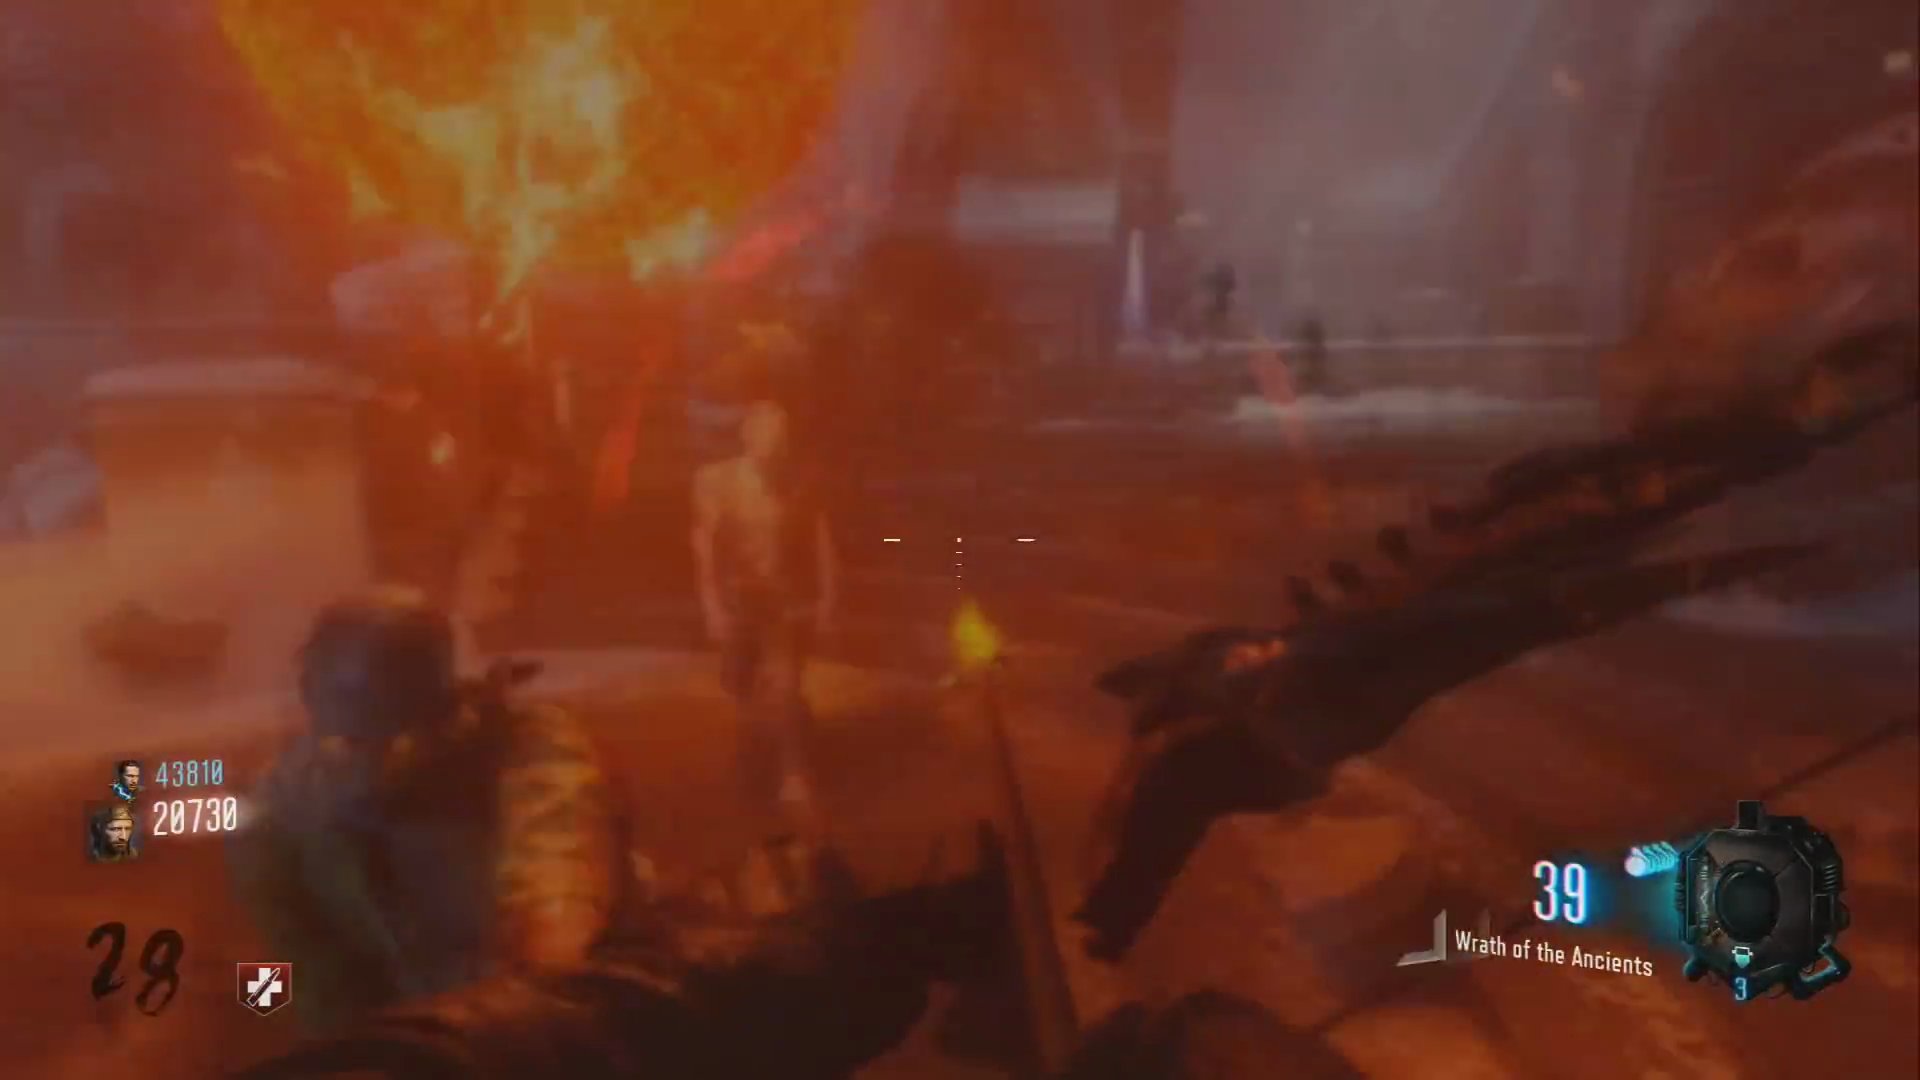
- Hold the action button on the fireball, and it will disappear, granting you the upgraded Fire Bow.
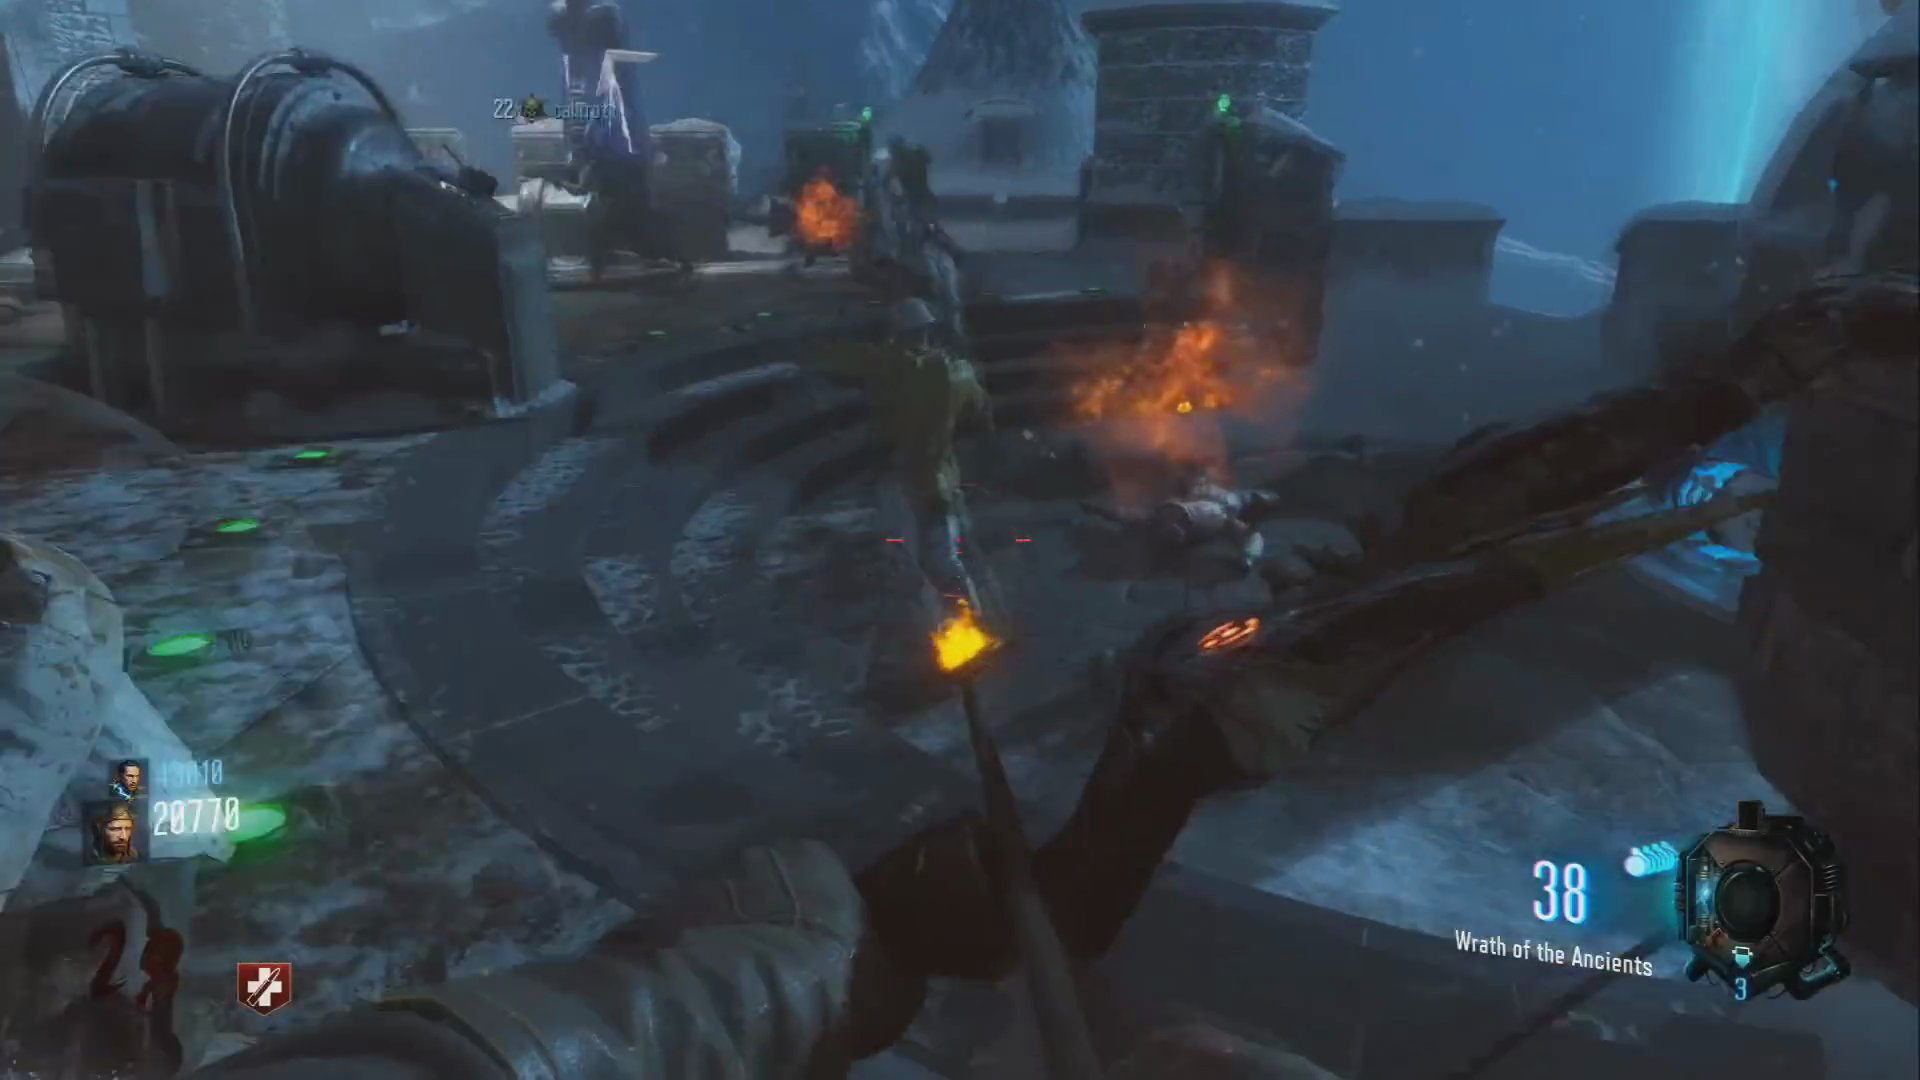
- Return to the Pyramid room and place the arrow in the box with the red/orange symbol.
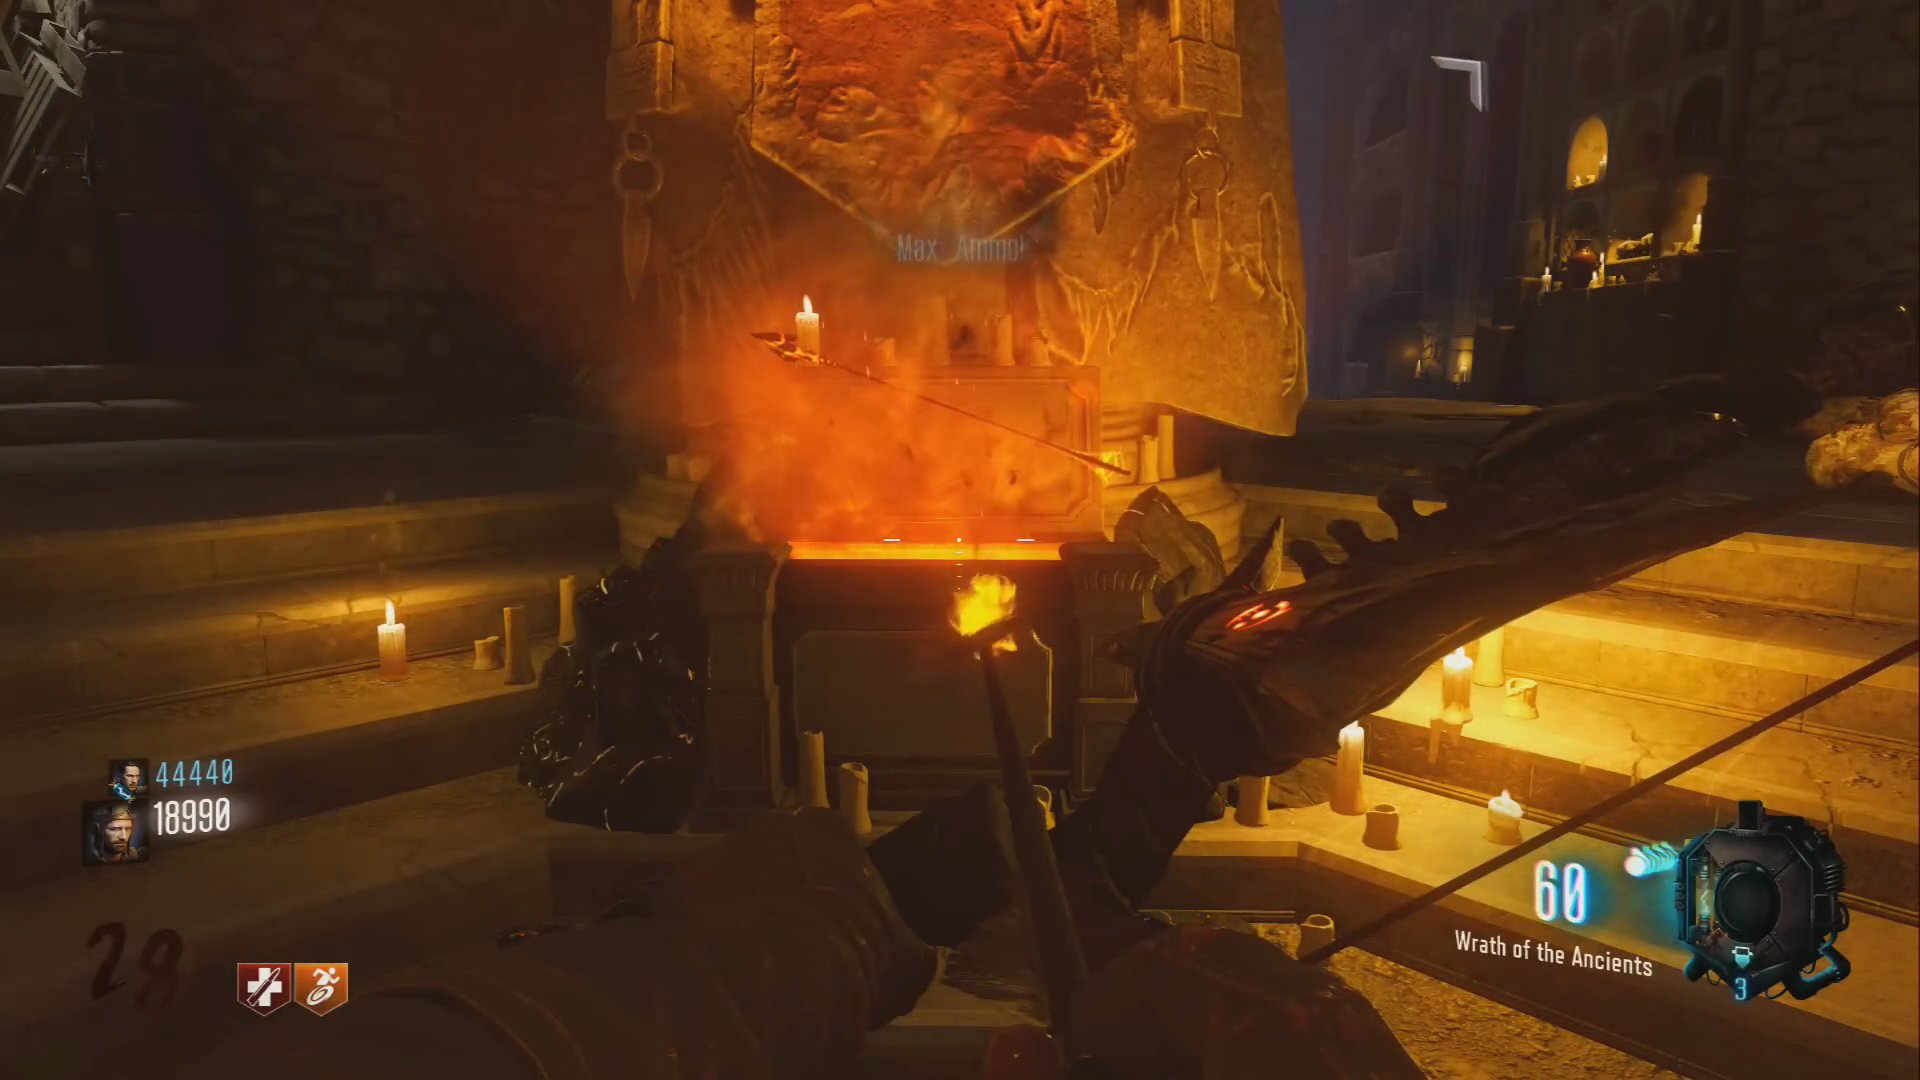
- Kill zombies to collect souls for the box.
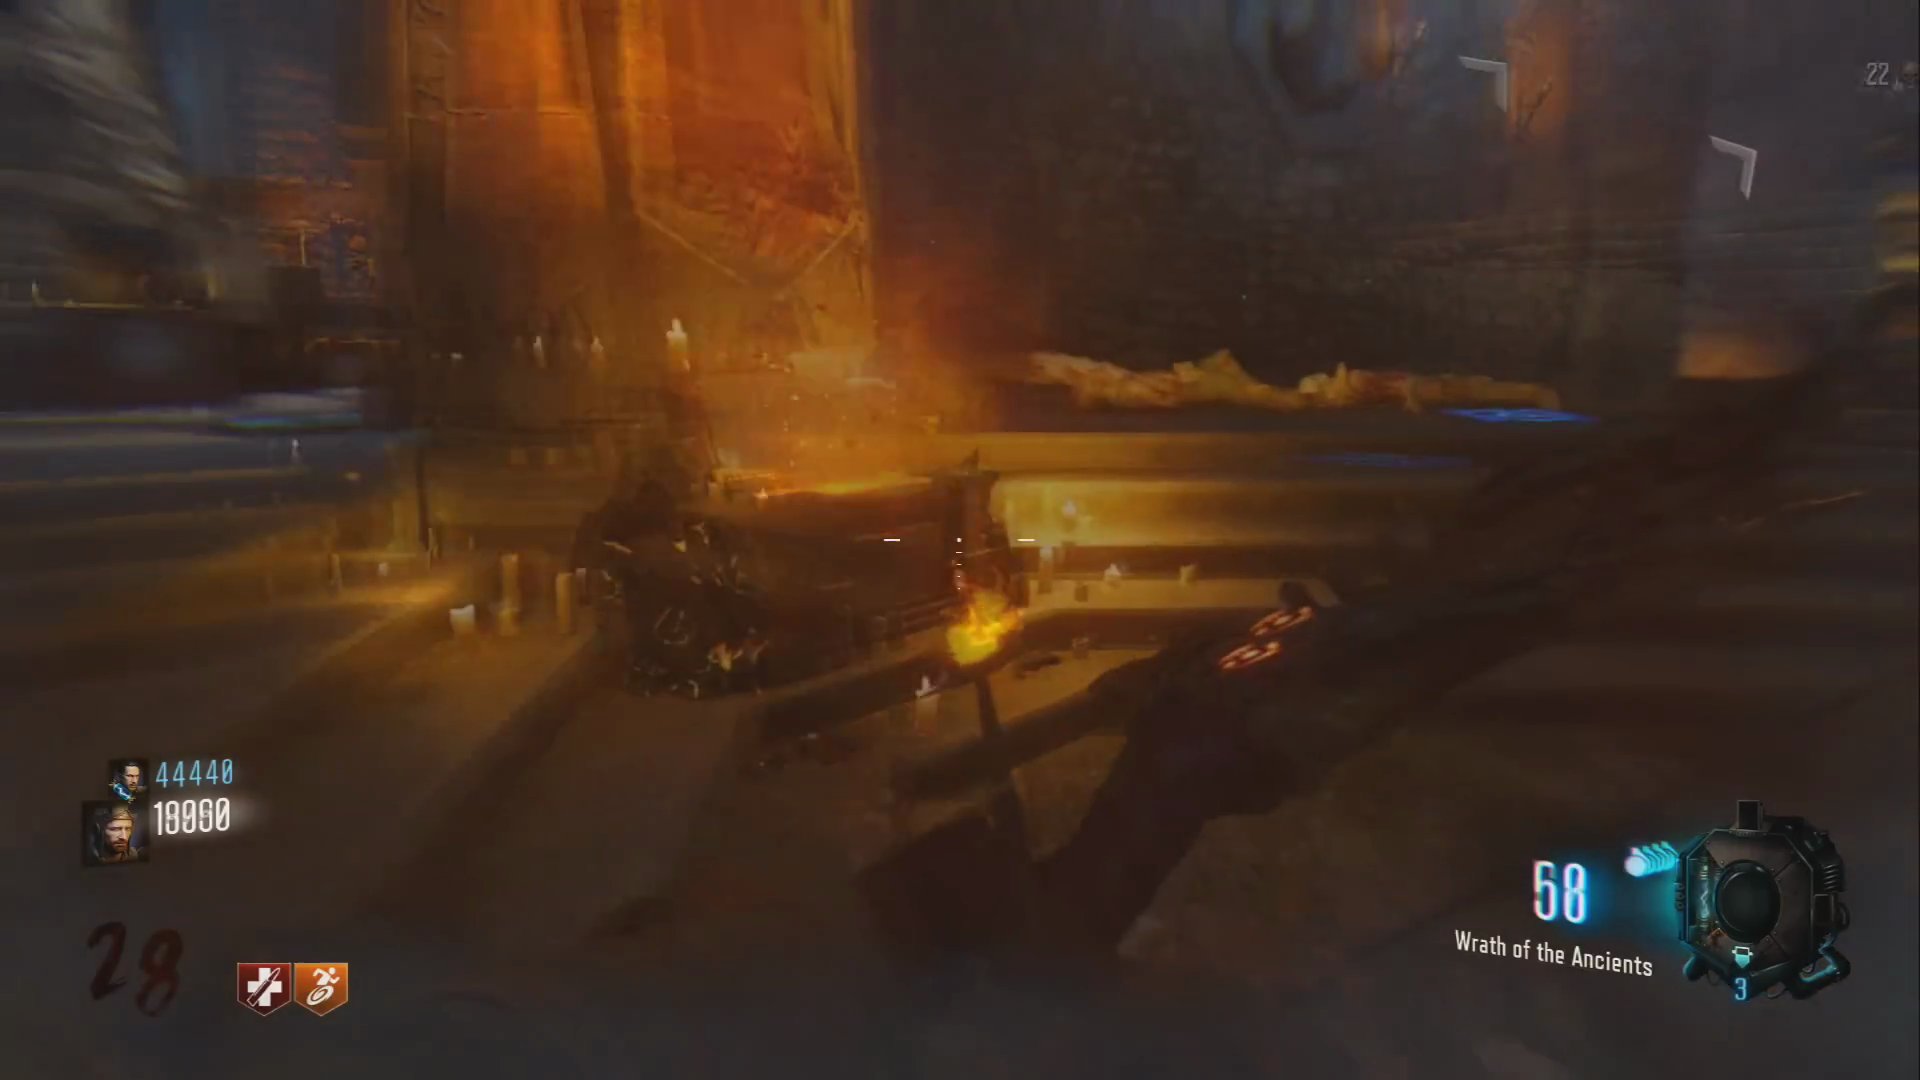
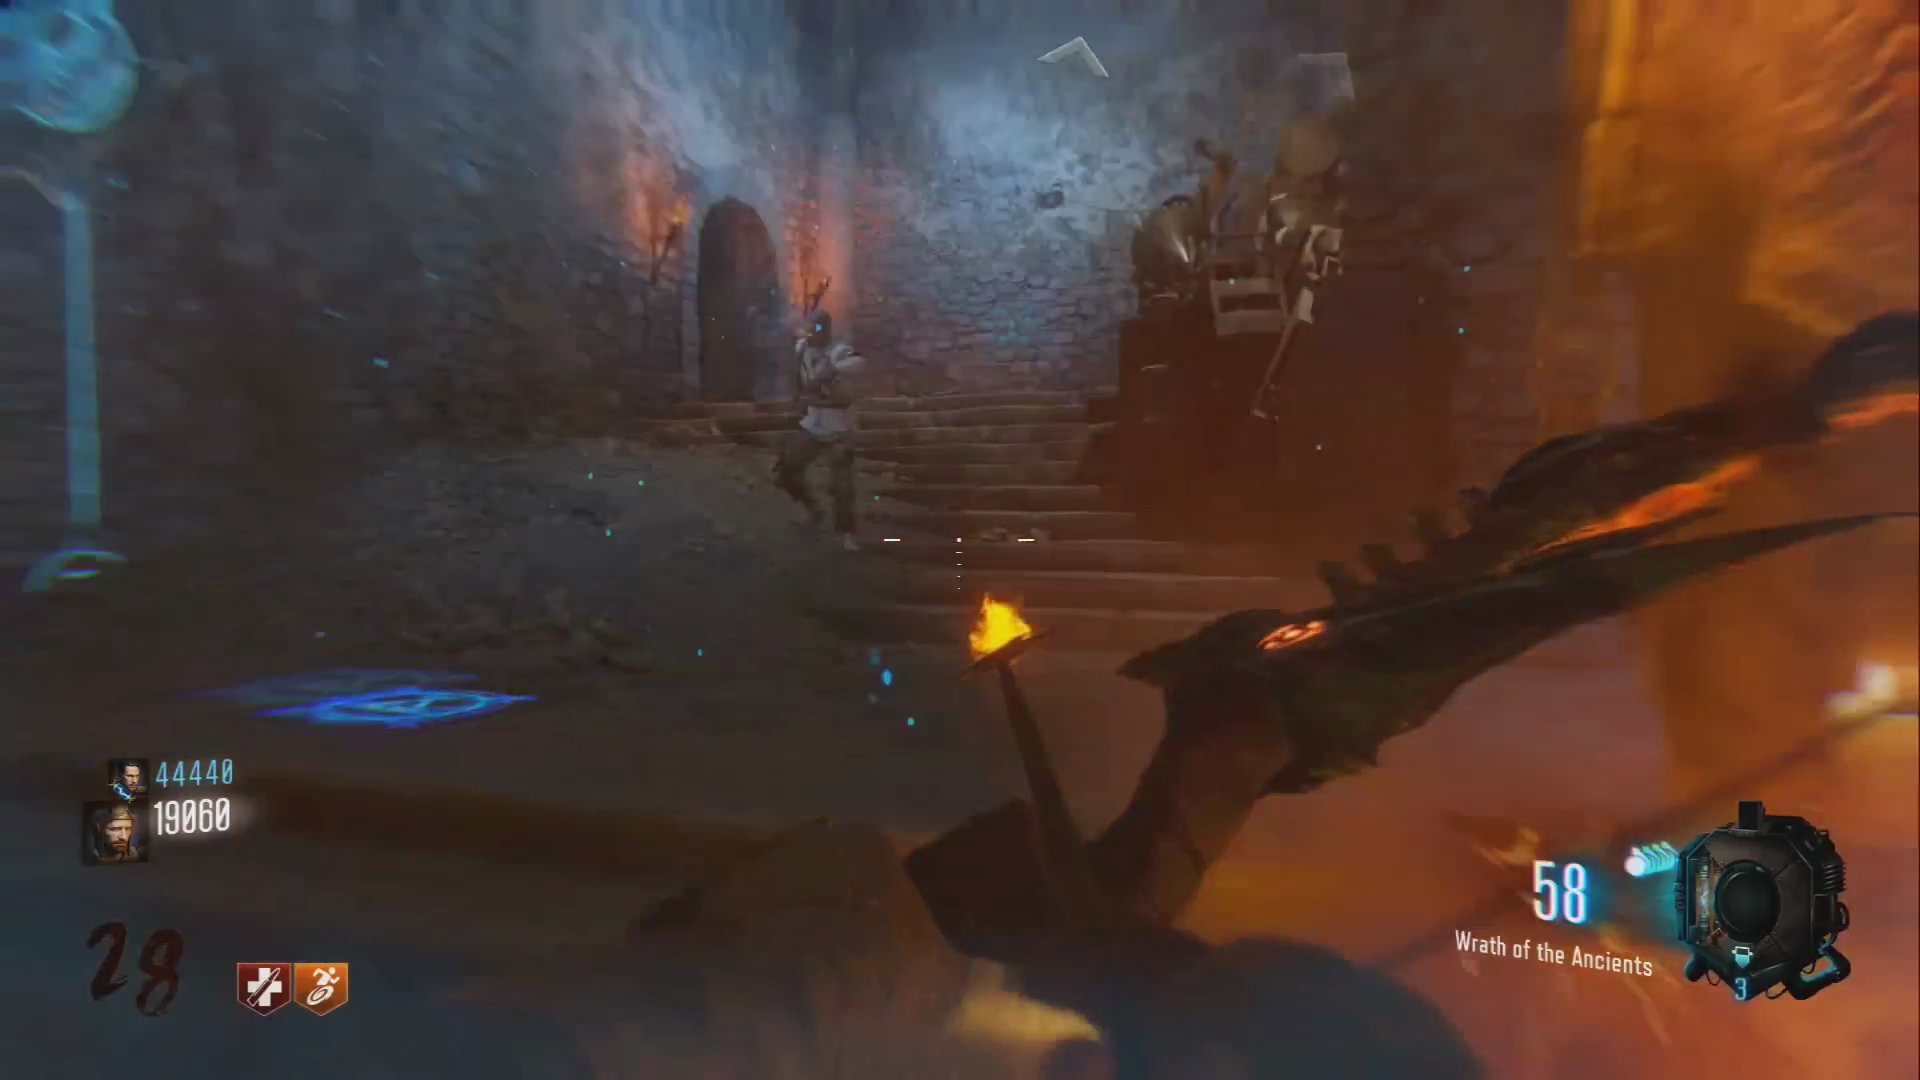
- Once full, retrieve your upgraded Fire Bow.
Finished the Easter Egg?
Send this guide to your squad.