Main Easter Egg
- Updated
- Jul 2, 2026
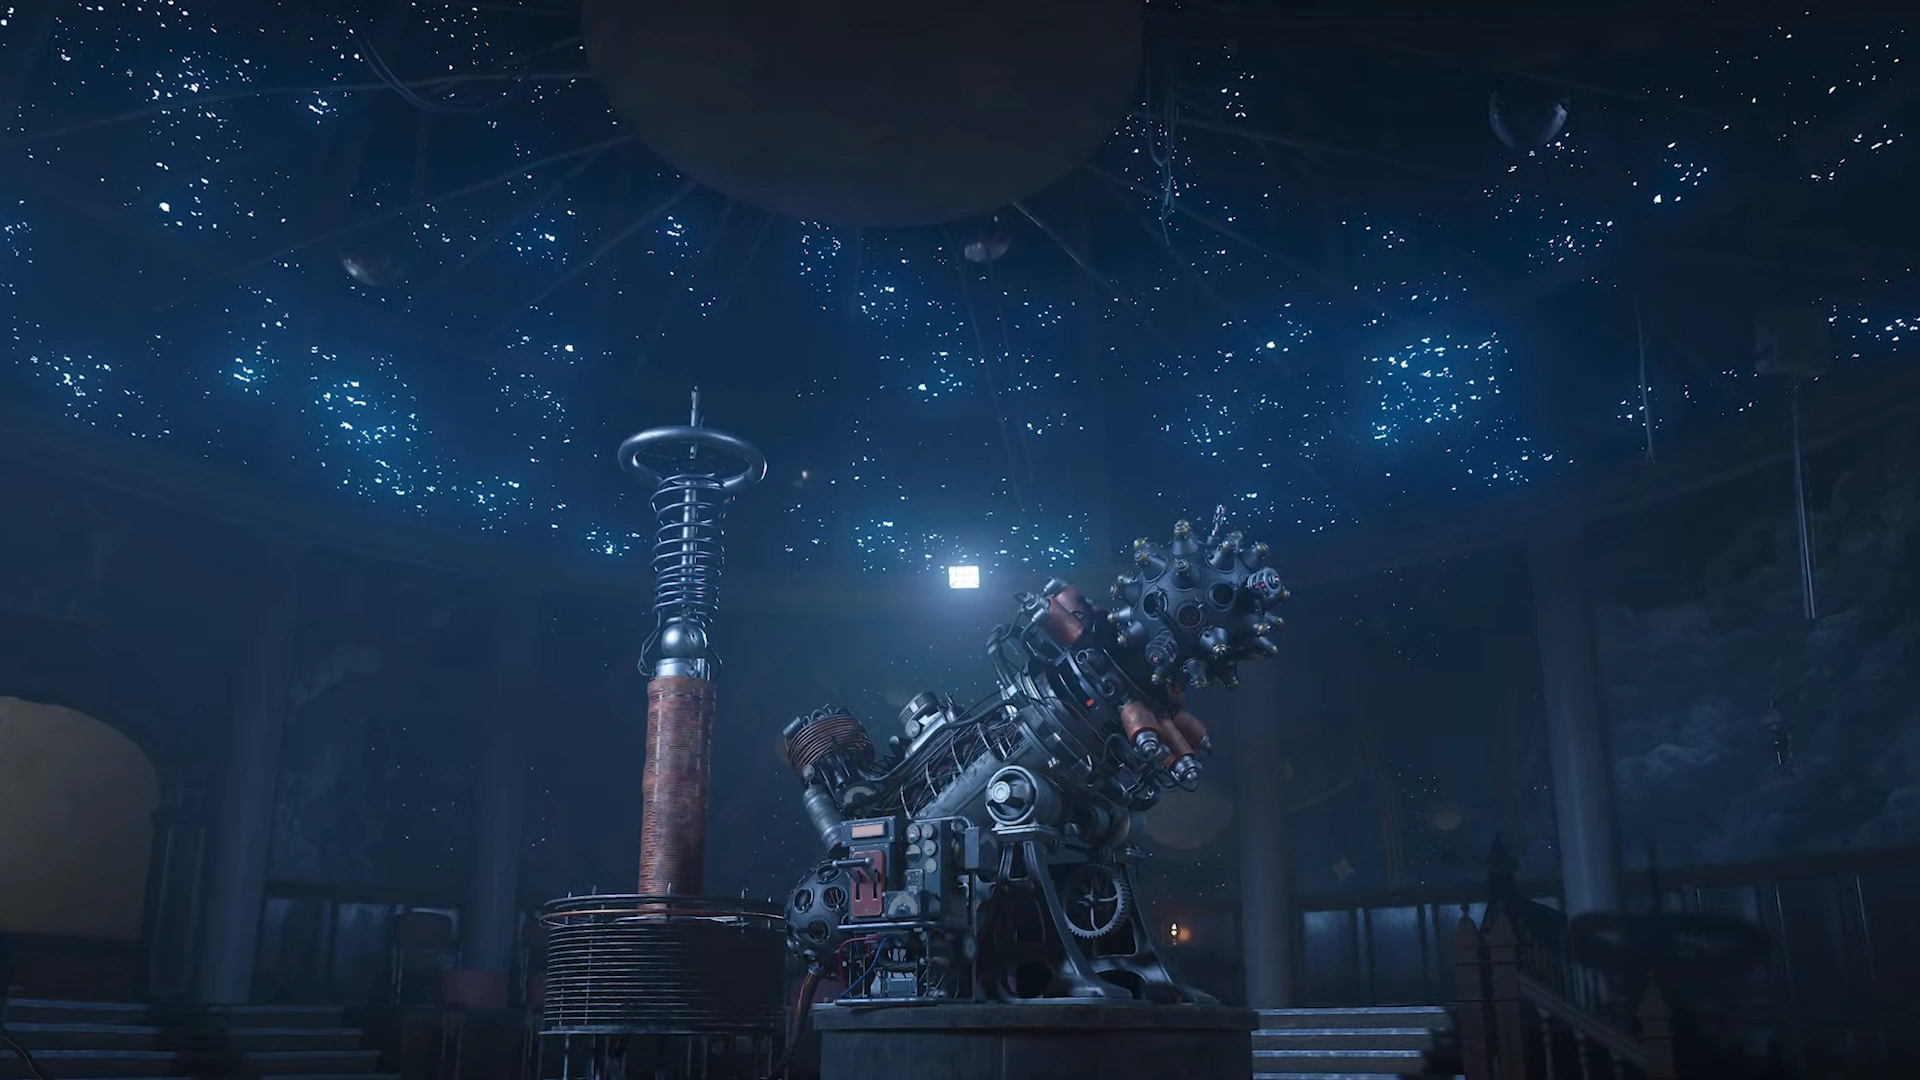
Overview
This comprehensive guide will walk you through every step of the Astra Malorum Easter Egg, ensuring you can complete it quickly and efficiently. From preparing your loadout to defeating the final boss, follow these steps for success.
Step 1: Preparation & Pack-a-Punch
Weapon Recommendation
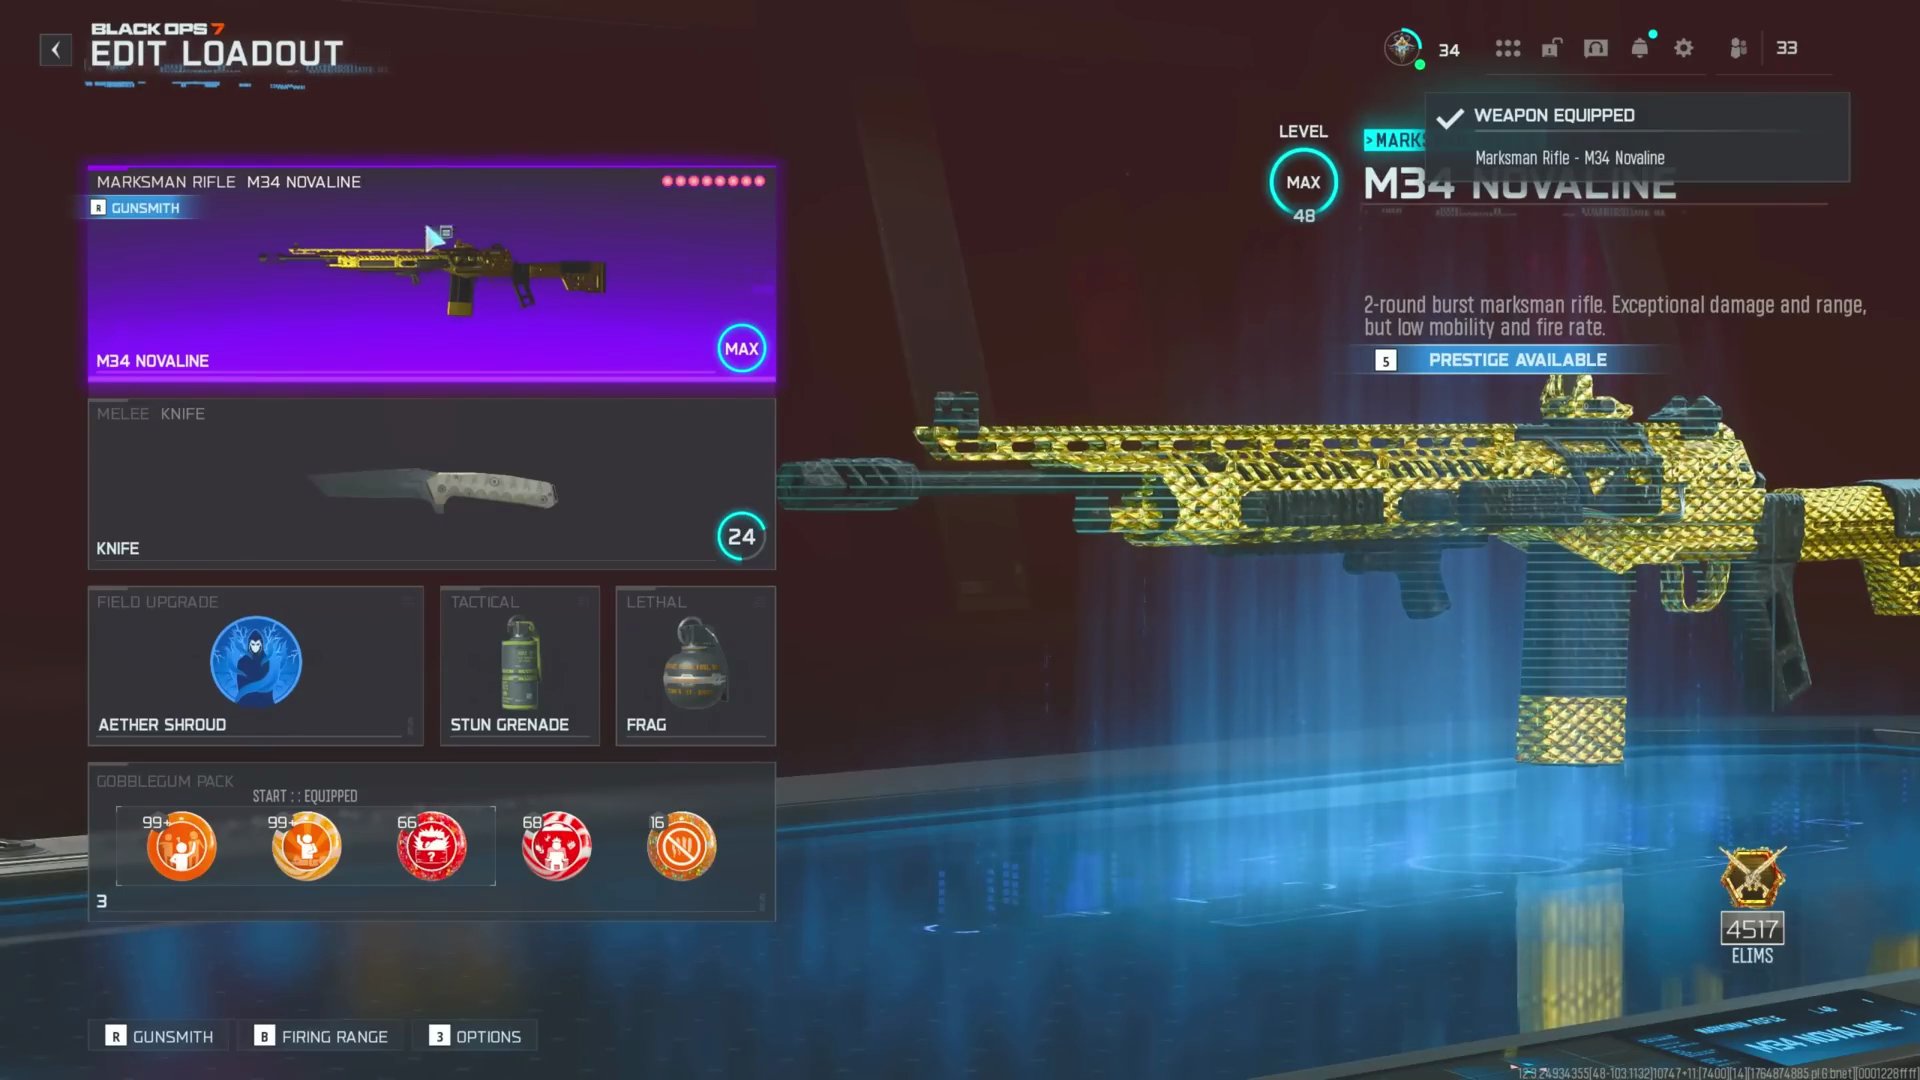
For this boss fight, a long-range weapon is crucial. The M34 Novaline is highly recommended as it's one of the best weapons for the boss due to its range.
- Consider using the M34 Novaline for optimal performance. You can copy the build code provided in the video description for its attachments.
- Avoid shotguns and SMGs as they are not effective in this boss fight.
Pack-a-Punch Ritual
The first step of the Easter Egg involves completing the Pack-a-Punch ritual.
- Find and interact with the Harmonic Oculus.
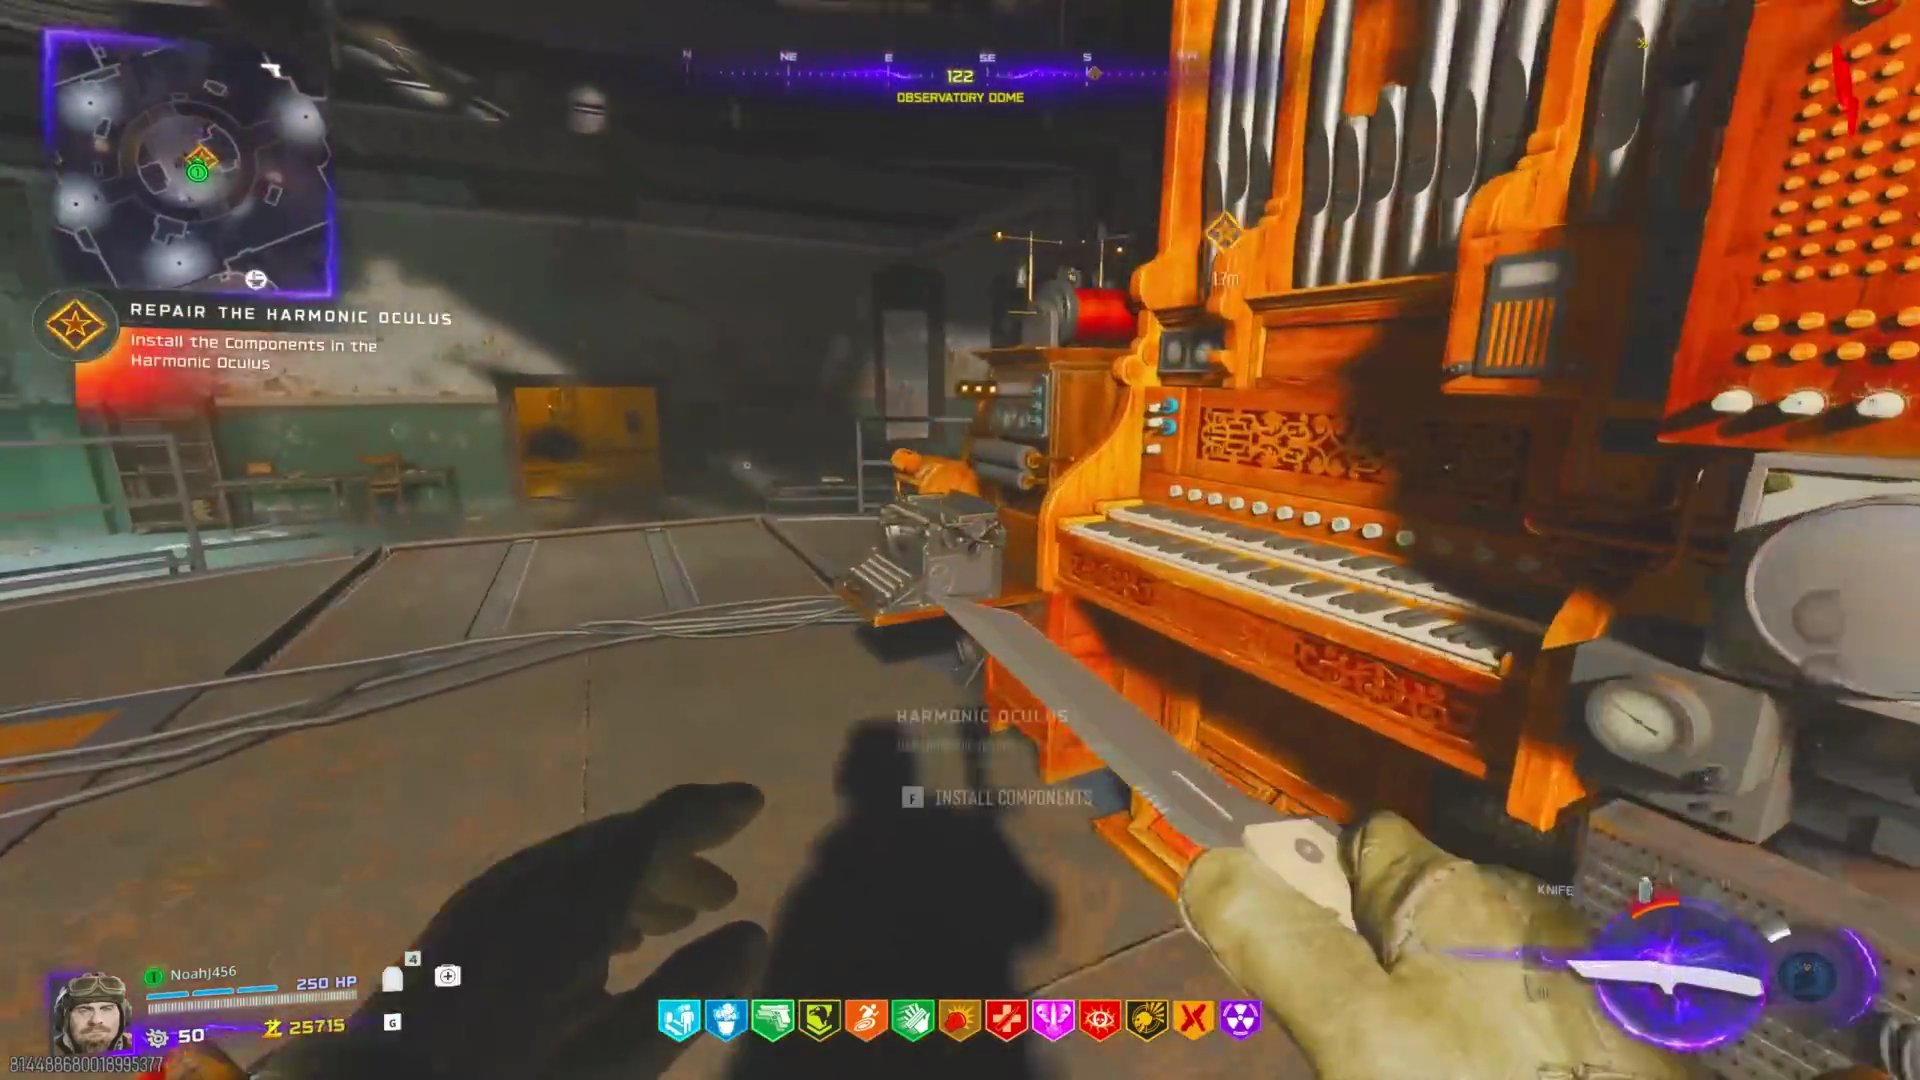
- Collect two parts from opposite sides of the map and bring them back to the Pack-a-Punch room.
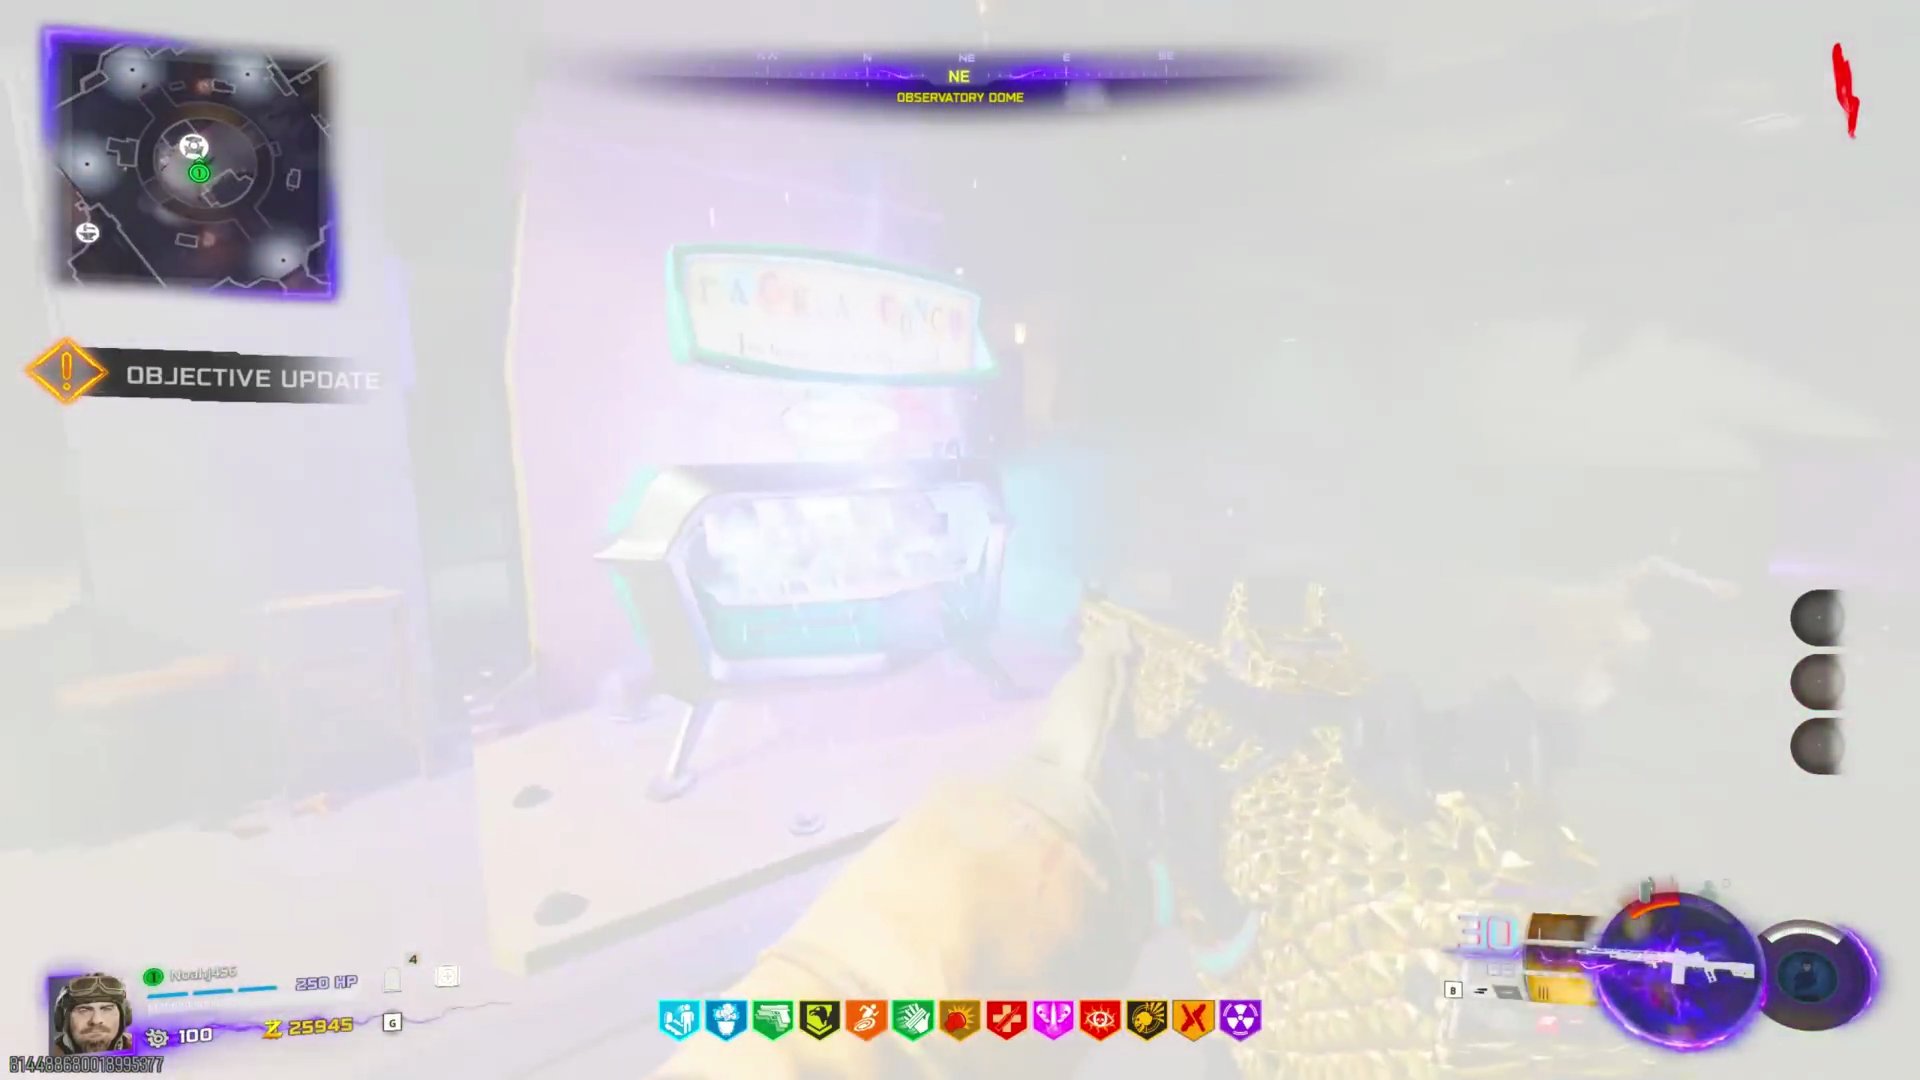
- Complete the lockdown sequence to activate the Pack-a-Punch machine.
Step 2: Wonder Weapon Acquisition
Car Battery
The first part of the Wonder Weapon is the car battery.
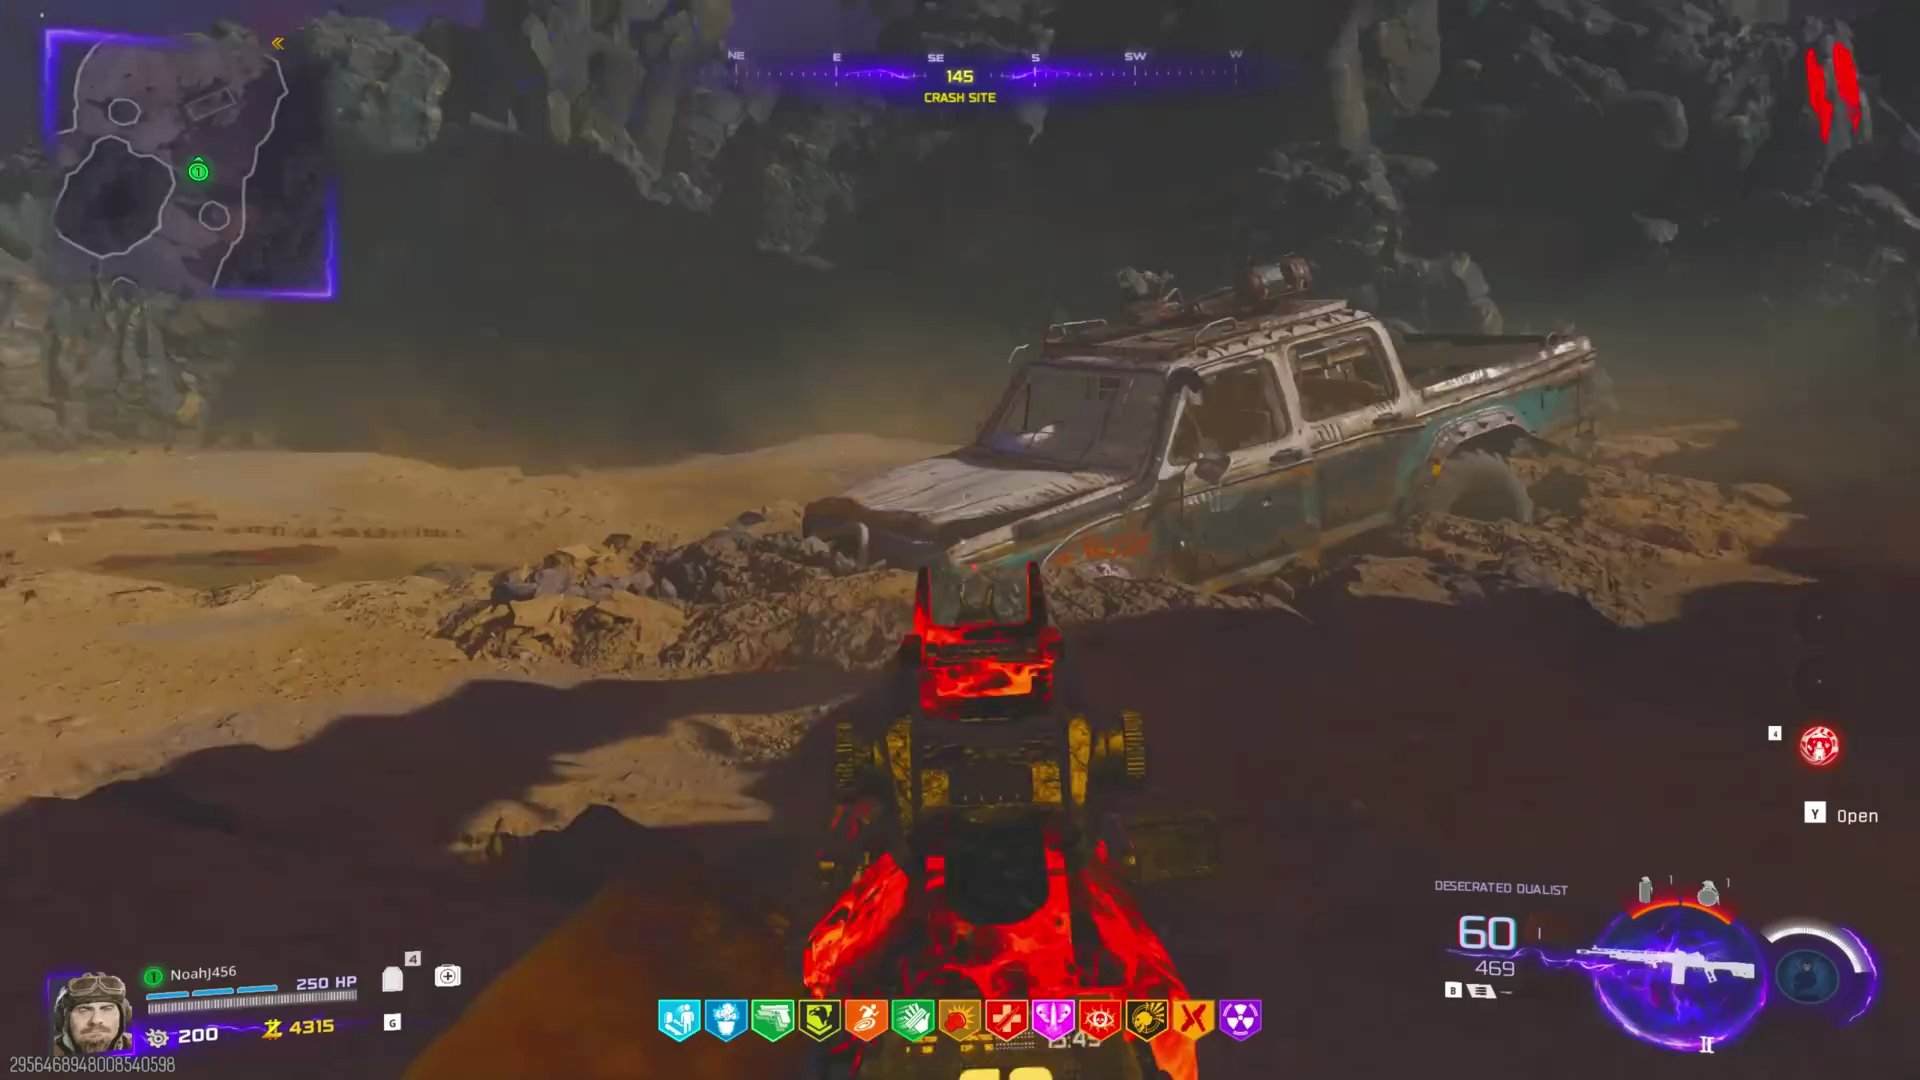
- After Pack-a-Punching your weapon once, head back to the spawn area (Crash Site).
- Shoot the hood of the car to reveal and collect the Car Battery.
Aberrant Wiring
The second part is the Aberrant Wiring.
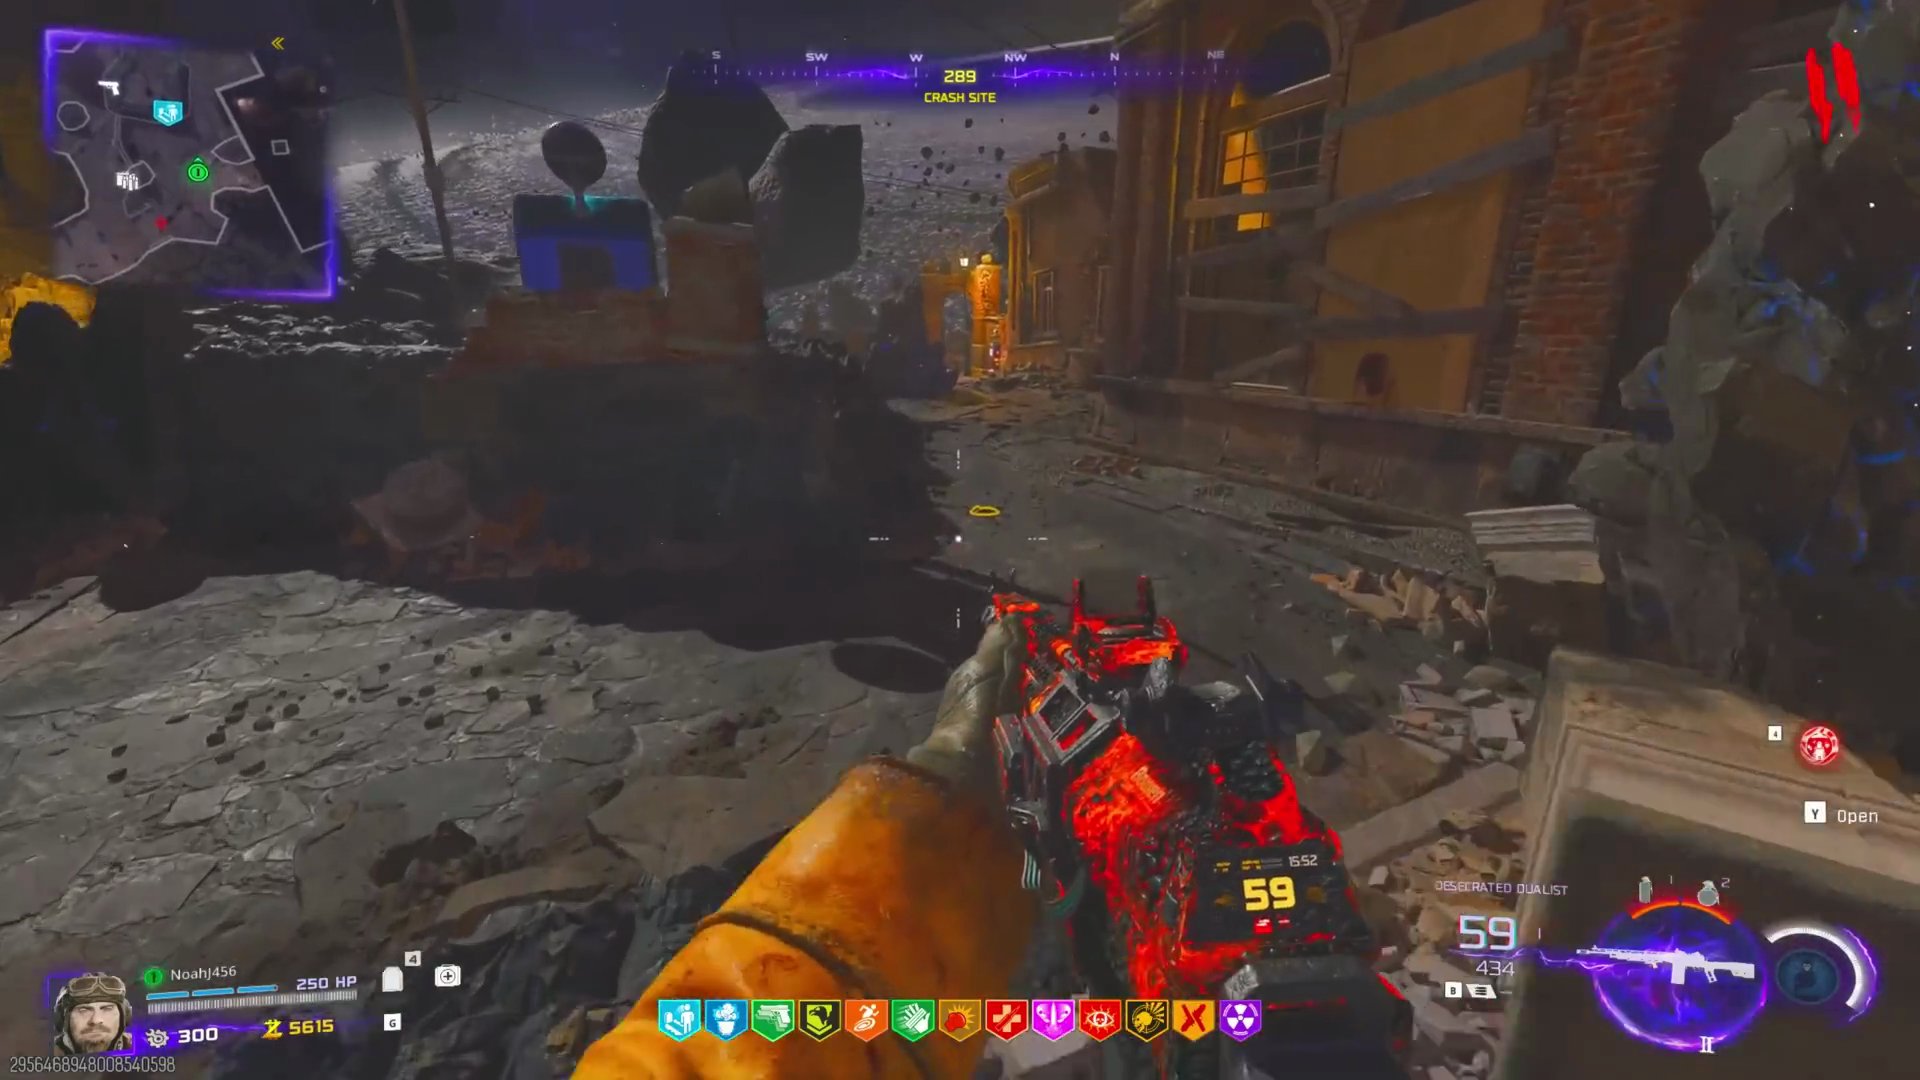
- Locate a flickering light post anywhere on the map.
- Shoot the flickering light post, and it will drop a set of wires. Collect the Aberrant Wiring.
Damaged Drone
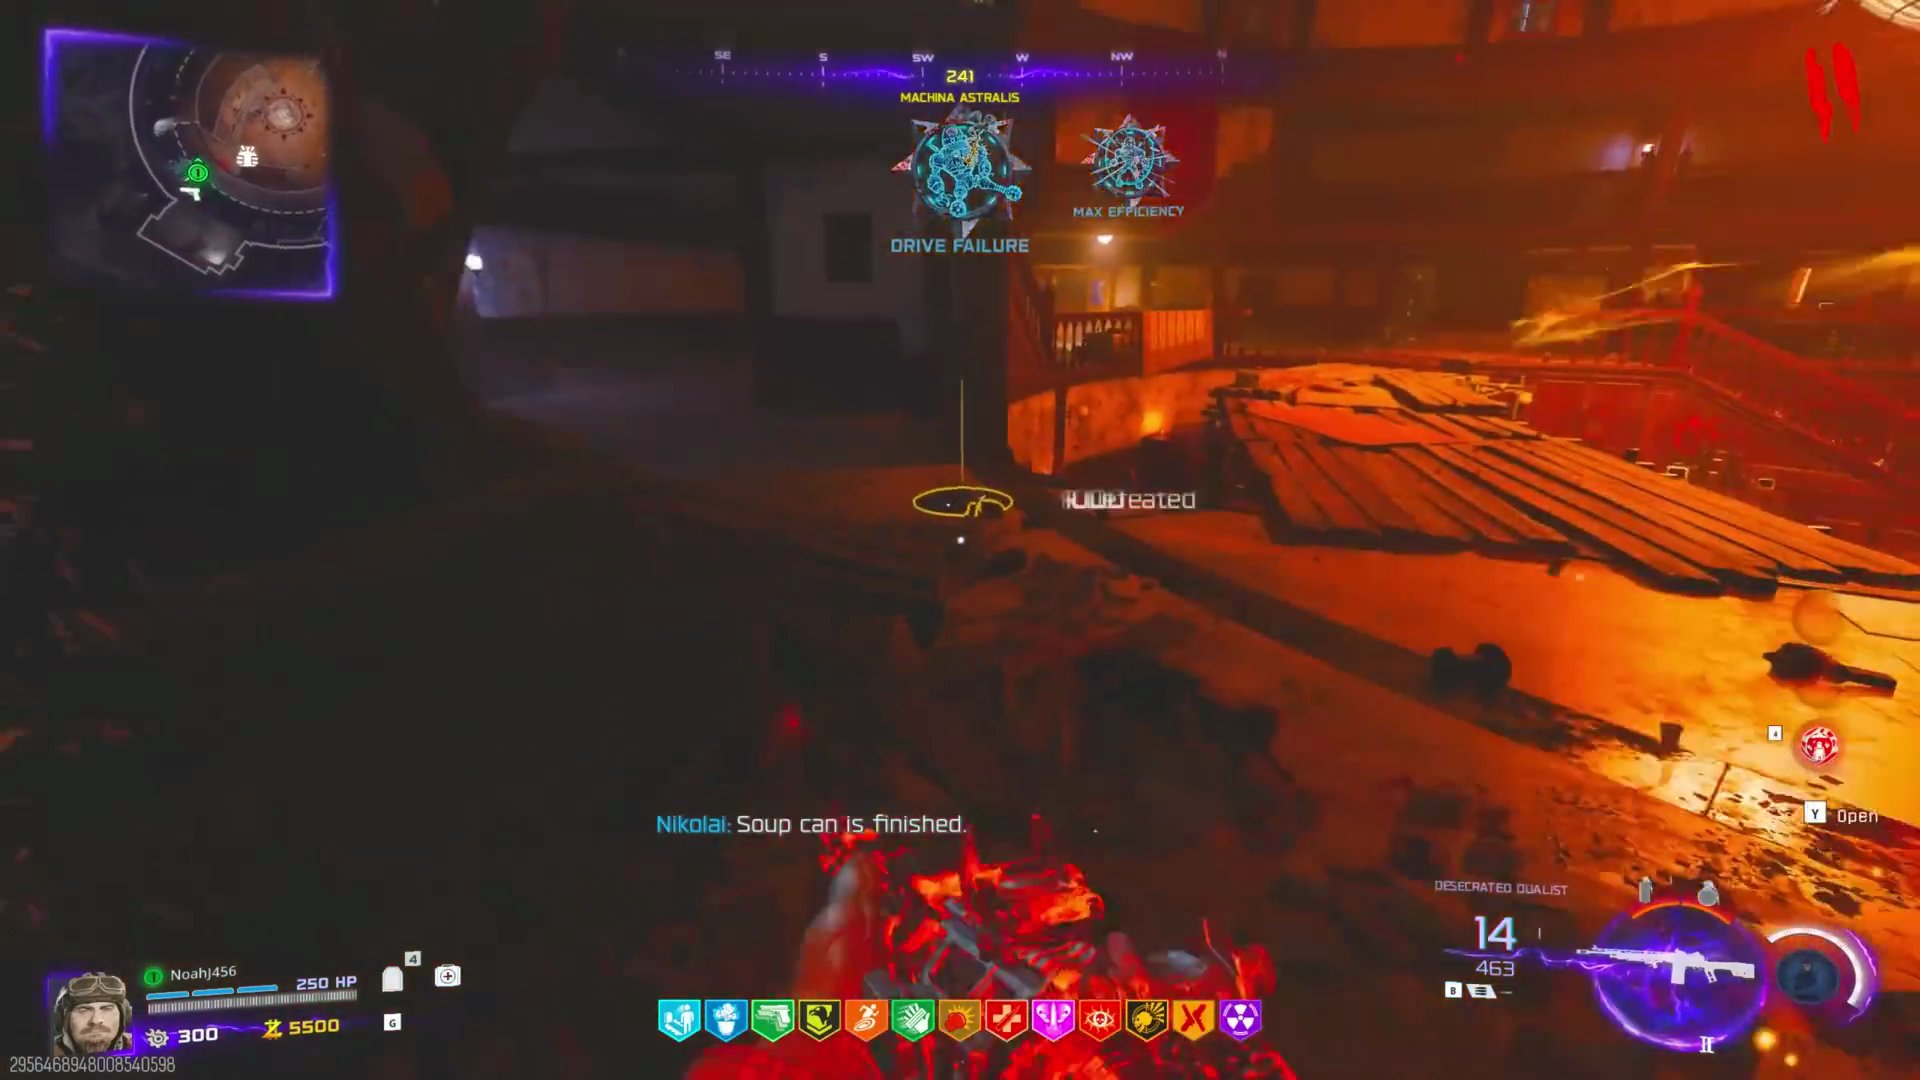
The third part requires killing OSCAR's shield drone.
- Wait for OSCAR to spawn and patrol the map.
- Aggro him to make a shield drone spawn from his body.
- Shoot and destroy the shield drone. Collect the Damaged Drone.
 (You don't need to kill OSCAR himself, just his drone).
OSCAR Kill Method 1: Steam Vents
There are three special ways to kill OSCAR to progress the Wonder Weapon quest. These can be done in any order, but the third one will drop the Wonder Weapon.
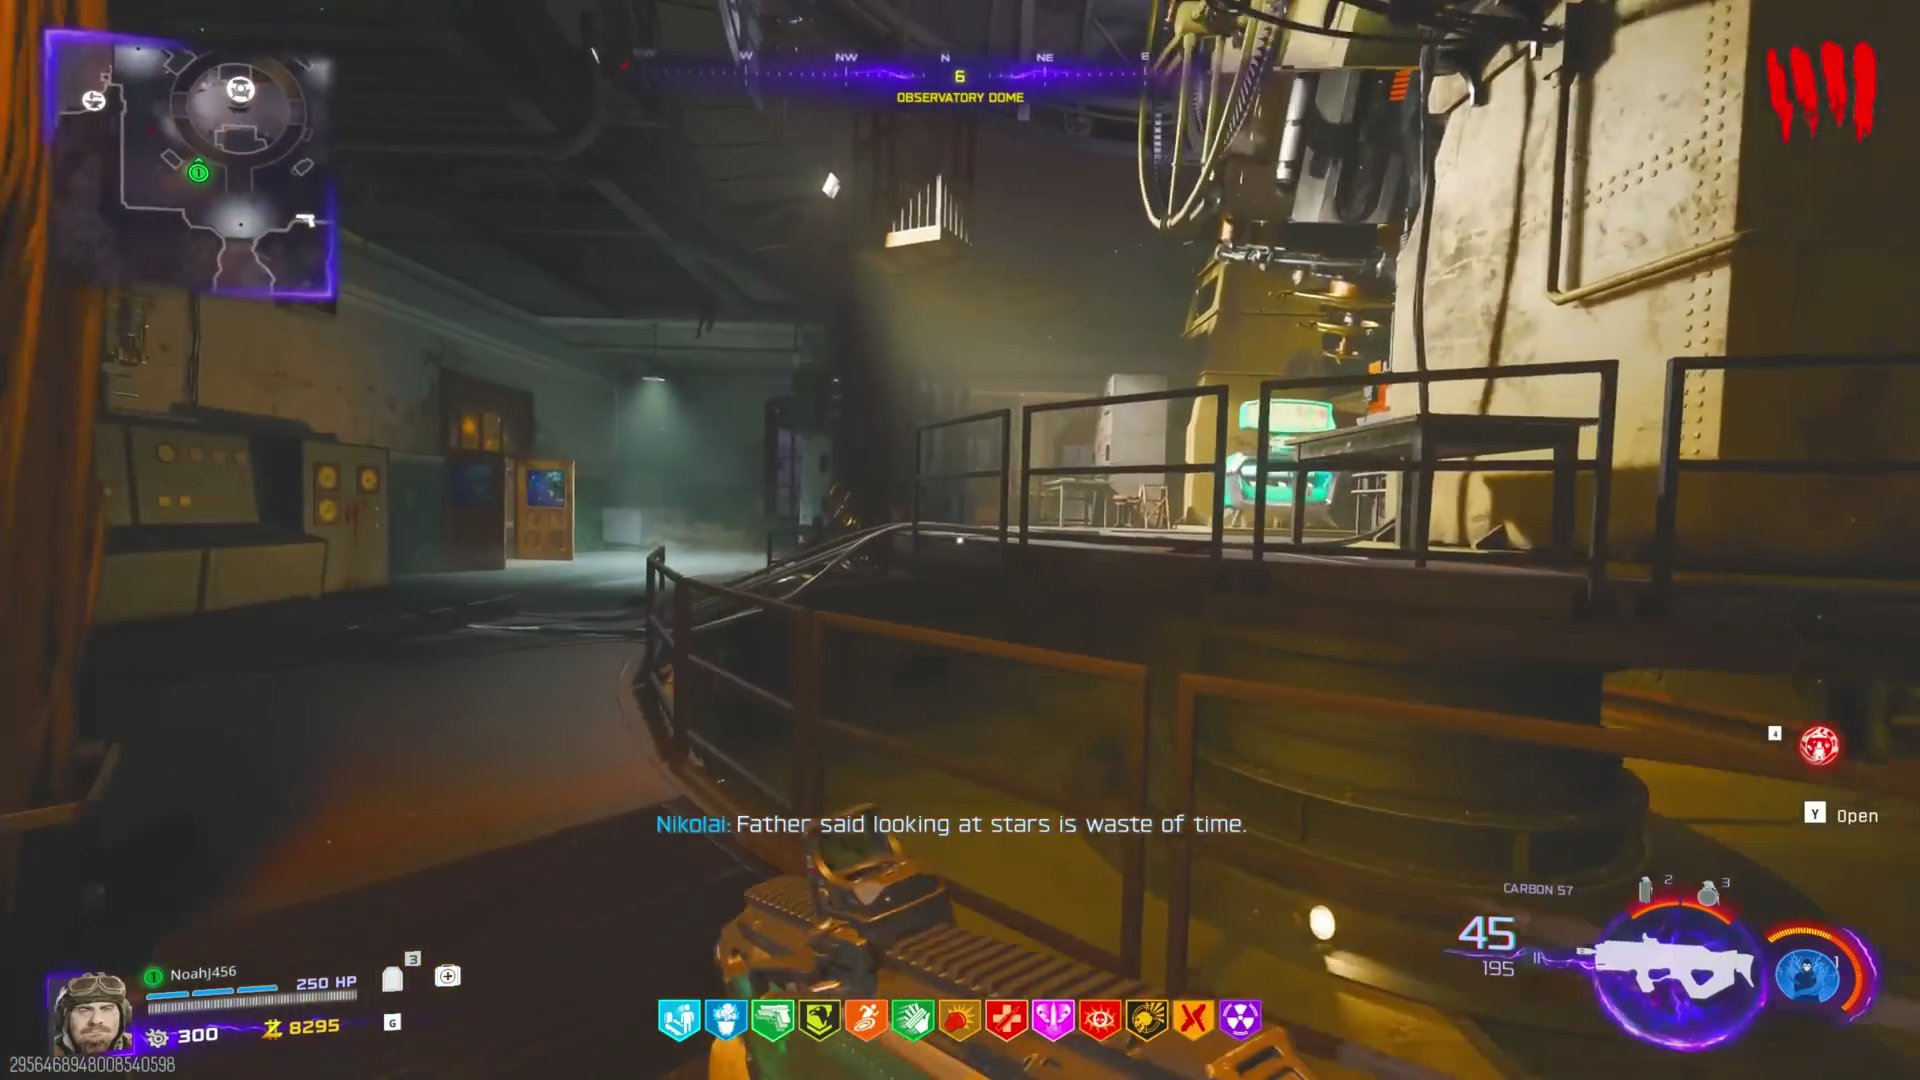
- Head to the Pack-a-Punch room.
- Listen for a steam hissing sound and locate the corresponding vent.
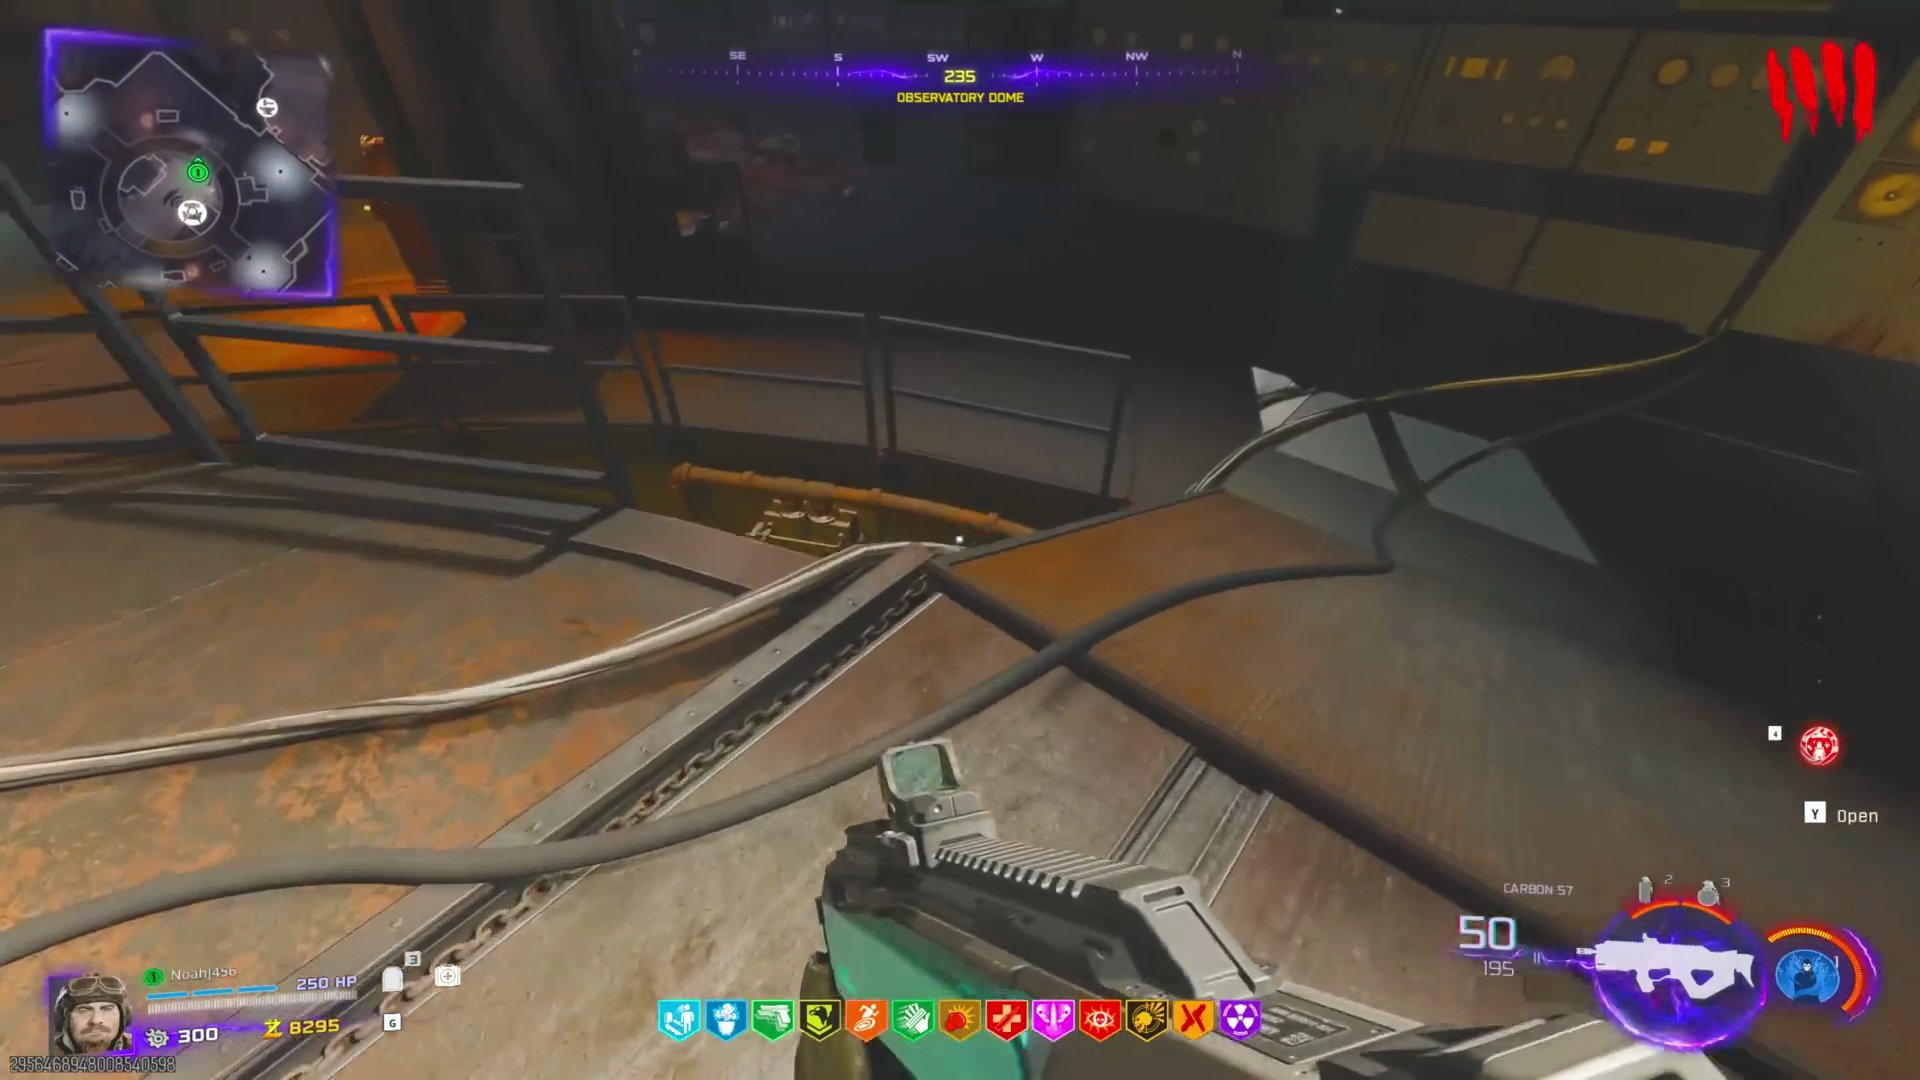
- Shoot the vent with a bullet to make the steam move to a new location. Repeat this process until all steam vents have been shot.
- After hearing a completion quote, the entire telescope will move into position, activating the next step.
OSCAR Kill Method 2: Telescope Beam
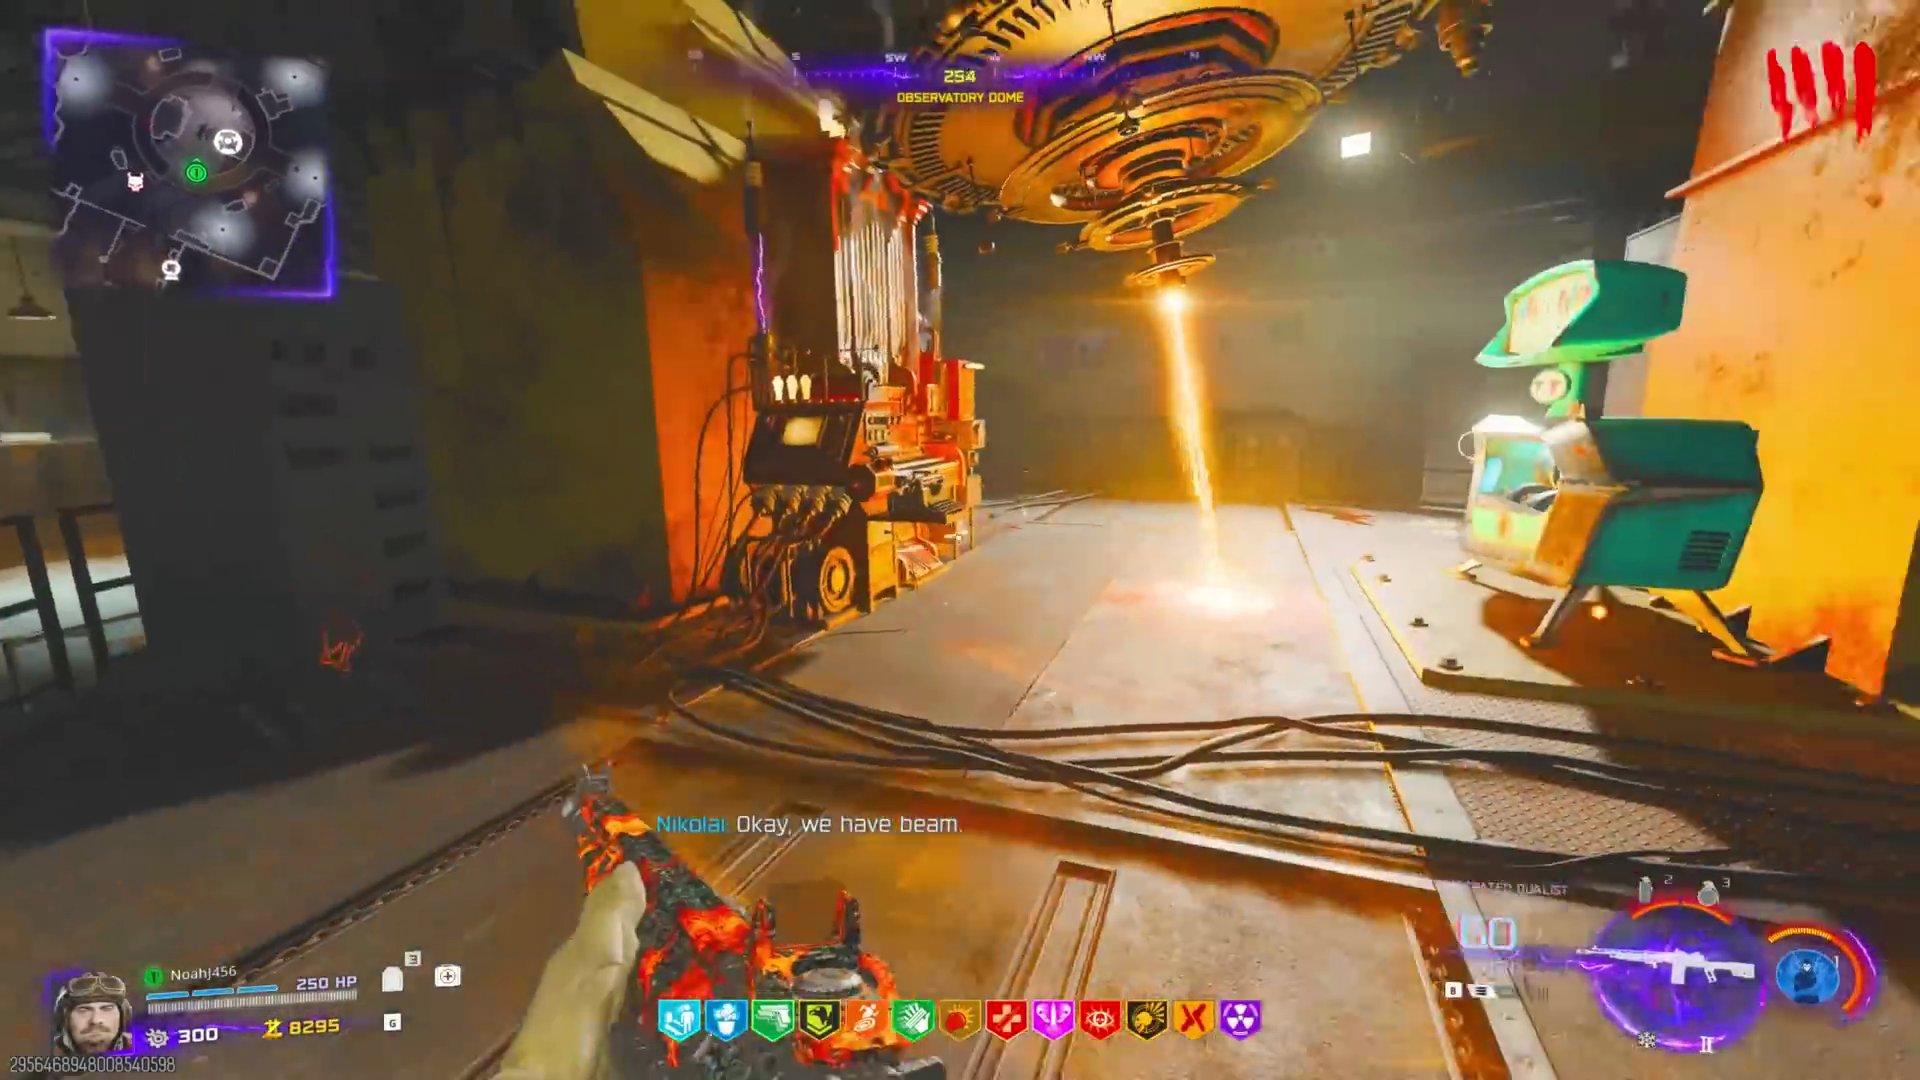
- Lure an OSCAR into the Pack-a-Punch room.
- Once he is near the middle, interact with the left side of the telescope to enter it.
- Point the telescope directly at the sun.
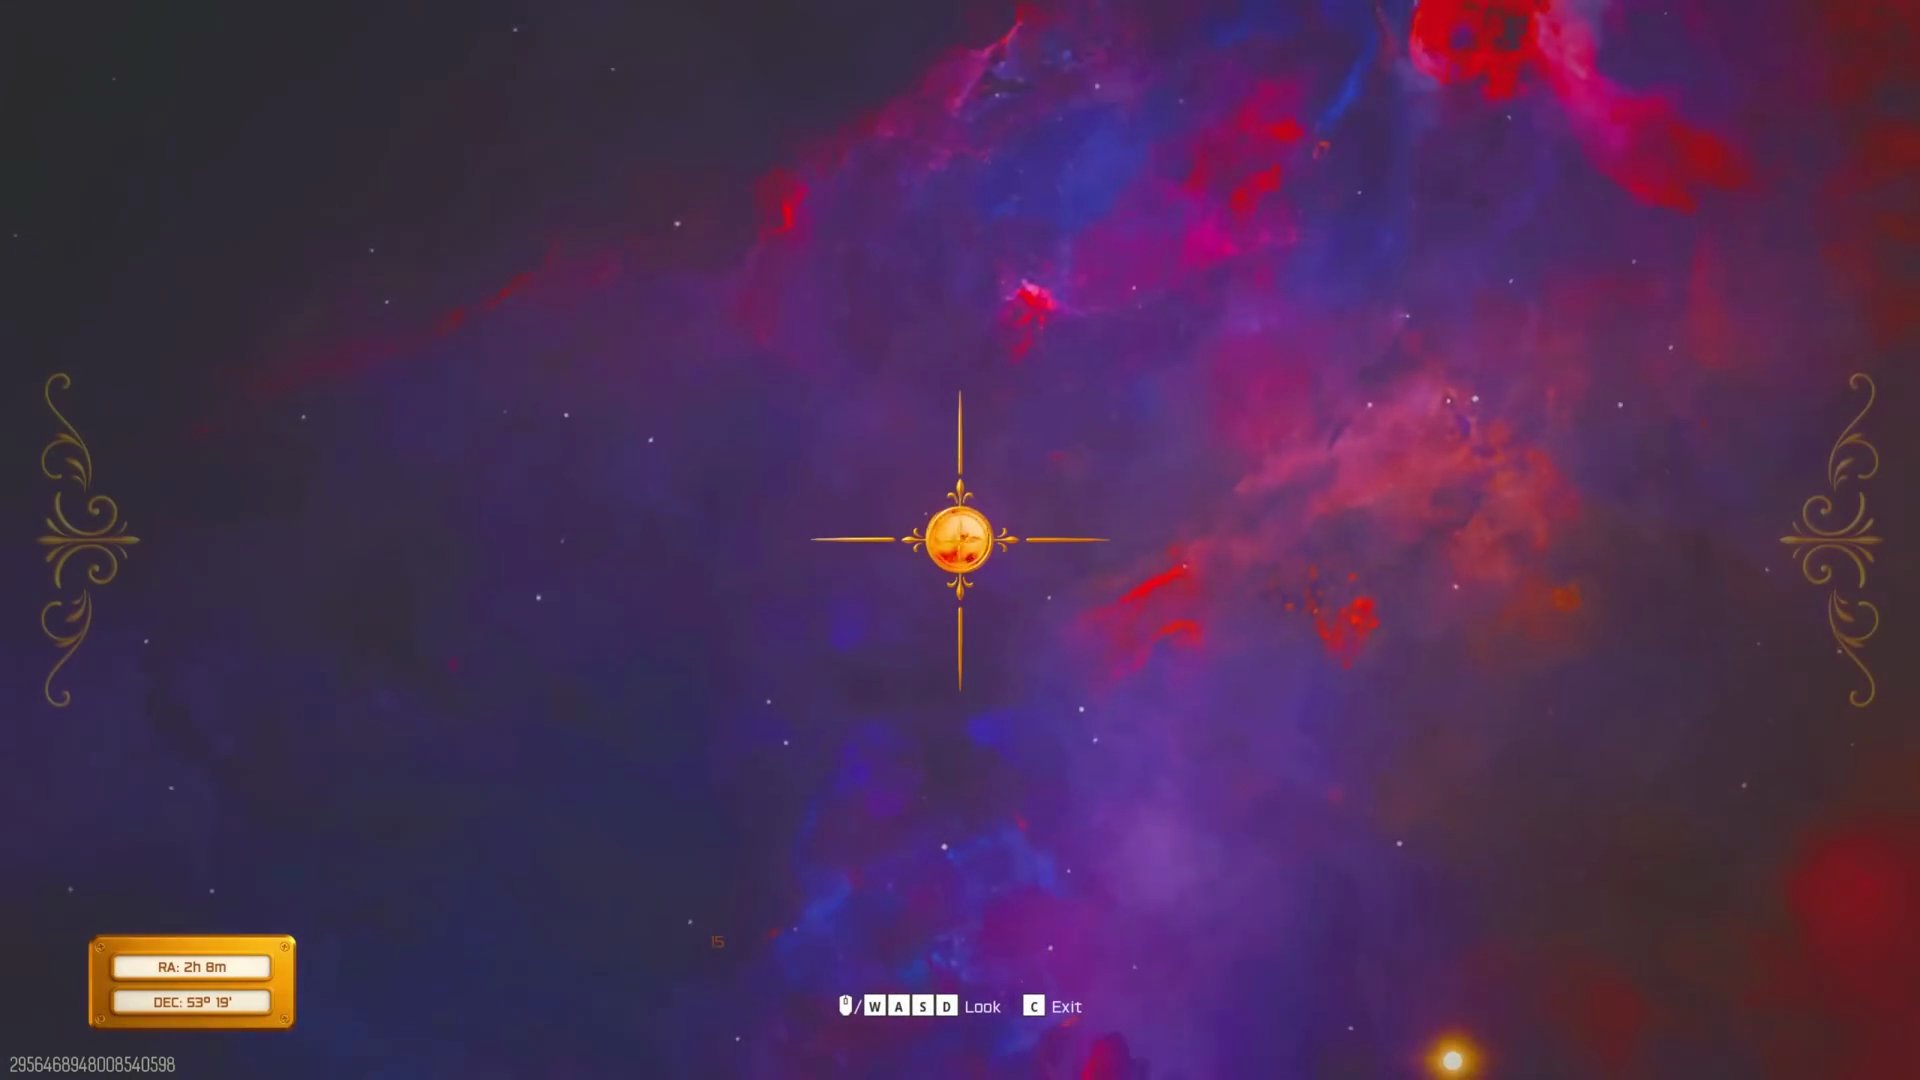
- Lure OSCAR into the beam of light, destroy his shield, and he will be vaporized.
OSCAR Kill Method 3: Lumminarium Trap
- Lure an OSCAR into the Lumminarium room.
- Activate the trap when OSCAR is inside.
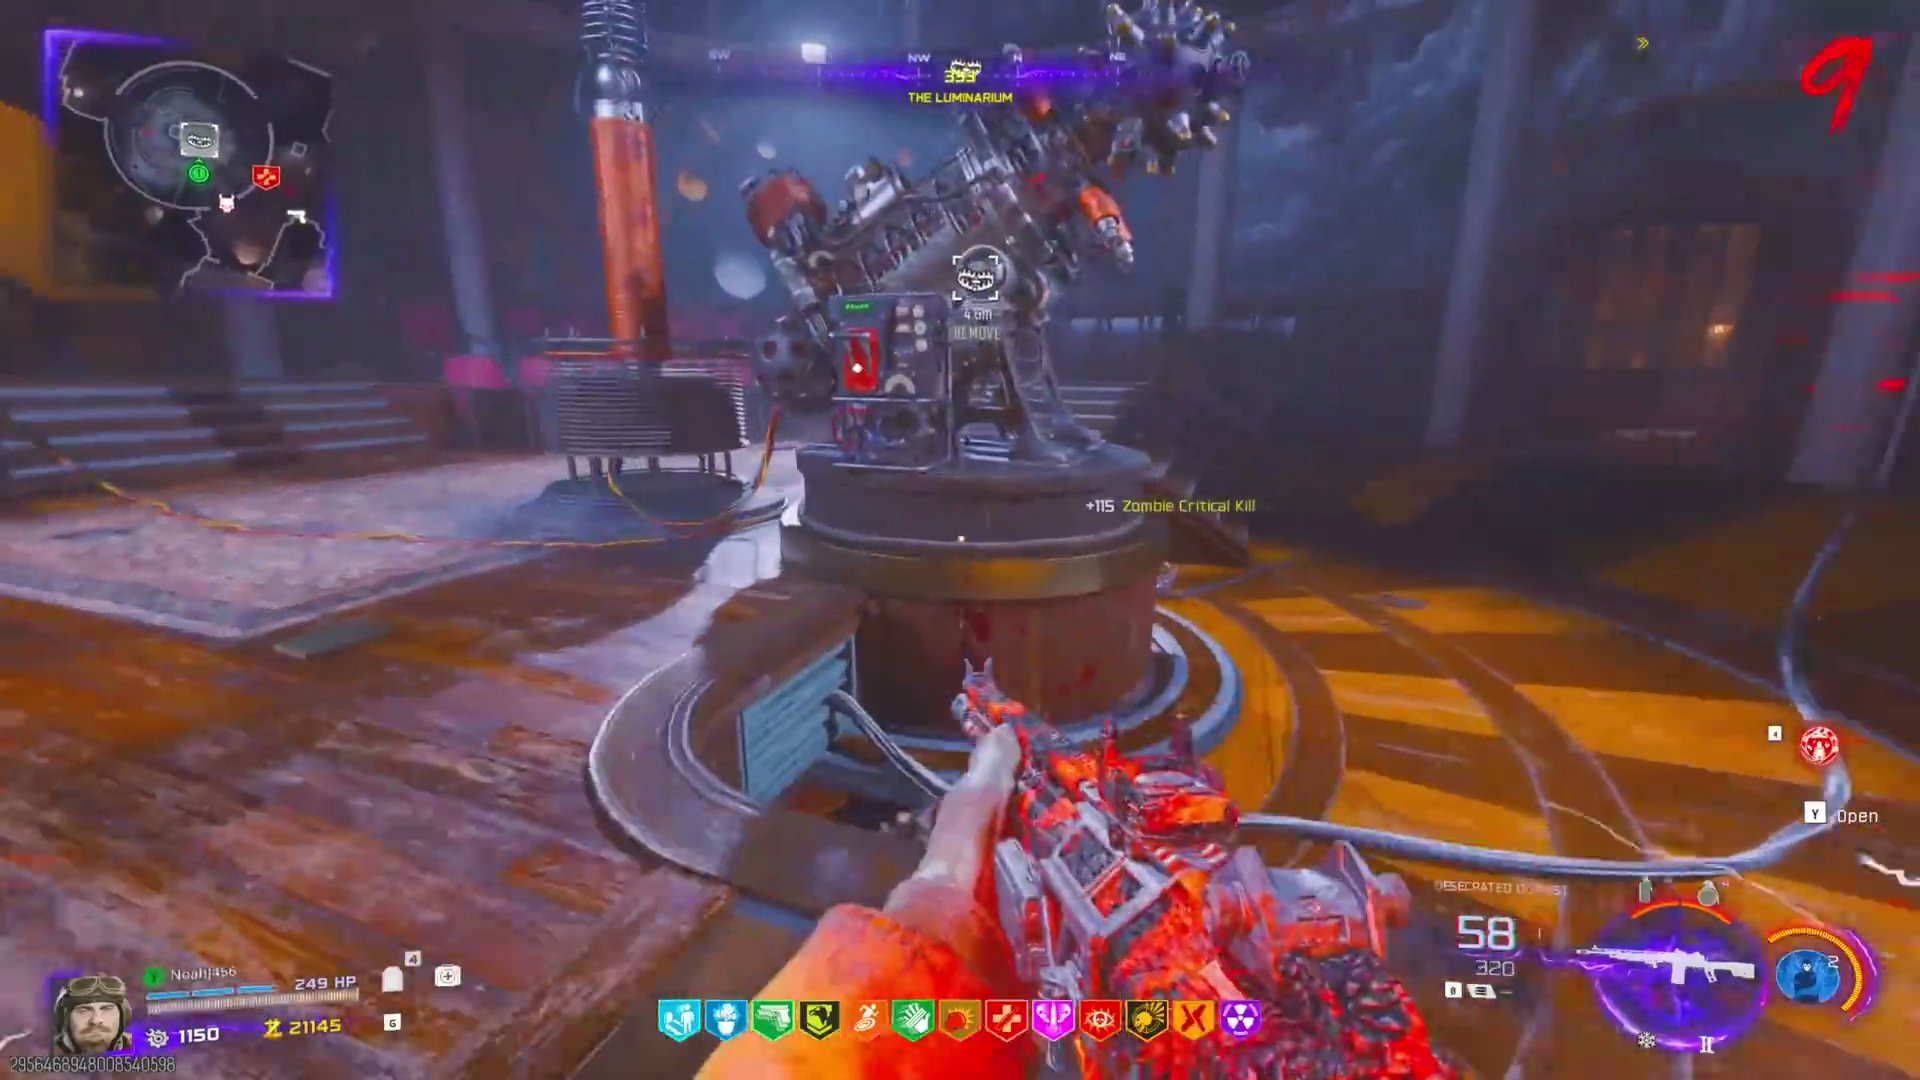
- Allow the trap to zap OSCAR until he is destroyed. Do not kill him with your weapons.
Obtaining the Wonder Weapon
- Go to The Arsenal machine.
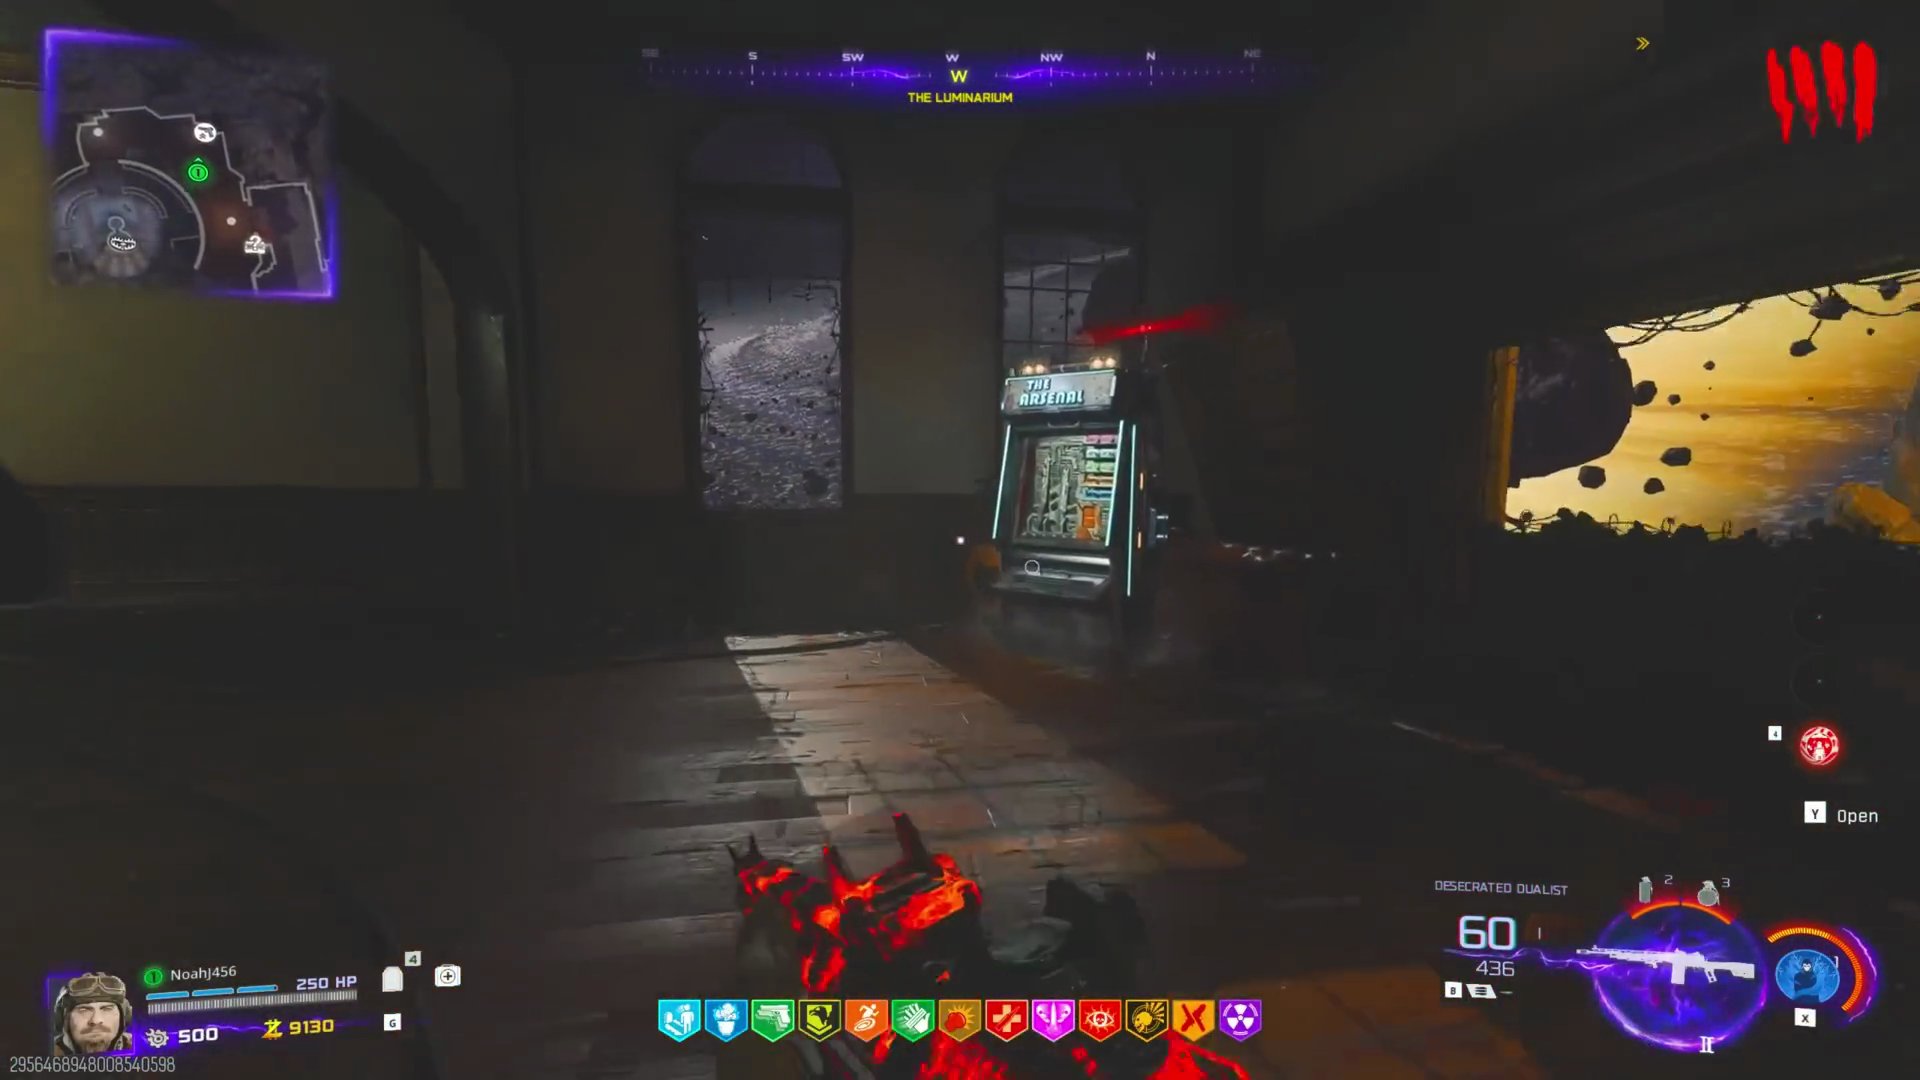
- Purchase and apply Cryo Freeze to your weapon.
- Go around the map (e.g., Stargazer's Courtyard) and shoot the purple crystals that respawn each round. Each crystal gives an 'Absolute Zero Fragment'.
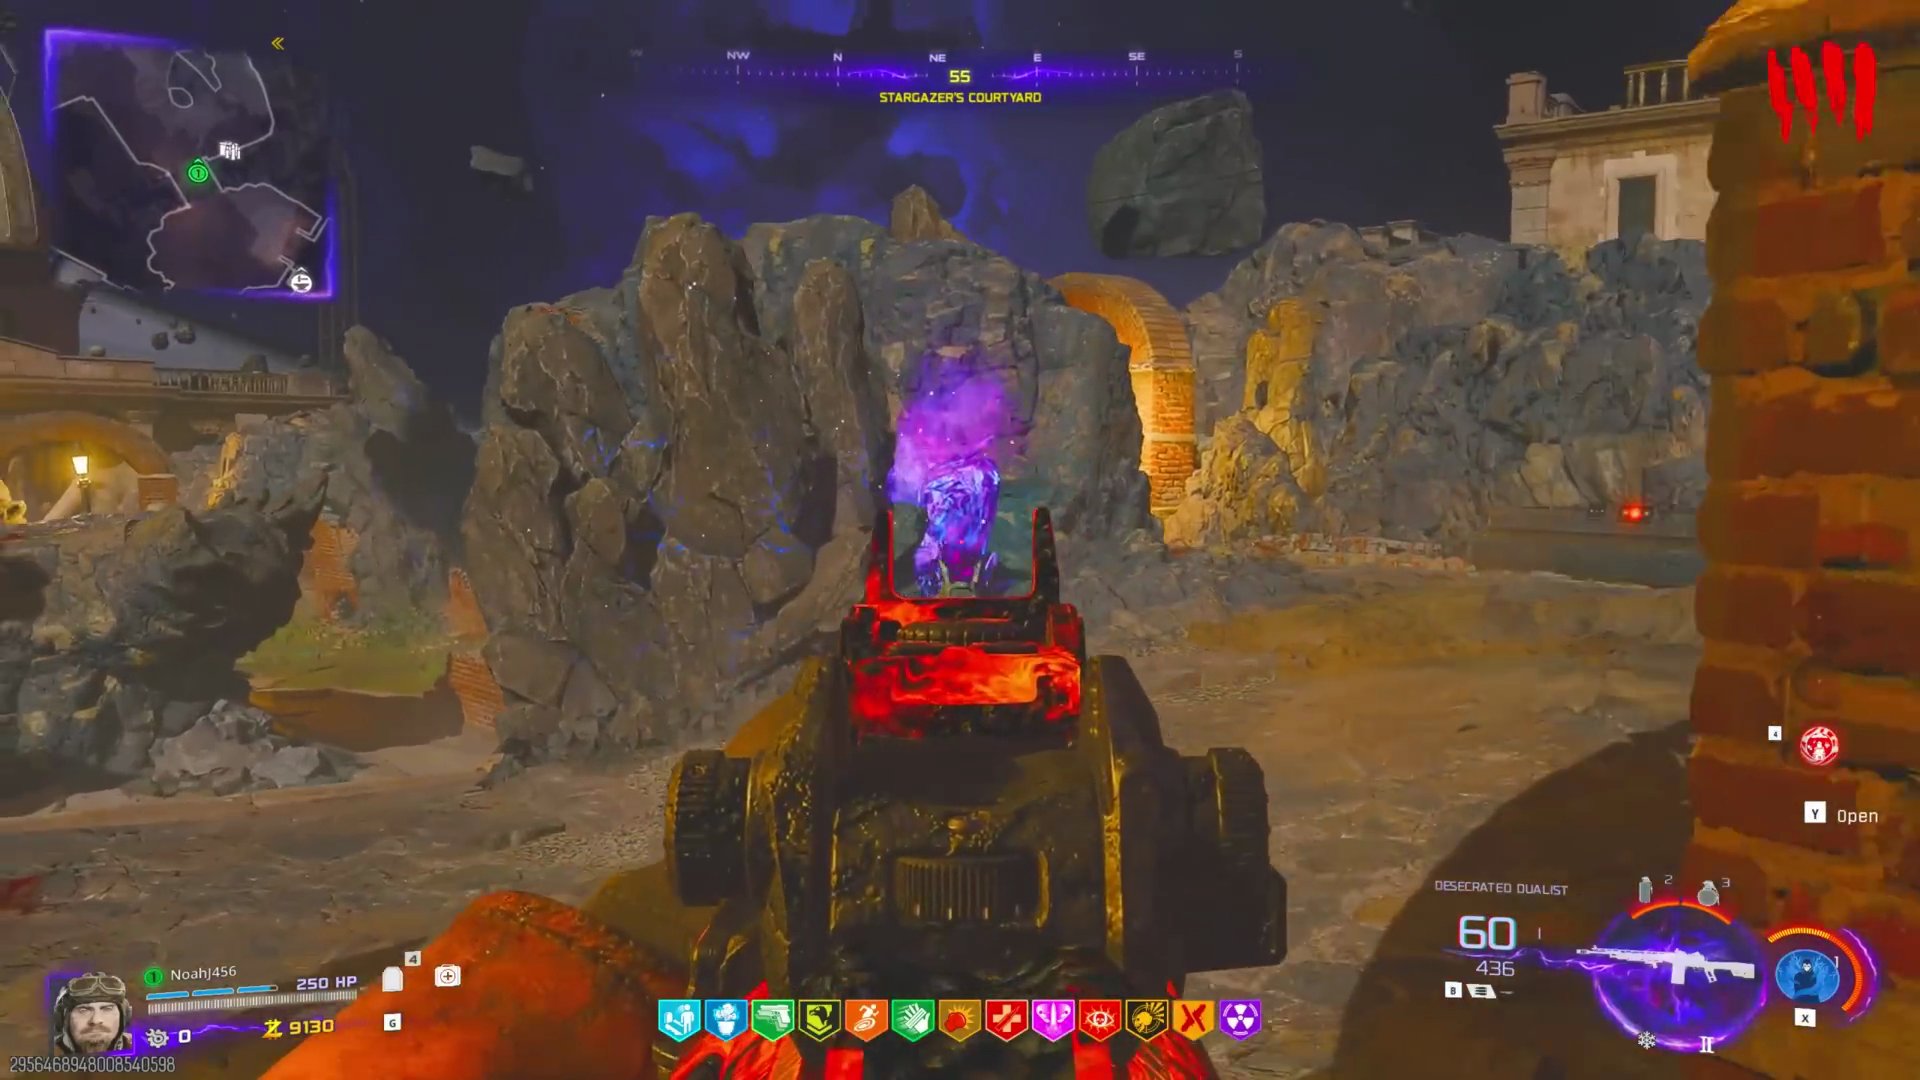 Collect three fragments.
- Once you have three fragments, lure an OSCAR to the Museum Inferium area.
- Locate the rocket.
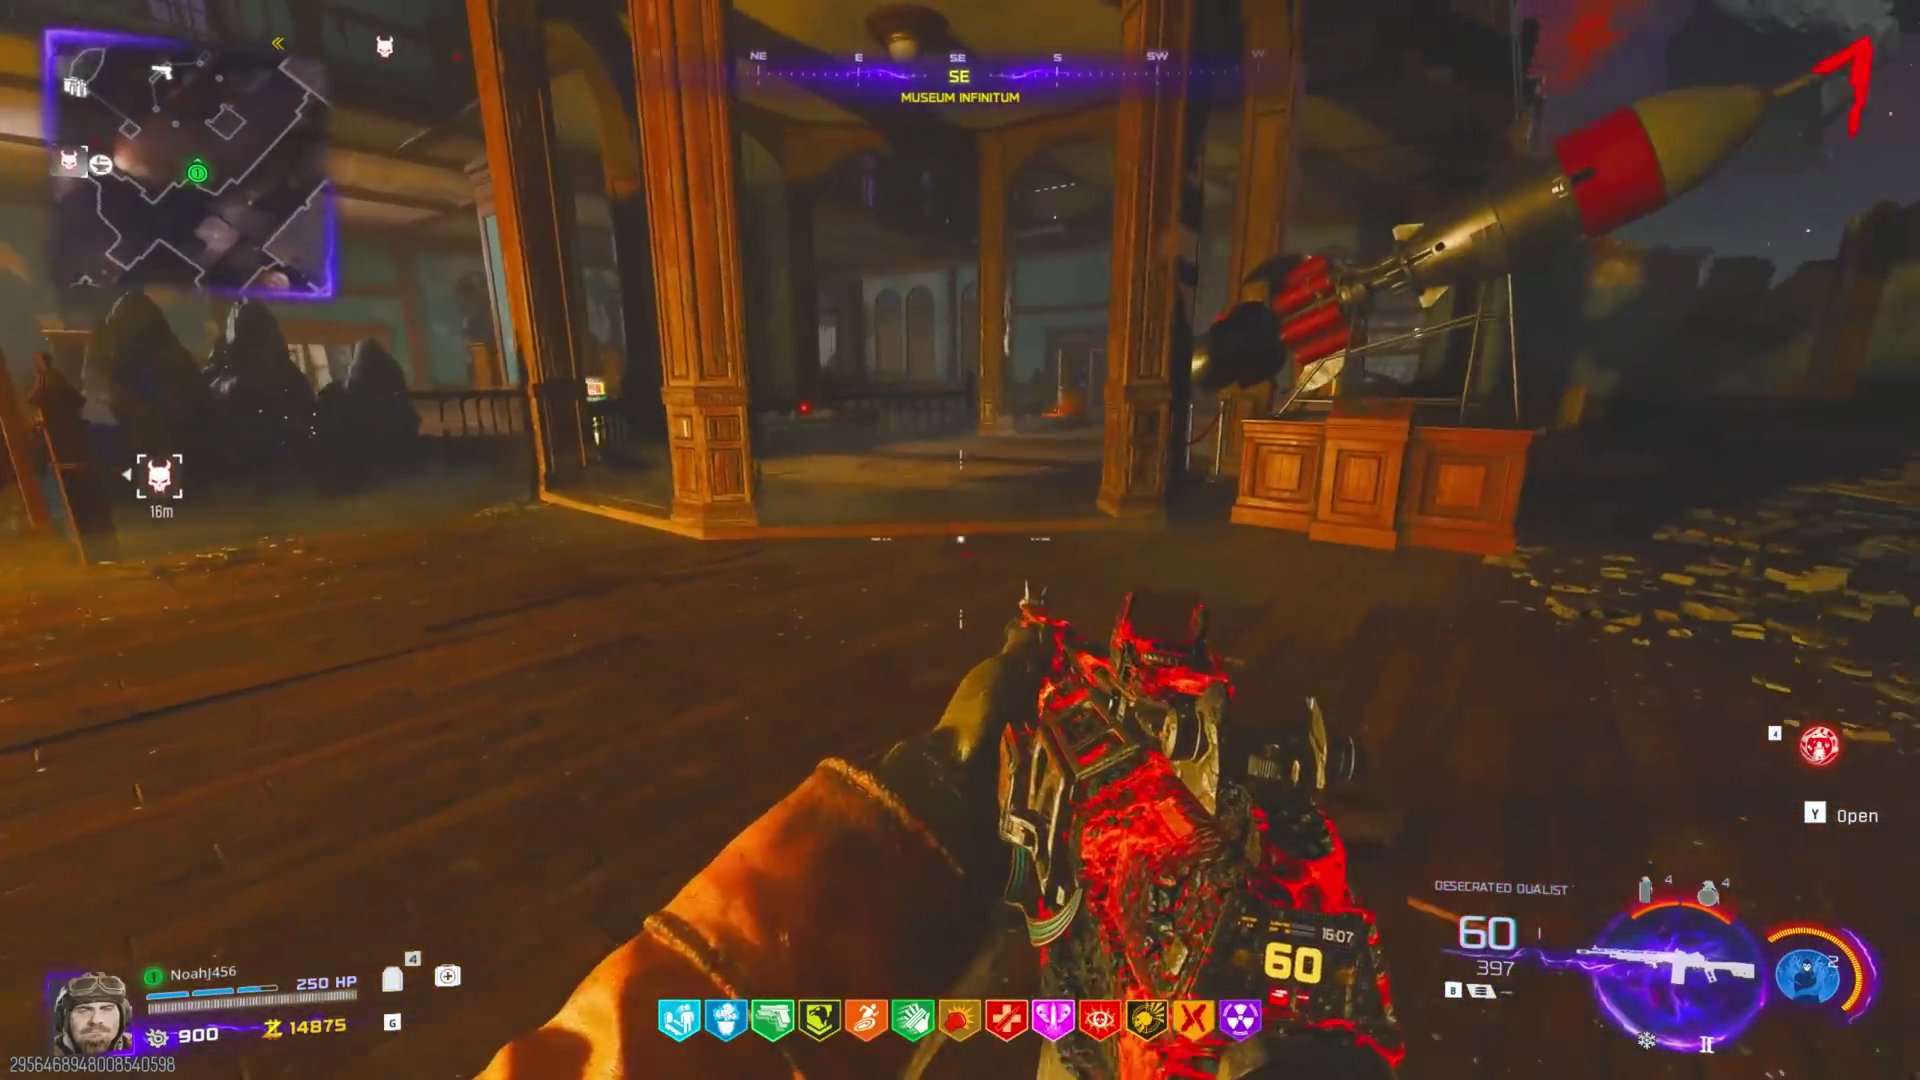
- With three crystals in your inventory, interact with the side panel of the rocket. A 5-second countdown will begin.
- Lure OSCAR to stand directly at the back of the rocket burner where the blast will go.
- Shoot off his shield right before the countdown ends so he is stunned. If done correctly, he will be blown up by the rocket.
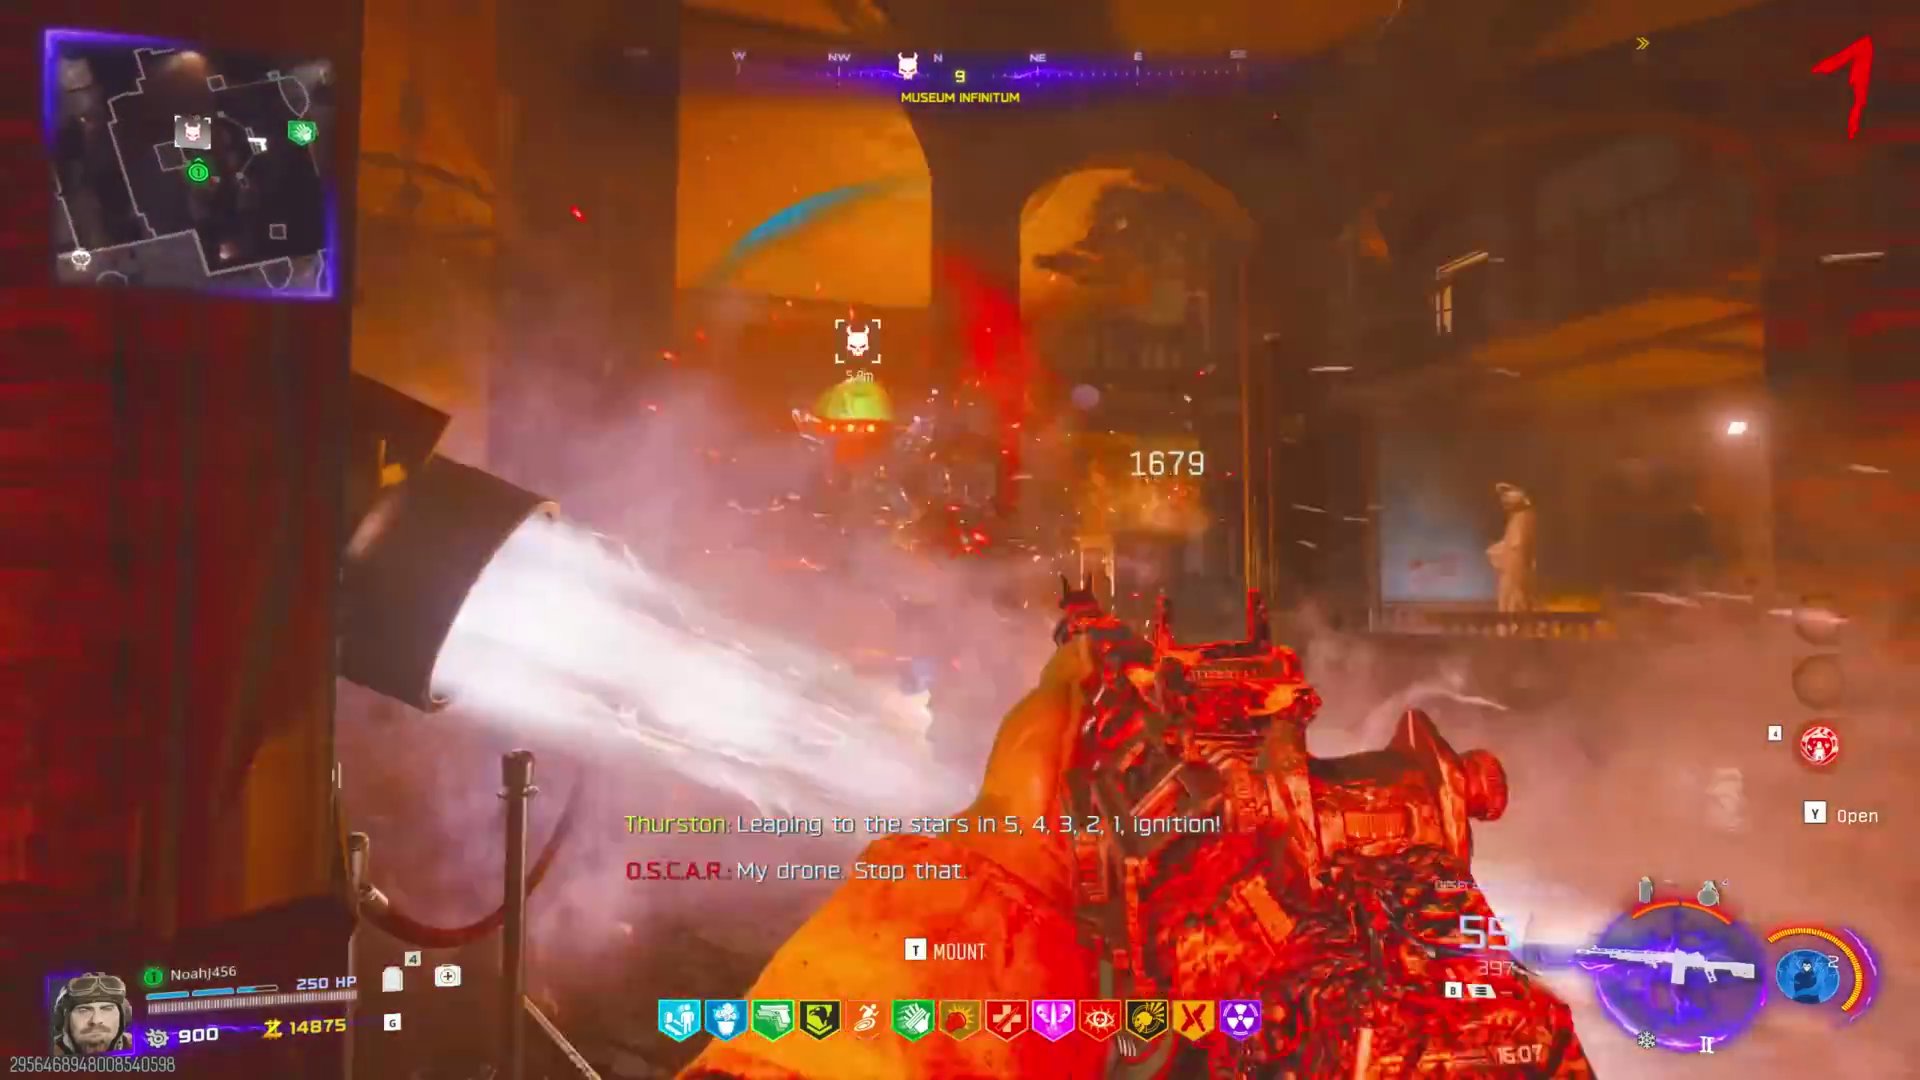
- After the third special OSCAR kill, the Wonder Weapon will spawn on the floor. Pick it up.
Step 3: Brain Extraction & Perfusion
Cryo Chamber Key
- The next OSCAR that spawns will be special and speak planet names. He only does this if he hasn't noticed you yet, so lose aggro if necessary.
- Listen to the three planet names he speaks (e.g., Mercury, Venus, Neptune).
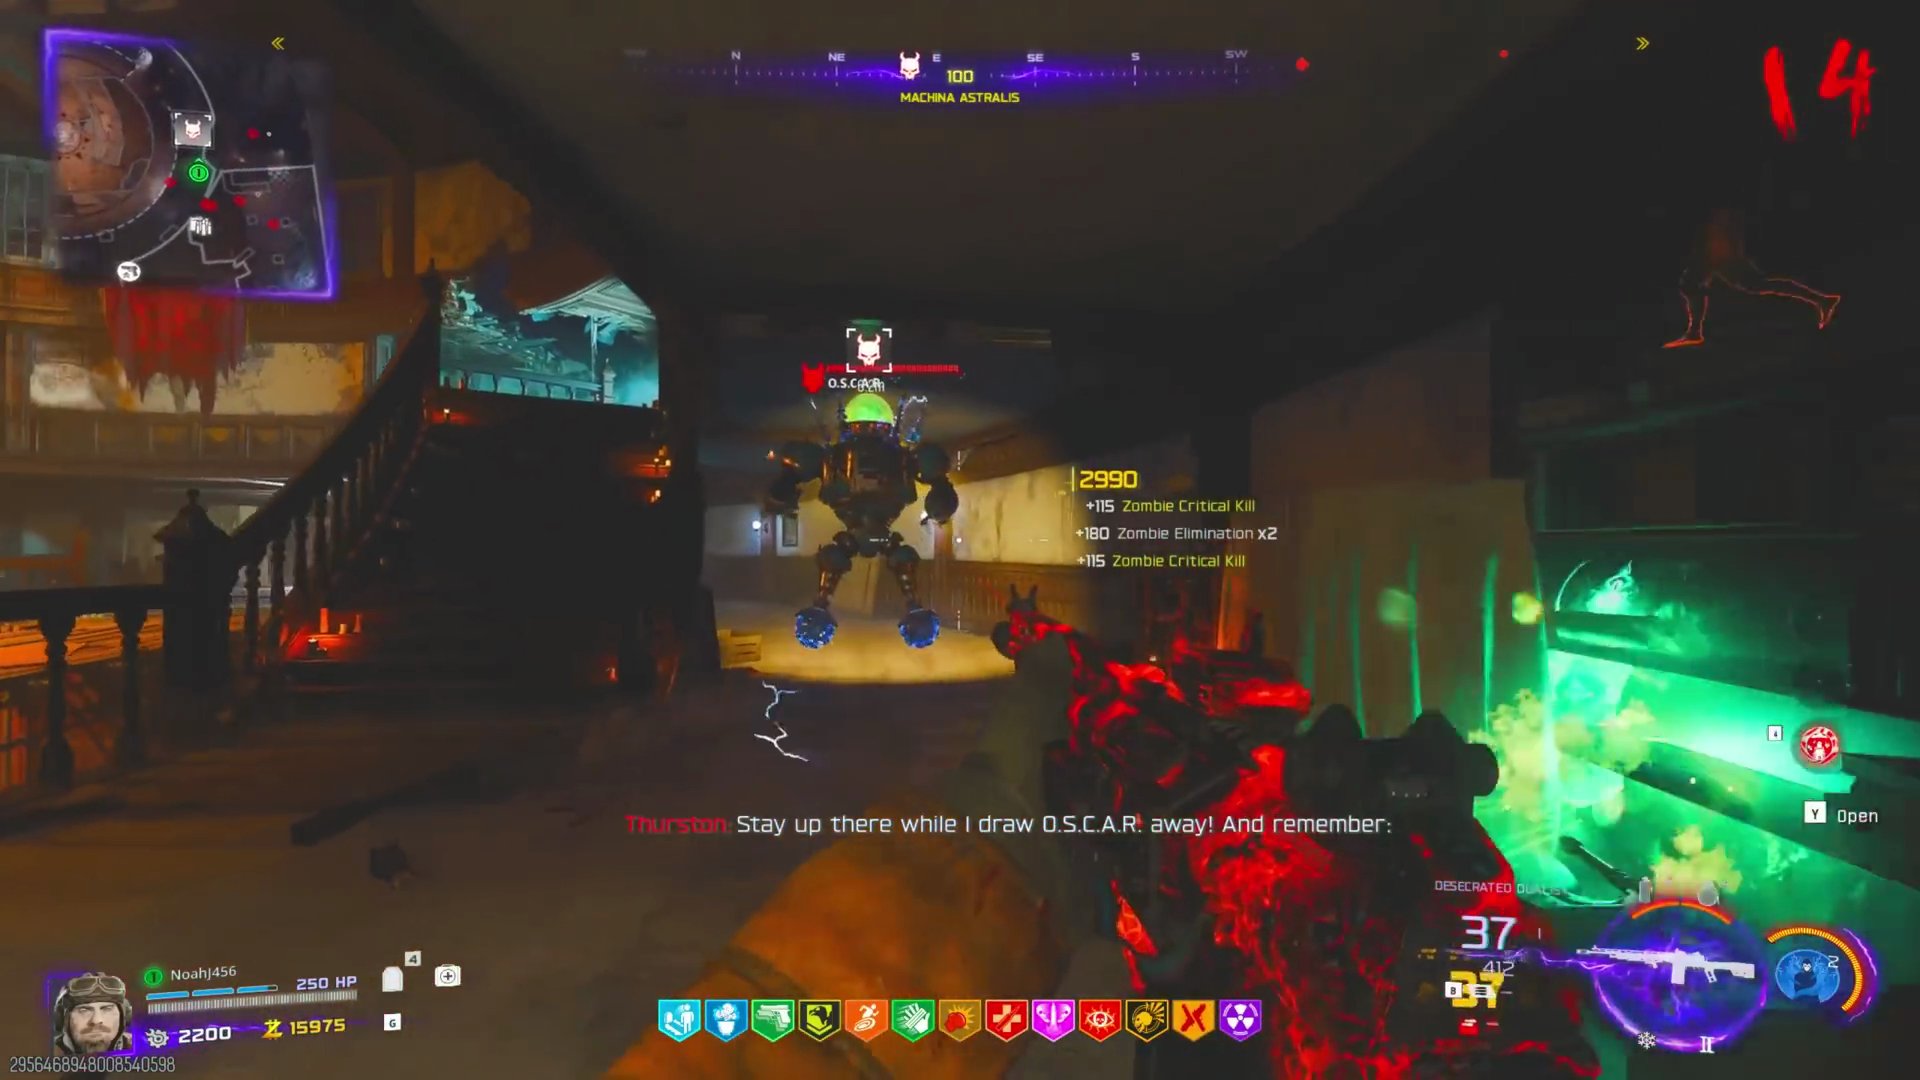
- Translate these into their numerical order in the solar system (e.g., Mercury = 1, Venus = 2, Neptune = 8, so the code is 128). Use the provided chart if needed.
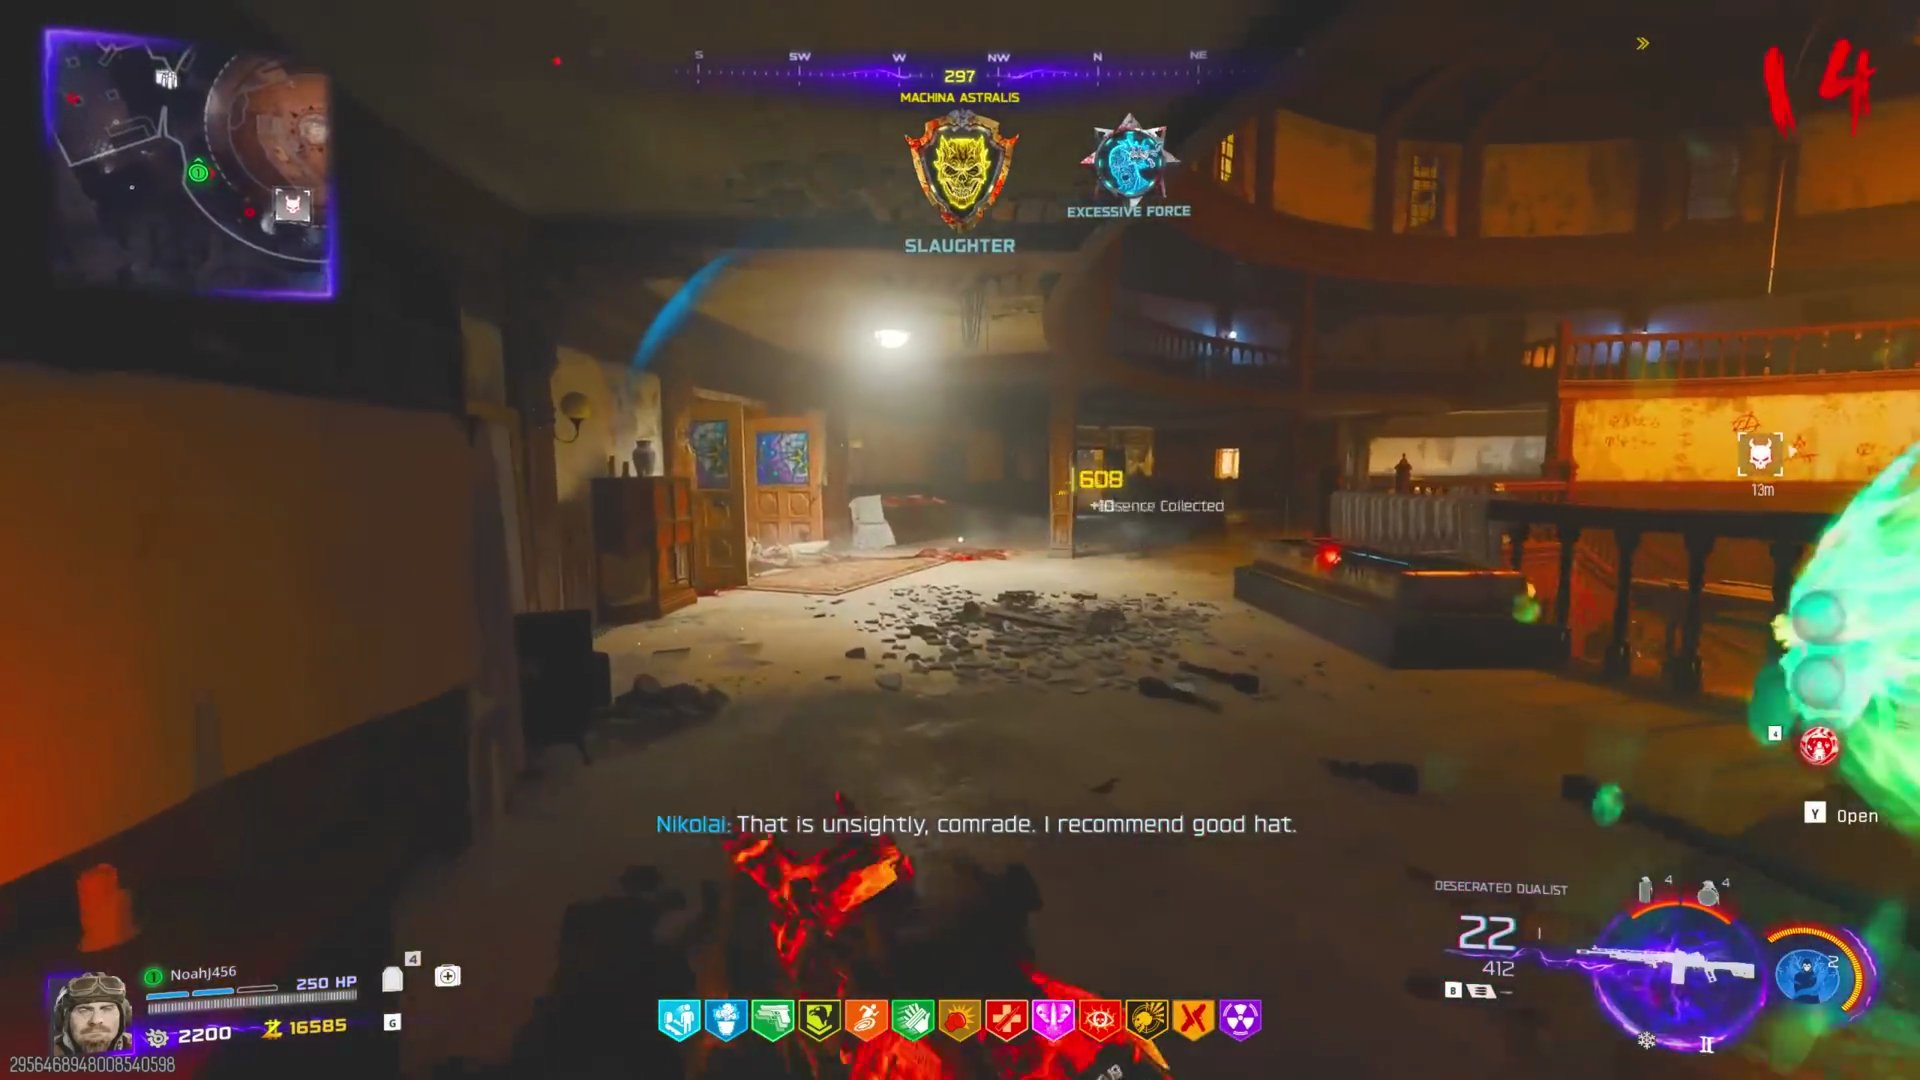
- Head to the Pack-a-Punch room and find the interactable panel with numbers. Input your 3-digit code.
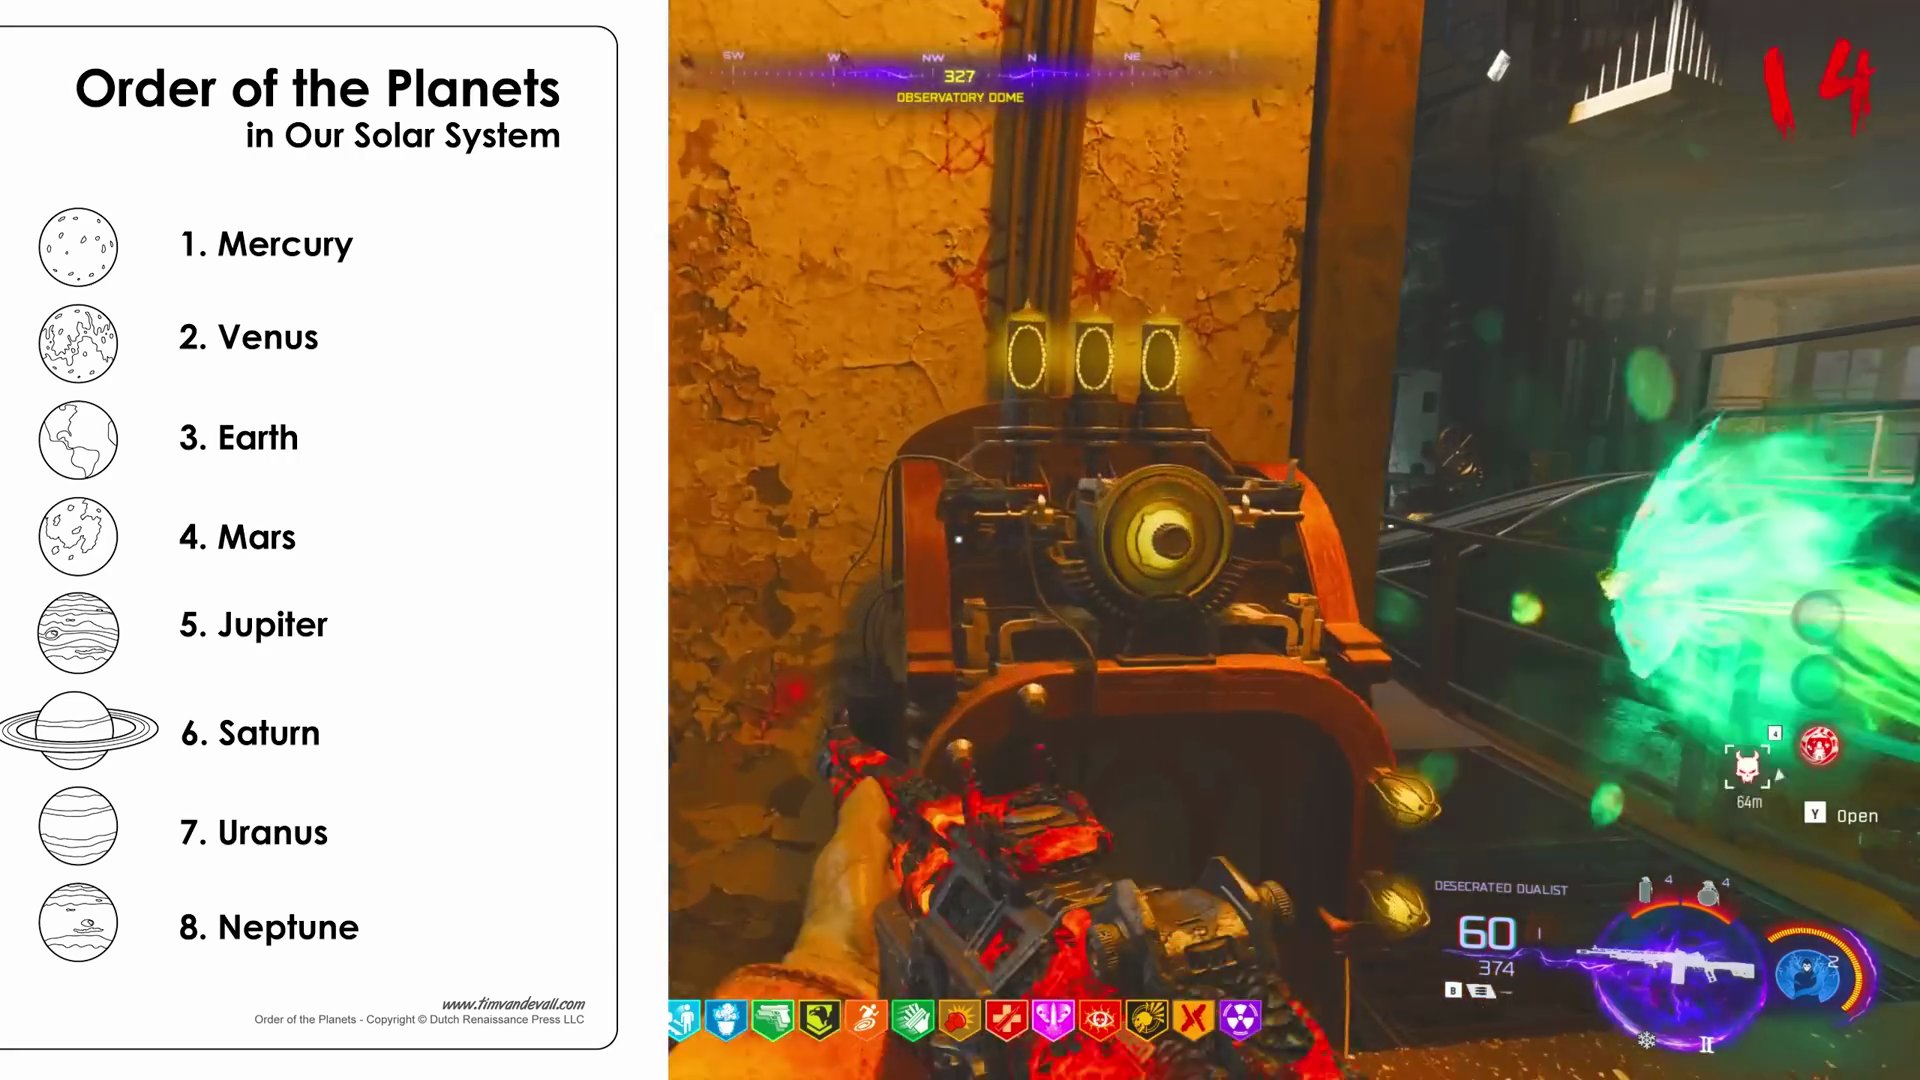
- A forklift will lower. Hop into the forklift and grab the Cryo Chamber Key.
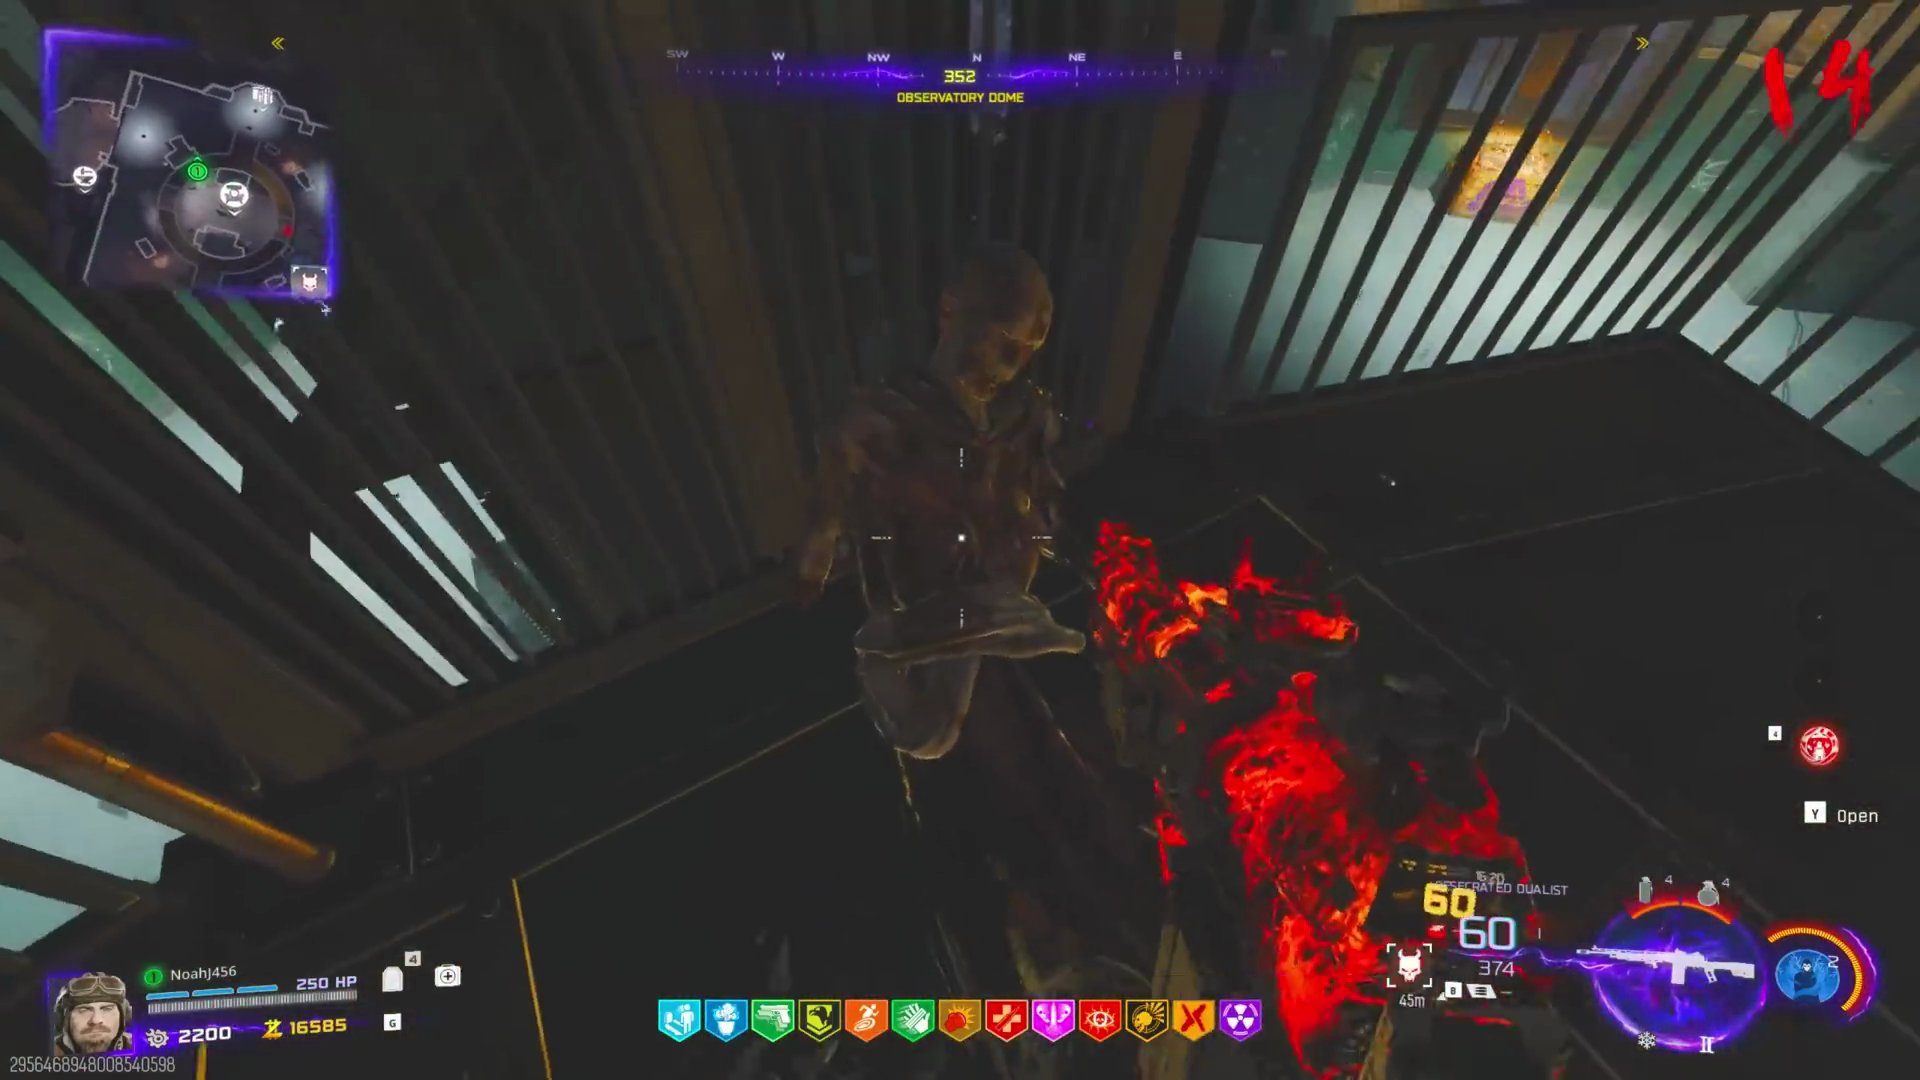
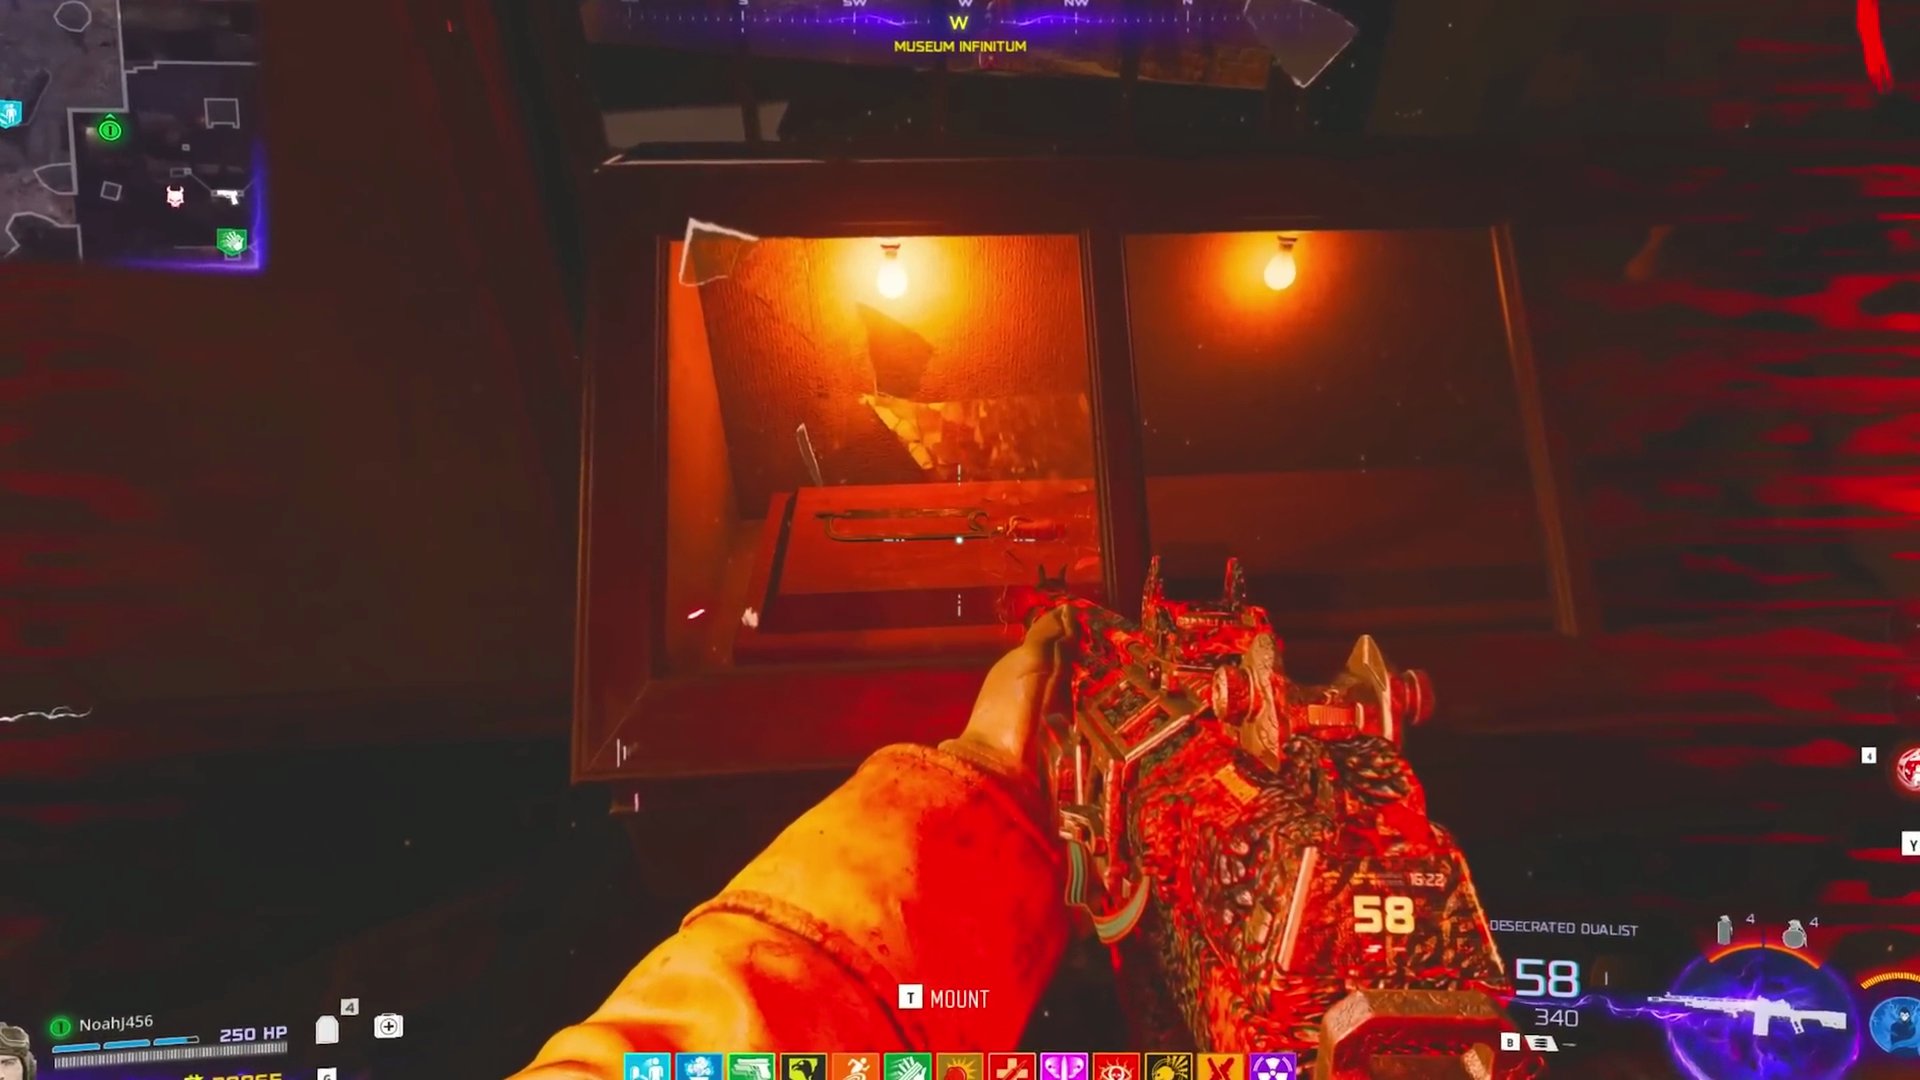
Bonesaw
- With the key in hand, go to the Museum area.
- Near where you did the rocket launch, locate the case containing the Bonesaw. Break the glass and grab it.
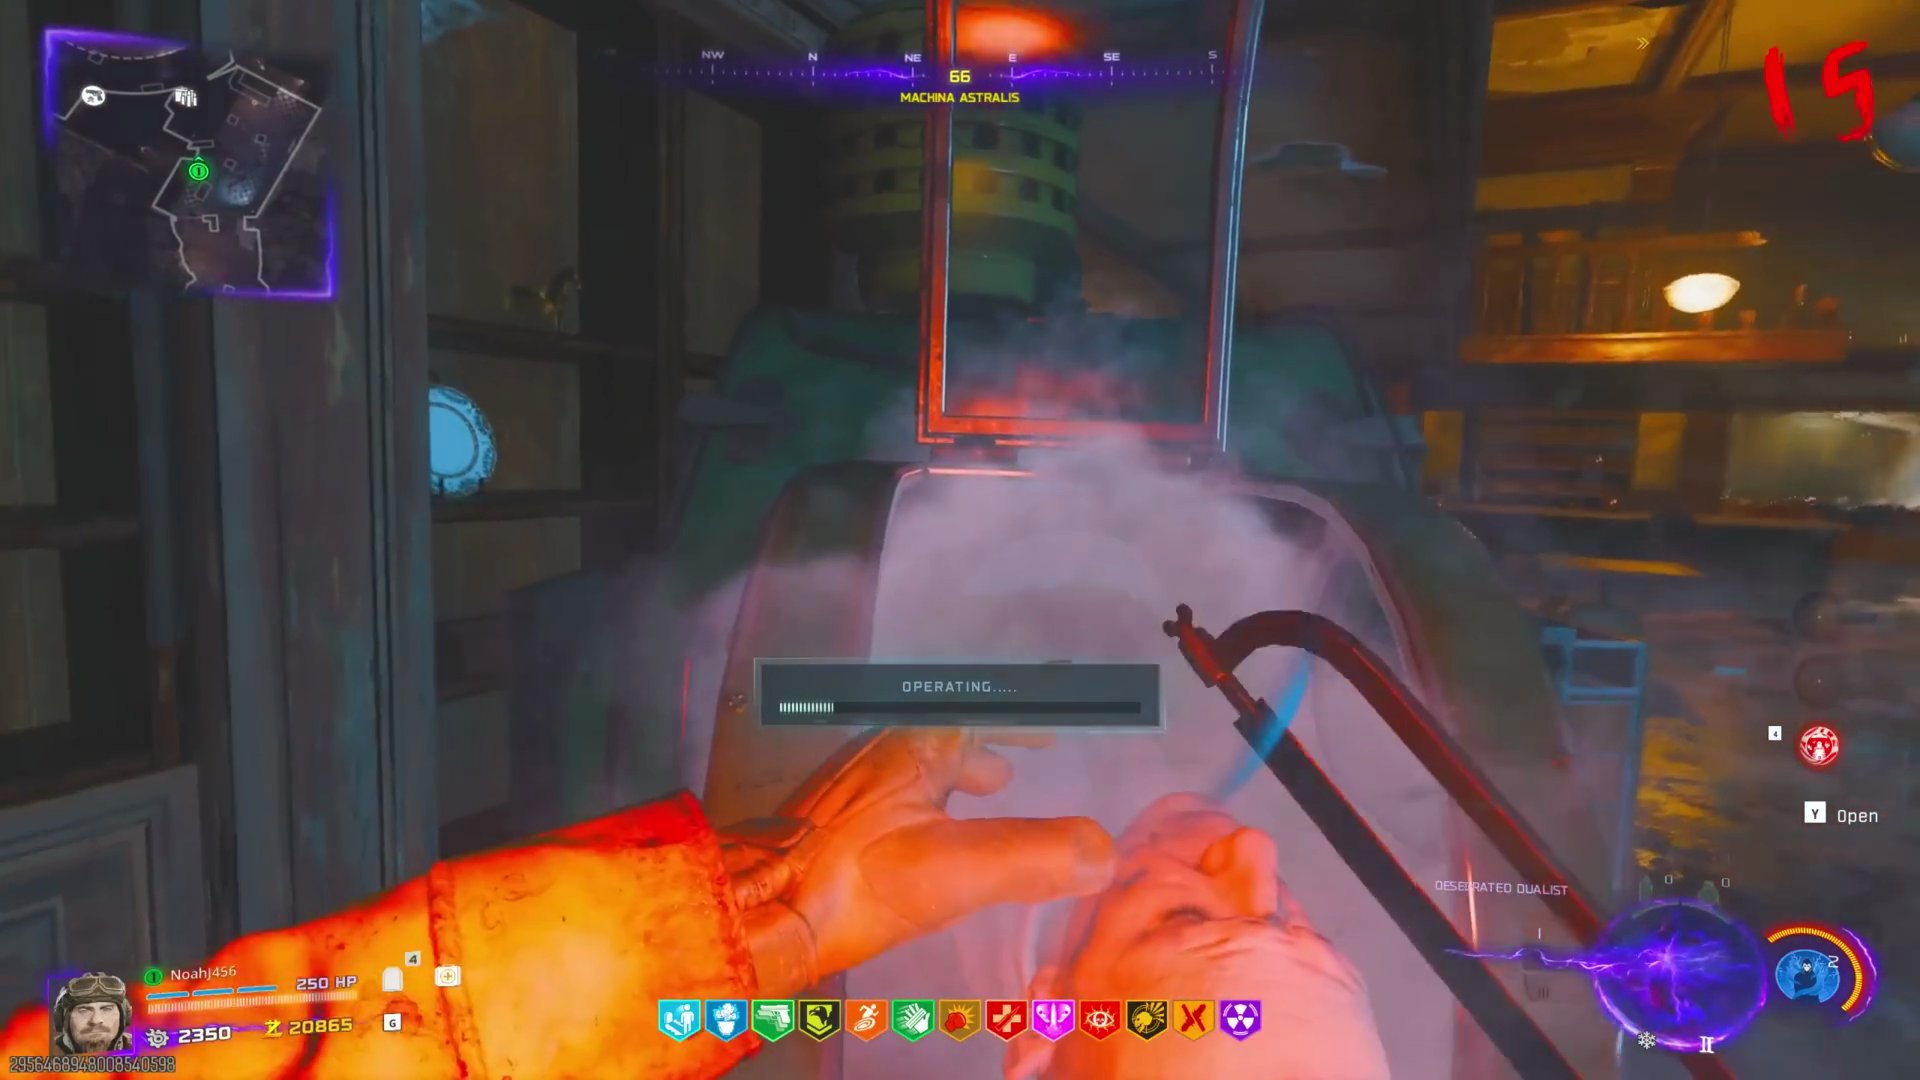
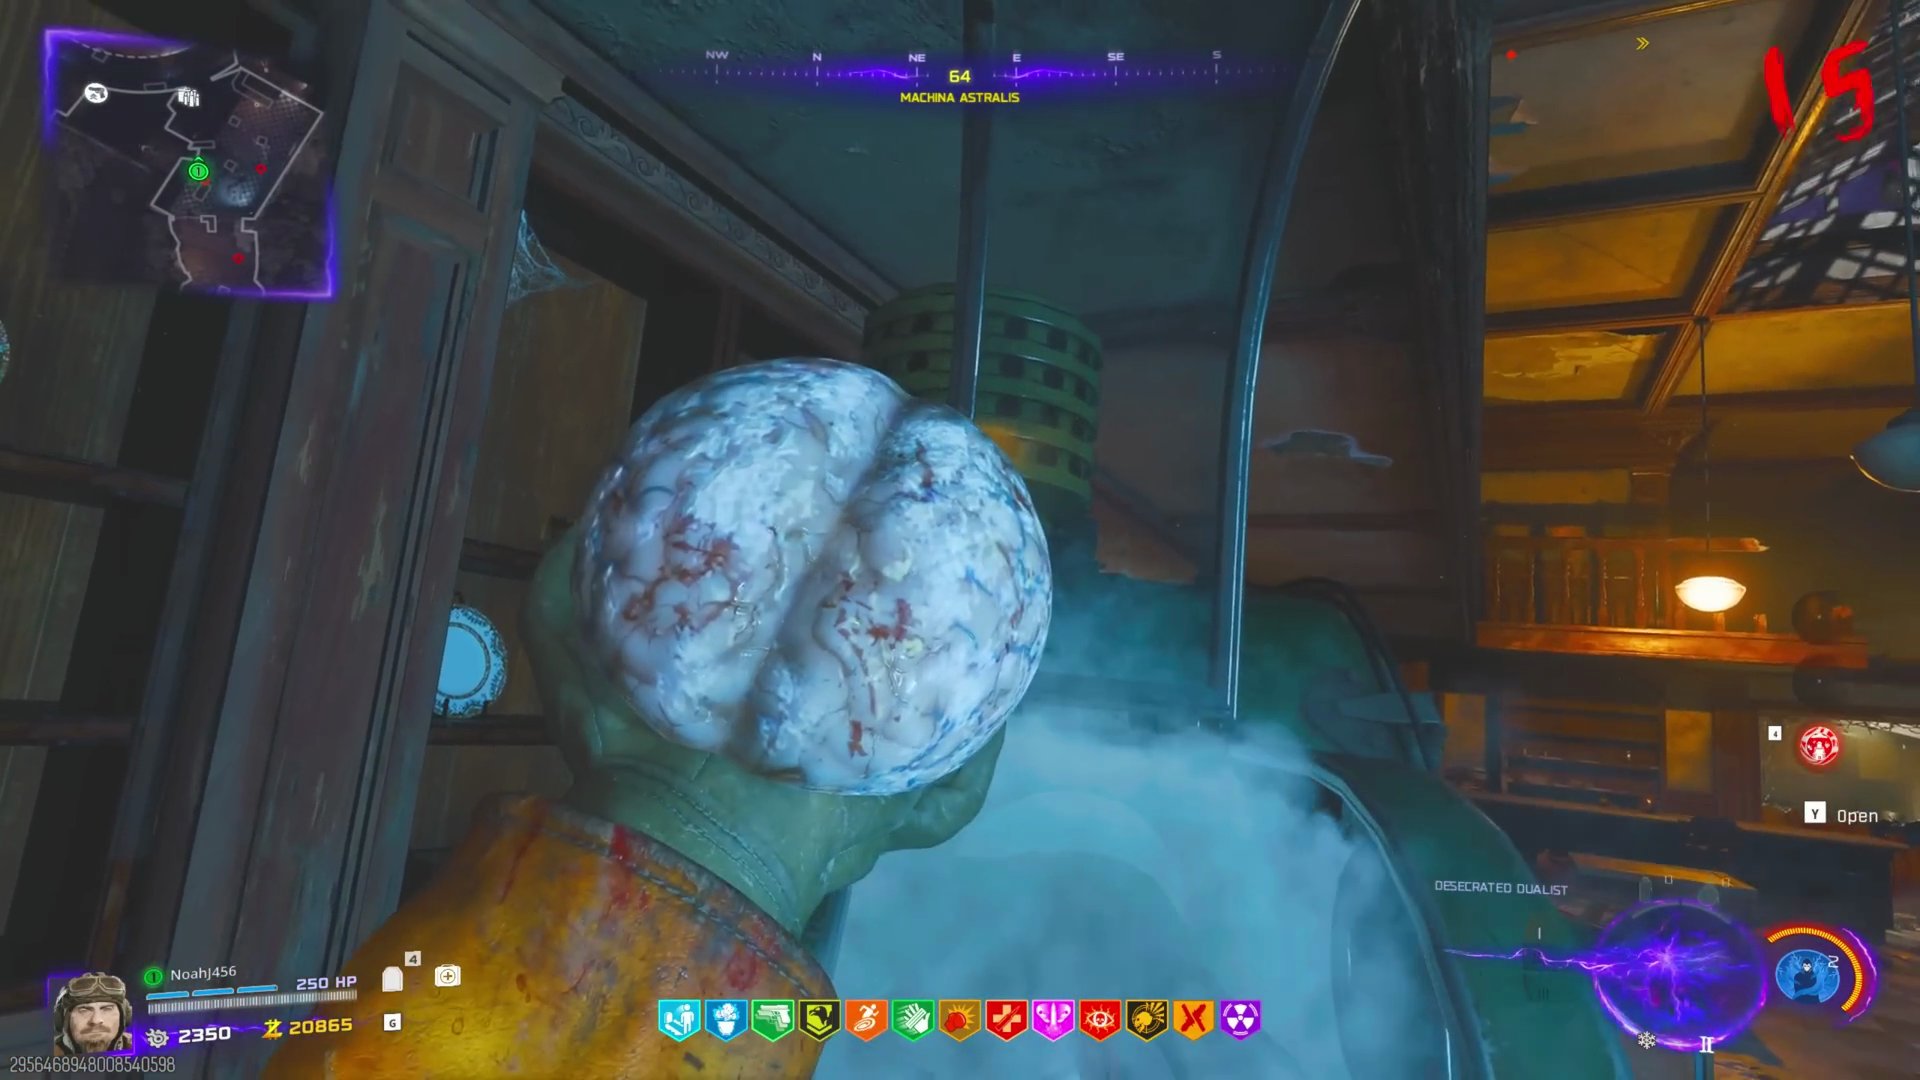
Brain Extraction
- Go to the ice machine (Cryo Chamber) in the Machina Astralis area.
- Use the Cryo Chamber Key to unlock it.
- Use the Bonesaw on the body inside to extract a large brain.
Perfusion Machine
- Head back to the Lumminarium.
- Locate the small brain on the table and replace it with the large brain you just acquired.
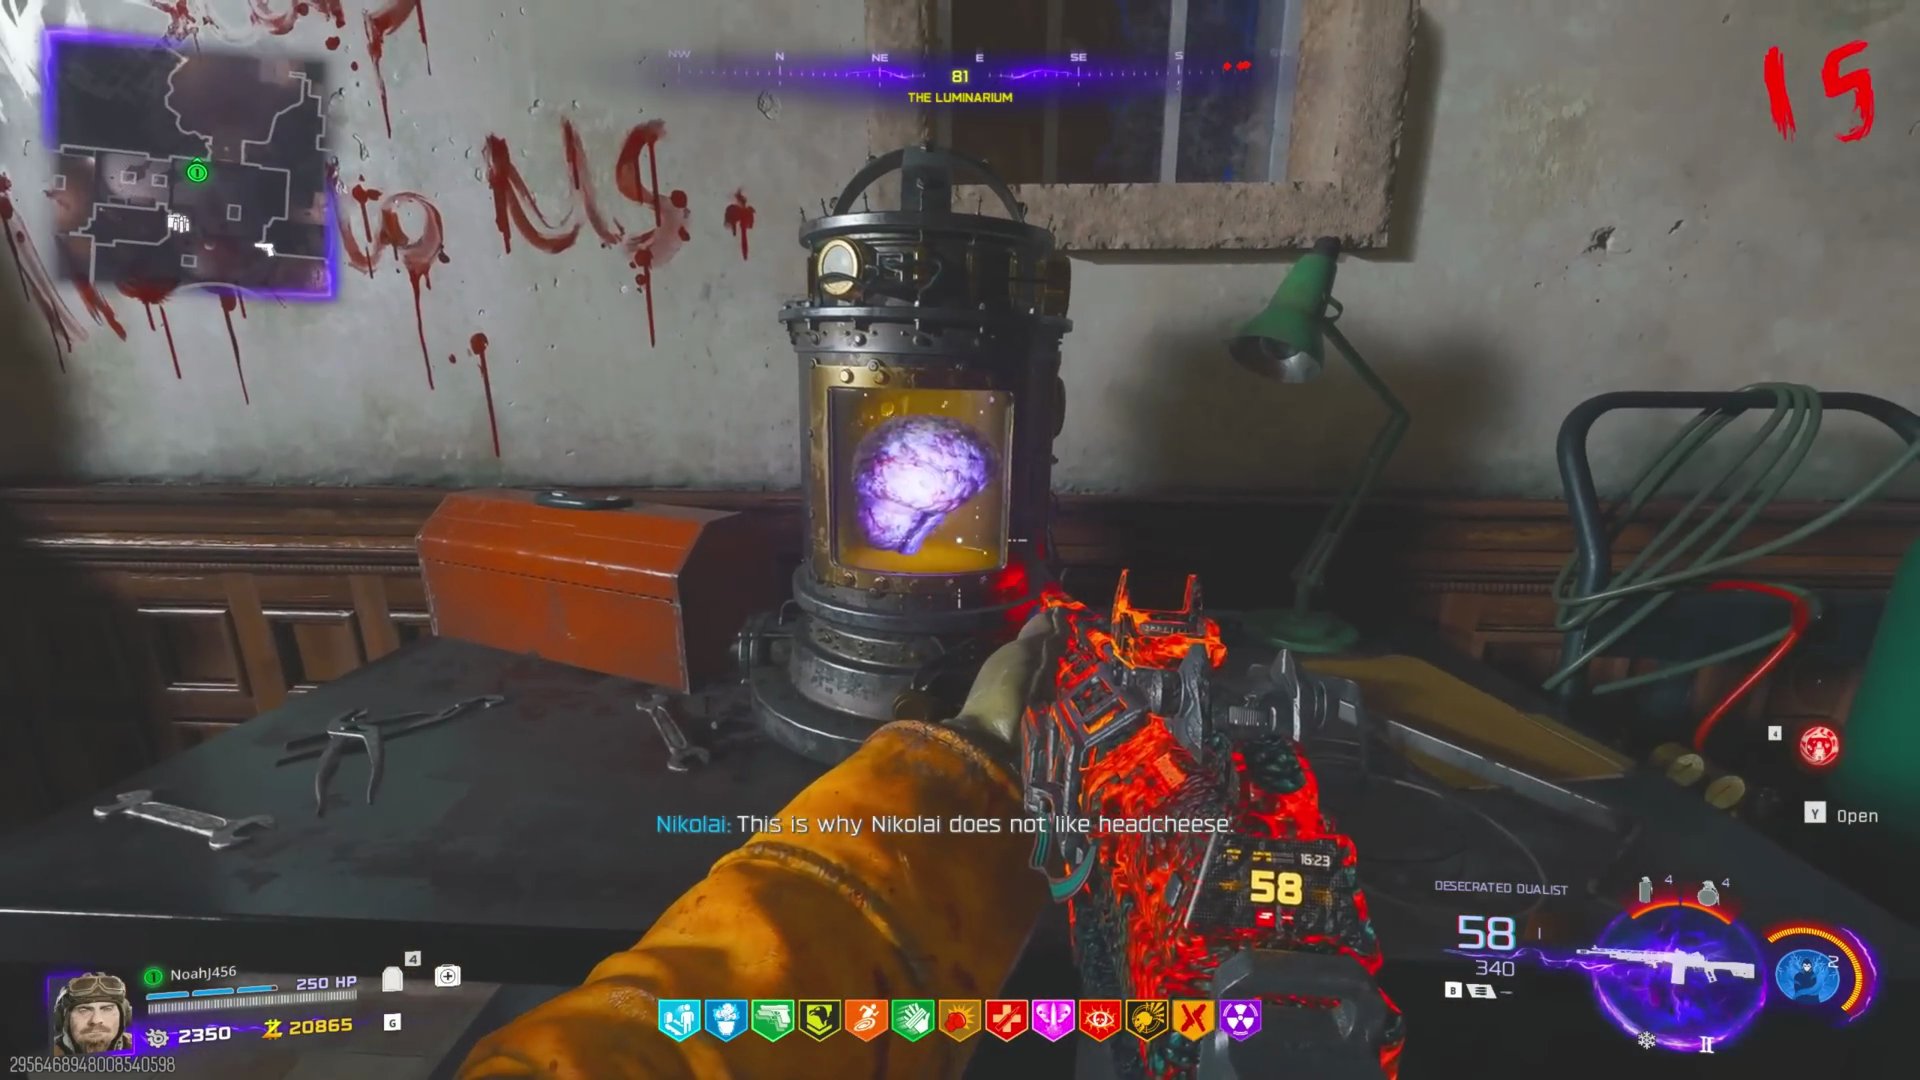
- This will initiate a mini-lockdown. Defend the Perfusion Machine from zombies and any OSCARs that spawn.
- Once complete, pick up the brain from the table. This will slow your movement significantly, and you cannot drop it. [SCREENSHOT:05:09]
- Carry the brain to the large circular room and place it inside the pedestal.
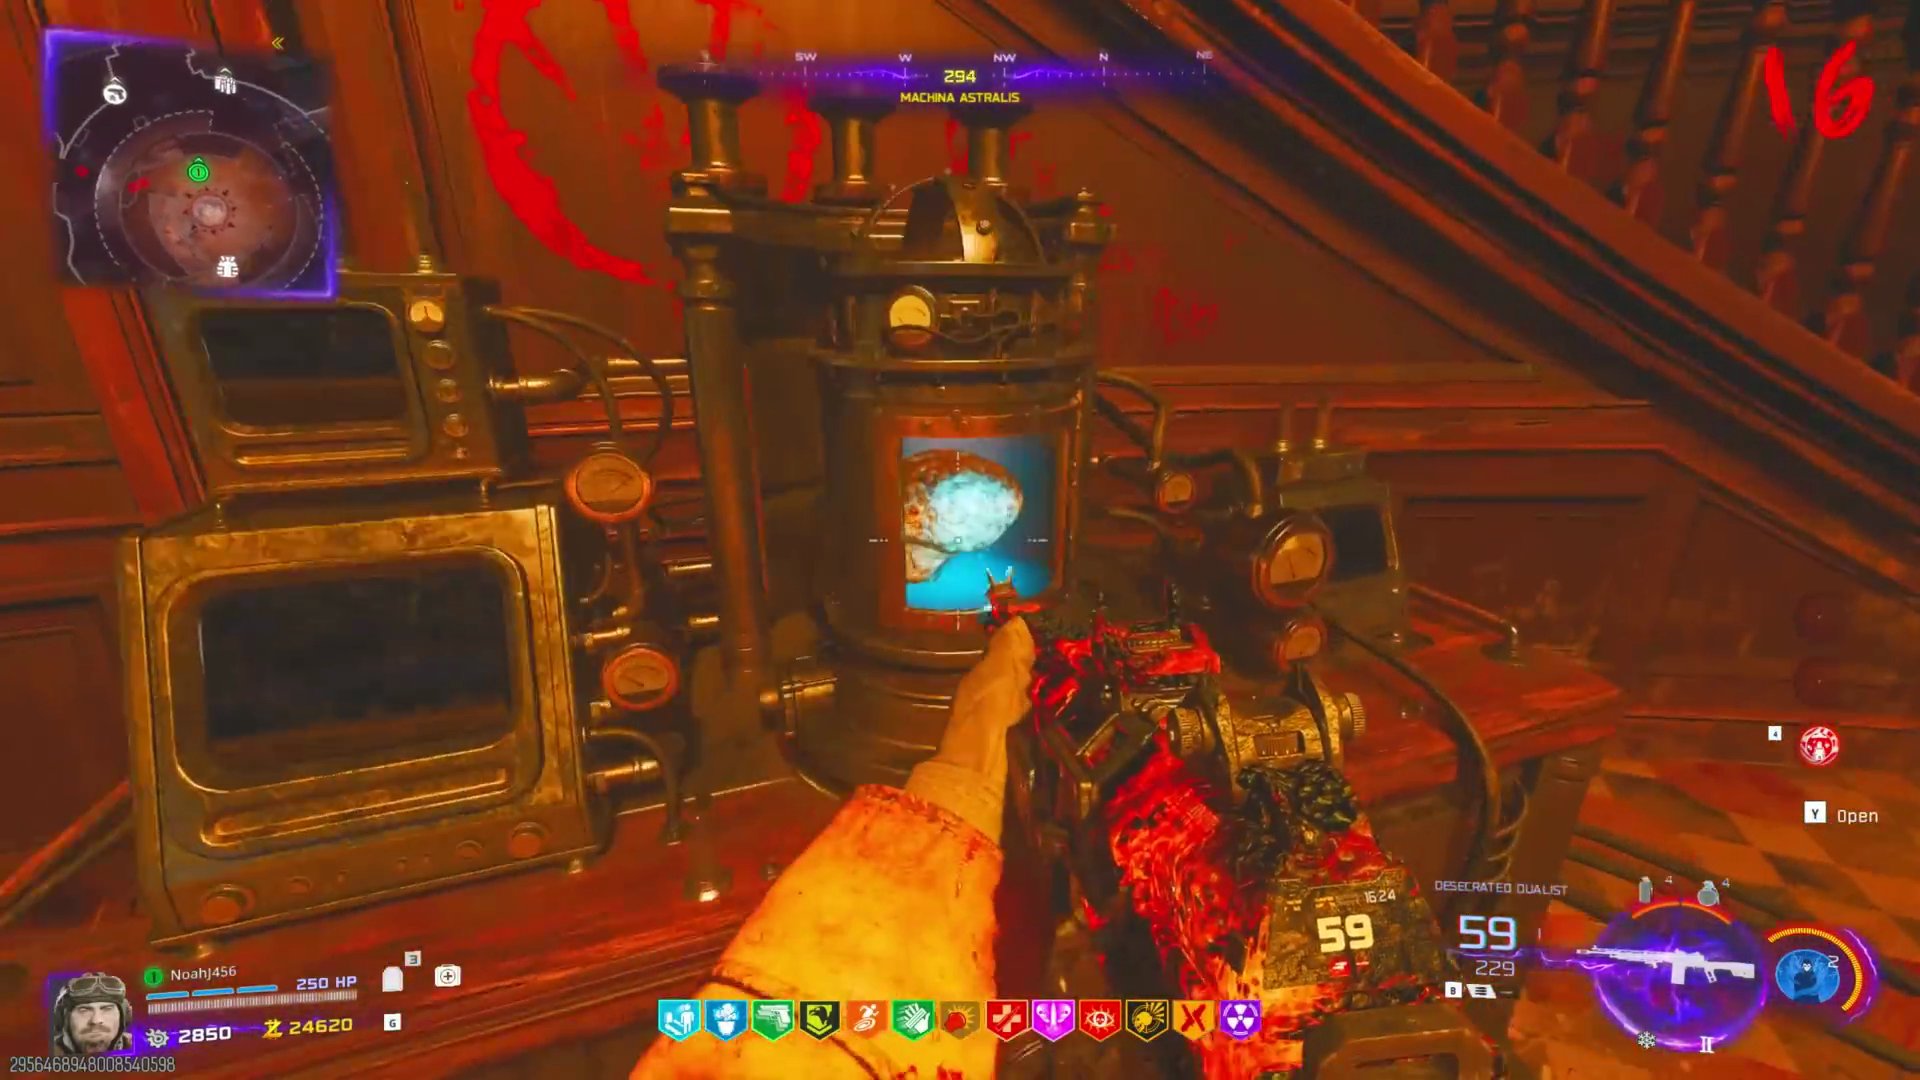 Hold F to repair it.
Step 4: Mars Activation
Mars Coordinates
- Head back to the Pack-a-Punch room and interact with the binoculars of the giant telescope to enter it again.
- This time, look for Mars. Center Mars perfectly in the scope.
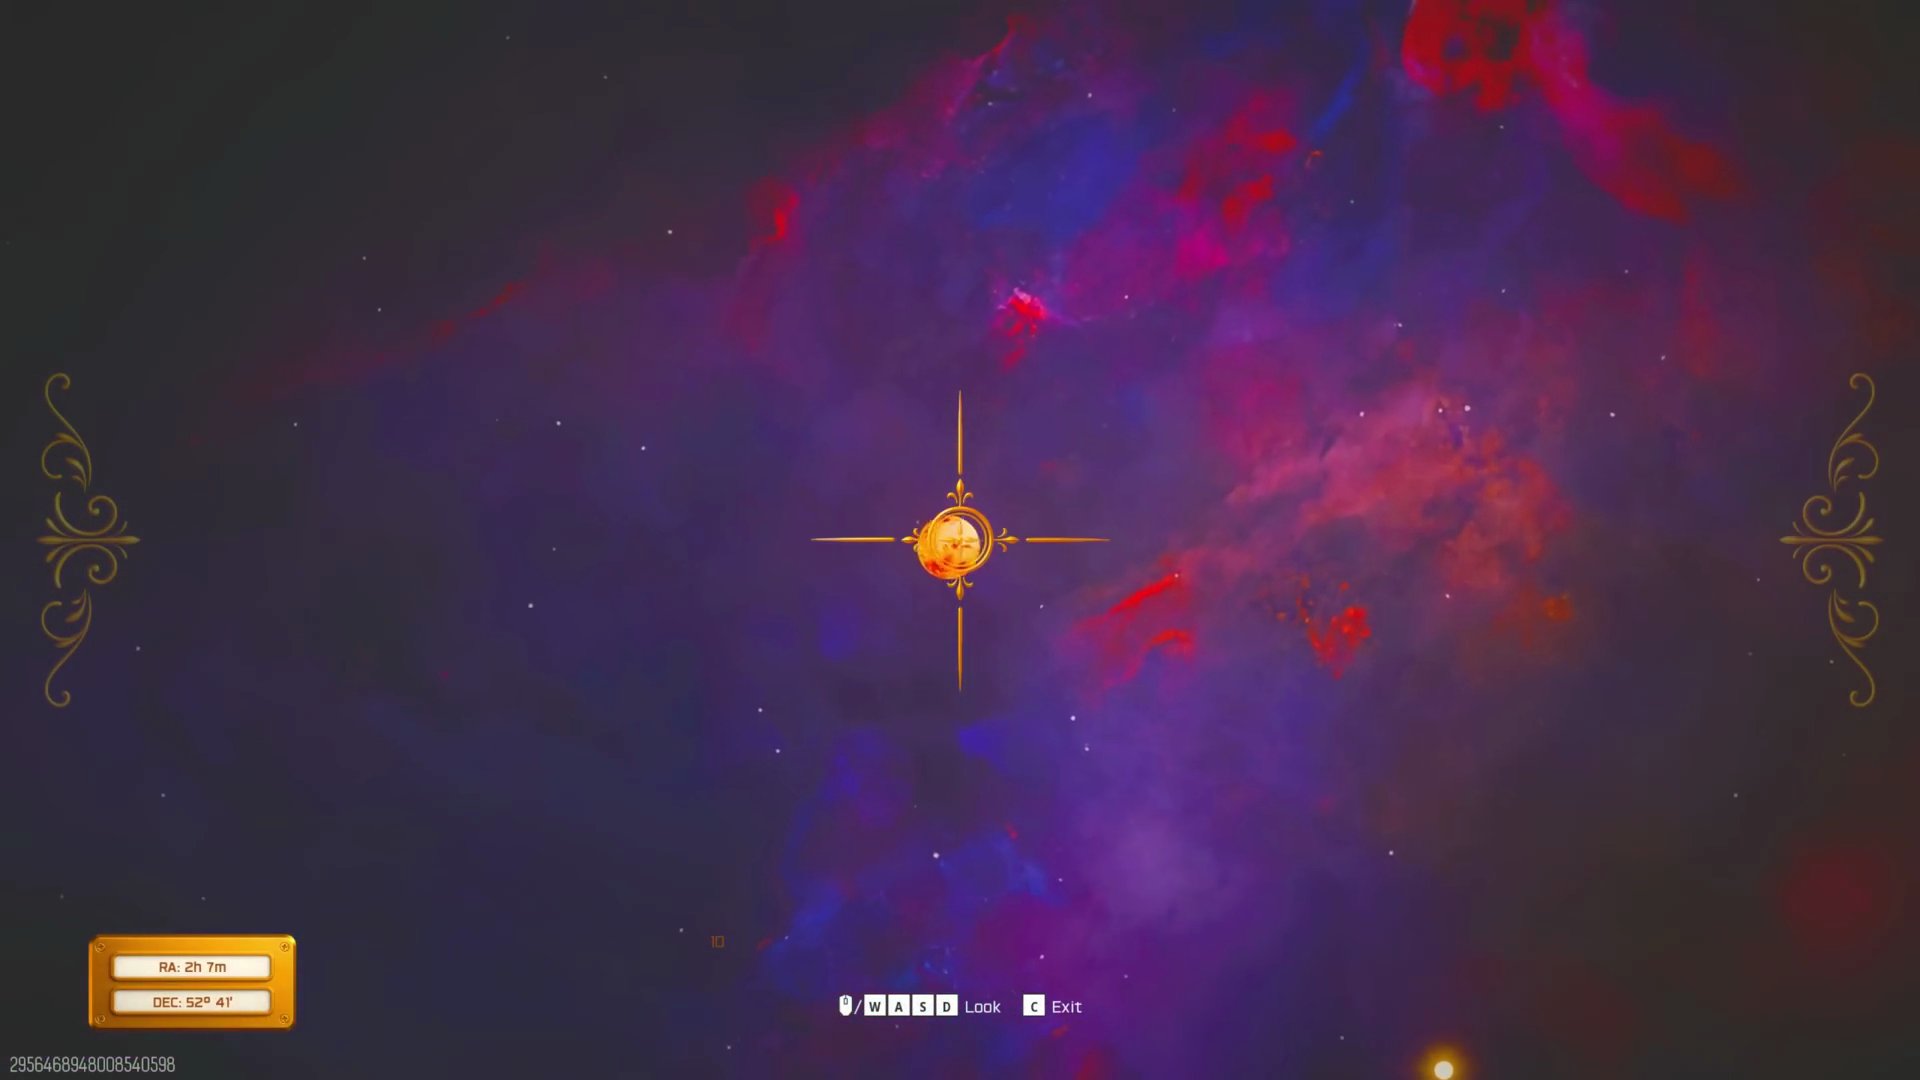
- Look at the bottom left corner for the DEC coordinates (e.g., 5319). This is your 4-digit code.
- Go to the input panel right next to where you installed the brain in the big circle room and input your 4-digit code.
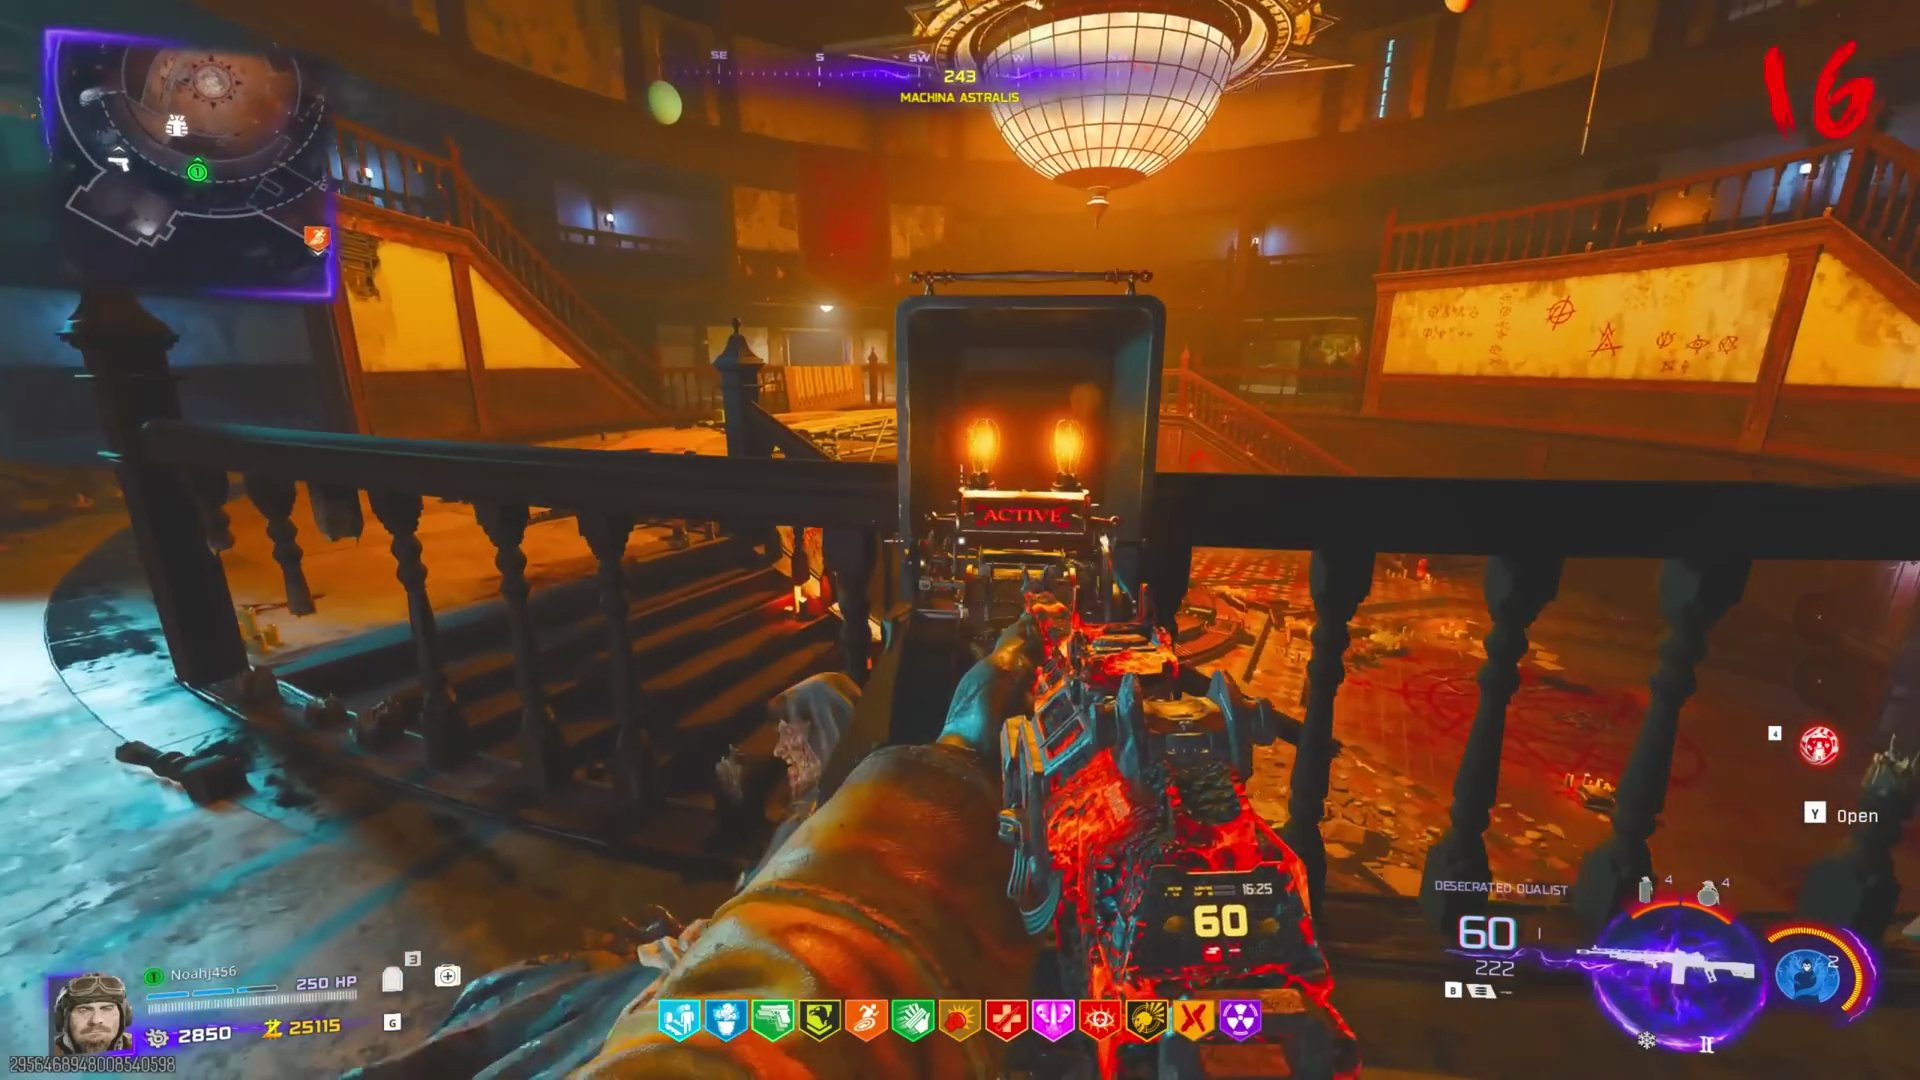 If correct, it will light up and say 'READY'.
Books & Busts
- Go to the monitor in the big circular room and wait until it displays 'DR. THRUSTON'S READING LIST'. This indicates the start of the sequence.
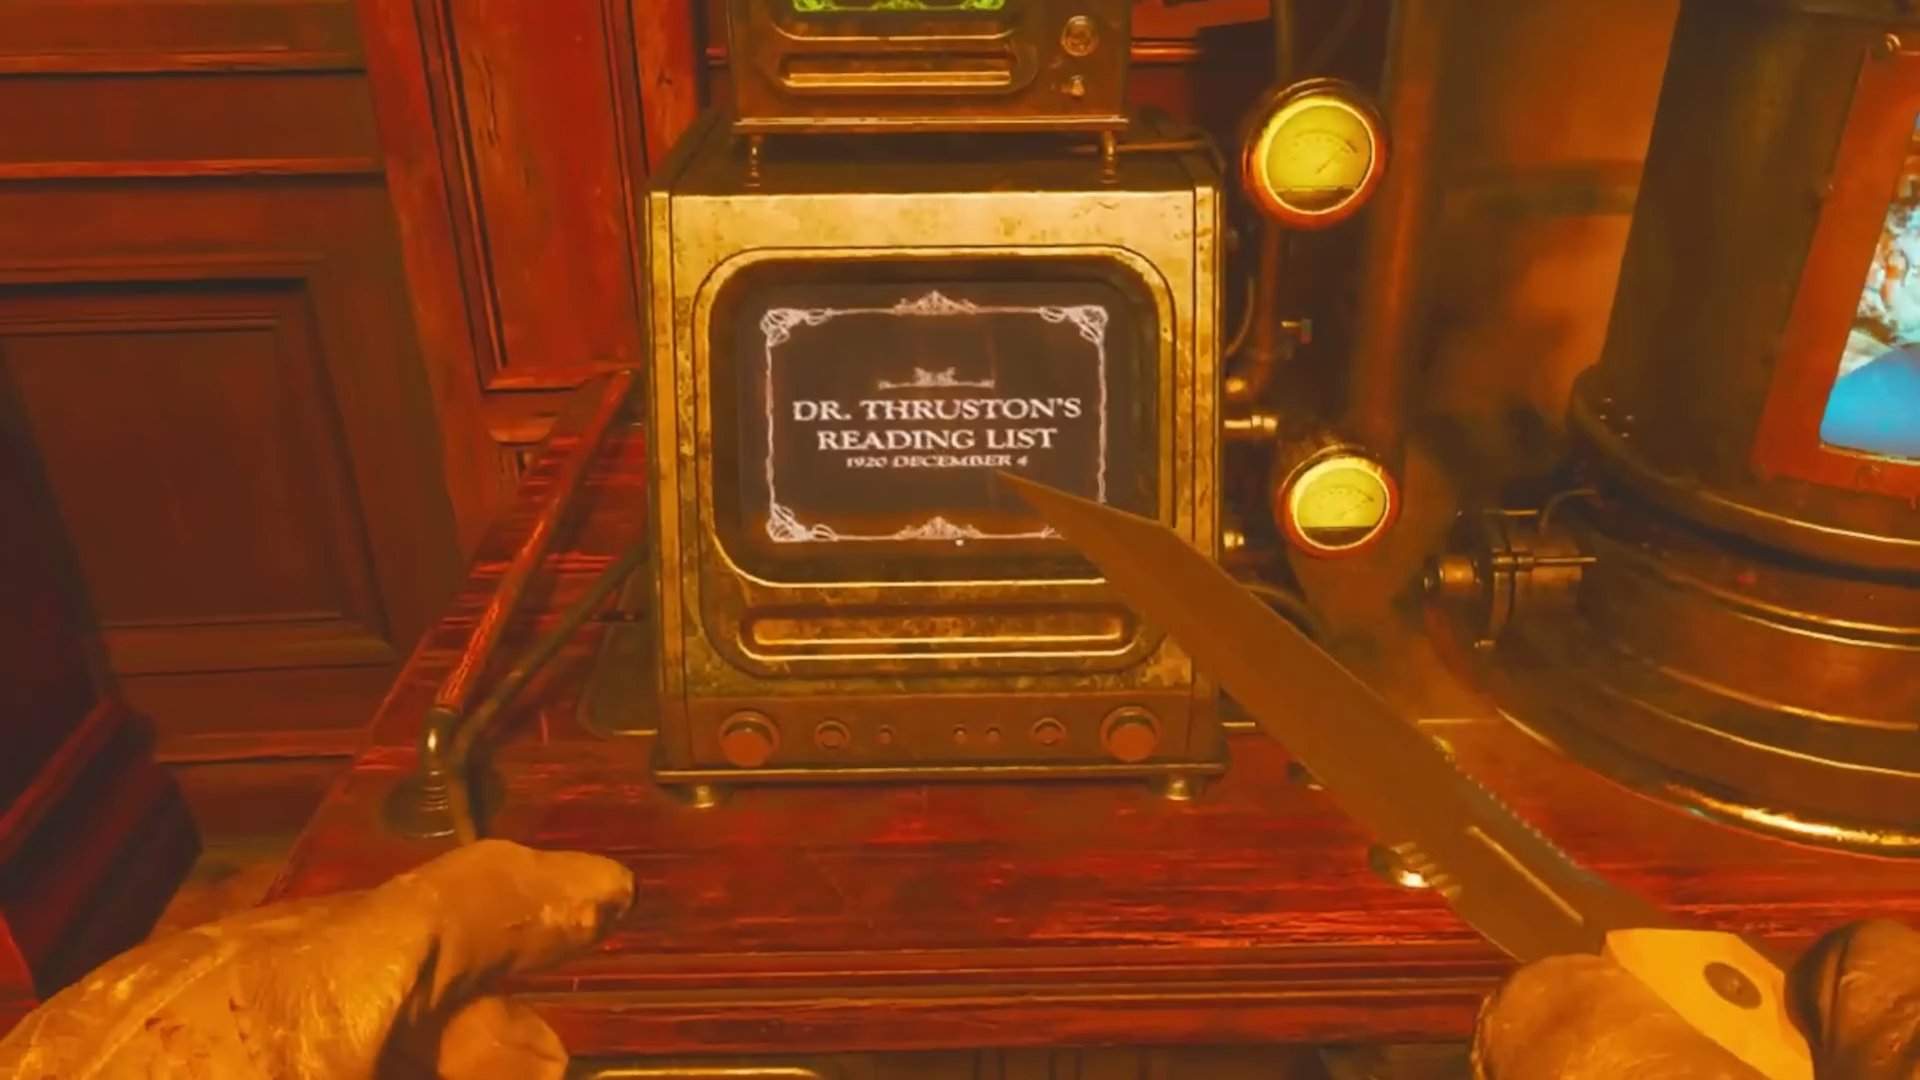
- Jot down every book title that appears on the monitor. There will be between 3 and 9 books.
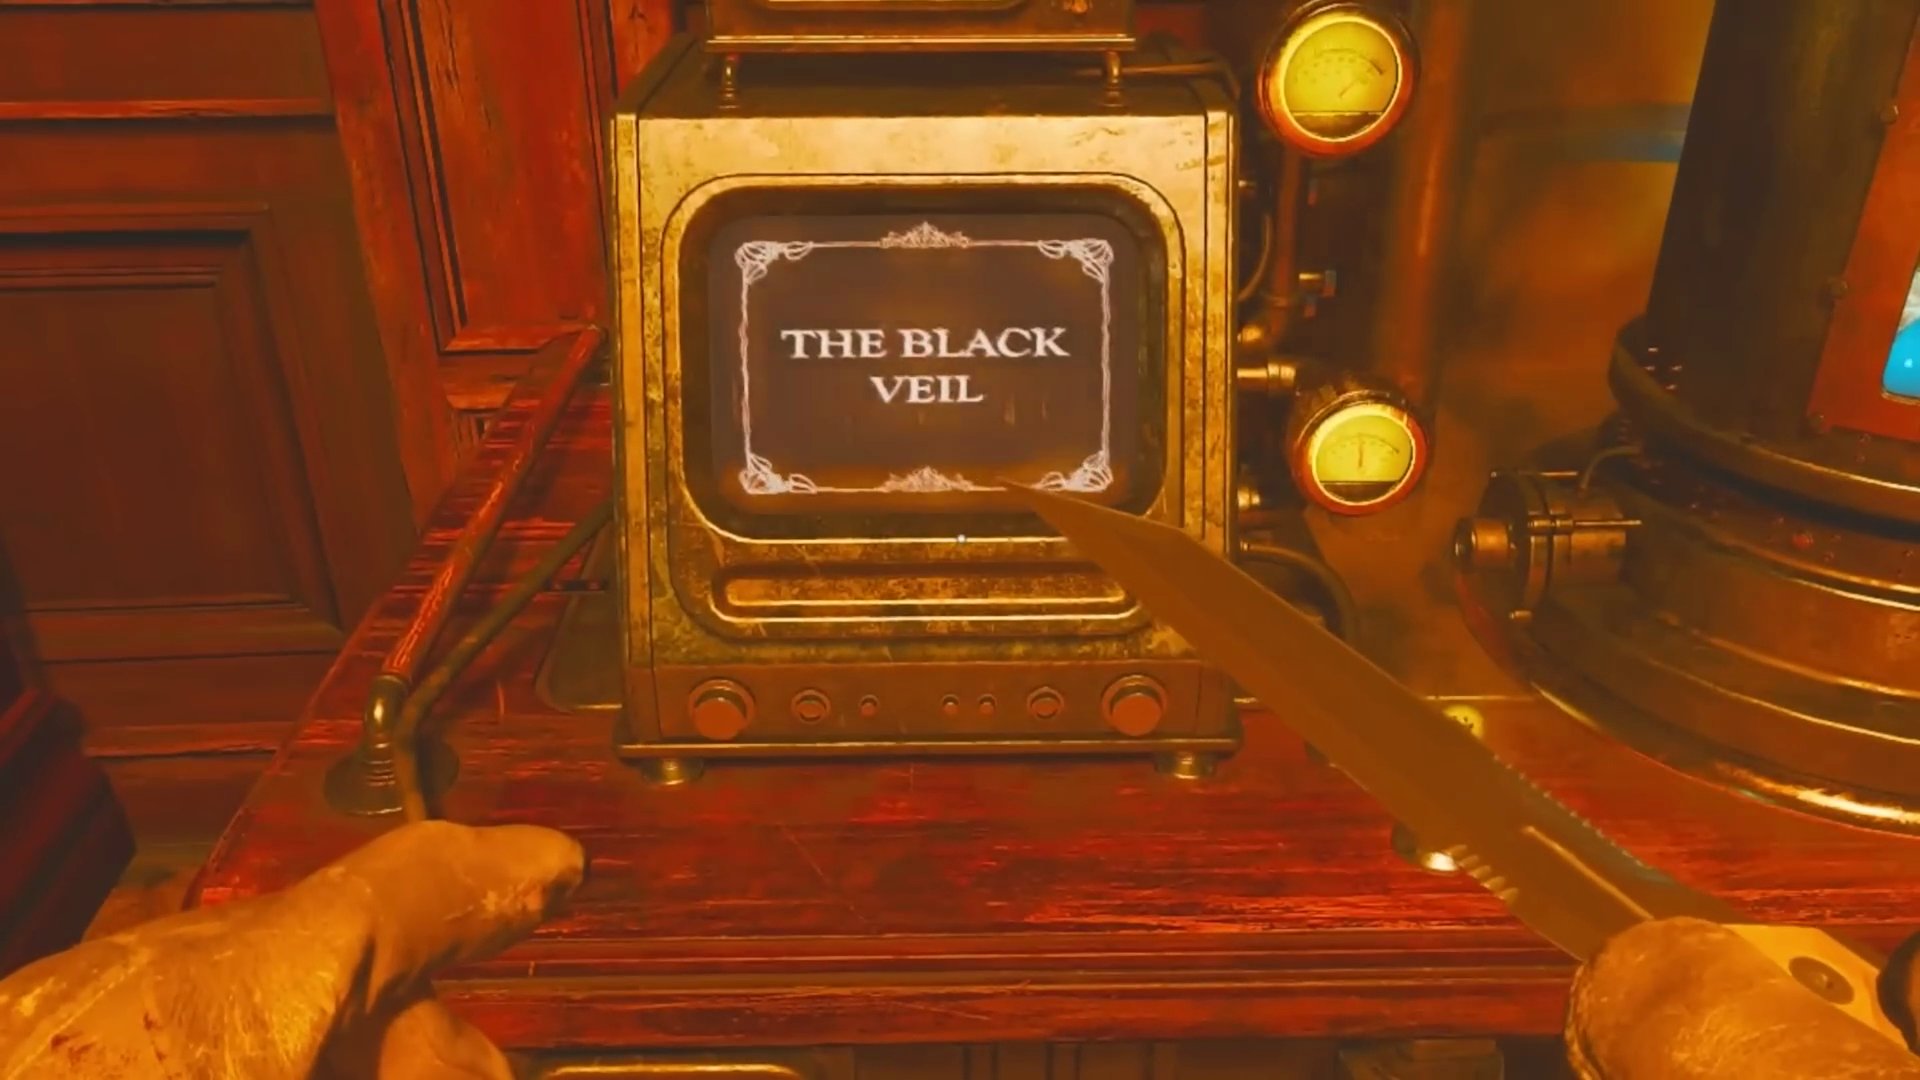
- Head to the Archive of Oribs (library area). There are three white head busts, each linked to three books on the adjacent bookshelf.
- For each bust, identify which of the three books on its corresponding shelf matches one of the book titles from your list.
- Count how many of *your* books are on each bookshelf. This count will determine how many times you need to turn the associated bust. (Example: If 'The Black Veil' is on the shelf and also on your list, that's one turn for that bust).
- **Bust 1 (Corner):** Check books directly behind the bust.
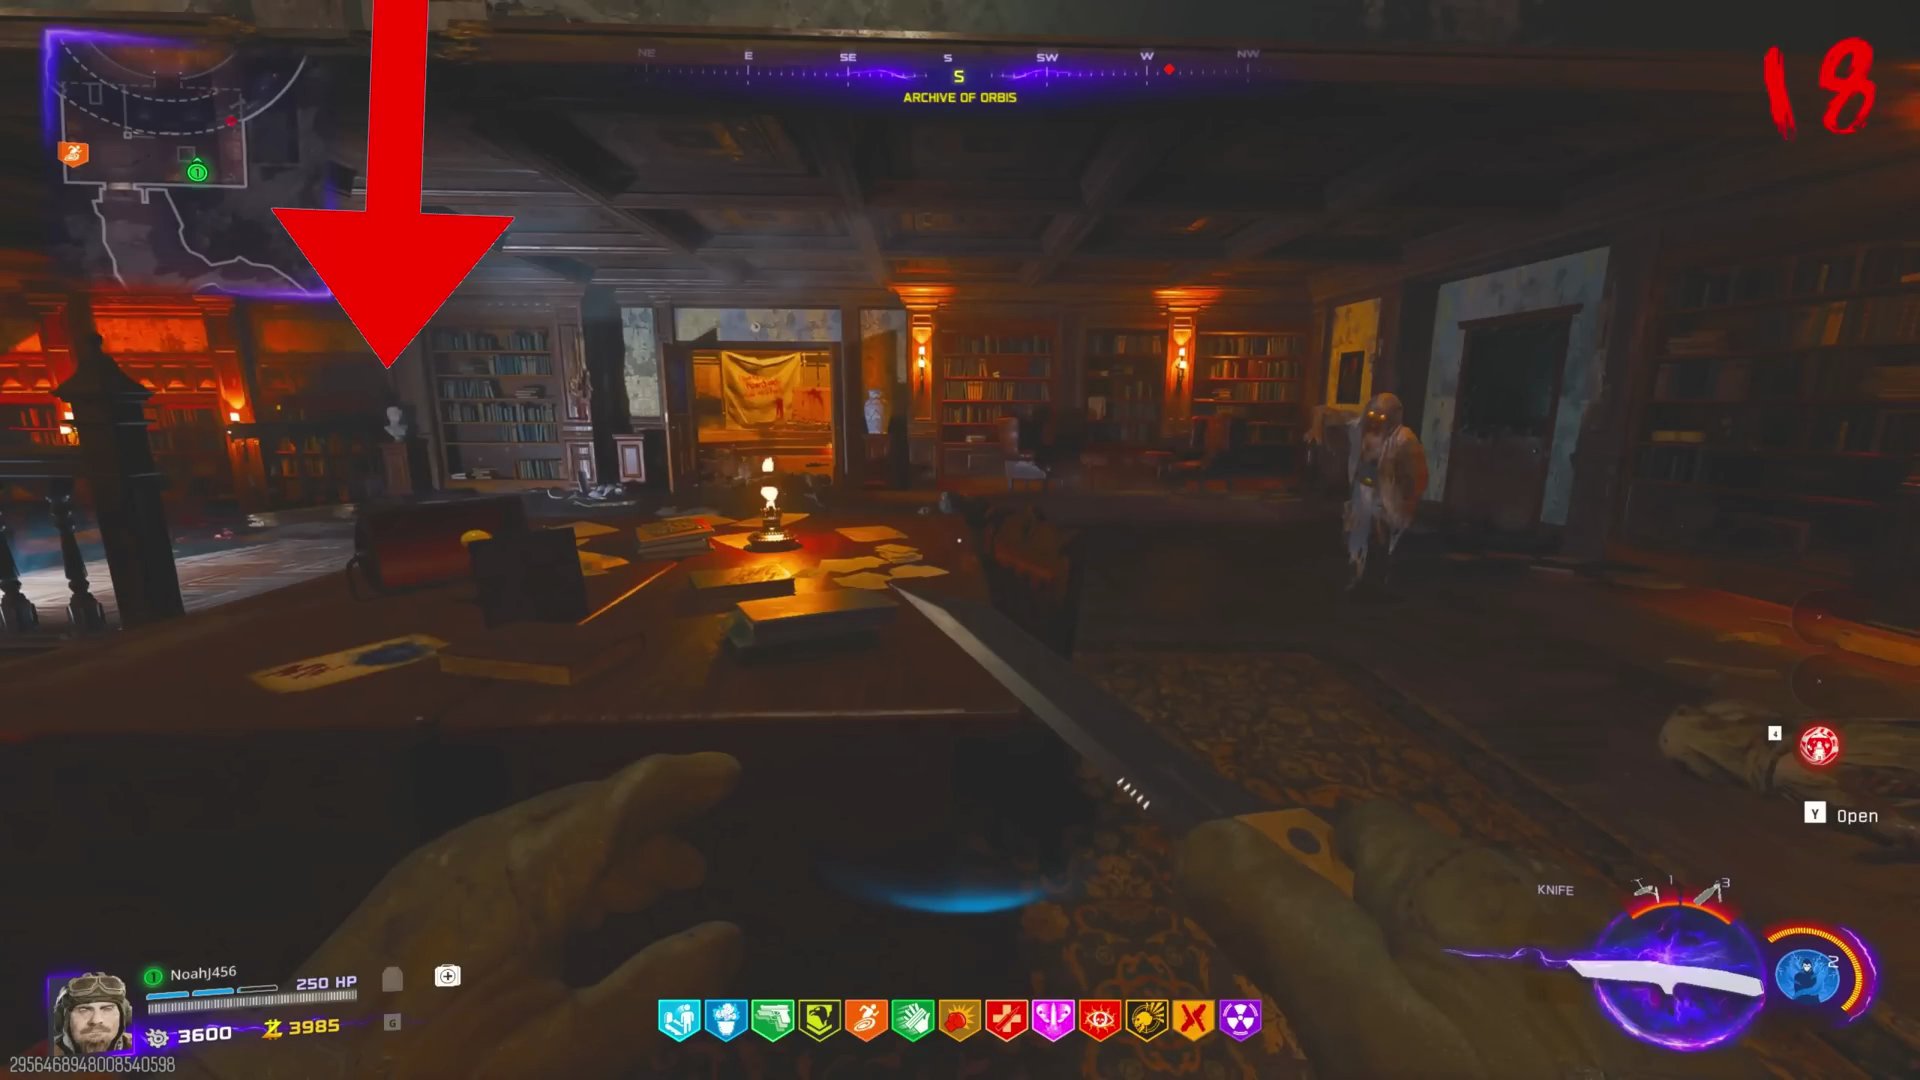 (In video example, 1 book matched, so 1 turn).
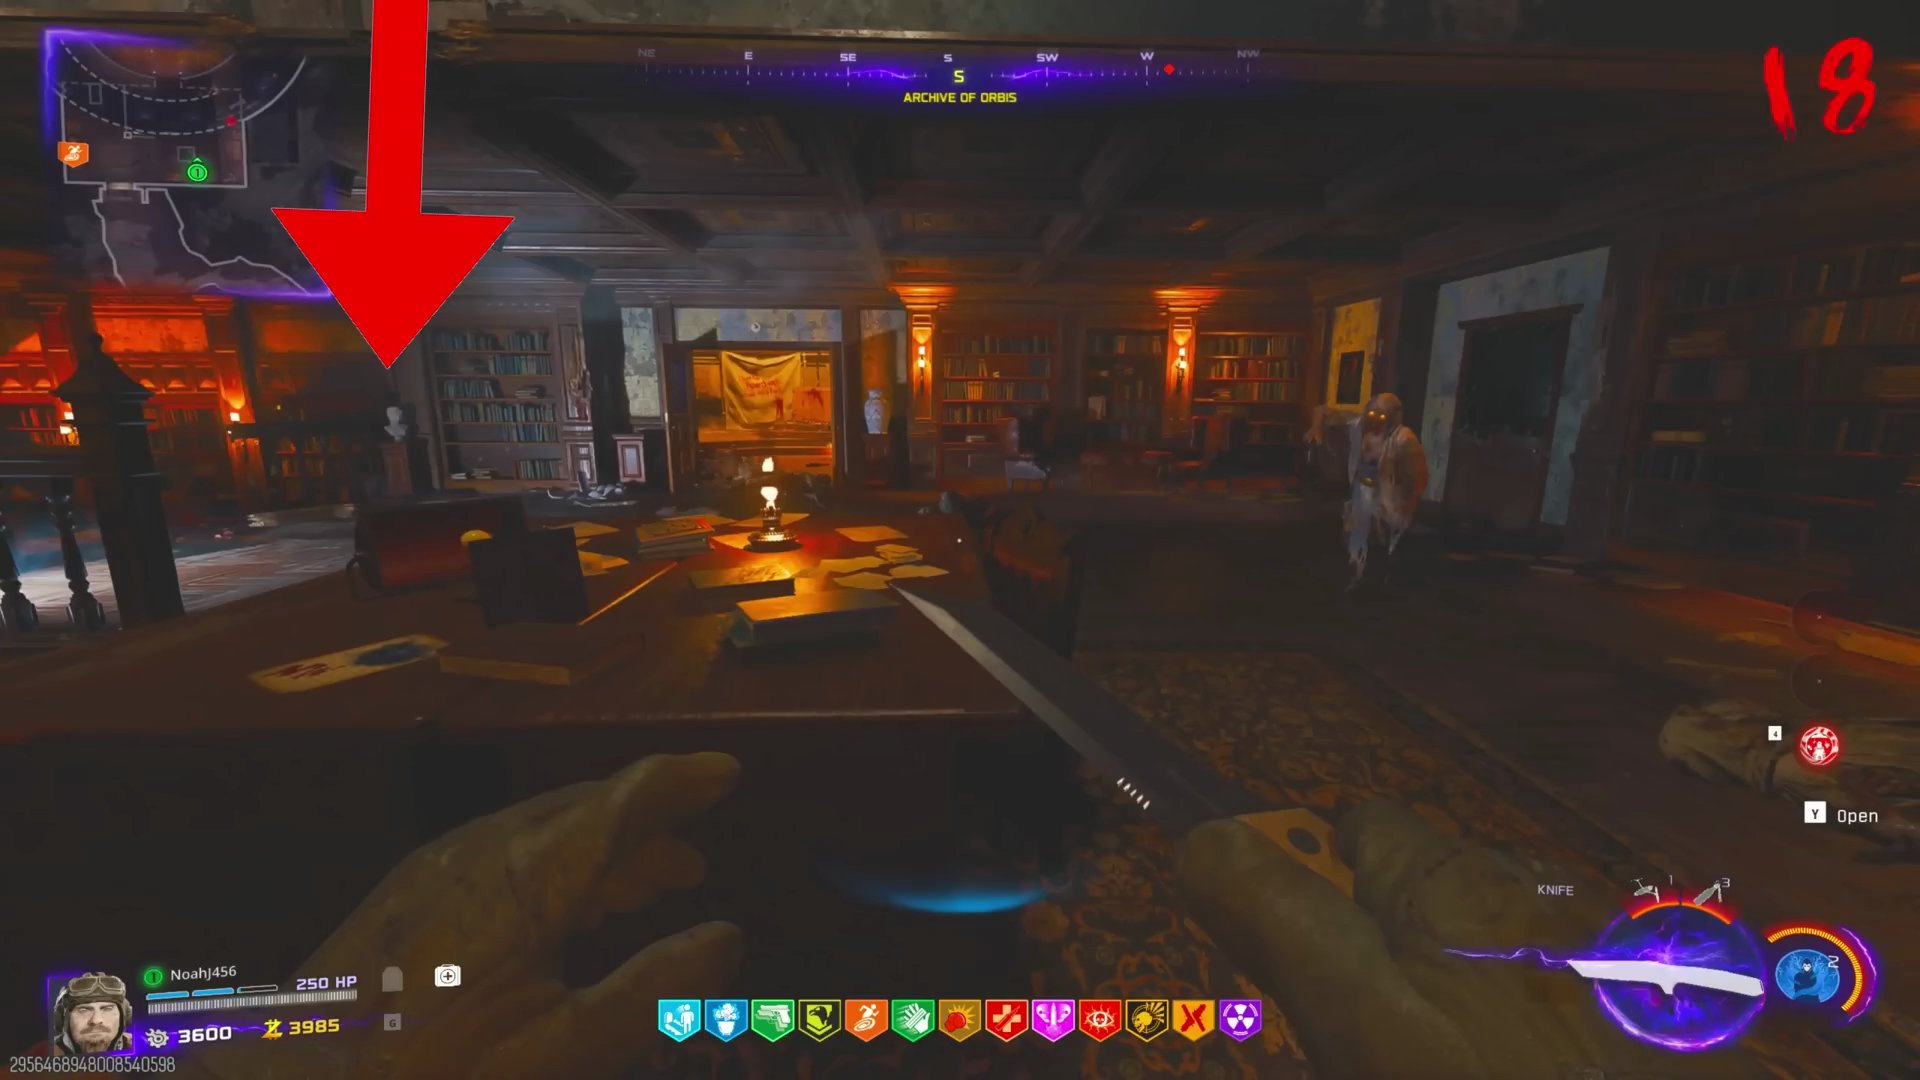
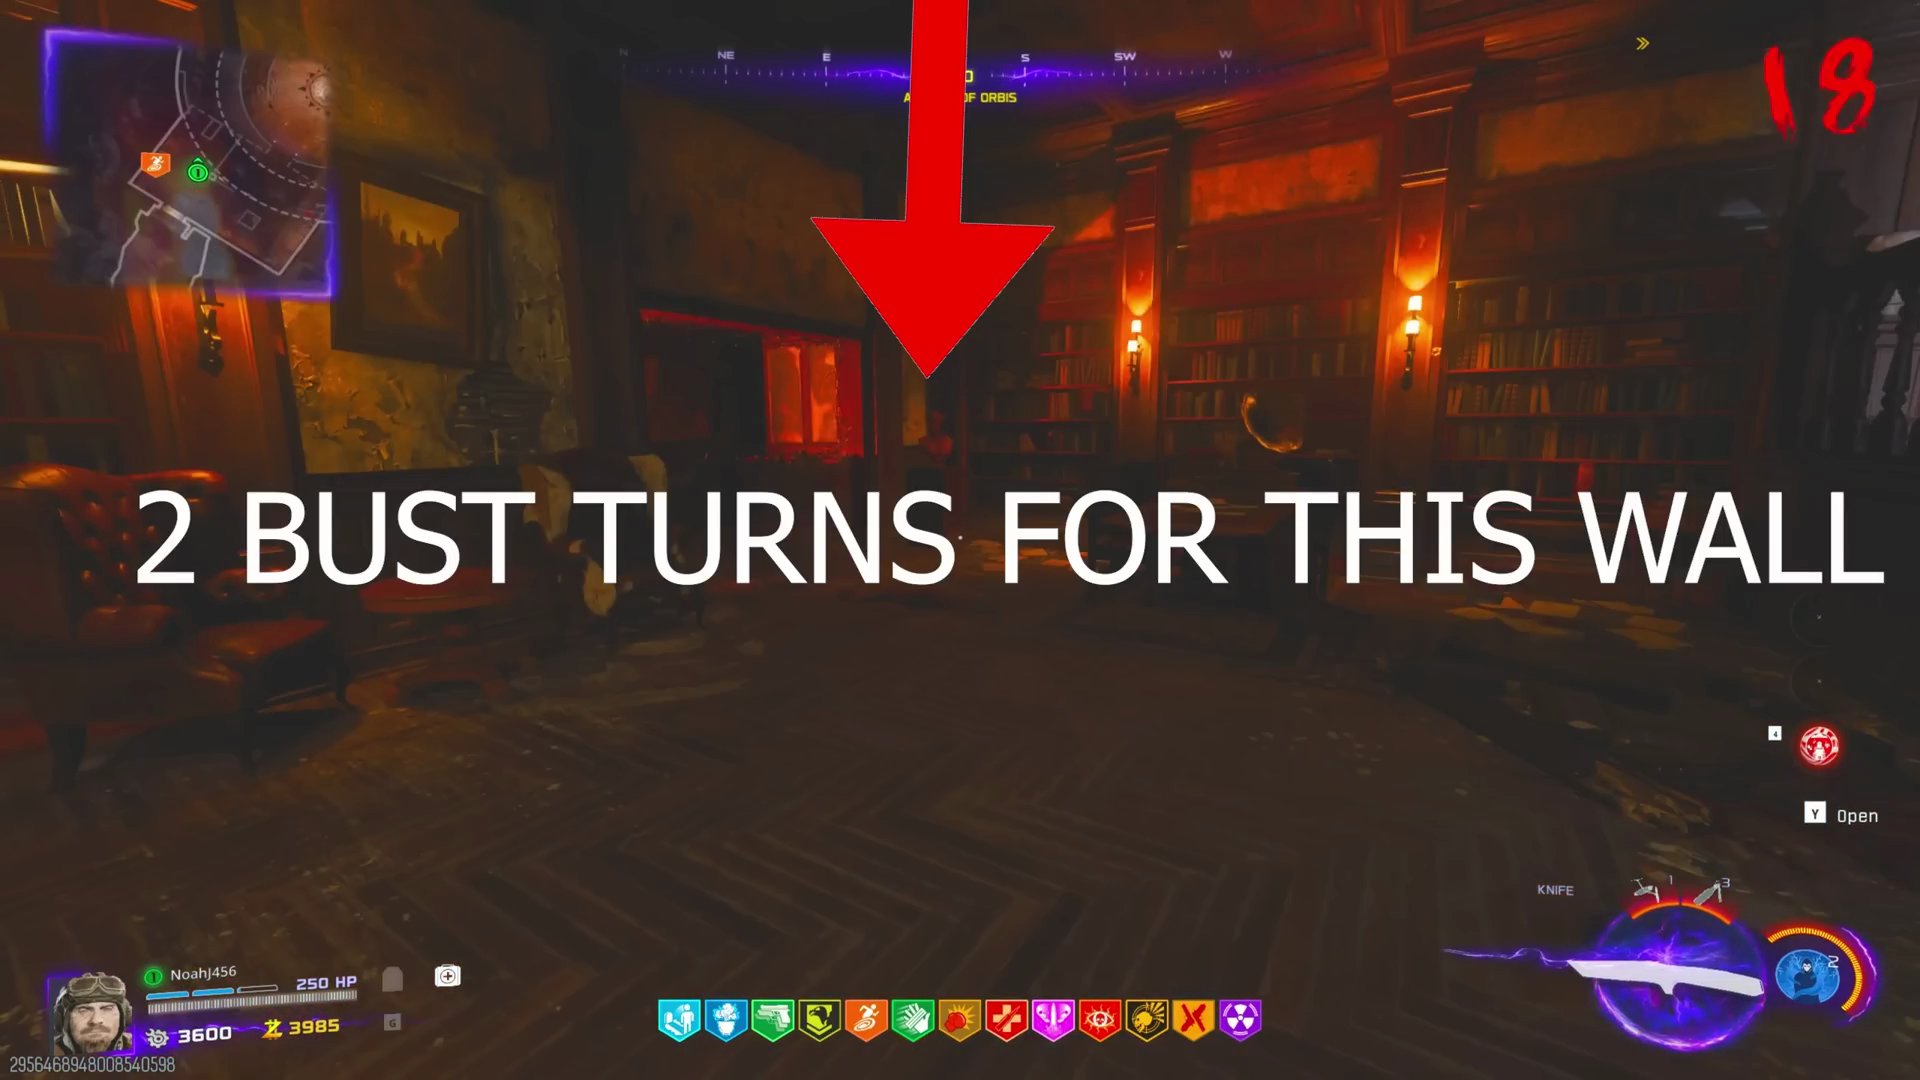
- **Bust 2 (Downstairs):** Check books on the middle wall.
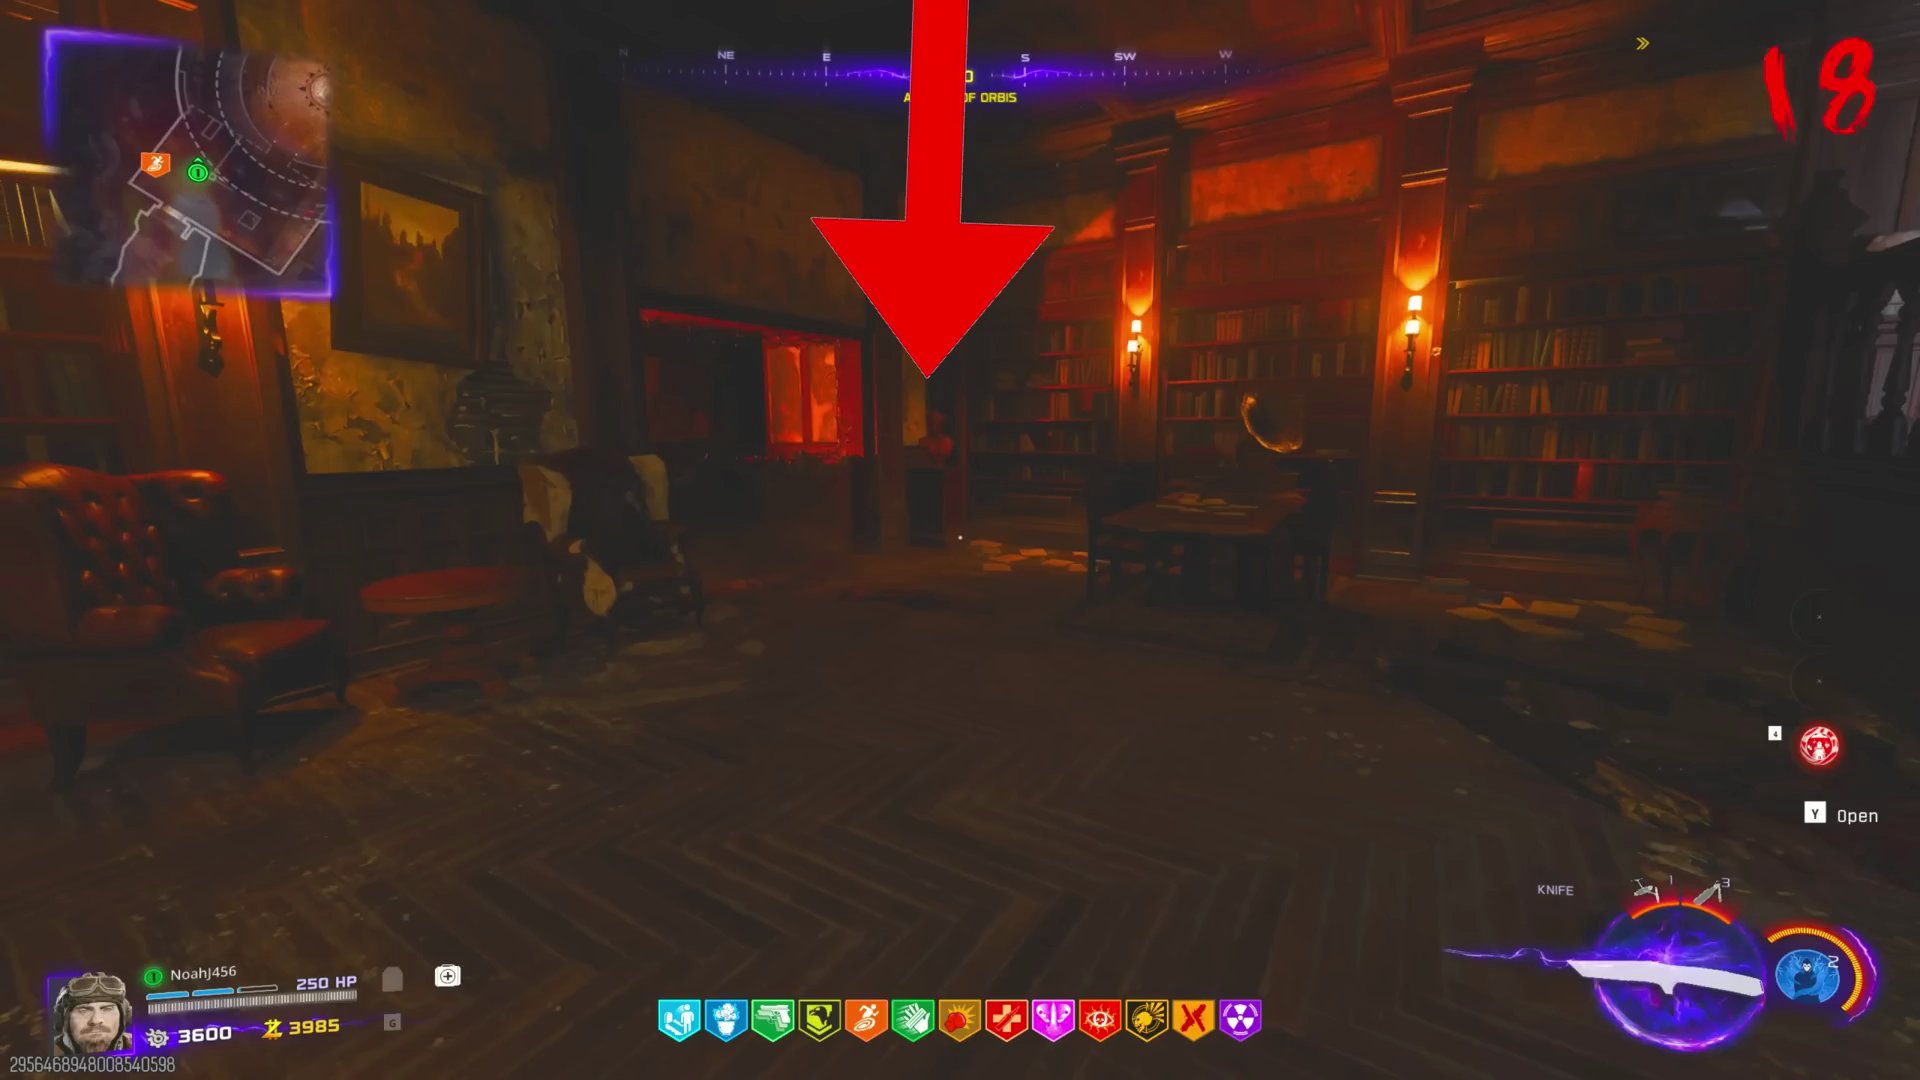 (In video example, 2 books matched, so 2 turns).
- **Bust 3 (Other side):** Check books on the far wall.
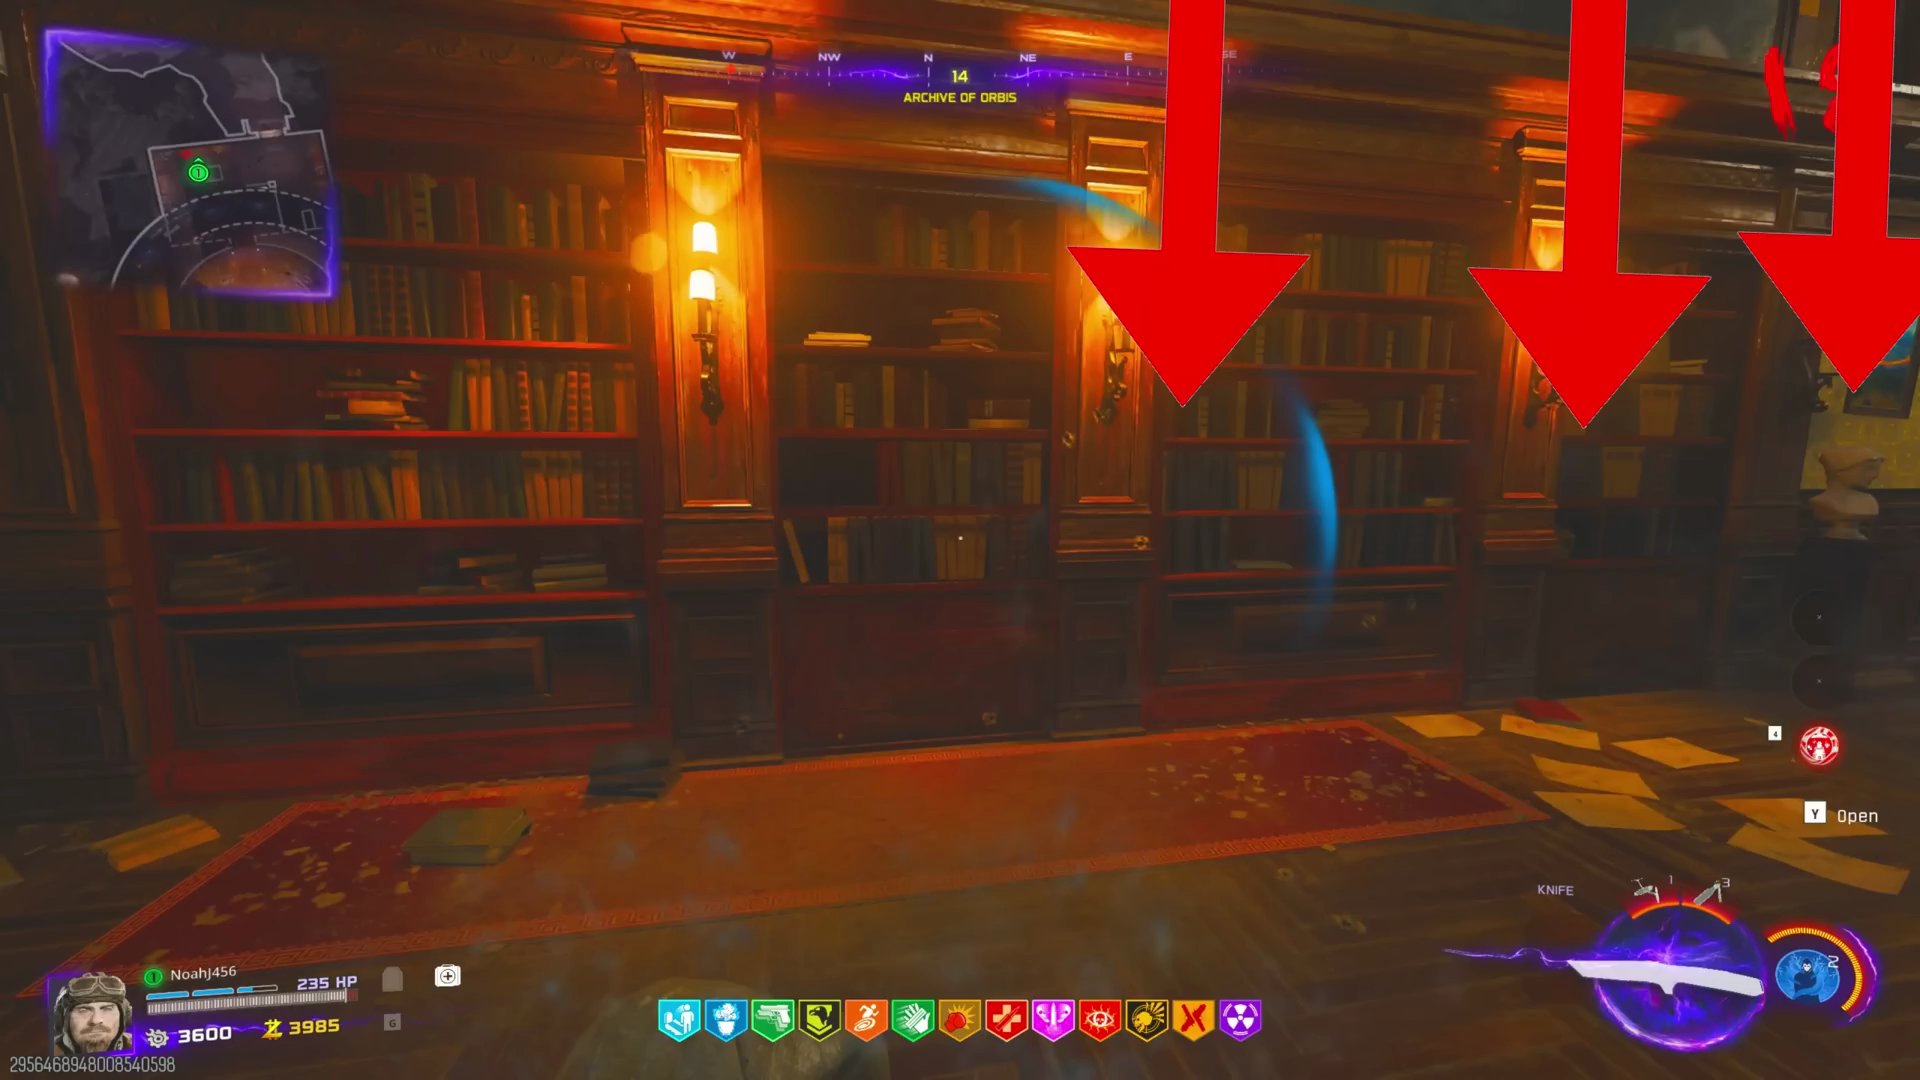 (In video example, 1 book matched, so 1 turn).
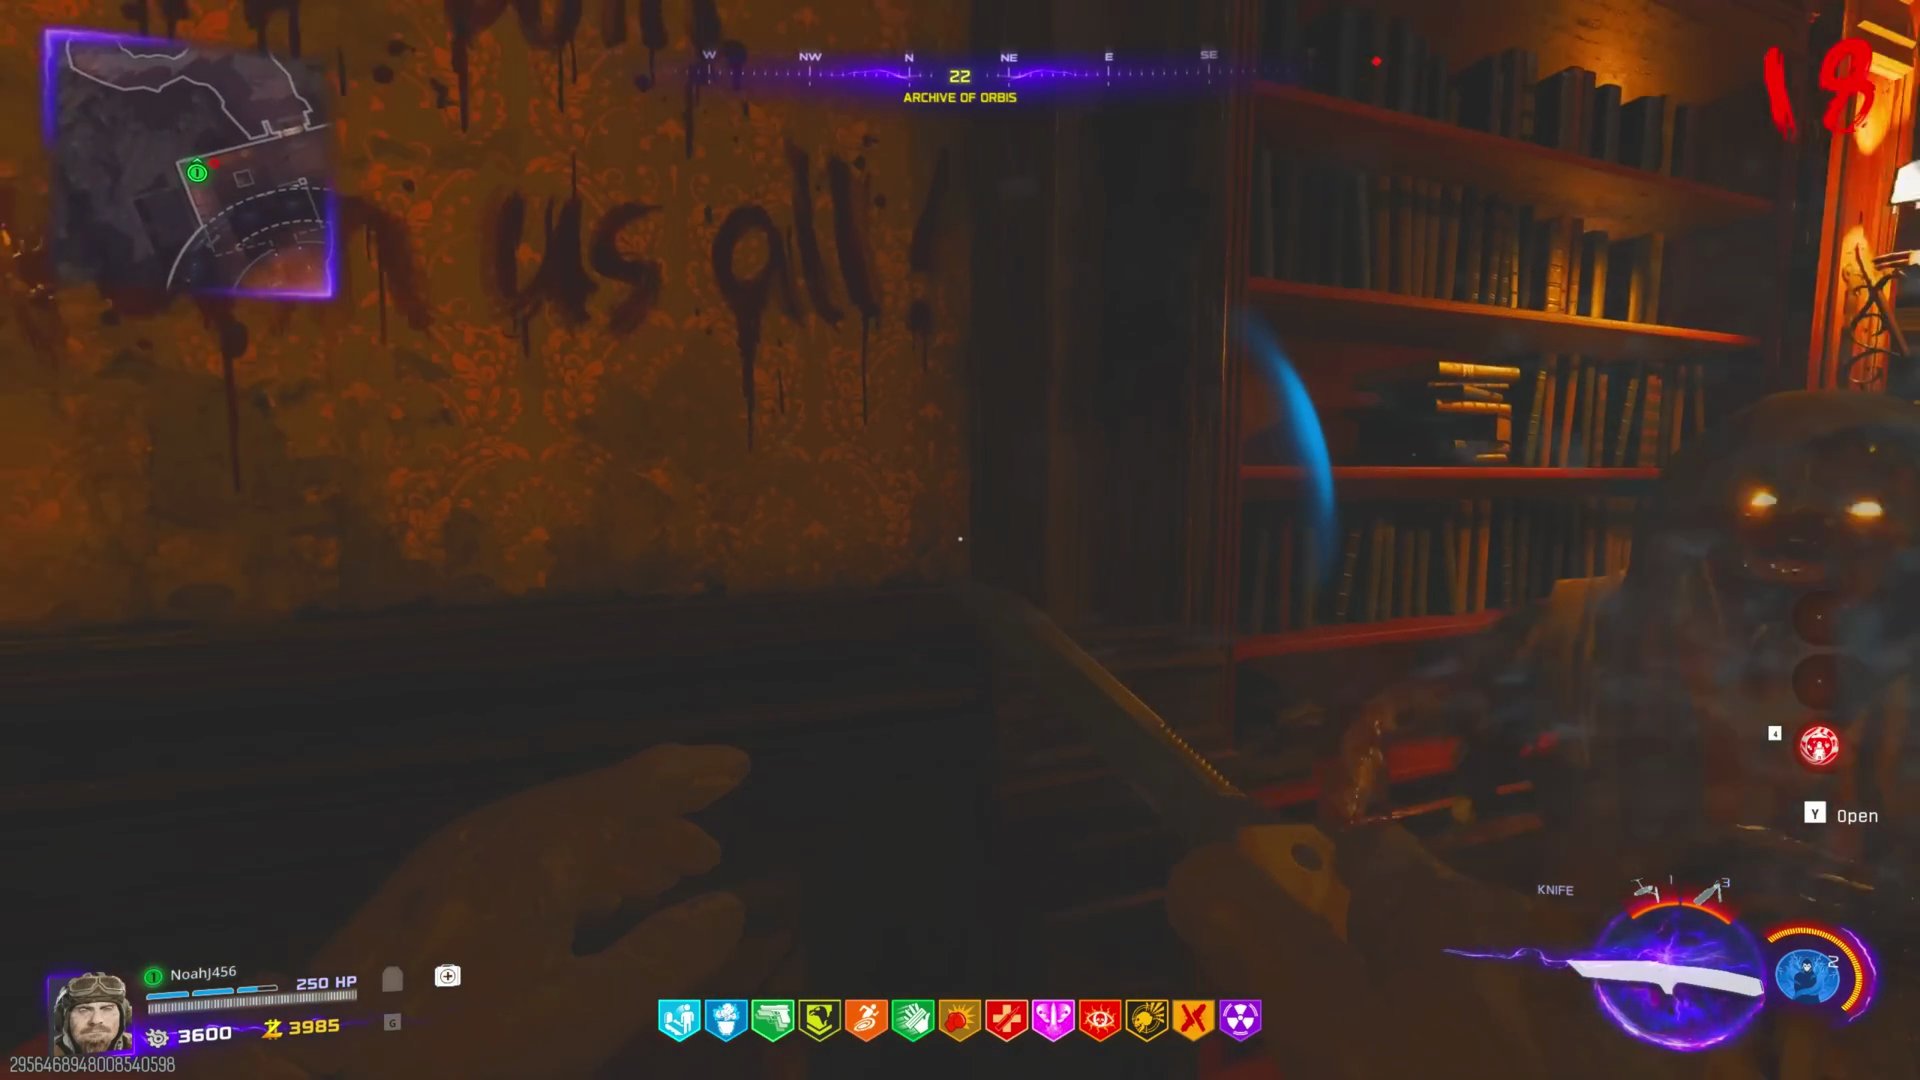
- Wait for the start of a new round (first 10 seconds after zombies spawn) to turn the busts. Turn each bust the number of times you counted.
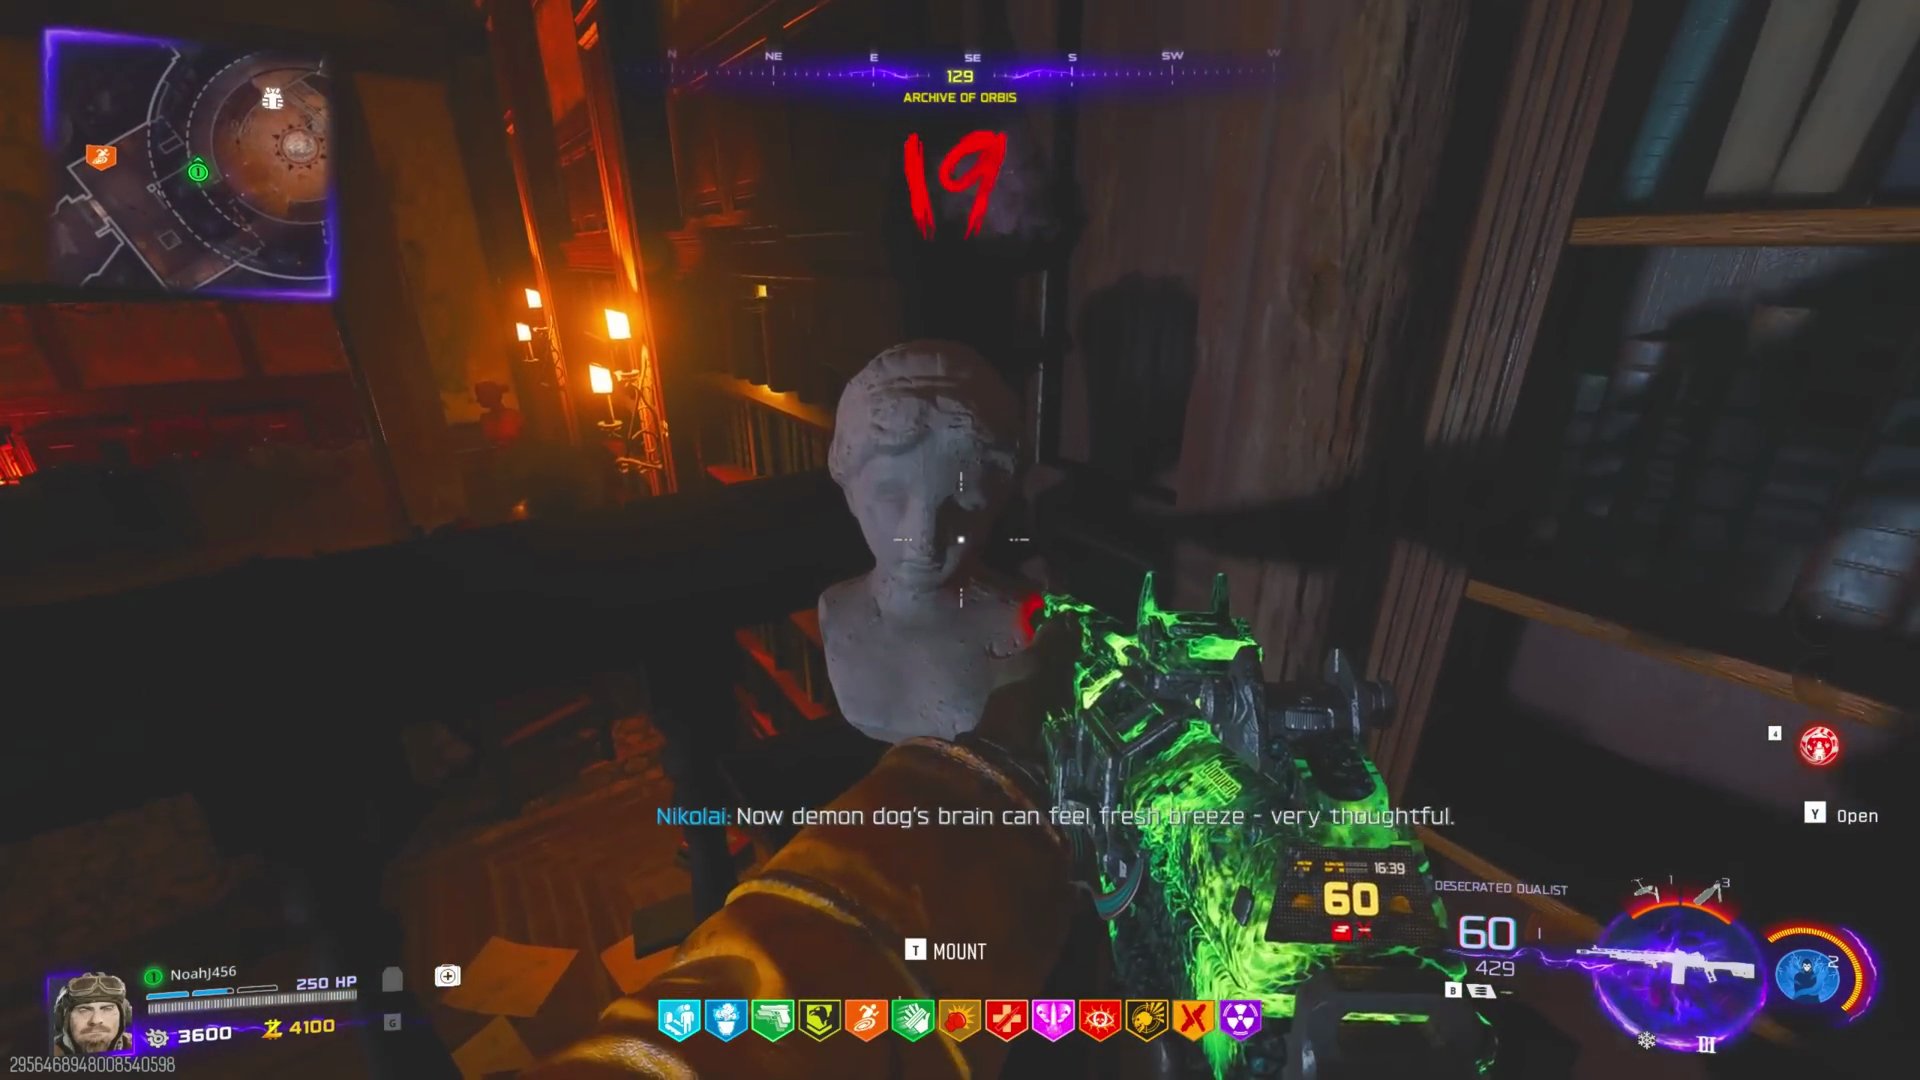
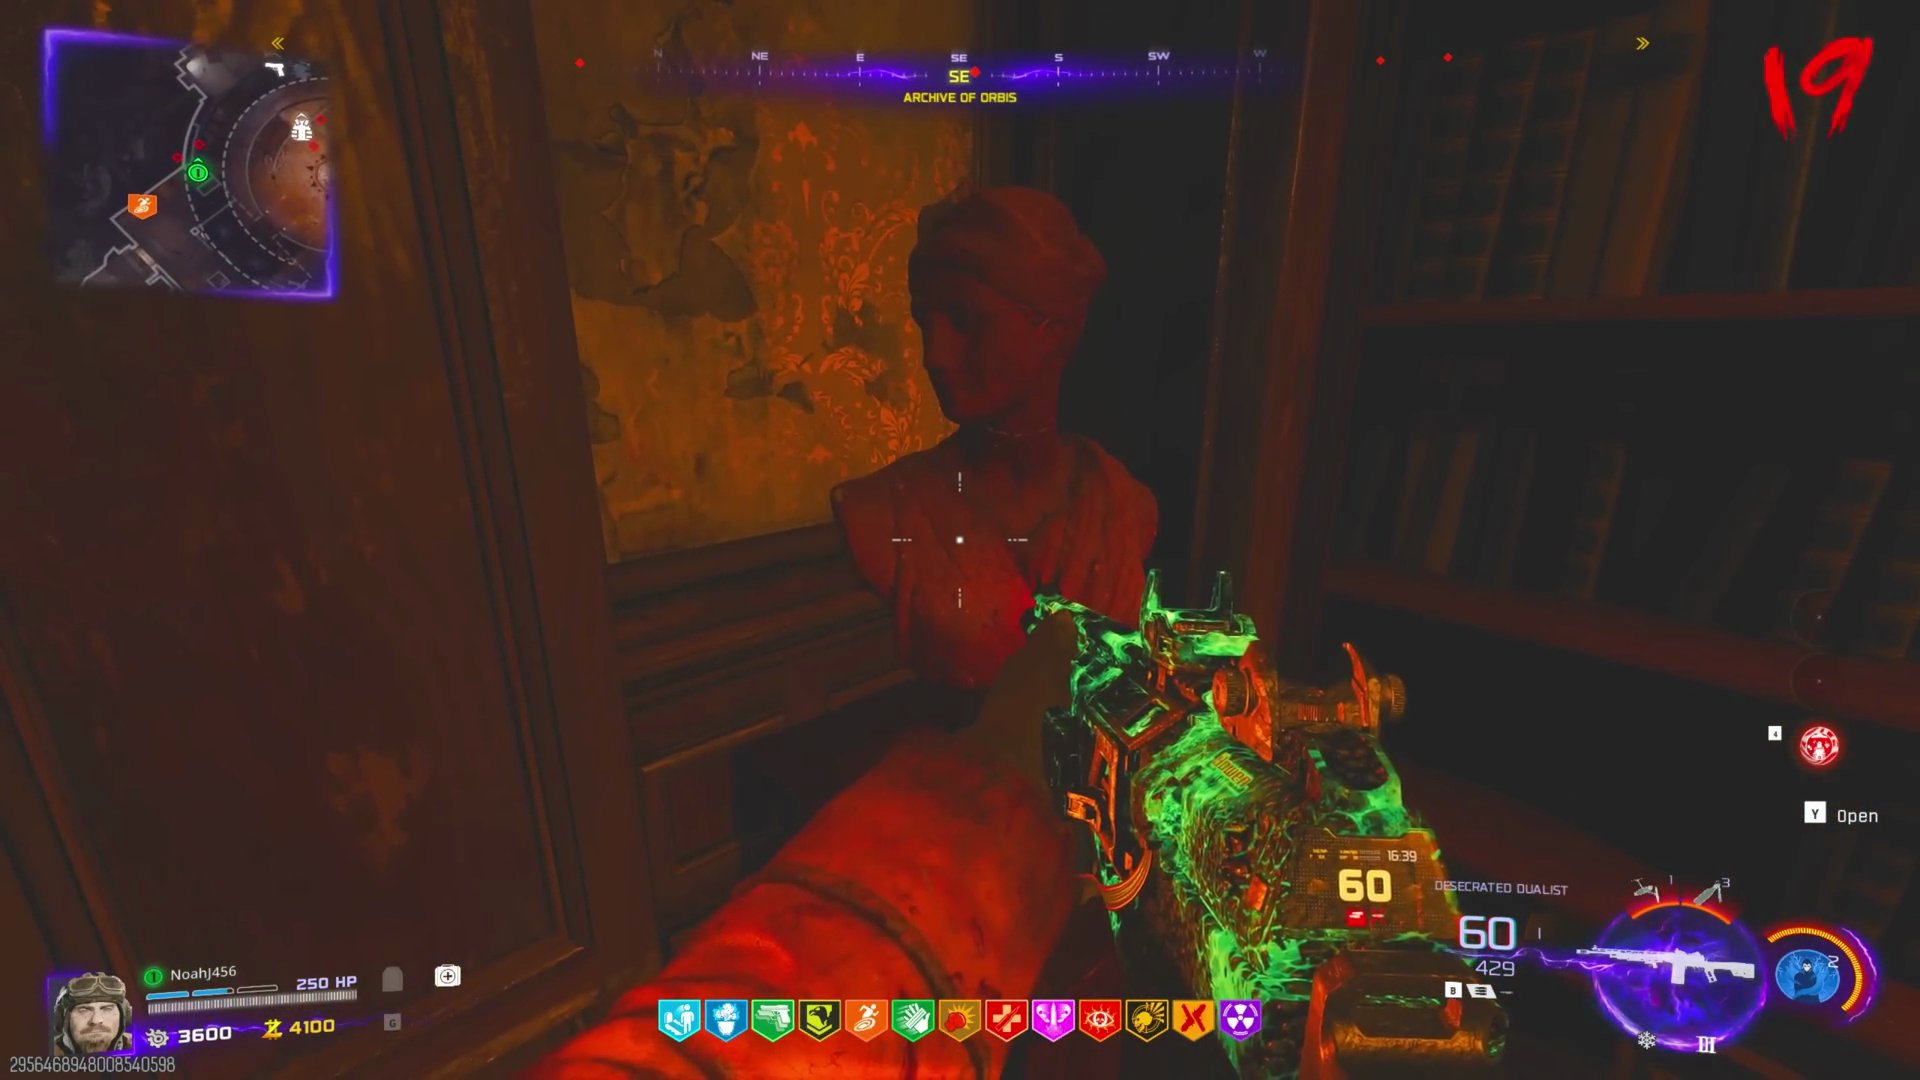
- If done correctly, you'll hear a quote and the heads will lock into place.
Neptune Replica
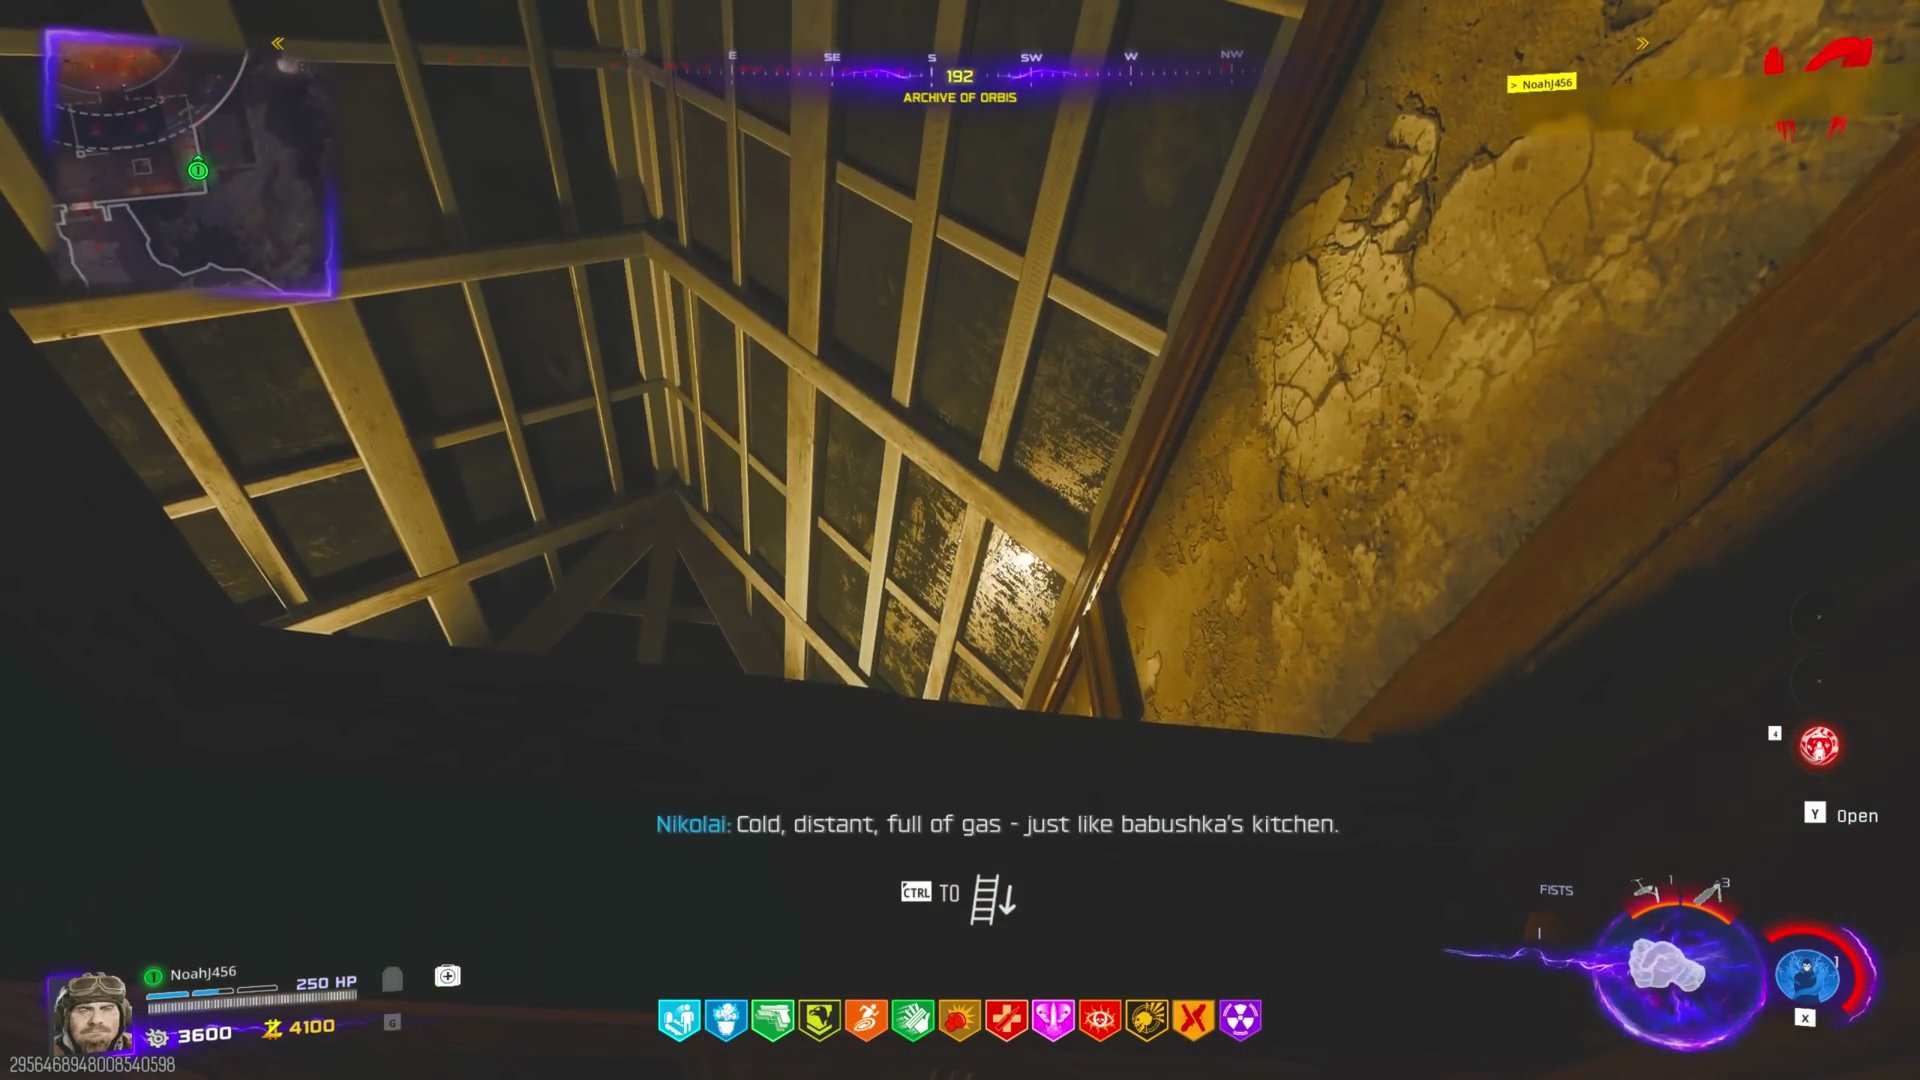
- After turning all busts correctly, climb the ladder in the study.
- At the top, grab the small replica of Neptune.
Planet Paper Directions
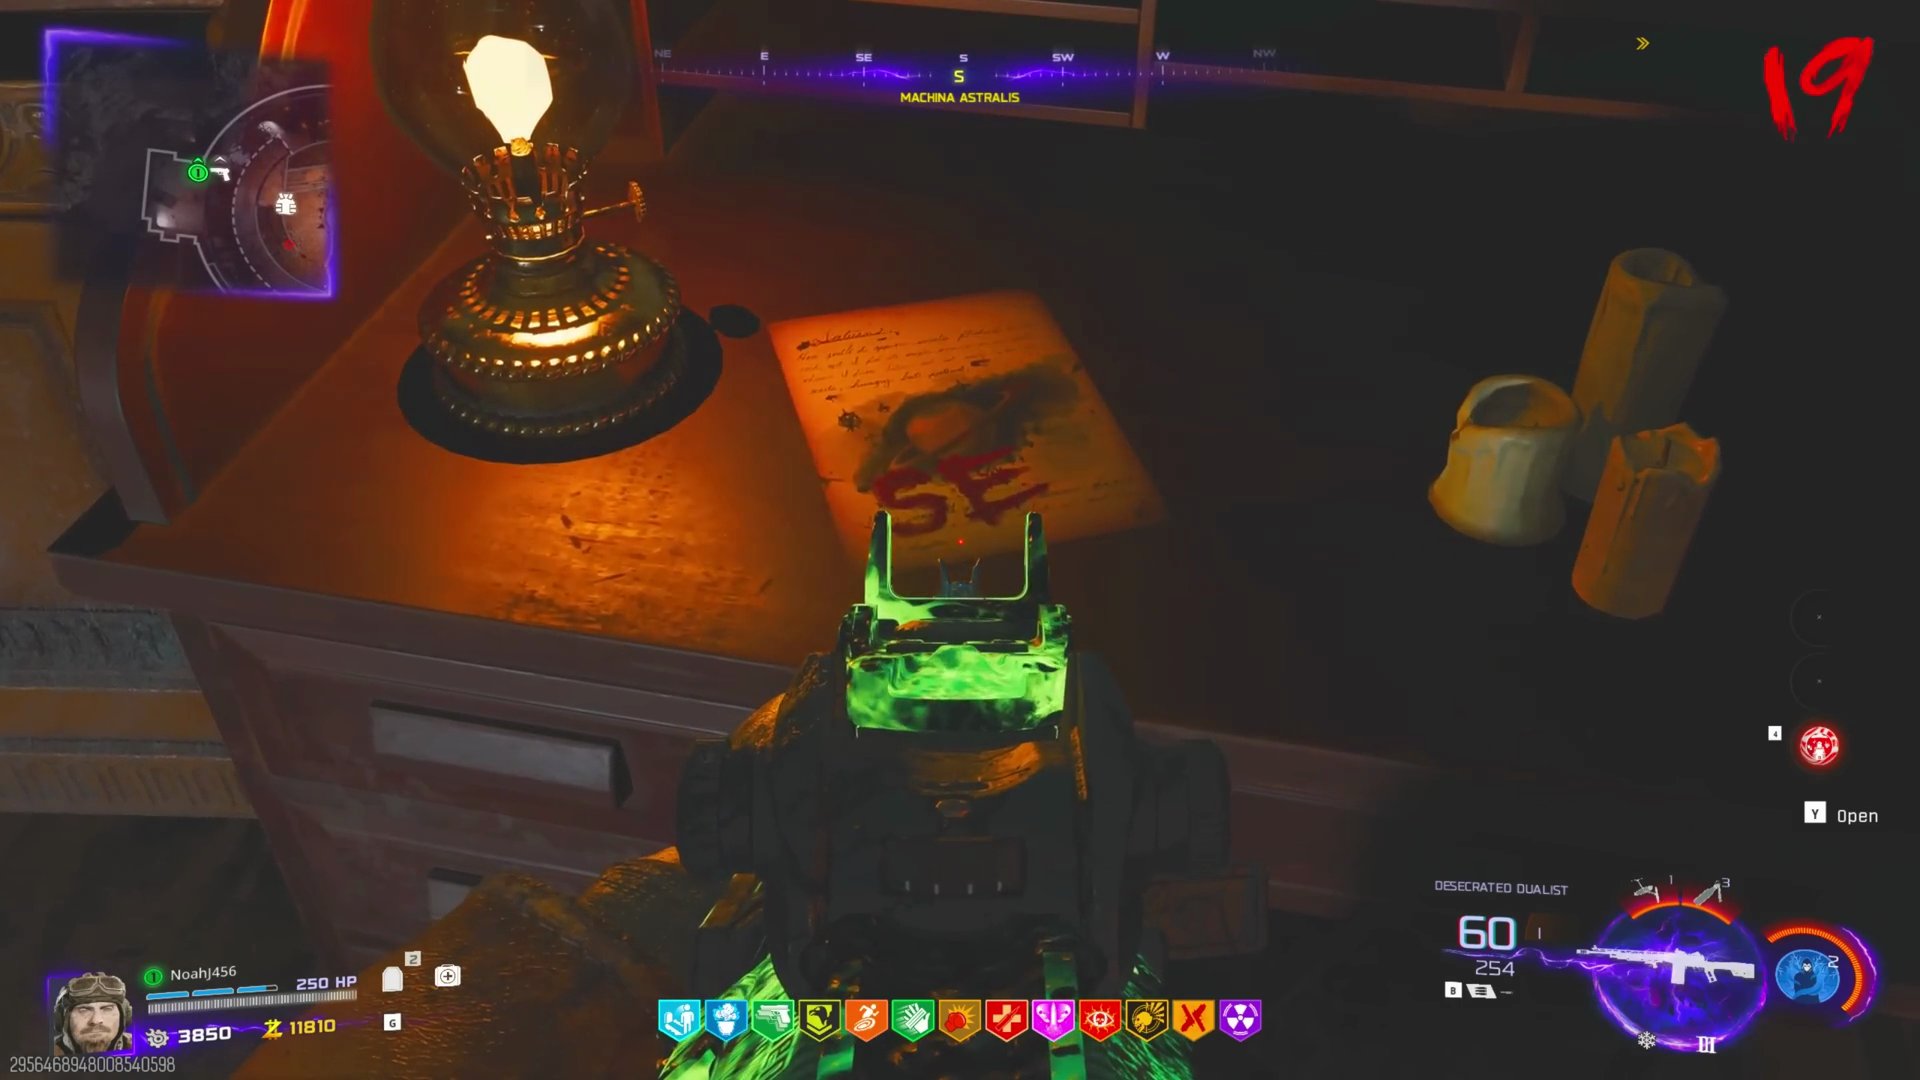
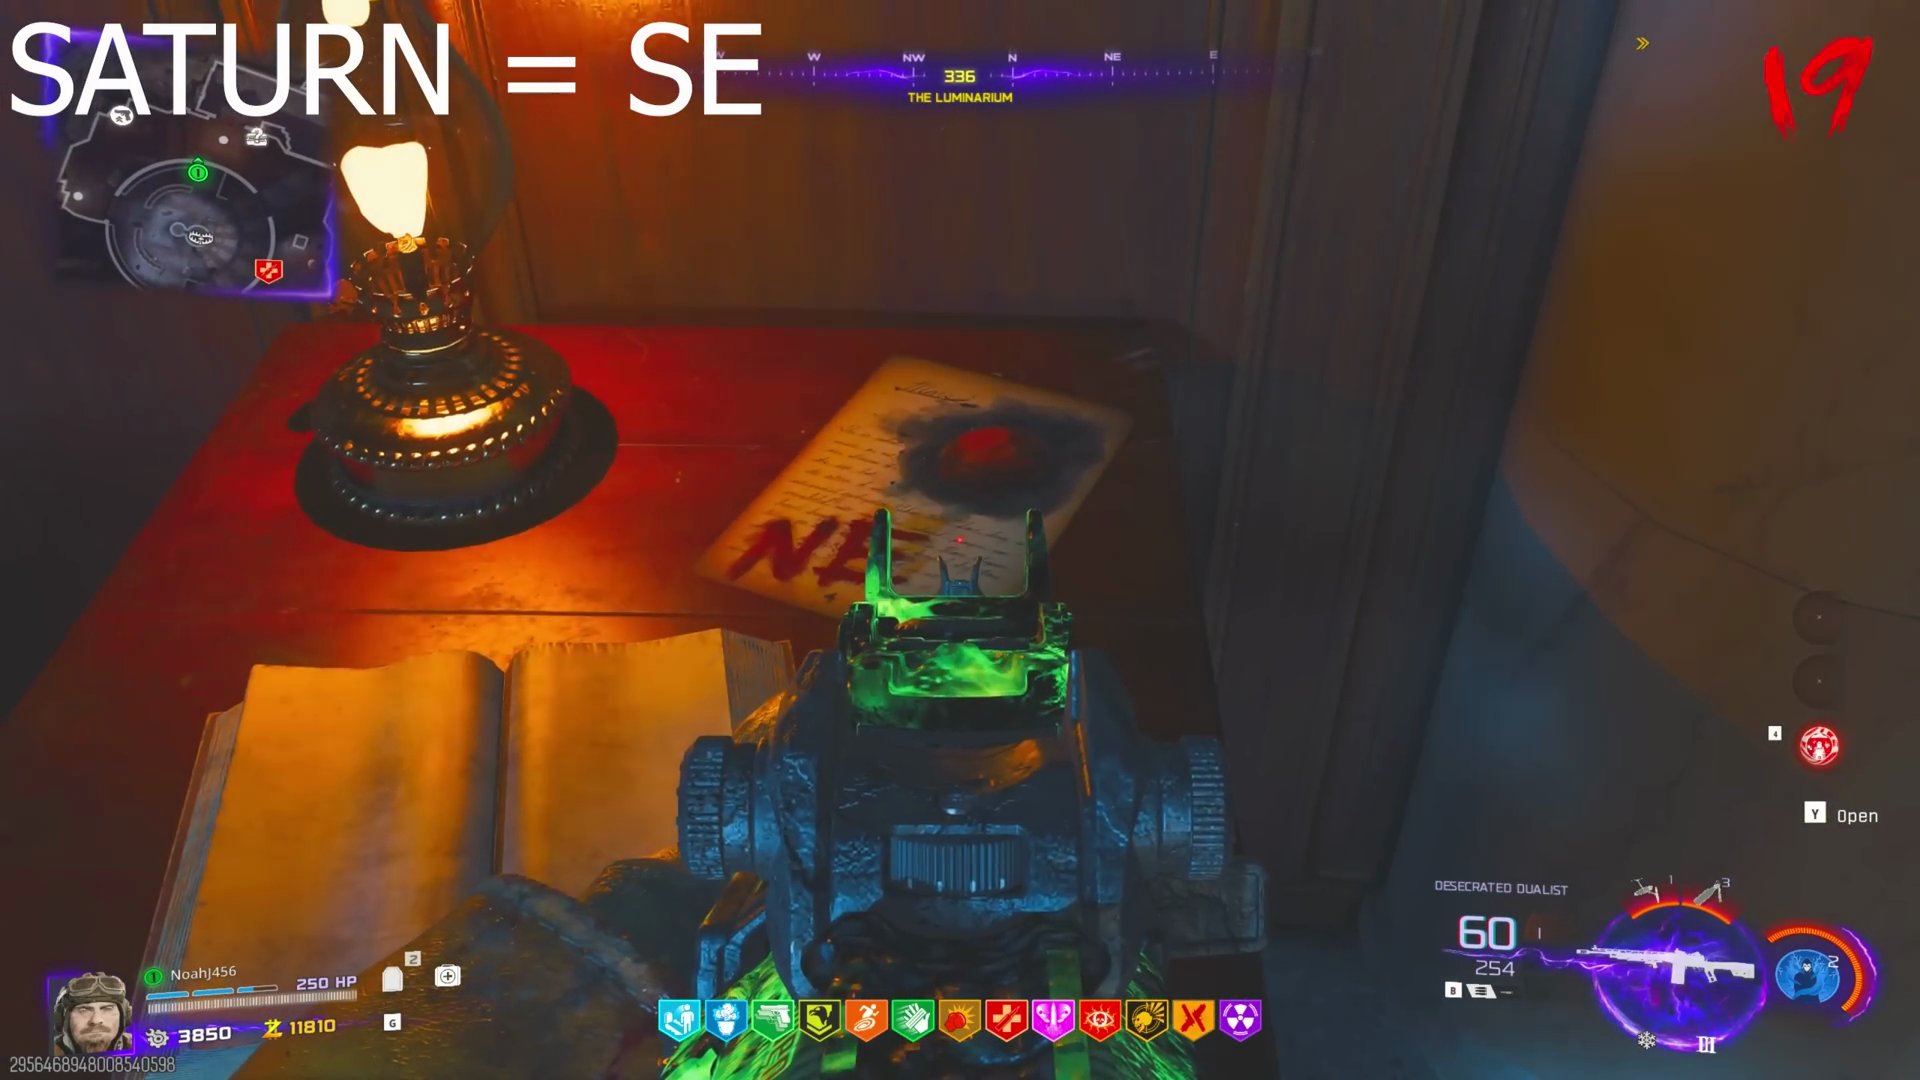
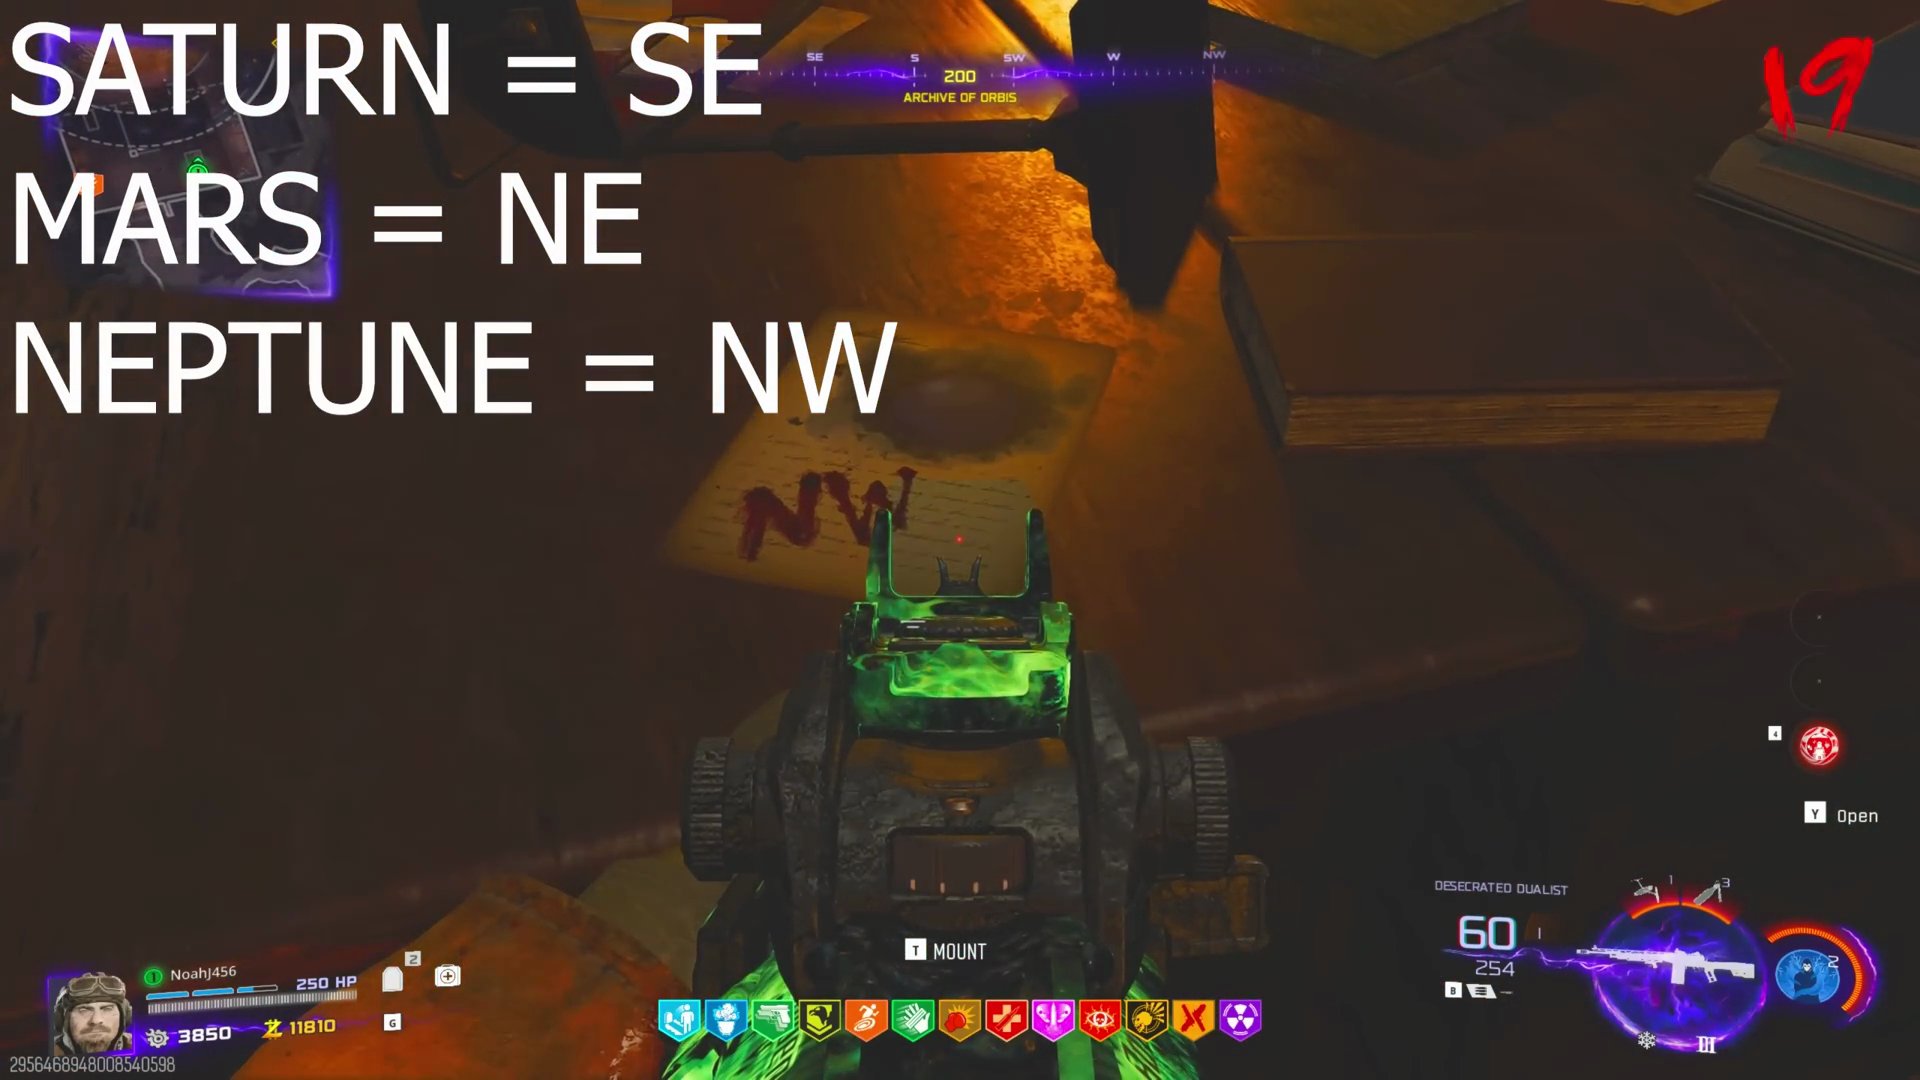
You need to find three sheets of paper that indicate a planet and a direction.
- **Paper 1:** In the big circular room on the second floor, on a table (e.g., Saturn = SE).
- **Paper 2:** In the trap room (Lumminarium), on a table (e.g., Mars = NE).
- **Paper 3:** In the room where you got the Neptune model, on a desk (e.g., Neptune = NW).
- Write down the planet and direction for each paper you find.
Planetary Alignment
- Head to the giant planetarium room.
- Attach the Neptune replica to the top. This will reset the planets.
- Using the directions you collected, shoot each planet to align it to its correct position. (e.g., Saturn to SE, Mars to NE, Neptune to NW).
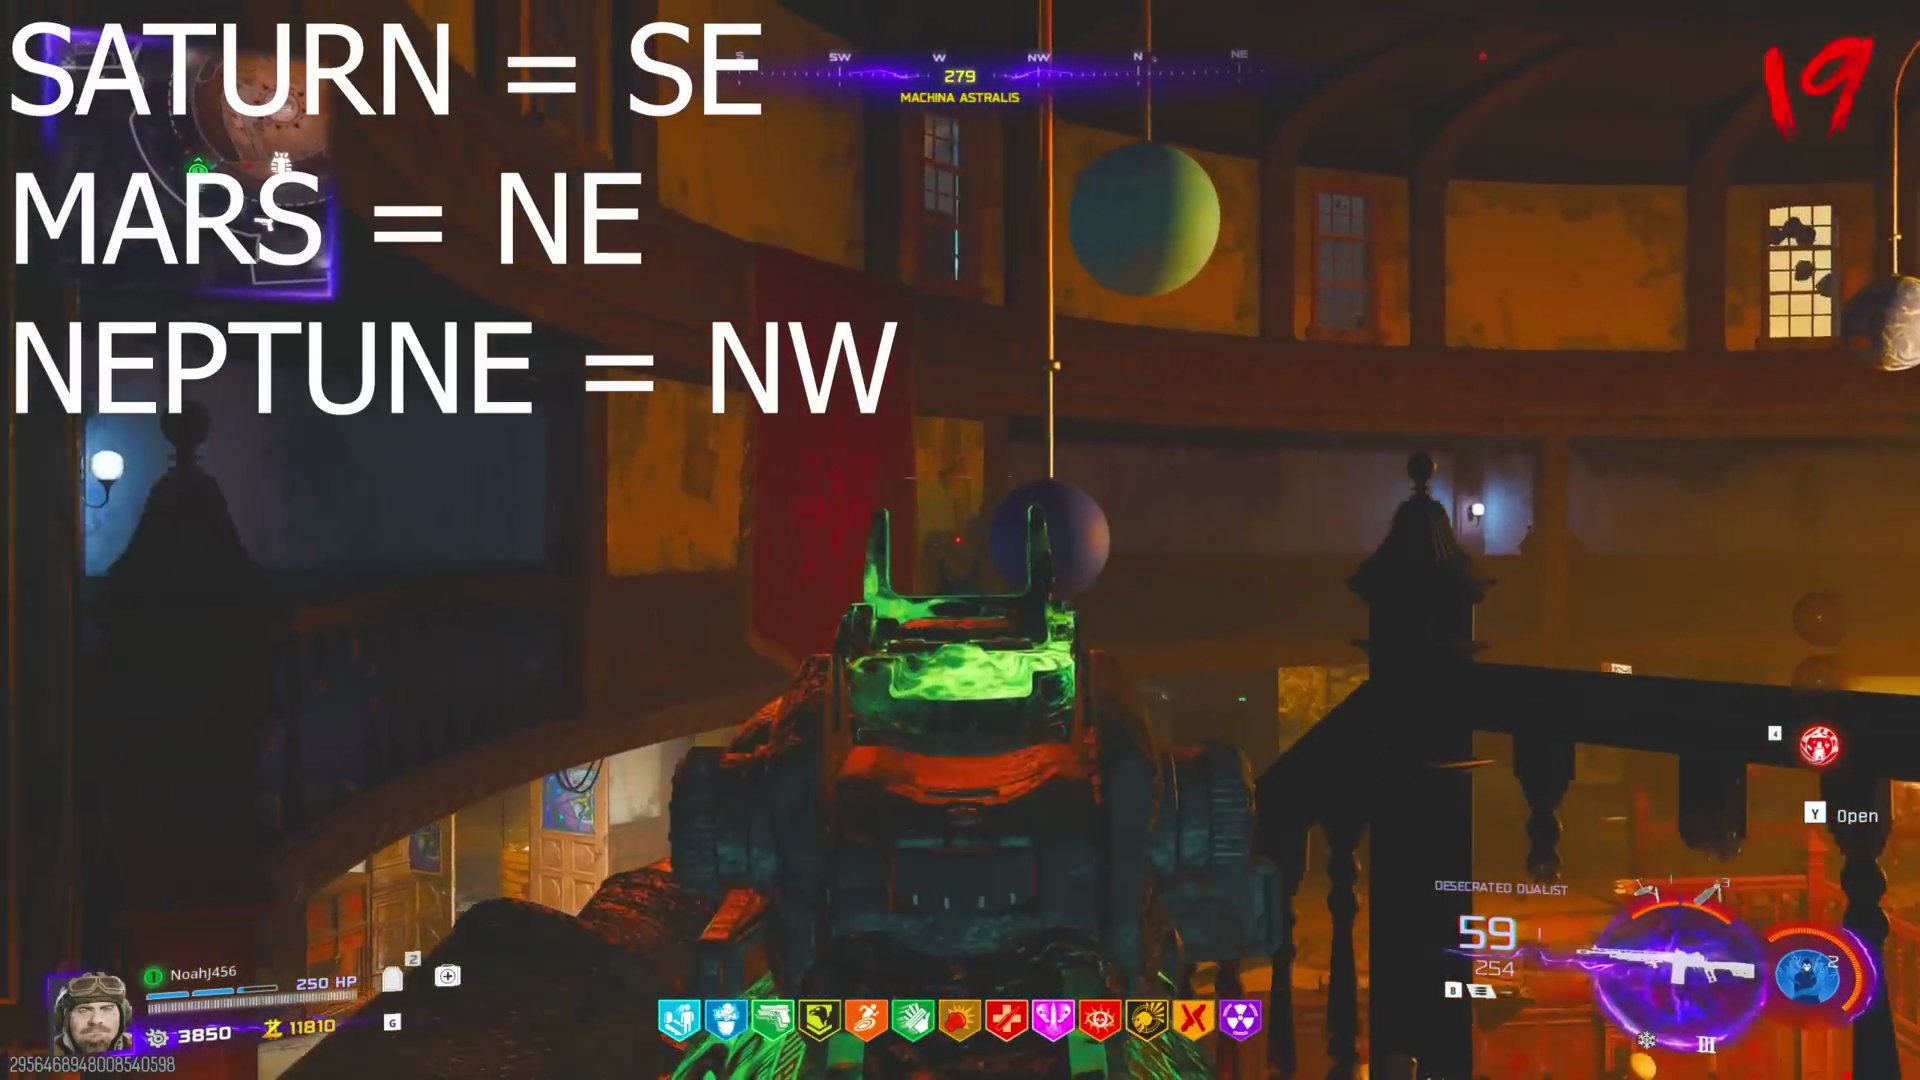
- Use your Wonder Weapon to shoot the planets; different guns or Pack-a-Punch tiers may move them different distances if you're having trouble.
- Once all planets are aligned, go to the computer and press F.
- This will trigger a mini-boss fight. You don't need to kill OSCAR, but you must defend the portal from his flying saucers.
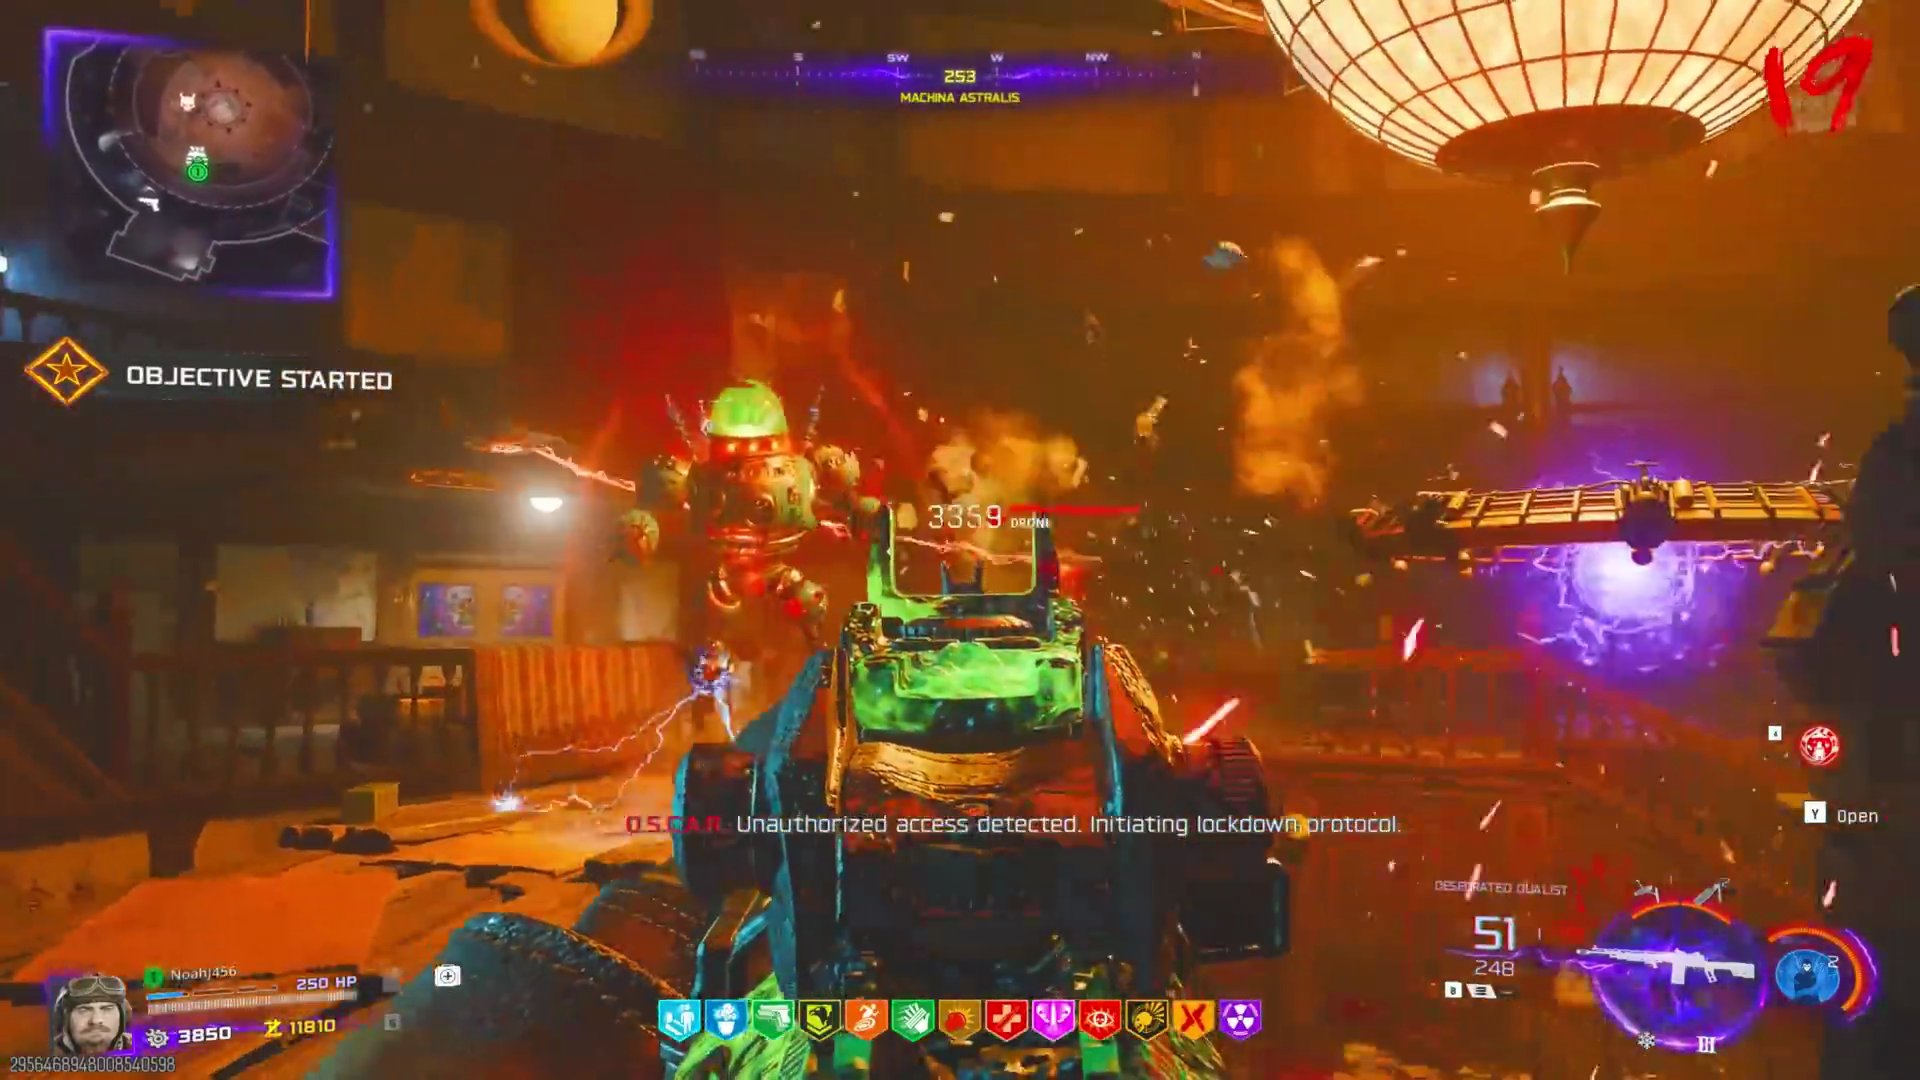 Each saucer that hits the portal resets progress.
- Shoot down the flying saucers OSCAR sends towards the portal.
- Once the portal is fully charged and defended, you will be teleported to Mars.
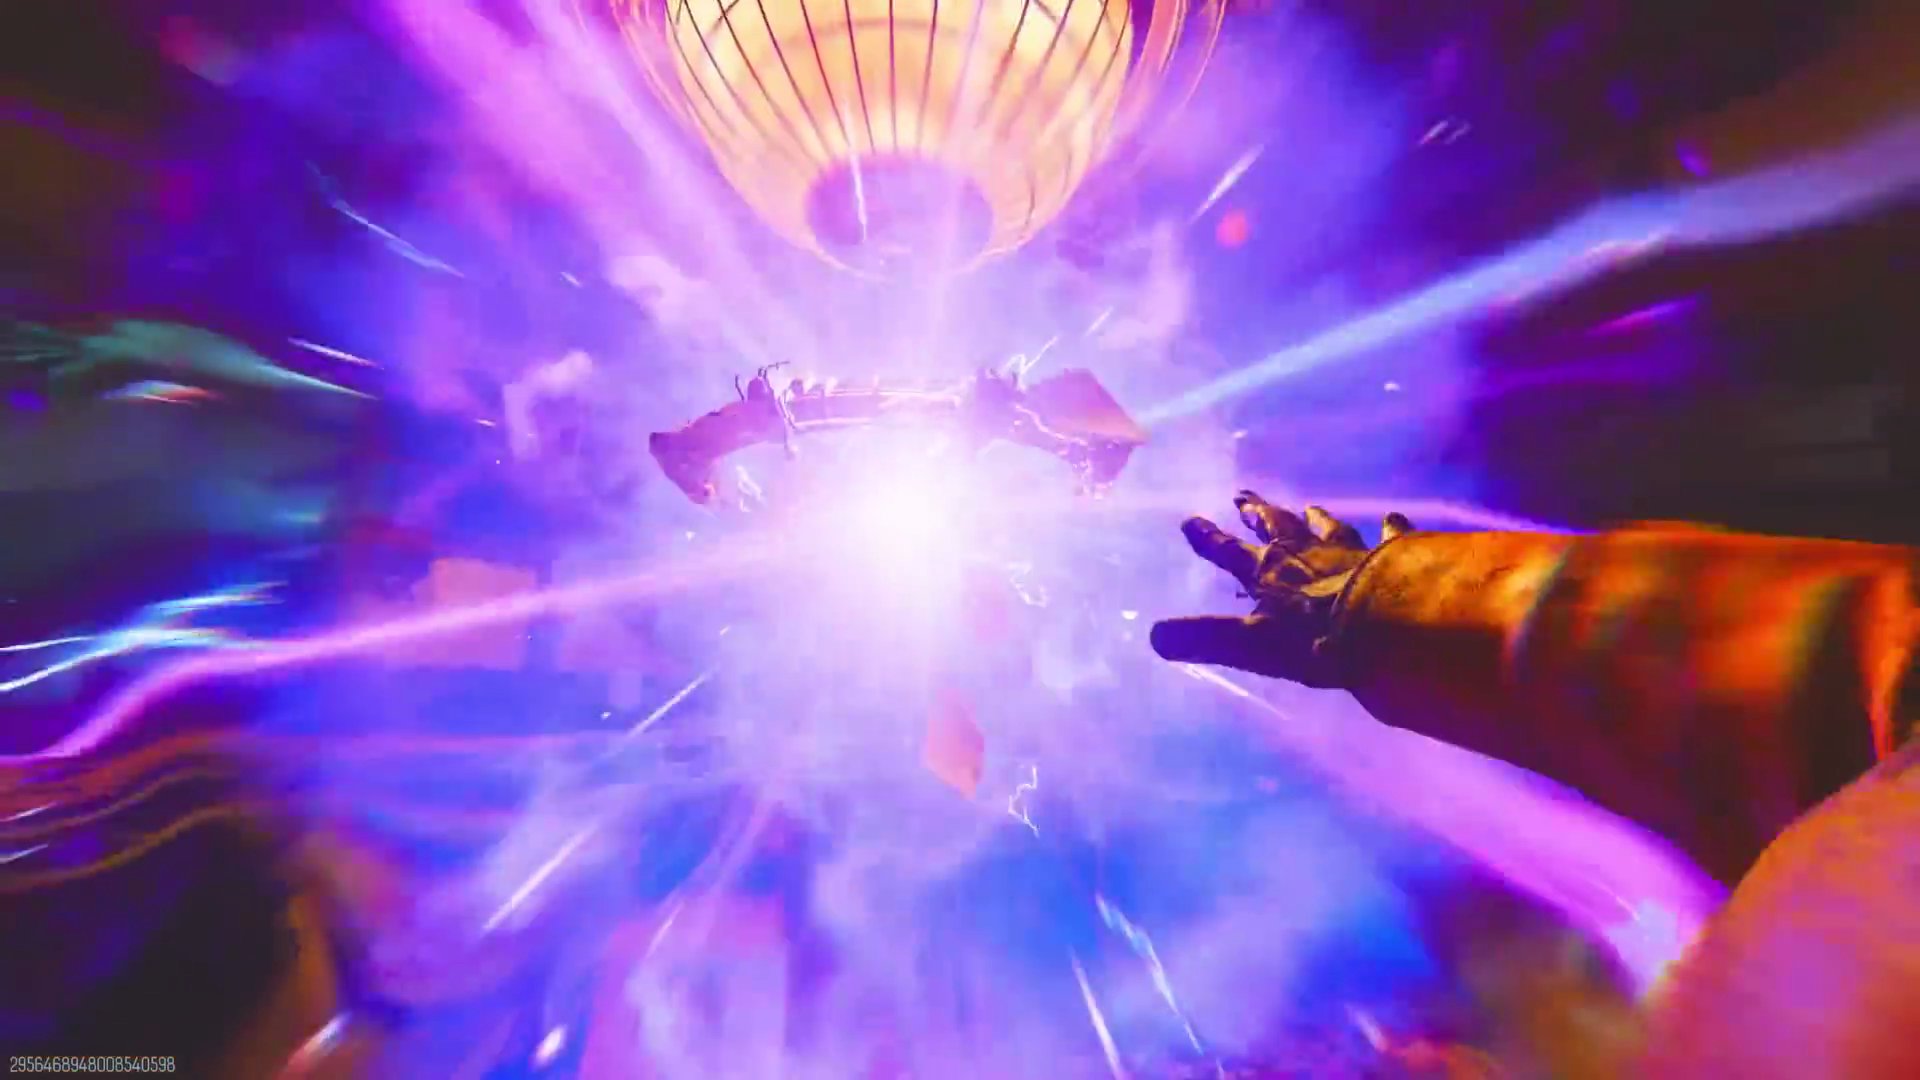
Step 5: Catching the Snitch
- Once on Mars, grab the brain that spawns in the middle of the arena.
- Install it back on the pedestal.
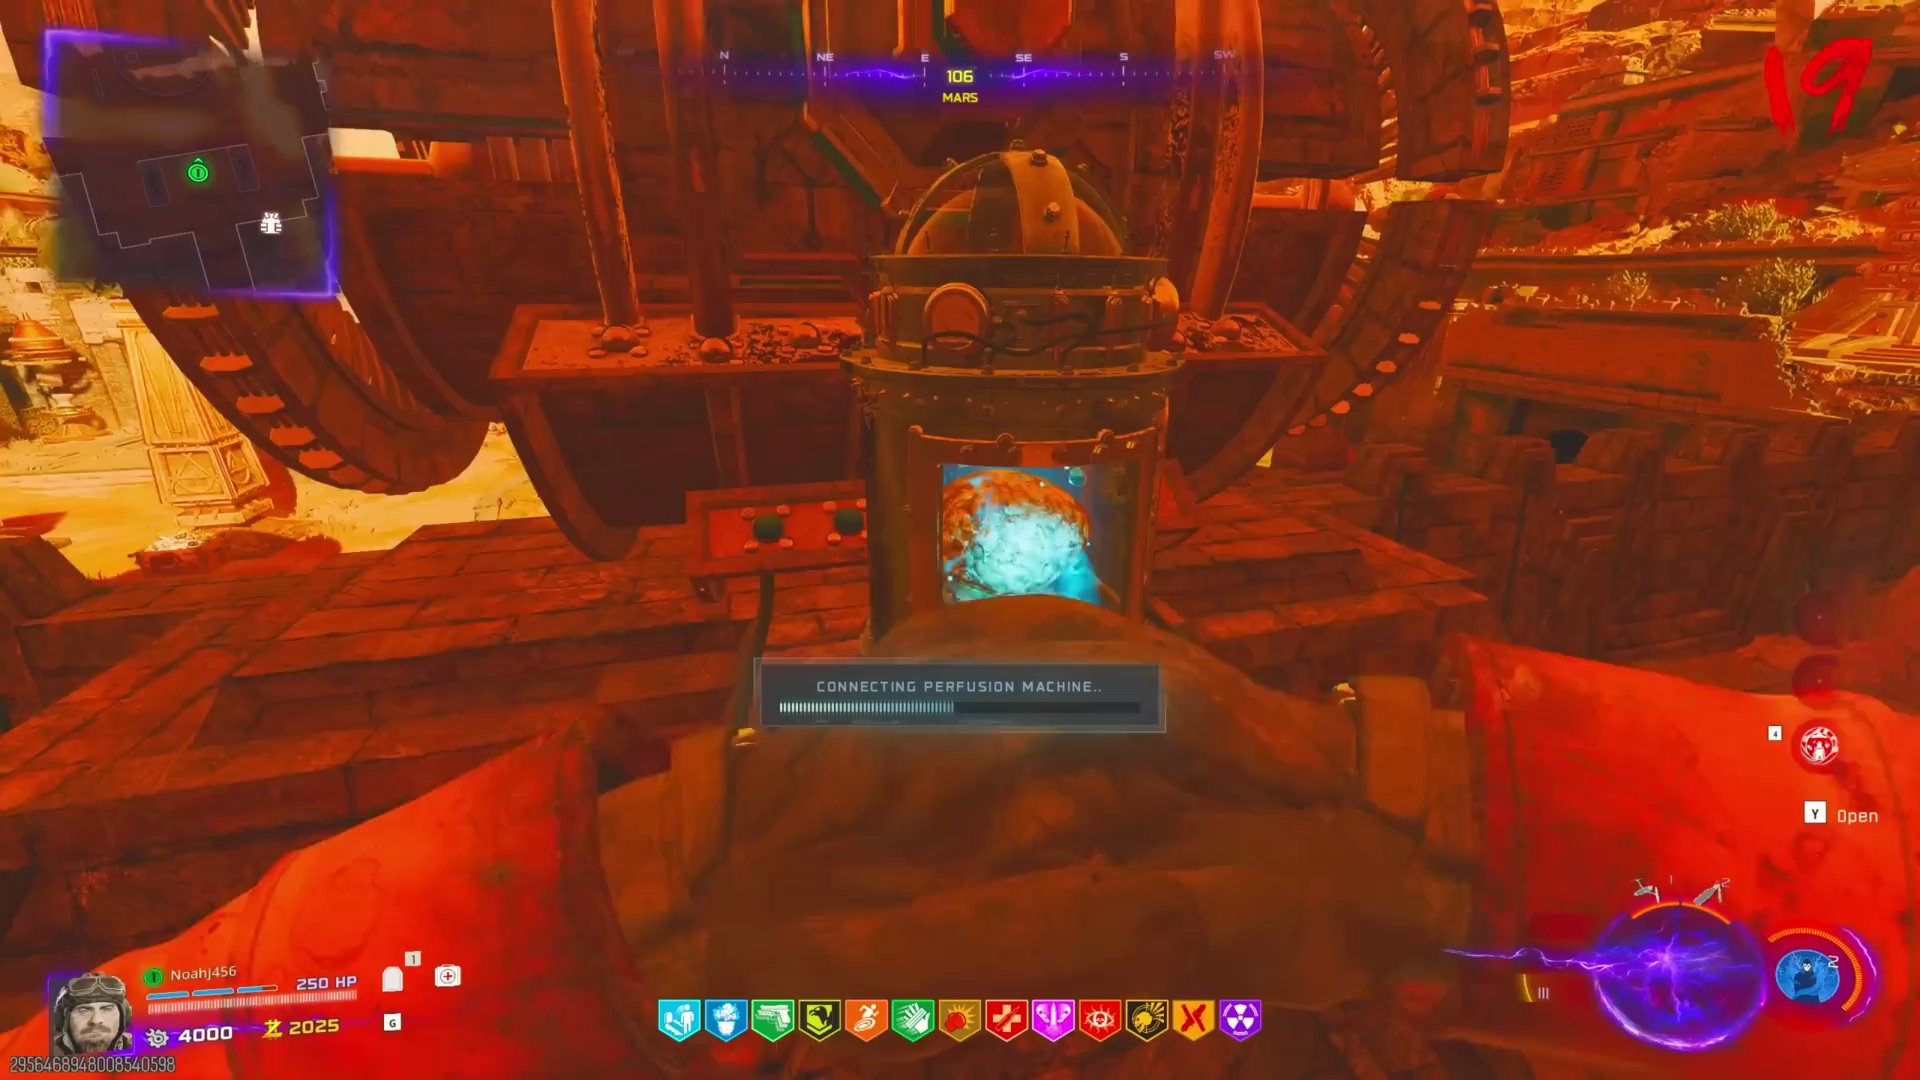 This will make Thurston hear a 'strange signal'.
- When you hear a distinct chime
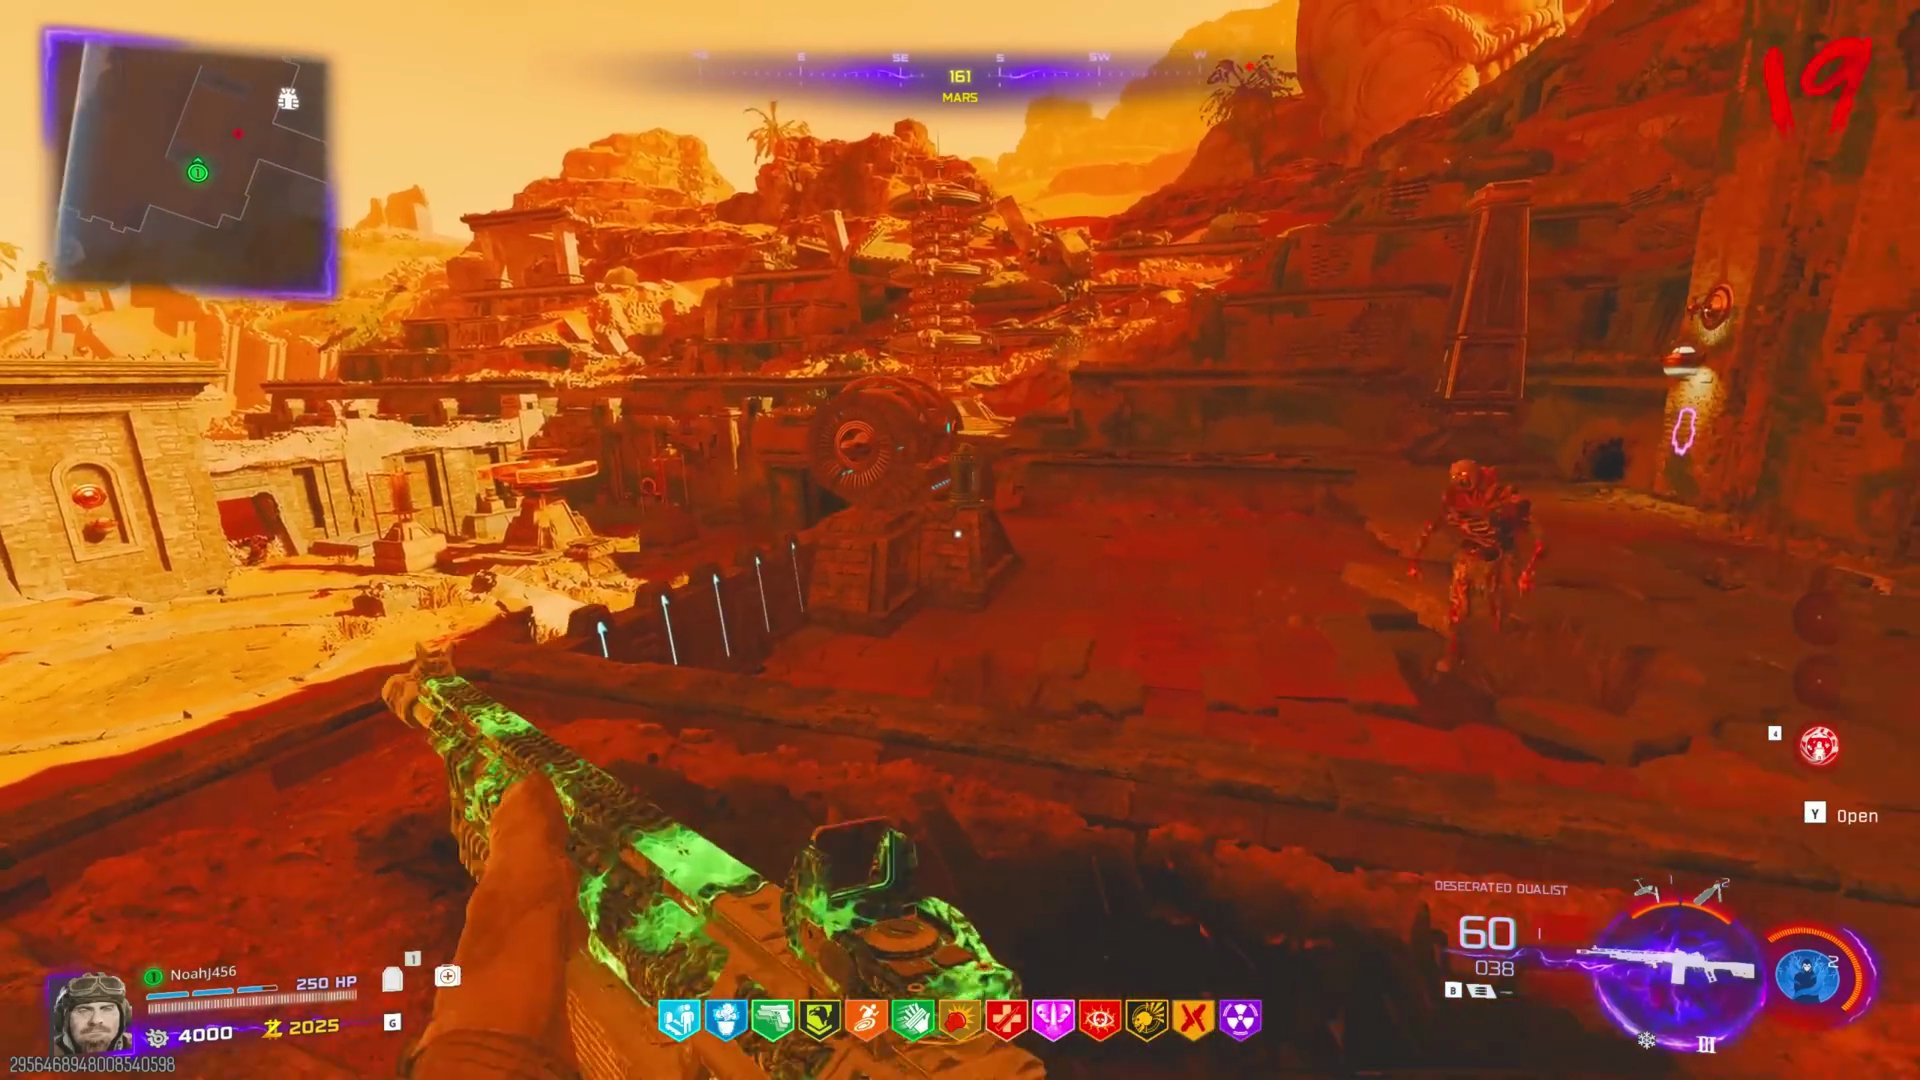 , it means the 'snitch' artifact is being called into the arena.
- Run to the edge of the map, look out the window, and shoot the giant pylon-like structures until they glow blue.
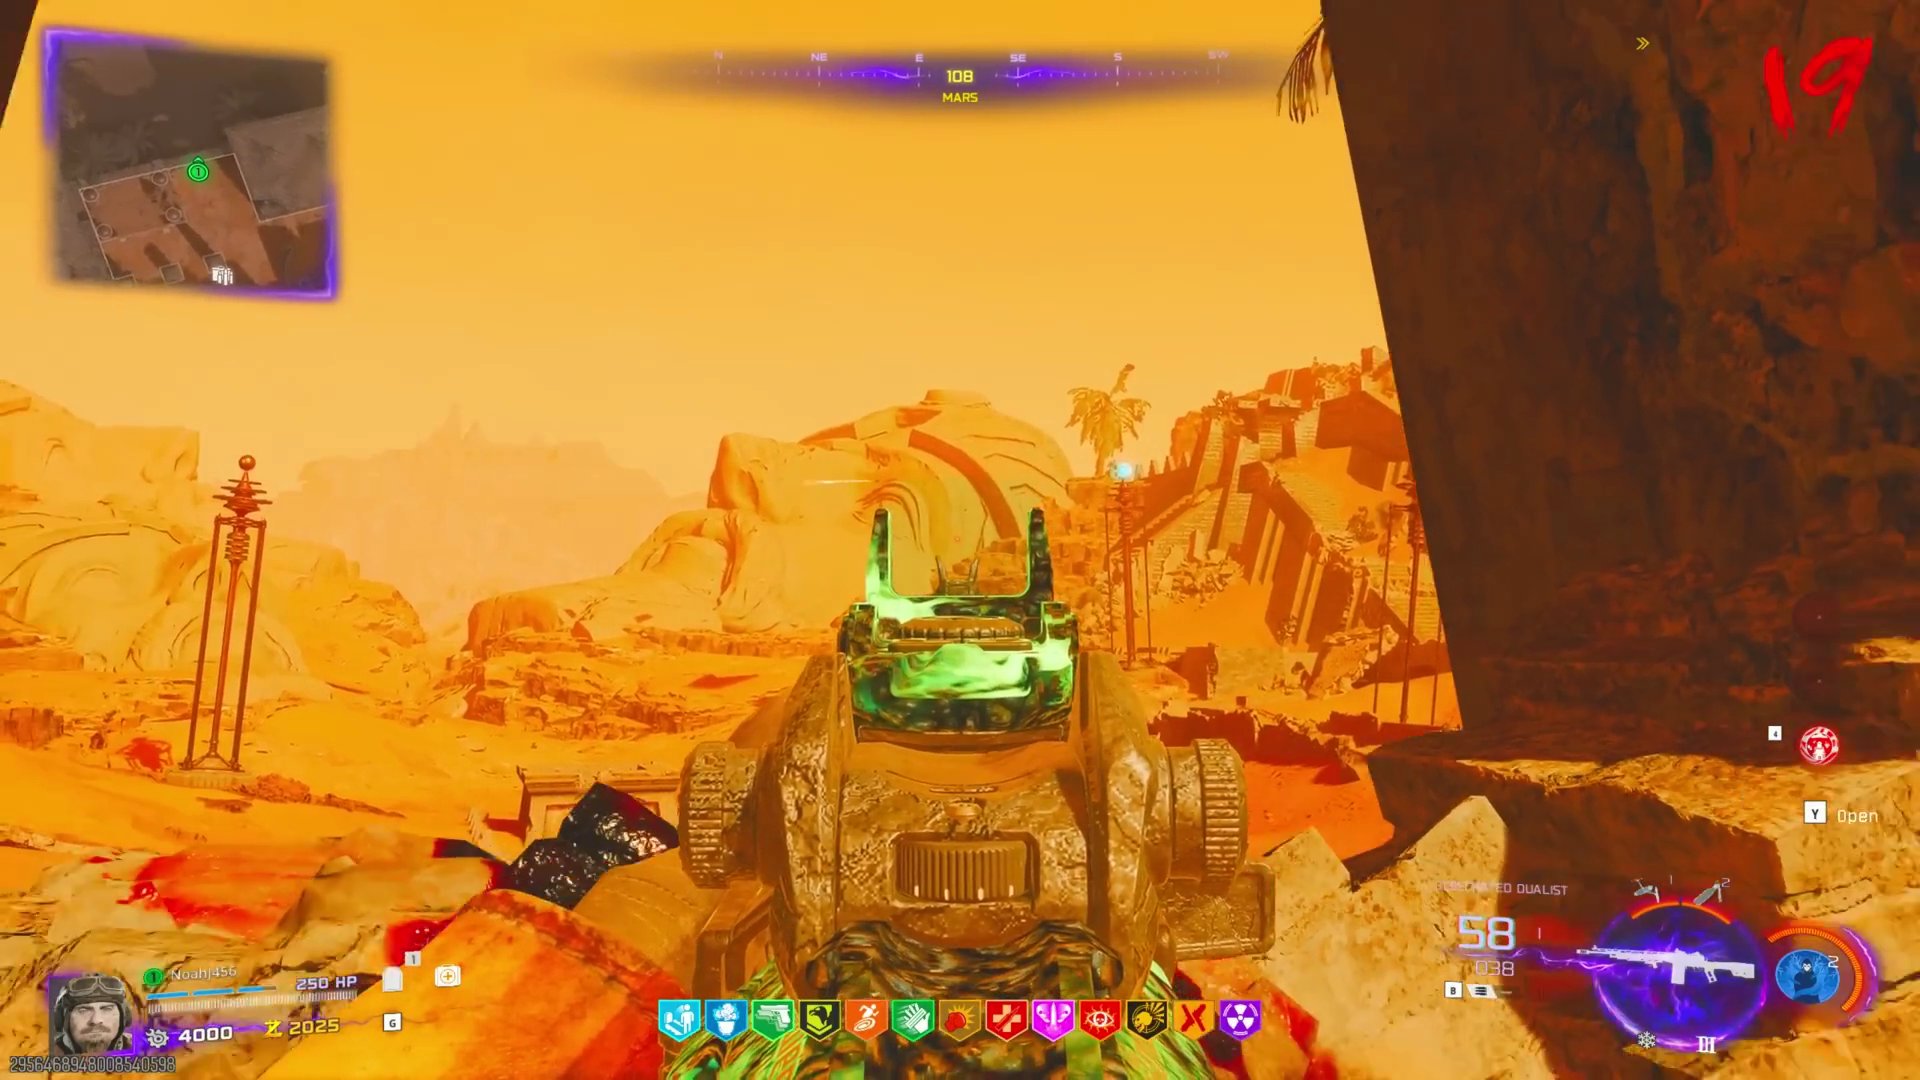 There are four in total.
- On the fourth pylon, shoot the structure at the back of the map to attract the snitch inside.
- Catch the golden snitch-like artifact by jumping in the air, especially during low gravity periods. Keep shooting the back pylon to keep it interested.
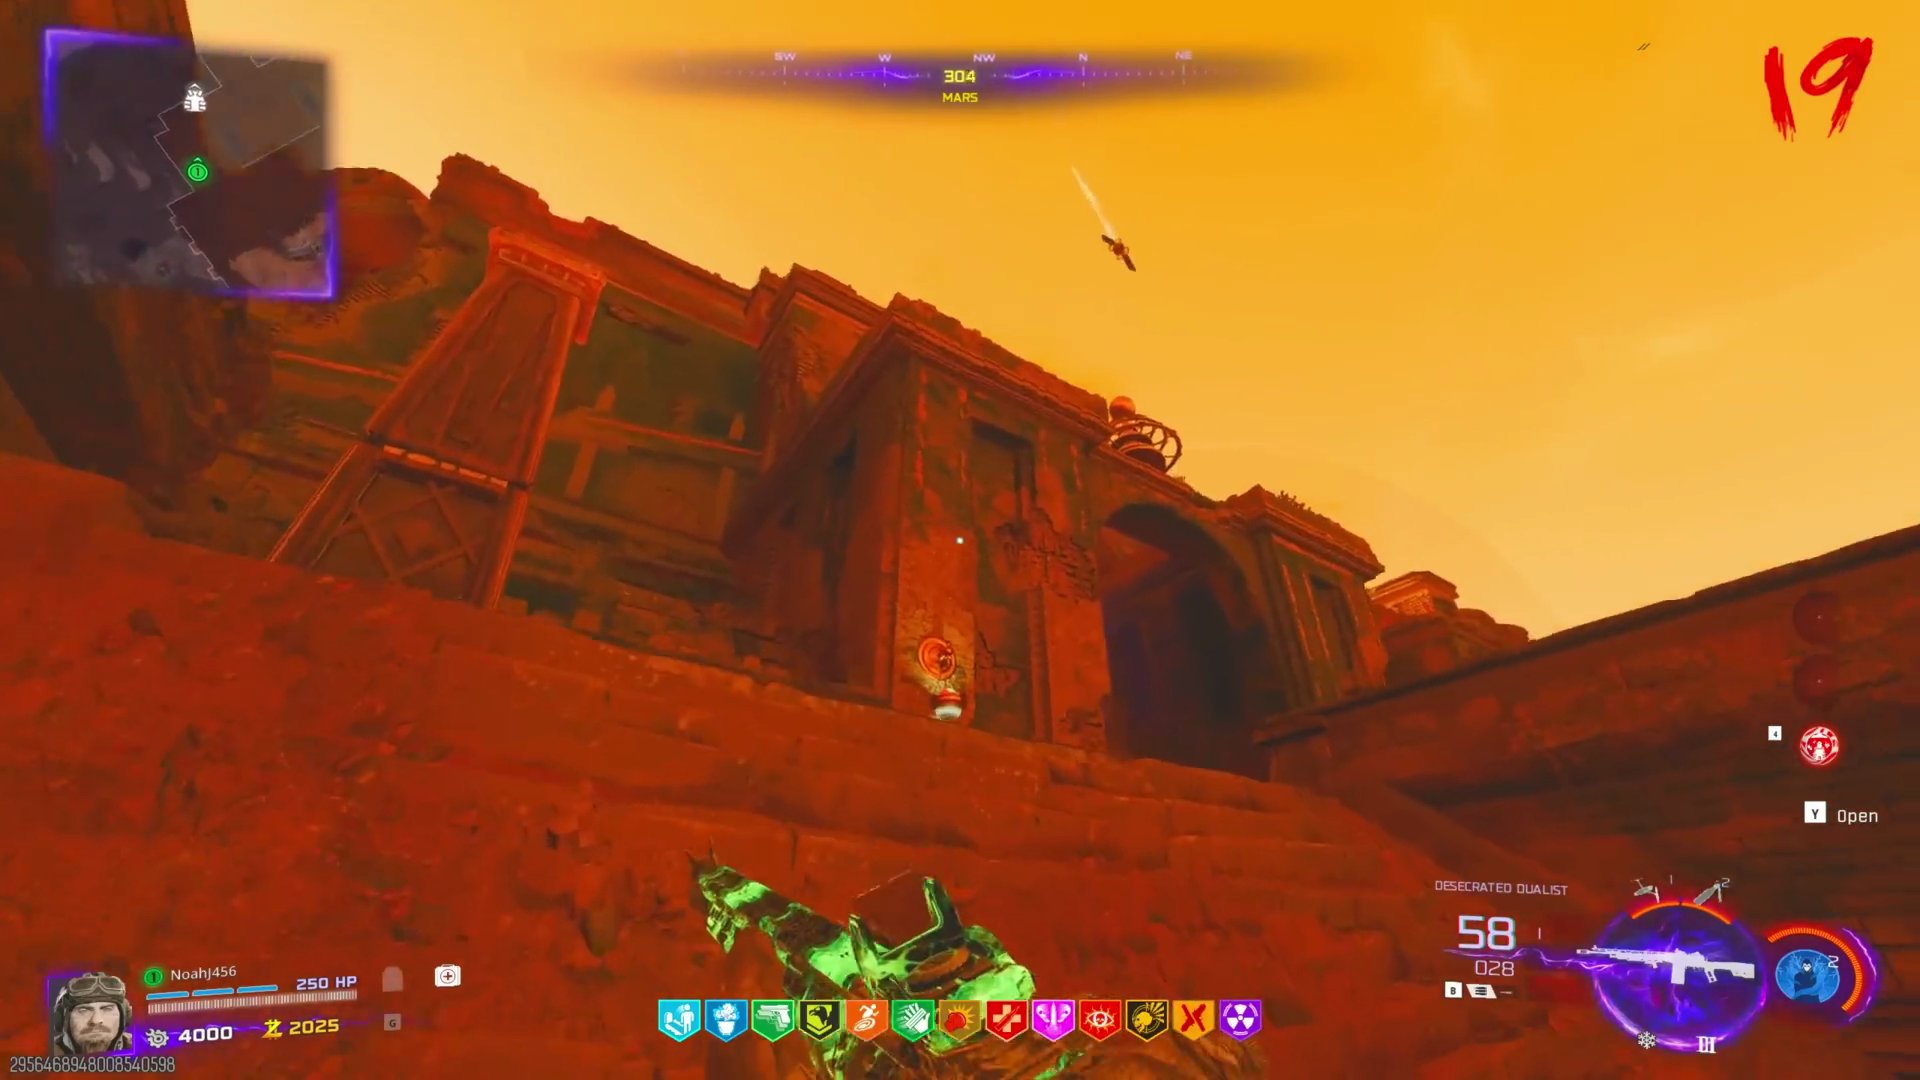
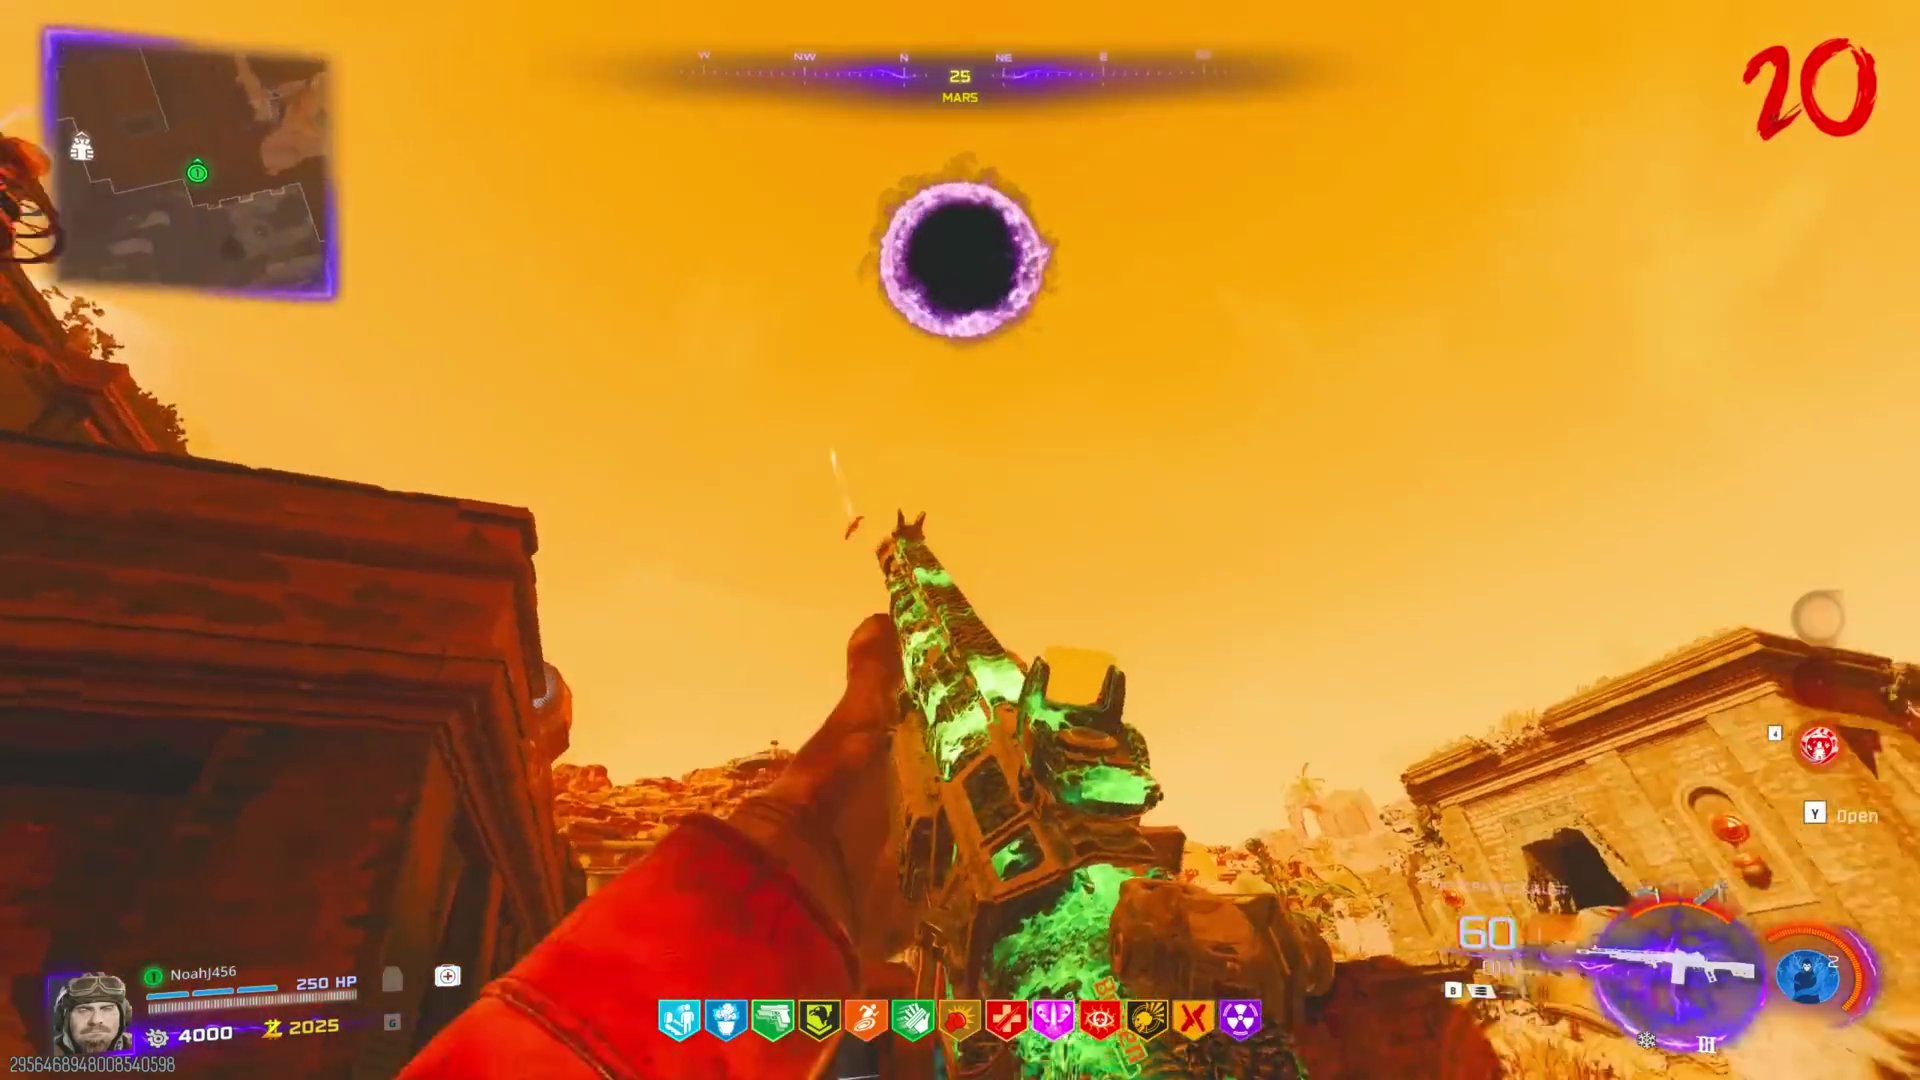
- If you fail, activate the brain again at the start of the next round to try again.
Step 6: Piano Code & Mars Pillars
- Activate the brain again to hear a series of five symbols.
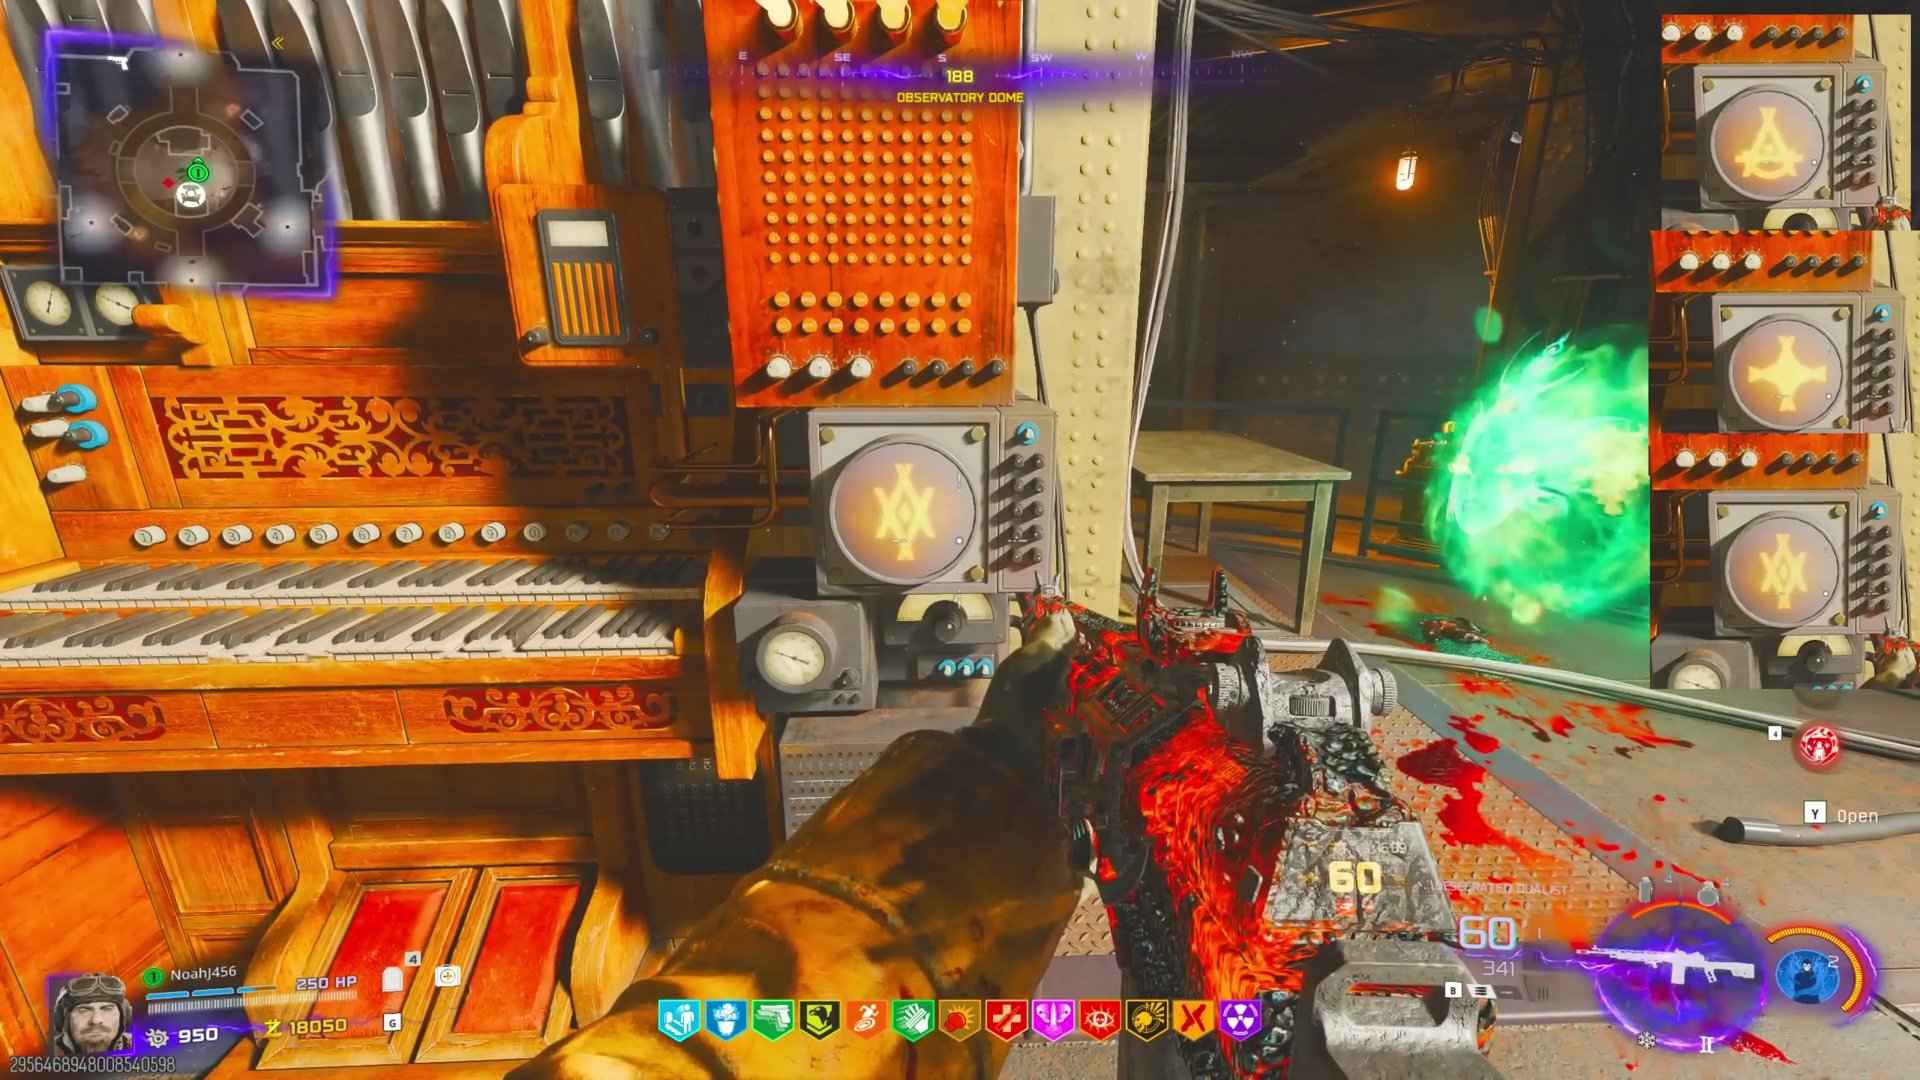 This is a 5-digit code. One of the digits will be 'static' or 'X-ed out', meaning it doesn't have a symbol.
- Head back to Mars with your 5-digit code (symbols and the static position).
- Activate the five pillars on Mars in the order of your piano code.
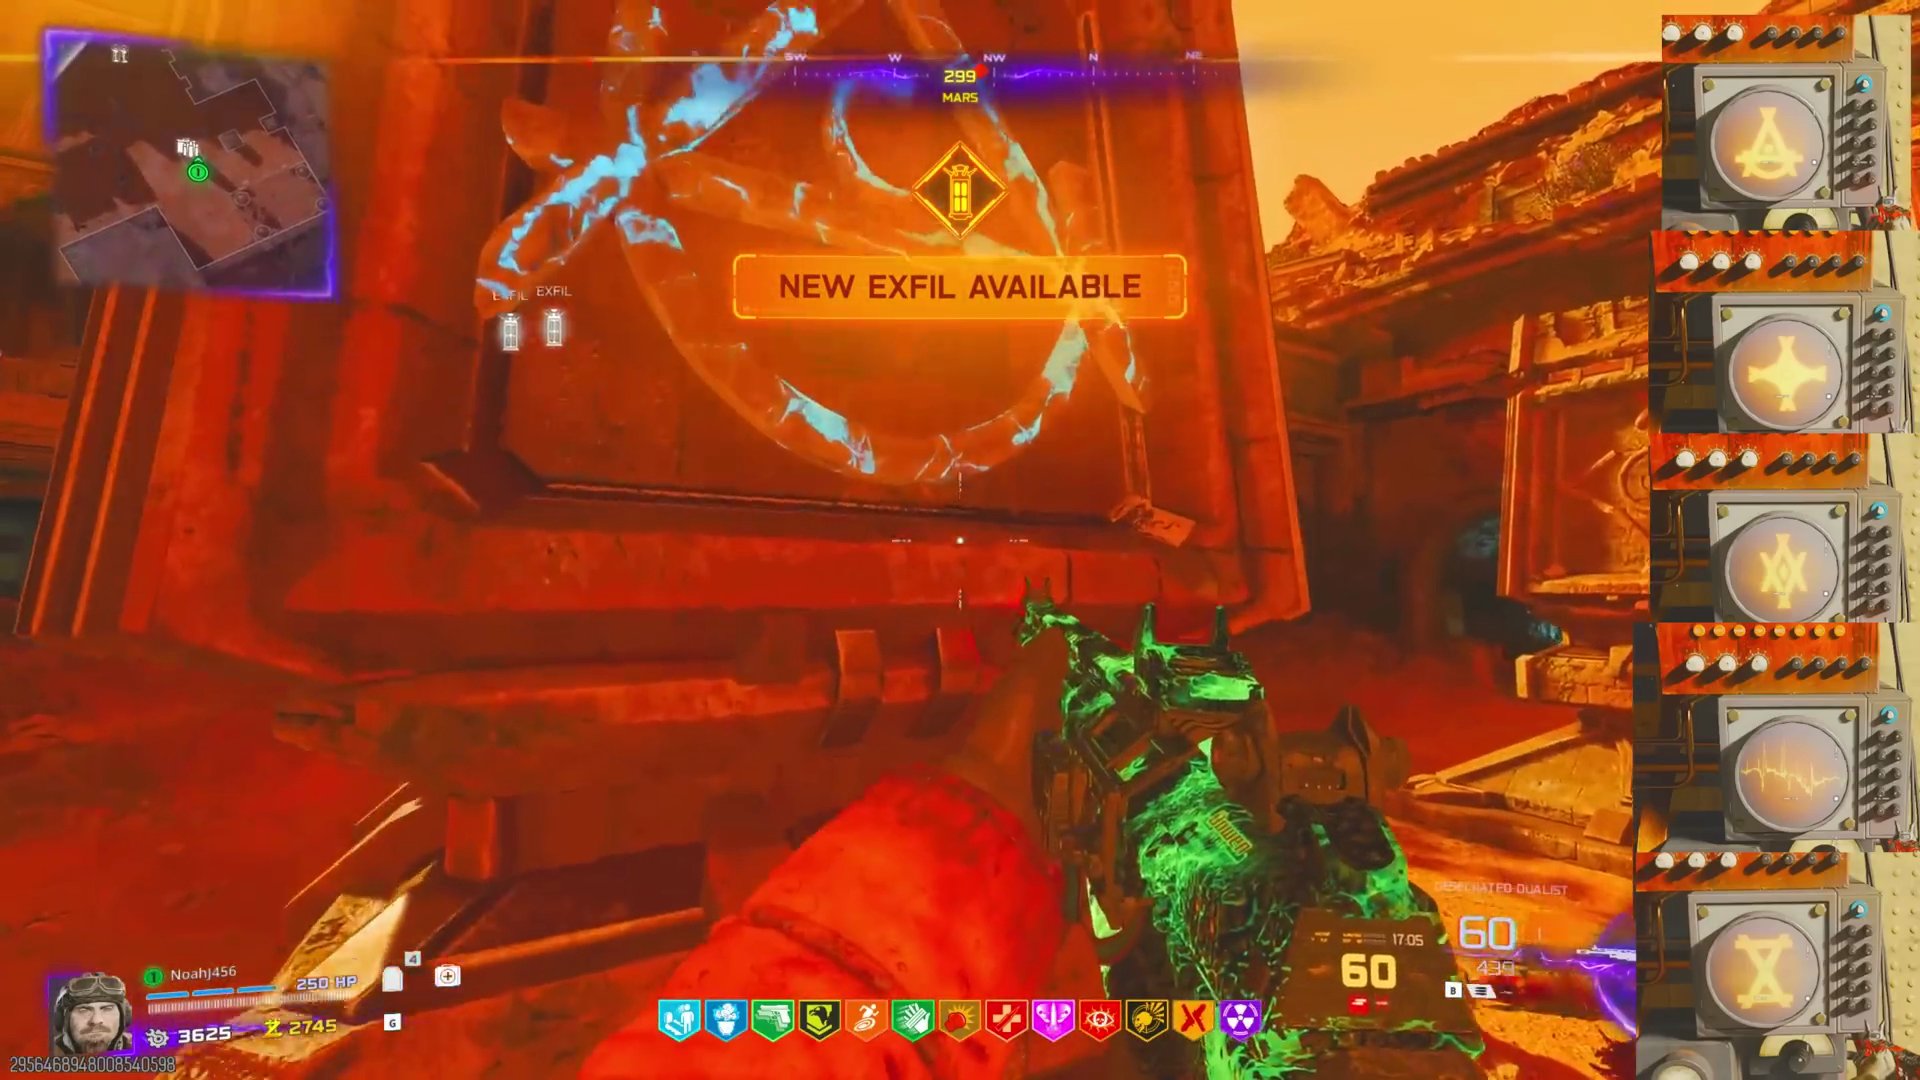
- If you get a blue symbol, you've done it correctly. If red, you've done it wrong.
- For the static symbol in your code, hit the pillar that *doesn't* have a symbol on it.
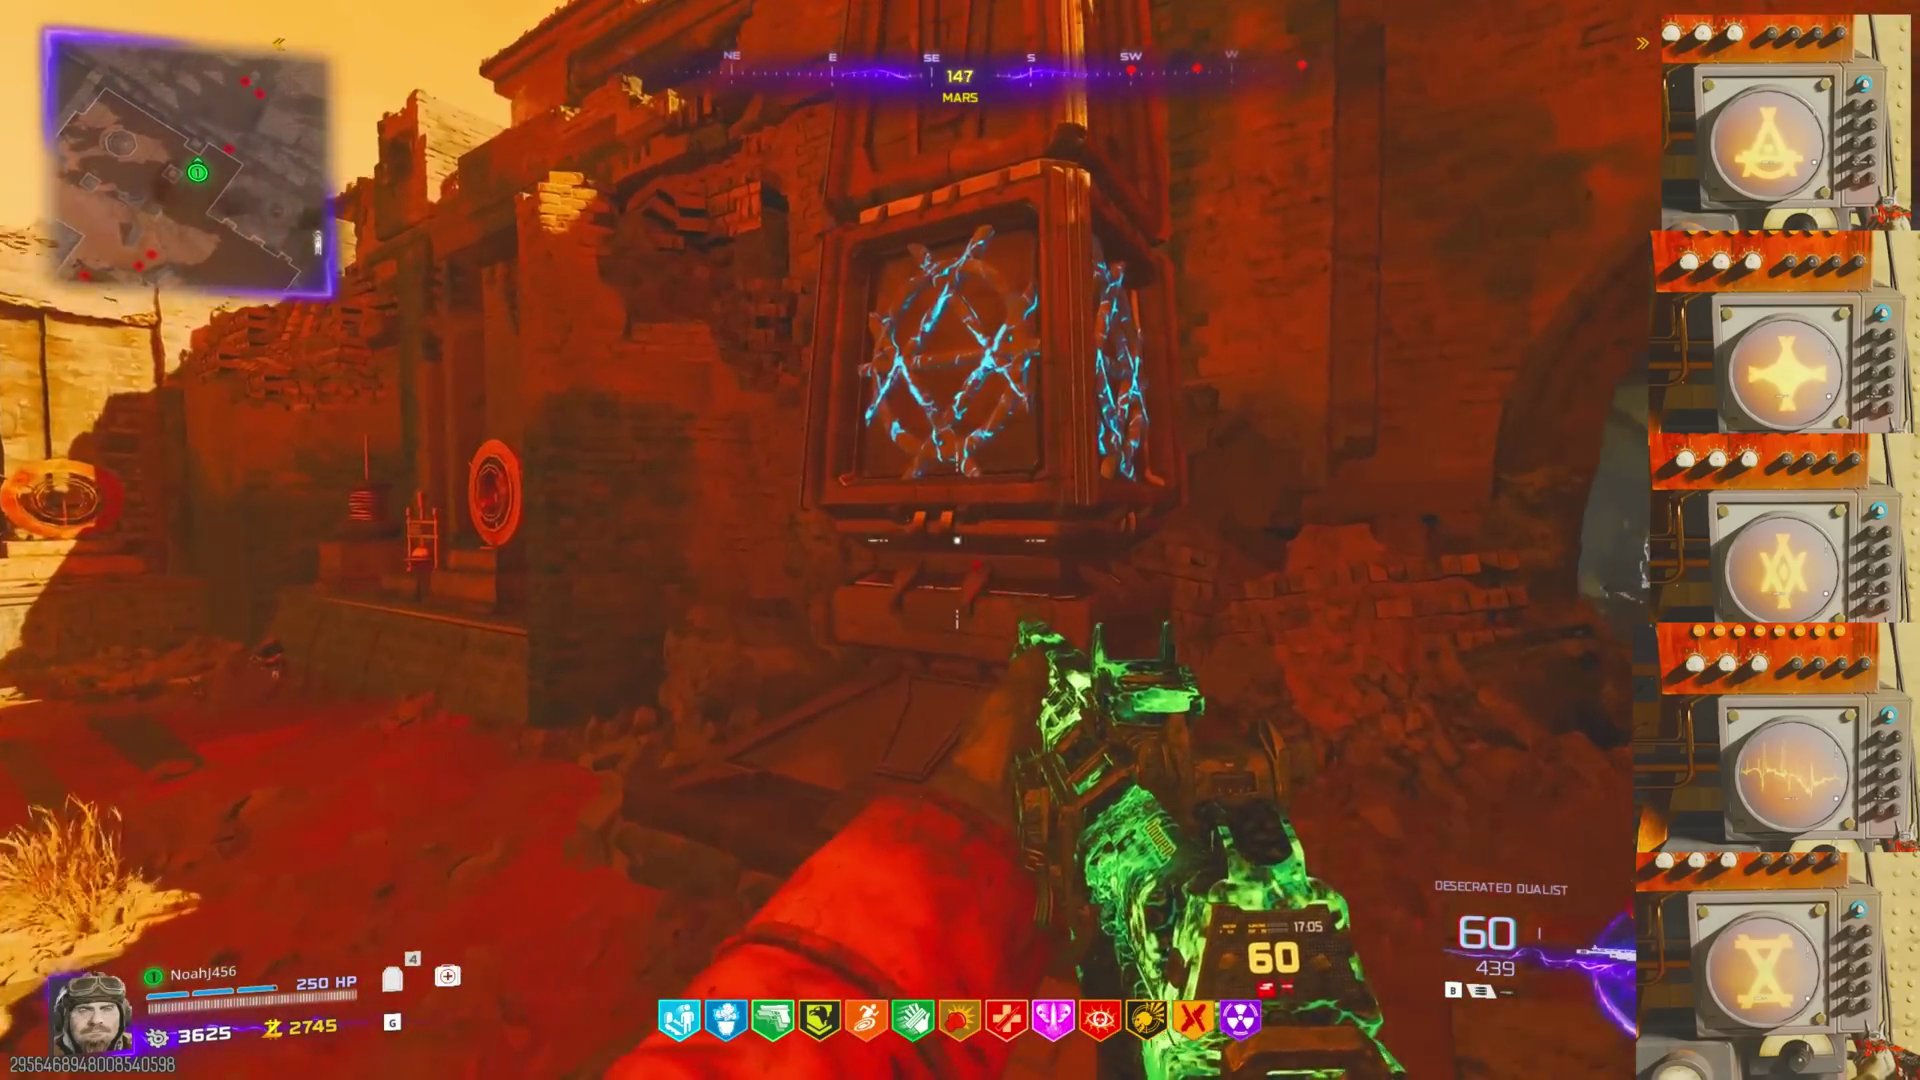
- If done correctly, you'll get a bright flash, and Thurston will confirm your success.
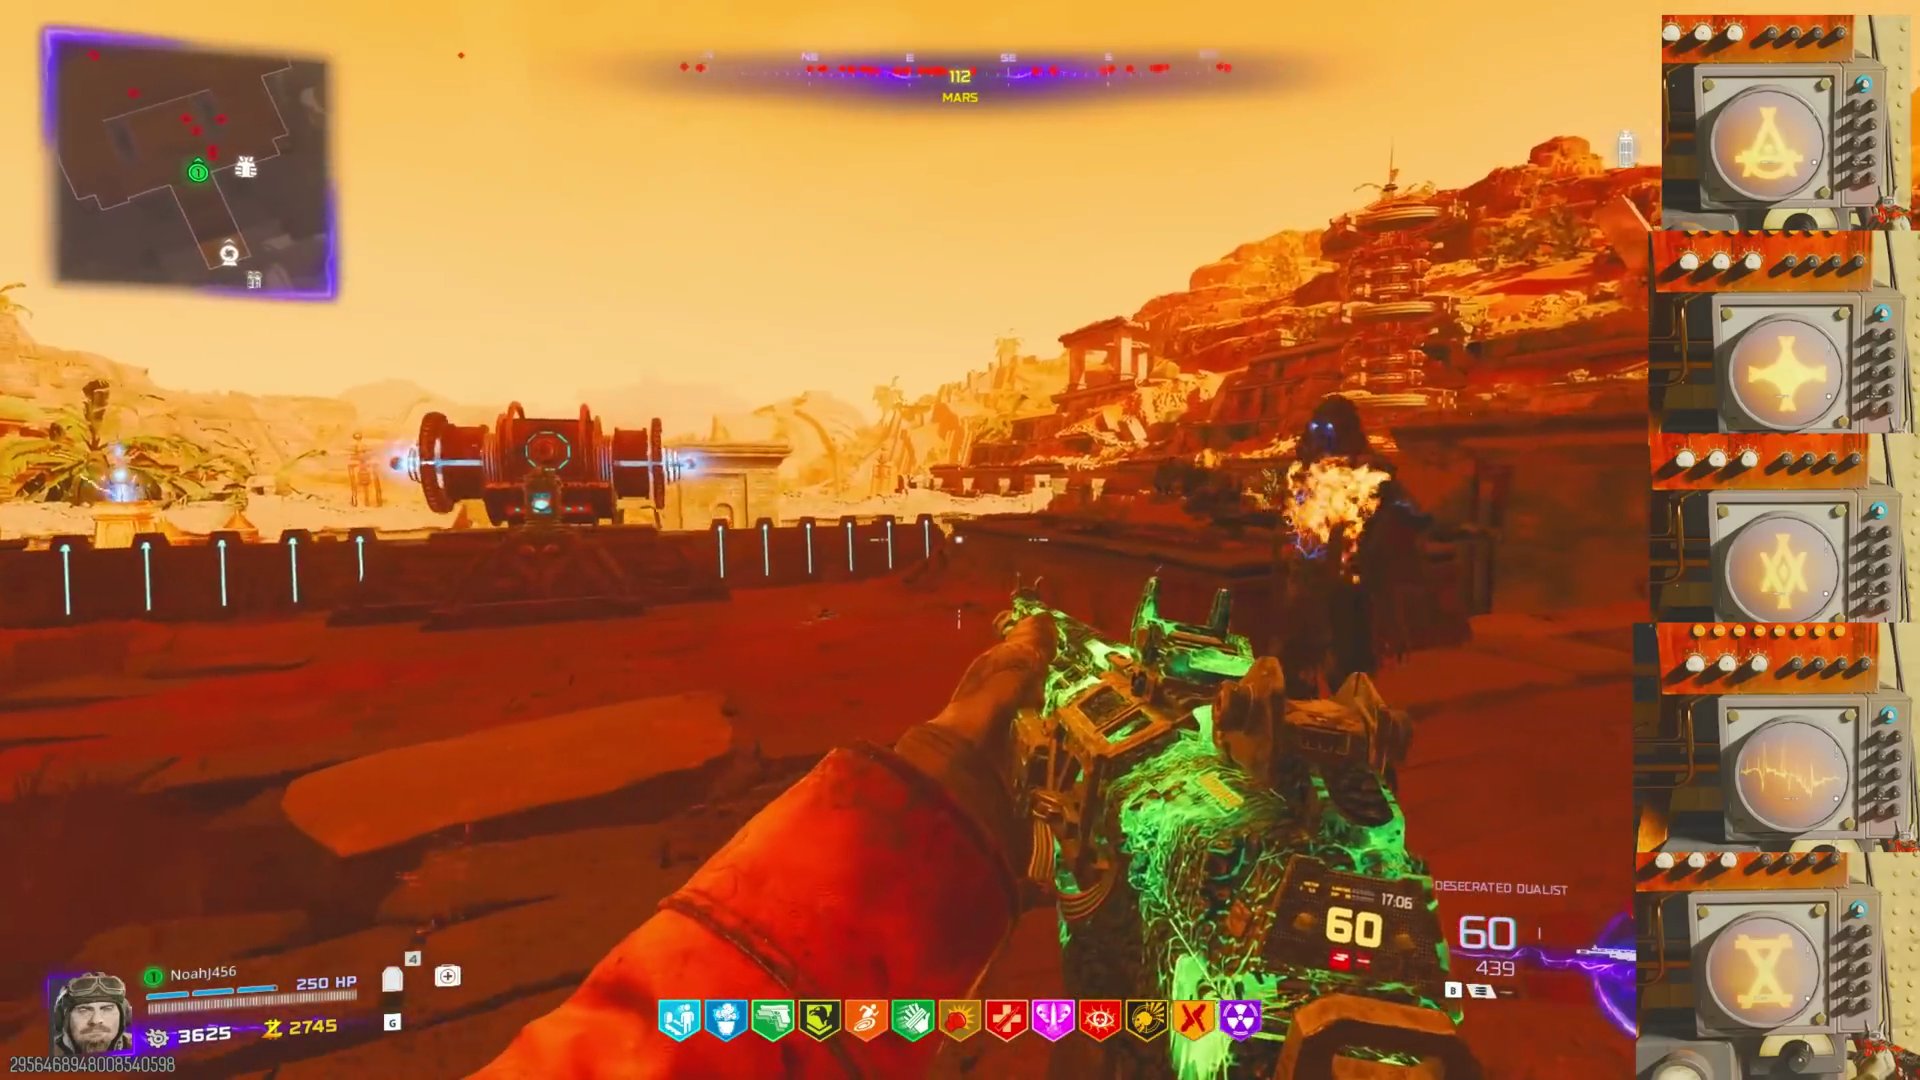
Step 7: Boss Fight: Calthaeris the Needle
Get ready for the final boss fight. Ensure your weapon is Pack-a-Punched to tier 3 and you have all your desired perks.
Phase 1: Filling the Soul Box & Laser Attack
- Interact with the brain one last time to initiate the boss fight. [SCREENSHOT:13:28]
- Fill up the Soul Box by killing zombies.
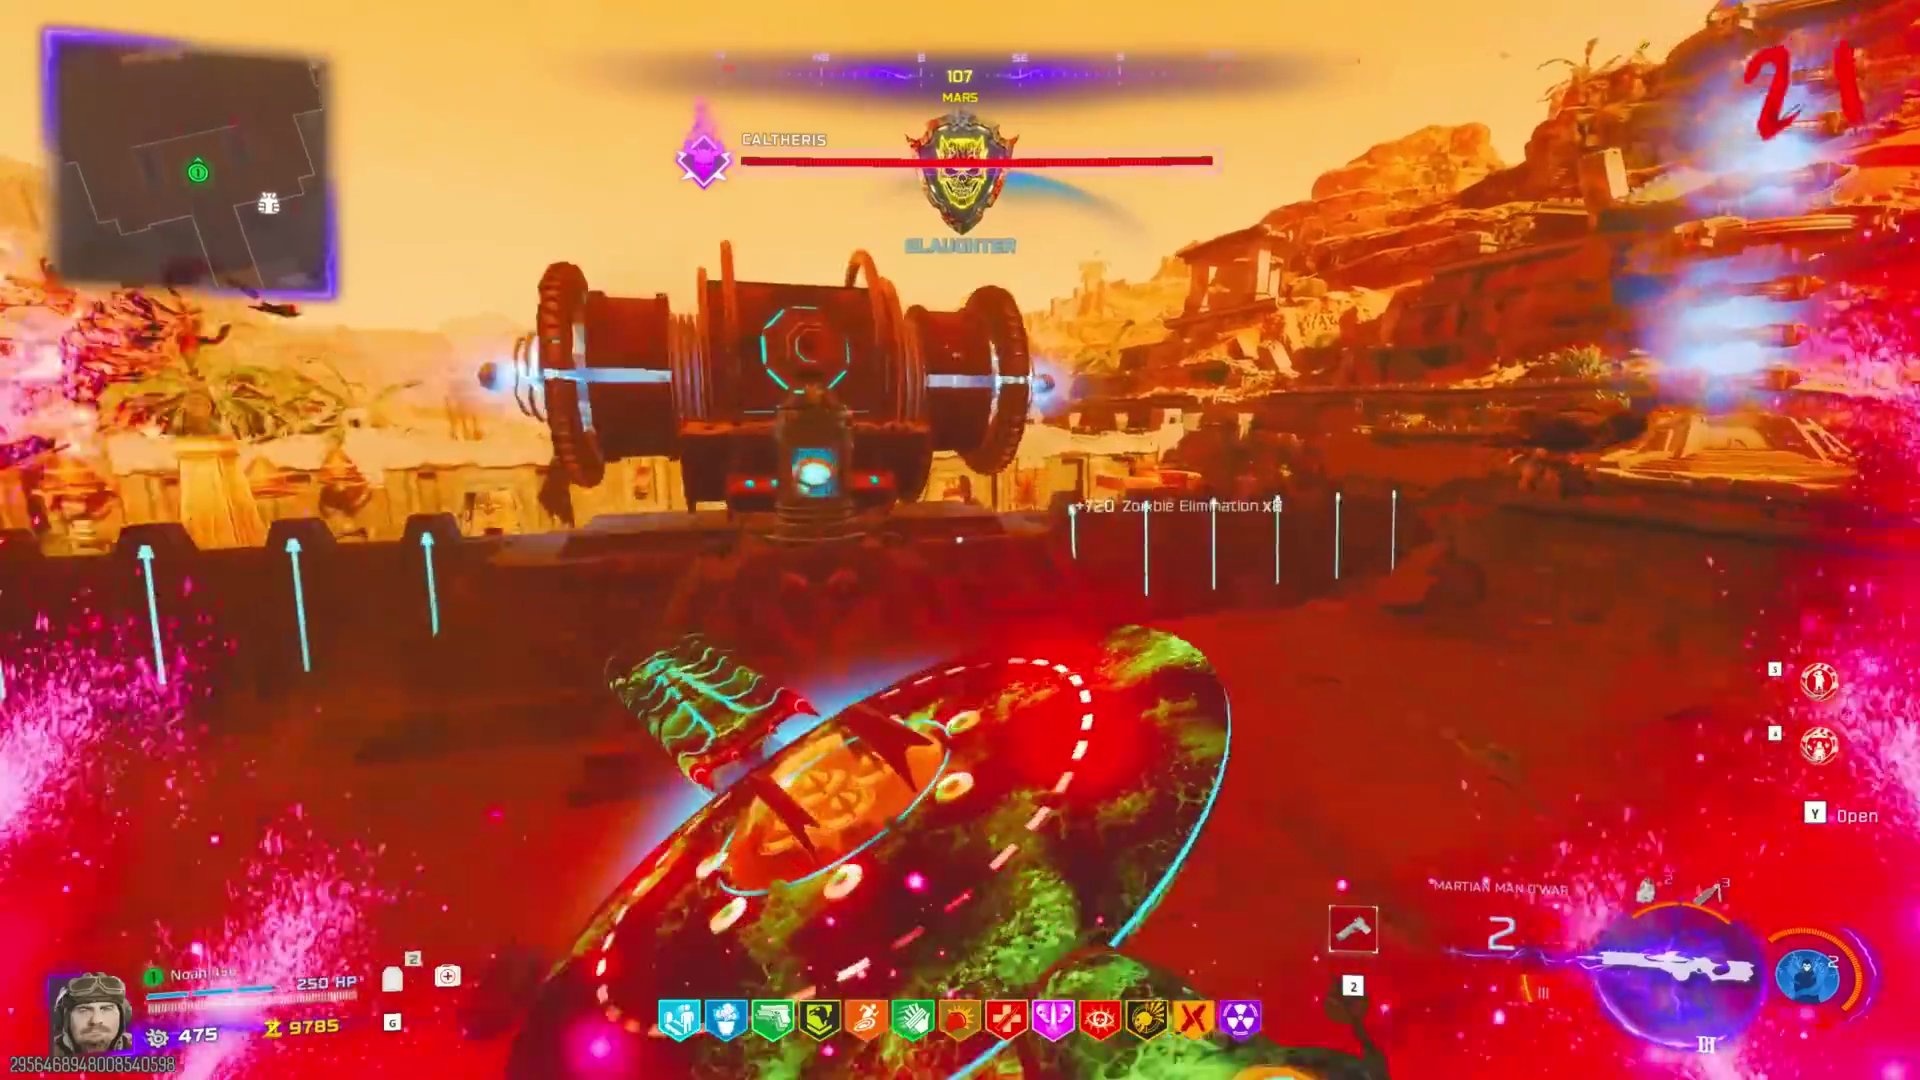
- Once filled, interact with the brain again to shoot a laser at the boss. This happens three times.
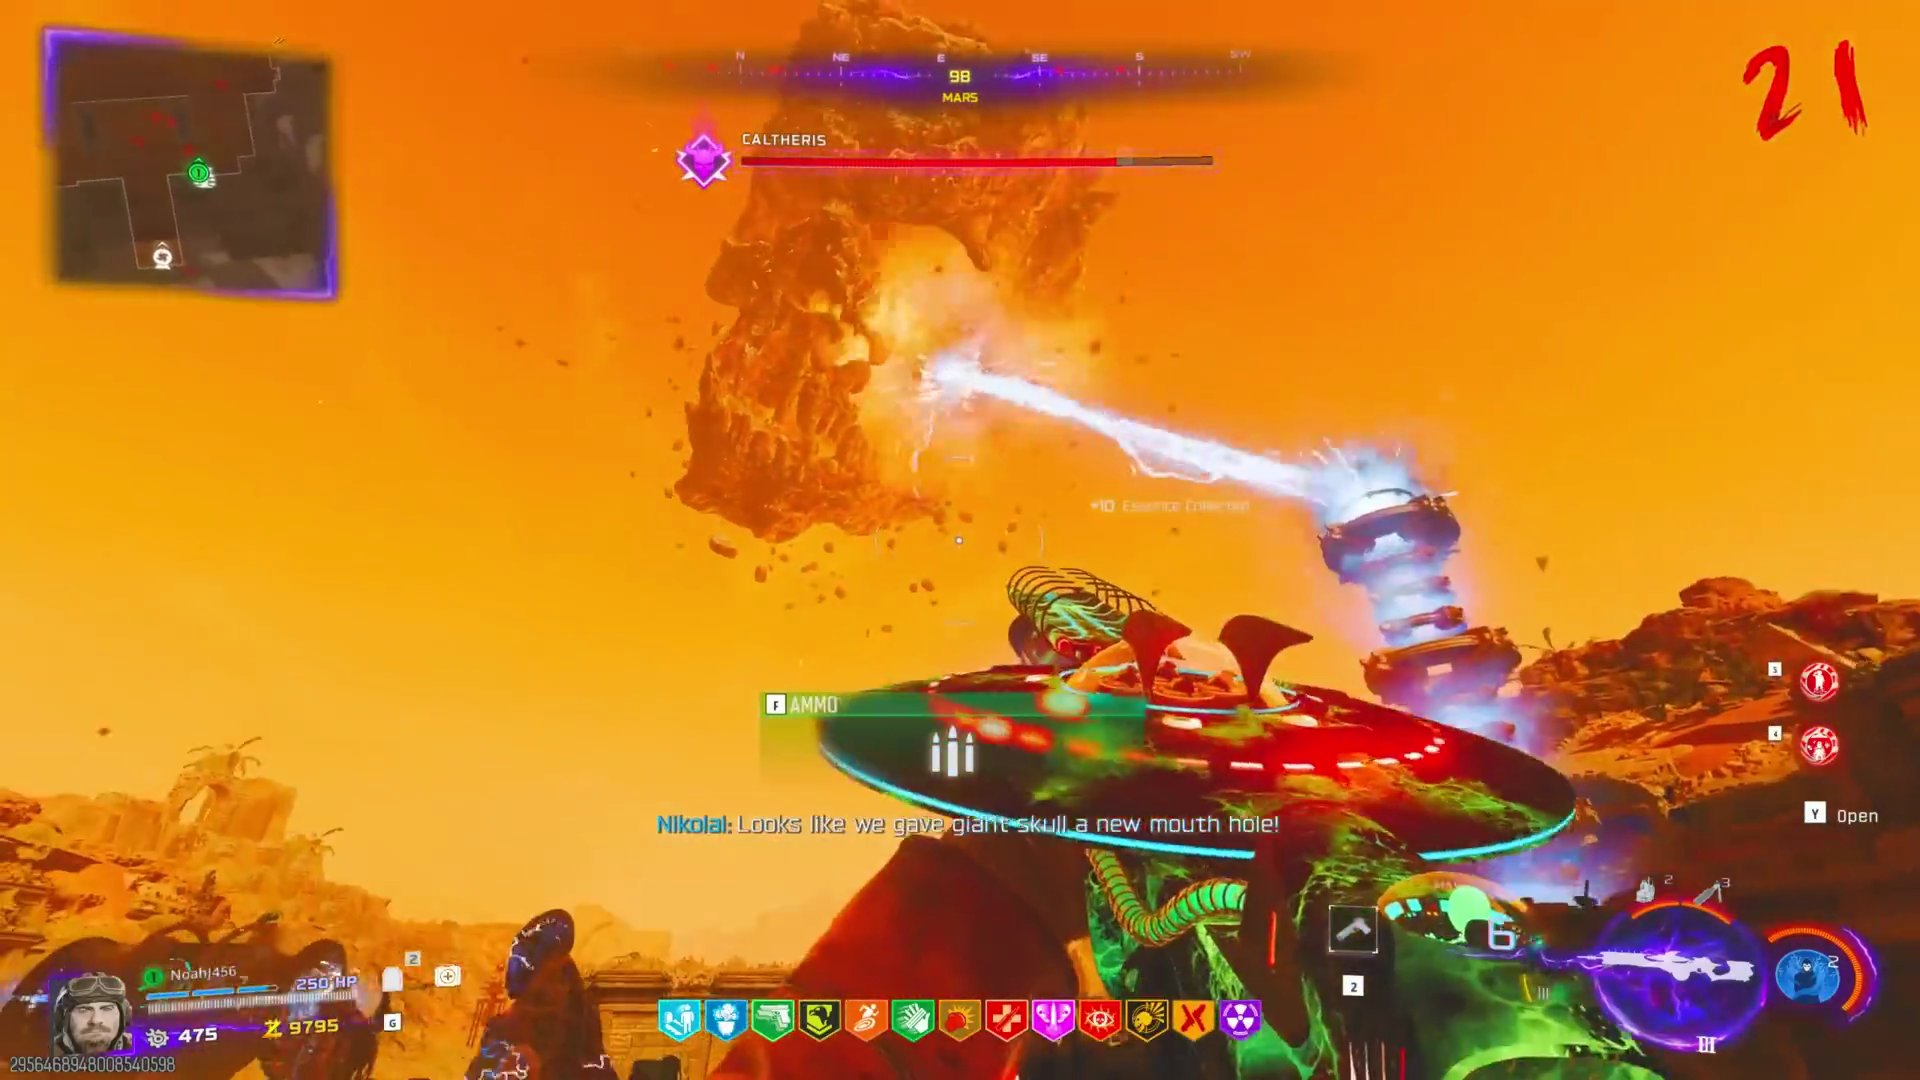
- **Boss Attacks:** He will shoot a head laser at each player (run away, don't cross paths) and throw bombs (indicated by red icons on the ground). Avoid these. [SCREENSHOT:13:47]
Phase 2: Rock Monster
- Calthaeris transforms into a rock monster that moves on the ground.
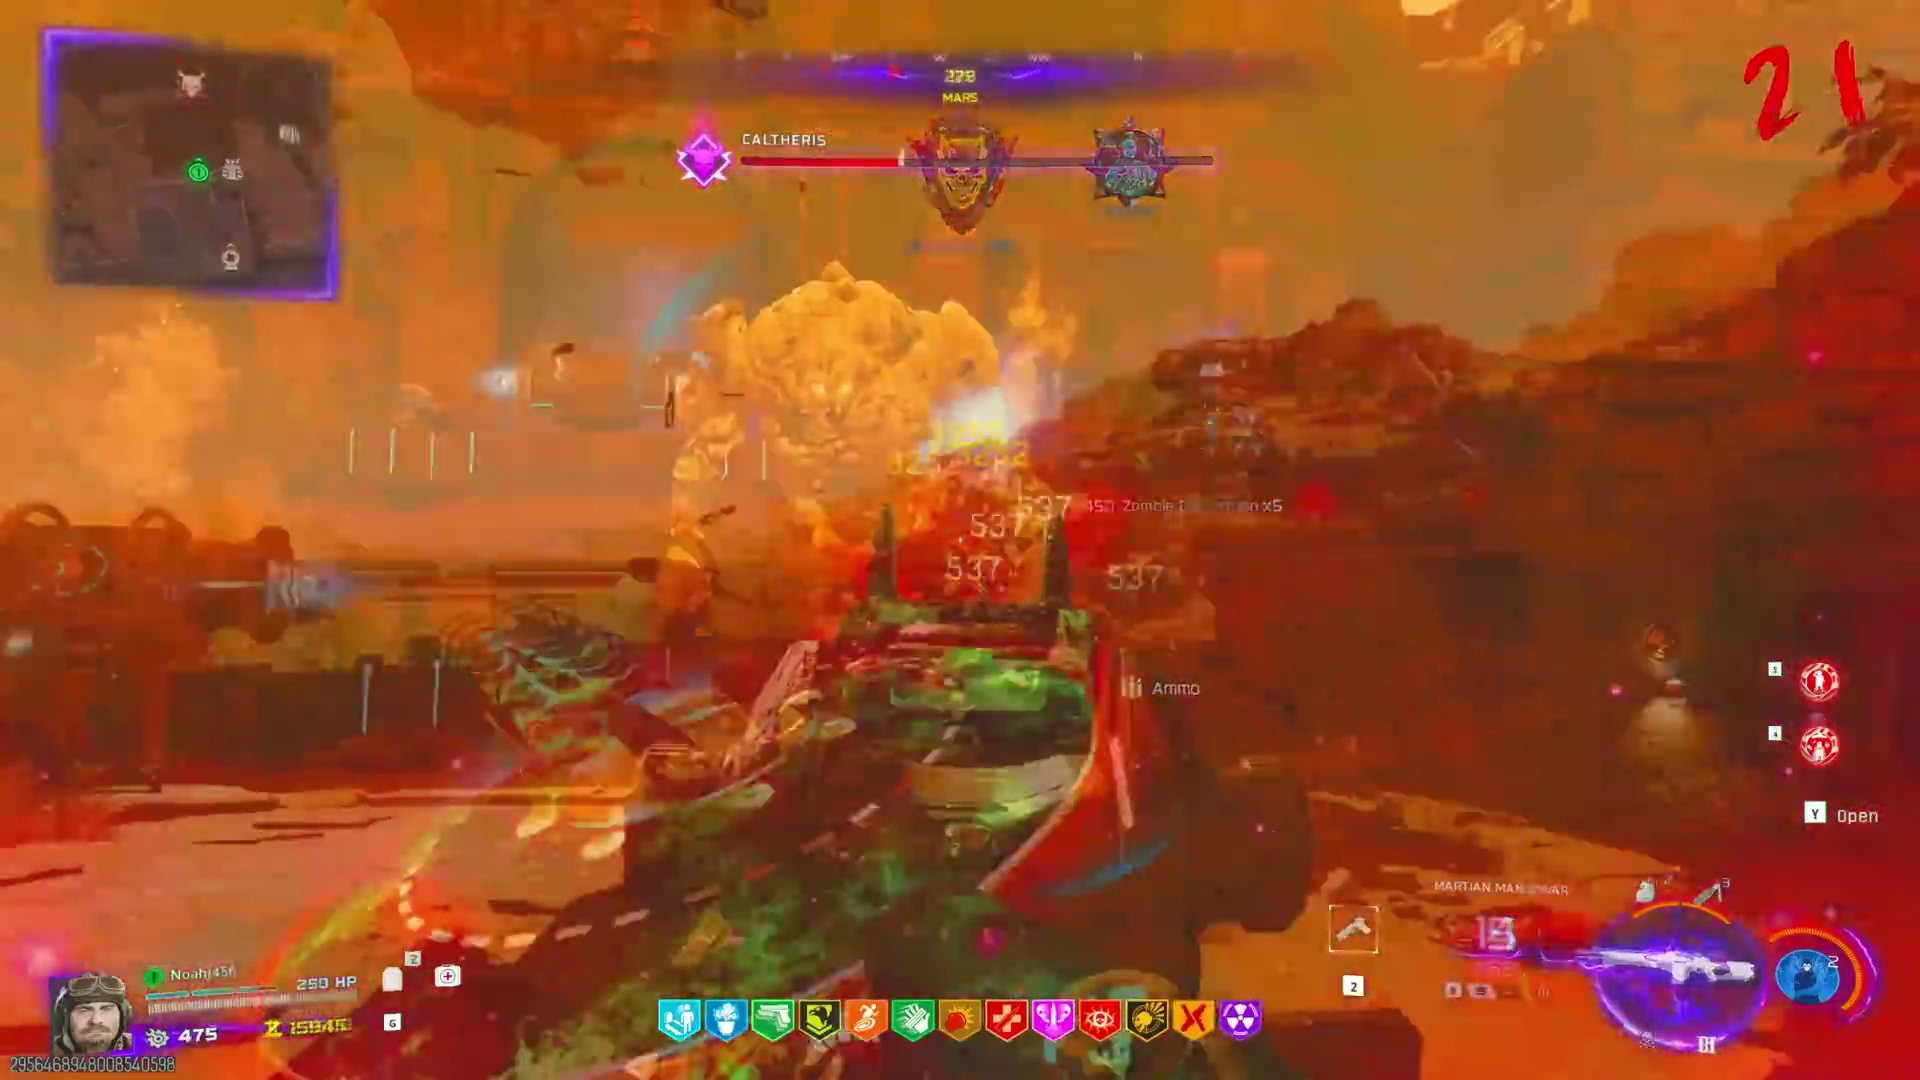
- **Boss Attacks:** He picks up and throws rocks at you, and tries to melee if you get too close.
- **Strategy:** Maintain distance. Use wall jumps to avoid rocks and melee attacks (low gravity helps). Shoot off his armor pieces to reveal blue weak points.
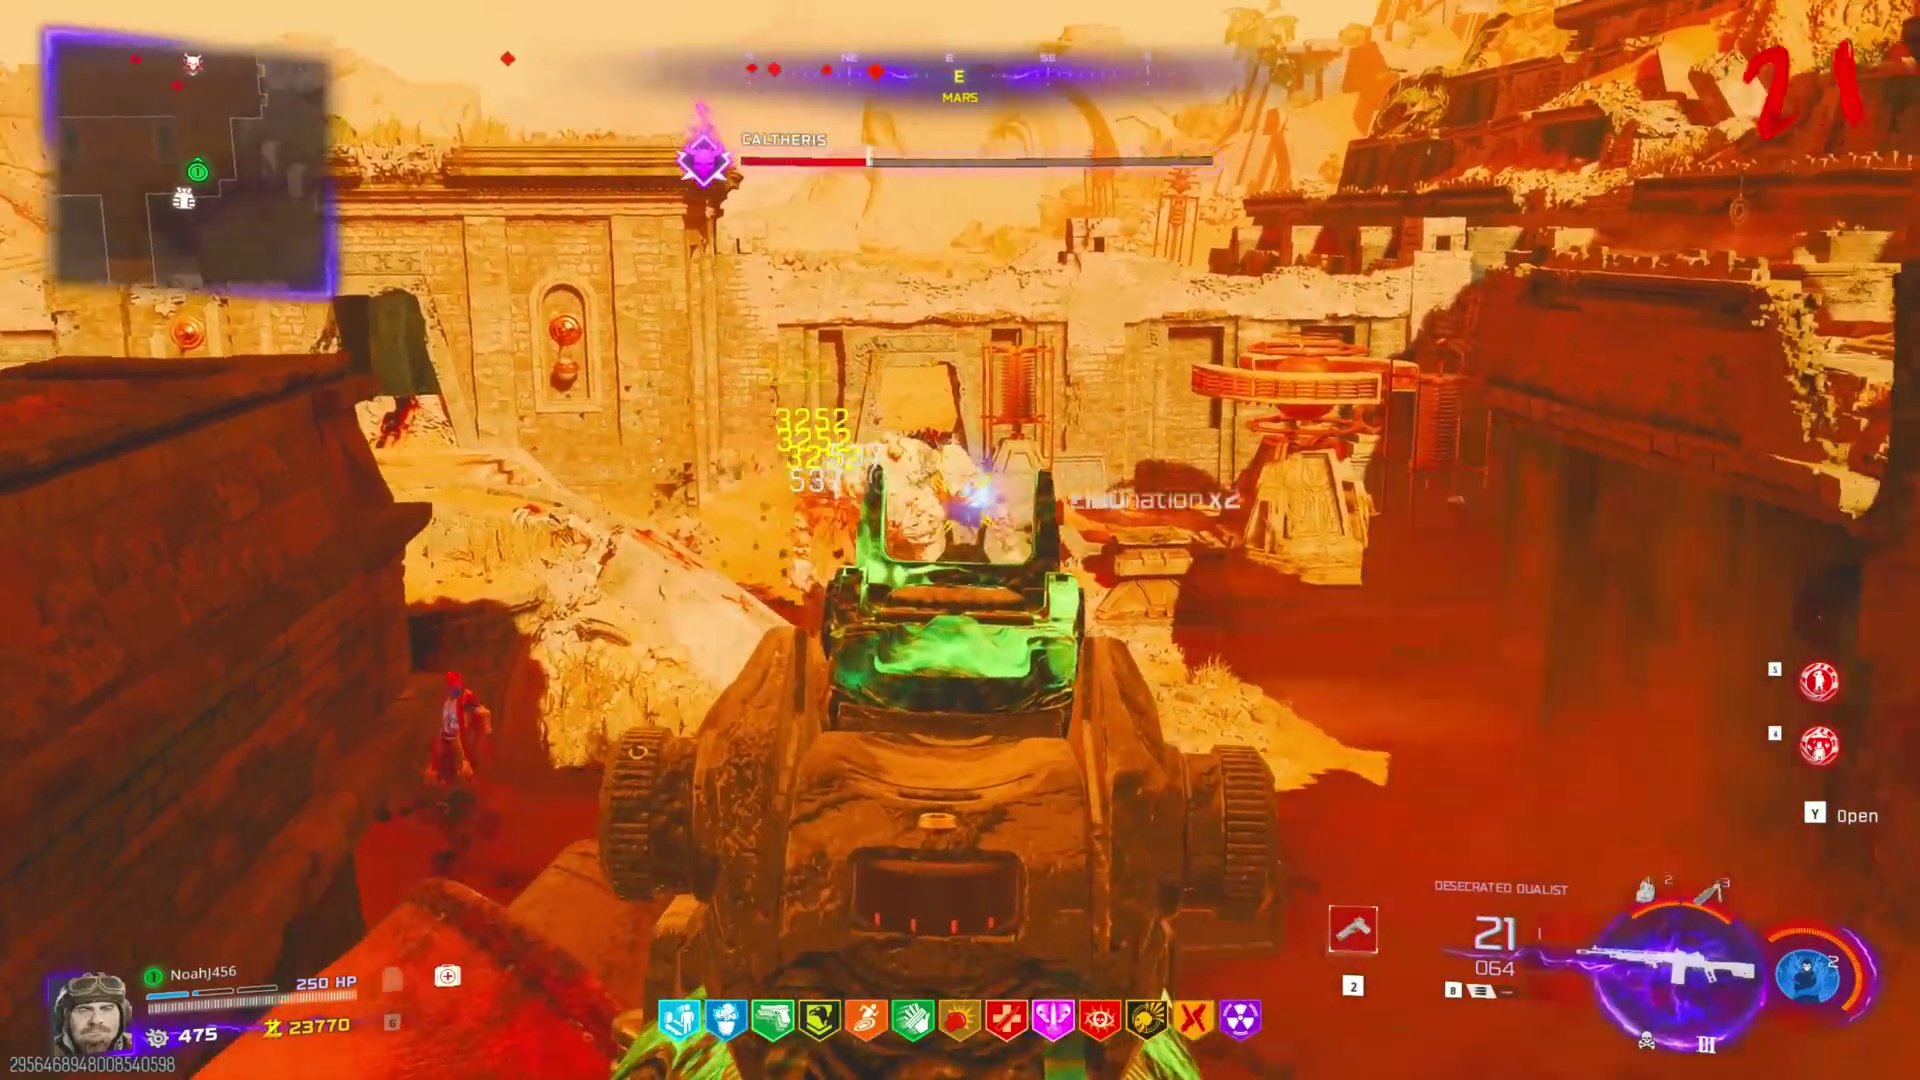 Keep shooting the weak points to deal massive damage.
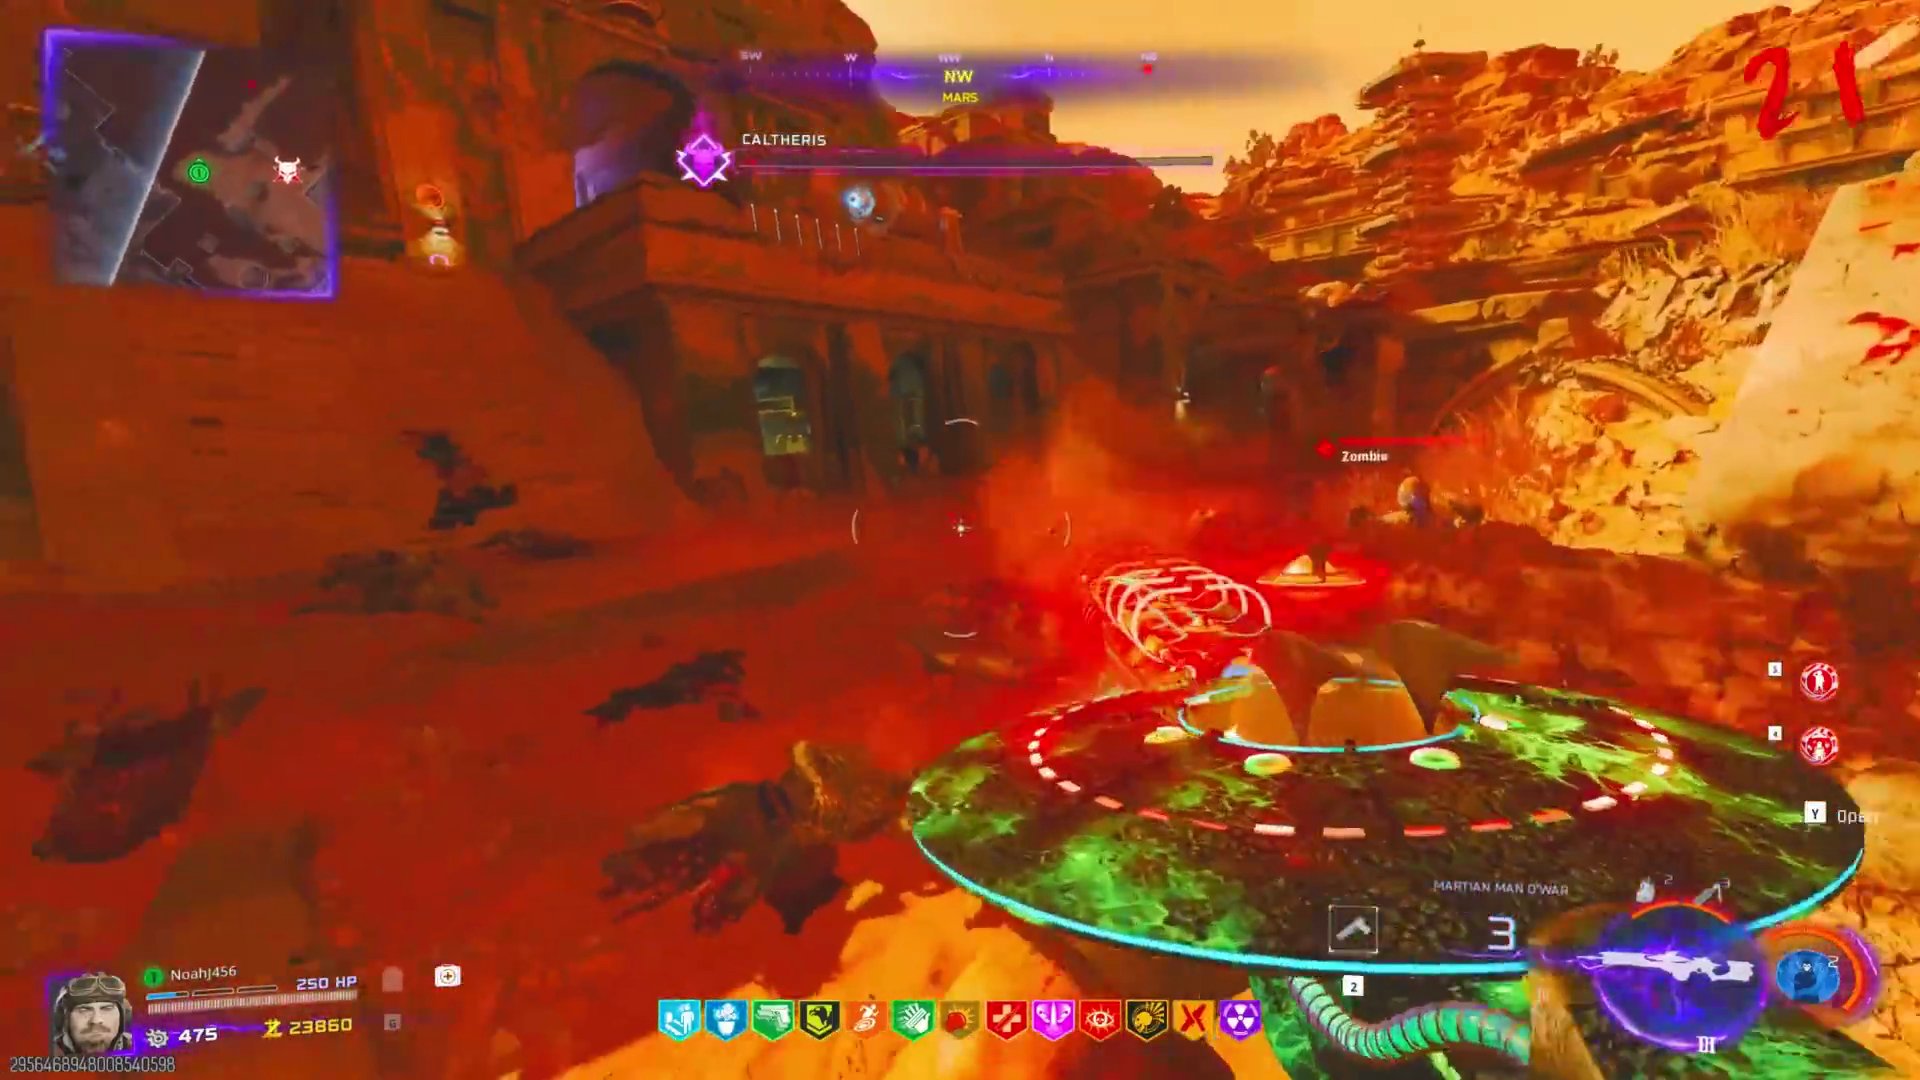
Phase 3: Enhanced Rock Monster
- Calthaeris becomes faster, stronger, and attacks more frequently.
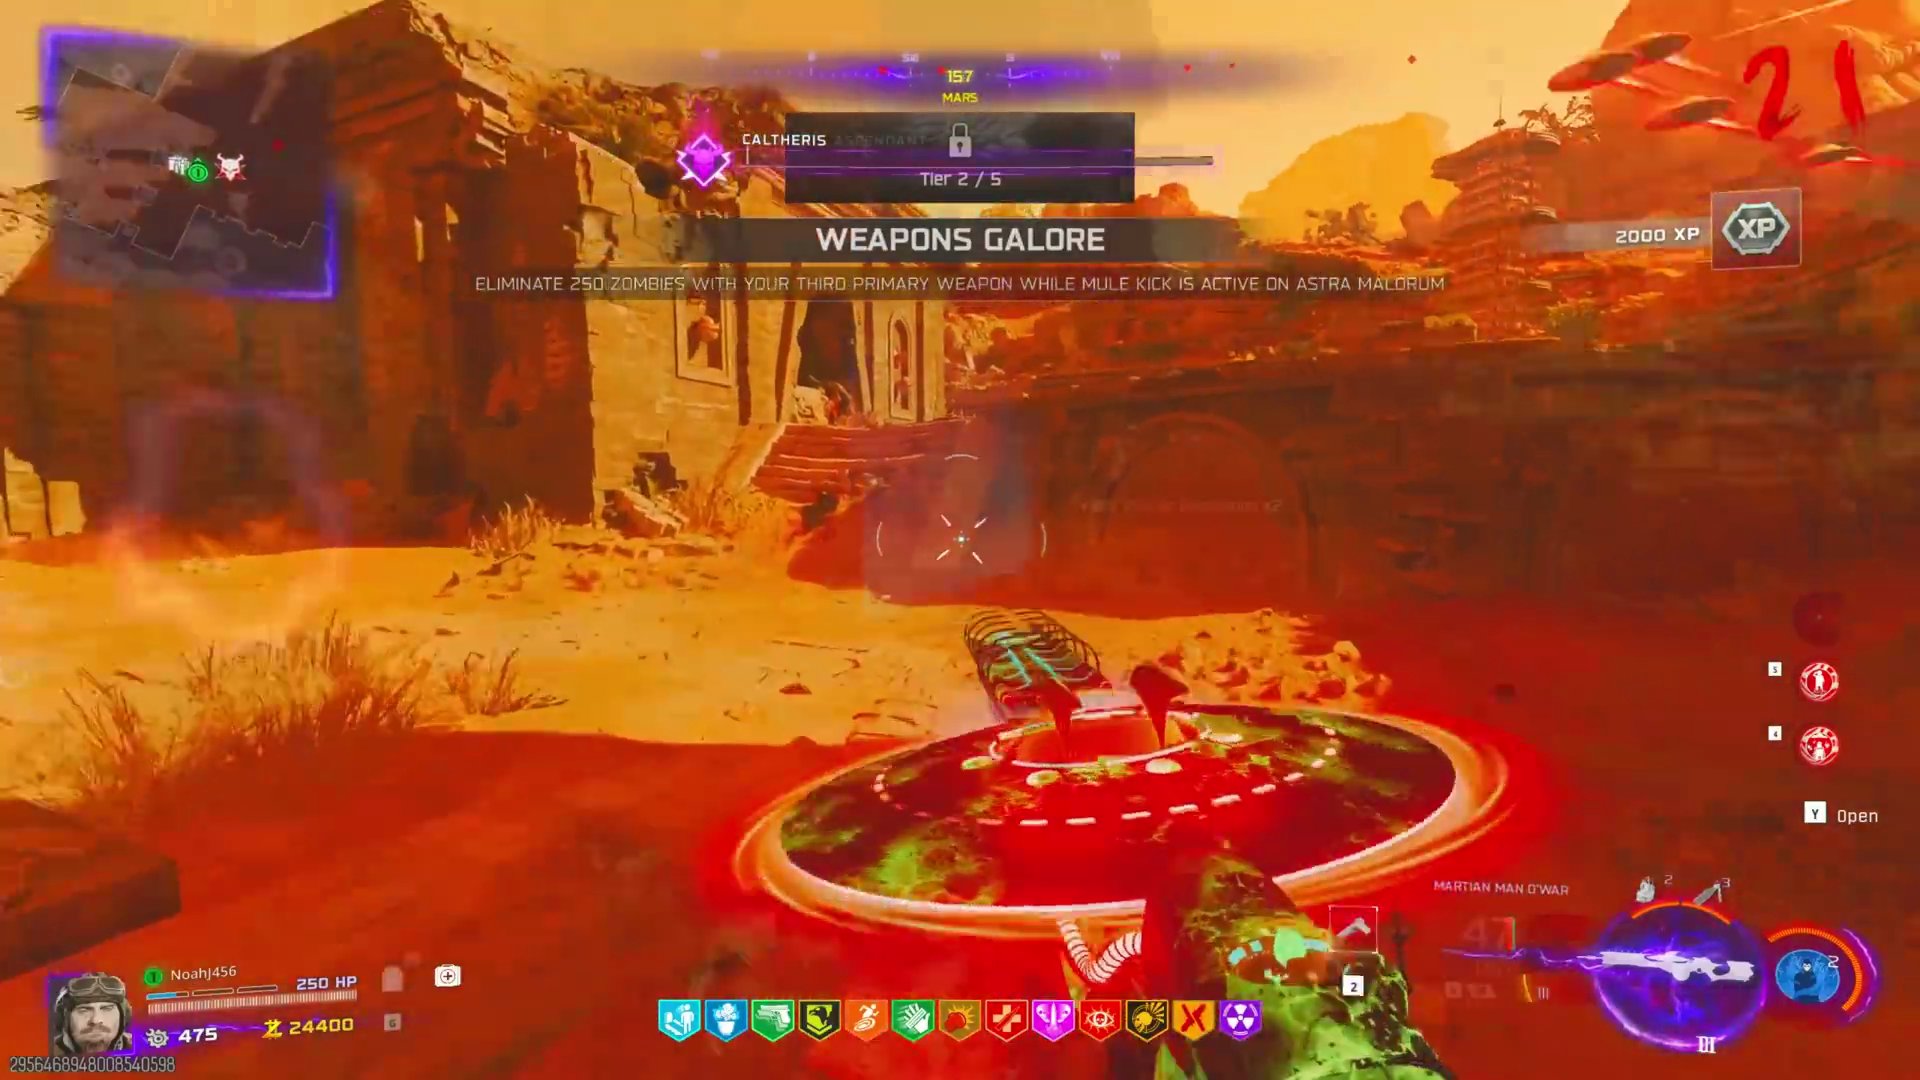
- **Boss Attacks:** Rocks are larger, attacks are more consistent.
- **Strategy:** Prioritize keeping your armor up (there's a 10K wall buy for armor plates). Avoid getting too close. Utilize wall jumps and the upper areas of the map to your advantage. Whittle down his armor plates and then hit his weak points.
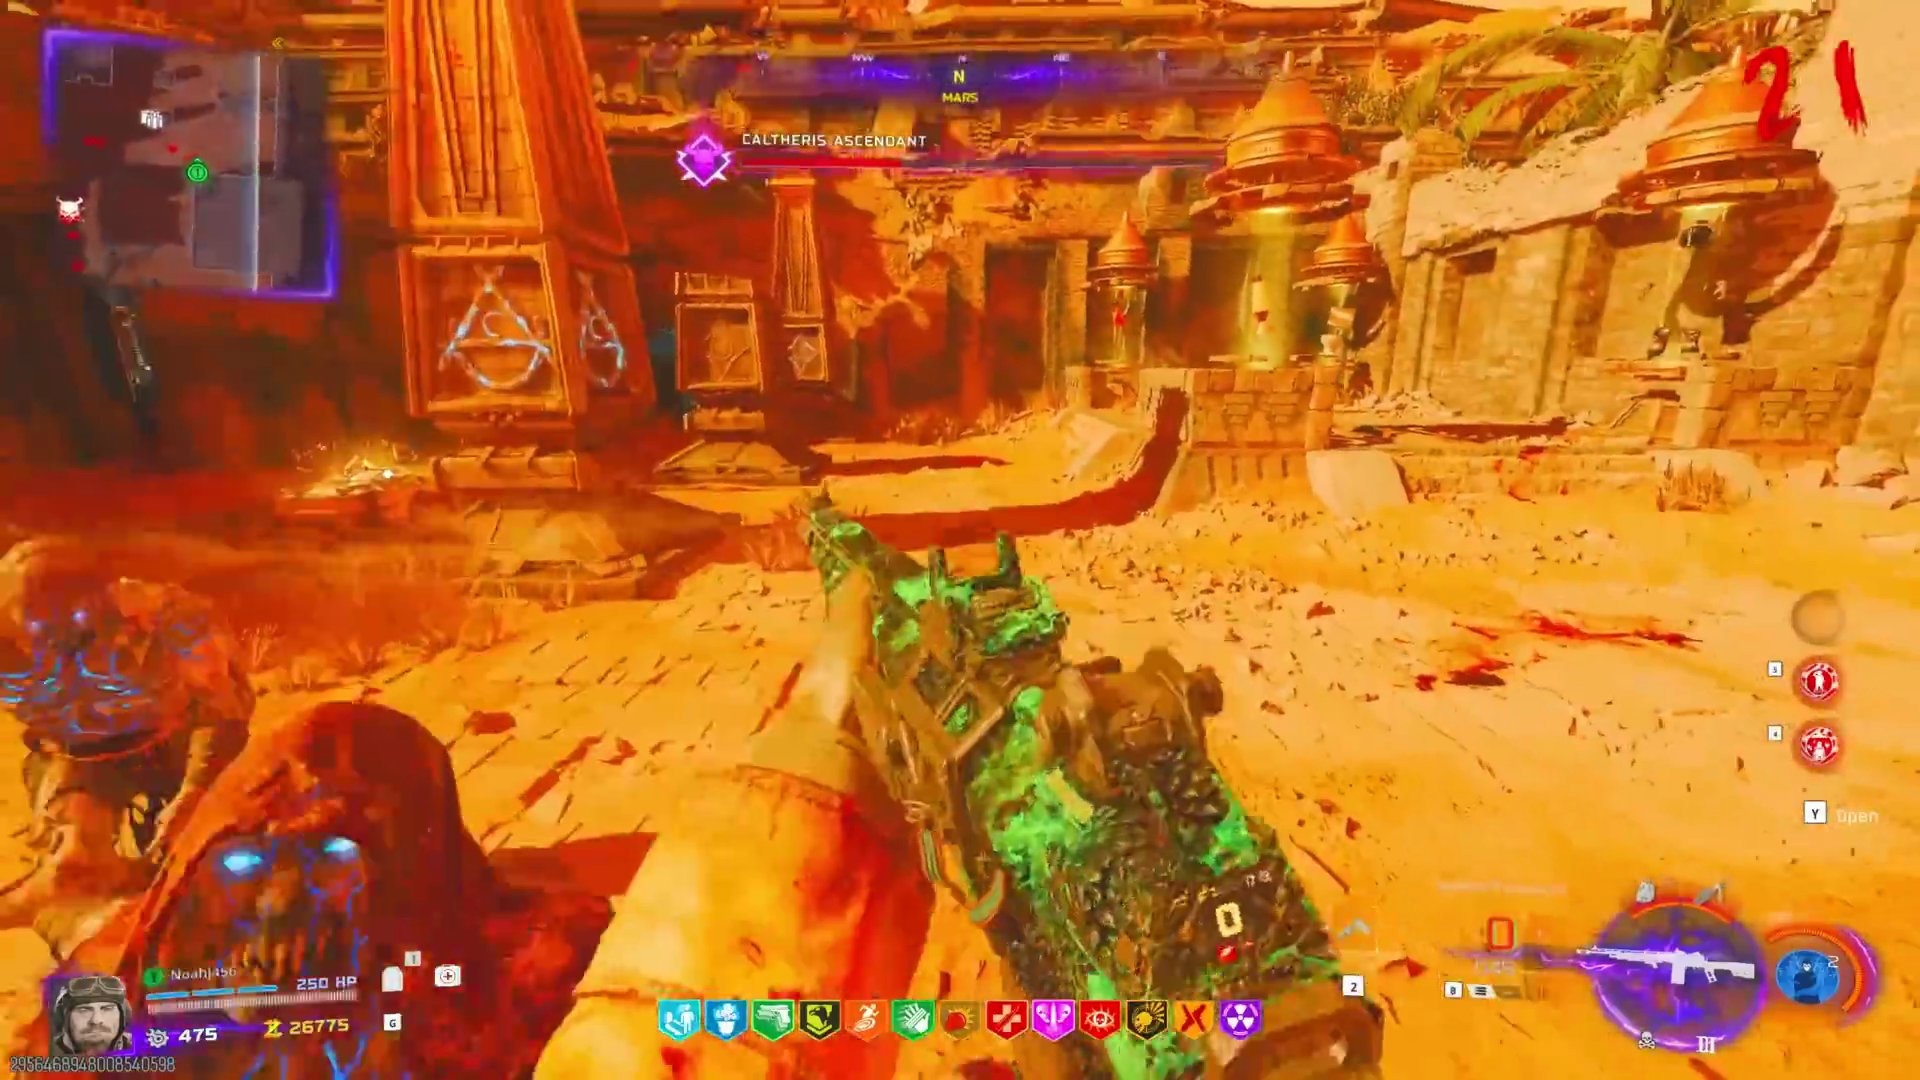
Phase 4: Final Stand
- This phase is very difficult as Calthaeris leaves damaging areas on the ground that can kill you quickly.
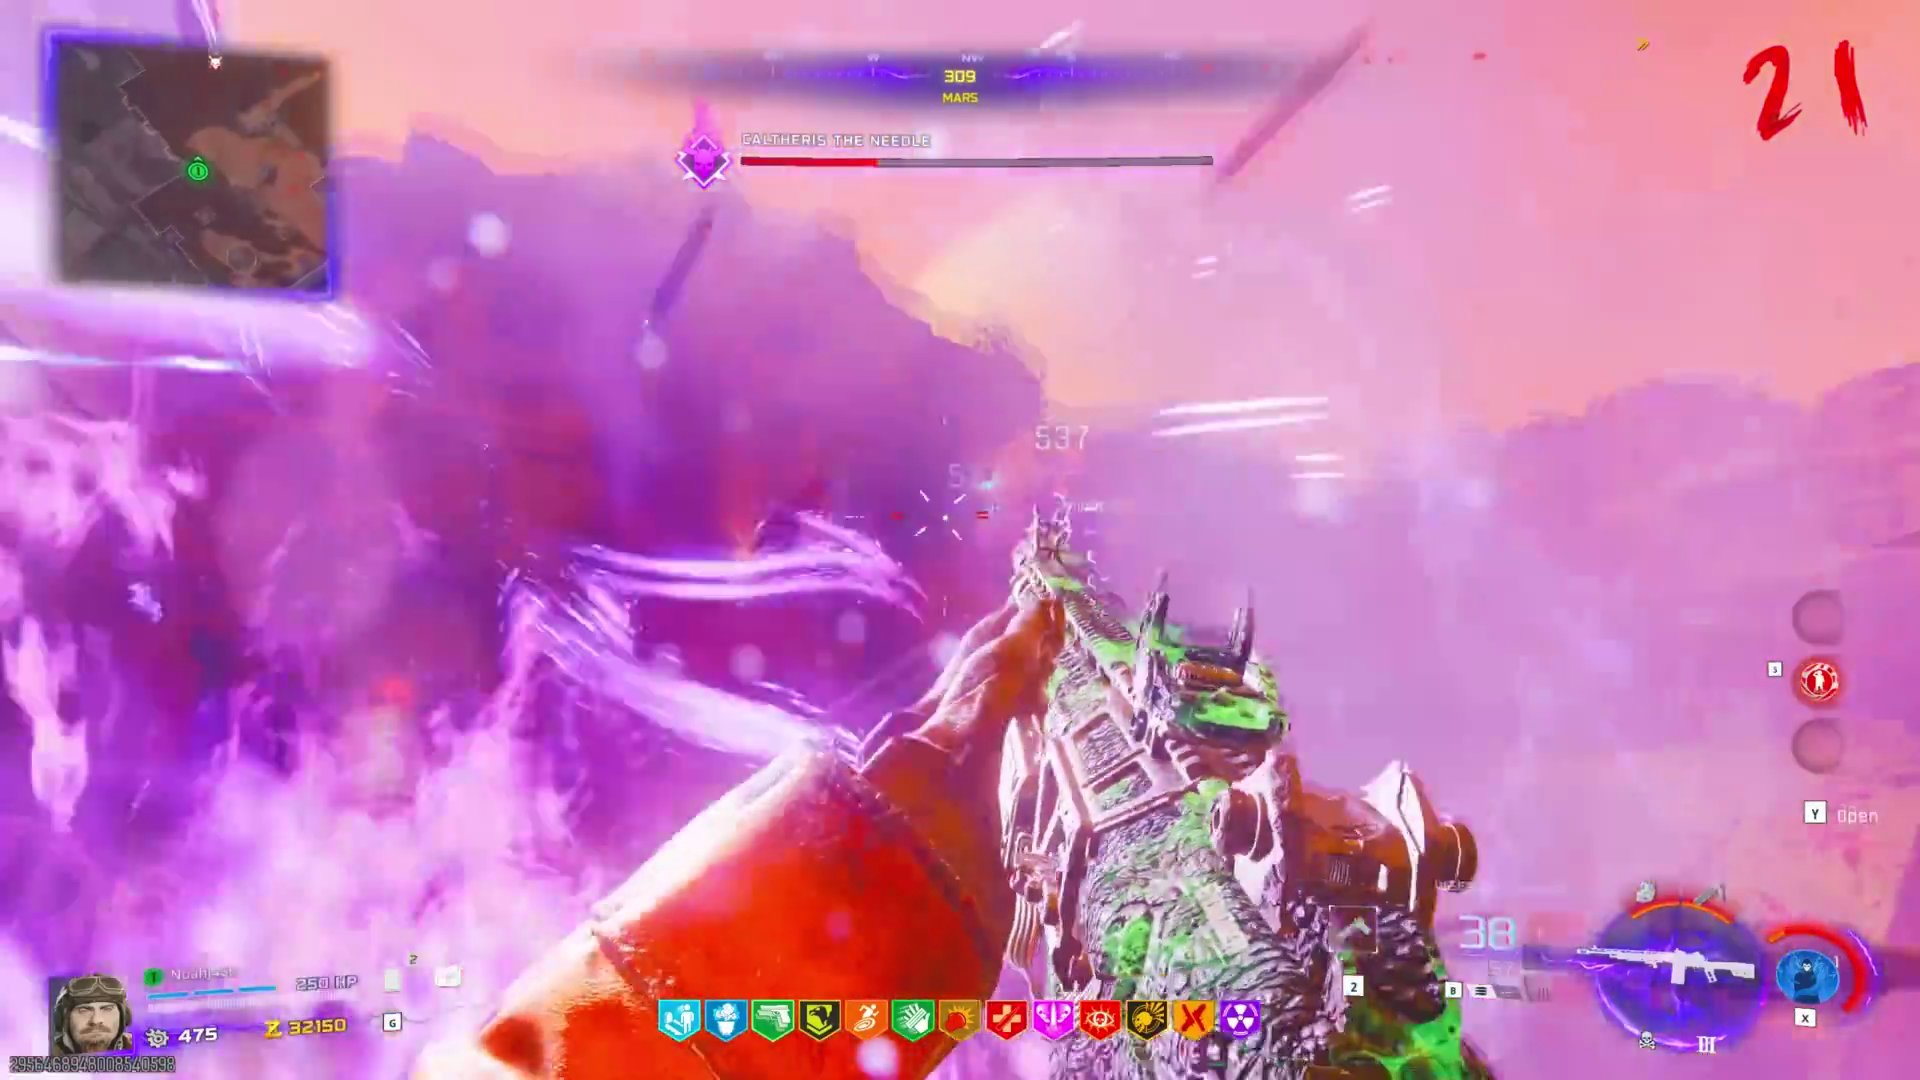
- **Boss Attacks:** High chip damage from ground areas, frequent knock-backs, faster and stronger attacks.
- **Strategy:** Stay mobile, continuously use wall jumps to avoid ground damage areas. Use Aether Shrouds as needed for invulnerability or repositioning. Keep hitting his weak points once armor is broken.
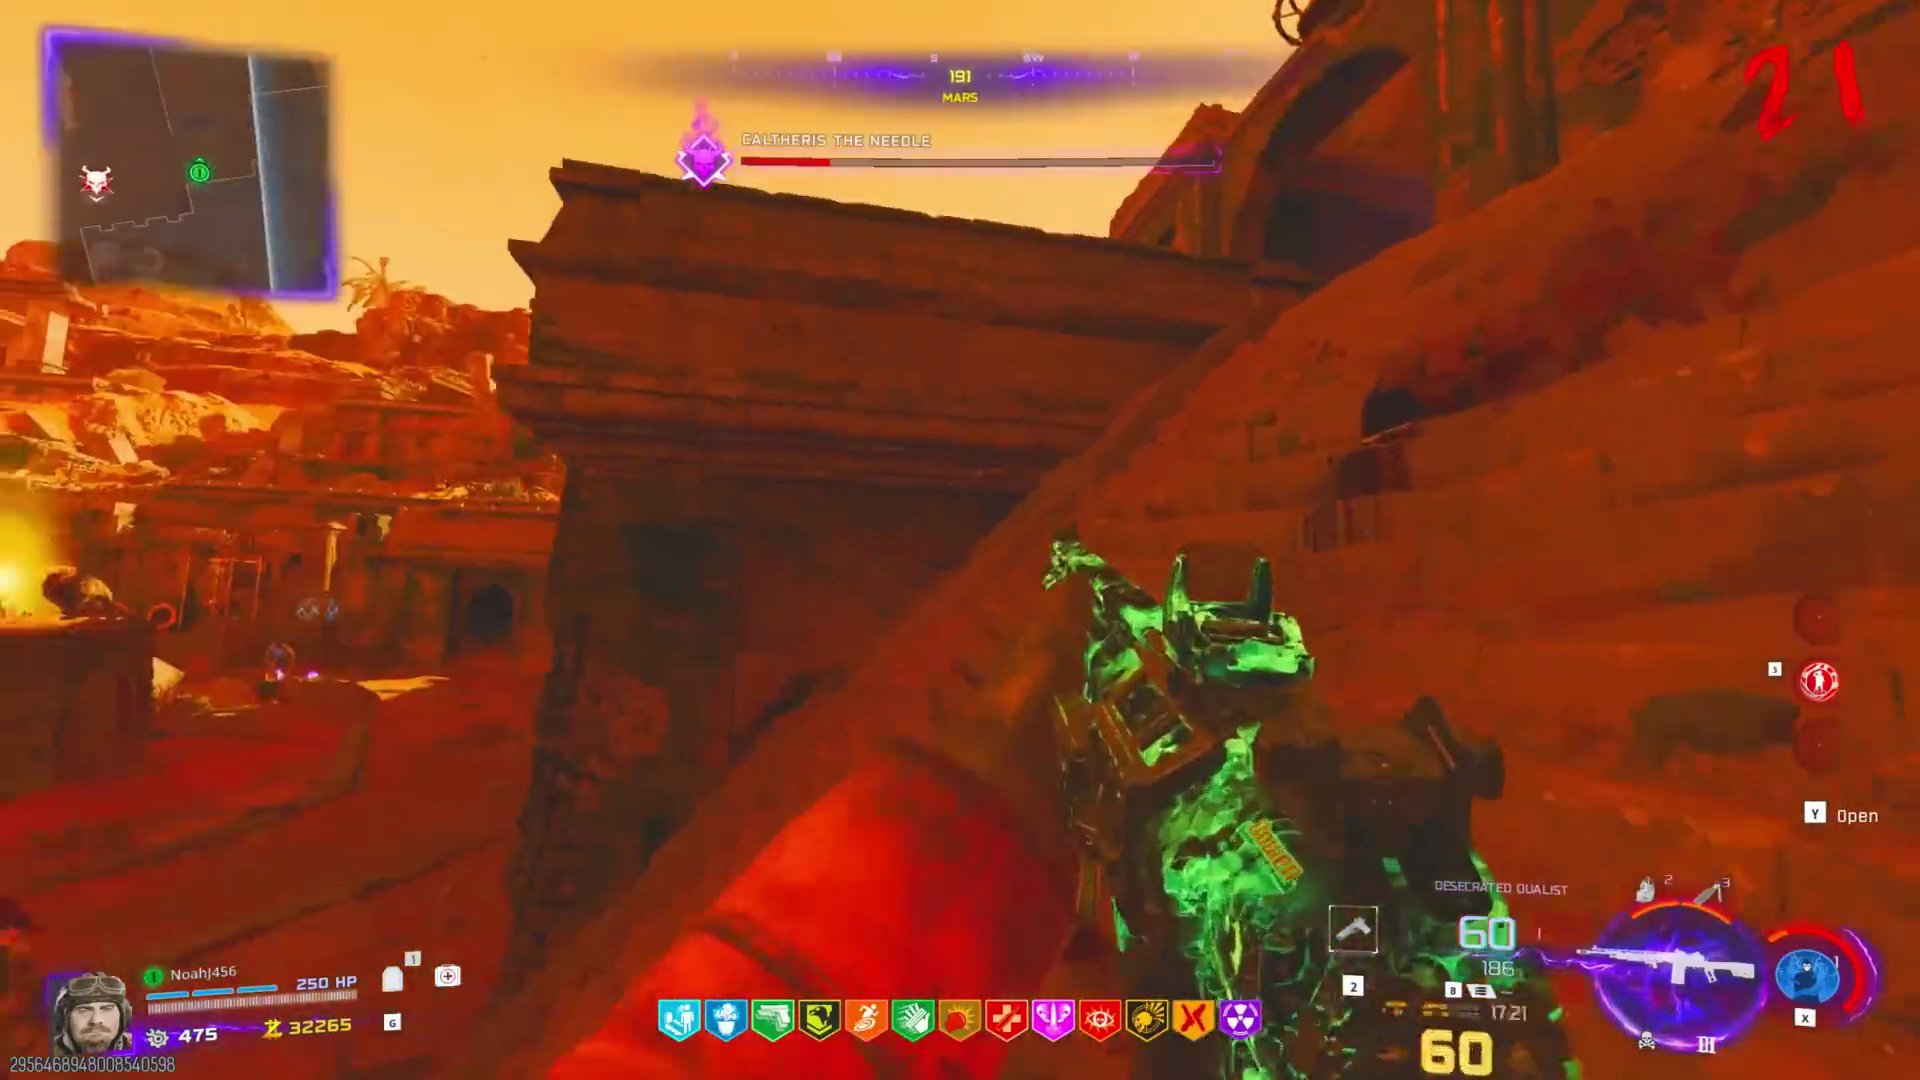
- Once his health bar is depleted for the fourth time, Calthaeris will die, and you will have successfully completed the Astra Malorum Easter Egg!
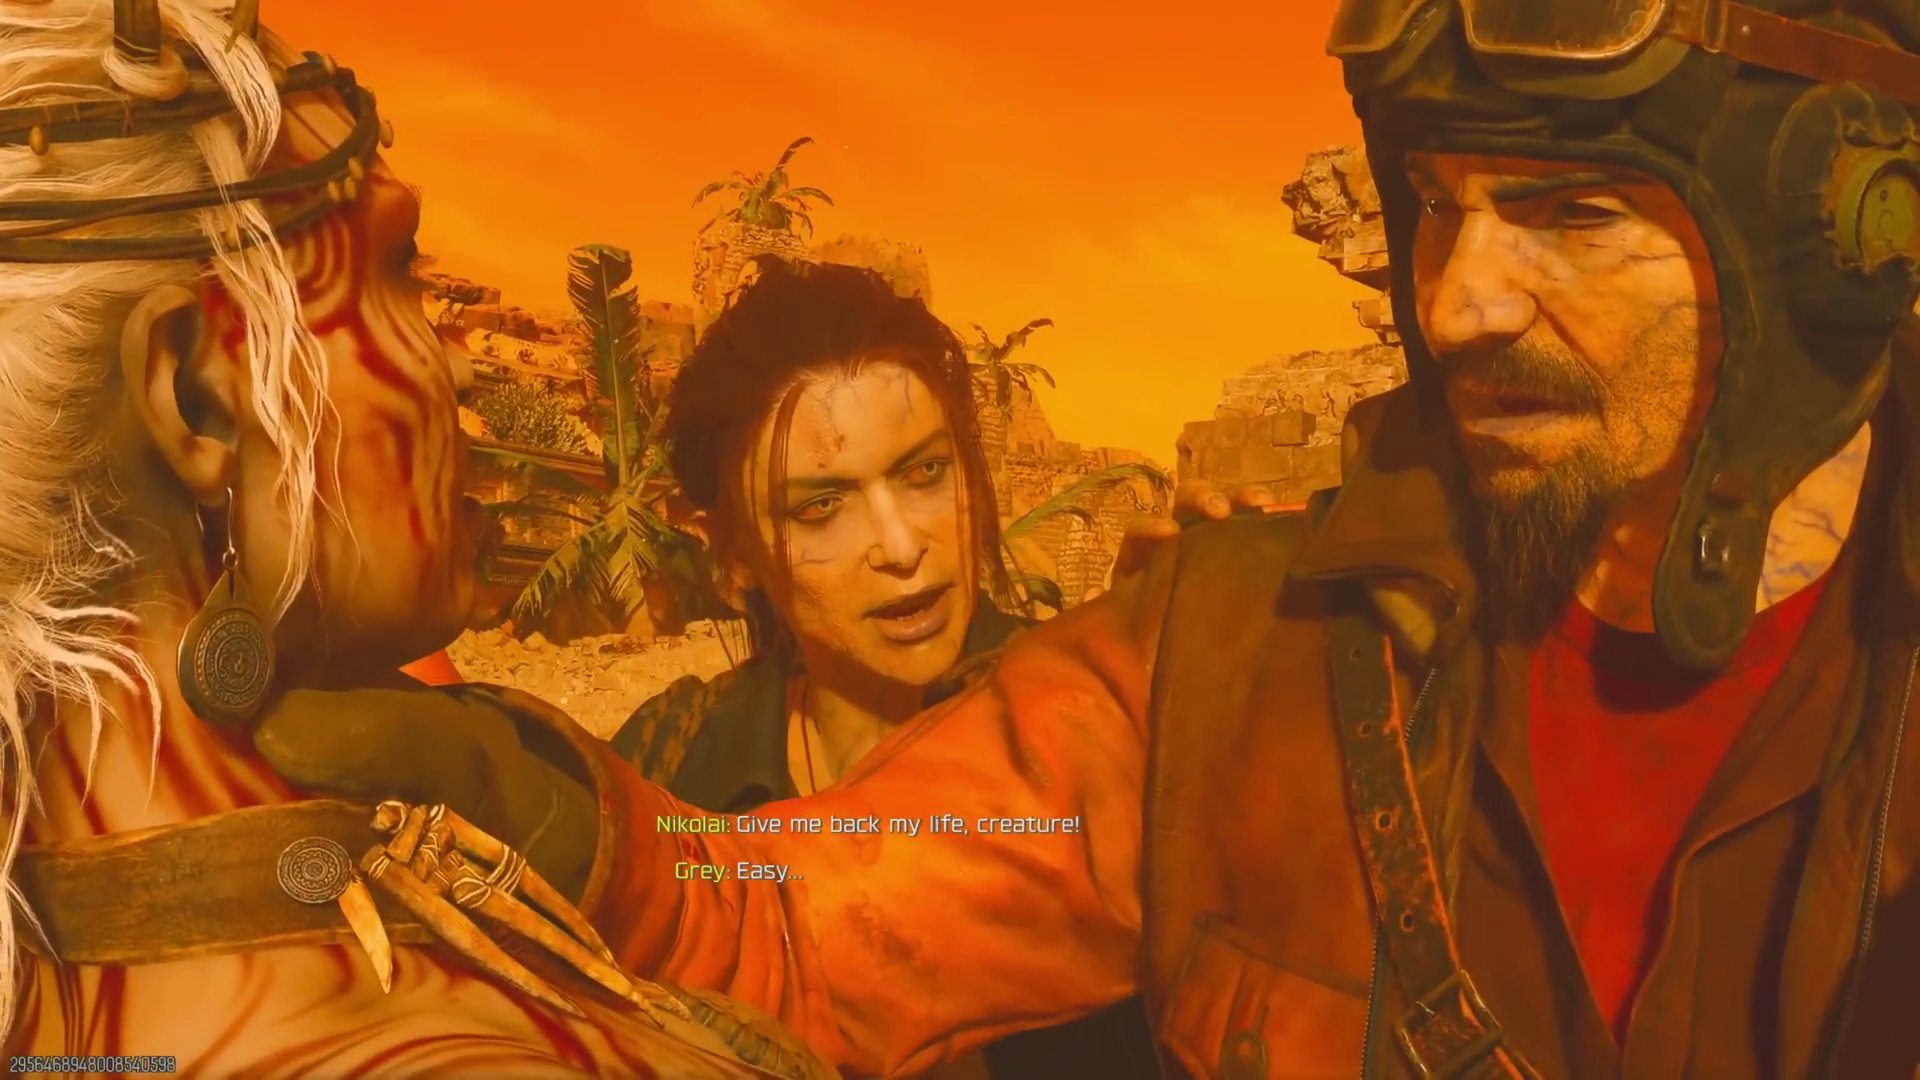
Finished the Easter Egg?
Send this guide to your squad.